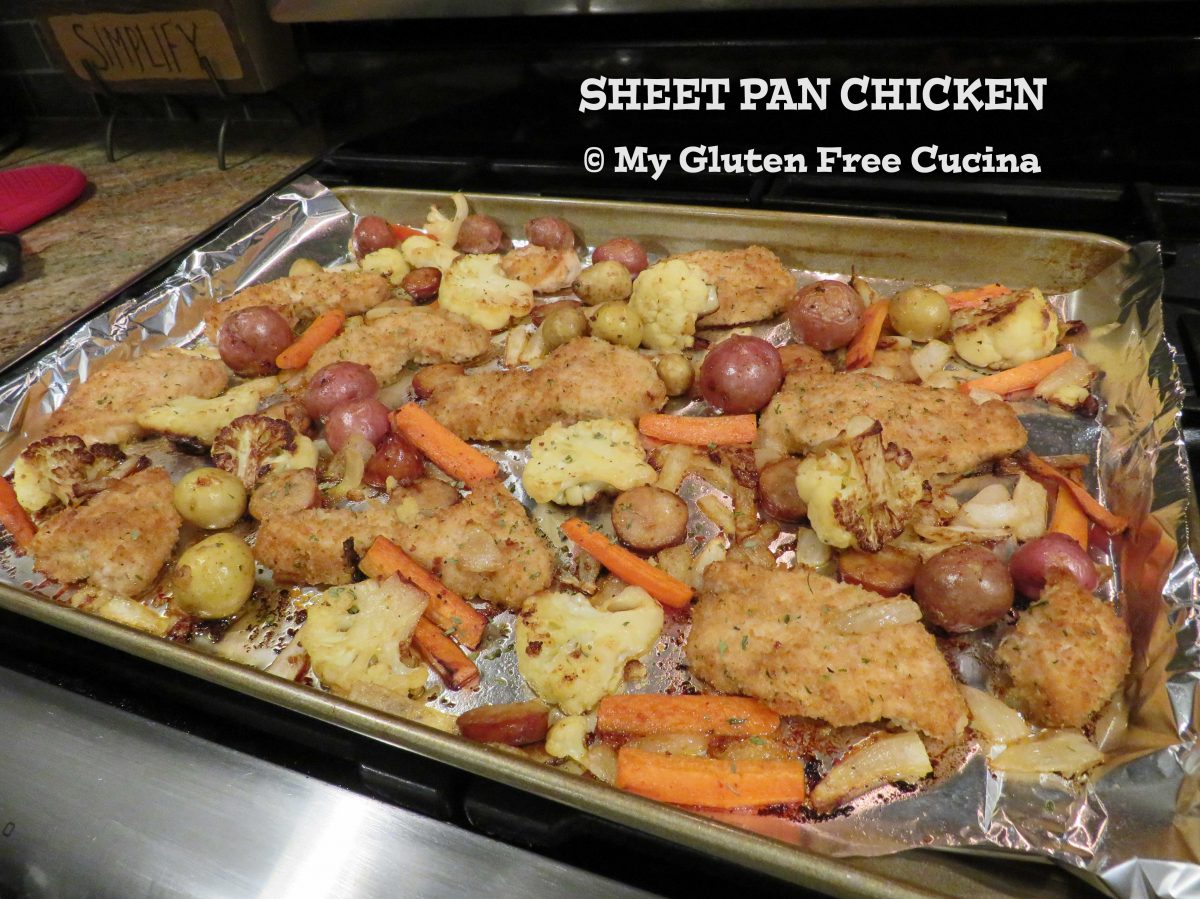
Boneless chicken medallions, breaded and baked with sausage, carrots, onions, potatoes and cauliflower. This easy sheet pan dinner proves that gluten free does not have to be complicated! From oven to table, you don’t even need a serving dish.
I didn’t take step by step pictures of the preparation as I normally do, because honestly I never thought this meal would make it to the blog. But it came out really delicious, so here we are.
The simple, fresh ingredients speak for themselves in this perfectly seasoned, one dish meal.

4 Servings
This post contains affiliate links.
Ingredients:
- 1 lb. boneless chicken breast, cut into 1/2″ medallions
- 1/4 cup Aleia’s Seasoned Gluten Free Breadcrumbs
- 1 link of Andouille Sausage, cut into coins
- olive oil
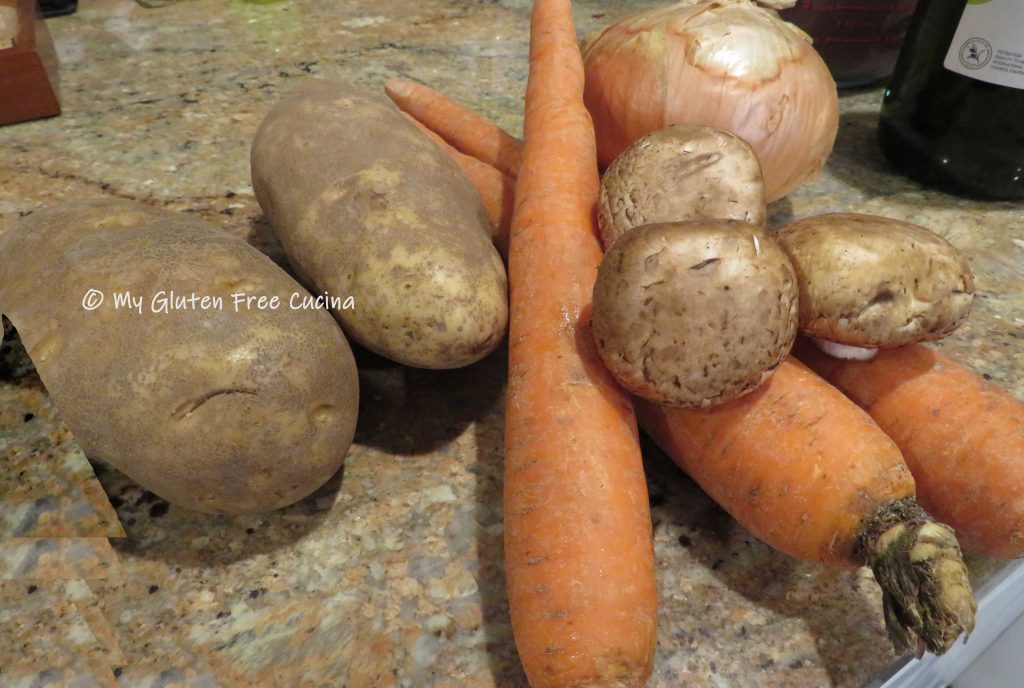
- 1 carrot, cut into matchsticks
- 1/2 medium sweet onion, diced
- 1-1/2 cups marble potatoes
- 1-1/2 cups cauliflower, cut into 2″ slices
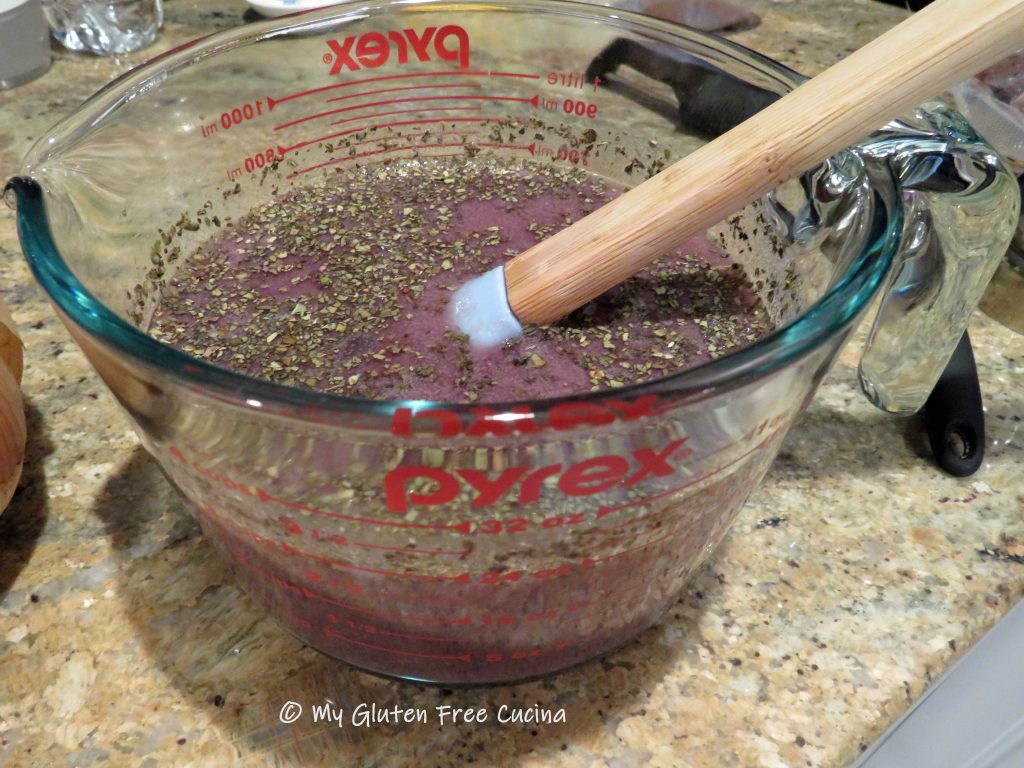
- creole seasoning
- cooking spray
- parsley for garnish
Preparation:
- Heat a large nonstick skillet with 2 tbsp. olive oil. Line a half sheet pan with foil and mist with cooking spray. Preheat the oven to 400º.
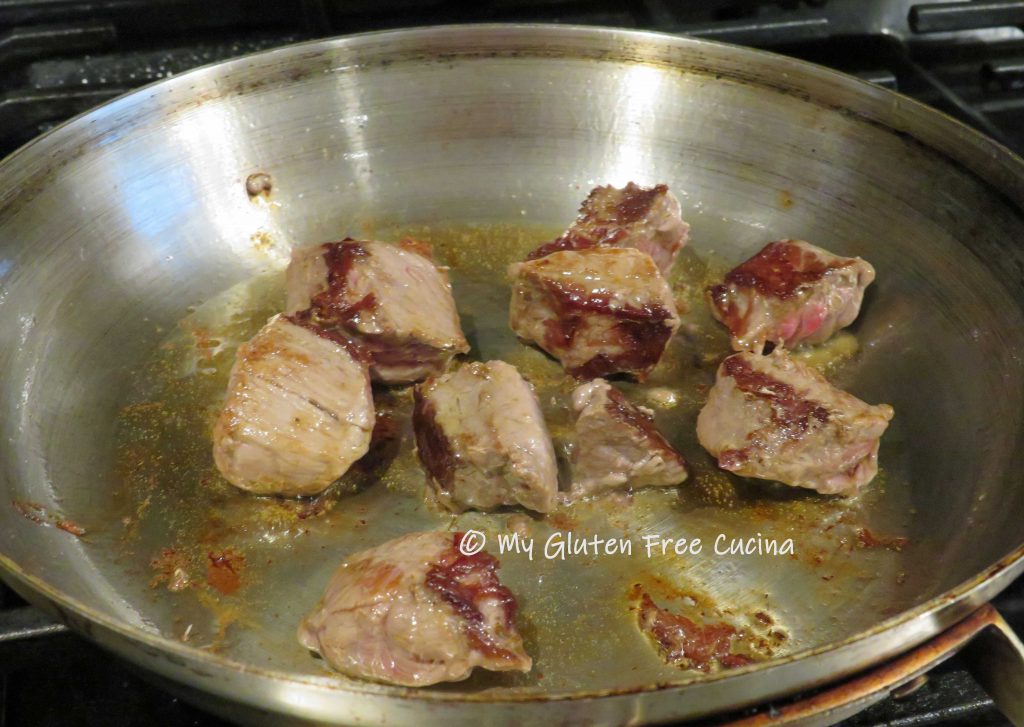
- Cook the sausage coins in the skillet until lightly browned, then use a slotted spoon to transfer them to the baking sheet. Leave the oil behind in the skillet.
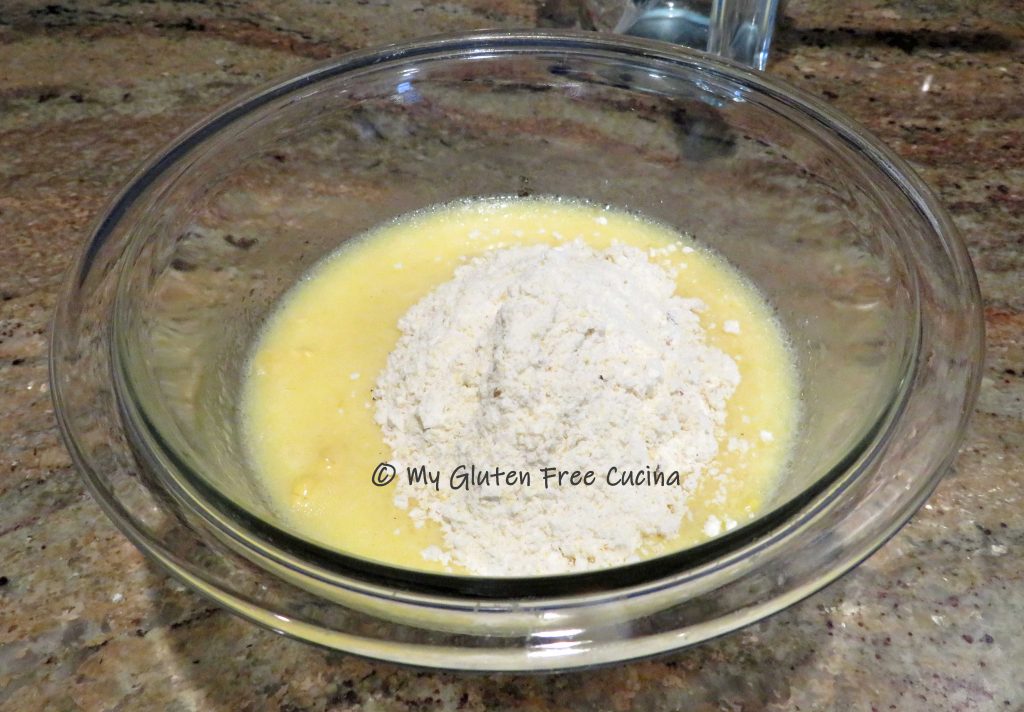
- Place the breadcrumbs in a food safe plastic bag, add the chicken medallions and shake to coat.
- Brown the chicken on both sides in the same skillet, about 1 minute per side. Do not cook through, it will finish cooking in the oven. Arrange the browned chicken on the baking sheet.
- Add several more tbsp. of olive oil to the skillet, with all of the vegetables. Sprinkle liberally with Creole seasoning. Par cook the vegetables in the skillet for about 10 minutes to give them a good head start, then arrange them on the baking sheet with the chicken and sausage in a single layer.
- Bake for 15-20 minutes at 400º and bring right to the table for a fun and casual meal. If you like, serve with BBQ Sauce for dipping!

Notes ♪♫ While the chicken and sausage cooked very quickly, the veggies took quite a bit longer, especially the potatoes and carrots. Giving the veggies a 10-minute head start in the skillet is the secret to having everything finish in the oven at the same time.


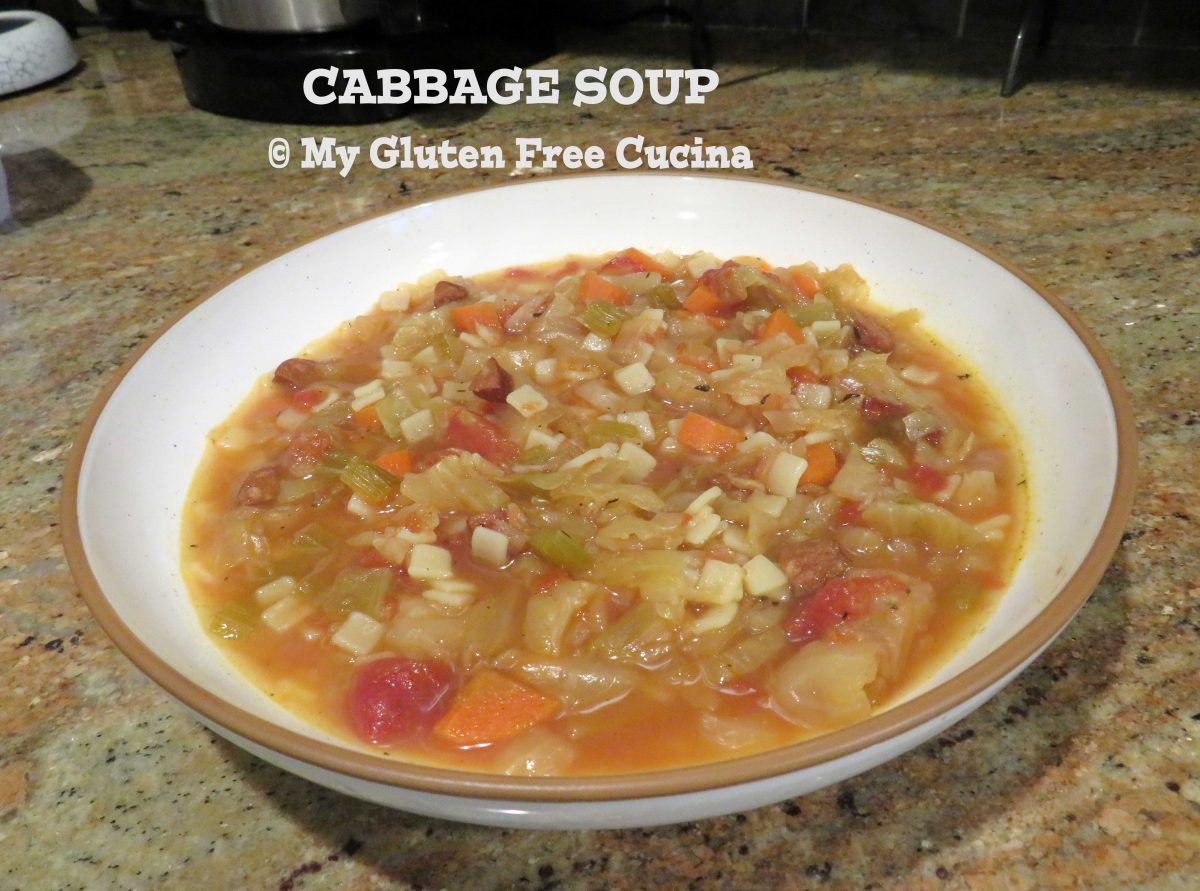
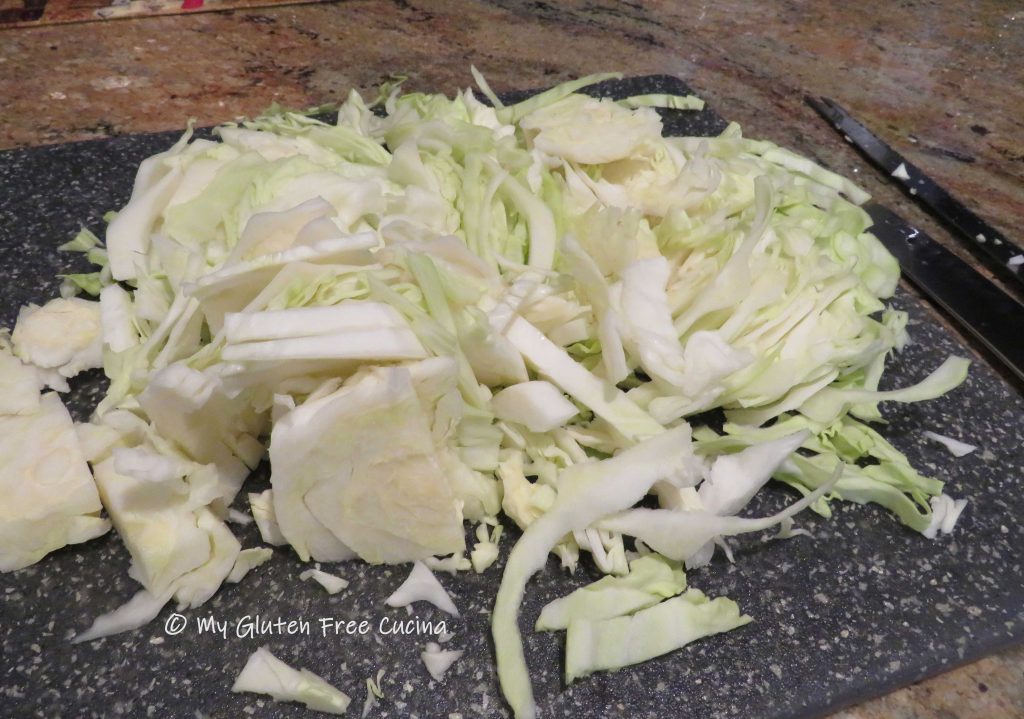
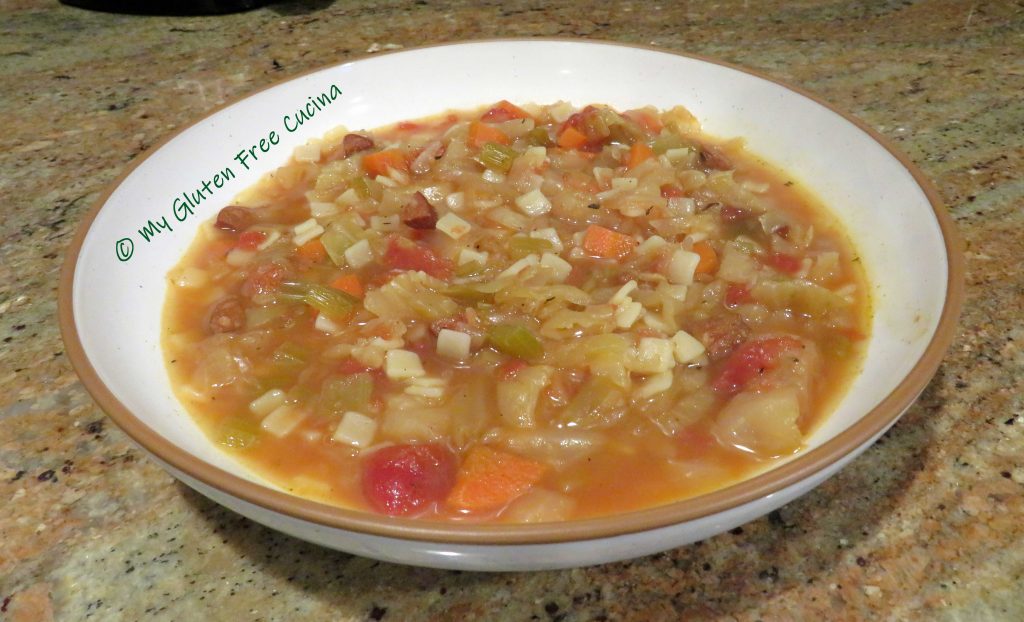

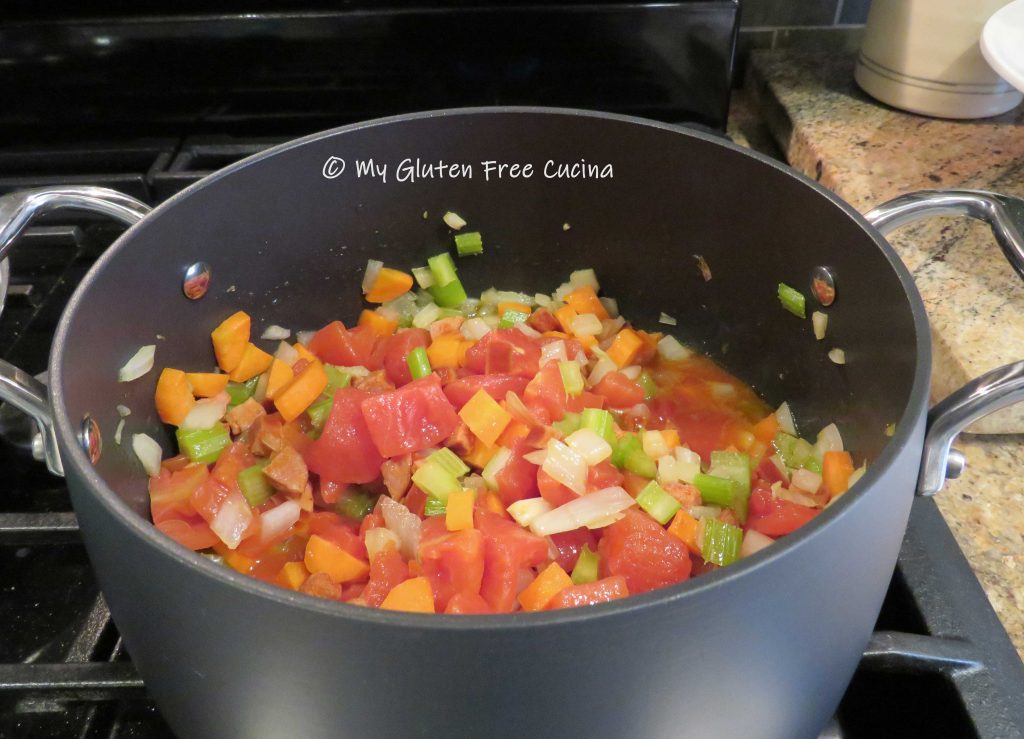
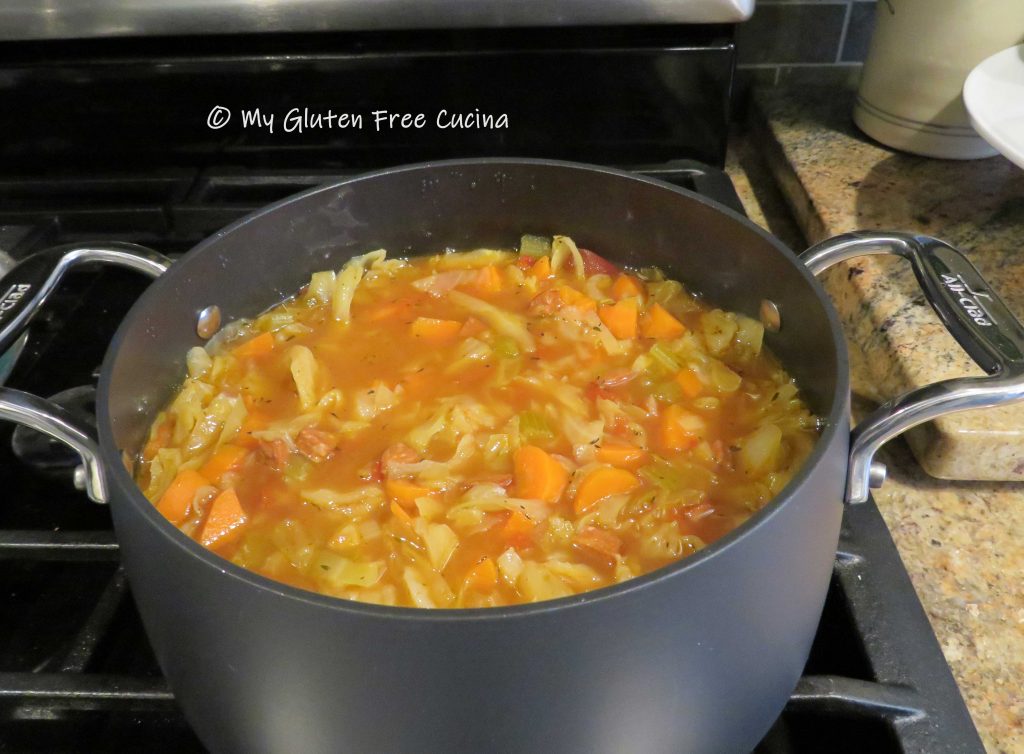
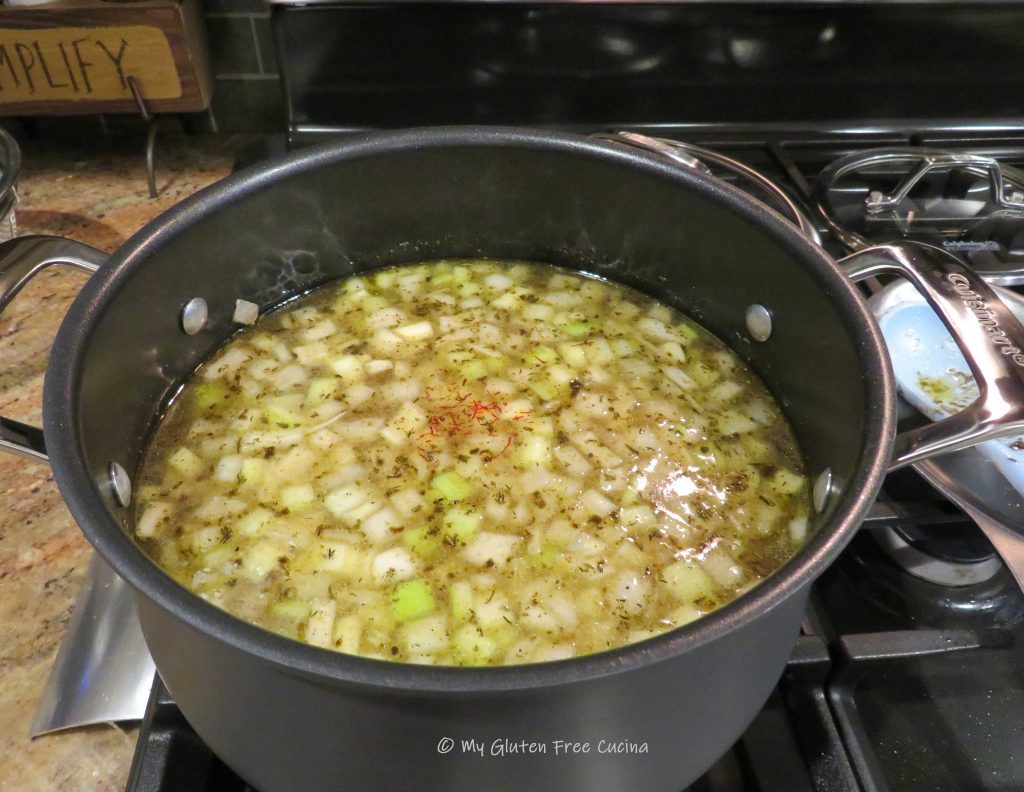
 Bring to a low simmer, add all of the cabbage, cover and cook on low for
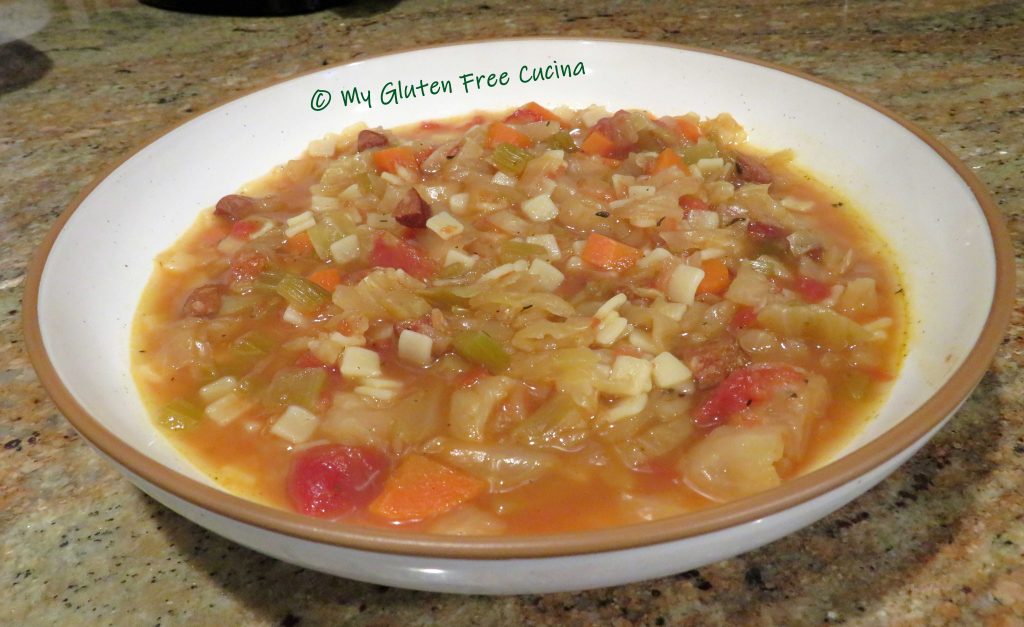


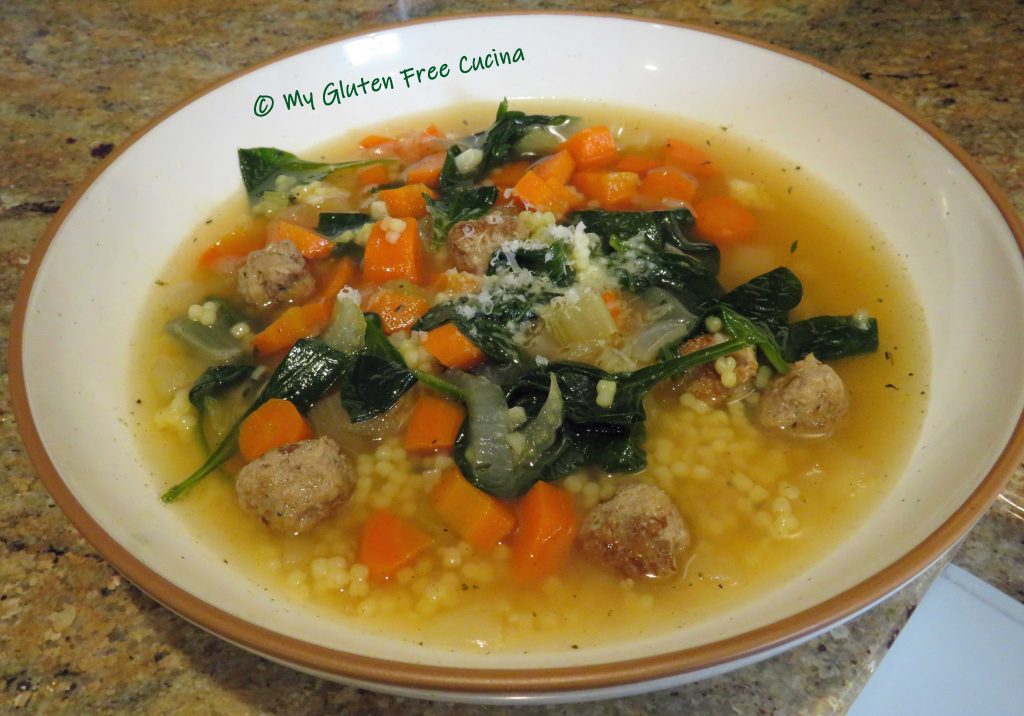
 Serve with finely grated cheese, use the good stuff!
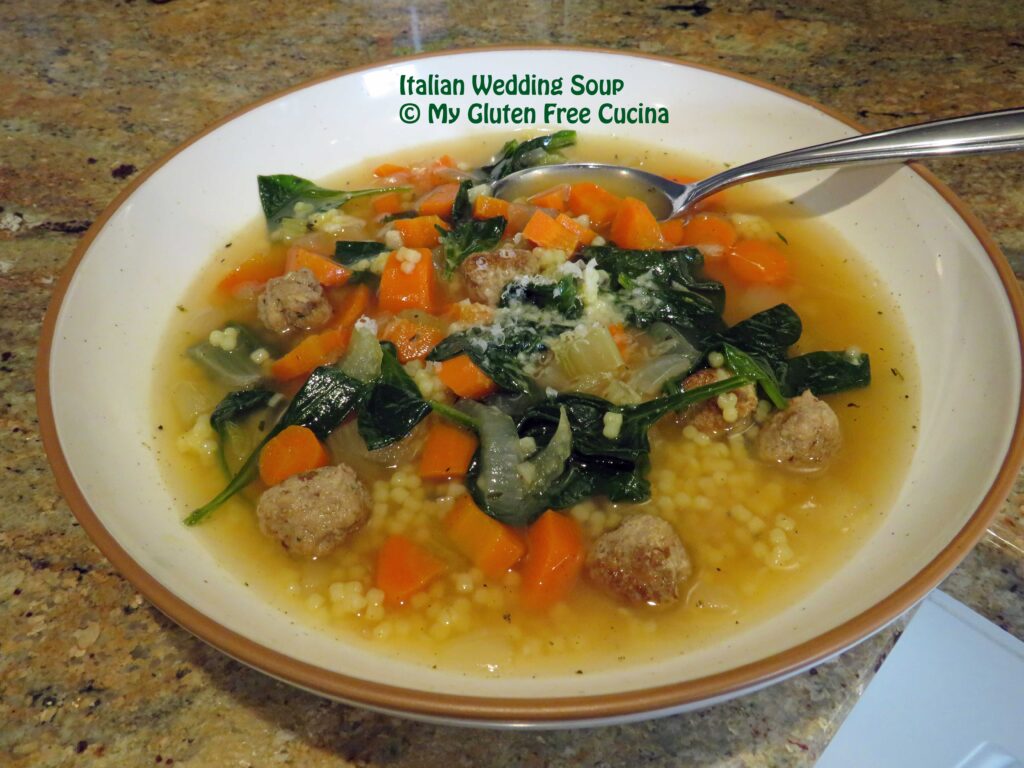


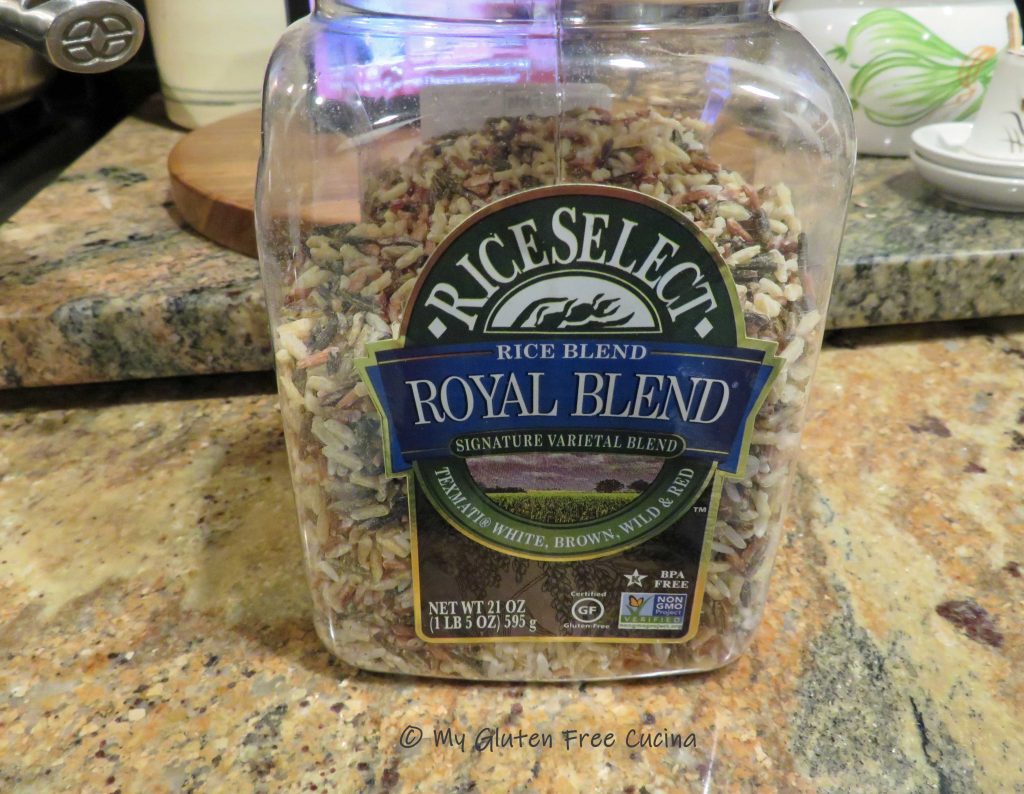


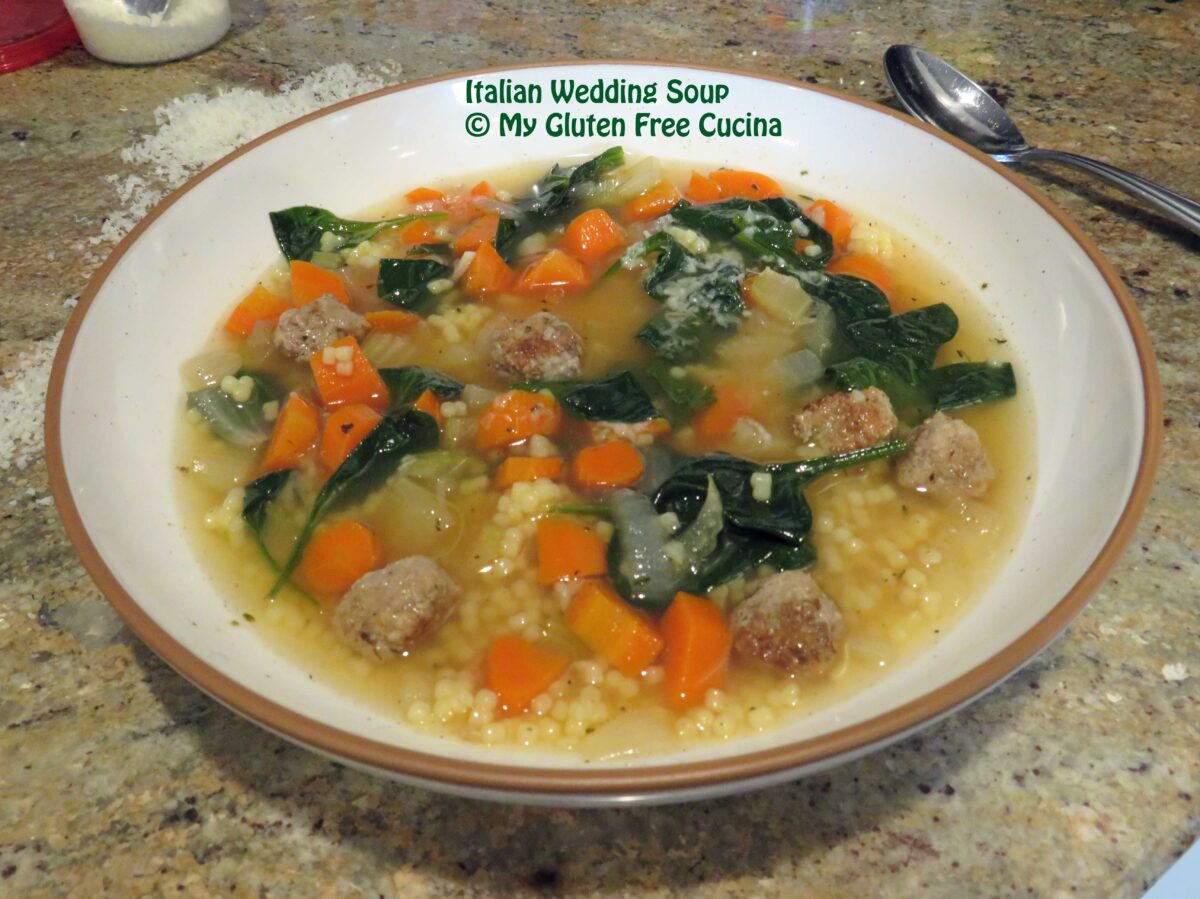
 While the soup simmers, cook the rice according to package directions.


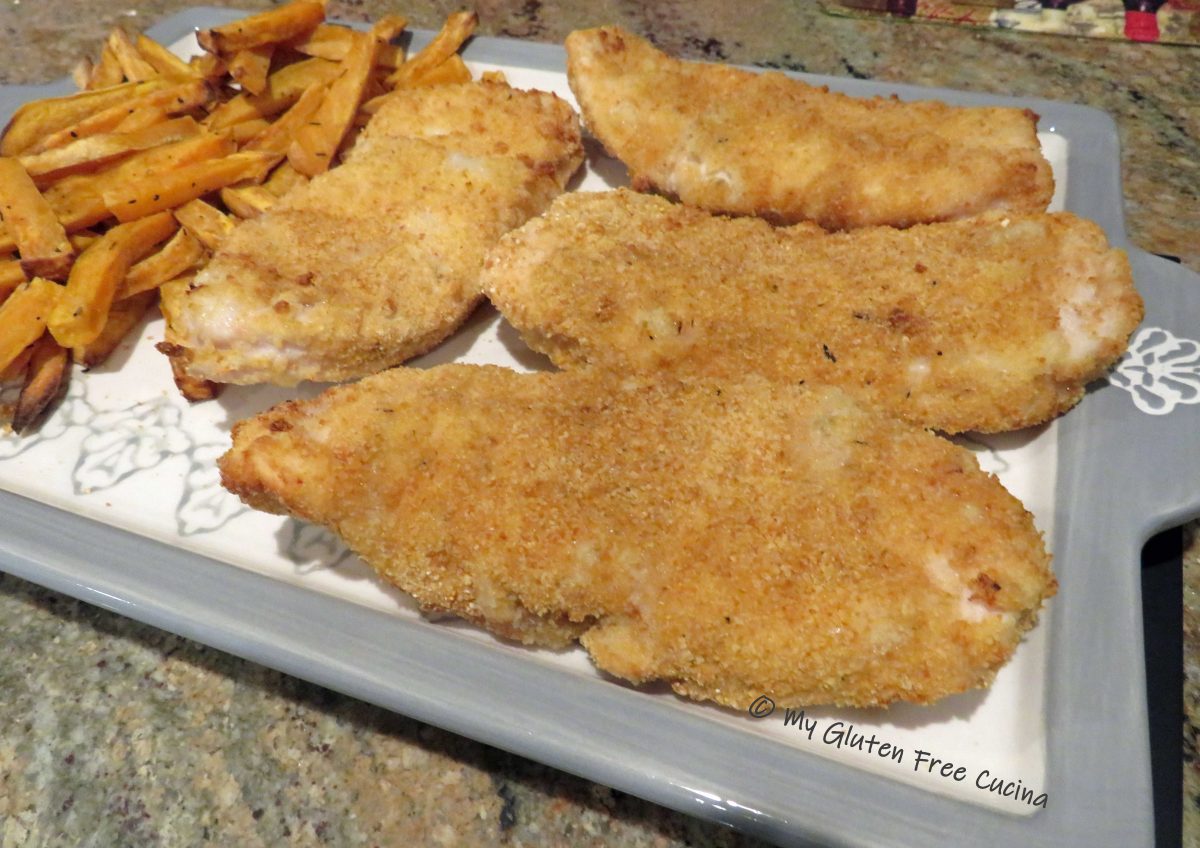


 Finally coat with breadcrumbs. Spray a rack with cooking spray and arrange the breaded cutlets in a single layer.

 After 8 minutes turn the cutlets over and spray the tops with cooking spray.


 Heat the butter and olive oil in a


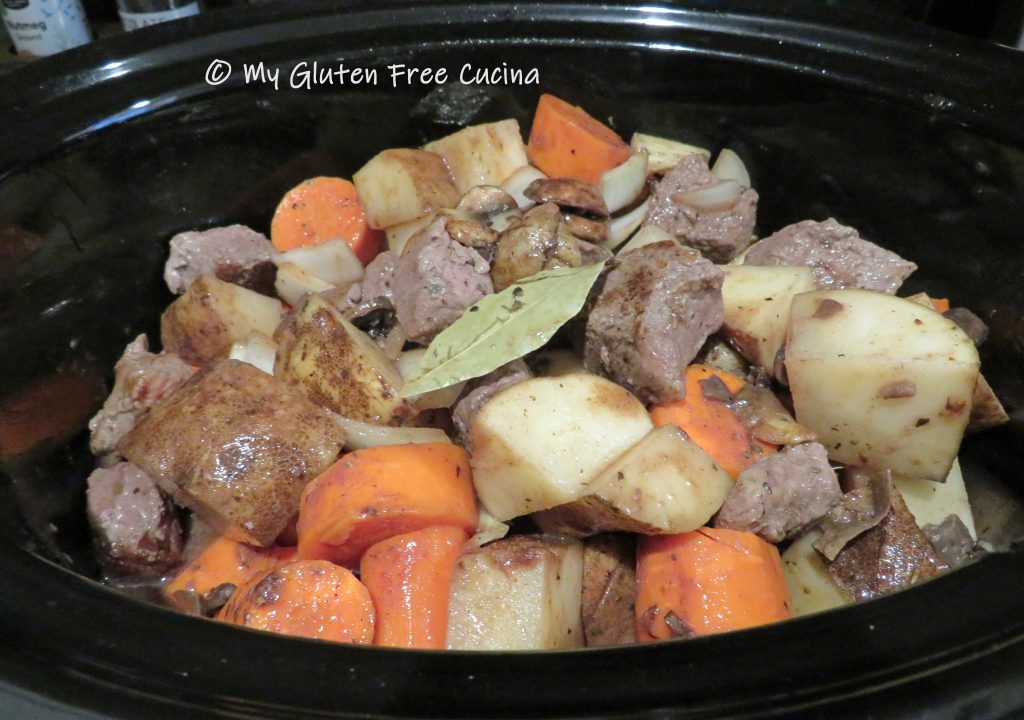
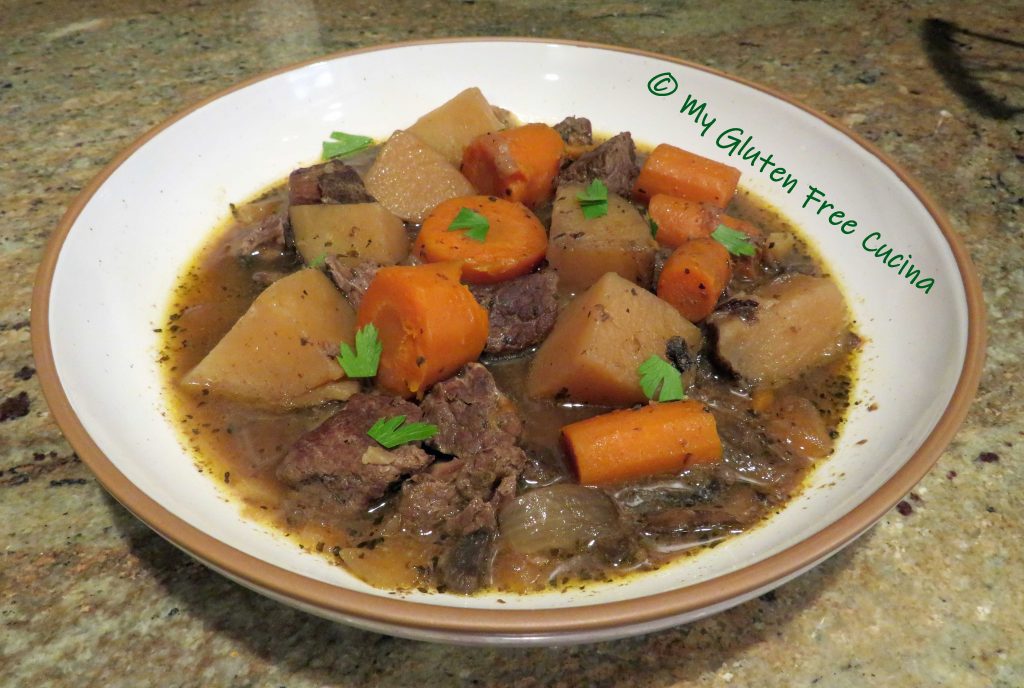
 Don’t crowd the pan, you want to get some good color on the outside (if the pieces are too close together the meat will steam in its own liquid). I did my beef in 2 batches.
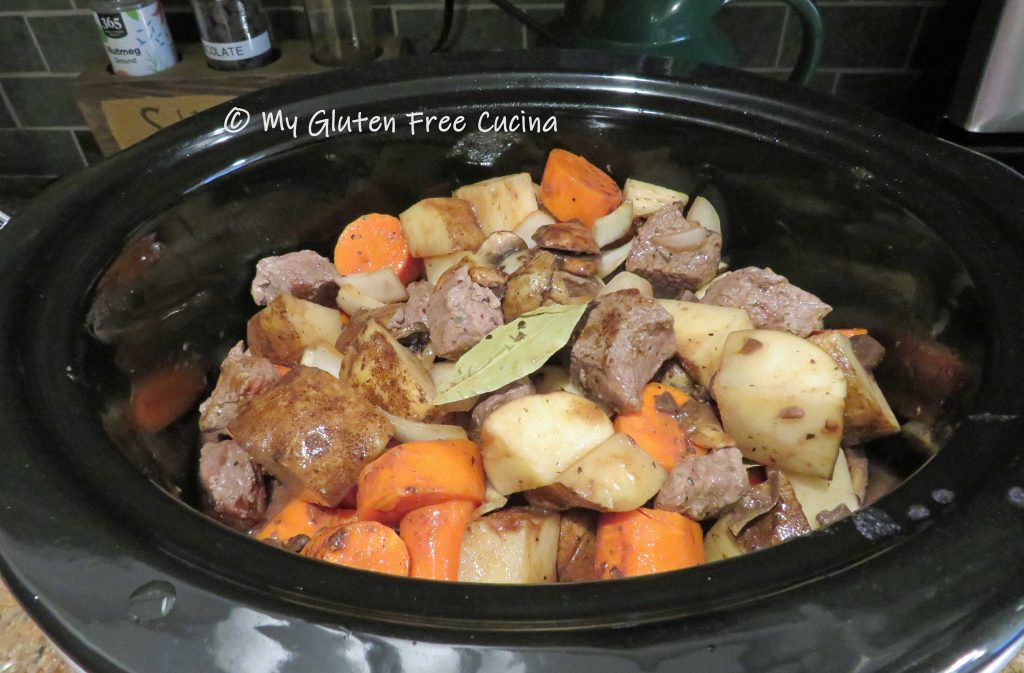
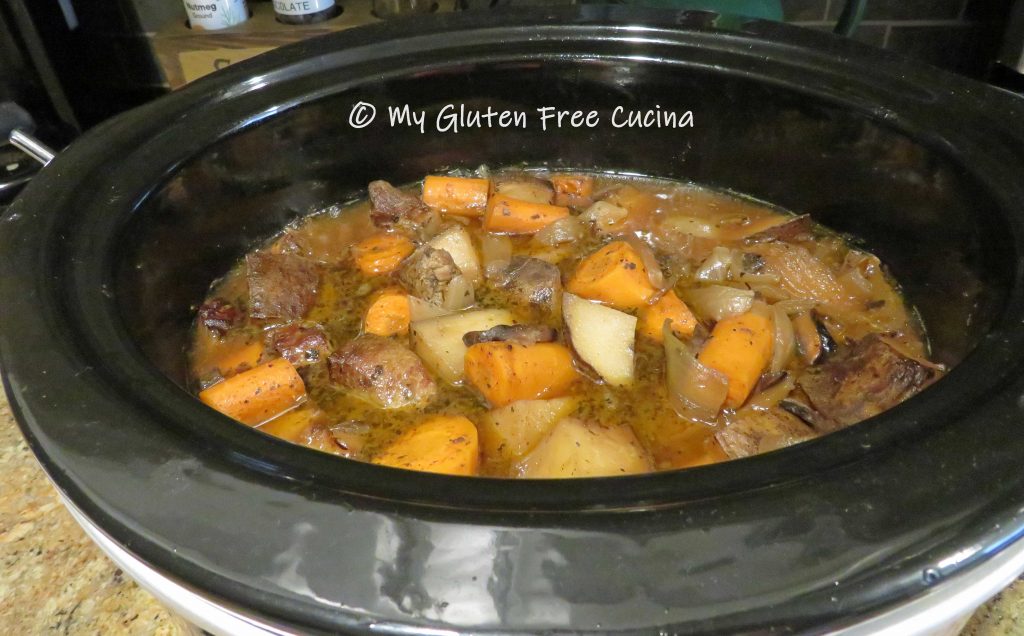
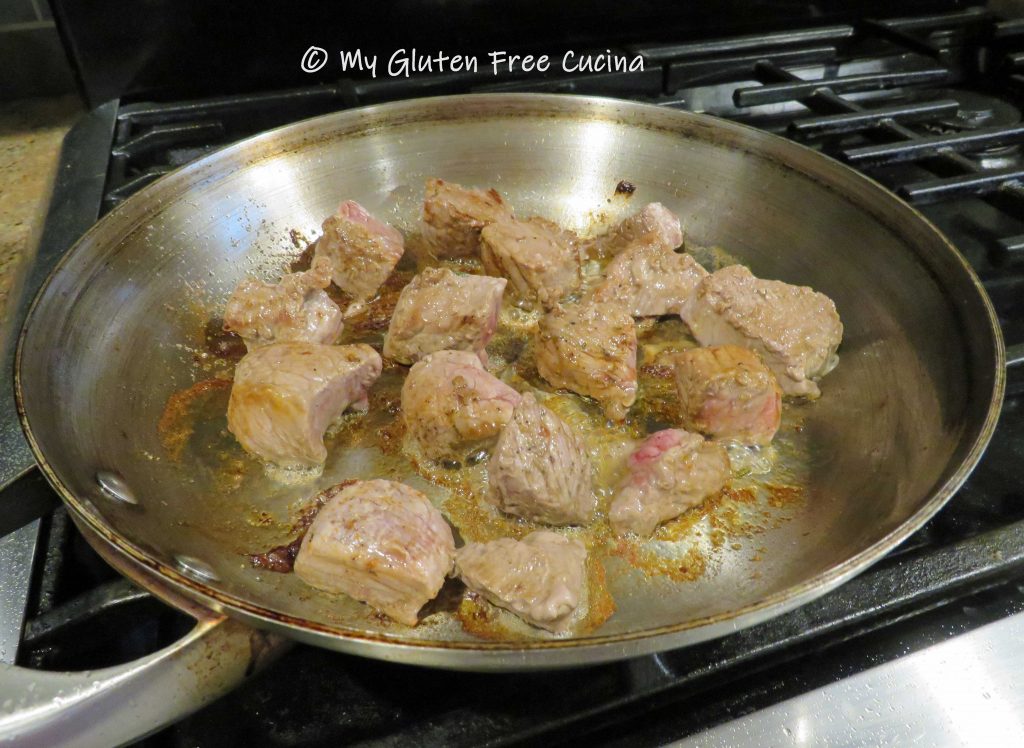 Once the beef goes into the crock-pot, you will see some nice browned bits on the bottom of your skillet.
 Pour 1/3 cup of the wine mixture into the hot pan to deglaze, using a spatula to scrape up all of the browned bits, they are full of flavor!
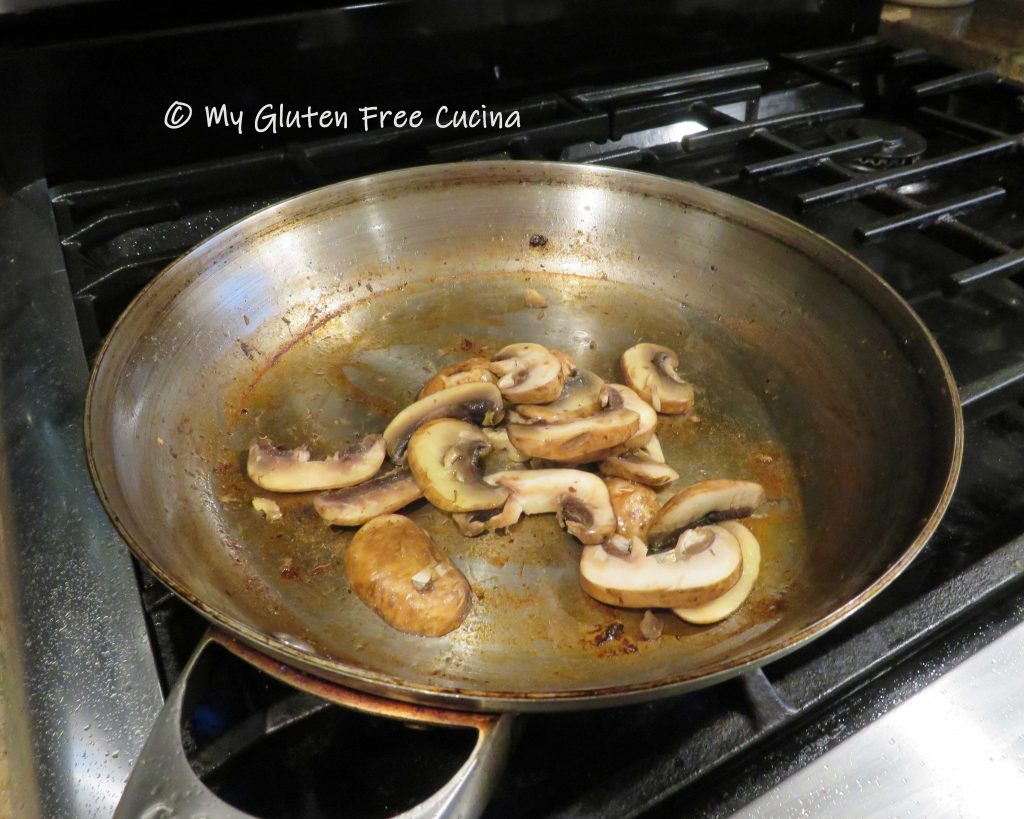
 Pour the liquid into the crock-pot and add more olive oil to the skillet. Begin browning the veggies, a few minutes each starting with the onions.
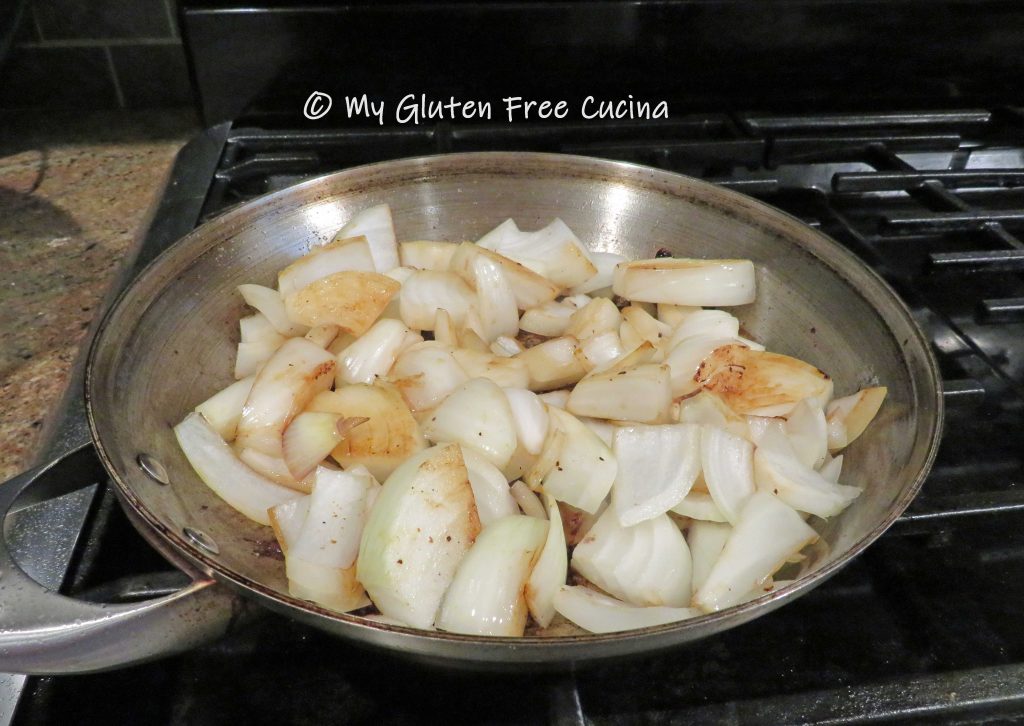


 When I first tested this recipe, I used a