
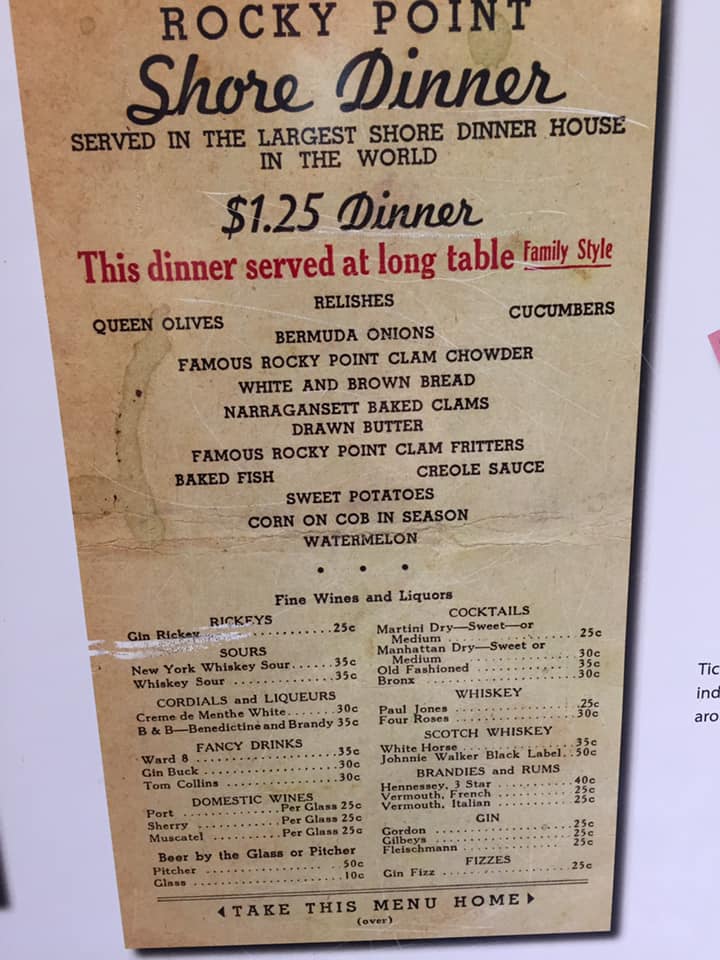
I was born and raised in RI and have lived here for most of my life. This post celebrates a Rhode Island icon of my youth, Rocky Point Park. The amusement park, which operated from the late 1840s until it closed in 1994 was a favorite childhood destination for its incredible thrill rides. Shore Dinner Hall at Rocky Point was the place to go for clam cakes and chowder that were famously served to thousands at a time.
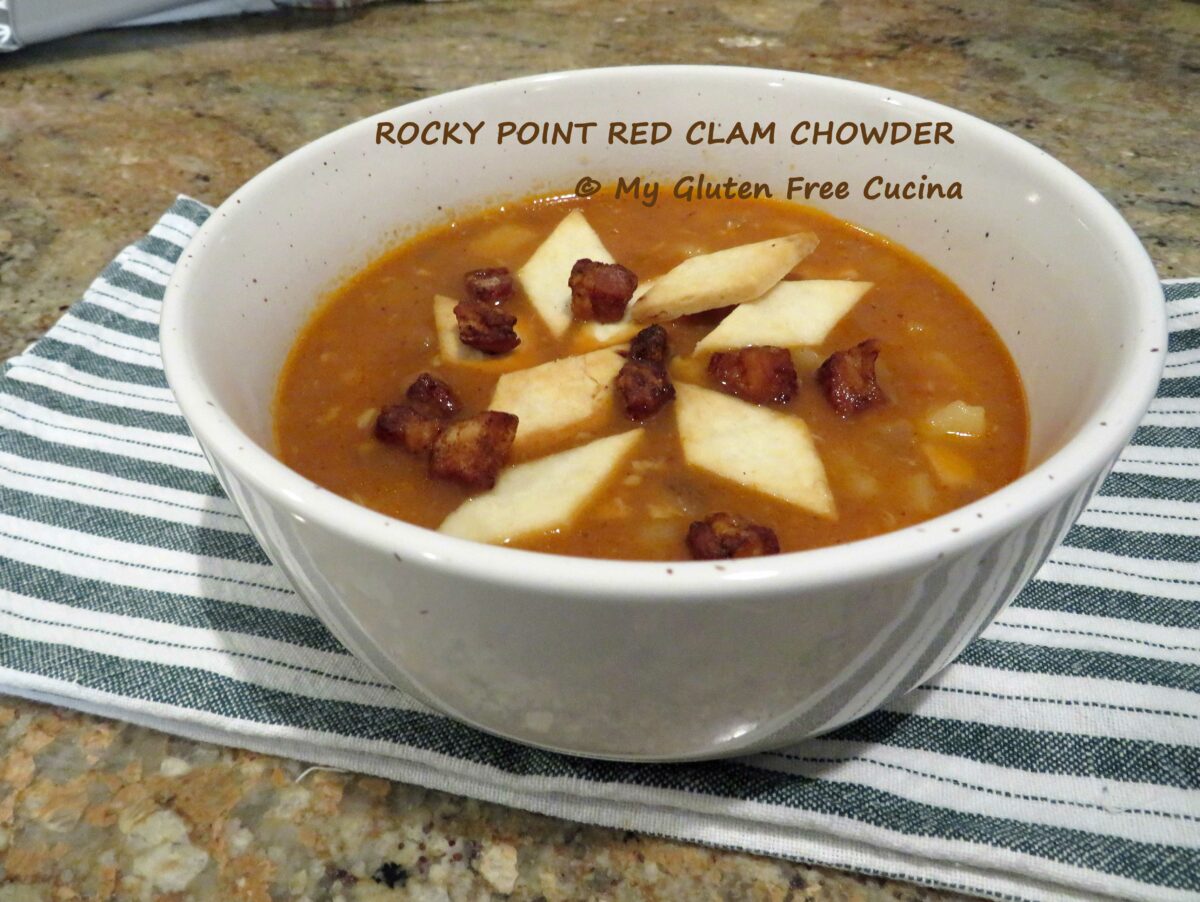
Copycat recipes abound for Rocky Point Red Clam Chowder. Here is my gluten free rendition, and I think it is a fitting tribute to the original!

This post contains affiliate links.
Fresh clams are always available in RI, but if you don’t want to do all that prep, frozen raw clams are a great alternative. They are so much better than canned, and worth seeking out. Remember, clams cook quickly and should only be added to the chowder during the last 5 minutes of cooking.
Ingredients:
- 4 oz. salt pork
- 3 tbsp. unsalted butter
- 1 large, sweet onion, diced
- 2 bottles (16 oz. total) clam juice
- 2 large russet potatoes, peeled and diced
- 1 tsp. Old Bay seasoning
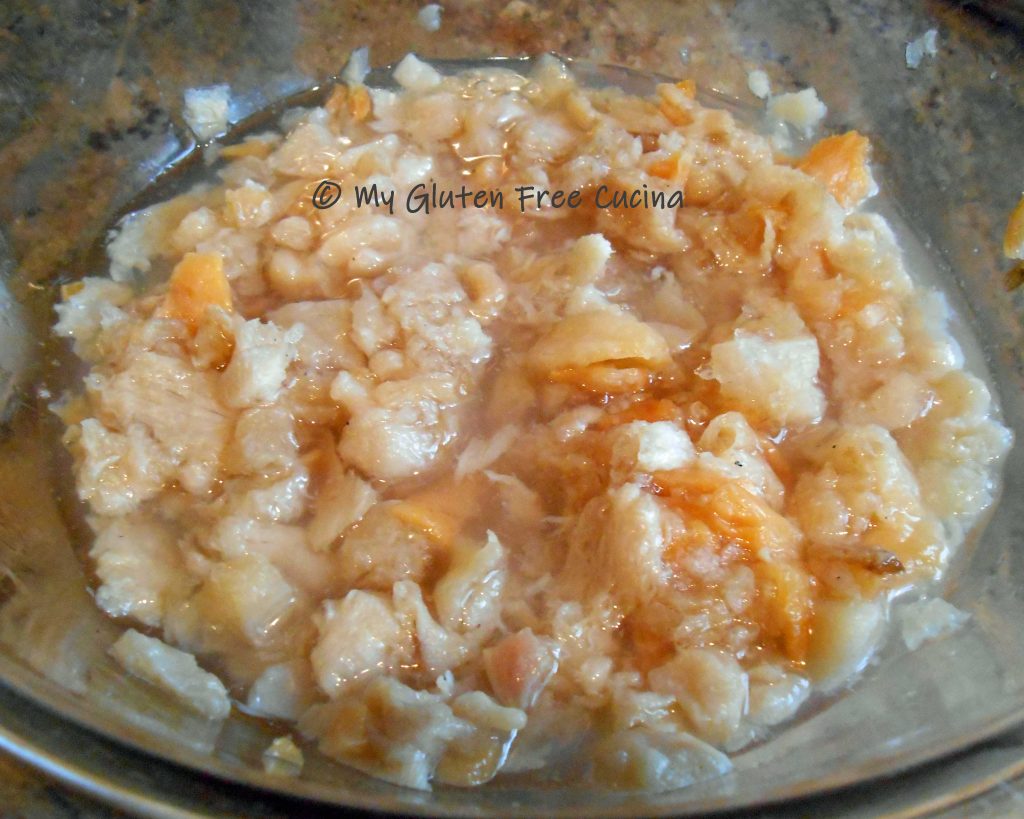
- 16 oz. container frozen raw chopped clams, thawed
- 1 can gluten free tomato soup
- 1-1/2 tsp. paprika
- black pepper to taste

Preparation:
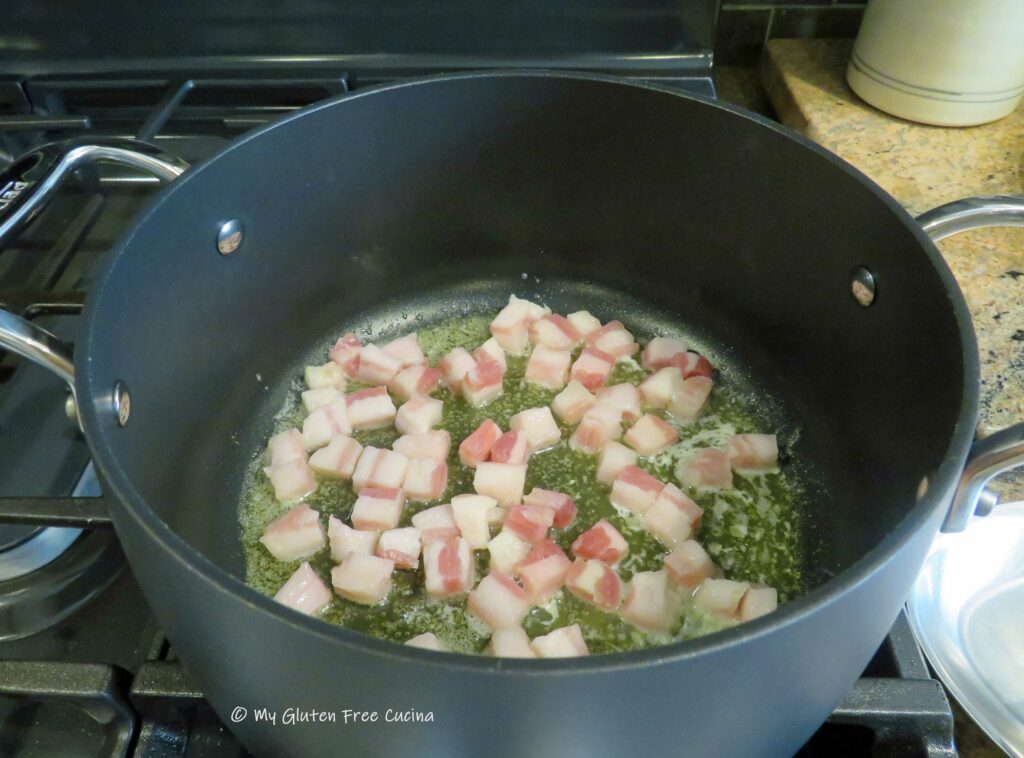
Peel and dice the onions and potatoes, dice the salt pork into 1/2″ pieces.

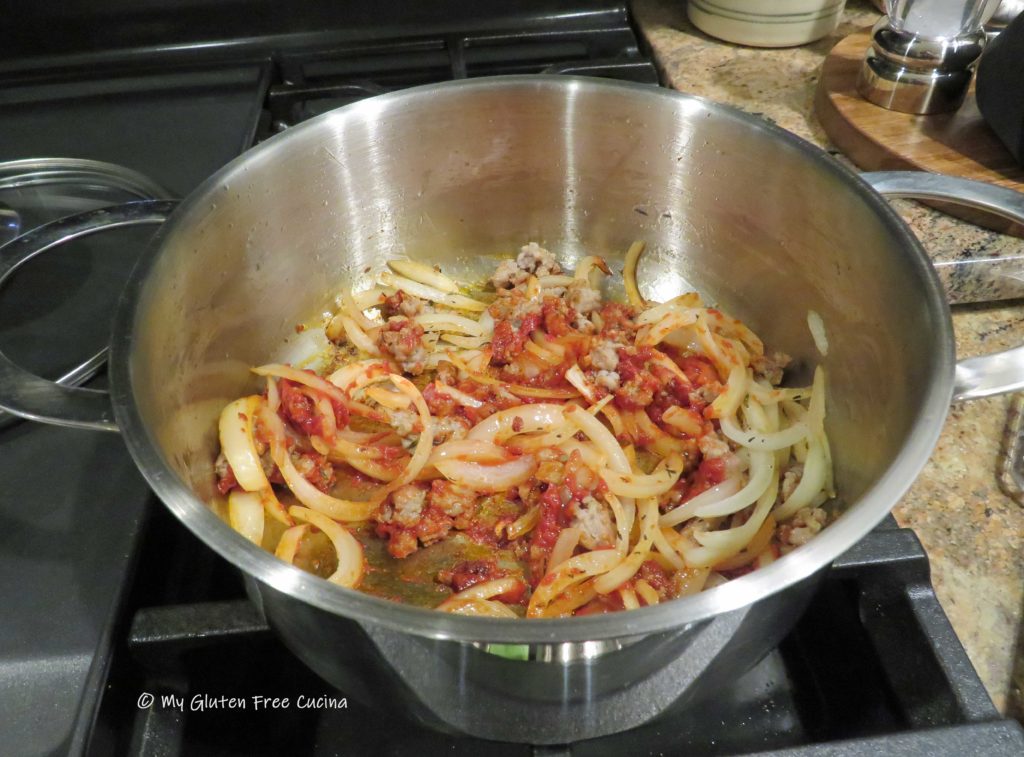
Melt the butter in a Dutch oven or heavy stockpot over medium low heat. Add the diced salt pork and cook for about 15 minutes, stirring constantly. Take your time here, you want nicely browned pork bits and all the rendered fat that is going to flavor the chowder.
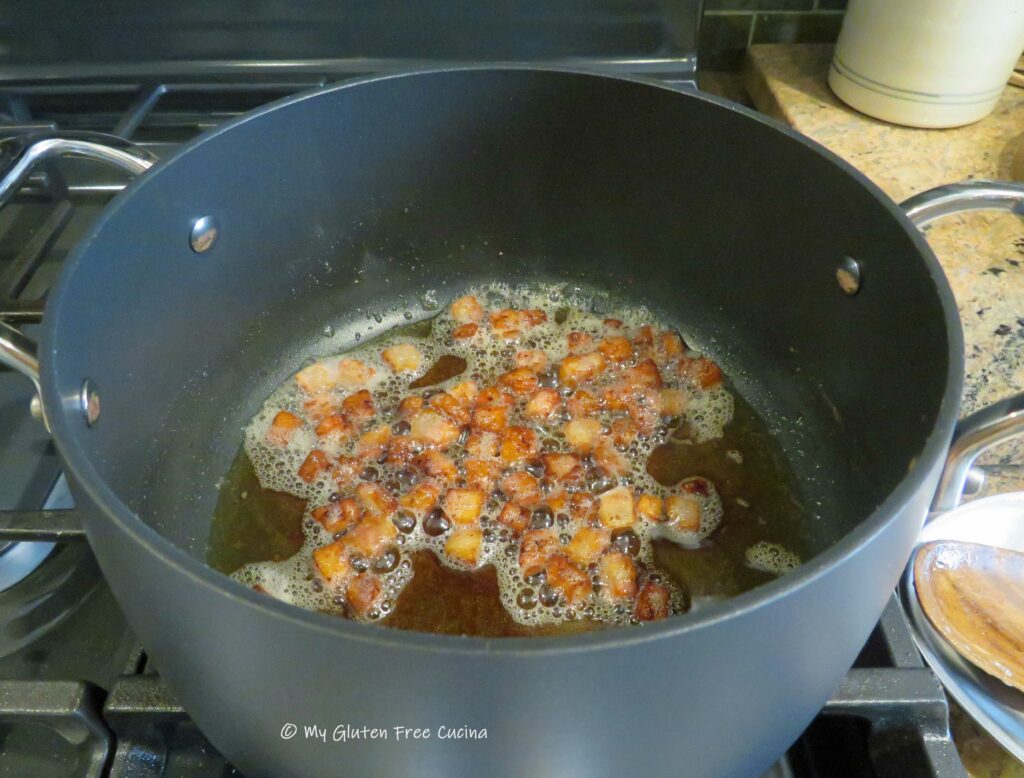
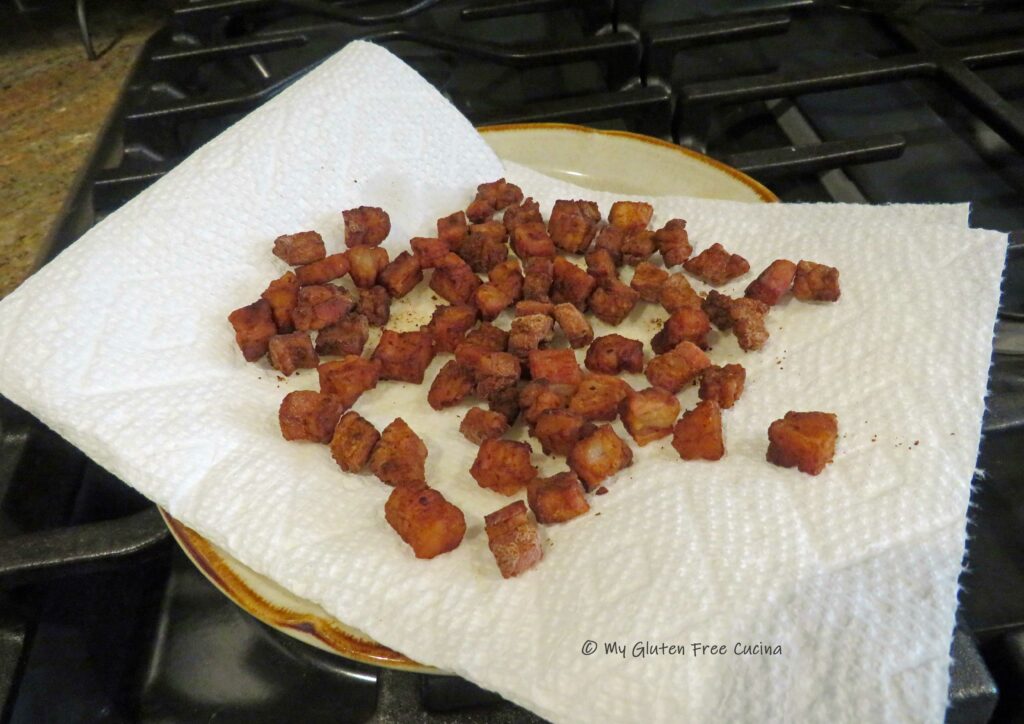
Remove the browned bits with a slotted spoon, drain on paper towels and set aside for garnish. Reserve the fat in the pan.
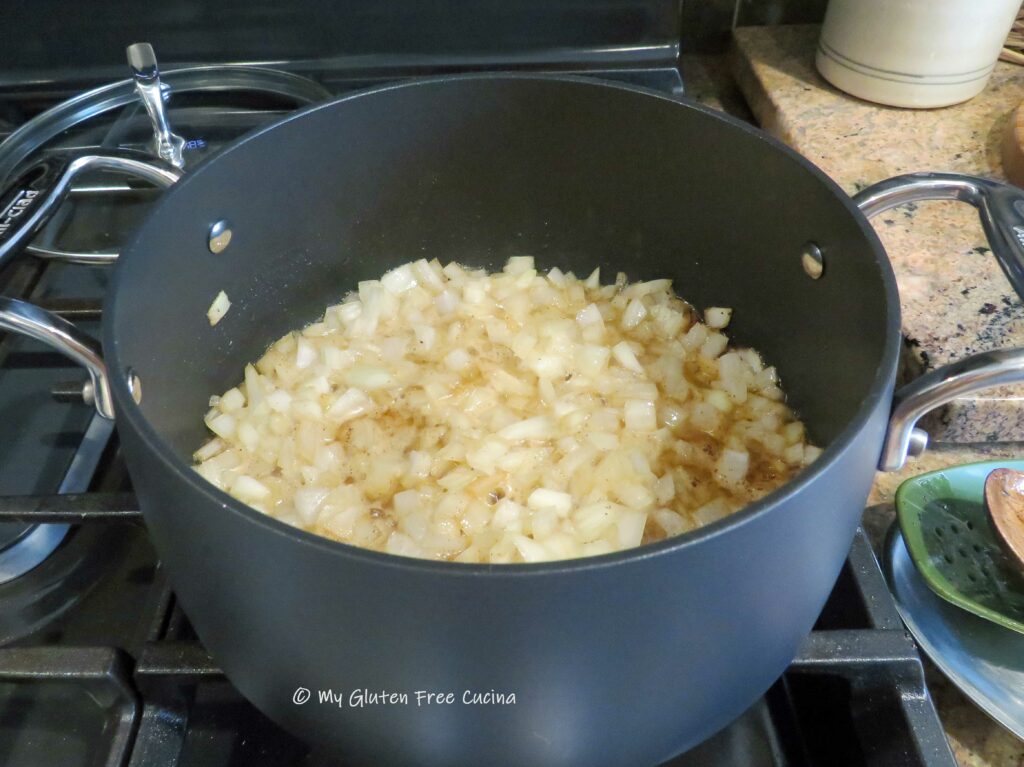
Add the onions and cook 5 minutes, stirring frequently.
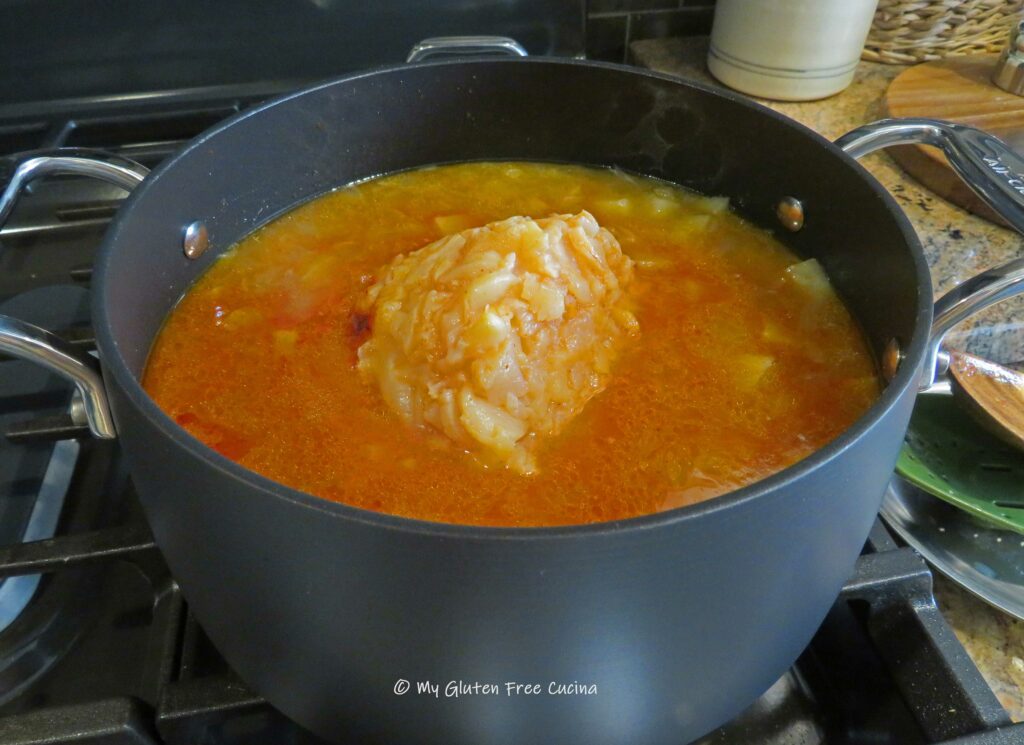
Add the potatoes, clam juice, and Old Bay seasoning. Bring to a boil and simmer 15 minutes.
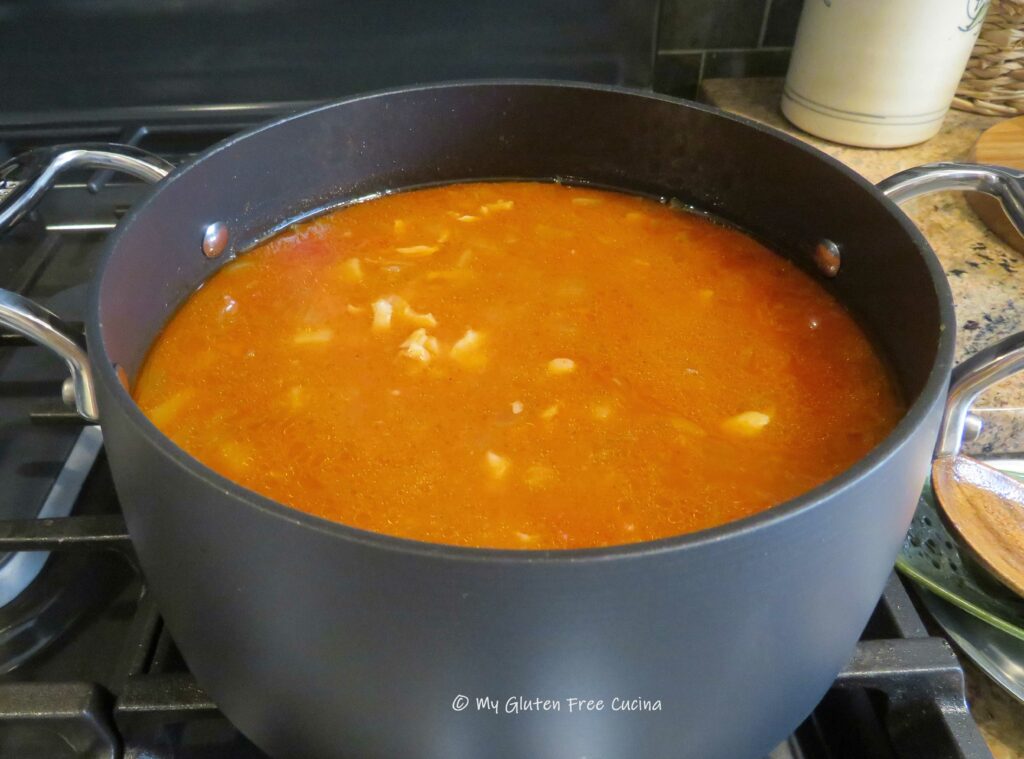
Finally, add the clams, tomato soup and the paprika. Cook 5 minutes longer (just a simmer, not a rolling boil), season with black pepper and remove from the heat. Let stand for 1 hour before serving.
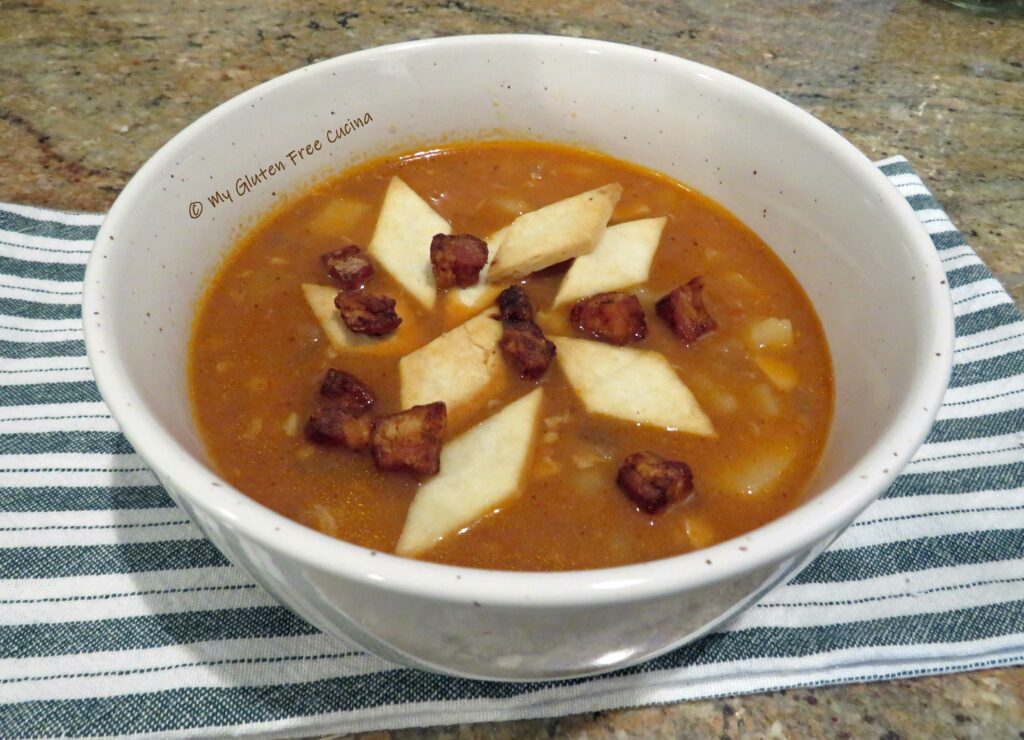
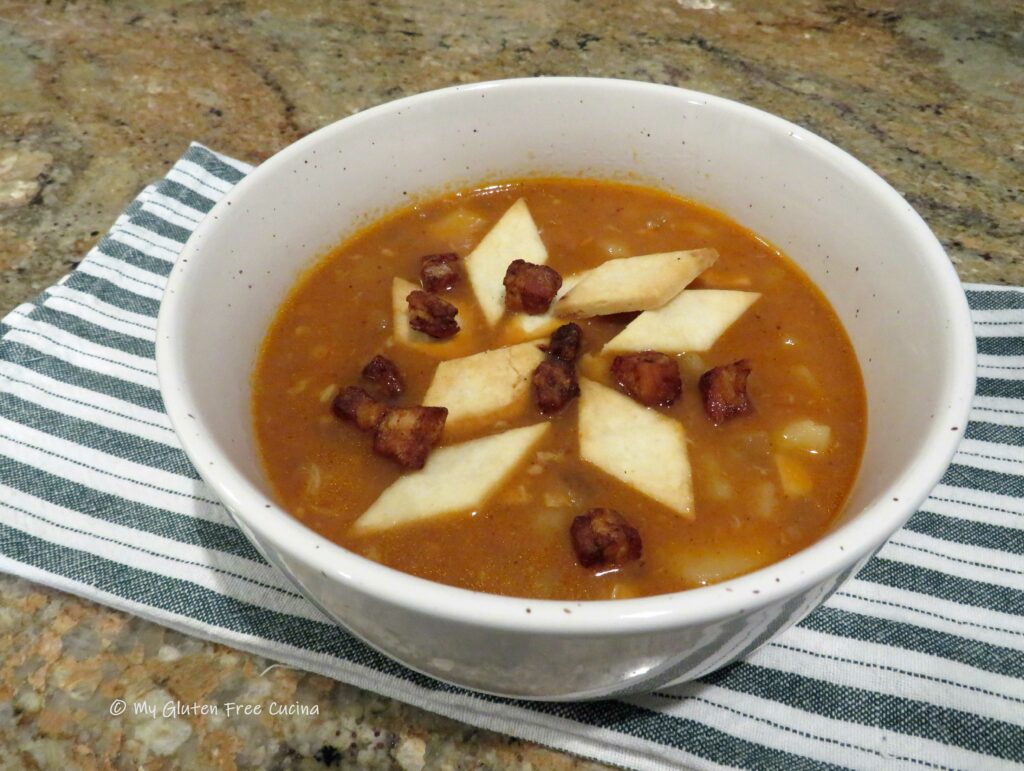
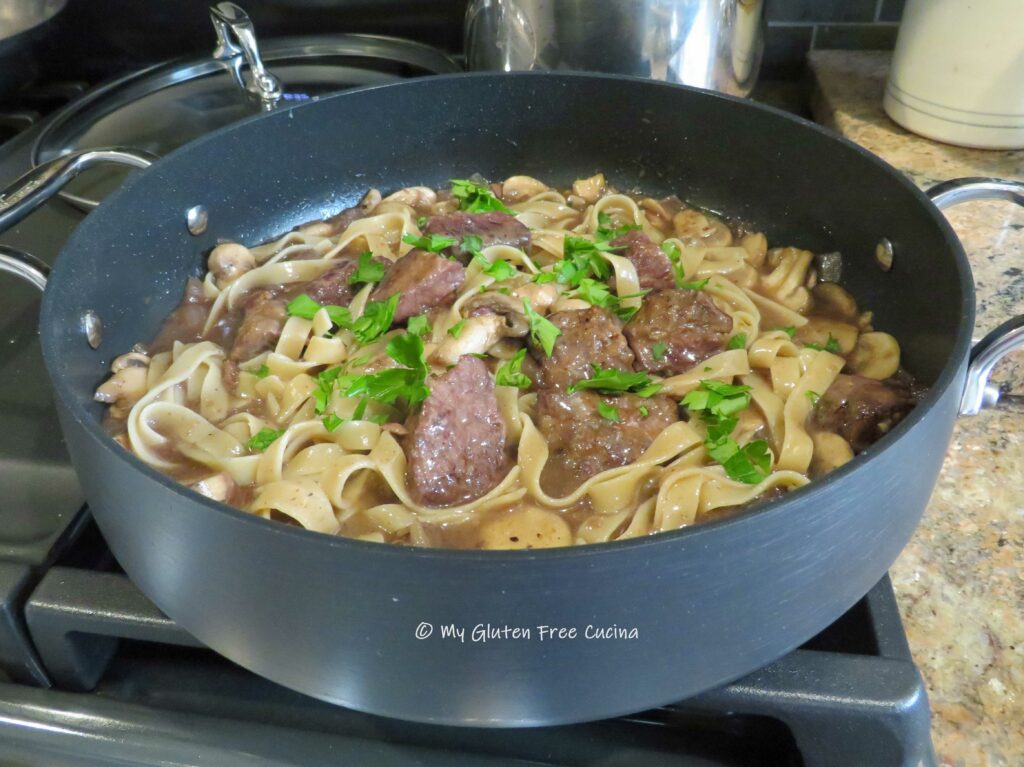
Serve the chowder with a few of the reserved bacon bits for garnish, they really make the flavor pop! And how about those Oyster Crackers? Yes, they are from scratch, and they are gluten free! You’re welcome.
I hope my fellow Rhode Islanders have enjoyed this bit of local nostalgia. Try the recipe and let me know what you think! You don’t have to be gluten free, or a local to love this chowder, it is fabulous!
 Notes ♪♫ Many red clam chowder recipes call for a can of condensed tomato soup, but don’t reach for the Campbells! It is not gluten free. I like Health Valley tomato soup, or this one from Pacific Foods. If you are watching your sodium intake, look for low sodium or no salt added. Either will work well in this recipe, since there are so many other salty ingredients. Always check labels for hidden gluten, and if the salt pork is too much sodium for your diet, you can sub a few slices of low sodium bacon.
Originally published 8/31/2018, Updated 5/30/21, Rephotographed 7/16/2024


 Preparation:


 Cover and simmer on low for 20 minutes, adding a bit more water if it seems dry.


 Bake for 15 minutes, or until the buns reach an internal temperature of 205º.


 This post contains affiliate links.
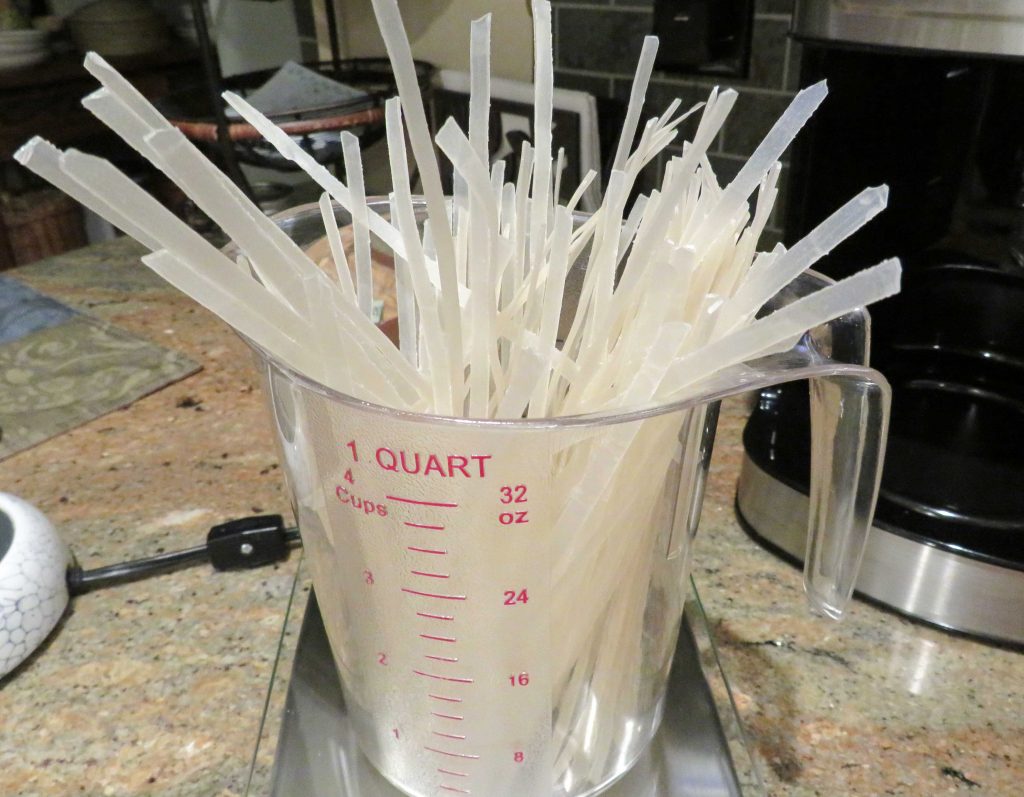 Preparation:
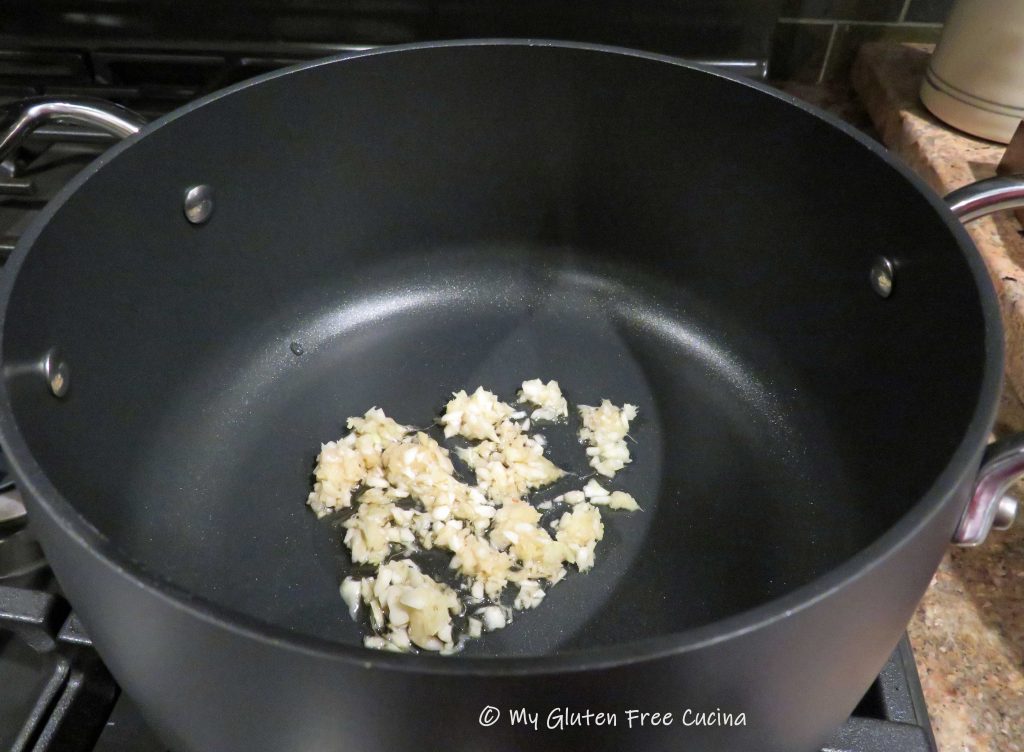
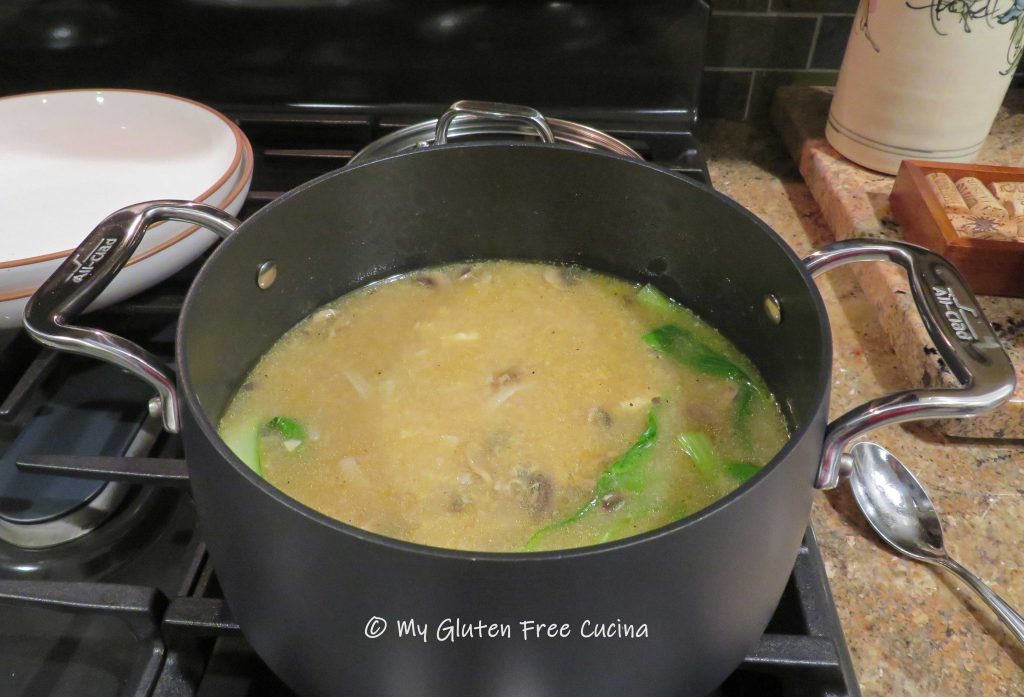
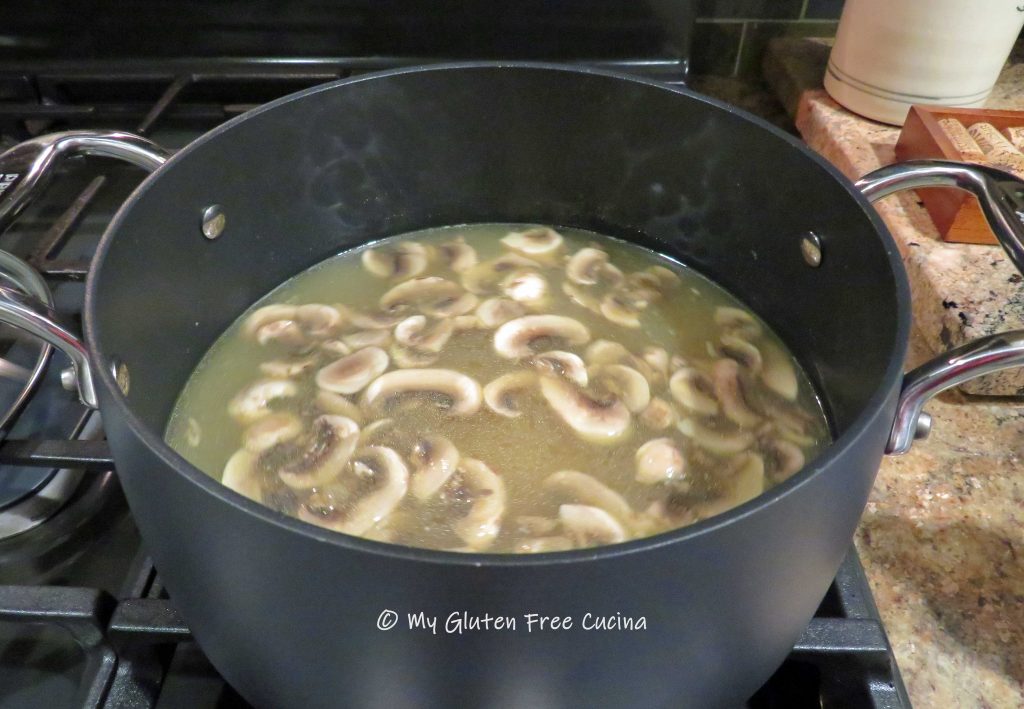
 Stir until the mushrooms release their liquid, then add the bone broth, 2 tsp. of tamari and 1 tsp. sesame oil (or more, to taste). Season with salt and pepper and bring to a simmer for 15 minutes.
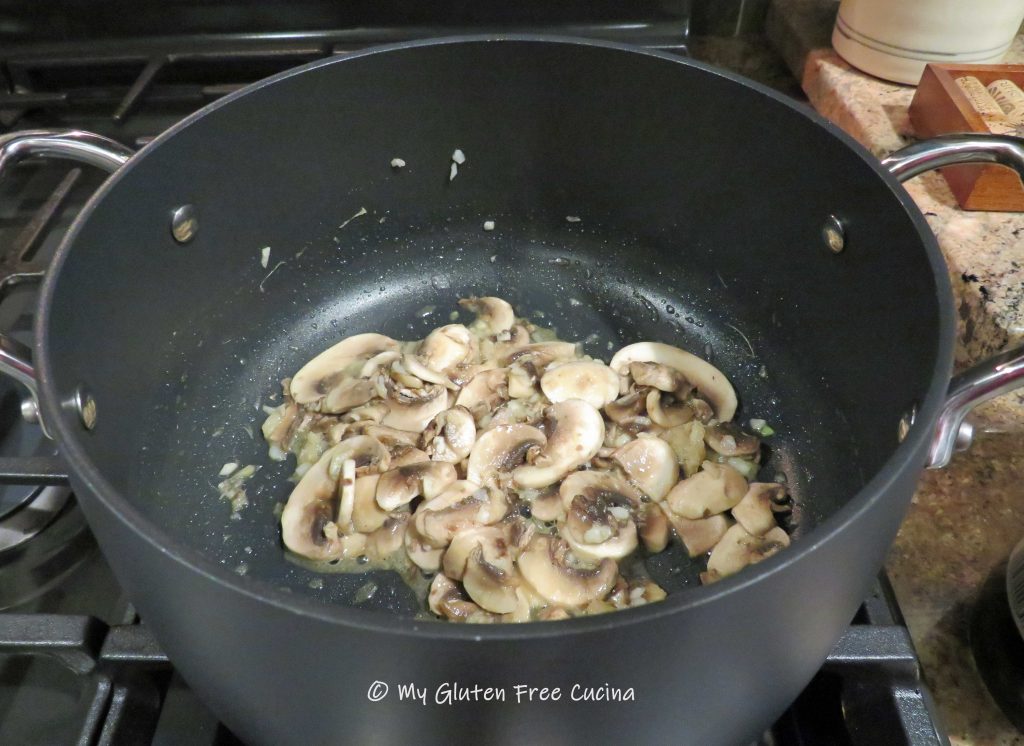
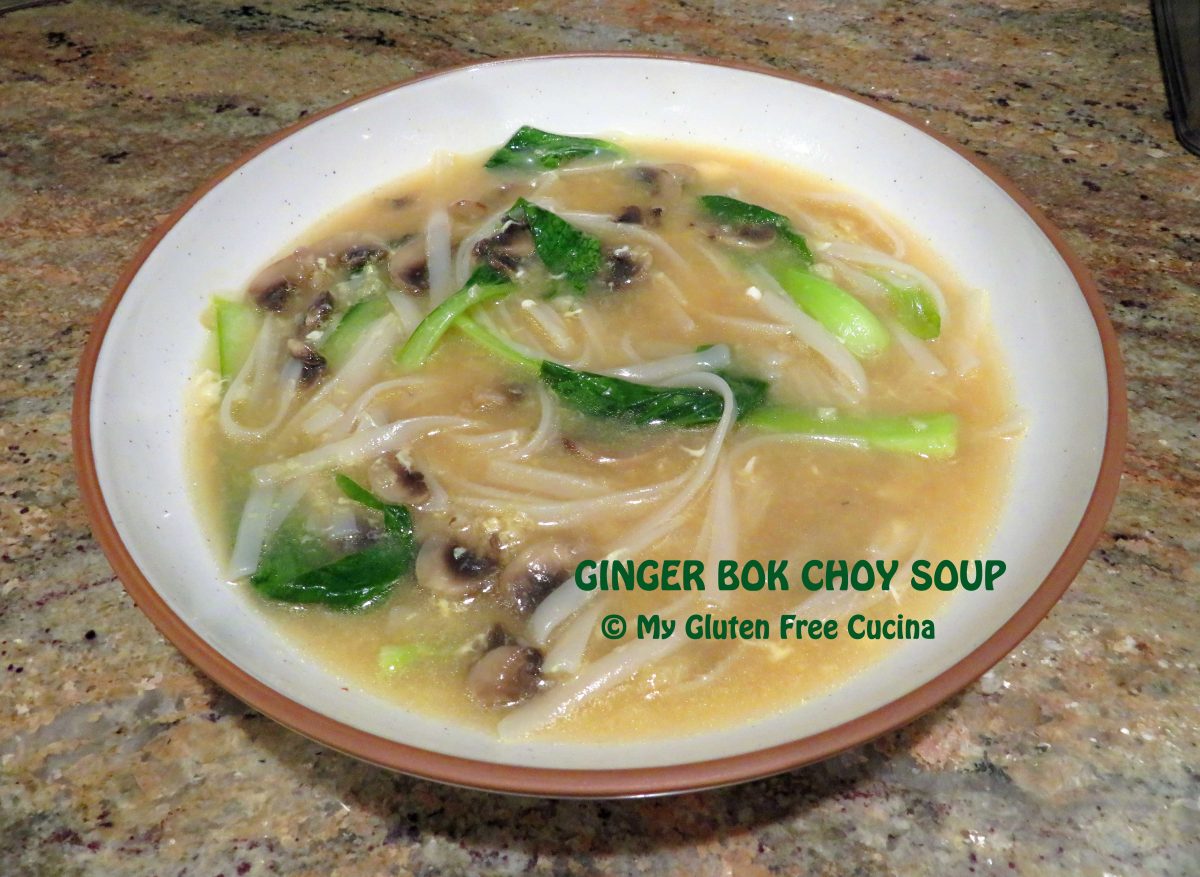
 Trim away the tough, lower part of the Bok choy, then rinse and halve the leaves. Stir them into the soup to wilt and lower the heat to keep warm.
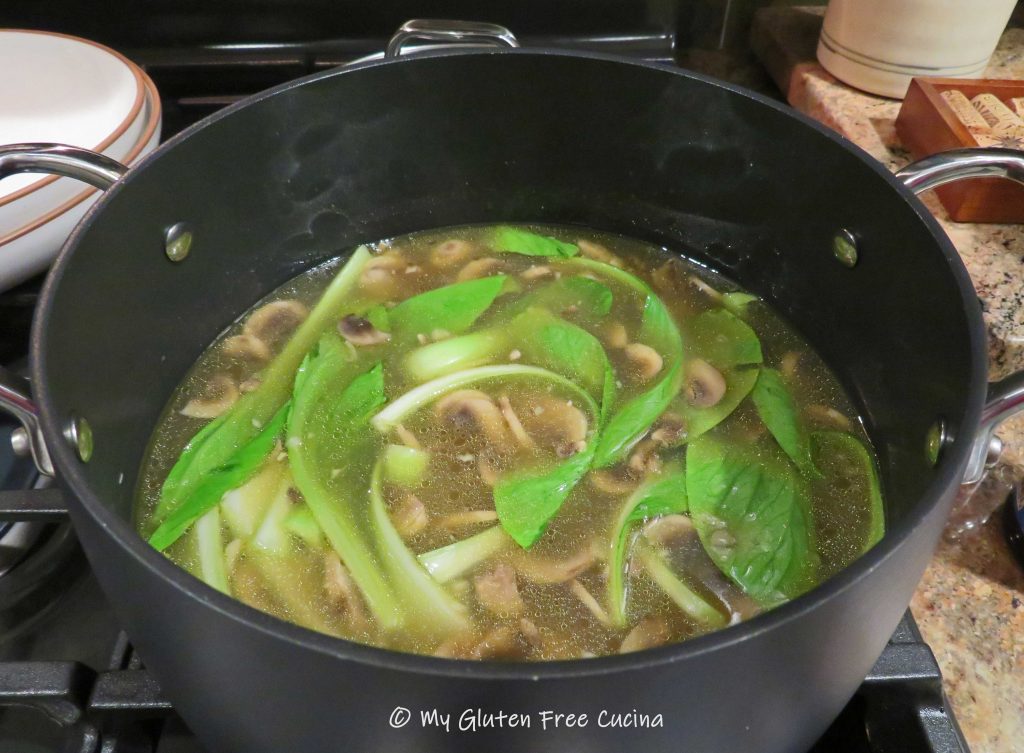 Cook the rice noodles in a separate pan according to package directions. Just prior to serving, drizzle the beaten egg into the soup and swirl it around with a whisk. Add the cooked rice noodles.
 Ladle into
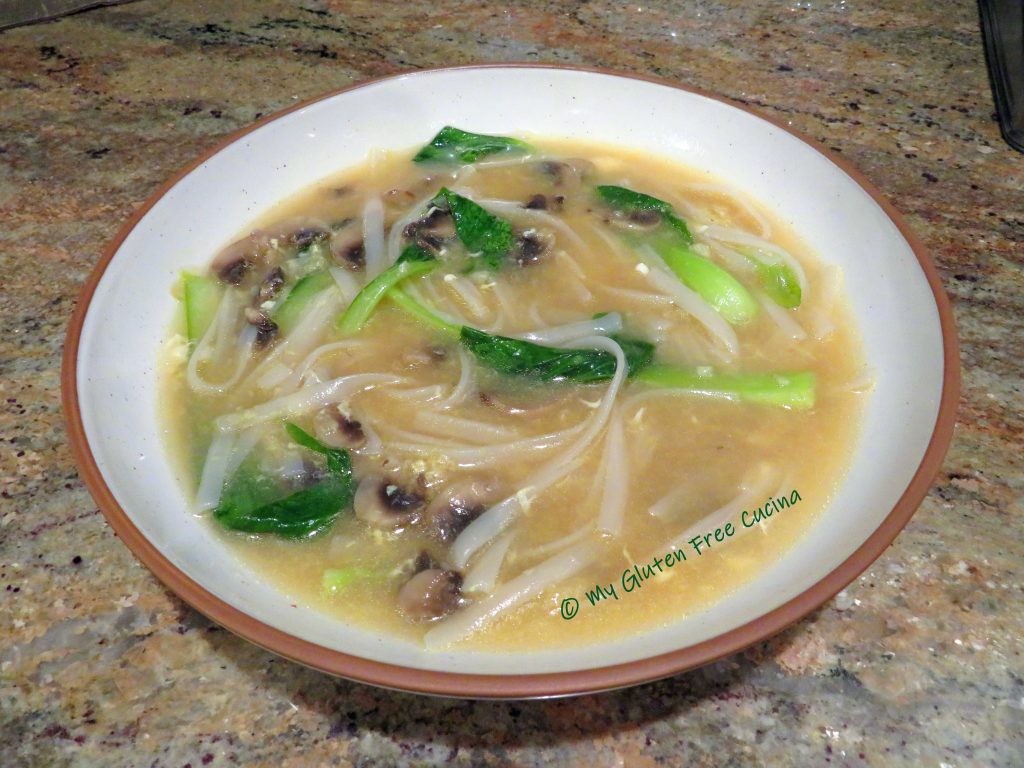
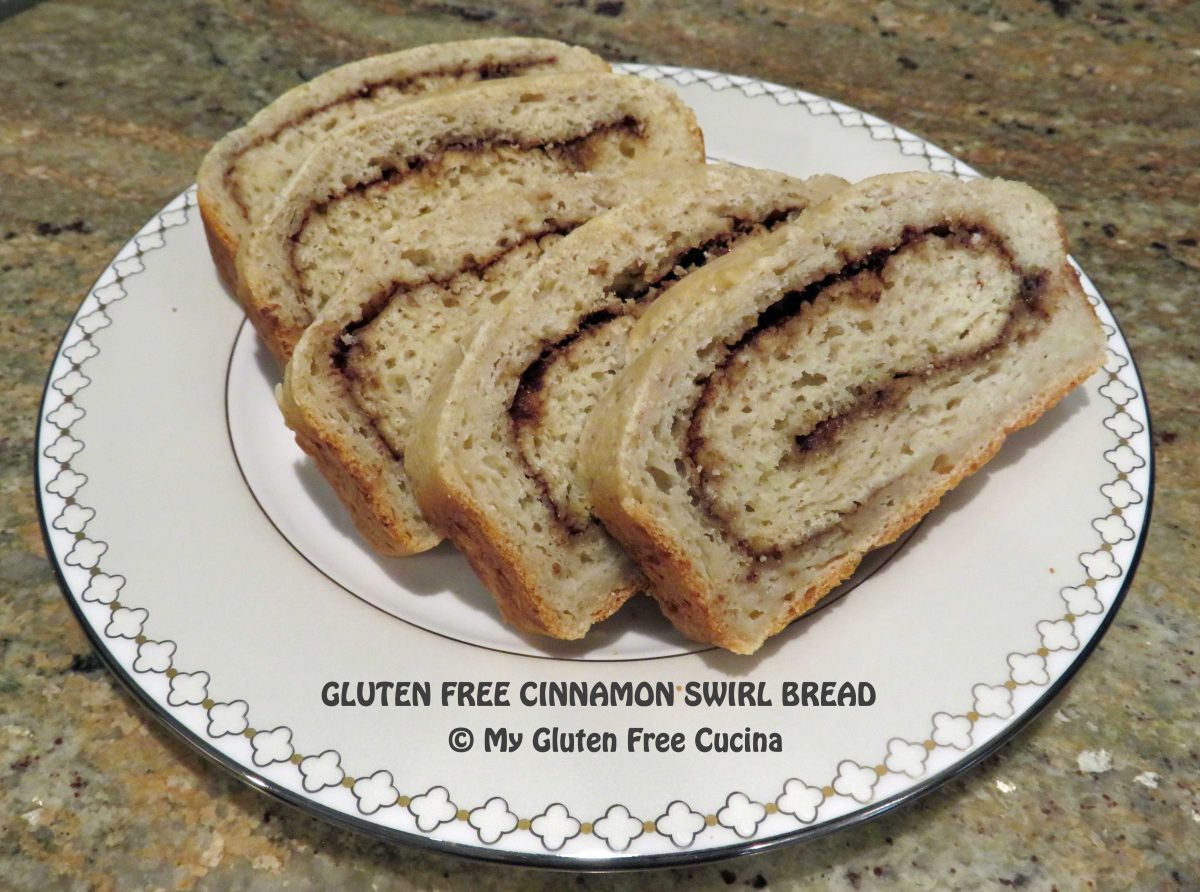
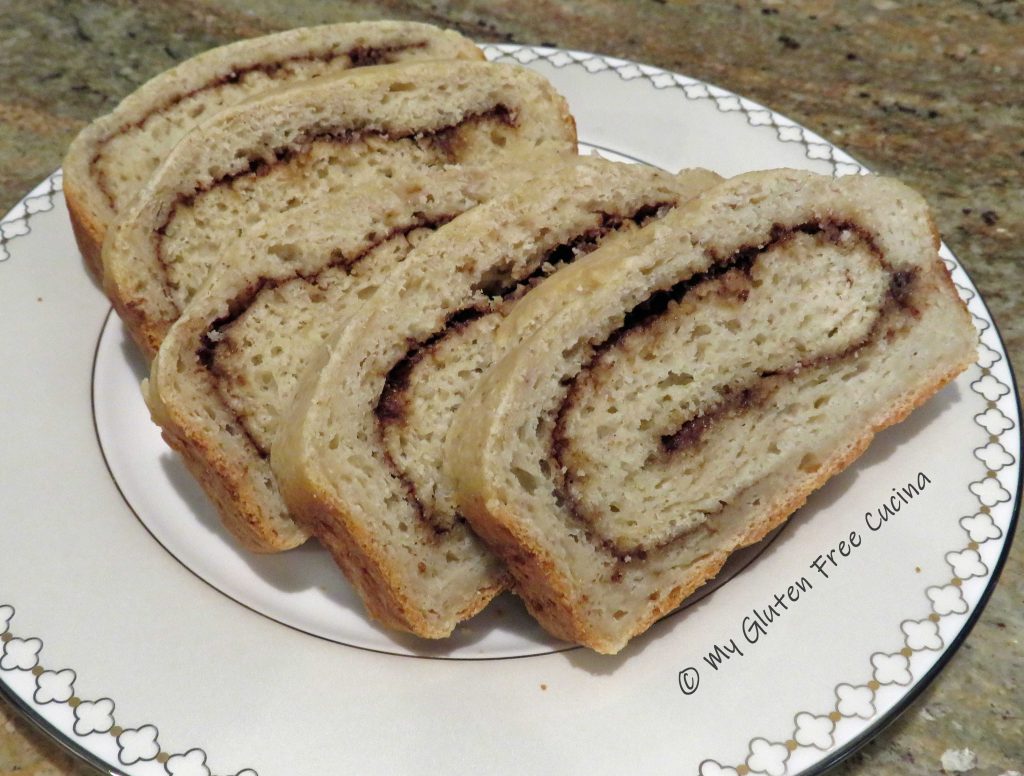 Both adults and kids loved it, even the picky eaters! I can’t tell you how pleased I was to be making this bread again, it turned out great!
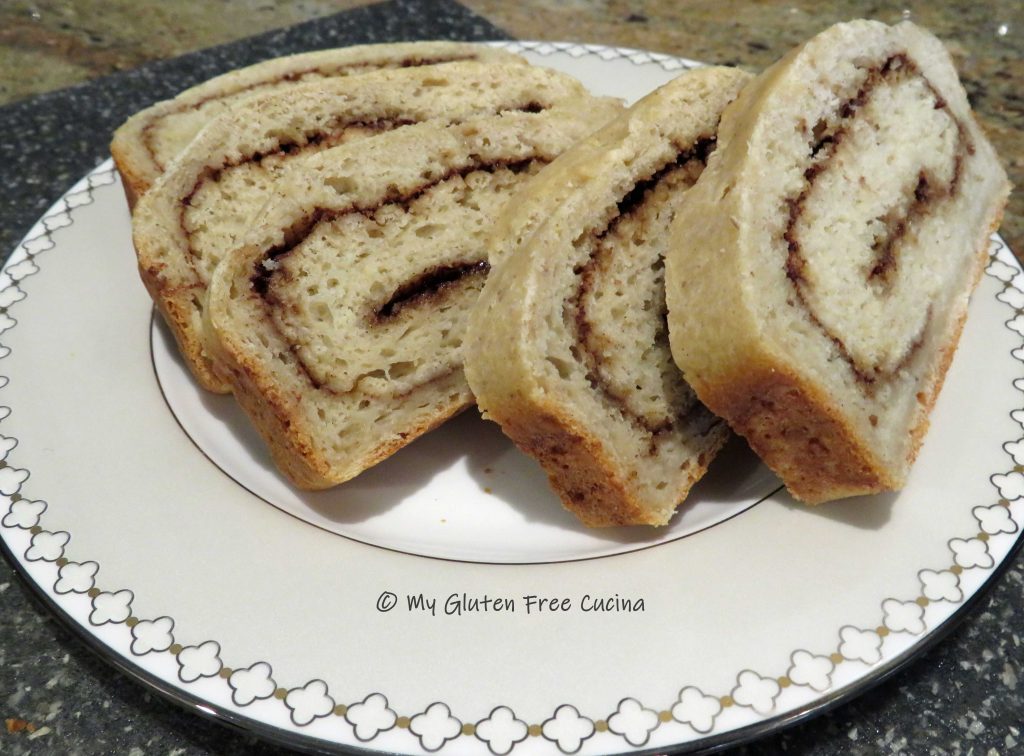

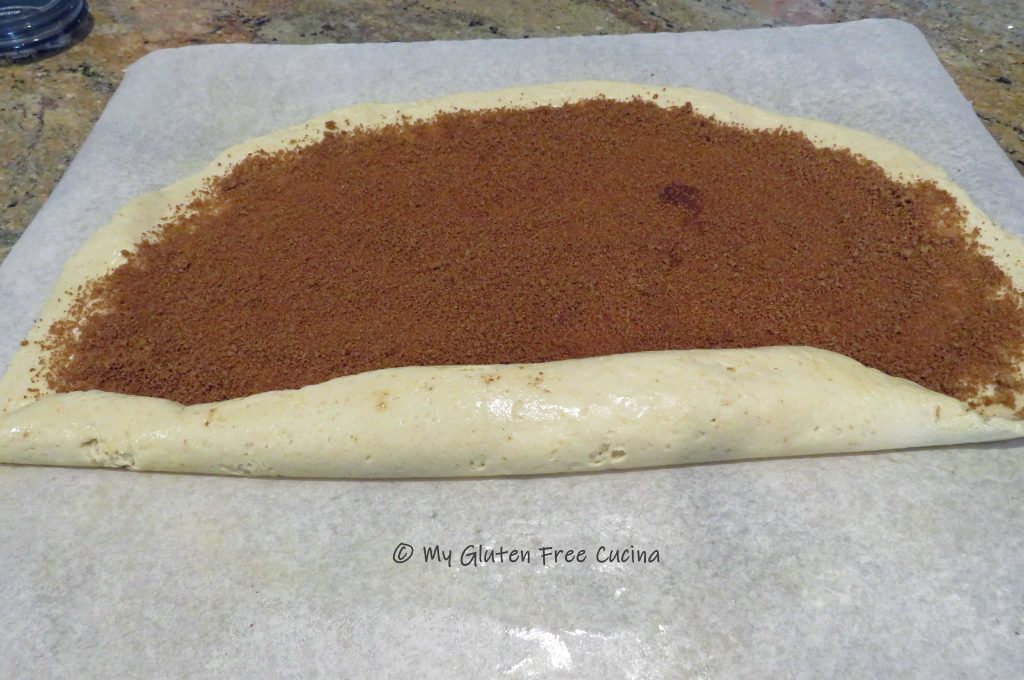
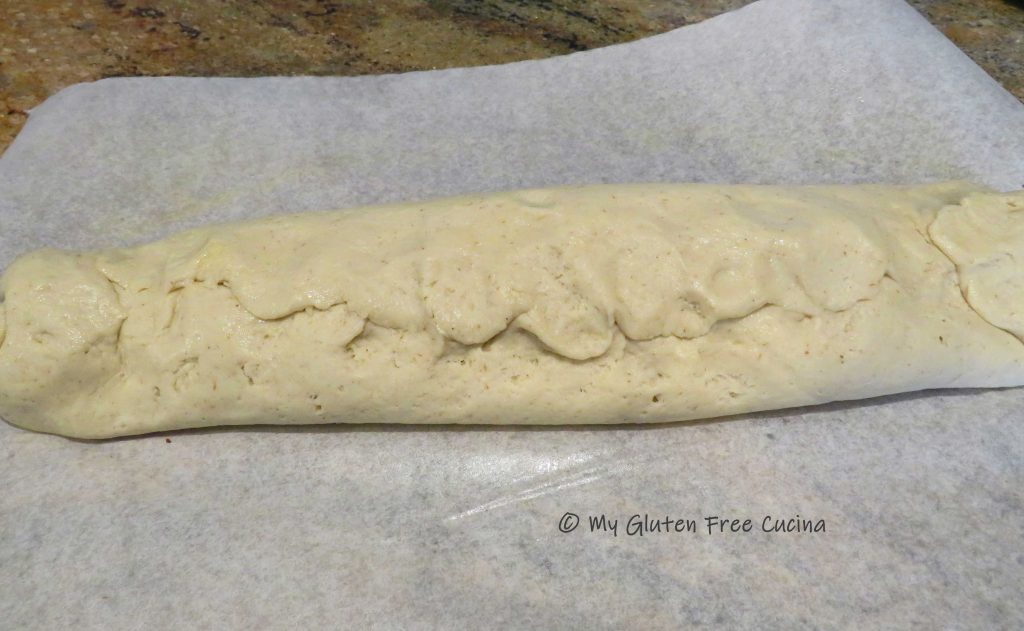
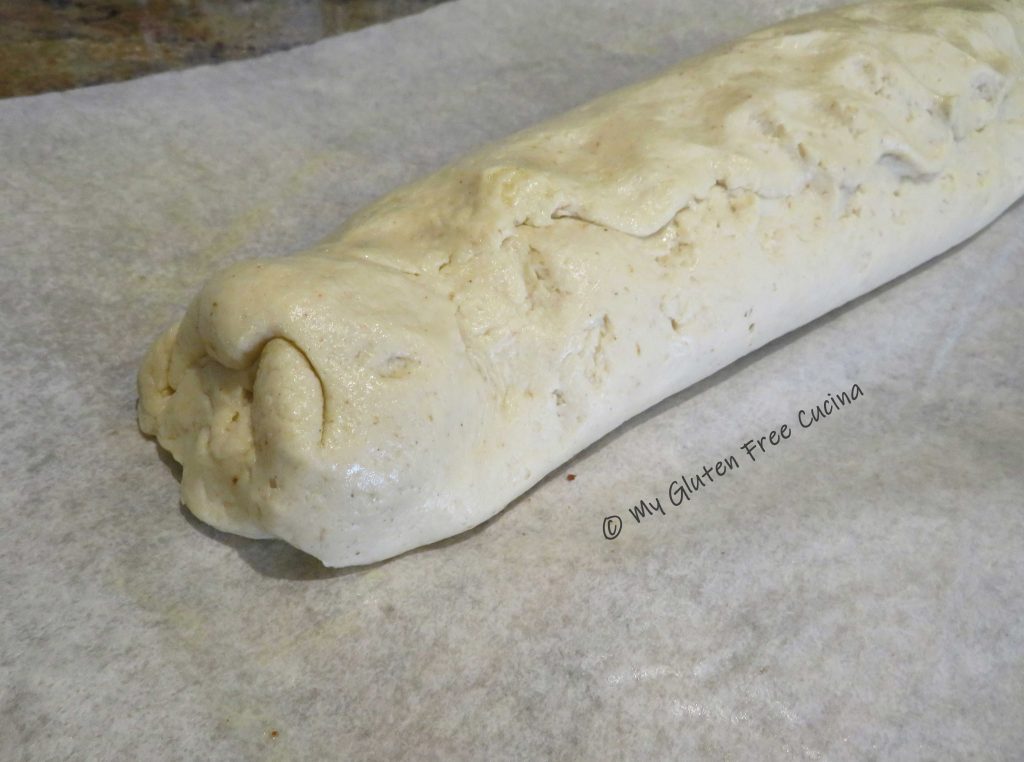
 Spread the brown sugar and cinnamon mixture evenly over the dough, leaving a 1″ border all around.
 Bake for 40 minutes or until the internal temperature reaches 200º. Remove from the oven and brush the top with 1 tbsp. melted butter.
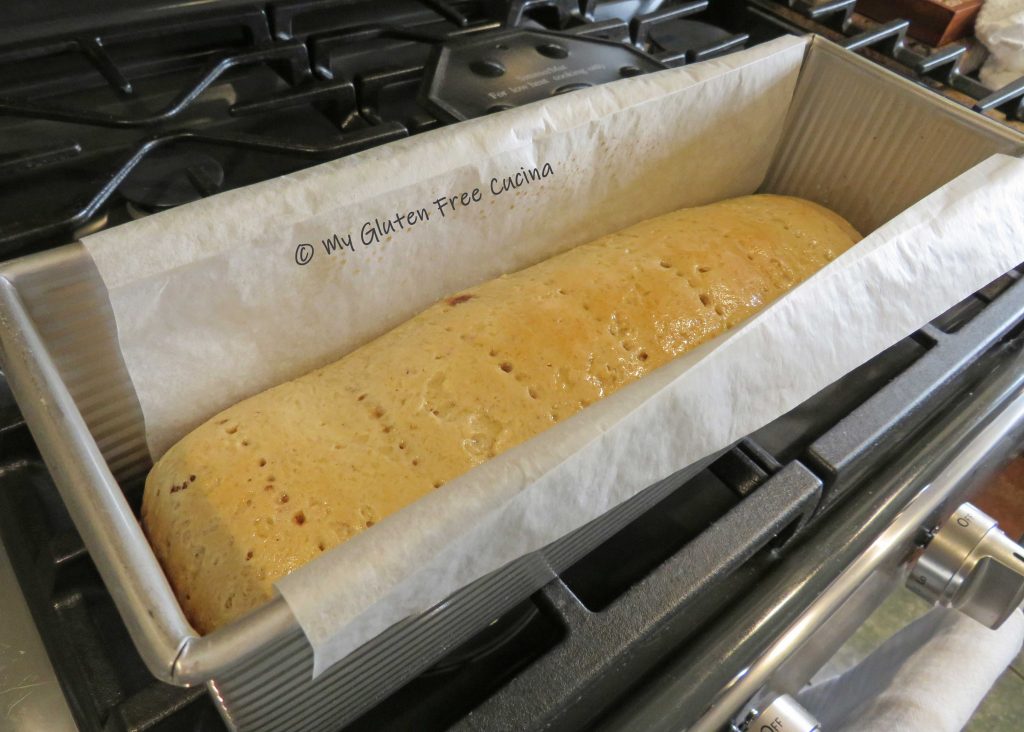 Grasp both sides of the parchment to lift the loaf out of the pan to a cooling rack.
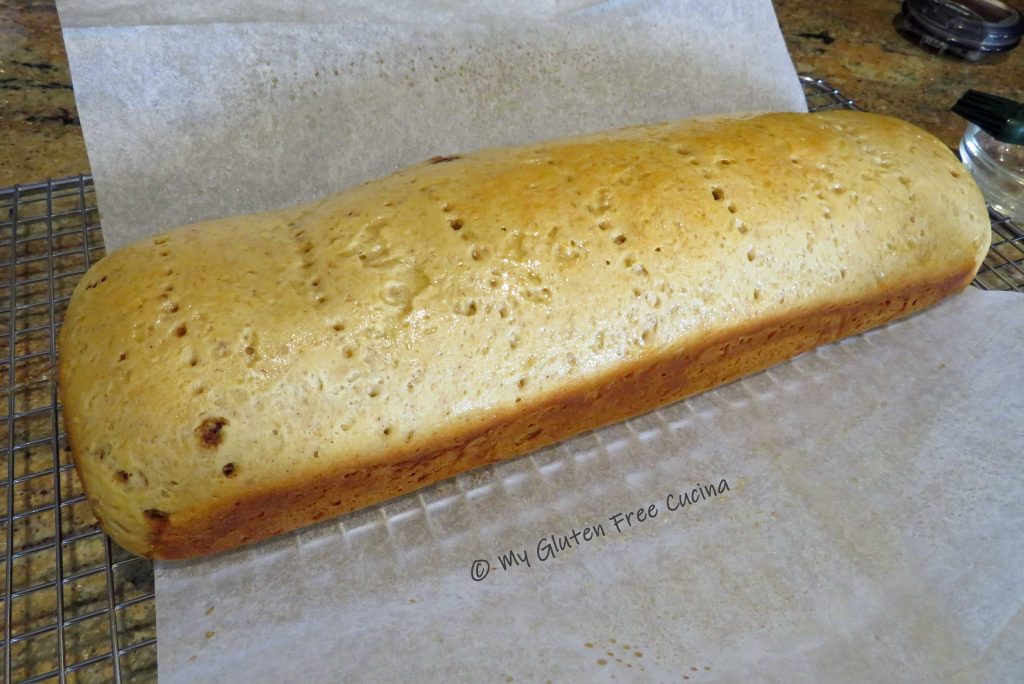 Slide the parchment out and let the loaf cool completely before slicing.
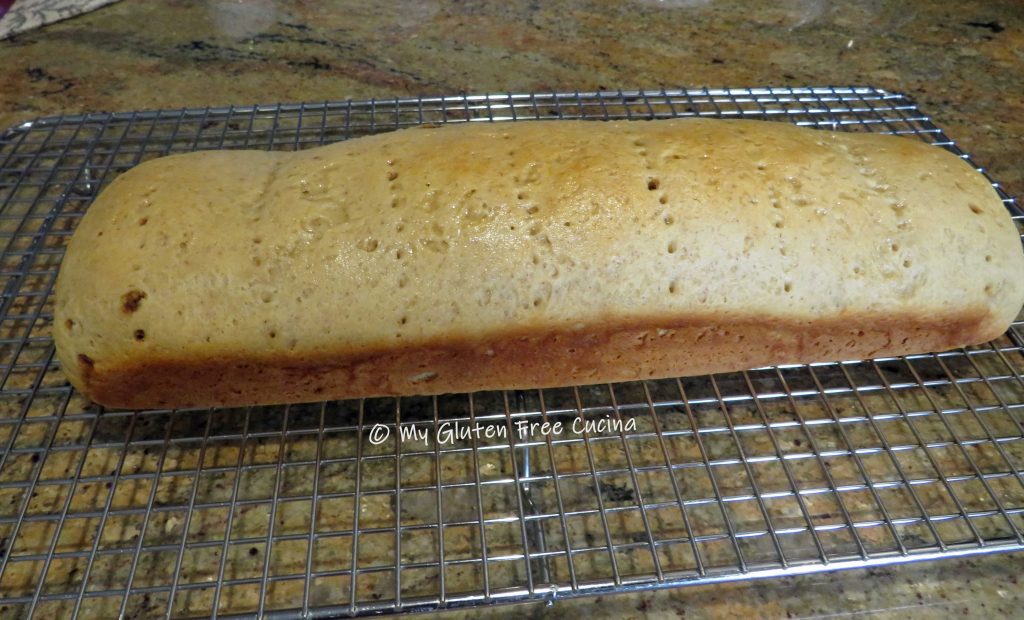


 Preparation:


