Making pasta from scratch is a labor of love, and something I haven’t done in a very long time. In fact, since my Celiac diagnosis in 2017, I have primarily used box pasta in my recipes. Not that that’s a bad thing, as we have so many great options today. But fresh pasta is such a treat!
So, this past weekend, it felt really good to get out the KitchenAid and make these beautiful Pappardelle noodles. If you are gluten free and missing fresh pasta, this recipe is one you must have in your collection!
This post contains affiliate links.
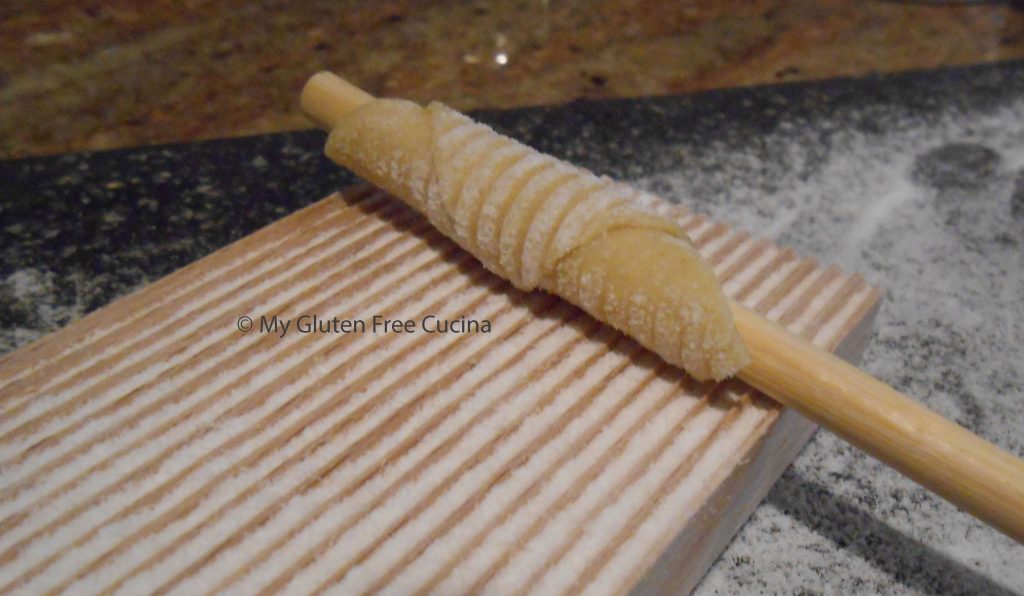
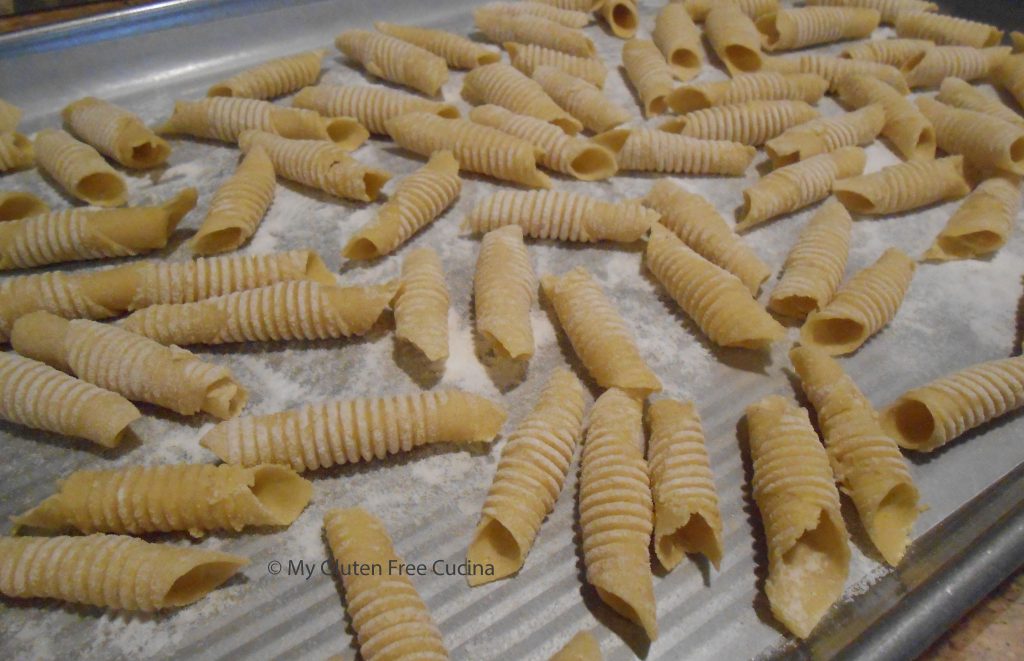
Although you can make pasta entirely by hand, there are some helpful tools you can buy to make the job easier. Here are a few that I used in this recipe.
It takes minutes to make dough in a stand mixer, and I used the pasta roller attachment to create sheets of pasta.
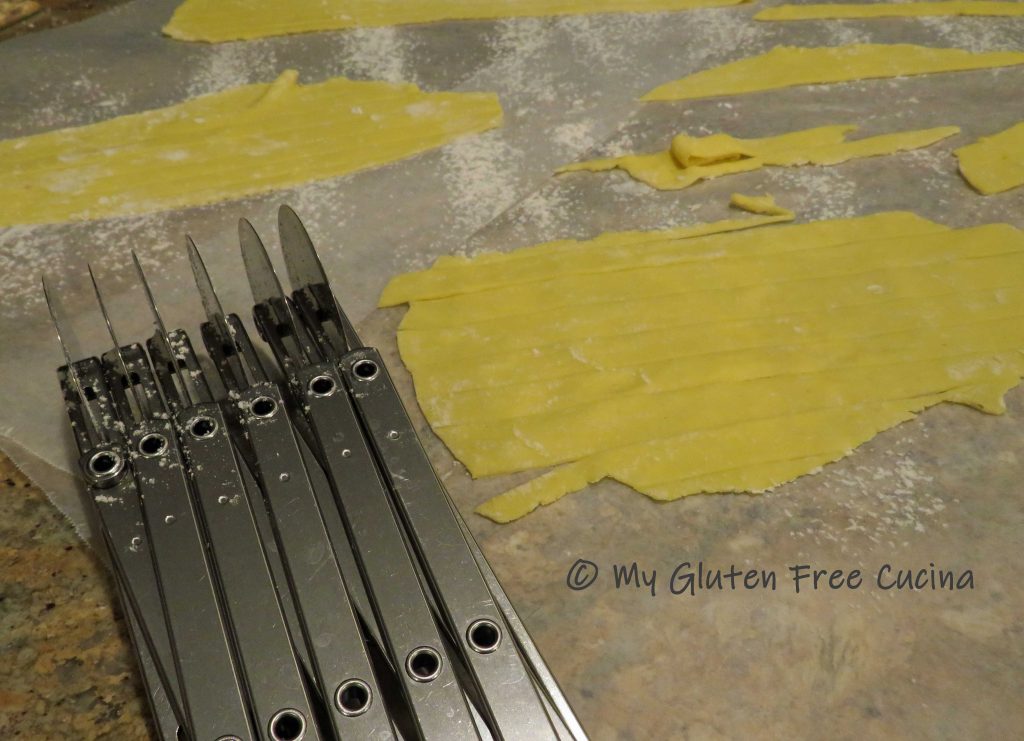
As KitchenAid has yet to make a cutter attachment for Pappardelle, I used a pastry cutter. It can be adjusted to cut pasta sheets into perfectly even strips, especially helpful if you want to make a wider noodle like Pappardelle.
I used a pasta drying rack to hang my noodles. This rack has been in my kitchen for many years BC (before Celiac). So, I covered the wooden arms with plastic wrap to prevent any gluten contamination. Looks like I will be ordering a new rack, or two!

I made a small batch of just 2 servings for this post. Dinner was so delicious, next time I will make more! The recipe can be scaled, to make a dinner for two or a family size platter. I give you the measurements below for 2, 4, 6 and 8 servings.
Ingredients:
- gluten free flour blend (I used, and recommend Better Batter)
- olive oil
- salt
- eggs
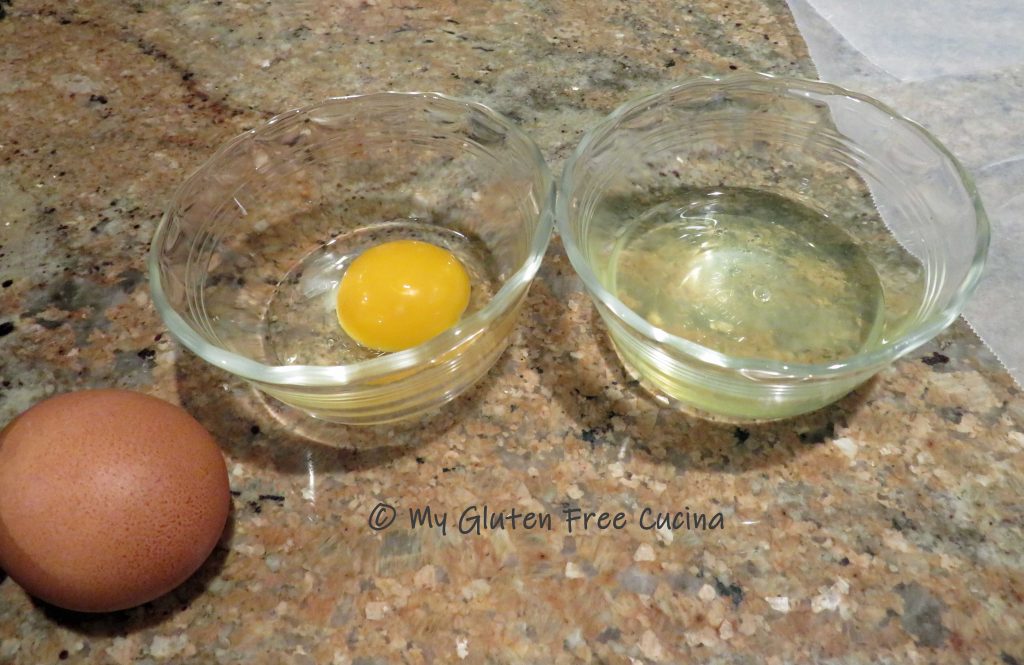
- egg yolks
*SHOP BETTER BATTER AND USE MY PROMO CODE MGFC30 FOR 30% OFF YOUR NON-SALE PURCHASE!
| INGREDIENTS: | 2 Servings | 4 Servings | 6 Servings | 8 Servings |
| Better Batter Flour | 70 G | 140 G | 210 G | 280 G |
| Olive oil | 3/4 tsp. | 1-1/2 tsp. | 2-1/4 tsp. | 3 tsp. |
| Salt | 1/8 tsp. | 1/4 tsp. | 3/8 tsp. | 1/2 tsp. |
| Egg | 1 large | 2 large | 3 large | 4 large |
| Egg Yolk | 1 | 2 | 3 | 4 |
Preparation:
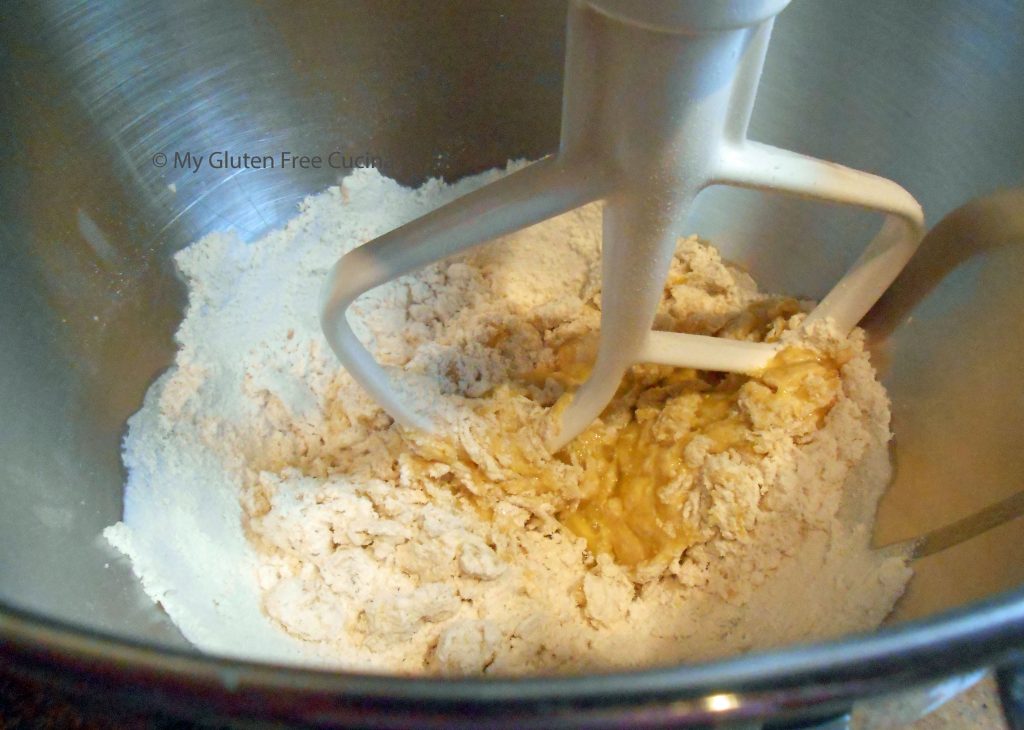
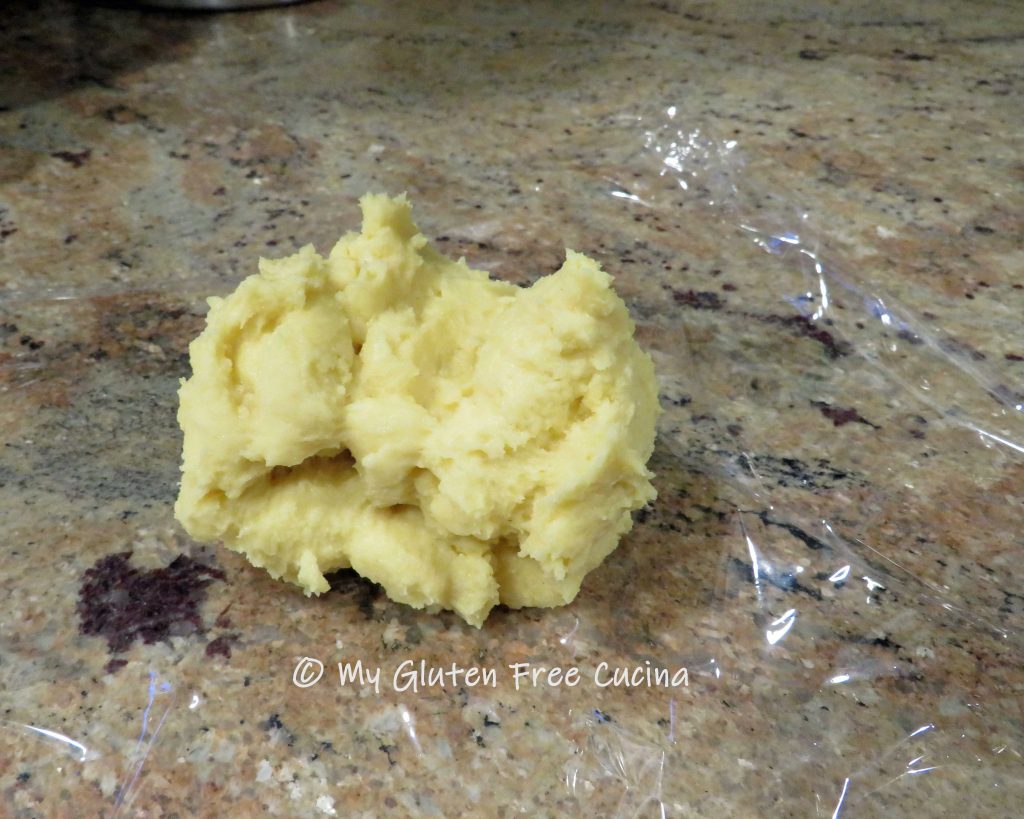
Egg yolks give the pasta a silky rich texture and beautiful color. Begin by separating the eggs. Reserve the whites for another use.
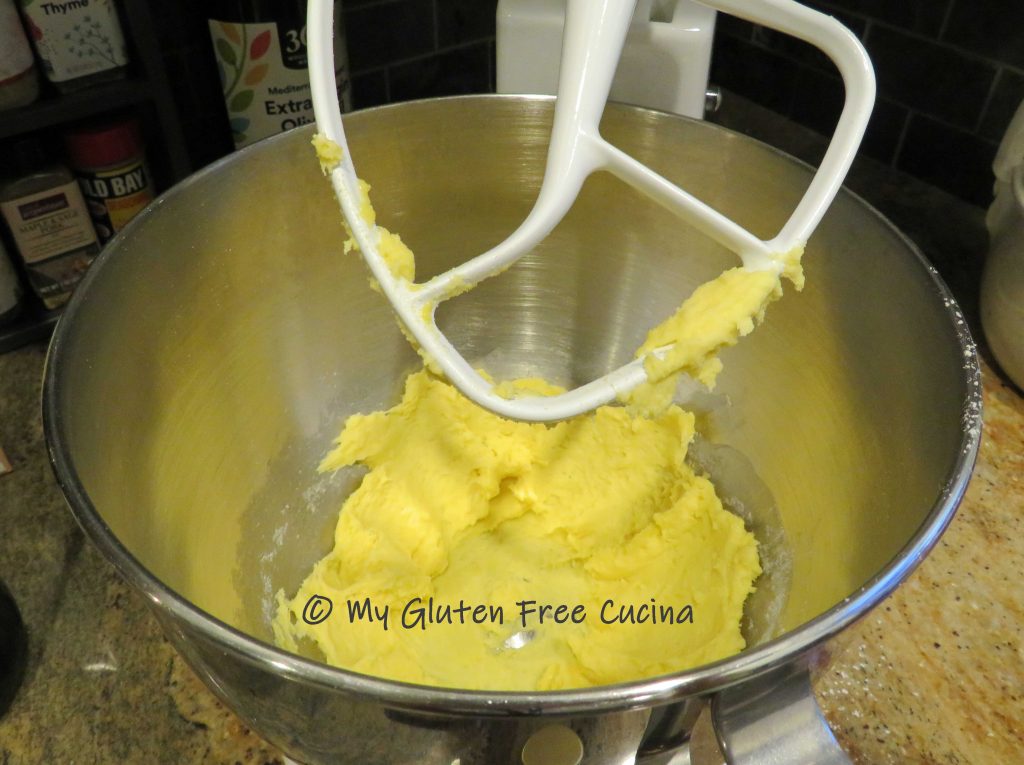
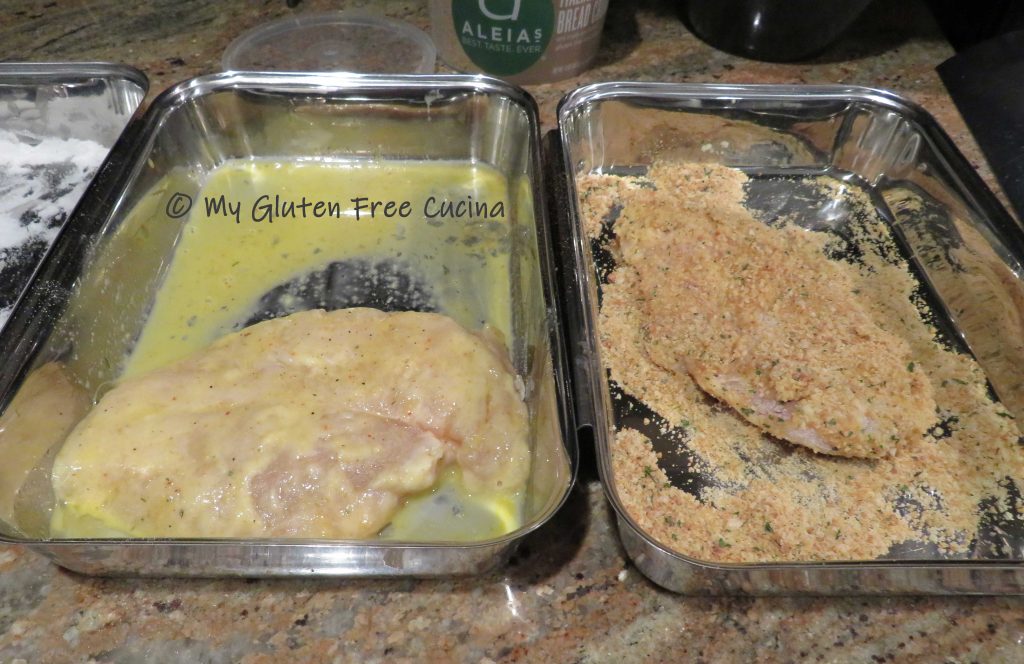
Combine all of the dough ingredients in the bowl of a stand mixer with the paddle attachment. Weigh the flour, accuracy is important! I used (and recommend) Better Batter Original Gluten Free Flour to make the pasta dough. Results may differ if you use another brand, or you may need to adjust the measurements.
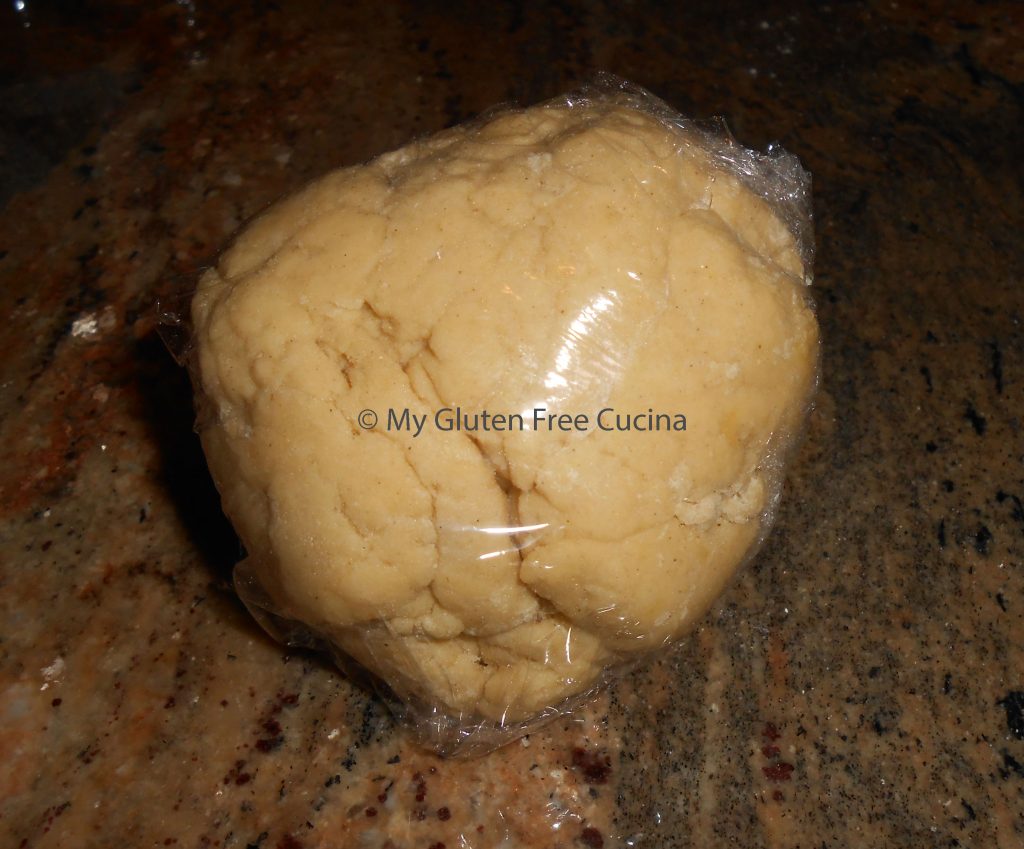
Pat the dough into a ball and sprinkle with flour. Wrap in plastic wrap and let it rest for 15 minutes.
Divide the dough into sections. For this 2 serving batch, I divided the dough into 4 pieces (adjust if you are making more). Then take one section at a time and press into a disc.
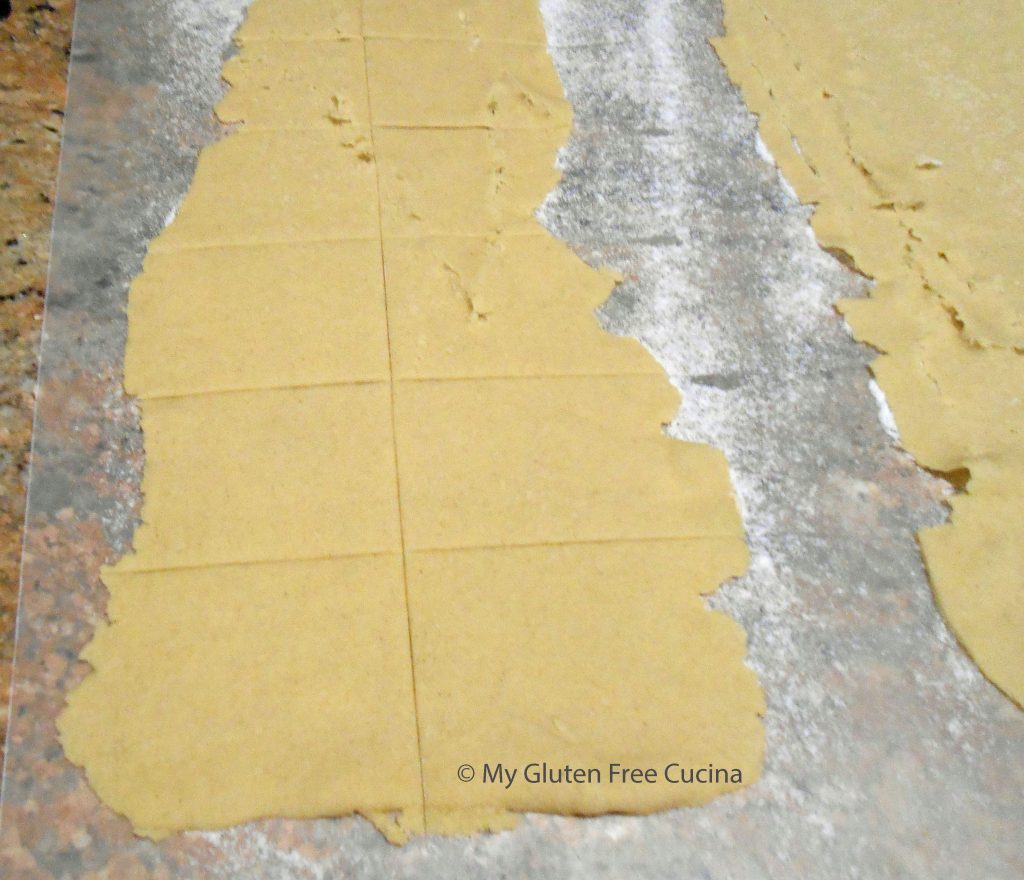
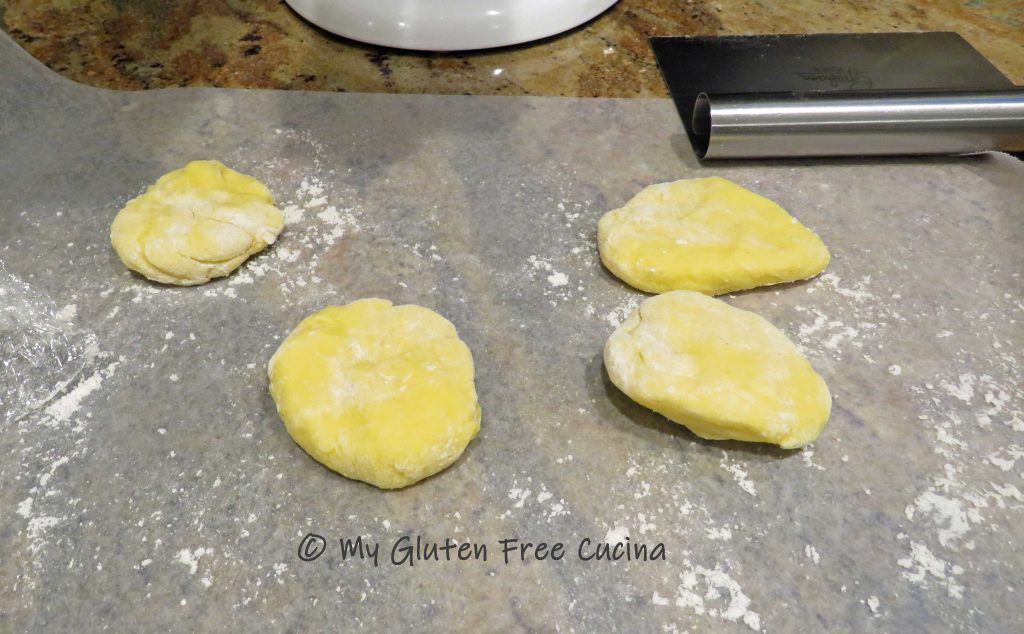 Use a rolling pin or a pasta roller to roll each disc into a long thin sheet. If using a pasta roller, remember that gluten free dough is more delicate and prone to tearing than wheat dough, so you will not be able to roll it as thin. Sprinkle the dough with extra flour as you pass it through the roller to help avoid sticking and breakage. I was able to roll mine out to the 3rd setting.

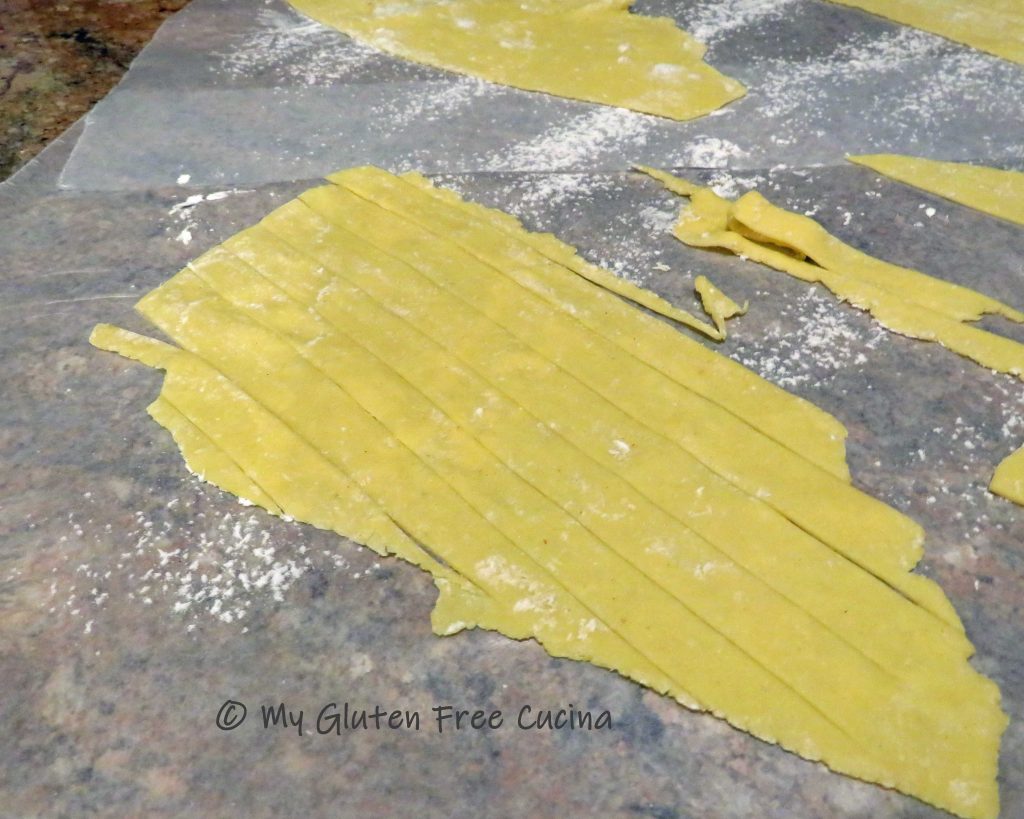
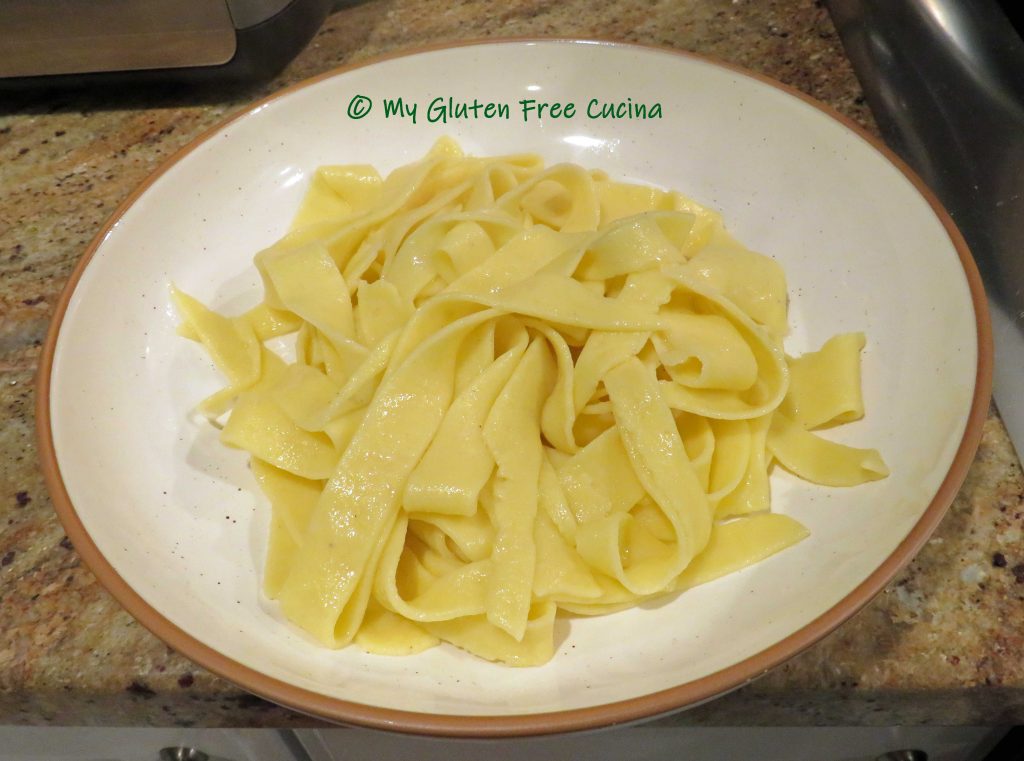
Lay the pasta sheets on lightly floured wax paper. Use a knife or pizza wheel to cut the sheets into 3/4″ ribbons. I used a pastry cutter to create perfectly even strips.
Separate the noodles and hang to dry for up to one hour. They are best enjoyed immediately, but you can refrigerate if you are not ready to cook.
IMPORTANT: Always follow food safety guidelines. Egg pasta should be refrigerated within one hour and frozen if you need to store it for more than one day.

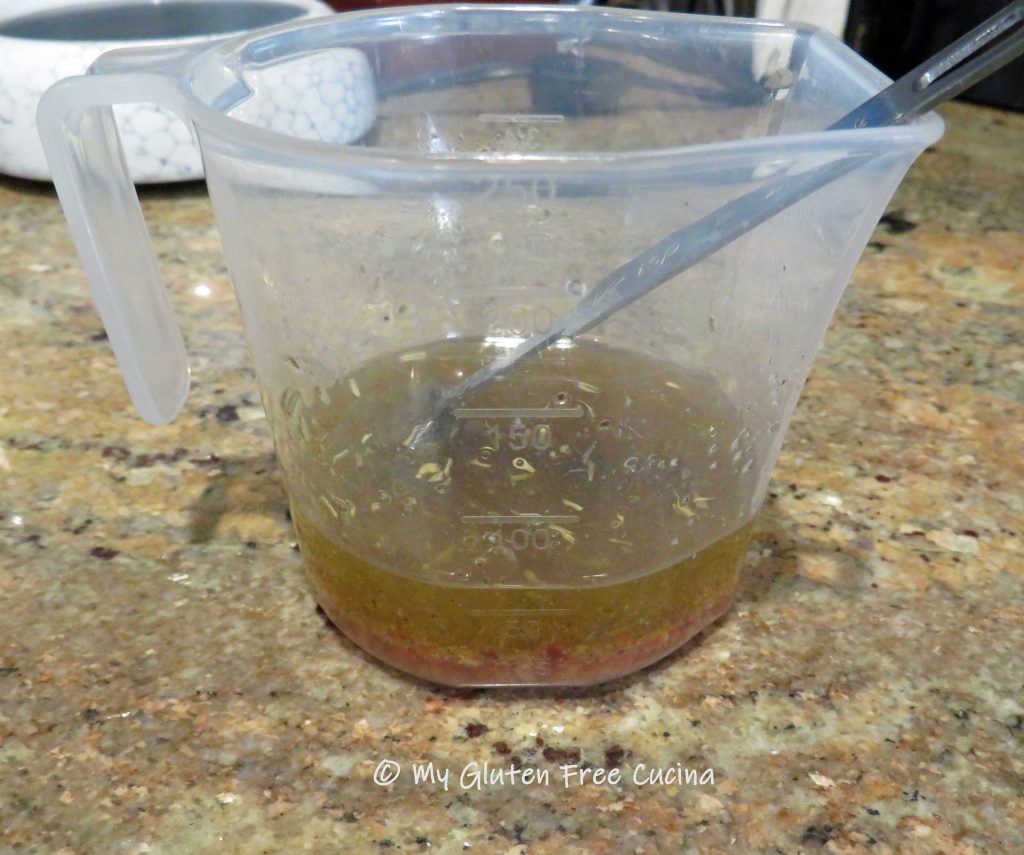
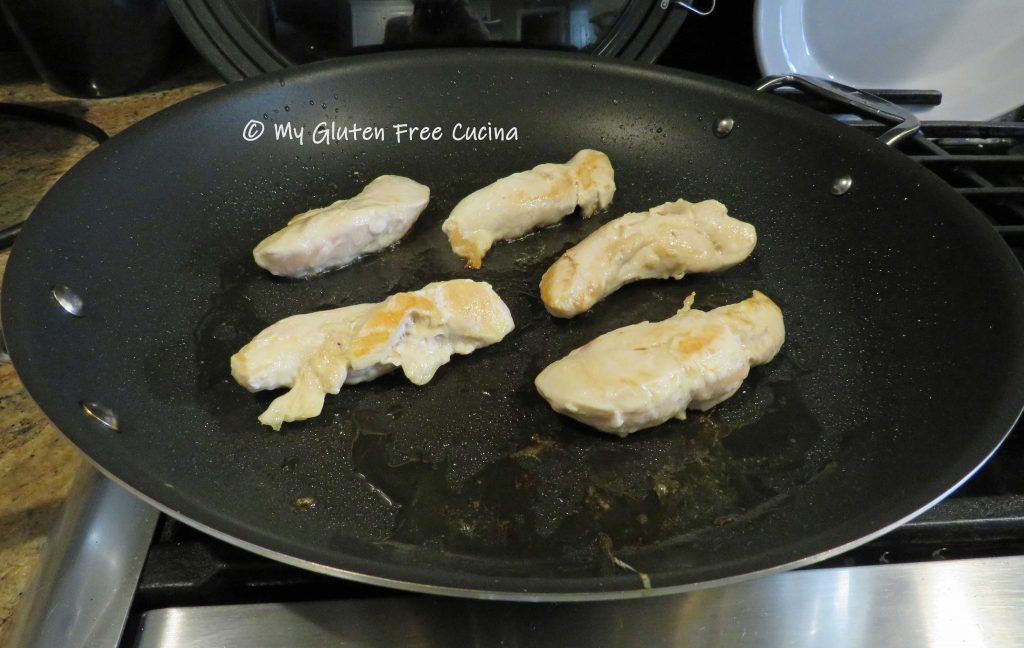
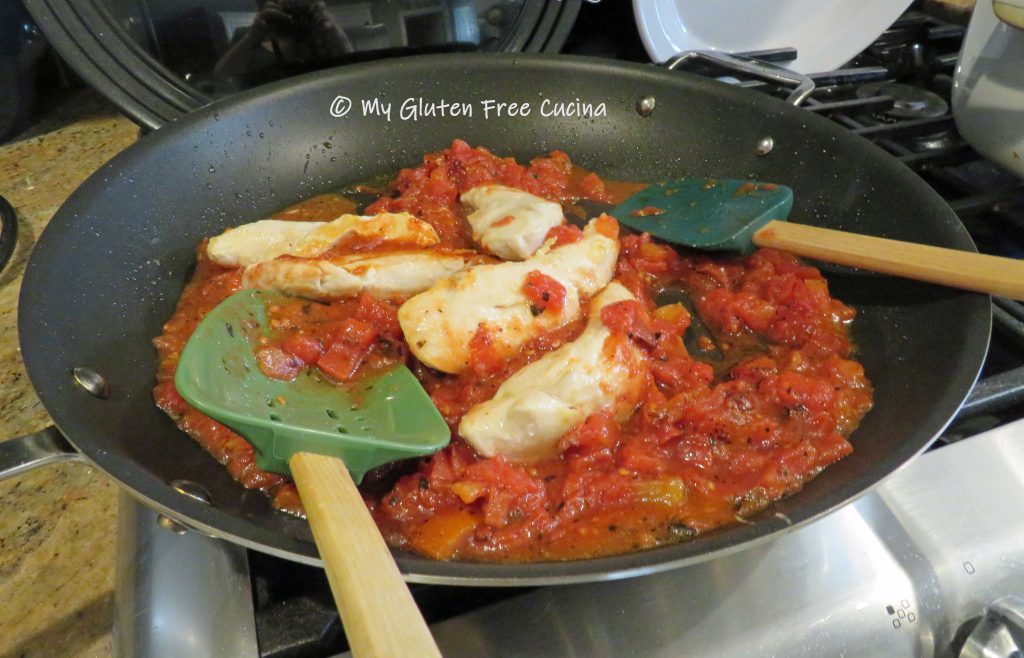
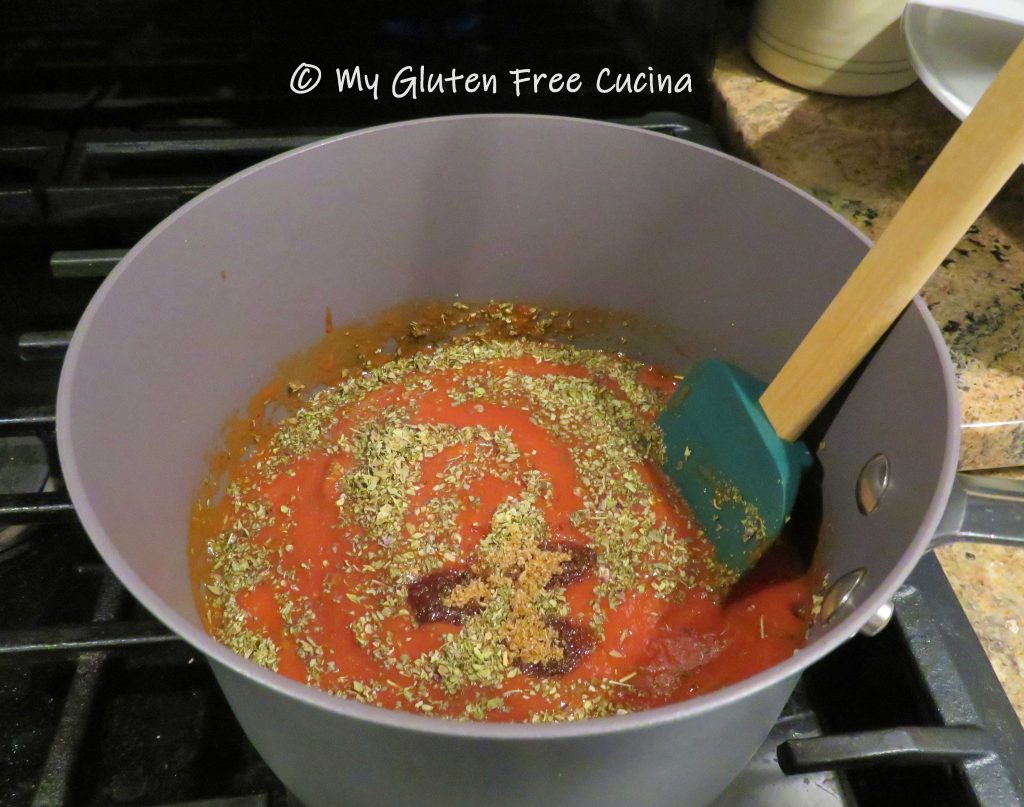
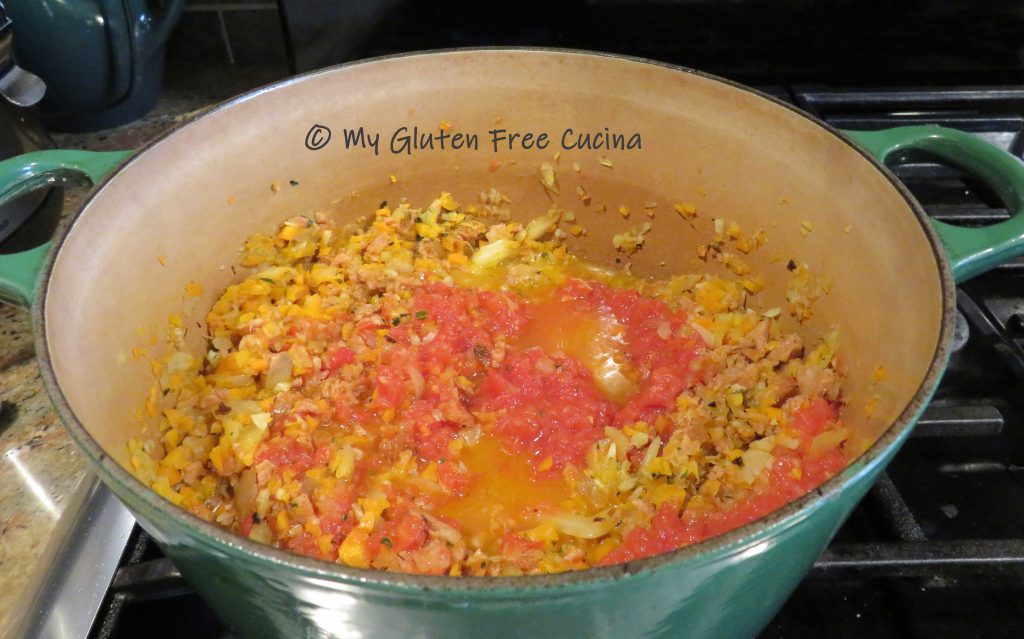
I always make my sauce first, so it’s ready when I finish making the pasta.

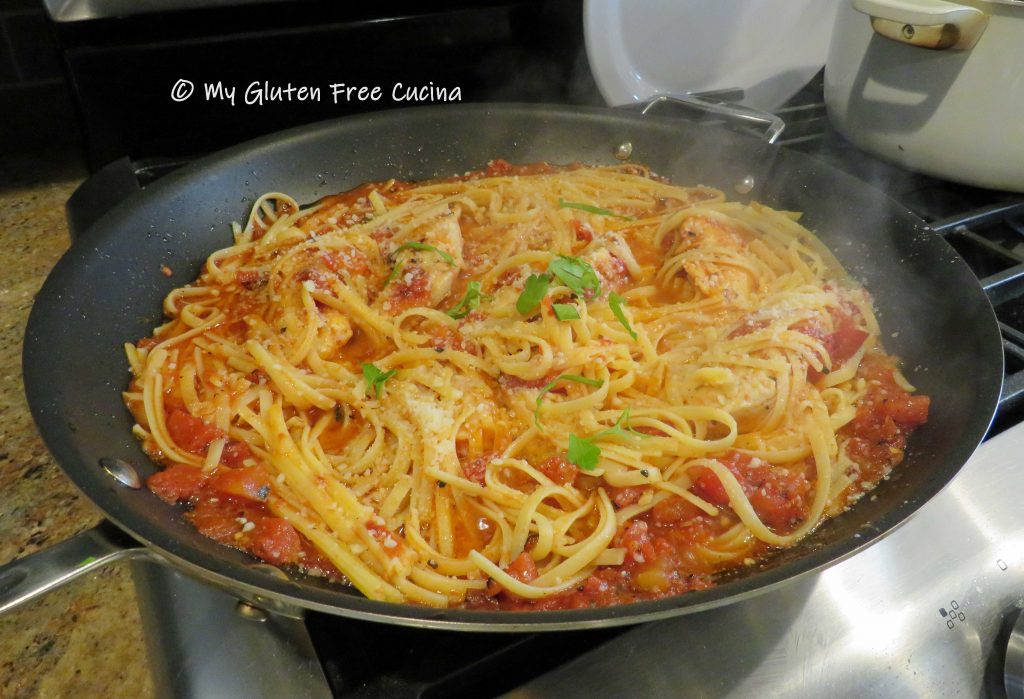
When it’s GO time, fill a large pot with water, salt generously and bring to a rolling boil. Add the pappardelle with just a drop of olive oil, stir well and cover so that the water returns quickly to a full boil. Cook for about 3 minutes, pasta will float to the top when it’s done. Remember fresh pasta cooks quickly, be careful not to overcook!

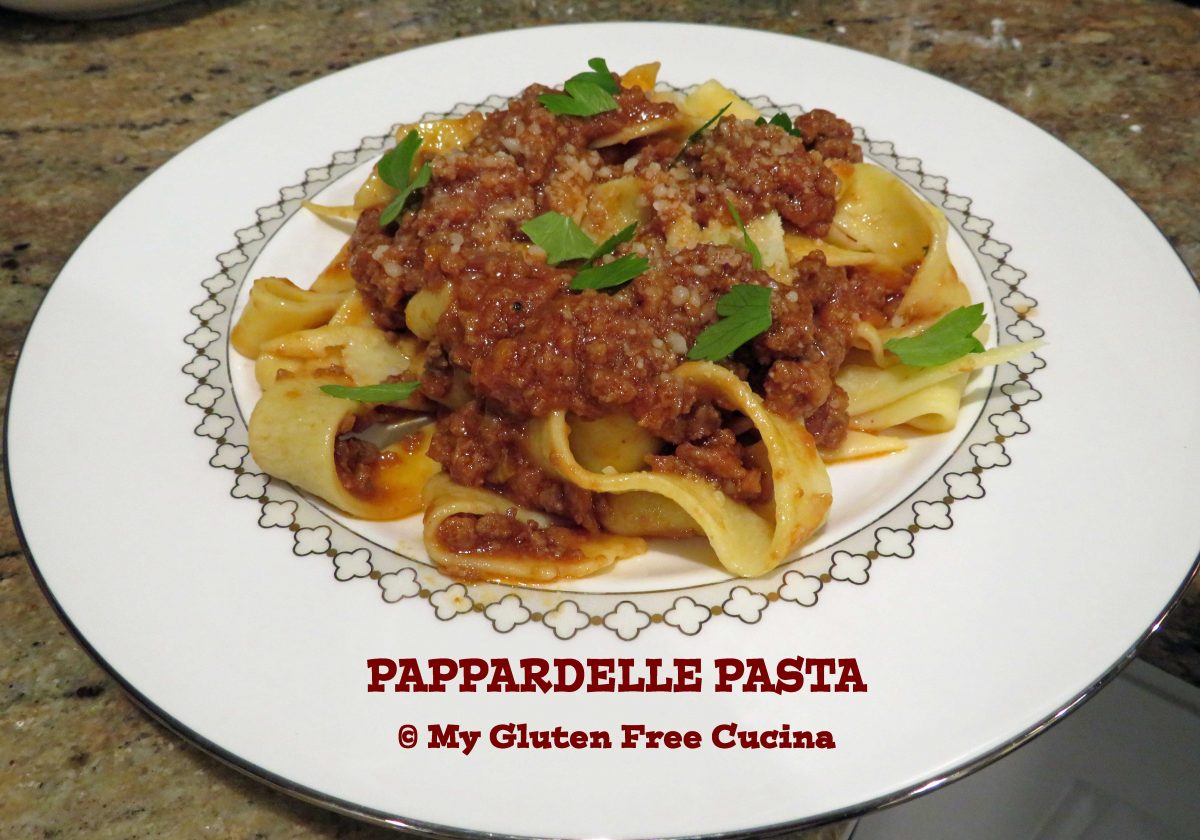
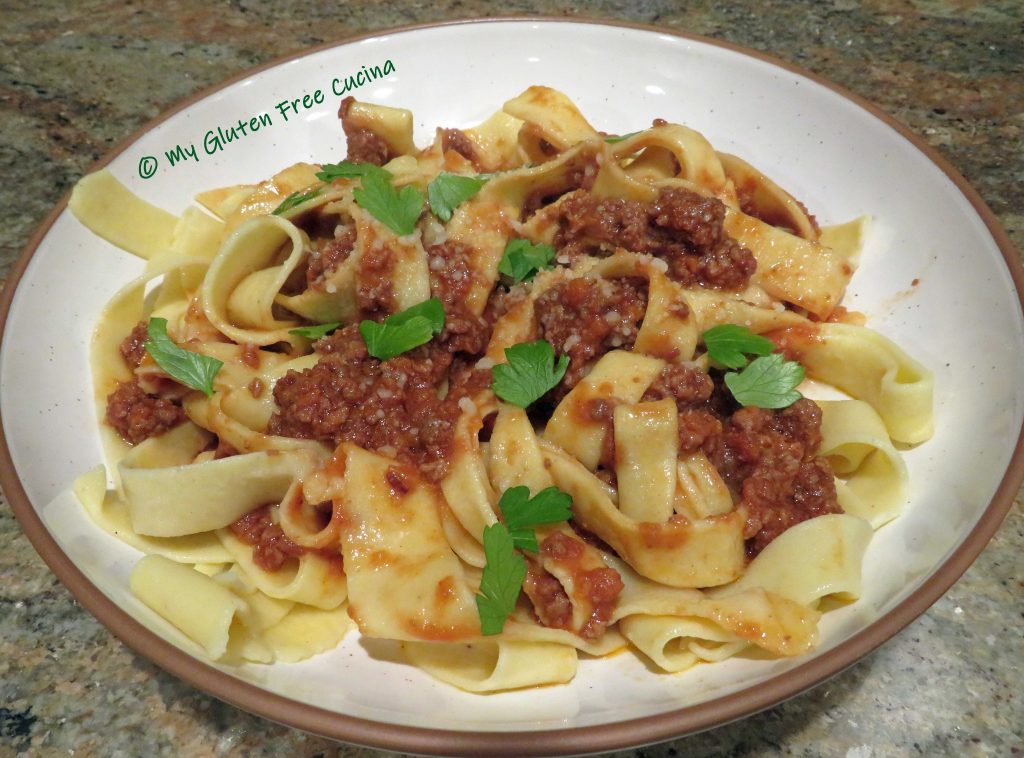
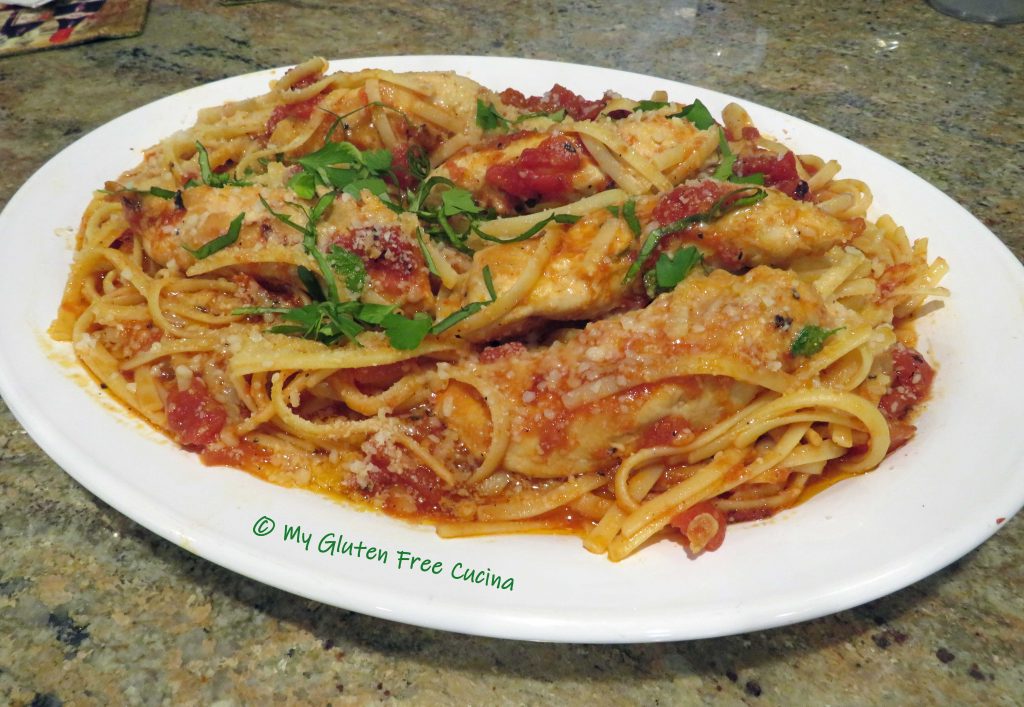
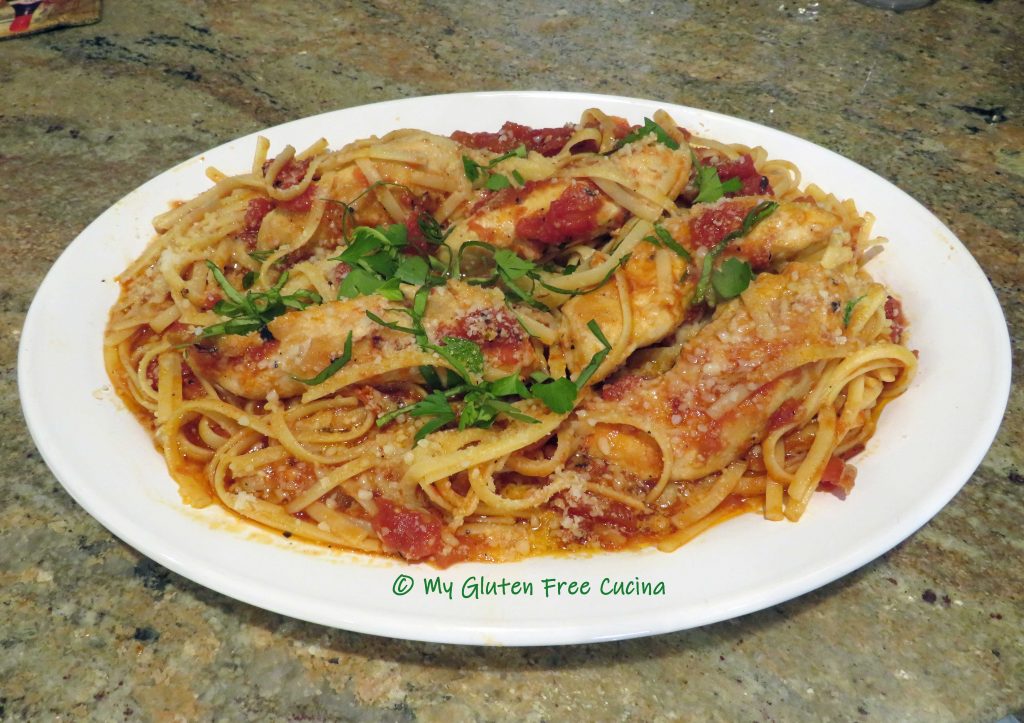
Use a spider strainer to gently remove and drain the pappardelle and arrange on a serving dish.
Toss with sauce, and grated cheese.

Notes ♪♫ Pappardelle pairs perfectly with rich, meaty sauces like Bolognese Sauce. Learn how to make a Traditional Bolognese Sauce in this post!


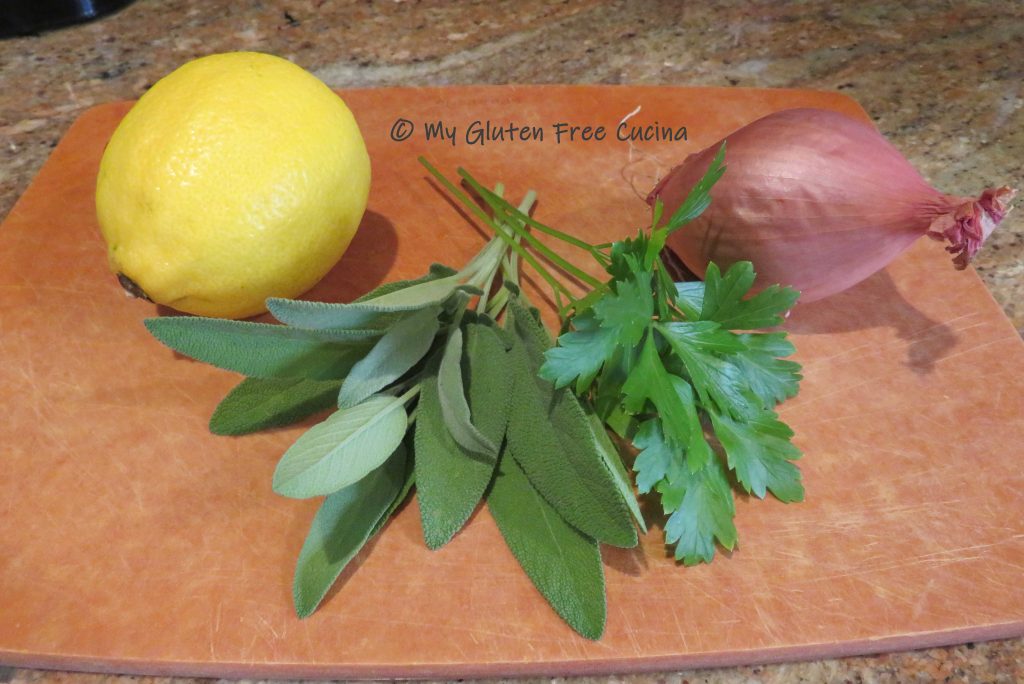
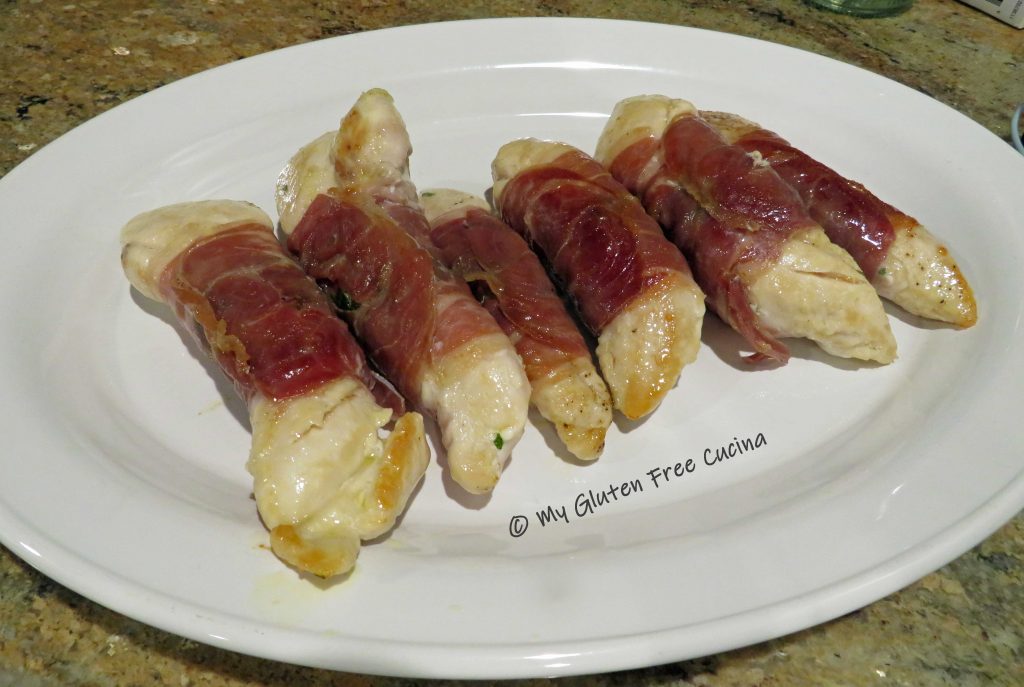
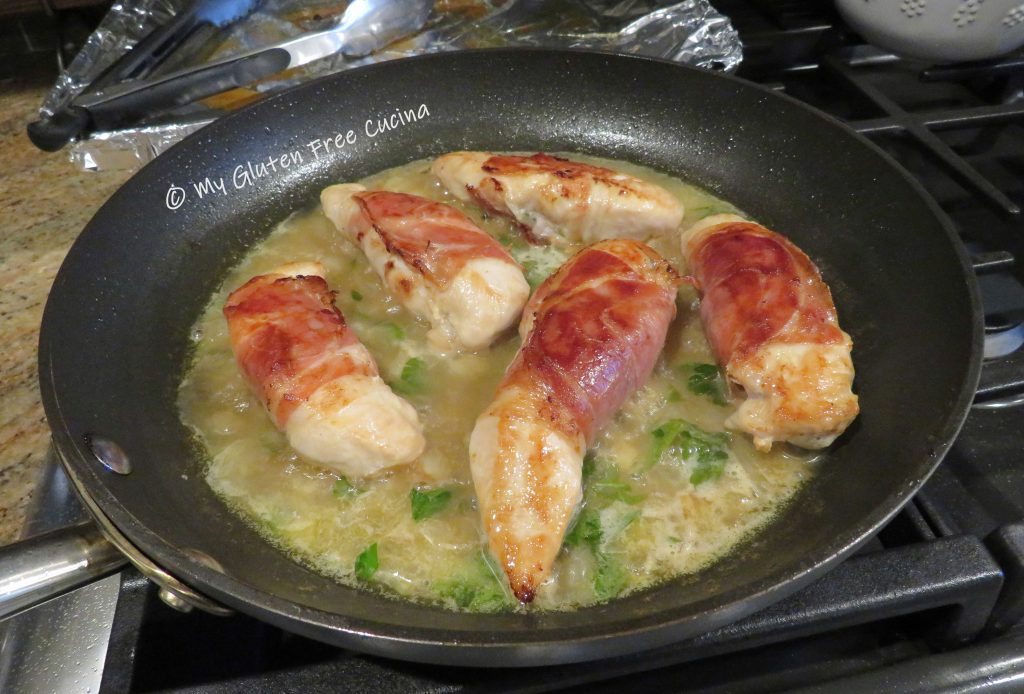 The inspiration for this post was a beautiful pot of sage from my herb garden. I’m really proud that I grew it from seed!


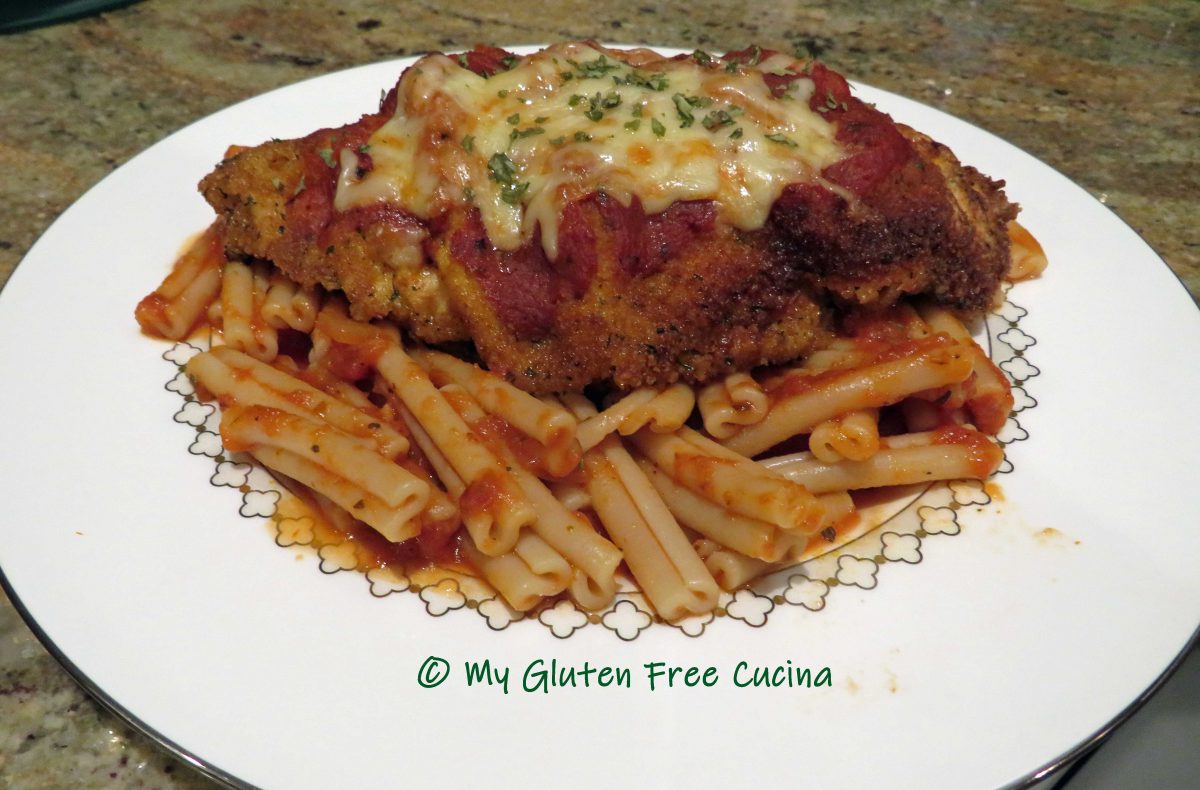


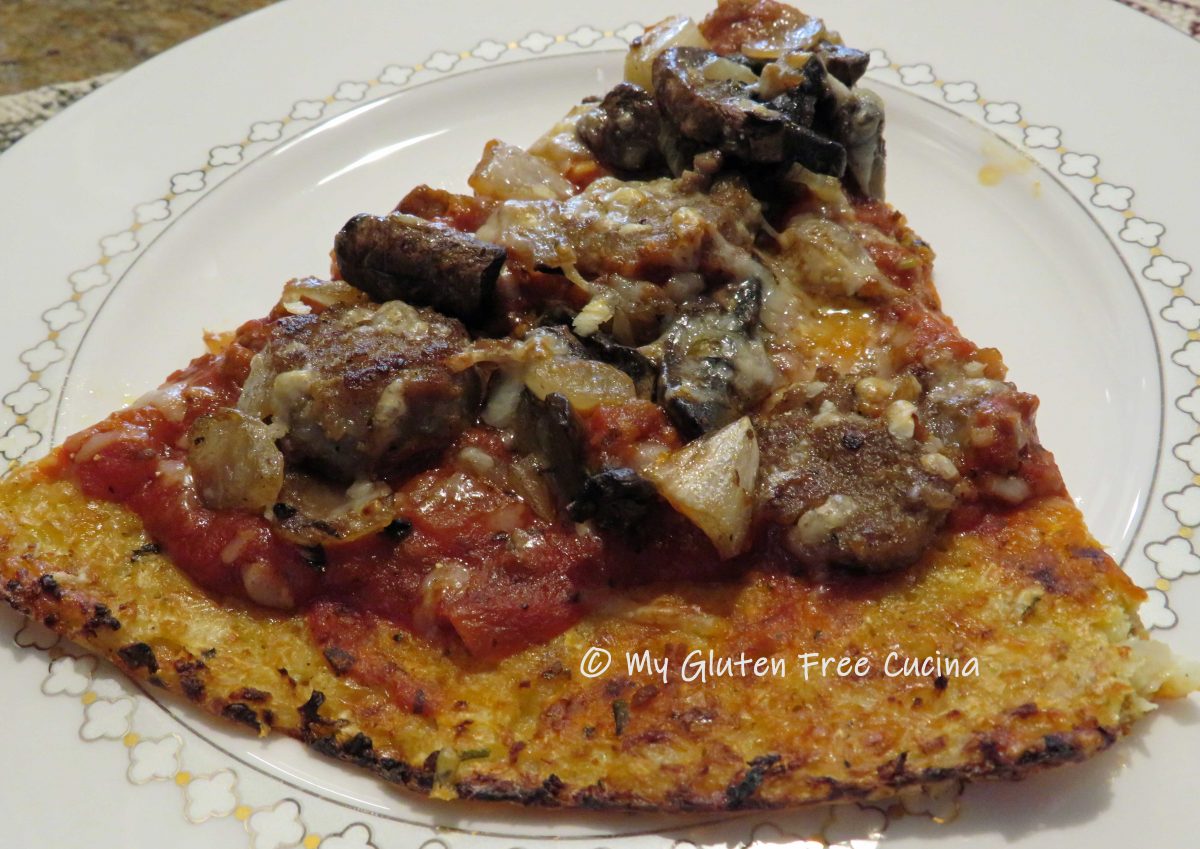
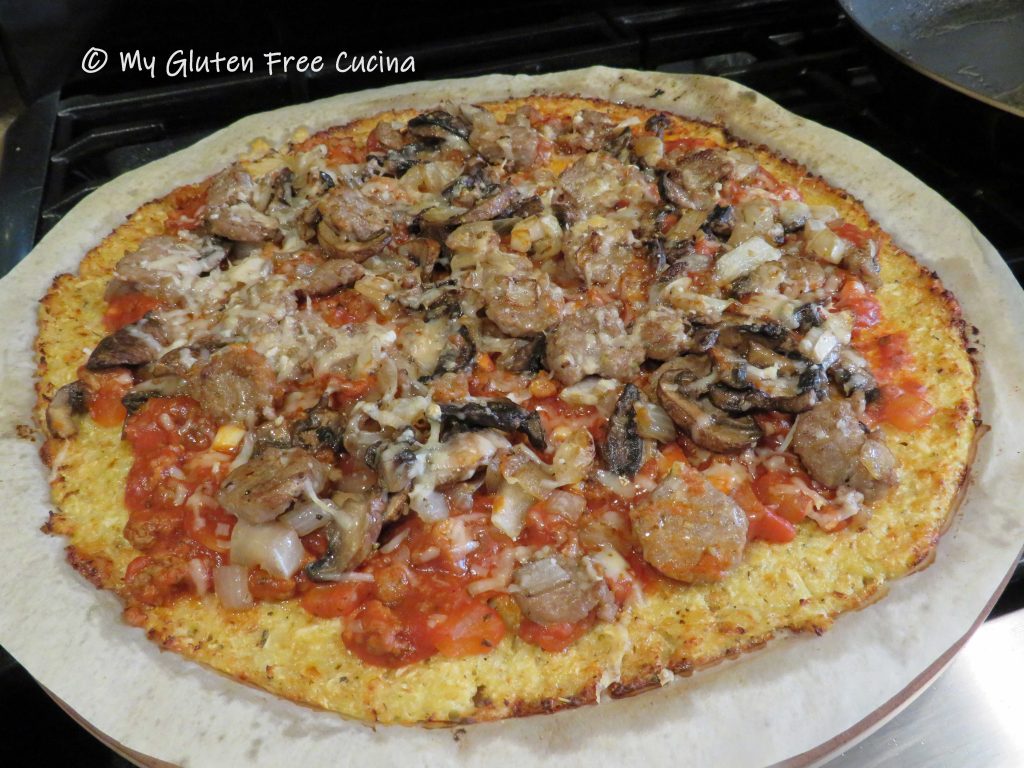
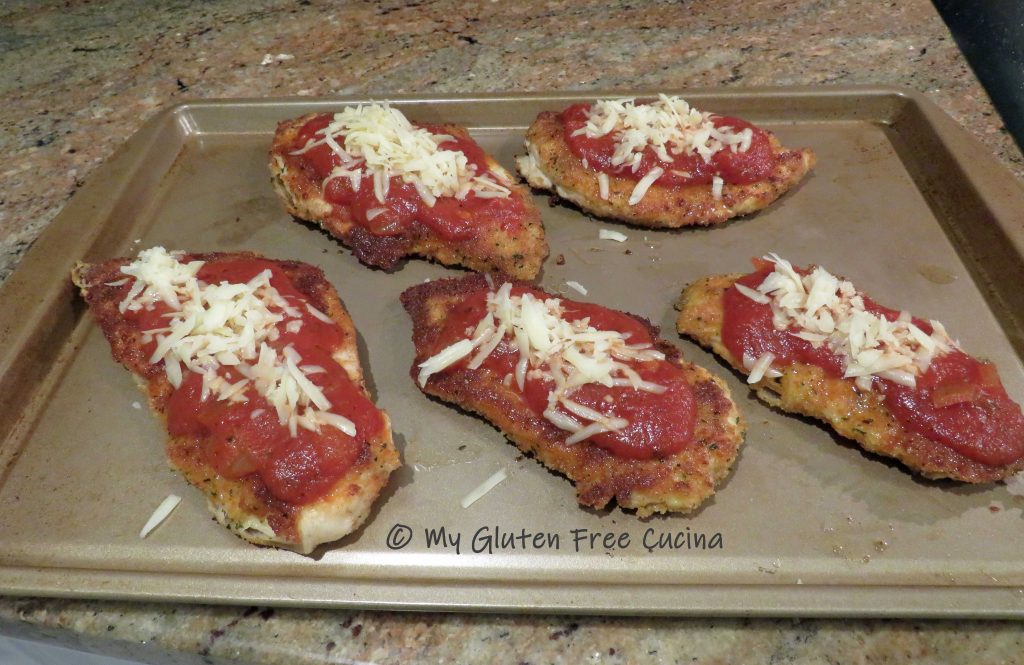 Finish in the oven for 15-20 minutes or until the cheese is melted.
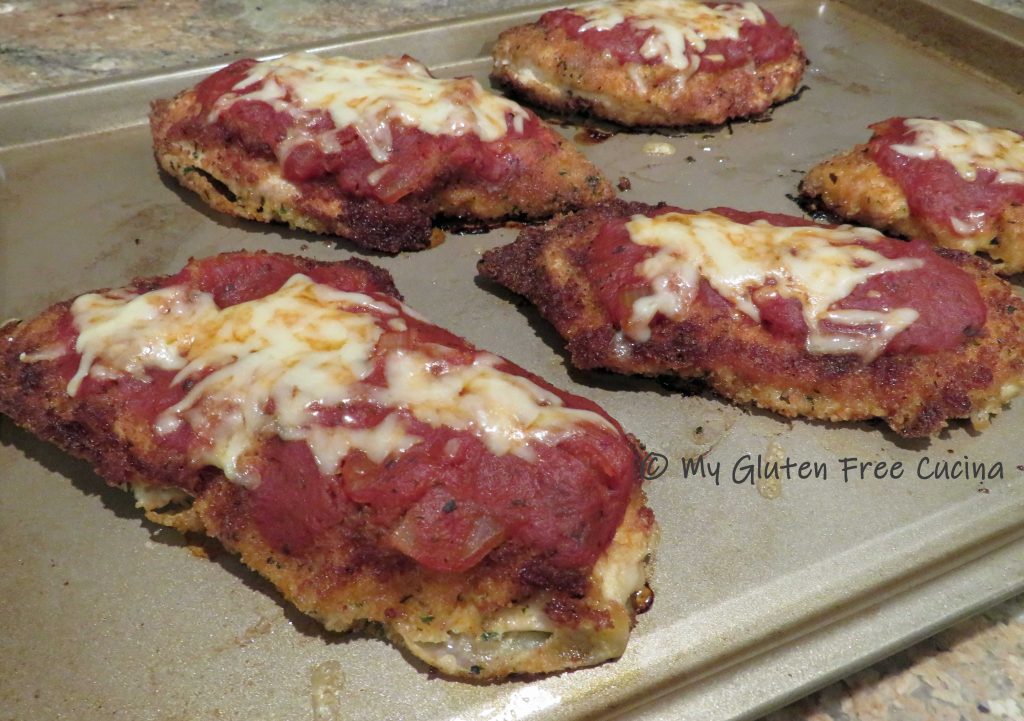
 When I made this for company, no one knew it was gluten free. Mum’s the word!


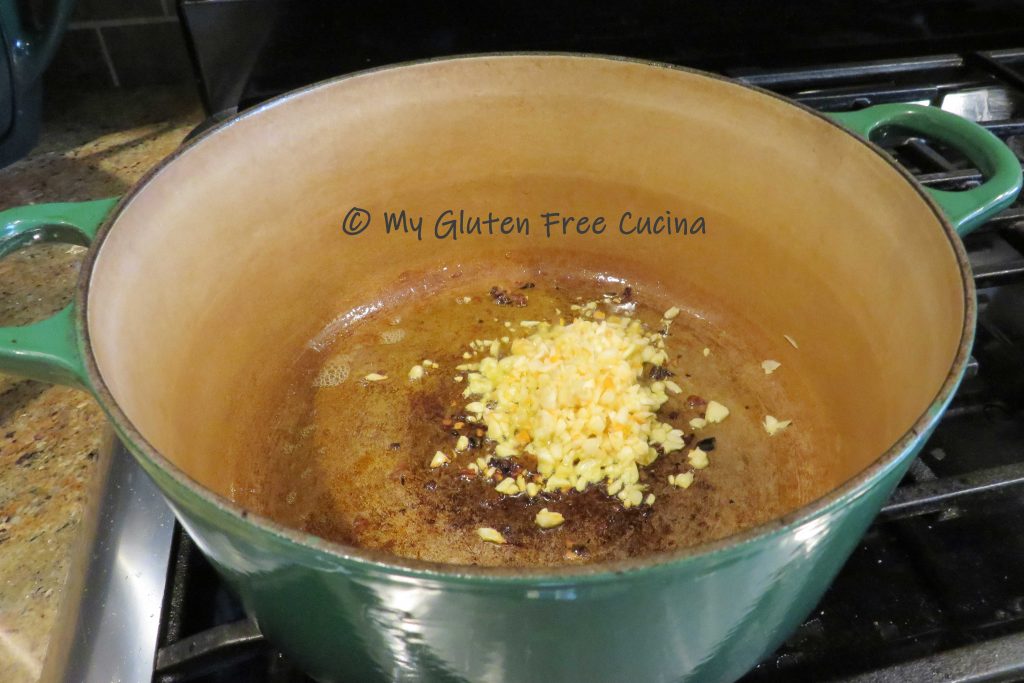
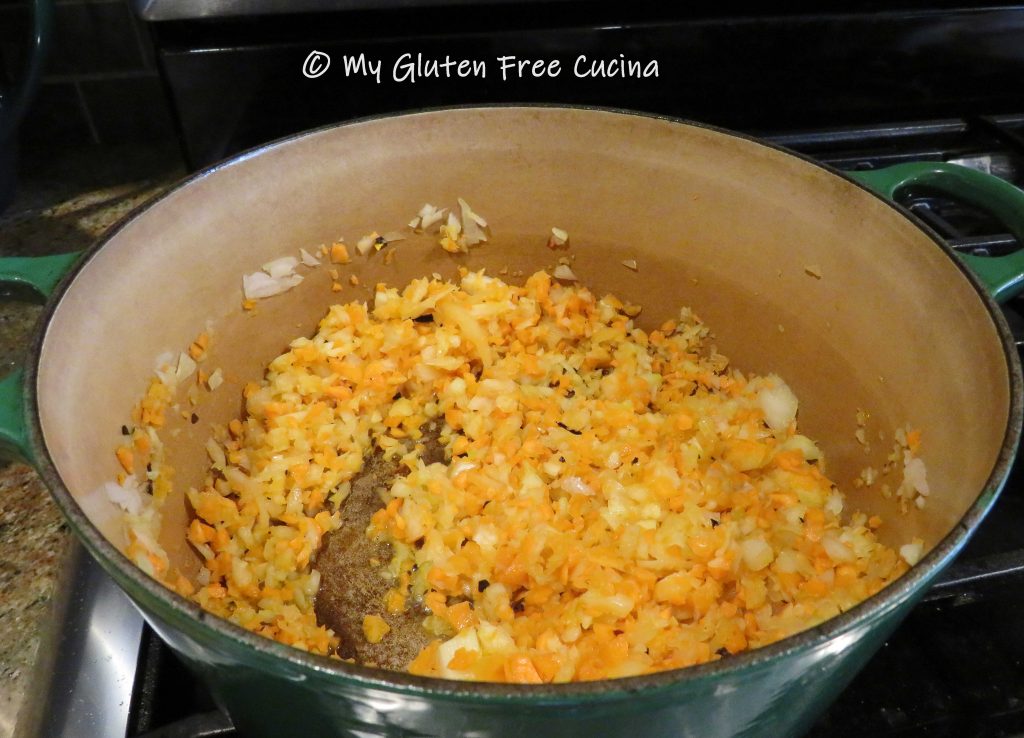


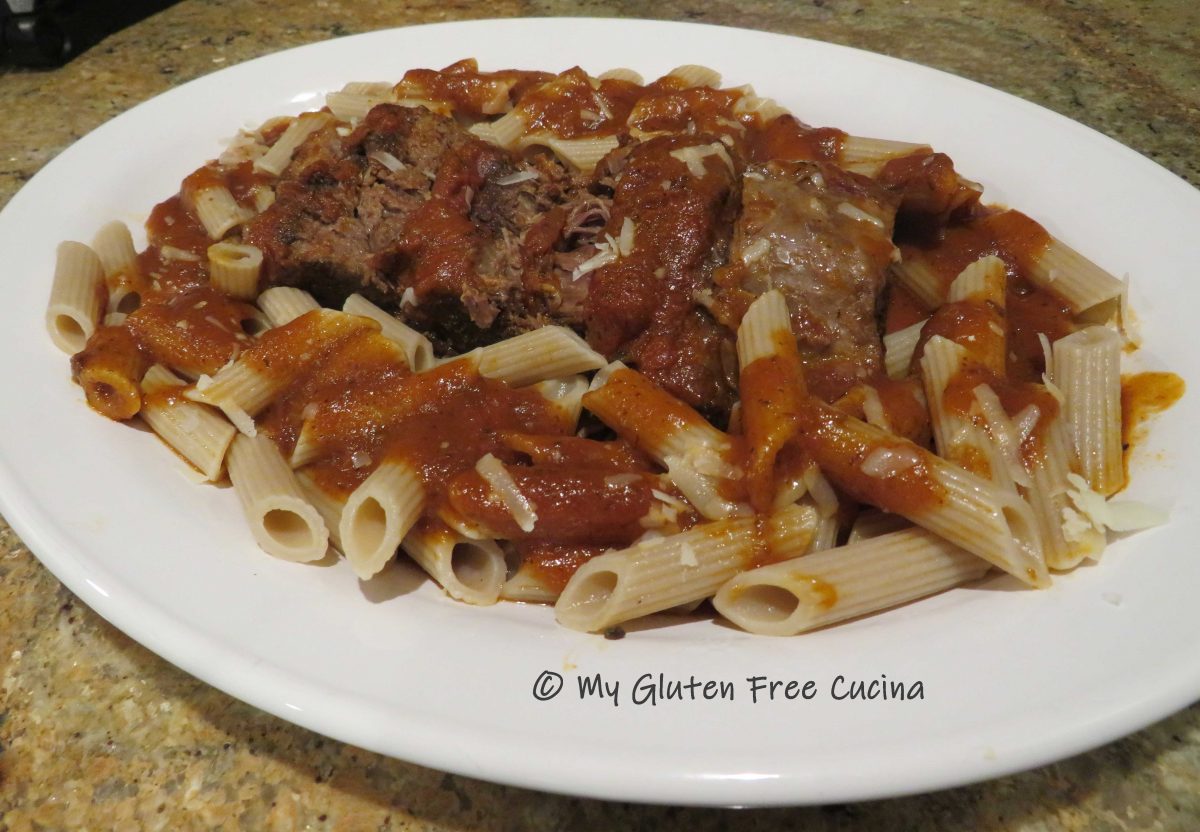

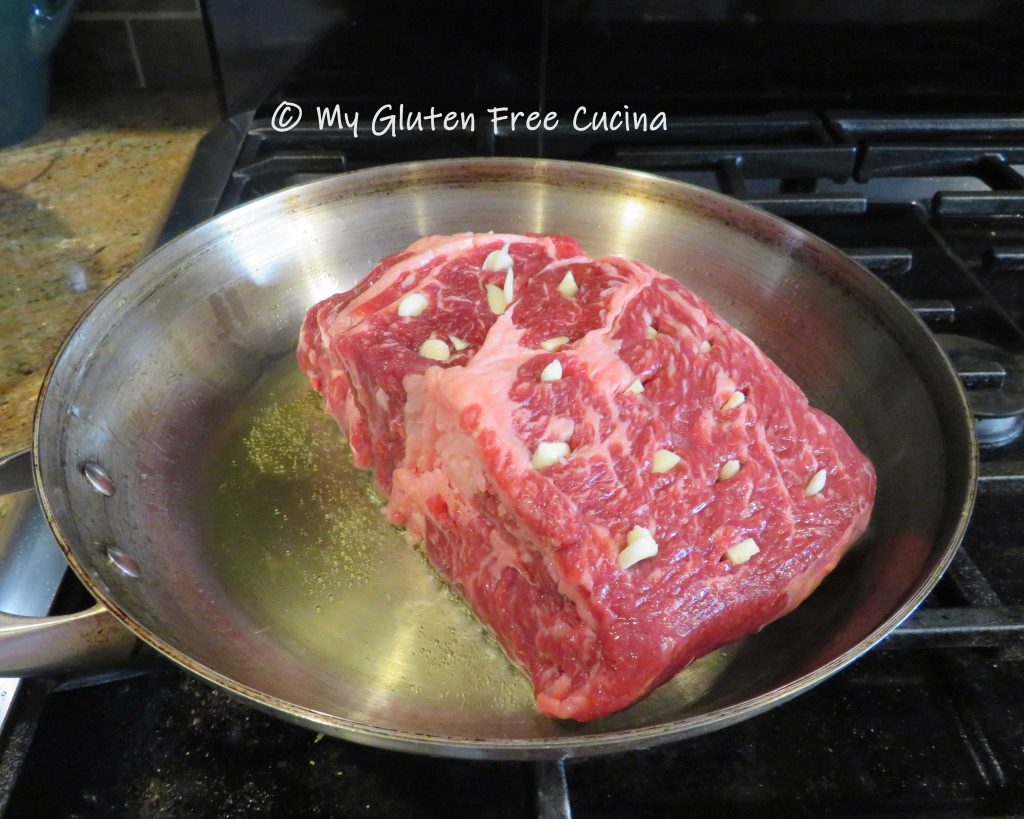
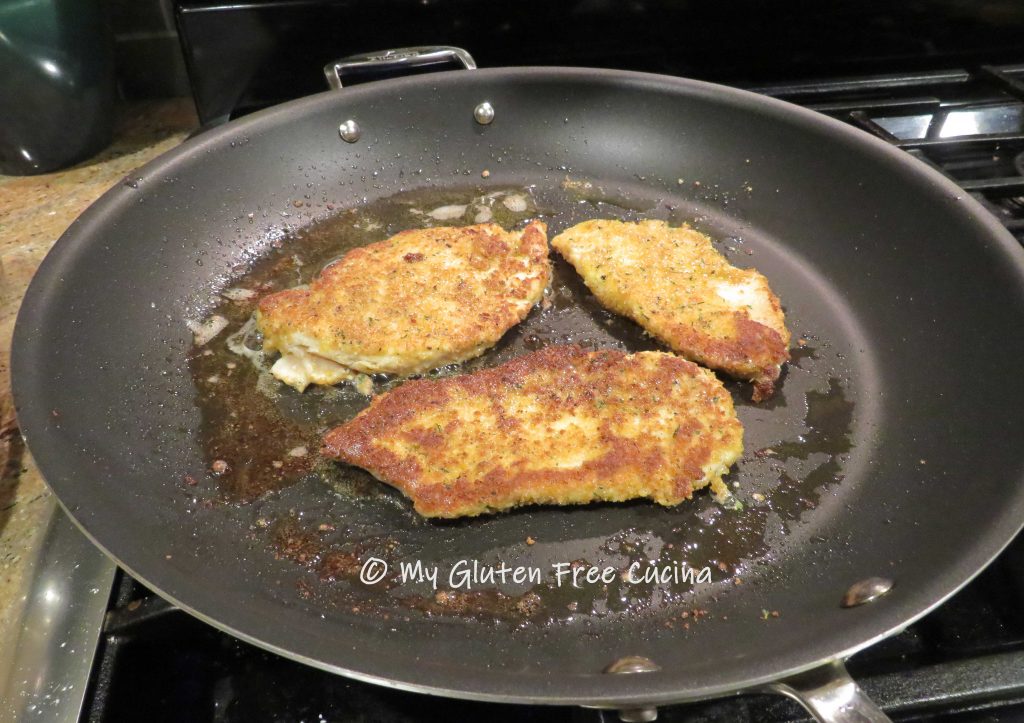
 Add onions to the same skillet and cook until translucent. Add them to the roast then deglaze the skillet with the red wine and pour over everything.
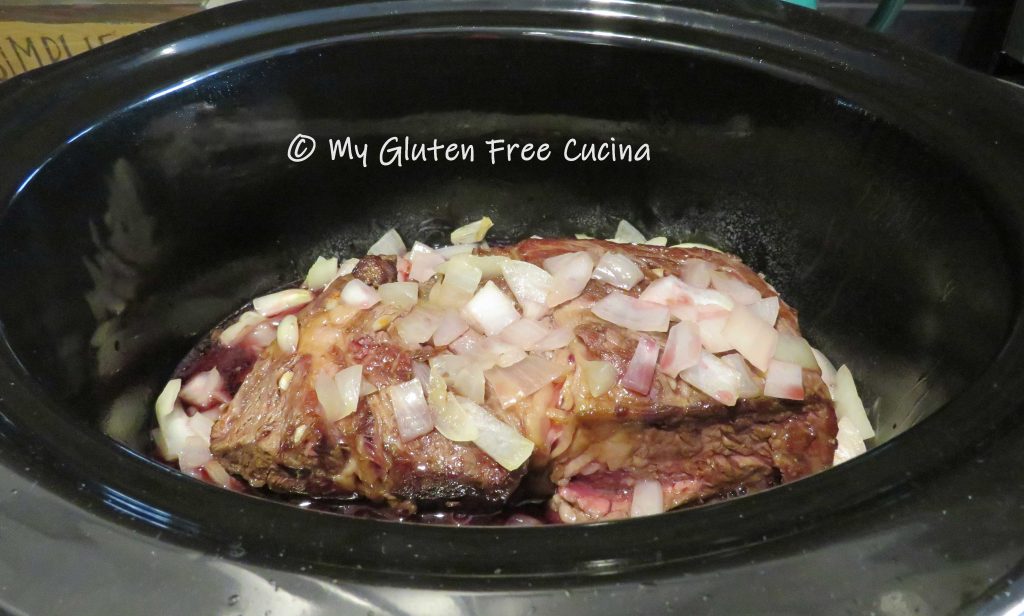
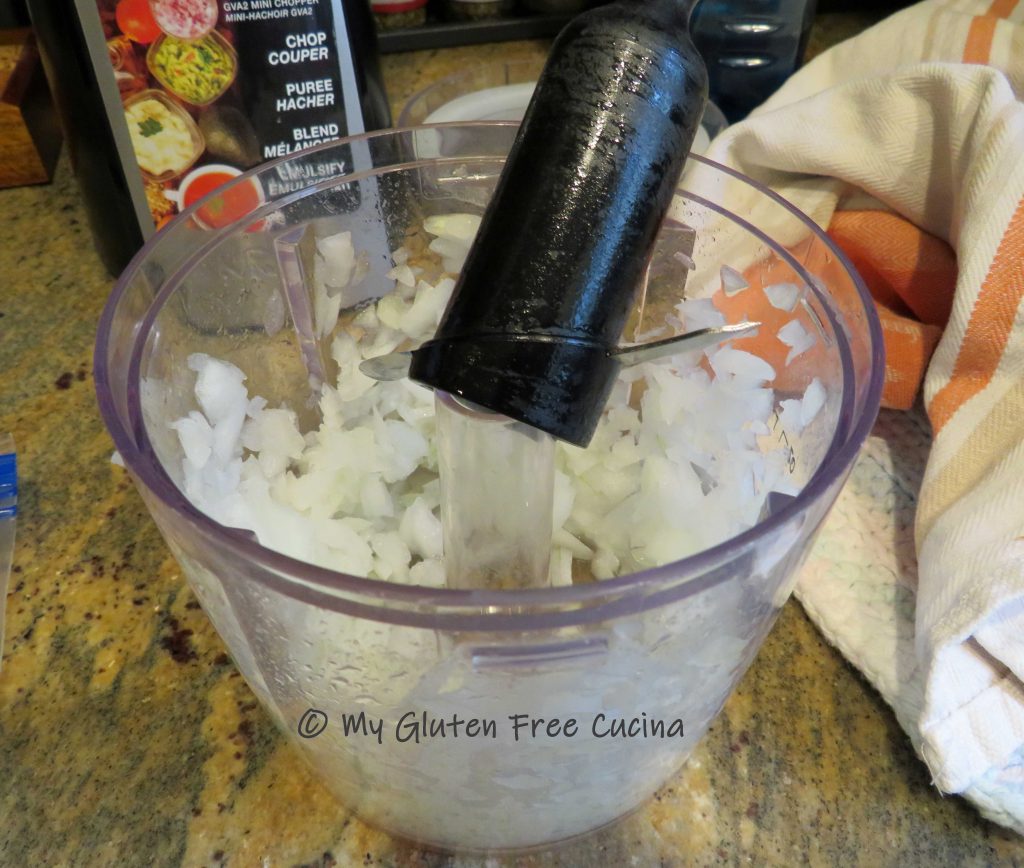
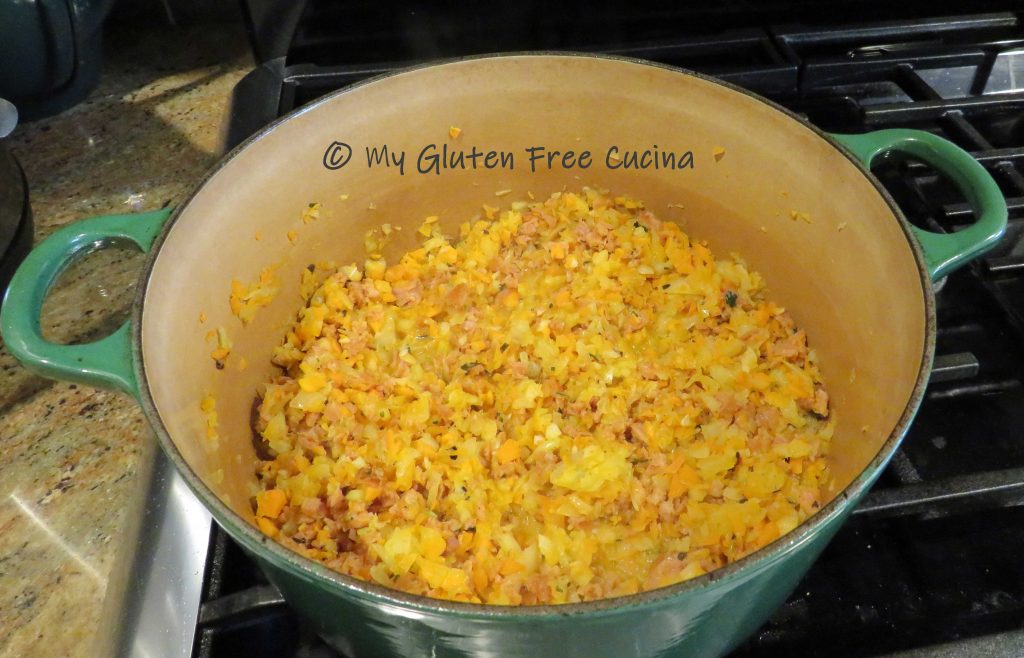
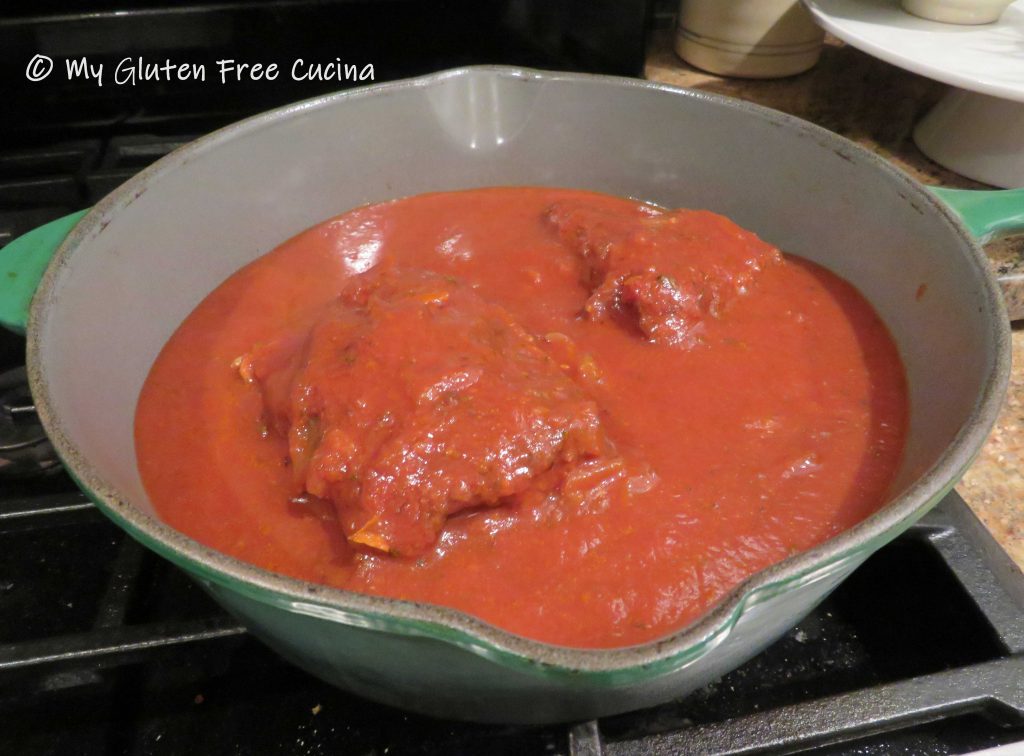 Most of the onions will have melted into the sauce at this point, but if you want an extra smooth sauce (or have picky eaters) you can puree it with a stick blender.
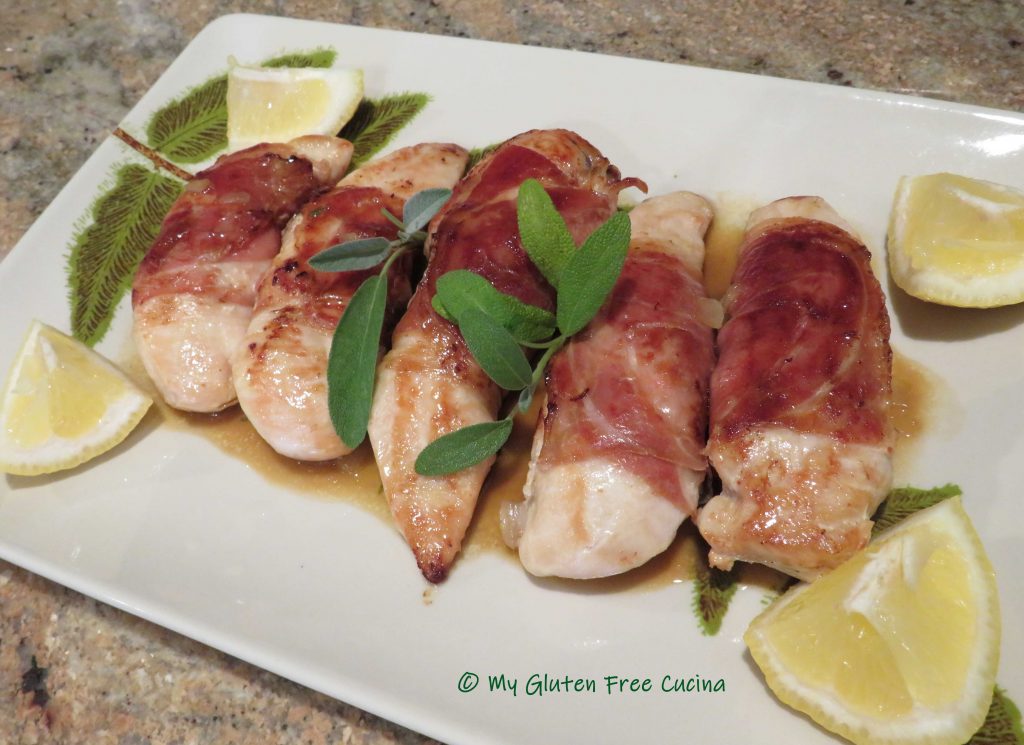
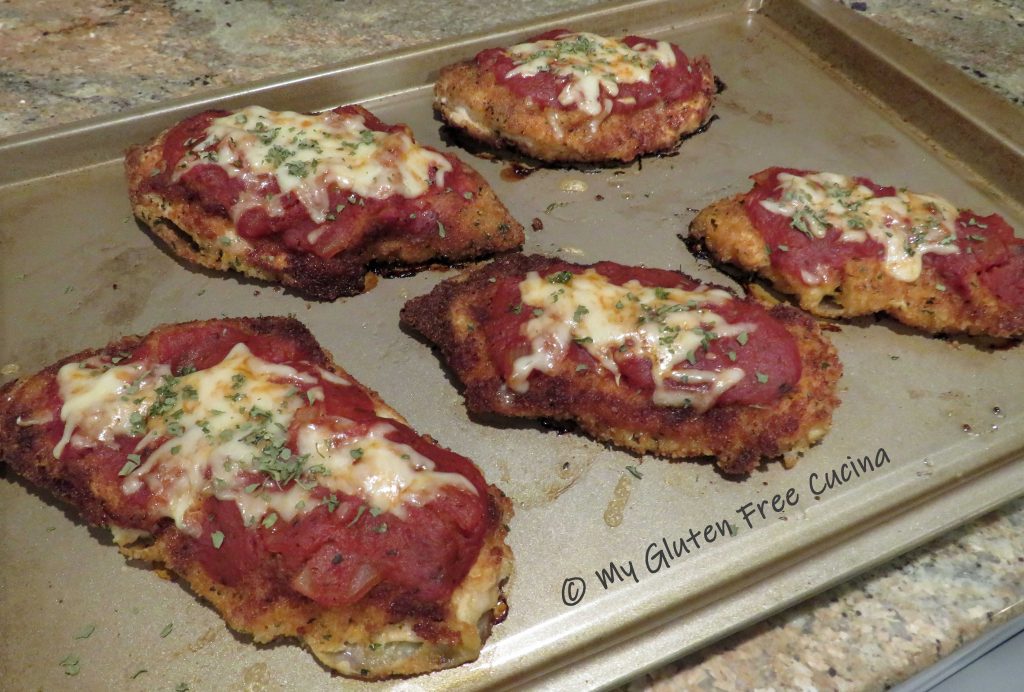
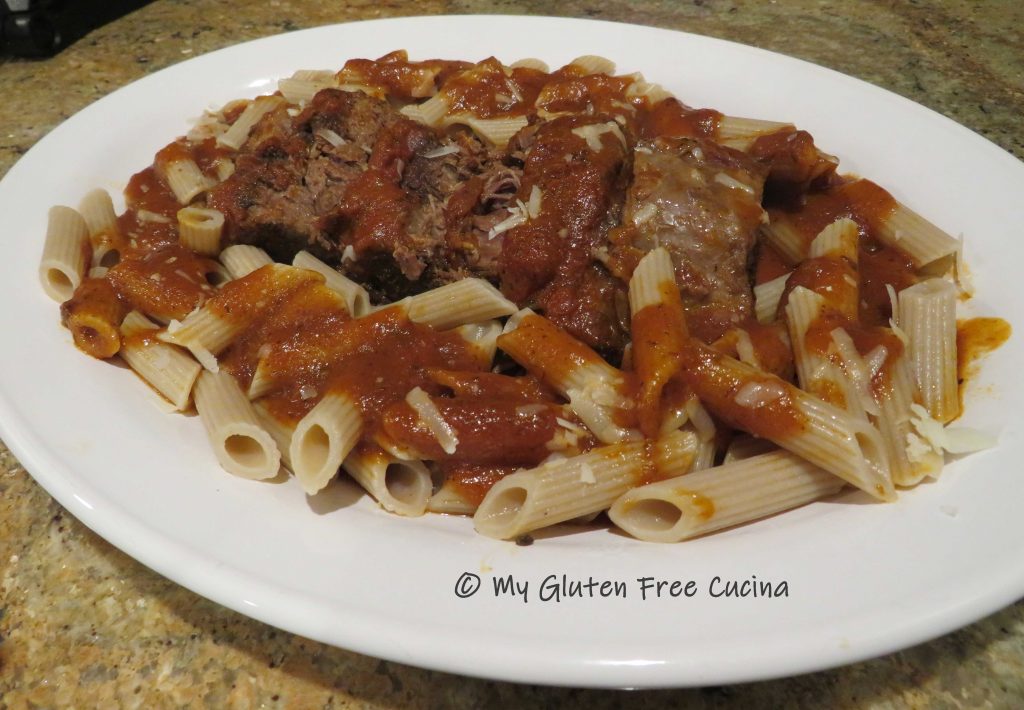 Bring to the table with extra sauce and grated cheese. The only thing missing here is fresh parsley from my herb garden. I guess I’ll have to wait for summer and make this again!