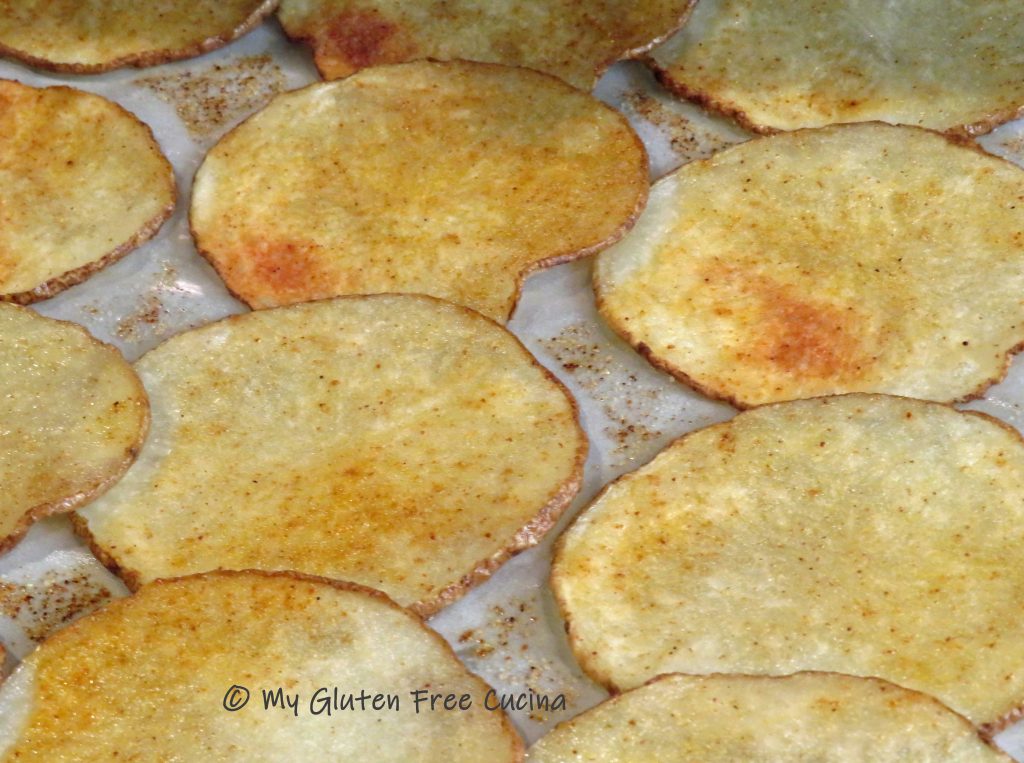
Easy Gluten Free Italian Sausage Patties No Salt

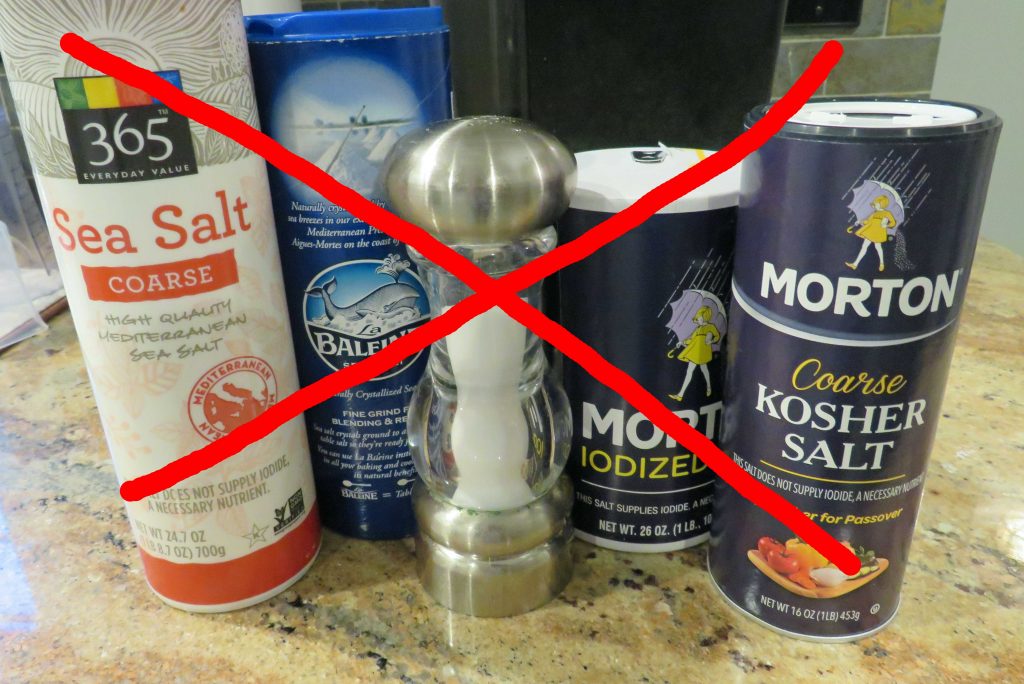
Why make your own sausage?  Today we have so many brands of gluten free sausage that are widely available.  Why am I going through the trouble of making it from scratch?  The short answer, sodium.

As a woman of a certain age, I can tell you that when that check engine light goes on, you had best take it seriously.  So, a couple of years ago when my blood pressure started going up, up, up I decided to embrace low sodium cooking.

Just as when I was first diagnosed with Celiac disease, I went through everything in my pantry and checked the labels.  This time, instead of gluten I was looking for sodium.  Like gluten, it’s EVERYWHERE!

This post contains affiliate links.

I have replaced my favorite convenience items like chicken broth, canned tomatoes and beans with the unsalted version.  Some of my purchased spice blends had to go, and I’m ok with that since I can make my own without salt.

Now back to the sausage.  I love using Italian sausage in my recipes.  I add a little to my Meatloaf, Meatballs, Pizza, even my Shepherd’s Pie!  Alas, the store-bought sausage has way too much salt and now it too had got to go.

So today I made my first batch of Italian Sausage with NO SALT.  With this base, I can use it freely without worry about adding yet more salt into a recipe.

Maybe you’re not worried about sodium.  Why make your own sausage?  Because you control the ingredients.  Want less fat?  Instead of all pork use a combination of pork and turkey or use all turkey or chicken.  Don’t like fennel?  Leave it out.  Like it spicy?  Add more hot pepper flakes.  You get the idea.

My mother used to say that no one really knows what is in sausage.  Make your own and you will know!

Please note that I am not grinding my own meat nor am I using casings.  Remember, I called this an easy recipe.  ????

Ingredients:

  • 1 lb. ground pork
  • 1 lb. ground turkey
  • 2 tbsp. red wine vinegar
  • 1-1/2 tsp. peppercorns, ground
  • 2 tsp. parsley
  • 2 tsp. garlic granules
  • 2 tsp. onion granules
  • 2 tsp. basil
  • 1 tsp paprika
  • 1/4 tsp. red pepper flakes, ground
  • 1/2 tsp. ground fennel seed
  • 1/4 tsp. oregano
  • 1/4 tsp. thyme
  • 1 tsp. brown sugar

Preparation:

Measure the spices before you begin.  I used a coffee grinder to break up my peppercorns, fennel seed and red pepper flakes.

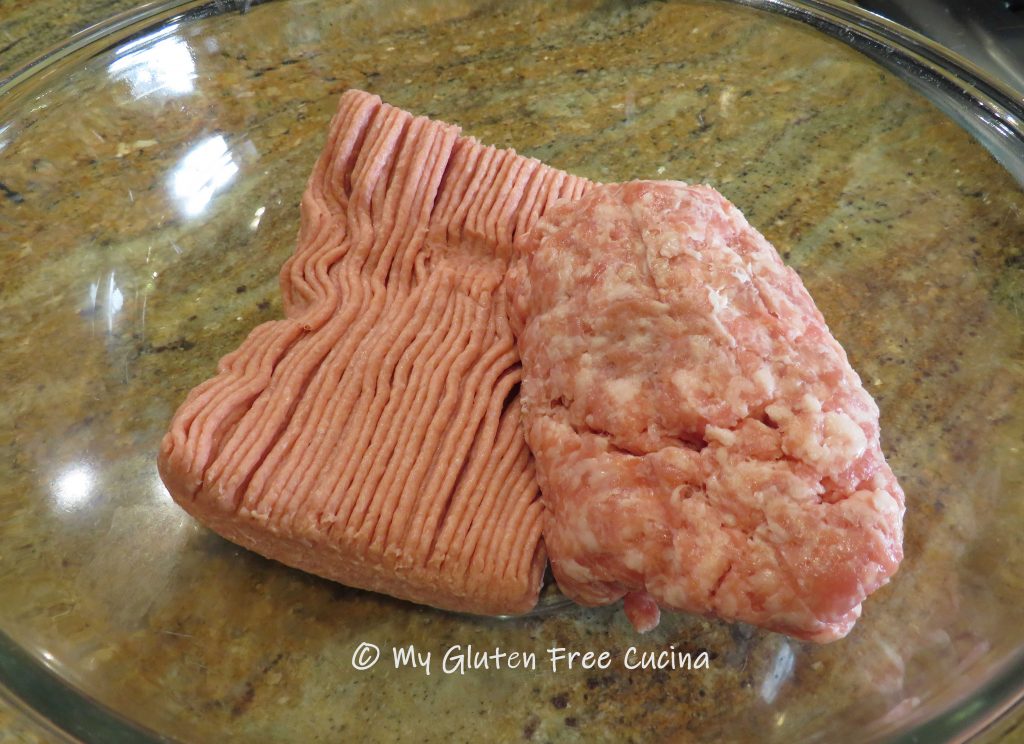
Add the pork and turkey to a large bowl.

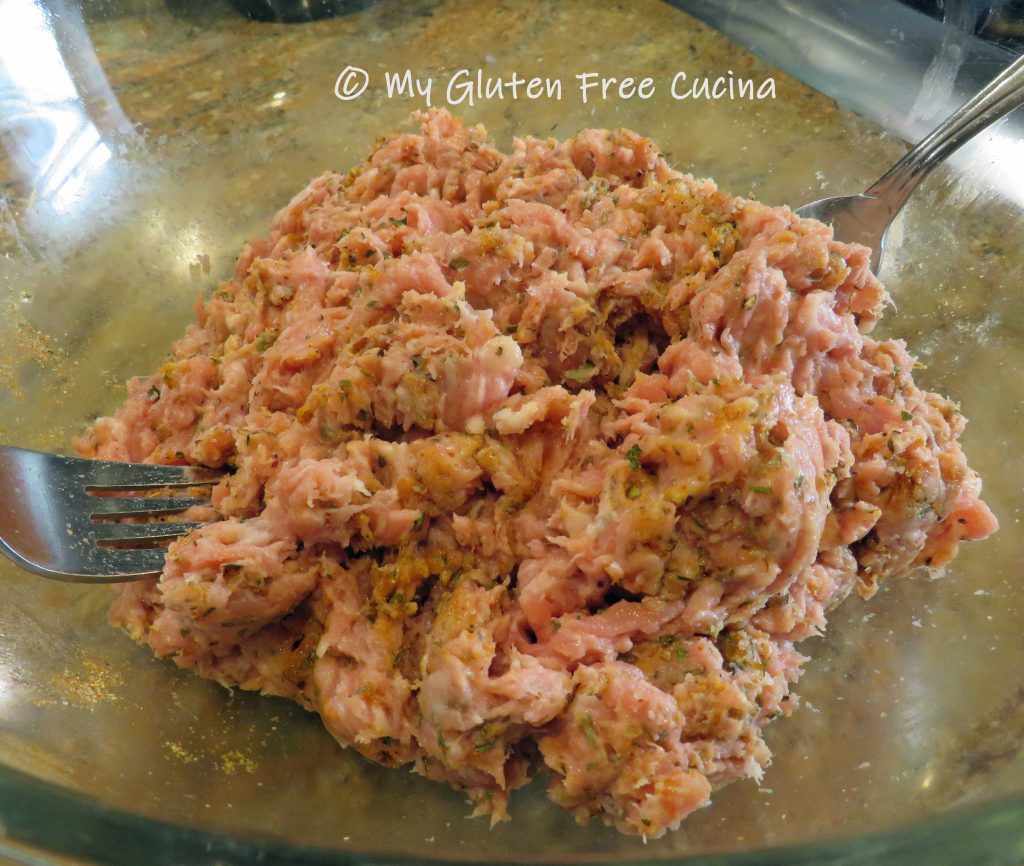
Use 2 forks to break apart the meat and mix it together.  This will take some time and patience, as you want it well mixed but not compressed.
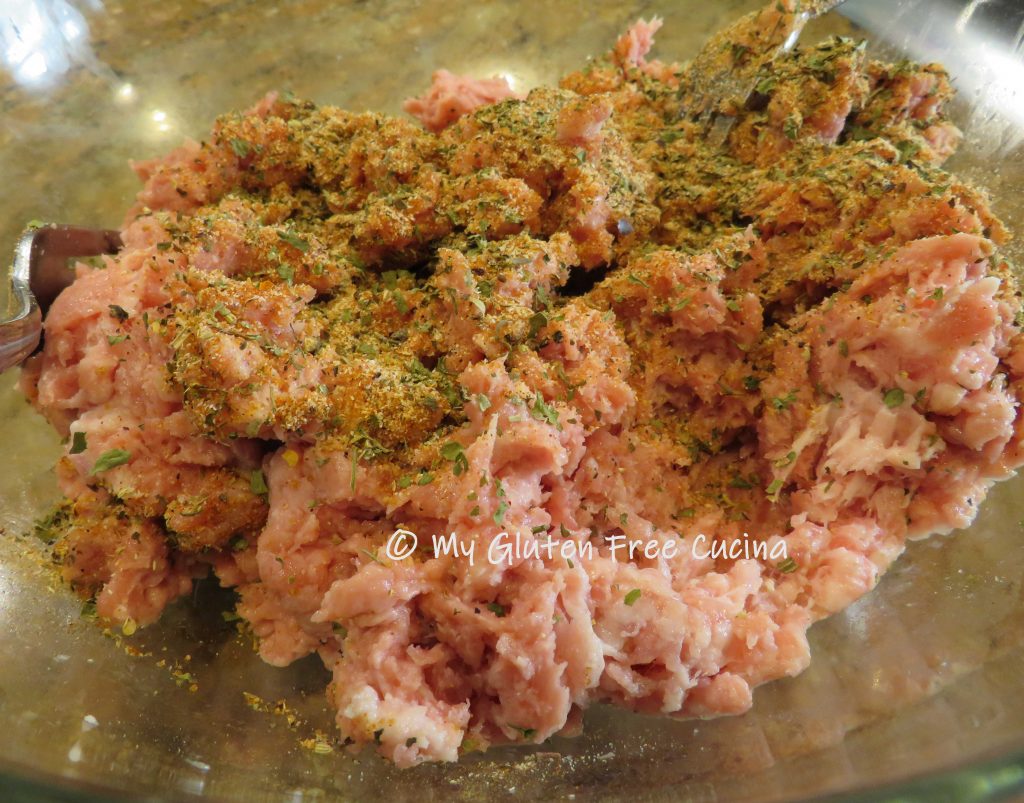
Add the vinegar one tbsp. at a time, mixing well after each addition.  Whisk the spices together and sprinkle over the meat, using the forks to incorporate the spices throughout the mixture.  If you’re not watching salt go ahead and add some here.

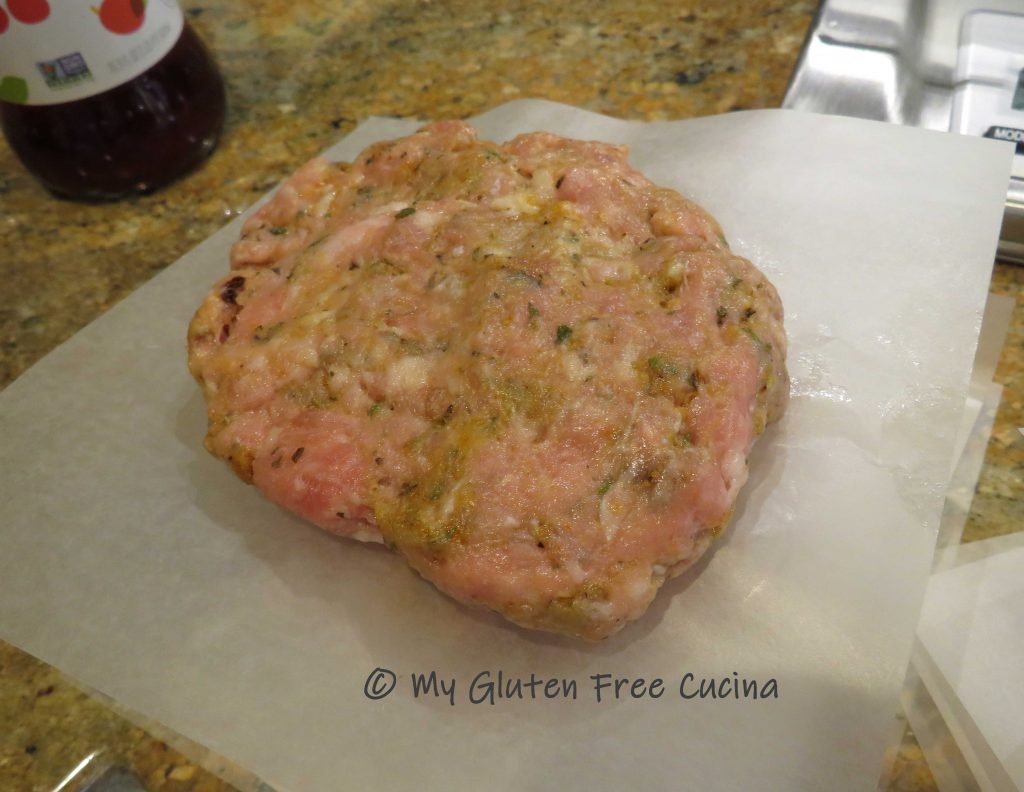
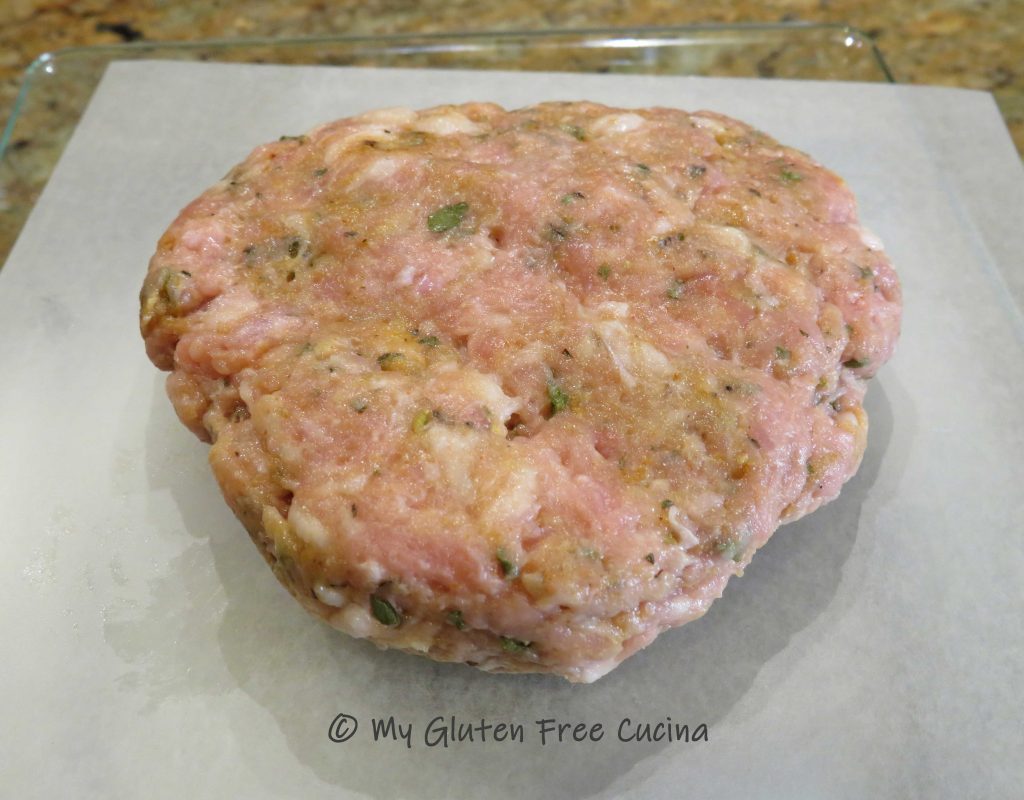
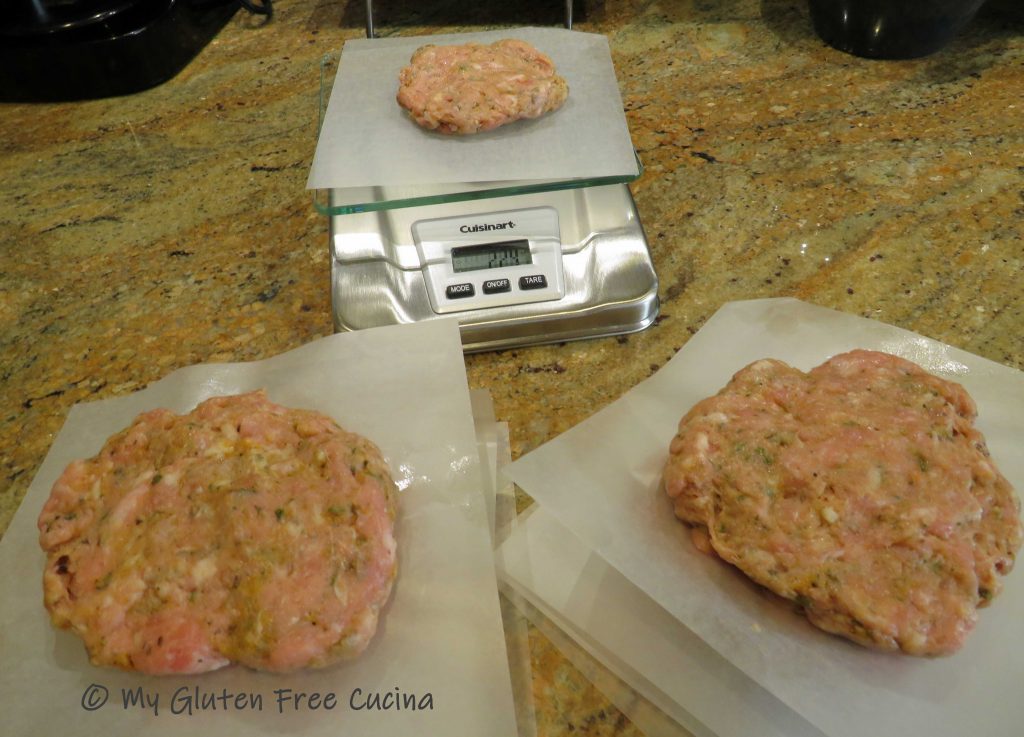
I used a scale to measure out 4 oz. patties.  I pressed them between wax paper squares.  This recipe yields 8 patties.

The patties need to rest for 12 hours in the refrigerator prior to cooking, this allows the flavors to meld, and the vinegar tenderizes the meat.

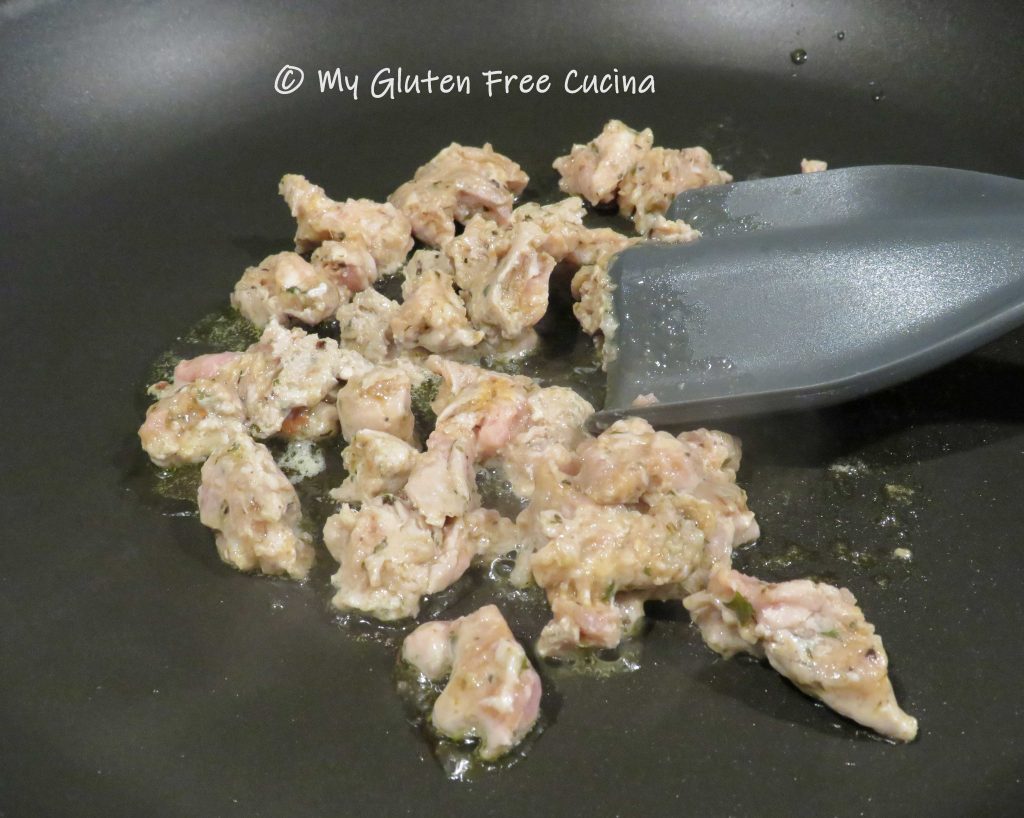
After 12 hours in the fridge the sausage patties are ready to be cooked or frozen.  They are great for breakfast or in a sandwich.

Use them in meat sauce, casseroles and stuffing.

Notes ♪♫ In most of my recipes I will recommend that you add salt or seasoning to taste.  Whether you need to limit salt for medical reasons or just a personal preference, when you cook from scratch you are always in control.

Print This Post Print This Post


Homemade Espresso Powder

Like many, I’m getting ready to do a little holiday baking.  Desserts are not my forte, but I do like to indulge in the occasional treat.  That being said, I really do not want to spend money on pricey, seldom used ingredients like Espresso Powder.  So with a little research, I learned how to make a small amount at home that cost me ZERO$$$!  That’s right, the only ingredient needed are spent coffee grounds.

So get your morning coffee brewing and let’s get started.

Ingredients:

  • used coffee grounds

Preparation:

Brew coffee and reserve the grounds.  Let them drain for a bit, then spread the grounds in an even layer onto a parchment lined baking sheet.

Bake the grounds for 1 hour at 250º, then turn off the oven and leave the pan in for another 2 hours.  The grounds should be very dry to the touch.

Transfer the grounds to a coffee grinder and process into a fine powder.

Store in an air tight container, I used a small Ball jar.

Use in recipes that call for espresso powder.

Notes ♪♫ I’m a New England girl, and we love our Dunkin Donuts coffee!  That’s what I used in this post, of course you can use real espresso or any roast you prefer.

Print This Post Print This Post


Gluten Free Hamburger Buns “BYOB”

Note: I’ve updated the recipe!  I’ve tweaked the proofing instructions for an improved dough that is easier to shape and bakes into a nice round bun. If you have made this recipe before (I hope you have!), be sure to note the new resting/proofing times.  07/01/2022

……………………………………………………………………………………………………………………………

Summer is in full swing, and with it the long-awaited cookouts and neighborhood barbeques.  A burger on the grill is one of life’s simple pleasures, but when you have Celiac disease, an invitation to the family cookout usually means “BYOB” – Bring your own bun!

It’s all part of gluten free living, but that doesn’t mean settling for the frozen cardboard buns at the market.  Instead, enjoy that burger on an awesome, gluten free bun that you made from scratch!

I’ve gone through the trial and error of testing endless grain combinations to create the most delicious gluten free hamburger bun.  It holds together beautifully, no crumbling! It’s delicious toasted but doesn’t need toasting, and the taste is amazing!  The other guests may be jealous, so be sure and make enough to share 🙂

This Post Contains Affiliate Links

6 buns

*Contains Oats – see notes

Ingredients:

  • 2-1/4 tsp. yeast (1 packet)
  • 1/2 tsp. sugar
  • 1/2 cup 1% milk

………………………………………….

**(Note: If you are avoiding oats, substitute 50 g. sorghum flour for the oat flour in this recipe.  You can also try buckwheat or millet flour)

………………………………………….

  • 1 egg
  • 2 tbsp. canola oil
  • 1 tbsp. honey
  • 3/4 cup water

………………………………………….

  • 1 tbsp. milk
  • tbsp. sesame and poppy seeds (optional but good)

Gluten free dough really does benefit from the support of a bun pan to help keep its shape as it rises. This one, from USA Pan is perfect.  You can also use muffin rings or even canning jar lids.

Preparation:

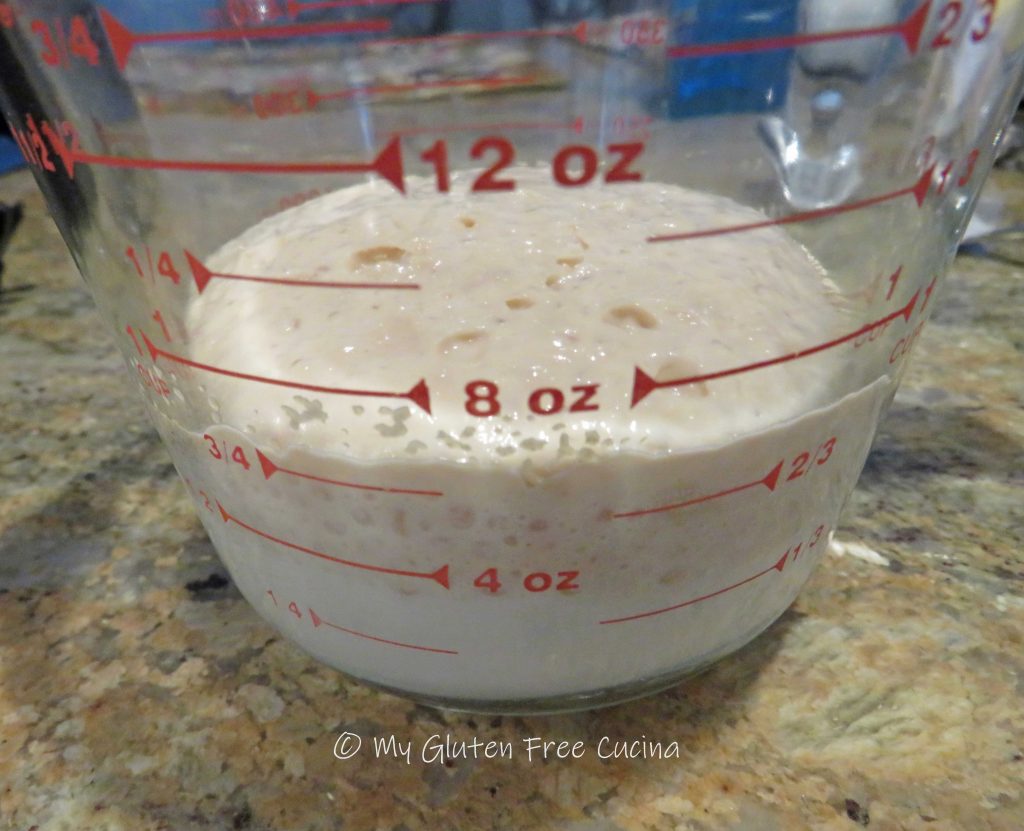
Microwave 1/2 cup milk for 30 seconds.  Stir in the yeast and sugar, and let it proof 15 minutes while you gather the rest of the ingredients.

Whisk together the dry ingredients.

In the bowl of a stand mixer, whisk the egg, canola oil and honey with the proofed yeast mixture.  Switch to the beater attachment and add the dry ingredients with 3/4 cup water on low speed until combined.

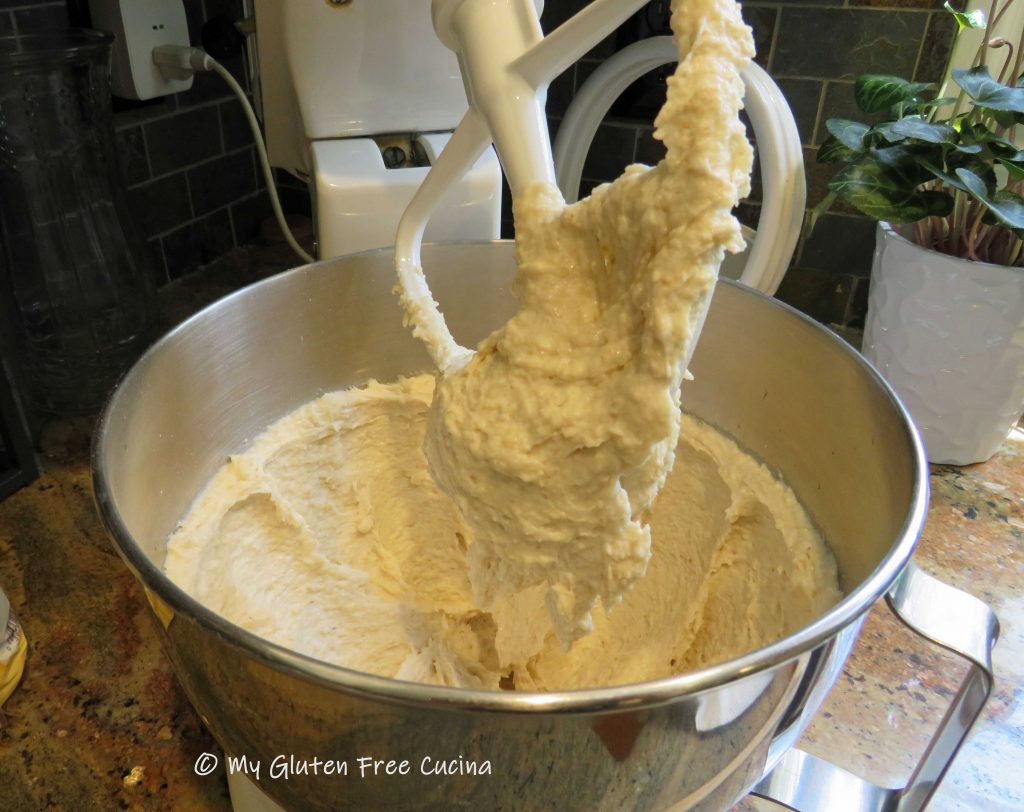
Beat for 6 minutes to form a wet dough that clings to the beater like this.
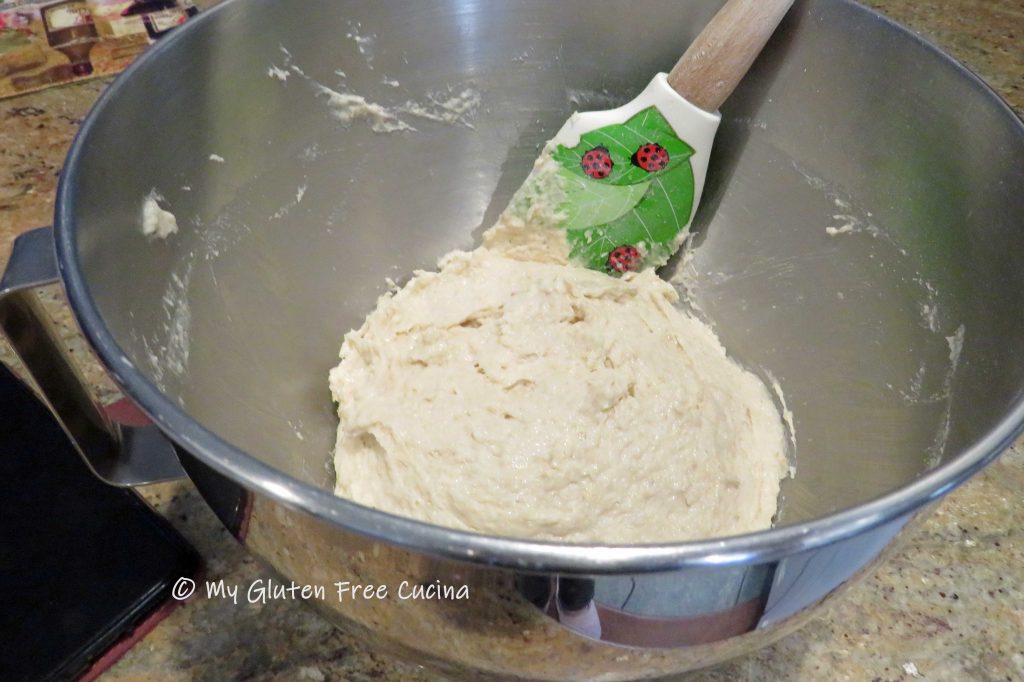
Now, here’s where I changed up the instructions a bit.  Gather the dough together in the mixer bowl and cover with plastic wrap.  Let it rest for 15 minutes.  This will give the dry ingredients a chance to hydrate.

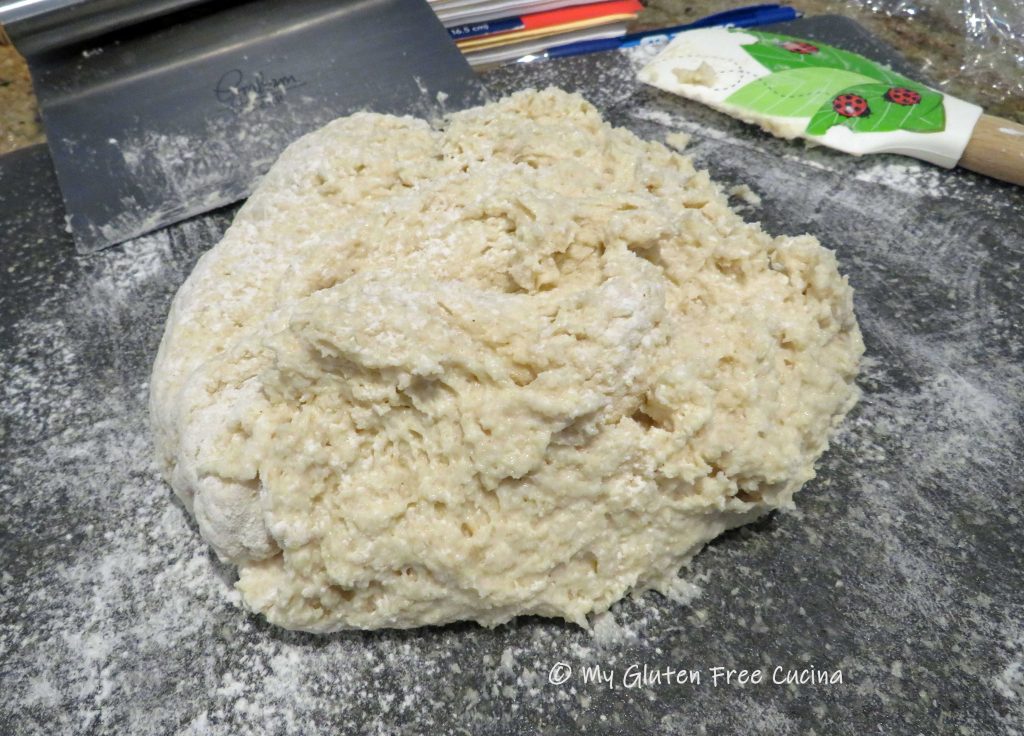
Turn the dough out onto a floured work surface and sprinkle with more flour.  The dough will look shaggy, like this.

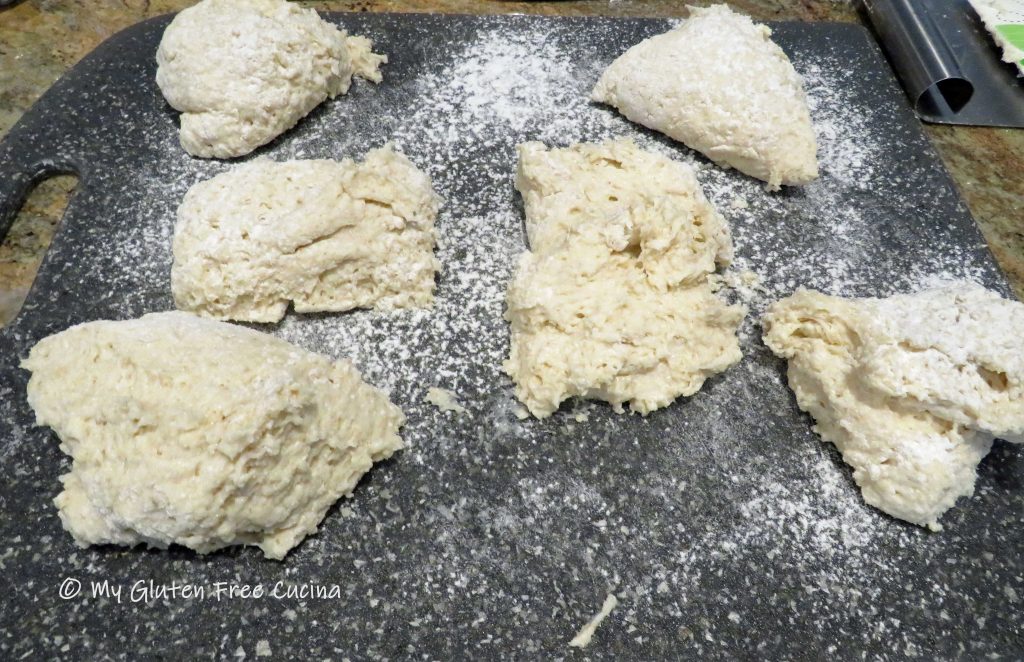
Use a bench knife to divide the dough into 6 even pieces.  Sprinkle generously with more flour.

Use floured hands and bench knife to gently roll and pat each piece into a ball.  Handle the dough with a very light touch and apply as little pressure as possible.

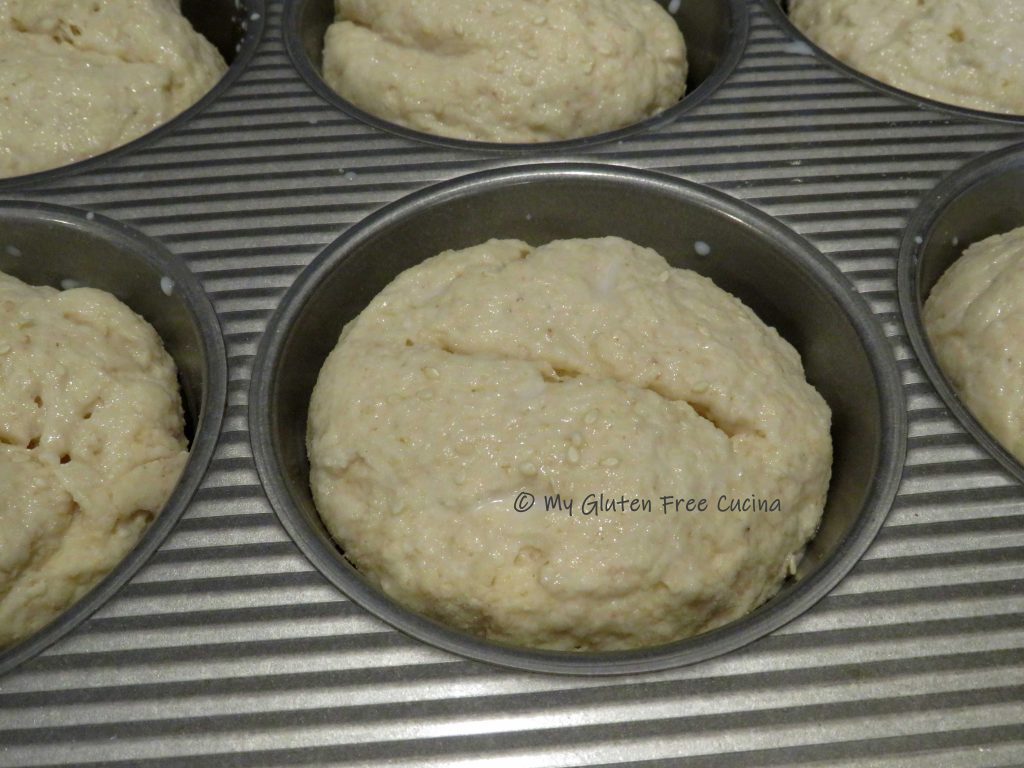
Spritz the bun pan with cooking spray and gently transfer the formed buns.  Cover with oiled plastic wrap and proof for 15 minutes while you preheat the oven.

NEW METHOD – BEAUTIFULLY SHAPED ROLLS

Look at the difference between this and my old method!  Nice round rolls vs. mashed potatoes!

OLD PROOFING METHOD

Preheat the oven to 400º, and lower to 350º just before baking.  Brush milk over the tops of the buns and sprinkle with seeds if desired.  Use a paring knife to score each bun down the center.

Place the pan in the oven on the middle rack.  Spray the sides of the oven with water and quickly close the door.  Bake for 30 minutes, or until the internal temperature reaches 200º (use a thermometer).  Turn the oven off, open the oven door slightly, and leave the buns in for 5 minutes longer.

Remove from the pan and cool on a rack.  Don’t slice until they have completely cooled.

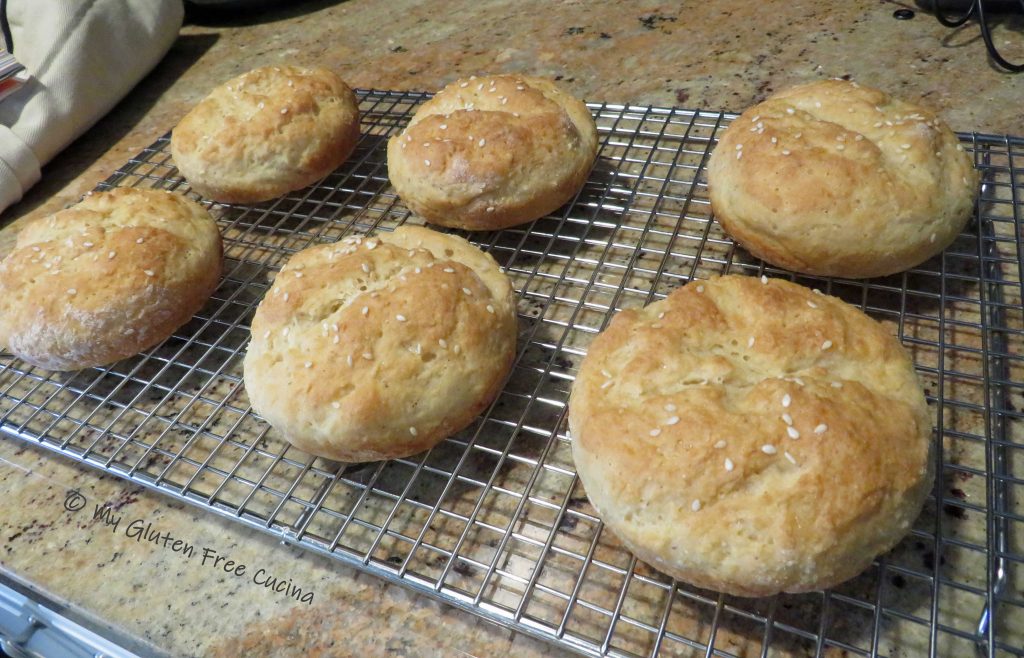
Look at the shape, so much better with the new proofing instructions!

NEW RESTING/PROOFING METHOD
OLD PROOFING METHOD


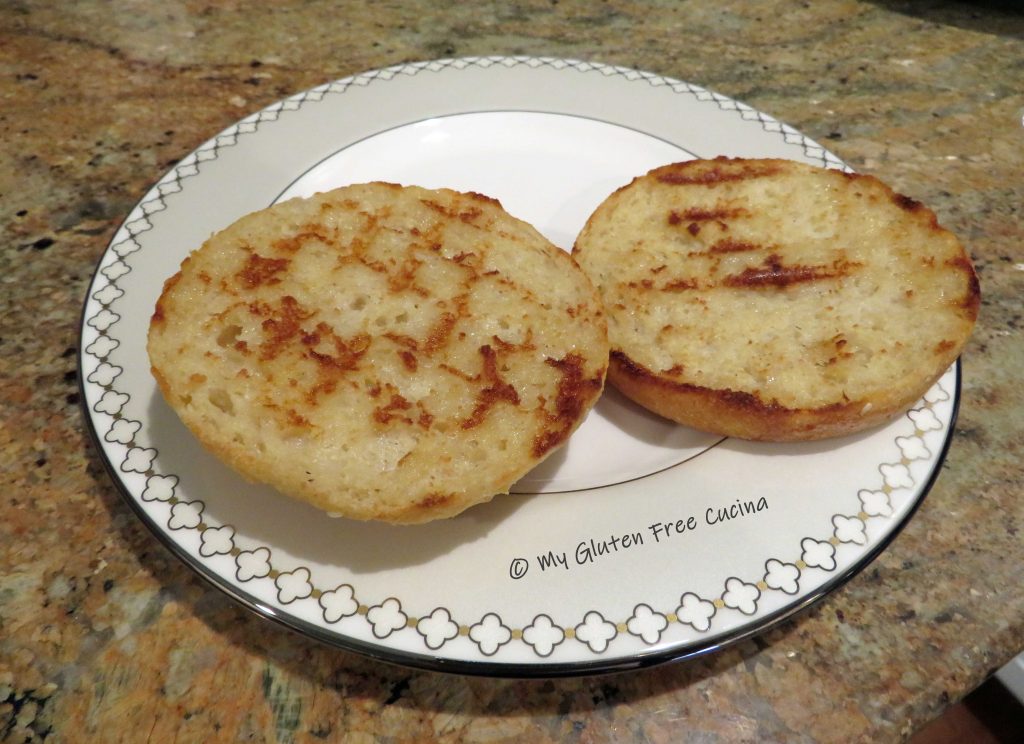
The rolls are perfection, they have a nutty, bready aroma and a soft crumb!

Toast them up or not, they are great either way!

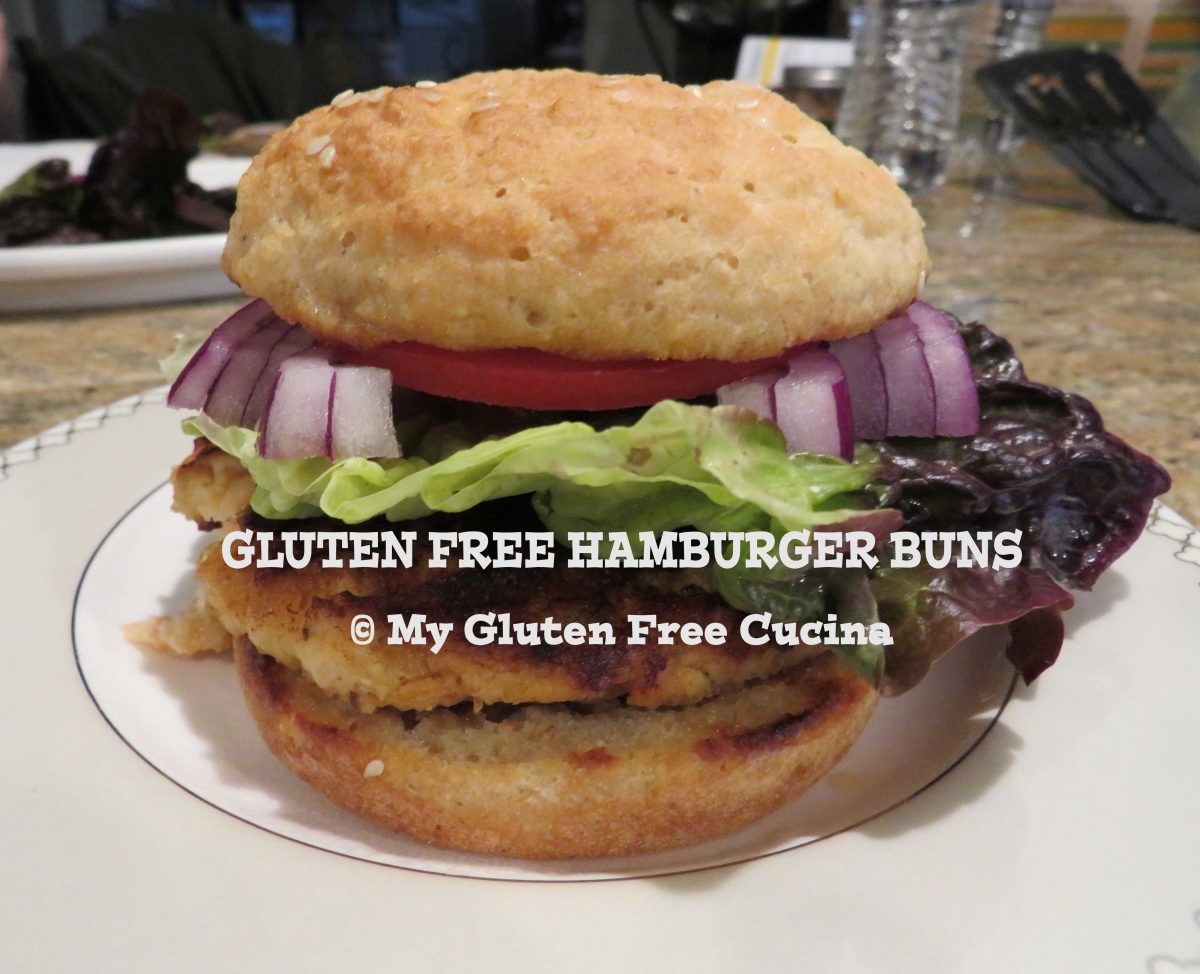
They are the perfect accompaniment to all your summer burgers and lunch sandwiches!  For something different, try them with my Gluten Free Salmon Burgers.

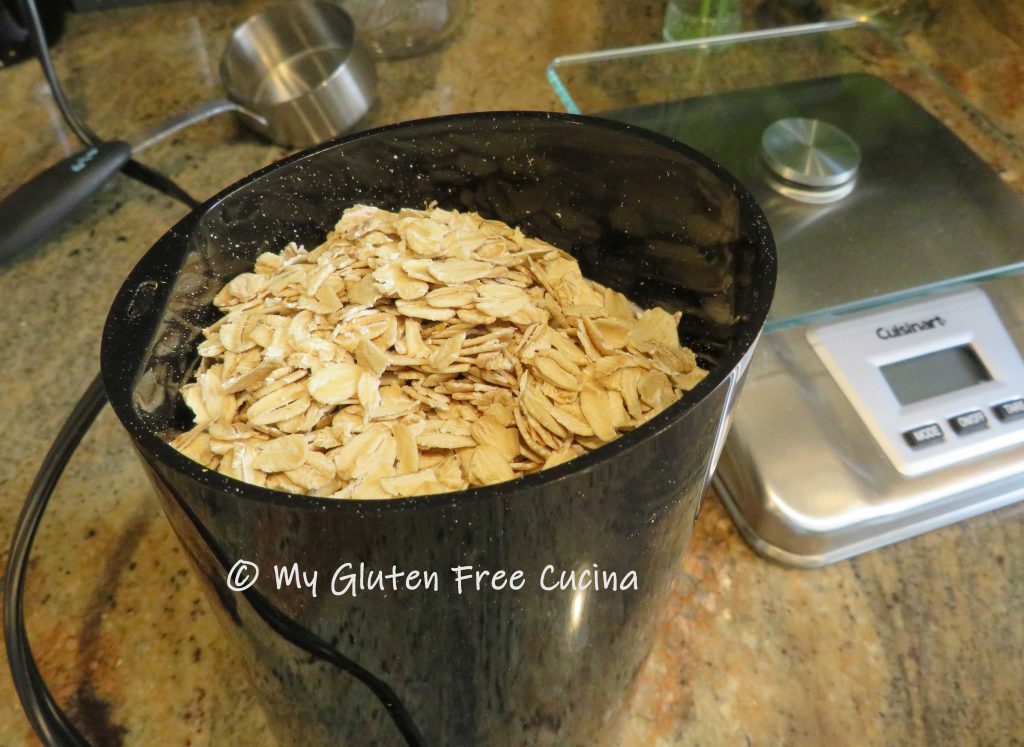
Notes ♪♫ Rather than stock oat flour in my pantry, I buy old fashioned rolled oats and grind them in a coffee grinder when flour is needed.  In doing so I always have oats on hand for breakfast, adding to recipes in whole form or to grind for small amounts of flour.  For best texture and nutrition, I use old fashioned rolled oats, not instant.  Of course, ALWAYS choose certified gluten free oats and for extra peace of mind buy Purity Protocol Oats.

Notes ♪♫ Oats continue to be highly controversial when it comes to celiac disease.  Whether or not you consume oats is a personal choice.  As a courtesy to my readers, I will identify any recipes that include oats and suggest ingredient substitutes when possible.

Print This Post Print This Post

Gluten Free Millet Bread

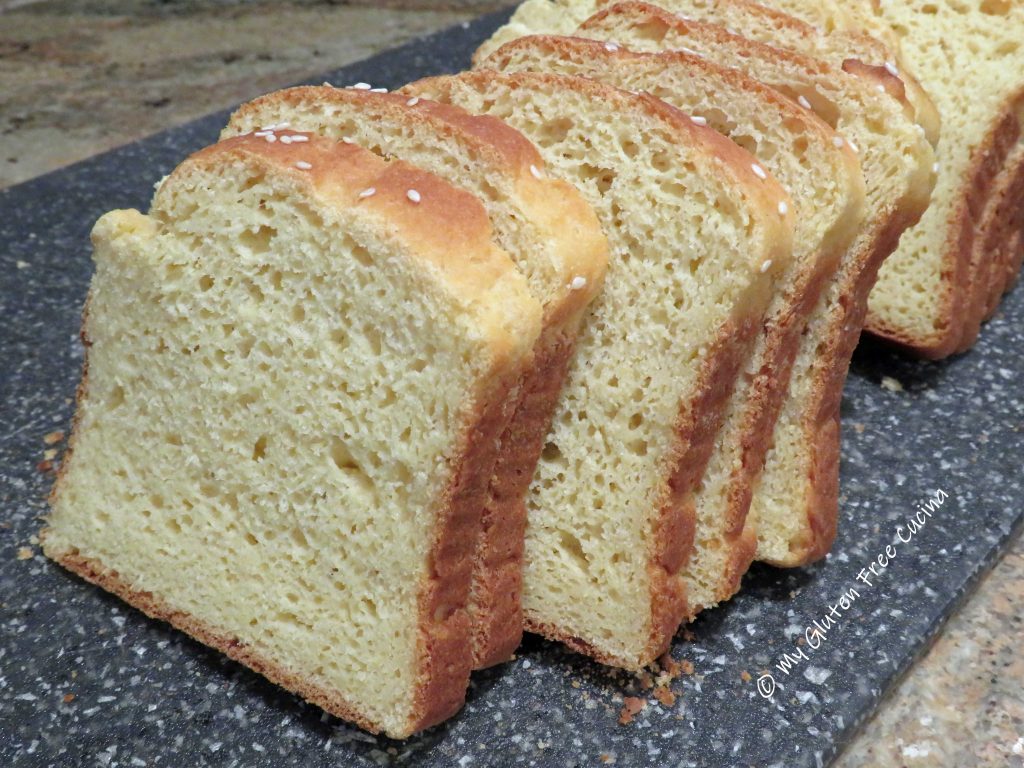
I have my favorite toasting breads for breakfast.  They are dense, hearty seeded loaves that hold up well in the toaster like Mighty Tasty Toasting Bread and Millet and Buckwheat Toasting Bread.  But as much as I love their texture, sometimes I’m craving a soft, enriched bread to make sandwiches, or maybe French Toast?  This Gluten Free Millet Bread fits the bill.  It has a soft, cake-like crumb with just a hint of sweetness.

I used Bobs Red Mill whole grain millet in this recipe.  The loaf pan is from USA Pan, made in the USA!

This post contains affiliate links.

I used freshly ground millet in this recipe.  Milling your own flour is a great way to add fresh, nutritious whole grains to your baking.  Learn more about using a grain mill here.  Feel free to use purchased millet flour, if you can’t find it in stores it is widely available online.

Ingredients:

Preparation:

Whisk together the dry ingredients, millet flour through salt and add them to the bowl of your stand mixer.  In a separate bowl, microwave 1 cup of milk for 30 seconds.  Whisk in the yeast and honey and let it stand for 10 minutes until bubbly.

Whisk the eggs, canola oil and cider vinegar into the yeast mixture.

With the mixer on low speed, gradually pour in the wet ingredients.  Once incorporated, increase speed and beat 3 minutes with the paddle attachment.  The dough will be heavy and clinging to the paddle.

I baked this loaf in a 9″ x 4″ x 4″ pullman pan, the higher sides support the loaf as it rises.  I always line my loaf pans with parchment paper, to easily remove the finished loaf.

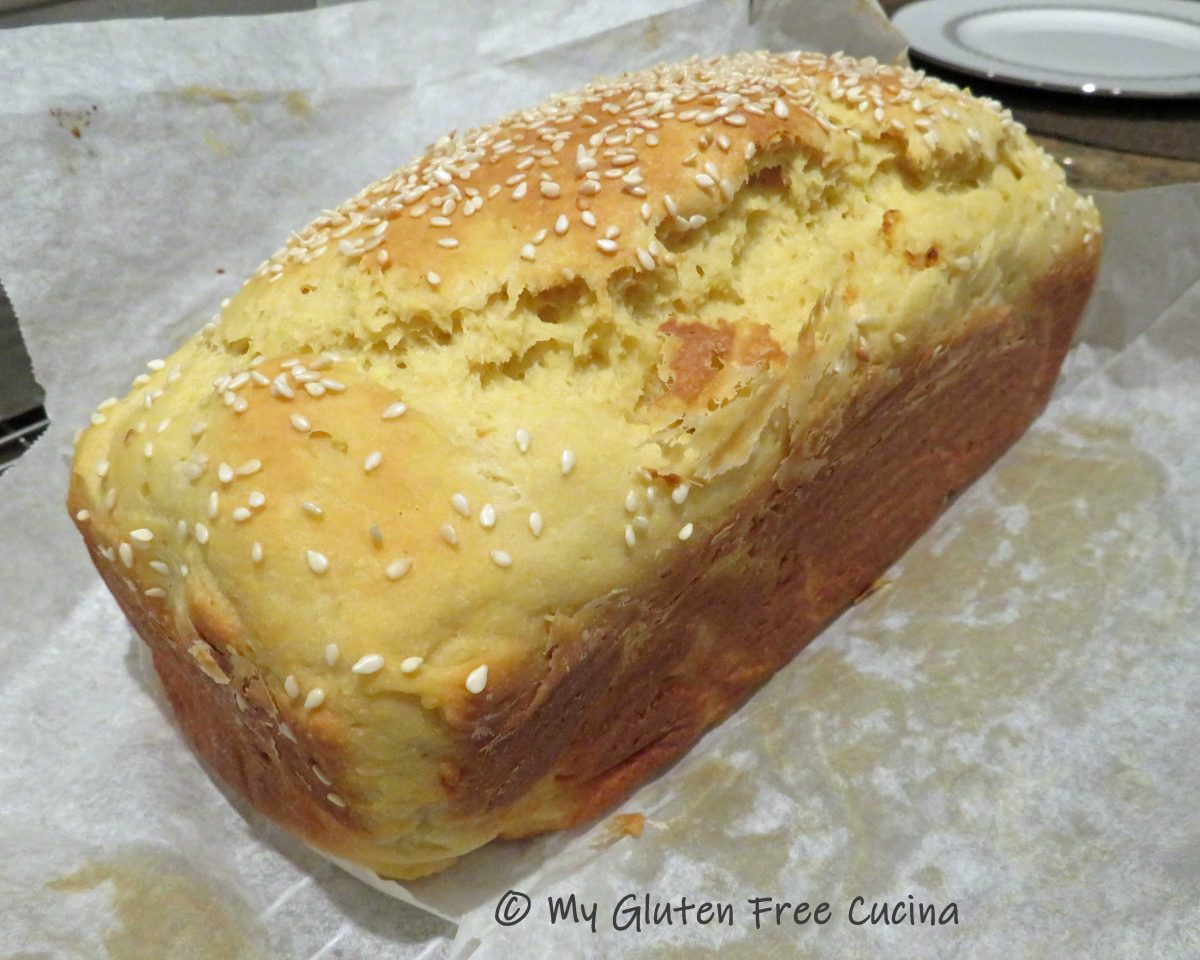
Scrape the dough into the pan and use a wet spatula to smooth it out evenly.  Sprinkle with sesame seeds and cover loosely with plastic wrap.  Let it rise for 1 hour.  I set my pan on top of some padding, so that the pan wasn’t resting directly on the cold counter surface.

Preheat the oven to 350º.  Just before placing in the oven, mist the top of the loaf with water and quickly mist the sides of the oven.  Bake for 45-50 minutes.  The internal temperature should be between 195-200º.

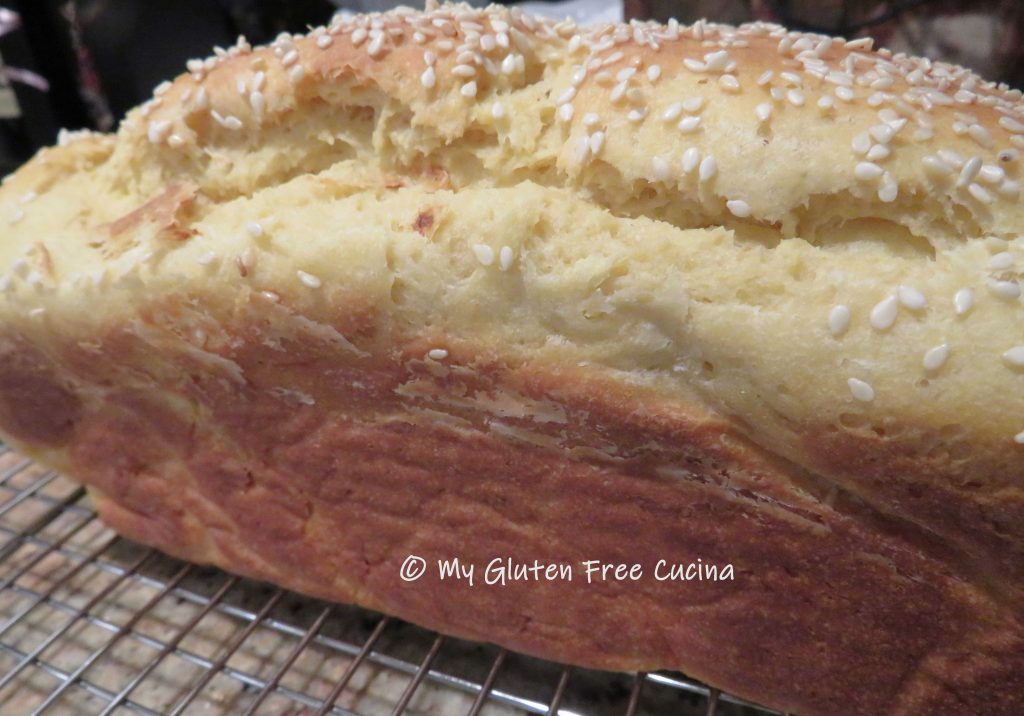
Look at that beautiful loaf!  I was worried that the dough hadn’t risen much but look at the oven spring!  The high sided loaf pan definitely helped with that!

Cool completely on a rack before slicing.

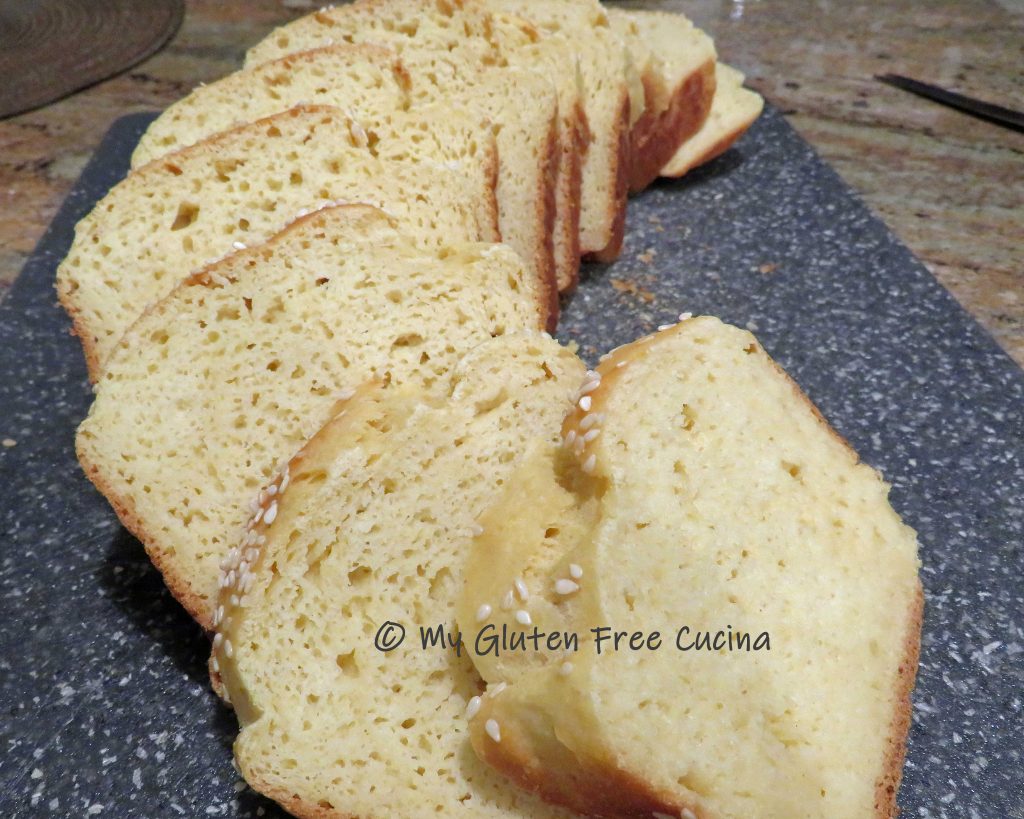
This is exactly what I was hoping for.  It looks like French Toast is back in our breakfast rotation!


Notes: ♪♫  Need more inspiration?  Check out this French Toast Casserole with Blueberries and Cream Cheese, or this delectable Tiramisu French Toast!  Both were made with this Gluten Free Millet Bread!

Print This Post Print This Post

Tomato Bean Soup with Chicken Sausage

Making soup is one of my favorite ways to clear the pantry.  This wonderful fall soup is a great example of what you can put together from little bits of this and that from your pantry and freezer.  I had a cup of dry beans, some frozen chicken sausage along with the fresh roasted tomato sauce that I made earlier (in case you missed that post, catch it here).  Of course you can use a can of fire roasted tomatoes and canned beans, but don’t shy away from cooking beans from scratch, it’s easy and they are a healthy and nutritious addition to winter meals.  Just follow my step by step instructions!

4-6 servings

This post contains affiliate links.

Ingredients:

Preparation:

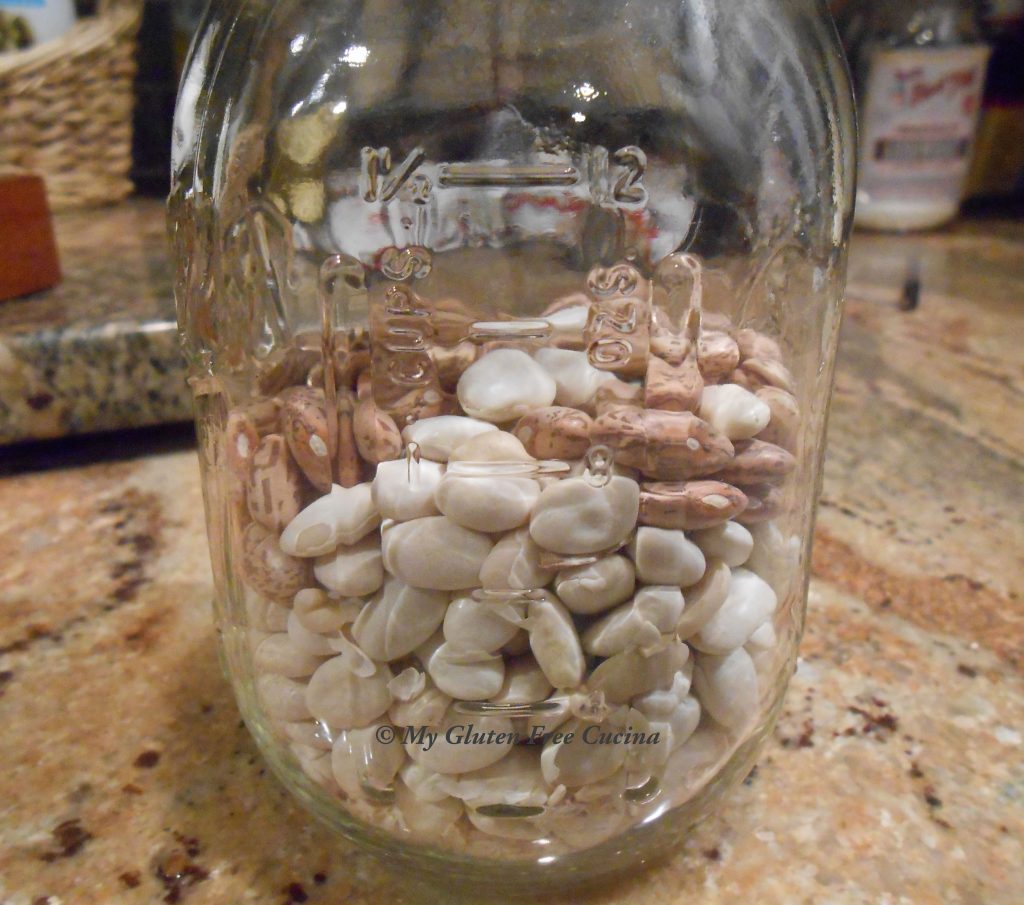
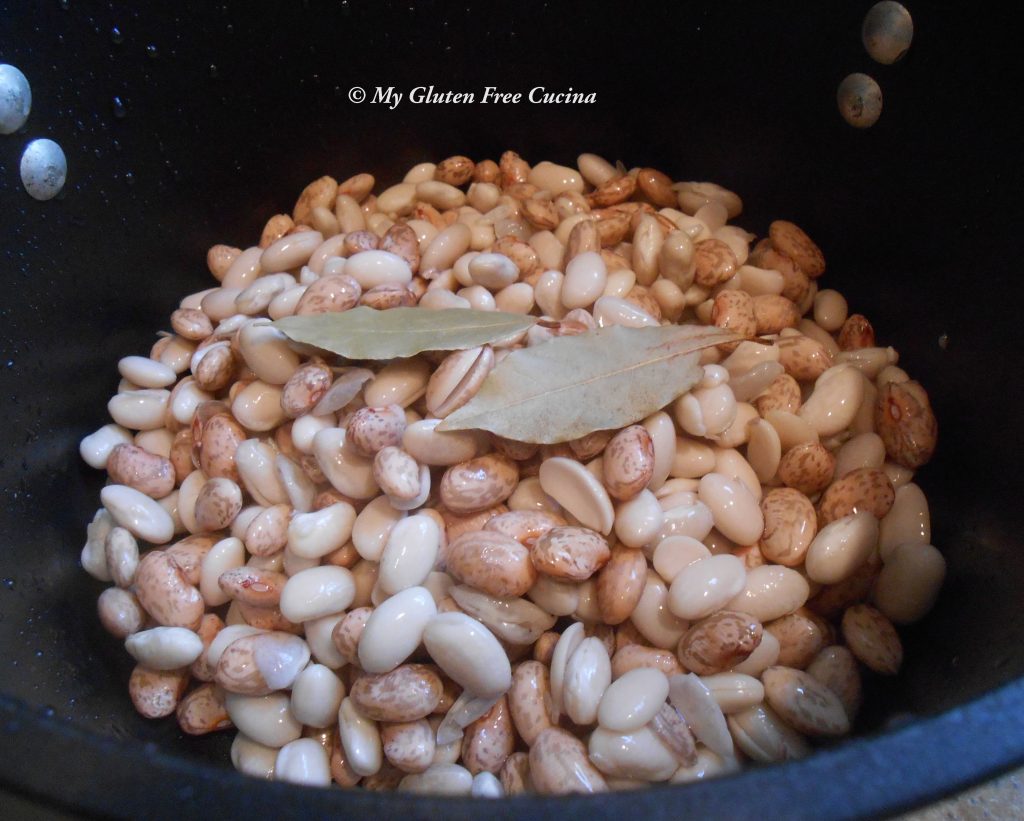
I had a cup of dry beans in the pantry left over from another recipe, a mix of Borlotti and Great Northern.  You can use whatever beans you prefer (see notes).  Soak the beans overnight in cold water.

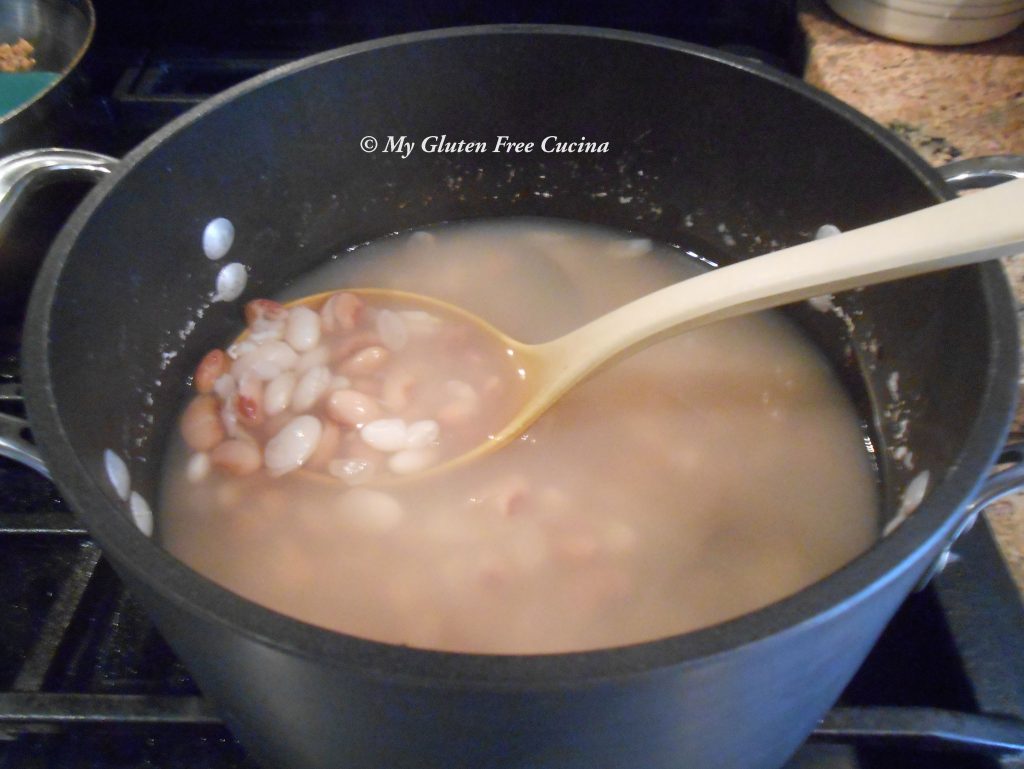
In the morning, the beans will have almost doubled in size.  Drain and rinse them, and return to the pot.  Cover with cold water and add 2 bay leaves.  Simmer 2 hours on low heat.

Notice that I started with cold water.  One of the secrets to tender beans is to cook them slowly and gently.  The heat is on very low the entire time, so the water comes to temperature slowly.  When it does reach a boil, I keep it on a very low simmer.  Also note that I did not add salt.  Salt toughens the beans, so we only add it during the final hour of cooking.

After a 2 hour simmer, drain the beans and discard the bay leaves.  Wipe the pot clean to remove all moisture and add one tbsp. olive oil.

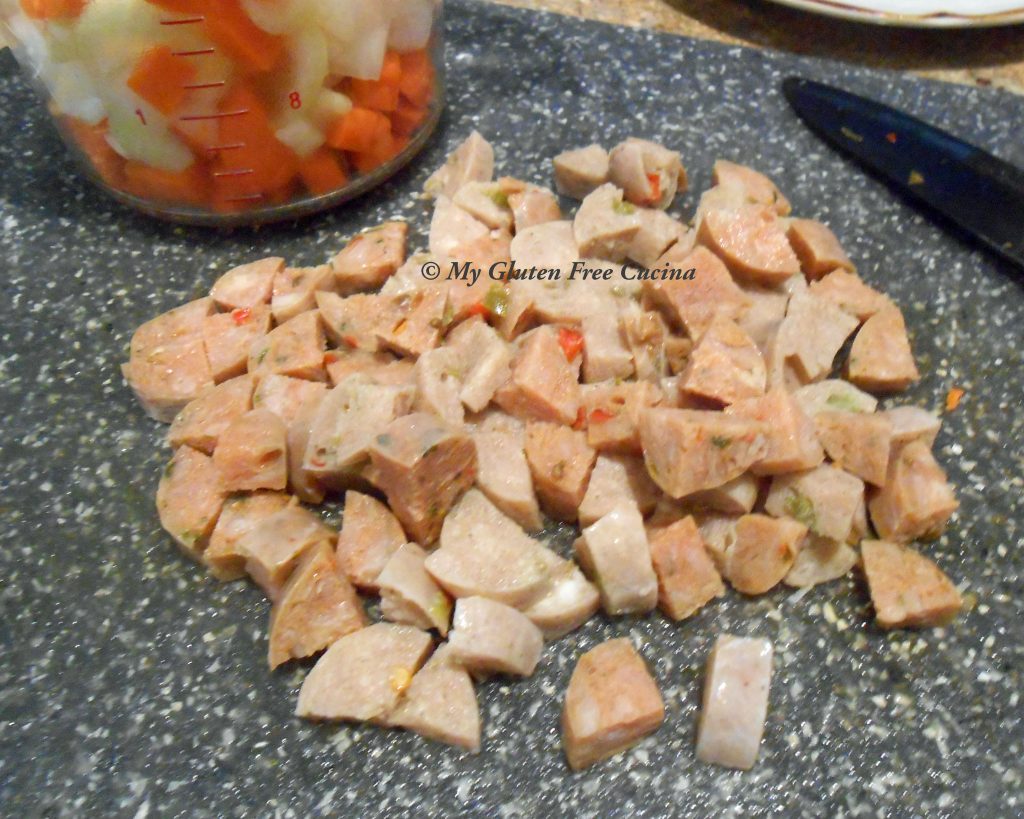
To kick up the flavor in this soup, I added 2 chicken sausage links from my freezer pantry, one hot and one mild.  You can use pork sausage, ham or whatever protein you prefer, just be sure it’s gluten free.  Dice the sausage into 1/2″ pieces and cook until any liquid has evaporated and the meat is nicely browned.  Pardon the shaky photo but you get the idea!

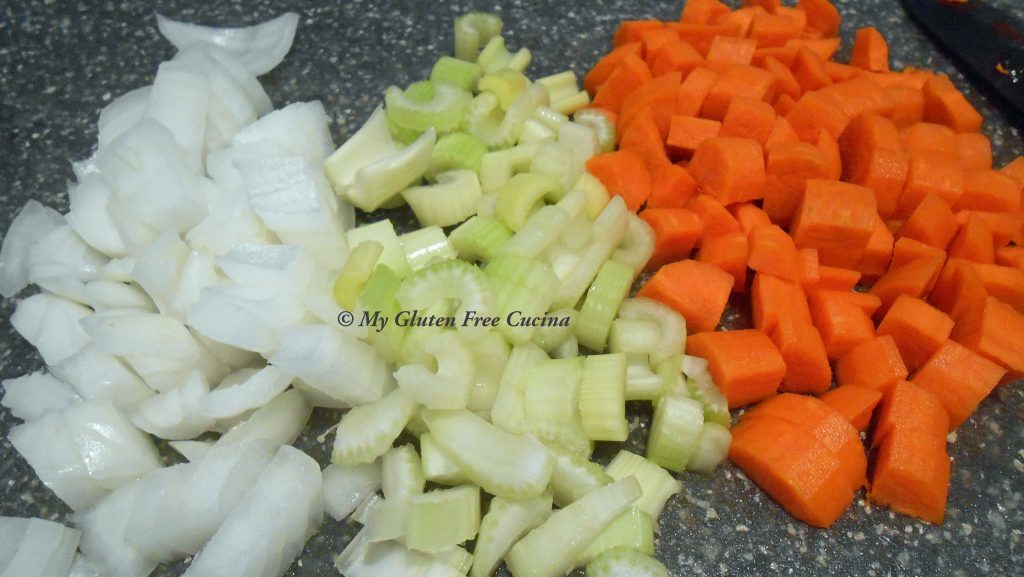
Remove the sausage, cover and set it aside until the soup has finished.  Leave any fat and browned bits in the pot and add another tbsp. olive oil.  Add all of the veggies and season with salt and pepper.  Cook 5 minutes, stirring frequently.

Now add back the beans, tomato sauce, vegetable broth, sage and thyme.  Cover and simmer (keep the heat very low) for 1 more hour.

To finish the soup, stir in a pinch of red pepper flakes (optional but I like the spicy kick) and return the sausage to the pot to heat through.

Ladle into bowls, garnish with fresh chives and serve with grated cheese.

We really enjoyed this soup, even though it was quite warm this first weekend of autumn!  I’ll be sharing more of my favorite soup recipes in the coming weeks, and I hope you will come by again to see what’s cooking in my Cucina!

Notes ♪♫  Beans are a naturally gluten free food.  However, be wary of the mixed bean packages as some contain barley.  I always rinse my beans thoroughly to limit risk of any cross contact during processing.

Print This Post Print This Post

Roasted Tomato Sauce

Last weekend I was gifted a bag of garden tomatoes.  They were a mix of  different colors, shapes and sizes.  Some were perfect, others had blemishes.  They sat on the counter for a few days while I decided what to do with them.

I’ve read several articles about roasting tomatoes for sauce, but have never tried it myself.  I must admit that I prefer the convenience of canned tomatoes, but with this bowl of fresh garden tomatoes in front of me I was inspired to give it a try.

This post contains affiliate links.

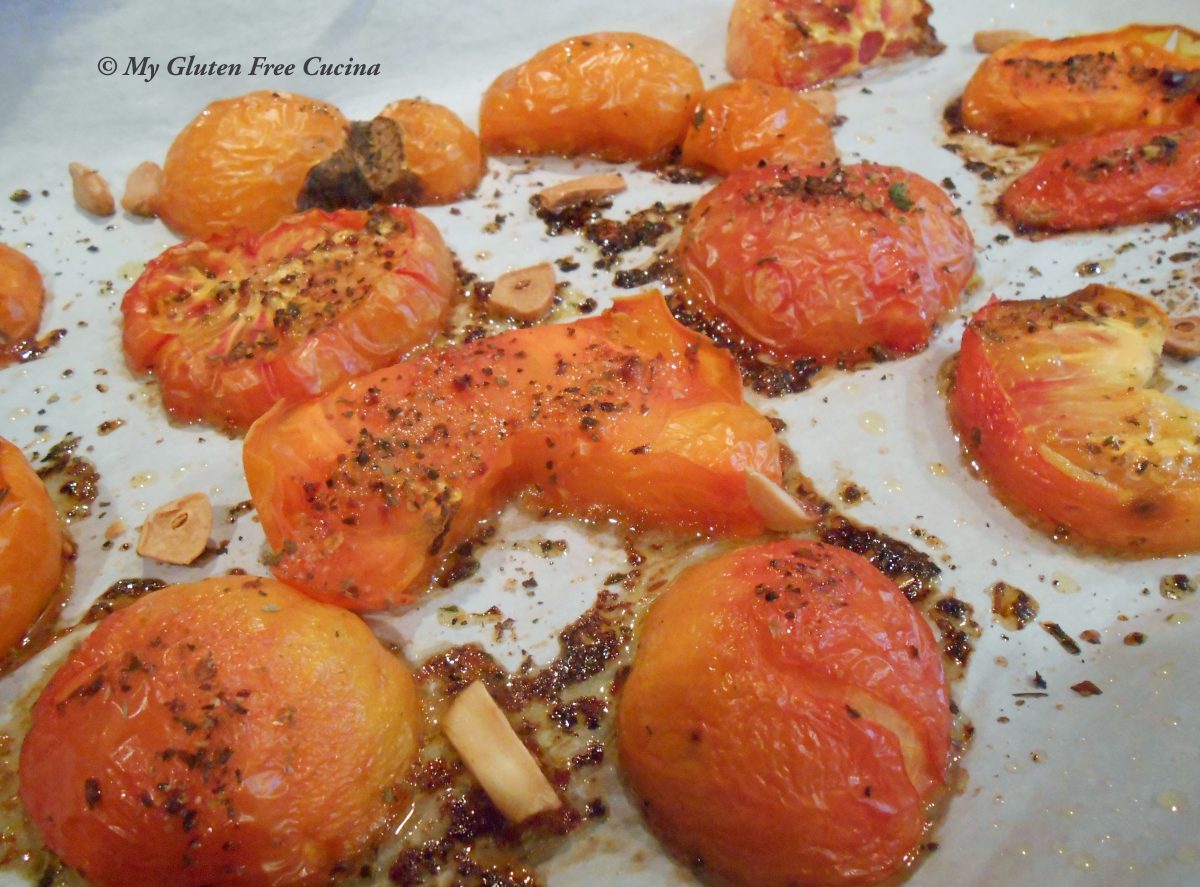
The preparation was simple.  I lined a baking sheet with parchment paper and rubbed it with olive oil.  I cut the tomatoes into 3/4″ slices and placed them skin side up on the oiled baking sheet.  I drizzled them with a little more olive oil, added a few garlic cloves and sprinkled with gluten free Italian seasoning.  I roasted the tomatoes for 2-1/2 hours at 250º.

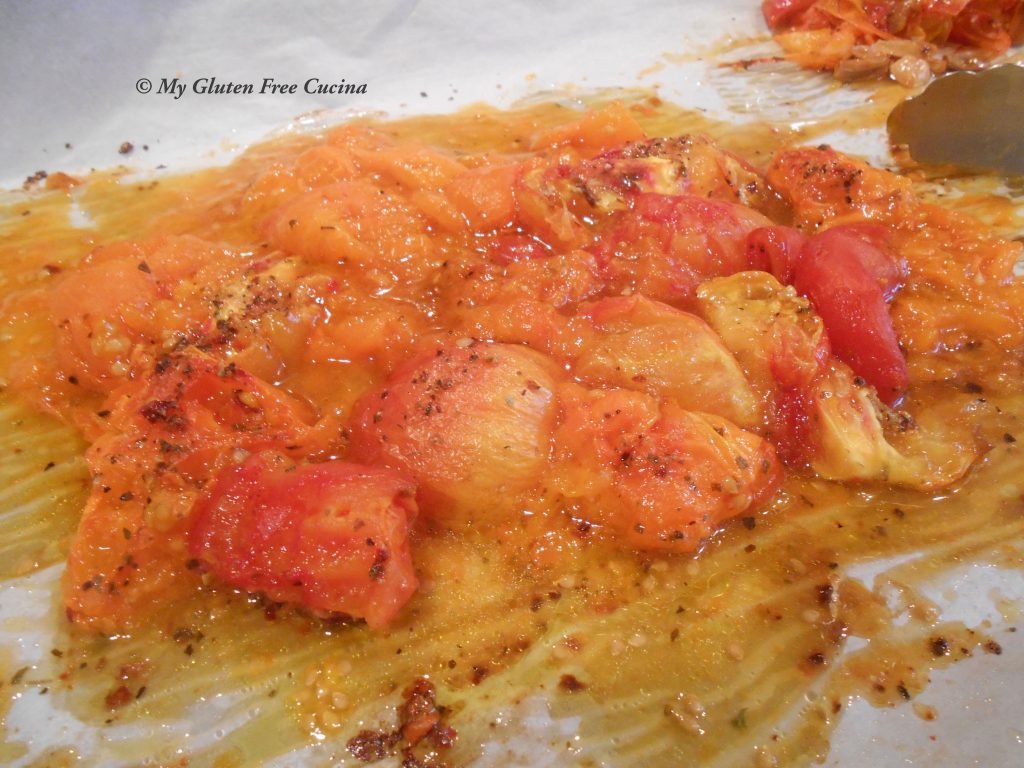
When I removed the tomatoes from the oven, the skins were split and blistered.  I used tongs to gently lift off the skins and discarded them. I also removed the garlic.

Then I picked up the corners of the parchment and poured the tomatoes and juice into a sauce pot.

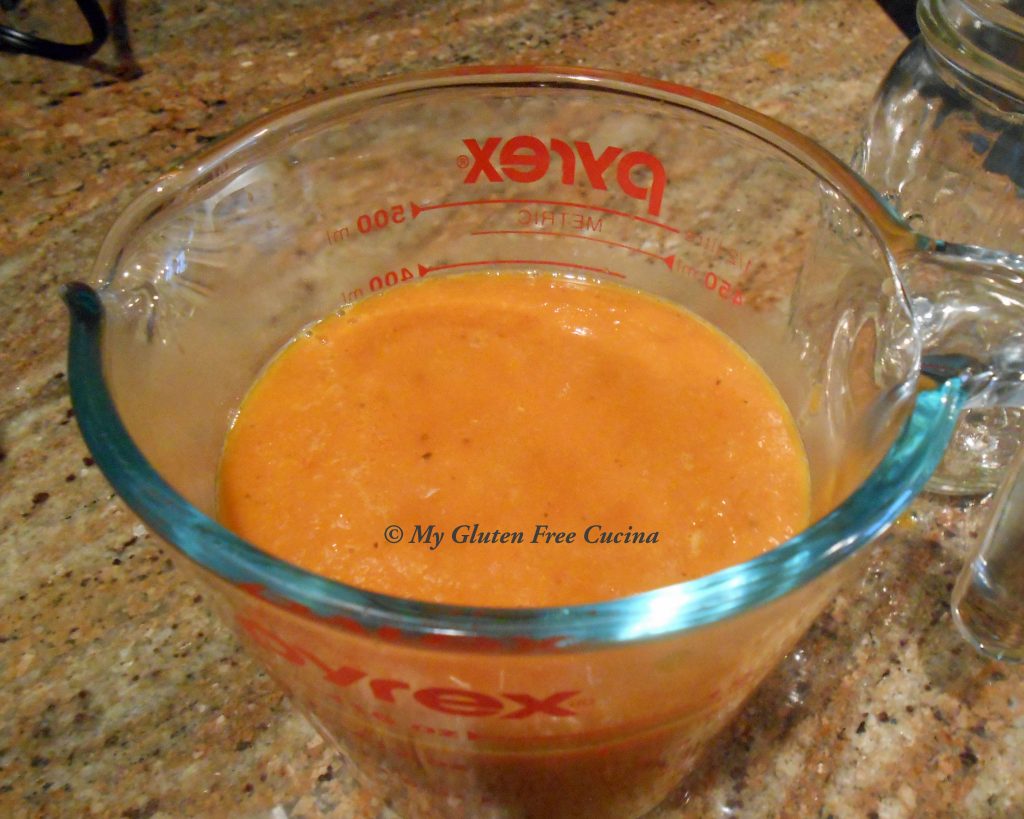
I used a stick blender to puree the tomatoes into a smooth sauce.

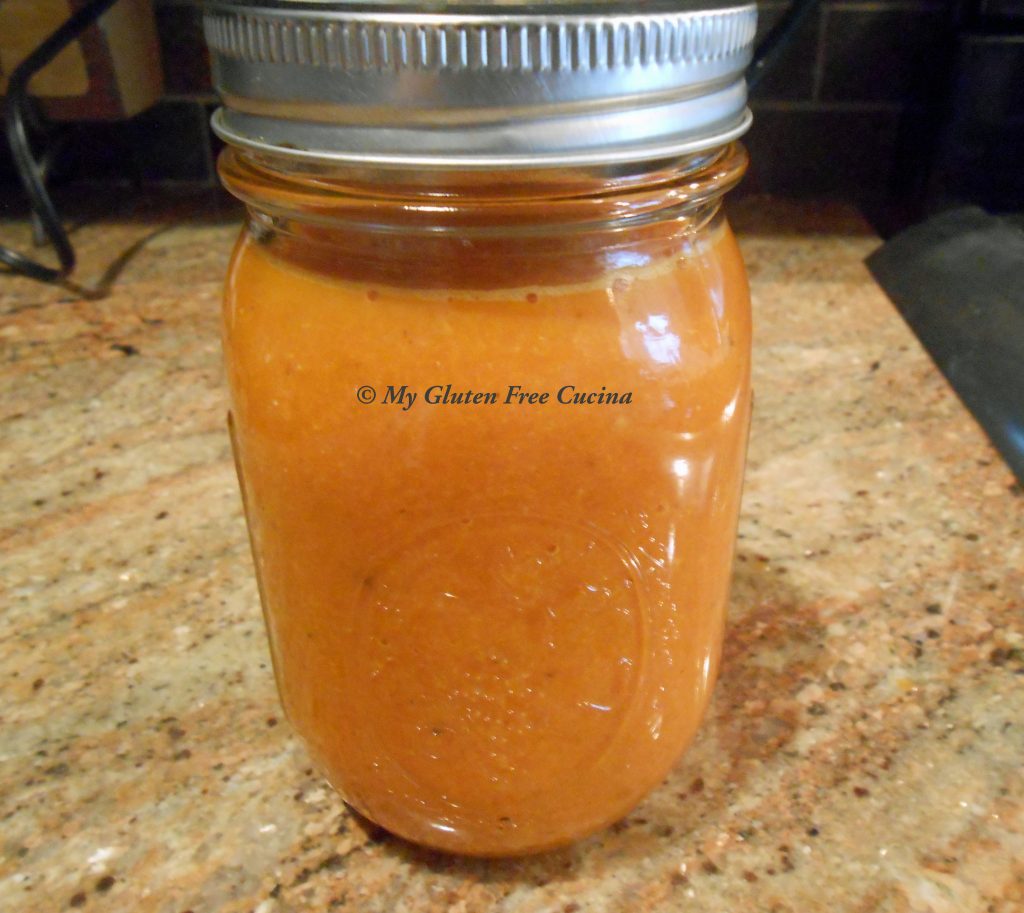
The kitchen was filled with the aroma of roasted tomatoes and garlic!  As you can see, the sauce is orange in color.  Quite different from the red canned sauce that we usually purchase.

My tomatoes yielded just under 2 cups of sauce.  It really gives you an appreciation of how many tomatoes are needed to fill a large sauce can.

So now my roasted tomato sauce is in the refrigerator waiting to become part of another meal (check it out here)!

Notes ♪♫ Canned tomatoes are one of the few processed foods that I indulge in.  My mother always used Hunts Sauce and I prefer it to this day, maybe because of the memories it brings.  Muir Glen is another favorite brand, especially their Fire Roasted Tomatoes which by the way are a fine stand-in for this very recipe!

Print This Post Print This Post

Maple Sorghum Cereal Flakes

When I first had to go gluten free, one of my biggest disappointments was breakfast.  I have always enjoyed whole grain wheat cereals, so I was shocked to find that gluten free cereals did not measure up.  Many are made with refined flours and are full of sugar, kid stuff!

I want an adult cereal with great flavor, texture and fiber.  So, after 2 years of choking down sugary cardboard flakes I decided to try making my own.  Why not?  I began by thinking about my favorite cereals “BC” (before Celiac!).  What did I like about them?  Not too sweet, great chew, whole grains and seeds.  I started brainstorming grain combinations that I thought would be tasty and got to work.


The result, my first homemade, from scratch gluten free cereal!  I tasted the crunchy flakes and thought, this is what I’ve been missing.  My husband gave them a thumbs up as well, and we could hardly wait for breakfast.  I wondered if the flakes would get soggy but no, they stayed crispy in milk as well as any of the box brands.

Now I can hear you groaning, you make your own cereal, really? Let’s be honest friends, this wasn’t hard to do.  Making the dough was simple.  Spreading it out in a thin layer took some patience but I got through it quickly.  The oven did the rest.

Seriously, you have got to try this!

Yield 9 oz. – about 6 servings

Ingredients:

  • 114 g. Sorghum flour
  • 57 g. Brown rice flour
  • 14 g. Teff grain, ground
  • 13 g. Flax seeds, ground
  • 29 g. Almond flour
  • 30 g. Cassava flour
  • ½ tsp. salt
  • 1 tbsp. maple syrup
  • 1 tbsp. Canola oil
  • 1-1/3 cups water

Preparation:

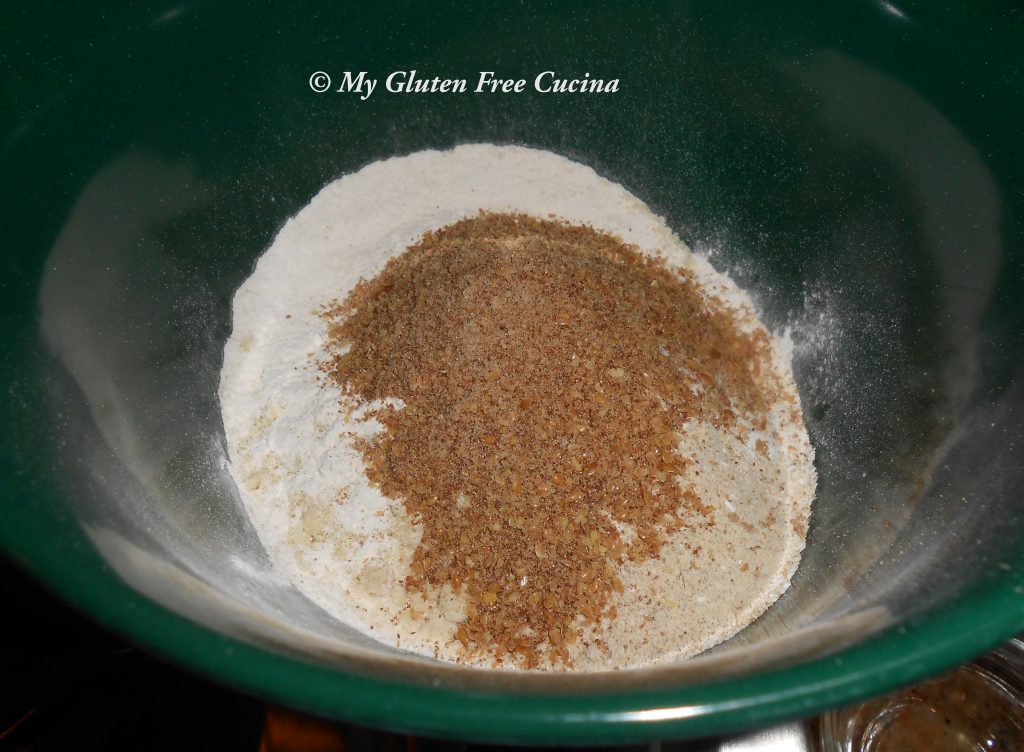
I chose sorghum as the predominant grain because I love it in my bread baking, along with brown rice.  Teff has always reminded me of cereal.  It has a strong taste that can easily overpower a recipe, but I knew that a little would add a wheaty note to the flavor profile.  I ground the Teff grain and flax seeds in a coffee grinder.

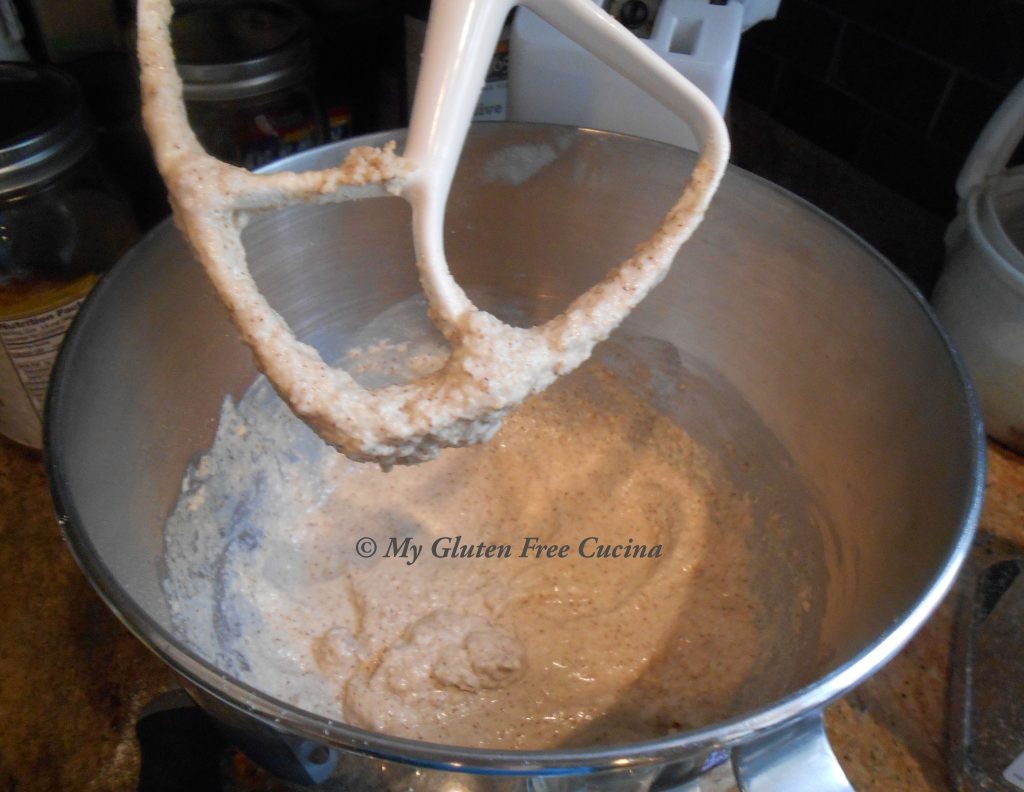
To make the dough, I first whisked together the dry ingredients.  Then I added the maple syrup and canola oil to the bowl of my stand mixer, and began combining with the flour mixture using the paddle attachment.  I added water, 1 tbsp. at a time until I had a wet dough, like pancake batter.  In all I used 21 tbsp. of water, about 1-1/3 cups.

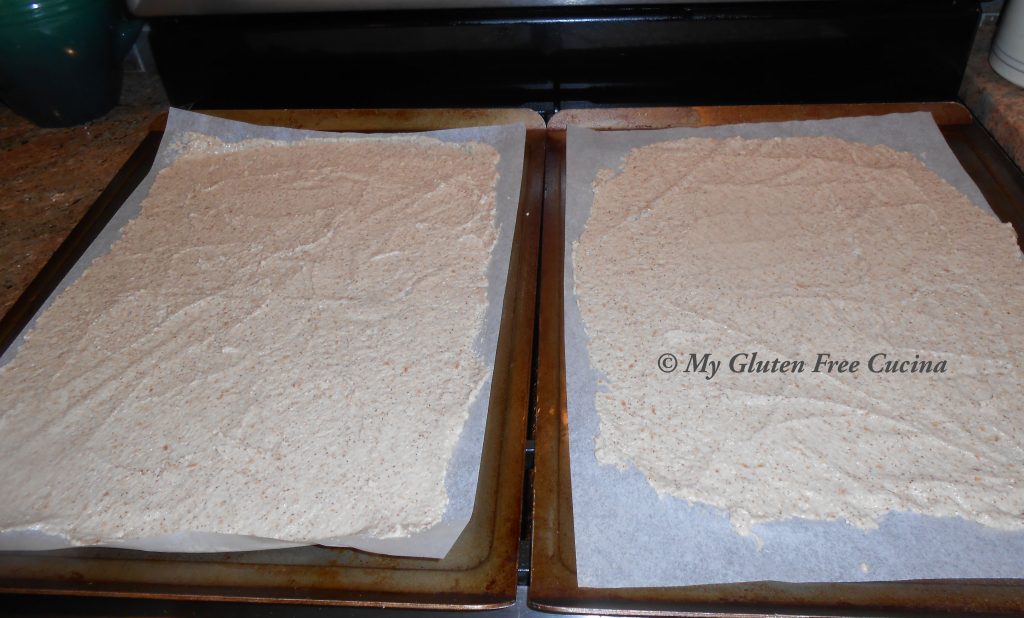
I lined 2 large baking sheets with parchment and divided the dough between the 2 sheets.  I then used a wet spatula to spread the dough out into a very thin layer.  Start in the middle and spread the dough outward to the edges of the parchment.

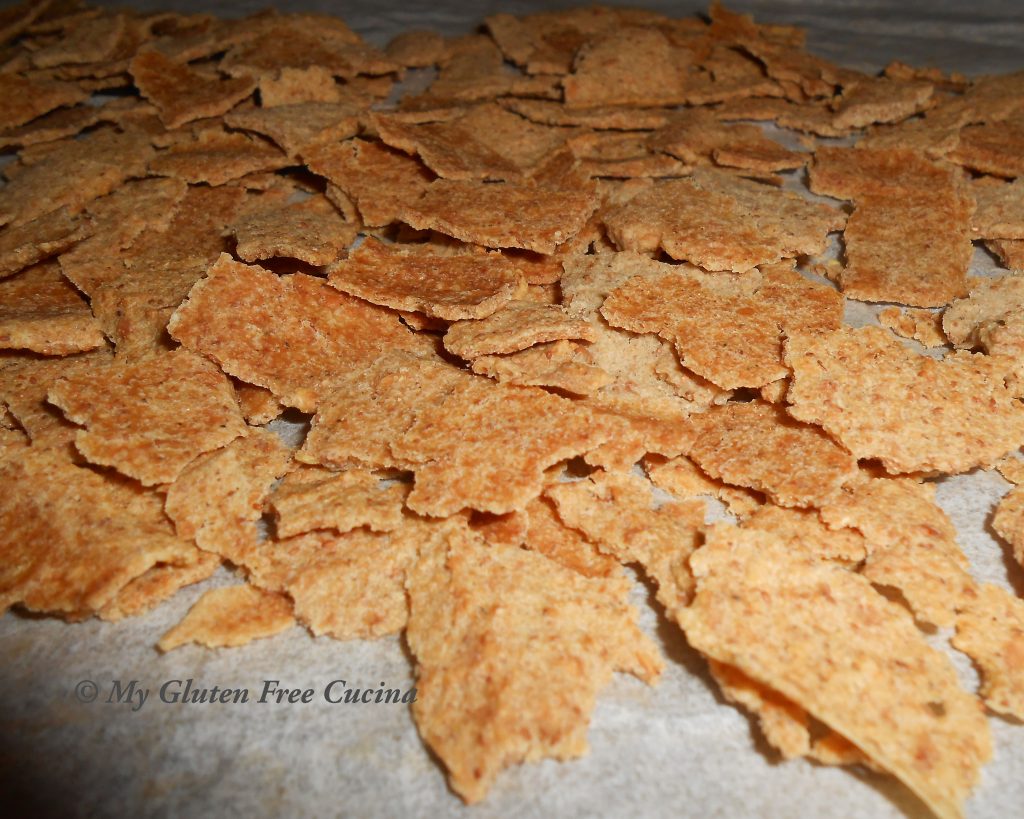
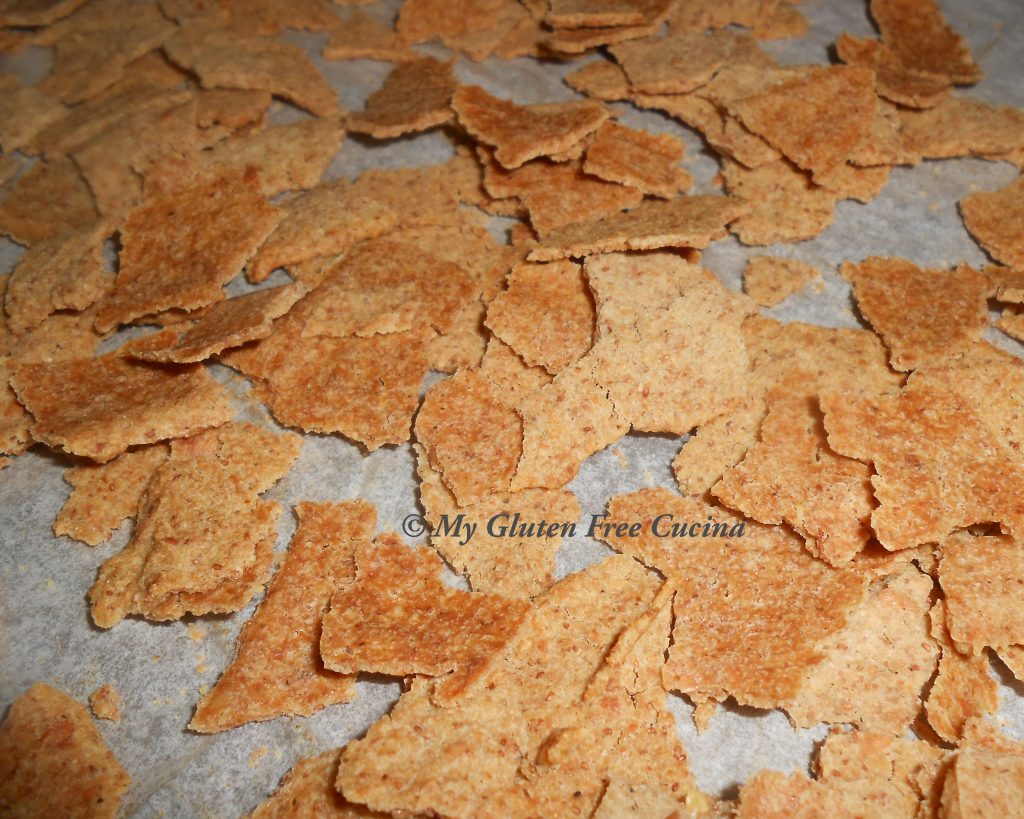
I baked it for 45 minutes at 300 degrees, rotating the pans and alternating oven racks every 15 minutes.  When I removed the pans from the oven, I let them cool for 5 minutes.  The sheets of dough were already cracking in places and it was easy to finish breaking them into flakes with my hands.
For the last step I spread the flakes out and put them back into the oven, lowering the temperature to 250 degrees.  I baked the flakes for another 10 minutes to get them completely dried out and crispy.

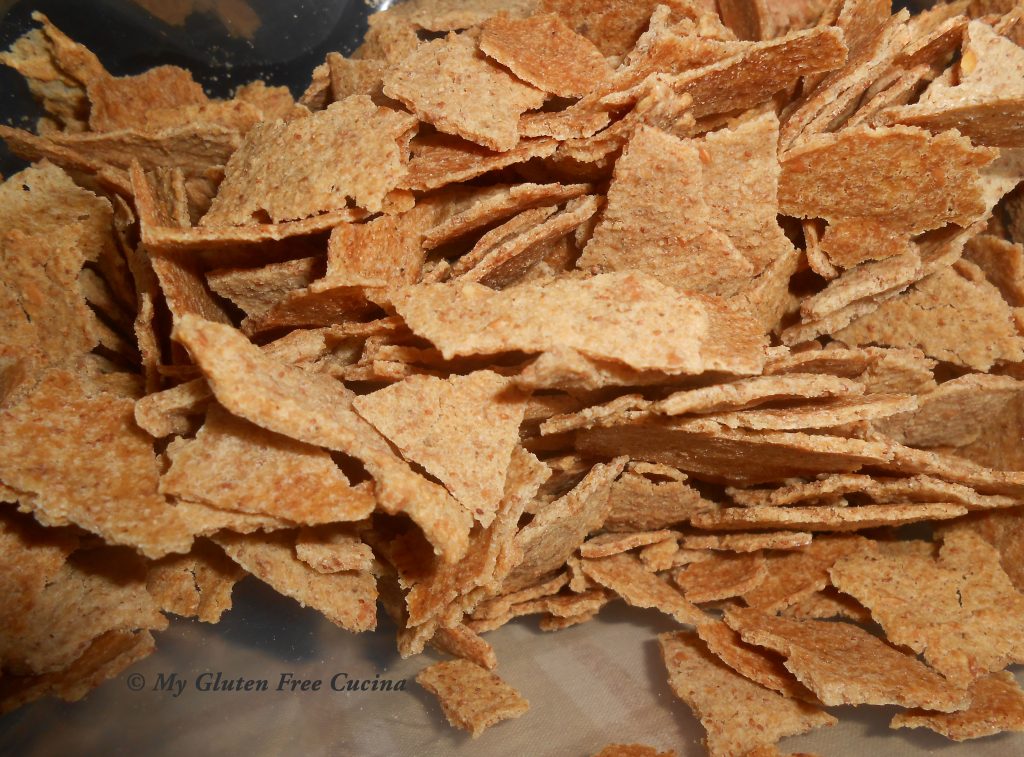
When the flakes are completely cooled, store in an airtight container.  I’m not sure how long they would last, we ate them in 3 days.

Not only did my homemade flakes taste great but I’ve saved so much money by making them at home.  I may give up on store bought cereal all together.  Please do try the recipe and let me know what you think in the comments!  I love hearing from you!
Print This Post Print This Post


Millet and Buckwheat Toasting Bread

Millet Buckwheat Toasting Bread

Adapted from a recipe by Ellen Brown

I have been a home bread baker for many years, and despite a Celiac diagnosis in 2017 I continue to experiment with different recipes, always looking for that gluten free loaf that will make me smile.

This hearty toasting bread is made with whole grains and seeds that give it great texture.  It is full of flavor, fiber and nutrition, a welcome change from typical gluten free store breads made with refined flour.

The recipe is somewhat involved, but I break it down into small steps that are easy to follow.  The ingredients are bulleted, so you can easily look all the way through and see what you need.  I also provide a complete ingredient checklist at the end of the recipe, which can be used as a shopping list.

This post contains affiliate links

You might be interested to know that I used a grain mill in this recipe.  I like to buy millet and buckwheat in whole form and mill them at home when I need flour.  Since this bread contains millet and buckwheat in both whole and flour form, I only need to stock the grain.

This recipe has been adapted to make 1 loaf.

*Contains Oats – see notes

Step 1 Mill (see Notes at bottom)

Mill the following grains on the finest setting.  You may have to add in a few more grams of each to end up with the finished weight in flour.  If you don’t have a grain mill don’t worry!  Just measure the exact weight in millet and buckwheat flour.

  • 120 g. millet
  • 45 g. buckwheat

————————————

Step 2 Soak

Boil water.  Add the following whole grains (not flour), cover and remove from heat.  Soak for at least 10 minutes or until you are ready with the other ingredients.

  • ¼ cup whole millet
  • ¼ cup whole buckwheat
  • ¾ cup boiling water

————————————-

Step 3 Proof

Grind Chia seeds in a coffee grinder.  Combine with the following in a small bowl and proof for 10 minutes.

  • 1 tbsp. Chia seeds, ground
  • 2-¼ tsp. Instant yeast
  • 6 tbsp. Warm water
  • 2 tsp. Honey

————————————-

Step 4 Whisk together Dry Ingredients

  • Milled flours from Step 1
  • 45 g. cornstarch
  • 65 g. potato starch
  • 47 g. tapioca starch
  • 32 g. gluten free cornmeal
  • ½ tsp. Xanthan gum
  • ½ tsp. Salt
  • 2 tbsp. Sesame seeds
  • ¼ cup gluten free rolled oats *(omit if avoiding oats – see notes)

————————————-

Step 5 Whisk together Wet Ingredients

  • Soaked grains from Step 2, drained and rinsed in cool water (so it doesn’t kill the yeast)
  • Proofed yeast mixture from Step 3
  • ¼ cup honey
  • 100 ml. Warm water (about 6 tbsp.)

————————————-

Step 6 Combine

Combine wet (Step 5) and dry (Step 4) ingredients together in the bowl of a stand mixer.  Beat with the paddle attachment for 3 minutes.

————————————–

Step 7 Rise

Scrape dough into an oiled bowl, cover and let rise for 1 hour.

—————————————

Step 8 Egg Wash

  • 1 egg
  • 1 tbsp. Water
  • 2 tbsp. Pumpkin seeds
  • 2 tbsp. Sunflower seeds

Line a 9” loaf pan with parchment.  I’m using a 9″x 4″x 4″ Pullman loaf pan.  Transfer the risen dough into the prepared pan and smooth it out with a spatula that has been dipped in water.  Beat 1 egg with 1 tbsp. warm water and brush the top of the loaf (you won’t need the entire egg, so reserve the rest for breakfast).  Sprinkle the loaf generously with pumpkin and sunflower seeds.

—————————————

Step 9 Bake

Preheat the oven to 375°.  Set a pizza stone on the middle oven rack and place a rimmed baking pan on the bottom rack.  Place the loaf in the oven and pour 1 cup of water into the rimmed baking pan to create steam.  Quickly close the door and bake for 45-50 minutes, or until the internal temperature reaches 195°.  Crack the oven door about 1″ during the last 5 minutes of baking, to keep the loaf from deflating.


—————————————

Step 10 Cool

This is the hardest part of the recipe!  Lift the loaf out of the pan by grasping the parchment paper on either side.  Transfer to a rack and remove the parchment.  Allow the loaf to cool to room temperature before slicing.  It smells so good you won’t want to wait.  Do it though, or the bread may be gummy in the middle.
 

—————————————

 Step 11 Enjoy
This bread was made for toasting!  It is my favorite breakfast bread and I especially love when the seeds get singed in the toaster.  As with most gluten free breads it is best when eaten immediately.  I always freeze the leftovers in slices that are individually wrapped and stored in a freezer safe bag.  So easy to grab one for breakfast in the morning!

FULL INGREDIENT LIST / SHOPPING LIST —> PRINT IT!   Millet Buckwheat Toasting Bread Shopping List

☐ ¼ cup whole millet

☐ ¼ cup whole buckwheat

☐ ¾ cup boiling water

☐ 2-¼ tsp. Instant yeast

☐ 1 tbsp. Chia seeds, ground

☐ 6 tbsp. Warm water

☐ 2 tsp. Honey

☐ 120 g. millet flour

☐ 45 g. buckwheat flour

☐ 45 g. cornstarch

☐ 65 g. potato starch

☐ 47 g. tapioca starch

☐ 32 g. gluten free cornmeal

☐ ½ tsp. Xanthan gum

☐ ½ tsp. Salt

☐ 2 tbsp. Sesame seeds

☐ ¼ cup certified gluten free rolled oats

☐ ¼ cup honey

☐ 6 tbsp. warm water

☐ 1 egg (for the egg wash)

☐ 1 tbsp. Water

☐ 2 tbsp. Pumpkin seeds

☐ 2 tbsp. Sunflower seeds

Notes ♪♫

Oats continue to be highly controversial when it comes to celiac disease.  Whether or not you consume oats is a personal choice.  As a courtesy to my readers, I will identify any recipes that include oats and suggest ingredient substitutes when possible.

Read more about how I use my grain mill in gluten free baking.  I stock many grains in whole form, then mill them into flour in just the amount I need for a recipe.  The whole grains will remain fresher in my pantry and there is nothing like freshly milled flour for baking bread.  If you do not have a grain mill, then simply measure the equivalent weight in flour.

Print This Post Print This Post

Potato Chips

Crispy potato chips, hot out of the oven!  Better and tastier than store bought, with no preservatives and you control the salt content.  Only 3 ingredients – potatoes, seasoned salt and cooking spray.  Kid friendly, and even picky eaters will love them!

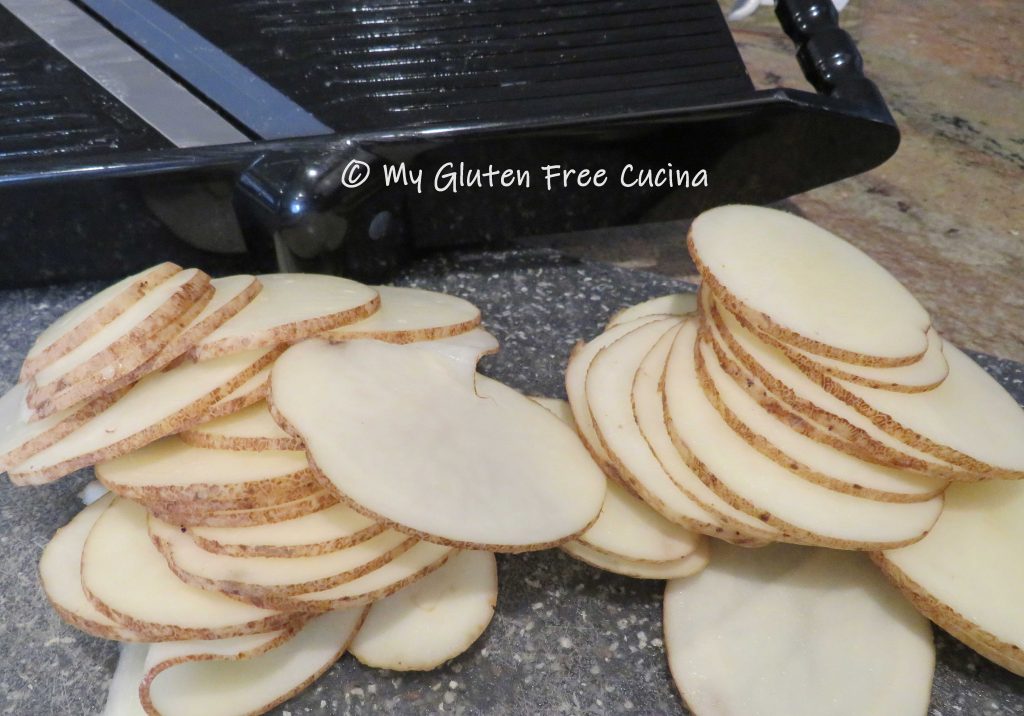
Potatoes are a mainstay of the gluten free diet, especially when dining out.  For me, homemade potato chips are a welcome break from the usual baked or mashed that I get at a restaurant.  I sliced the potatoes paper thin on a mandoline, but you can also do this with a good kitchen knife.  Potatoes can be peeled or not, I like mine with the skins on for extra texture.

2 – 3 servings

This post contains affiliate links.

Ingredients:

  • 1 large russet potato
  • cooking spray
  • salt or seasoned salt (I like Lawry’s)

Preparation:

Line a baking sheet with parchment paper and mist with cooking spray.   Slice the potato paper thin using a knife or mandoline.

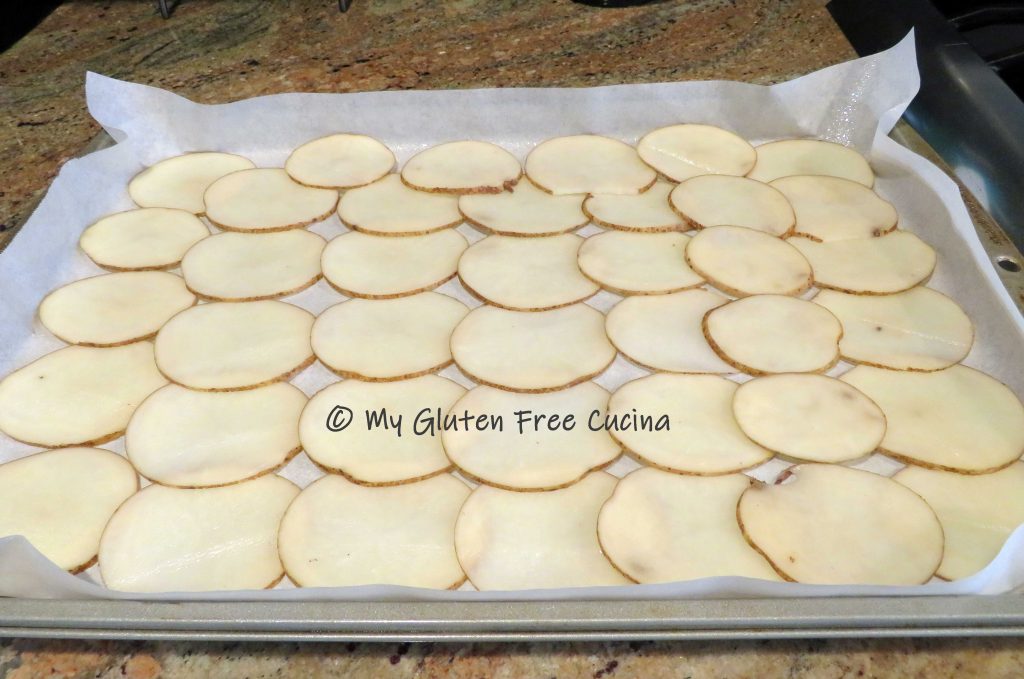
Spread the slices in a single layer on the baking sheet.  If you are doubling the recipe, do not crowd the pan.  Use 2 baking sheets.

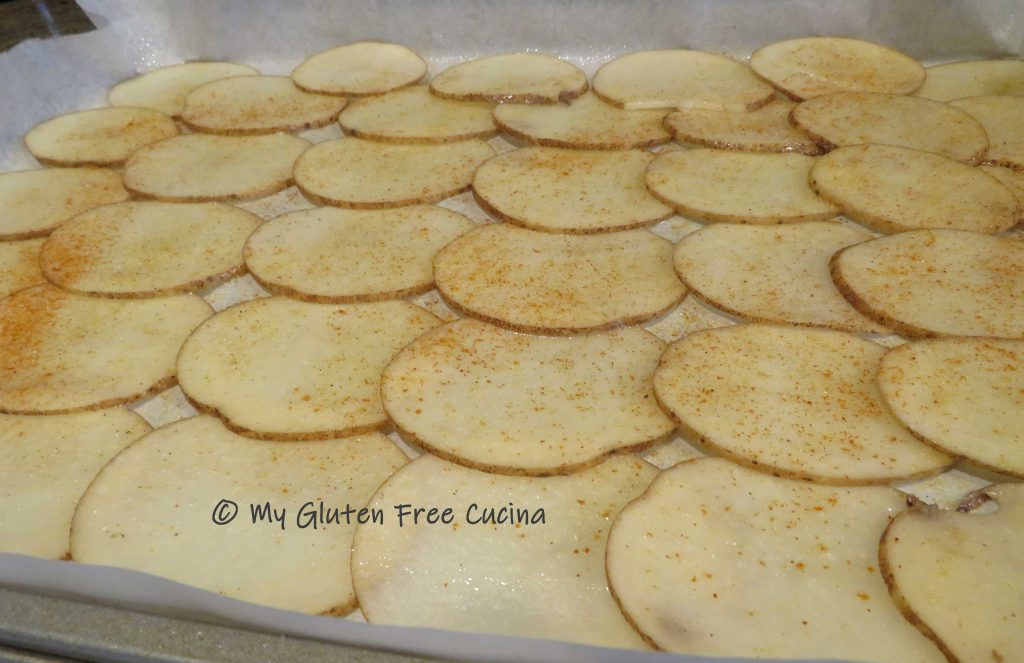
Mist the tops with cooking spray and sprinkle lightly with seasoned salt.

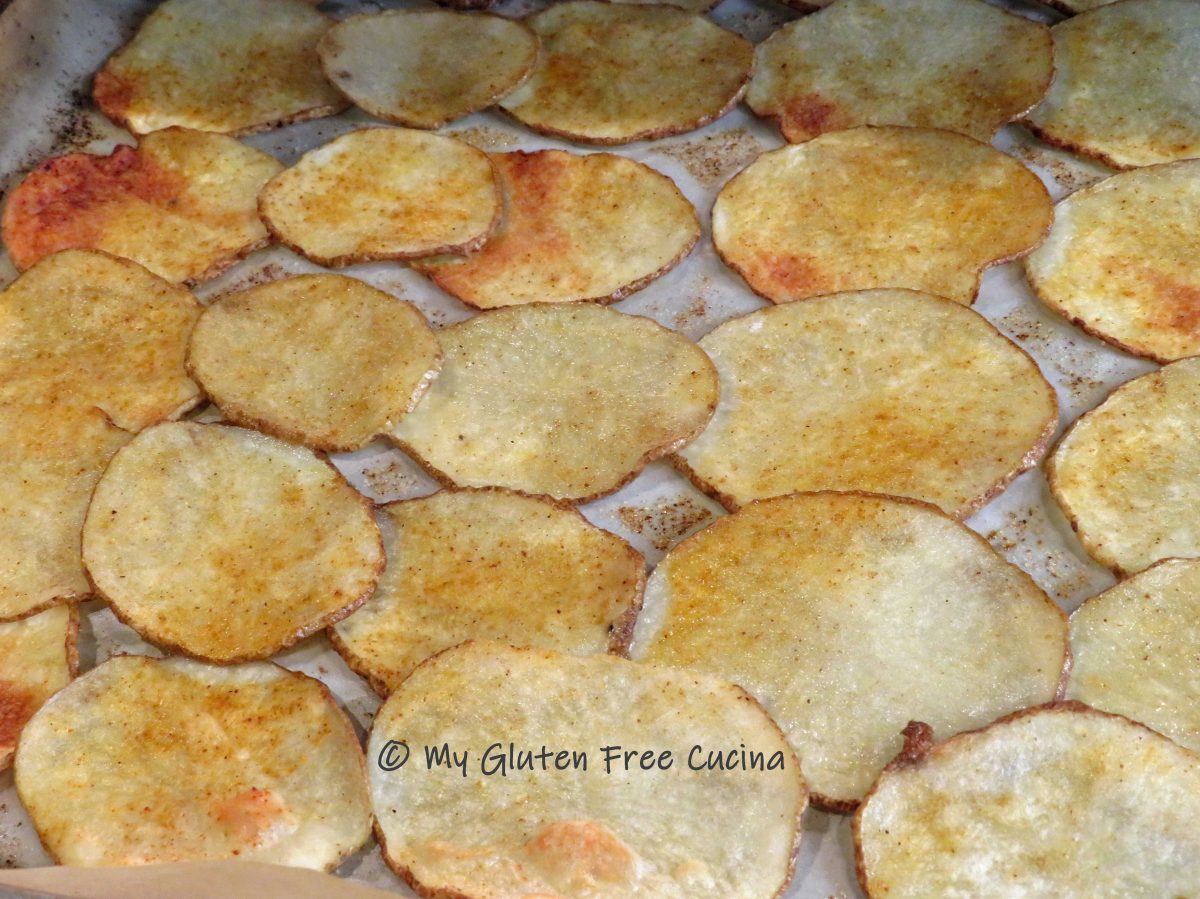
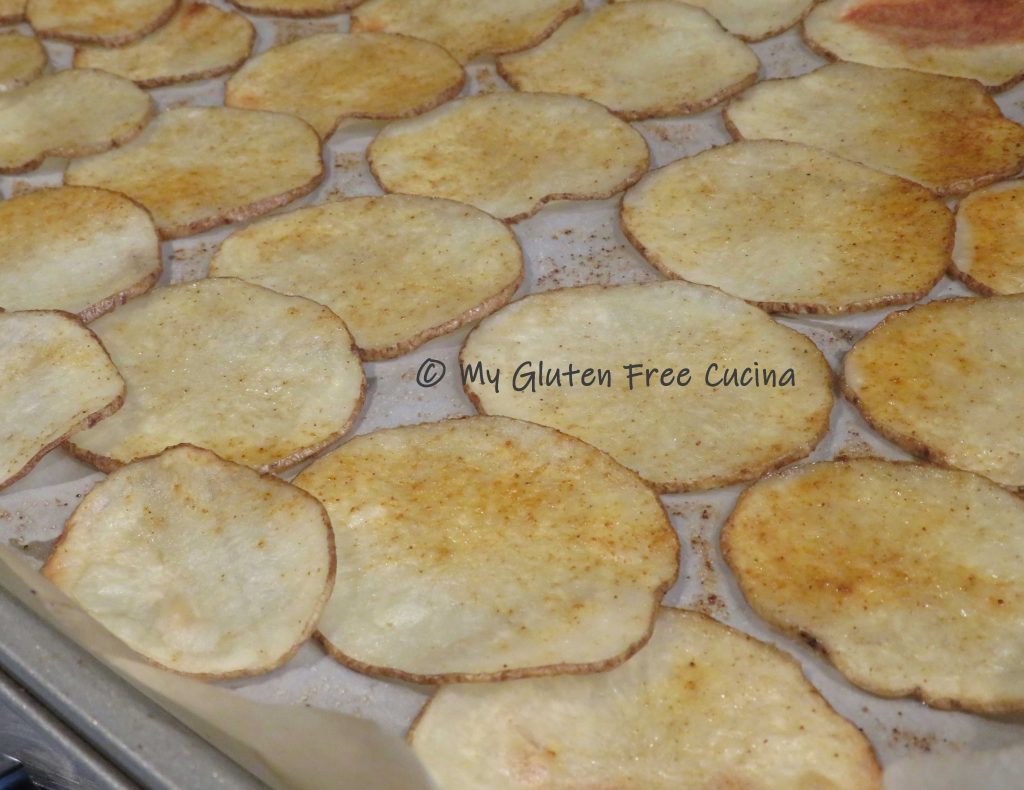
Bake for 20 minutes at 425º, rotating the pan halfway through.  Check them after 15 minutes.

You can make them as soft or as crunchy as you like, just keep an eye that they don’t burn.  I think this batch is perfect, the chips are just starting to blister, and the edges are starting to curl.

Notes ♪♫ I prefer to bake potato chips on parchment paper.  Be aware that the chips baked on foil will brown much faster than with parchment, so check frequently that they don’t burn!

Print This Post Print This Post