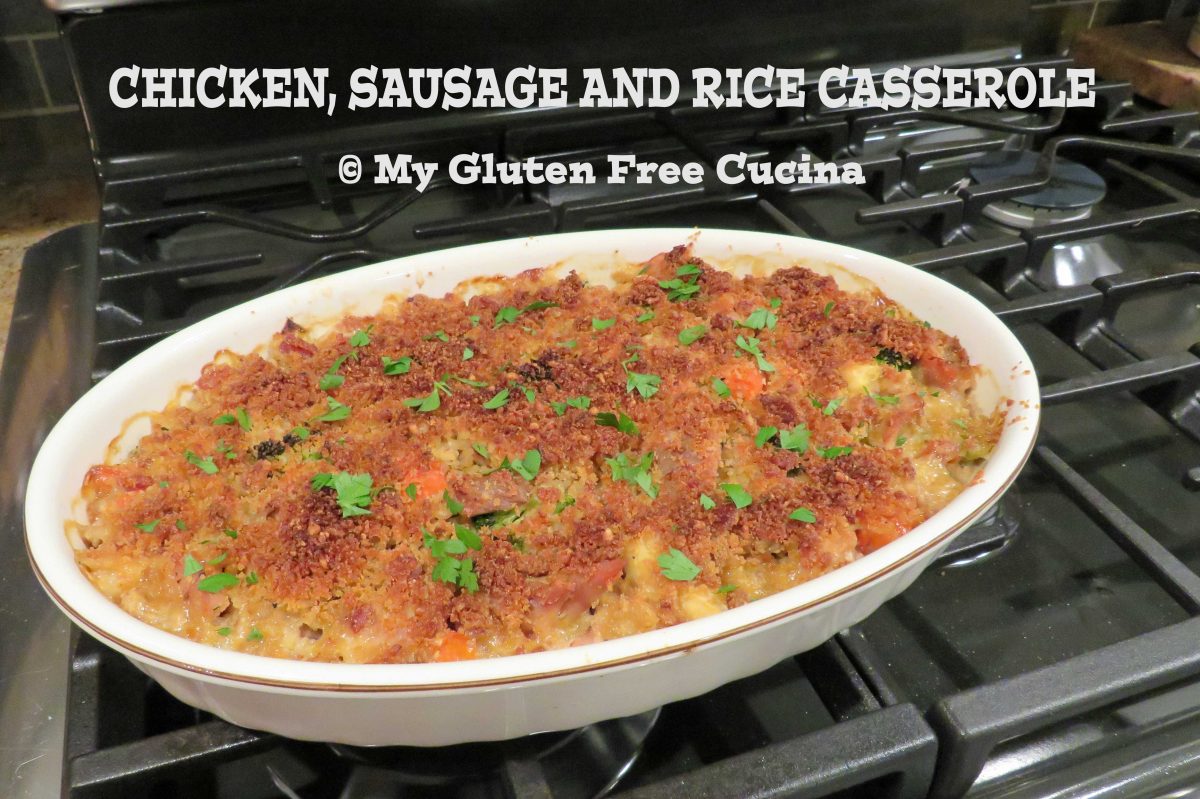
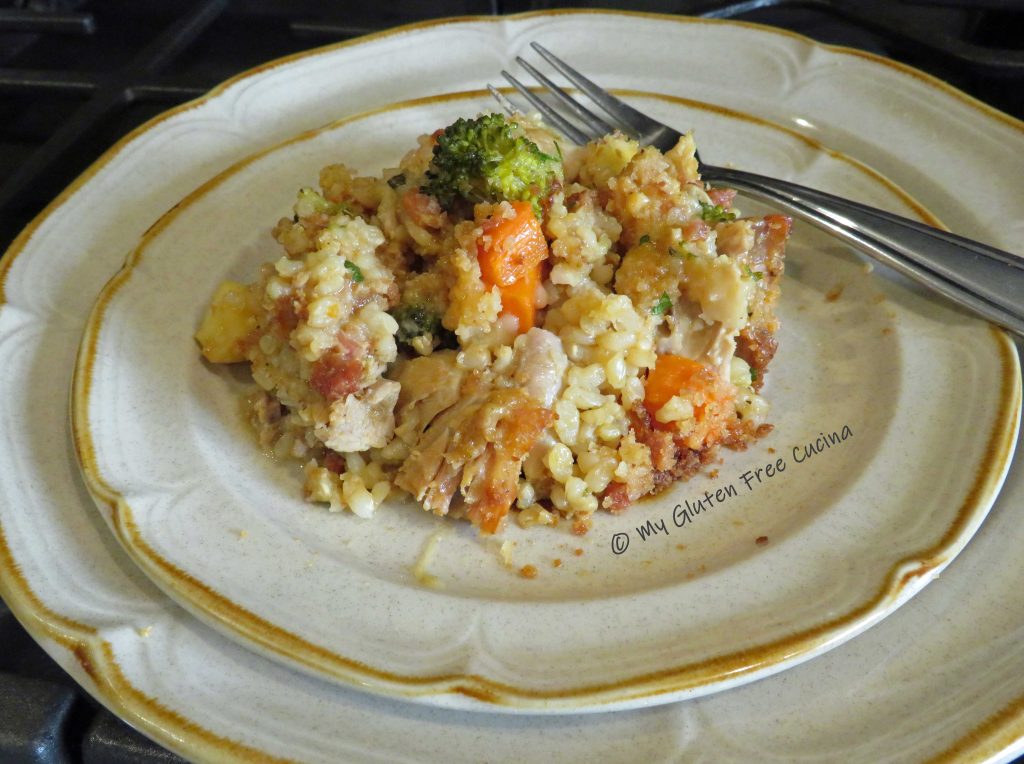
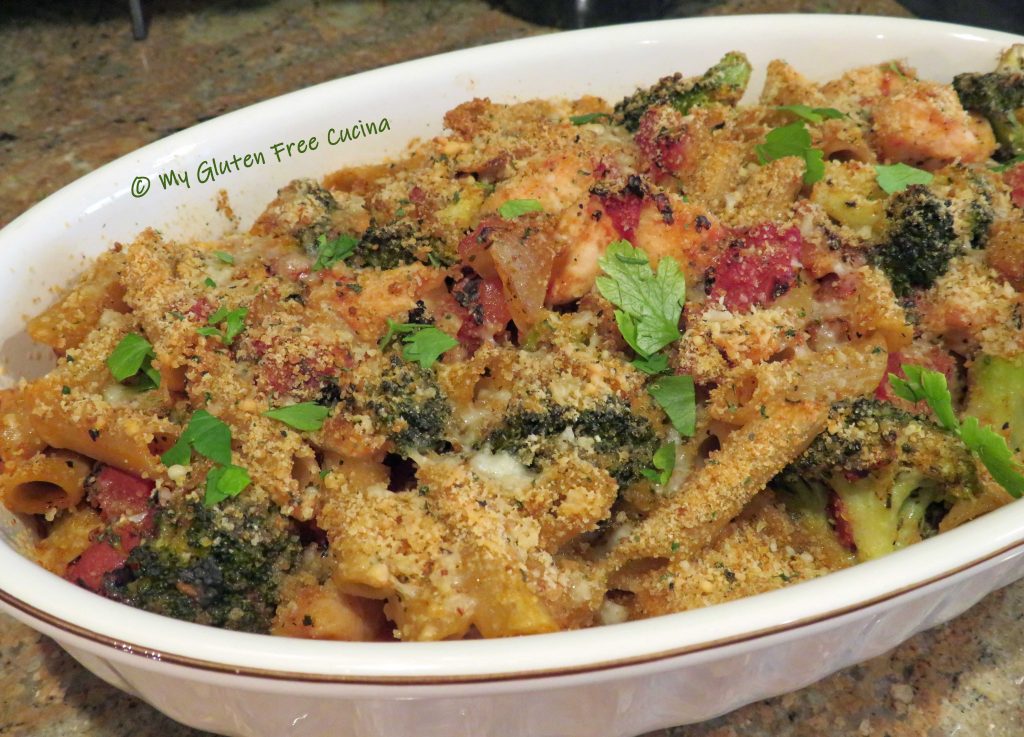
Whenever I make this flavorful casserole for a family dinner it gets rave reviews! Chicken drumsticks and Italian sausage come together with ingredients straight from the pantry, and you can use any veggies you have on hand! It’s easy and economical too. You can do most of the prep a day ahead and bake the next day. And that bacon breadcrumb topping- wow! It really gives this dish an extra punch of flavor, texture and crunch!
4-6 Servings
This post contains affiliate links.
Ingredients:
-
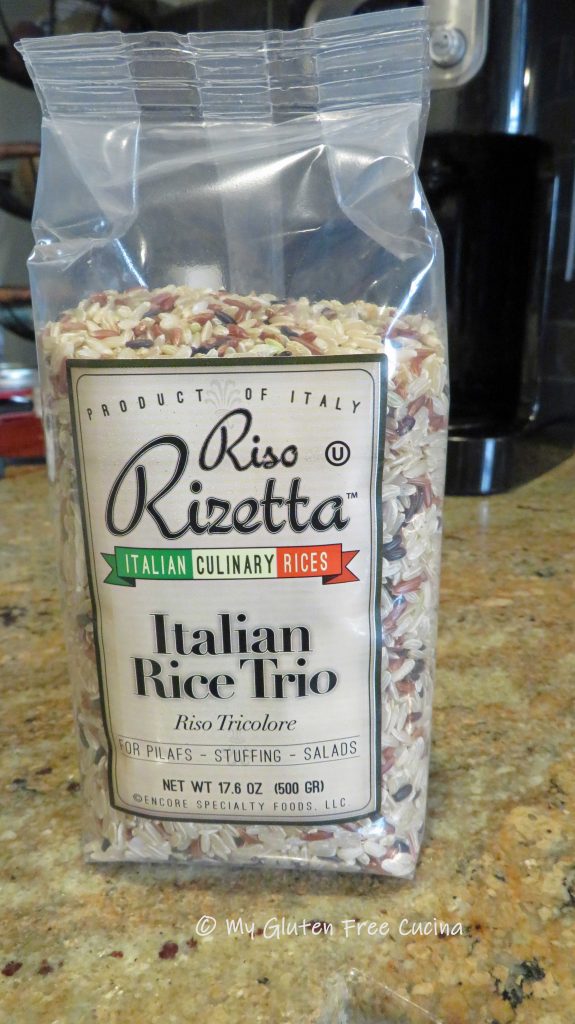
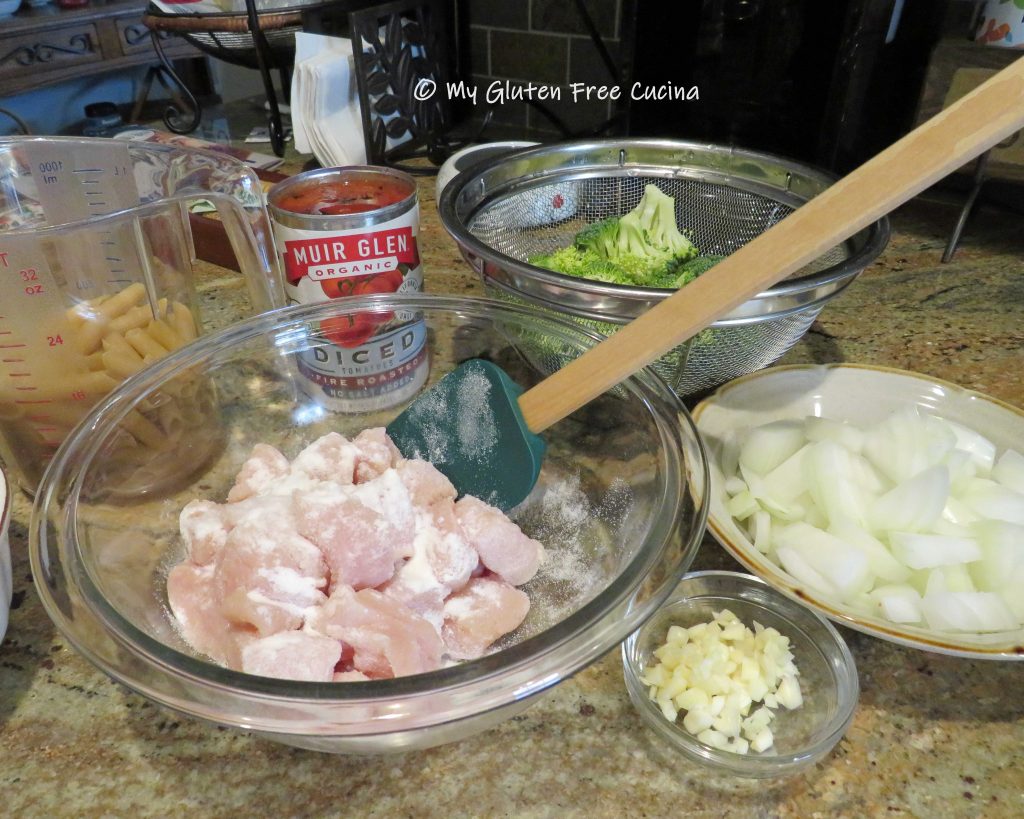
- 3/4 cup short grain brown rice
- 3 cups gluten free chicken broth, divided
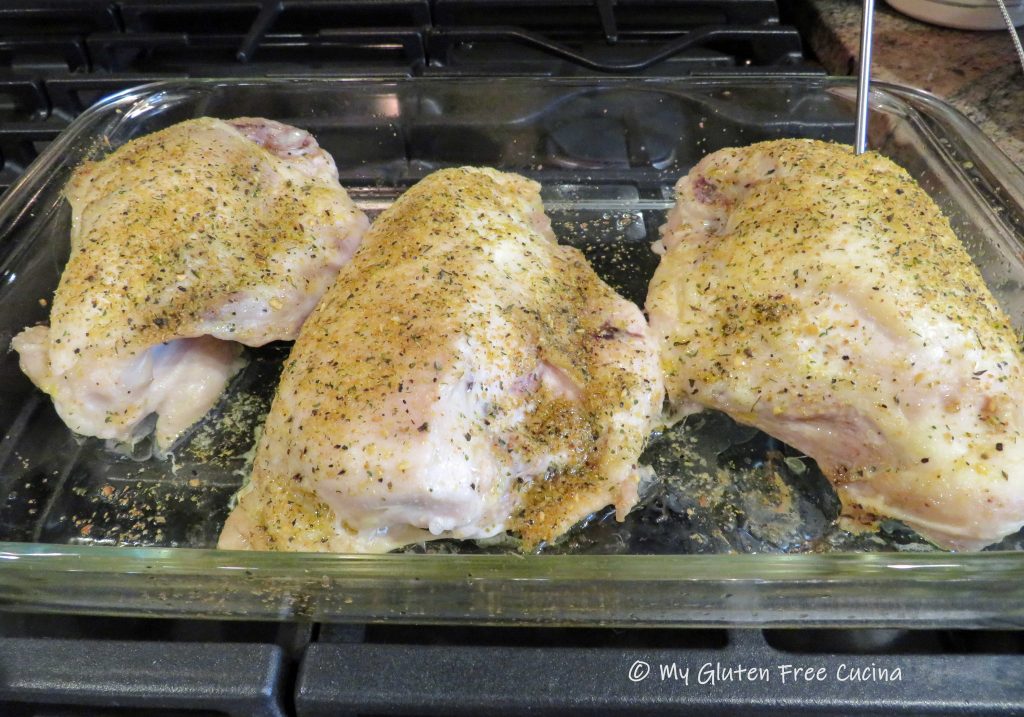
- 4-6 chicken drumsticks or thighs
- 2 tbsp. olive oil
- 1/4 cup white wine
- 1/4 lb. gluten free Italian sausage, casings removed
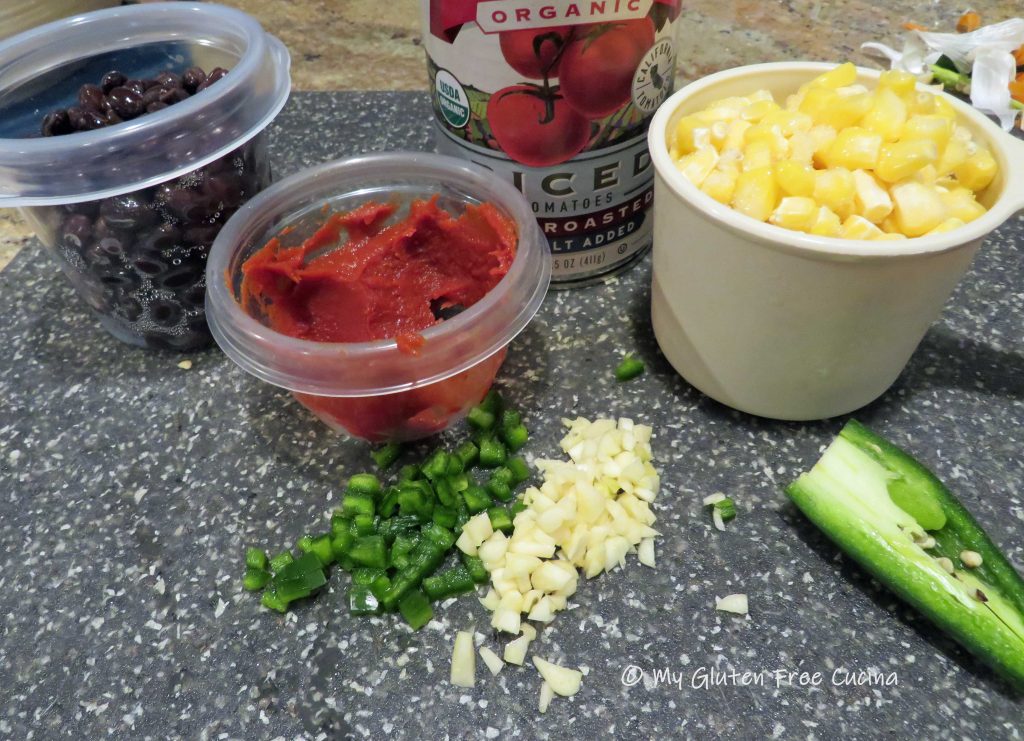
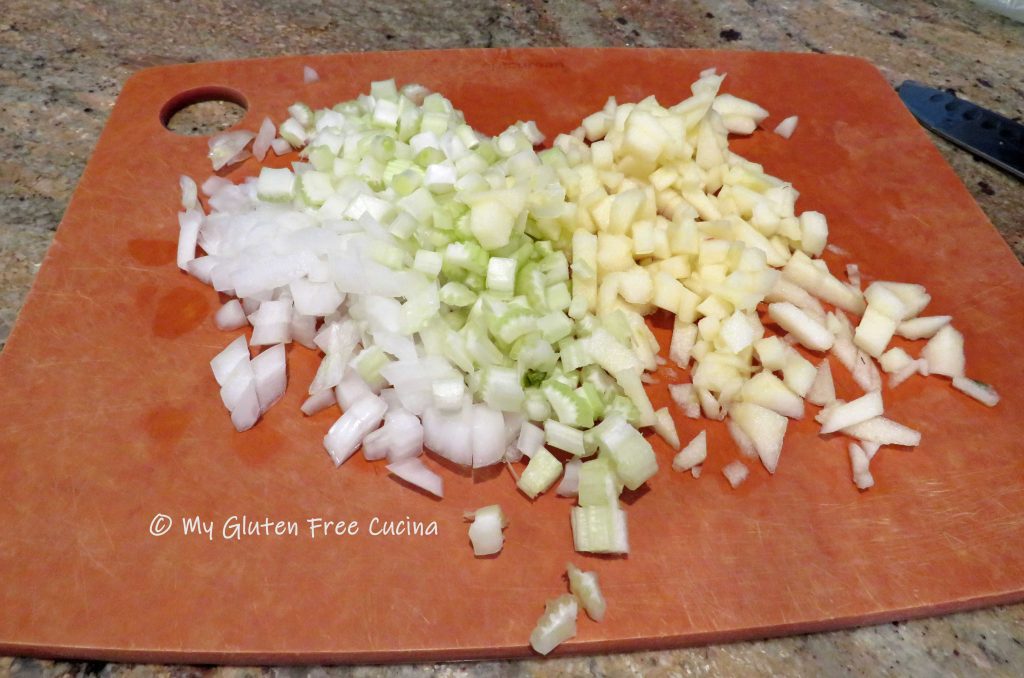
- 4 cups veggies, cut into 3/4″ dice (I used onion, broccoli, carrots and parsnips)
- seasoned salt or Italian seasoning
- paprika
- 1/4 cup of milk, cream or half and half
- 1/3 cup gluten free seasoned breadcrumbs
- 1/4 cup grated parmesan
- 3 strips of gluten free bacon
- Cooking spray
- fresh or dry herbs for garnish
Preparation:
Brown rice takes about 50 minutes to cook, so start that first. Simmer 3/4 cup rice in 1-3/4 cups chicken broth and 1/4 tsp. seasoning of choice.
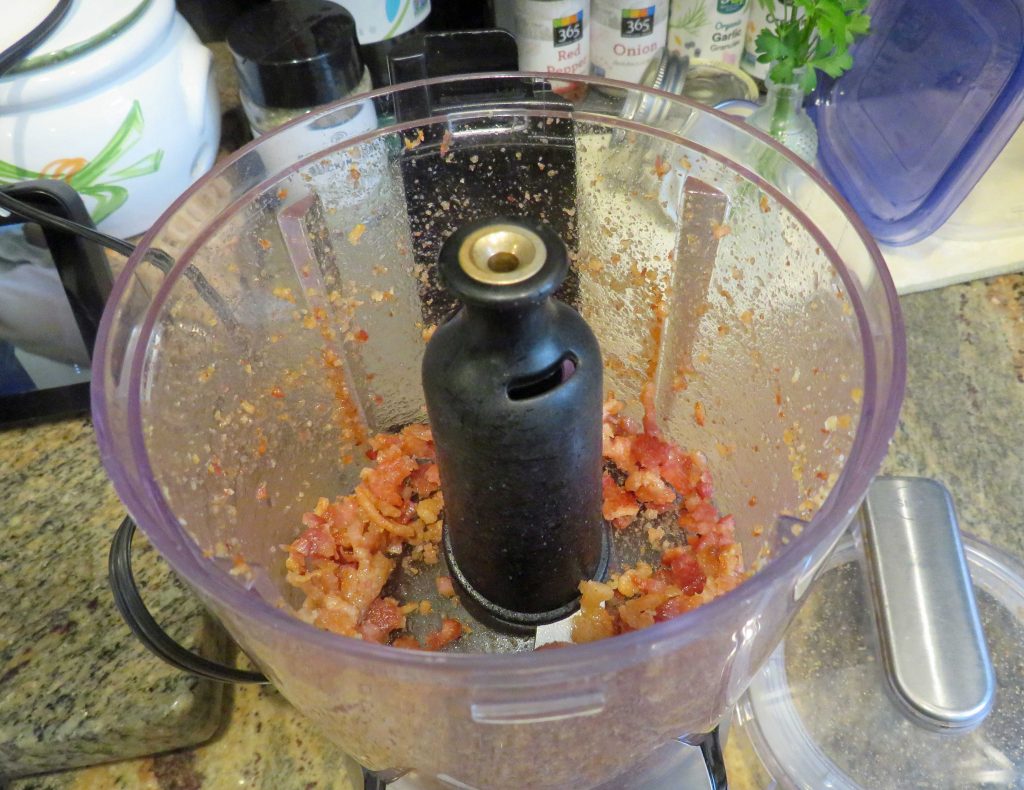
For the topping, coarsely chop the bacon, cook and drain on paper towels, reserving the fat in the pan.
 Crumble the bacon, or place in an electric chopper and pulse a few times to make bacon bits.
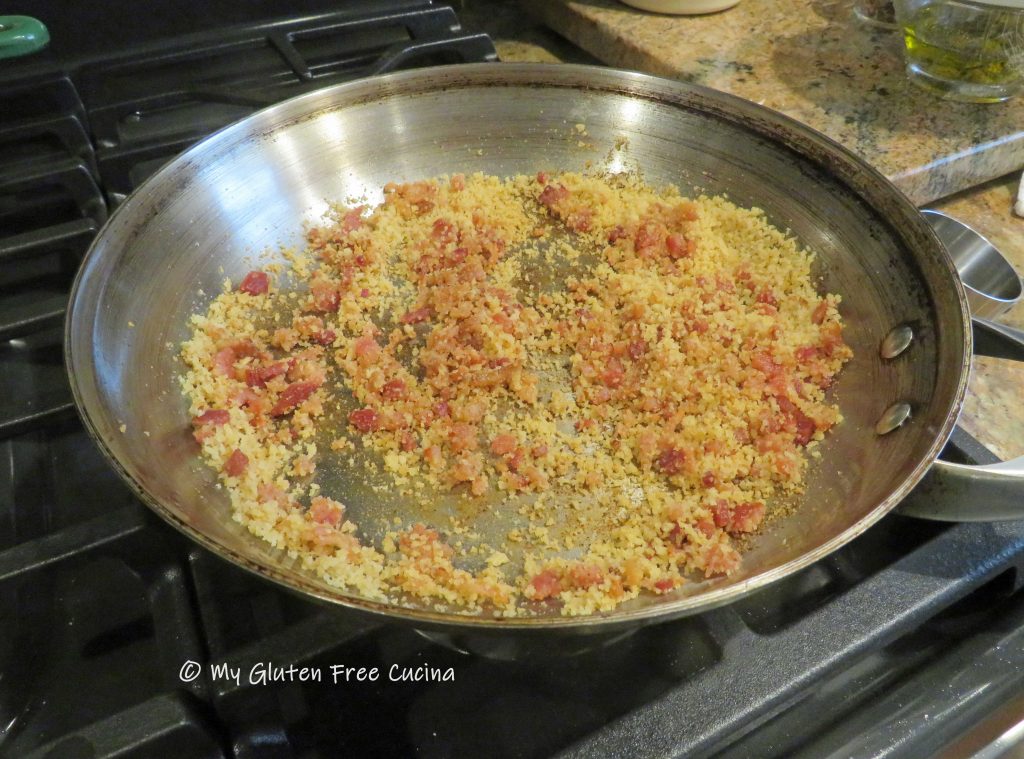
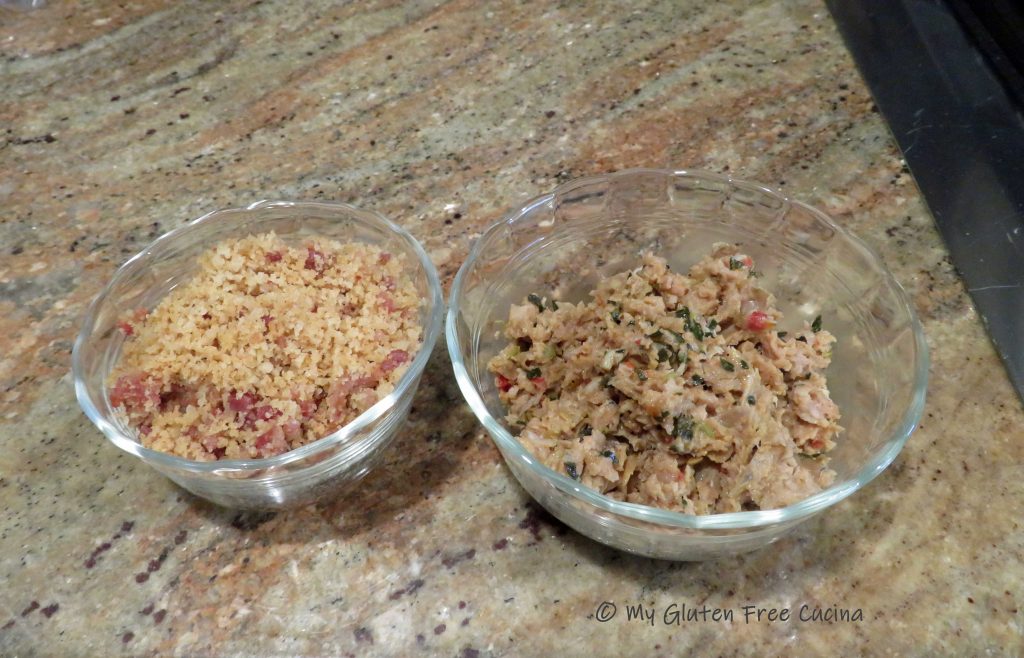
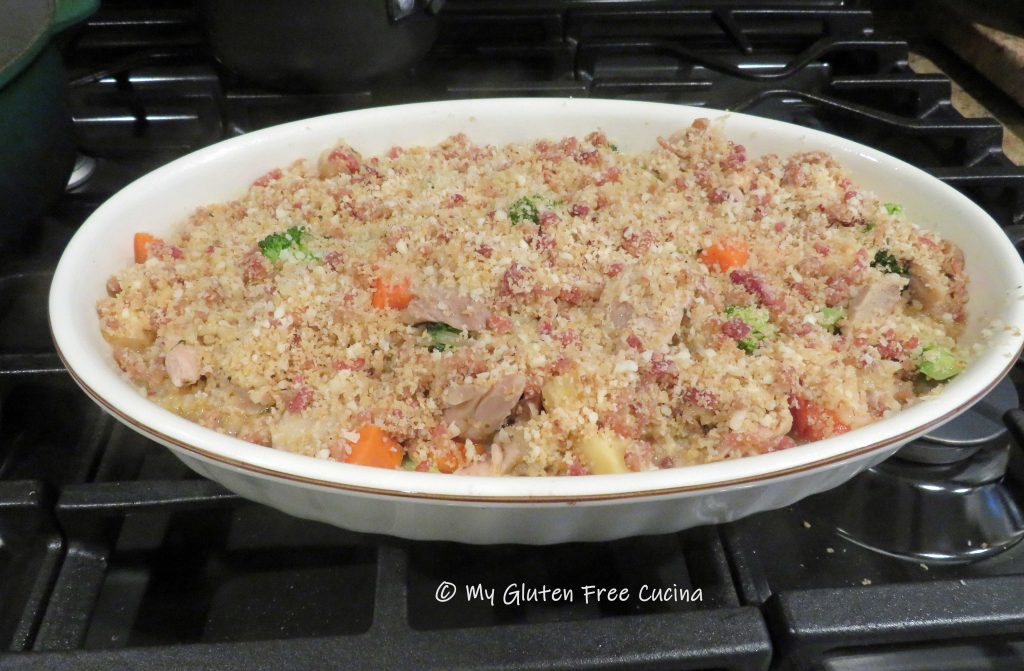
 Add 1/3 cup of gluten free breadcrumbs to the skillet with the bacon fat and stir over low heat. Add back the crumbled bacon and stir well to combine. Set aside to cool, then mix with 1/4 cup grated parmesan cheese for topping.
I love Aleia’s Gluten Free Breadcrumbs, and I use this brand almost exclusively in my recipes. I promise, your family won’t even know they are gluten free!

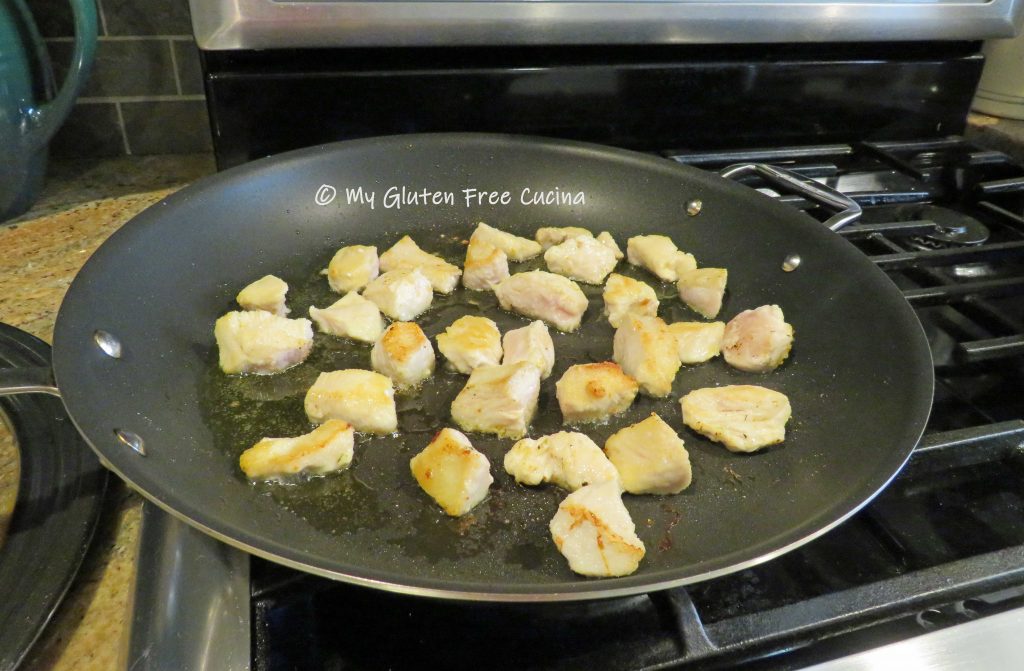
In the same skillet, brown the chicken on all sides in a little olive oil. Season both sides with salt and pepper.
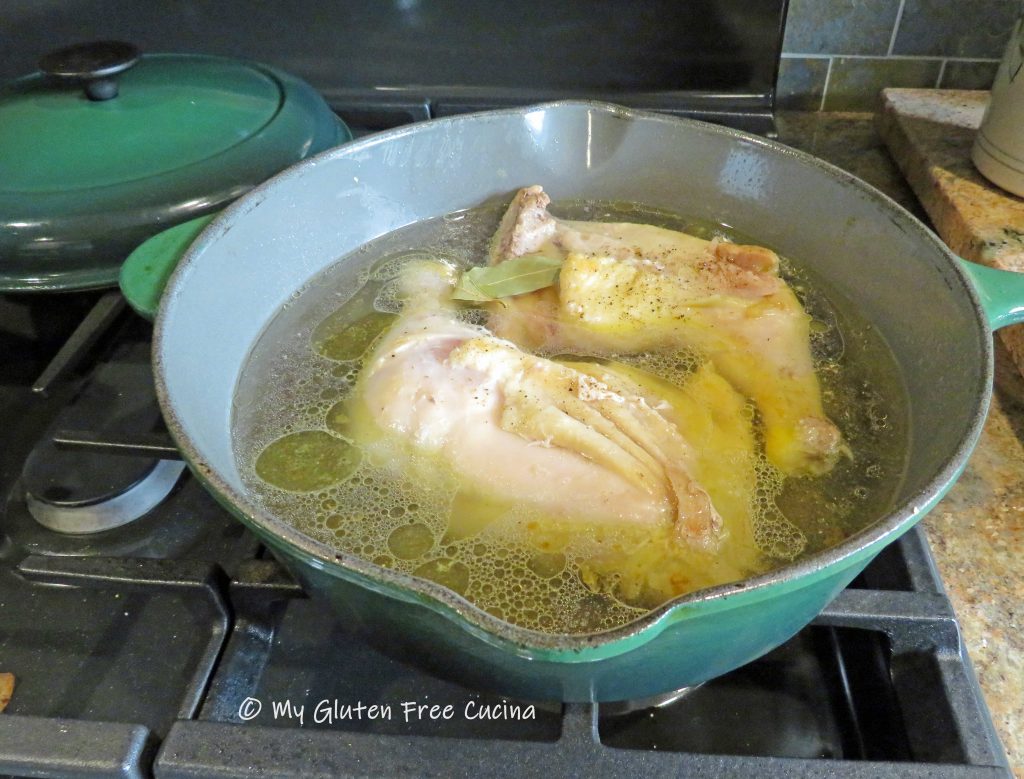
 Place browned chicken in a braising pan or Dutch oven, add ¼ cup white wine and 1/4 cup chicken broth. Cover and simmer 30 minutes.
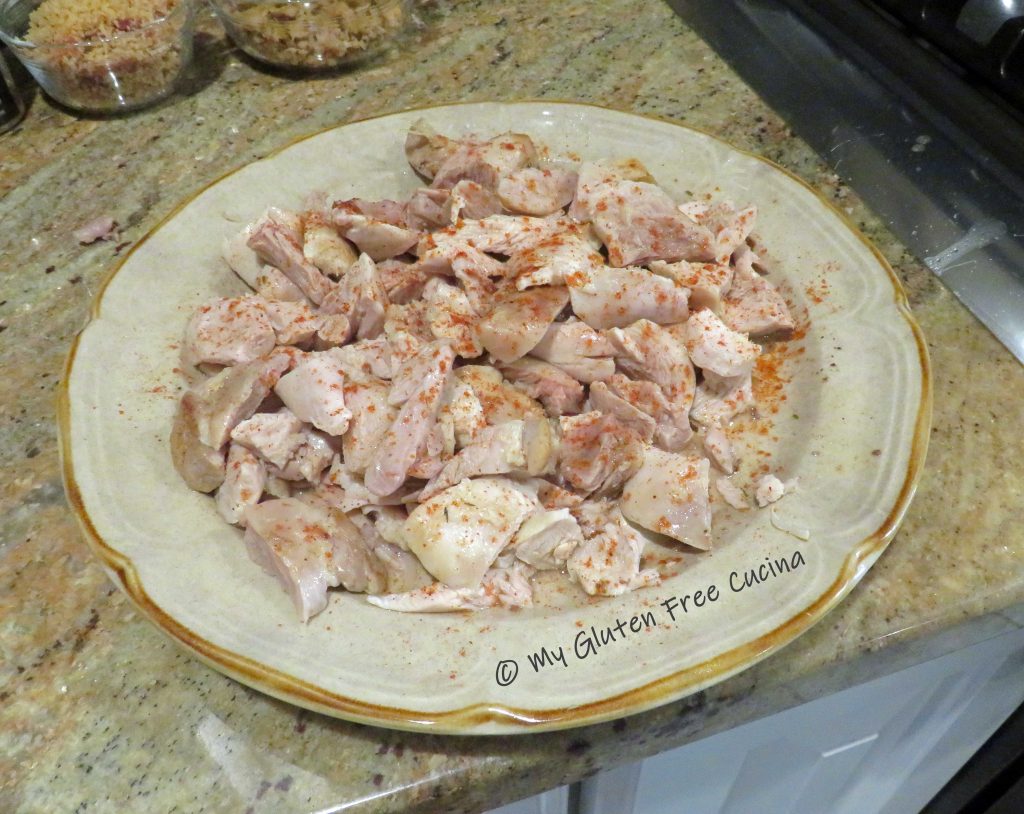
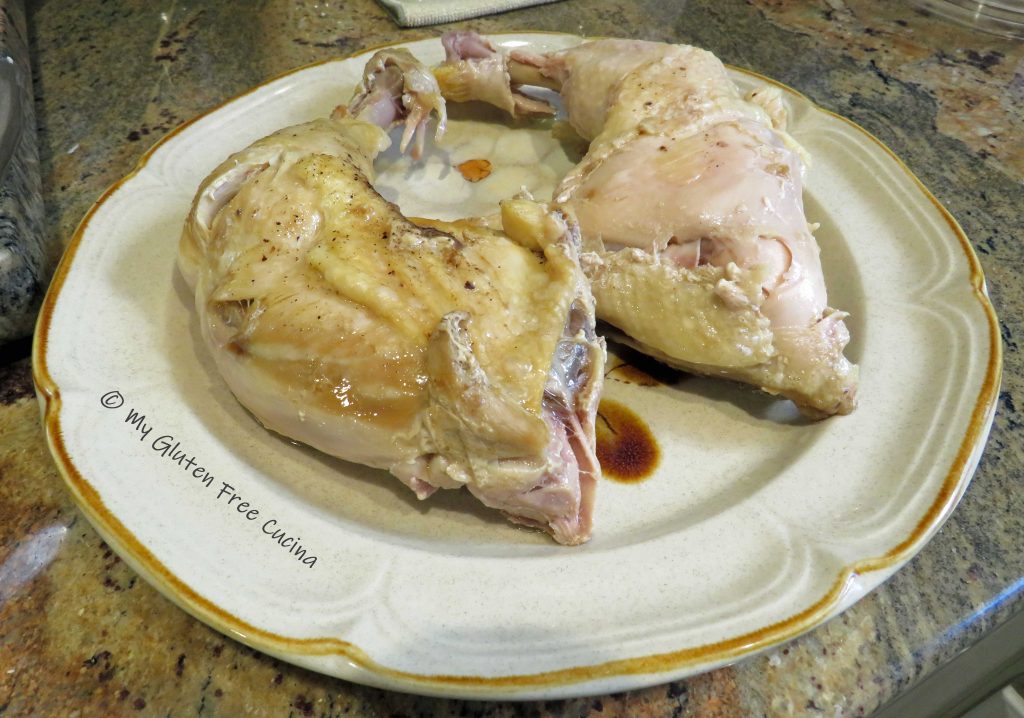
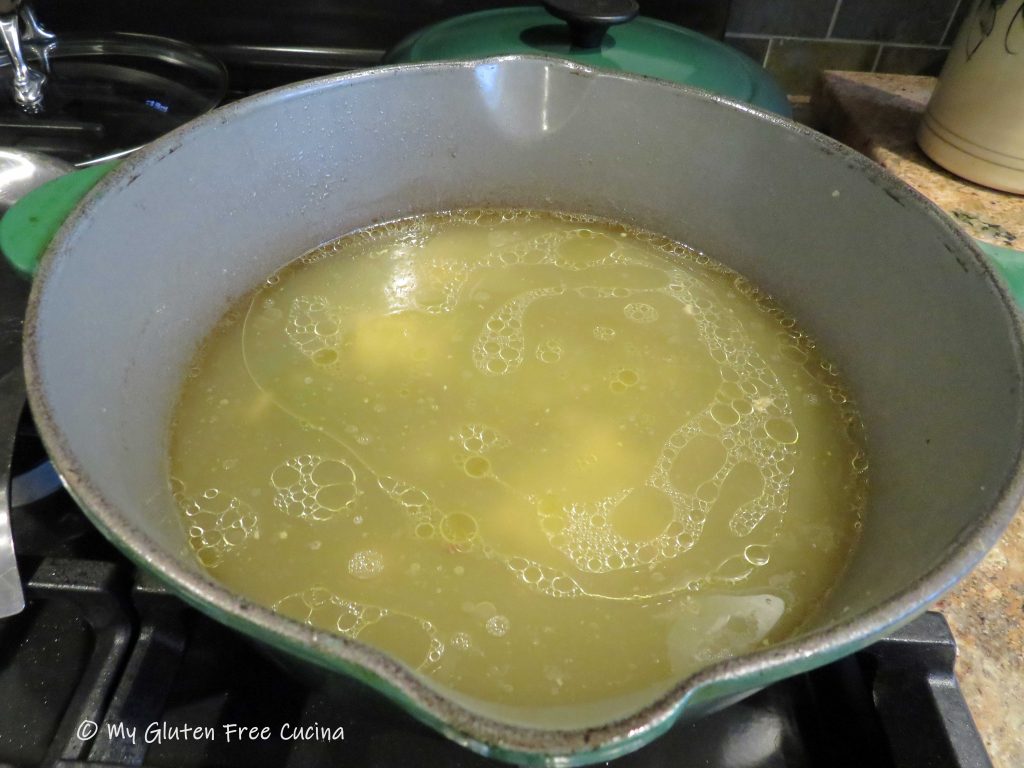
Transfer the cooked chicken to a plate, remove meat from the bones and sprinkle with paprika. Strain the liquid from the pan and reserve for later.
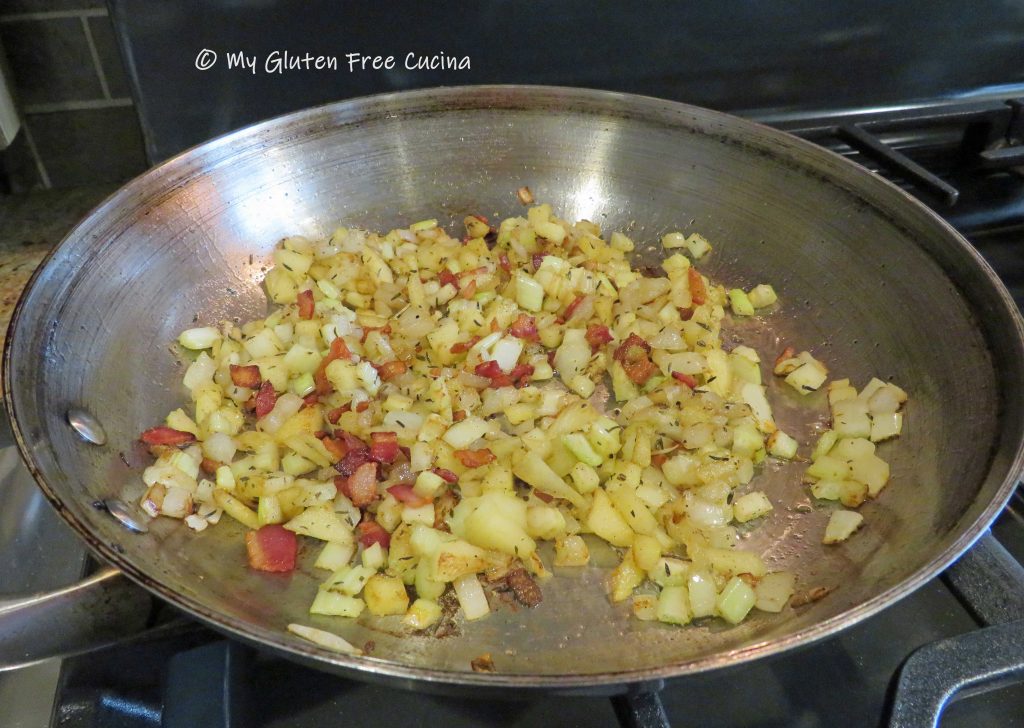
Slice the sausage and brown in olive oil. You can use store bought sausage or check out my recipe for homemade sausage patties! If using purchased sausage, always check labels for gluten containing ingredients.
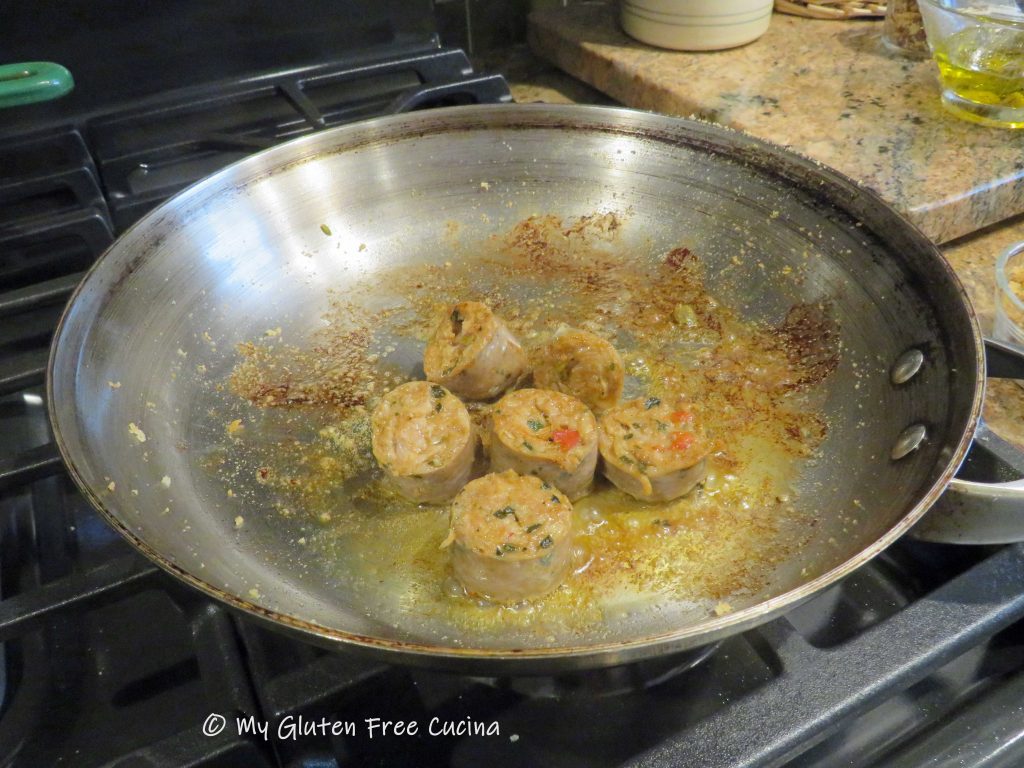
Pulse the cooked sausage a few times in the chopper and set aside.
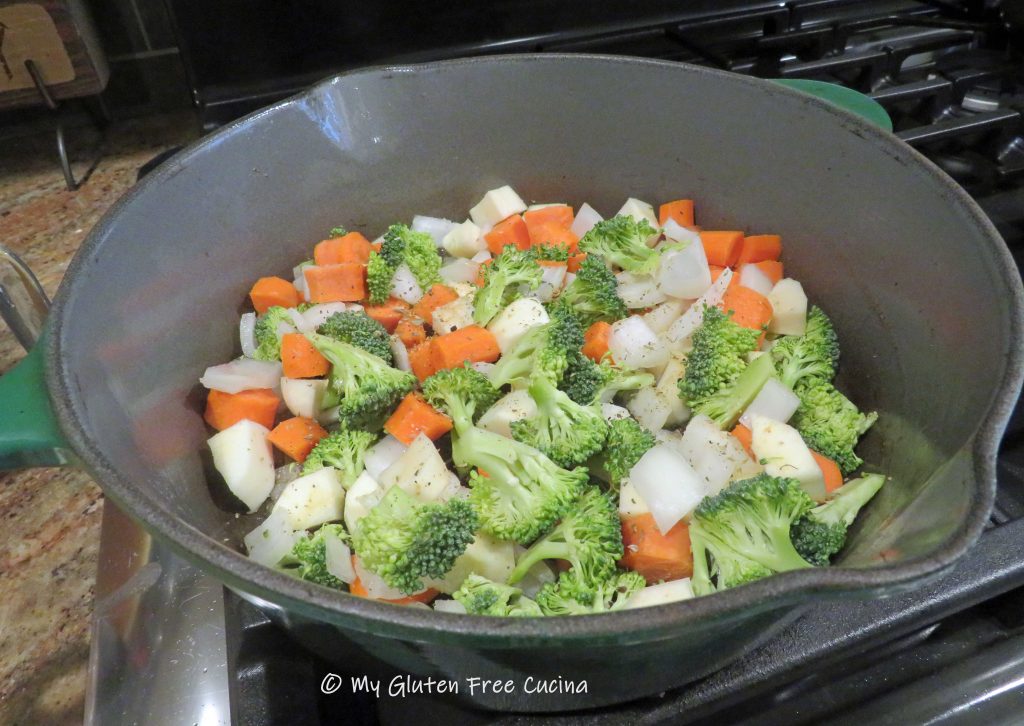
Wipe the braising pan or Dutch oven clean. Heat 1 tbsp. olive oil and add the veggies. Season and cook 10 minutes, stirring occasionally.
Add back the sausage and stir well.
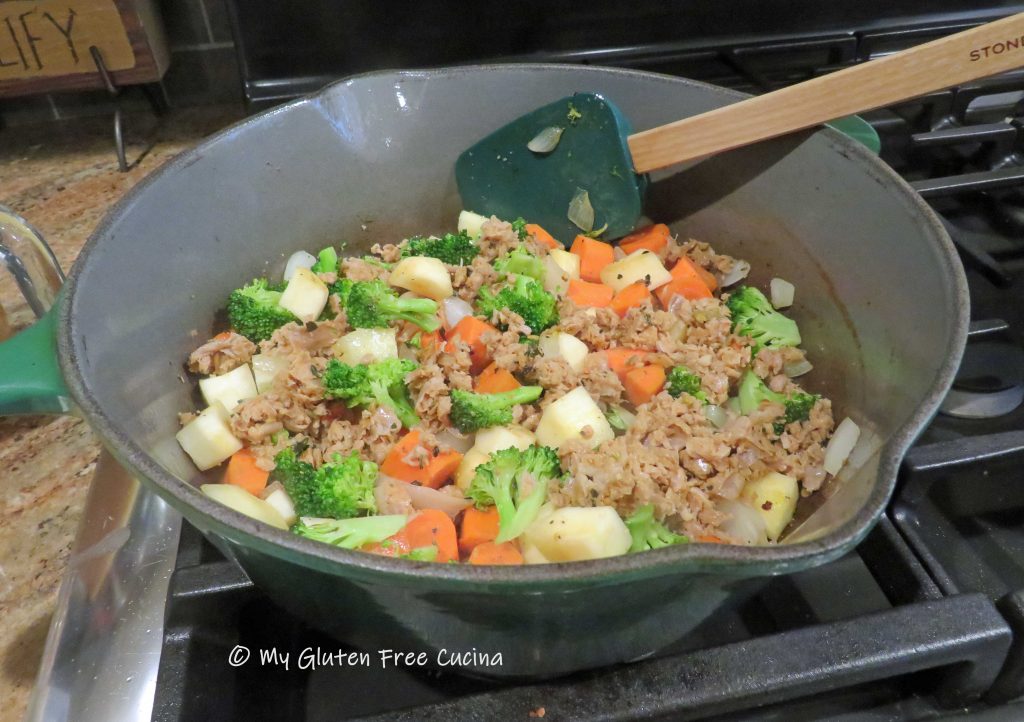
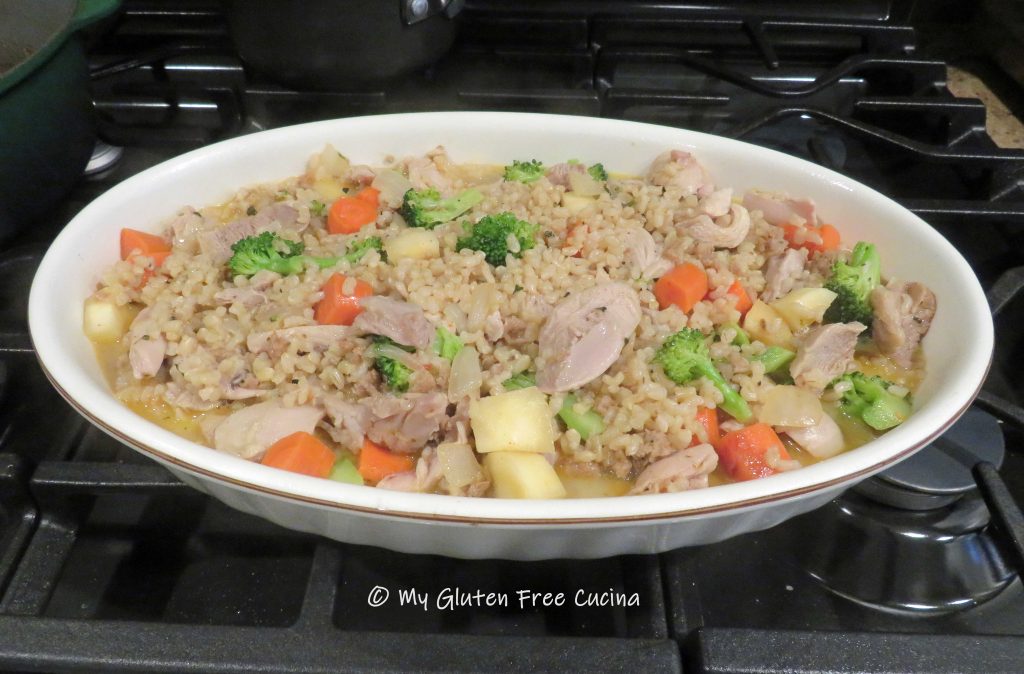
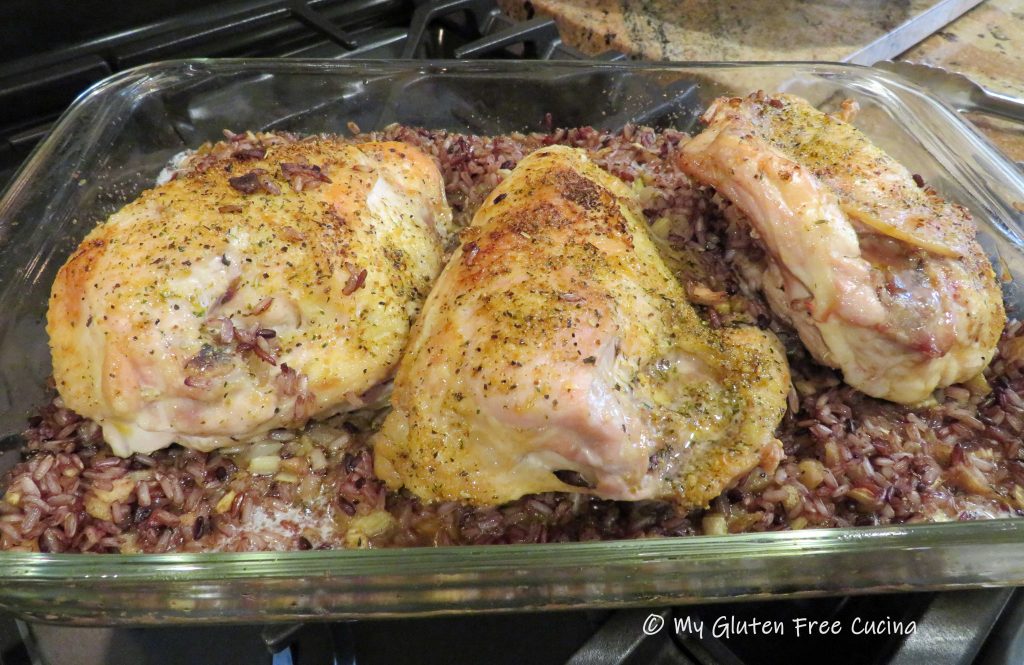
Now add the chicken and cooked rice. Measure the reserved liquid and add enough chicken broth to equal 1-1/4 cups. Combine with 1/4 cup milk and pour over the chicken and rice mixture.

Tip: Prepare the meal up to this point a day ahead. Cover and refrigerate.
Preheat the oven to 350º. You can bake the casserole in the same pan, or transfer to a pretty casserole dish for a nicer presentation. Note, if you made the casserole in the advance, take it out of the refrigerator and leave on the counter for at least 30 minutes (don’t place a refrigerated glass baking dish directly into a hot oven, it may shatter).
Spread the breadcrumb mixture over the casserole and bake uncovered for 45 minutes.
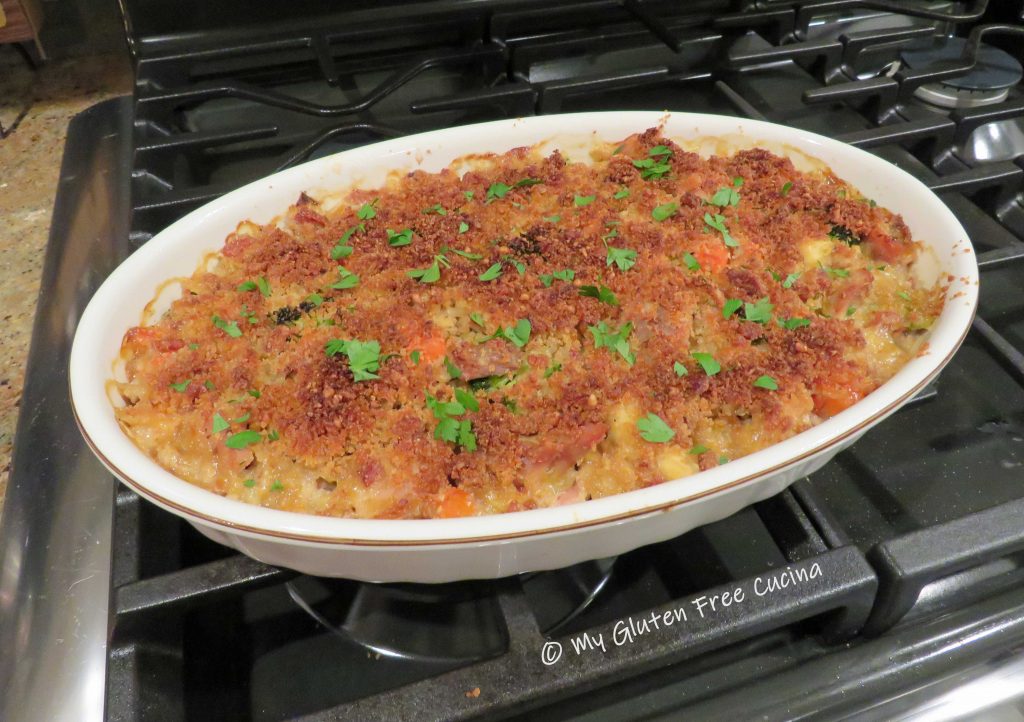
The liquid will bubble and thicken to create a nice sauce. I like to finish it off under the broiler, 3 minutes on low. Watch that it doesn’t burn!
Let it rest a few minutes to set up, then garnish with fresh herbs (or dried herbs) and bring it right to the table.

Notes ♪♫ Remember, you can substitute any veggies you like in this recipe. Once I went out on a limb and used eggplant. Surprise, the reaction ranged from “I loved it” to “I didn’t even know it was in there”! Try broccoli, cauliflower, asparagus or zucchini. Use what you have on hand, use what you like!


Chicken, Sausage and Rice Casserole
Description
Chicken and Italian sausage come together with ingredients straight from the pantry to make this flavorful casserole, and you can use any veggies you have on hand!
Ingredients
-
- 3/4 cup short grain brown rice
- 3 cups gluten free chicken broth, divided
- 4-6 chicken drumsticks or thighs
- 2 tbsp. olive oil
- 1/4 cup white wine
- 1/4 lb. gluten free Italian sausage, casings removed
- 4 cups veggies, cut into 3/4″ dice (I used onion, broccoli, carrots and parsnips)
- seasoned salt or Italian seasoning
- paprika
- 1/4 cup of milk, cream or half and half
- 1/3 cup gluten free seasoned breadcrumbs
- 1/4 cup grated parmesan
- 3 strips of gluten free bacon
- Cooking spray
- fresh or dry herbs for garnish
Instructions
Brown rice takes about 50 minutes to cook, so start that first. Simmer 3/4 cup rice in 1-3/4 cups chicken broth and 1/4 tsp. seasoning of choice.
For the topping, coarsely chop the bacon, cook and drain on paper towels, reserving the fat in the pan.
Crumble the bacon, or place in an electric chopper and pulse a few times to make bacon bits.
Add 1/3 cup of gluten free breadcrumbs to the skillet with the bacon fat and stir over low heat. Add back the crumbled bacon and stir well to combine. Set aside to cool, then mix with 1/4 cup grated parmesan cheese for topping.
In the same skillet, brown the chicken on all sides in a little olive oil. Season both sides with salt and pepper.
Place browned chicken in a braising pan or Dutch oven, add ¼ cup white wine and 1/4 cup chicken broth. Cover and simmer 30 minutes.
Transfer the cooked chicken to a plate, remove meat from the bones and sprinkle with paprika. Strain the liquid from the pan and reserve for later.
Slice the sausage and brown in olive oil.
Pulse the cooked sausage a few times in the chopper and set aside.
Wipe the braising pan or Dutch oven clean. Heat 1 tbsp. olive oil and add the veggies. Season and cook 10 minutes, stirring occasionally.
Add back the sausage.
Now add the chicken and cooked rice. Measure the reserved liquid and add enough chicken broth to equal 1-1/4 cups. Combine with 1/4 cup milk and pour over the chicken and rice mixture.
Tip: Prepare the meal up to this point a day ahead. Cover and refrigerate.
Preheat the oven to 350º. You can bake it in the same pan, or transfer to a pretty casserole dish for a nicer presentation. Note, if you made the casserole in the advance, take it out of the refrigerator and leave on the counter for at least 30 minutes (don’t place a refrigerated glass baking dish directly into a hot oven, it may shatter).
Spread the breadcrumb mixture over the casserole and bake uncovered for 45 minutes.
The liquid will bubble and thicken to create a nice sauce. I like to finish it off under the broiler, 3 minutes on low. Watch that it doesn’t burn!
Let it rest a few minutes to set up, then garnish with fresh herbs (or dried herbs) and bring it right to the table.


 Garnish each bowl with tortilla strips.
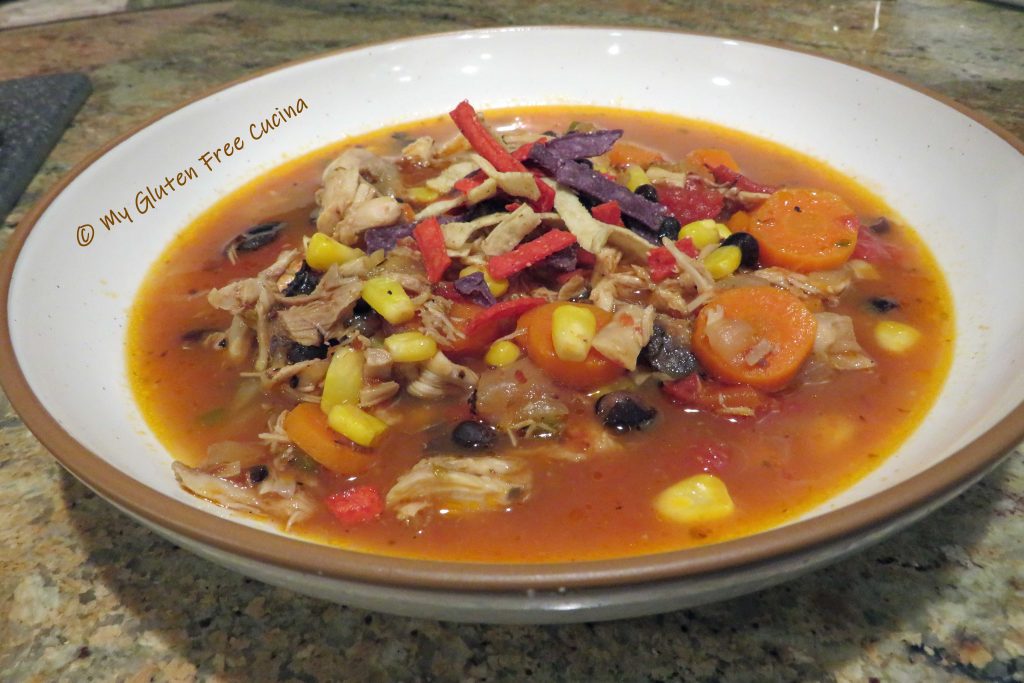


 Add the cooked rice to the skillet with the stuffing and stir well to combine.


 Add the chicken pieces to the bag, and pour in the marinade.
 Tie the bag to ensure all pieces are covered in the milk mixture, and let it sit at room temperature 1 hour.


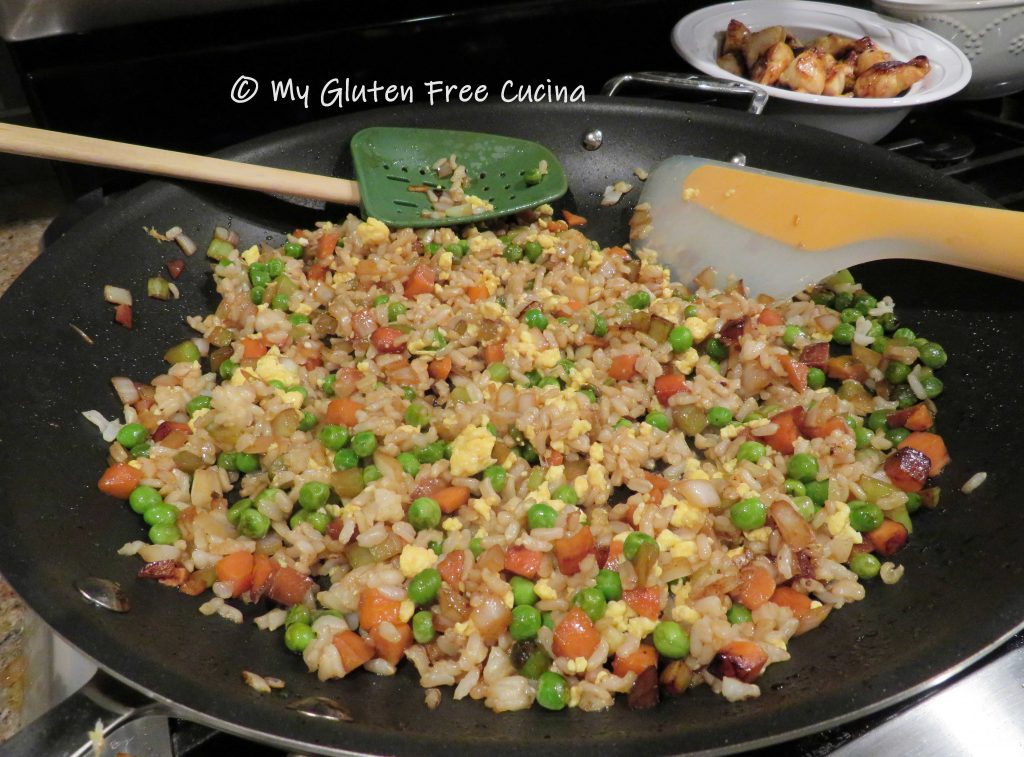
 While the chicken was cooking, I made my fried rice. I plated the chicken over the rice for a nice presentation.
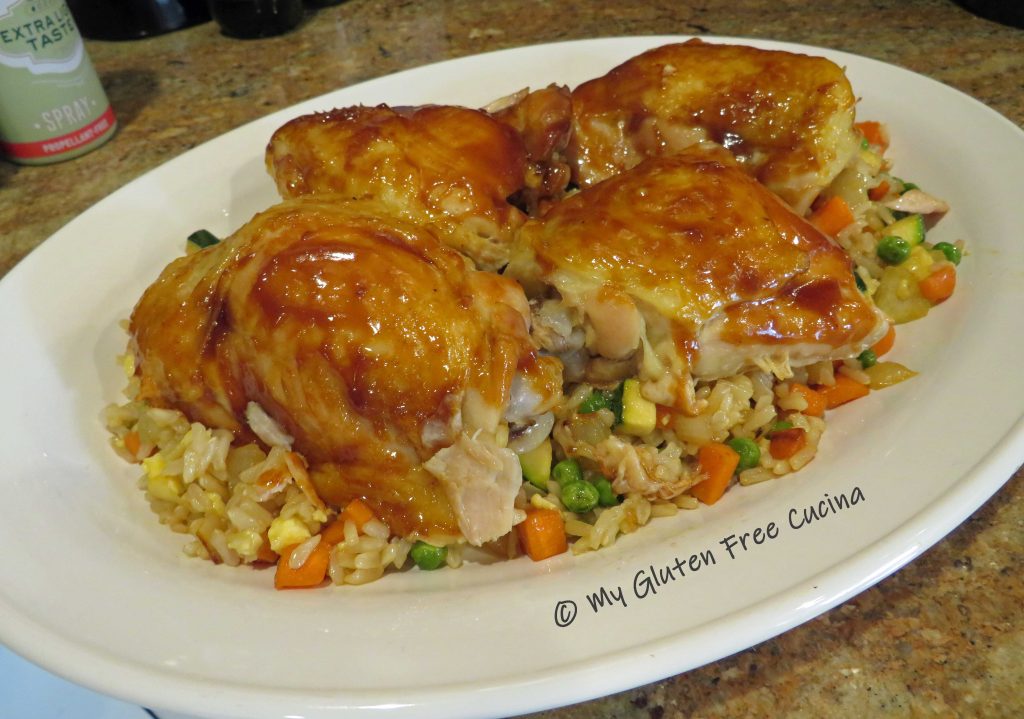


 When the chicken has browned on all sides, add a splash (1/4 cup) of white wine to the pan and toss until the liquid evaporates. Remove from the pan and set aside.
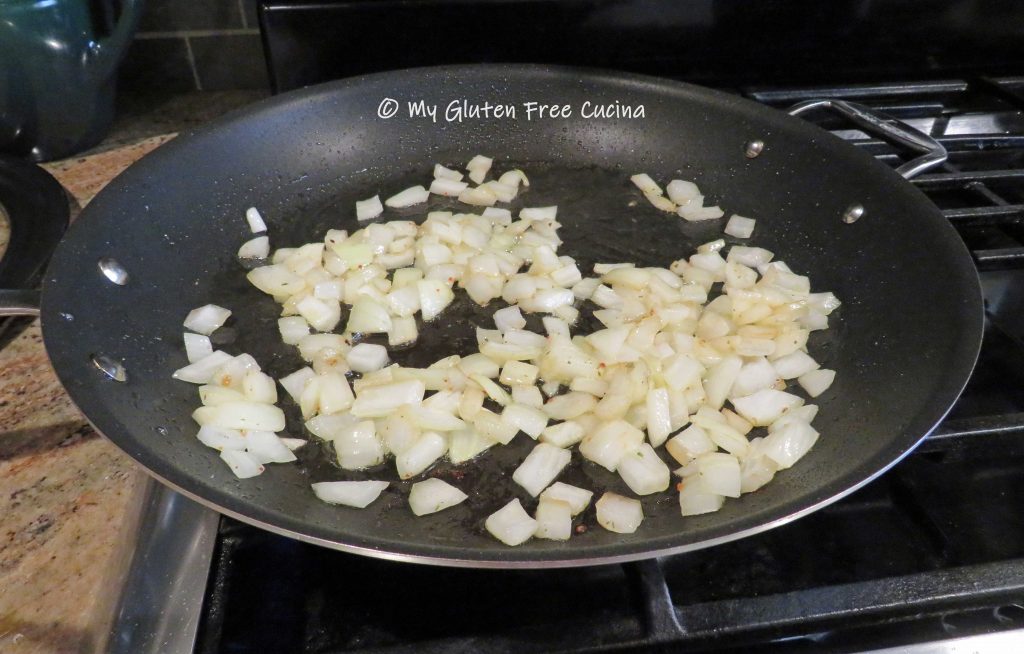 When they have a little color, add the broccoli, garlic and diced tomatoes. Add another splash of white wine, then season with salt and pepper, basil and Italian seasoning. Cover and cook 10 minutes, until the broccoli is crisp tender.
 While the vegetables are cooking, add the pasta to the boiling water. Use your favorite (
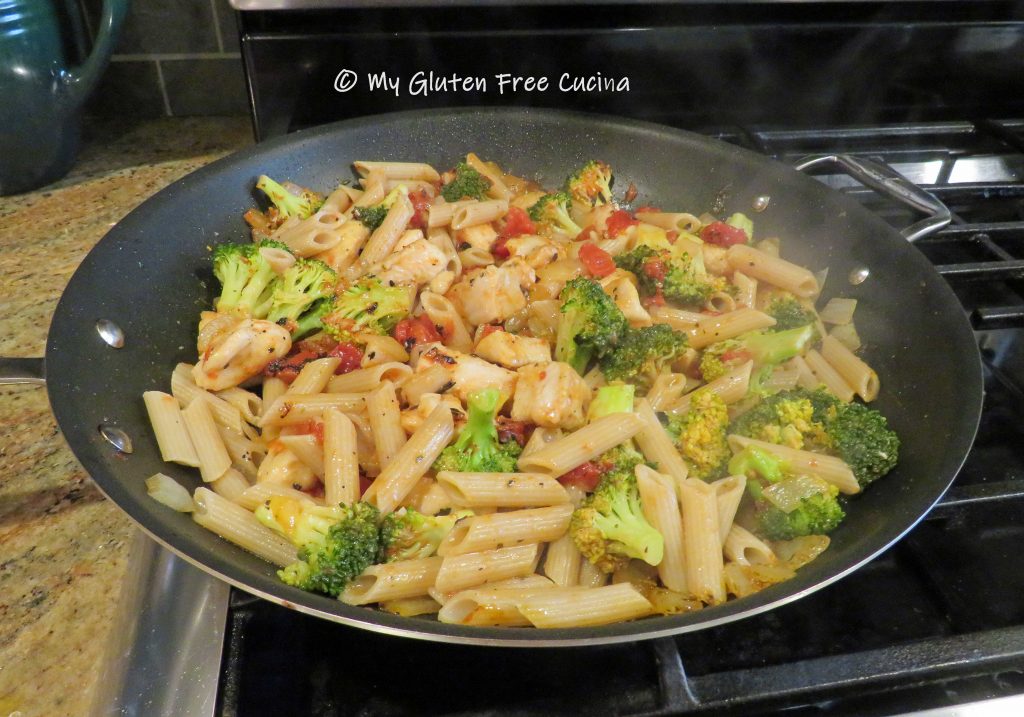


 Coat a