Gluten Free Spiced Applesauce Loaf

Don’t wait for apple season to make this delicious, Spiced Applesauce Loaf!  It’s perfect for coffee breaks, brunches, and snacks.  It would be lovely to take along when visiting a friend or neighbor.  So easy to prepare, and everyone will love it, kids and adults alike.

First, check out the ingredient list.  You probably have most of these items right in your pantry!  Then, in addition to being gluten free I also give you some options to lower the sugar and sodium, as I know many of you have these additional restrictions.

This post contains affiliate links.

Dry Ingredients:

Wet Ingredients:

 Preparation:

Whisk together all of the dry ingredients.  Combine the wet ingredients in the bowl of a stand mixer with the paddle attachment and beat until smooth.  Add the dry ingredients to the wet and blend together just until moistened.

Line an 8″ loaf pan with parchment and scrape the batter into the pan.

Bake for 1 hour at 350°.  When it’s done, the loaf will have risen almost to the rim of the pan and the top will crack.  If you’re not sure it’s done, check with a toothpick in the center of the loaf.

Cool in the pan for 1/2 hour, then grasp both sides of the parchment and lift the loaf onto a cooling rack.

Carefully remove the parchment and continue cooling to room temperature.  Try to resist cutting into it right away, to minimize crumbling.

You could dust the top with confectioners’ sugar, or drizzle with a simple icing.  Honestly though, this cake is so moist and delicious it really needs no other adornment.  Slice with a serrated knife and arrange on a serving dish.

Look at that nice moist crumb!  You’ll have to take it from me, it tastes great!

Notes ♪♫ I have always loved quick breads.  This is an old recipe of mine that I converted to gluten free.  For muffins and quick breads, I use and recommend Better Batter Original Blend gluten free flour.  When you shop Better Batter, be sure to use my code MGFC30 at checkout for 30% off full price!

Print This Post Print This Post


Air Fryer Pork Chops and Zucchini Rounds

The air fryer is a godsend when you are running short on time but want to cook a healthy meal from scratch.  The beauty of a recipe like this is that it allows the flavors of fresh ingredients to shine through, plain and simple.  Look how easily I put this dinner together!

This post contains affiliate links.

For the pork chops:

Brush the pork chops lightly with olive oil and sprinkle with seasoning.  Place on a rack misted with cooking spray.  Air fry for 15 minutes at 400º, turning every 5 minutes.  The internal temperature should be 145º.

For the Zucchini:

  • 1 zucchini, sliced into rounds
  • Olive oil
  • Seasoning
  • Grated parmesan
  • cooking spray

Brush or spray the zucchini lightly with olive oil and sprinkle with seasoning.  Top each round with ½ tsp. grated cheese.  Place rounds 1″ apart on a tray misted with cooking spray.  Add the zucchini to the air fryer when the pork chops have 7 minutes remaining cook time.  They do not need to be turned.

I served the pork chops and zucchini with a side of brown rice cooked in gluten free chicken broth.  A basic, healthy meal for your family on the table in under 30 minutes.

Notes ♪♫  I find the trickiest part of using an air fryer is determining the right cook time and temperature.  There are so many variables, including the size, shape and weight of your meat, other items being cooked at the same time, etc.  You can use a chart like this one as a guide, but I find that using a meat thermometer is essential.

Print This Post Print This Post


Gluten Free Pasta e Fagioli

Today I’m making Pasta e Fagioli, a favorite on the menu of Italian restaurants everywhere.  Of course, for those of us with Celiac disease, ordering any type of soup at a restaurant is not an option, or at best a roll of the dice.  Luckily, most soups are easy to recreate at home!  Especially when most of the ingredients are naturally gluten free, just be sure and check the labels!  And as I always say, don’t shy away from cooking with beans.  The Navy beans that I used in this soup are especially easy to work with and always turn out great.  You can of course use canned beans, I won’t tell!

8 – 10 Servings

This post contains affiliate links.

Ingredients:

  • 1 cup (dry) Navy beans
  • 2 gluten free Italian sausage links
  • 3/4 cup sweet onion, finely chopped
  • 3/4 cup celery, finely chopped
  • 3/4 cup carrot, finely chopped
  • 4 garlic cloves, minced
  • 2-3 tbsp. olive oil
  • 1/4 tsp. red pepper flakes
  • 1/2 tsp. sage
  • 1/2 tsp. thyme
  • 1/2 cup white wine (optional but good)
  • 1 can (14.5 oz.) gluten free diced tomatoes, pulsed in chopper
  • 3 cups gluten free beef stock
  • 1-1/2 cups gluten free chicken stock
  • 1 cup gluten free Ditalini pasta

Preparation:

Start the soup the night before, by soaking the navy beans overnight. Always look them over for any foreign material (i.e. errant grains that may sneak in or even a pebble!).  I also rinse them in a colander under cold water to minimize any trace gluten residue, then place in a small sauce pan with cold water, cover and let them stand until morning.  The next day, drain and rinse again, then return to a clean pot.

Add cold water, cover and place on a very low simmer for 2 hours.

Next, get the other ingredients ready.  We’ll be making a Soffritto (a flavor base composed of sautéed carrots, celery, and onion that forms the foundation of so many Italian recipes), so the veggies need to be finely minced.  I used my electric chopper to make the prep work super fast and easy.

I used about 1/2 of a medium sweet onion, 3 med stalks of celery and 1 large carrot.  You will have about 3/4 cup of each, don’t worry, it doesn’t have to be precise 😉  Mince the garlic and set aside.

In a stock pot or Dutch oven, heat 2 tbsp. of olive oil.  Remove casings from the sausage and add to the pot.  I used Open Nature Italian Chicken Sausage.  Brown the sausage then cut into pieces and continue cooking through, about 3 minutes.

Remove sausage from the pan, reserving any leftover oil.  Cool slightly and add to the chopper.  Pulse a few times to break up the meat.

In the same pan, add another tbsp. of olive oil and 1/4 tsp. red pepper flakes.  Stir 30 seconds to intensify their flavor.

Next add the minced garlic, stir and cook for 1 minute.

Now add the carrots, celery and onion to make the Soffritto.  Stir frequently for 2 minutes, you will see the veggies begin to break down and release their liquid.

Add back the chopped sausage along with the white wine (if using).  Stir together and cook 2 minutes.

Place the diced tomatoes in the chopper and pulse a few times.  Stir the tomatoes into the pot, along with the beef stock, chicken stock, sage and thyme.

Add the drained, cooked beans.  Cover and simmer on low heat for 45-60 minutes.

Finally, cook the Ditalini separately in salted water, drain and add to the soup.  (Note, you may see recipes where the pasta is cooked directly in the soup, but I find that gluten free pasta works best when cooked separately.)

Garnish with parsley and serve with grated cheese (optional) and a thick slice of gluten free bread.

Notes ♪♫ I was especially happy to find Le Veneziane Gluten Free Ditalini pasta, traditionally used in this soup.  You can use any small, gluten free pasta or break up any gluten free pasta into small pieces.

Print This Post Print This Post

Gluten Free Asian Beef and Broccoli

Asian Beef and Broccoli is a restaurant favorite that can be made right at home with just a handful of ingredients.  Adapting the recipe to be gluten free was easy, so why haven’t I made it in a while?  The short answer, sodium.

These days I try to make meals that are not only gluten free, but also lower in salt.  That means some of my Asian inspired meals have gone on the back burner because they are made with a salt bomb of condiments!  With that in mind, I am on a mission this year to makeover some of my favorite gluten free recipes and this meal was definitely a success.

Would you believe my original recipe used 1/4 cup of gluten free soy sauce and 1/4 cup of hoisin sauce?  Whew, that’s a lot of sodium!

This post contains affiliate links.

In this recipe remake, I’m using Coconut Aminos, a pantry staple in my kitchen that is much lower in sodium than gluten free soy sauce or tamari.  I have substituted Coconut Aminos in many of my recipes that call for soy sauce.  And a little Hoisin Sauce goes a long way, I cut the original 1/4 cup down to 2 tbsp. and it was still delicious.

4 Servings

Ingredients:

  • 1 lb. sirloin tips or petite sirloin (top sirloin), cubed
  • 1 tbsp. coconut aminos
  • 1 tsp. dark brown sugar
  • 3 garlic cloves, sliced thin
  • 1-1/2 tsp. sesame oil, divided
  • 2 tbsp. olive oil, divided
  • 1/4 tsp. powdered ginger
  • 2 tsp. fresh chives
  • pinch red pepper flakes
  • 1 large broccoli crown (about 2 cups)
  • 2 tbsp. gluten free Hoisin sauce
  • 1 tsp. sesame seeds, toasted
  • rice or gluten free rice noodles for serving

Preparation:

Once you start cooking this dish comes together very quickly, so measure and prep all of the ingredients ahead of time.

For the marinade, whisk together 1 tbsp. coconut aminos, 1 tsp. brown sugar, the garlic slices, 1 tbsp. of olive oil, 1/2 tsp. of sesame oil, 1/4 tsp. powdered ginger, chives and pinch of red pepper flakes.

Cut the sirloin (uncooked) into 1″ cubes and add to the marinade.  Cover and let it stand at room temperature for 30 minutes.

Toast the sesame seeds in a dry skillet, watching closely that they don’t burn.  Set aside for garnish.

Next, cut the broccoli into uniform pieces.  Steam 5 minutes.  Remove the steamer basket from the heat and set aside while you finish the dish.

Add the remaining tbsp. olive oil and 1 tsp. sesame oil to the skillet and begin browning the beef.  Don’t crowd the pan, do it in 2 batches if needed.  Discard any marinade left in the bowl.

Stir in 2 tbsp. hoisin sauce.

Finally, add the broccoli to the skillet and toss with the beef.

Let it cook for another minute or so, then transfer to a platter.  Garnish with toasted sesame seeds and either toss with rice noodles or serve with rice.

Here I served with Annie Chun’s Pad Thai rice noodles.

Shown here, served with rice.

So, were you thinking of ordering takeout?  Try this instead, you will love it!

Notes ♪♫ Coconut Aminos contain about 1/10th the sodium of gluten free soy sauce.  If you aren’t worried about sodium, try a gluten free soy sauce or tamari.  I like San-J Tamari, which also comes in a lower sodium version that is completely gluten free.

Print This Post Print This Post

Gluten Free Chicken Cordon Bleu

Classic Chicken Cordon Bleu.  Years ago this dish was a restaurant standard, and it has long been on my culinary bucket list to make a gluten free version at home!  Swapping out the flour and breadcrumbs for gluten free was all that was needed.

This is a great dish for a dinner party, or a romantic dinner for two.  When planning your meal, allow about 6 oz. chicken cutlet and 2 slices prosciutto per serving.  For our dinner I had one very large chicken breast that I cut into 3 slices.  You can save a step by purchasing thin sliced chicken breast cutlets.

This post contains affiliate links.

Ingredients:

  • boneless chicken breast cutlets, 6 oz. per serving
  • thin sliced prosciutto, 2 slices per serving
  • grated gruyere cheese, 2-3 tbsp. per serving
  • 1 egg or 1/4 cup egg whites
  • 1/4 cup white rice flour seasoned with paprika
  • 1/2 cup gluten free seasoned breadcrumbs
  • cooking spray

Preparation:

Using a sharp paring knife, slice horizontally through the center of the breast making 1/2″ slices about 6 oz. each.  Cover with plastic wrap and use the flat side of a meat mallet to pound each slice to an even thickness.

Continue with each slice, stacking between layers of plastic wrap.

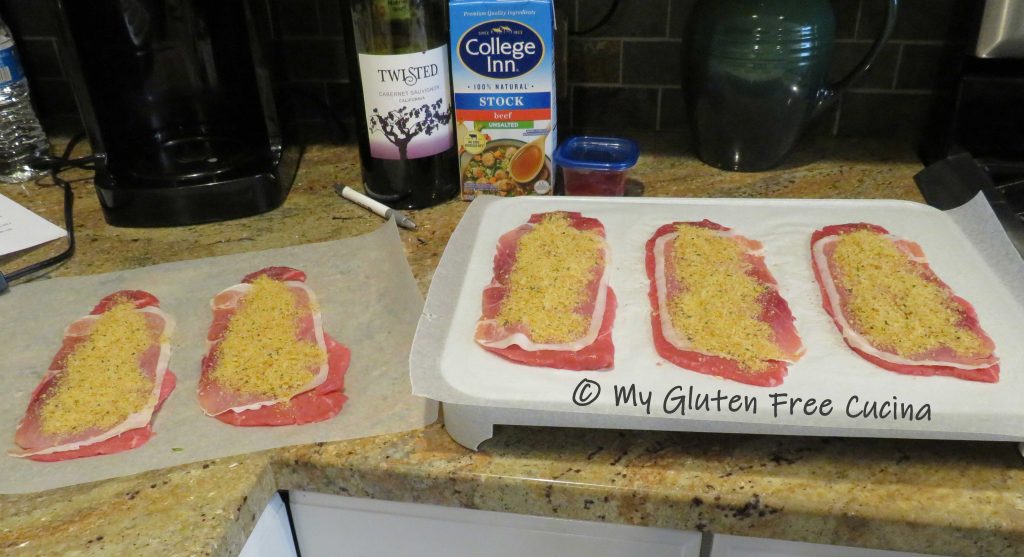
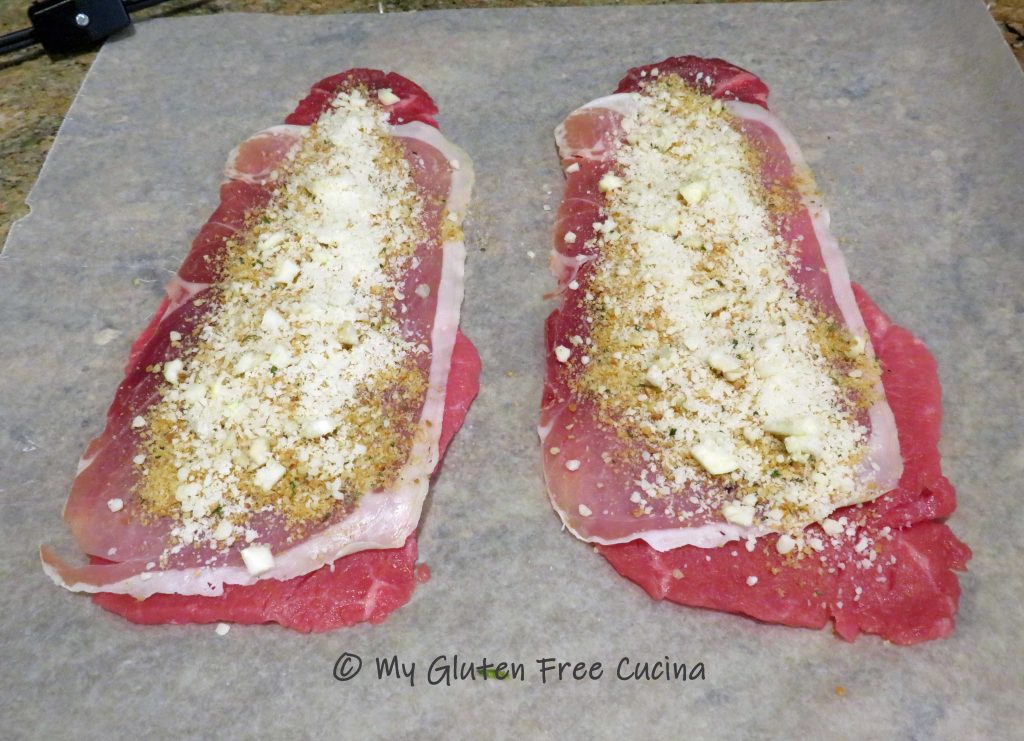
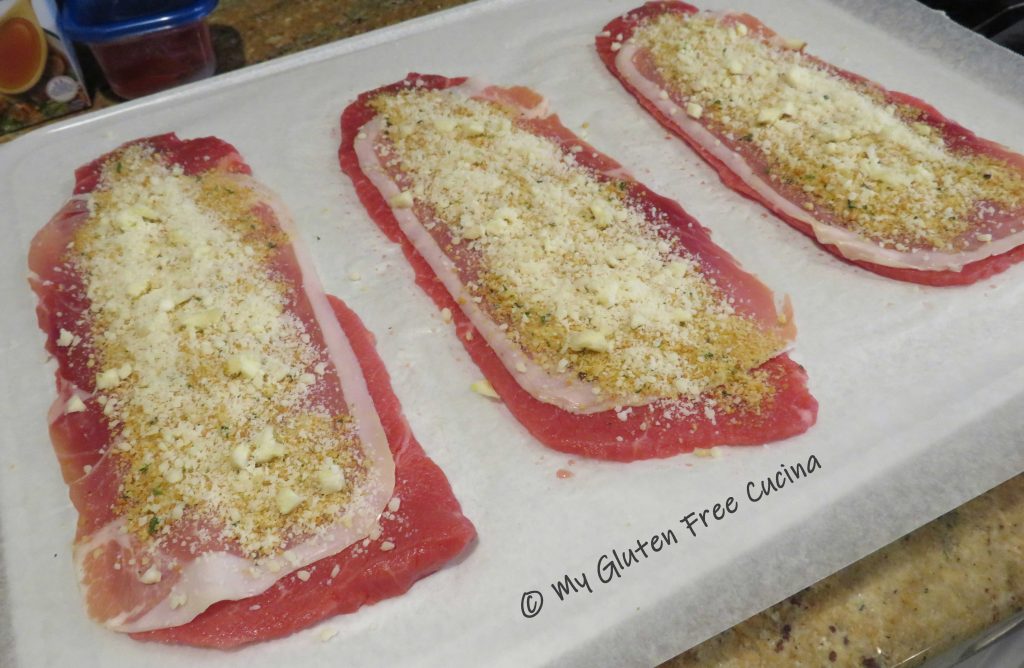
When you are ready to assemble, layer each piece of chicken with 2 slices of prosciutto.

Sprinkle evenly with Gruyere cheese and roll up into a bundle.

If you have the time, roll up the chicken in plastic wrap, twisting the ends like a sausage casing.  Refrigerate for at least 1 hour.  This is a great trick for to help the bundles stay together without using twine or toothpicks!

Pressed for time and don’t have that extra hour?  Don’t worry!  Just secure the bundles with a toothpick, like this.

Set up breading trays with the flour, egg and breadcrumbs.

Gently roll the bundles in the flour, then dip in the egg, and finally roll in the breadcrumbs.

Set the bundles seam side down on a baking sheet lined with foil and coated with cooking spray.

Bake for 40 minutes at 350º and rest 5 minutes before serving.

And that’s it friends.  A beautiful plate!

I hope you enjoyed this post and have been inspired to give the recipe a try! Be sure to check out some of my other restaurant classics that you can make at home, gluten free.

Notes ♪♫ Ingredients make the difference!  I used Aleia’s gluten free Italian breadcrumbs in this recipe.  They are simply the best!

Print This Post Print This Post

Italian Pot Roast

When I was growing up in the 1960’s, Sunday morning in our Italian neighborhood was all about making the sauce.  I can still see my Mom’s Farberware Stockpot simmering on the stove, filled to the rim.

She often cooked a pot roast right in the sauce, as it was so easy to do and the resulting meal was delicious.  The aromas filled our home and beyond, in fact it seemed every kitchen in the neighborhood was busy preparing their own Italian Sunday Dinner.

This post contains affiliate links.

I always think of my mom when I make this recipe, but instead of stovetop I prefer using my crock-pot, which makes it virtually hands off while you go about your busy day.  The roast can be cooked on the weekend and reheated during the week, for an easy meal when you get home from work.  Chuck roast is an economical cut of beef and after nine hours in the crock-pot the meat will be melt in your mouth tender!

Ingredients:

  • 2-4 lb. chuck roast, allow 1/2 lb. per serving
  • 4 garlic cloves cut into slivers
  • 1/2 sweet onion, diced
  • cooking spray
  • olive oil
  • 1/2 cup red wine
  • 1 large can (28 oz.) tomato sauce
  • 3 tbsp. tomato paste
  • 1-1/2 tsp. basil
  • 1 tsp. oregano
  • 1/2 tsp. marjoram
  • 1/2 tsp. parsley
  • 1 tbsp. brown sugar

Preparation:

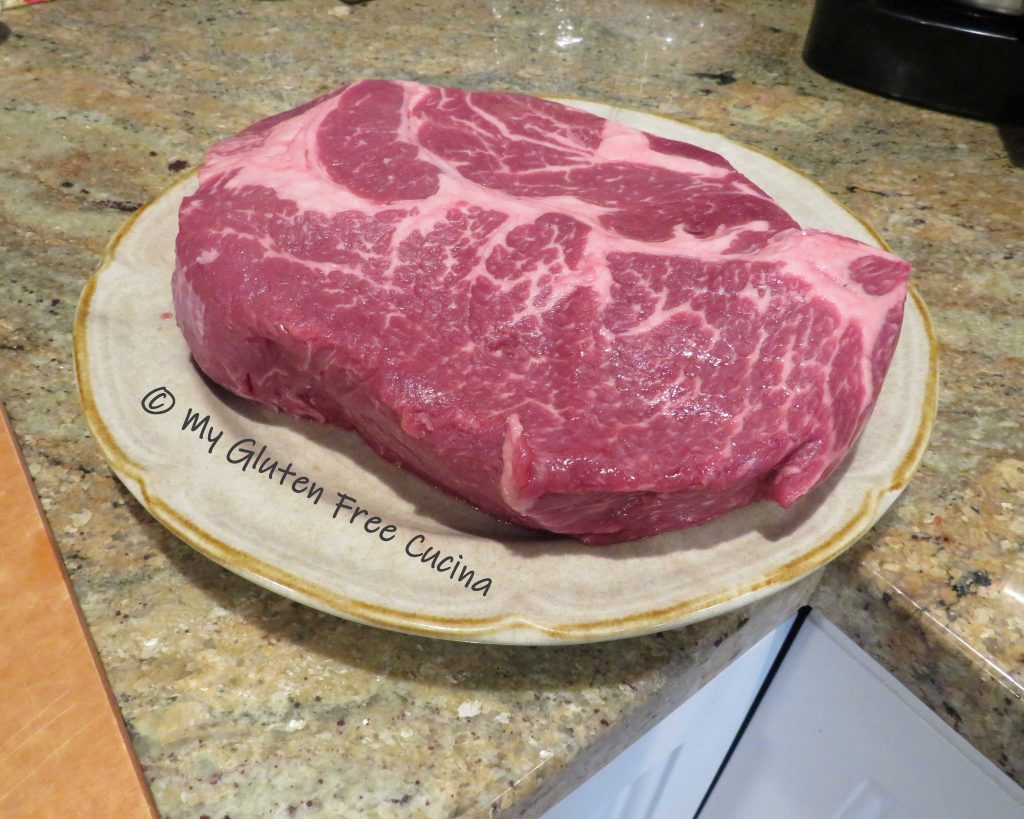
I got a great deal on a 4 lb. chuck roast, so I cut it into 2 pieces and froze half.  A roast like this will shrink during cooking, so when planning portions I allow 1/2 lb. per person.  If you have leftovers, this pot roast is great in sandwiches the next day.

To get started, set up your crock-pot and mist with cooking spray.  Cut the garlic cloves into long slivers.  Use a paring knife to make slits in the top of the roast and insert the garlic slivers.

Sear the roast on all sides in a hot skillet with olive oil, then place it in the crock-pot.

Add onions to the same skillet and cook until translucent.  Add them to the roast then deglaze the skillet with the red wine and pour over everything.

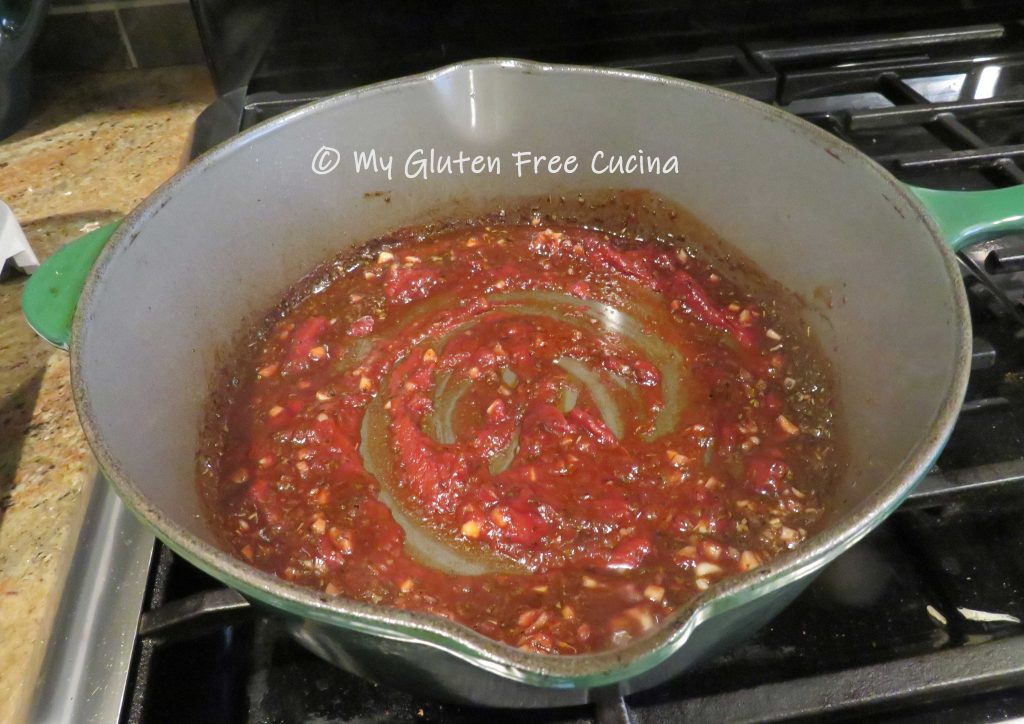
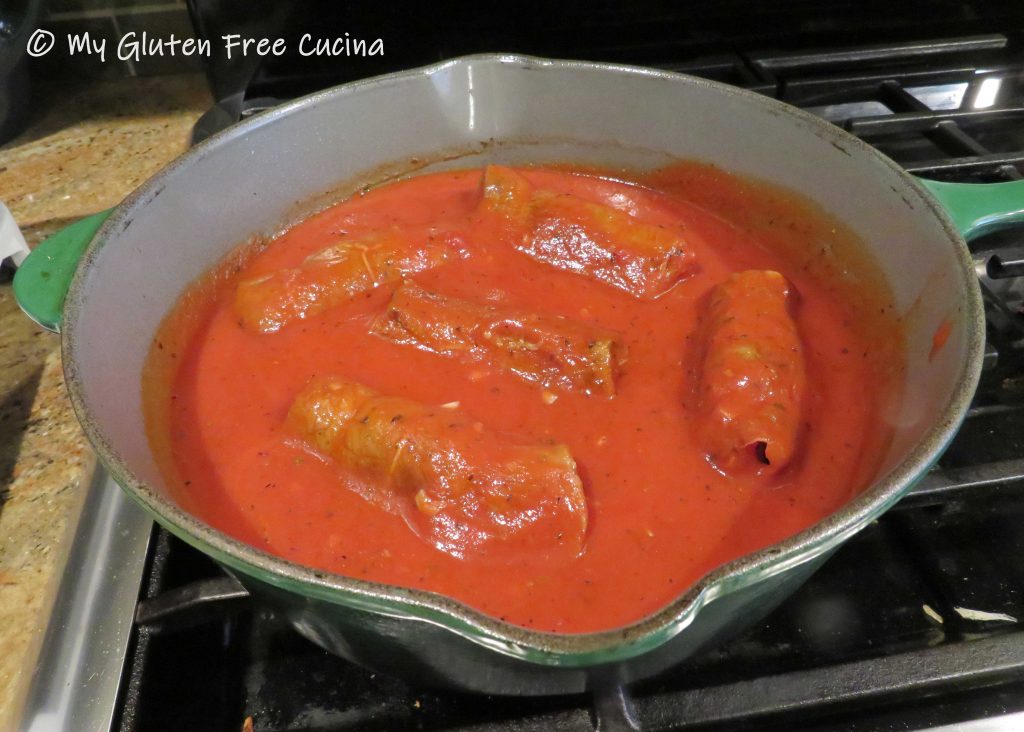
Whisk the tomato paste into the tomato sauce along with the remaining ingredients, through brown sugar.  Add to the crock-pot and cook on low for 9 hours.  Give it a stir about halfway through.  You can serve it immediately, but my personal preference is to refrigerate it overnight.  The flavors will continue to meld, and the sauce will thicken.

The next day, reheat the roast on the stovetop over low heat.  You can see that mine was so tender that it had broken into two pieces.

Most of the onions will have melted into the sauce at this point, but if you want an extra smooth sauce (or have picky eaters) you can puree it with a stick blender.

Slice the roast and arrange on a serving platter.

Serve with your favorite gluten free pasta.  Jovial gluten free penne is one of mine.

Bring to the table with extra sauce and grated cheese.  The only thing missing here is fresh parsley from my herb garden.  I guess I’ll have to wait for summer and make this again!

Notes ♪♫ When starting the gluten free diet, you may feel like you will never enjoy your old family recipes again.  The truth is many recipes like this one are naturally gluten free.  The only thing I changed was the pasta.  With a little patience and experimentation, I have learned that many of my childhood favorites can be recreated and enjoyed!

Print This Post Print This Post

Cauliflower Pizza Wreath

Since this is Christmas week, I thought I would make a festive wreath shaped Cauliflower pizza!  Both gluten free and grain free, try this guiltless indulgence to balance out all those holiday cookies!

This post contains affiliate links.

Ingredients:

  • 4 cups grated cauliflower
  • 1/4 cup cream cheese, softened
  • 3/4 cup grated gruyere cheese
  • 1/4 cup grated parmesan cheese
  • 2 boneless, skinless chicken thighs
  • 1/2 sweet onion, diced
  • 1/4 cup gluten free BBQ sauce (I love Stubbs)
  • 1 egg
  • Italian seasoning or seasoned salt
  • olive oil

Preparation:

Use a hand grater or electric chopper to make 4 cups of grated cauliflower.  I usually grate my own, but you can purchase pre-grated in the fresh or frozen section.

Cook the grated cauliflower for 3-5 minutes in a large nonstick skillet, with 2 tbsp. olive oil and 1/2 tsp. Italian seasoning.  Set aside to cool.

Toss the chicken thighs with 1 tbsp. olive oil and sprinkle with seasoning.  Bake for 1/2 hour at 350º.

Mix the cooled cauliflower with the beaten egg, cream cheese and gruyere cheese.

Line a pizza stone with parchment paper cut to size.

Spoon the cauliflower mixture onto the parchment and spread into a 1/2″ thick circle.

I used a small pinch bowl to make a circle in the center and scooped it out with a spoon.

Next use a spatula to create 8 sections and smooth the edges.  Brush with olive oil and sprinkle with more seasoning.

Bake for 25 minutes at 400º.  Meanwhile, cook the onion in a little olive oil until softened.  Chop the cooked chicken and add to the onion, drizzle with BBQ sauce.

Brush the baked cauliflower with more olive oil, especially around the edges and arrange the filling in an even layer.  Sprinkle with parmesan and drizzle more BBQ sauce.

Return to the oven for 5 more minutes to heat the chicken through and melt the cheese.

Notes ♪♫ Remember, a cauliflower pizza crust is baked separately from the toppings, which are added during the final 5 minutes of cook time.  That means any toppings you choose, like our chicken and onions must be fully cooked before adding to the pizza.

If you enjoyed this post, check out my Sausage and Mushroom Pizza on a Cauliflower Crust and my Cauliflower Cakes!

Print This Post Print This Post

Roast Turkey Breast

I so look forward to our Thanksgiving turkey dinner each year and all the delicious sides!  But what if you don’t want to deal with roasting a whole turkey?  A turkey breast might be just the ticket for smaller gatherings.  I always plan on 1/2 lb. per serving, so a 3 lb. breast is perfect for 6 people.

So easy to prepare, just rub the breast all over with herbed butter and roast it.   You can do this!  I am so lucky to still have chives and rosemary growing in my garden in late November, but if you can’t get fresh herbs, use a smaller amount of dried.

This post contains affiliate links.

Ingredients:

  • 3 lb. turkey breast, thawed
  • 1/2 stick butter, softened
  • 1/2 tsp. lemon peel
  • 1/2 tsp. thyme
  • 1 tbsp. fresh chives (or 1 tsp. dry)
  • 1 tbsp. fresh rosemary (or 1 tsp. dry)
  • 1 cup chicken broth, or use white wine, or water

Preparation:

Mince the herbs and combine with the lemon peel and softened butter.

Preheat the oven to 325º and spray a small roasting pan and rack with cooking spray.  Rinse the turkey breast and pat dry with paper towels.  As you can see, the breast has a pop-up thermometer but untrusting soul that I am, I also inserted a meat thermometer.

Rub the breast all over with the butter mixture and pour 1 cup of liquid (chicken broth, wine, water or combination) into the bottom of the pan.

Roast for 25 minutes per pound, or until a thermometer inserted into the thickest section registers 150º.  The pop up thermometer didn’t work on mine so I was glad that I used my own.

Tent with foil and let it rest 10 minutes.  Internal temperature will continue to rise as the turkey rests.

That’s all there is to it, slice and serve.

Enjoy with Gluten Free Roast Turkey Gravy and be sure and check out my Gluten Free Ramekin Stuffing Cups!

Notes ♪♫ White meat lovers will love this easy meal.  For all the dark meat lovers out there be sure and check out my from scratch Gluten Free Roast Turkey Gravy made with legs or thighs, or for ultimate ease try my Crock-Pot Turkey Drumsticks.  Happy Thanksgiving to all from My Gluten Free Cucina!

Print This Post Print This Post

Easy Gluten Free Ramekin Stuffing Cups

As another year draws to a close and the holidays approach, many are planning a scaled down version of the usual Thanksgiving and Christmas celebrations.  Even with the pandemic behind us, I still hear from friends and neighbors that their family gatherings will be smaller this year.

This post contains affiliate links.

Micro gatherings mean smaller portions.  I will still be making soup and roasting a turkey breast.  Instead of stuffing the bird though, I’ll be making these cute Ramekin Stuffing Cups.

Since beginning my gluten free journey a few years ago, I have enjoyed making a delicious Gluten Free Cornbread Stuffing from scratch each Thanksgiving.  This year though, I’ll be taking a shortcut and using these Savory Gluten Free Stuffing cubes from Aleia’s.

If you follow my blog, you know that I use Aleia’s gluten free breadcrumbs in many of my recipes.  Since I love their breadcrumbs so much, I thought I would give their savory stuffing a try, and it was a win!

These stuffing cubes are delicious!  They remind me of the stuffing mix we all grew up with😉.  The 6 oz. ramekins are perfect for portion control.

4 Servings

Ingredients:

Preparation:

Chop the veggies into small dice.  Melt the butter and olive oil in a nonstick skillet and add the veggies.  Cook 2-3 minutes, stirring frequently.

Next chop the bacon into 1/4″ pieces and add it to the pan.  Continue cooking until the bacon is crisp and the veggies are just beginning to brown.  Remove from heat and cool slightly.  Note: You can make ahead to this point and refrigerate or freeze.

When ready, add the stuffing cubes.

Pour 1 cup chicken broth over the stuffing and stir to moisten.  Return to low heat.

Pour the beaten egg over the stuffing, while quickly stirring and turning to incorporate.

Arrange 4 ramekins on a rimmed baking sheet and coat with cooking spray.  Spoon the stuffing lightly into the ramekins, about 3/4 cup each.  Leave room for the stuffing to expand during baking, don’t overfill or pack it in.

Cover tightly with foil and bake at 325º for 35 minutes.

Serve hot out of the oven and don’t forget the gravy!

Notes ♪♫ Notice I didn’t add salt to the recipe?  The stuffing cubes and the bacon have plenty of salt, so I decided not to add more.  I also used unsalted chicken broth.  If you are not limiting sodium, then by all means salt away!
Print This Post Print This Post

Gluten Free Stuffed Peppers

Bell peppers are a favorite of backyard gardeners and are available in stores year-round.  They come in so many beautiful colors!  Whether you grow them yourself, or do your harvesting at the supermarket, you will definitely want to try this recipe for Italian style stuffed peppers. 

Choose peppers that are uniform in size, and check that they can stand upright.

The sausage and rice stuffing is so delicious and can stand on its own as a casserole!  For a really special touch, try using my homemade Mushroom Soup and homemade Italian Sausage in this recipe, both are fabulous!  Of course, you can use store bought if you like, just make sure the ingredients are gluten free.    

This recipe will yield enough stuffing for 4 medium peppers.  In this post I am stuffing 2 peppers and serving the rest as a casserole.

This post contains affiliate links.

Ingredients: 

  • 1/2 cup long grain brown rice (uncooked) 
  • 1-1/2 cups gluten free Lower Sodium or Unsalted Chicken broth 
  • olive oil 
  • 1/2 sweet onion diced 
  • 3 garlic cloves, minced 
  • 1 cup sliced mushrooms
  • salt and pepper to taste 
  • 8 oz. gluten free Italian Sausage, casings removed
  • 1-1/2 cups gluten free Mushroom Soup 
  • 1/4 cup 1% milk, plus more as needed 
  • paprika 
  • 1/3 cup shredded gruyere cheese 
  • 1/3 cup gluten free Italian breadcrumbs 

_____________________________________

  • 4 bell peppers, color of your choice 
  • 1/4 cup grated gruyere or Parmesan cheese 
  • 1/4 cup gluten free Italian breadcrumbs 
  • 2 cups purchased marinara sauce for serving or make your own

Preparation: 

Cook the rice in the chicken broth.  I used long grain brown rice which takes about 50 minutes to cook, so I gave it a 35-minute head start before adding to the casserole. 

Next heat a deep, oven proof skillet to medium low and add the onions, mushrooms and garlic with a little olive oil.  Season with salt and pepper.

Cook for 2 minutes, stirring frequently.

Push the veggies to the side, leaving a space in the center of the pan and add the sausage.

Break up the meat with a spatula to brown it all over, then stir into the veggies.

When the rice has simmered for 35 minutes, add it to the skillet along with any broth that has not been absorbed.  Add the Mushroom Soup and 1/4 cup milk.

Sprinkle the top with paprika and place the skillet in a 350° oven.  Bake for 30 minutes uncovered. 

Stir the casserole after 30 minutes and add an additional 1/4 cup milk if it appears dry.  Continue baking for another 30 minutes.  The casserole should be set but moist.

Sprinkle with the Gruyere cheese and breadcrumbs. 

Broil on low for 5 minutes or just until the top is nicely browned.  You can prepare up to this point a day ahead.

Cut the tops off the bell peppers and remove the ribs and seeds.

Blanch in boiling water for 3 minutes.

Use tongs to remove the peppers from the water and set them aside on paper towels to drain and cool. 

Arrange the cooled peppers in a baking dish coated with cooking spray and spoon in the stuffing.

Top with more cheese and breadcrumbs, then bake for 35 minutes at 350°.

Simmer 2 cups of marinara sauce on very low heat while the peppers are baking.

Finish under the broiler for 1-2 minutes, just until the tops are browned. 

Remember I said the stuffing can stand alone as a casserole?  For those who don’t care for the peppers you can set aside some stuffing and simply top with cheese and breadcrumbs and finish under the broiler.  It’s delicious!

Serve with marinara sauce as a main course or side.  The peppers freeze well.  Just cool to room temperature and wrap them in foil, then store in freezer safe bags.

Notes ♪♫ I used Aleia’s gluten free Italian breadcrumbs in this recipe.  My favorite gluten free breadcrumbs, I always have them on hand in my pantry.

Print This Post Print This Post