

This is THE best melt in your mouth pulled pork! Yes, it’s better than that local BBQ Restaurant you go to, and safer too because you made it at home! The secret, don’t rush the recipe. Twelve full hours in the crockpot on low heat will transform this tougher cut of meat into the most tender and moist BBQ dinner you have ever had!

This isn’t a new recipe, but I haven’t made it in years. Not since my Celiac diagnosis. So the first thing I did was to read over the ingredients, to see what I would have to change to make it gluten free. Guess what? I didn’t have to change a thing. All of the ingredients were already gluten free! Score!
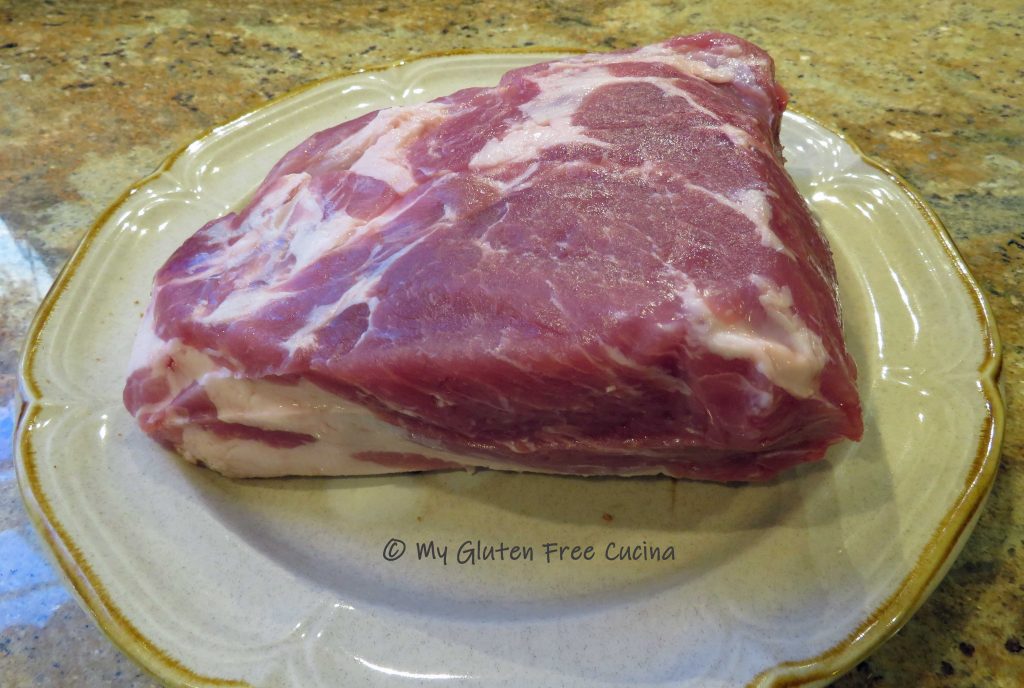
The Meat:
Pork butt is a cut of pork that comes from (surprise) the upper part of the shoulder. It’s tasty and economical, perfect in this slow cooked preparation. If you don’t see it in the meat case, ask the butcher. You will want 1/2 lb. per person.

This post contains affiliate links.
Ingredients:
- 4 lb. pork butt (shoulder)
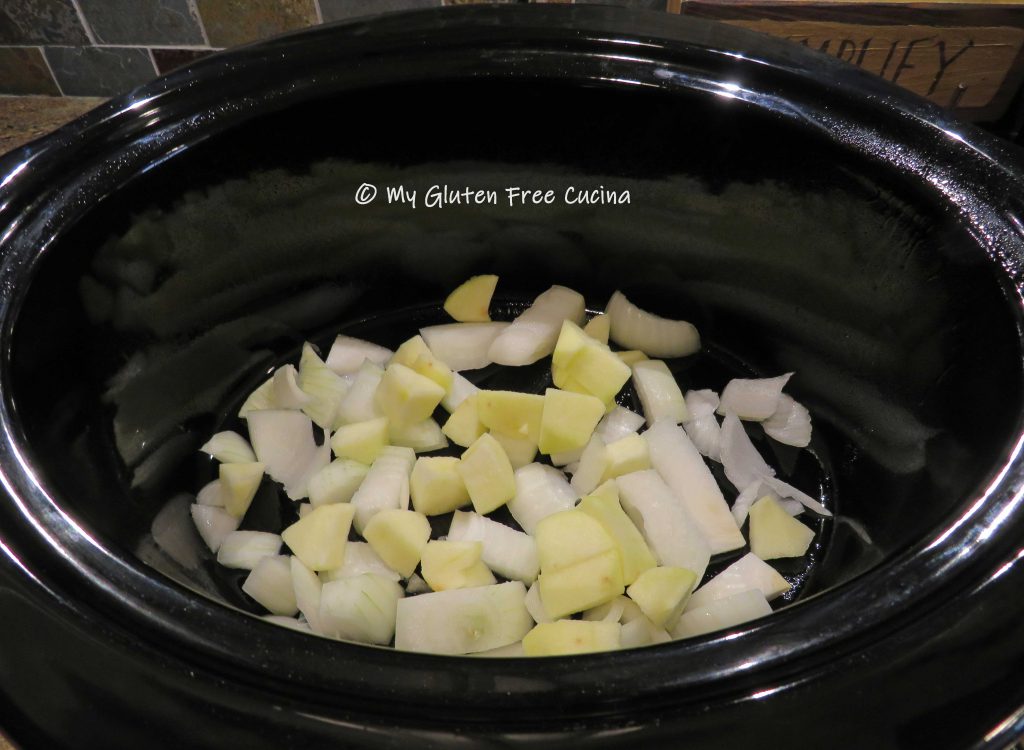
- 1 onion, peeled and diced
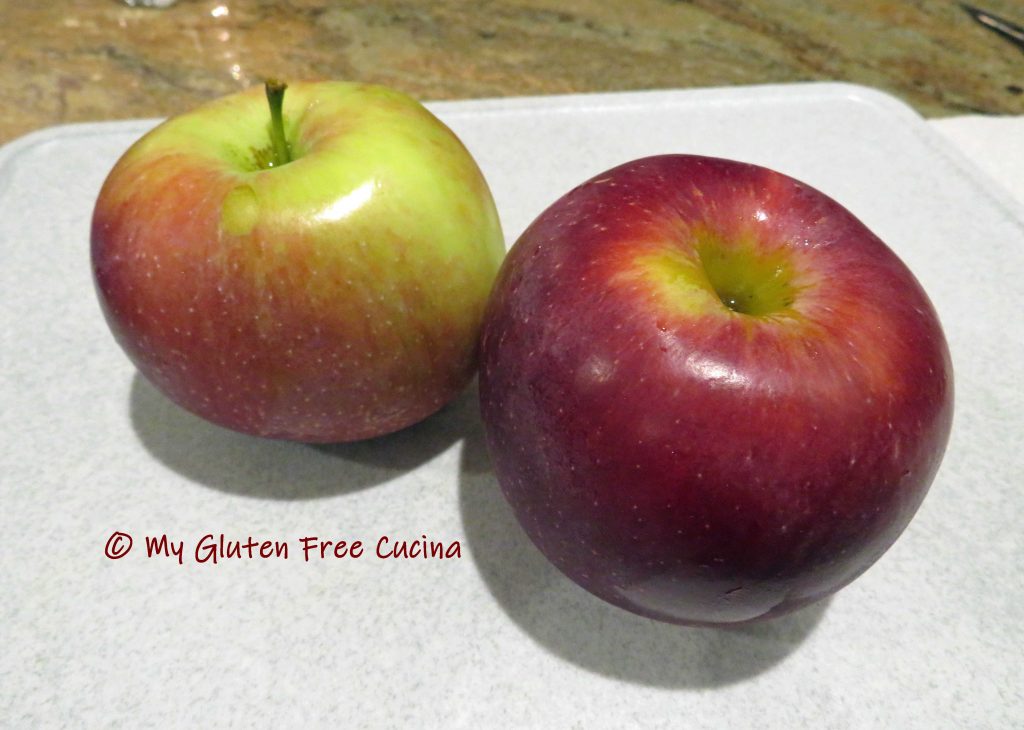
- 1 apple, peeled and diced
- cooking spray
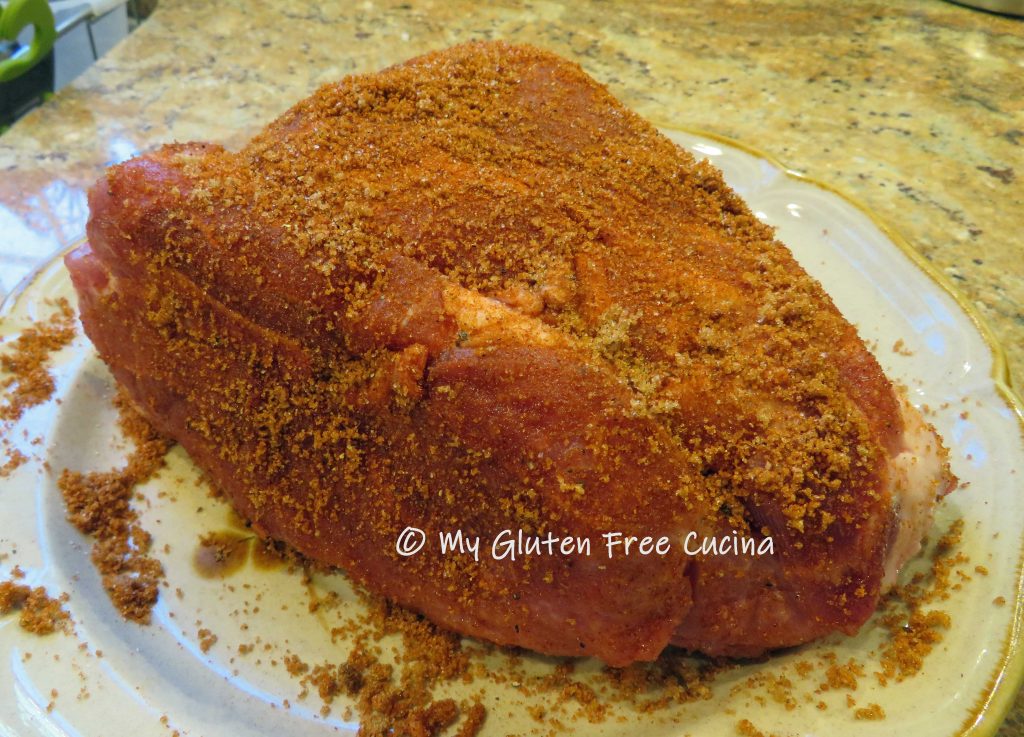
The Rub:
- 2 tbsp. brown sugar
- 1 tbsp. paprika
- 1/2 tsp. salt
- 1/2 tsp. pepper

The Sauce:
- 1/2 cup apple cider vinegar
- 2 tbsp. gluten free Worcestershire sauce
- 1/2 tsp. red pepper flakes
- 1 tsp. sugar
- 1/2 tsp. mustard powder
- 1/2 tsp. garlic powder
- 1/8 tsp. cayenne pepper (optional)
Preparation:
Rinse the meat and pat dry.
Whisk together the brown sugar, paprika, salt and pepper, and rub it into the roast.
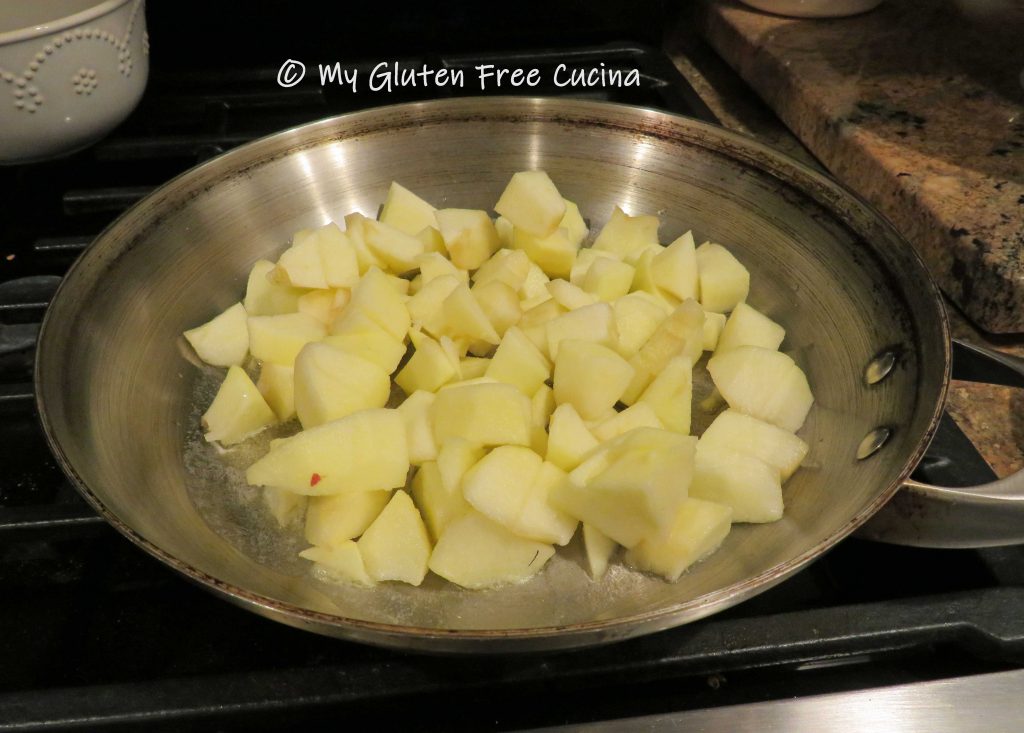
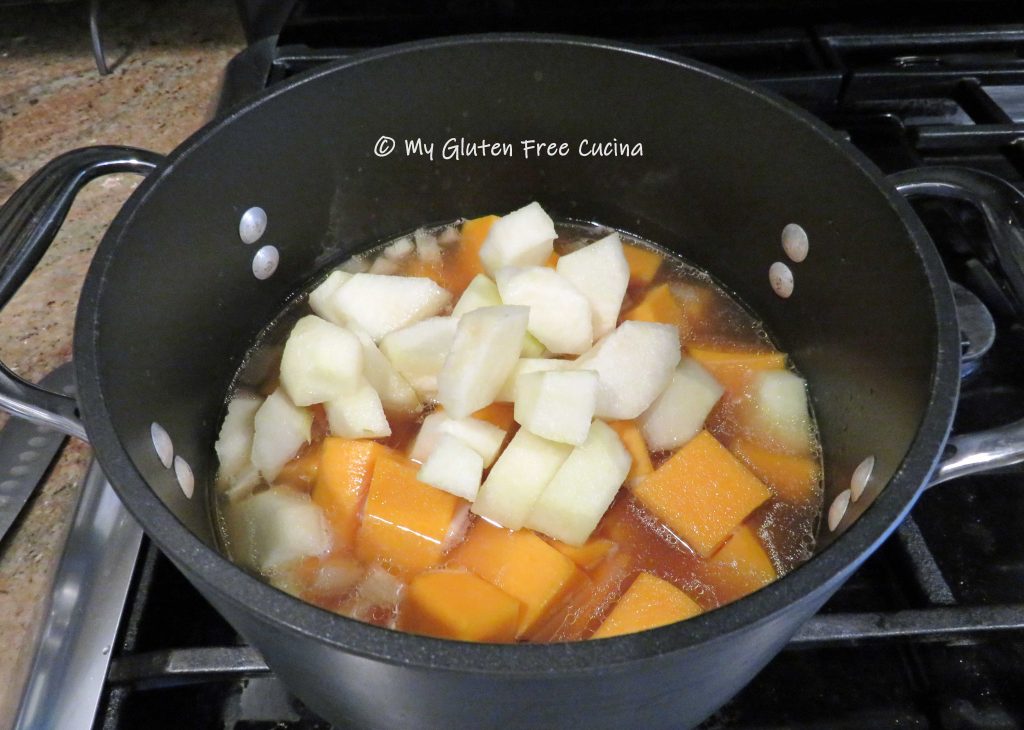
Mist your crock-pot with cooking spray. Peel and dice the onion and apple, and spread in a single layer.
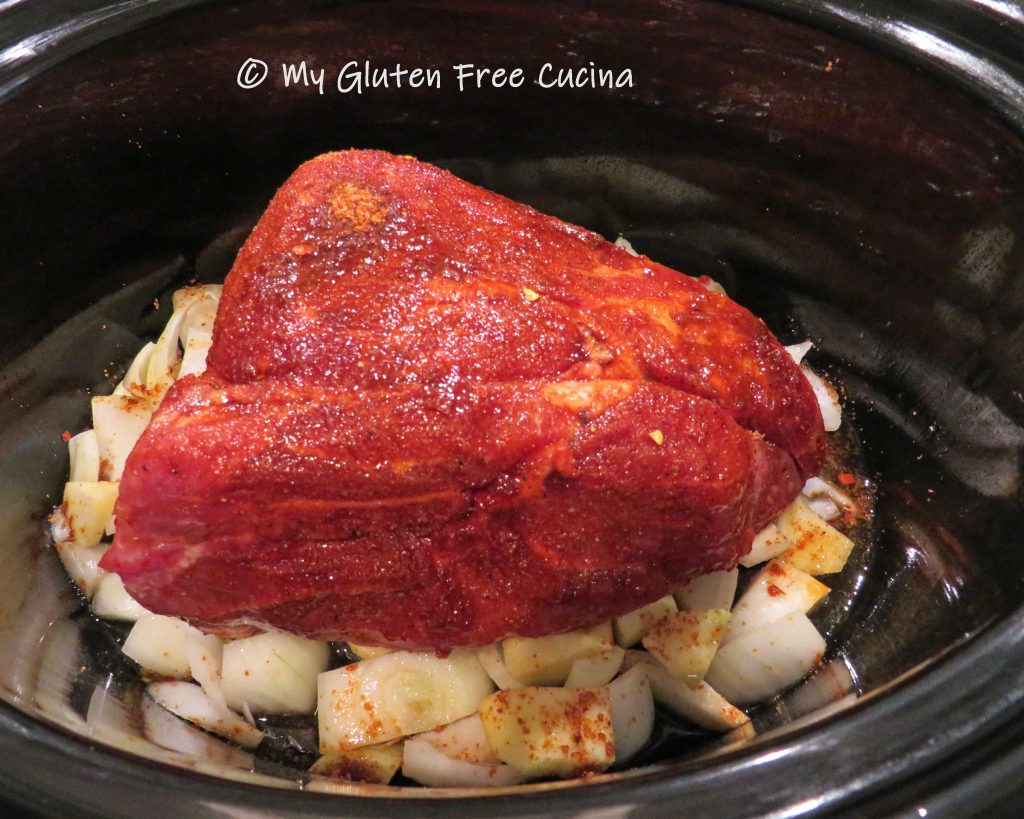
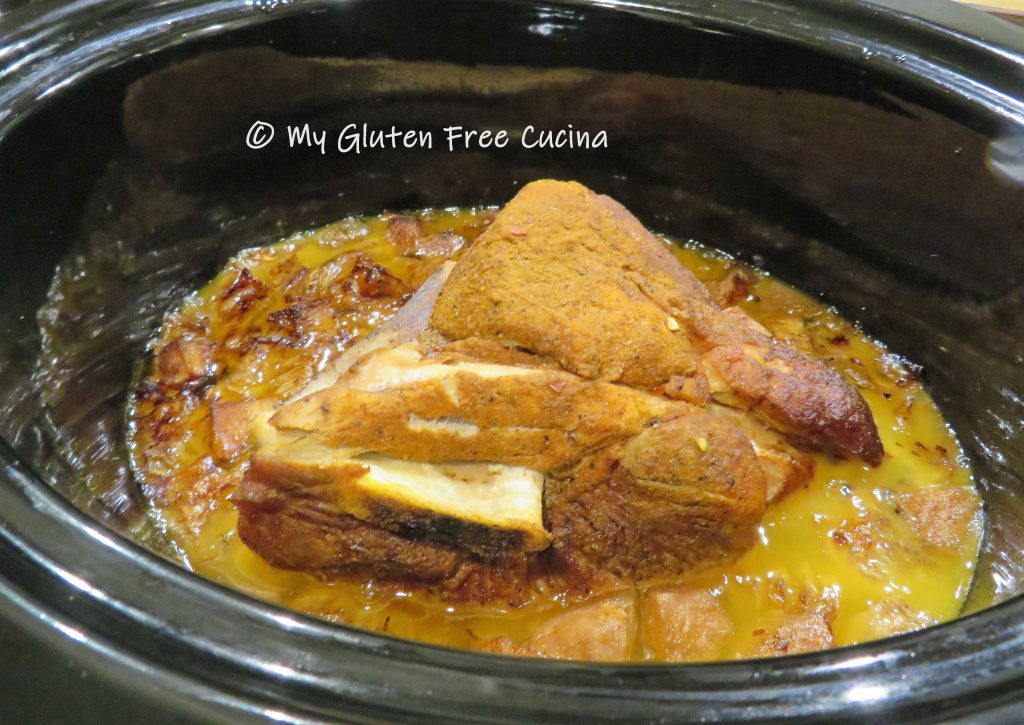
Place the meat on top. You want the meat to be elevated an inch or so from the bottom of the pan, to keep it out of the liquid for the first few hours of cooking.

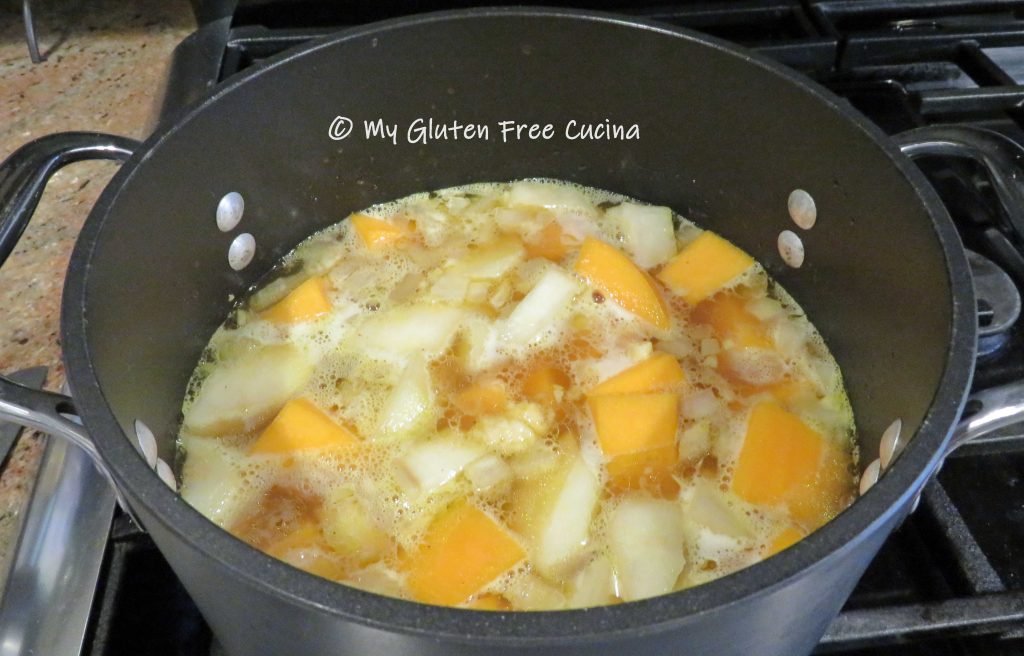
Whisk together the sauce ingredients and pour 1/4 cup of the mixture over the pork. Don’t be tempted to add more. The meat, onions and apples will cook down and create their own liquid.
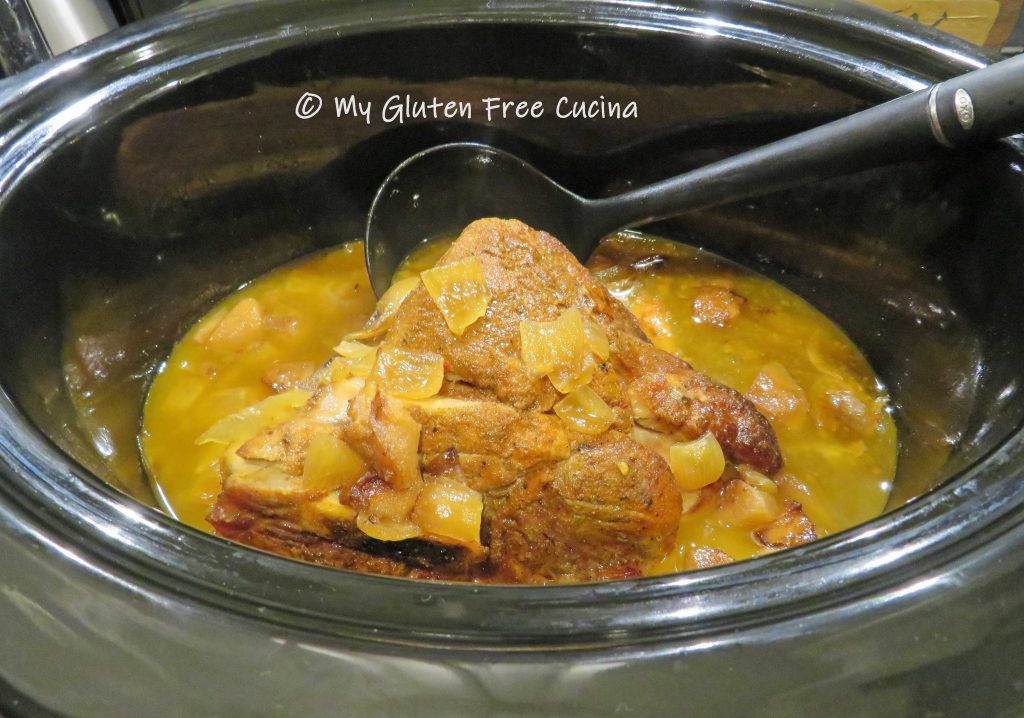
Cover and cook 12 hours on low (time indicated is for a 4 lb. roast).
At the end of the cook time, you can set the crockpot to warm until ready to serve, up to 2 hours. Spoon some of the pan juices over the meat.
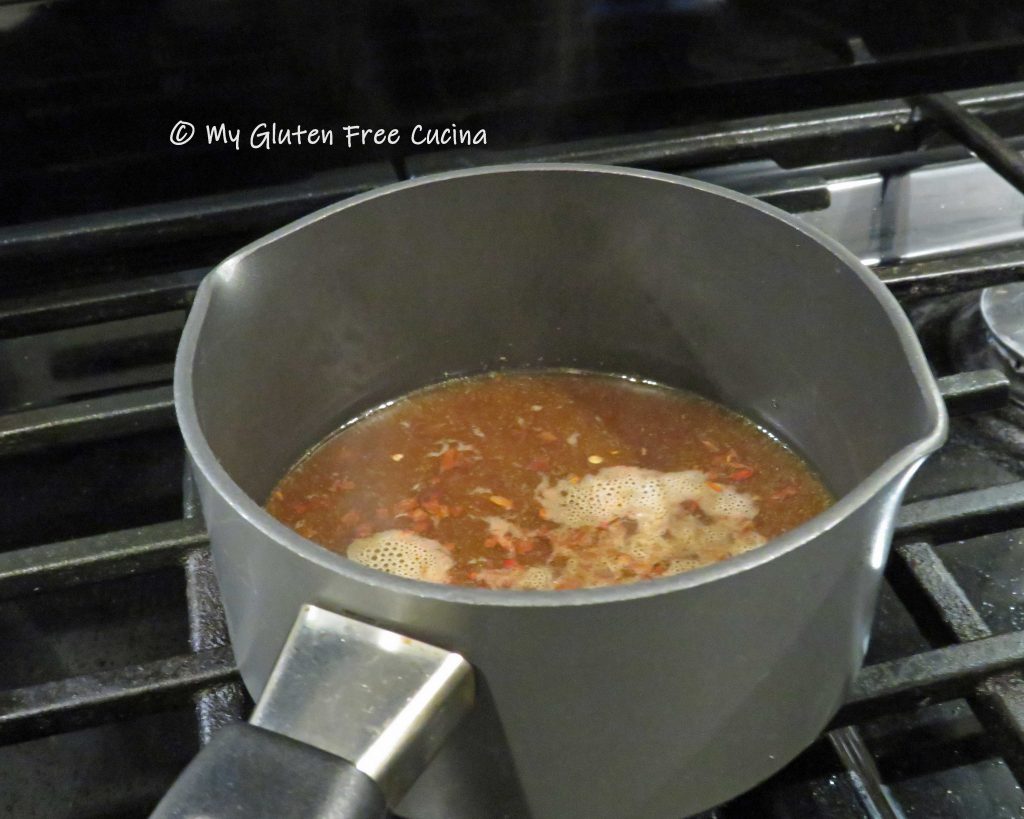
Heat the reserved sauce on a low simmer.
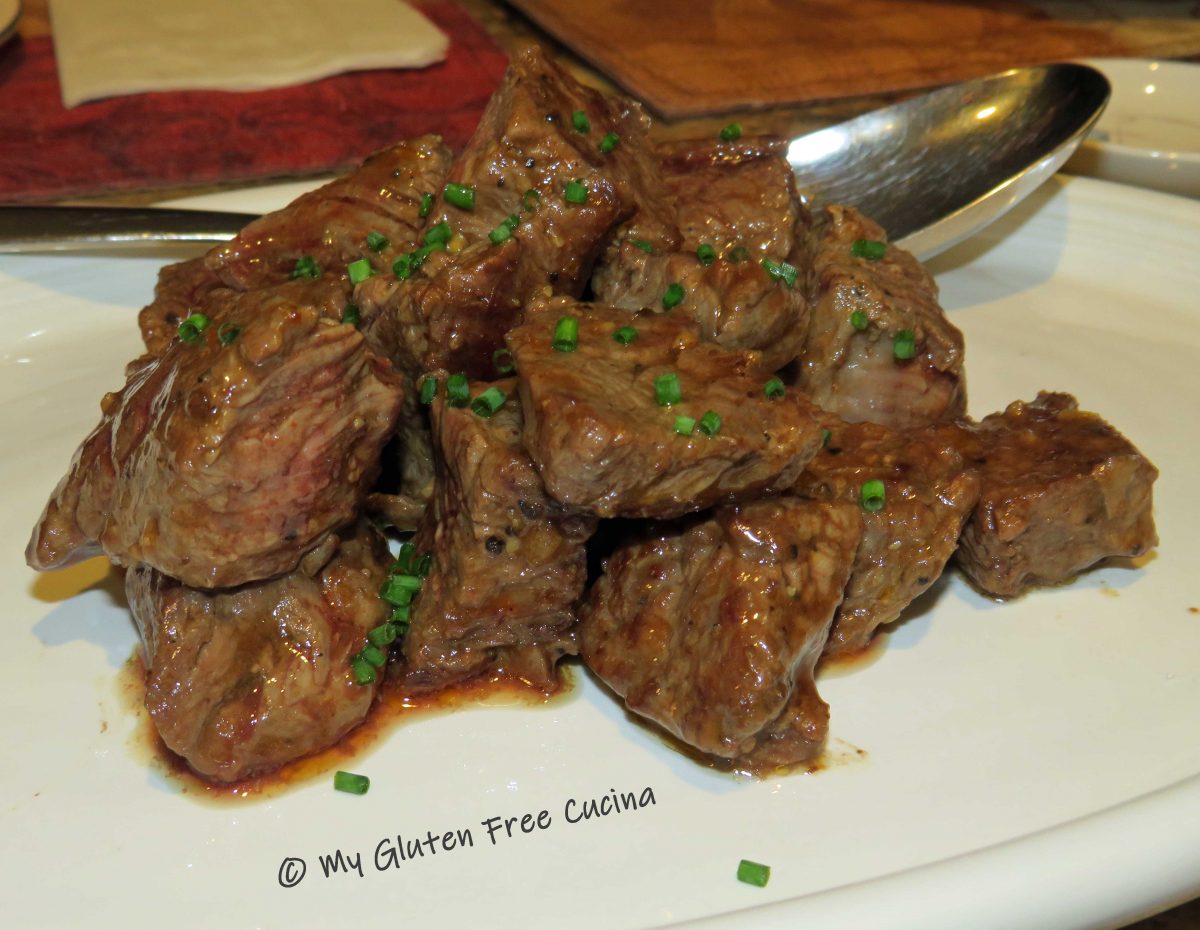
Remove the meat to a serving dish and shred with 2 forks.
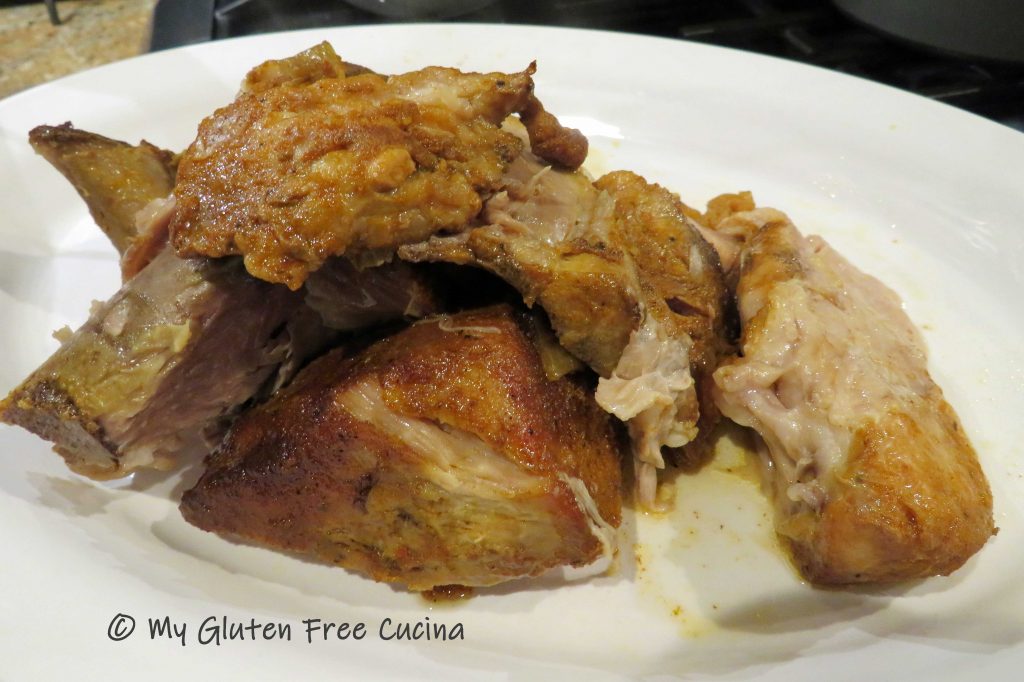 It should be falling apart tender. Spoon a little of the reserved sauce over the top. You can strain out the pepper flakes if you like.

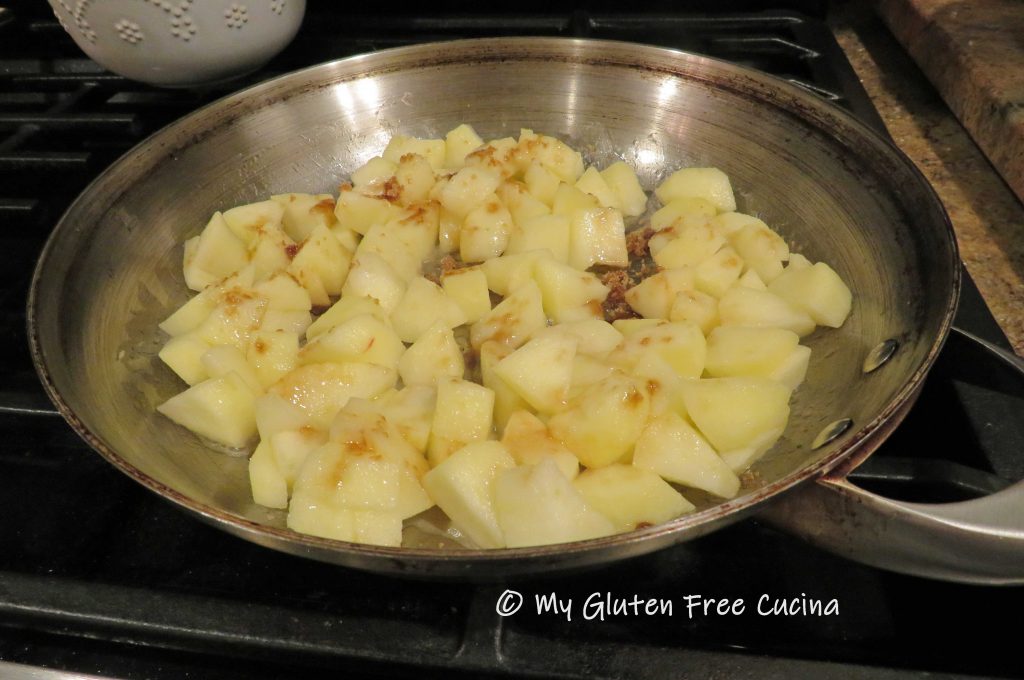
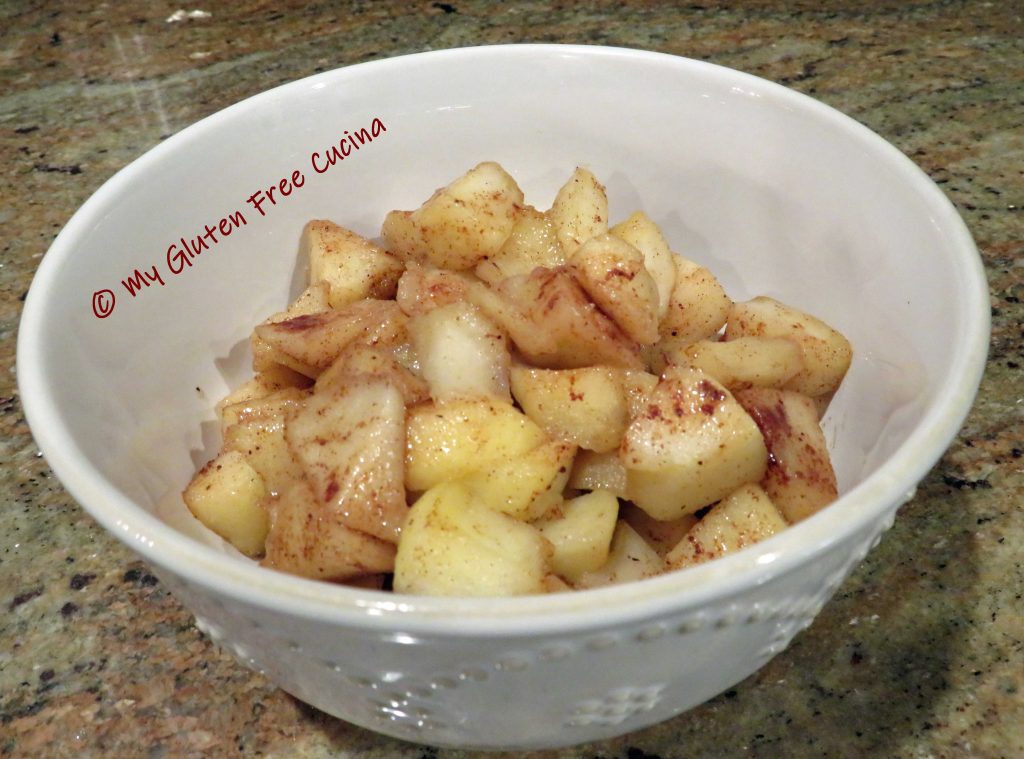
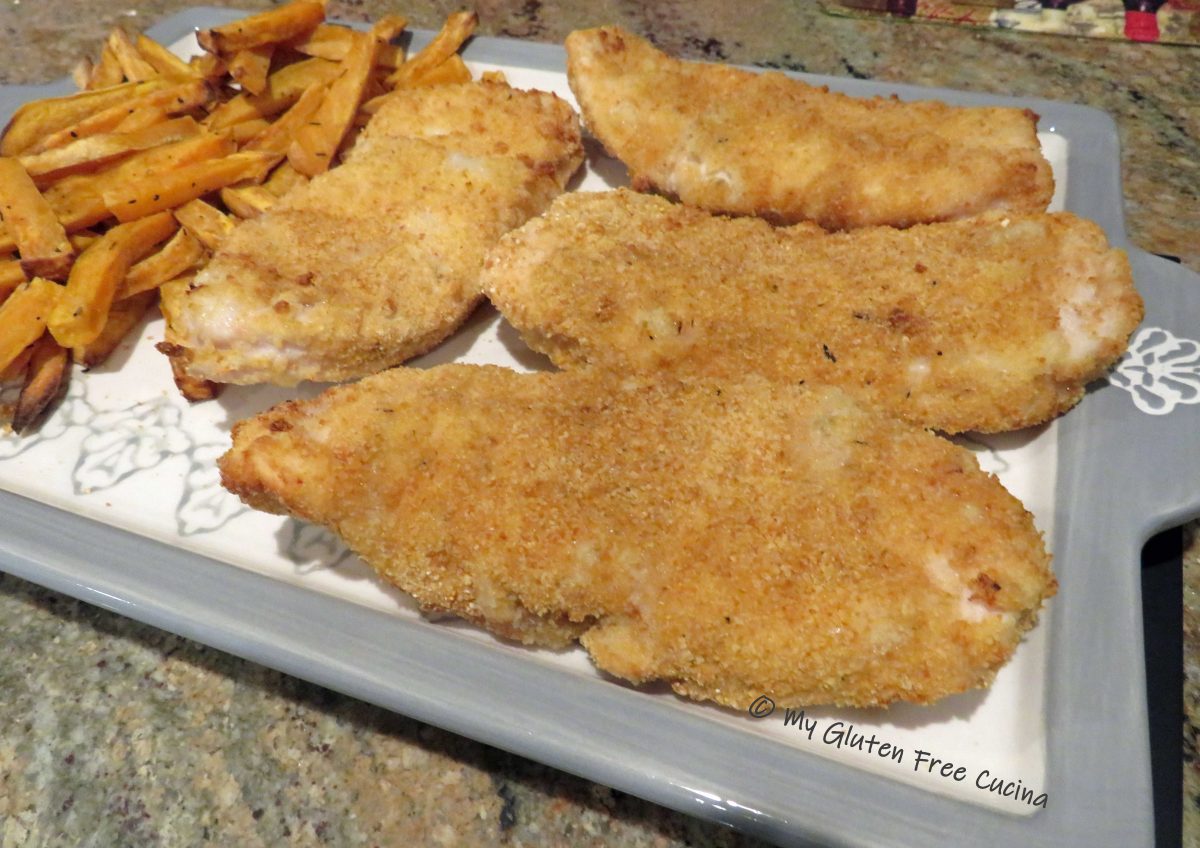
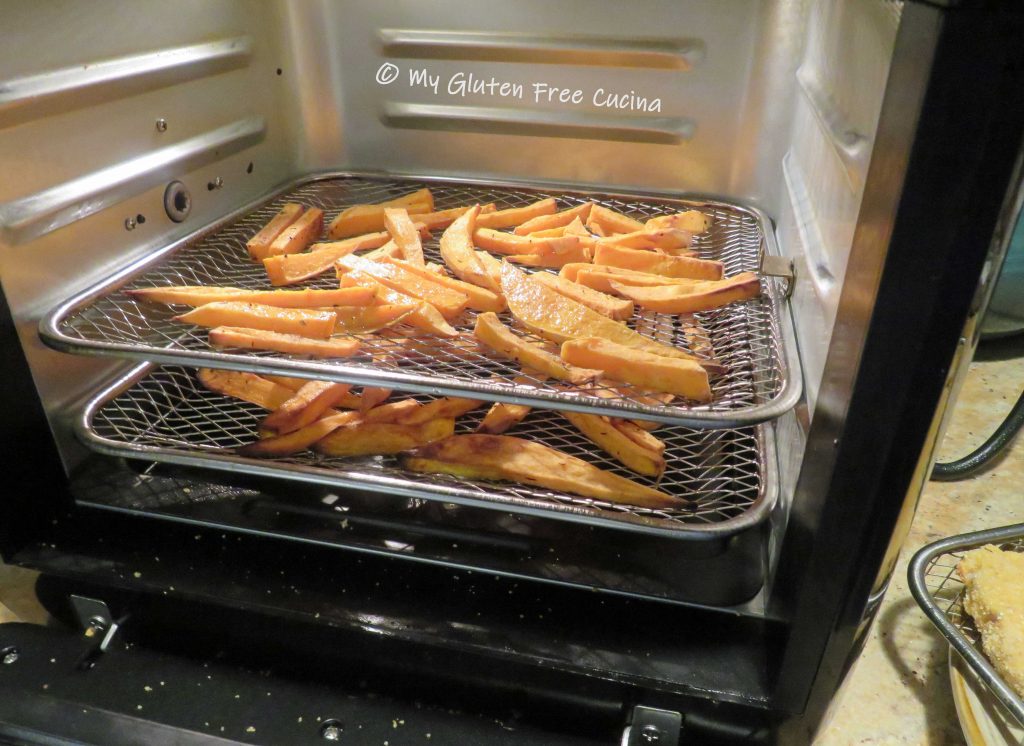
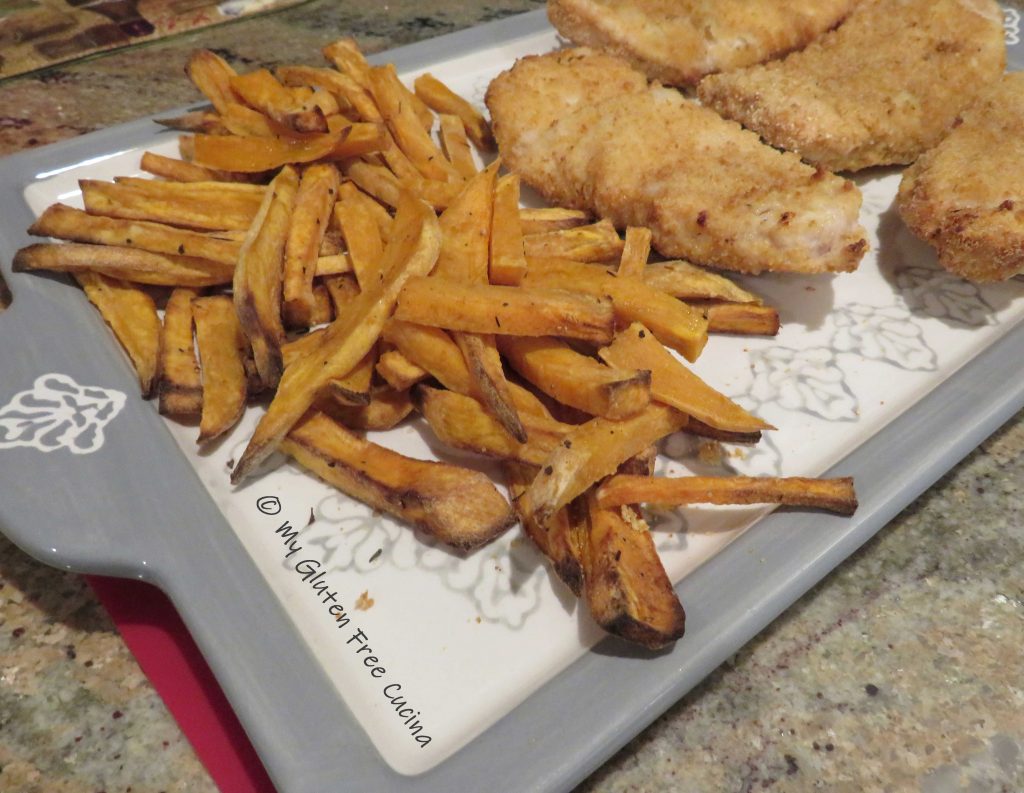
Serve with a drizzle of your favorite BBQ sauce. I also made air fryer French fries and broccoli to go with the meal. For more serving ideas, check out my BBQ Baked Beans and this Easy Apple Sauté.

Notes ♪♫ You can make a small batch of Homemade BBQ Sauce to go with this meal or use your favorite store brand. I love Stubbs, especially their Hickory Bourbon and Smokey Mesquite.


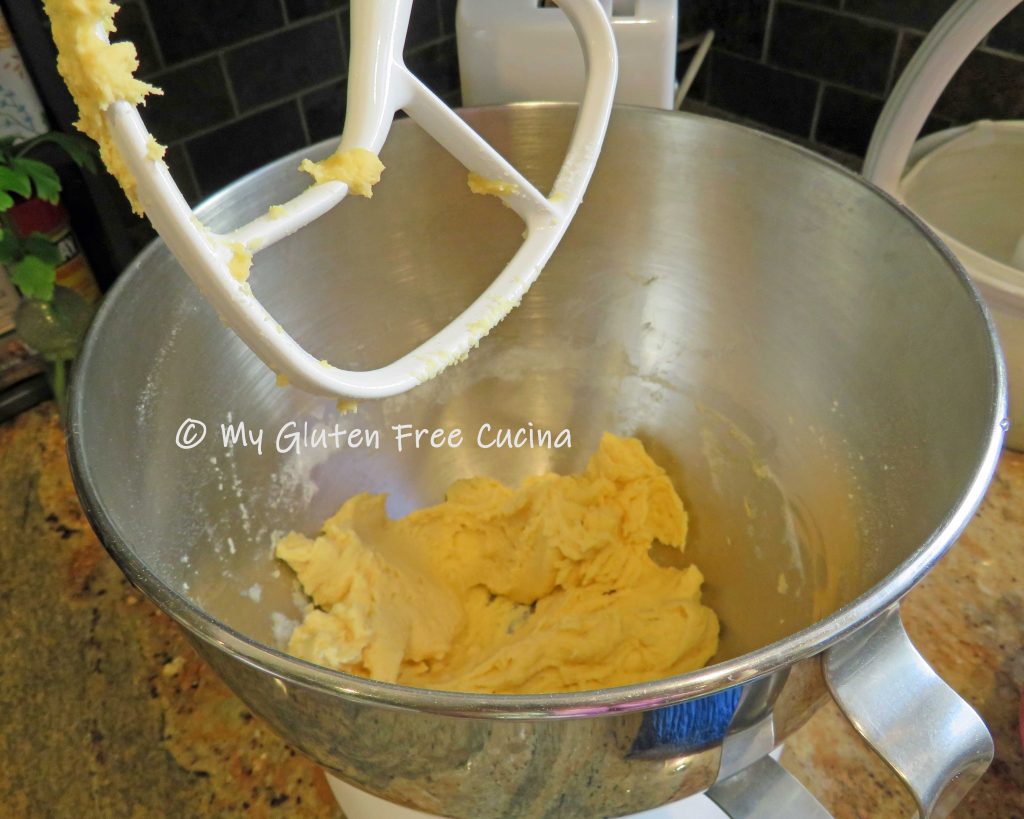


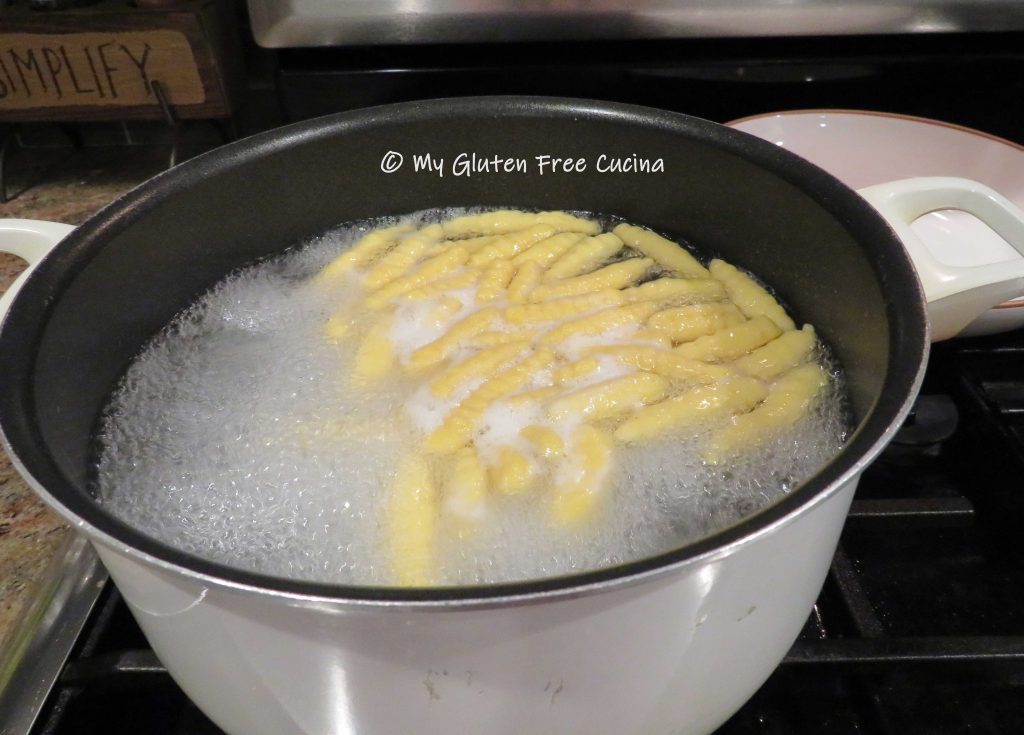
 When ready, set up a large pot of salted water for the pasta. Bring the water to a boil while you make the sauce. Melt the butter in a


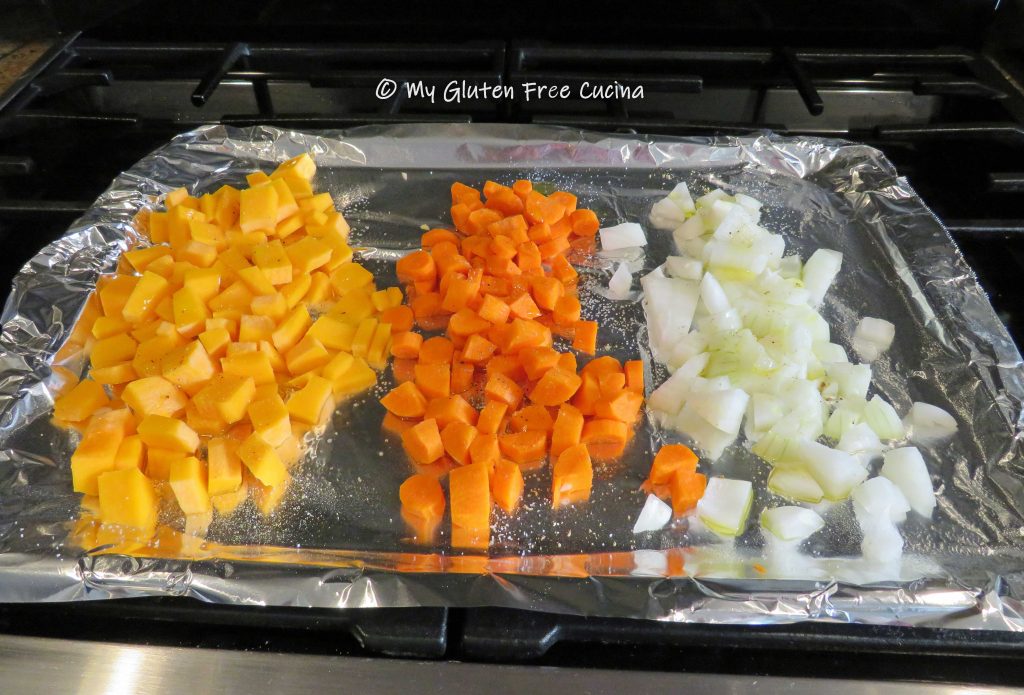 While the veggies are roasting, heat 2 tbsp. olive oil in a
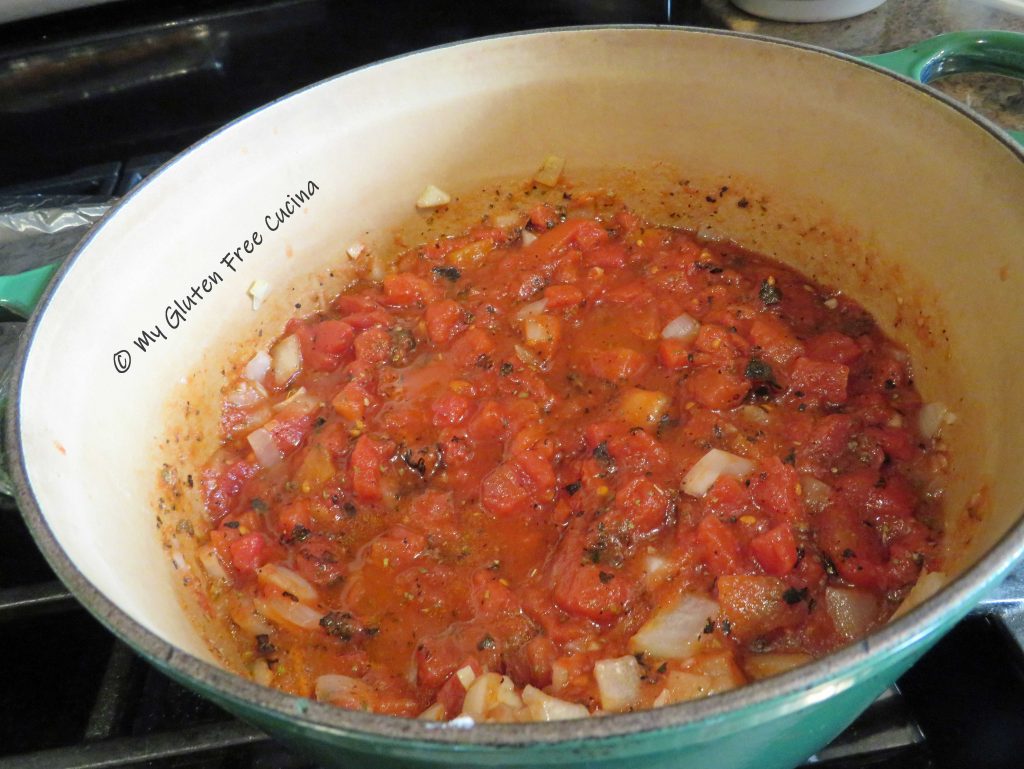
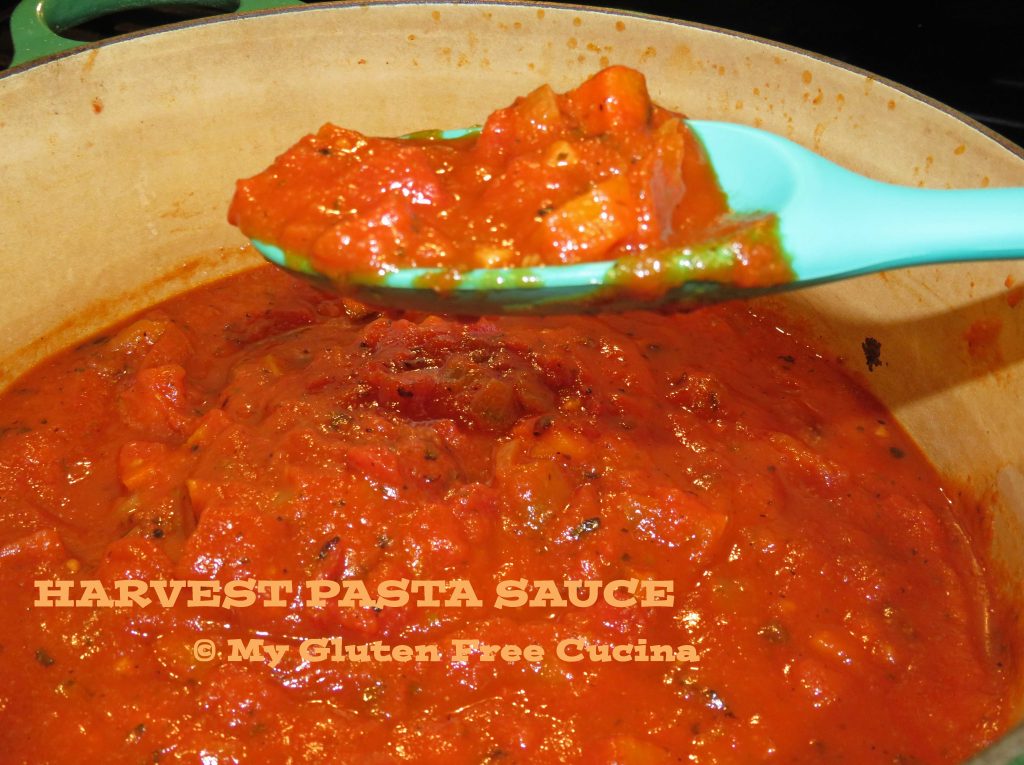
 Cover and simmer 2 hours. I used a


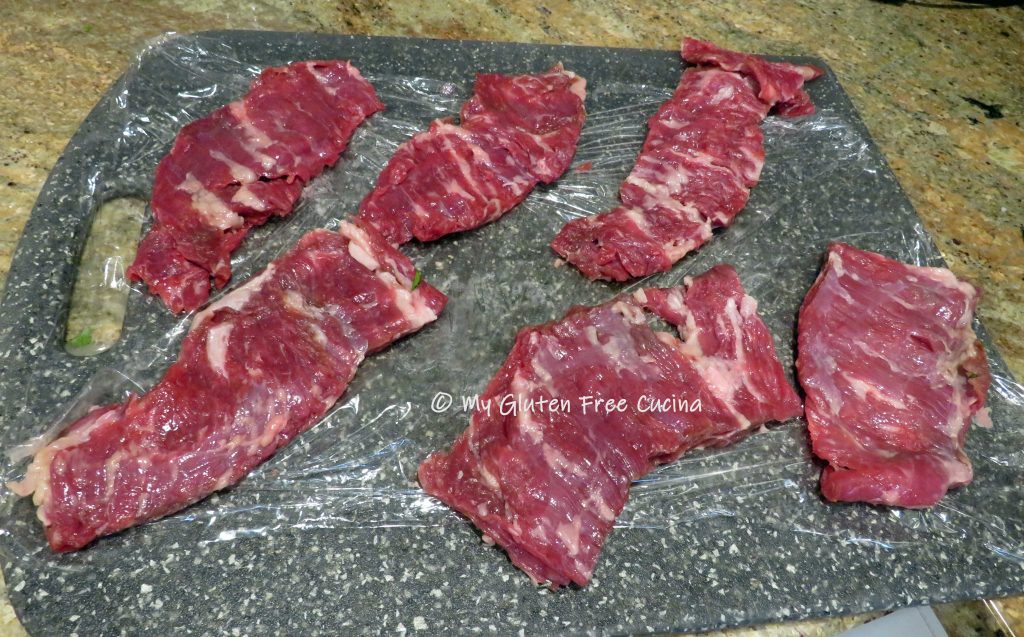
 Lay the steak out on a
 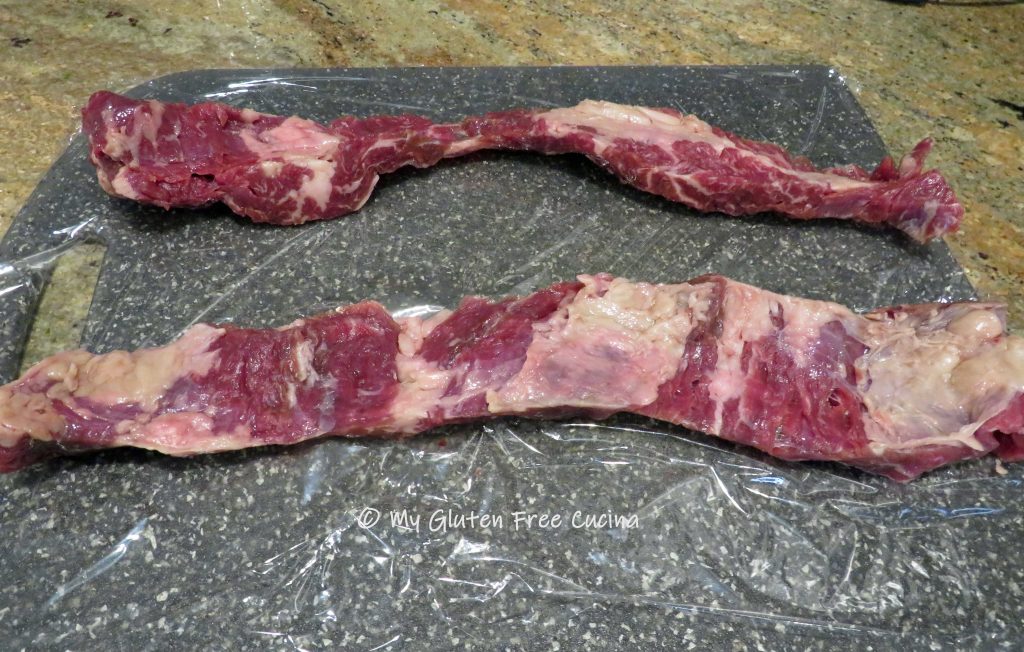 Cover the meat with another sheet of plastic wrap and
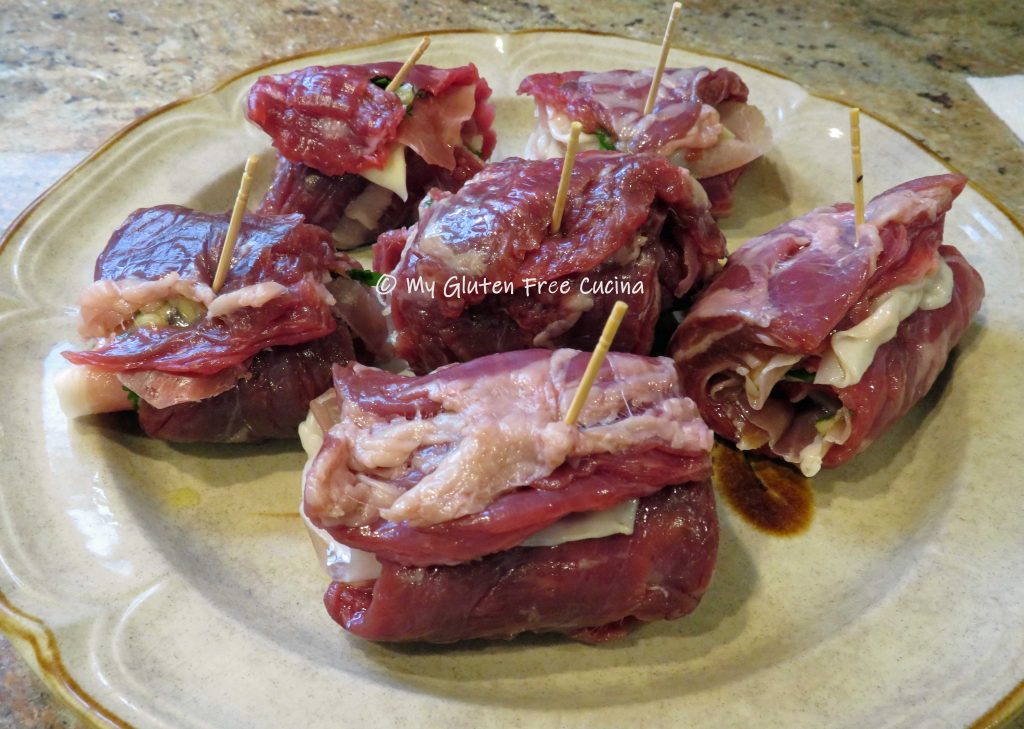
 Spread the garlic mixture evenly over the steak.


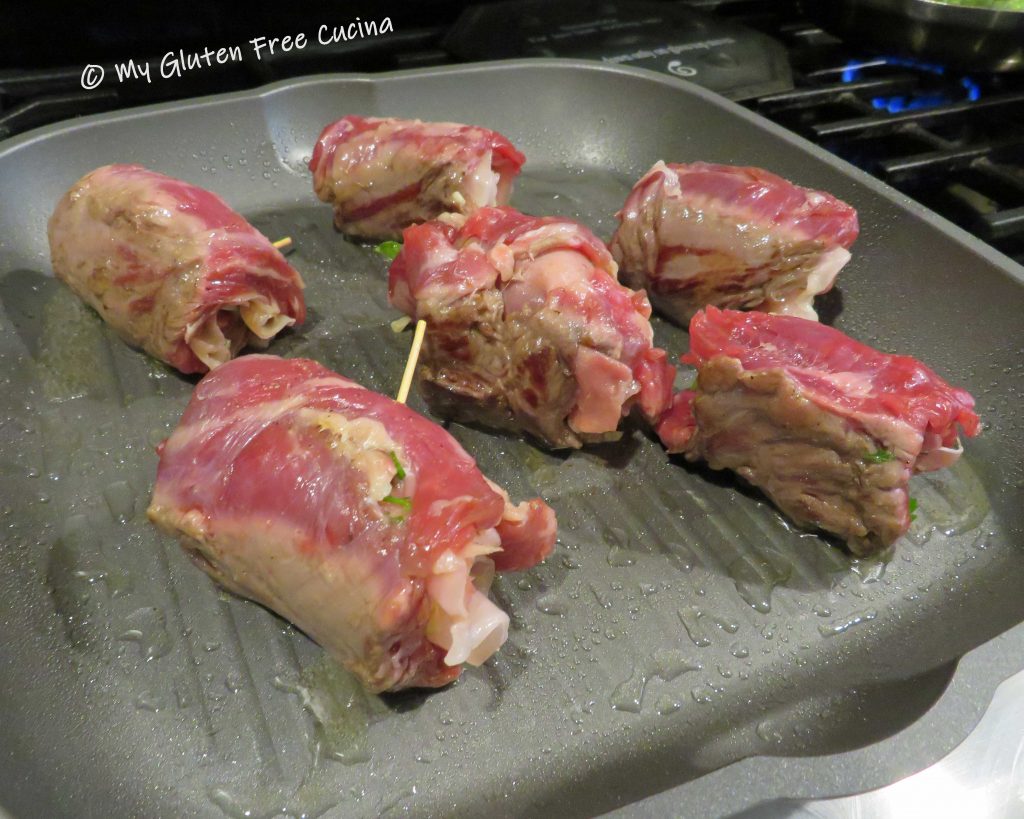
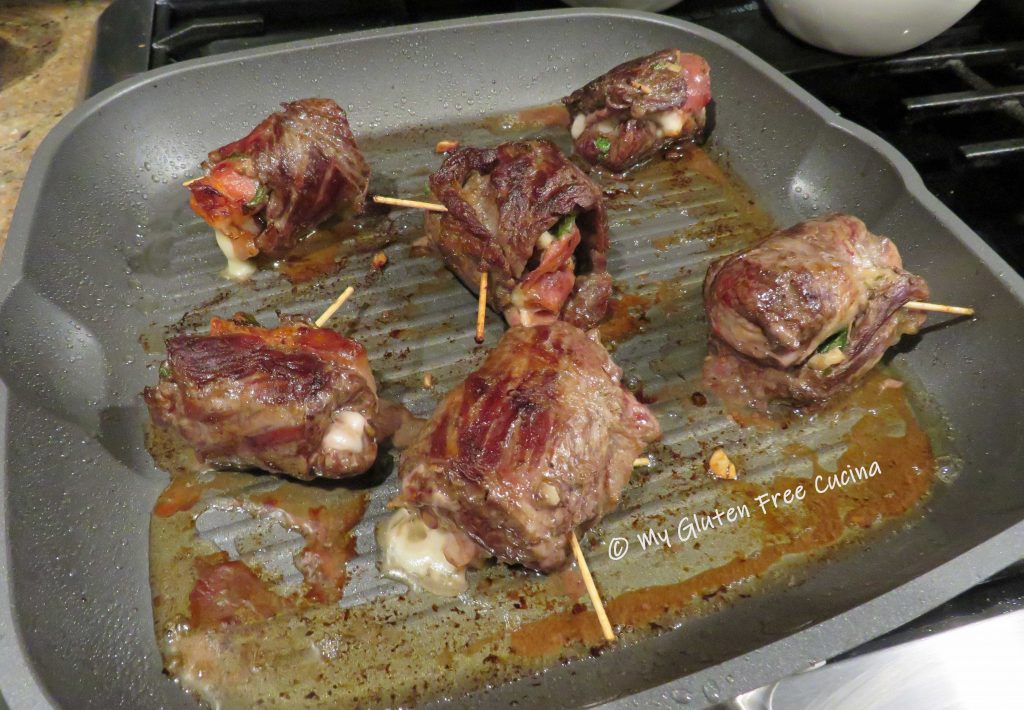
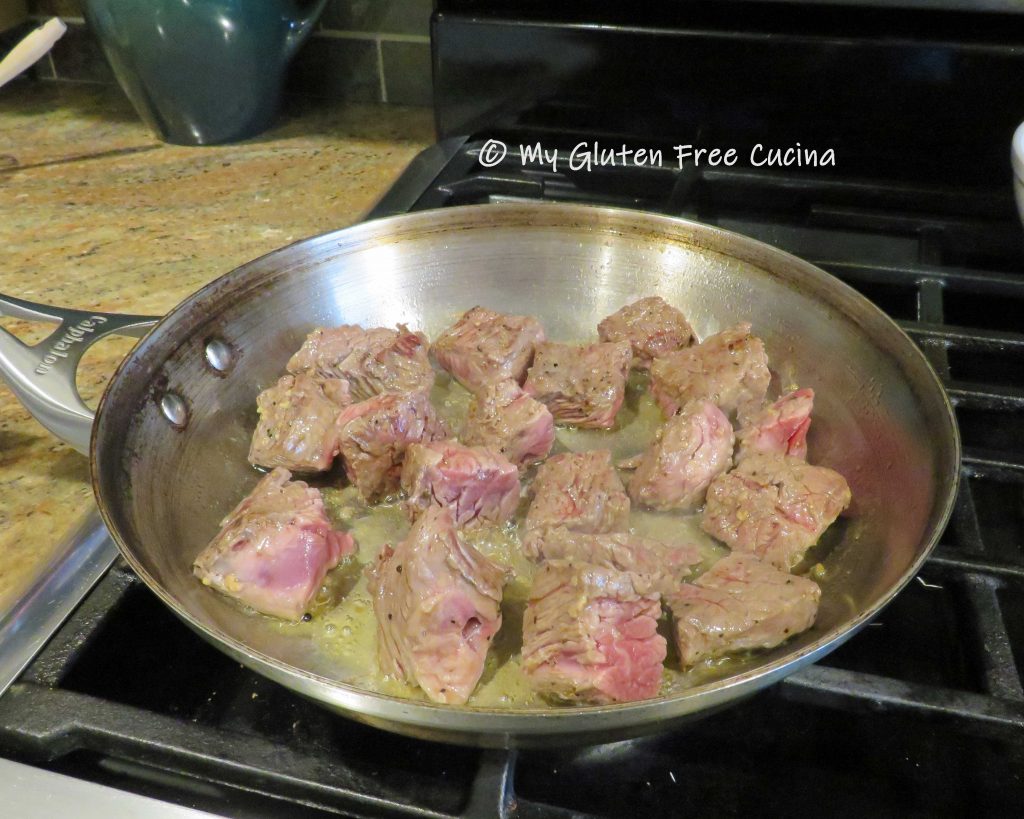
 Remove them when the internal temperature reaches 135º for medium (
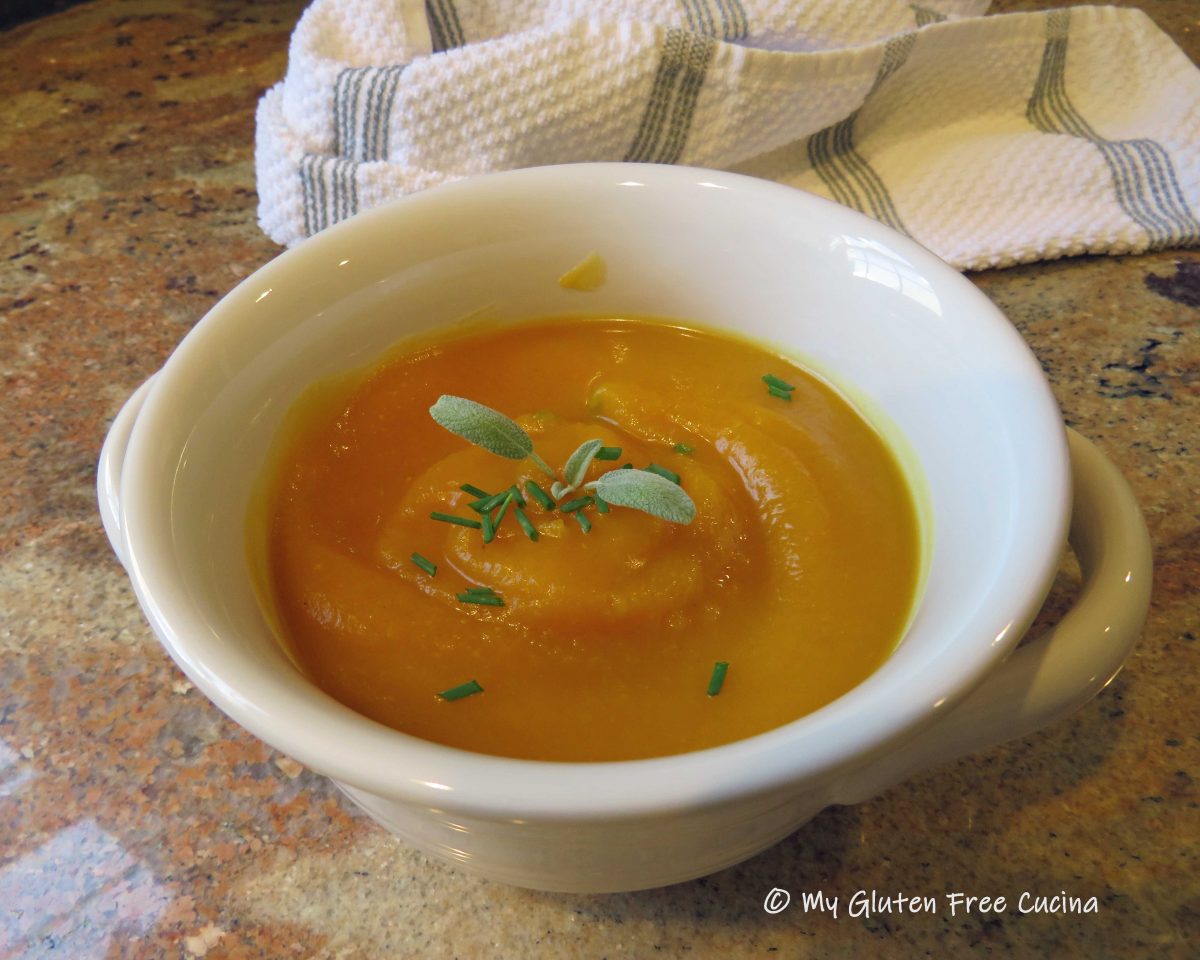


 Remove from heat and puree with a


 Finally coat with breadcrumbs. Spray a rack with cooking spray and arrange the breaded cutlets in a single layer.

 After 8 minutes turn the cutlets over and spray the tops with cooking spray.


 Bake for 22-25 minutes. Cool in the pan 10 minutes then transfer to a rack. Enjoy them warm or at room temperature.

 Heat the butter and olive oil in a


 To finish, add 2 tbsp. gluten free BBQ sauce and toss to coat.

