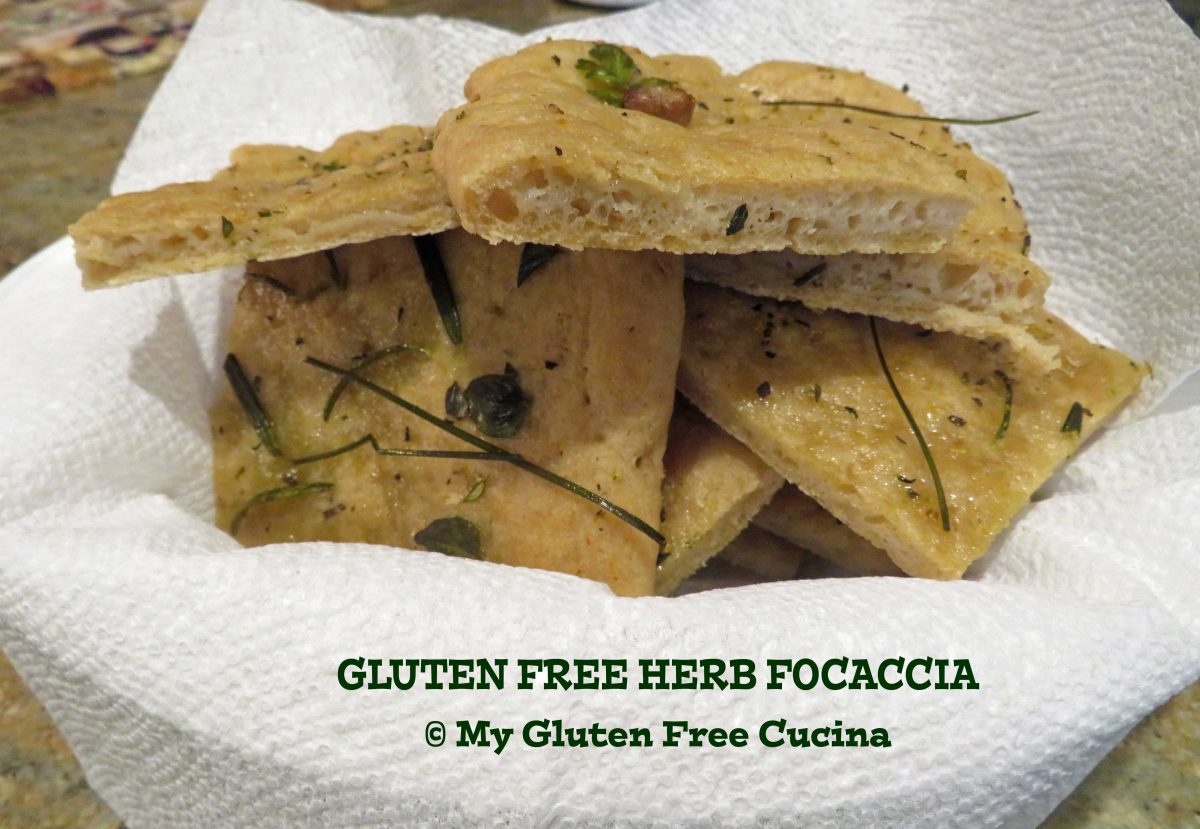
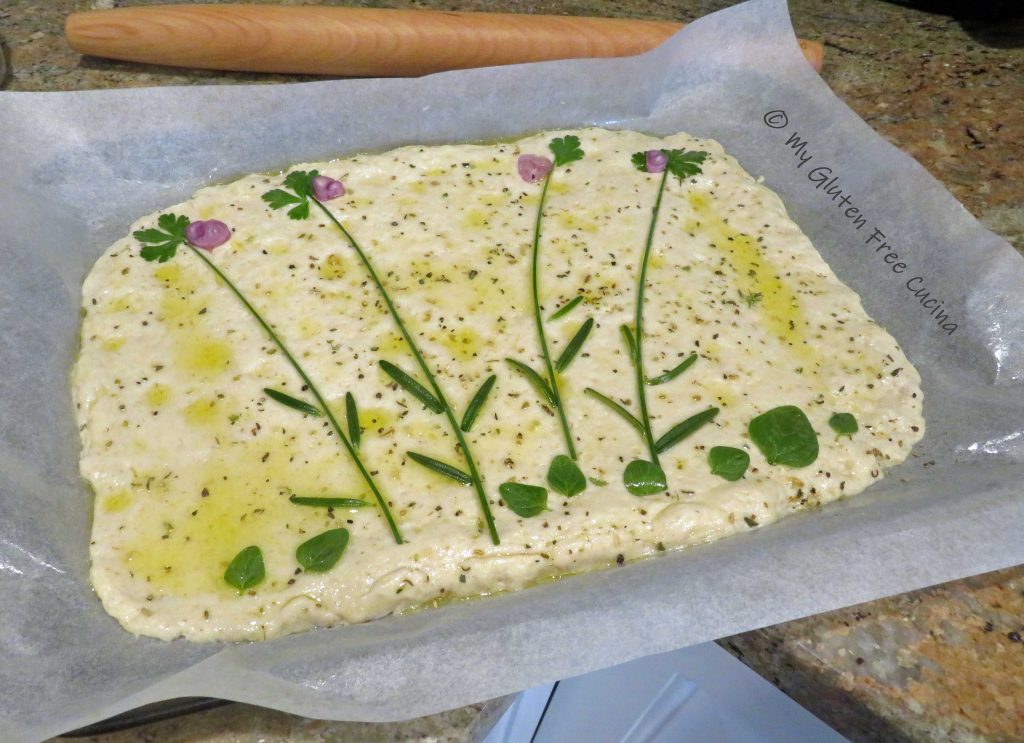
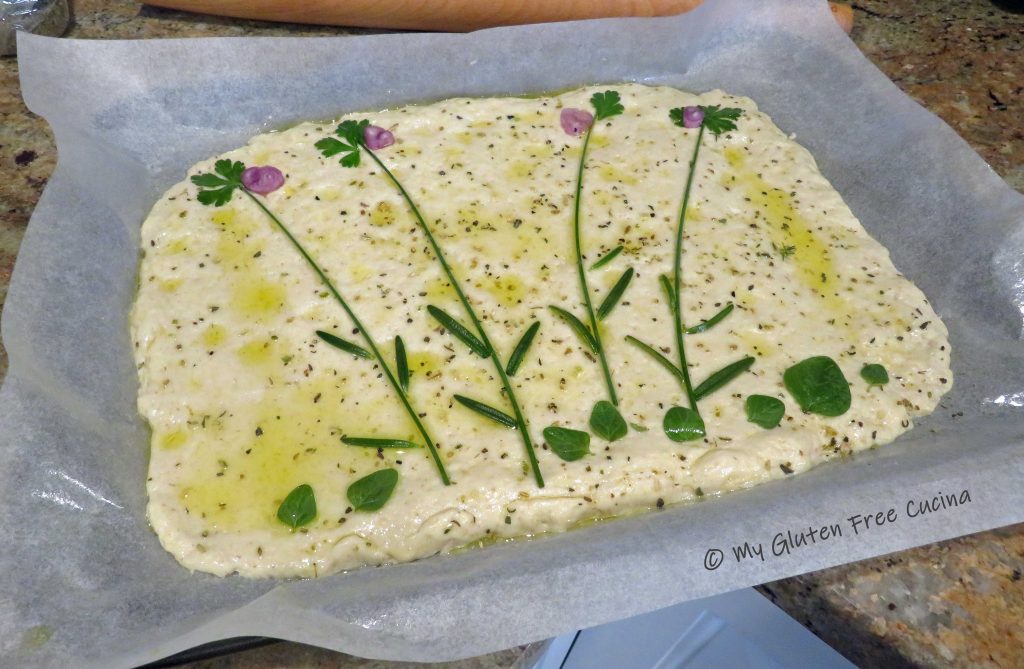
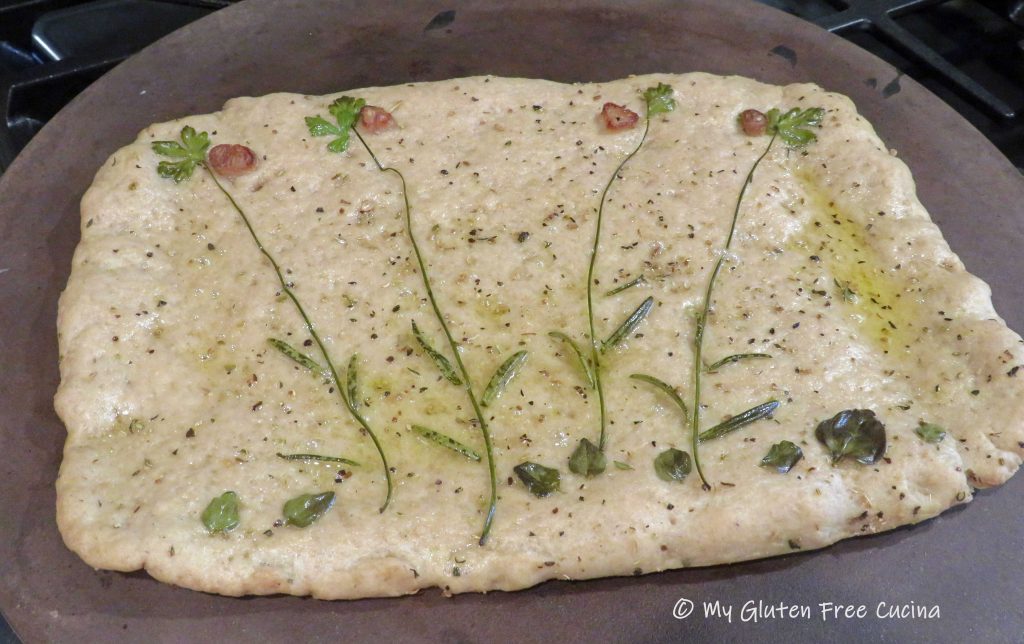
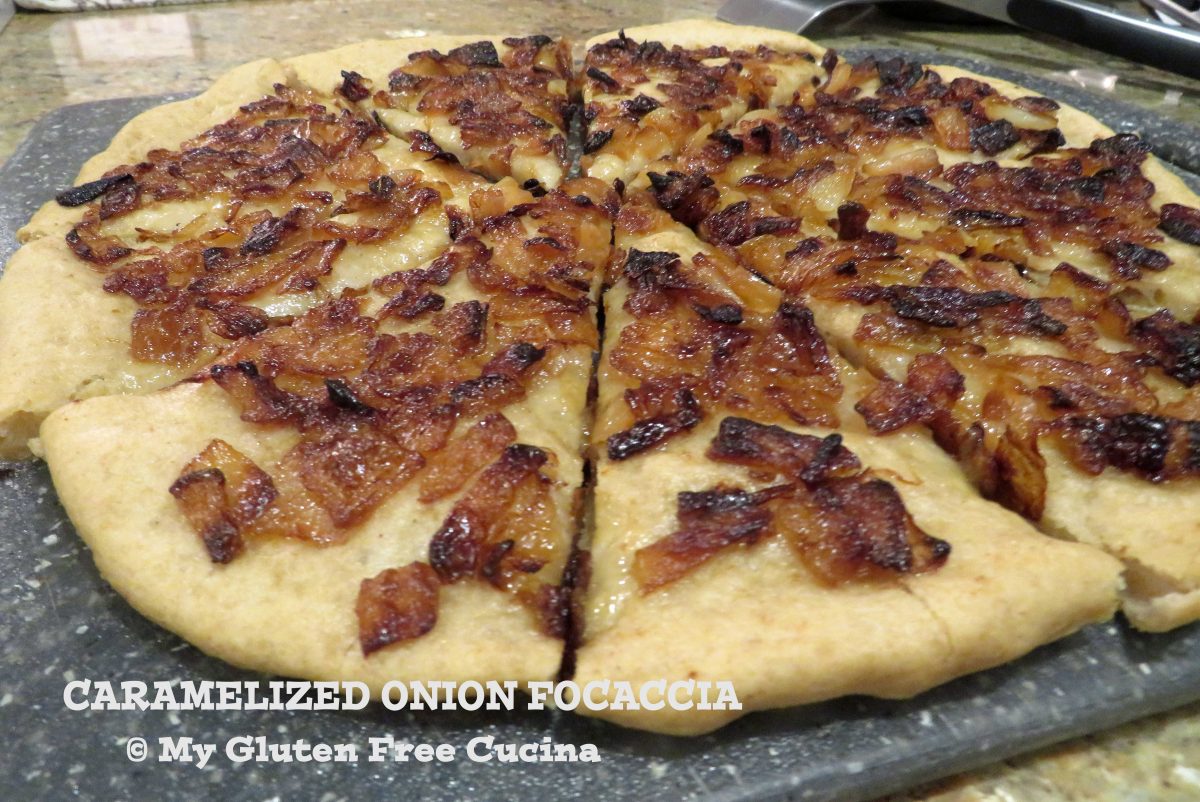
Focaccia Bread Art is something I have always wanted to try. Encouraged by my recent success making a Caramelized Onion Focaccia, I decided to give it a go while I still had fresh herbs from my garden. Here is my little masterpiece, a very simple first effort that I will definitely do more of!
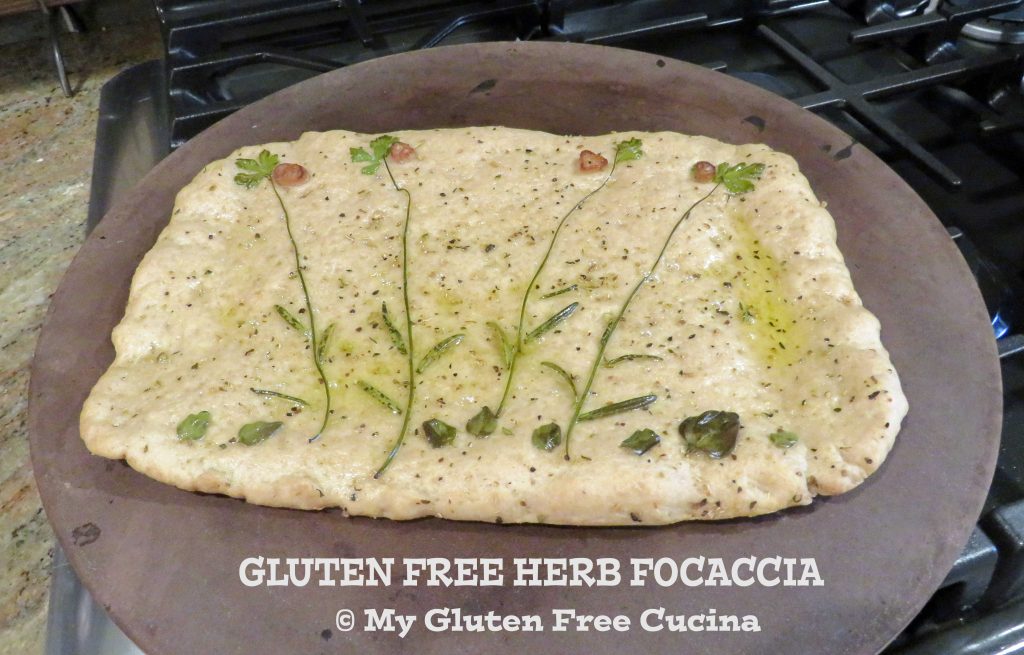
I used chives for the stems, rosemary and oregano for the leaves, parsley and shallots for the flowers. There is a bit of fresh thyme sprinkled throughout. I wondered how the fresh herbs would taste in the finished product, and they were delicious!
This post contains affiliate links.
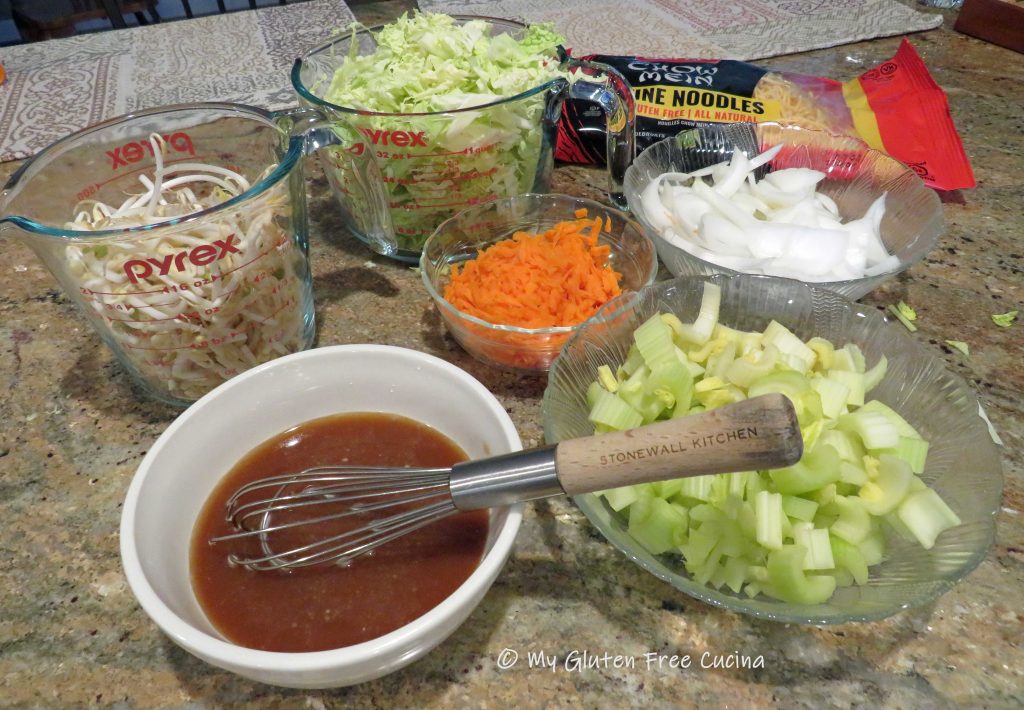
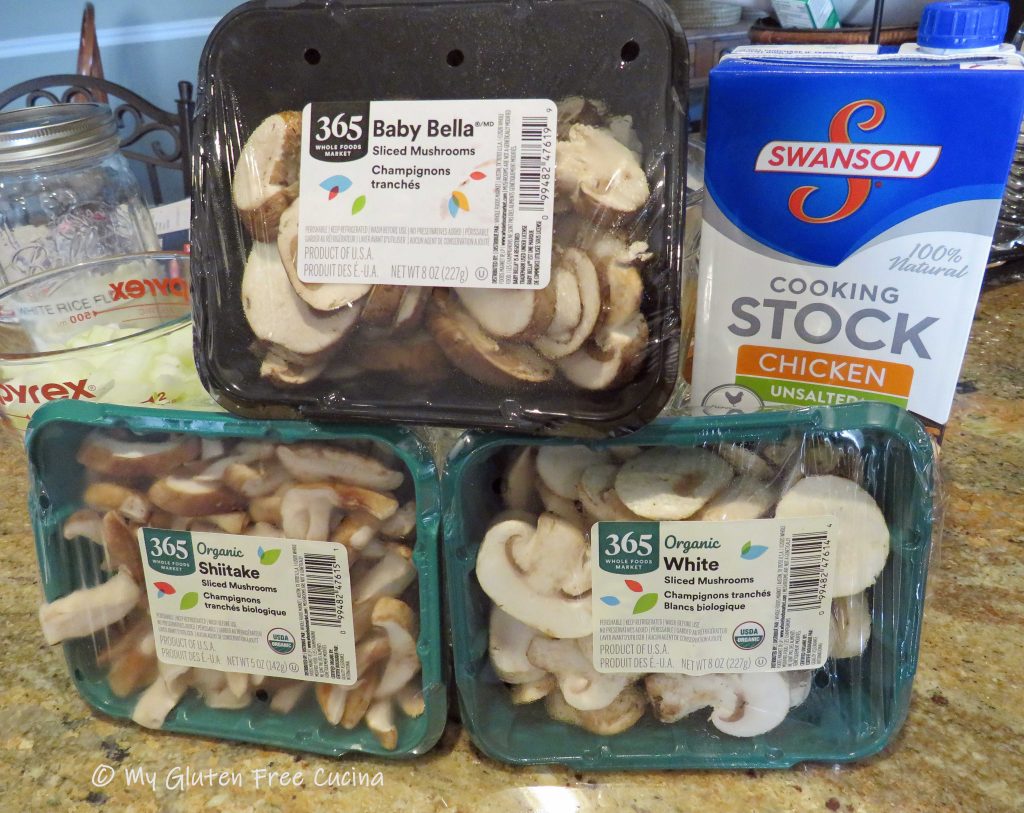
INGREDIENTS:
- 1 tsp. active dry yeast
- 1 cup warm water
- 190 g. Better Batter Artisan Blend gluten free flour (see notes)
- 3/4 tsp. salt
- 2 tbsp. olive oil
- Italian Seasoning
- fresh herbs for stems and leaves (chives, thyme, oregano, rosemary)
- shallots and parsley for the flowers

 PREPARATION:
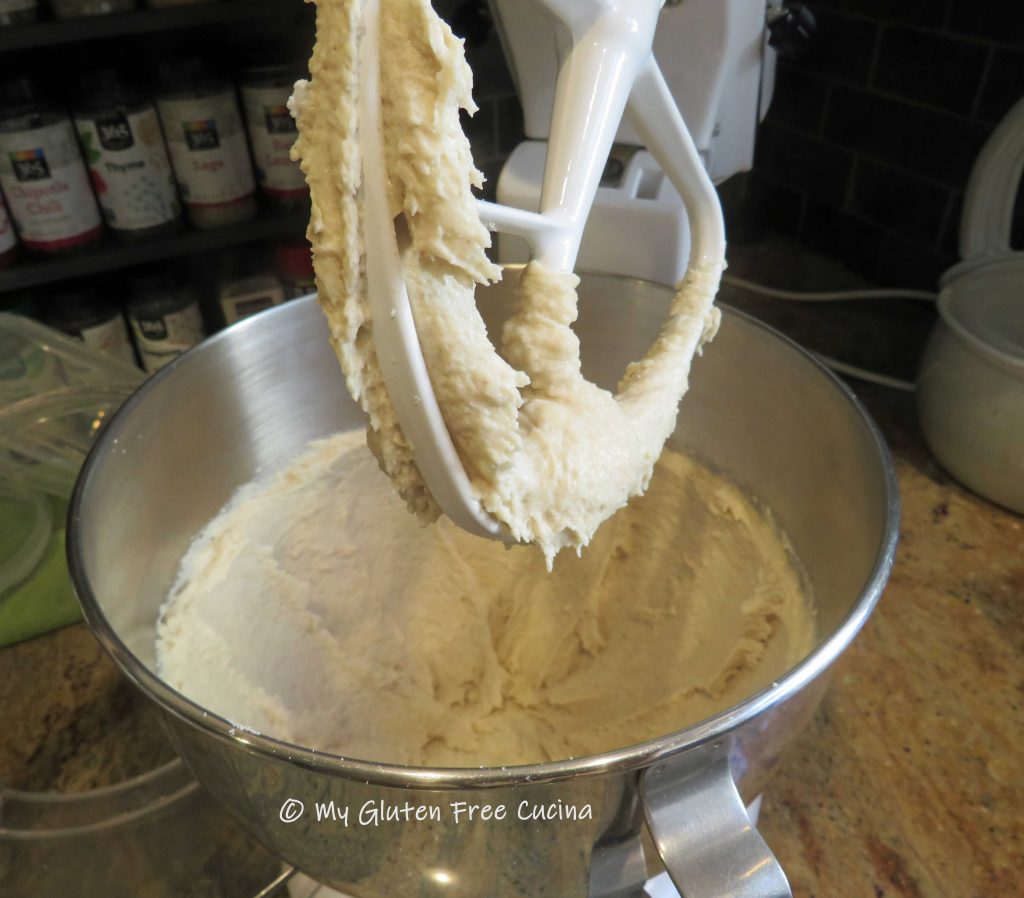
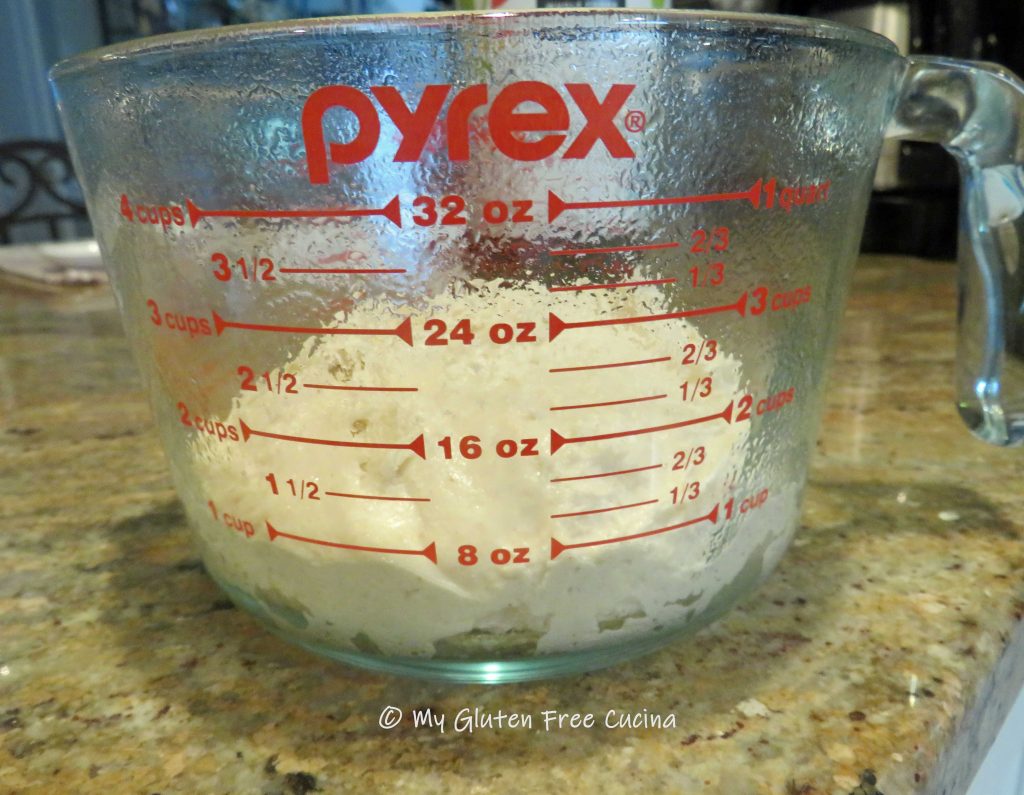
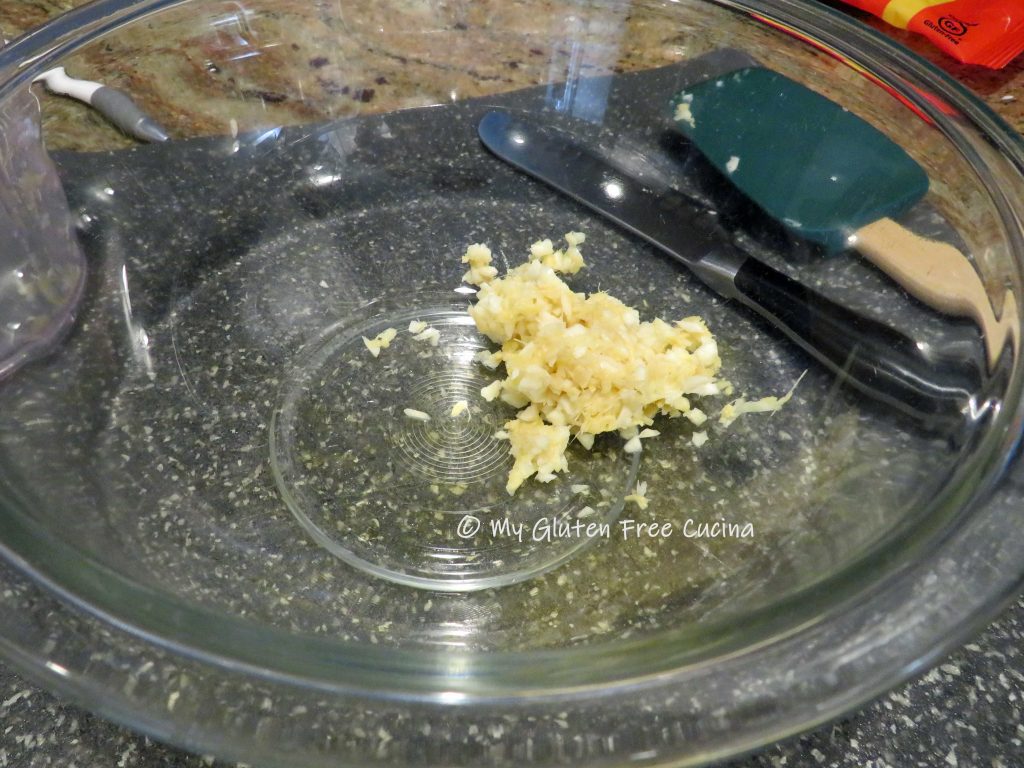
Combine water and yeast in the bowl of your stand mixer and give it about 10 minutes to activate. Whisk together the flour and salt and add to the yeast mixture along with 2 tbsp. olive oil. Mix with the paddle attachment for 8 minutes. Transfer the dough to a greased bowl and refrigerate for one hour.
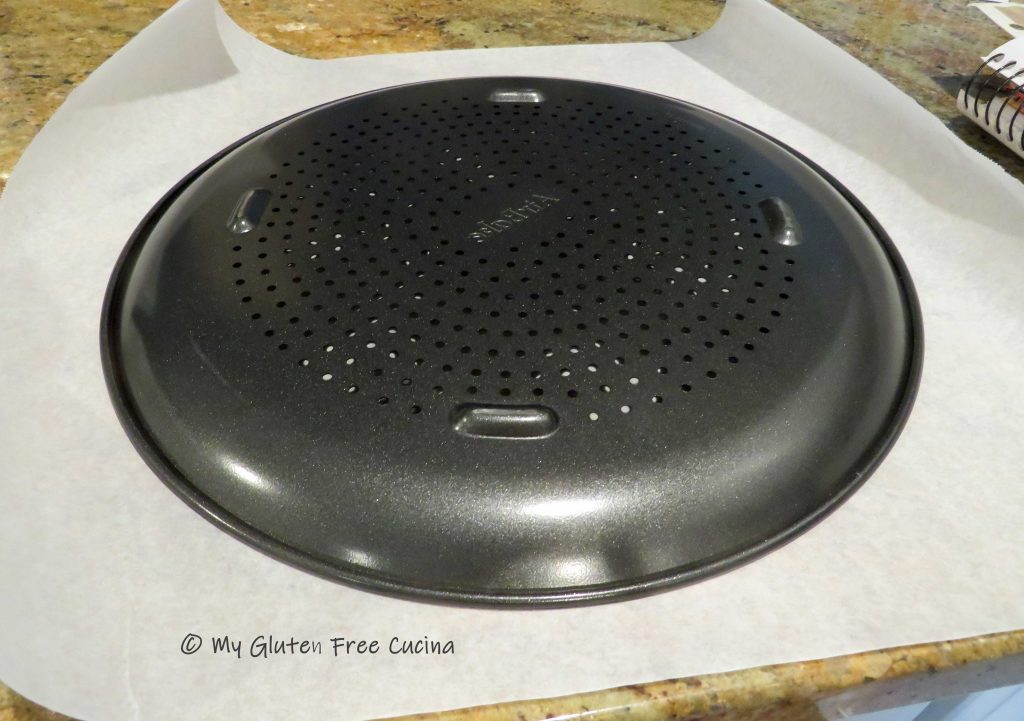
Cut parchment paper to fit a quarter sheet pan and mist with cooking spray. Place chilled dough in the center of the parchment.

Roll the dough into a rectangle, slide it onto the sheet pan and cover with oiled plastic wrap. Let it rest at room temperature for 30 minutes.

Place a pizza stone in the oven and preheat to 425º.
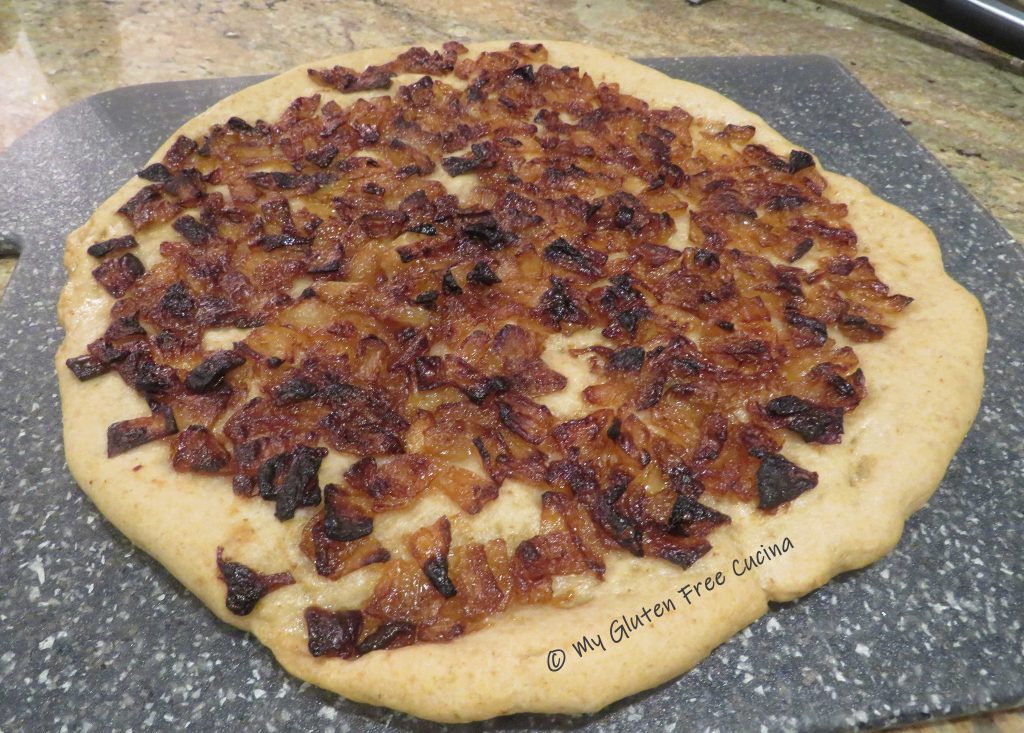
Create dimples in the dough by pushing down with your fingertips. Brush the top with olive oil and sprinkle with Italian Seasoning.

Arrange the fresh herbs on your dough and brush them lightly with olive oil so they don’t burn.
 Place the sheet pan in the oven on top of the baking stone. Bake for 25 minutes total. During the last 10 minutes carefully slide the pizza out of the pan, remove the parchment and finish baking directly on the pizza stone.
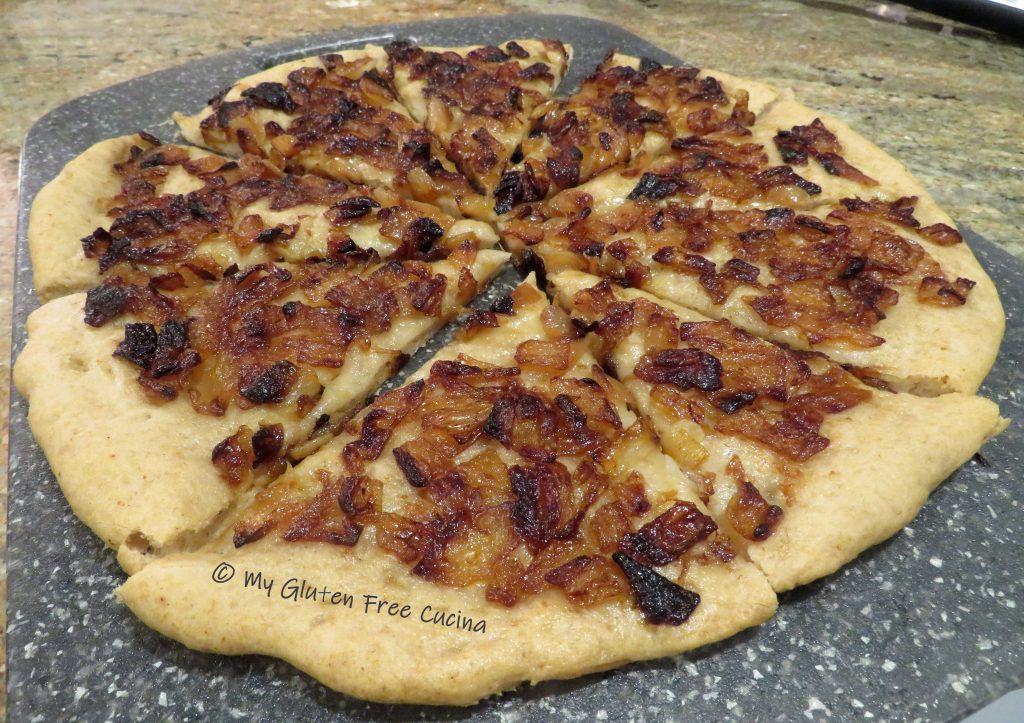
So pretty, I hated to cut it (at least not until I took pictures ????). Use a pizza wheel to cut into squares.

Here’s the crumb shot!

Notes ♪♫ If you follow me, you know that I am a HUGE fan of Better Batter gluten free flour. I used their Artisan Flour Blend in this recipe, it is a little miracle in a bag that I recommend for pizza and yeasted bread recipes. Try it, you will not be disappointed (be sure to use my code MGFC30 at checkout for 30% off your non-sale purchase)!


 Preparation:
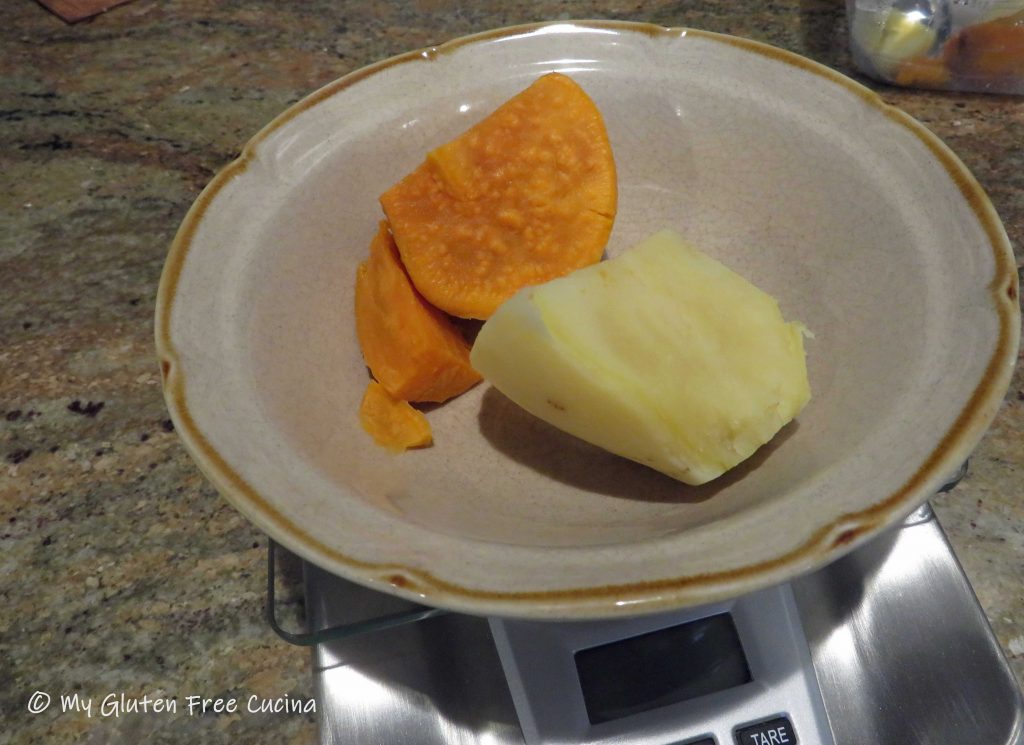


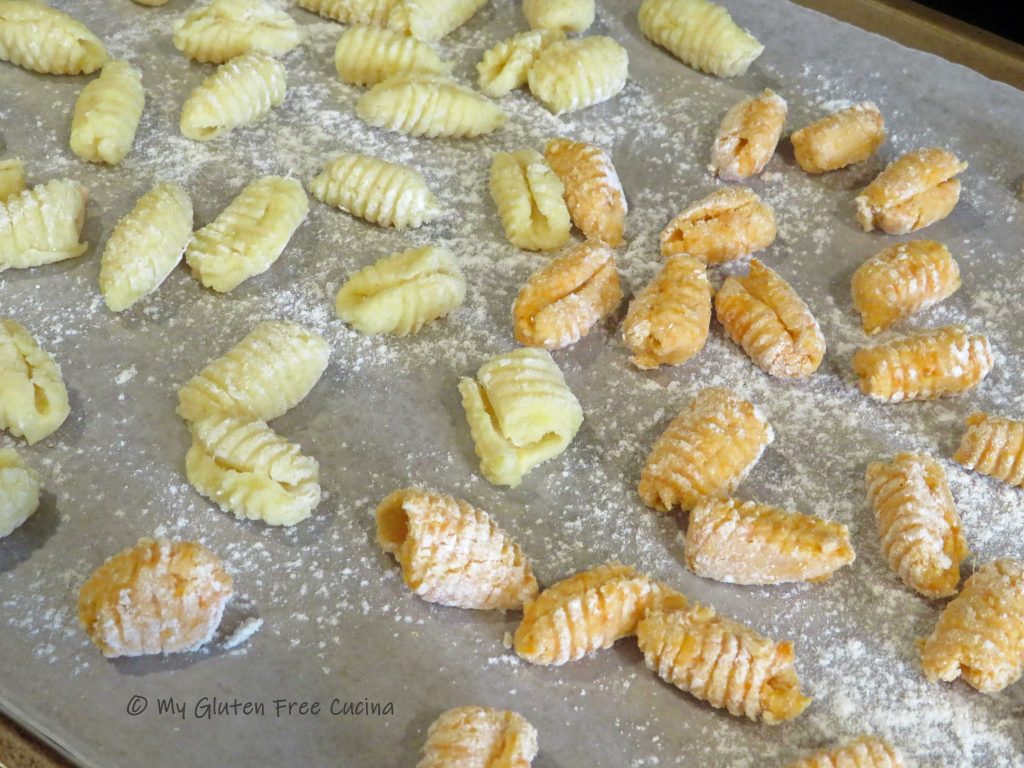
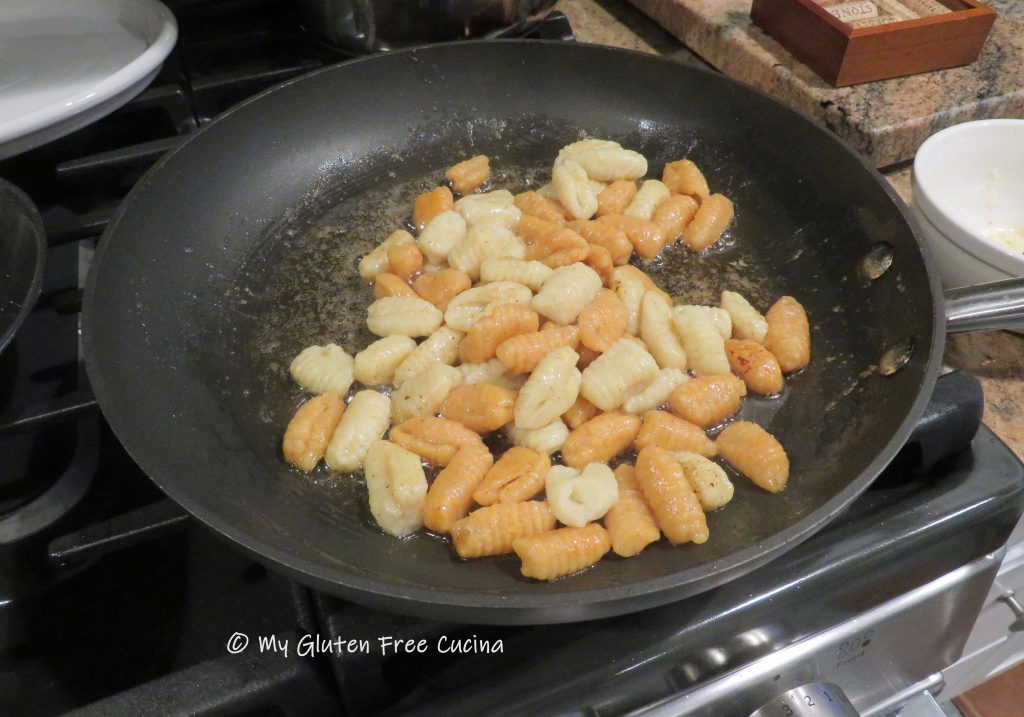
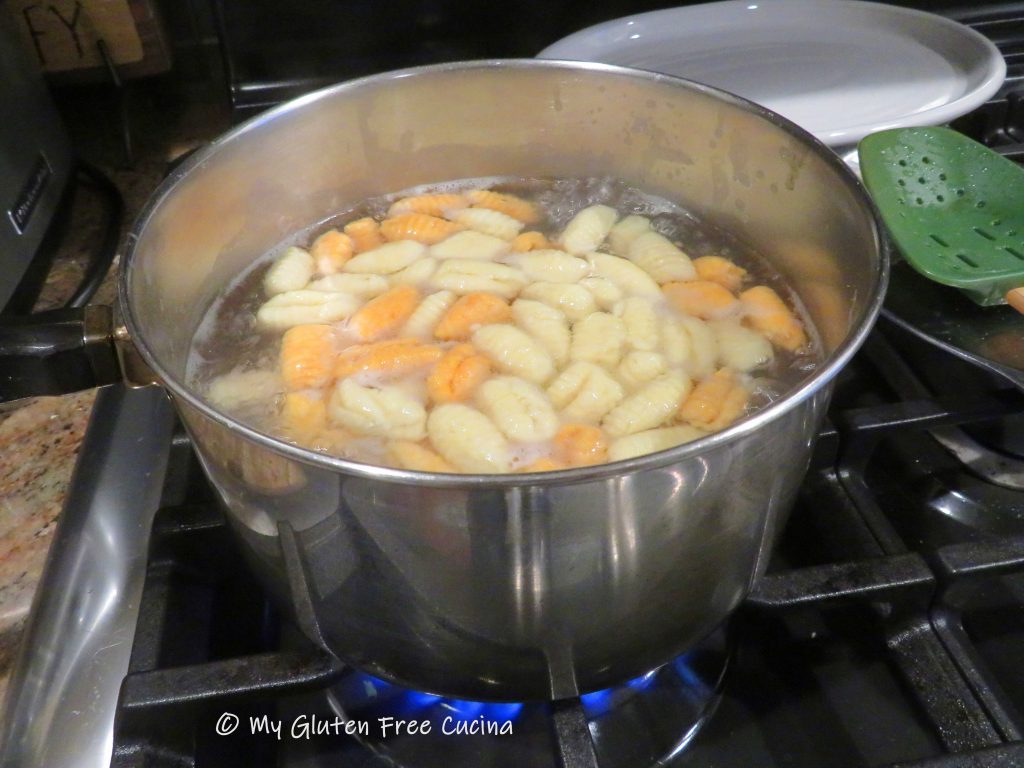
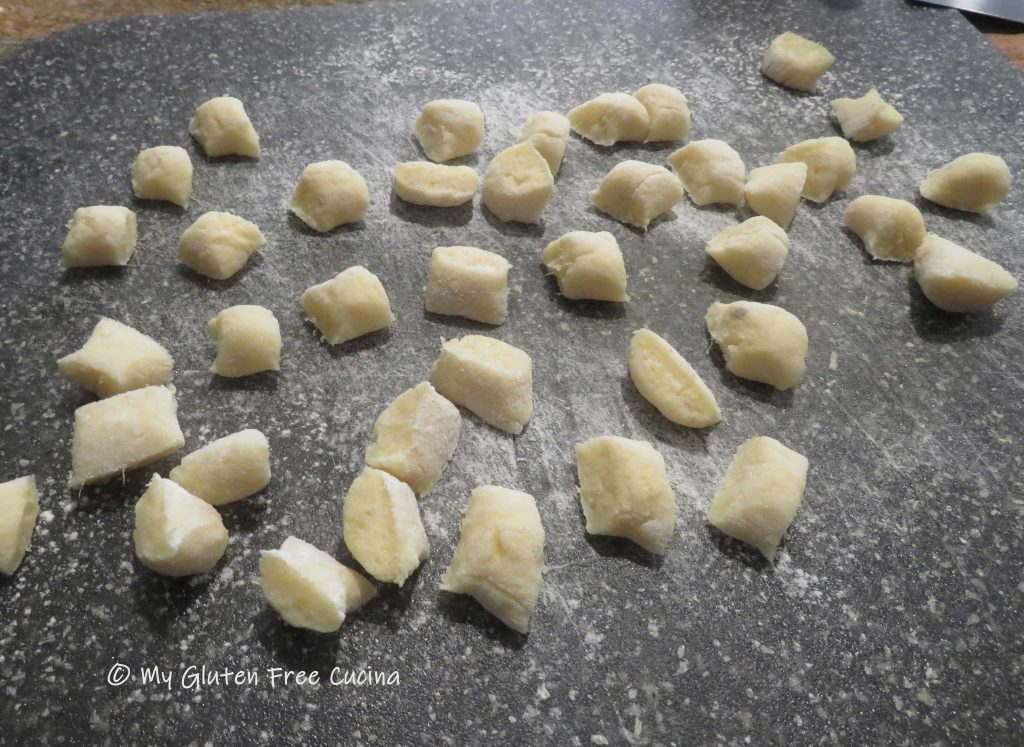 I repeated the same process with the orange sweet potato, and here is where I lost track of the flour measurements. The orange sweet potato dough had absorbed all of the flour and was still very wet. It required quite a bit more flour to achieve the right consistency. All in all, I would say I used 3-4 times more flour for the orange potato dough as was needed for the white potato.
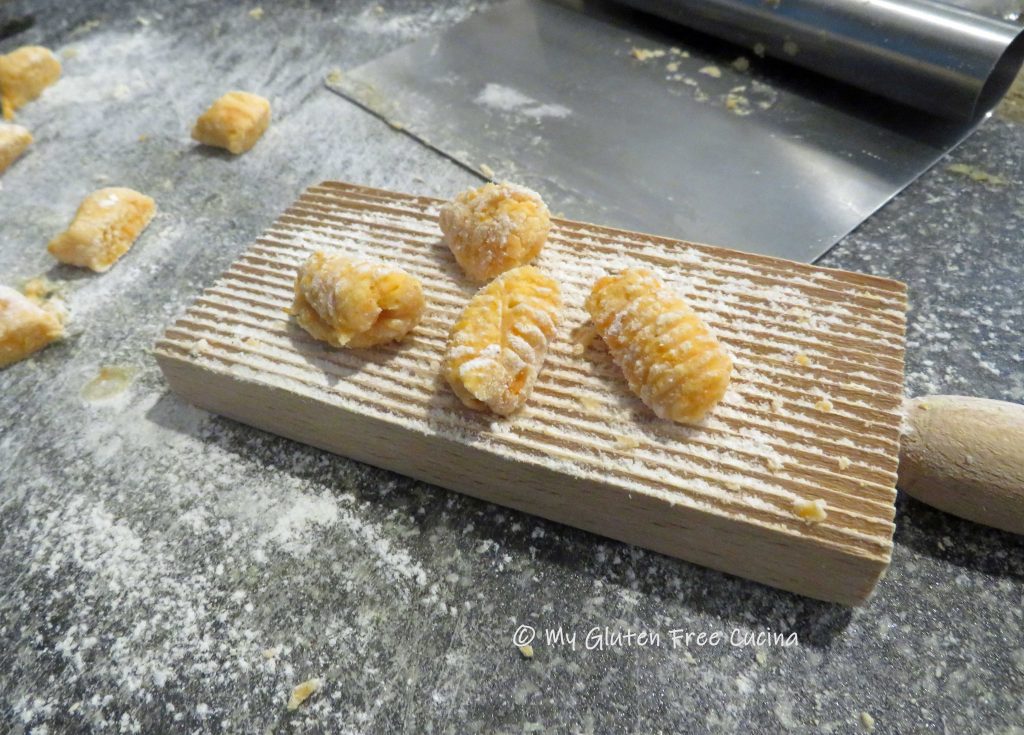
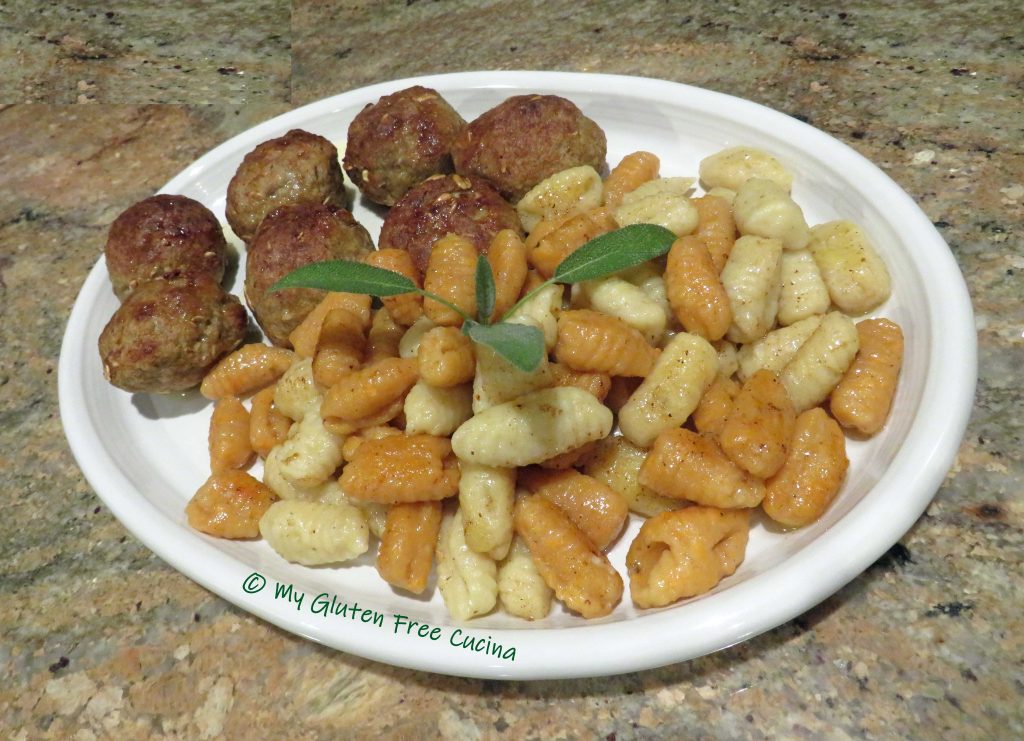
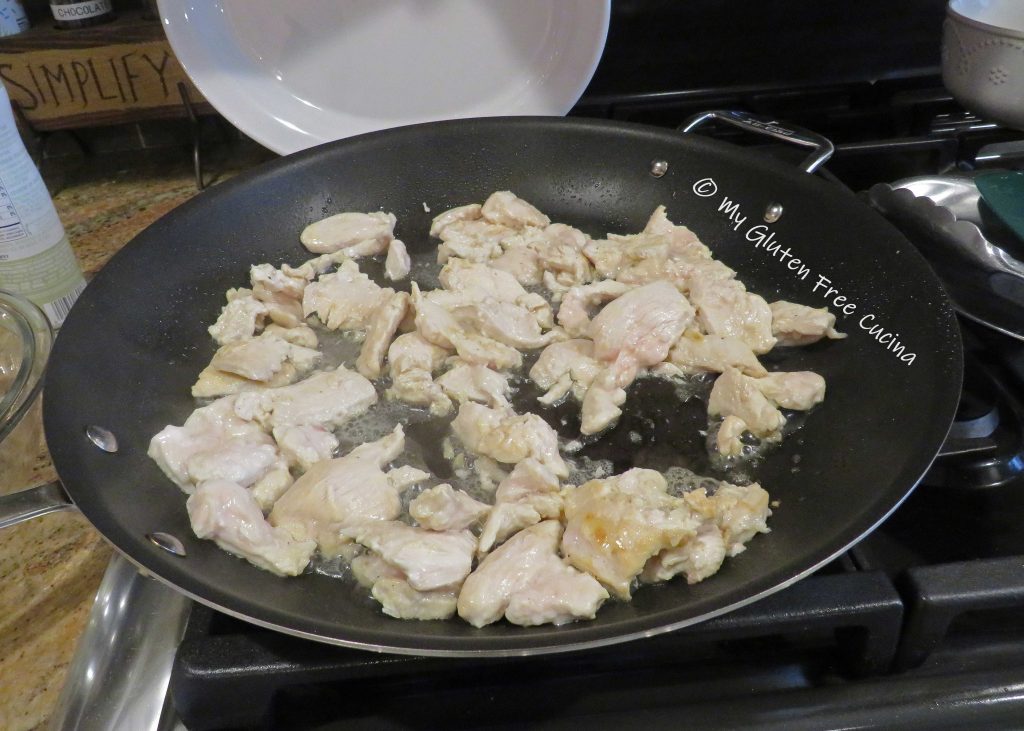
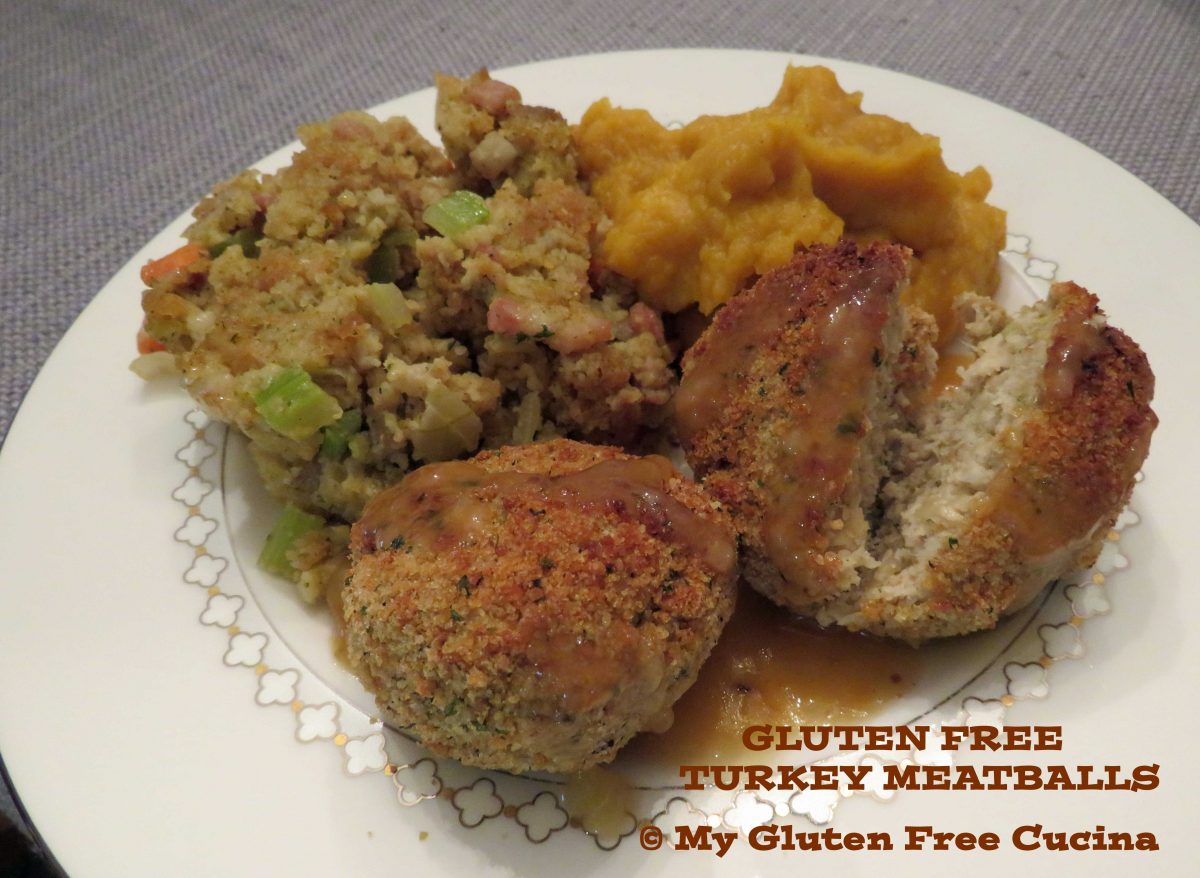
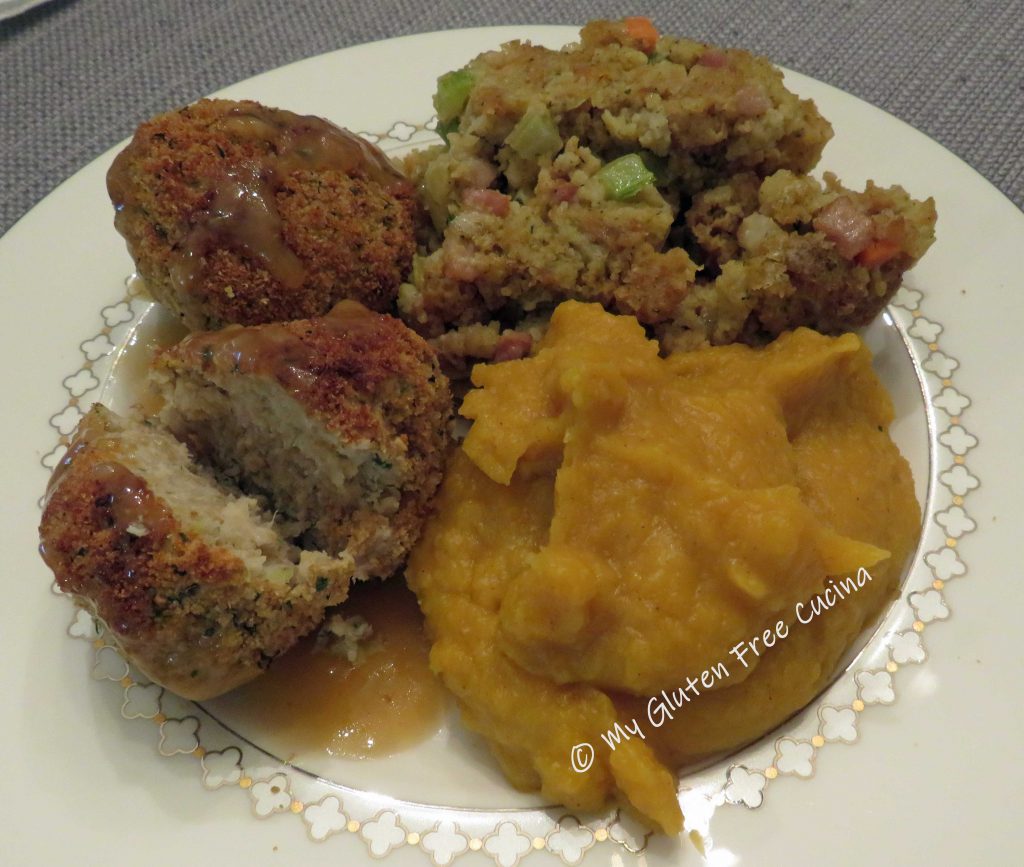
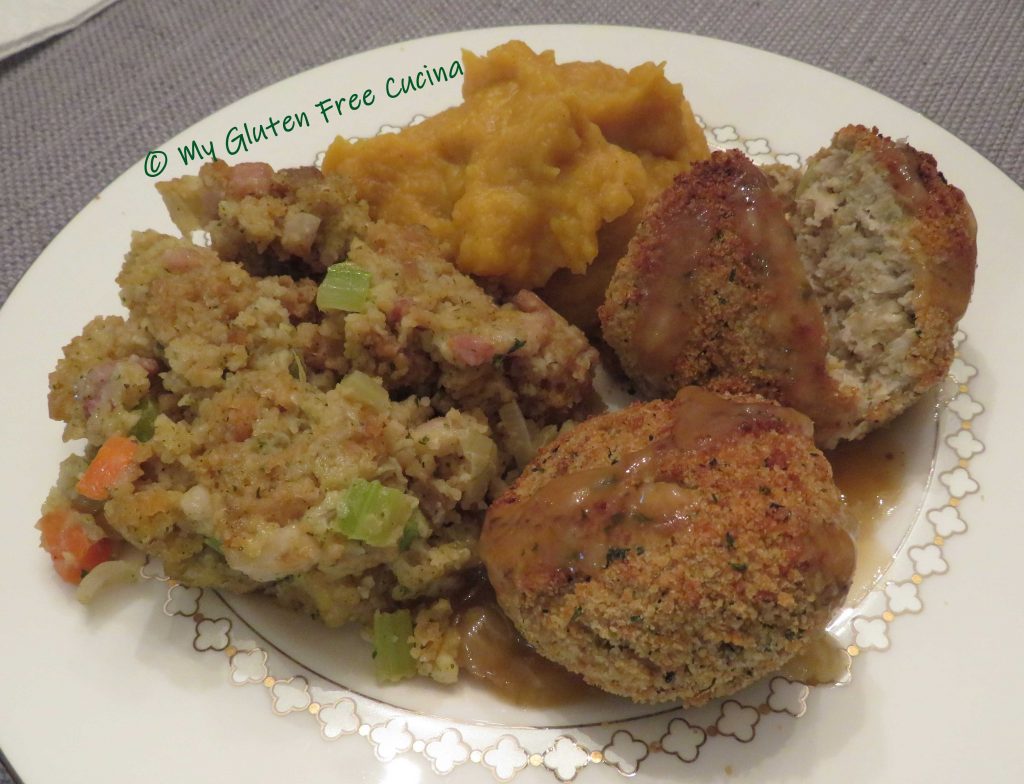
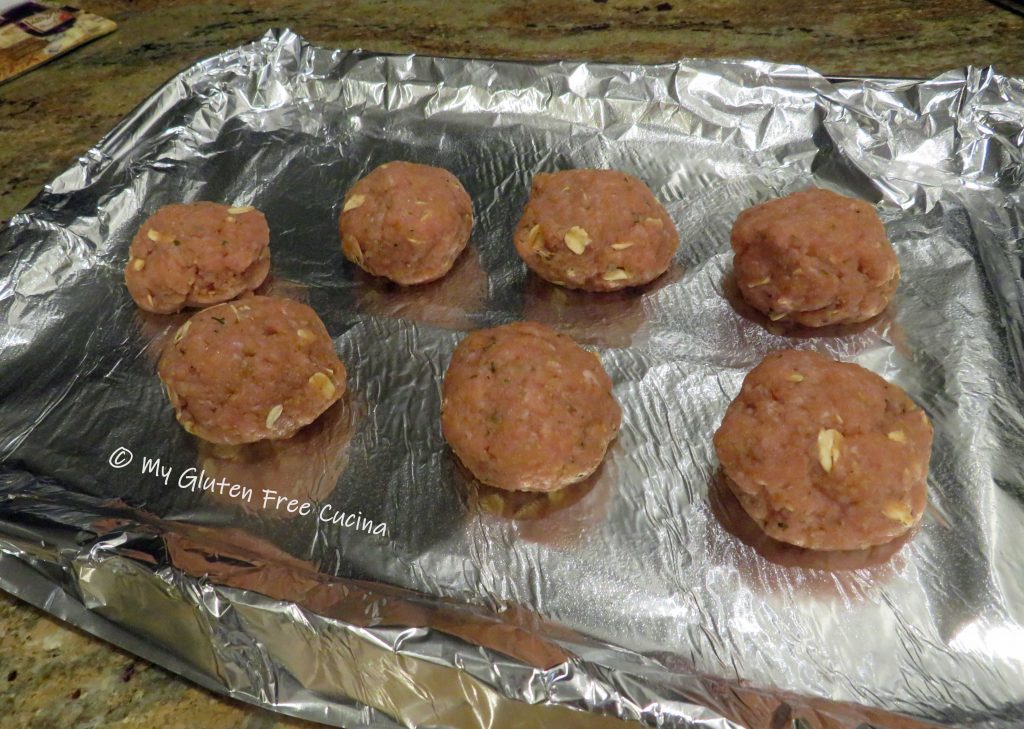 Place the meatballs on the baking sheet, and broil 5 minutes per side on high. Keep warm.


 Mist the parchment with cooking spray and roll the dough into a round. Slide it onto the pizza pan, cover with oiled plastic wrap and let it rest at room temperature for 30 minutes.
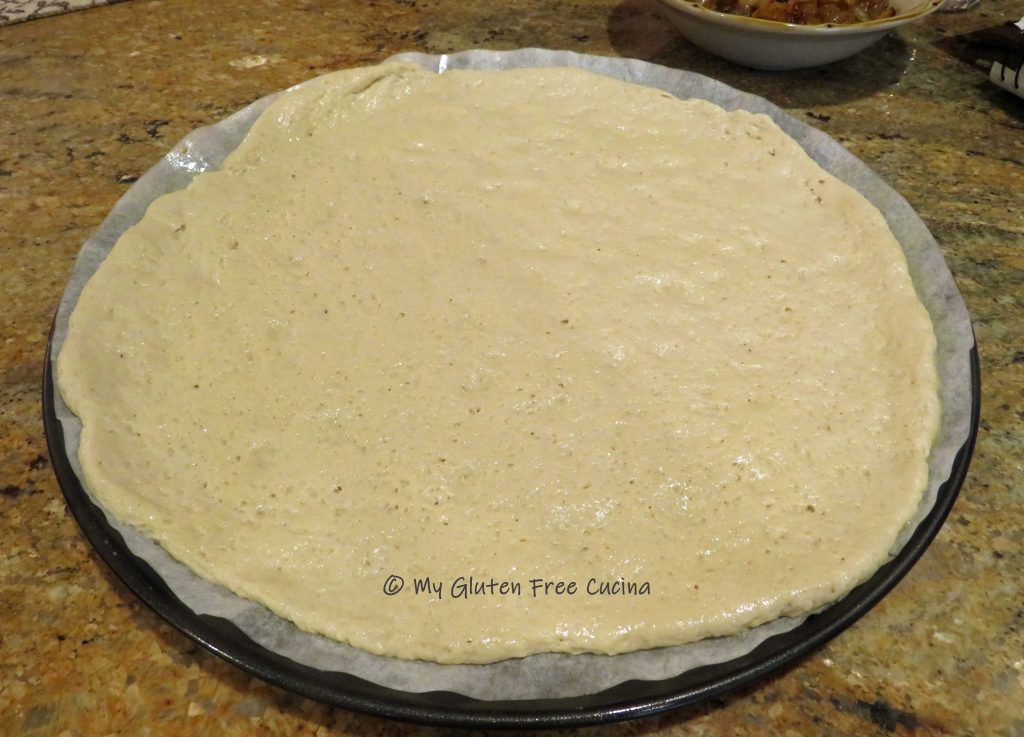


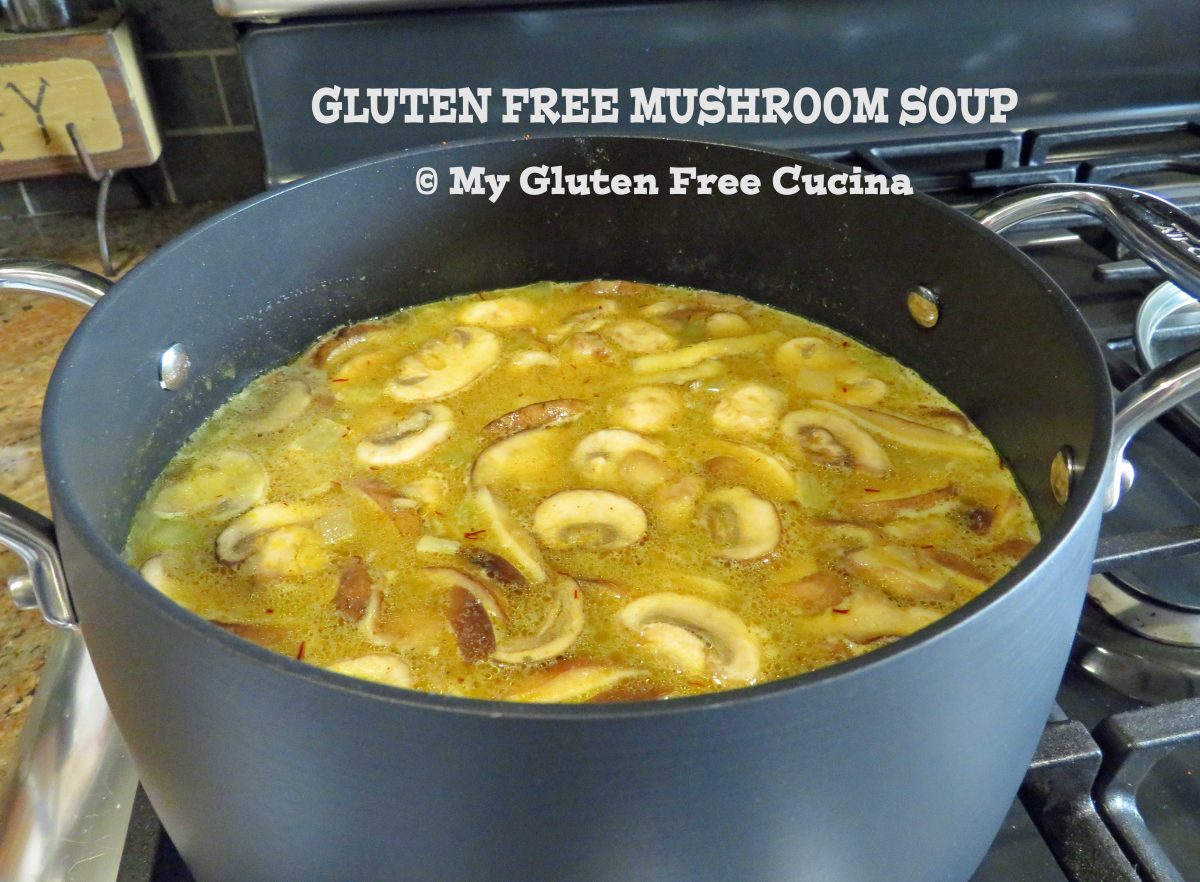

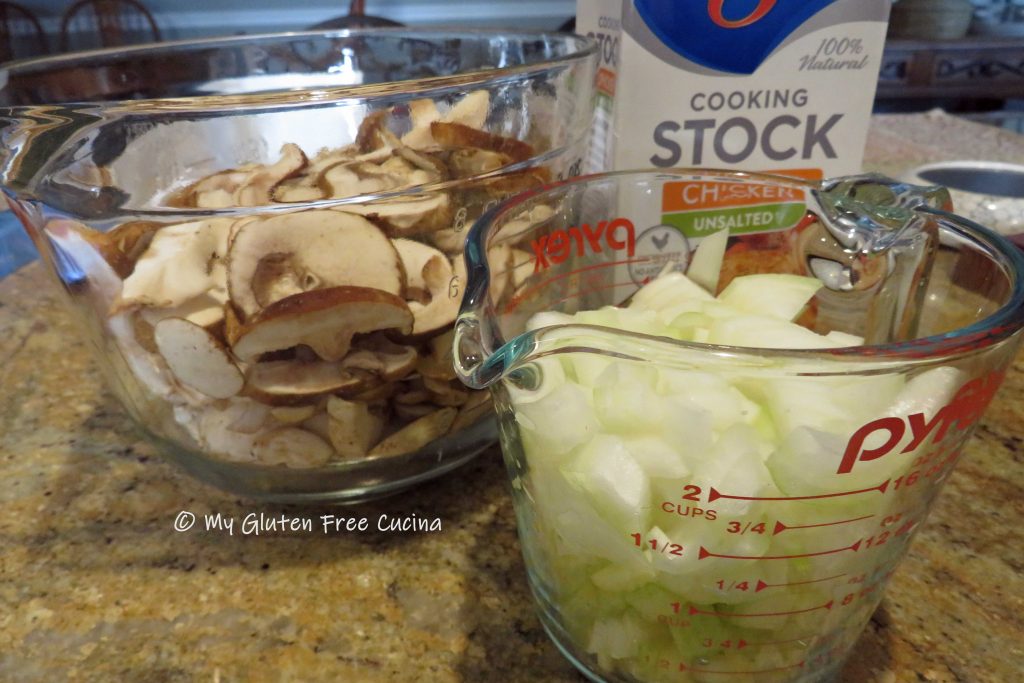
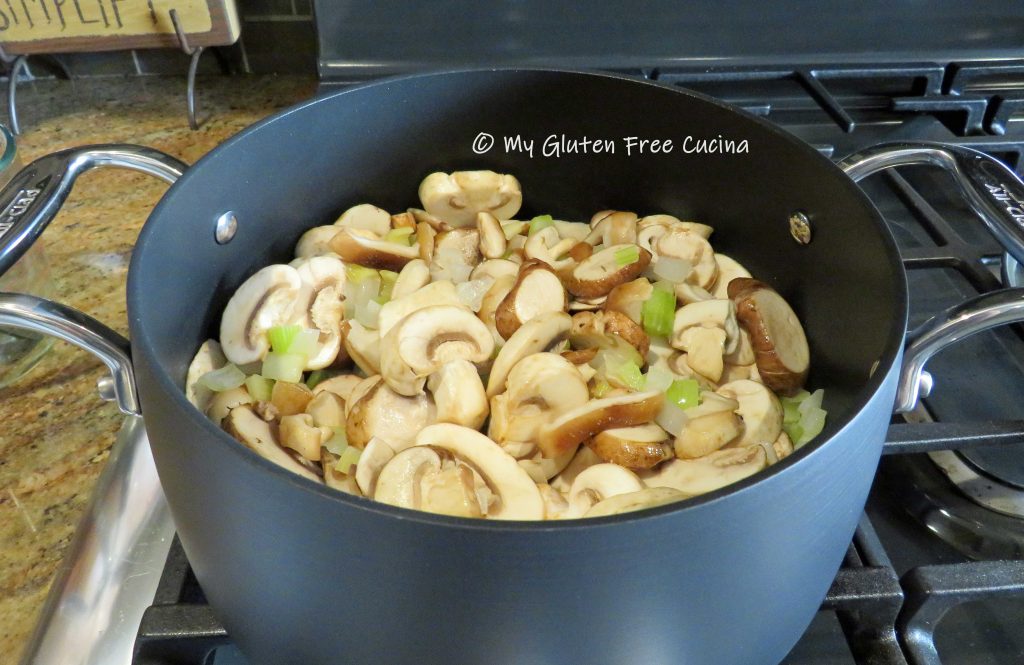
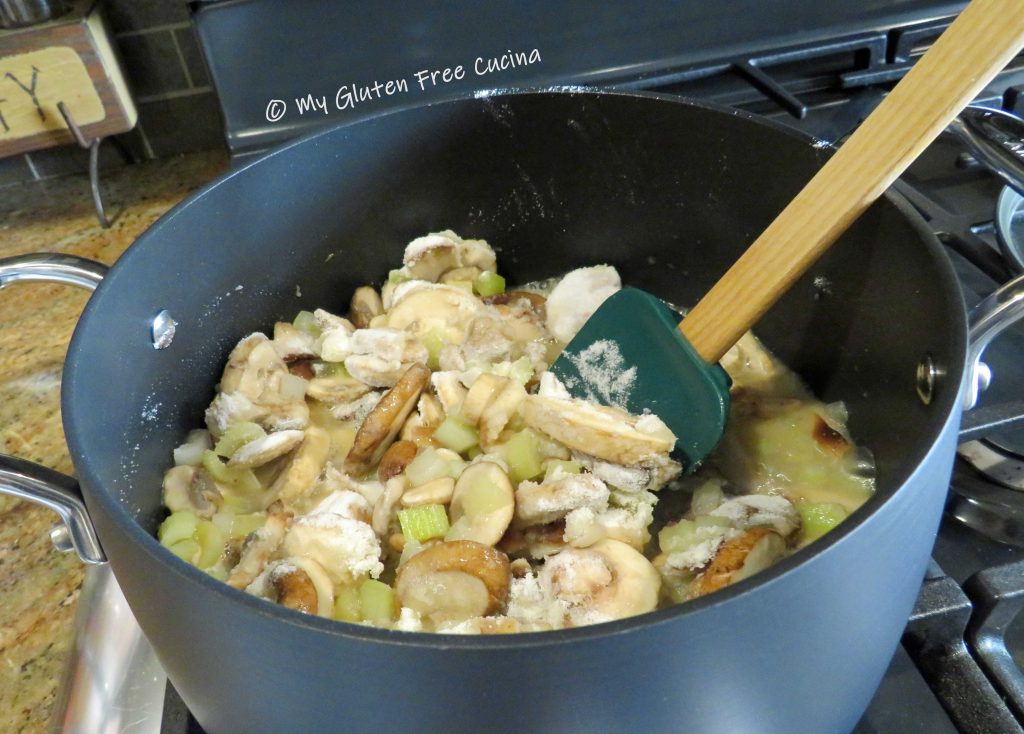
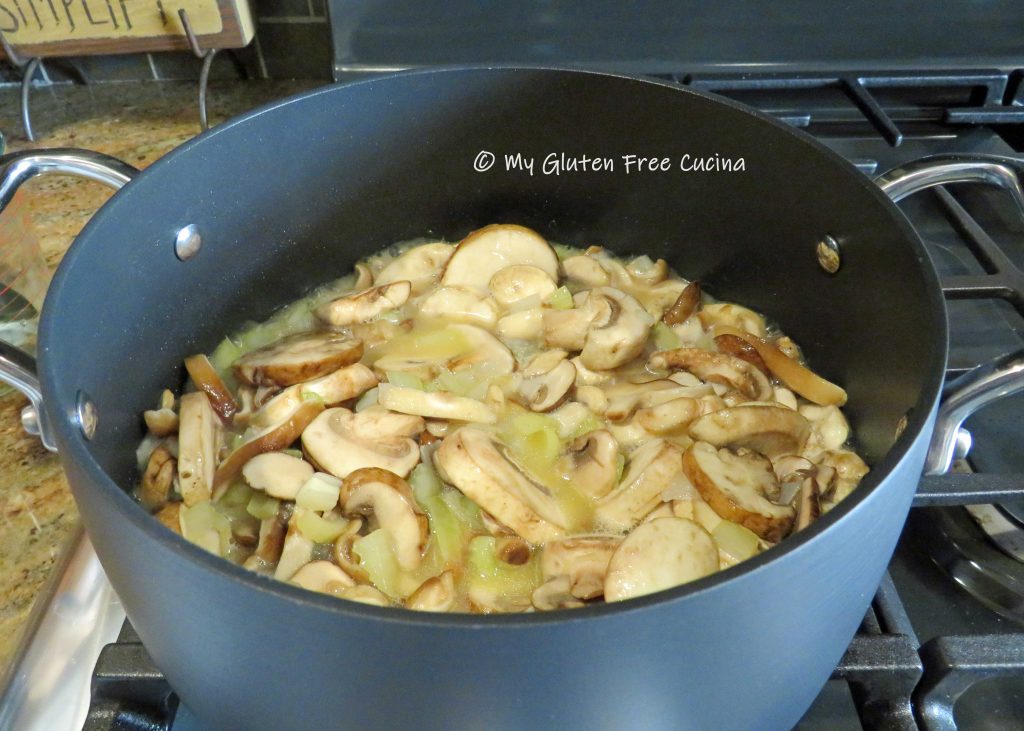 Have the chicken broth ready and stir in the flour. It will immediately begin to thicken.
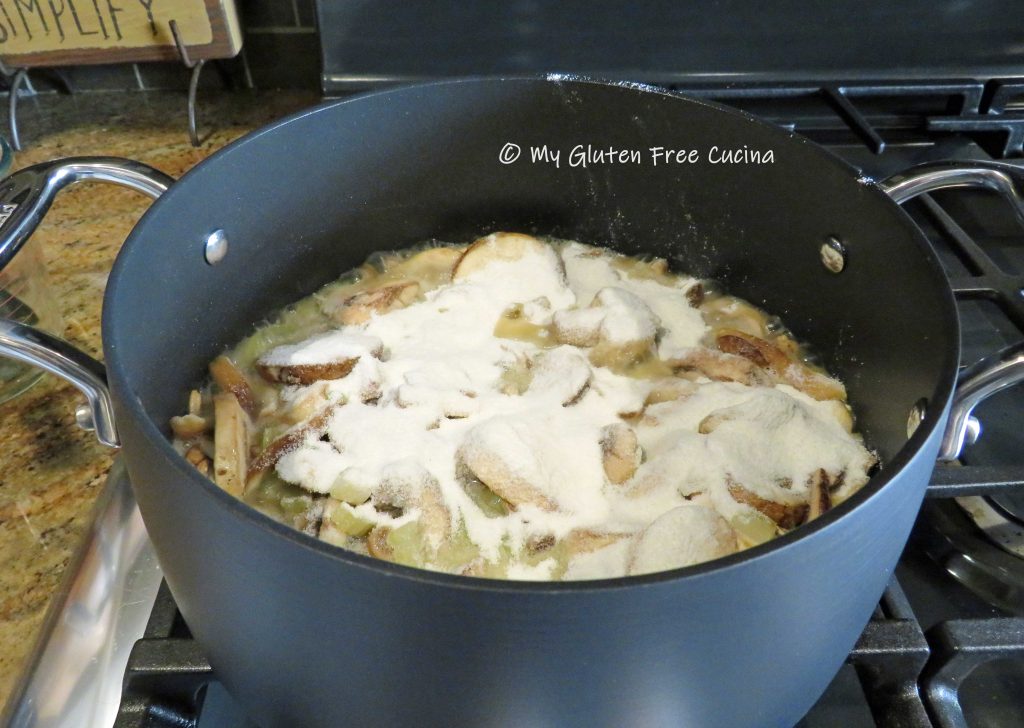
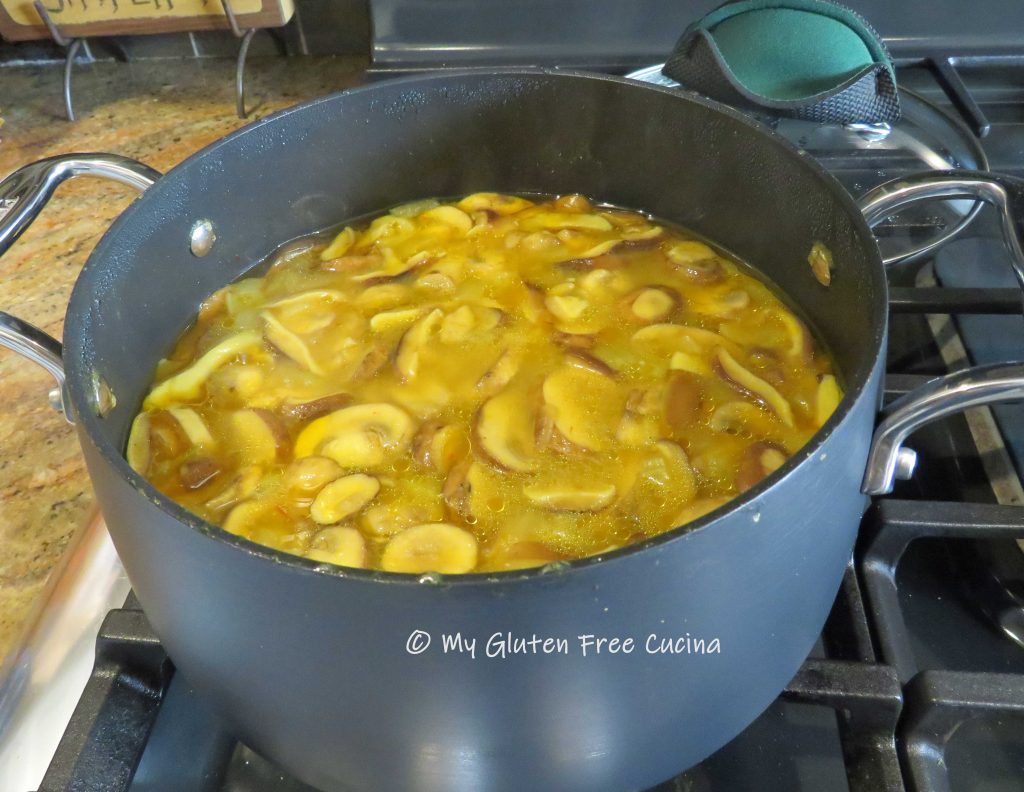
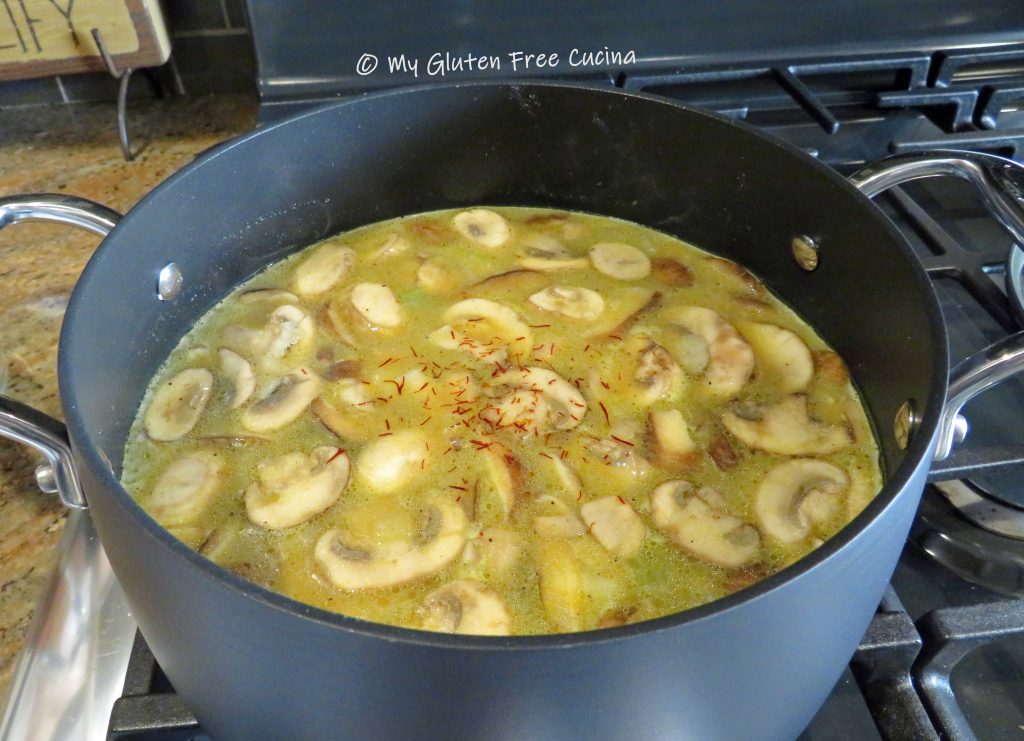 Simmer 15 minutes then remove from heat. Soup can be prepared ahead and frozen up to this point.
 I ladle the soup into freezer containers, about 1-1/2 cups each.
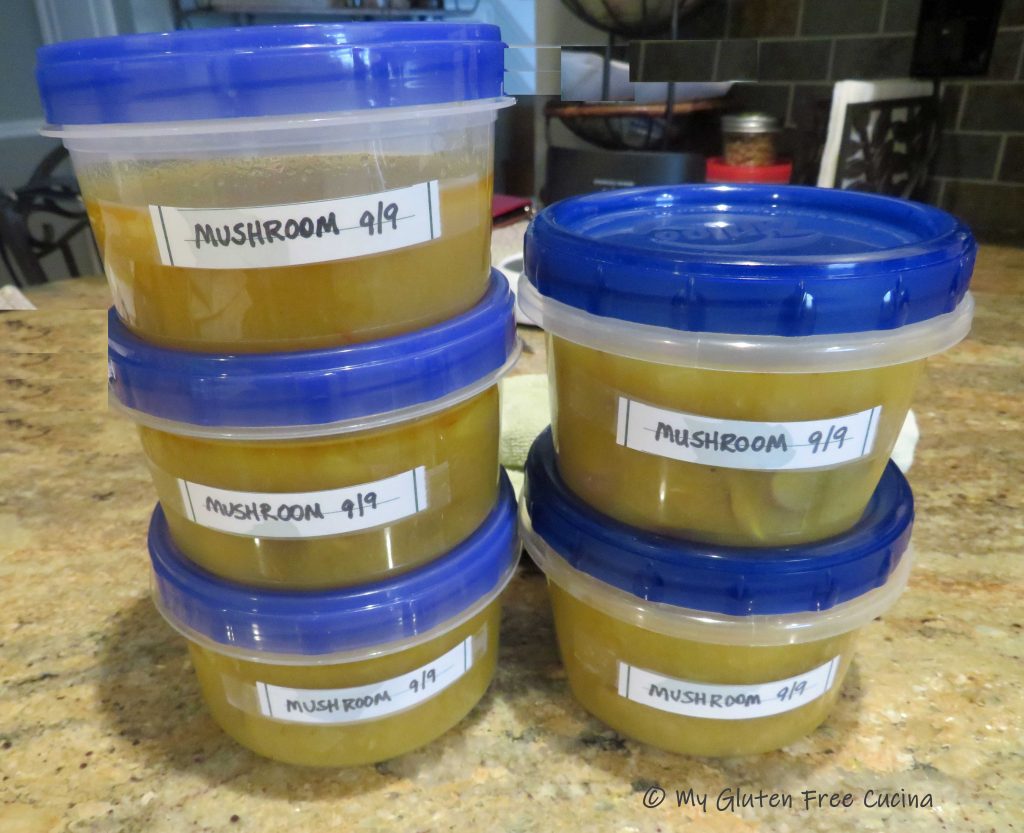


 Drain the pasta and add to the pan with 1/2 cup gruyere cheese. Toss to combine.


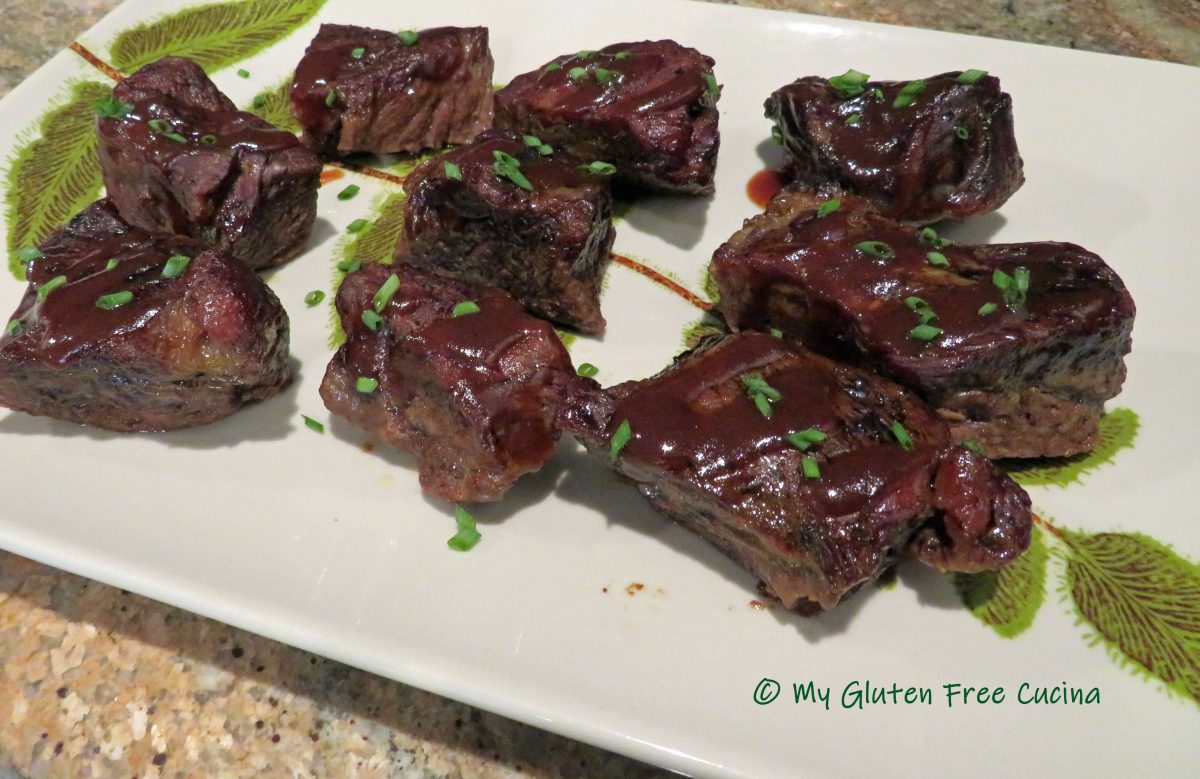
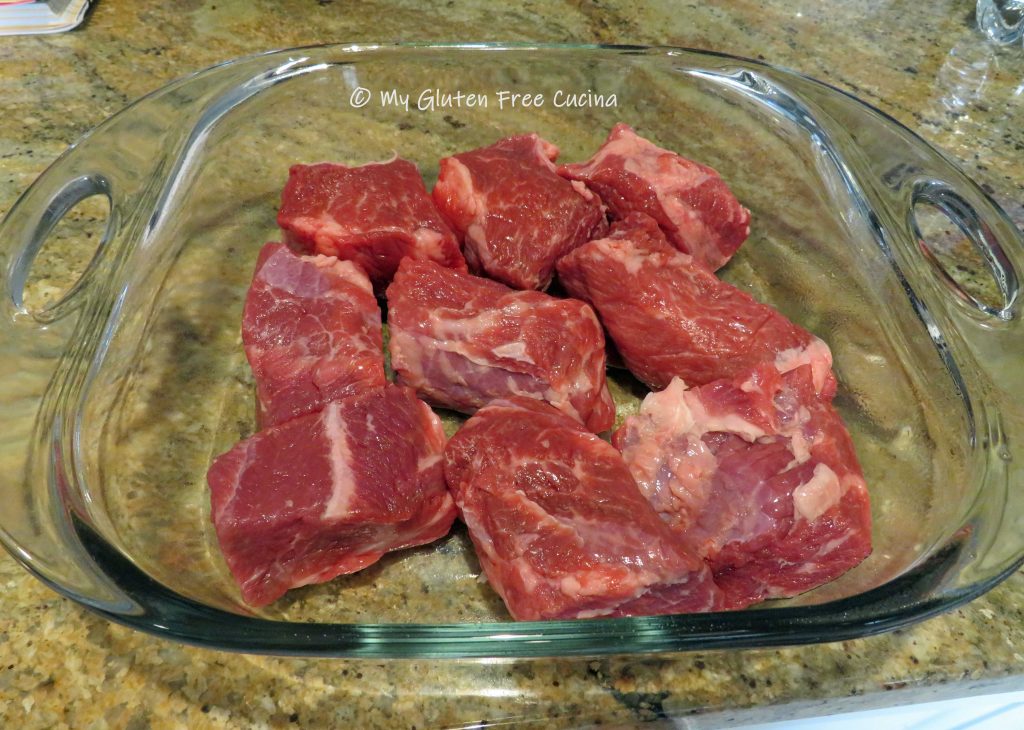
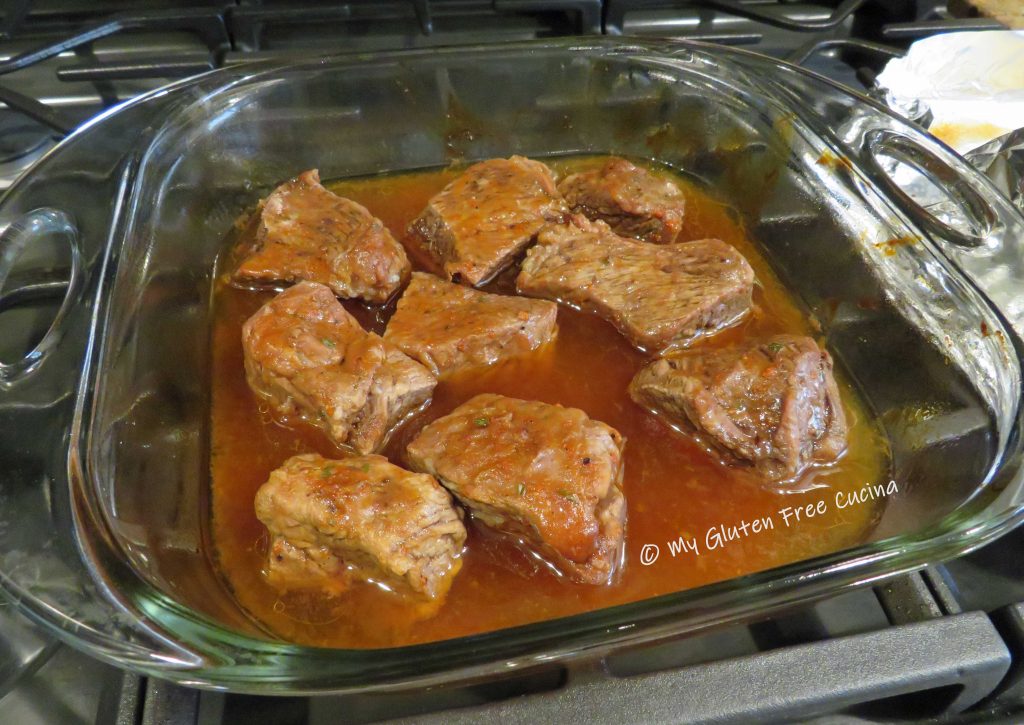
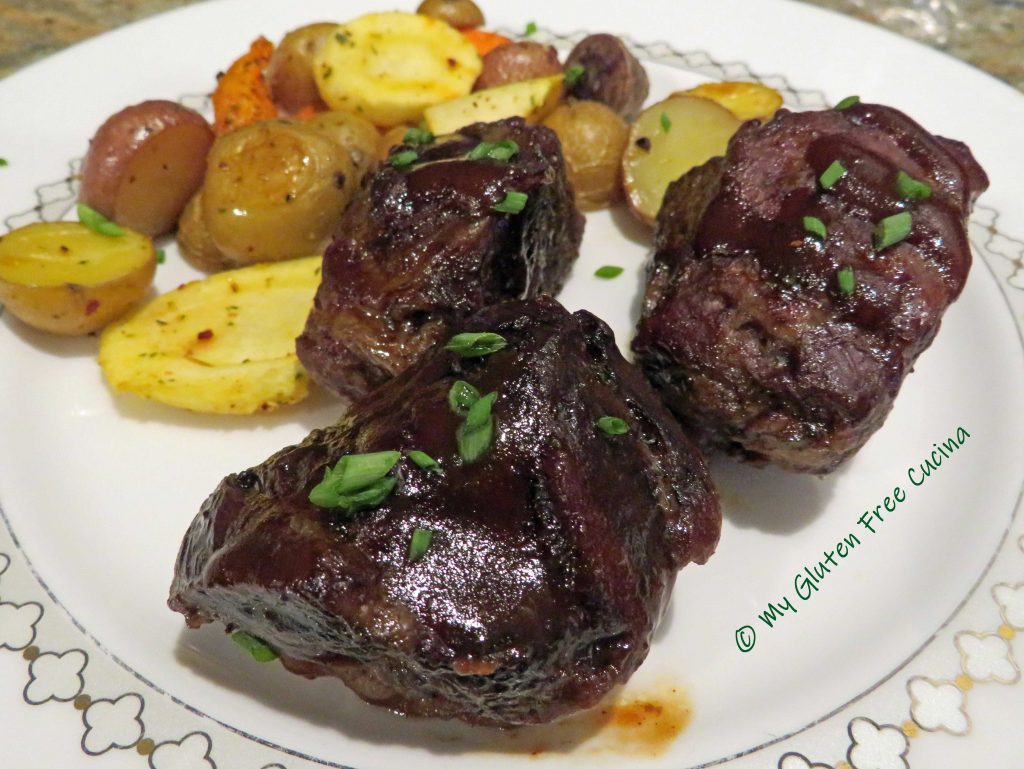
 The beef will shrink considerably during cooking, so start with twice as much as you think you need. For two people I suggest 1.5 lbs. of boneless beef short ribs. It may look like a lot to begin with, but there will be no leftovers 😉
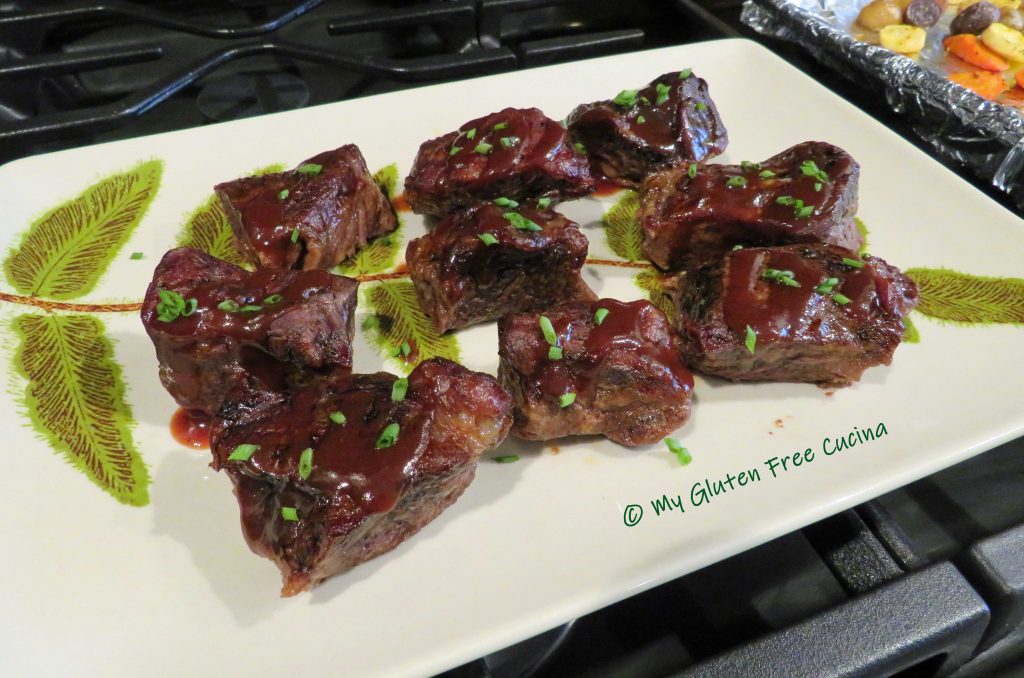 Ingredients:

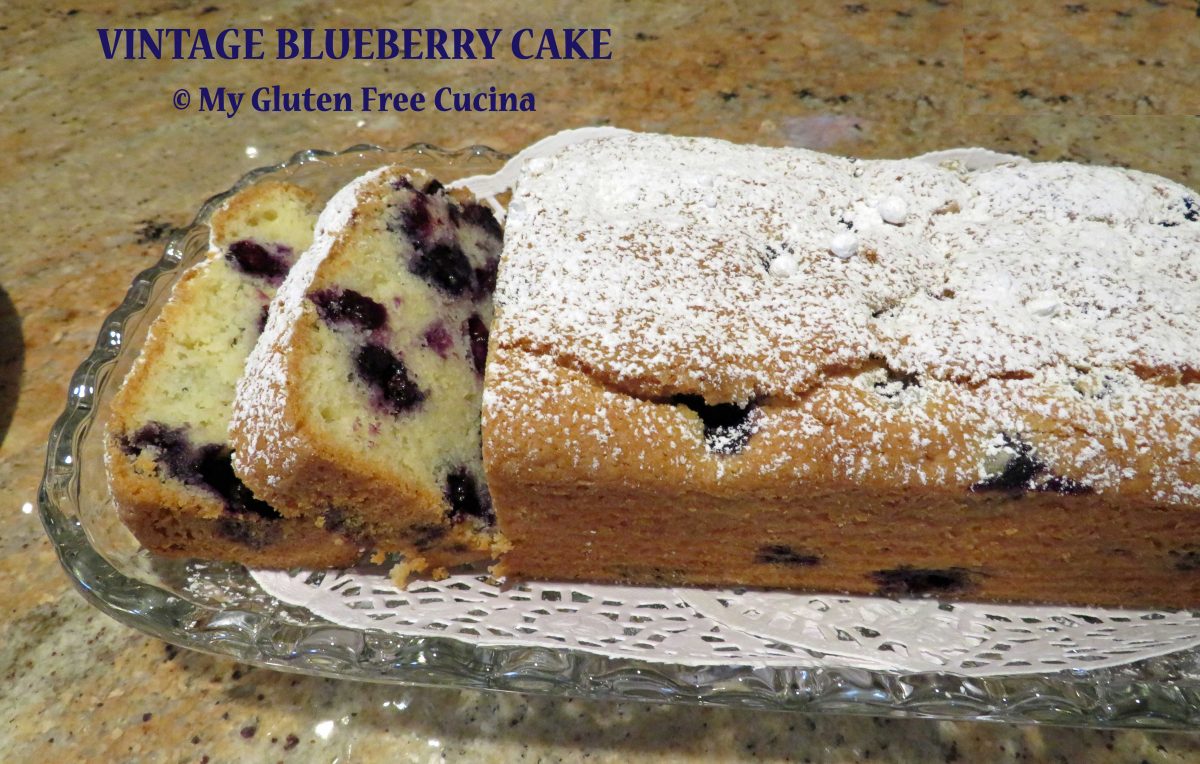
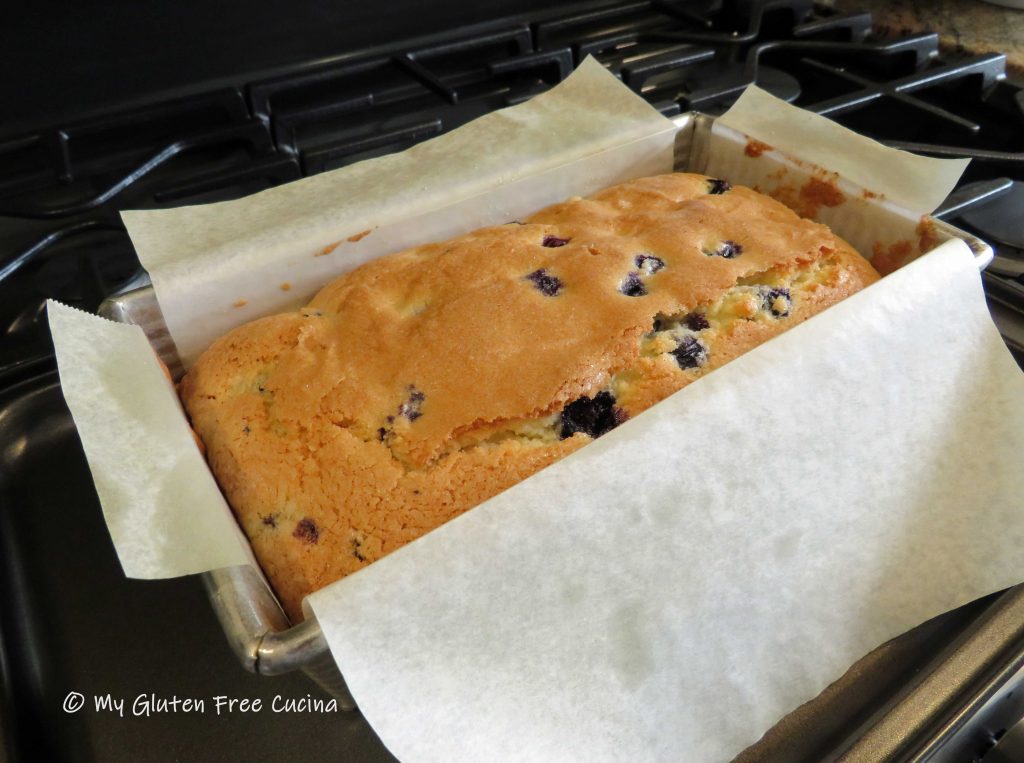
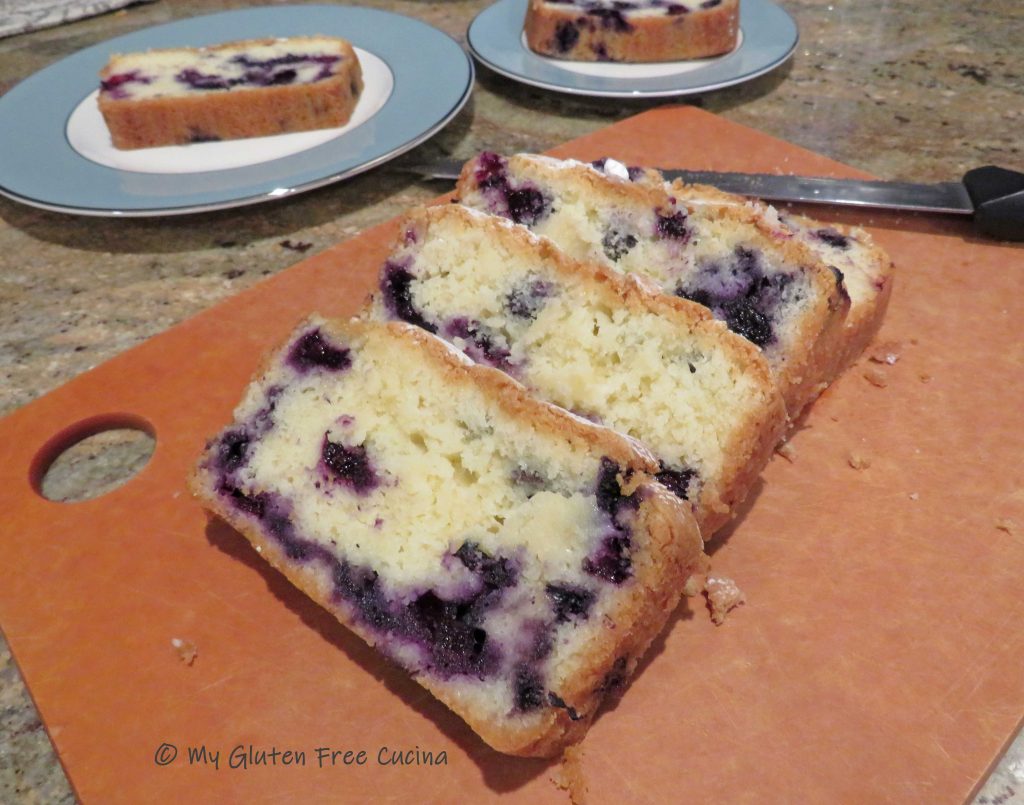
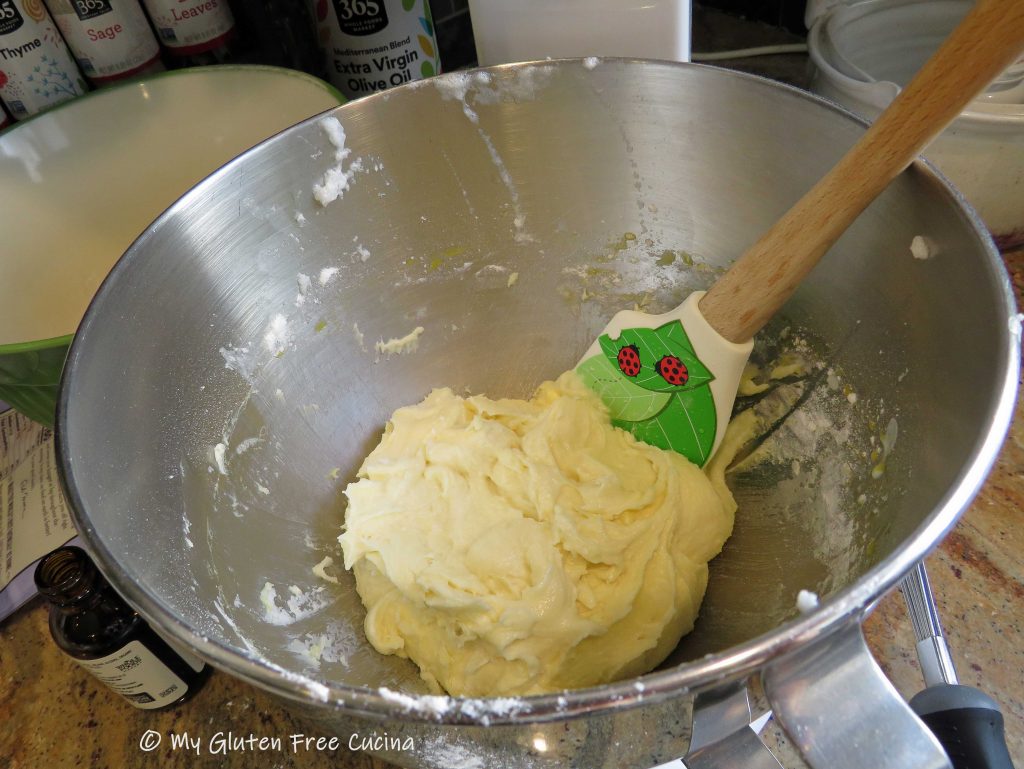
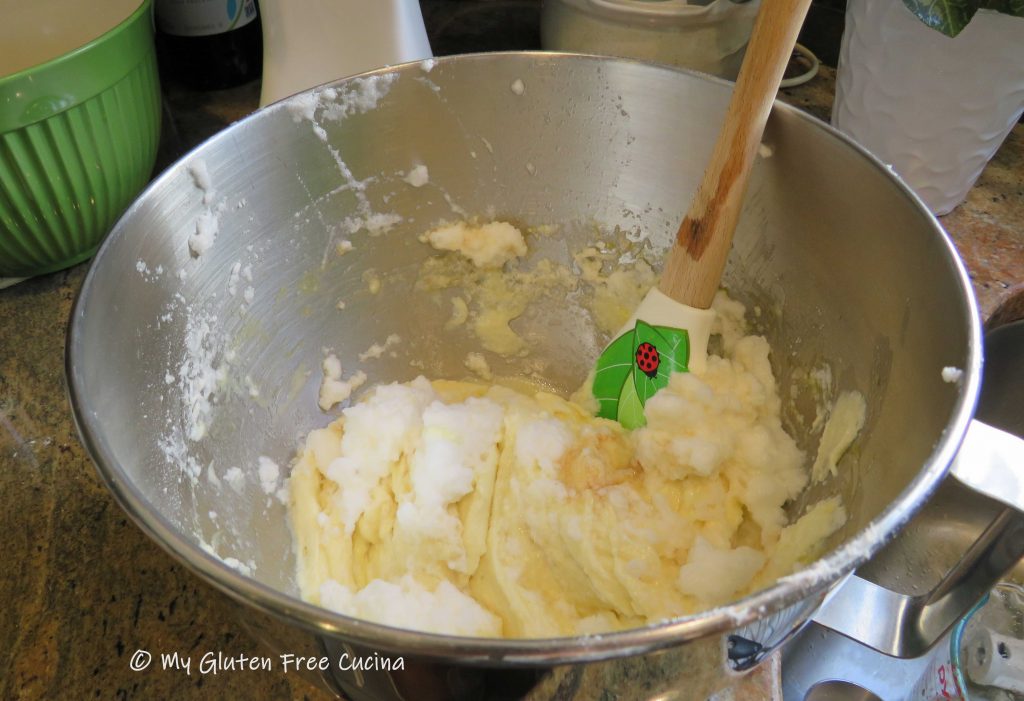
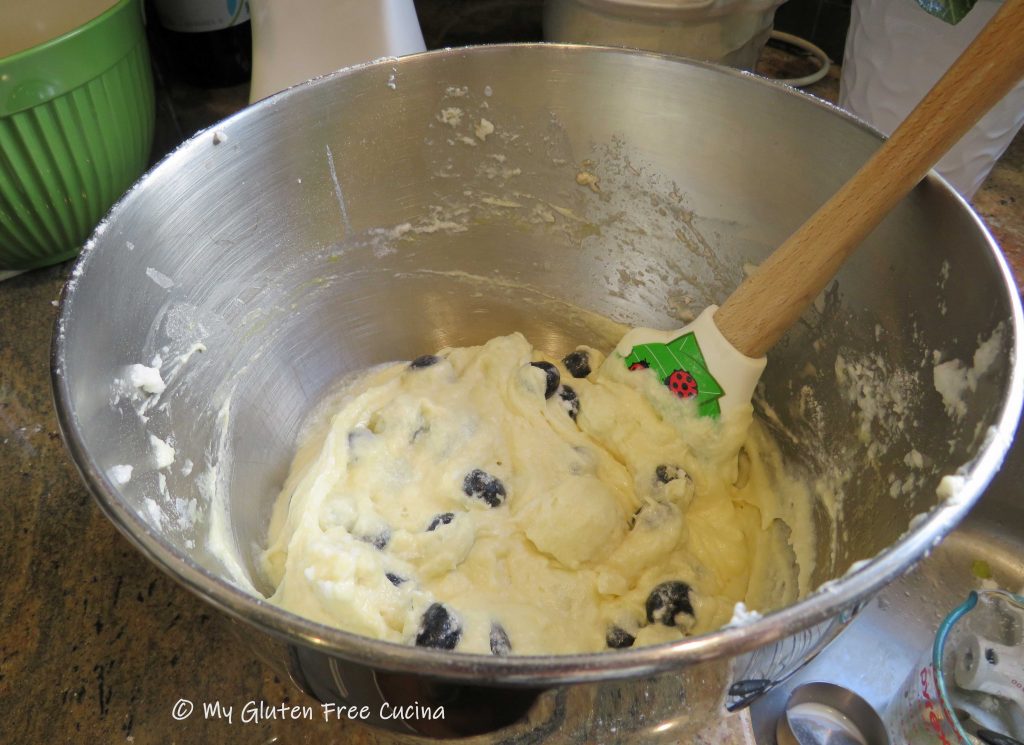
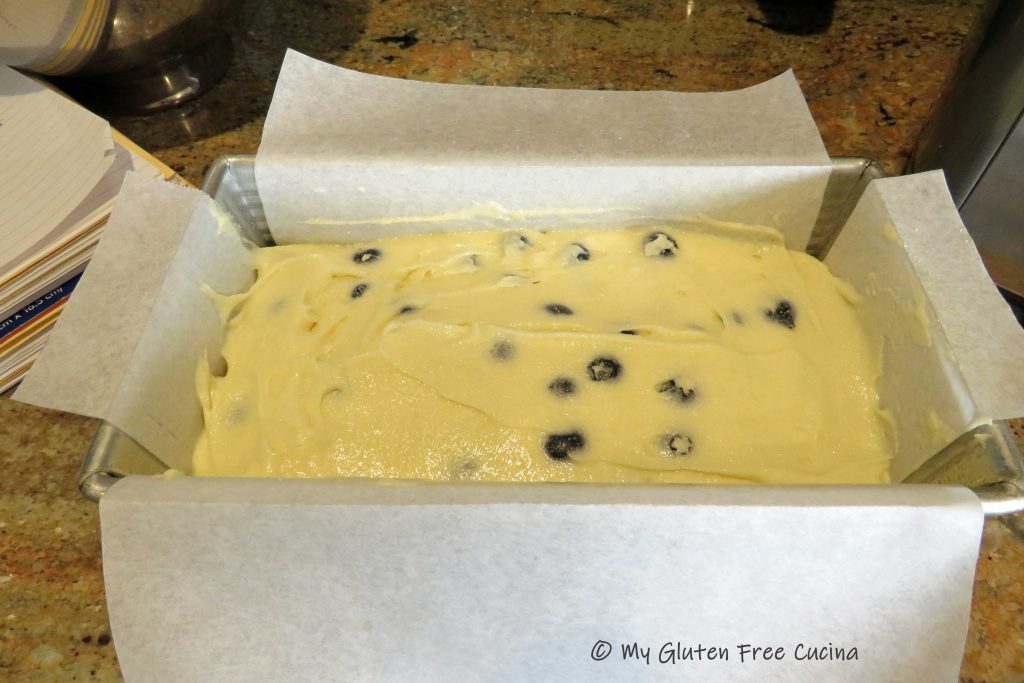
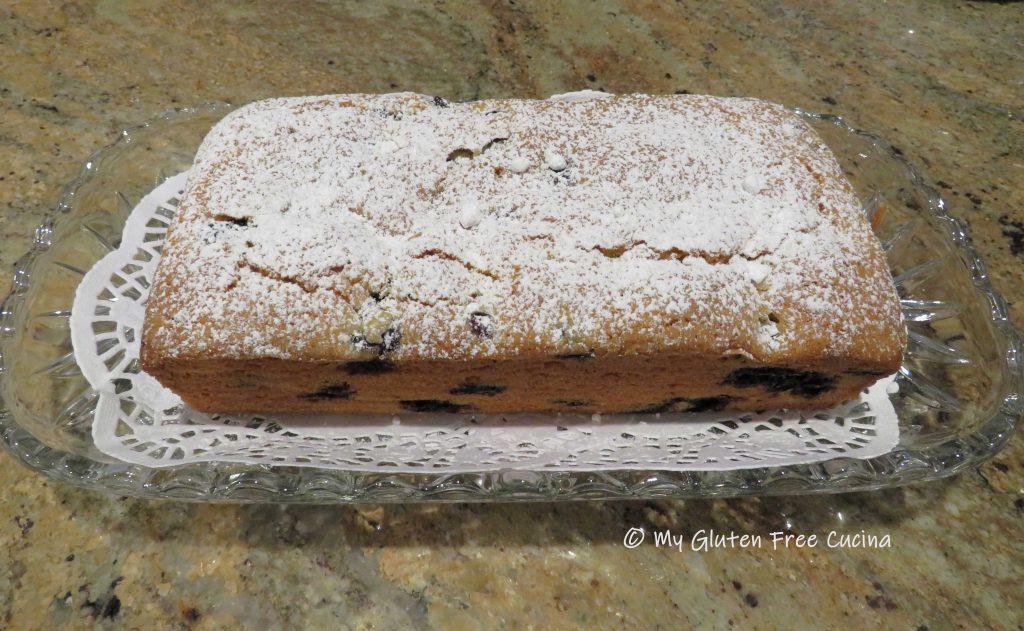
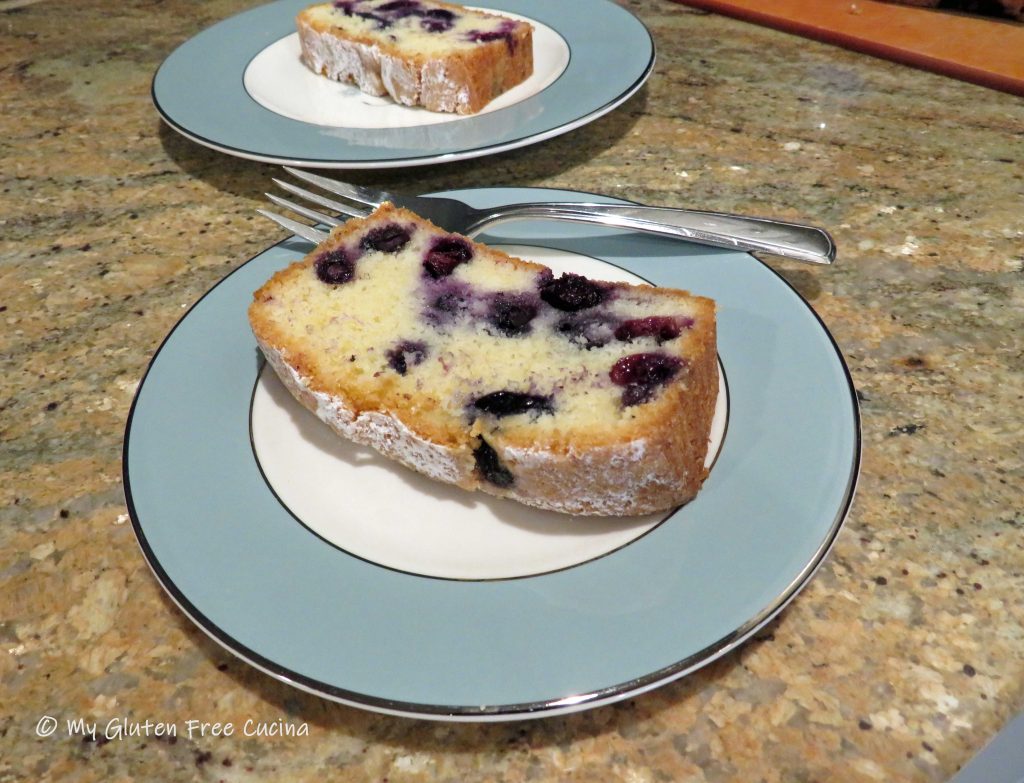
 I hadn’t made this cake since my Celiac diagnosis in 2017, and always wondered what would happen if I converted it to gluten free. Would it taste as good? The verdict, YES and the results were amazing!