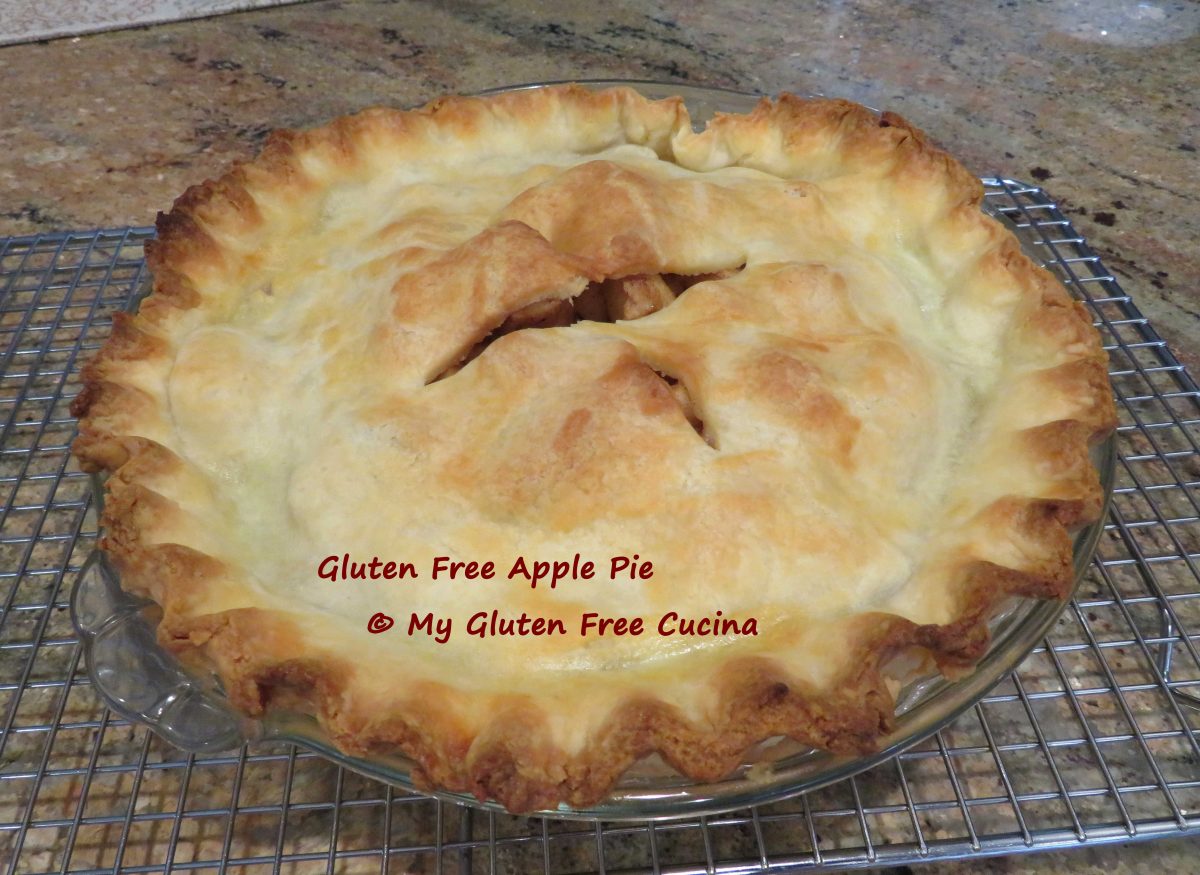
Gluten Free Apple Pie

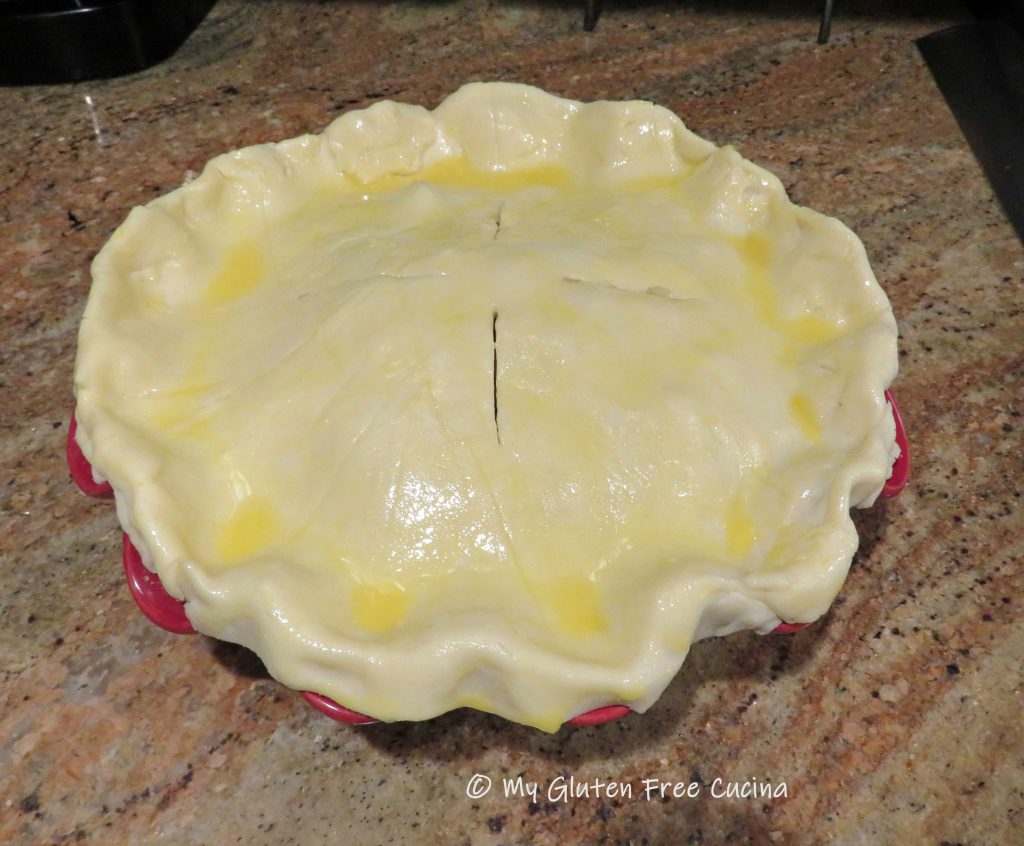
There is nothing like a homemade pie for a special occasion.  Just look at that crust!  Apple pie was the first pie that I learned to make, and it is still my favorite!

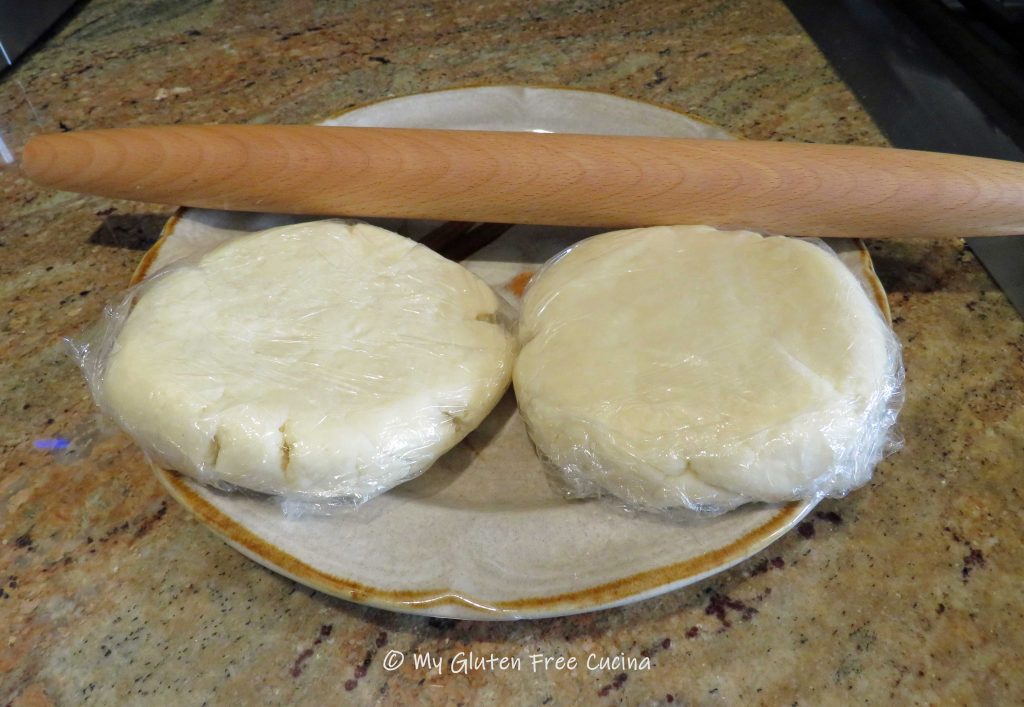
Before my Celiac diagnosis, I used to buy the refrigerated pastry dough in the red box (remember those days?) for my pies.  Today I use this easy make ahead Gluten Free Pie Crust, and always keep it on hand in my freezer so I’m ready to make a dessert pie, meat pie or quiche.

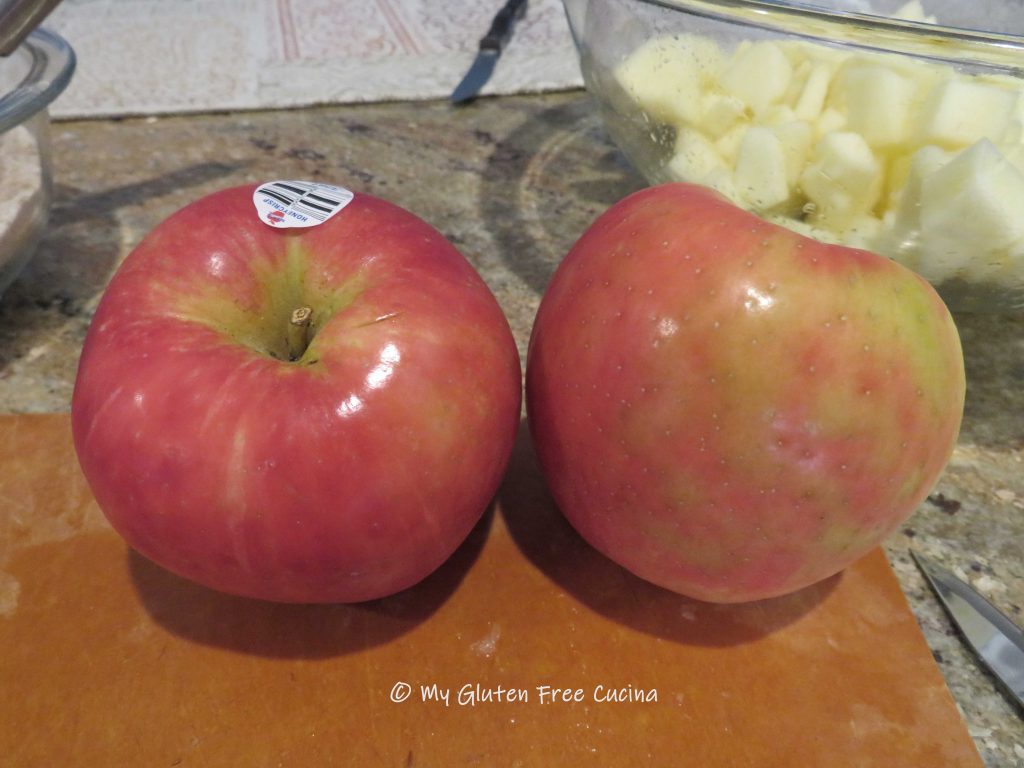
The filling was adapted from Taste of Home, an old classic from back in the day.  I always use Honeycrisp apples for pie, they are excellent for cooking and baking.  You can use other firm apples like Braeburn, Cortland or Granny Smith.  My apples were quite large, so I only used 4 for this recipe.  For medium sized apples you will need 5-6.

This post contains affiliate links.

Ingredients:

  • gluten free pastry dough for double pie crust (recipe here)
  • 5-6 medium apples, peeled and diced
  • 1 tbsp. lemon juice
  • 1/2 cup sugar
  • 1/2 cup brown sugar
  • 3 tbsp. gluten free flour (I used Better Batter Original)
  • 1 tsp. cinnamon
  • 1/4 tsp. ginger
  • 1/4 tsp. nutmeg
  • 1 tbsp. butter
  • 1 tbsp. egg whites

This post contains affiliate links.

Preparation:

The first thing you’ll want to do is roll out that pie dough.  If you had it in the freezer, let it defrost in the refrigerator the day before then leave at room temperature for 20 minutes before rolling.

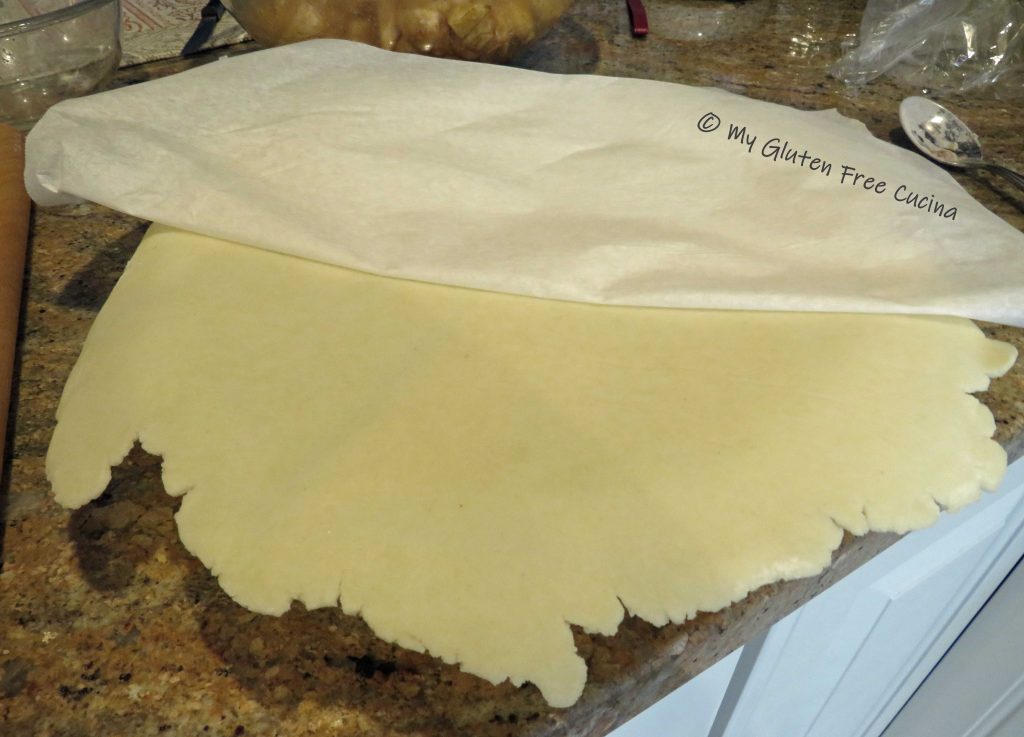
The easiest way to roll the dough is to lay it on a sheet of lightly floured parchment and cover with a sheet of plastic wrap.  Take your time rolling the dough, until it is large enough to fit your pie dish.  Place the rolled-out dough in the refrigerator while you make the filling.

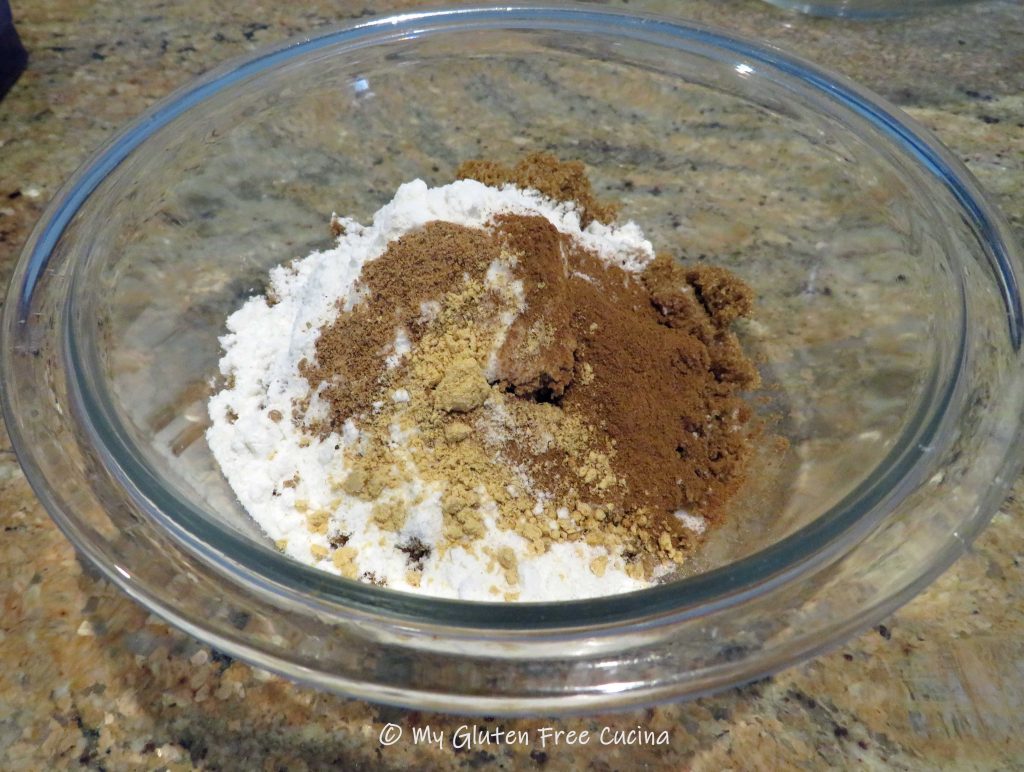
Next, whisk together the sugars, flour, cinnamon, ginger and nutmeg in a small bowl.

Squeeze the lemon juice into a large bowl.  Peel and dice the apples and add to the bowl, tossing with the lemon juice after each addition.

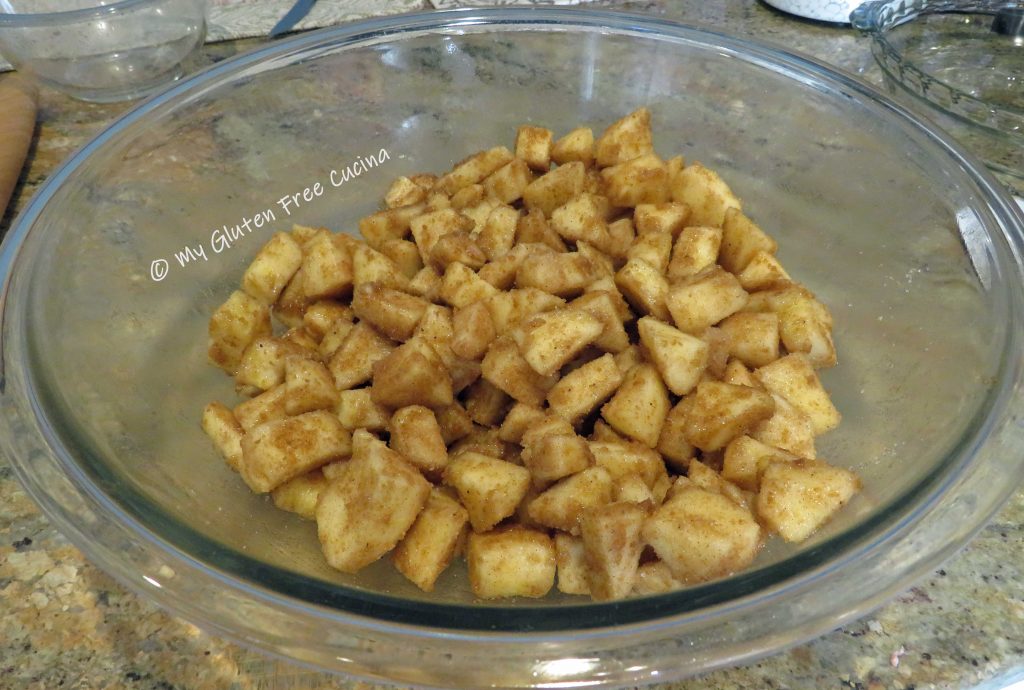
Combine the sugar mixture with the apples and toss well to coat.

Now for the moment of truth.  Place one sheet of pastry dough in the pie dish.  The easiest way to do this is to remove the plastic wrap and flip the dough onto the pie dish.

Carefully peel away the parchment and ease the dough into the dish like this.
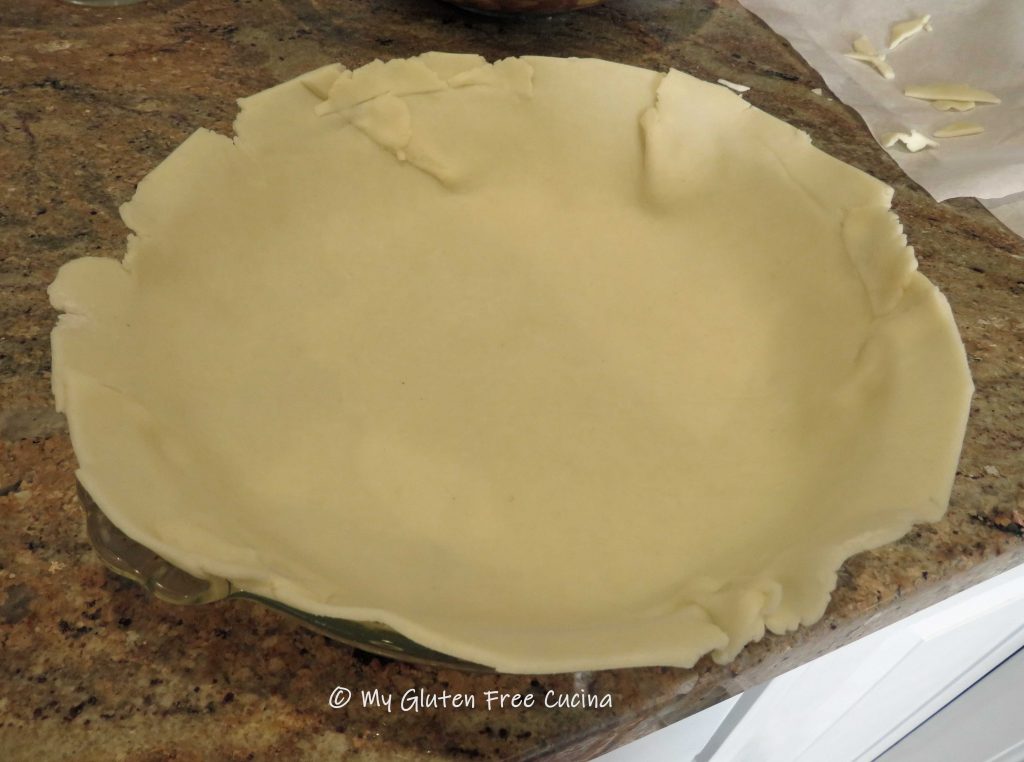
Whew, look at that it worked!  Now trim the edges and use the extra pieces to patch any cracks or holes.

Fill with the apple mixture and dot with the butter.

Use the same technique to place the top sheet of pastry dough.  Fold the edges over and crimp, it doesn’t have to be fancy.

Cut slits to allow steam to escape.  Whisk the egg white, and brush all over the top.

Place the pie on a sheet pan (in case it drips) and arrange strips of foil loosely around the edges.  Don’t press the foil into the dough (it may stick).

Bake for 25 minutes at 375º.  Use tongs to remove the foil then bake an additional 25 minutes.

Cool at least 2 hours before slicing.  It smells so good you will have a hard time waiting!

Notes ♪♫ Pie crust has always been my nemesis.  That is, until I learned to make this incredible Gluten Free Cream Cheese Pie Crust, then a whole new world of gluten free baking opened up.  Try it, I promise it is easy to prepare and rolls like a dream!

Apple Pie filling adapted from Taste of Home

Print This Post Print This Post

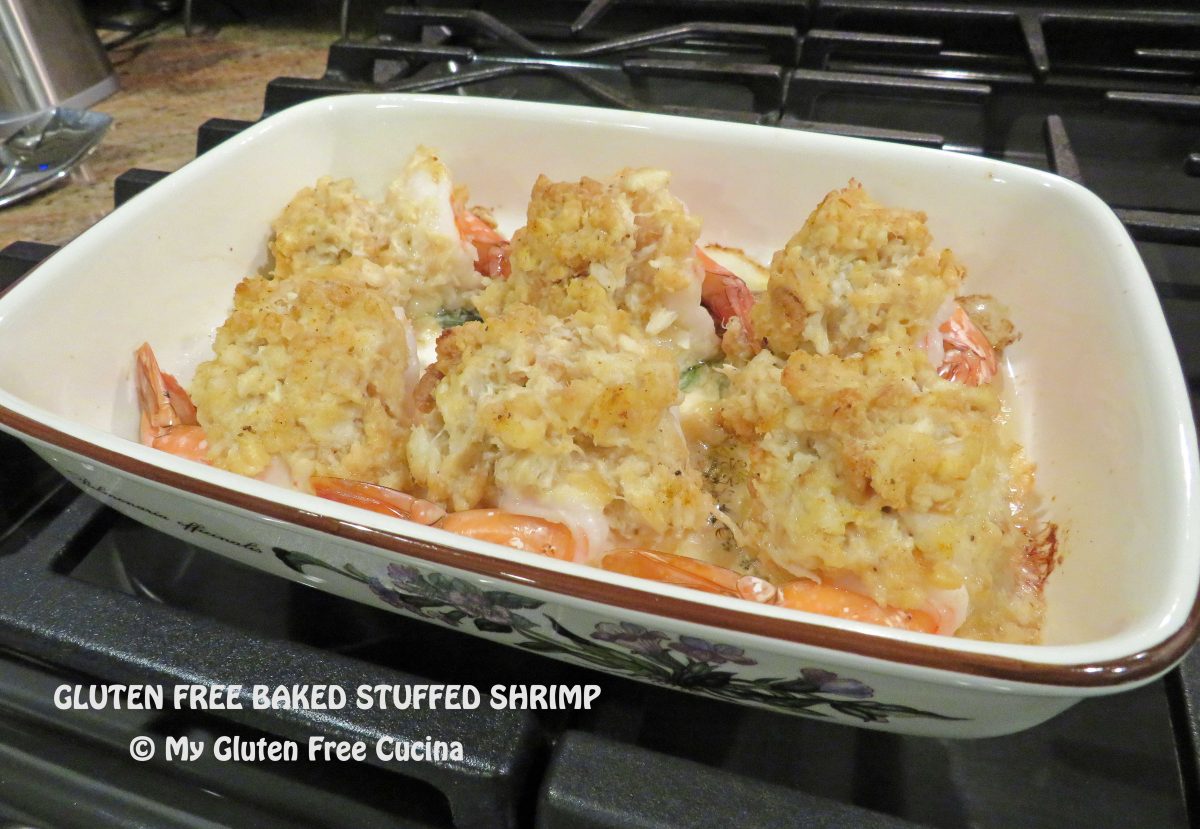
Gluten Free Baked Stuffed Shrimp

This 5-star entrée has all the makings of a romantic dinner for two.  Dine like a king and queen with this old restaurant favorite made right in your own kitchen, minus the gluten!  The addition of crab meat to the butter and cracker crumb stuffing makes it really special!

This post contains affiliate links.

Dinner for two

Ingredients:

Preparation:

Preheat the oven to 400º.  Mist a baking dish with cooking spray.  Melt butter in a small saucepan and set aside.

Combine the crab meat, garlic powder, Old Bay, and cracker crumbs with 2 tbsp. of butter in a small bowl.

Rinse the shrimp under cold water and remove the shells.  Drain and pat dry.

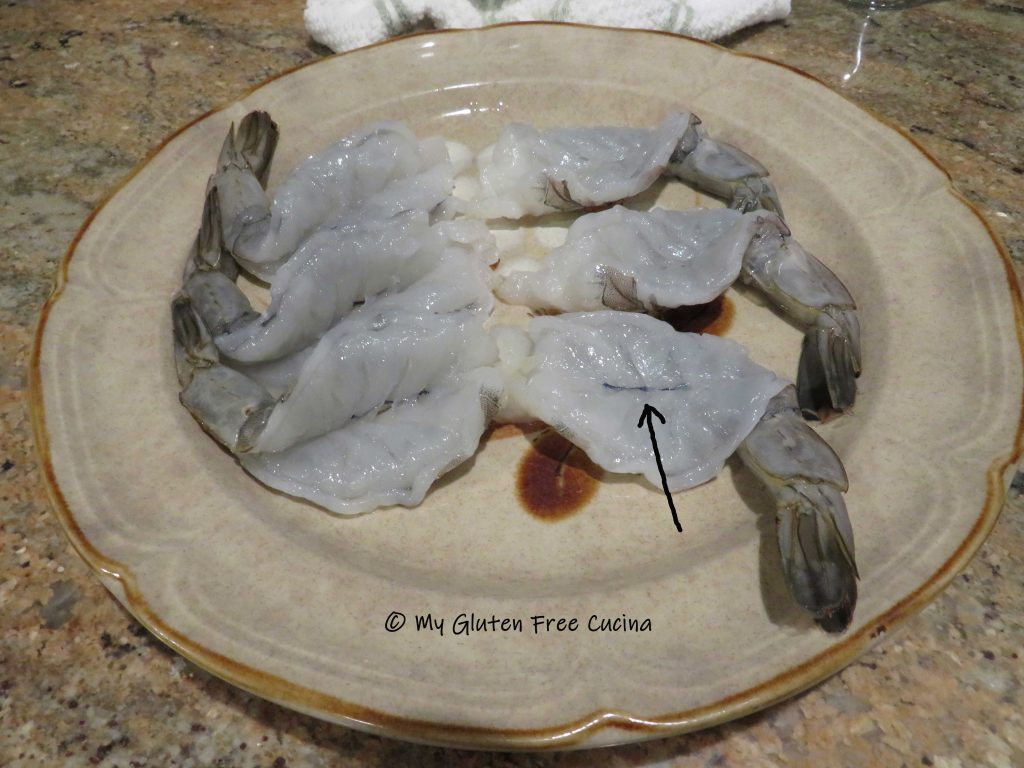
Lay each shrimp on its side, and run a paring knife along the backside, be careful not to cut all the way through.  Open the shrimp and lay on a clean plate or cutting board.

Remove the dark vein running down the center of the shrimp.

Mound the crab stuffing onto each shrimp.

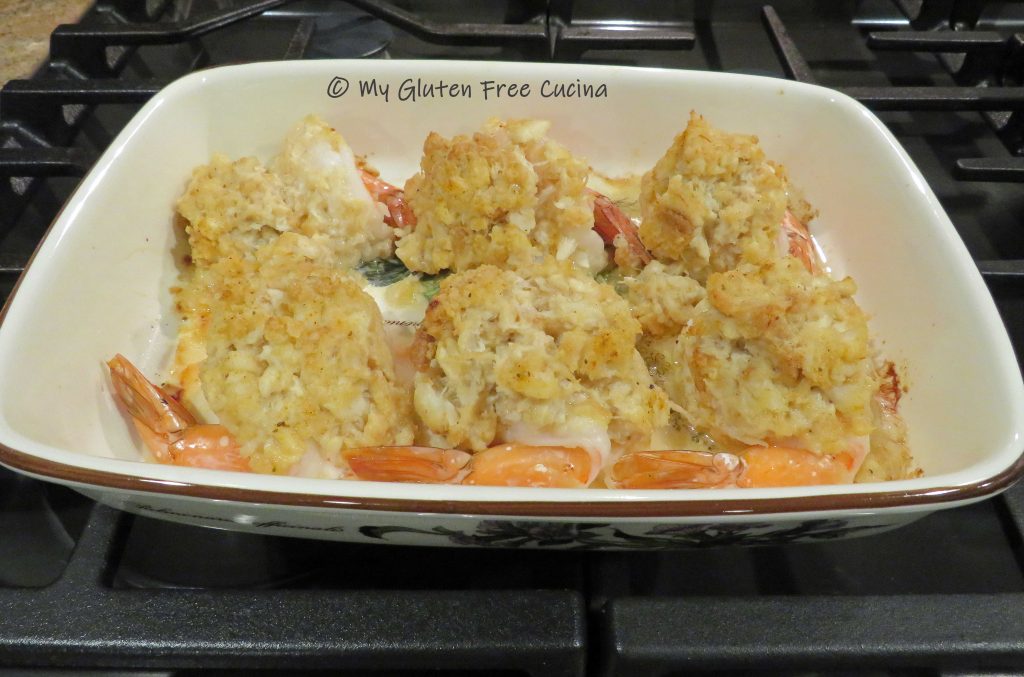
Arrange the shrimp in the baking dish and drizzle the remaining 2 tbsp. butter over the top.  Sprinkle with more Old Bay seasoning, bake for 15 minutes and serve.

This is a filling entrée!  Three shrimp each with a side salad and rice would make a wonderful meal.  Make it tonight for your special someone!

Notes ♪♫ For a hearty dinner size portion, choose colossal shrimp (8-12 count).  I always look for sales in the frozen section and stock up when I can.  Thaw in the refrigerator and rinse under cold water to remove the shells.

Print This Post Print This Post

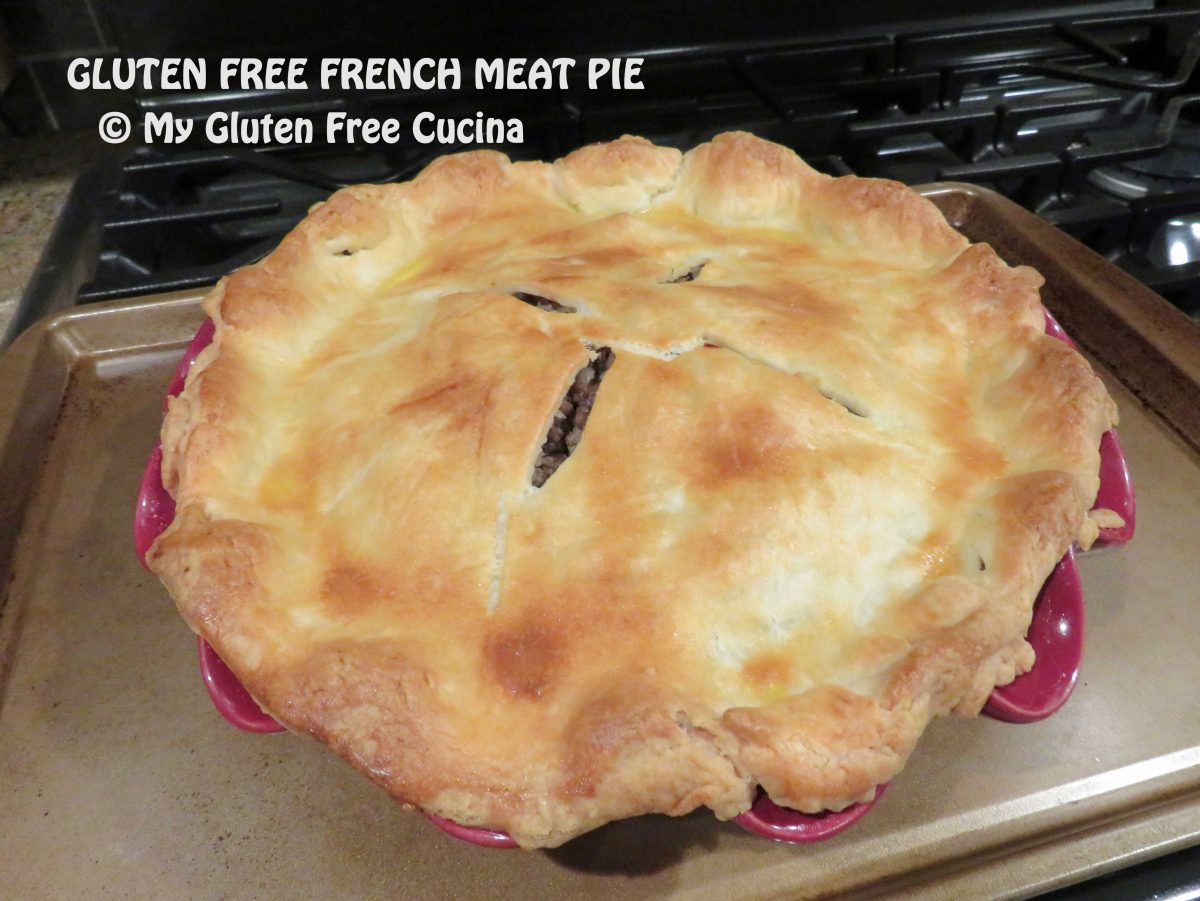
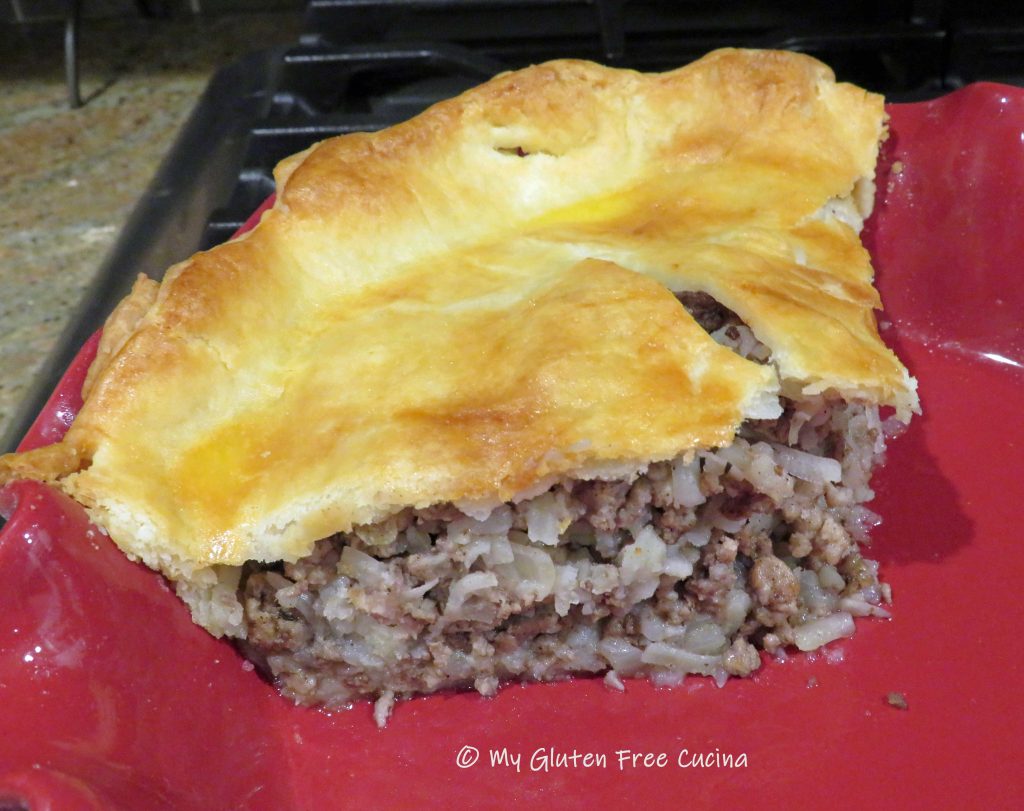
Gluten Free French Meat Pie

Over 20 years ago I clipped a recipe for French Meat Pie (Tourtière) from the local newspaper and have made it many times using a ready-made pie crust (remember those days?).  Everyone loved it!  Years went by, and like many of my old recipes, this one went by the wayside along with gluten.

I’ve had a yearning for this old favorite, and so I added it to my culinary bucket list.  Here’s what I love about this recipe…

This post contains affiliate links.

The filling.

The most time-consuming part of this recipe is peeling and shredding the potatoes then pressing out the excess liquid.  I took a shortcut and used frozen shredded hash browns; I always have them on hand in my freezer pantry.

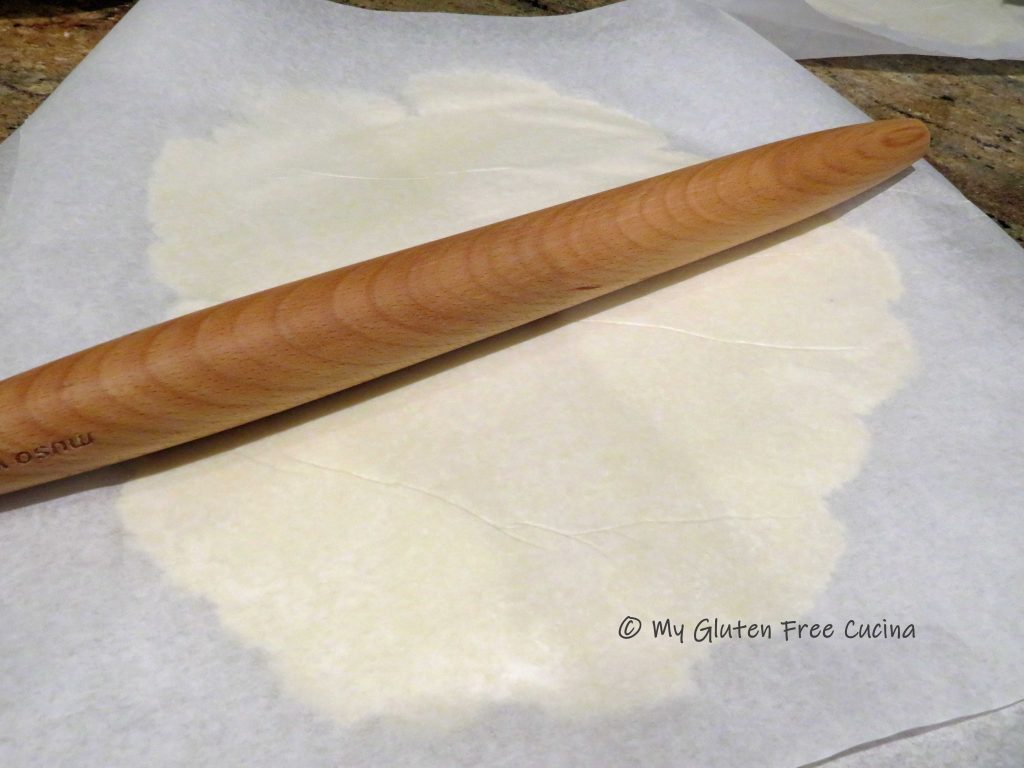
The pie crust.

This beauty of a pie crust was made with my favorite little miracle in a bag, Better Batter Original Gluten Free Flour.  If you have not tried this flour, seriously go and get yourself a bag, and be sure to use my code MGFC30 at checkout for 30% off your non-sale item!  Get the crust recipe here.

Ingredients:

  • 2 Gluten Free Pie Crusts
  • 12 oz. lean ground beef
  • 12 oz. ground pork
  • 3 cups (9 oz.) frozen shredded hash browns, defrosted
  • 1 cup onion, cut into 1/4″ dice
  • 1 tbsp. minced garlic
  • 1 tbsp. olive oil
  • 1/2 tsp. mustard powder
  • 1/4 tsp. thyme
  • 1/4 tsp. sage
  • 1/8 tsp. ground cloves
  • 1/8 tsp. ground allspice
  • 1/8 tsp. cinnamon
  • 1/2 tsp. salt
  • 1/4 tsp. ground pepper (about 6 grinds)
  • 2 tbsp. water
  • 1 egg, beaten
  • 1 tsp. milk

Preparation:

Roll out the pie crusts between 2 sheets of waxed paper.

Place one crust in the pie dish.  Trim away the excess and use it to patch any holes or tears in the dough (it happens!).  Cover with plastic wrap and refrigerate.  Place the other crust, with waxed paper on a baking sheet and refrigerate while you make the filling.

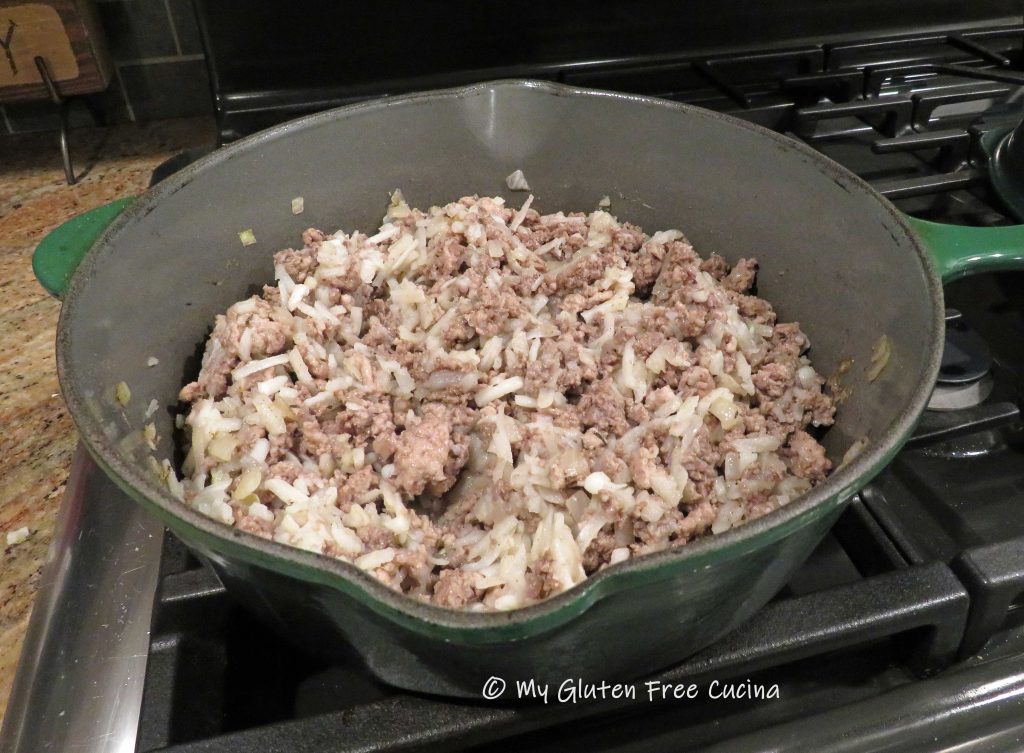
Heat olive oil in a deep heavy skillet over medium low.  Add the onion and cook several minutes until translucent.  Stir in the garlic and cook 30 seconds more.

Next add the ground beef and pork to the skillet and sprinkle with seasonings.  Break up the meat with a spatula and stir frequently until all of the meat is browned.

Stir in the hash browns with 2 tbsp. water and continue cooking on low 2-3 minutes longer.  Turn off the heat and let it cool 20-30 minutes.

Preheat the oven to 375º.  Remove pie crusts from the refrigerator.  Fill the bottom crust with the meat mixture, distributing it evenly.

Top with the remaining pie crust, trim the edges and crimp.  It doesn’t have to be fancy (I’m definitely going to work on my crimping skills though)!

Use a sharp knife to cut slits in the top crust to vent steam.  Whisk the egg and milk, and brush over the top crust.

Place the pie dish on a baking sheet (in case anything spills) and bake 20 minutes on the lower rack of your oven.  After 20 minutes, move it to the middle rack and continue cooking 15 minutes longer.

Remove from the oven and let it rest 5 minutes, that is if you can wait!

This was SO good, just like the one I remember from years ago!  I promise your whole family will love it, and no one will know it’s gluten free!

Notes ♪♫ Convenience foods are great as long as you check the ingredients.  I used Ore-Ida frozen hash browns in this recipe, and they are labeled gluten free.

Print This Post Print This Post

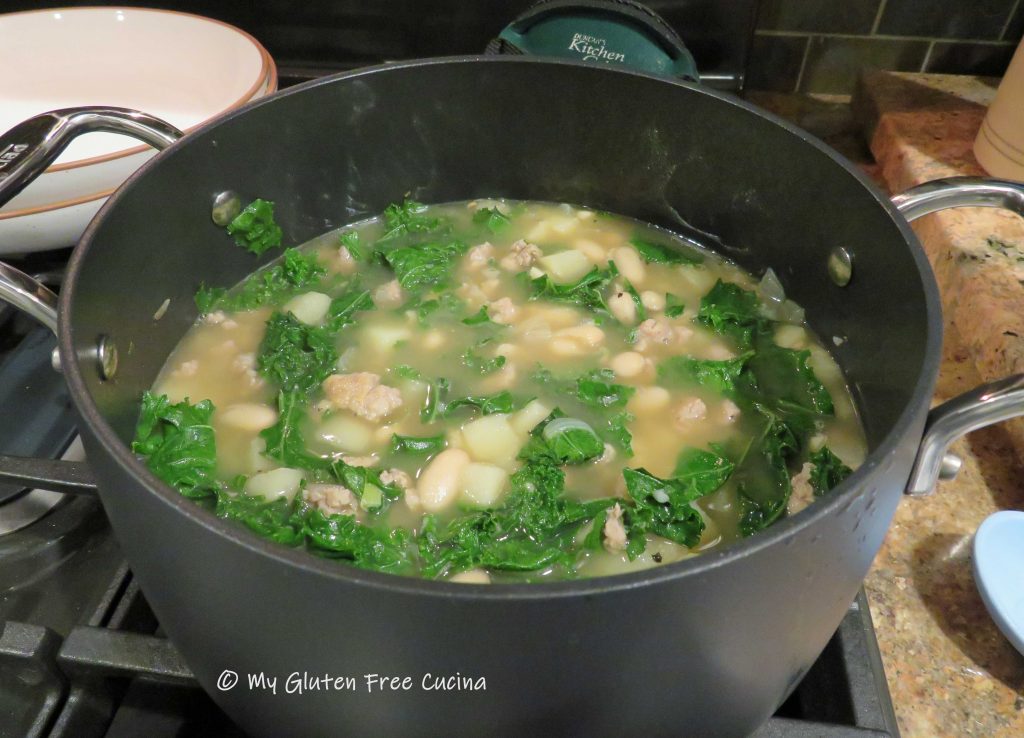
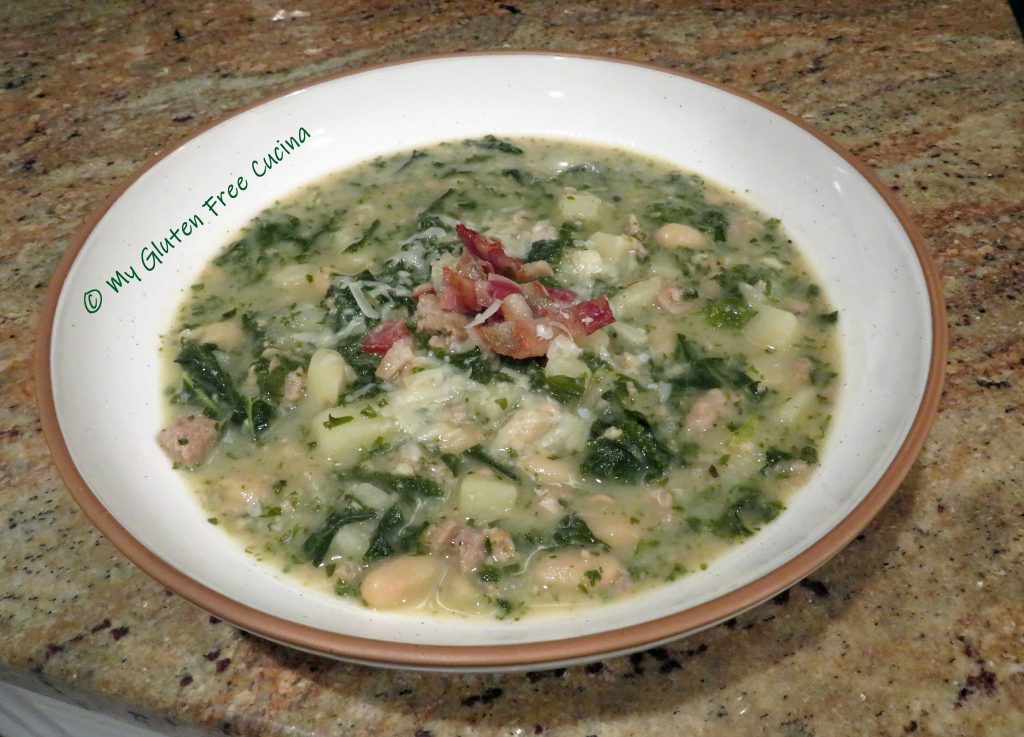
Gluten Free Tuscan Kale Soup

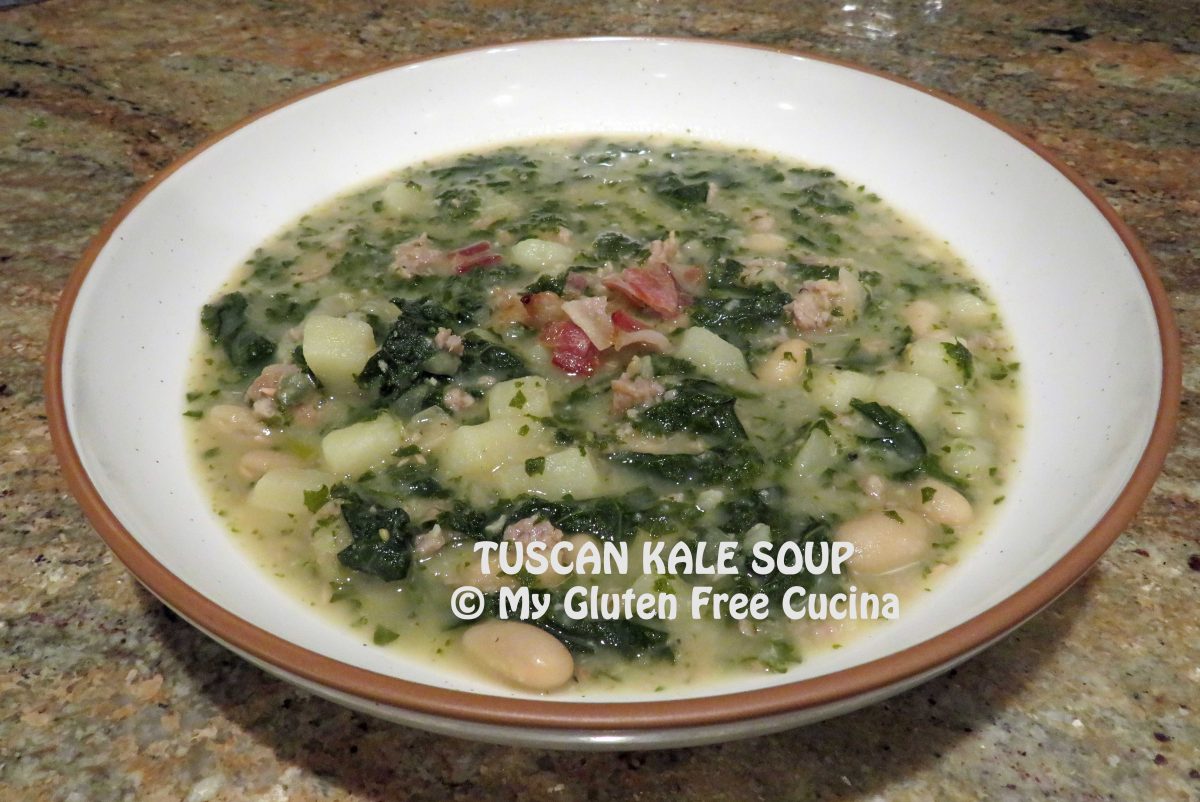
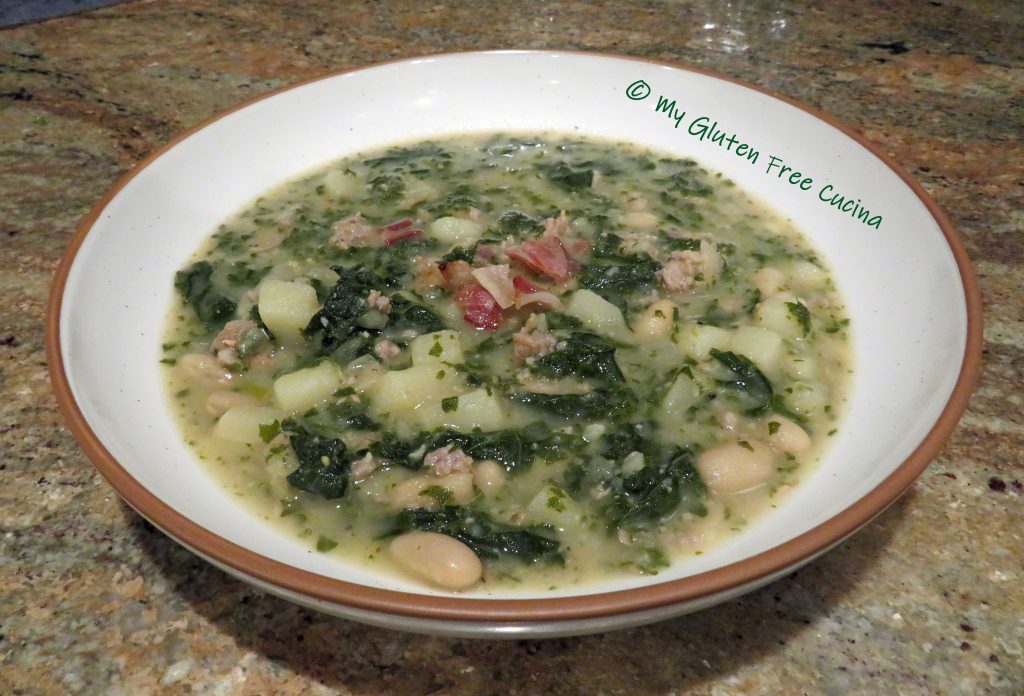
Tuscan Kale Soup, also called Zuppa Toscana is a restaurant favorite.  Made with potatoes, sausage, cannellini beans and (of course) kale, it is a hearty soup that can be a meal in itself.  Most of the ingredients are naturally gluten free, just watch labels on sausage, broth and seasonings.

The recipe makes 6-8 cup size servings or 4 dinner bowl size servings.

This post contains affiliate links.

Ingredients:

  • 2 strips of bacon
  • 1/2 medium sweet onion, diced
  • 2 cloves garlic, minced
  • 6 oz. gluten free Italian sausage (I used Premio)
  • 3.5 cups gluten free chicken broth
  • 1 tsp. Tuscan seasoning
  • salt and pepper, to taste
  • 1 medium russet potato, peeled and diced
  • 1 bunch of Tuscan kale, ribs and stems removed
  • 15.5 oz. can cannellini beans
  • 2 tbsp. heavy cream
  • grated cheese, for serving

Preparation:

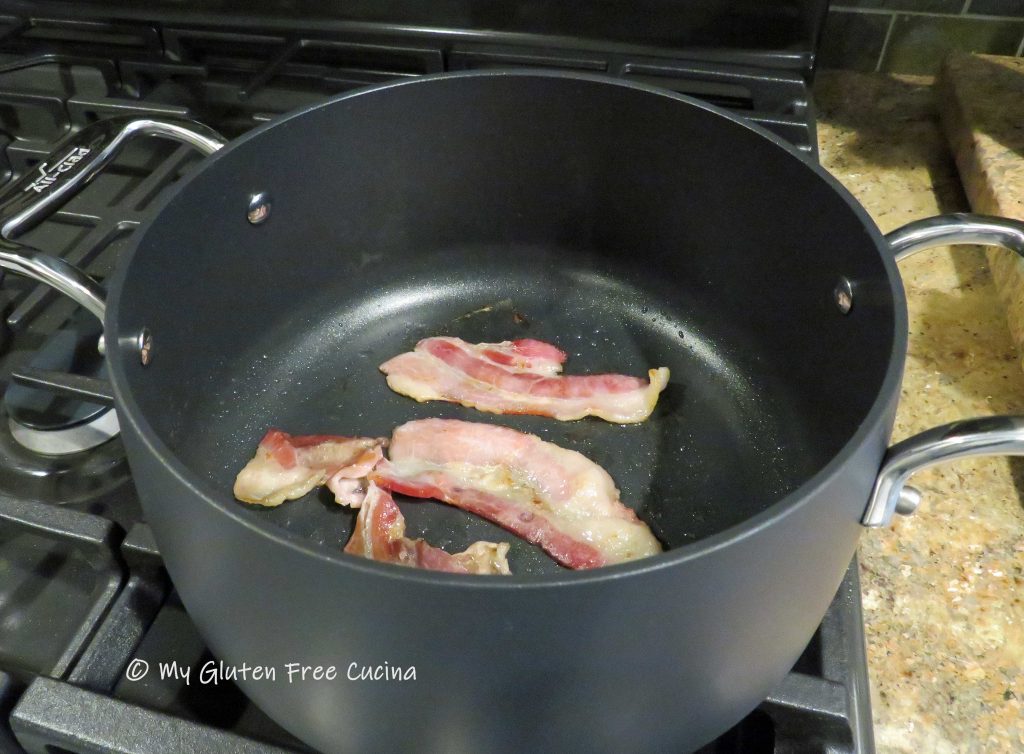
Heat a 4 qt. soup pot on medium low.  Cook the bacon and drain on paper towels.  Crumble and set aside for serving.

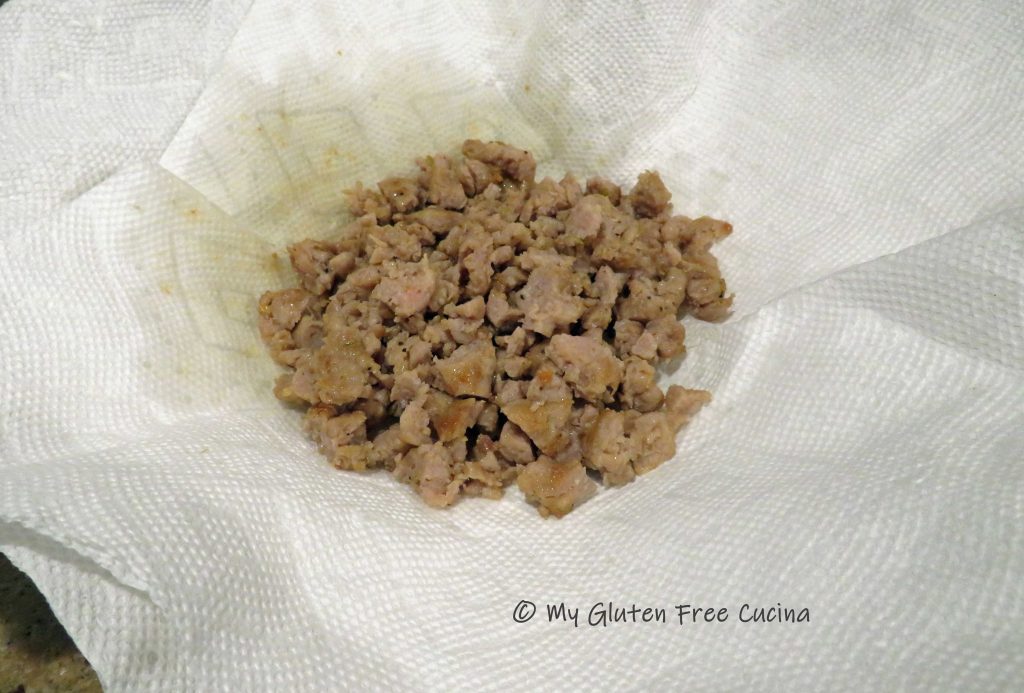
Next, remove sausage from casings and cook, breaking up the meat with a spatula.  Drain on paper towels.

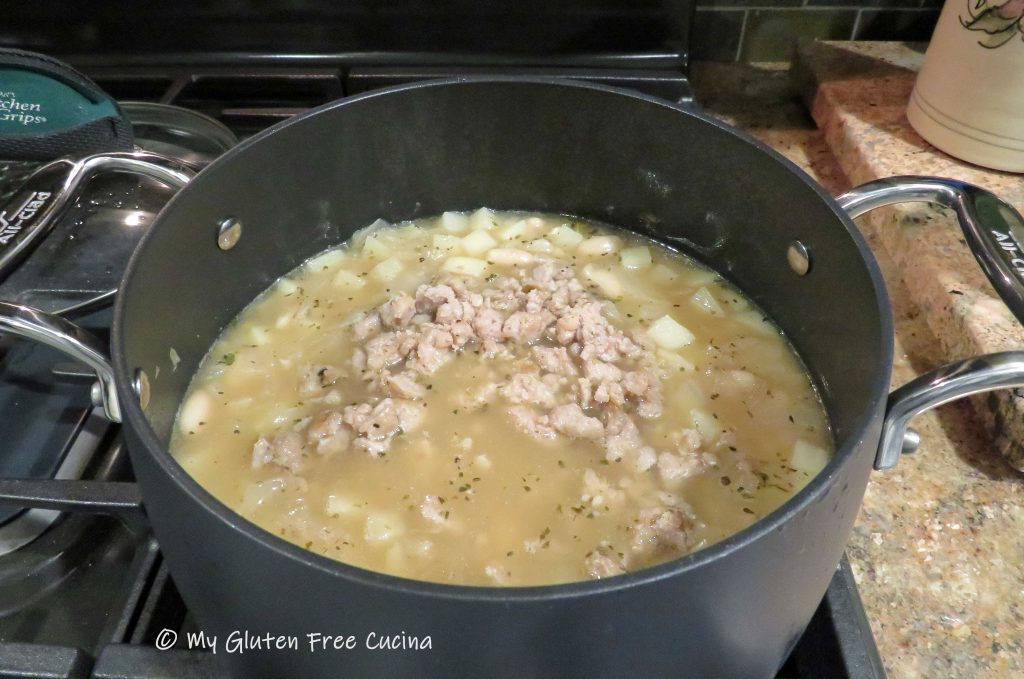
Remove all but 1 tbsp. of fat from the pot.  Add the onions and cook for 5 minutes.  Add the garlic, diced potatoes, chicken broth and seasoning.  Simmer 15 minutes.

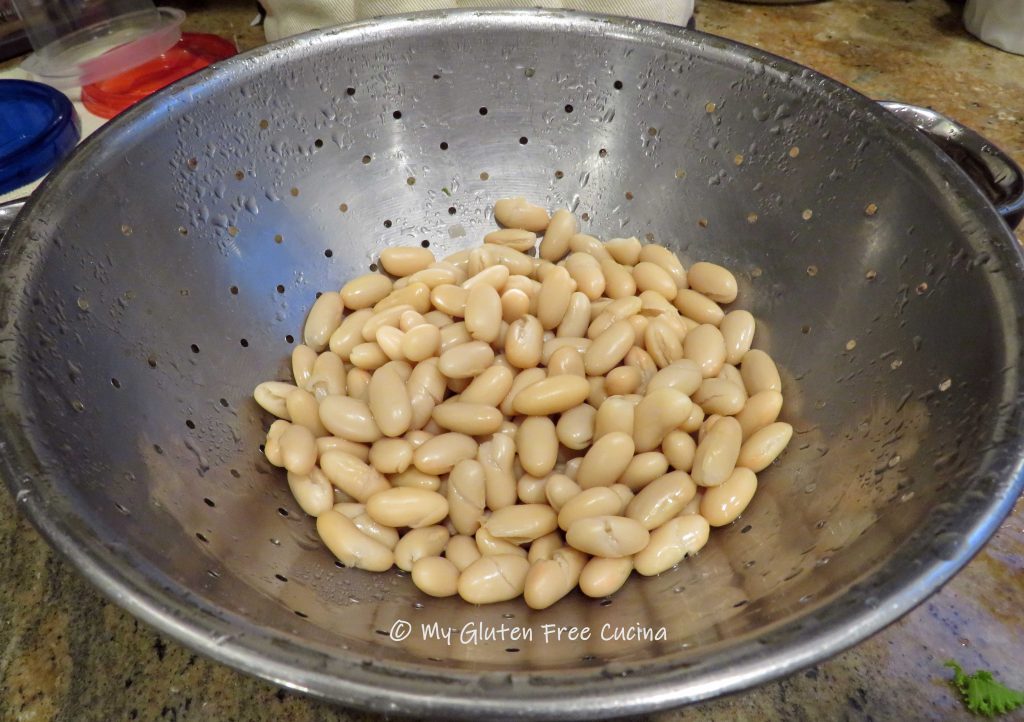
Drain and rinse the beans.  Add the beans and sausage back to the pot and simmer 5 minutes.

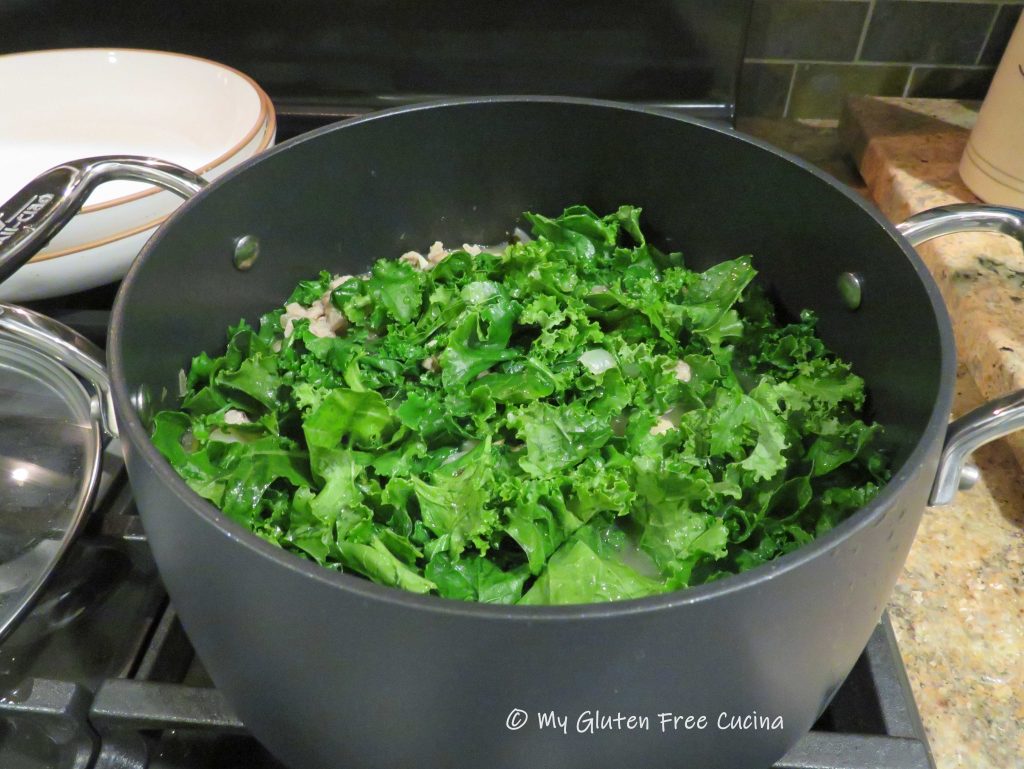
Rinse the kale thoroughly, remove ribs and stems, and tear into small pieces.  Add kale to the pot and simmer 15 minutes more (don’t worry, it will cook down).

Stir the cream in just before serving.  You can leave the soup just like this, or partially puree it with a stick blender.

Ladle into bowls, garnish with crumbled bacon and grated cheese.

Notes ♪♫ Gluten free sausage is widely available today, but it is usually smoked or fully cooked.  When I spotted this fresh Italian sausage from Premio at the market, I knew exactly what I was going to make with it.  Here is a link to the sausage I used in this recipe.  Premio Sweet Italian Sausage 

Print This Post Print This Post

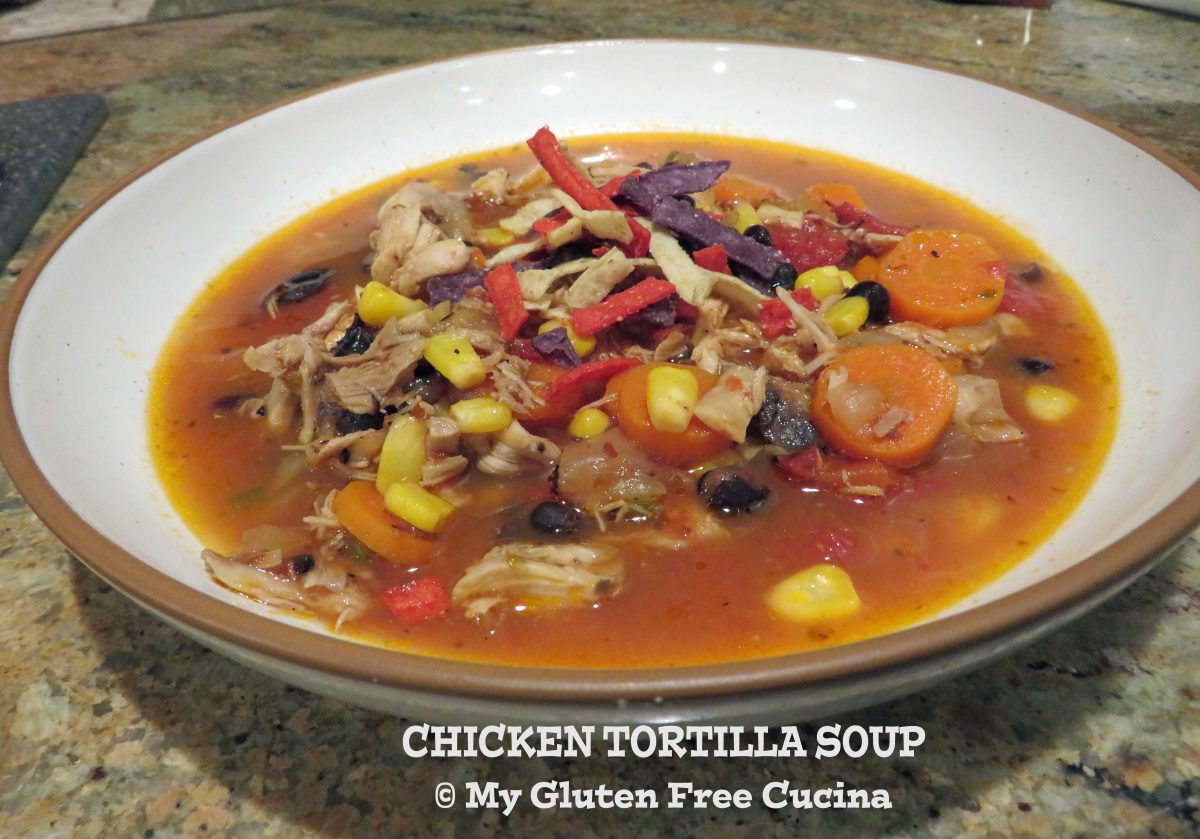
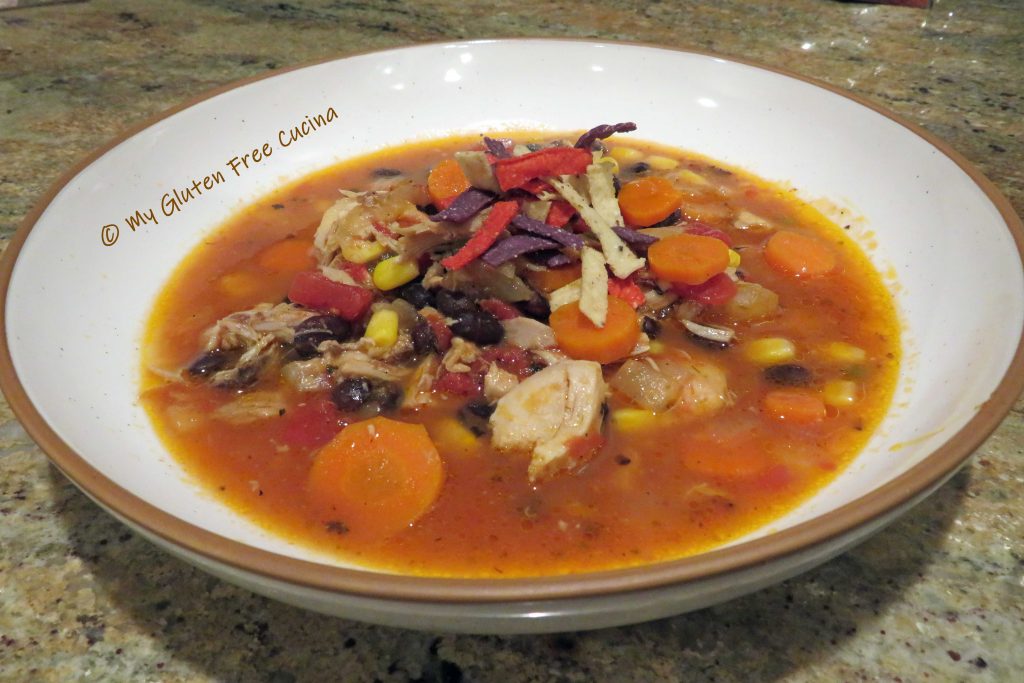
Chicken Tortilla Soup

It’s time to spice up your life with a bowl of Chicken Tortilla Soup!  The inspiration for this recipe came from a local restaurant but unfortunately, I cannot order it anymore as all their soups contain gluten.  That makes me sad, because most of the ingredients in Chicken Tortilla Soup are naturally gluten free. 

I made mine with big chunks of chicken, beans and veggies.  I love the heat from garlic, jalapeno, chili flakes and cumin (could this soup cure the common cold?).  If you don’t already have Chipotle chili and cumin in your spice rack it’s time for a run to the grocery store! 

This post contains affiliate links.

The soup is thick and hearty on its own, no flour is needed.  It needs no adornment other than a sprinkle of gluten free tortilla strips, if you can’t find them locally order here!    

Ingredients: 

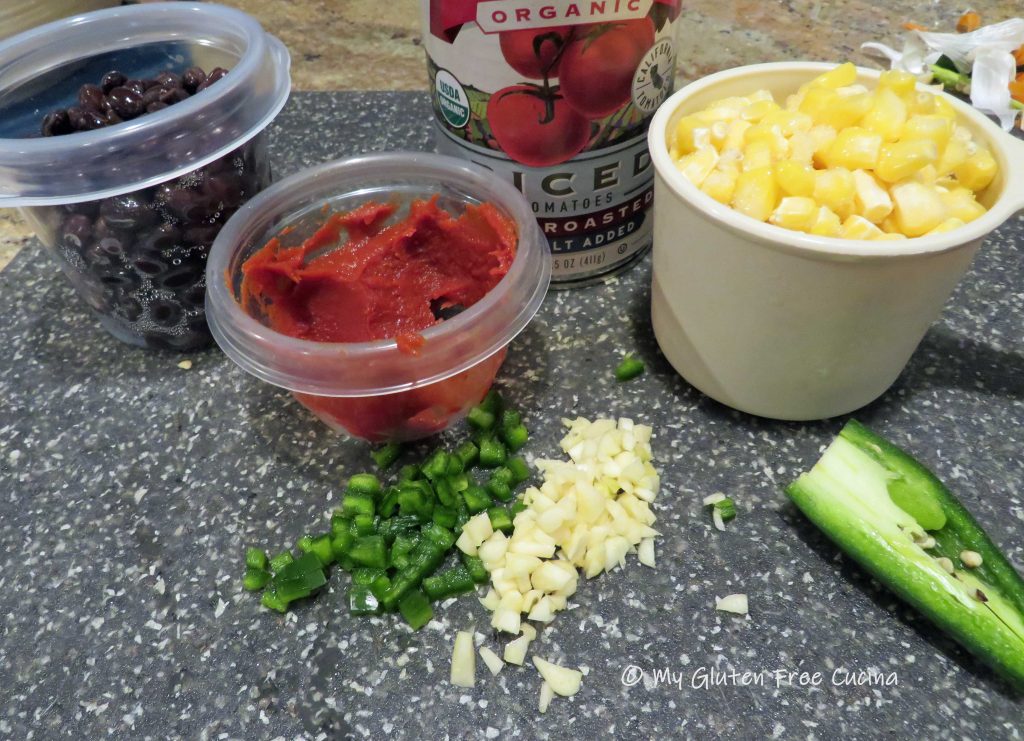
  • 2 chicken leg quarters 
  • Salt and pepper, to taste 
  • Olive oil 
  • water to cover
  • 2 bay leaves 
  • 1 onion, diced 
  • 2 carrots, sliced 
  • heaping tbsp. minced garlic
  • heaping tbsp. minced jalapeno
  • 2 tbsp. tomato paste 
  • 14 oz. can fire roasted tomatoes 
  • 1/2 tsp. Chipotle chili 
  • 1/2 tsp. Cumin 
  • 1/2 tsp. Oregano
  • 1/2 tsp. garlic granules
  • 1/2 tsp. onion granules 
  • salt, to taste 
  • 1 cup canned black beans 
  • 1 cup frozen or canned corn 
  • Gluten free tortilla strips 

Preparation: 

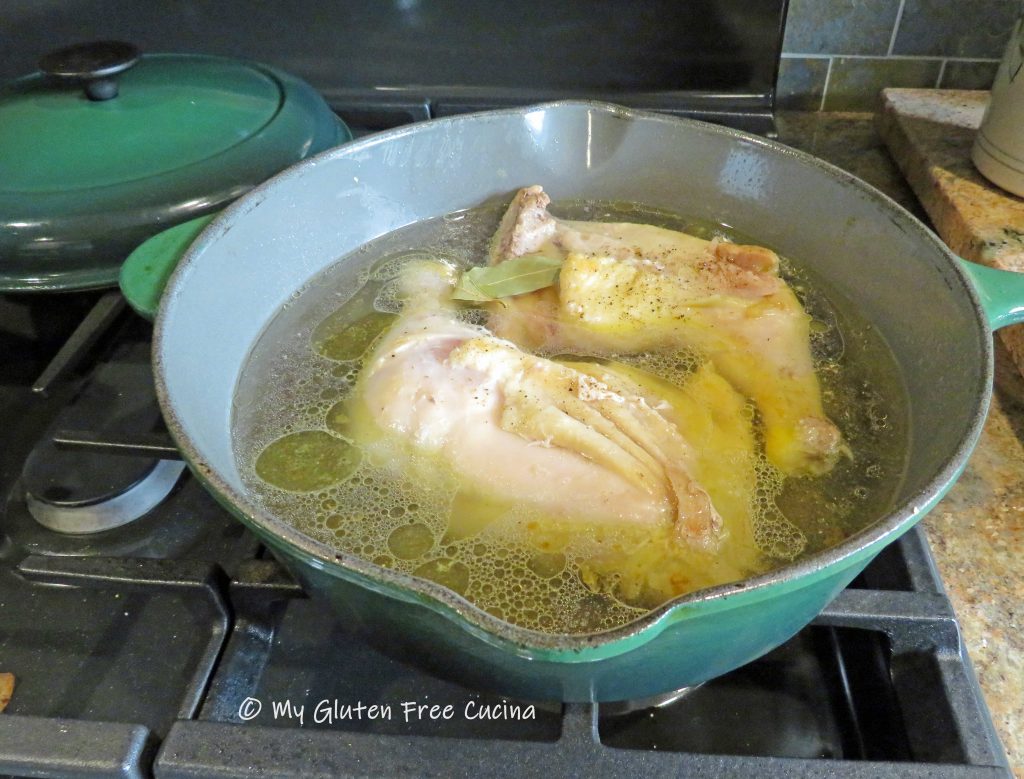
Heat a deep skillet over medium low, add a little olive oil and brown the chicken on both sides.  Season with salt and pepper.  Add bay leaves and water to cover.  Simmer for 90 minutes on low. 

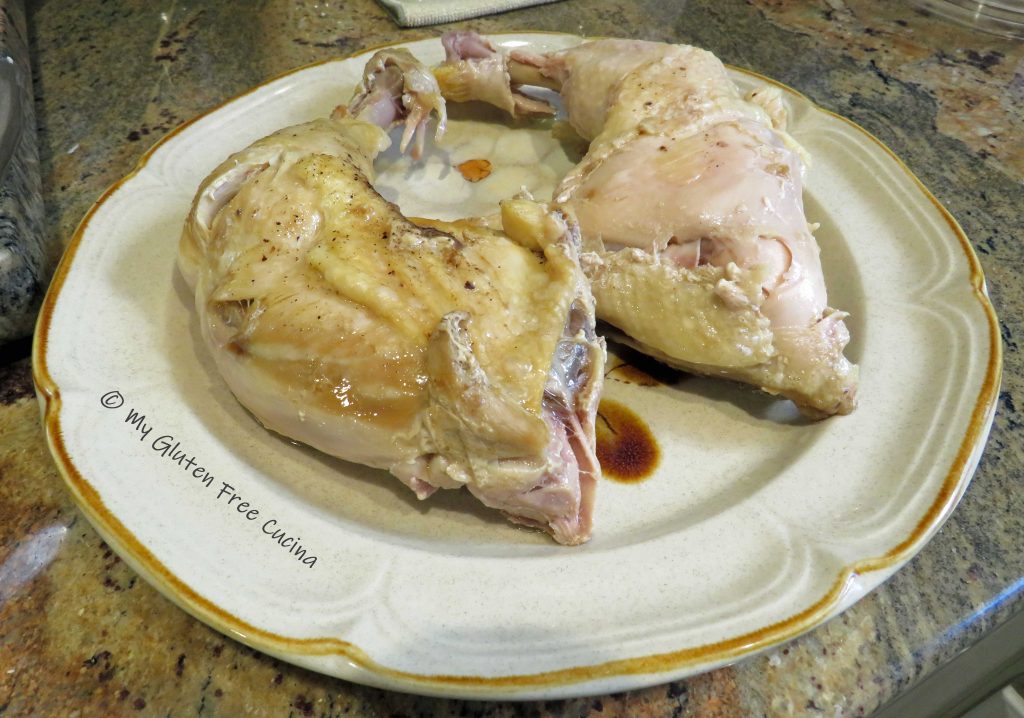
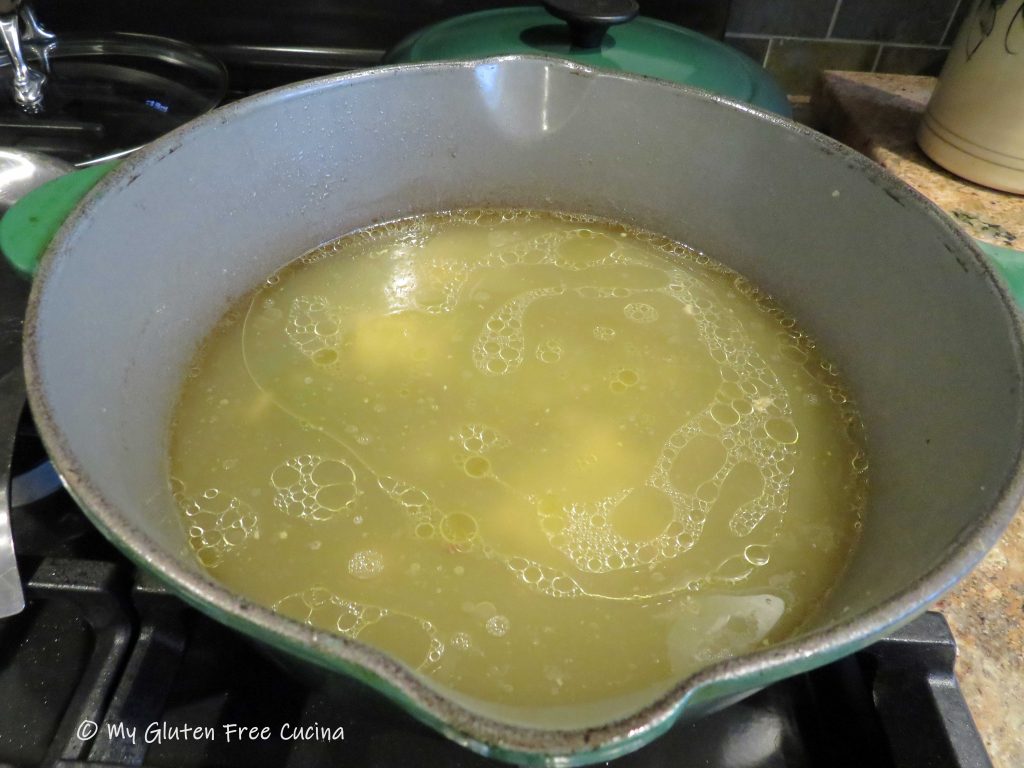
Transfer the chicken to a plate and remove meat from the bones.  Refrigerate meat until the soup is ready.  Reserve the liquid.

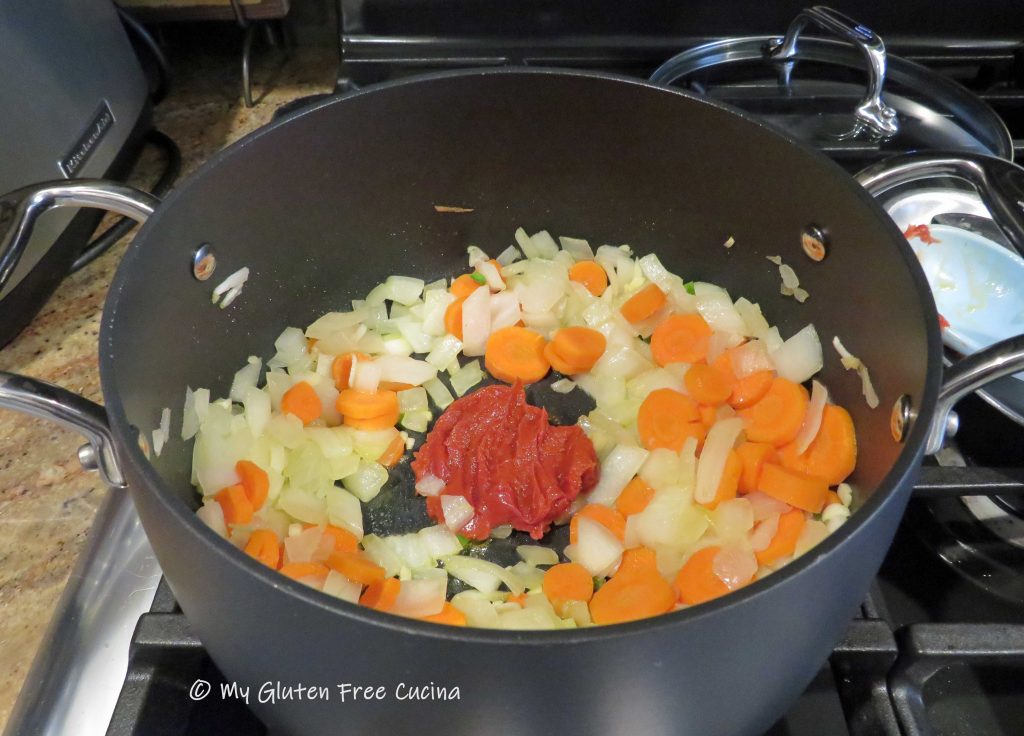
In a clean stock pot, add 1 tbsp. olive oil with the onions and carrots, and cook for 2-3 minutes over low heat.  Add the garlic and jalapeno and cook for 30 seconds.  Make a spot in the center of the pan and add the tomato paste.
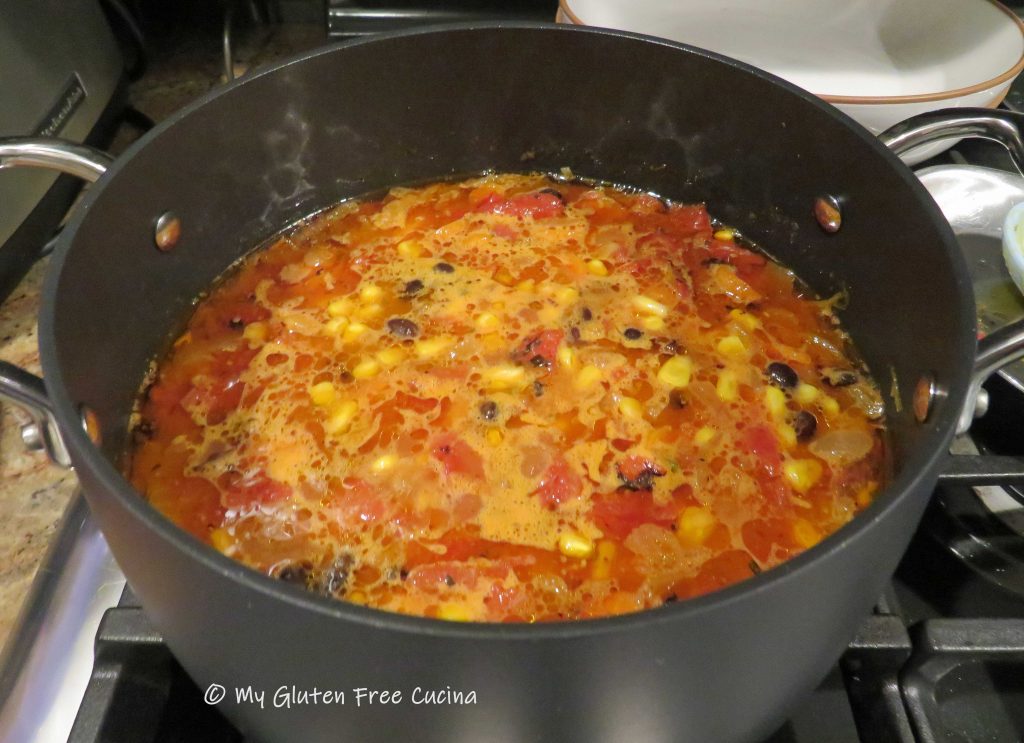
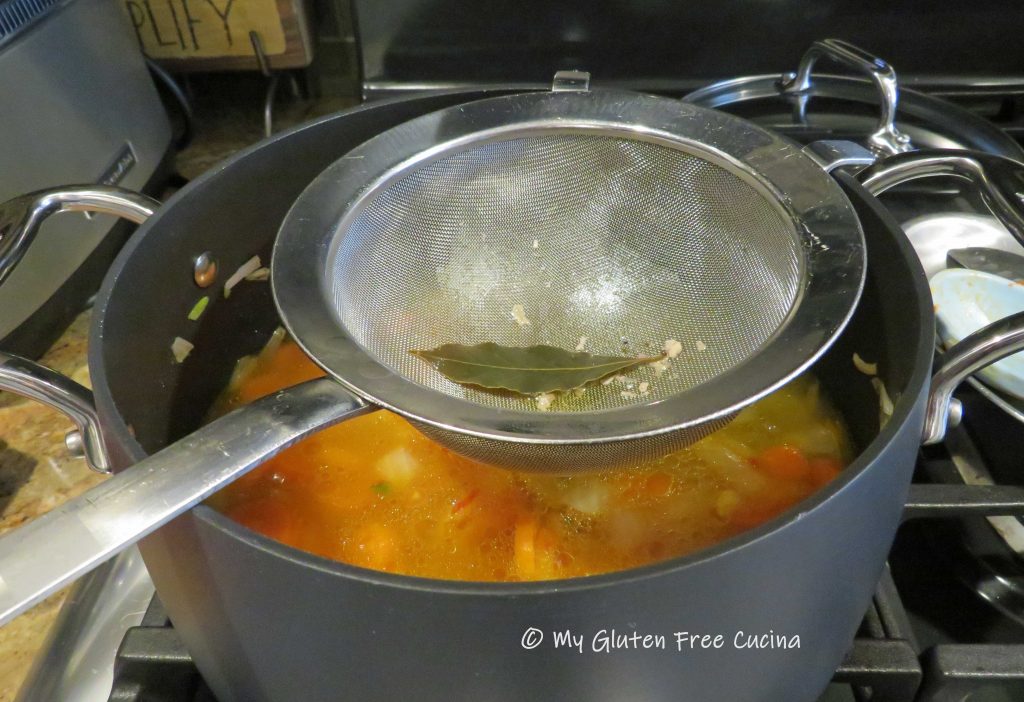
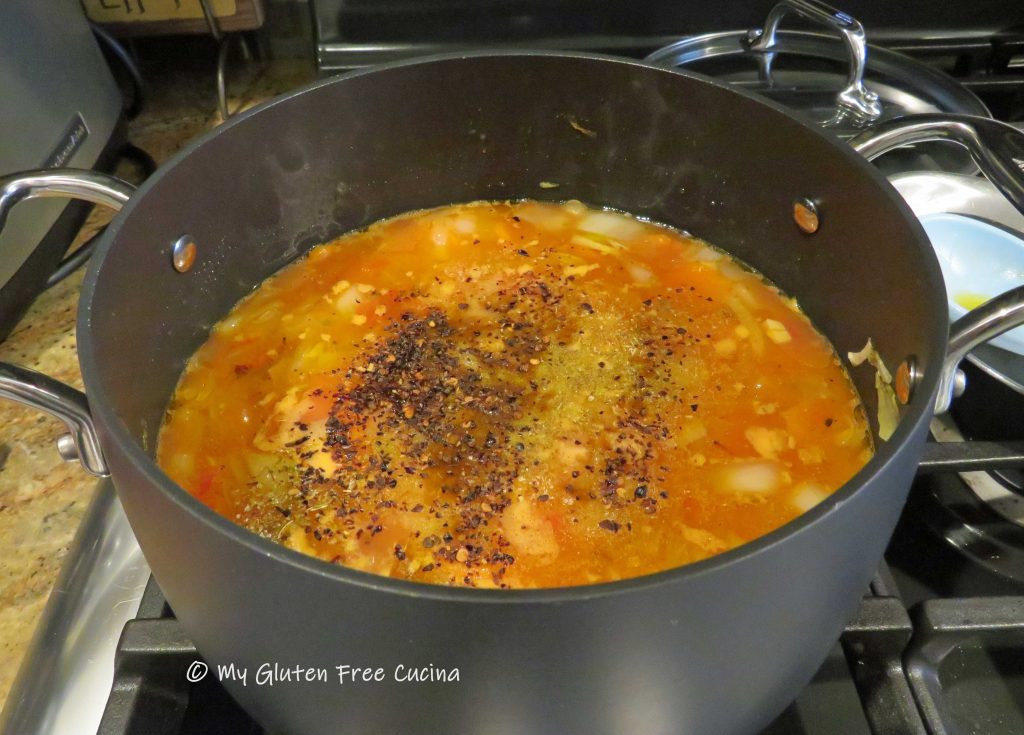
Toast for 2 minutes, then strain the reserved chicken broth into the pot.  Add the fire roasted tomatoes, and all of the seasoning. 

Cover and simmer 1 hour, then add the black beans and corn.  Simmer 30 minutes longer.  Taste and add salt if needed. 

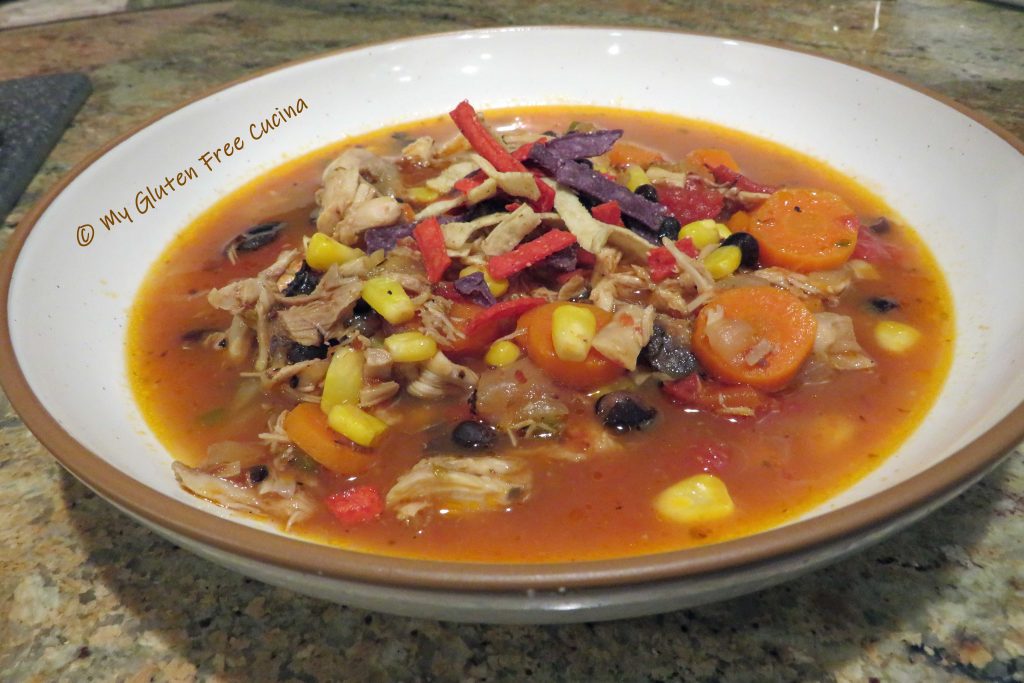
Stir in the reserved chicken, heat through and serve.
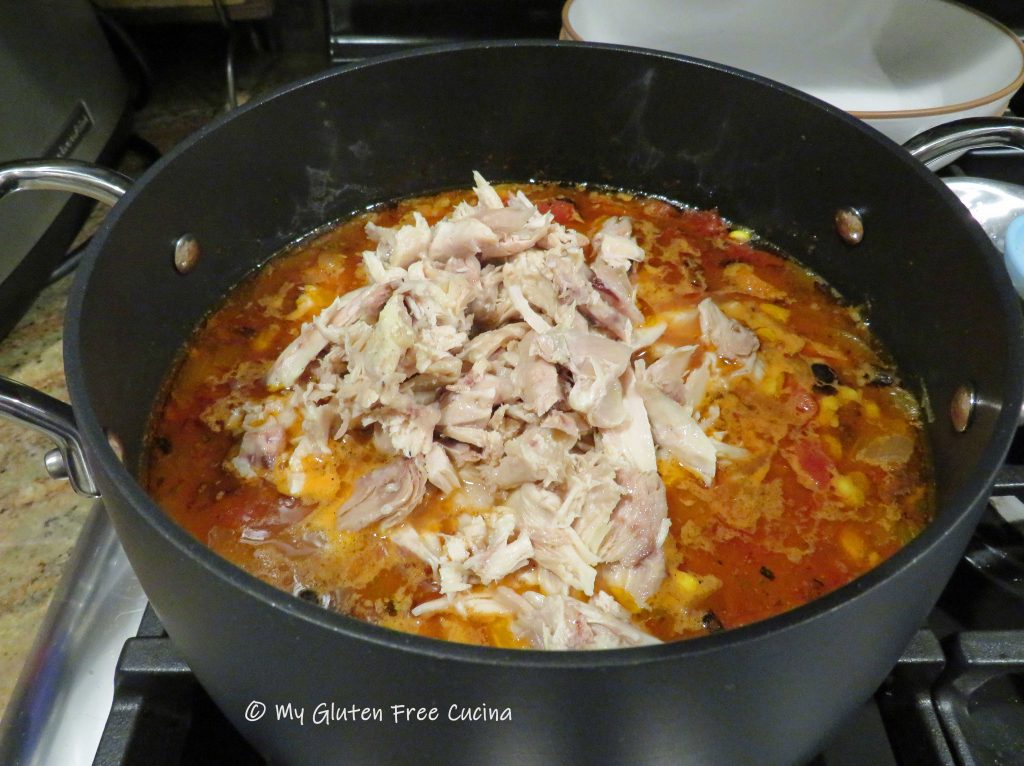
Garnish each bowl with tortilla strips.

Notes: ♪♫ I love soup season!  I could eat soup every day and I have a great selection of soups and stews on the blog that will keep you warm through the winter months.  All gluten free and delicious!  Check out all my Gluten Free Soups, Stews and Chowders here!

Print This Post Print This Post

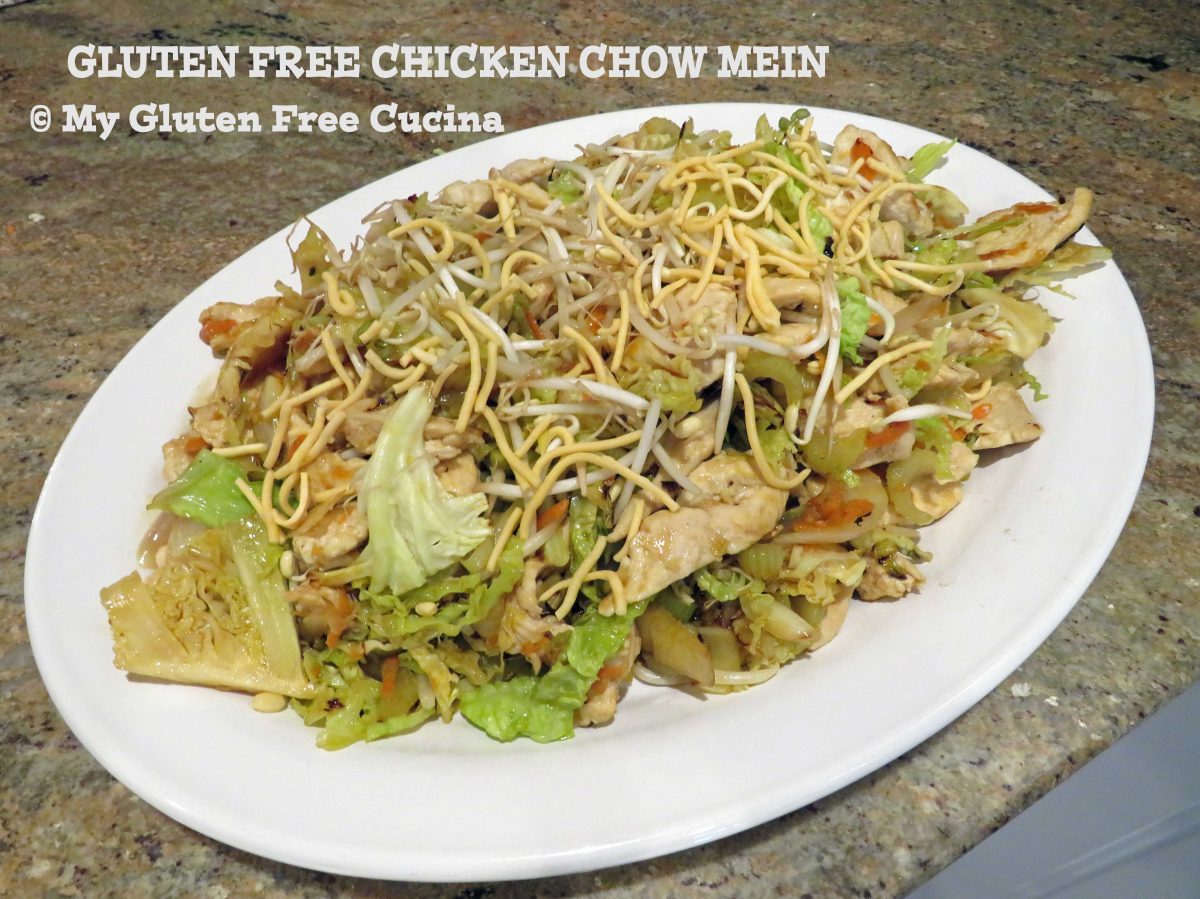
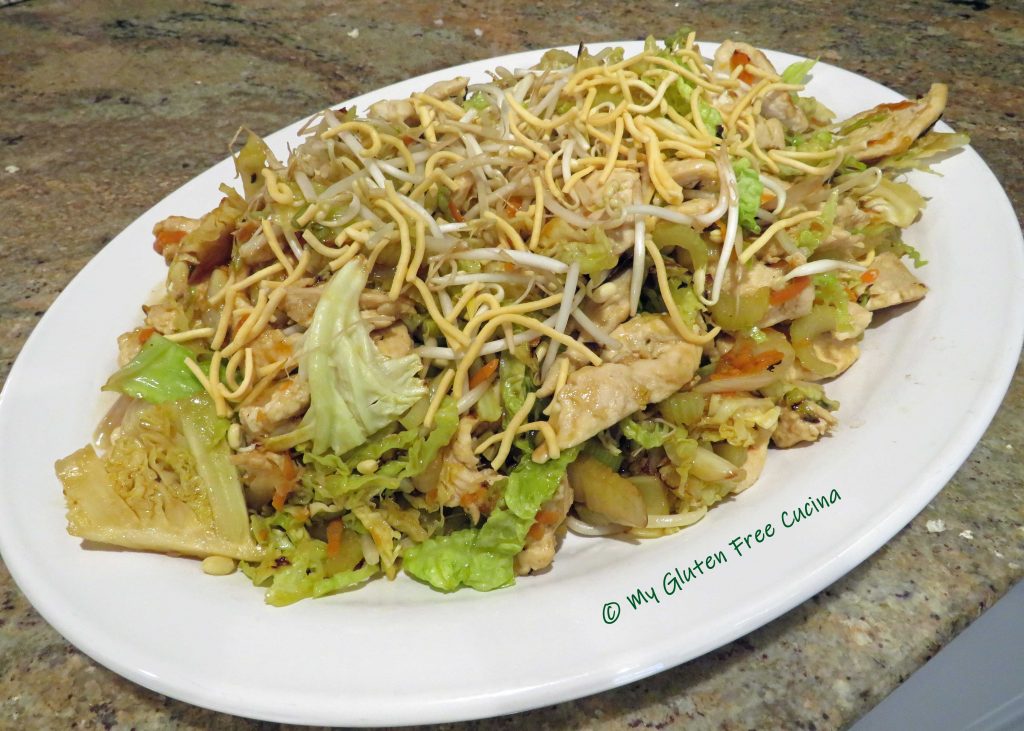
Gluten Free Chicken Chow Mein

Chicken Chow Mein, that most popular of takeout meals was my first introduction to Chinese American cuisine.

As a kid, my “go-to” takeout order was a combination dinner of Chow Mein, fried rice and an egg roll.  I ordered it every time!  While I have recreated many of my favorite takeout recipes, I can’t even remember the last time I had Chicken Chow Mein.  So why has this one remained on the back burner?

The noodles. 

How could I replicate the crunchy, restaurant style fried noodles that go with Chow Mein?  Traditional Chow Mein noodles are made with wheat.  And while I am a big believer in make from scratch, I just didn’t want to make my own noodles.

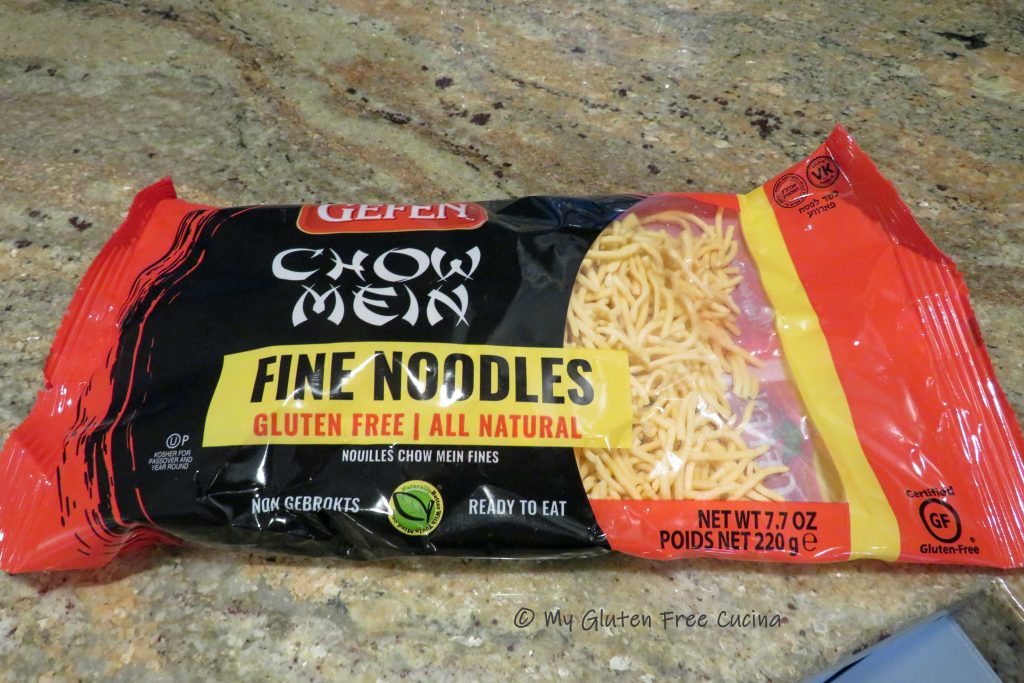
Then I discovered this!

I found these Gluten Free Chow Mein Noodles on Amazon, and they were spot on!  Get yours here!

For the connoisseurs out there, this is the East Coast version of Chow Mein, where the stir-fry is served over crispy fried noodles.

This post contains affiliate links.

Ingredients:

Veggies

  • 1/2 sweet onion, cut into 1/4″ slices
  • 6 celery stalks, cut into 1/4″ slices
  • 1 carrot, coarsely grated
  • 1/2 head of green cabbage, shredded
  • 2 cups bean sprouts

Marinade

  • 1 tbsp. sesame oil
  • 1 tbsp. minced fresh ginger
  • 1 tbsp. minced garlic
  • black pepper, to taste

Sauce

  • 1/2 cup gluten free chicken broth
  • 3 tbsp. gluten free oyster sauce
  • 1 tbsp. gluten free soy sauce (tamari)
  • 2 tsp. corn starch
  • 1 tsp. sugar

Chicken

  • 1 lb. boneless chicken breast
  • olive oil
  • sesame oil
  • gluten free chow mein noodles

Preparation:

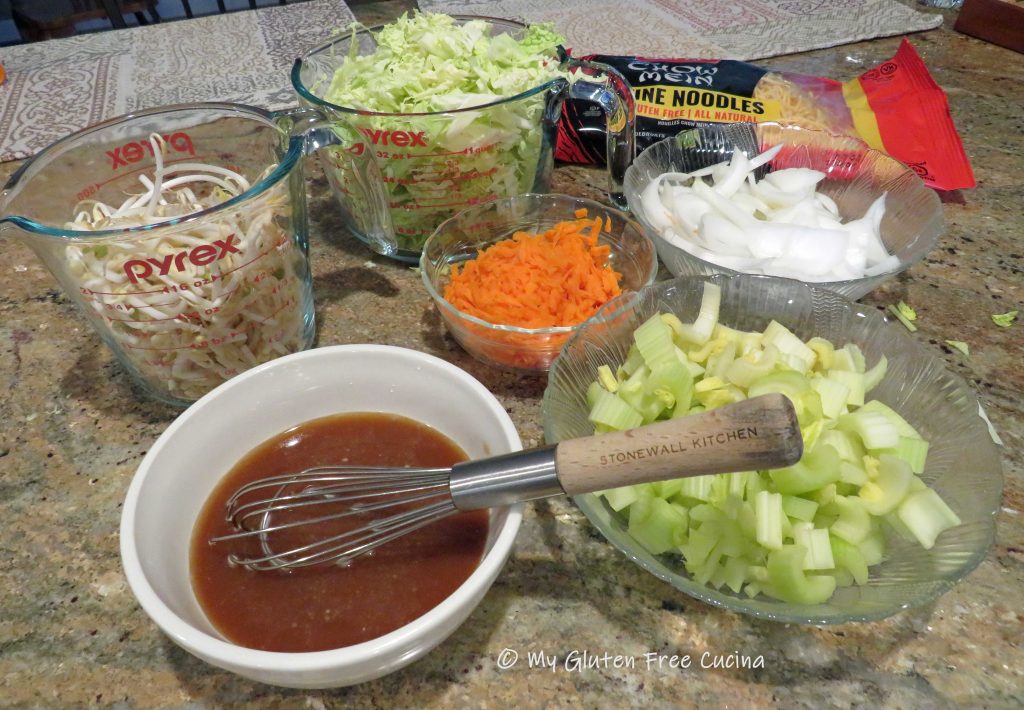
Let’s break down the recipe into four easy steps.  Ready?

  1. Prep the veggies
  2. Marinate the chicken
  3. Make the sauce
  4. Stir fry the chicken and veggies

First, prep the veggies.  I used a mandoline to slice the onion, cabbage and celery.  A coarse grater was perfect for shredding the carrot.

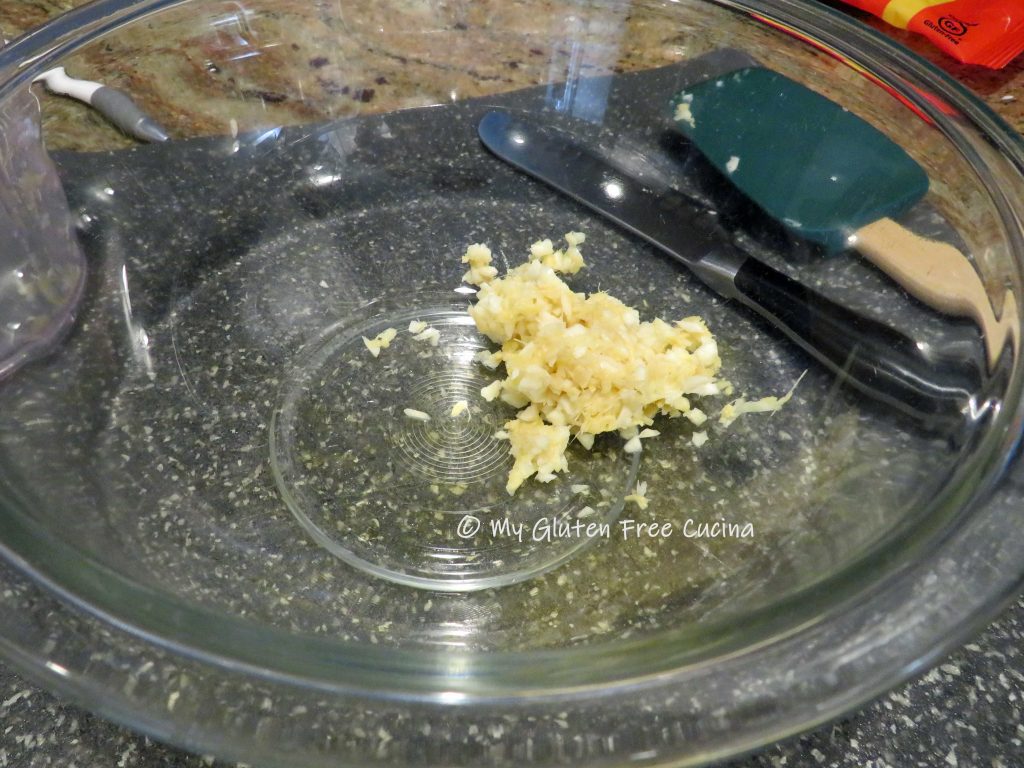
Next mix together the marinade ingredients.  I used an electric chopper to mince the garlic and ginger.

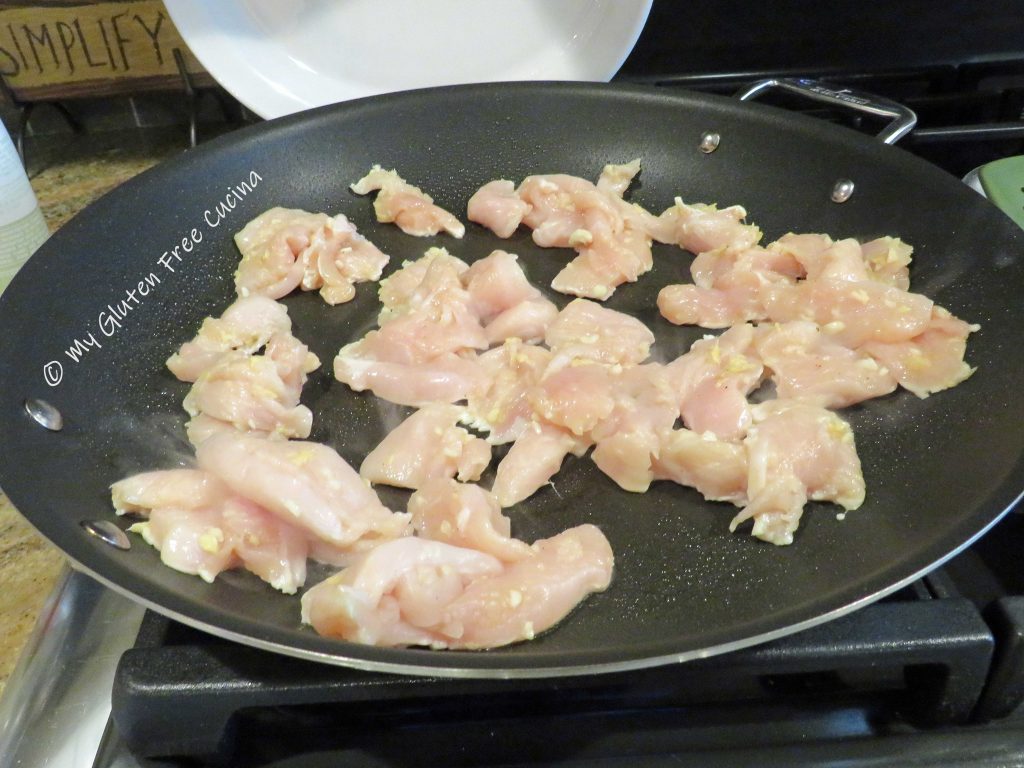
Slice the chicken breast into thin strips and toss with the marinade.  Cover and refrigerate for 1 hour.

Whisk together the sauce ingredients.

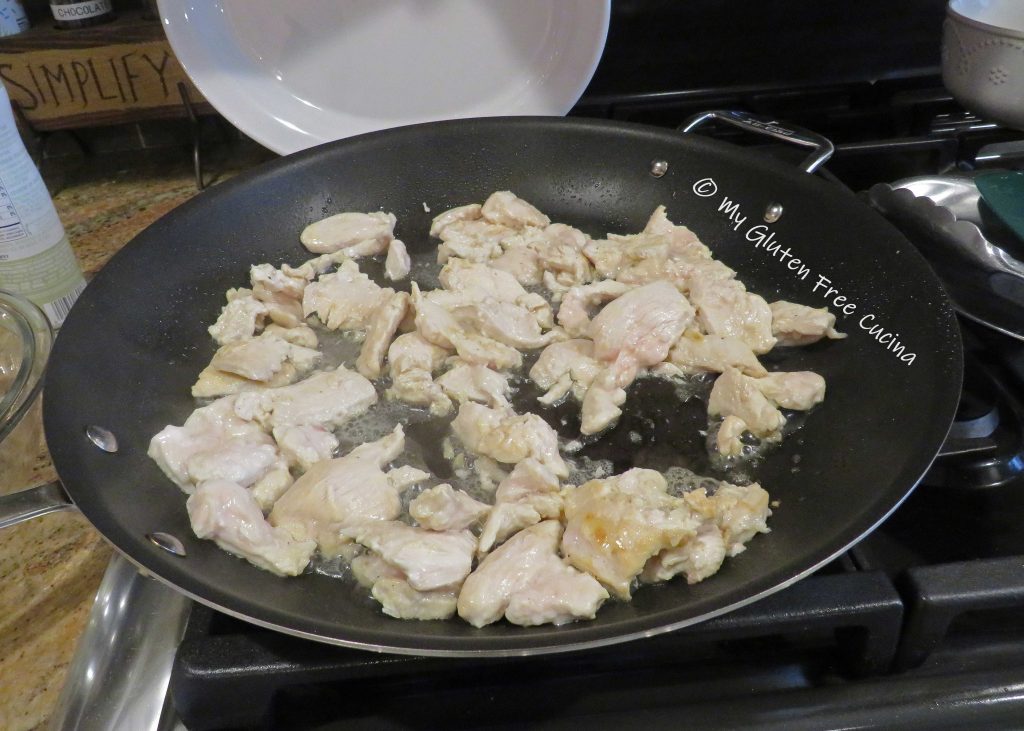
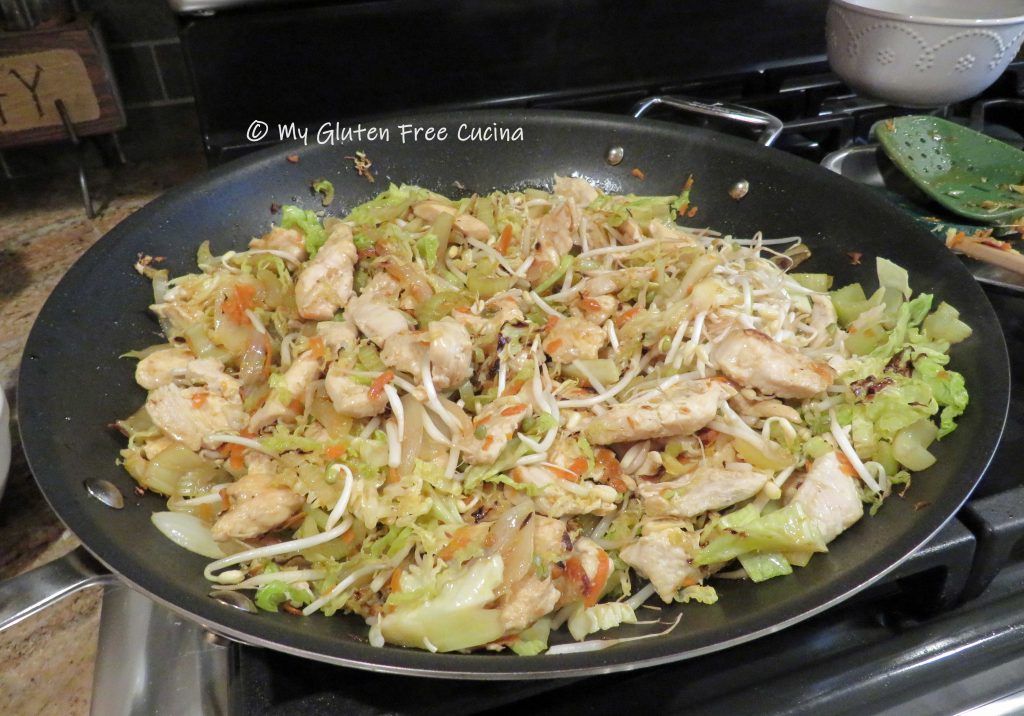
Heat 1 tbsp. olive oil and 1 tsp. sesame oil in a large, nonstick skillet over medium low heat.  Add the chicken and quickly brown on all sides.  It does not have to be cooked through.

Remove the chicken to a bowl and keep warm.  Wipe the skillet clean and add another tbsp. olive oil and 1 tsp. sesame oil.

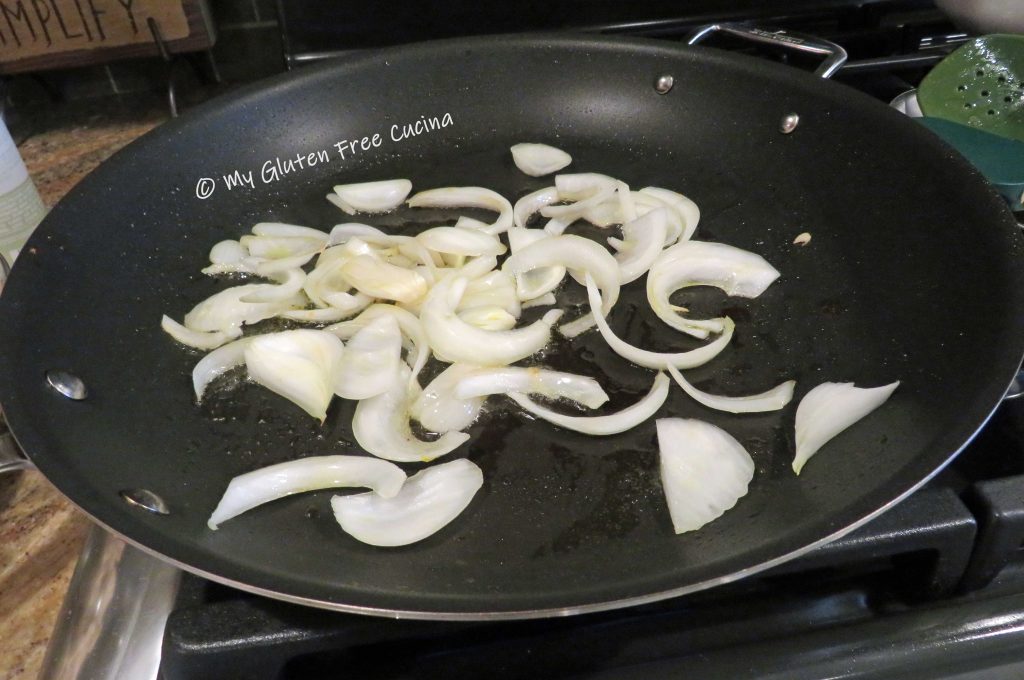
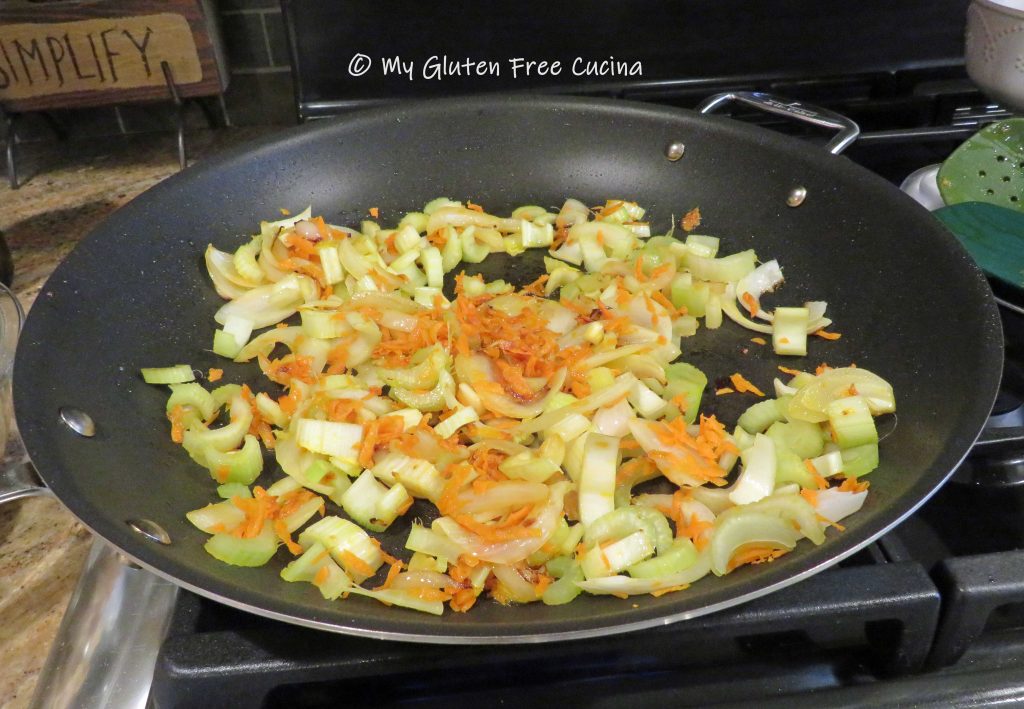
Add the onion first and stir fry until translucent.

Add the carrot and celery.  Continue cooking for several minutes.

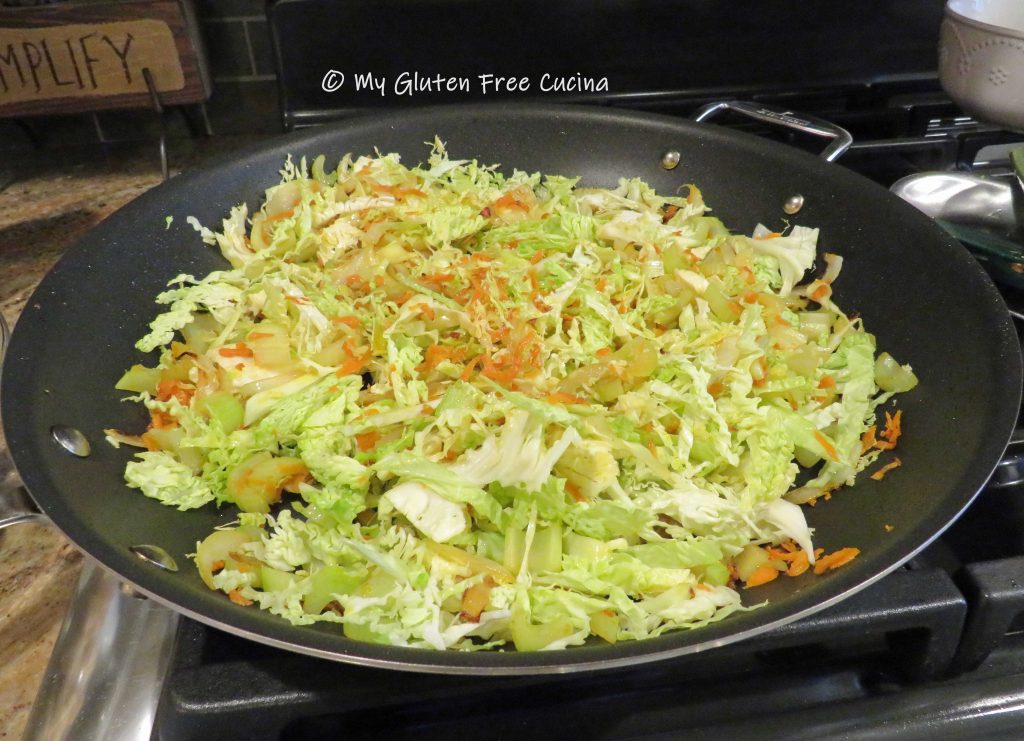
Add the cabbage and toss well to combine.  Cover and cook for about 5 minutes.

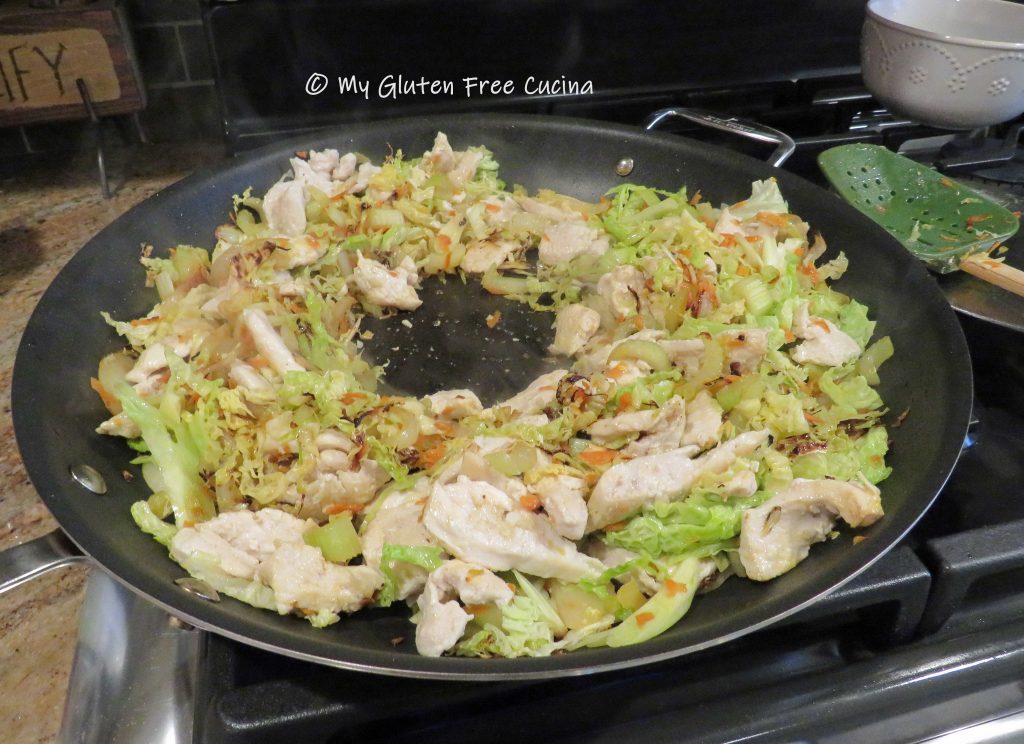
Add back the chicken and stir into the veggies.  Make a well in the center and pour in the sauce.

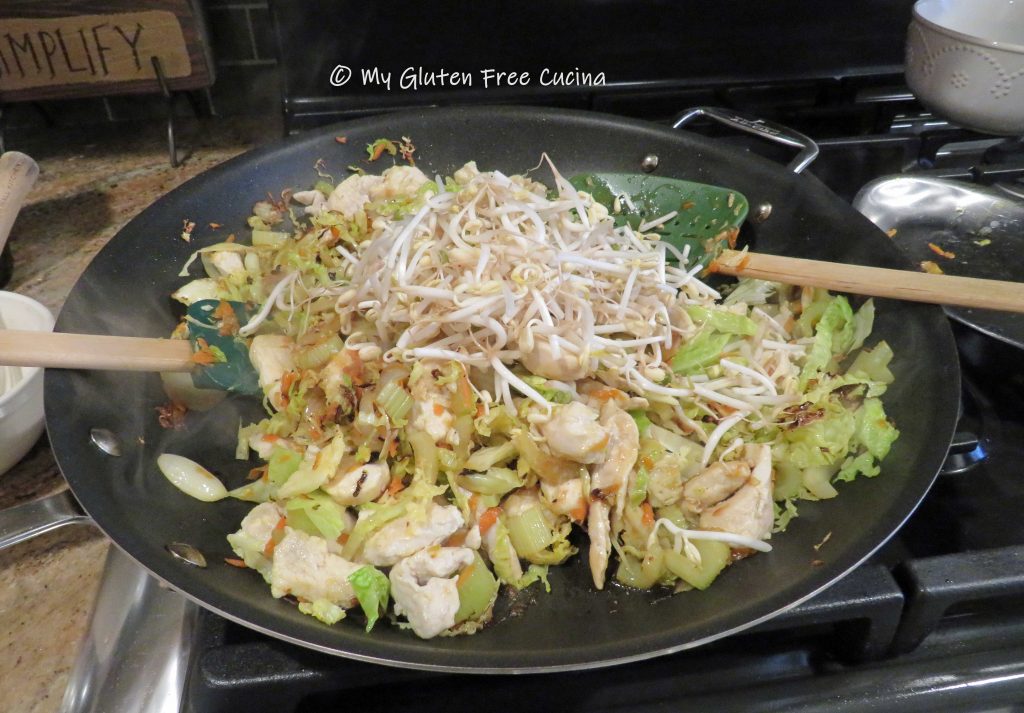
Add the bean sprouts and continue tossing and stirring as the liquid thickens.

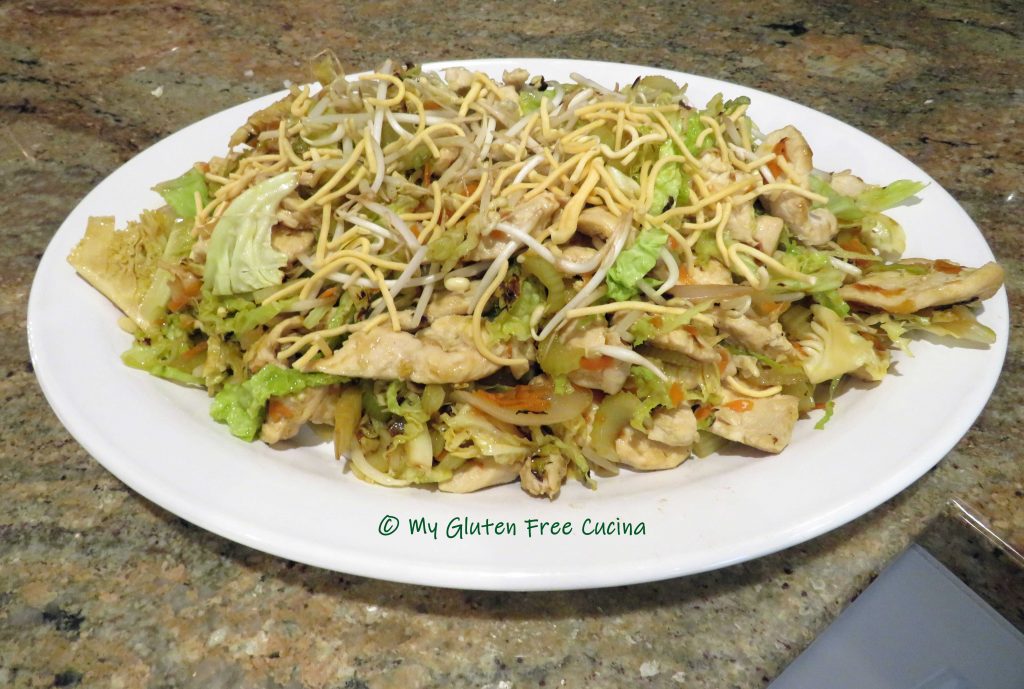
Transfer to a serving dish and sprinkle a few noodles over the top!

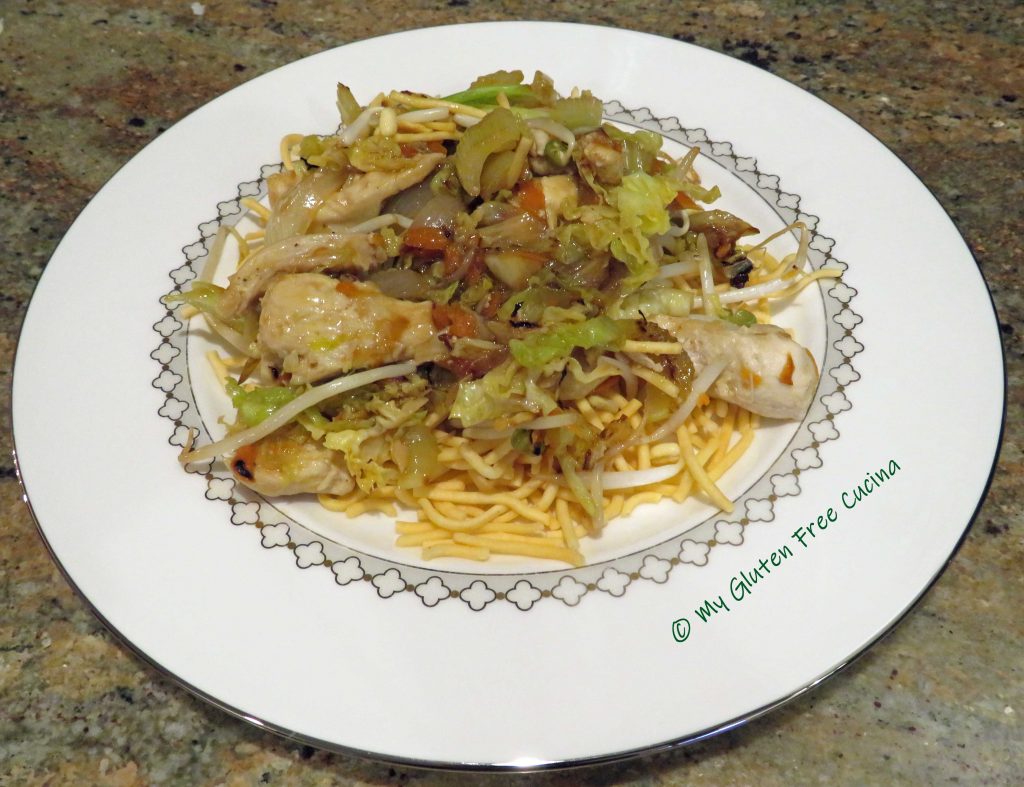
Serve over Chow Mein noodles with a side of white rice.

Notes ♪♫ My gluten eating family loved this meal!  The Chow Mein noodles are the bomb, and they are great with salads too!  I will definitely be adding this meal to our dinner rotation.

Print This Post Print This Post

Gluten Free Sausage and Mushroom Pizza

Tales from the Cucina…

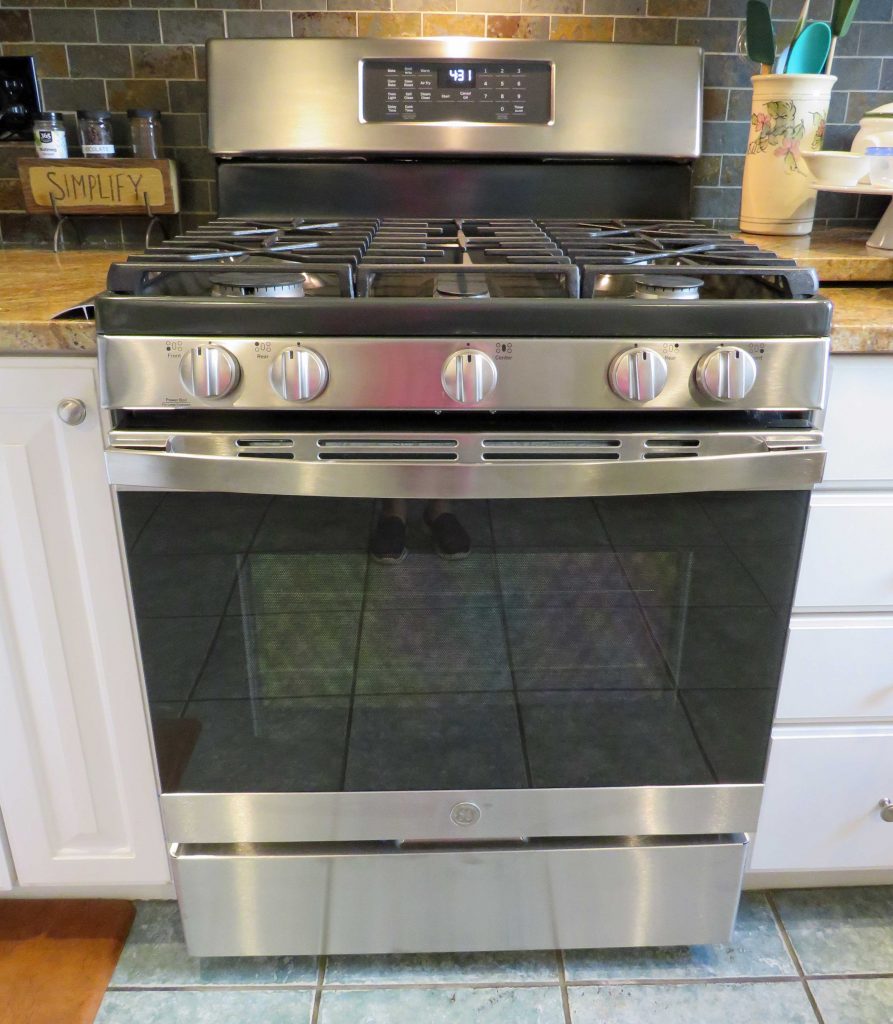
I got a new stove!  Recently my beloved stove of 10 years had a major malfunction.  Actually, I couldn’t turn the gas off and we had to call the fire department, oh my that was quite the night!  A few days later our repairman pronounced the stove DOA, and we were off to shop for a new one.  Fast forward one week, and this pretty new stove arrived.

Coincidentally we were also having our first heat wave of the summer.  It was over 90 degrees in the shade, so what did I do?  Yes, I cranked up the oven to 500º and made pizza!  Just to be sure everything was working properly, right?
Servings:  1 pizza – about 6 slices

This post contains affiliate links.

Ingredients:

Dough Ingredients:

  • 175 g. Better Batter Artisan Flour Blend
  • 1/4 tsp. salt
  • 1 tbsp. instant yeast or active dry yeast (note- if you are doubling the recipe use the same amount of yeast)
  • 7 oz. warm water (just under a cup)
  • 1-1/2 tsp. sugar
  • 1 tbsp. olive oil

Topping Ingredients:

  • 6 oz. gluten free Italian sausage, cut into coins
  • 1/2 sweet onion, diced
  • 8 crimini (baby bella) mushrooms, sliced
  • olive oil
  • Italian seasoning
  • fresh ground pepper to taste
  • 1/3 cup pizza sauce (use leftover from another meal or jar sauce)
  • 1/3 cup shredded cheese

Preparation:

The gluten free pizza crust in this post was made with the Artisan Flour Blend from Better Batter.  This is the flour I use and recommend for pizza.

To make the dough, combine warm water, yeast and sugar.  Proof for 10 minutes.  Sift the flour and salt into the bowl of a stand mixer.  Combine the yeast mixture, sifted flour and olive oil.  Beat for 6-8 minutes.  Bring the dough together in the bowl, cover and refrigerate for one hour.

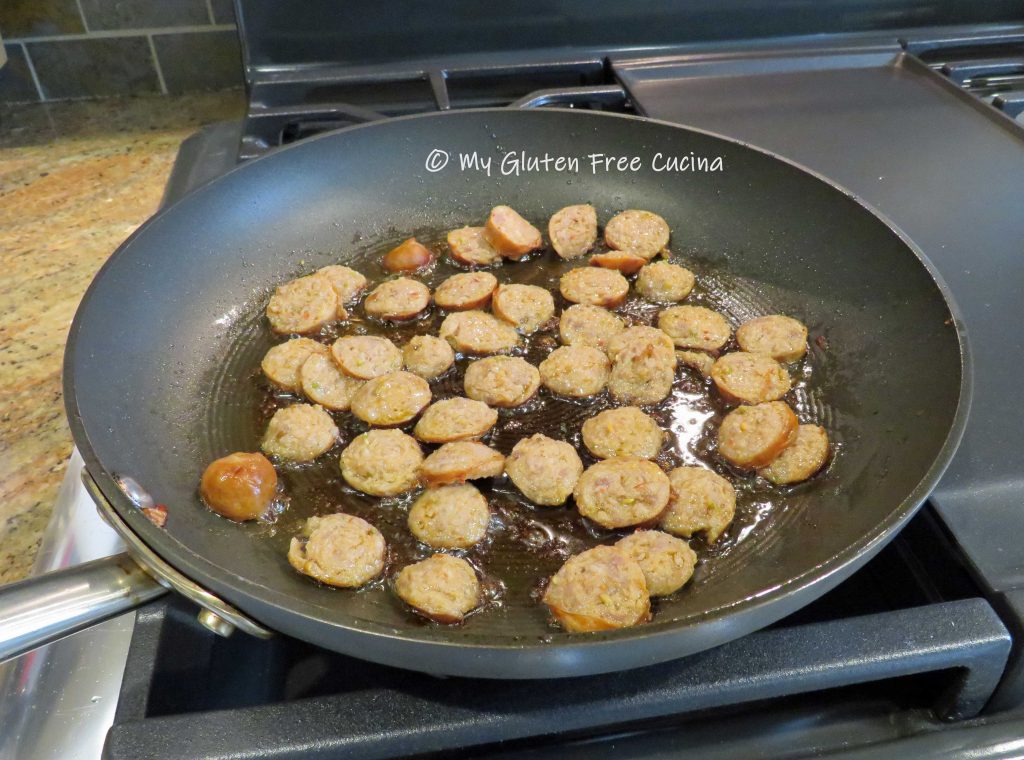
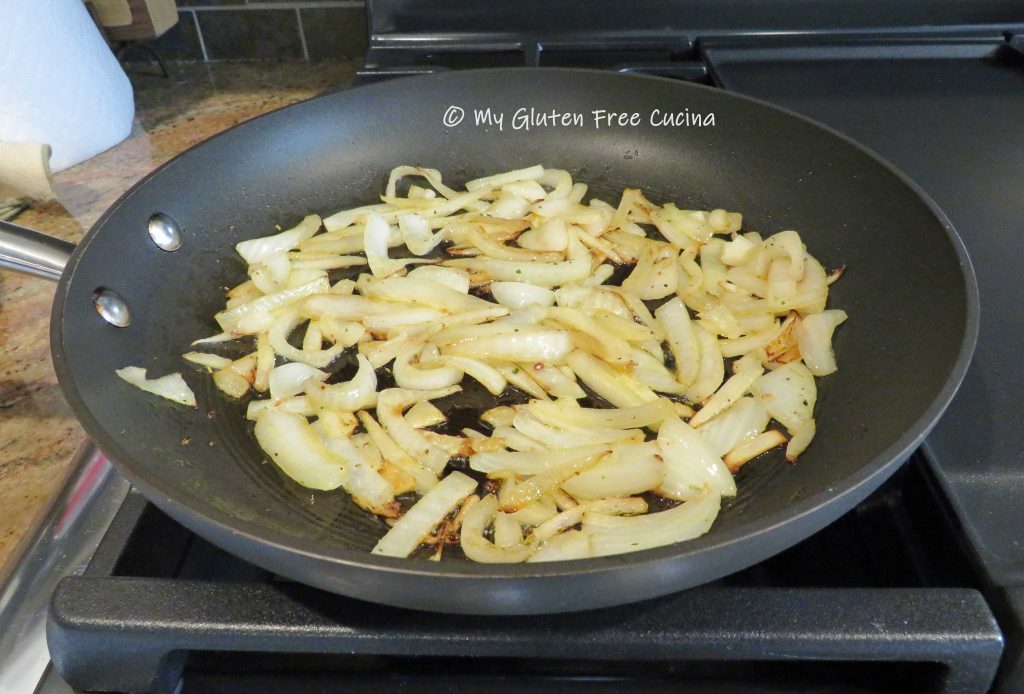
While the dough is resting, prepare the toppings.  Cook the onions, mushrooms and sausage in olive oil.

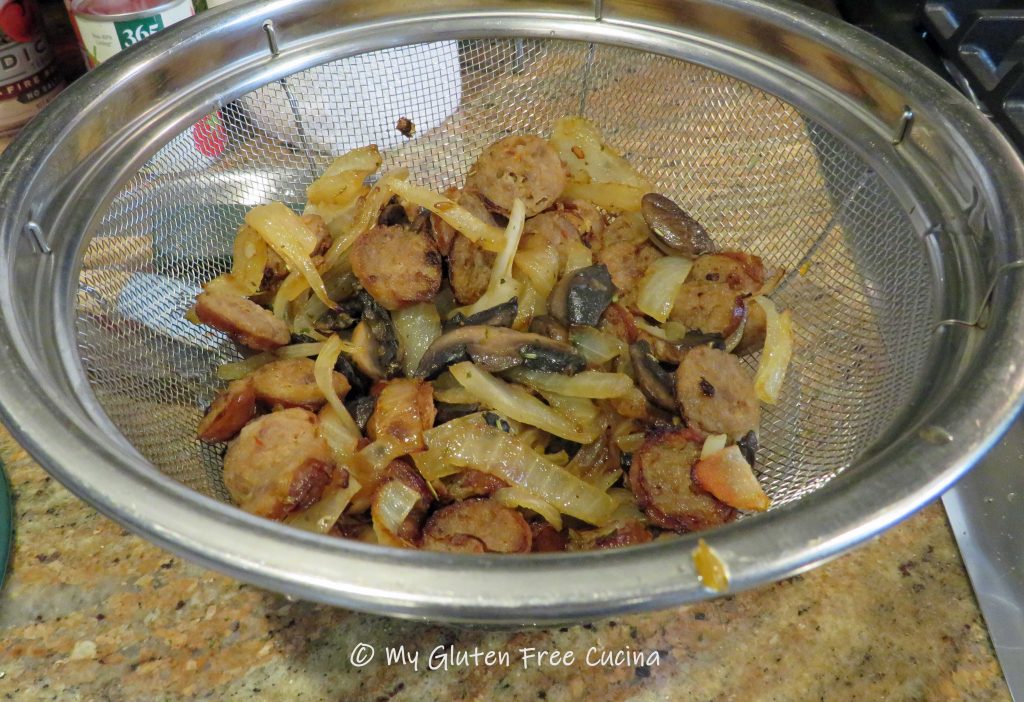
Transfer the sausage and veggies to a colander and let them drain.

Remove the proofed dough from the refrigerator, it will have doubled in size.  Cut a sheet of parchment to fit your pizza stone.  Place the dough on the prepared parchment, sprinkle with flour and roll it out into a circle less than 1/2″ thick.

Brush with olive oil and season.  Let it rest at room temperature for an additional 30 minutes while you preheat the oven to 500º.  Place your pizza stone in the oven to preheat.
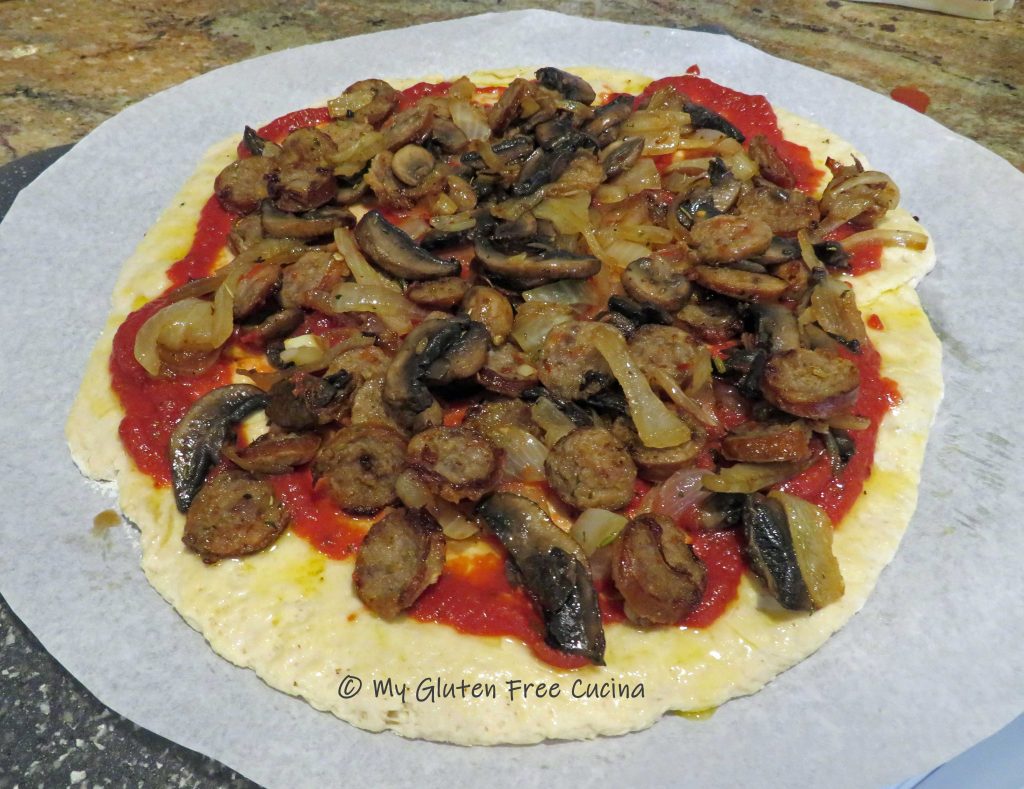
Spoon prepared pizza sauce over the dough and spread the drained toppings evenly.  Remember less is more when it comes to topping, just a few tablespoons of sauce so you don’t end up with a soggy crust.

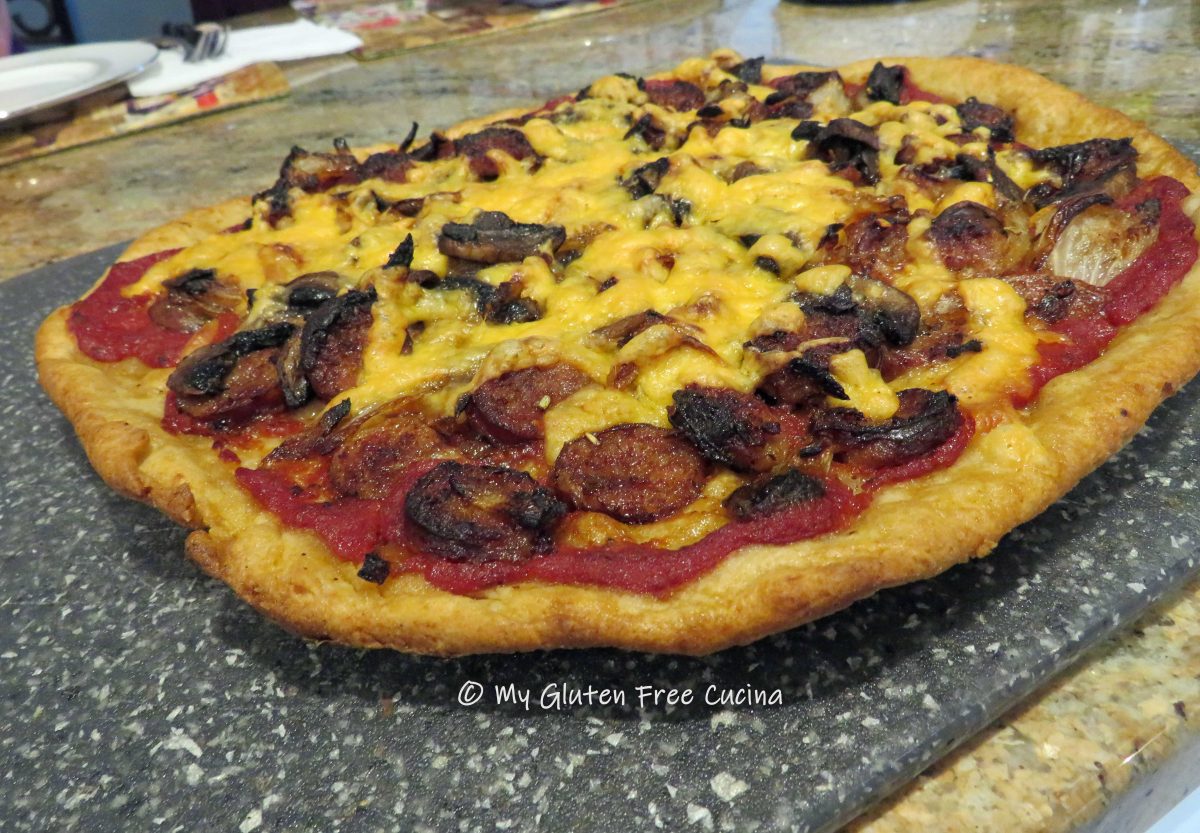
Top with grated cheese of your choice.  I used cheddar, because we had some in the fridge left over from another recipe.  Slide the pizza, with parchment onto your preheated pizza stone.  After 5 minutes use gloves and tongs to carefully remove the parchment paper.  Continue baking for 15 minutes.

Remove to a cutting board, slice and serve.

Look at that crispy crust!  This was definitely a great way to christen my new stove.  Just a single pizza was enough for our small appetites but when I make it for company, I double the recipe.

Notes: ♪♫ Of course I missed having an oven, but we did not go hungry during that week without a stove!  Check out some of the air fryer meals that I made while we were waiting for our new stove to arrive in this post!

Print This Post Print This Post


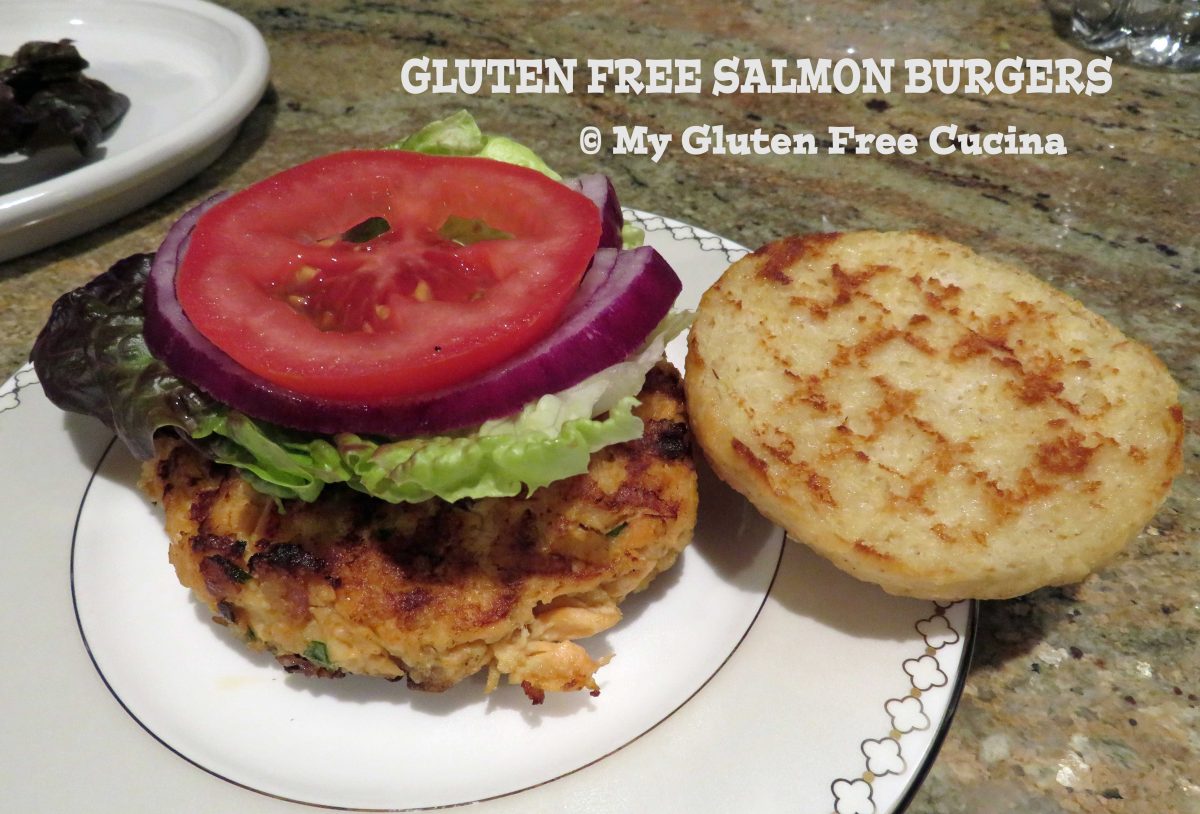
Gluten Free Salmon Burgers

Since I began my gluten free journey, one of the things I miss most is being able to just go out for a sandwich.  A few restaurants do offer gluten free buns, but even then, gluten is lurking everywhere!  Toppings, breadcrumbs, binders, fillers, sauces and even seasonings may contain hidden gluten.  One of my favorite local chains has the best salmon burgers, but of course they are now off limits for me.  I’m feeling deprived!  So, this week I decided to create a copycat version of this awesome sandwich at home.  Here’s how!

4 Servings

This post contains affiliate links.

Ingredients:

Preparation:

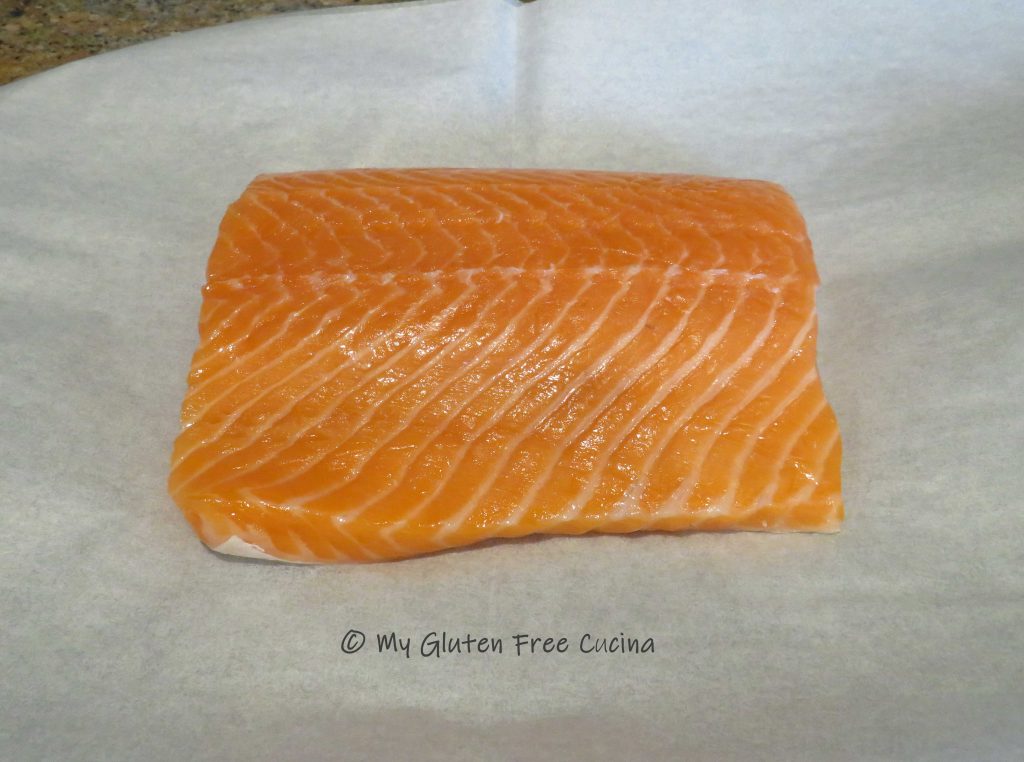
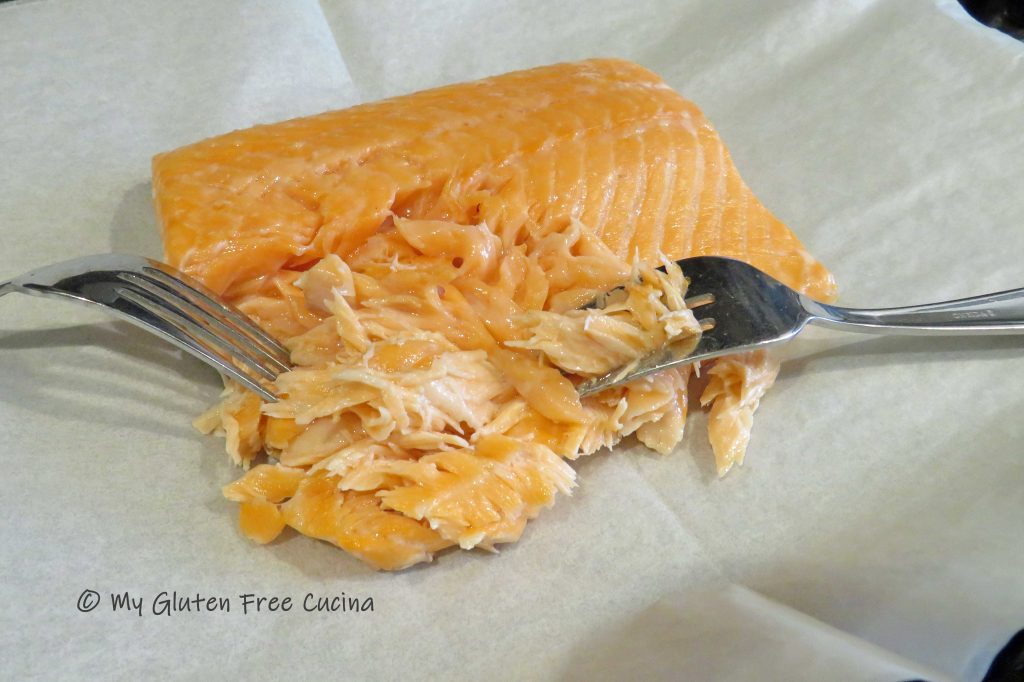
I used fresh salmon, so that I could freeze 2 burgers for another meal.  If you are not going to freeze them, you can use frozen salmon.  Line a baking sheet with parchment paper and preheat the oven to 350º.   Bake the salmon for 15 minutes.  Cool slightly then remove the skin.  It should peel off easily.  Use a fork to flake the fish and let it cool to room temperature.

Heat 1 tsp. olive oil in a small stainless-steel skillet over medium low.  Add the minced onions and cook until they begin to brown and caramelize.  They will cook down to about 1/4 cup.  Remove, set aside and cool to room temperature.

Whisk together the egg, mayo, onion, chives, Worcestershire, lemon juice and seasoning.

Add the flaked salmon.  Be sure it has cooled to room temperature, so the egg doesn’t cook.

Next add the potato flakes and gluten free Panko.  Stir and use a fork to blend everything together thoroughly.  Don’t overwork it.

You should have enough to form 4 generous sized patties.

I used a hamburger press to make them nice and even.  Mist the press with cooking spray first to help the patties release.

I placed the patties on a baking sheet lined with parchment to make them easier to handle.  Keep them refrigerated until ready to cook.  You can also freeze them at this point.  Let them freeze on the sheet so they keep their shape, then wrap them individually and store in a freezer bag.

To cook, brush a grill pan with a little olive oil and cook the patties 5 minutes per side over medium heat.  The patties are delicate, so handle them gently with a wide spatula.

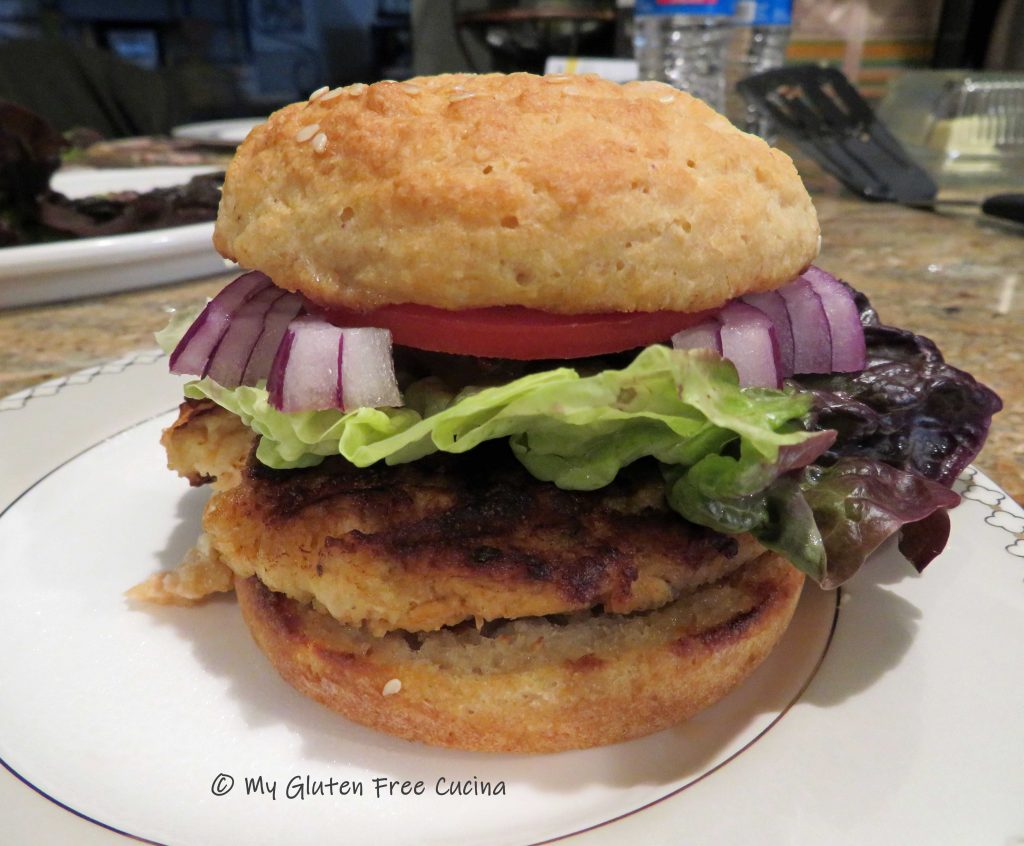
Add your favorite gluten free bun and there you are.  This is one of my favorite restaurant meals that was just waiting for a gluten free makeover.  Now I can enjoy a salmon burger at home any time.

I hope that you enjoyed this recipe.  My gluten eating husband also thought these Salmon Burgers were great, just like the restaurant version!  So don’t feel deprived!  Try the recipe at your house and let me know what you think!

Notes ♪♫ I see you ogling that gluten free bun!  My own flour blend, it’s a nice big bun that you will love for all your burgers and sandwiches!  Get the recipe here!

This post was originally published on 07/06/2018.  While the photos have been updated over the years (as I become a better photographer!), the recipe itself has not changed.  

Print This Post Print This Post

Gluten Free Shepherd’s Pie Ramekins

Gluten Free Shepherd’s Pie Ramekins

Individual serving ramekins take this ordinary comfort food to dinner party status!  The presentation will wow your guests, while still keeping it fun and casual!  I love using the ramekins for portion control, and one serving was plenty filling!

Most of the ingredients are straight from the pantry, like ground beef, frozen mixed veggies, and instant mashed potatoes!  Yes, I cheated and used these instant mashed potatoes from Idahoan, I always keep them on hand.  (Check out how I use them in my meatballs and meatloaf!)

4 Servings

This post contains affiliate links.

Ingredients:

  • 12 oz. lean ground beef
  • 1-2 tbsp. olive oil
  • 2 cloves garlic, minced
  • 1/2 cup diced sweet onion
  • 1-1/2 cups frozen mixed vegetables
  • 1/2 tsp. thyme
  • fresh ground pepper
  • seasoned salt
  • 2 tbsp. tomato paste
  • 1 tbsp. gluten free Worcestershire sauce
  • 1 cup beef or vegetable broth
  • 1 cup gluten free instant mashed potato flakes
  • cooking spray
  • 1/4 cup grated cheese
  • paprika
  • fresh chives for garnish
The Lazy Gastronome

Preparation:

Heat a braising pan or deep skillet with olive oil.  Brown the beef, breaking it up with a spatula.  Season with fresh ground pepper and seasoned salt.

Add the garlic and onion.  Continue cooking several minutes then add the mixed vegetables, and thyme.

Clear a spot in the center of the pan and add the tomato paste.  Let it toast for a minute then stir into the meat and veggies.  Stir in the broth and Worcestershire sauce, then bring to a boil.

Turn the heat down to a low simmer and cook for 30 minutes or until most of the liquid has evaporated.  Stir every 5 minutes.

Preheat the oven to 375º.  In a small sauce pot, prepare the instant mashed potatoes according to package directions.

Spray the ramekins with cooking spray and arrange them on a baking sheet (this will make it easy to transfer in and out of the oven).  Spoon the filling into the ramekins, leaving room for the mashed potatoes.

Spread mashed potatoes over the top and use a fork to smooth it out.  Top with grated cheese and sprinkle with paprika.   Bake for 15 minutes, then finish under the broiler on low for 2 more minutes.

Garnish with fresh chives and serve.

I hope you were inspired to try these Shepherd’s Pie Ramekins!  For another twist on this traditional comfort food, check out my Shepherd’s Pie with Rutabaga, it’s a long-time family favorite!

Notes ♪♫ Most of the ingredients in this recipe are naturally gluten free.  Always check labels on condiments, broth and seasoning.  Lea and Perrins Worcestershire sauce is gluten free in the US but not in Canada (make sure yours is made with distilled white vinegar, not malt vinegar).

Print This Post Print This Post

Gluten Free Chicken Lo Mein

Back in the day ordering Chinese takeout was such a treat.  I really miss being able to do that since being gluten free.  There are few places in our area that offer gluten free Chinese food, but cross contact is always a concern.

That’s why I learned to make gluten free alternatives at home, like this Lo Mein.  The recipe is gluten free and lower in sodium than takeout, so I would call that a success!

This post contains affiliate links.

Although a true Lo Mein would be made with egg noodles, I used Annie Chun’s Brown Rice Noodles in this recipe, and they were a great stand in.  I use their noodles in many of my Asian stir fry meals.

Ingredients:

For the Sauce:

For the Lo Mein:

  • 1 lb. boneless chicken breast, cut into 1″ cubes
  • 1/2 cup celery
  • 3/4 cup carrots
  • 3/4 cup onion
  • 3/4 cup mushrooms
  • 1/2 cup bell pepper
  • 3/4 cup snow peas
  • sesame oil
  • olive oil
  • coconut aminos
  • 1/2 tsp. garlic powder
  • 1/2 tsp. ginger powder
  • 4 oz. gluten free rice noodles

Preparation:

This is one of those recipes where you need to get organized before you begin cooking.  Prep the veggies, cut the chicken into cubes and have all other ingredients lined up and ready.

Begin by whisking the sauce ingredients together and set aside.

Set up a pot of salted water for the rice noodles and bring to a boil.  Heat a large nonstick skillet with 1 tbsp. olive oil and 1 tsp. sesame oil.  Cook the chicken, turning to brown on all sides.  When the chicken is almost cooked through, remove it from the pan and set aside.

Wipe the pan clean and add 1 tsp. sesame oil.  Begin cooking the carrots, peppers and snow peas for several minutes until crisp tender.  Next add the mushrooms and garlic with an additional tsp. of sesame oil.  Cook for 1 minute.

Add the rice noodles to the boiling water, and at the same time return the chicken to the skillet.  Pour half the sauce over the chicken and vegetables.

Drain the pasta after 3 minutes, add it to the skillet and top with the remaining sauce.  Toss well and stir to combine it all, cook for another minute.

Transfer to a platter and serve.

Notes ♪♫ Have you ever purchased a large piece of gingerroot for a recipe, only to use a small amount and have the rest go bad in the refrigerator?  Here’s a trick I learned this past winter, you can cut fresh ginger into smaller pieces and freeze them for later use.  It is so easy to grate gingerroot right out of the freezer.  Perfect for recipes like this one, where fresh ginger is a key flavor in the sauce.

Print This Post Print This Post