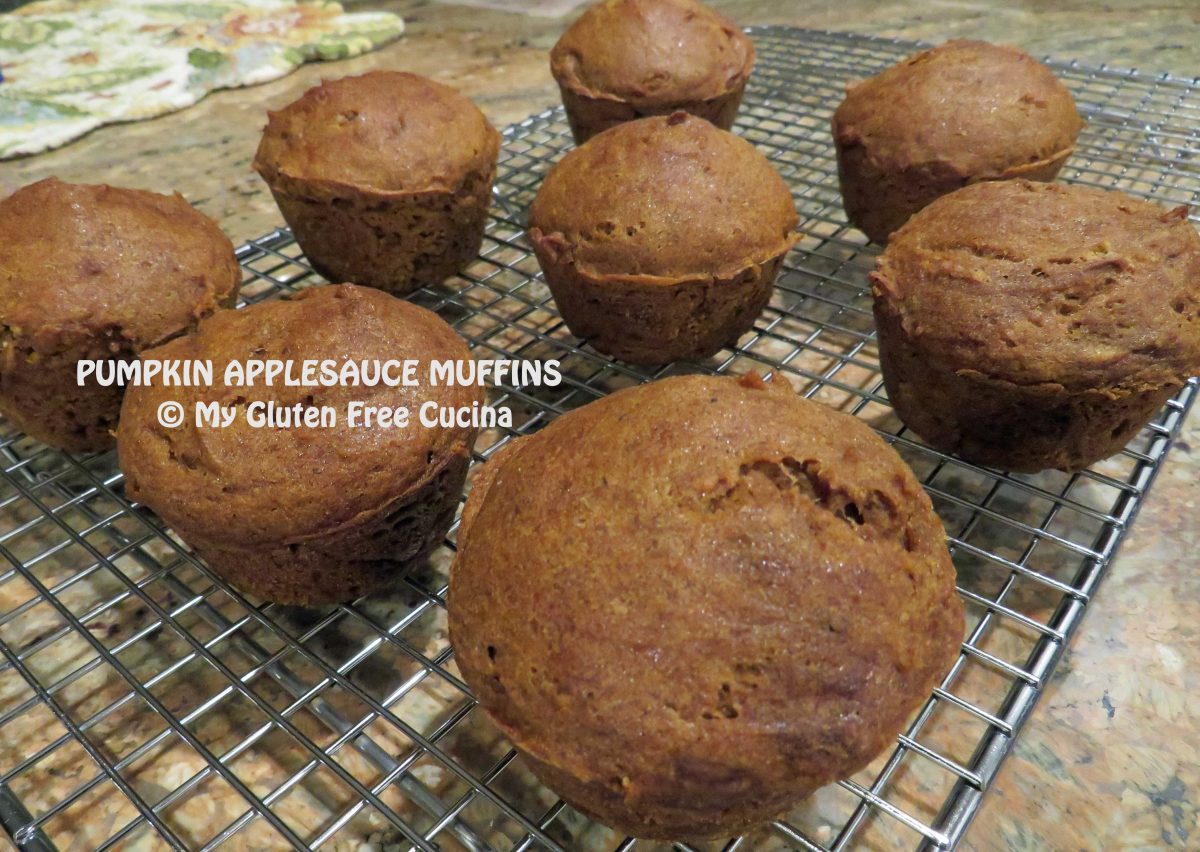
If you are from the Northeast and of a certain age, you will no doubt remember Jordan Marsh, the iconic department store. It was my mother’s favorite store back in the day, and I vividly recall buying one of my prom dresses there, 50+ years ago (eek!).

Before food courts and fast food, the Jordan Marsh Bakery was a popular destination for shoppers to refuel and continue on with their day, i.e., you didn’t have to go home if you got hungry- smart!

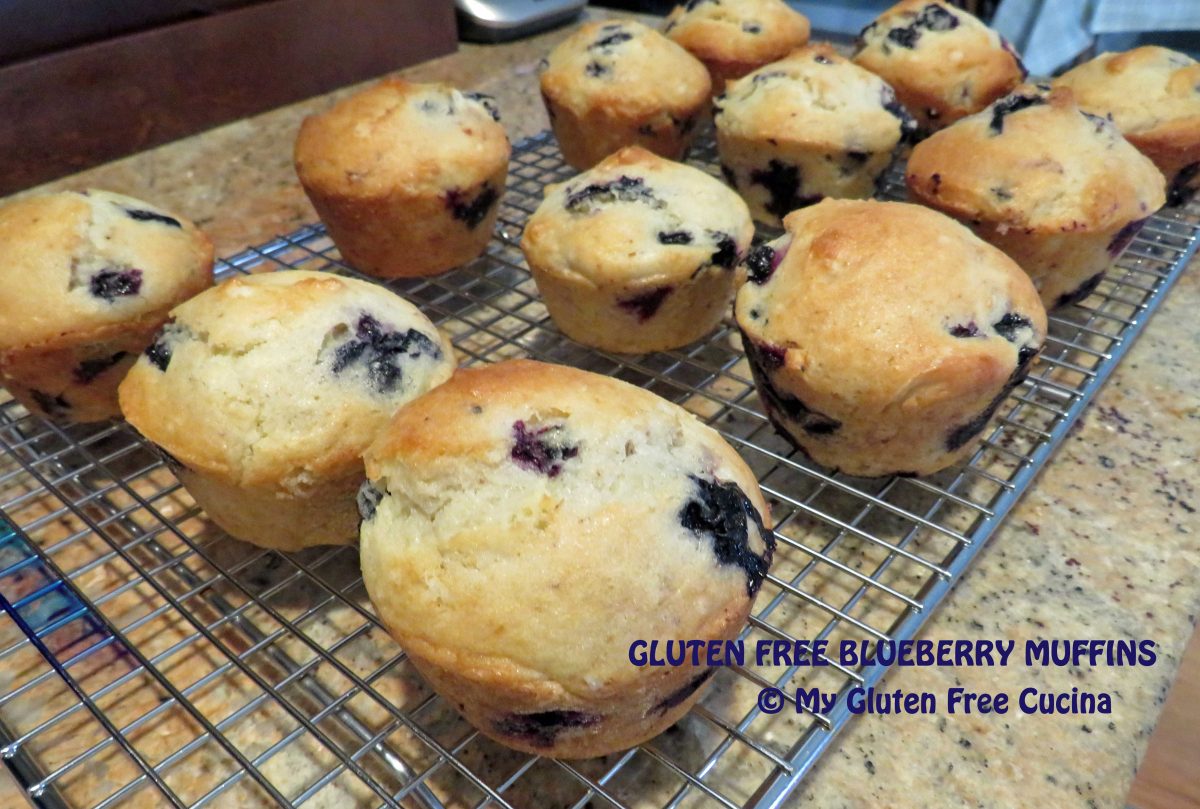
Although the store chain closed in the 1990’s, their Blueberry Muffins remain legendary to this day. I recently read an interesting article about the origins of this recipe in the New York Times, which claimed it was adapted from an 1847 cookbook called The New England Economical Houskeeper and Family Receipt Book.
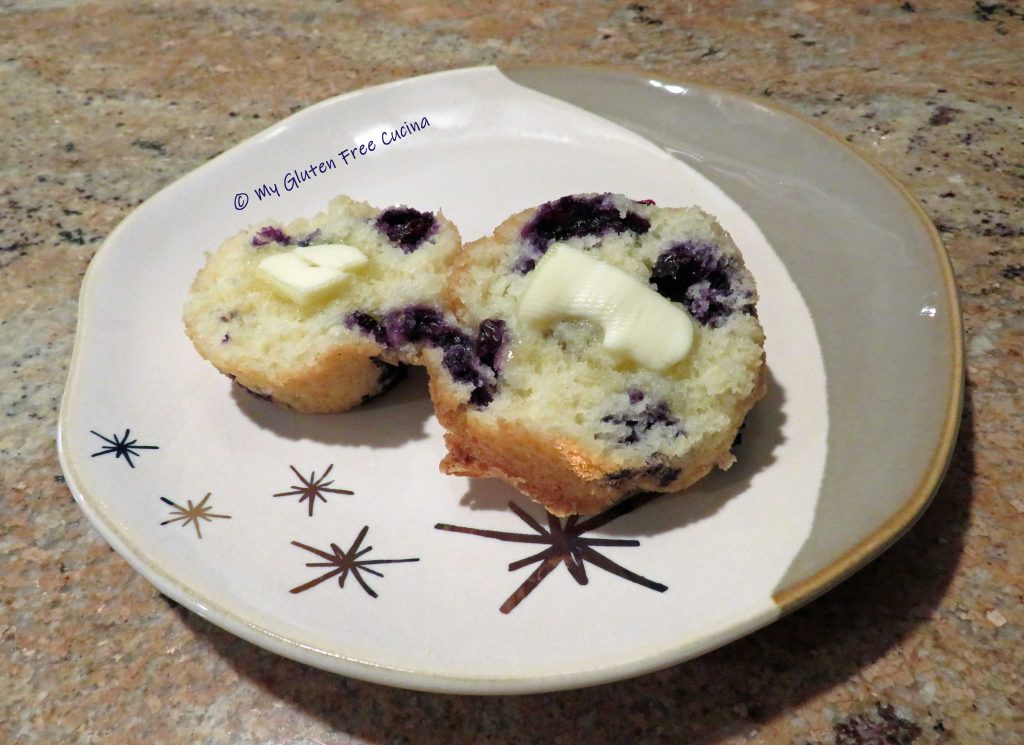
Wherever its origin may have been, the muffins are not only delicious, but only require a substitution of one ingredient to be gluten free. How about that?
This post contains affiliate links.
Ingredients:
- 300 g. (about 2 cups) Better Batter Original Gluten Free Flour
- 1/2 tsp. salt
- 2 tsp. baking powder
- 1/2 cup milk (I used 2%)
- 1 stick of unsalted butter, softened (not melted)
- 1 cup of sugar
- 2 large eggs
- 1 tsp. vanilla extract
- 6 oz. package (1 cup) fresh blueberries
Preparation:
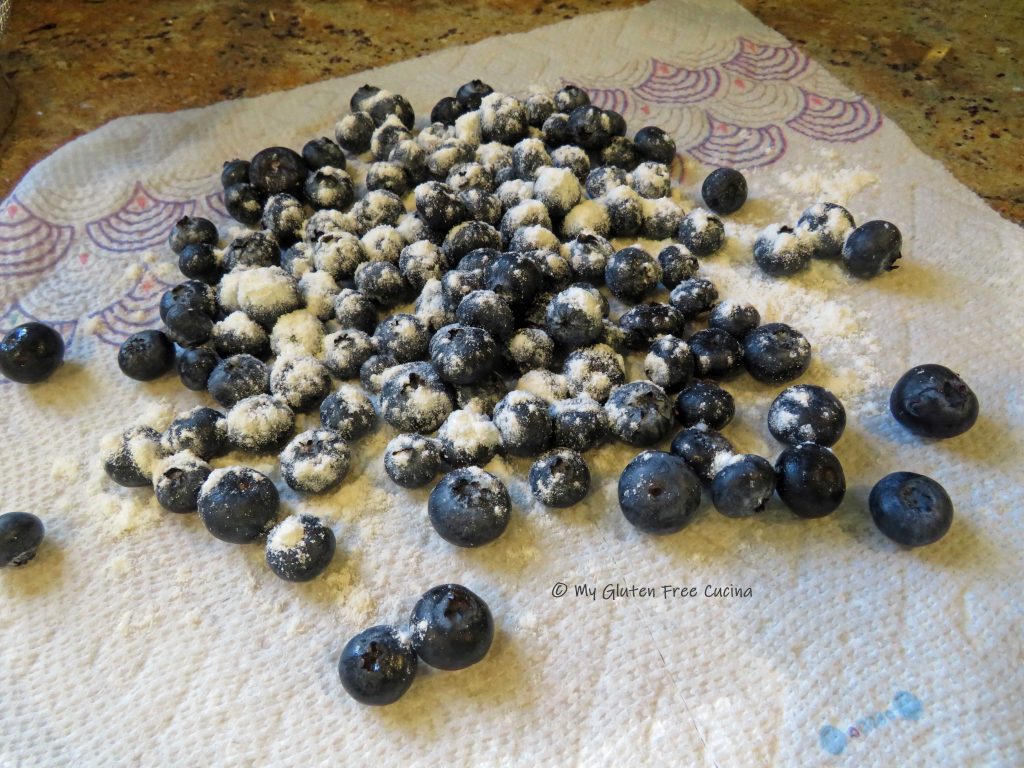
Take the butter out of the refrigerator and let it soften at room temperature. Mist a 12-cup muffin pan with cooking spray and preheat the oven to 375 degrees. Rinse and dry the blueberries on a clean dishtowel.
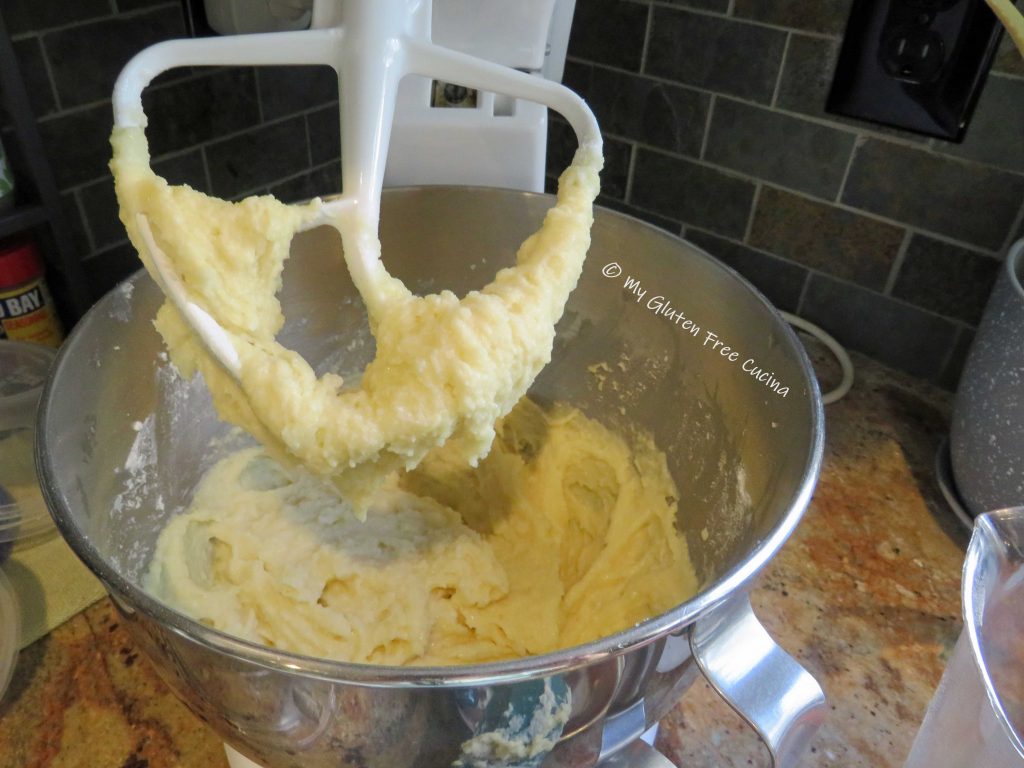
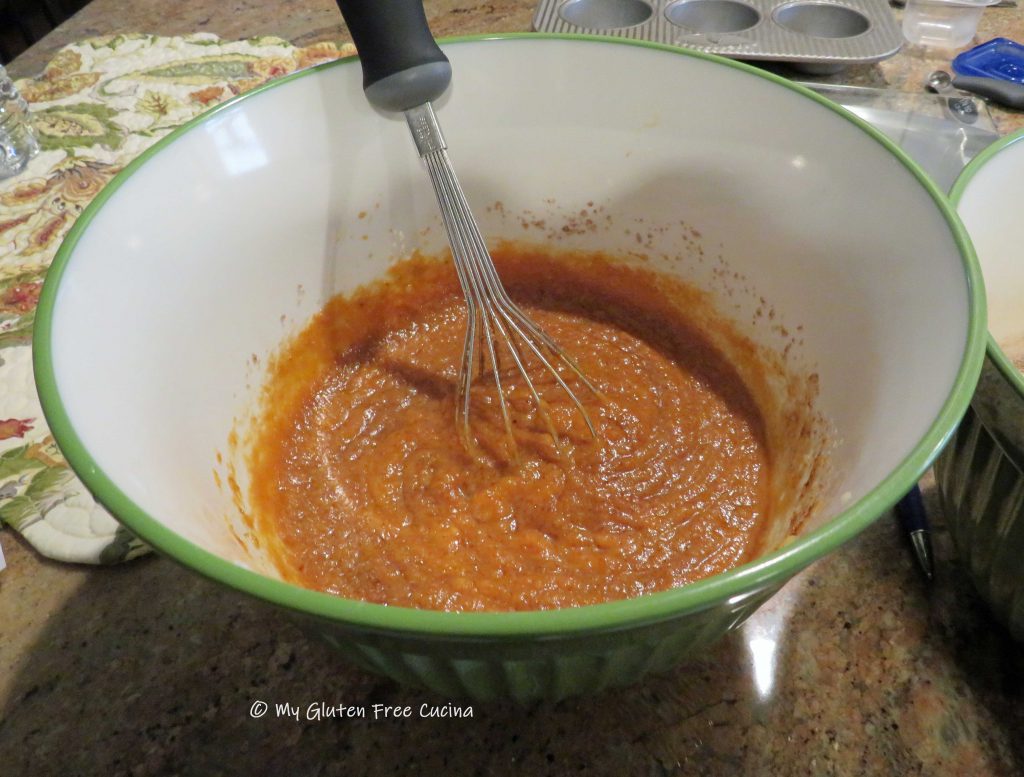
In the bowl of a stand mixer, cream together the softened butter and sugar with the whisk attachment. Add the eggs and vanilla extract and beat until well combined.

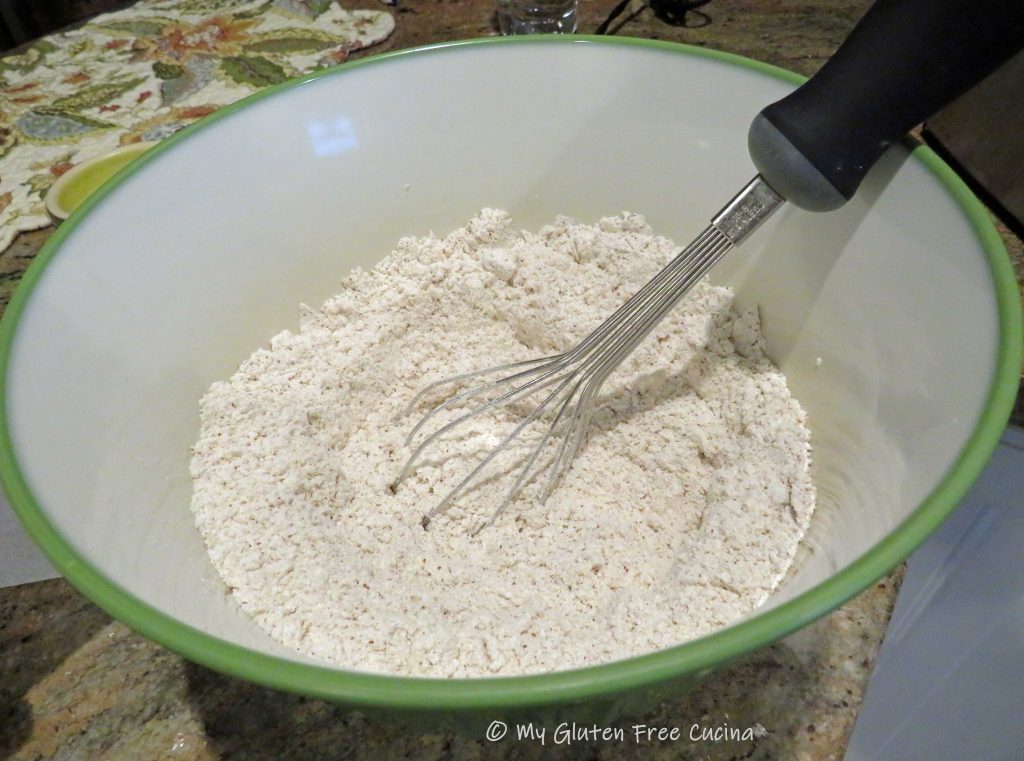
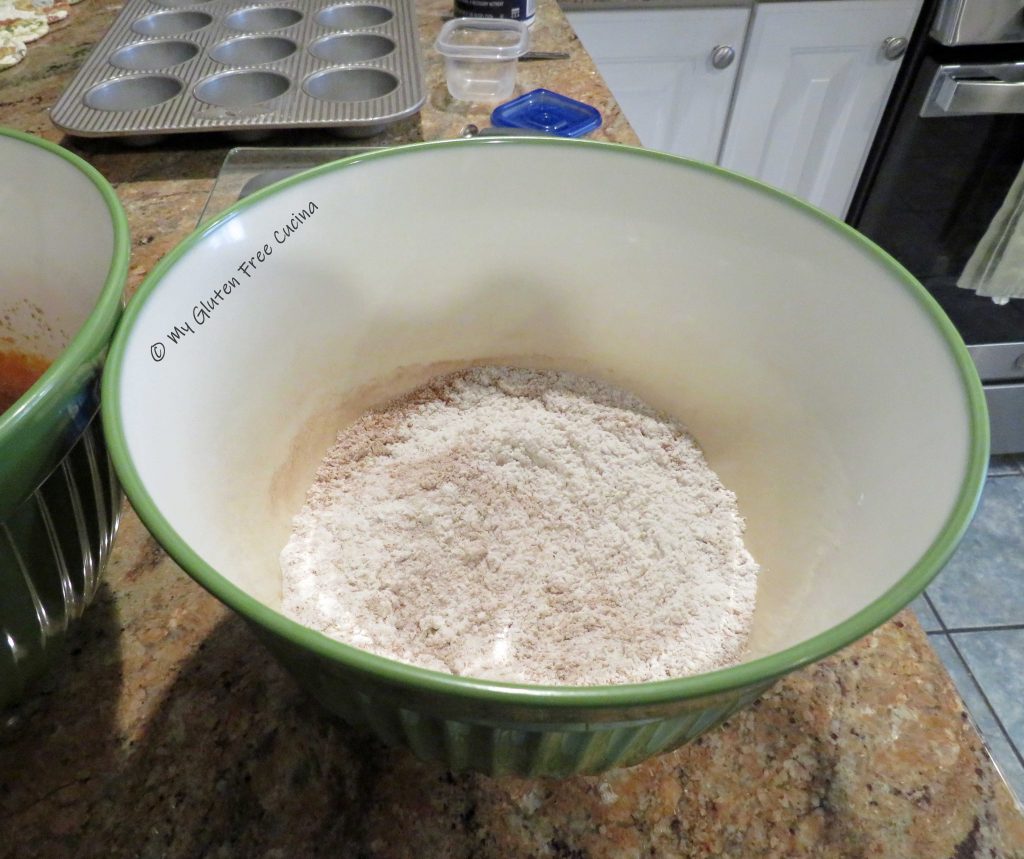
In a separate bowl, whisk together the flour, salt and baking powder. Reserve 1 tbsp. to sprinkle over the blueberries.
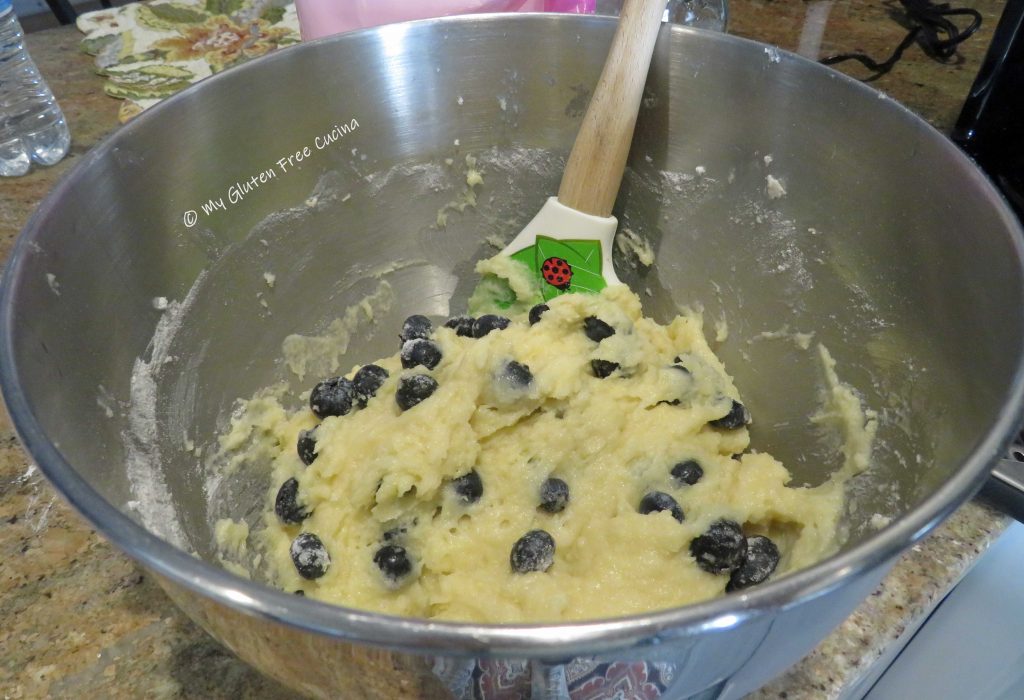
Add the dry ingredients to the mixer bowl along with the milk and combine with the paddle attachment until moistened.
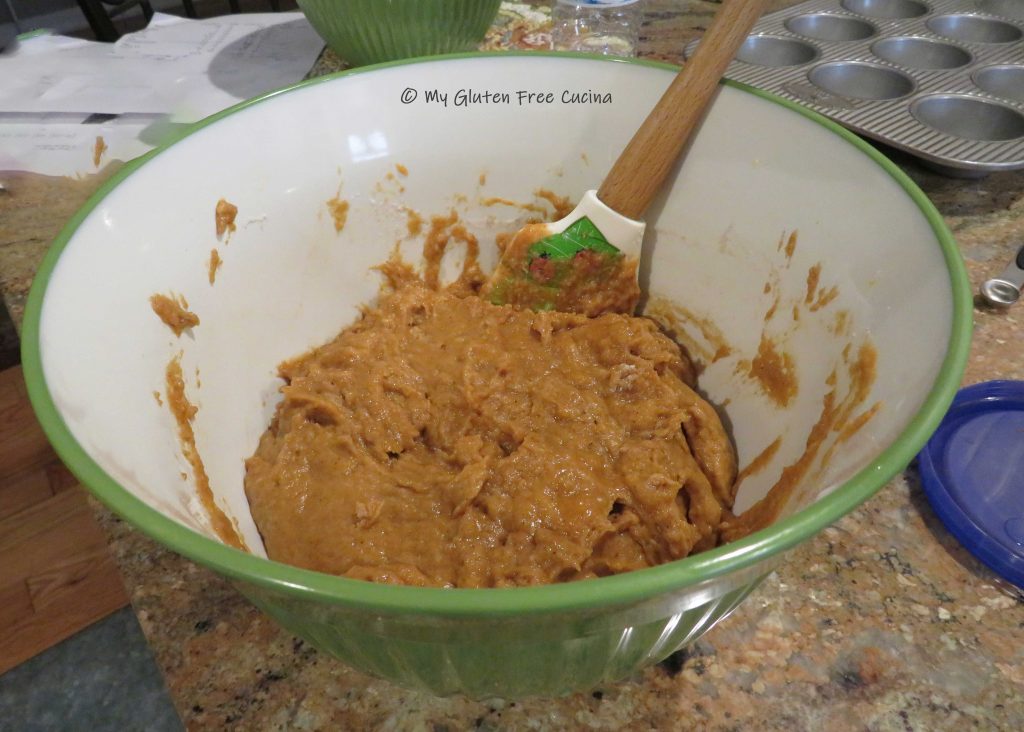
Crush half of the blueberries with a fork and fold into the batter with the remaining whole blueberries.
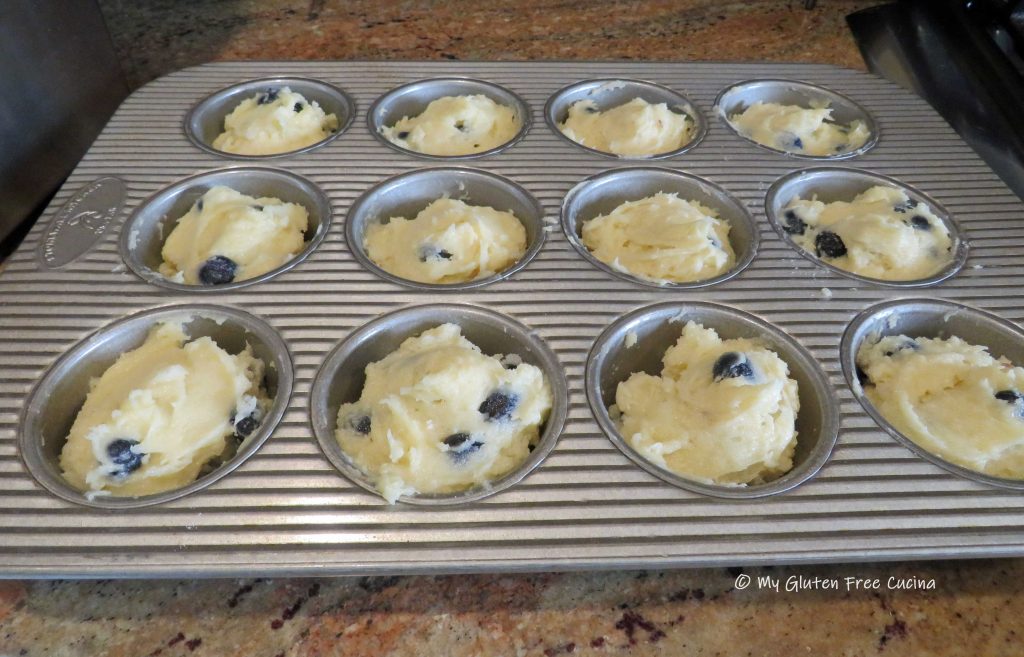
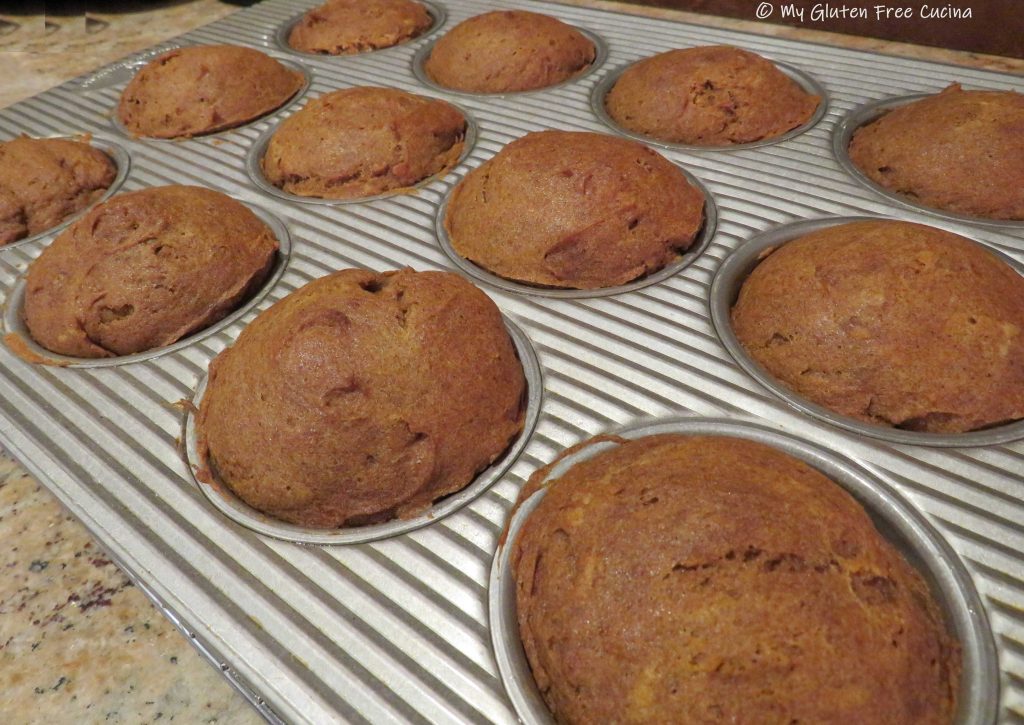
Let the batter rest for 20 minutes, then spoon it evenly into the prepared muffin pan. Dip a small spatula in warm water and use it to smooth out the tops. If you like, you can sprinkle the tops of the muffins with more sugar.
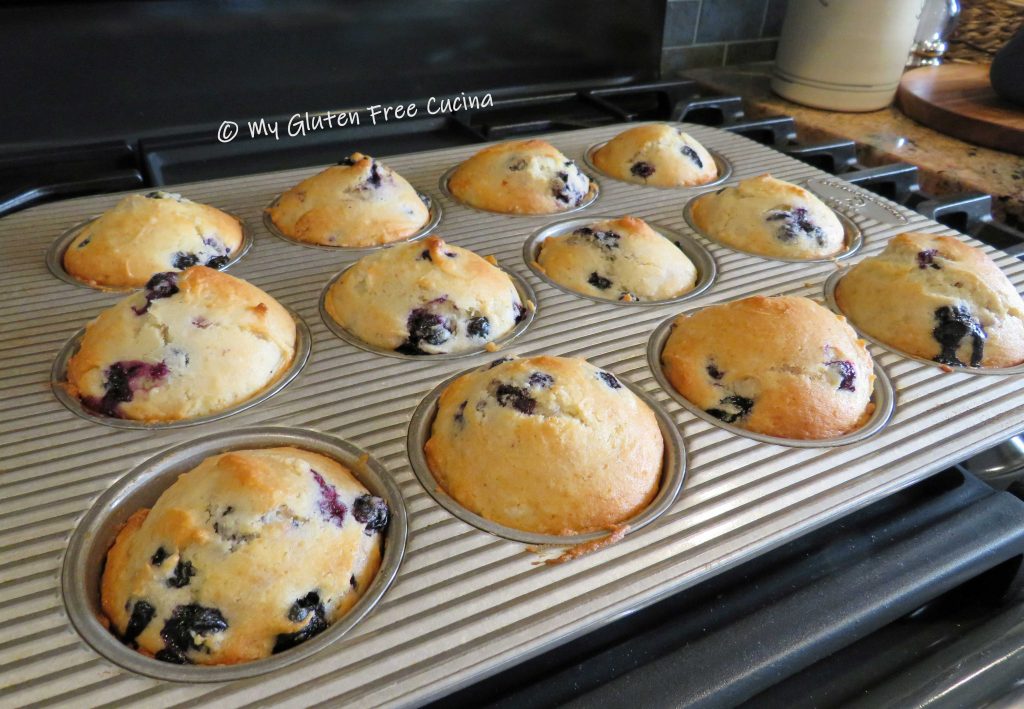
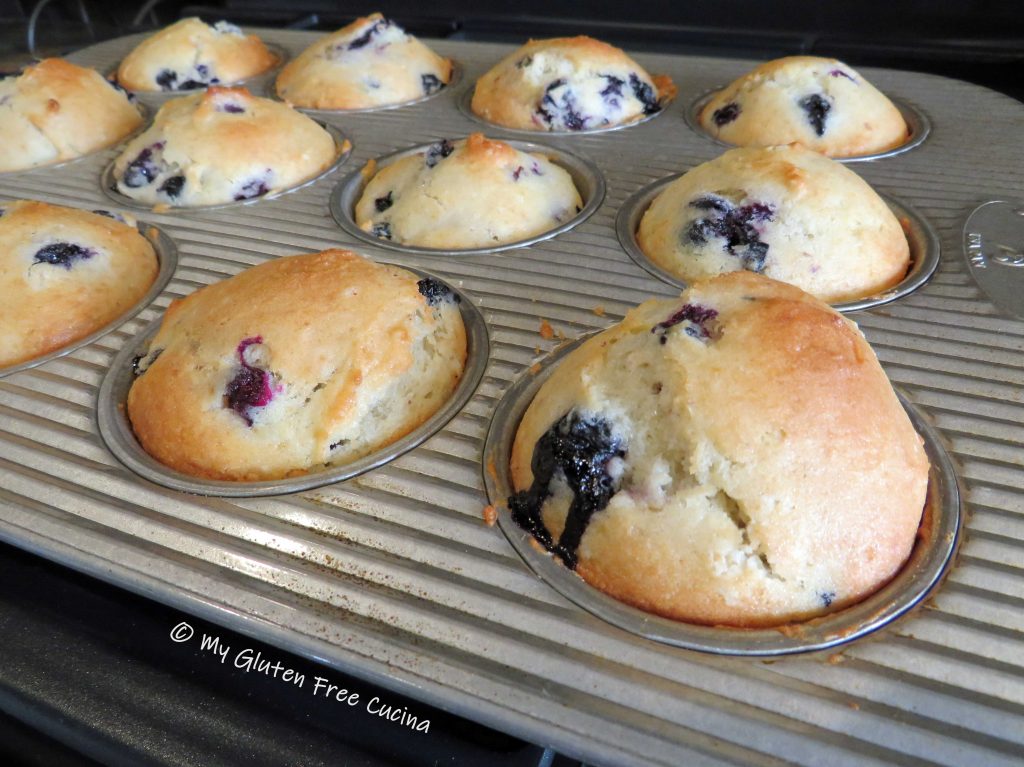
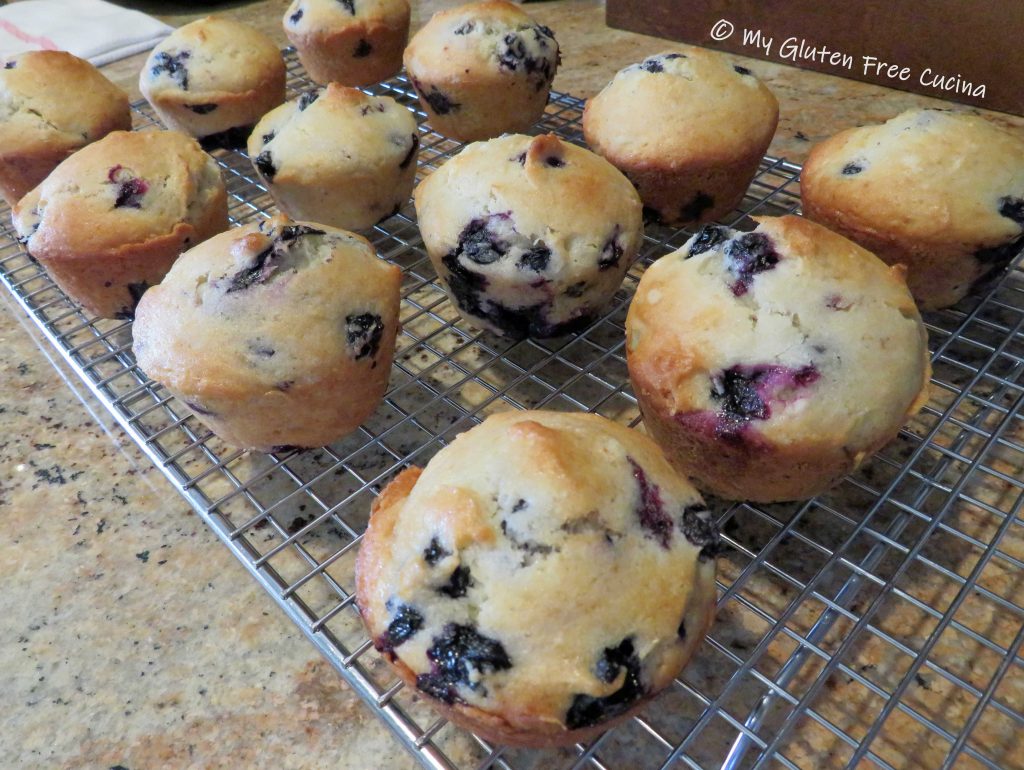
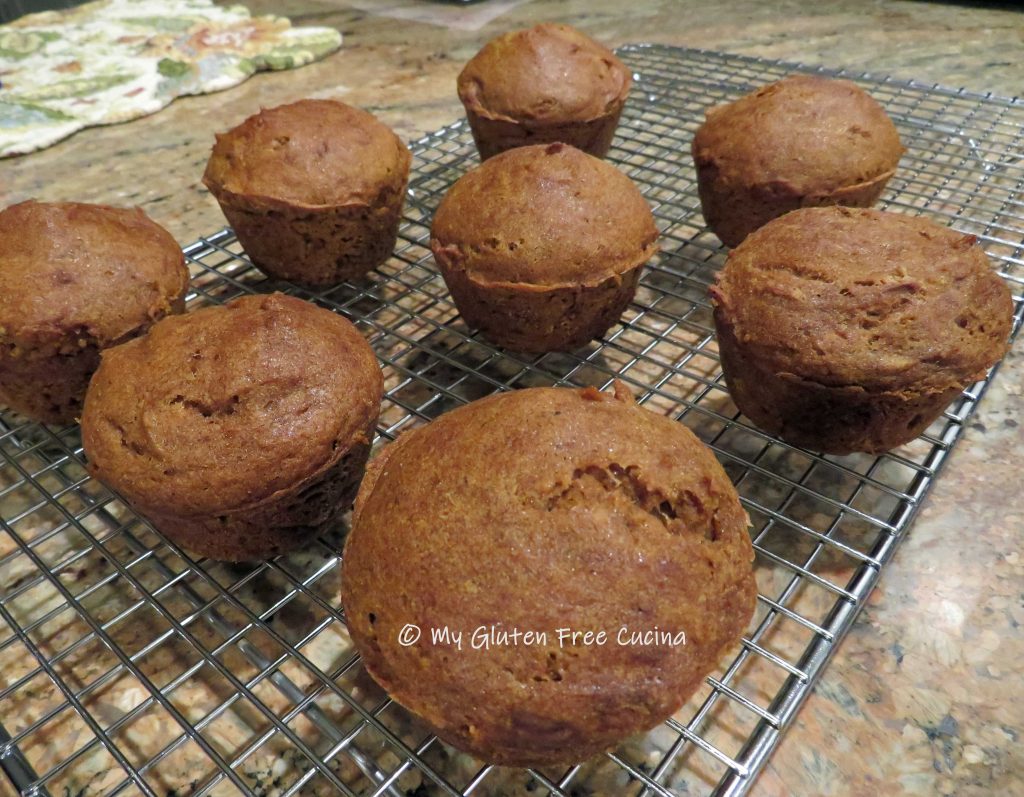
Bake for 25 minutes at 375 degrees and test with a toothpick. Cool in the pan for 10 minutes before transferring to a rack. Be sure to let them stand at room temperature for at least 4 hours before serving.
I’ve got my eyes on that big one in front! 👀
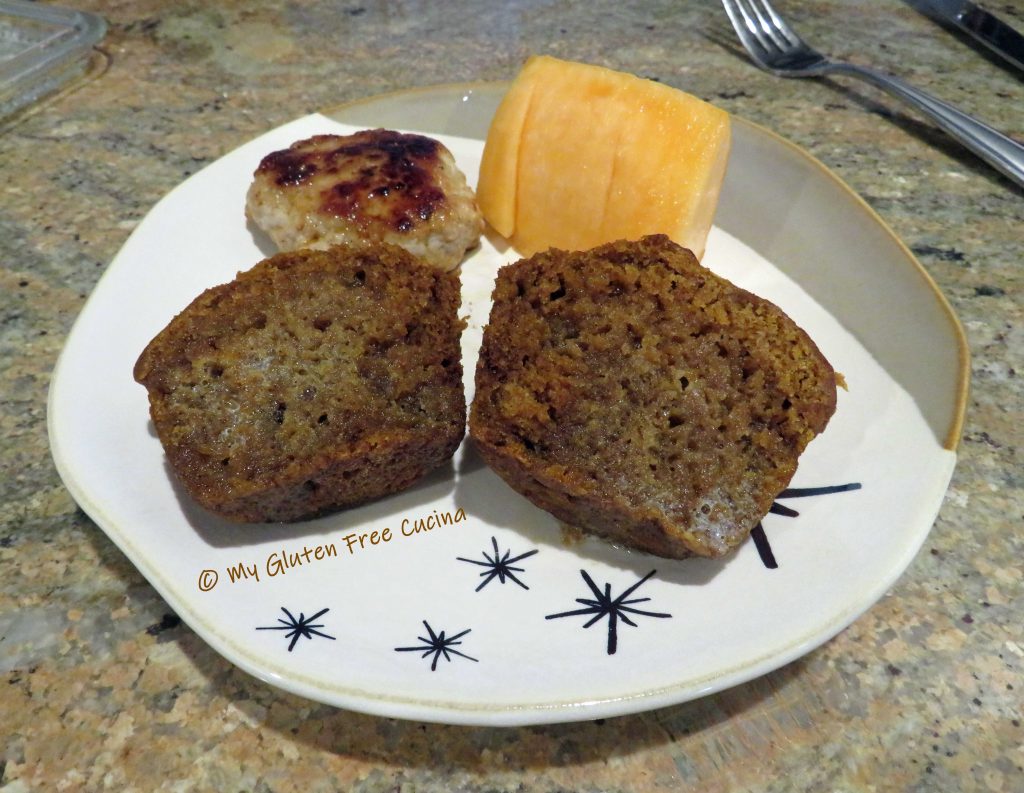
Muffins can be reheated in the microwave for 30 seconds. Leftovers (if you have any!) can be frozen for an easy breakfast.
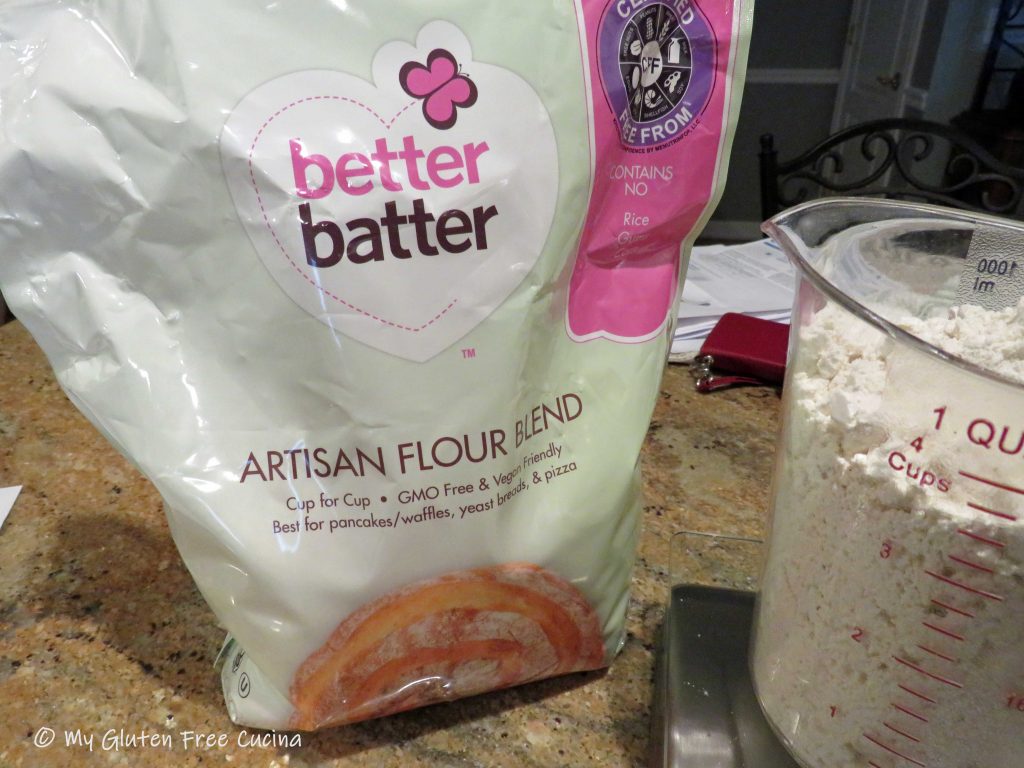
Notes ♪♫ For muffins and quick breads, I use and recommend Better Batter Original Gluten Free Flour. Most recipes can be converted at 120-150g. per cup. If you use a different brand, be sure that your flour contains xanthan gum. Even if you do not weigh any of your other ingredients, I encourage you to invest in a kitchen scale to weigh the flour.


 Preparation:


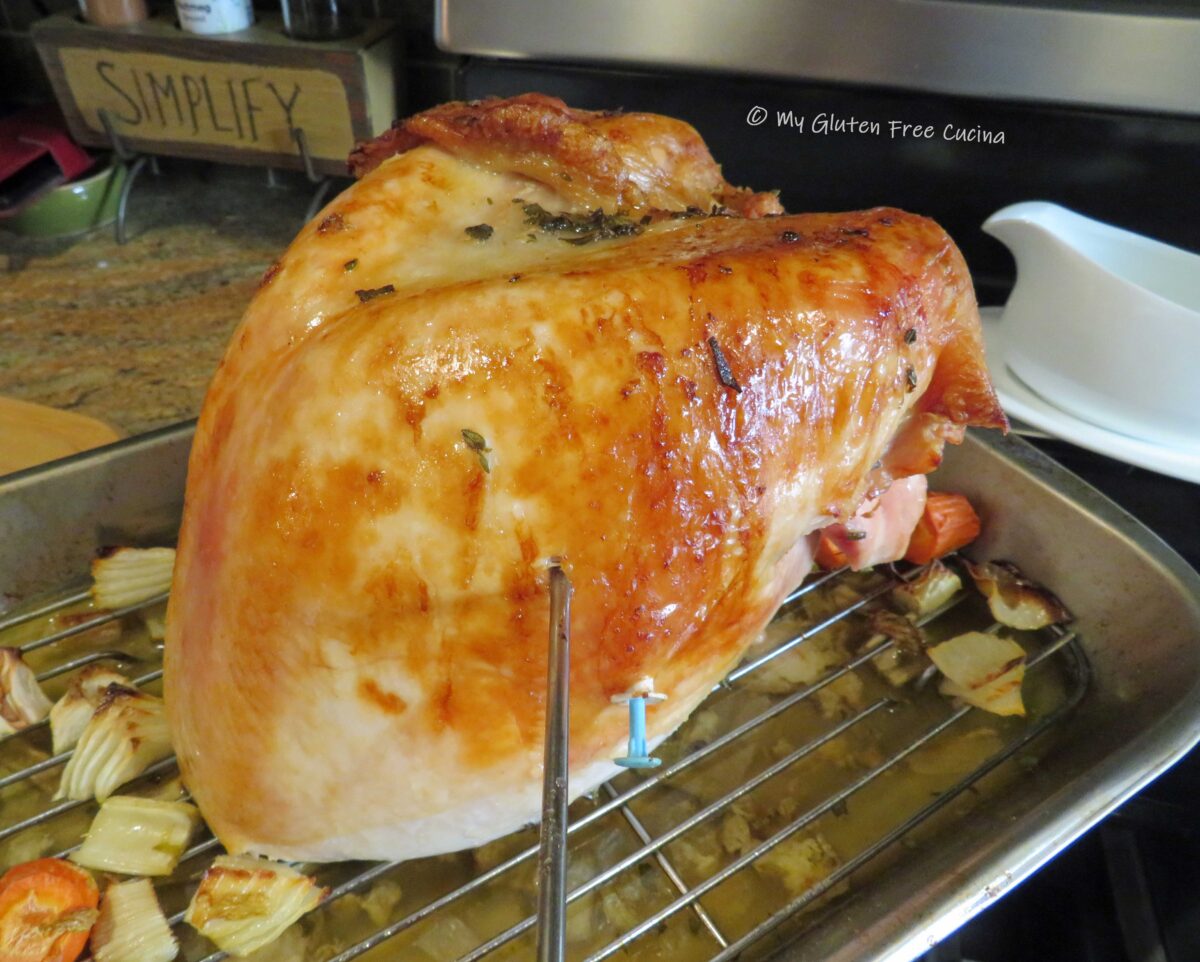
 Roast for 25 minutes per pound, or until a thermometer inserted into the thickest section registers 165º. The pop-up thermometer was spot on, but I was still glad that I used my own.
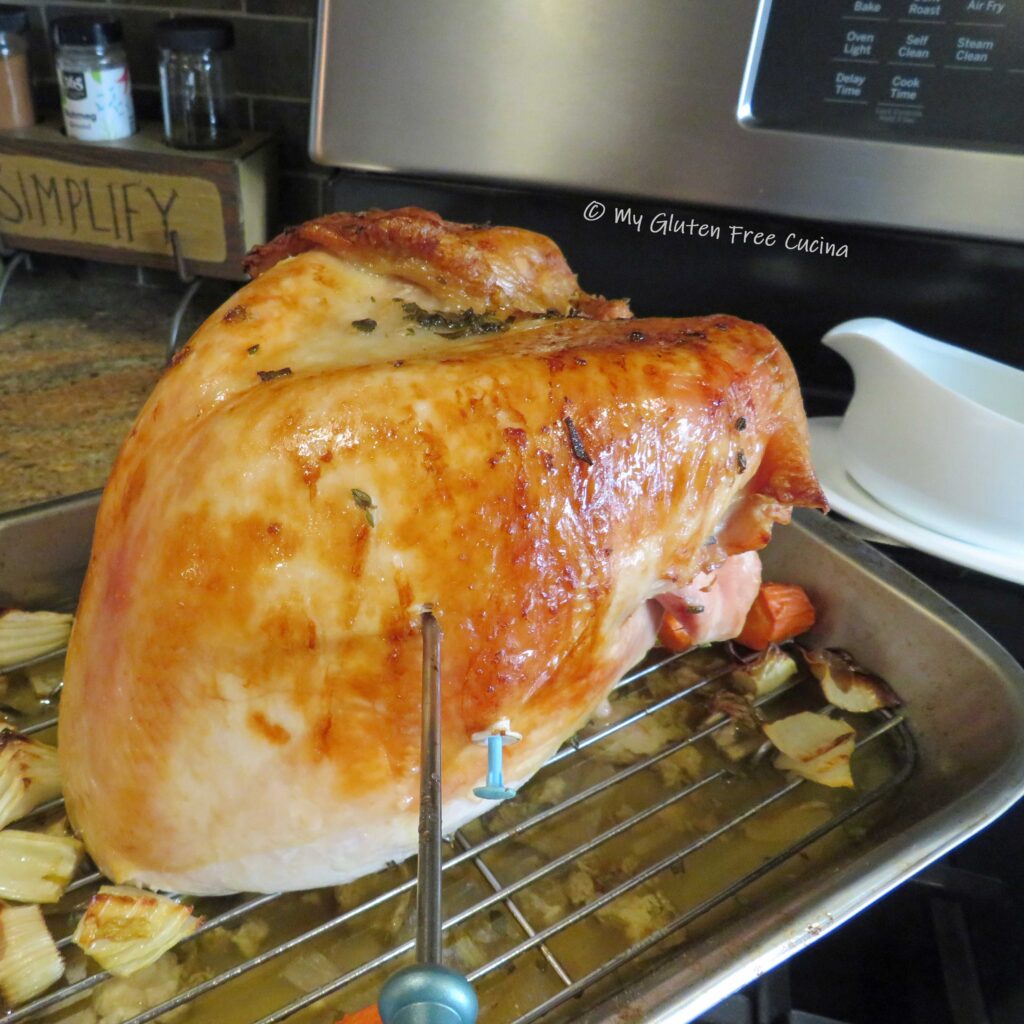
 Enjoy with
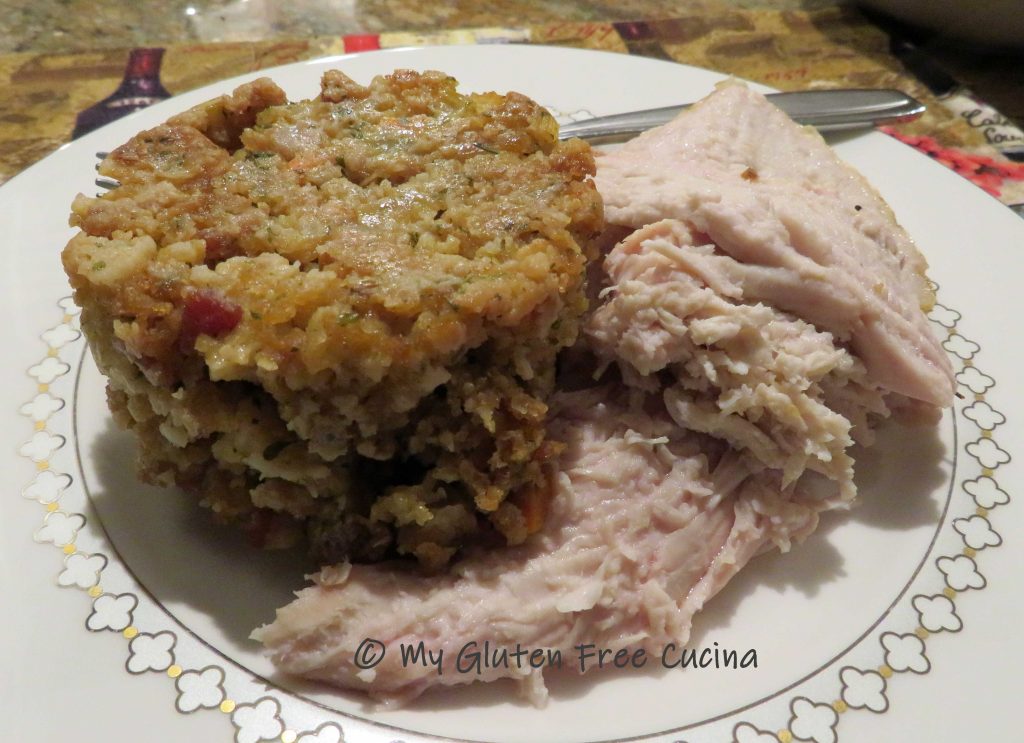
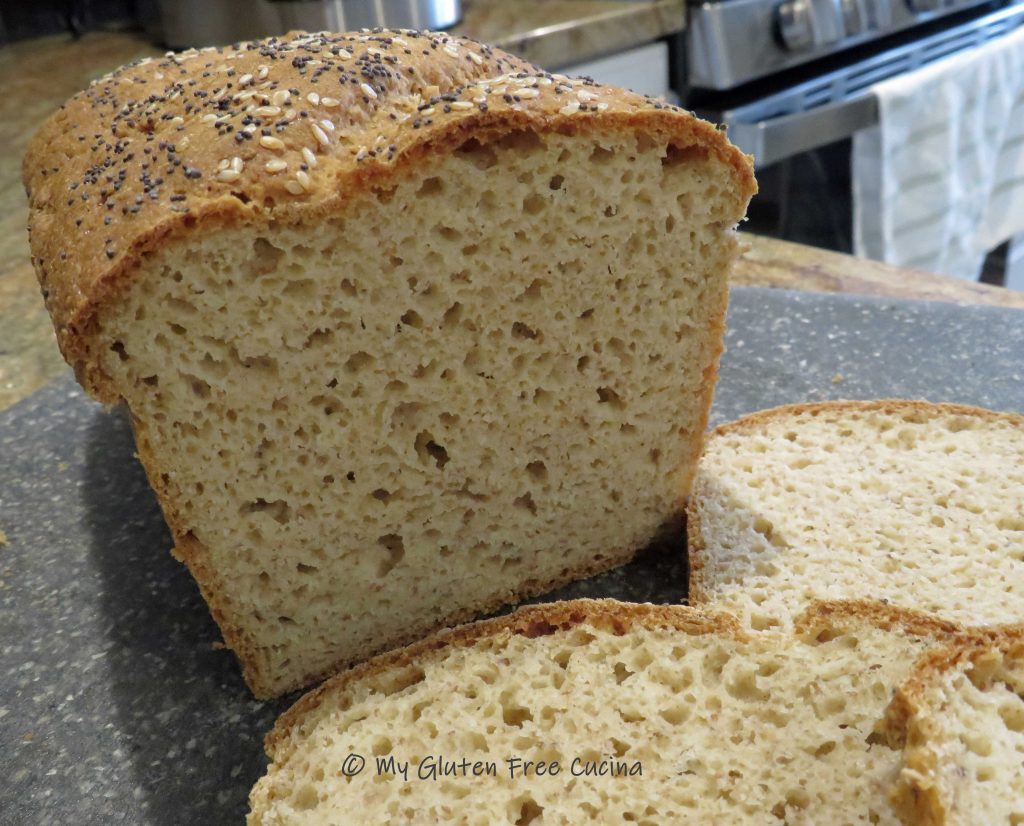
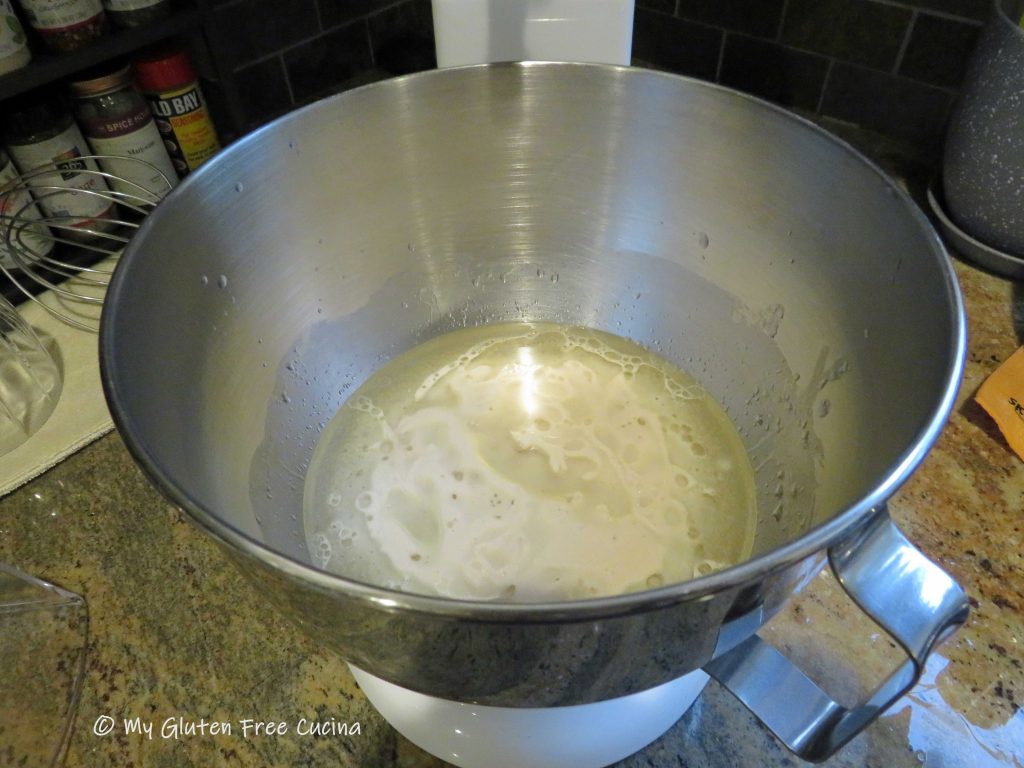
 Combine the yeast, ground chia seeds, sugar and 1/2 cup water in a small bowl or measuring cup. Let the mixture rest for 10 minutes.
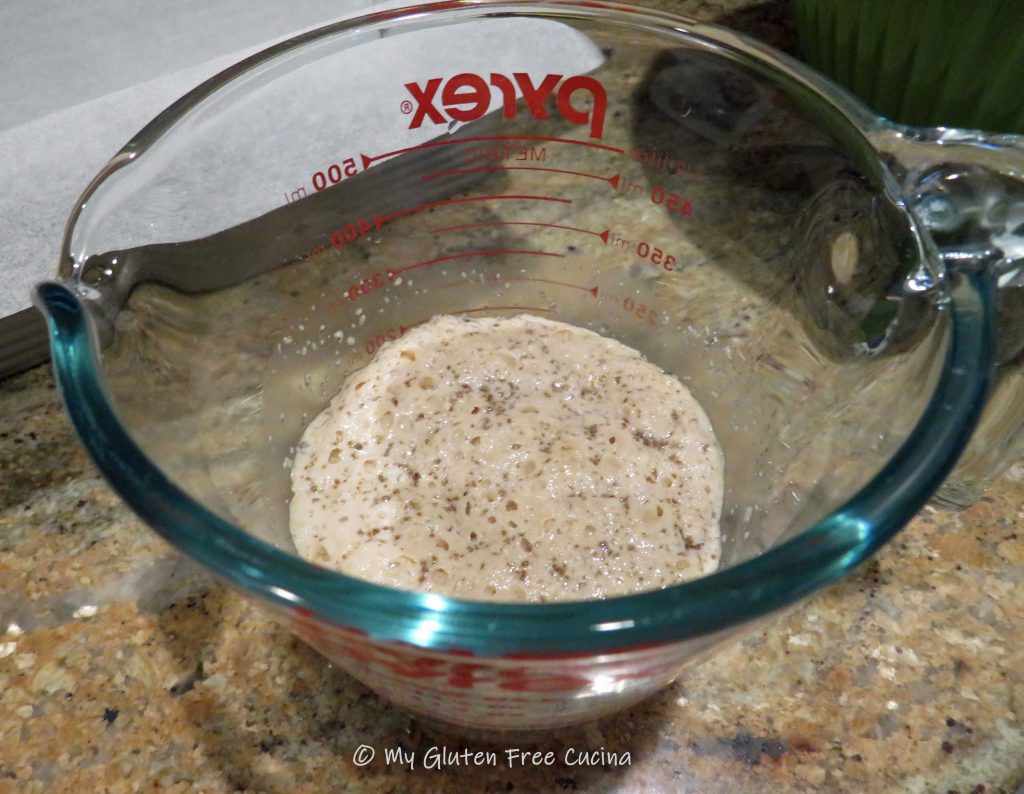
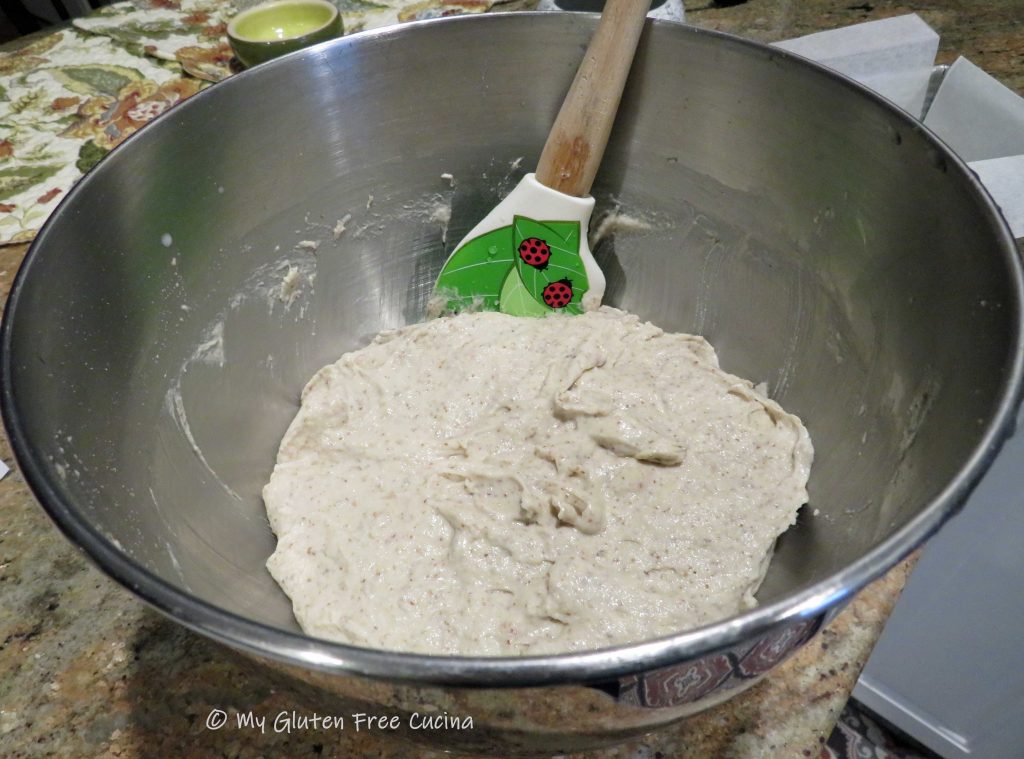
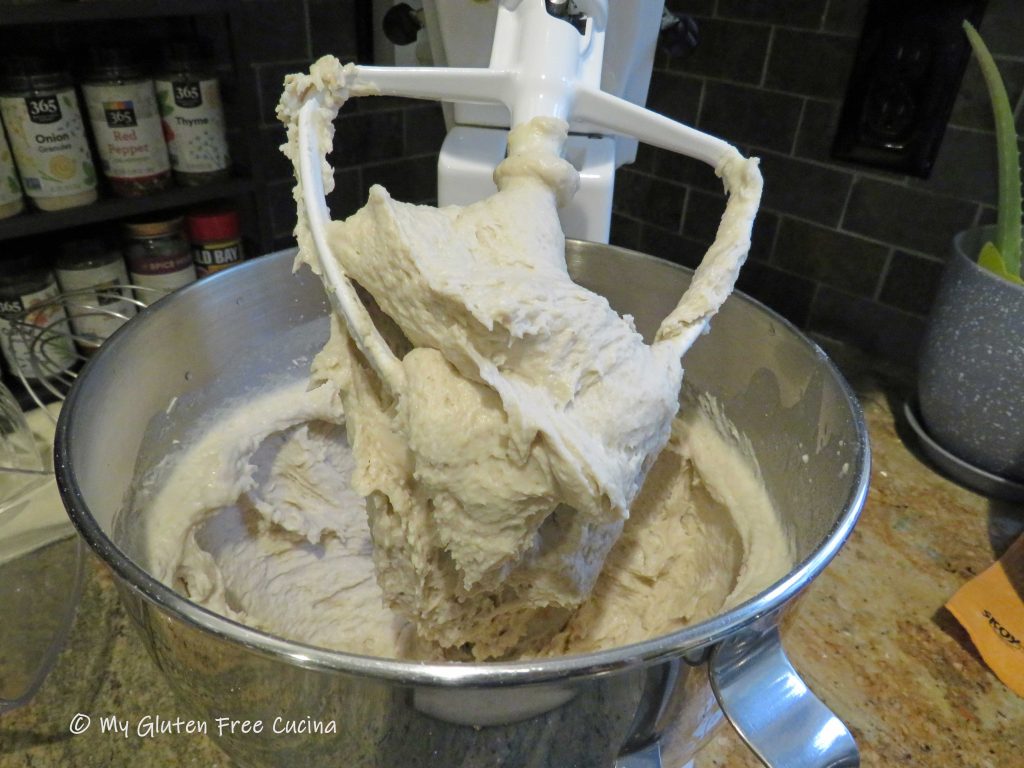
 Whisk it all together, and then add the dry ingredients into the wet. Mix for 5 minutes with the paddle attachment. The dough will be heavy and wet.
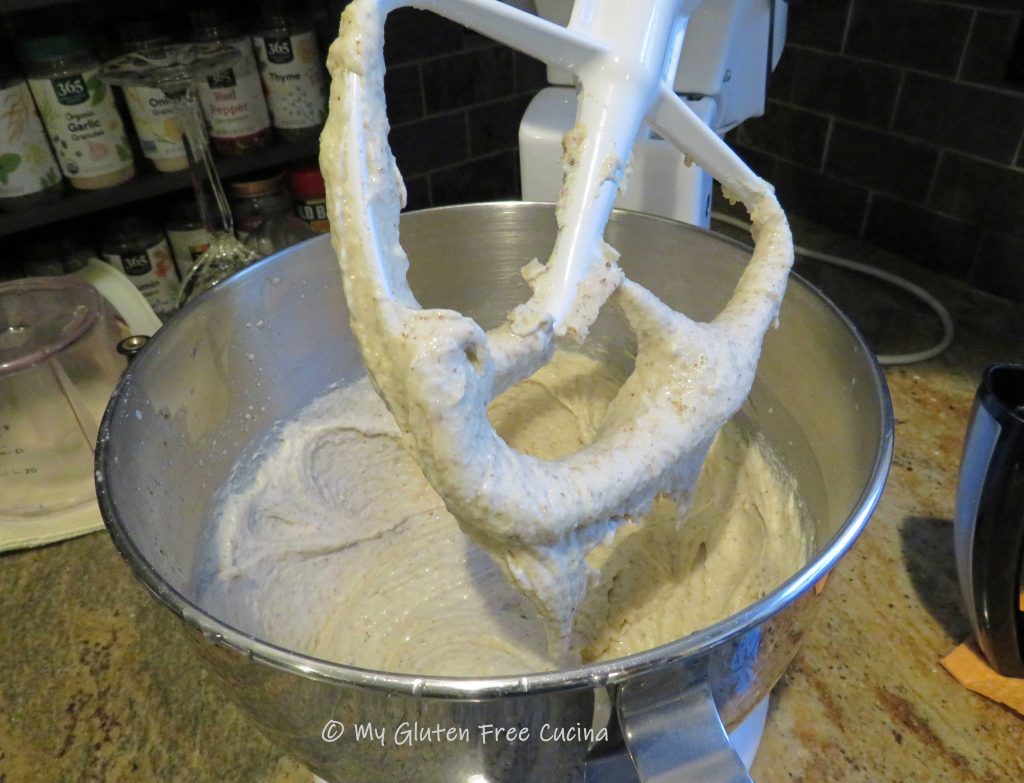
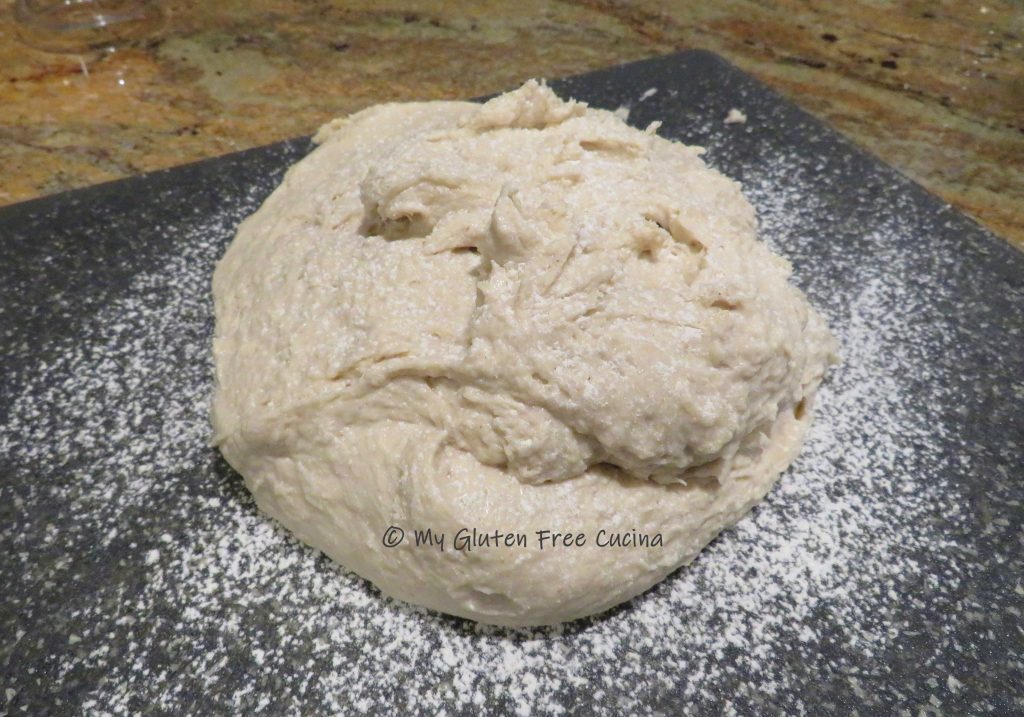
 Scrape the dough into the prepared pan, smoothing out the top with a spatula dipped in water.
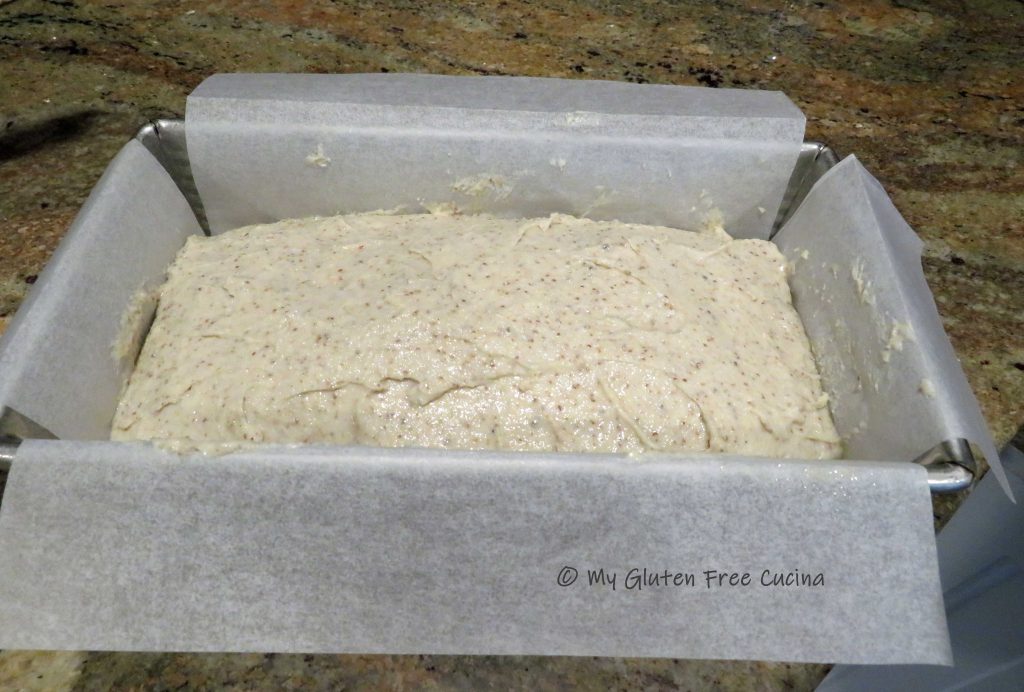
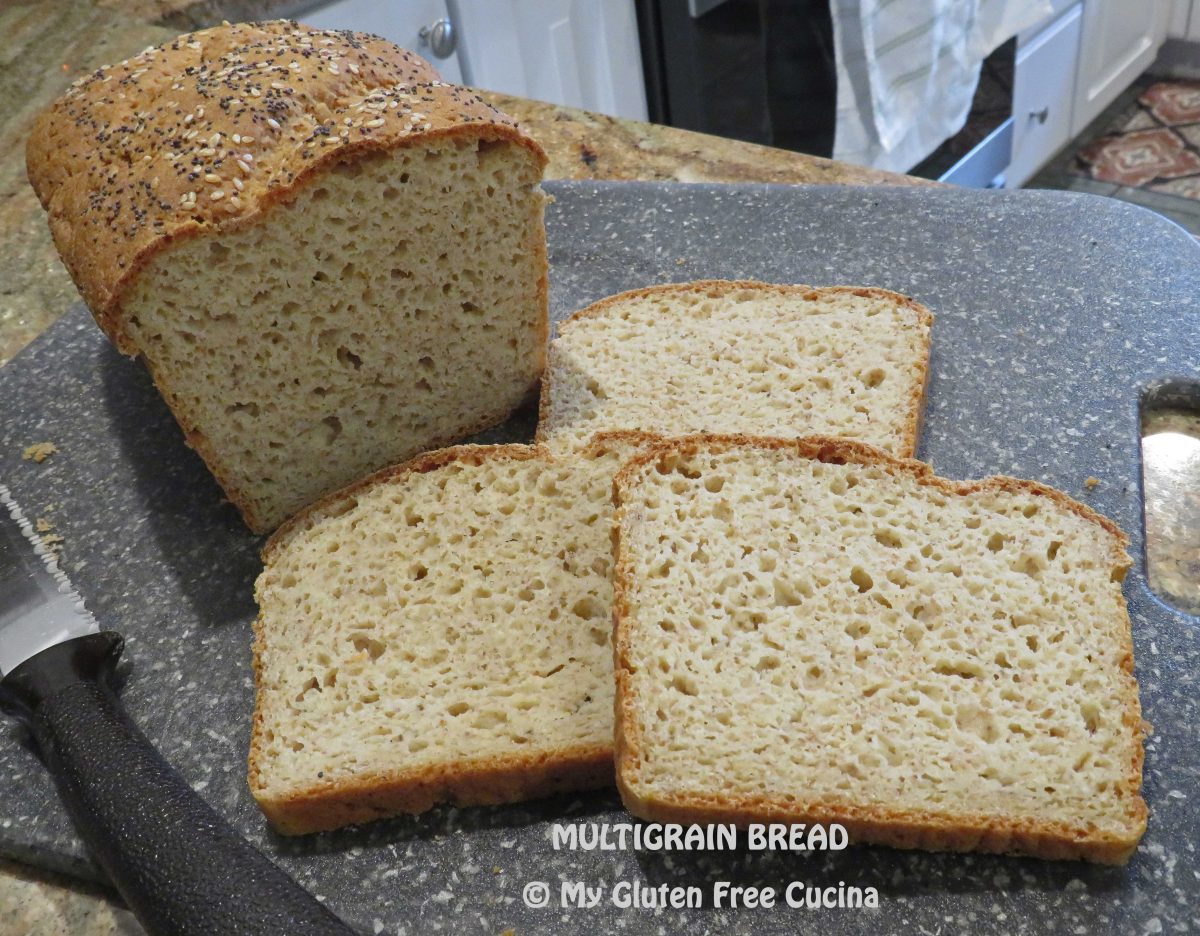
 Quickly make 2 diagonal slashes across the top of the loaf with a sharp knife.

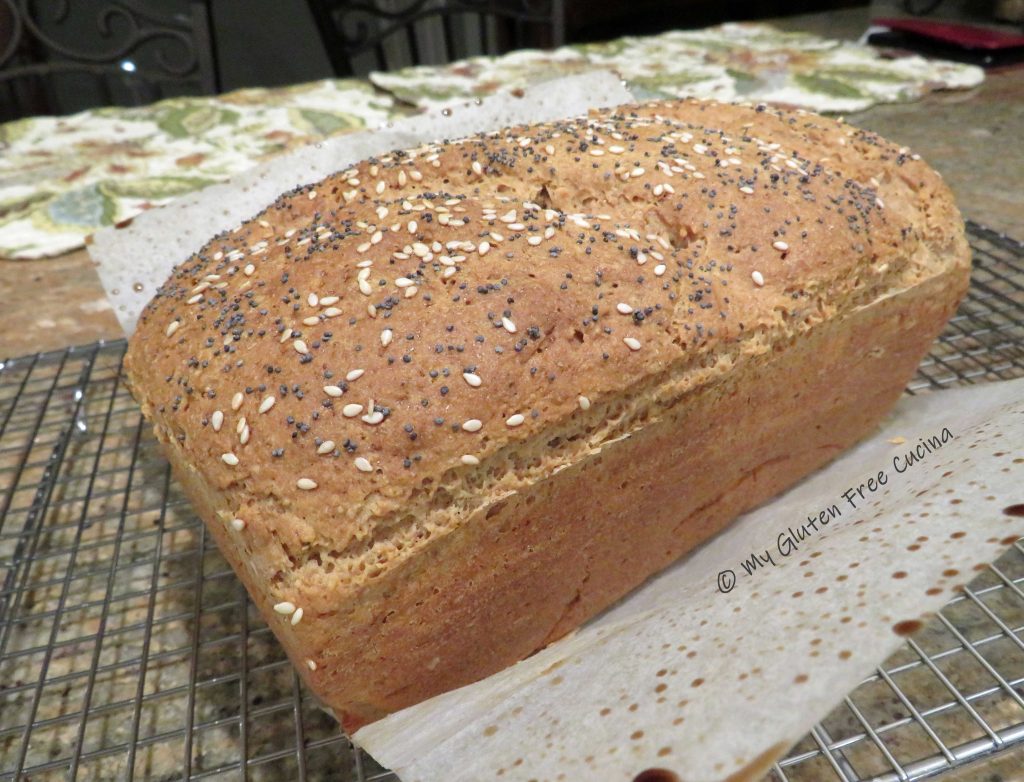
 Cool to room temperature, then
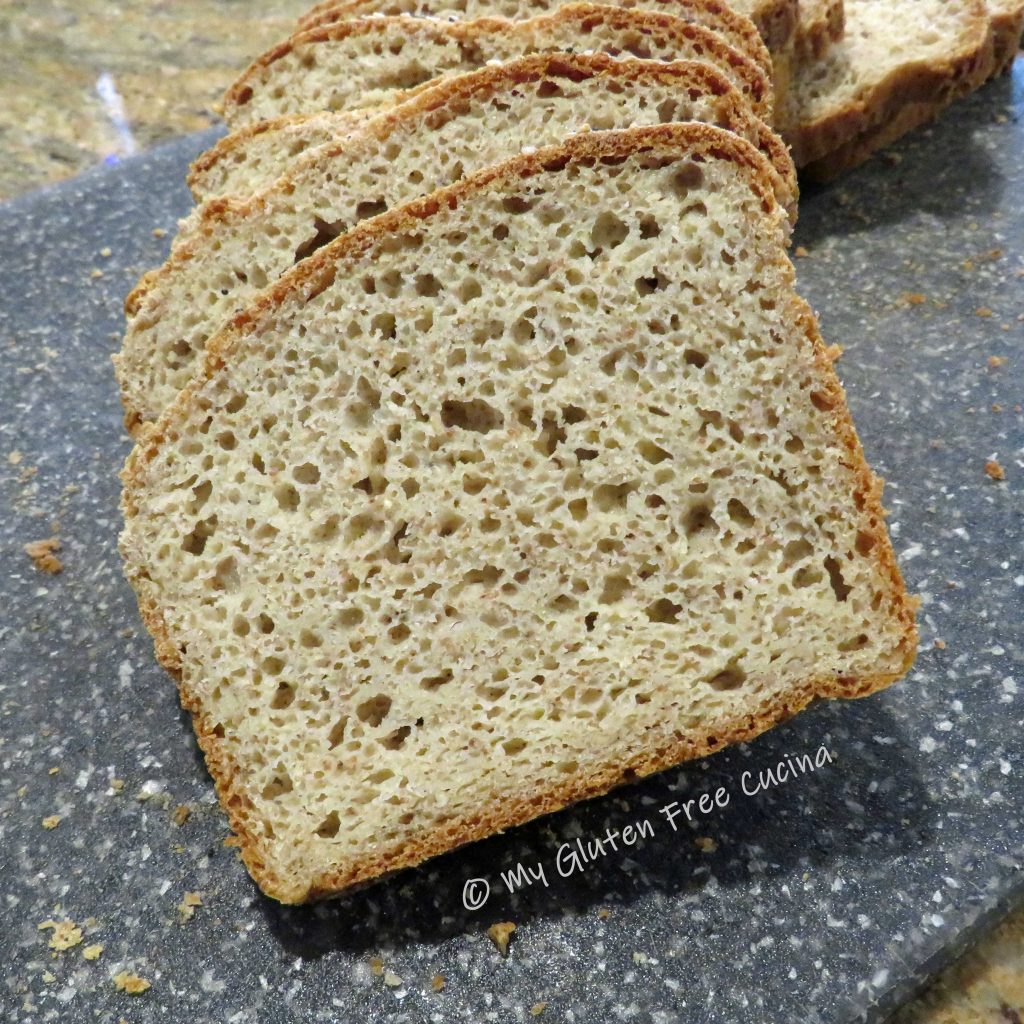
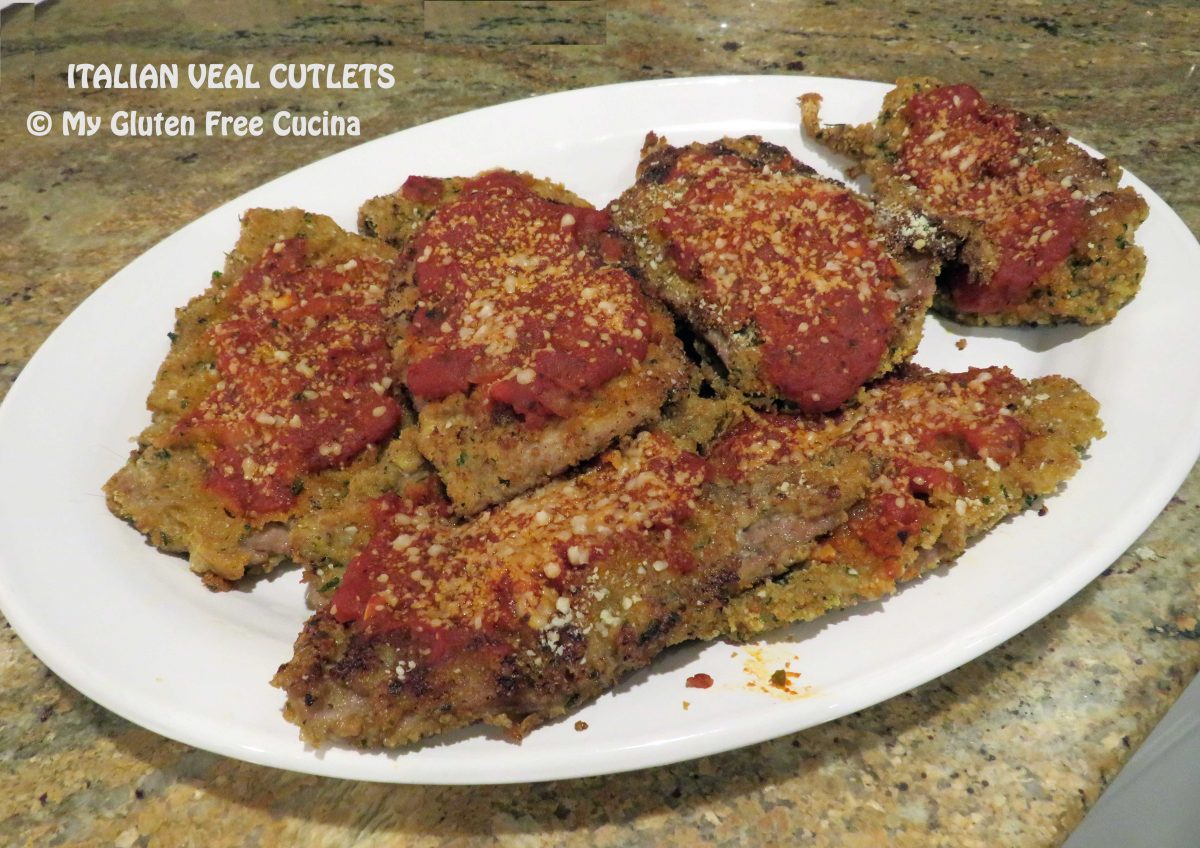

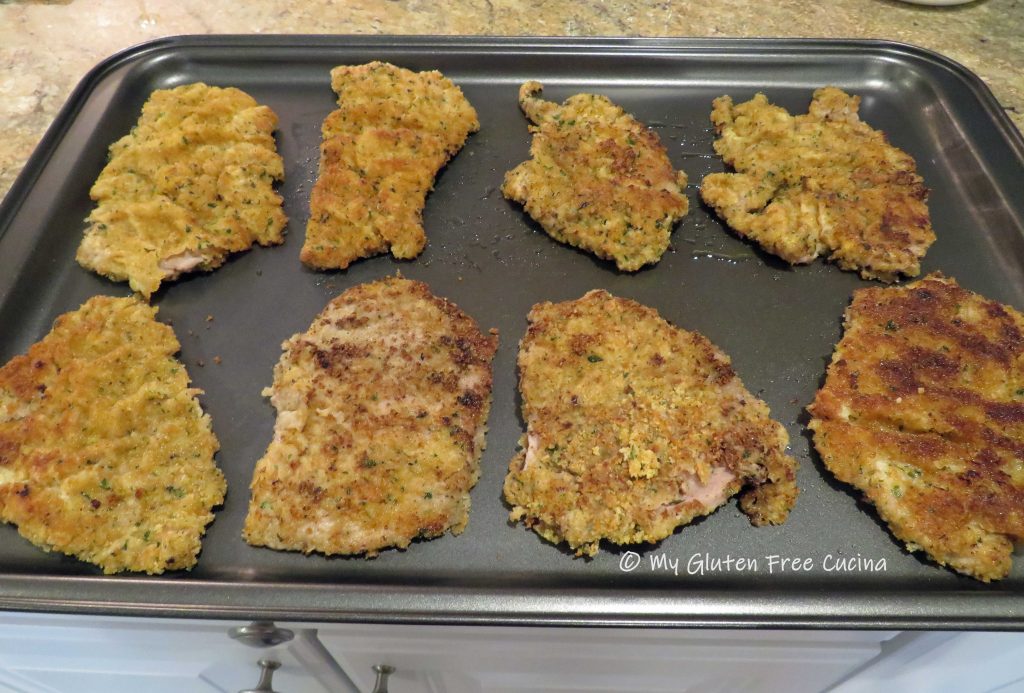 Ladle marinara over each slice and top with grated cheese, as much as you like.
 Place in the oven for 15-20 minutes, just enough to melt the cheese.
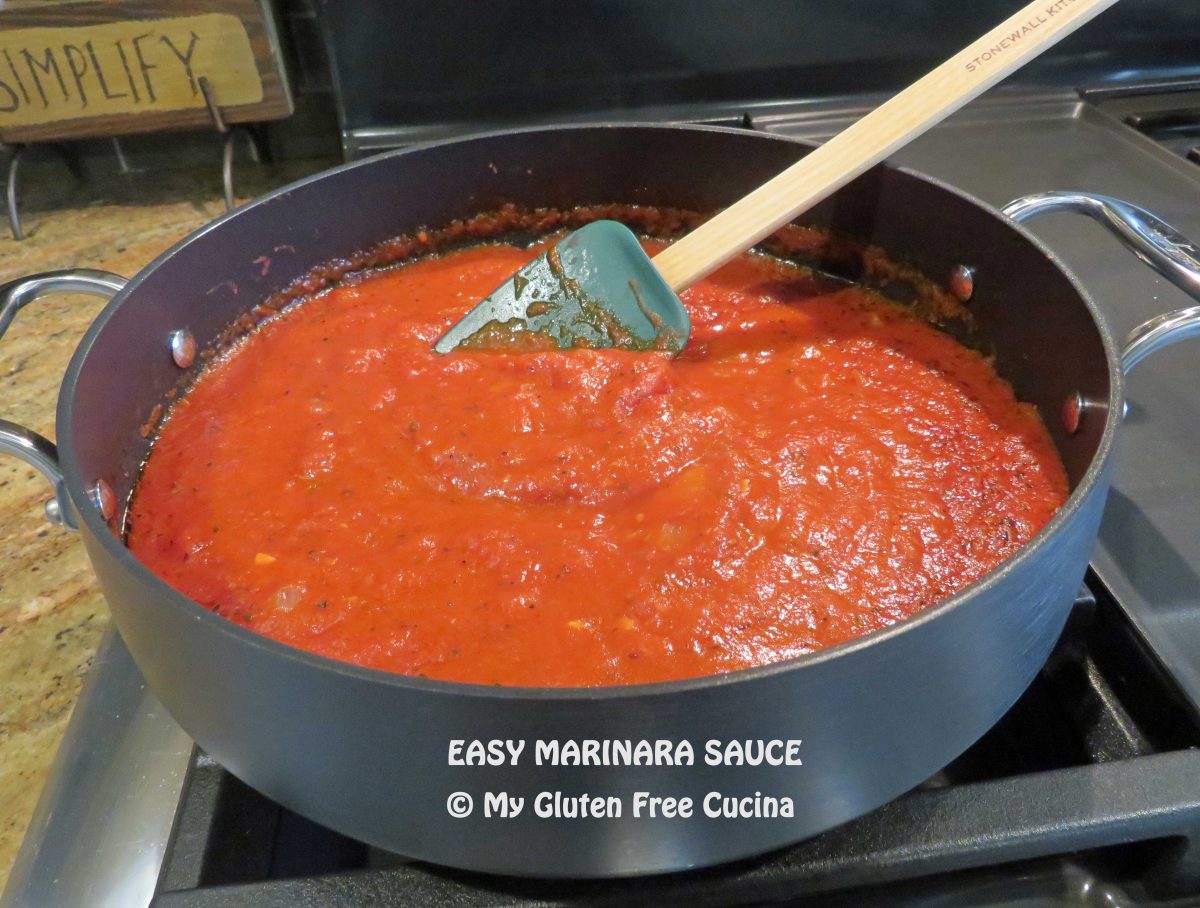


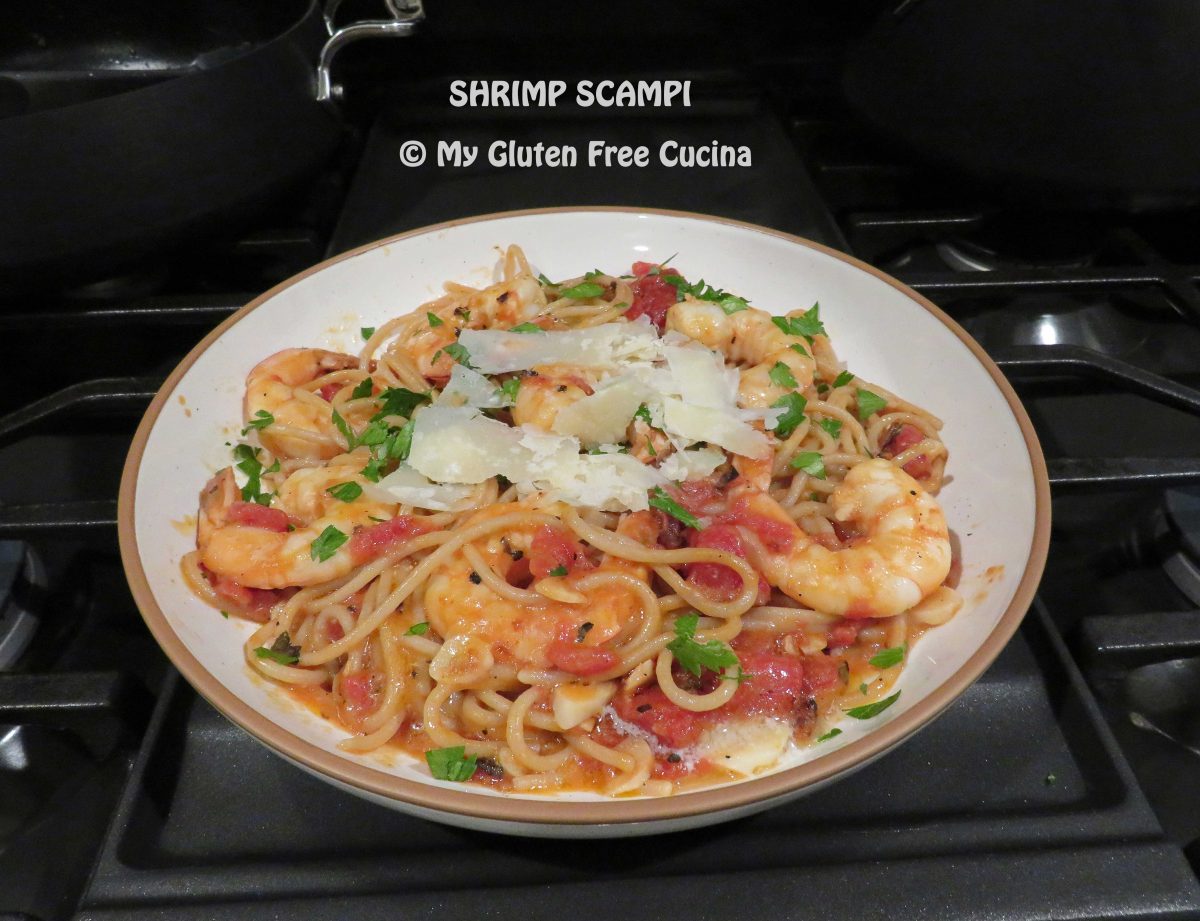
 Now that you know how to make a good marinara sauce, what restaurant favorite will you have for dinner tonight? How about
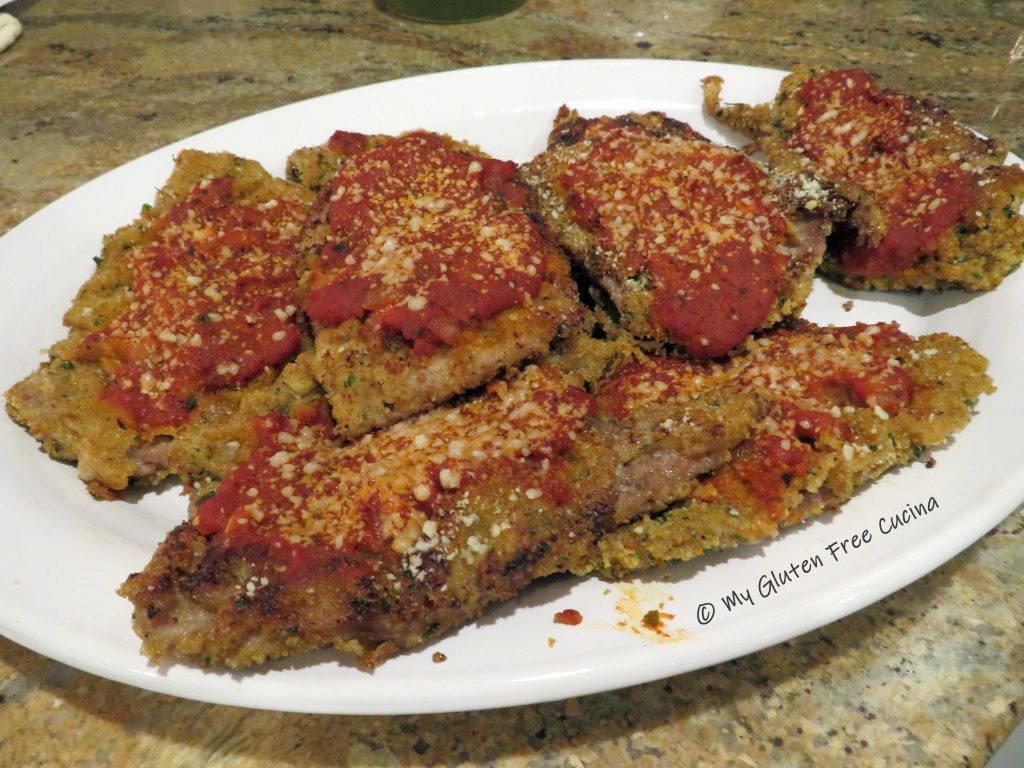


 Cool to room temperature and store on the counter for up to 1 day, then freeze leftovers.