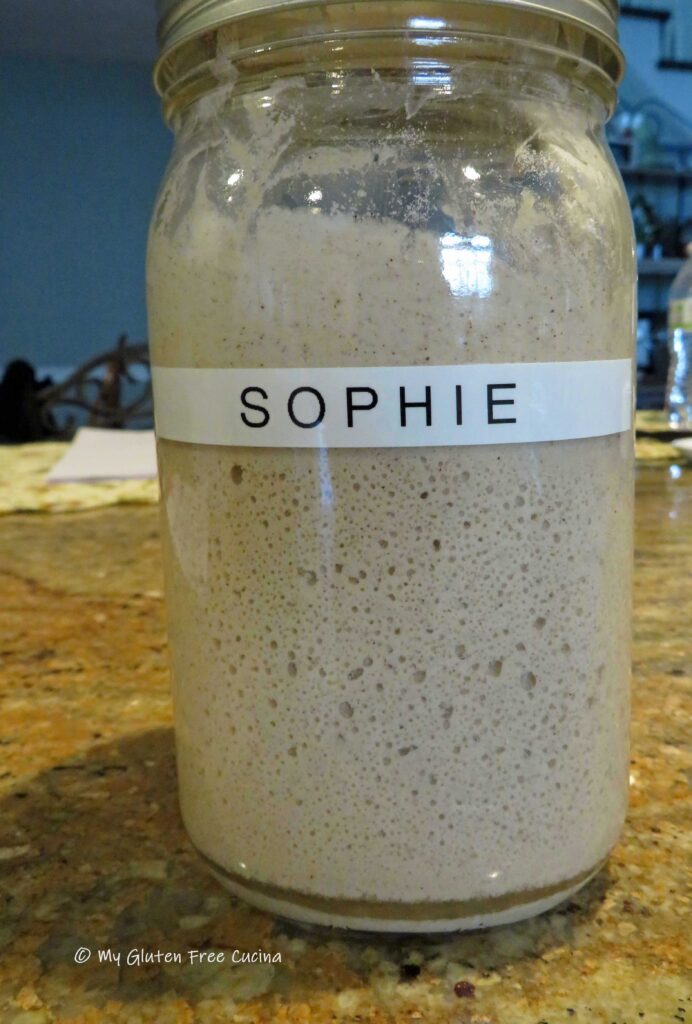
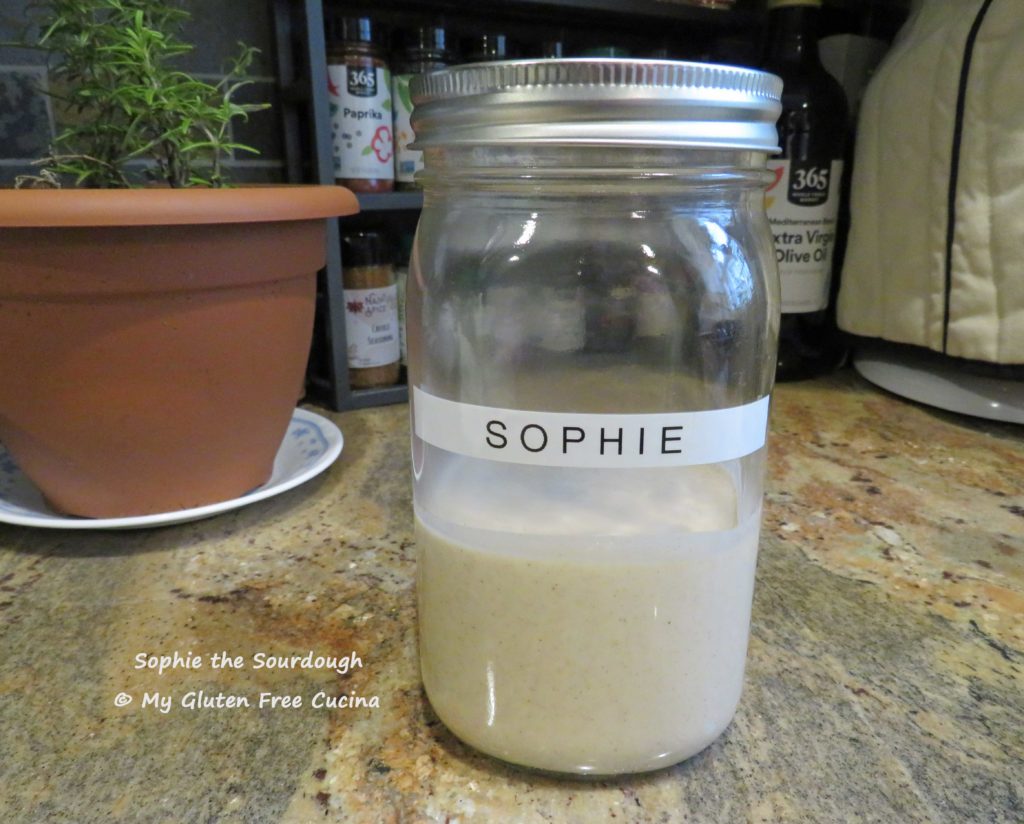
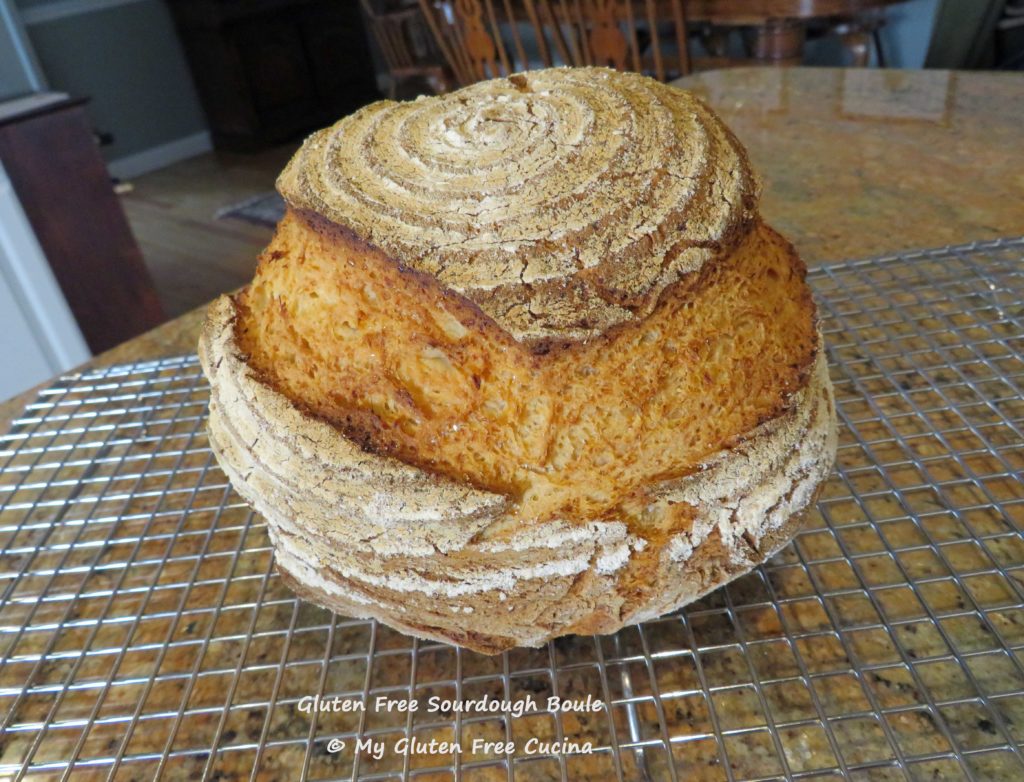
The Adventures of Sophie the Sourdough
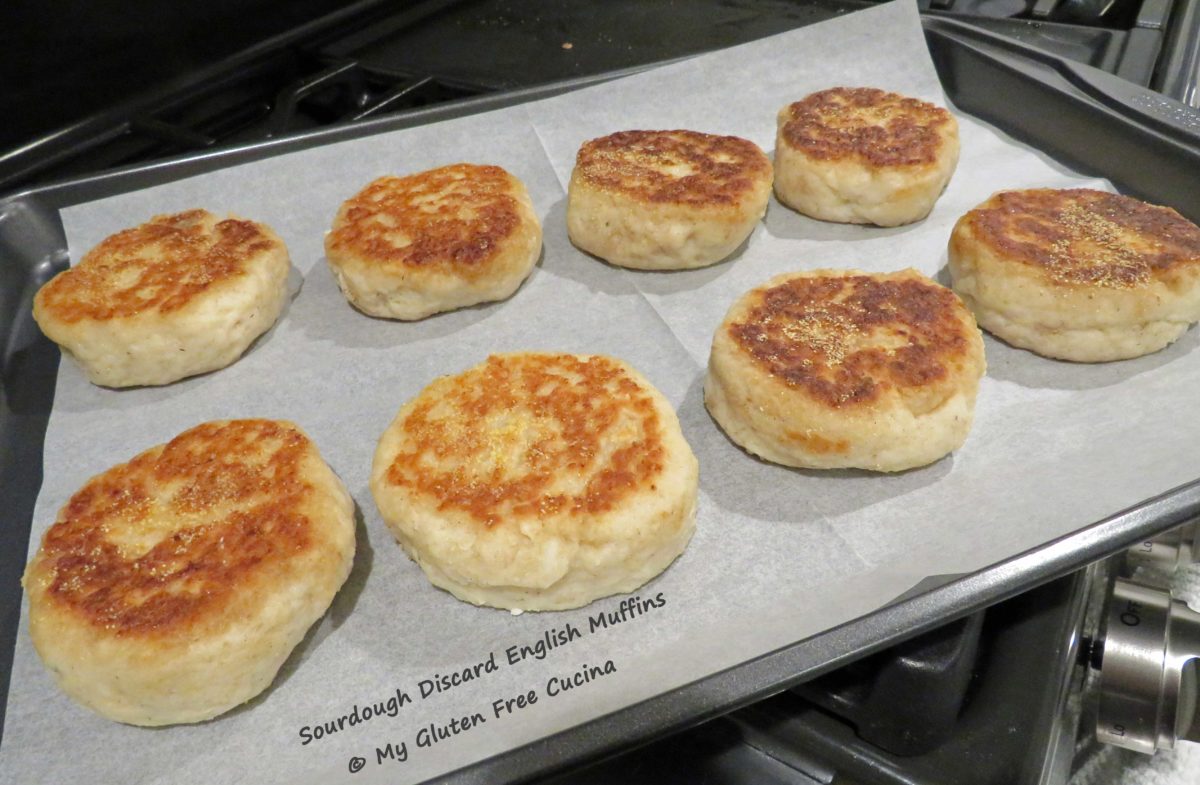
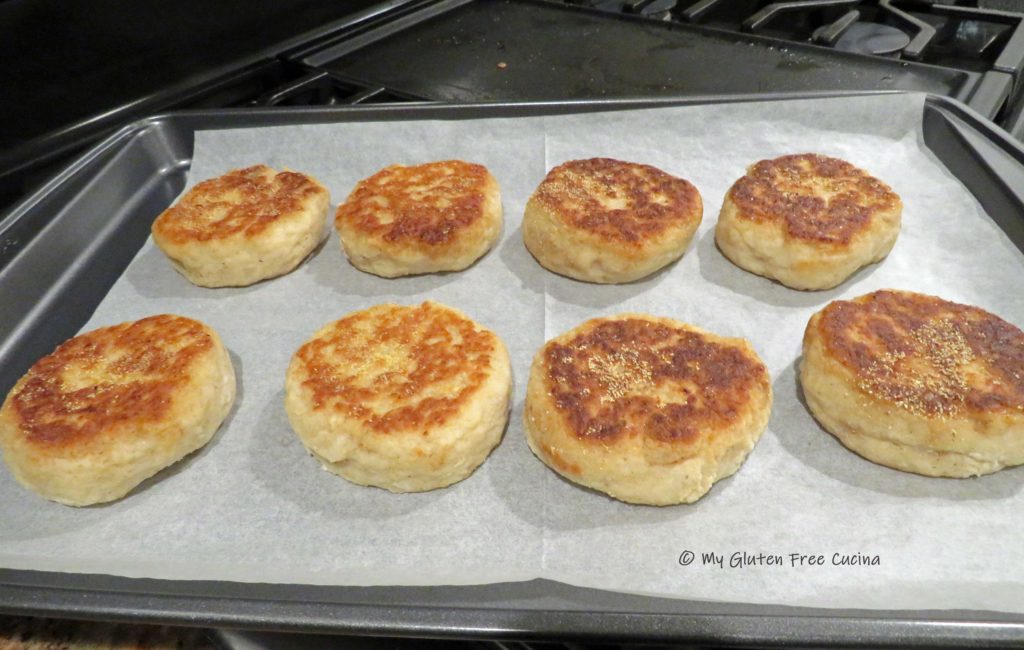
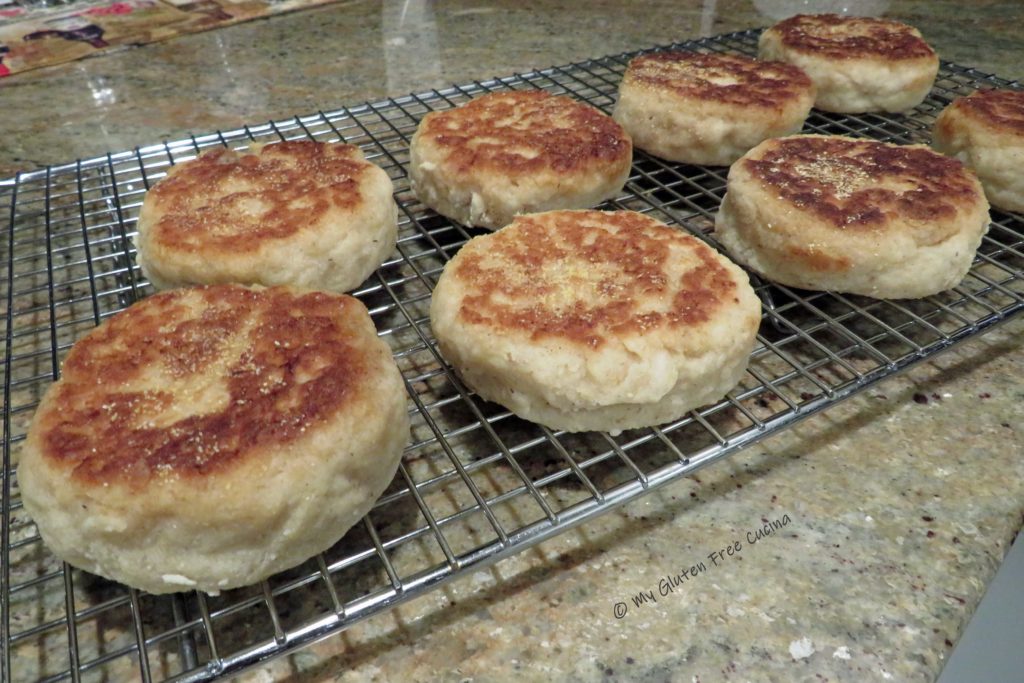
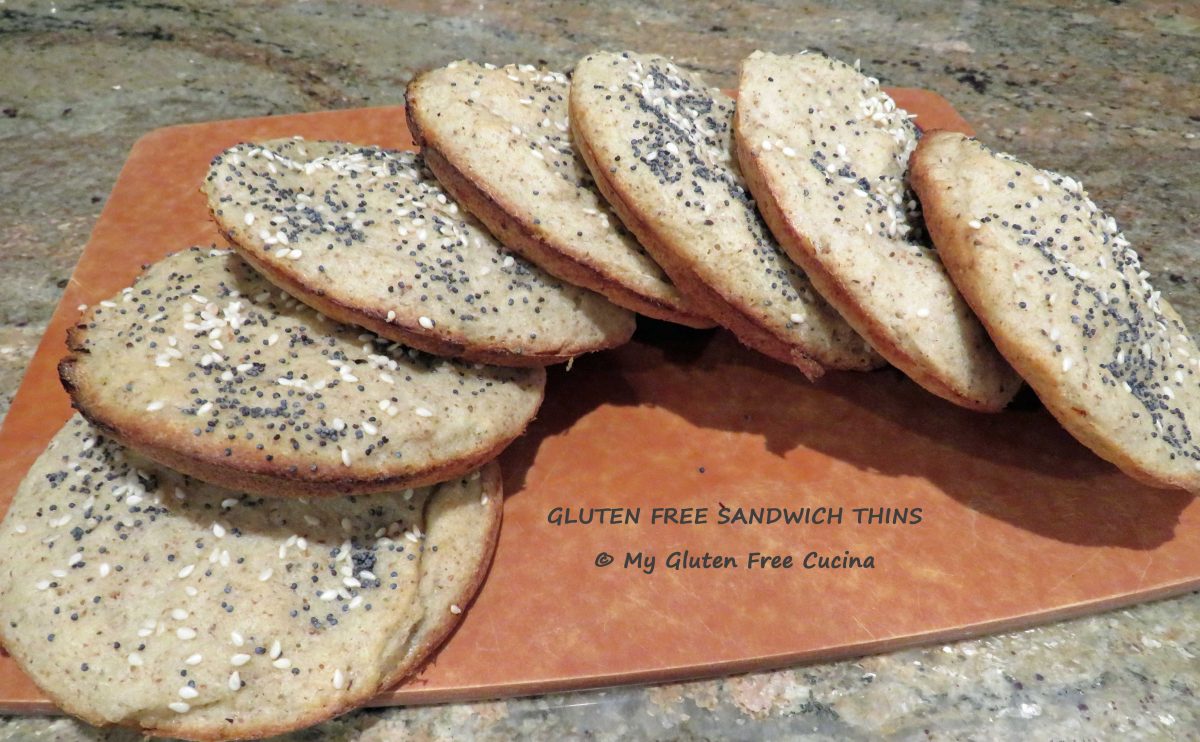
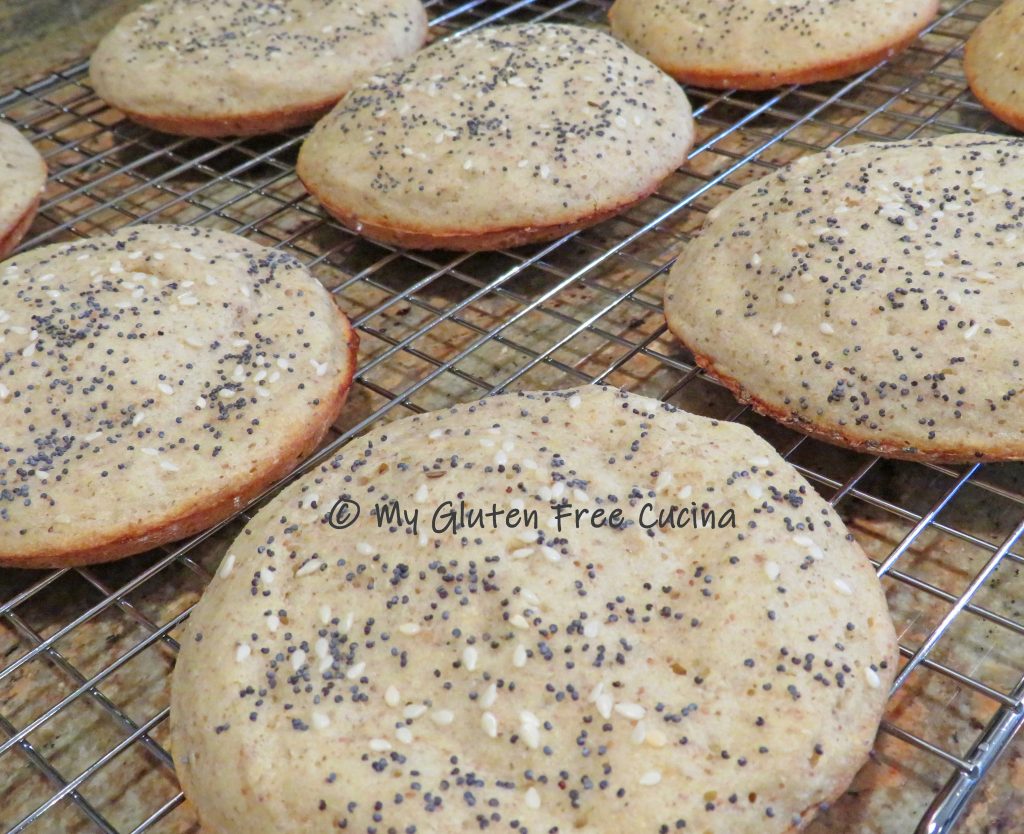
Recipes for sourdough discard are as plentiful as there are sourdough bread recipes. These Sourdough Discard English Muffins were my first experiment using discard, as Sophie, my gluten free starter continues to develop.
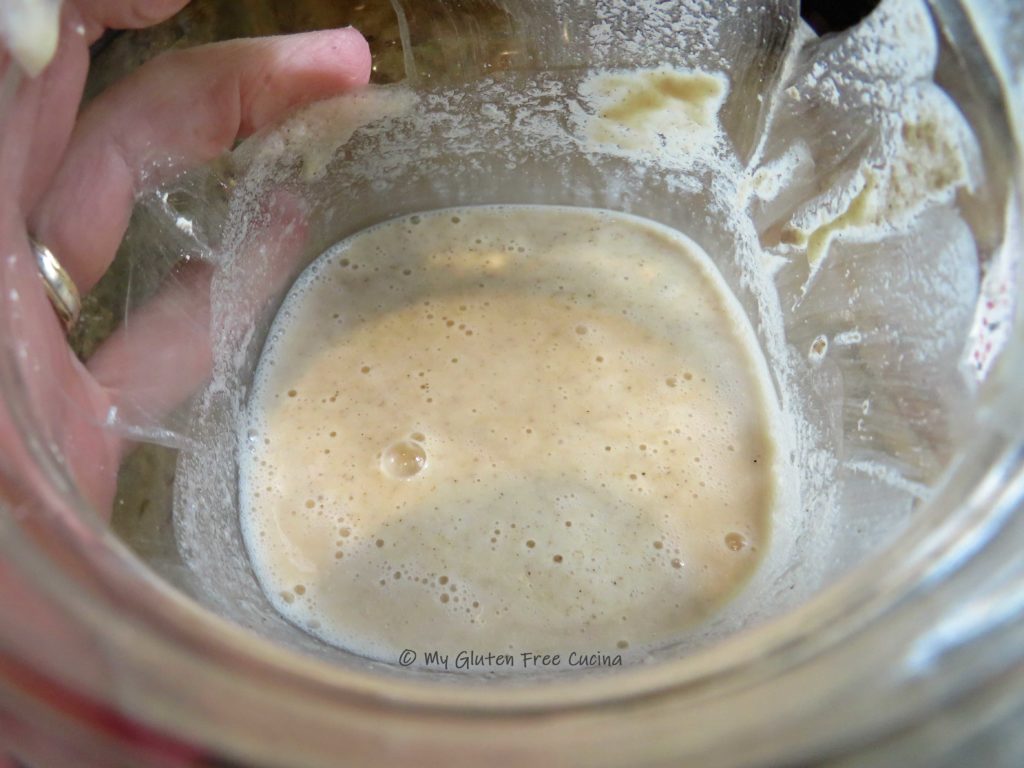
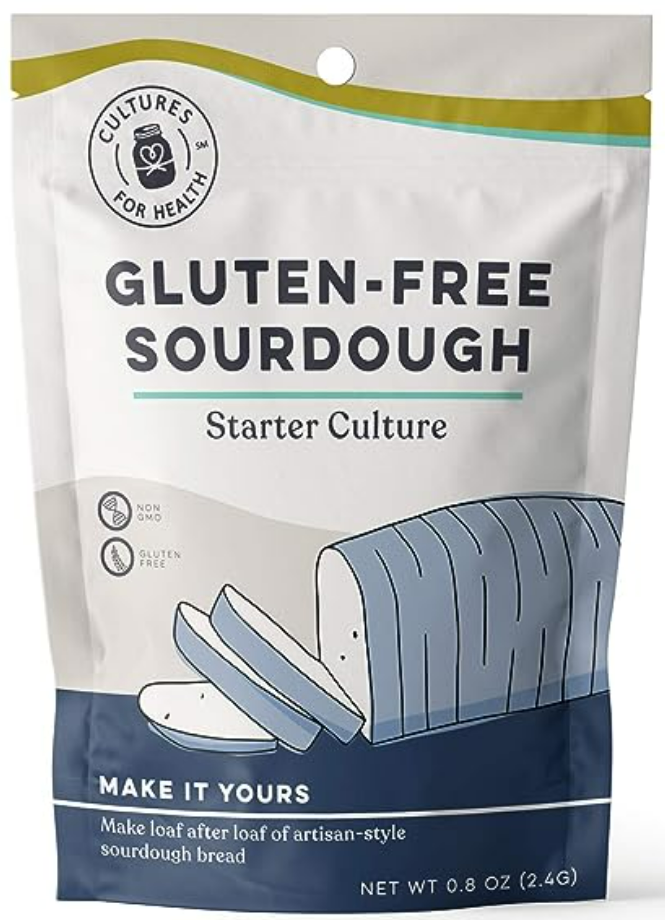
So, what exactly is sourdough discard? In simple terms, when feeding a new sourdough starter, you will be adding flour and water at least twice per day. As your starter grows, part of the process requires that you discard some of the mixture. This keeps the starter at a reasonable quantity while feeding the organisms that will eventually produce that wonderful sourdough flavor.
Even after your starter is well established and living in the fridge, you will still need to feed it regularly, and unless you are a prolific baker there will always be “discard”.
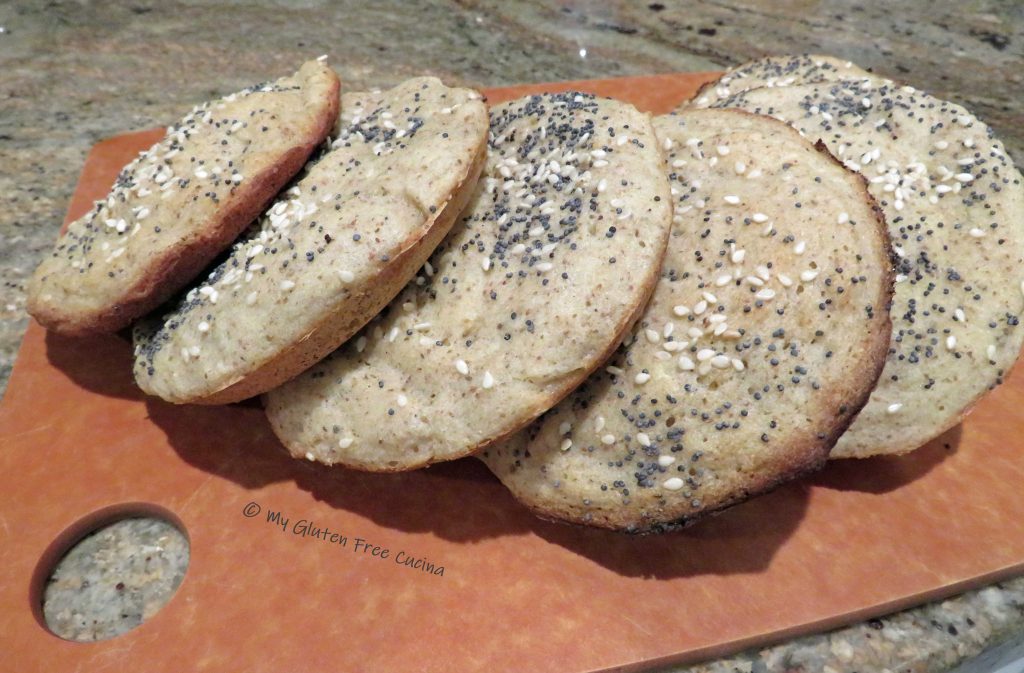
It’s all part of baking with sourdough, but that doesn’t mean your excess starter needs to be thrown in the trash. I mean just look at those English Muffins! I knew when I made this batch that Sophie and I were going to have some incredible BREAD adventures this year.
In some cases, recipes made with discard like this one are actually “sourdough enhanced”, meaning that they use the sourdough discard along with traditional leavening ingredients such as commercial yeast and/or baking powder. When I first made these English Muffins, Sophie was about a week old. Not mature enough to raise a loaf of bread by herself yet, but ready to enhance the flavor! If you love bread like I do this recipe will make you very happy!
This post contains affiliate links.

Ingredients:
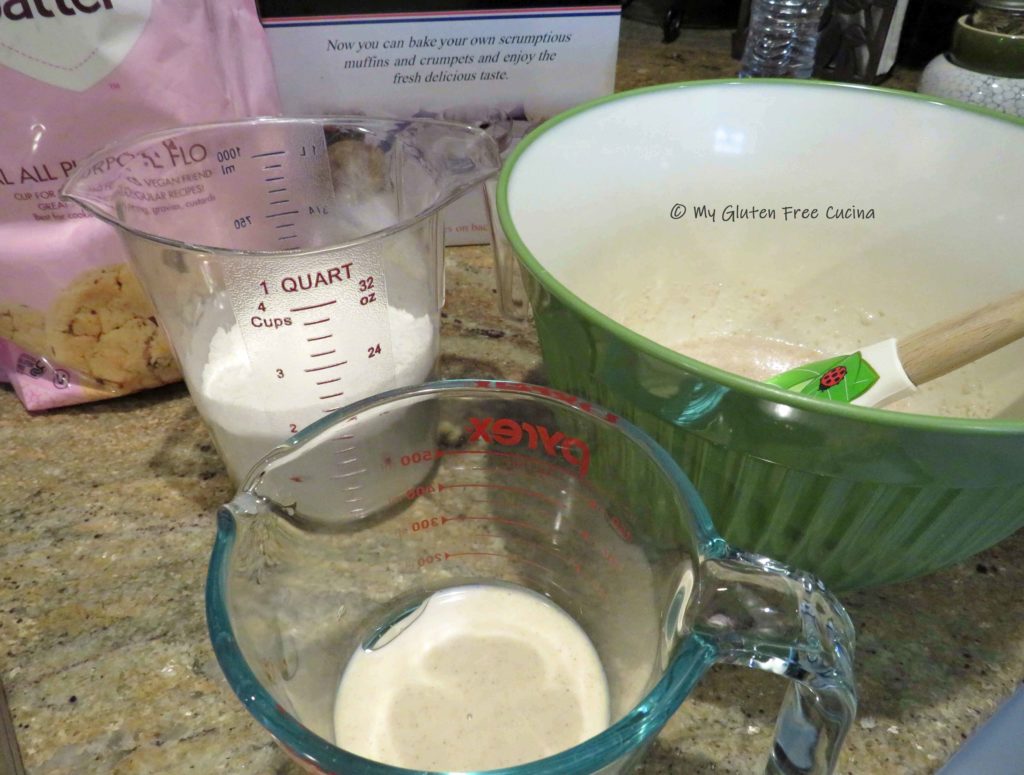
- 75 g. (1/3 cup) milk (I used 2%) *See notes
- 275 g. (1-1/8 cups) water
- 15 g. (3 tbsp.) whole psyllium husk
- 2 tsp. sugar
- 2 tbsp. canola oil
- 2-1/4 tsp. instant yeast
- 140 g. (1/2 cup) gluten free sourdough discard
- 240 g. (2 cups) gluten free flour (I used Better Batter Original Blend)
- 2 tsp. baking powder
- 1 tsp. salt
- 1 tbsp. butter for the griddle
- cooking spray
- cornmeal for sprinkling
Shop Better Batter and use my Code MGFC30 for 30% off full price items!
Preparation:
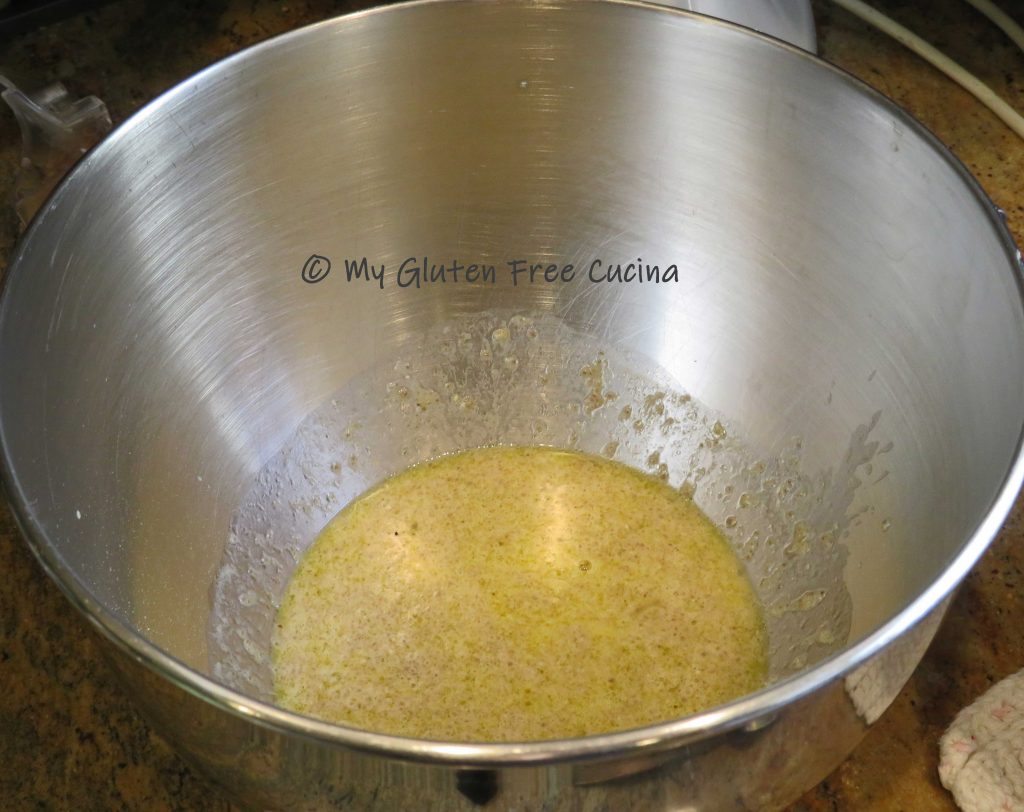
Combine the milk and water together and microwave 30 seconds. Whisk in the whole psyllium husk, yeast, sugar and canola oil.

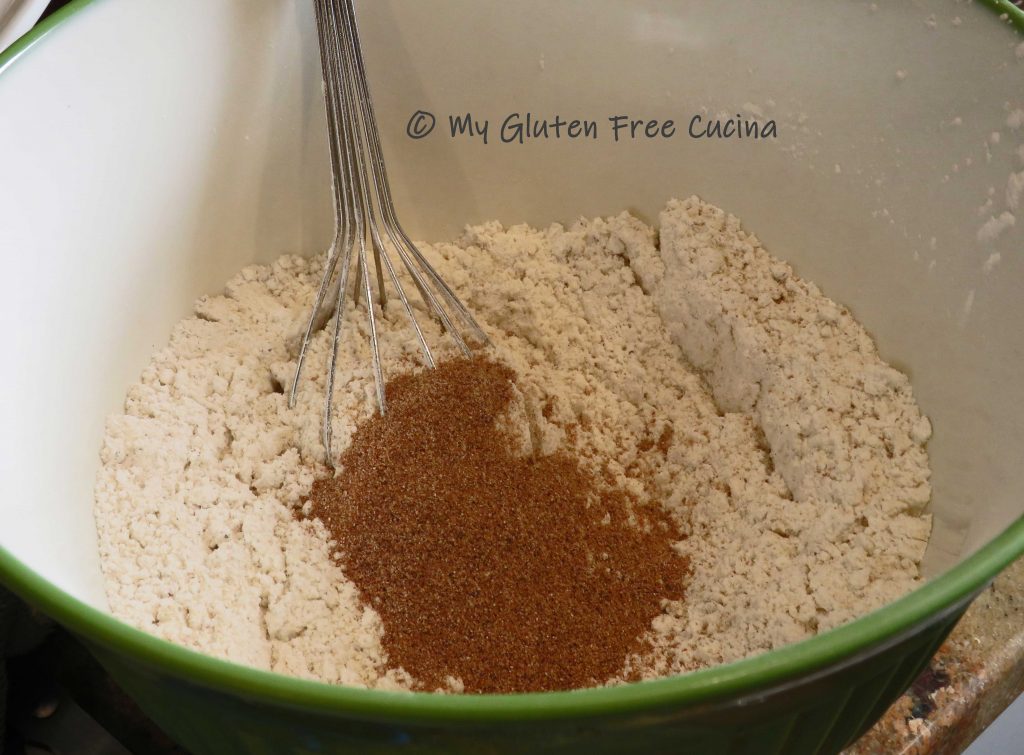
In a separate bowl, whisk together the flour, baking powder and salt.
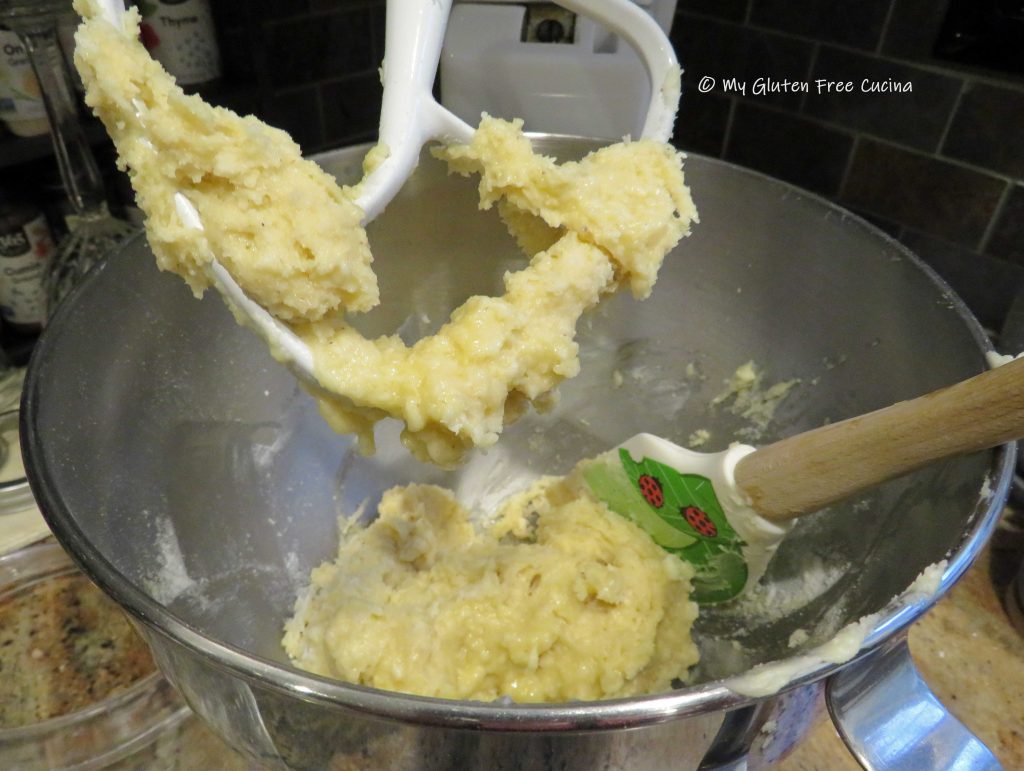
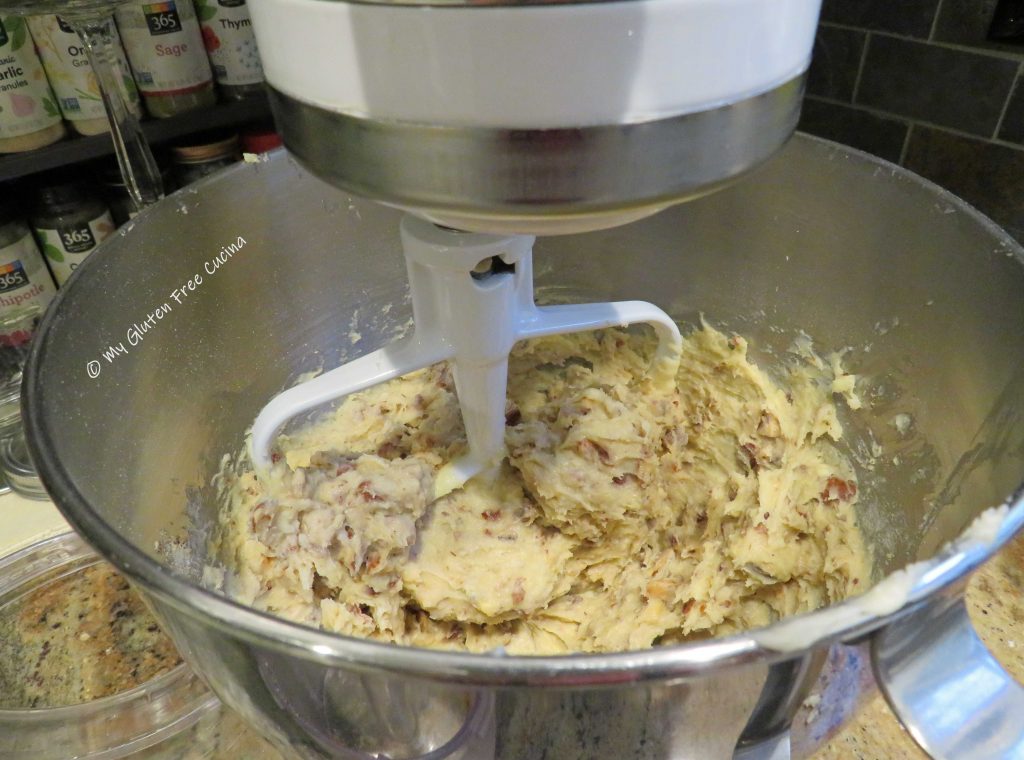
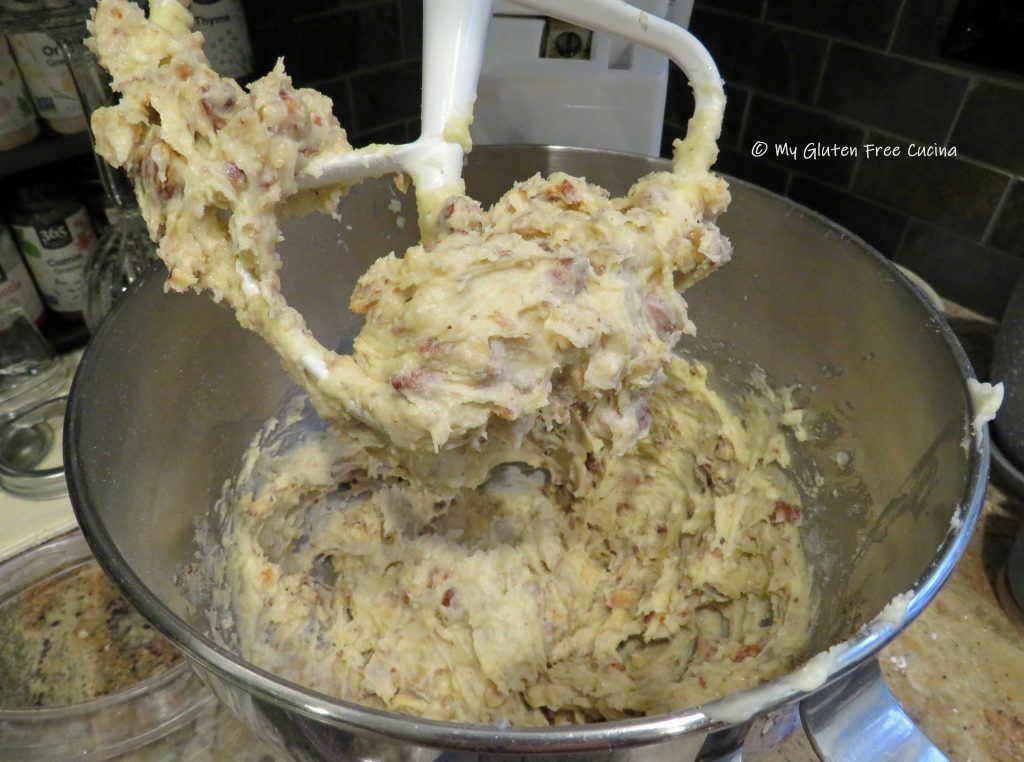
Use a dough whisk to combine the wet and dry ingredients with the sourdough discard. Turn it out onto a floured work surface and knead a few times to form a cohesive dough.
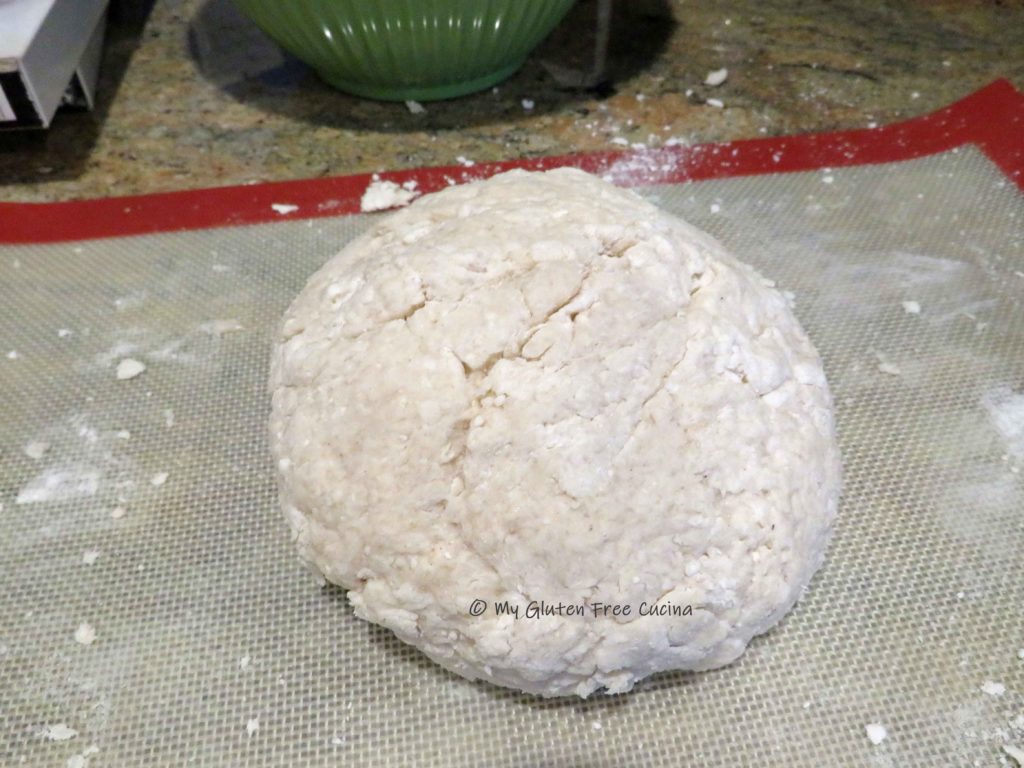
Shape into a ball, wrap in plastic wrap and let it rest for 1 hour at room temperature.

Preheat the oven to 350º and heat a seasoned griddle on medium.
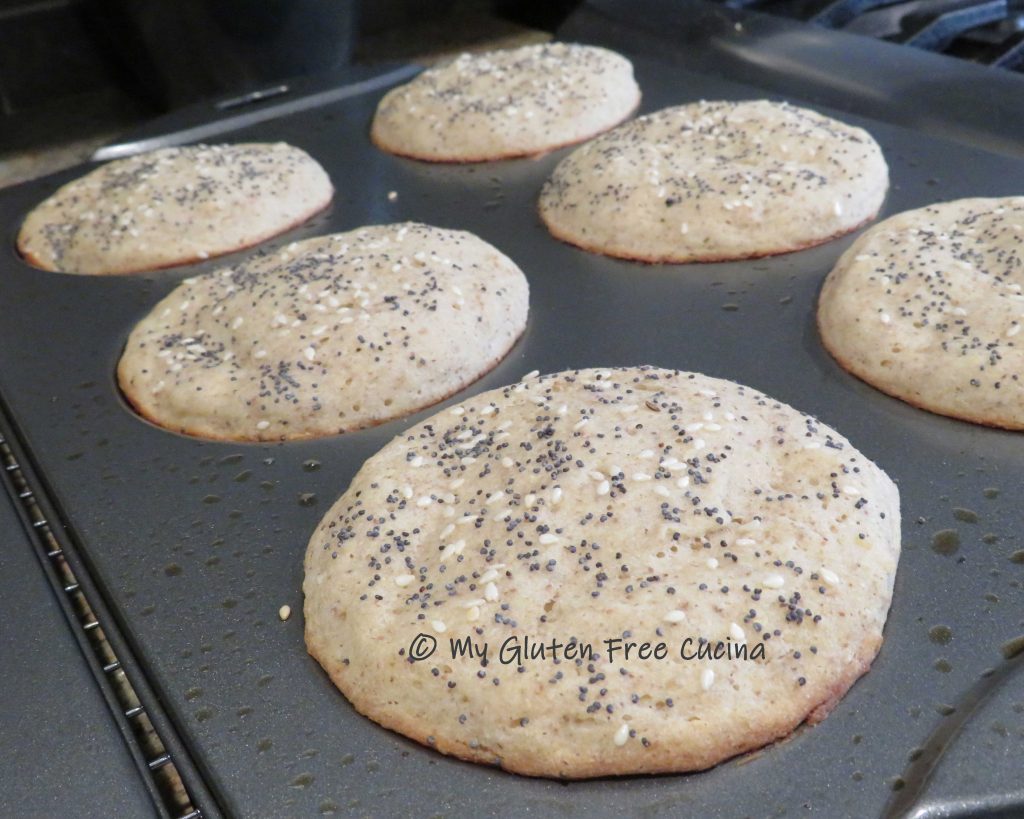
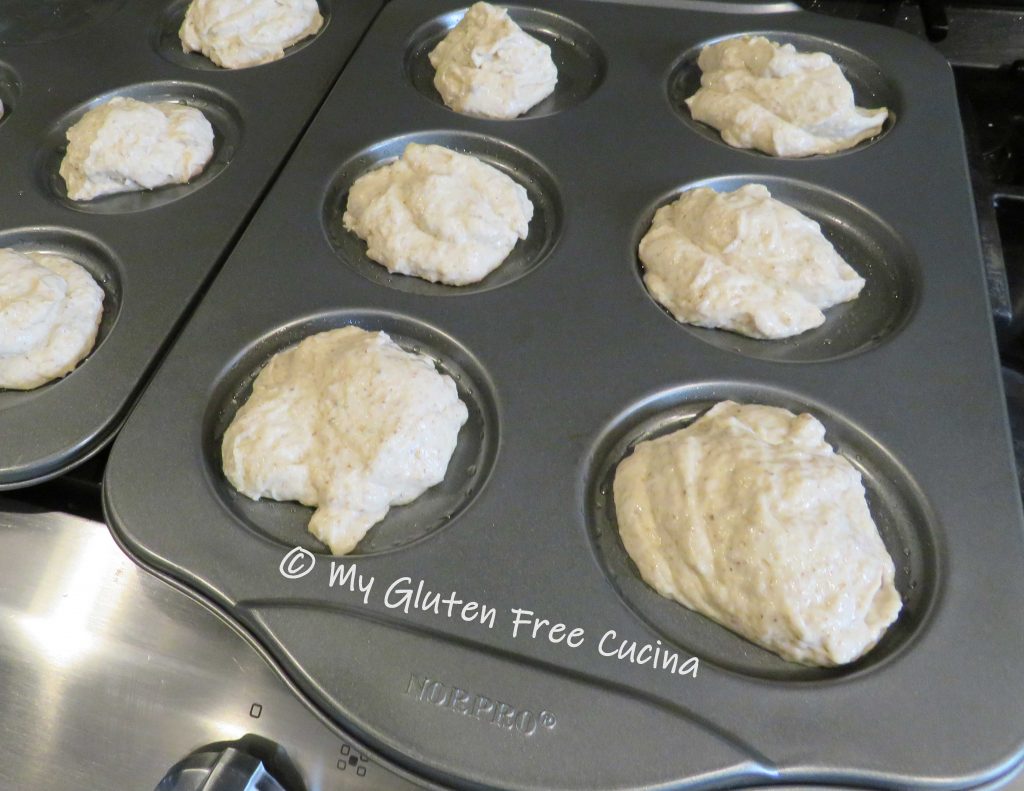
Butter the griddle and coat 8 muffin rings with cooking spray. Arrange the muffin rings on the griddle and sprinkle cornmeal inside each.
(Note-muffin rings are optional, the muffins will hold together without them.)

Divide the dough into 8 equal pieces, about 95g. each. Rub a little oil into your hands, then roll each piece of dough into a ball and flatten slightly with your palm.

Place one piece of dough into each muffin ring and sprinkle more cornmeal on top.
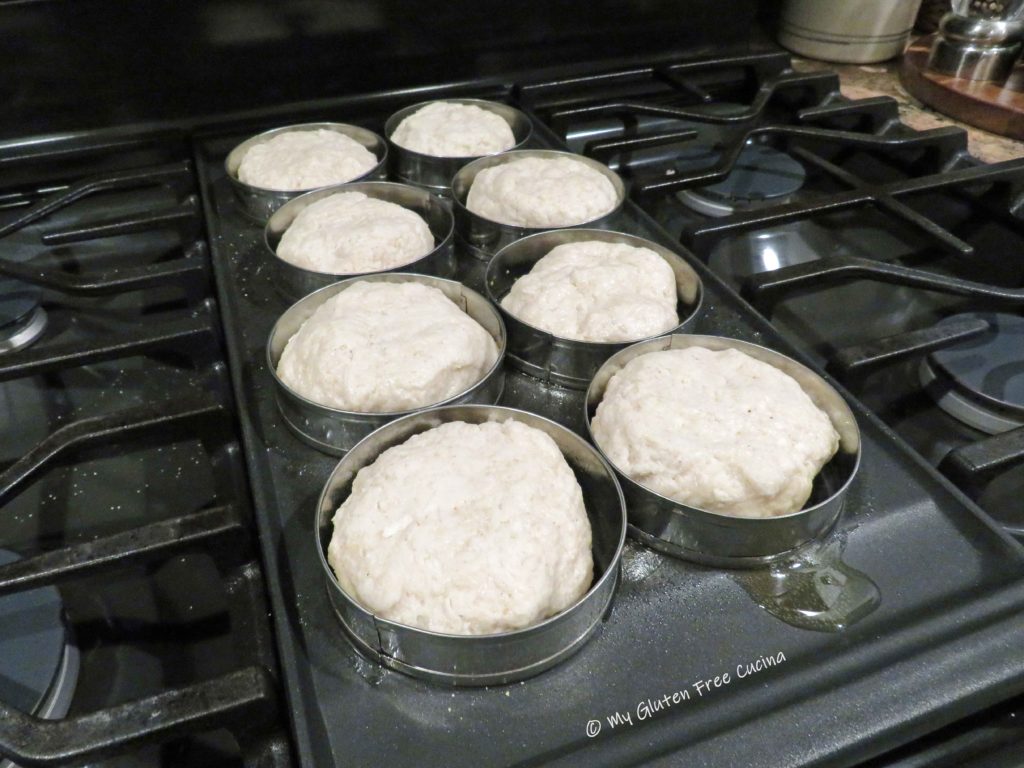
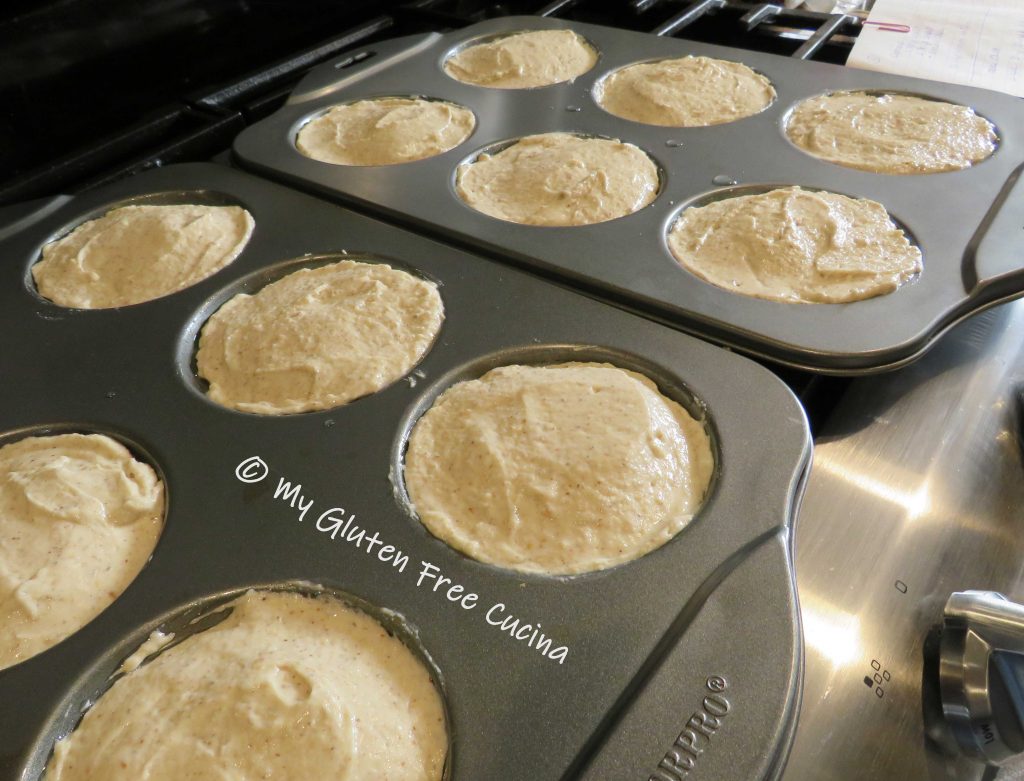
Cook on the first side for 5 minutes, then use tongs and a spatula to turn them over. Carefully remove the rings with tongs and cook 5 minutes longer.

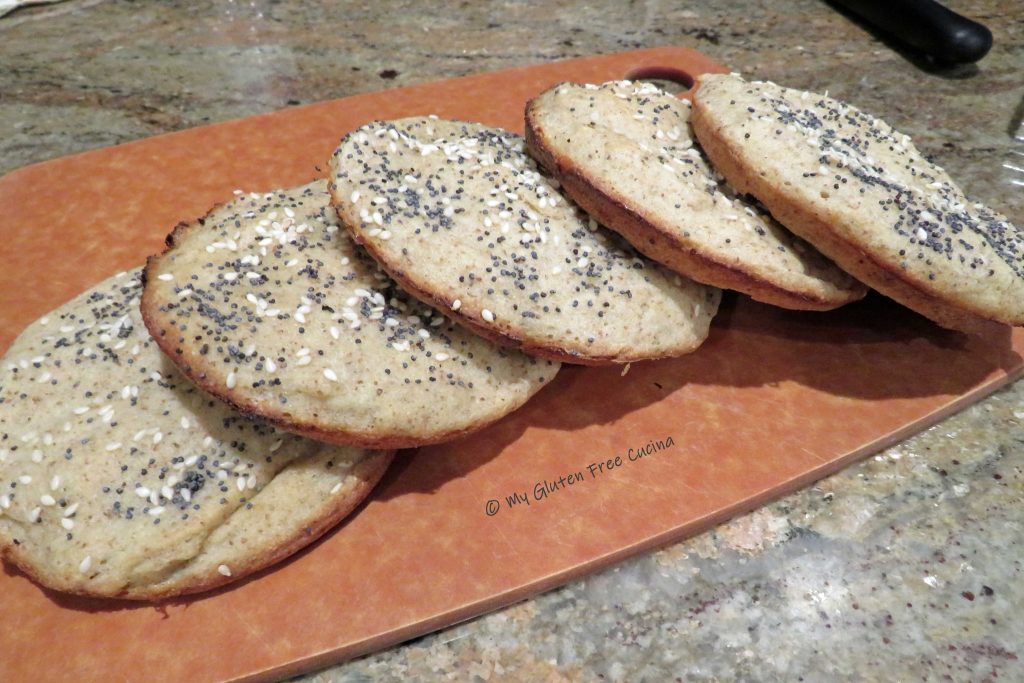
Transfer the muffins to a parchment lined baking sheet, and place in the oven for 10 minutes longer or until the internal temperature reaches 210º (check with a thermometer).
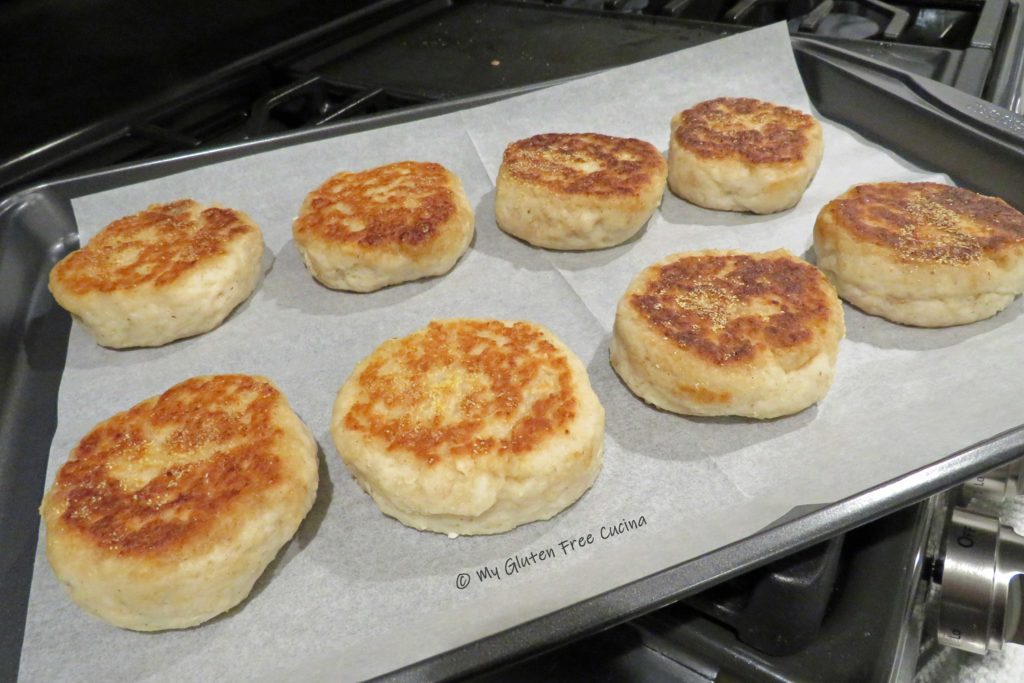
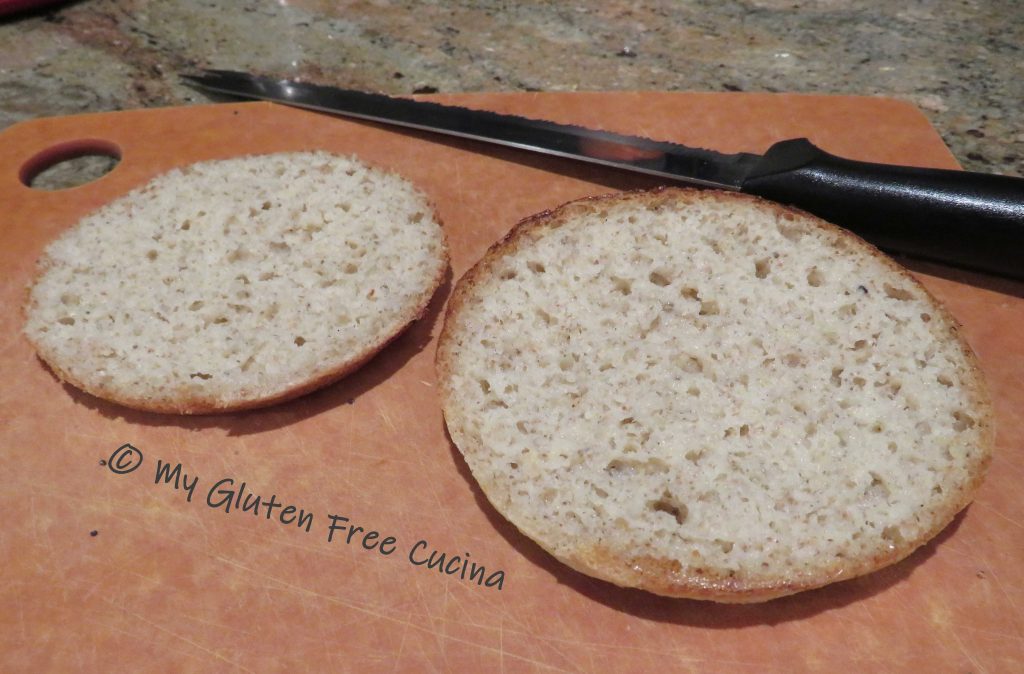
Cool several hours on a rack before toasting. Wrap leftovers individually and place in freezer safe bags.

Notes
♪ Depending on time of year, temperature, humidity etc. you may need to add a little more liquid to the dough. If it feels very dry you can add another 1/4 cup of milk.
♫ I used and highly recommend Better Batter Original Flour Blend in this recipe (use the link for 30% off full price). Remember, every gluten free flour blend is different, so if you use another brand you may need to adjust the flour to liquid ratio.


 Drizzle the liquid into the pan as you continue whisking.
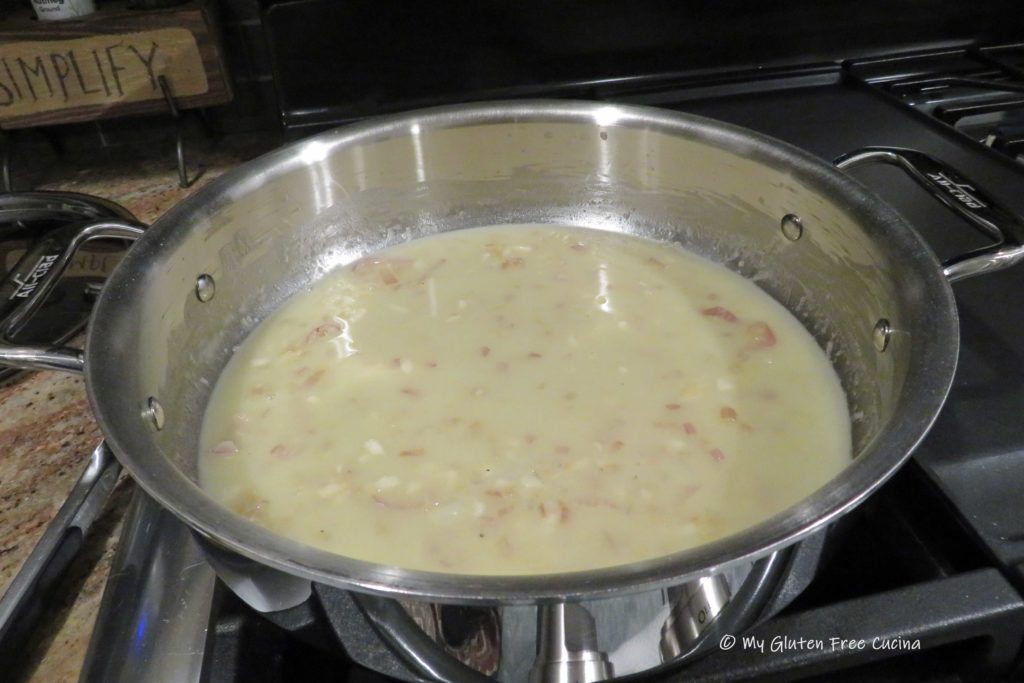


 Bake for 15 minutes, or until the buns reach an internal temperature of 205º.

 Preparation:
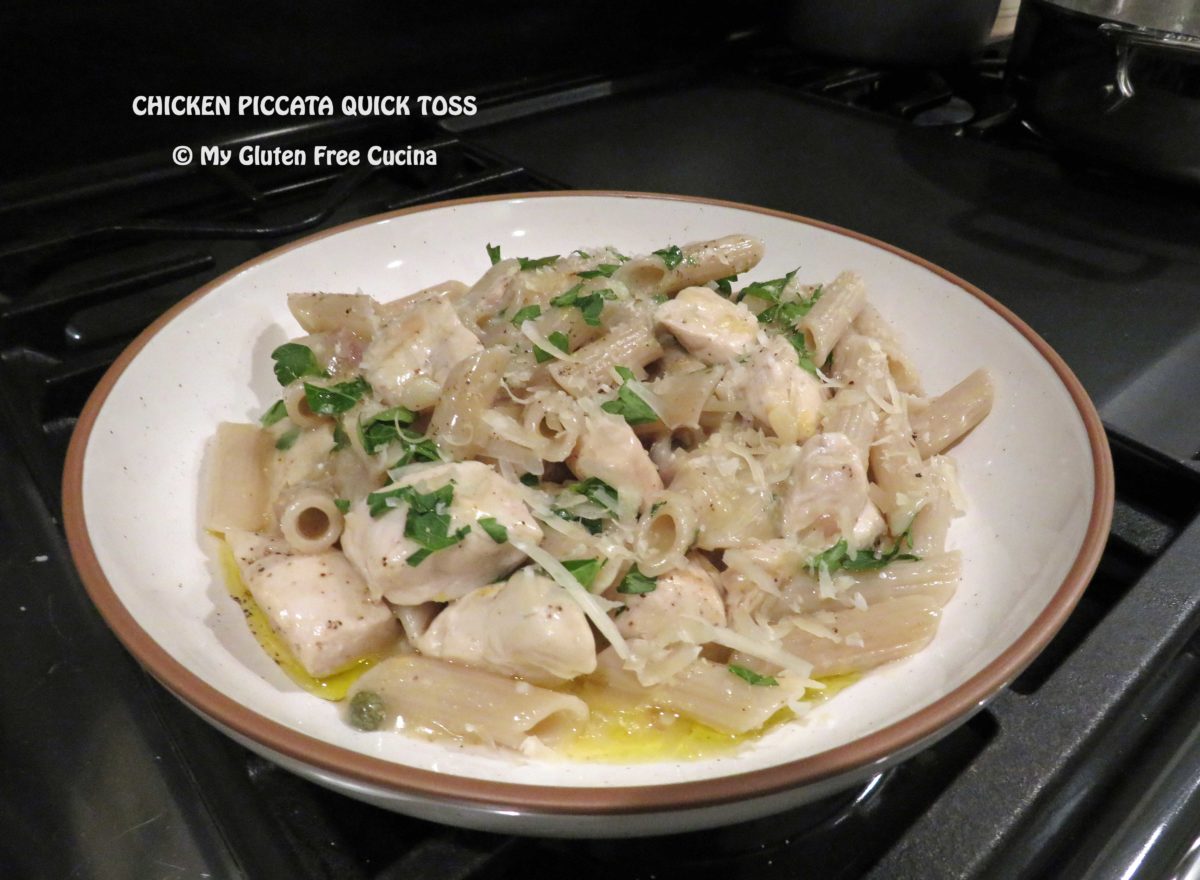
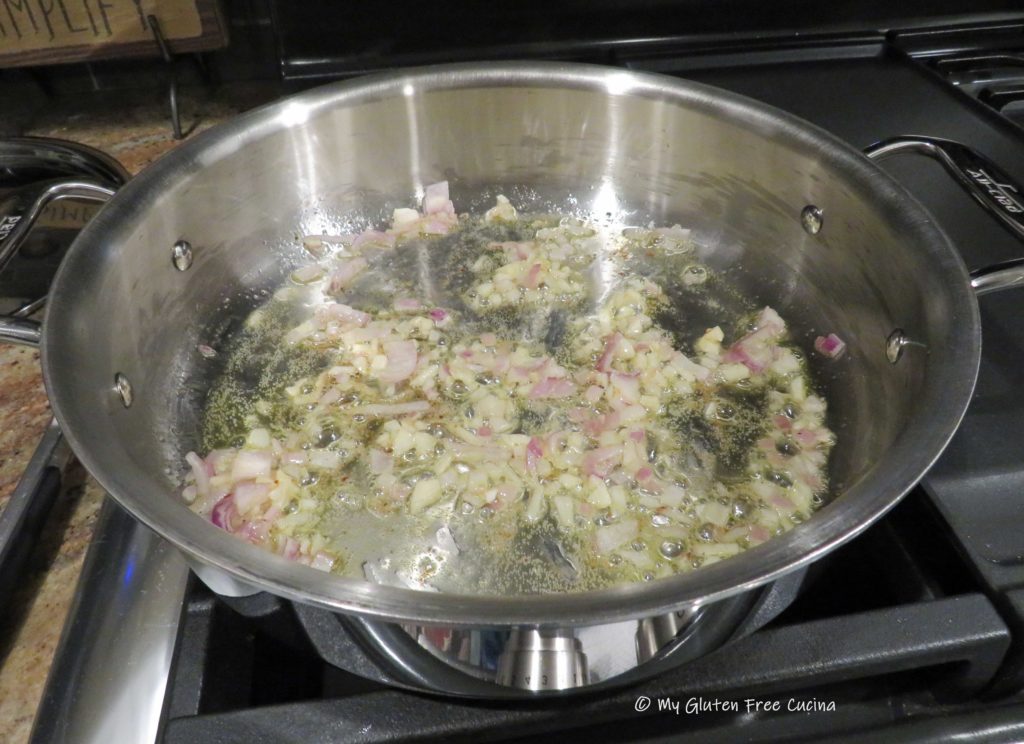
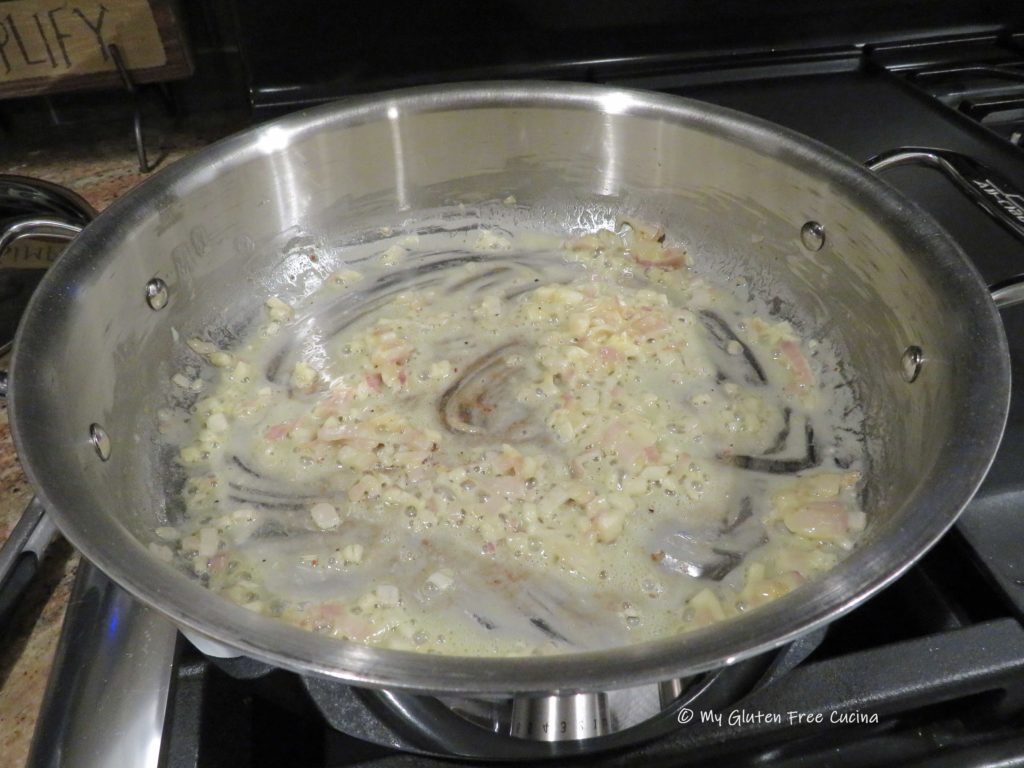
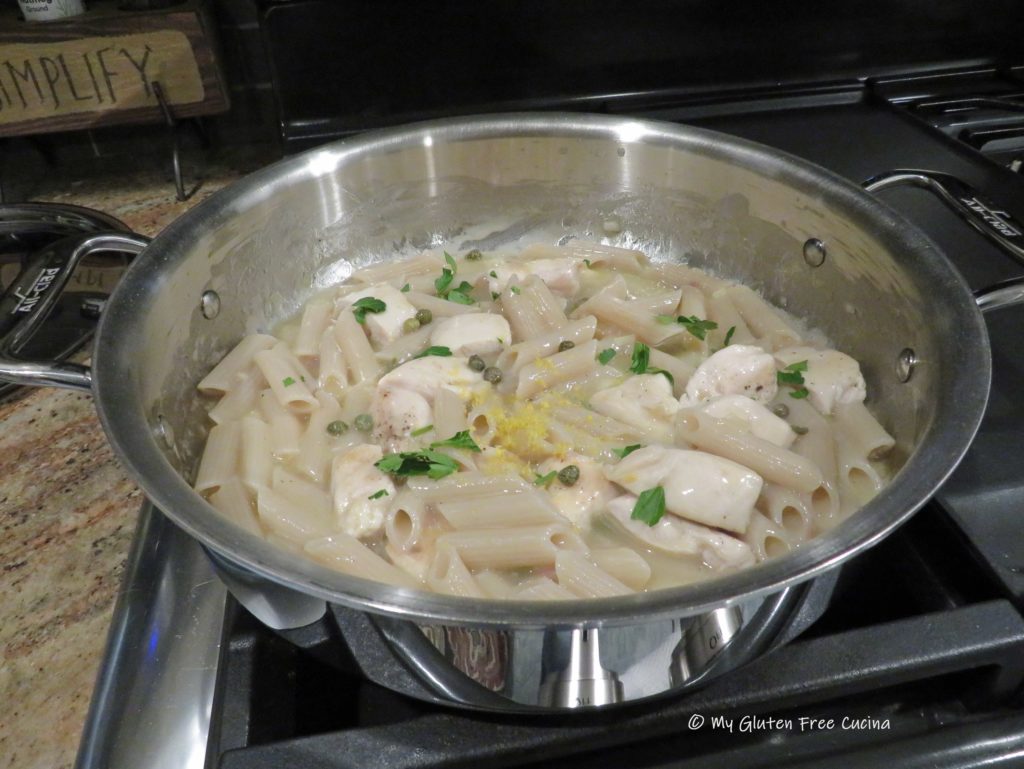
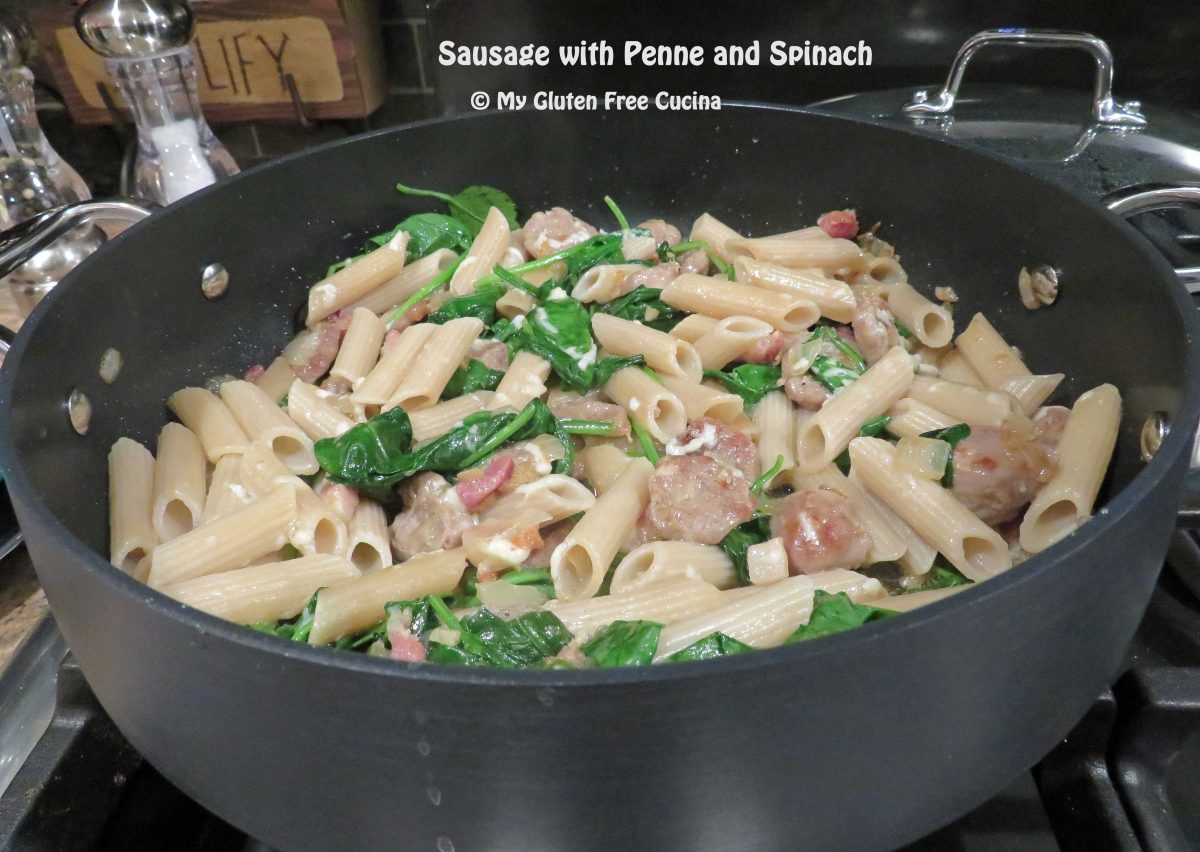
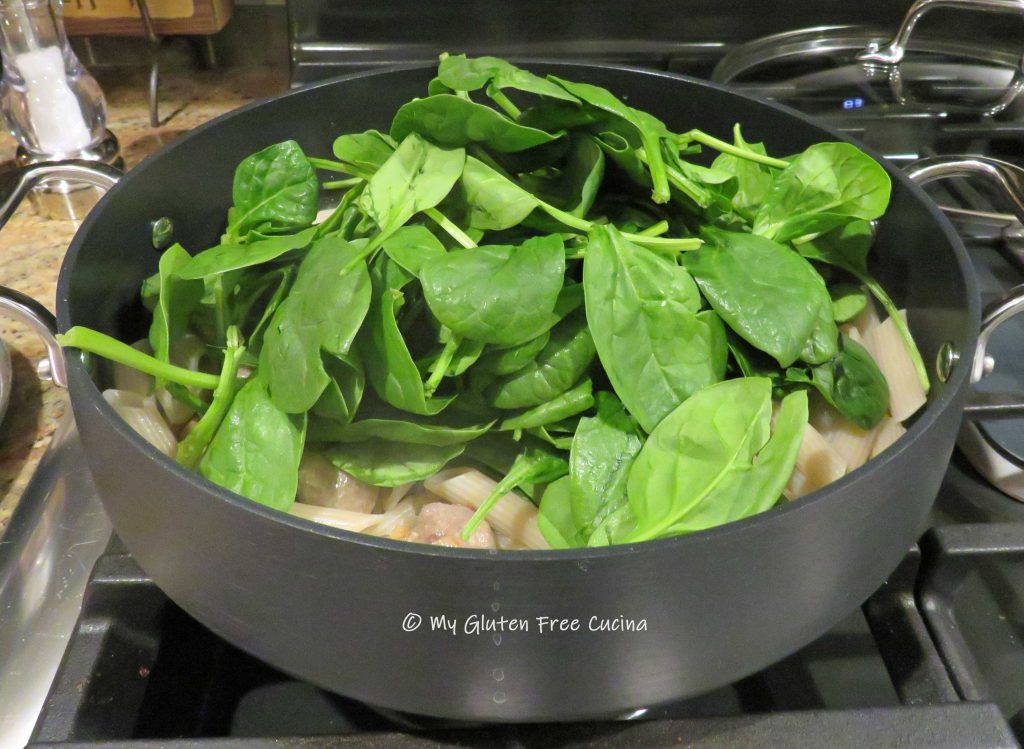
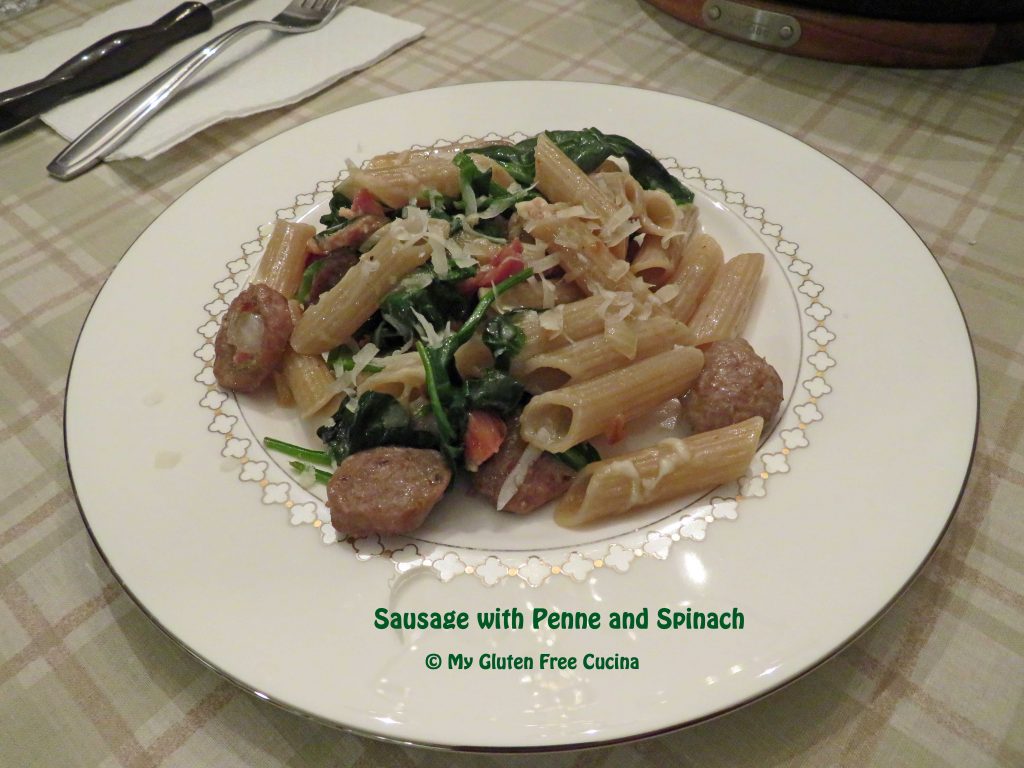
 Next add the drained penne, all of the spinach, white wine and a ladle of the pasta water.
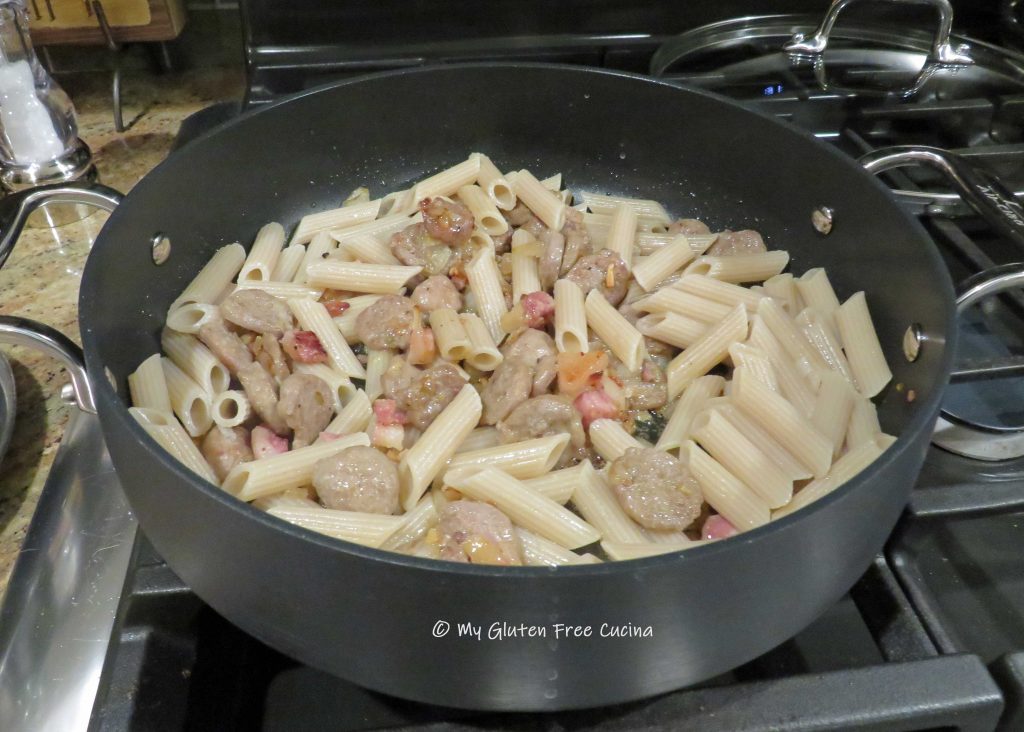
 Preparation:
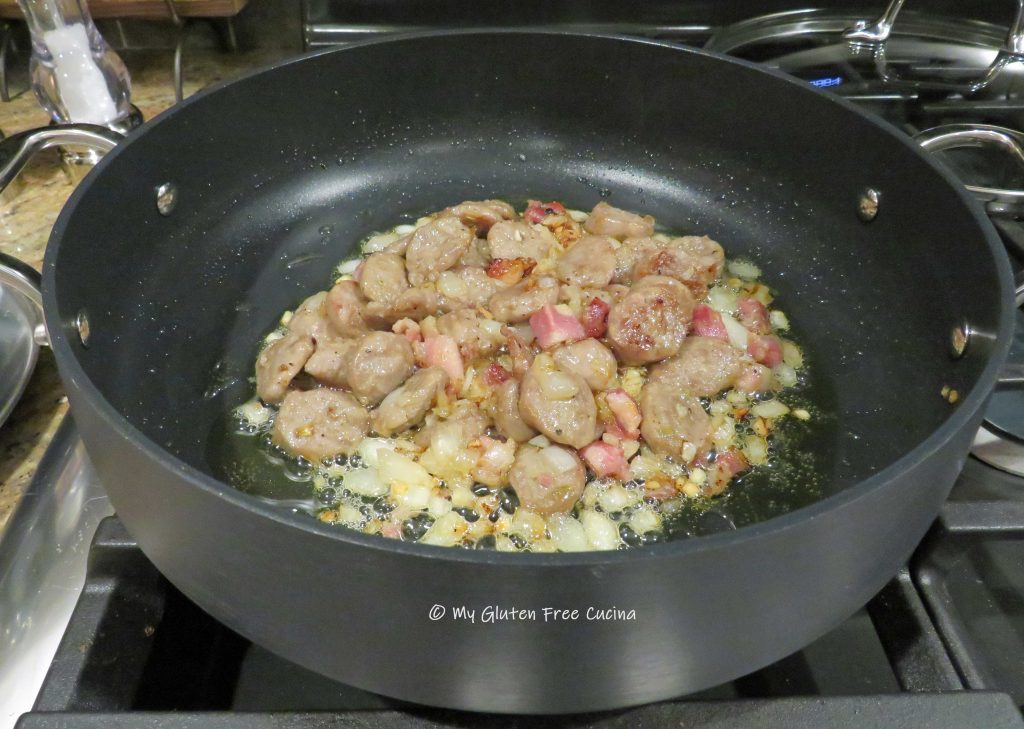
 By now the pasta water should be ready, cook the pasta to a few minutes less than the package directions, it will finish cooking in the sauce.
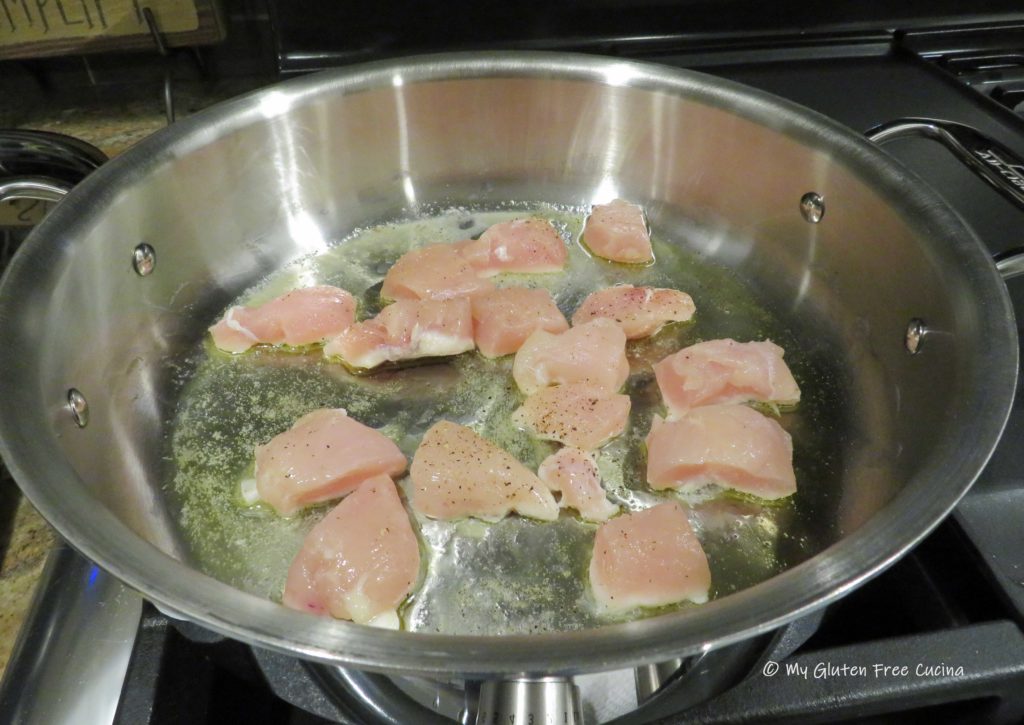
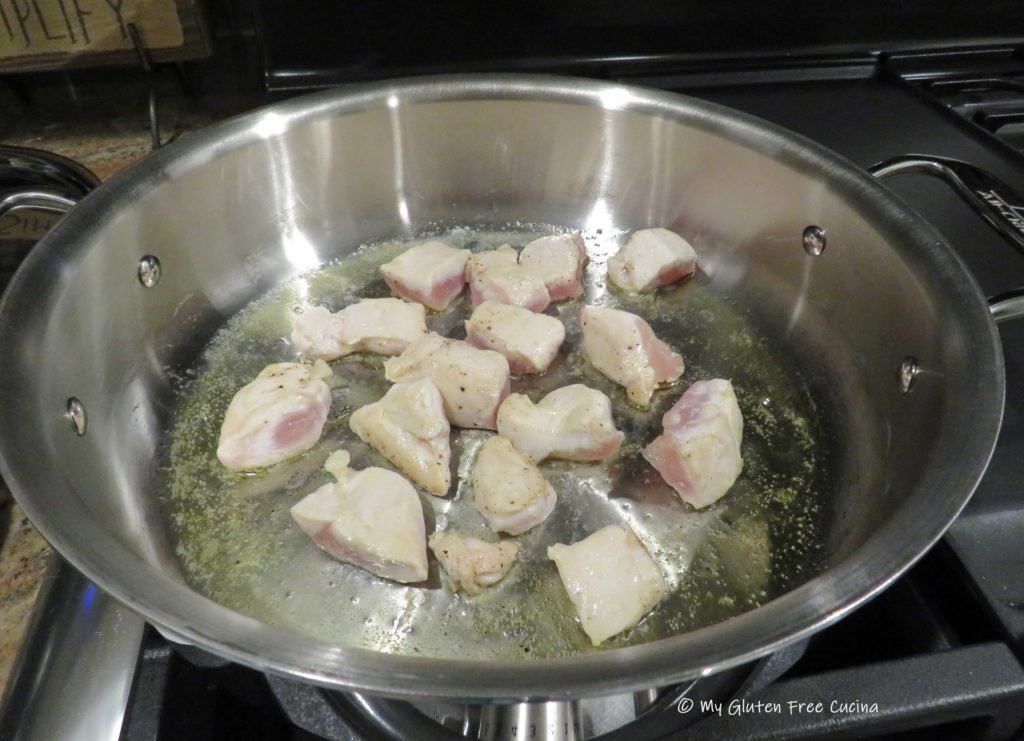
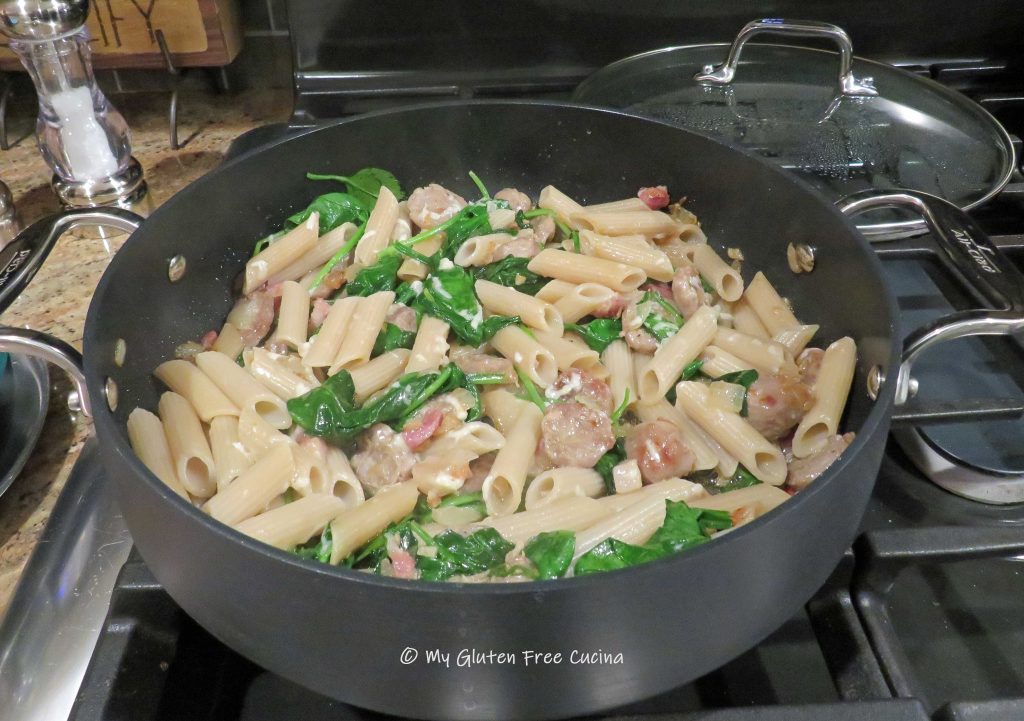
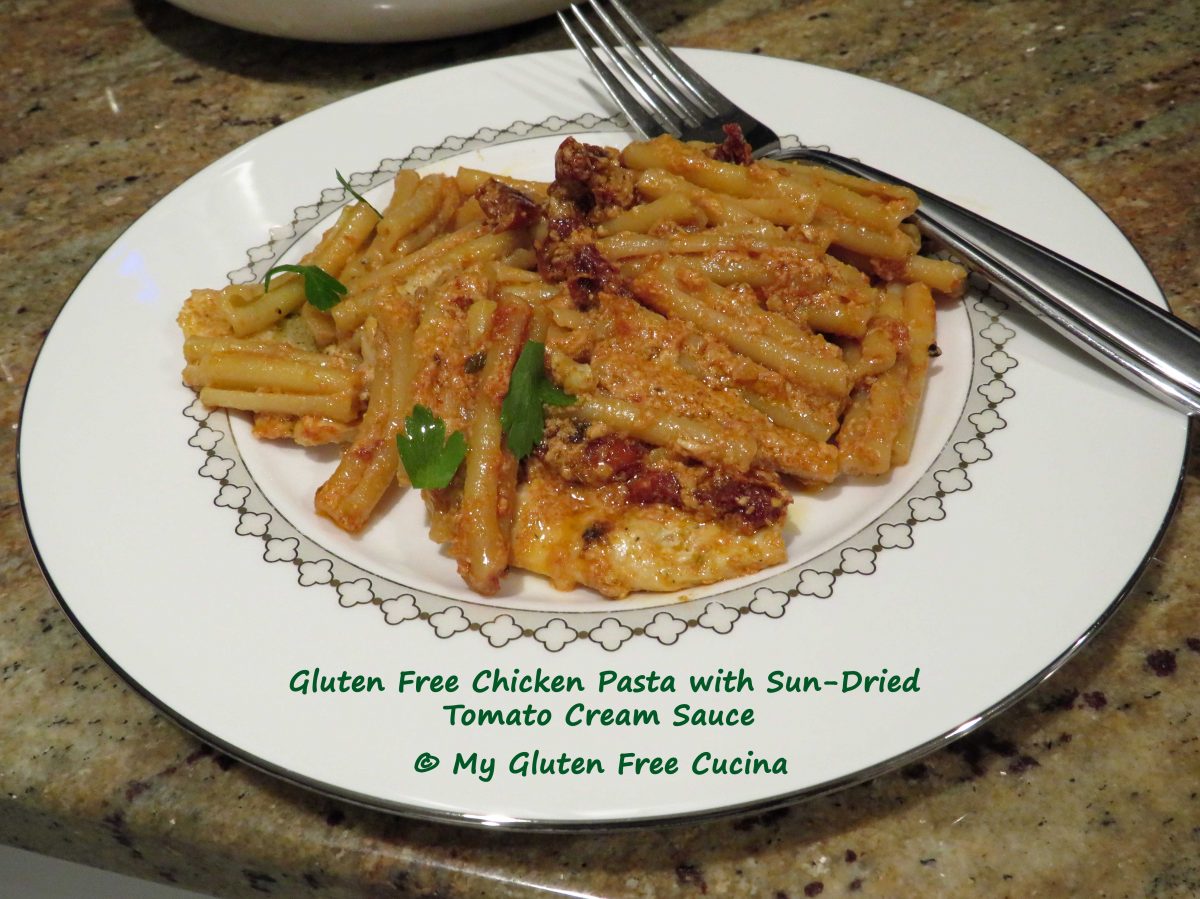
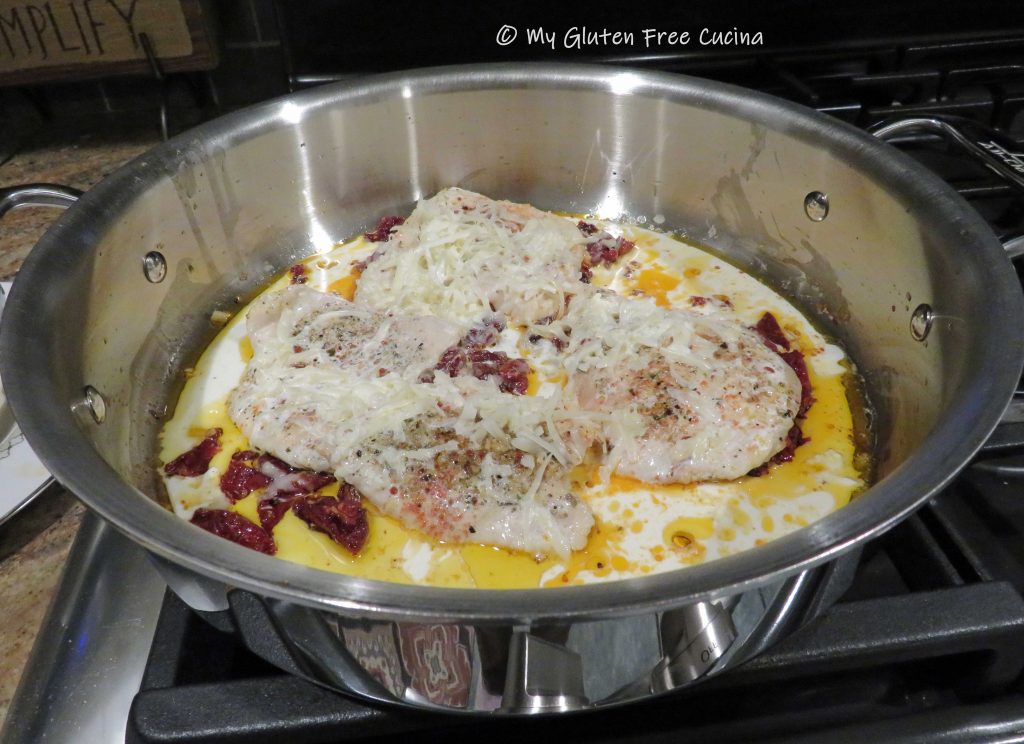
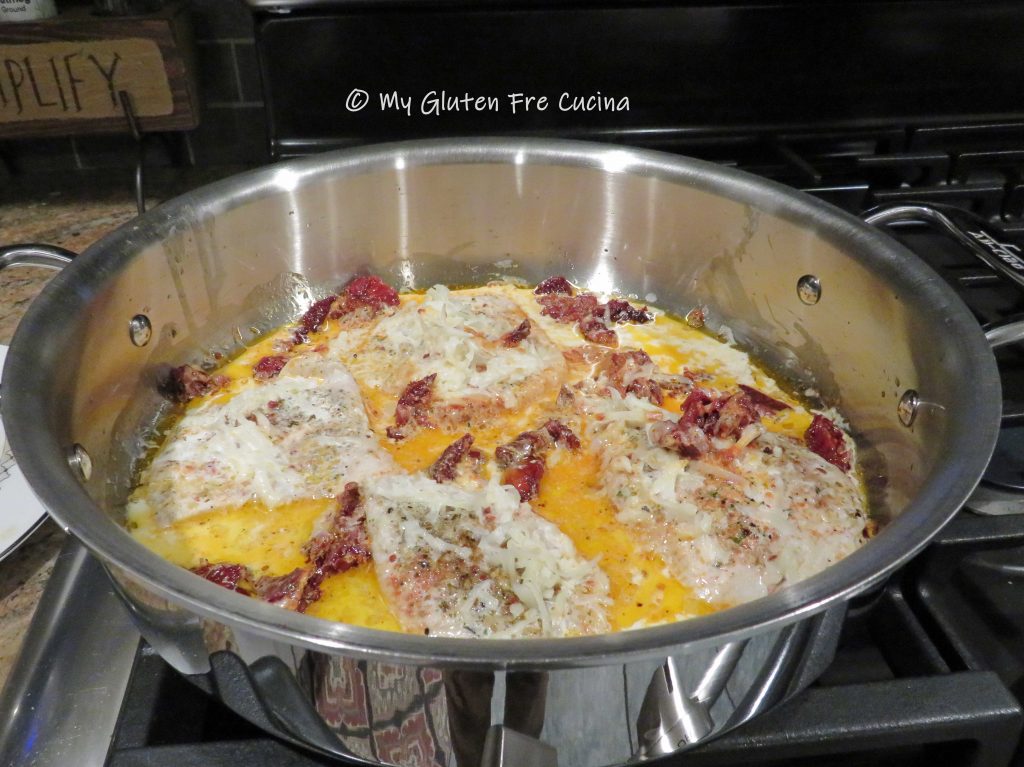
 Cook for 1 minute, stir it all together and return the chicken to the pan.
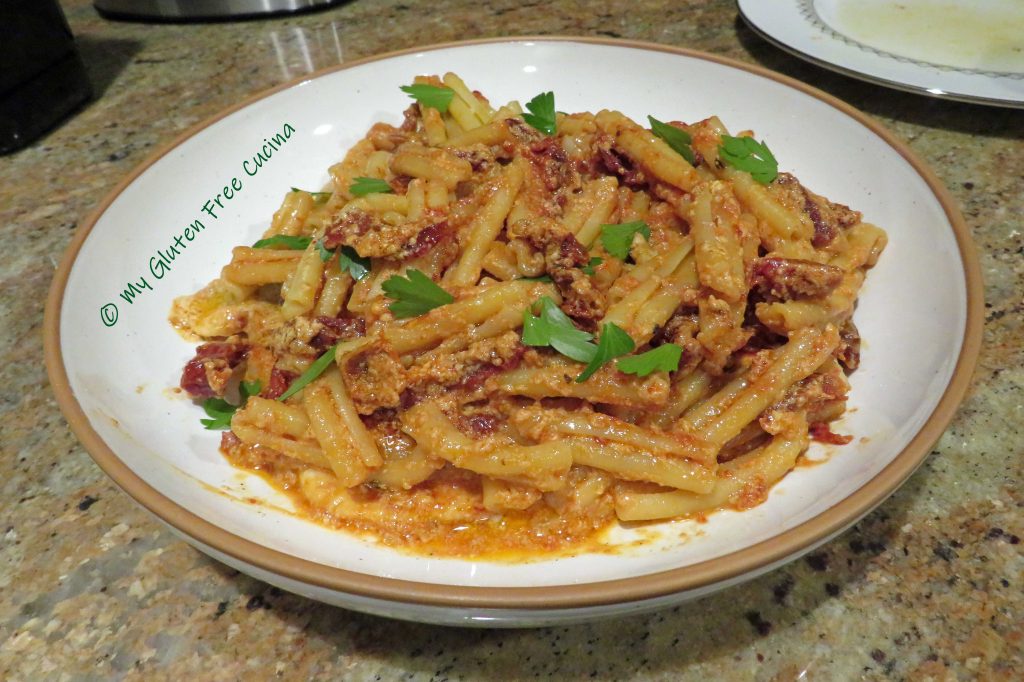
 Drain the pasta and add to the pan, toss well and cook for one more minute.
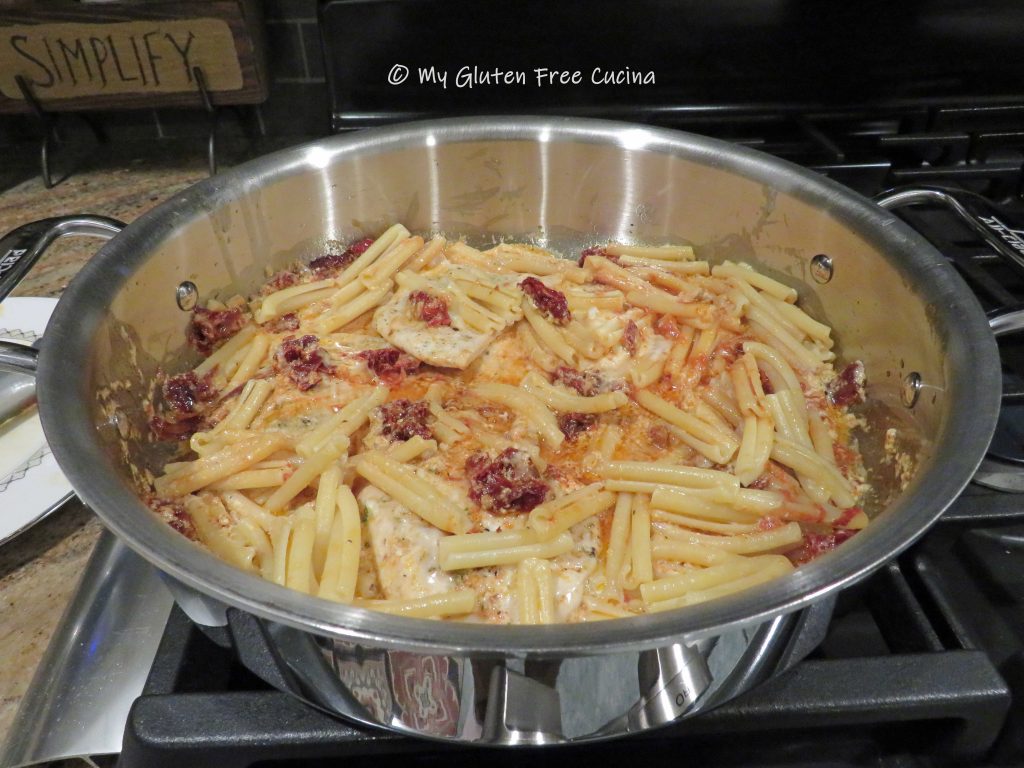


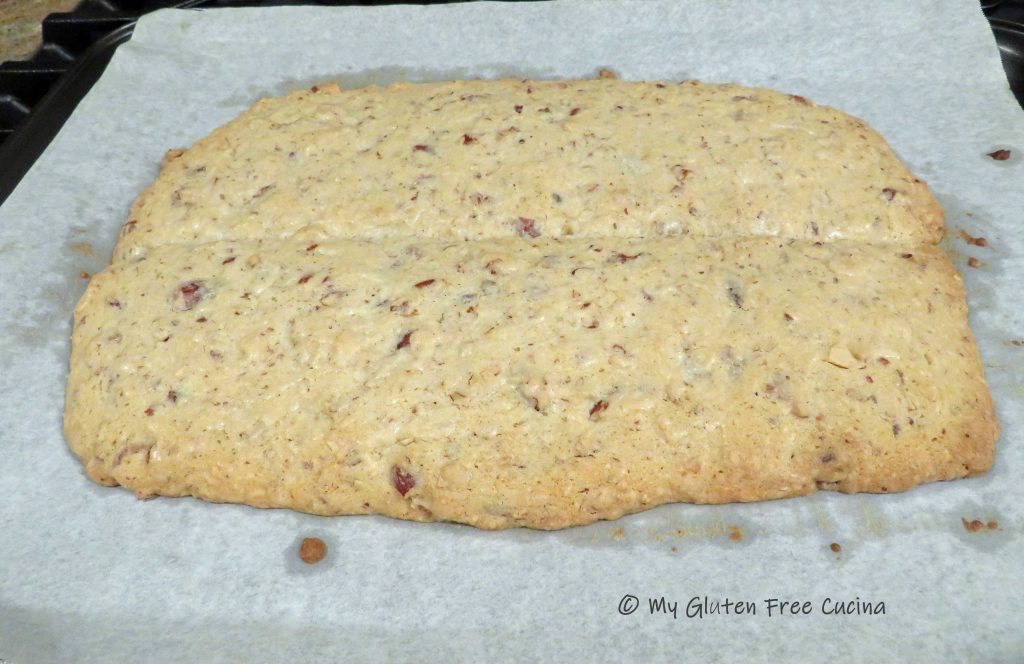
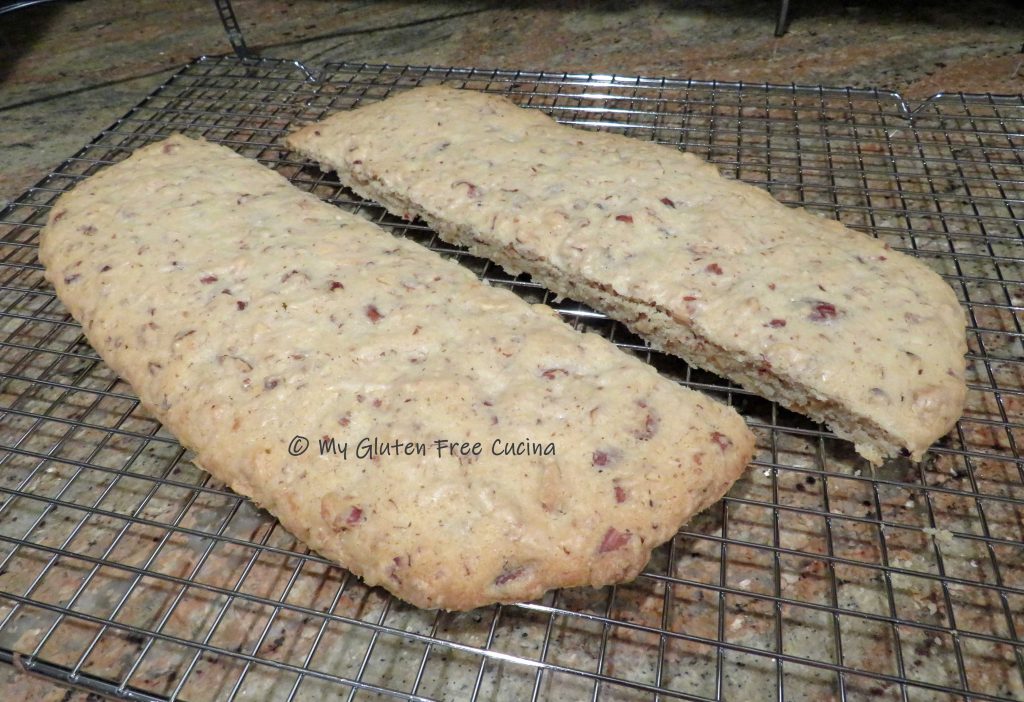
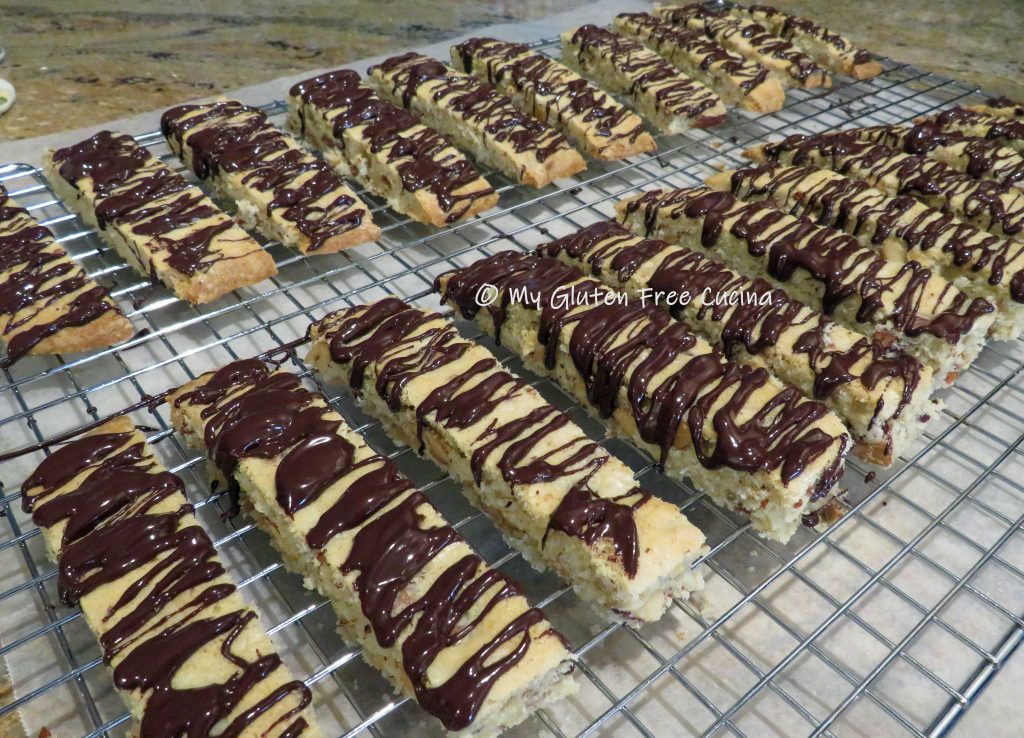
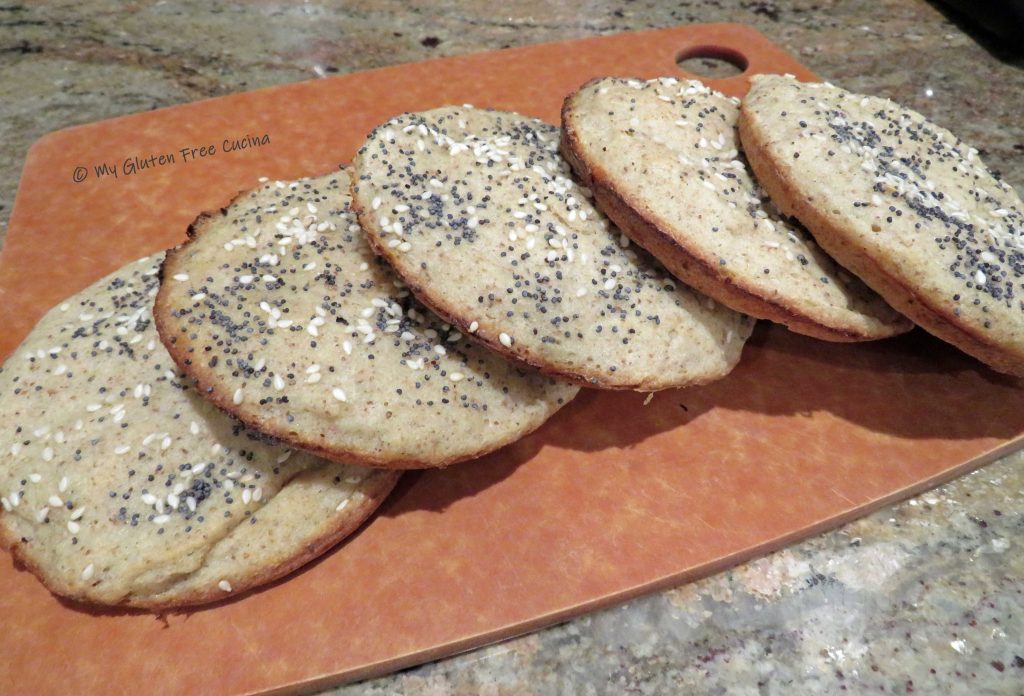
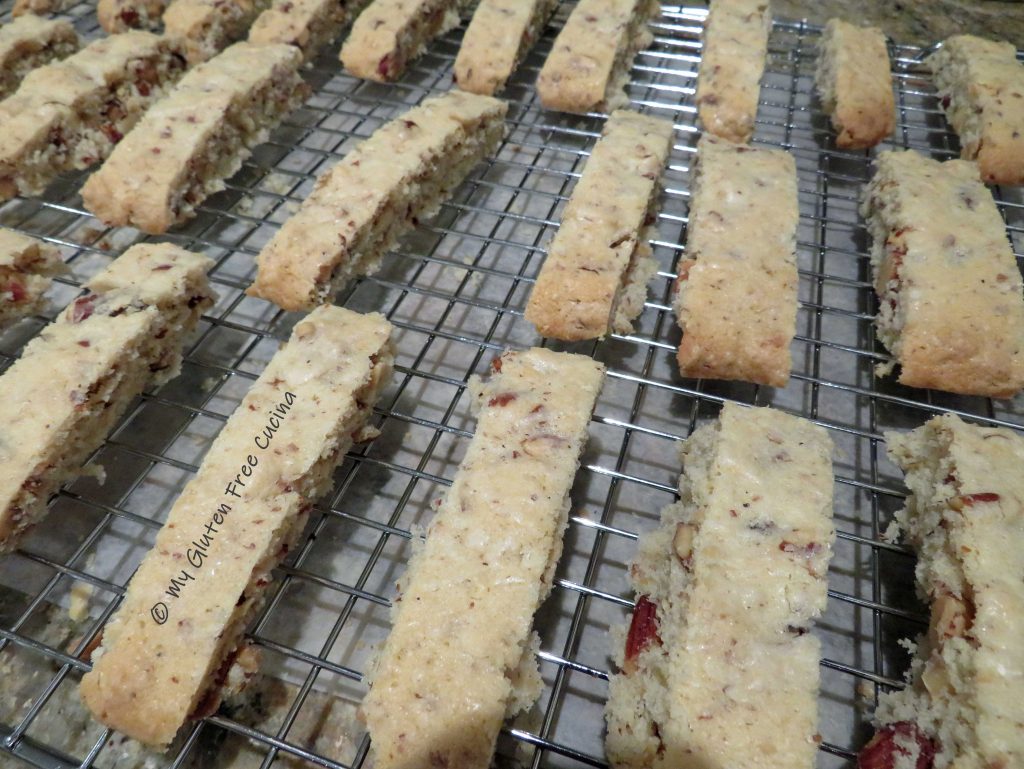 If you like a crisp, hard cookie (great for dunking) return the sliced biscotti to the baking sheet cut side up and bake for 10 minutes longer.