
When I began baking with gluten free sourdough a couple of years ago, I couldn’t imagine all the things that I would make with my starter “Sophie“. I started out with the usual rolls and loaves, made pancakes with discard, and even a quick bread.
Then one day, I decided to step out of my comfort zone with this beautiful Gluten Free Pain d’Epi, also known as Wheat Stalk Bread (I know, ironic).
Of all the bucket list recipes I had to try once I got my gluten free sourdough starter established (read about it here), this one was at the top of the list.
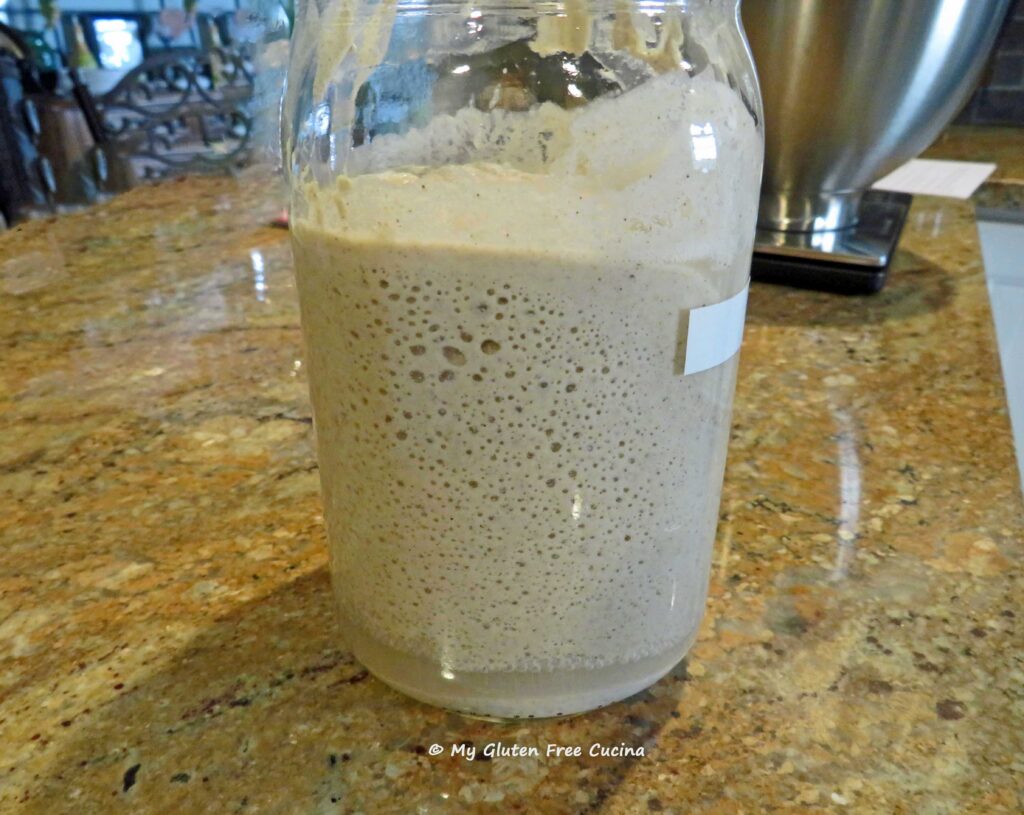
This was my first time making a gluten free version of Pain d’Epi and it was SO good. The most important thing you need to know about this recipe is that your starter needs to be fully active, discard will not work. That means there is some forethought involved, you will need to plan ahead depending on how long it takes for your starter to get up to full speed. Also take into account the overnight proof, and you will likely need at least 2 days of (mostly hands off) time for preparation.
This post contains affiliate links.
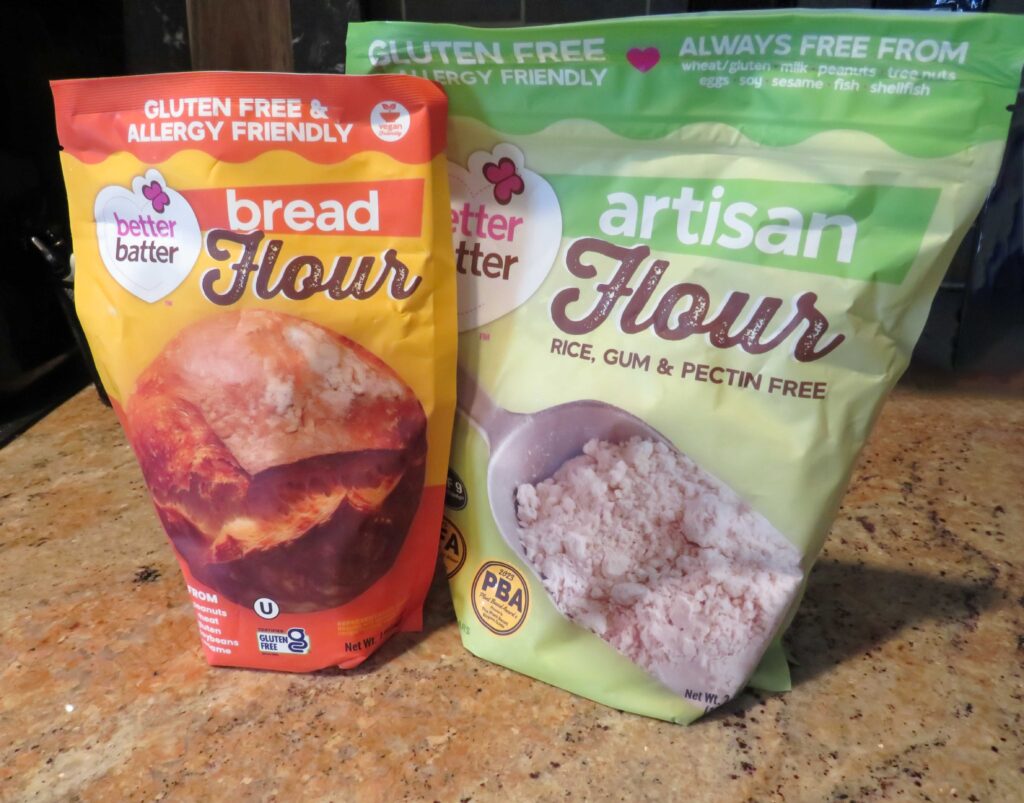
The Flour
For the flour, I used the Artisan Flour Blend from Better Batter and as usual it did not disappoint. The flavor was fantastic, and the bread was perfect for dipping. You can absolutely use their Gluten Free Bread Flour, if you prefer a white bread. Or use 100g of each, I love doing that!
Ingredients:
- 200g Better Batter Artisan Flour Blend or Bread Flour about 1-1/2 cups
- 4g salt, about 1 tsp.
- 200g warm water, about 1 cup
- 70g active GF sourdough starter, about 1/4 cup
- 8g olive oil, about 1 tbsp.
- 10g honey, about 1 tbsp.
- more olive oil for brushing
- coarse salt, for topping
Preparation:
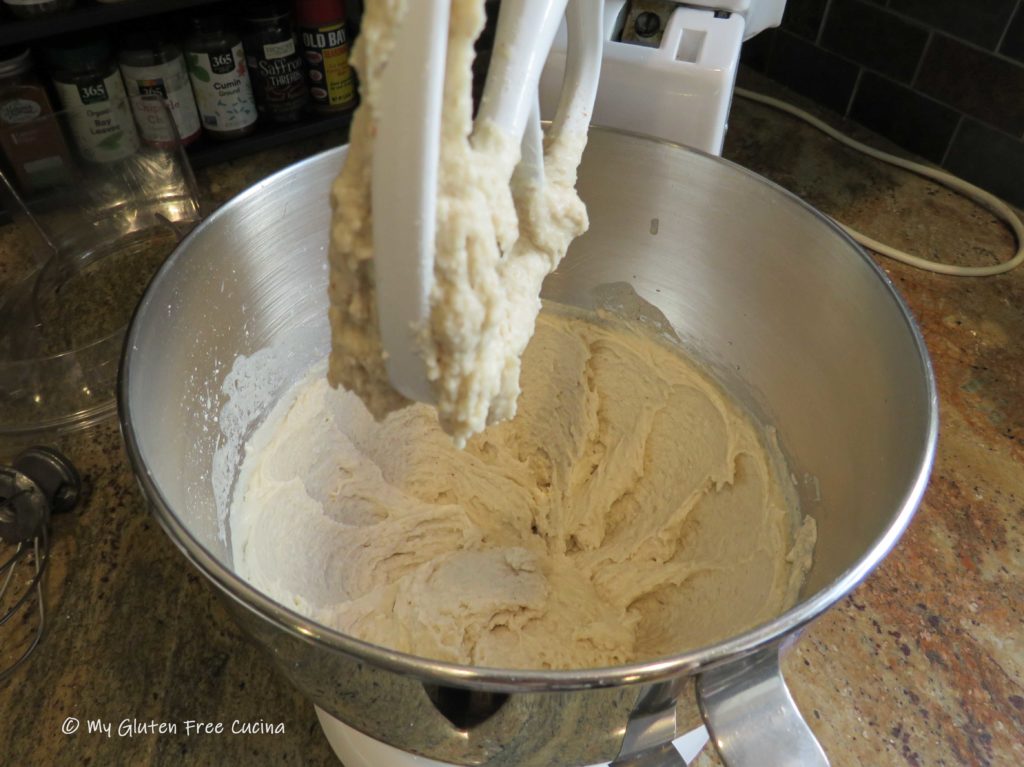
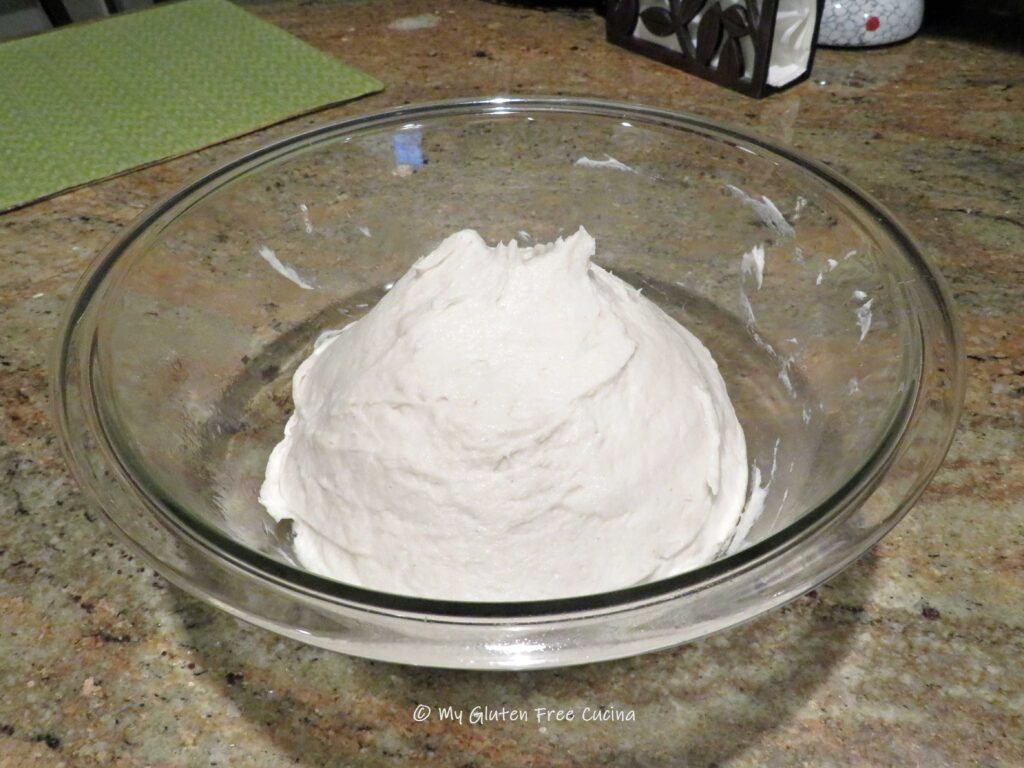
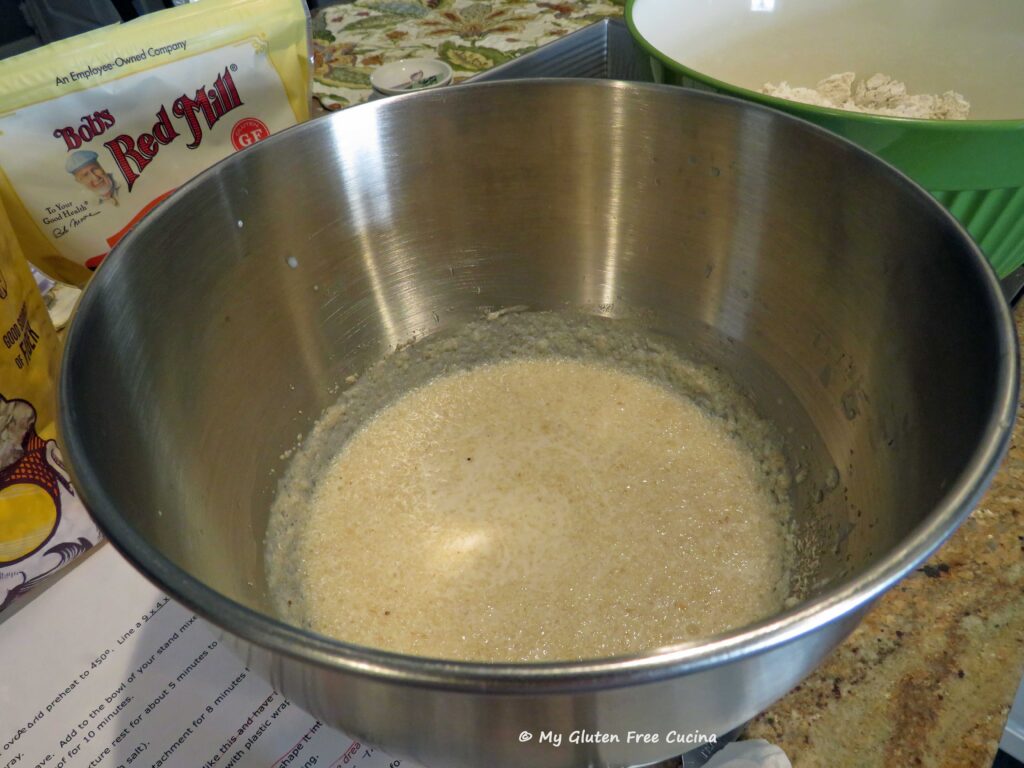
Combine the flour and salt and whisk well. Add the starter, honey and olive oil to the bowl of a stand mixer with the paddle attachment. Gradually add the flour mixture with the warm water. Increase the speed and knead for 5 minutes to form a soft, supple dough.
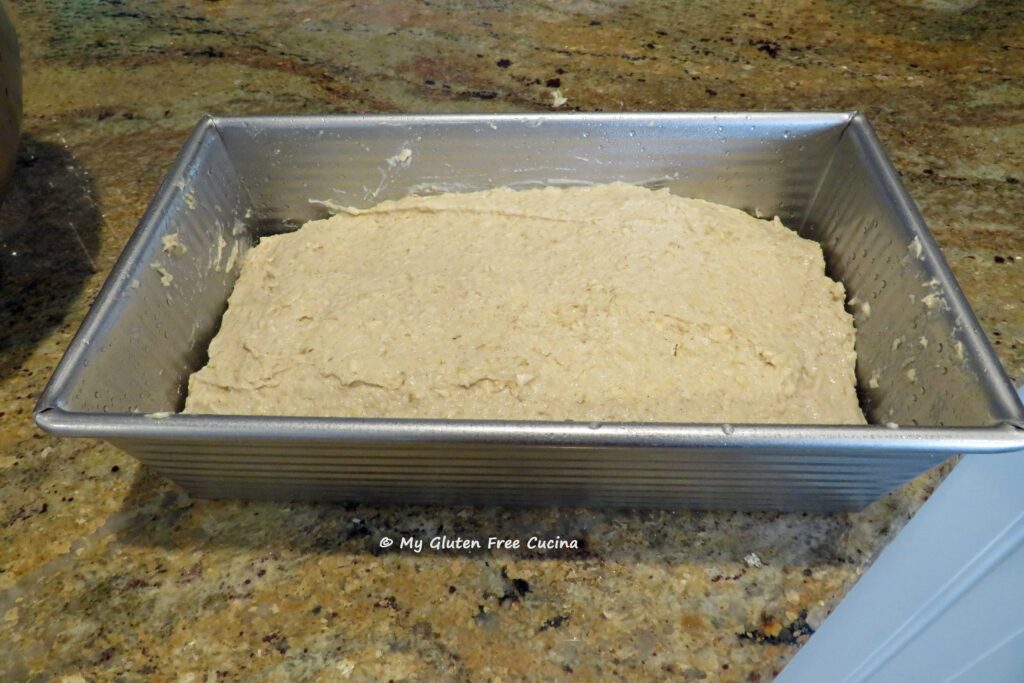
Transfer the dough to an oiled bowl, cover with plastic wrap and proof in a warm place for 4 hours. I used my proofing box.

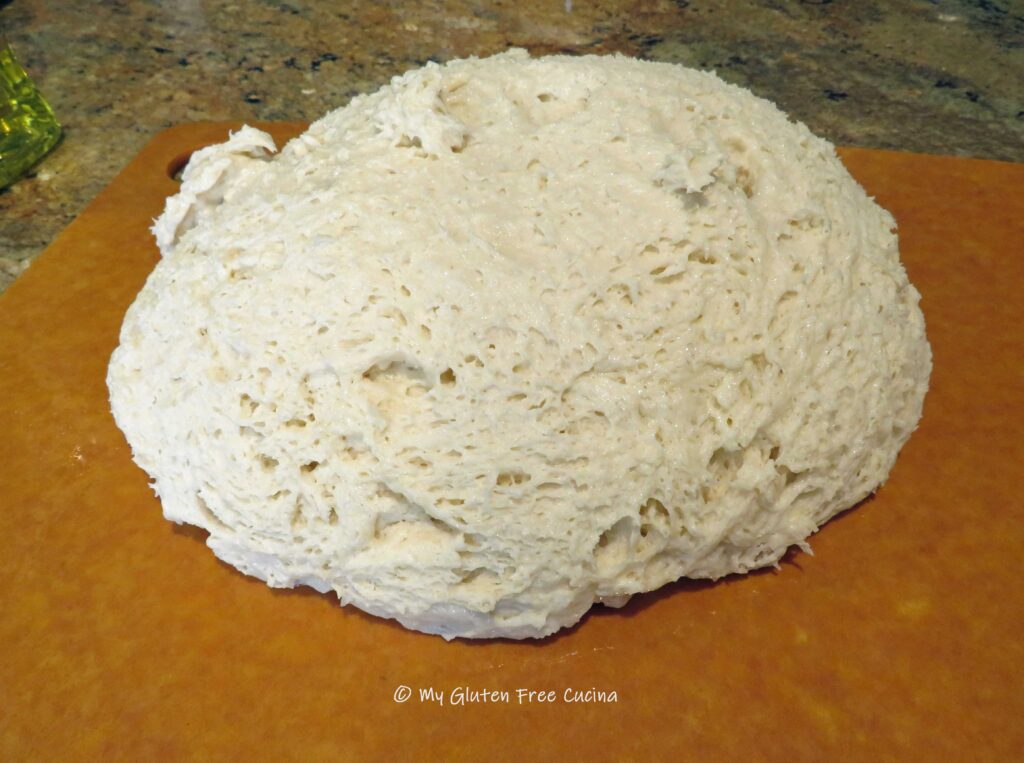
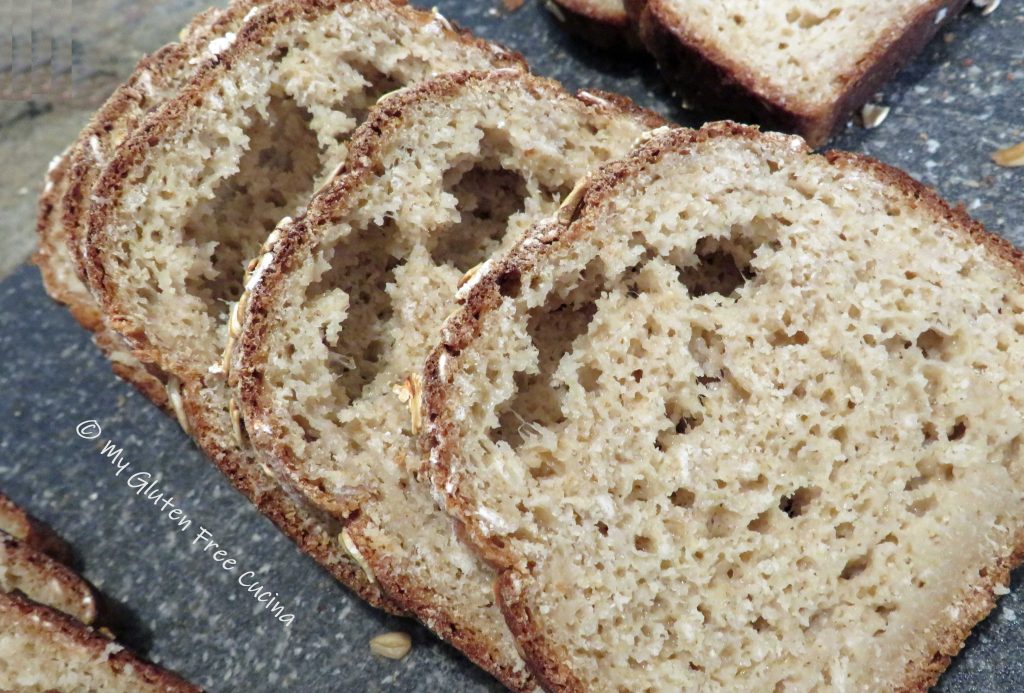
Here is the risen dough. Place it in the refrigerator overnight to really develop the flavor.

The next morning, bring to room temperature. You can see how nicely the dough has puffed up, and there are lots of happy air bubbles!

It smells so good already!
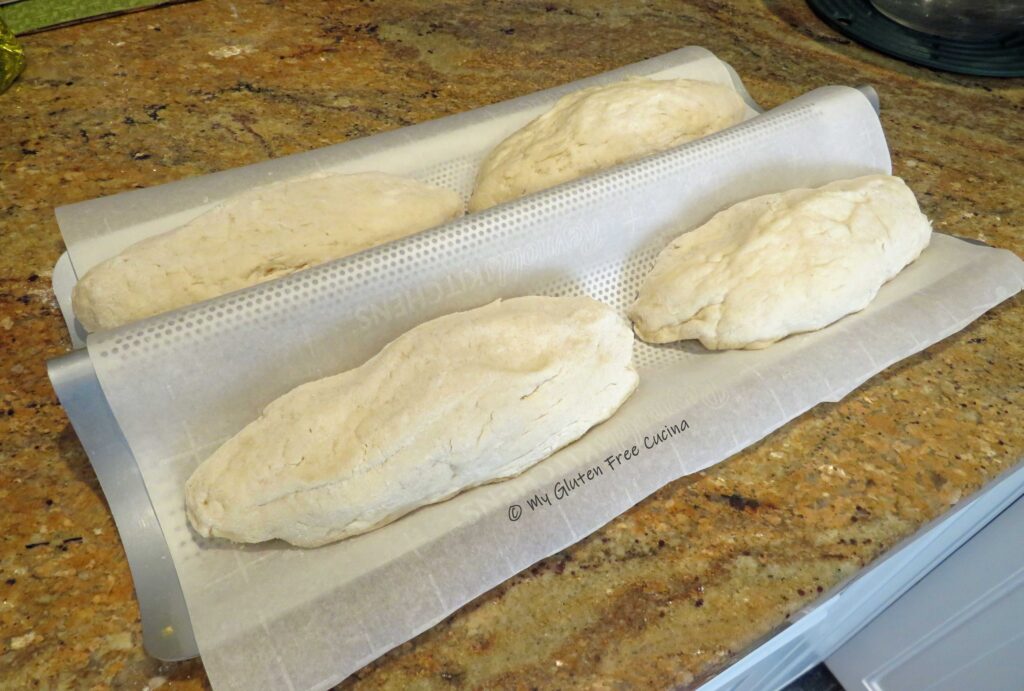
Preheat the oven to 425º while you shape the dough.
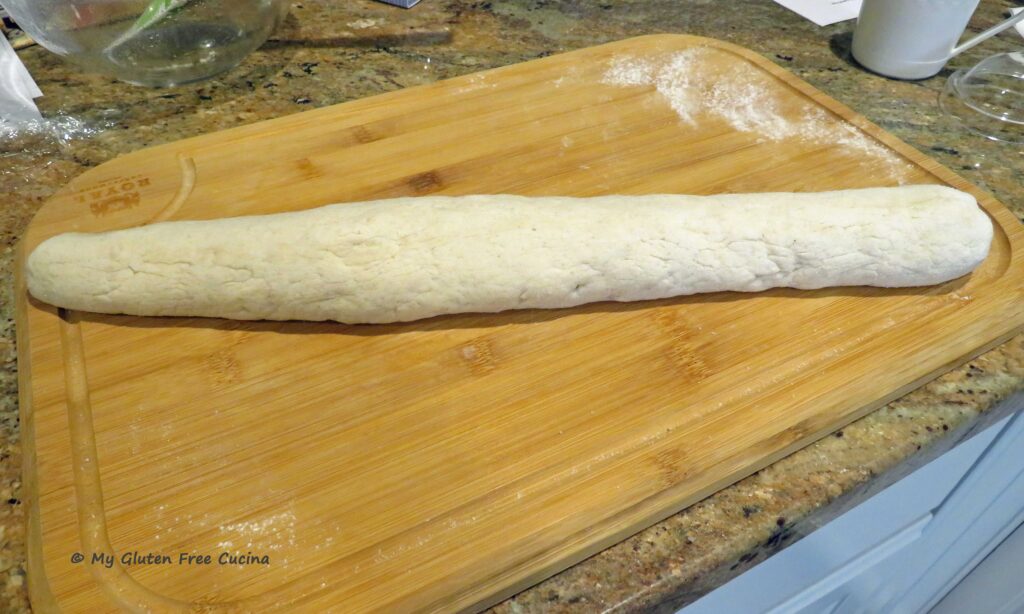
First, transfer the dough to a floured cutting board and gently roll and shape it into a long thin baguette, about 15″ x 2″. Don’t apply pressure, you want to deflate as few of the air bubbles as possible.
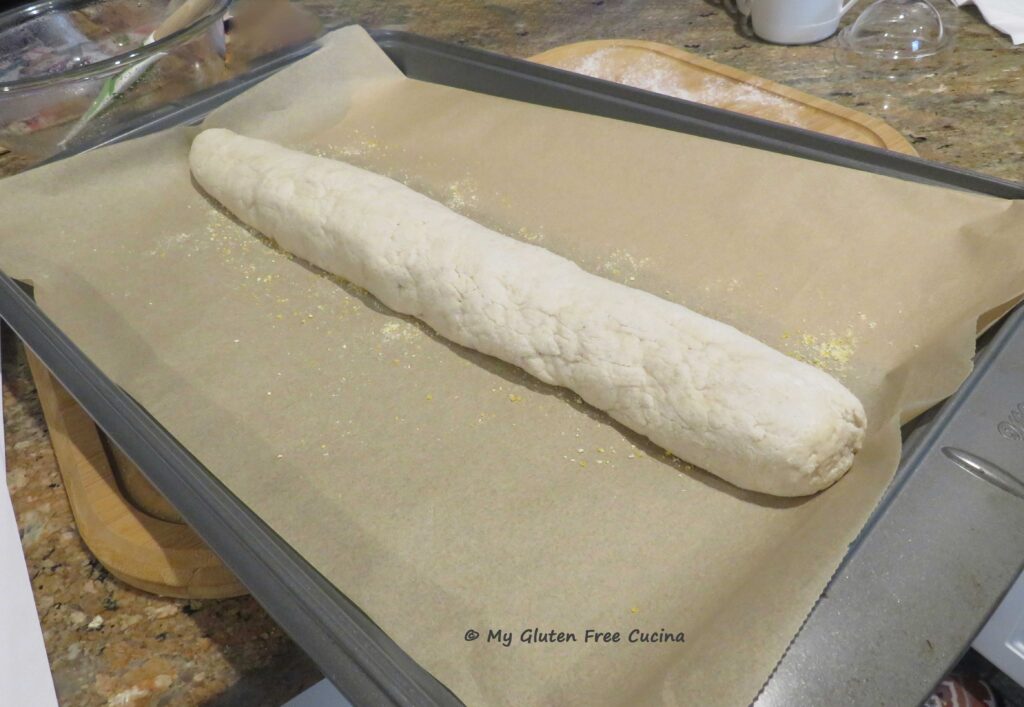
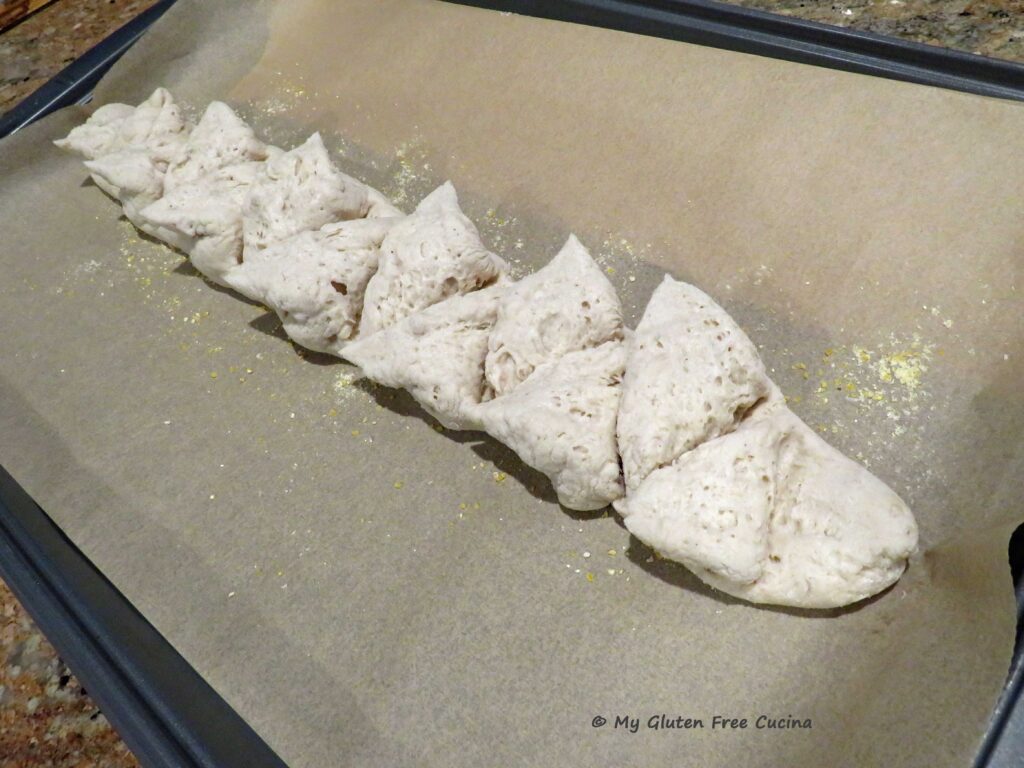
Line a baking sheet with parchment paper and sprinkle cornmeal down the center where you will lay out the loaf.
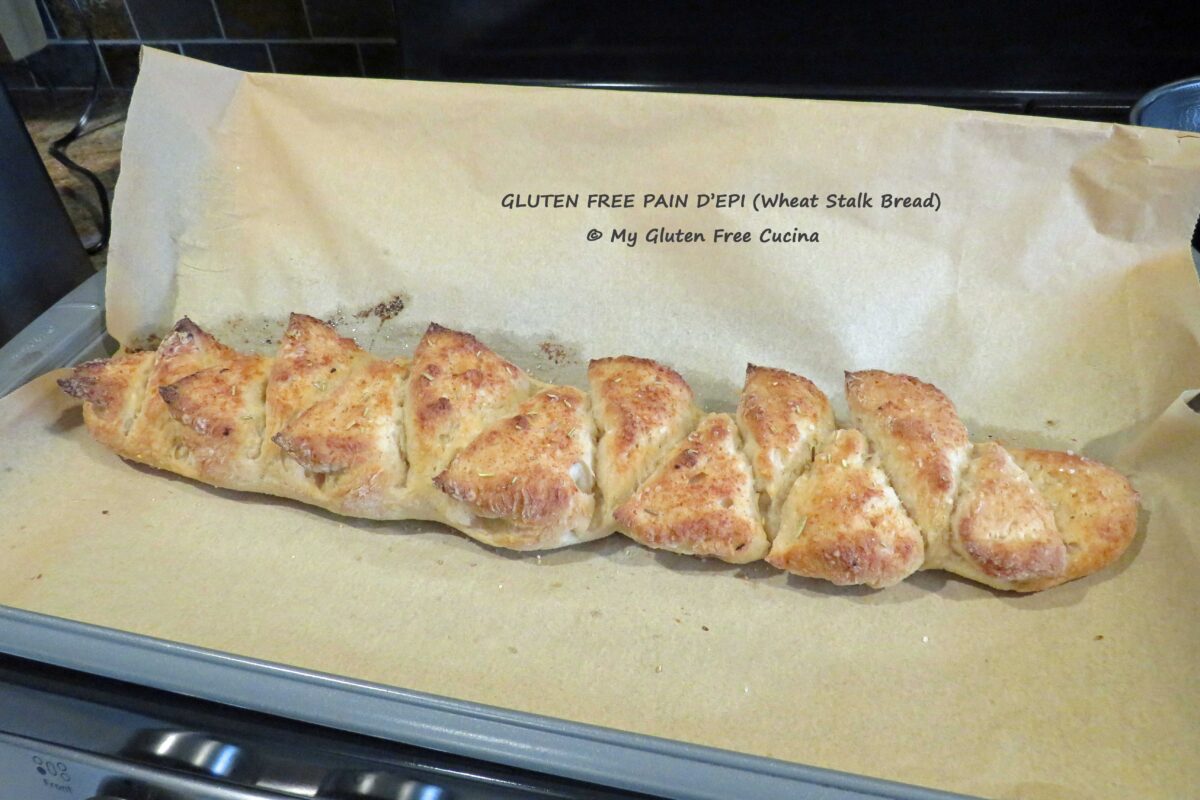
To create the wheat stalk pattern, use scissors to snip the loaf every few inches (cutting about ¾ of the way through), and as you snip each section, pull it over to one side, alternating left and right.
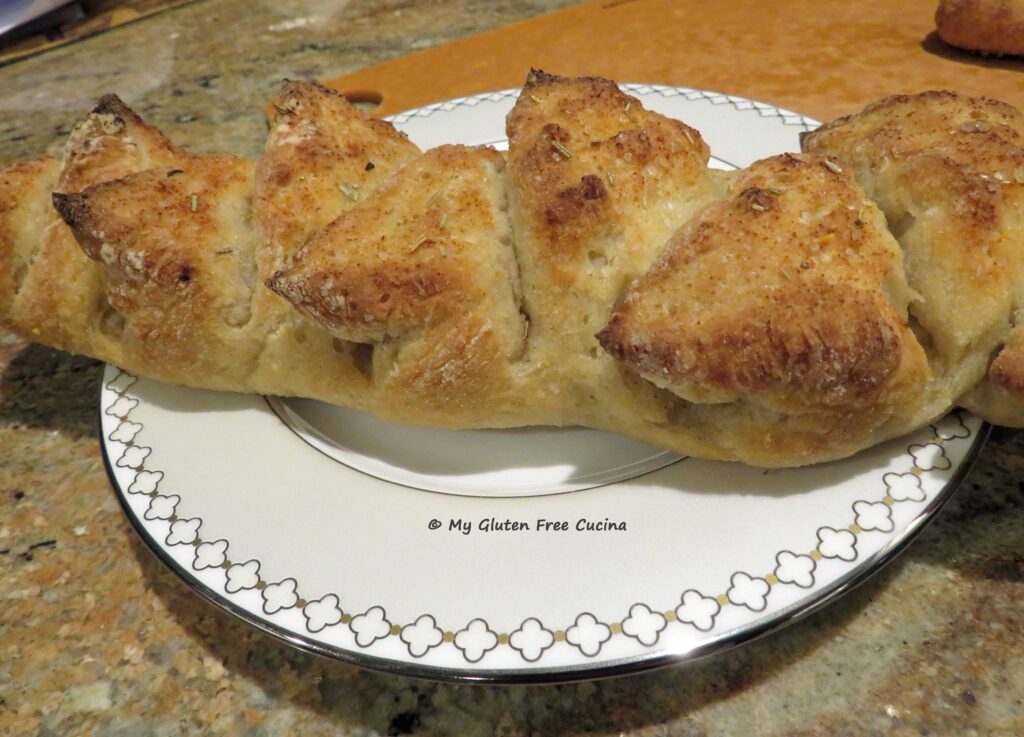
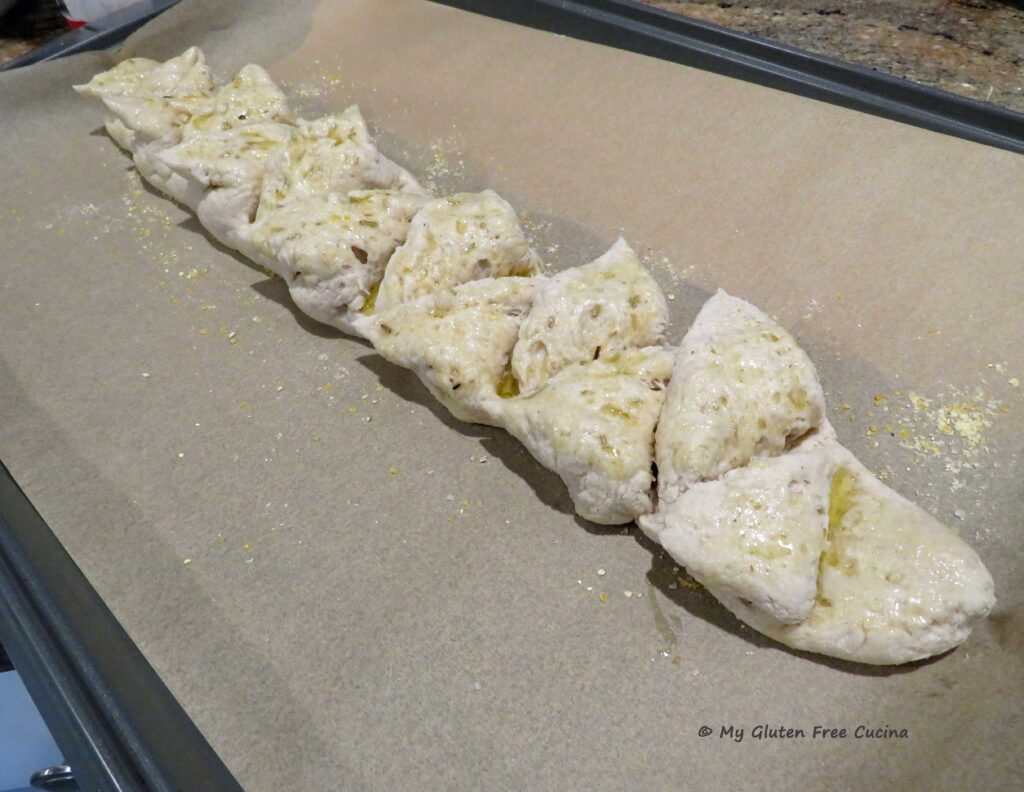
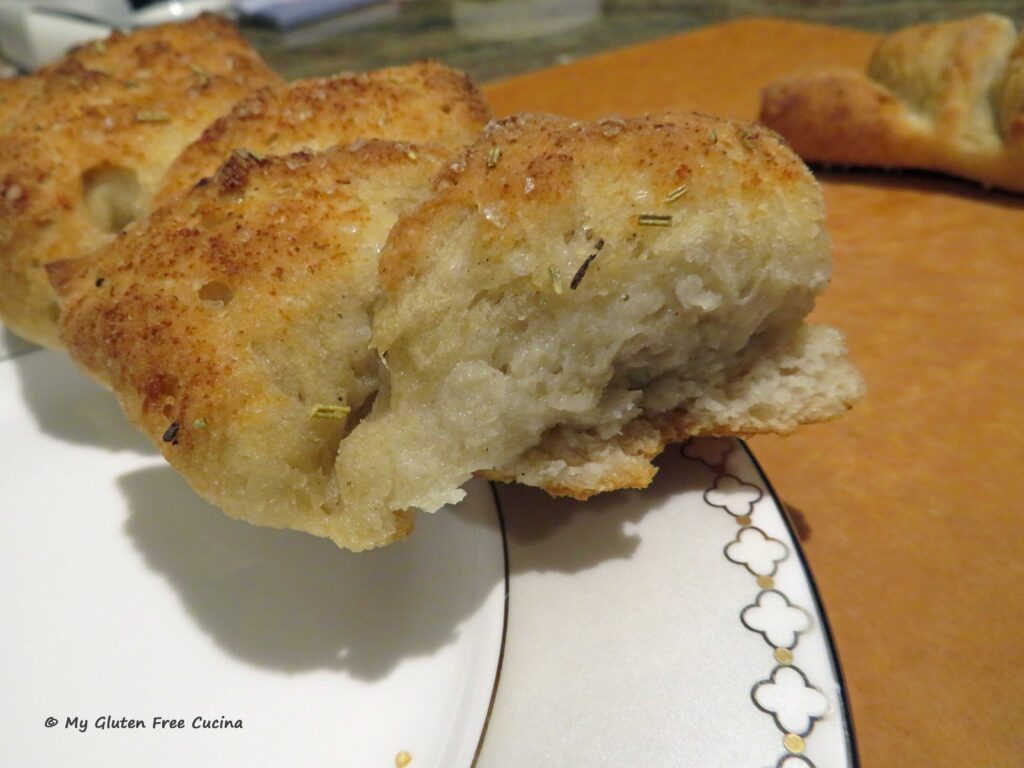
Now brush the loaf with olive oil and sprinkle with coarse salt. I infused my olive oil with garlic and rosemary, and the aroma as it baked was wonderful.
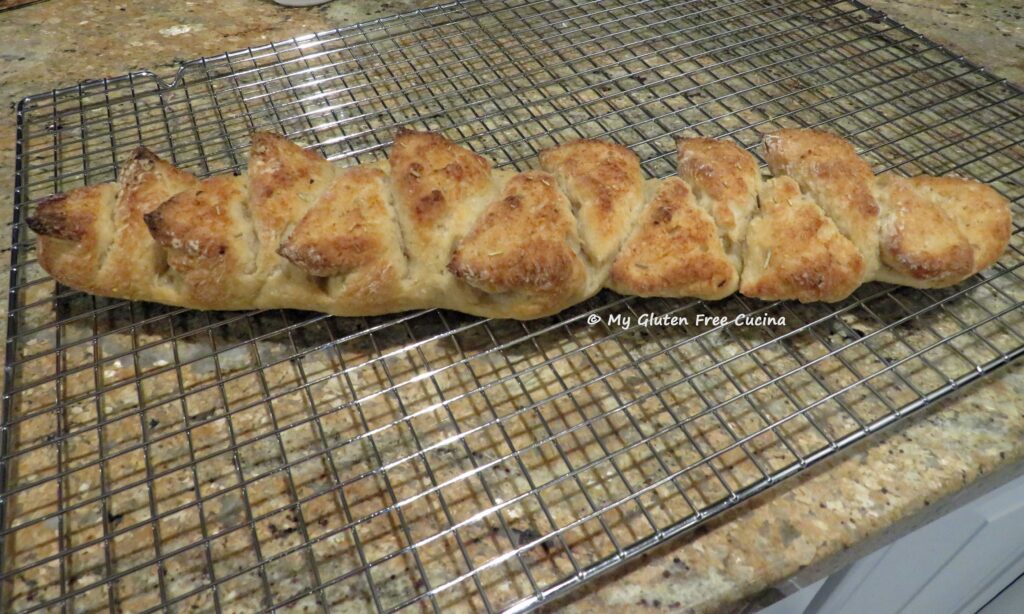
Bake for 30 minutes on the middle rack. The internal temperature should read 210º. Cool in the pan for 10 minutes.
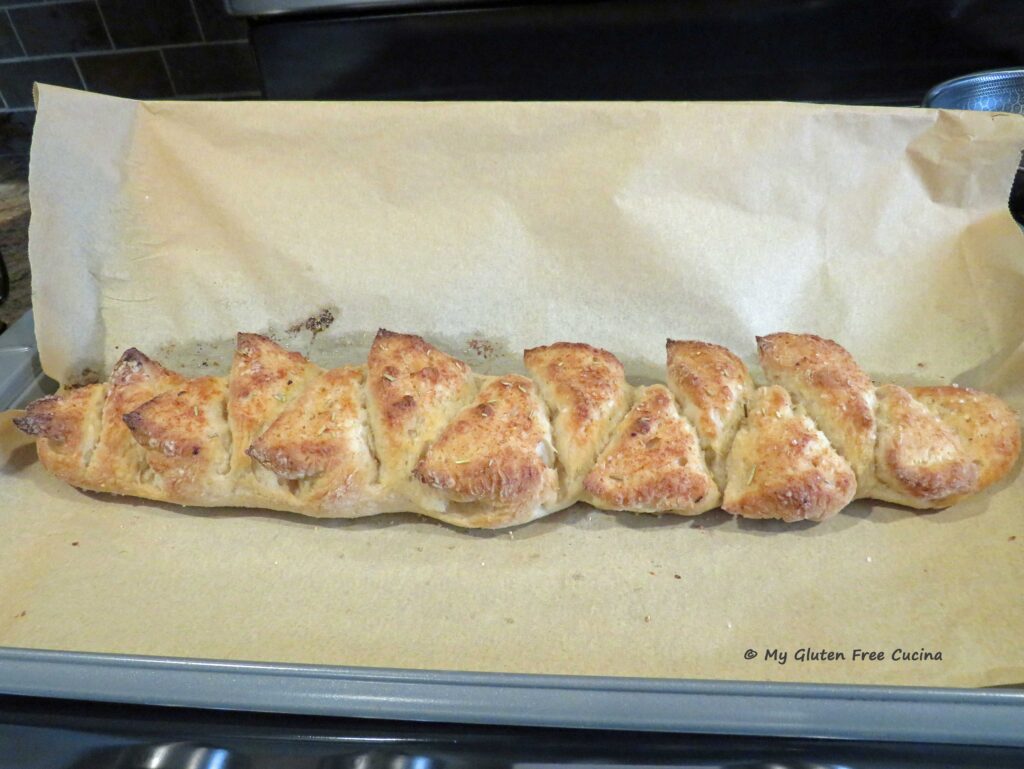
I love the smell of freshly baked bread filling my kitchen and was so pleased with how this loaf came out.
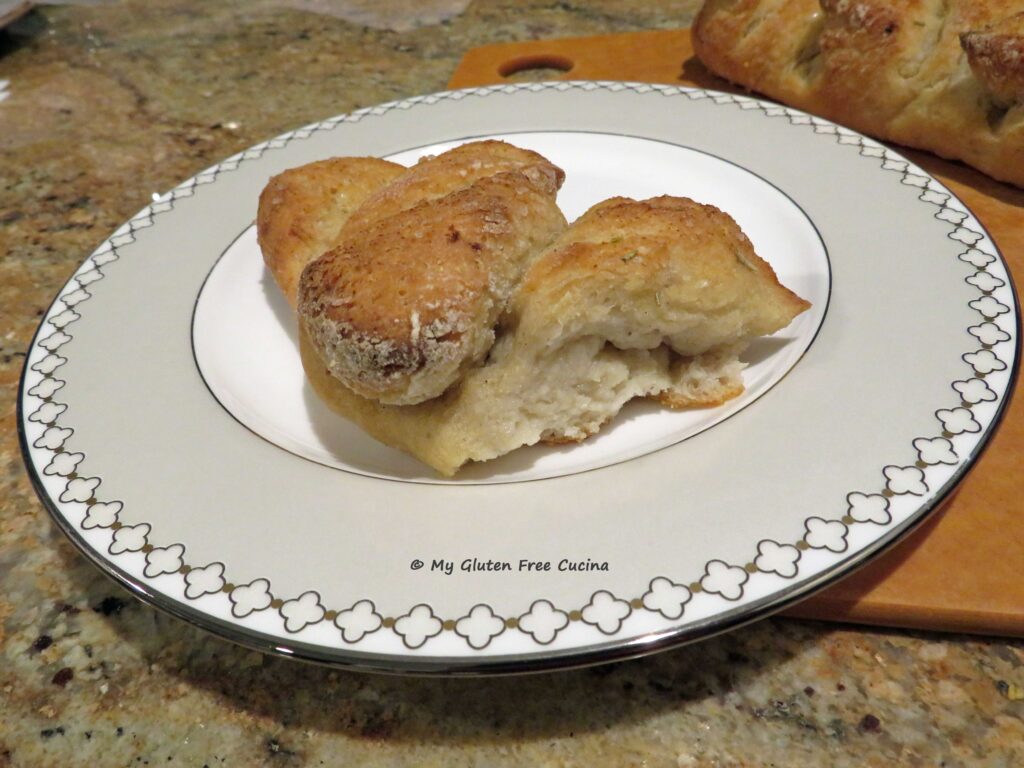
I recommend you allow the bread to cool for at least 4 hours before slicing, so the center won’t be gummy. Trust me, you will have a hard time waiting!
You can cut it into slices or just tear off a section and dip it in olive oil. I made up a dipping oil with Tuscan seasoning, fresh garlic and rosemary.
This bread is best eaten the day it is baked. Leftovers can be refreshed in the microwave or toasted. Store at room temperature up to 1 day and freeze any remaining.
Notes ♪♫ A sourdough starter will take your gluten free baking to the next level with results you never dreamed possible. Read about my sourdough starter Sophie here.


 This post contains affiliate links.

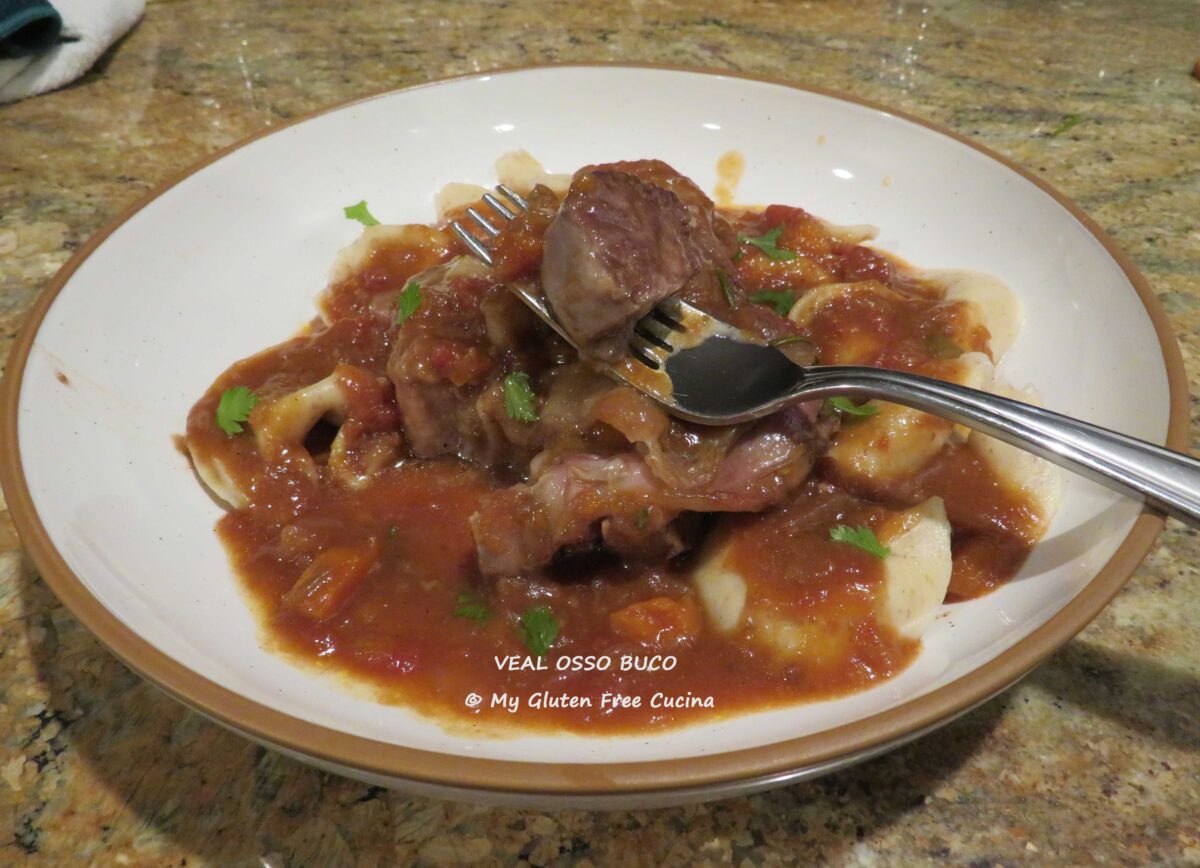
 Spoon sauce over the veal shanks and garnish with Italian parsley.
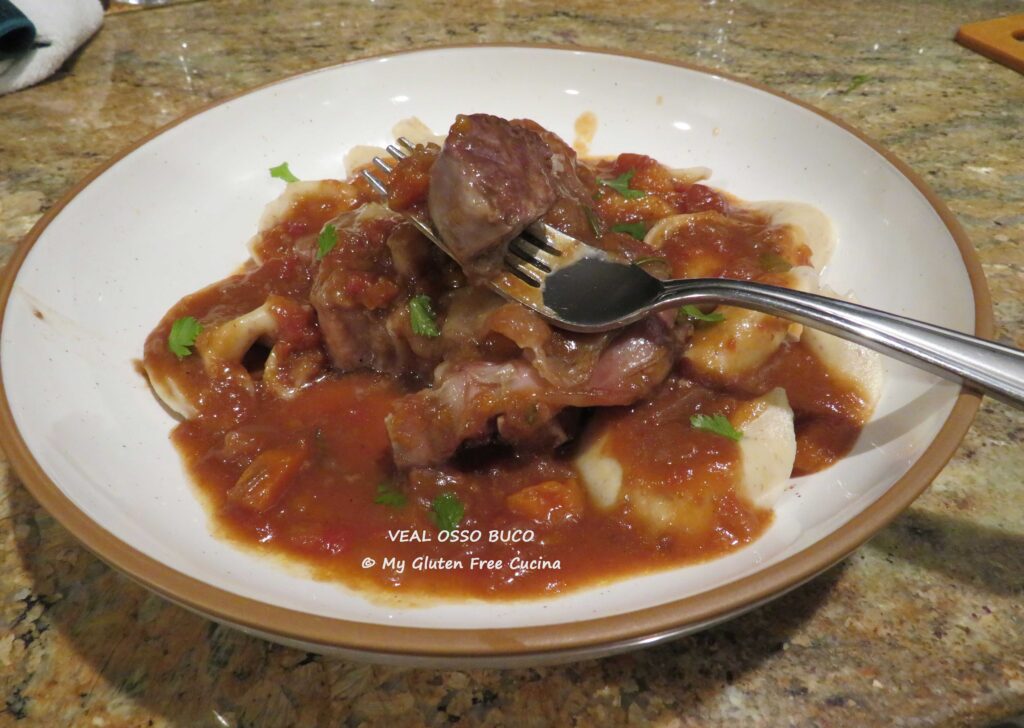


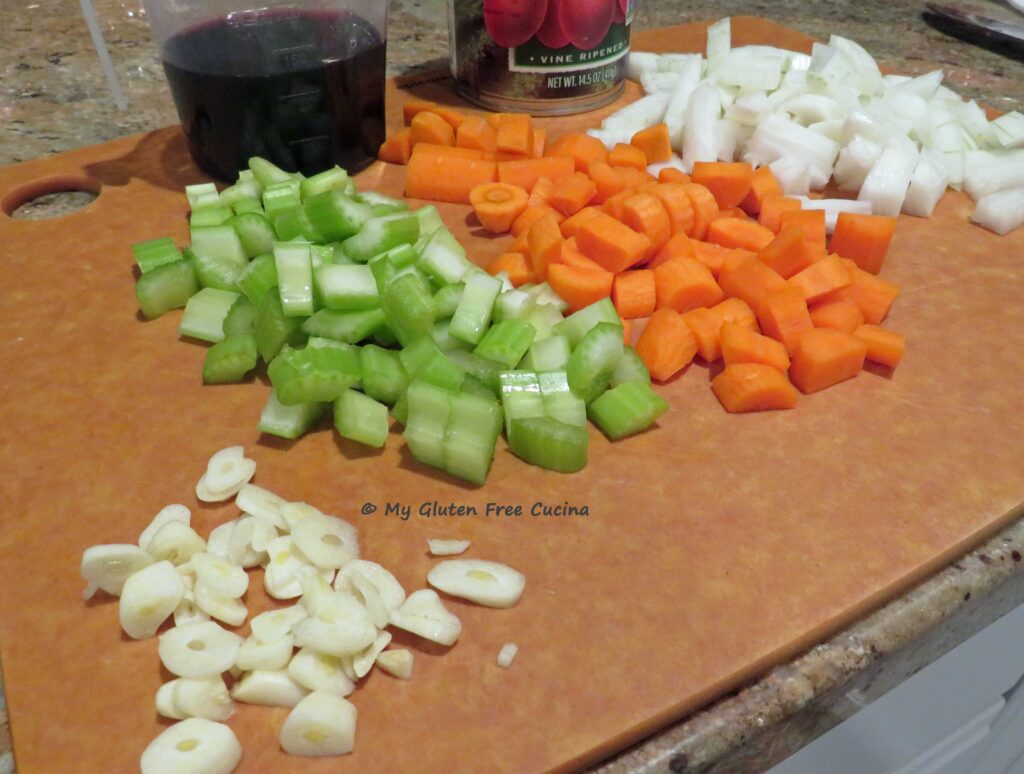
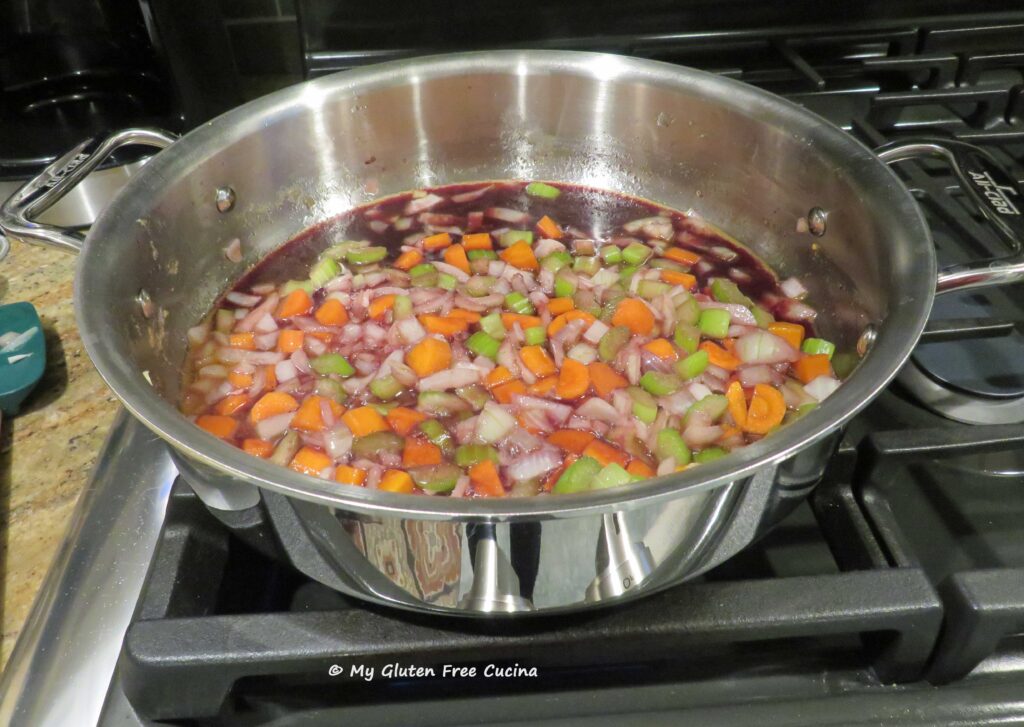
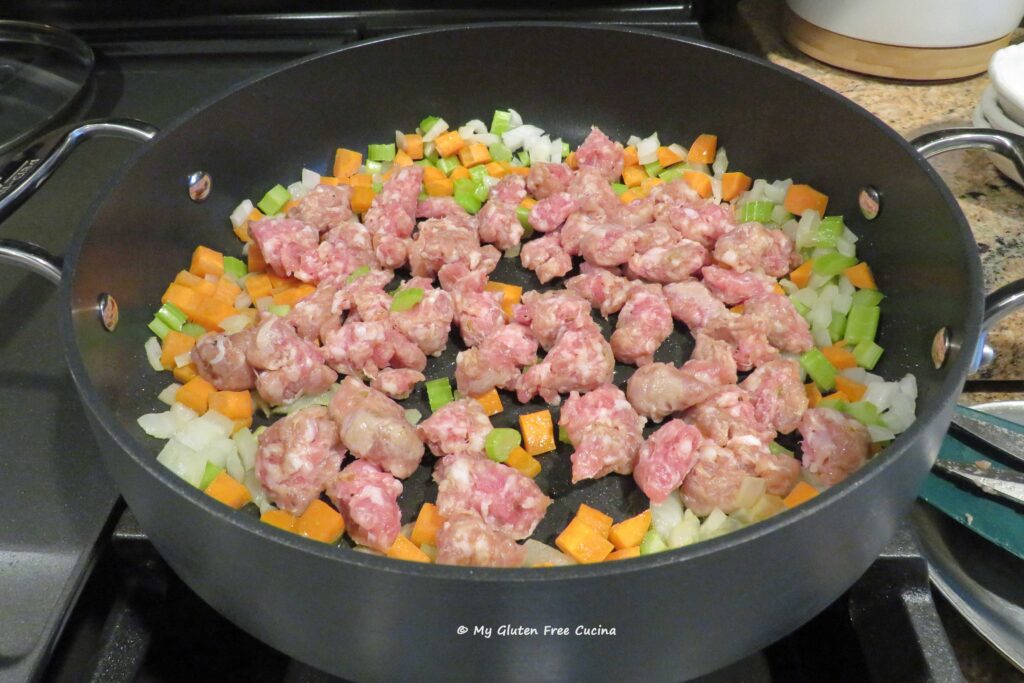
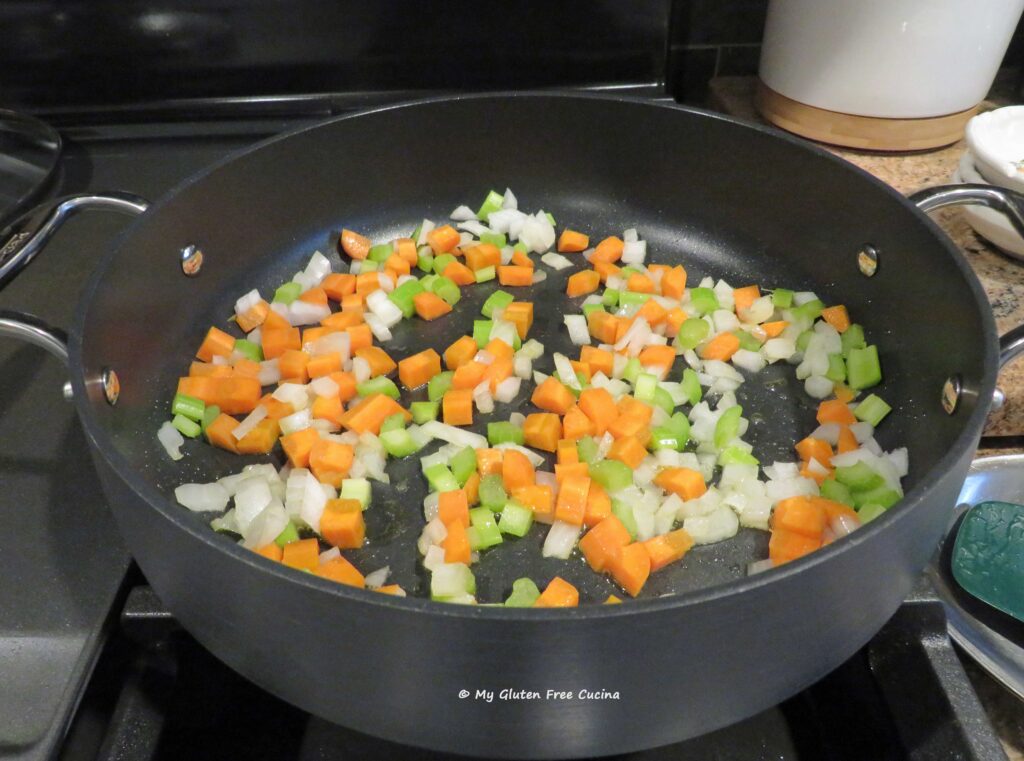 Remove the sausage casings and cut the sausage into small pieces. Add to the skillet with the veggies.
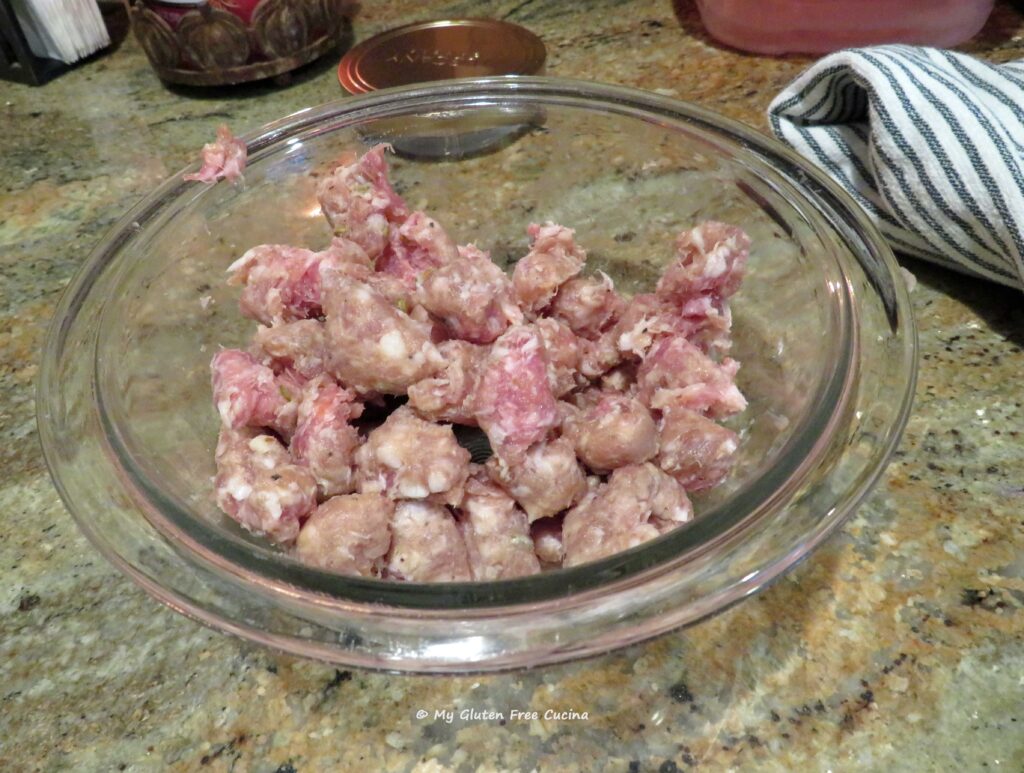
 When the sausage starts to brown, push the meat and veggies to the sides of the pan and add the tomato paste in the center.
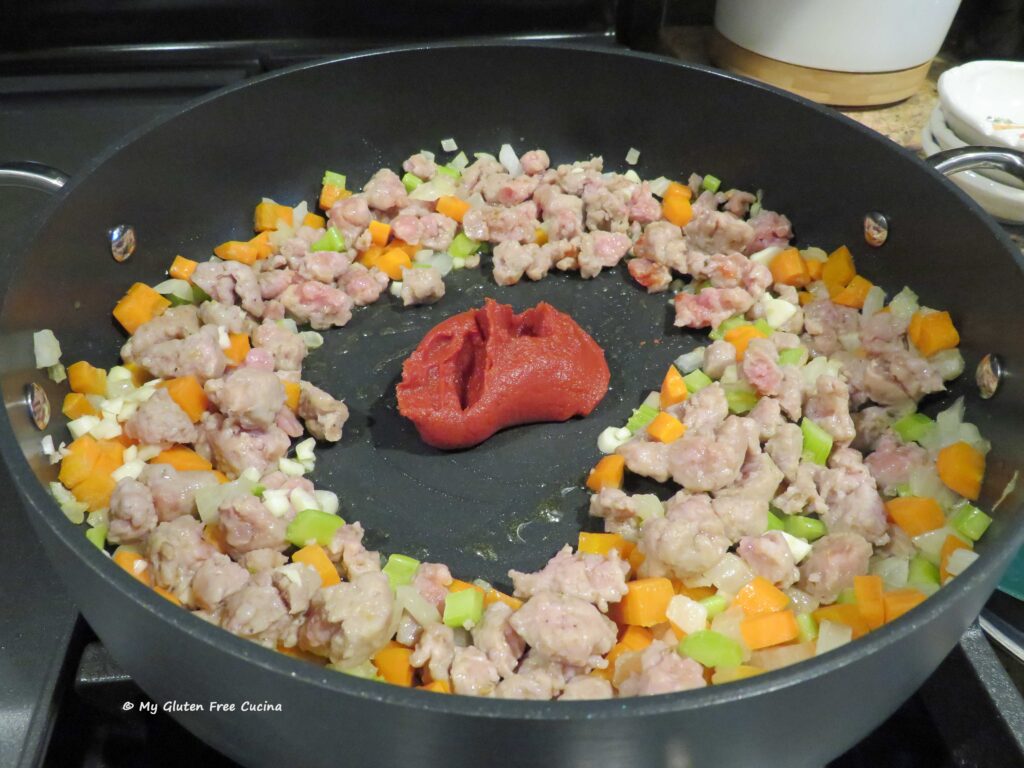 Let it toast for a few minutes, then stir it into the sausage and veggies.
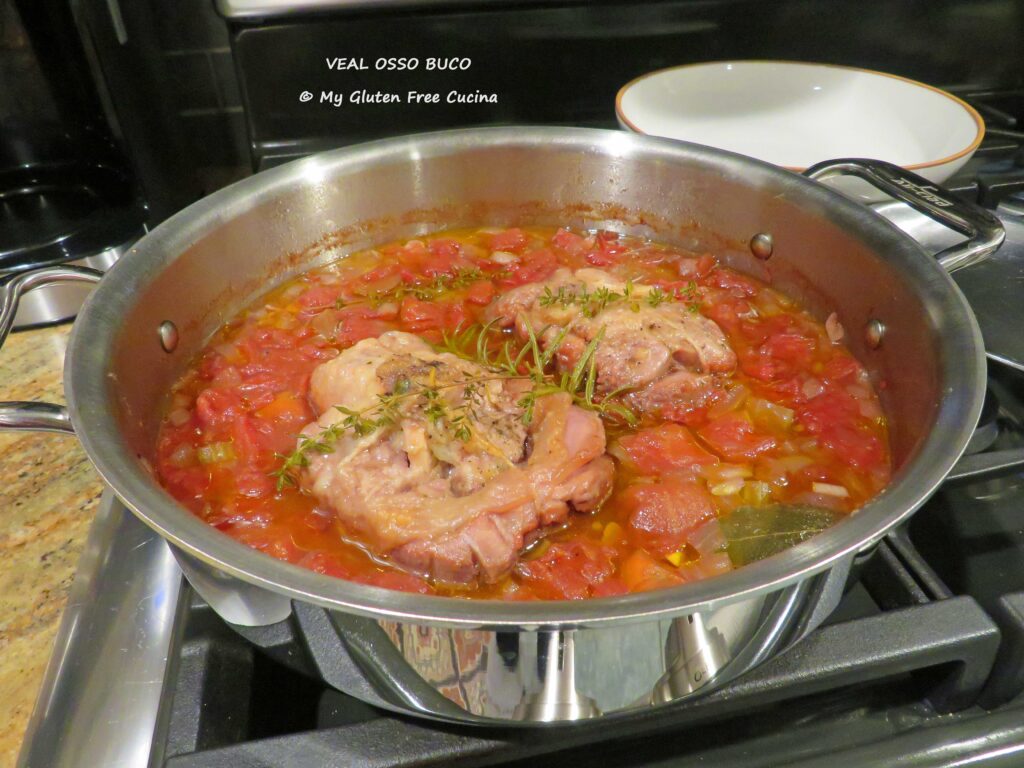
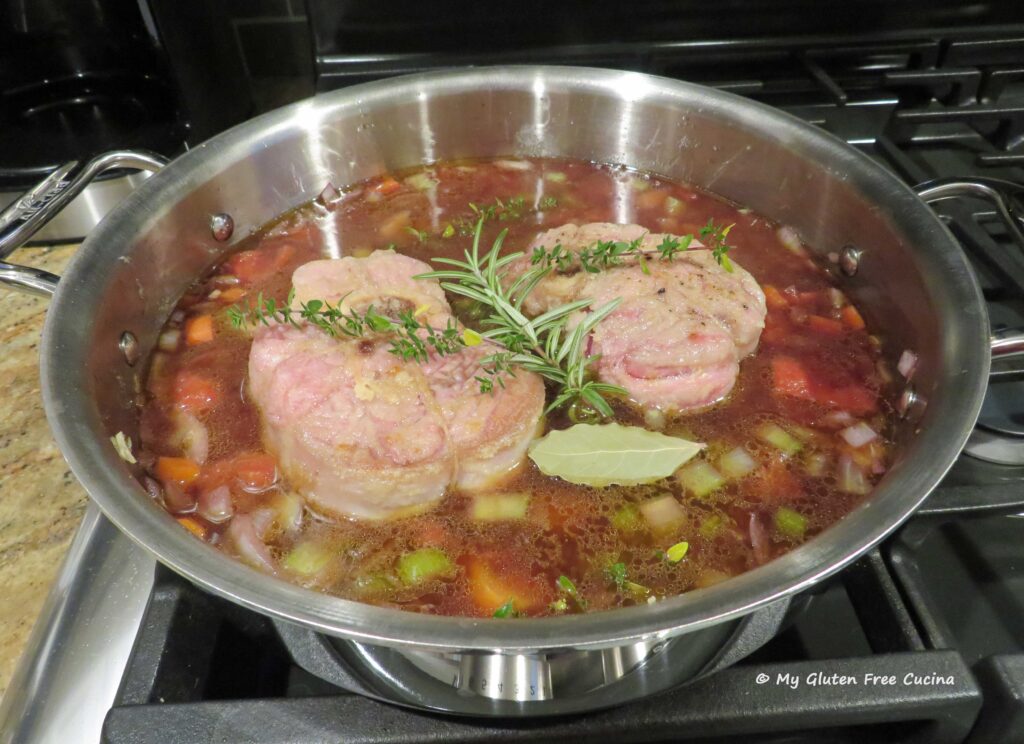
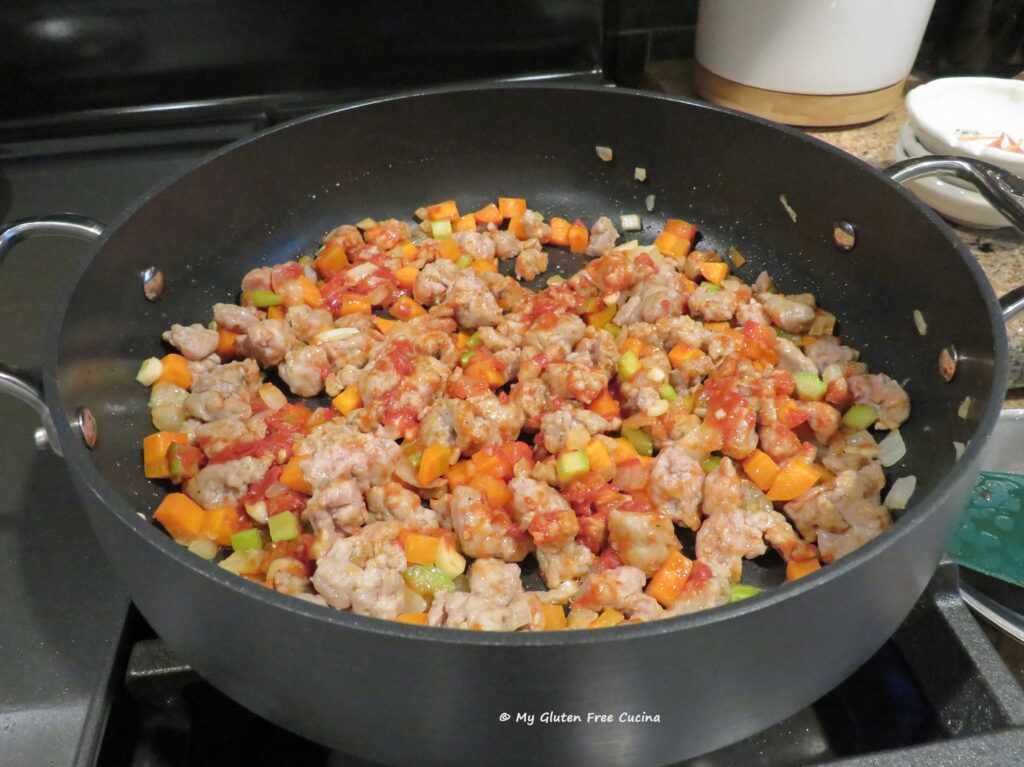 Add the wine, and saffron water, garlic, basil, oregano and bay leaf.
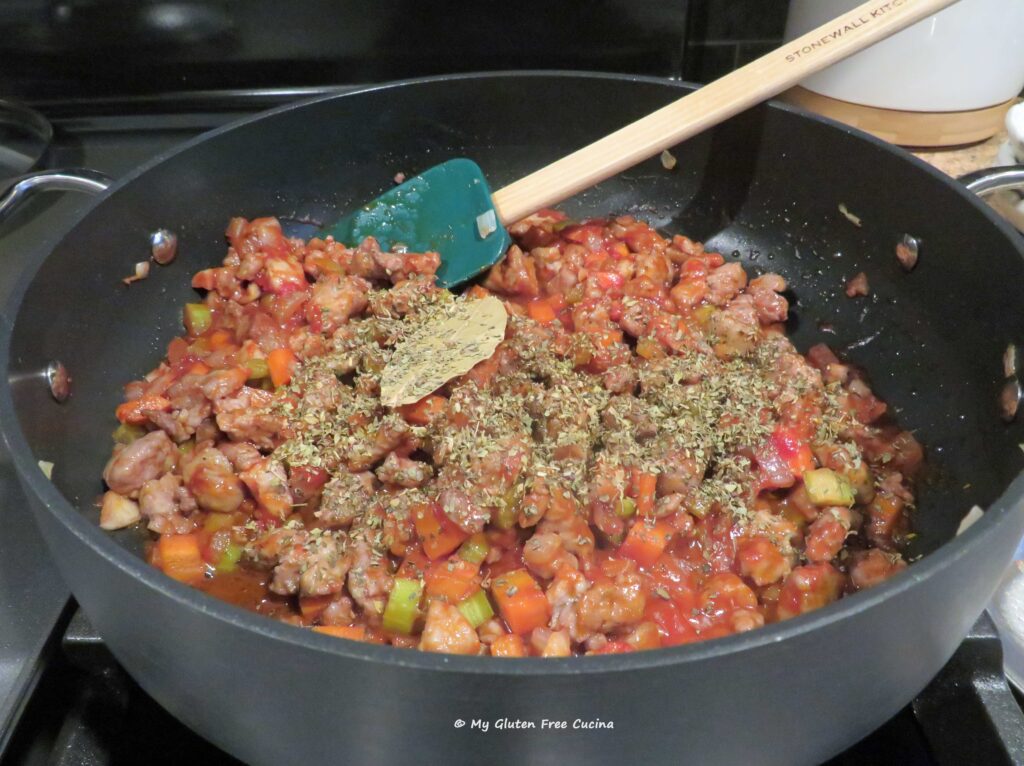 Let the wine cook off for a few minutes, then add the crushed tomatoes and the tomato sauce. Stir well, and simmer 30-45 minutes with the lid slightly ajar to allow the sauce to thicken as it cooks. Stir the sauce every 10 minutes while it simmers.
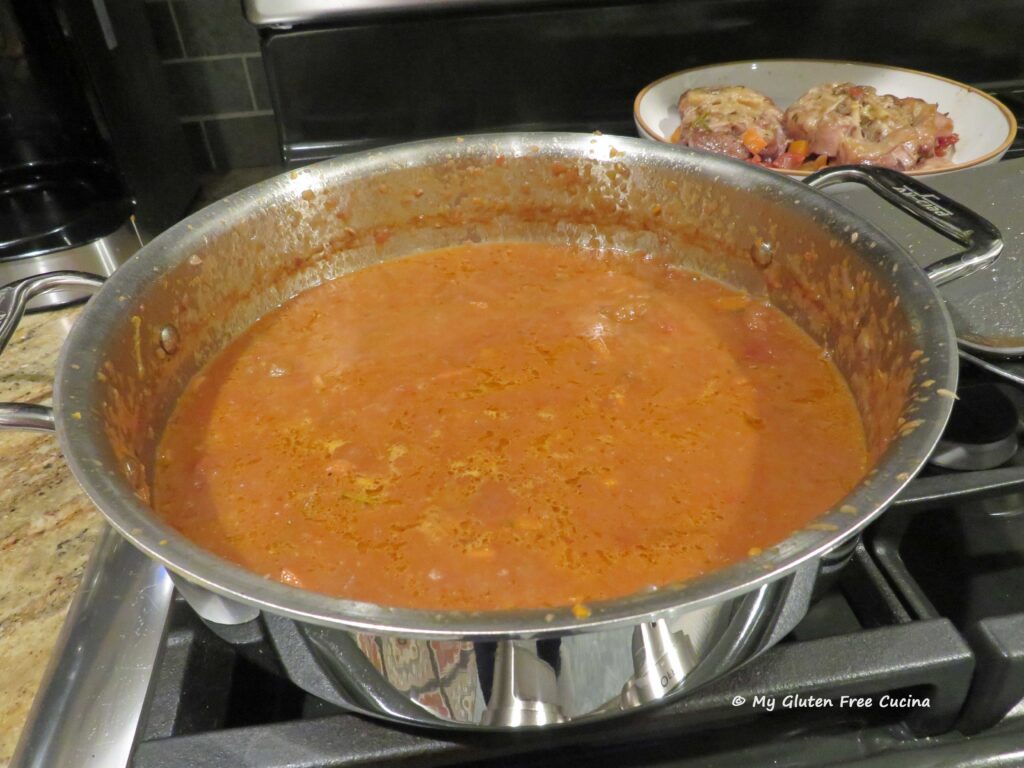
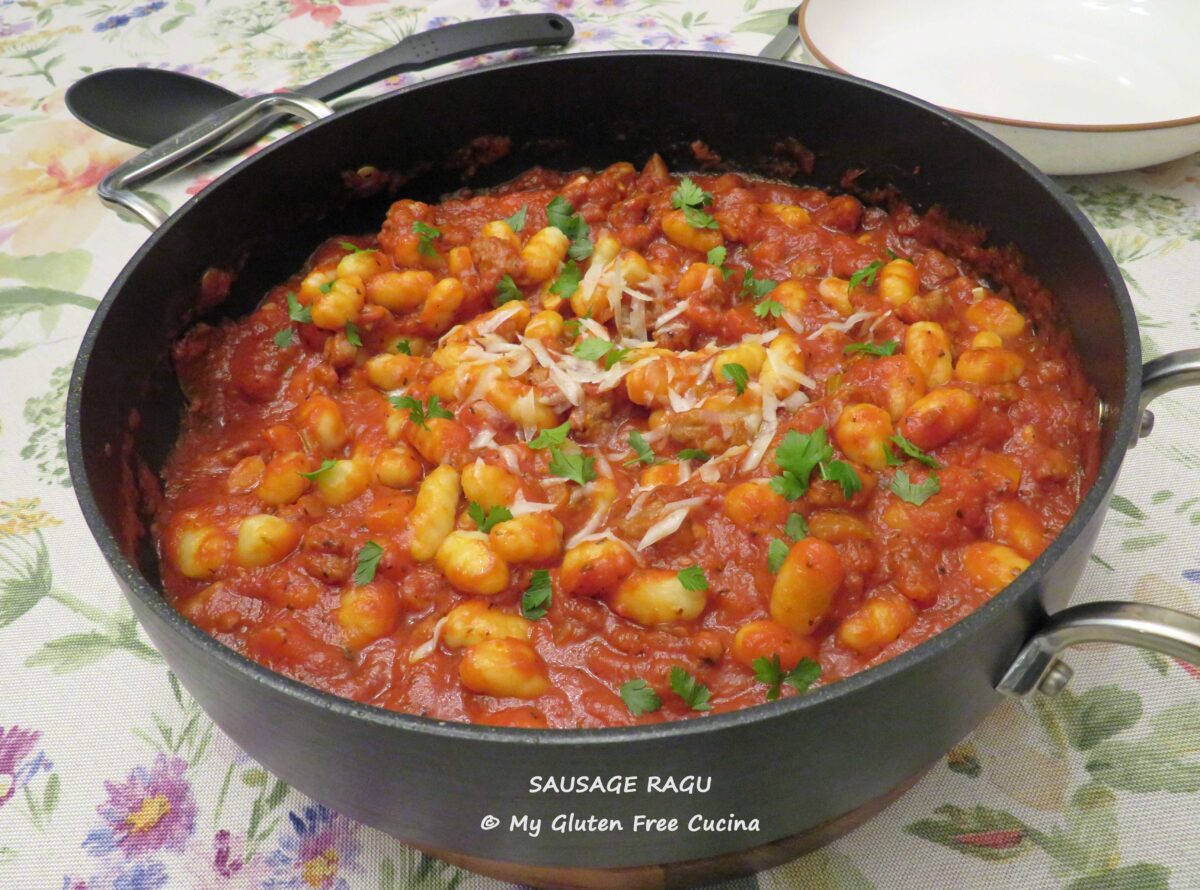
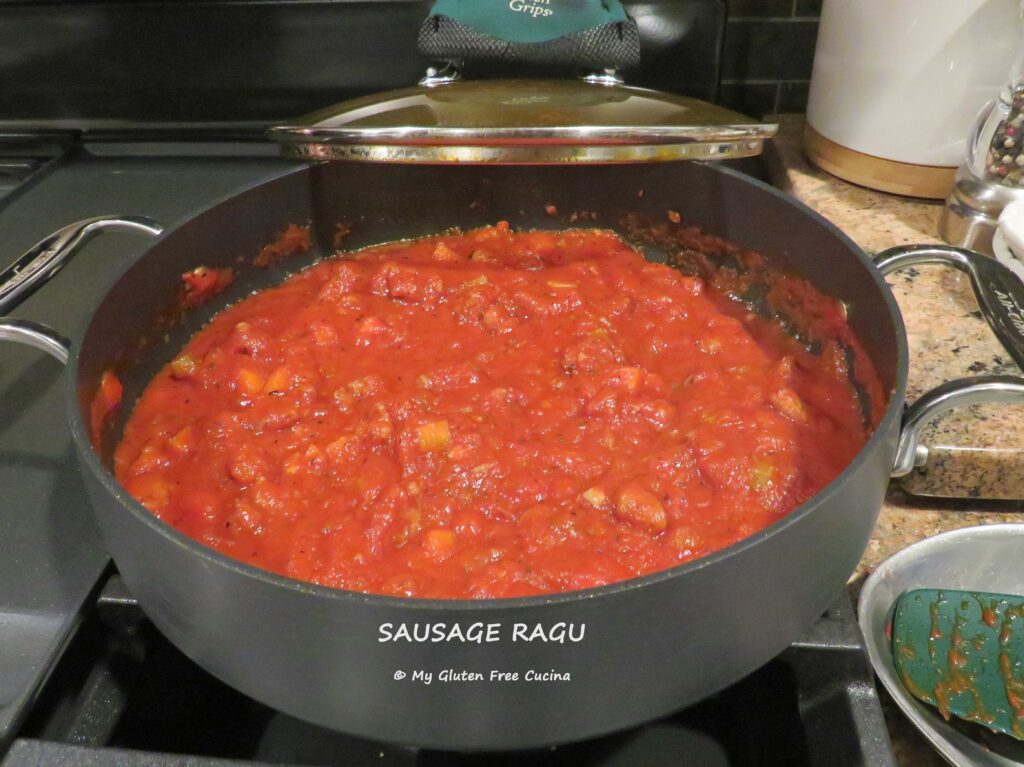 Serve this wonderful sauce over your favorite pasta and finish with grated cheese. Pecorino Romano is traditional with this dish, but you can use Parmigiano Reggiano.
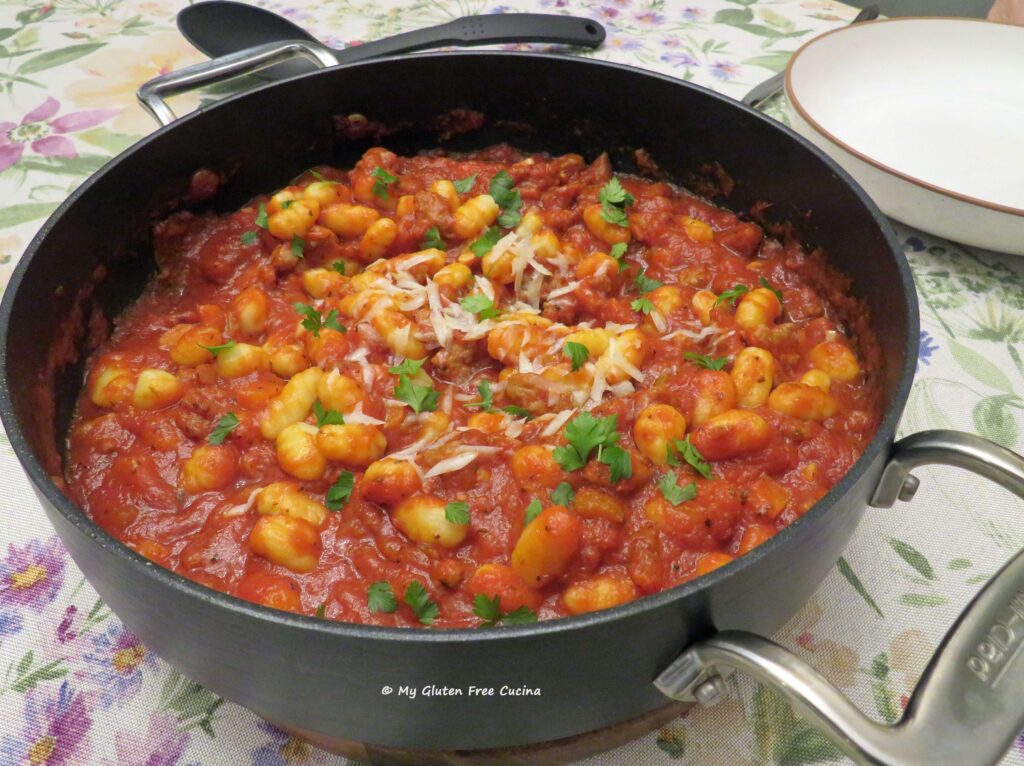 Notes ♪
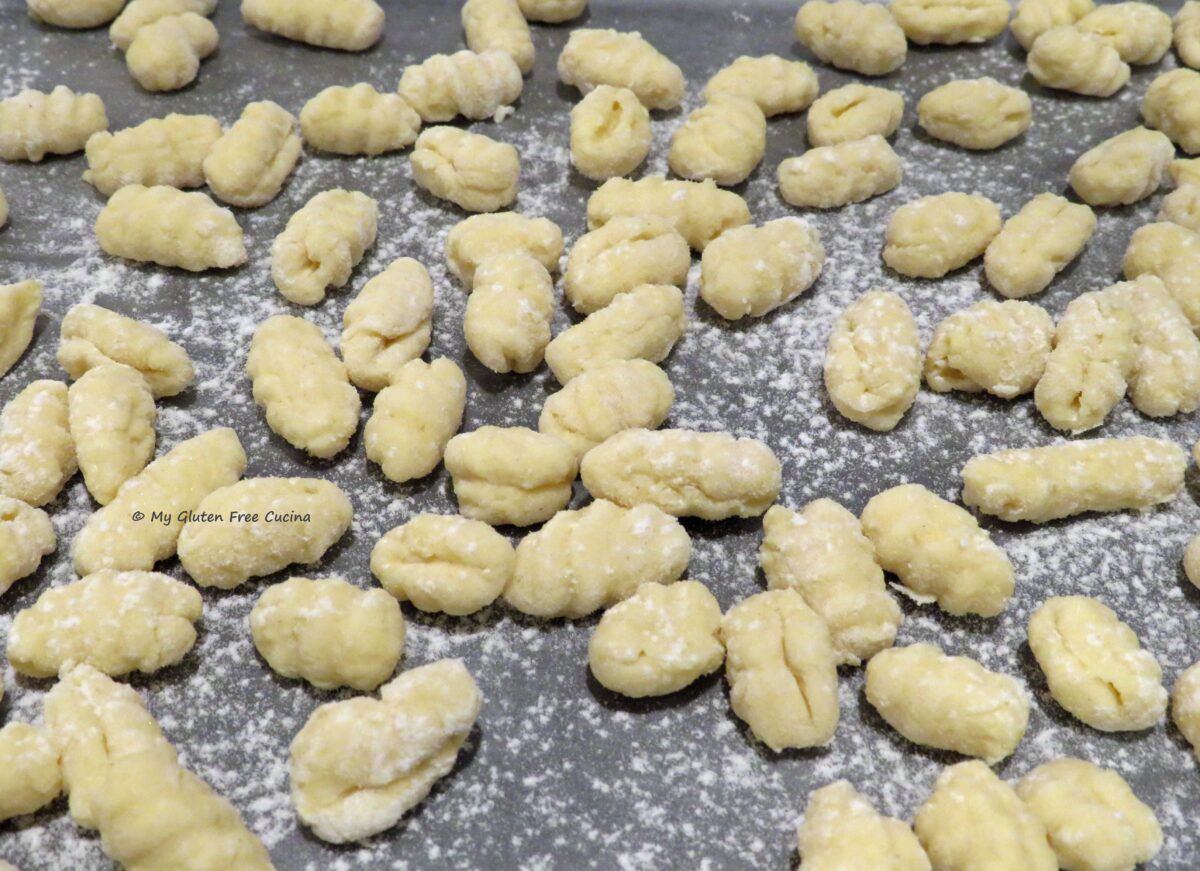
 What about gluten?
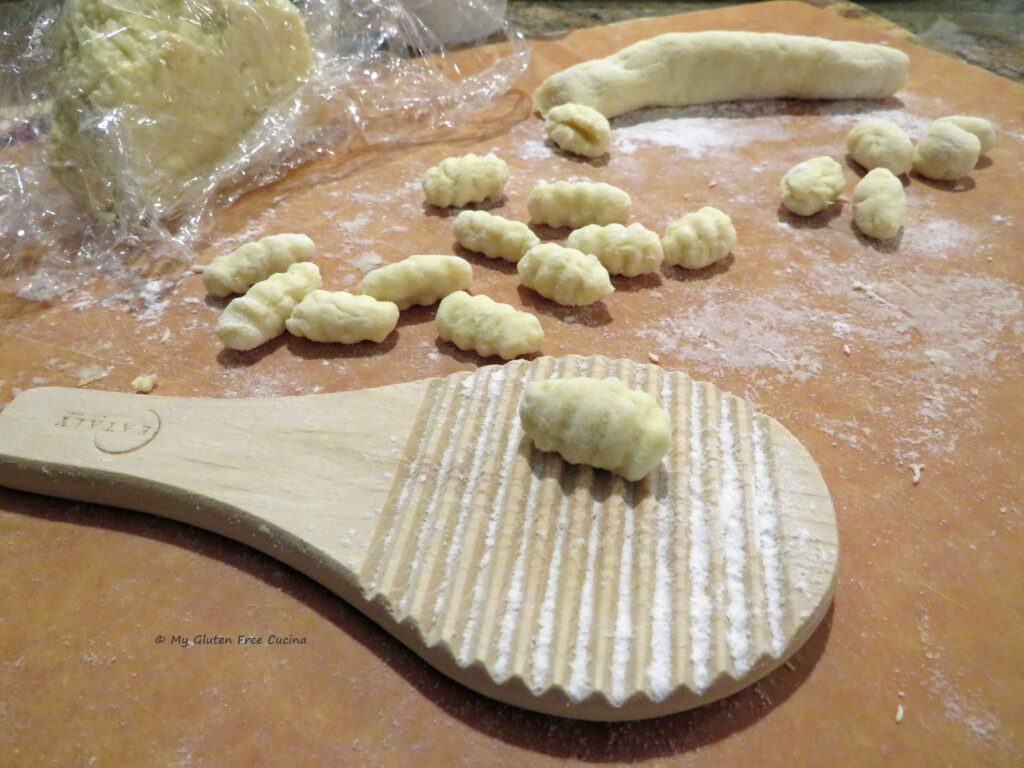 Wait, no eggs?
 Another unique feature.
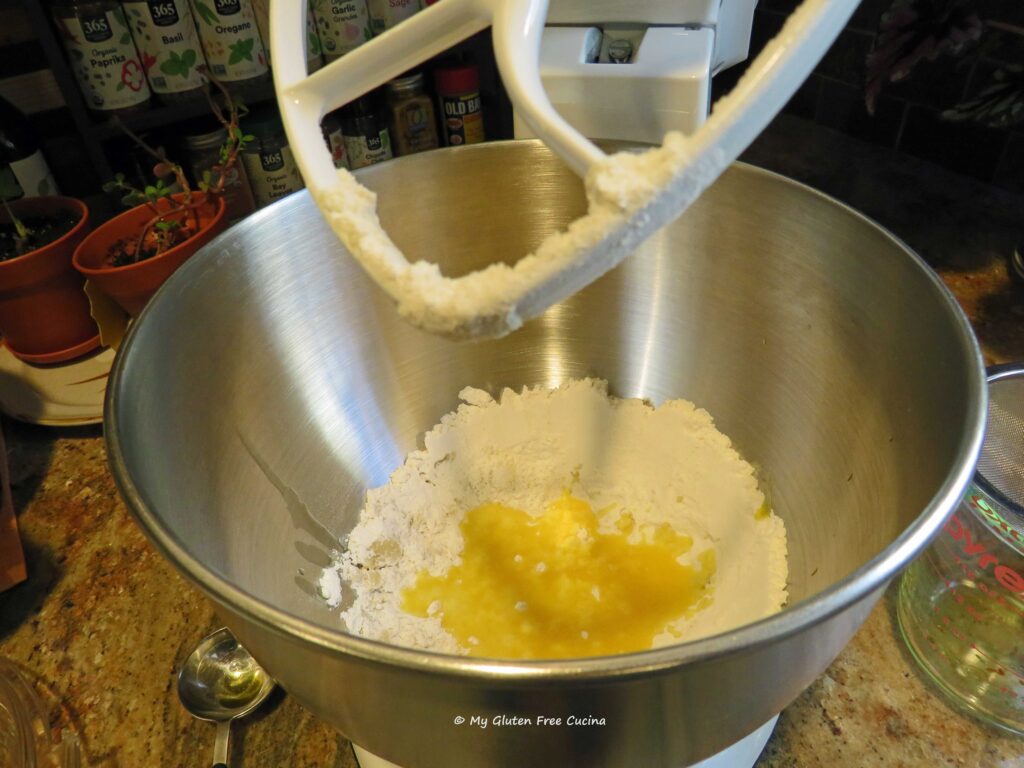 This post contains affiliate links.
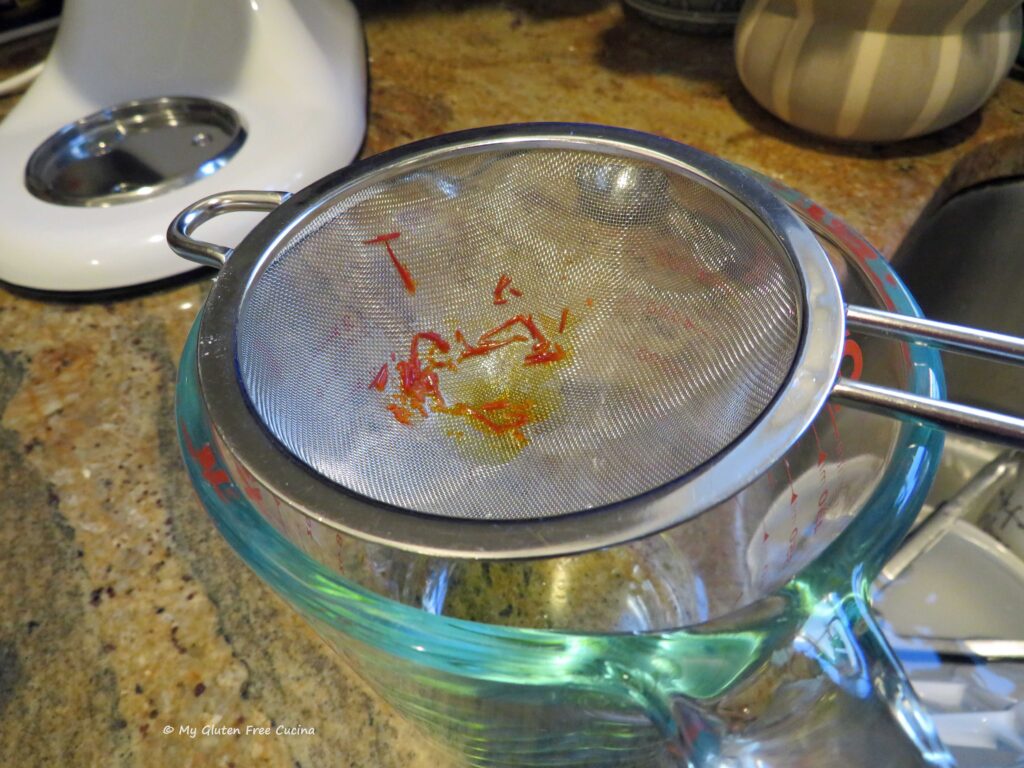
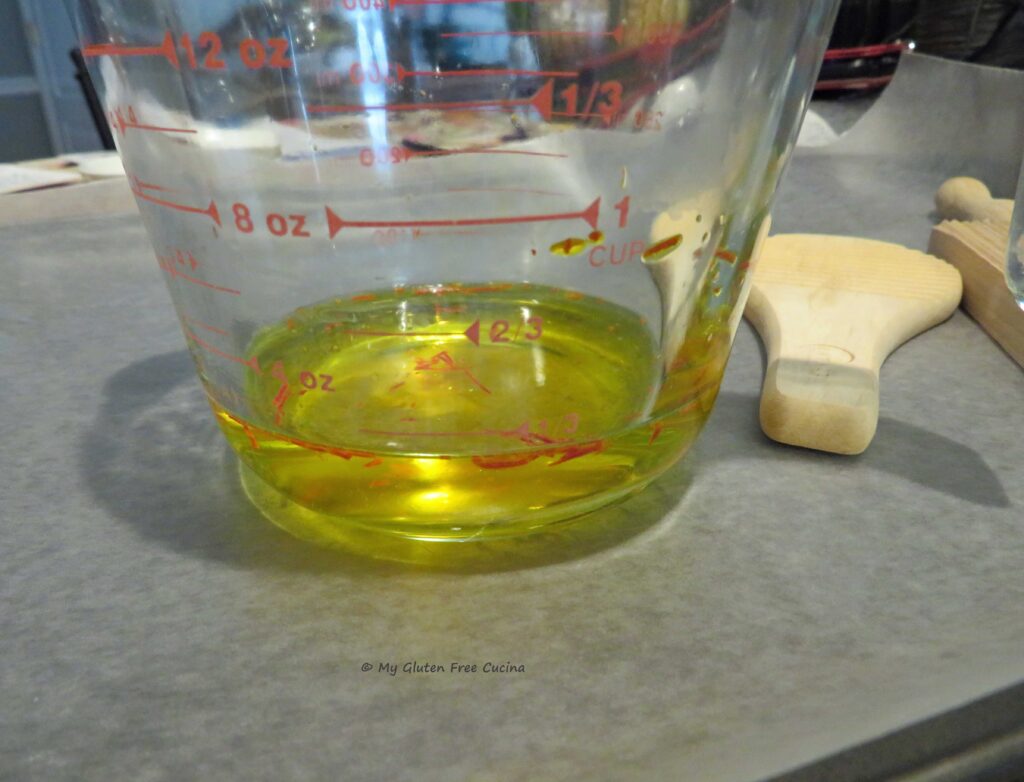 Whisk together the flour and salt in the bowl of a stand mixer. Pour in the infused liquid through a sieve, reserving the saffron threads.
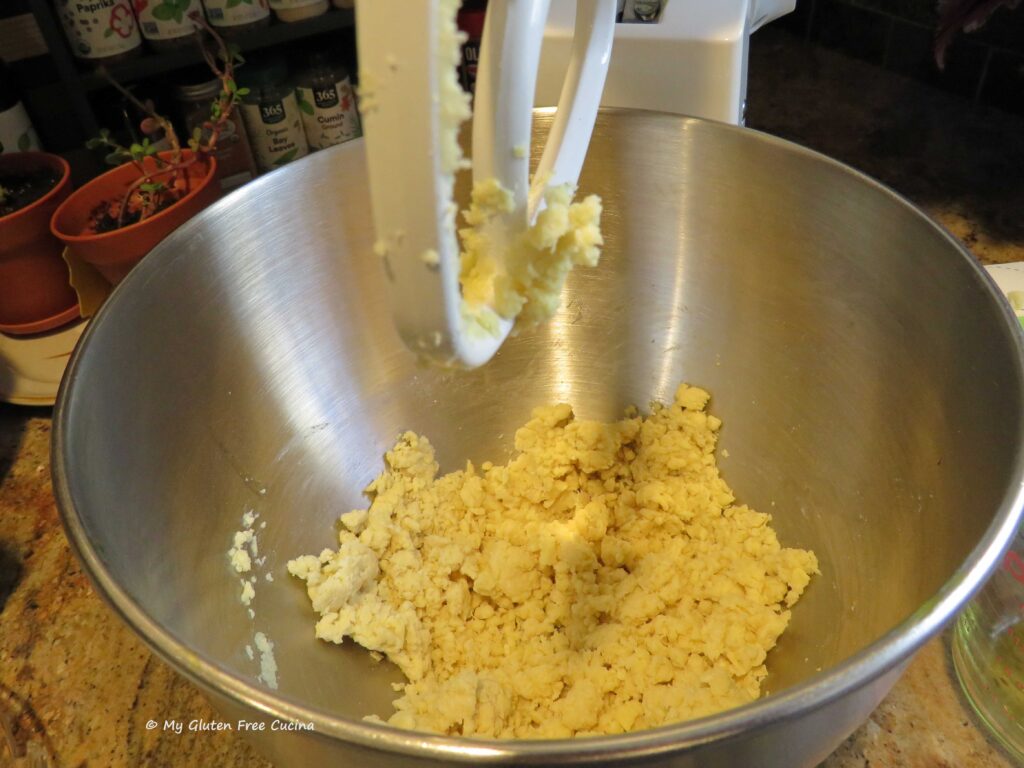 Add the remaining water 1 tbsp. at a time until you have a very soft, smooth dough, like this.
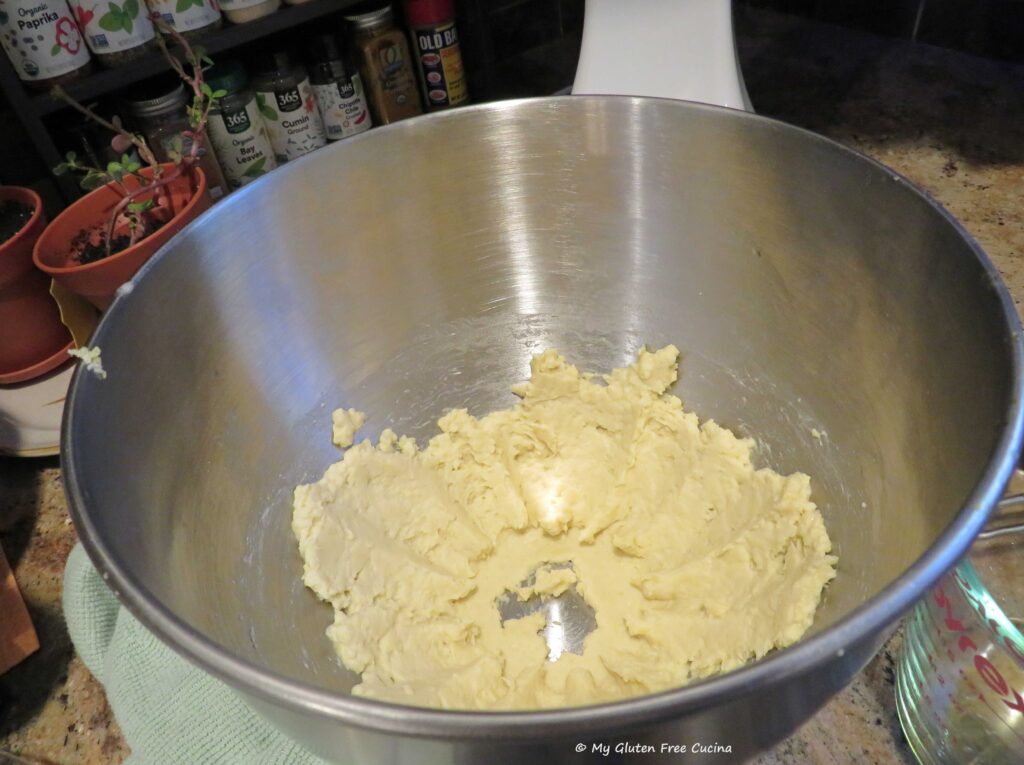
 Use a spatula to gather the dough into a ball, then cover and let it rest at room temperature for about 20 minutes.
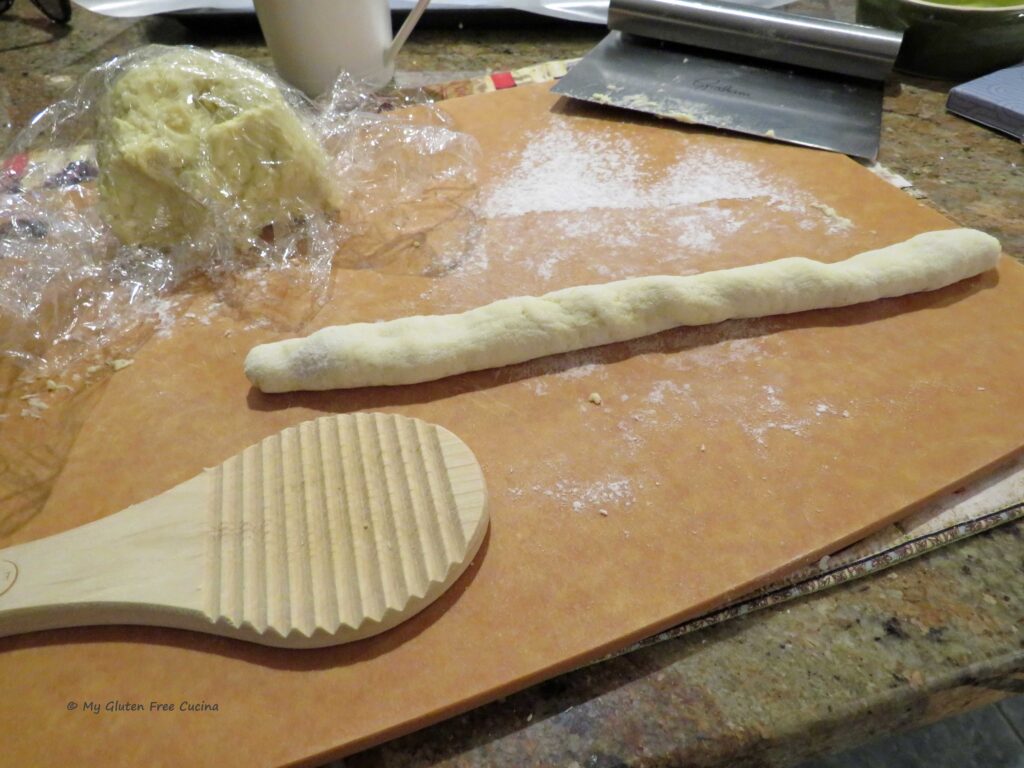
 Now roll each piece over the Malloreddus paddle, you can use your fingers or a bench knife. Be sure to keep the paddle generously floured as you work. A
 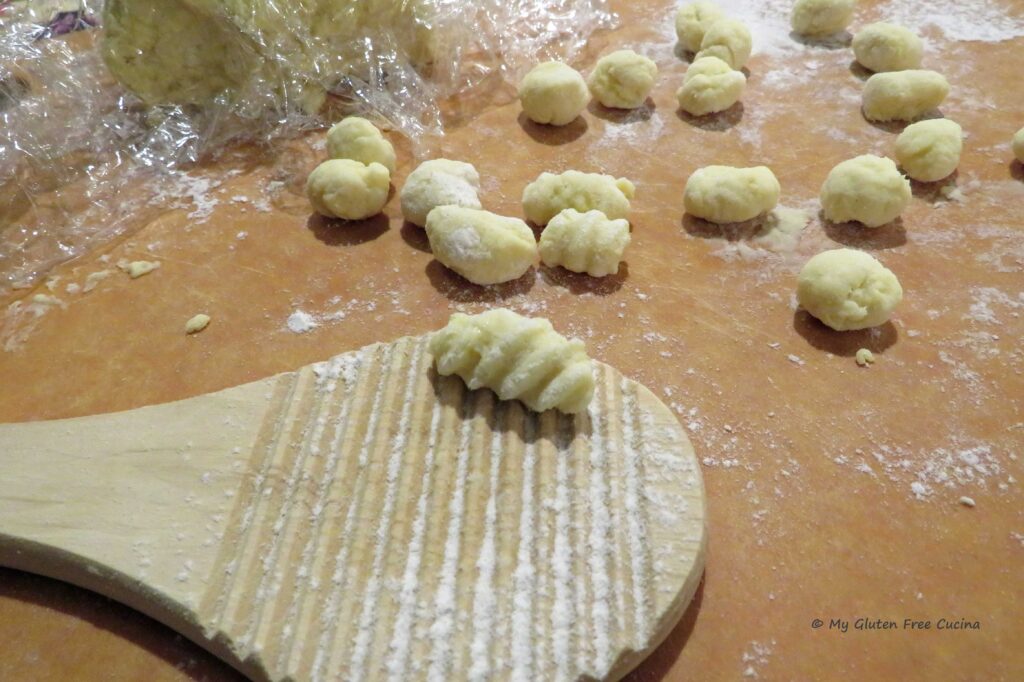 Arrange the pasta on a lightly floured baking pan in a single layer. I lined mine with wax paper. At this point, you can cover the pasta with plastic wrap and refrigerate it until you are ready to start cooking.
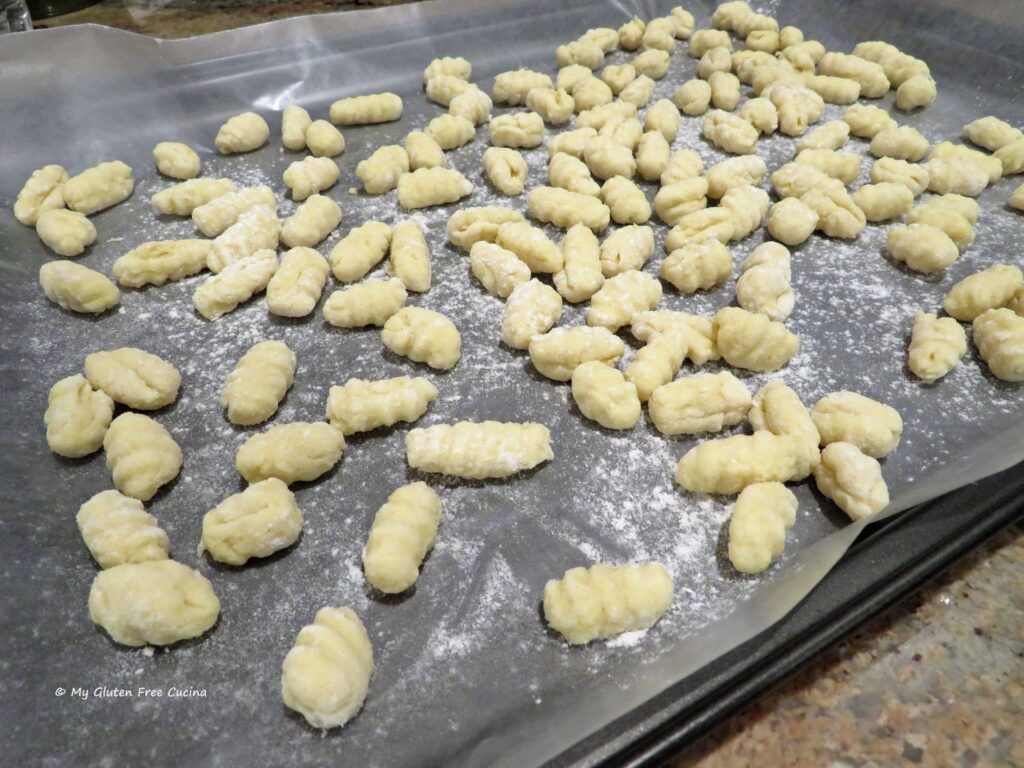 For longer term storage, place the pan in the freezer for a few hours, then transfer the pasta to a freezer safe bag.
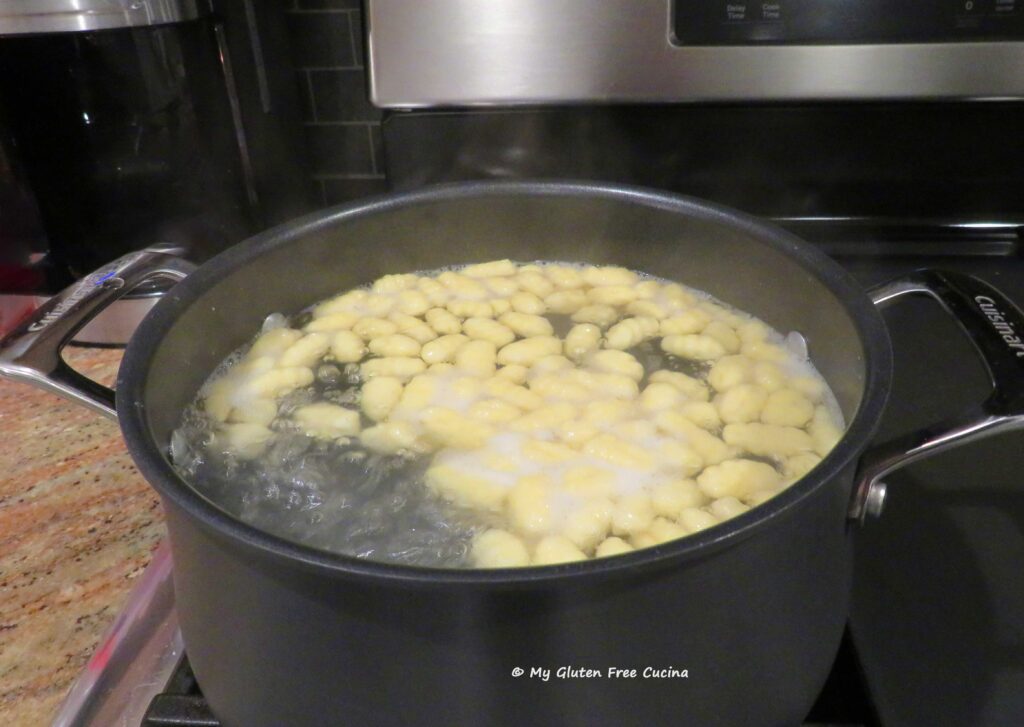


 Ingredients:
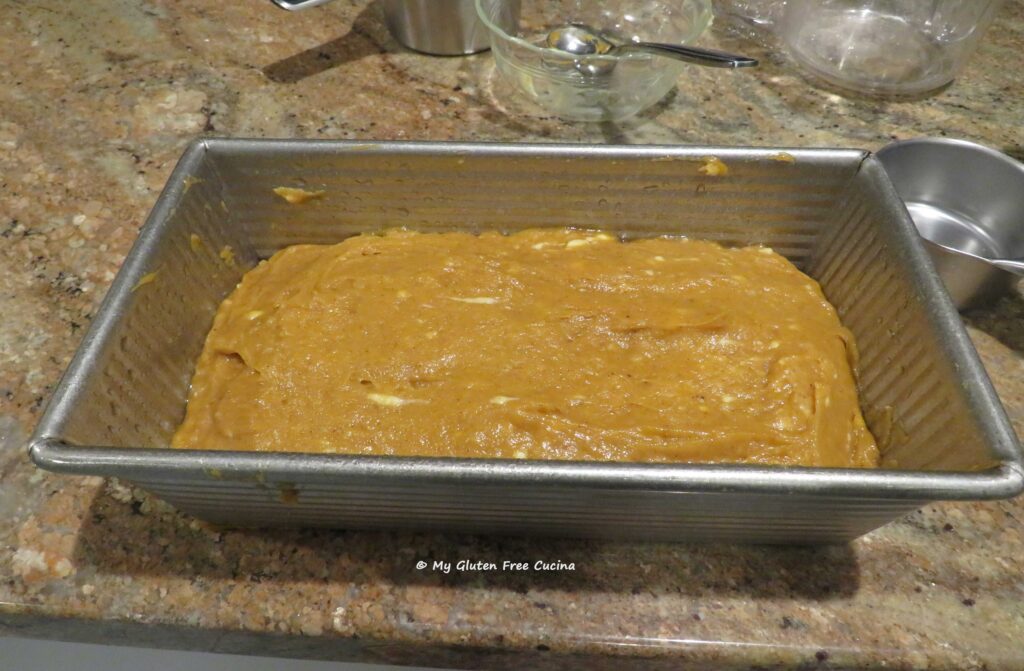
 Mist a muffin tin with cooking spray.
  Bake for 15 minutes. Check the center with a toothpick, and if it comes out dry, they are done.
 Brush the tops with melted butter, then transfer to a rack to cool.
 Muffins can be stored at room temperature for one day, and any leftover after that can be frozen.
 Yes, they are gluten free!
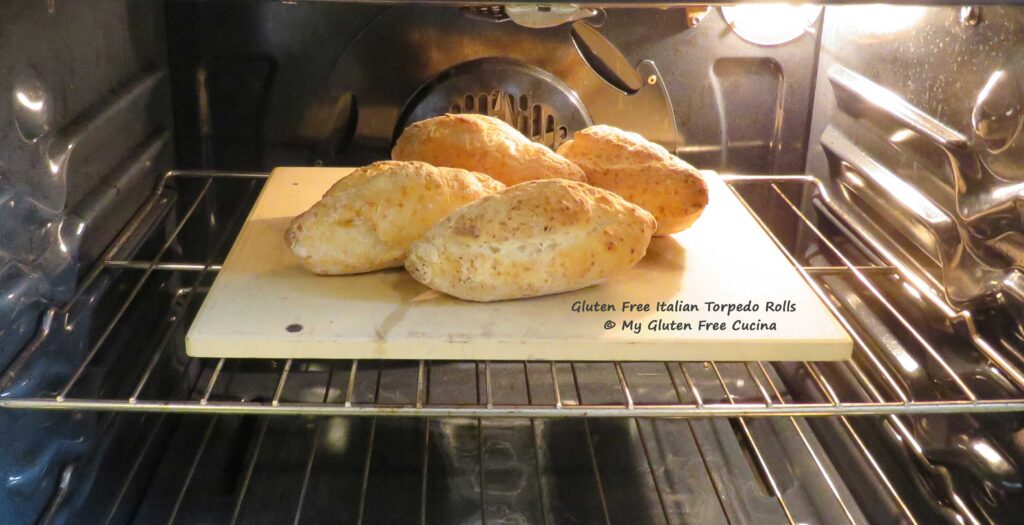 You are going to love this recipe!
 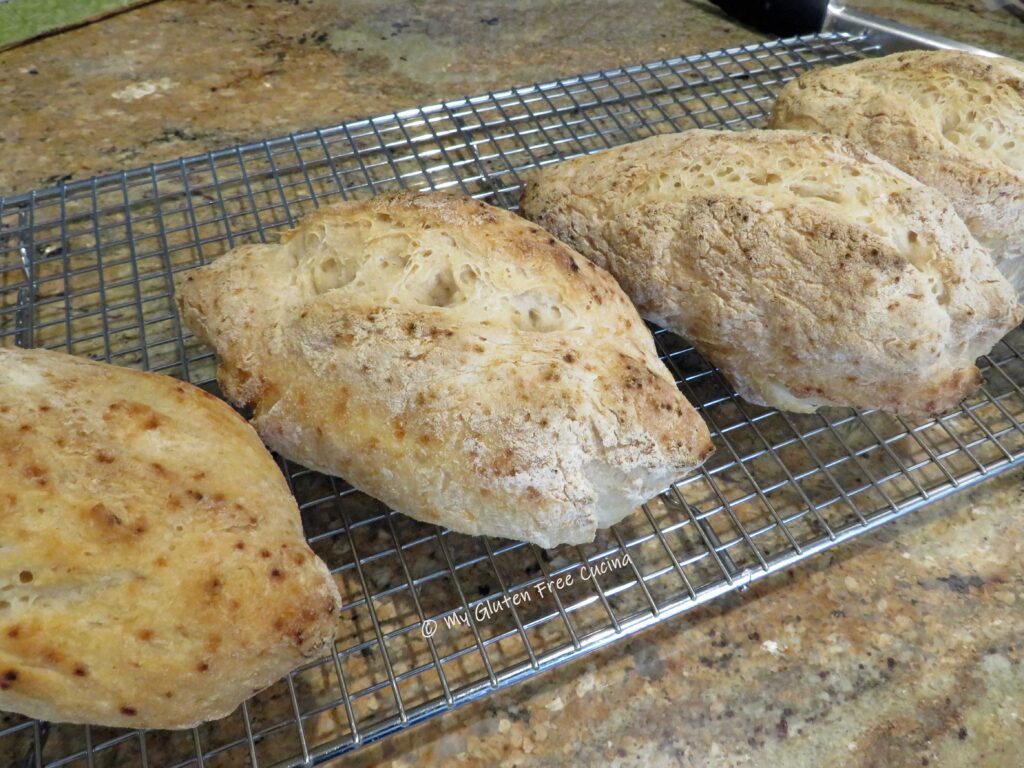 Ingredients:
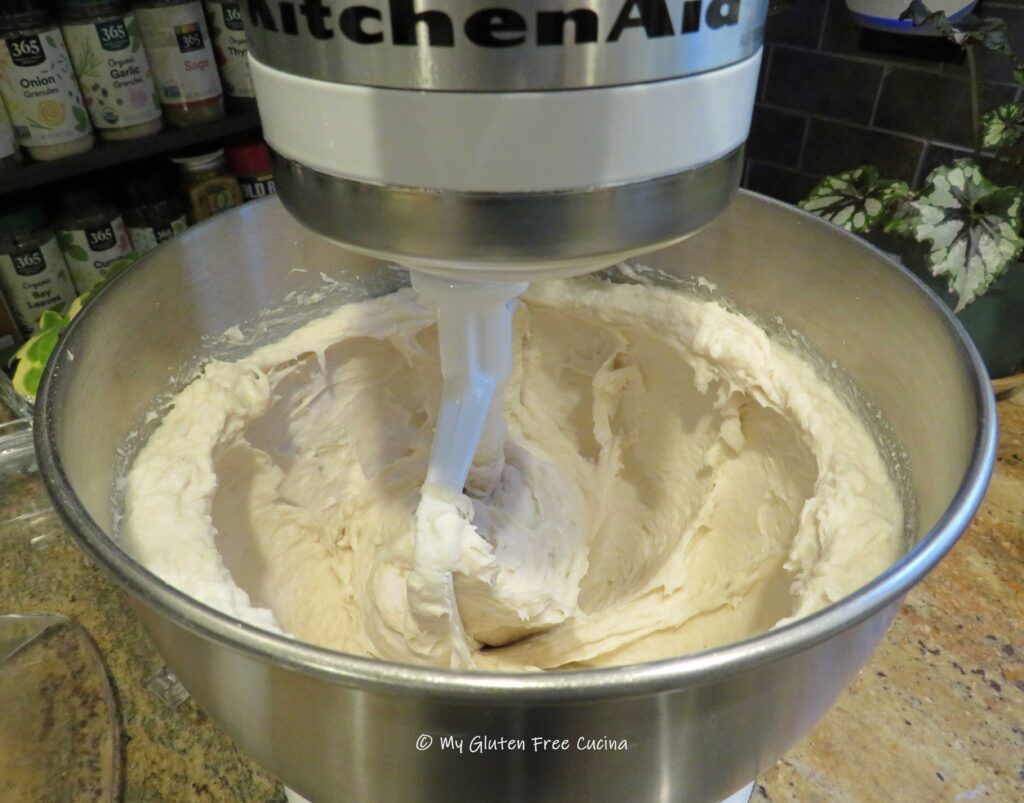 No stand mixer? You can combine everything in a large bowl with a
 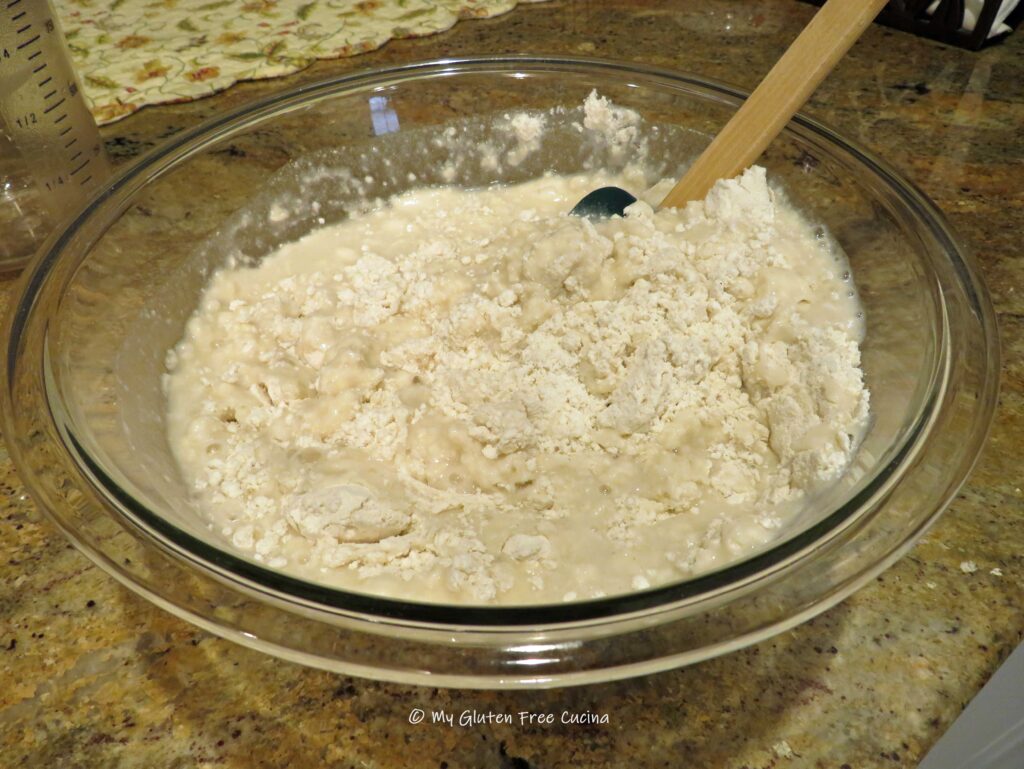 Now cover the bowl with plastic wrap and leave it on the counter (room temperature) overnight for 12-13 hours. I like to make my dough around 8pm, then shape the rolls while I’m having coffee the next morning, around 9am.
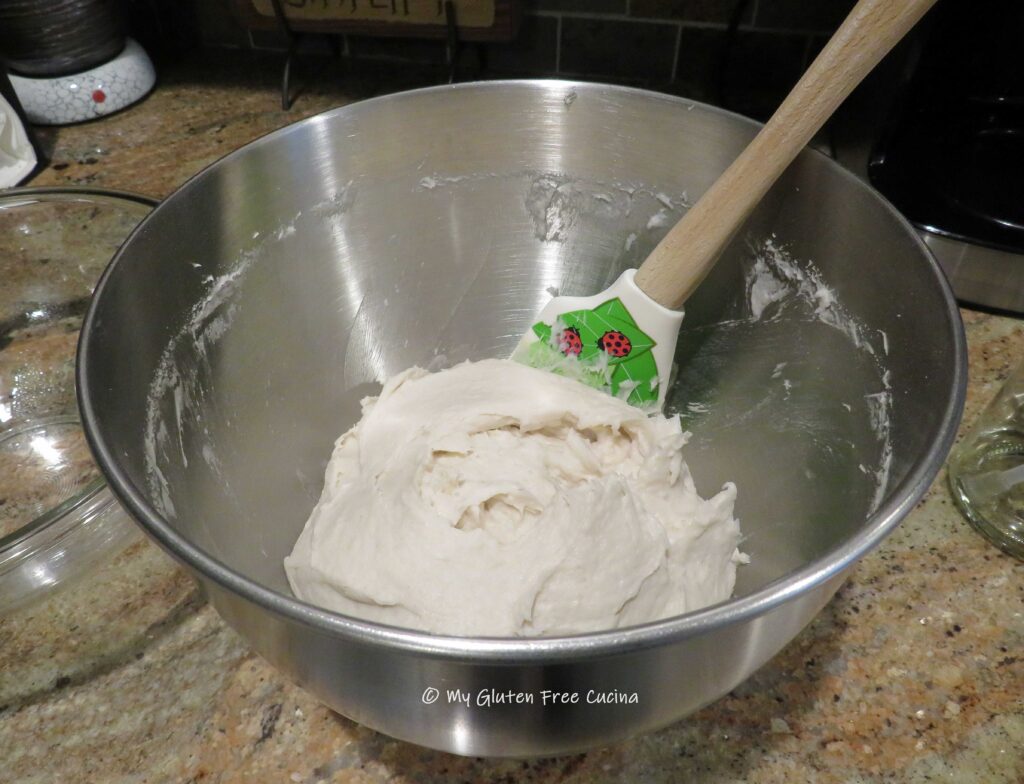
 In the morning, preheat the oven to 475º with a
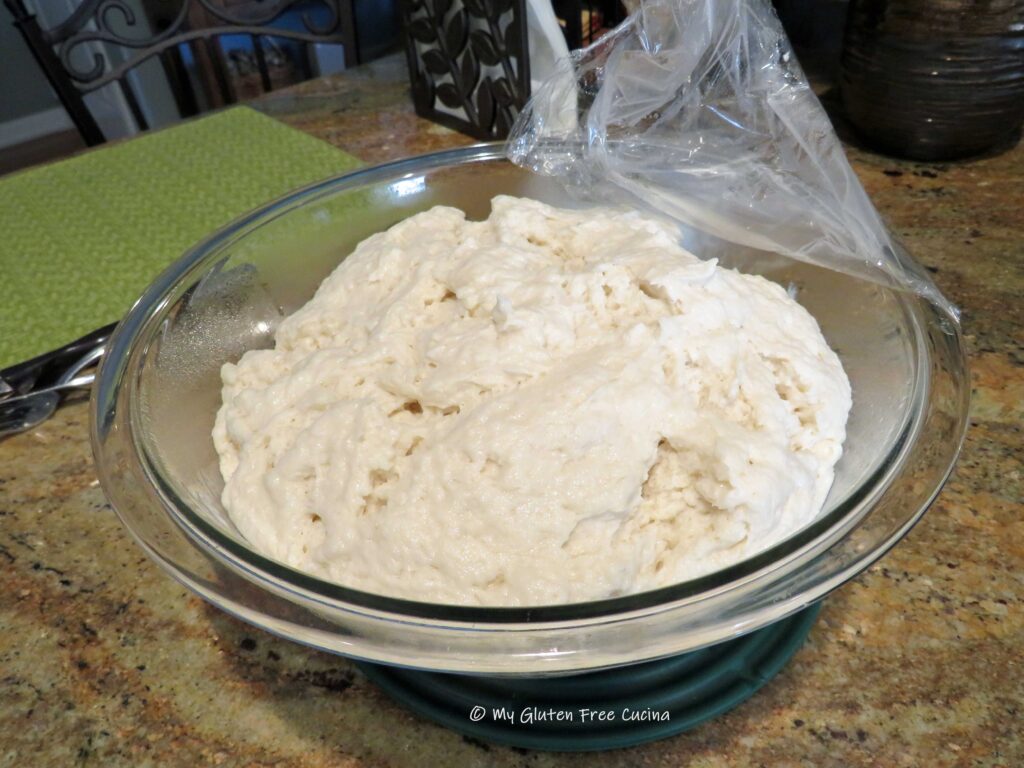
 Flour your work surface and gently roll each section into a torpedo shape (oval with tapered ends). Arrange them on a lightly floured baking sheet lined with parchment or use a
 Place in the oven and spray the rolls and sides of the oven with water to create steam. Bake for 35 minutes at 475º, then remove from the pan and bake directly on the stone during the last 10 minutes.
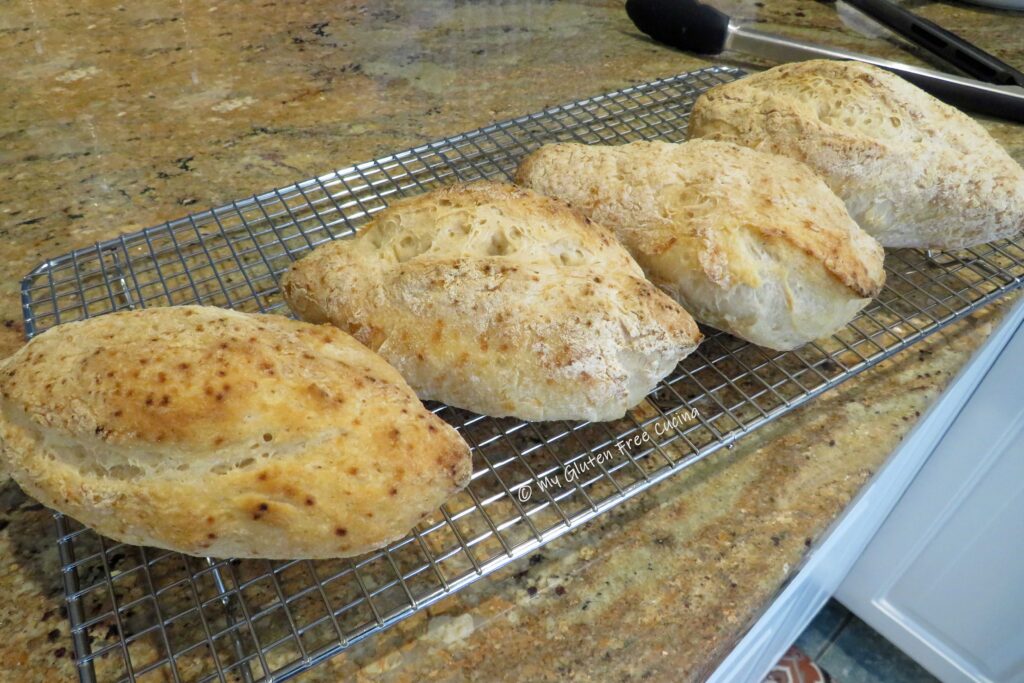
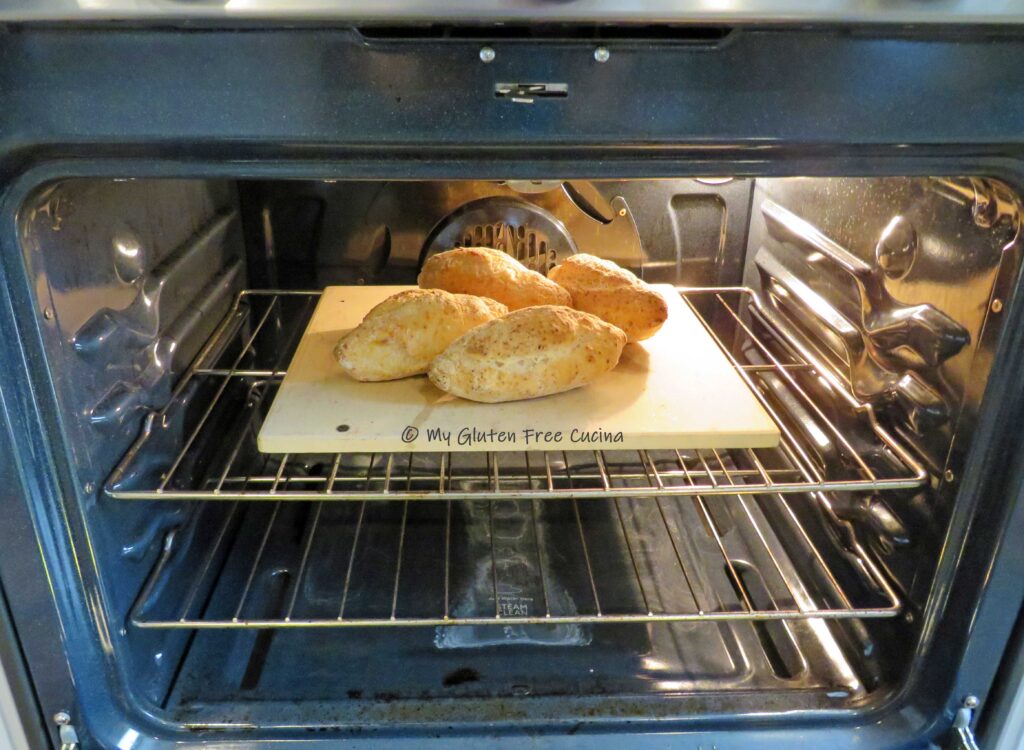 Rolls are done baking when the internal temperature reaches 210º. The crust should be firm and dry, and you will get that hollow sound when you give the rolls a sharp tap. Remove from the oven and place on a rack to cool.
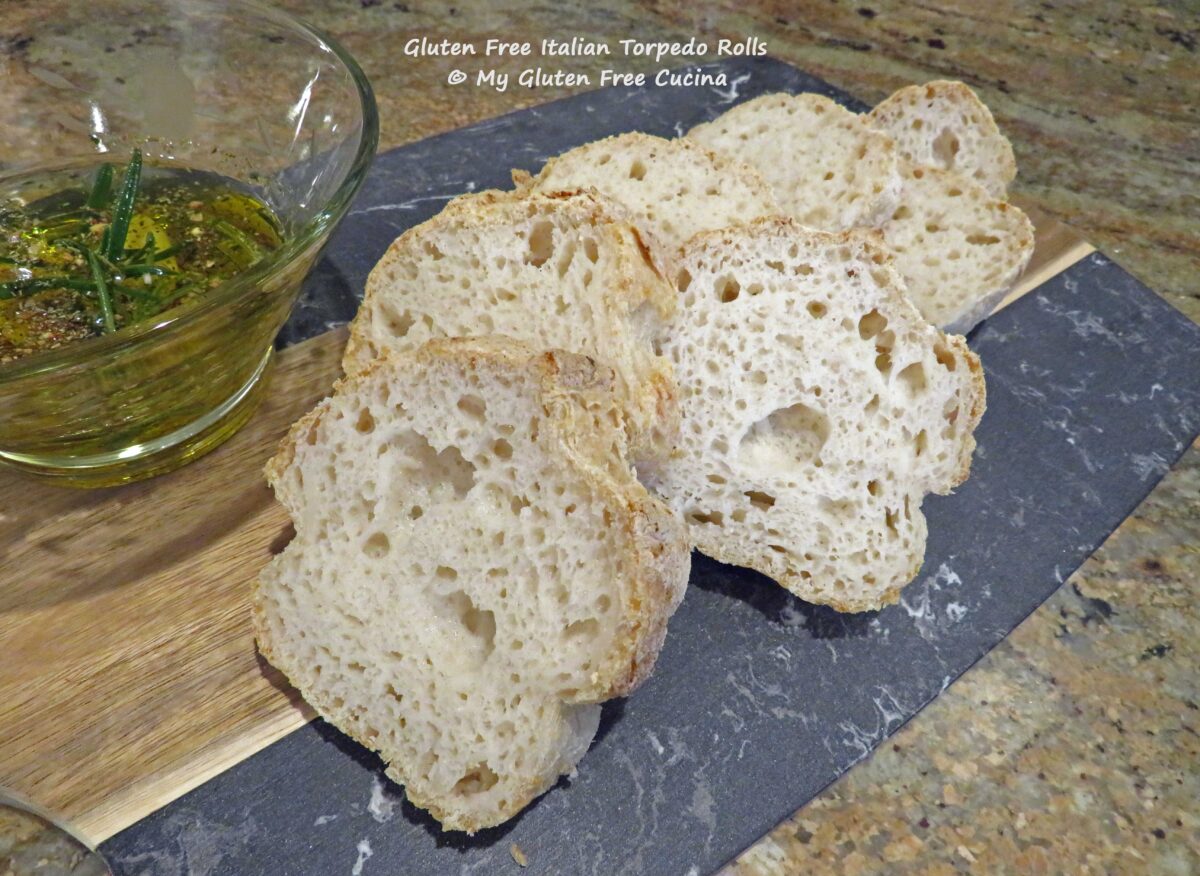
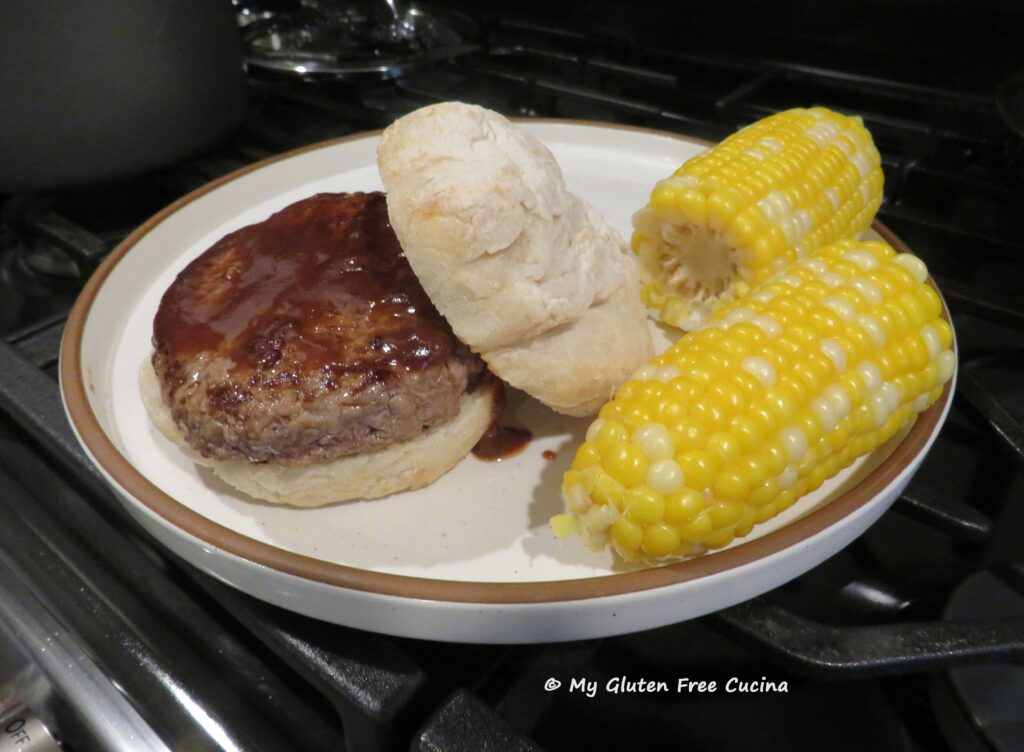
 What would you do with a homemade, hot out of the oven Italian roll like this? Dip it in olive oil, or slather with garlic butter and toast it? Slice it thin for bruschetta? Maybe load it up with veggies, cold cuts and cheese to make a panino (a/k/a sub, hoagie)! And for big appetites, you can serve them as dinner rolls (mop up that sauce!) or sandwich rolls.
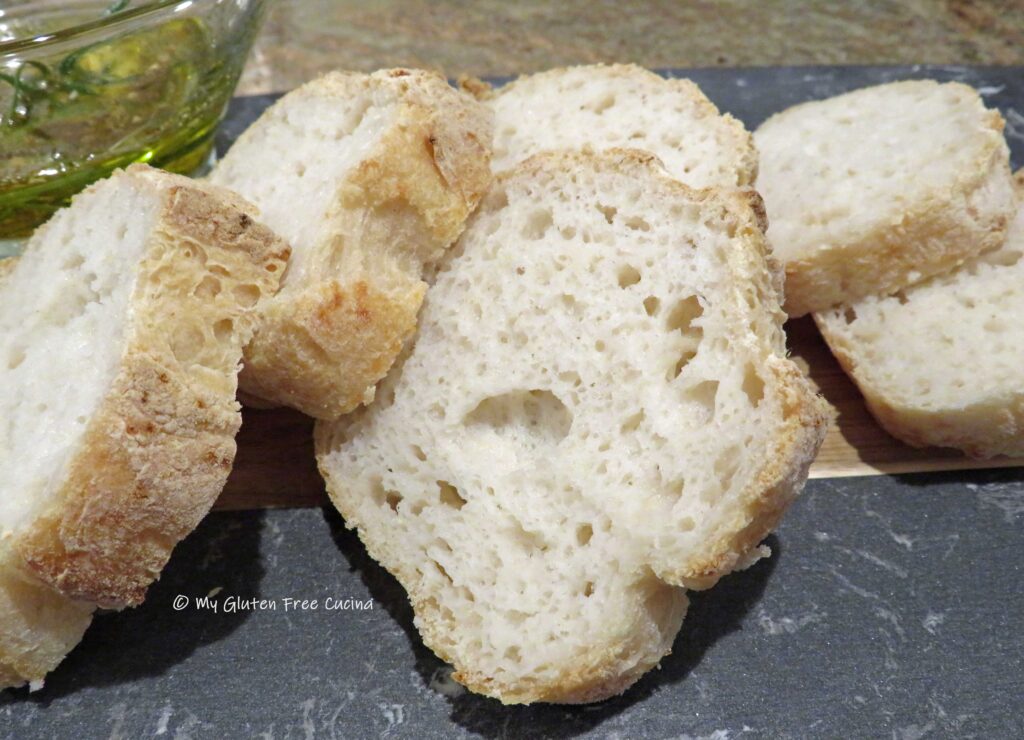 However you choose to enjoy them, these rolls are delicious!
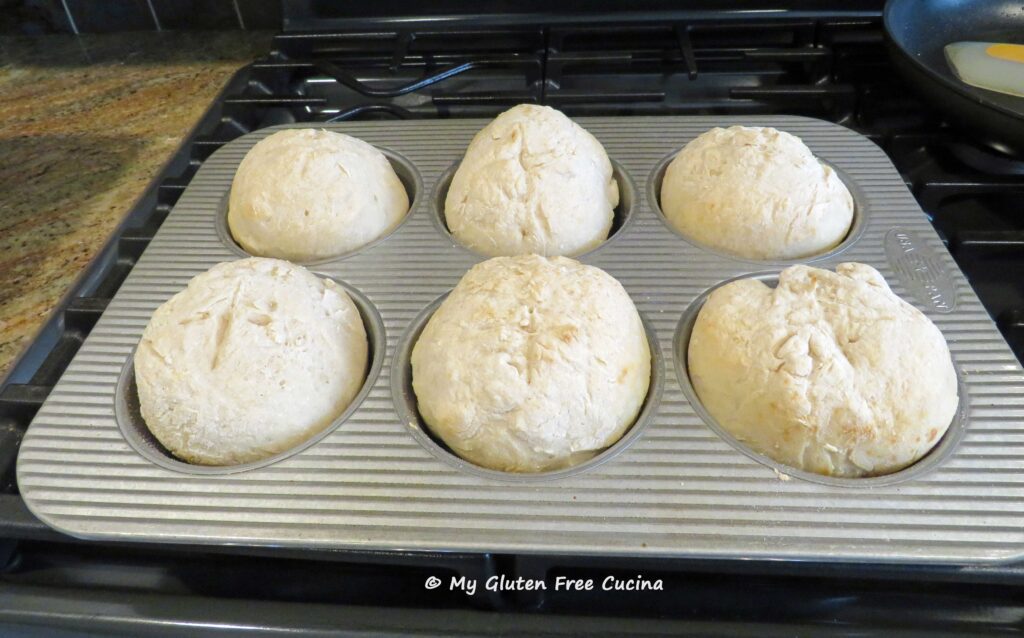
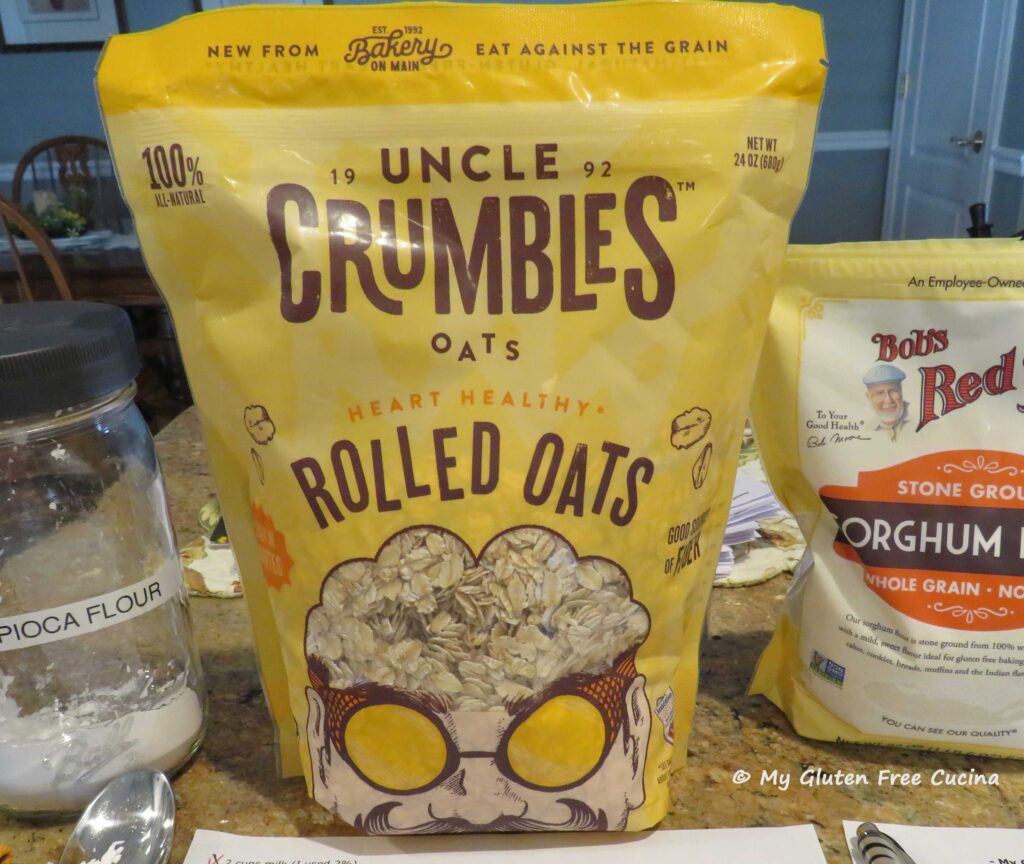
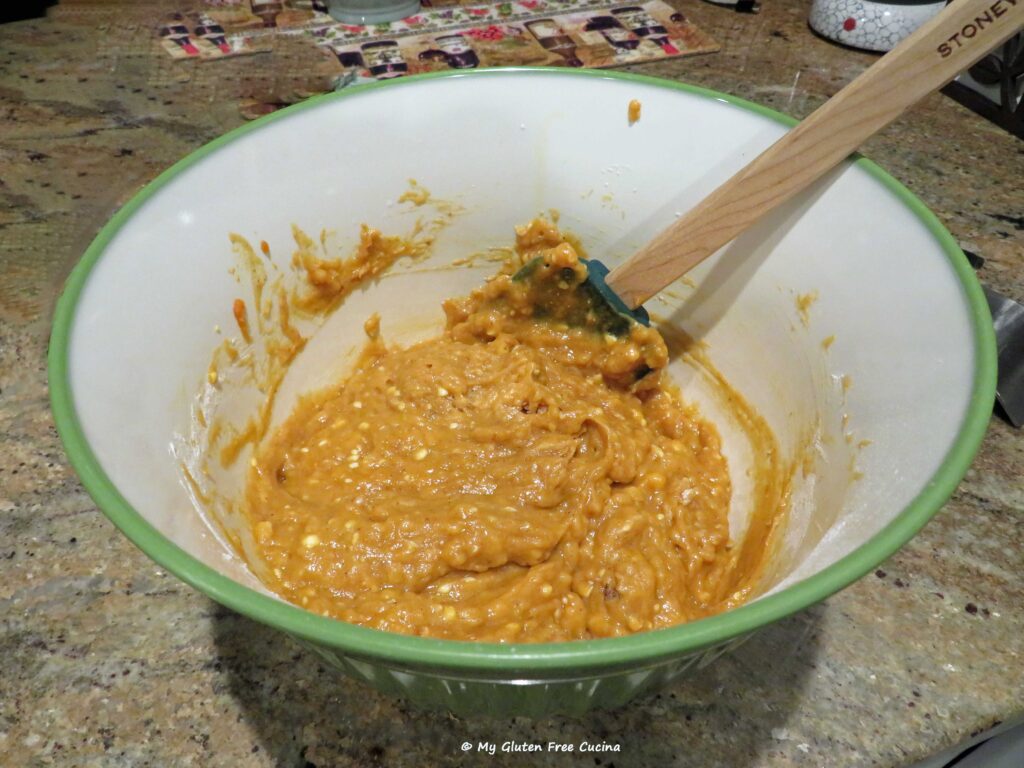
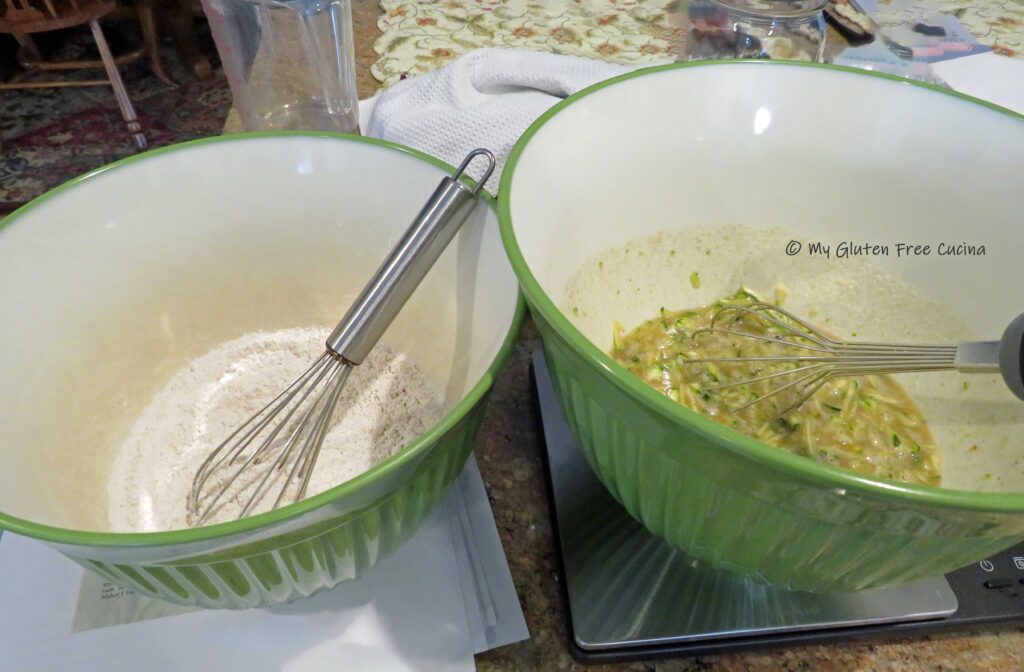
 Whisk together the dry ingredients (sorghum flour through salt).
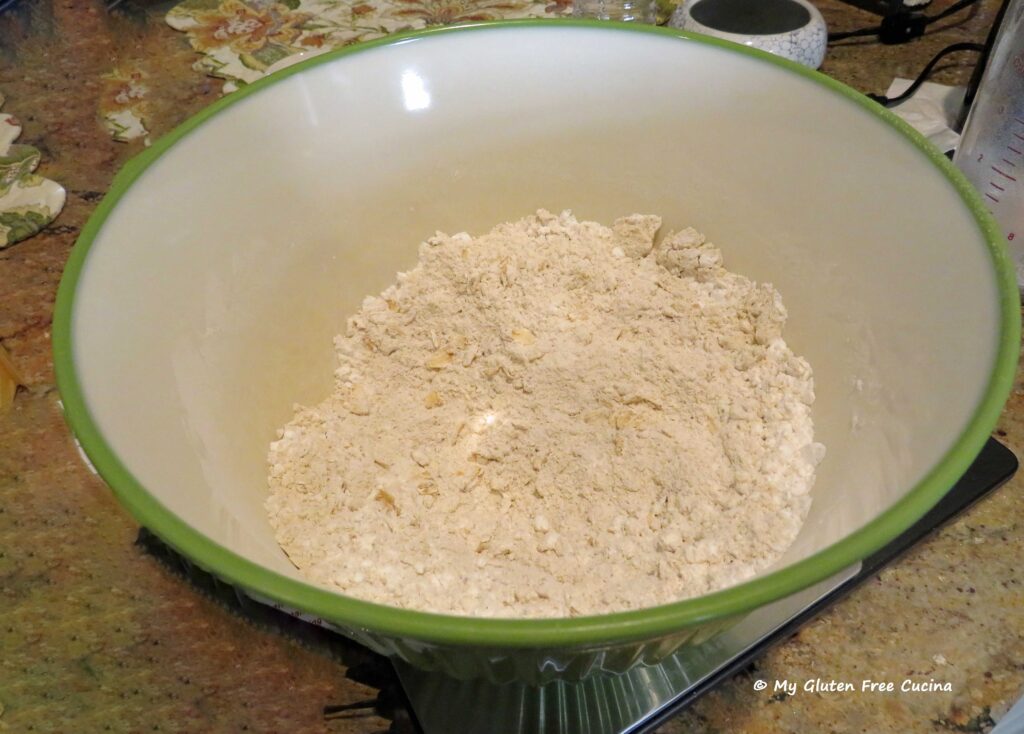 Add the dry ingredients to the wet and mix with the paddle attachment for 8 minutes to form a thick batter.
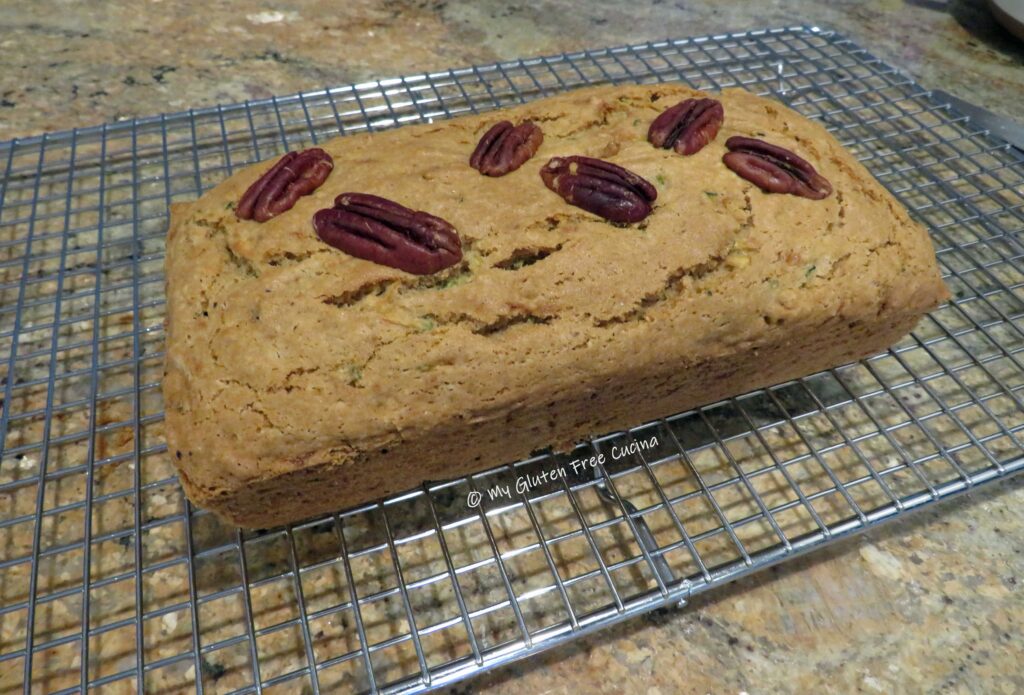
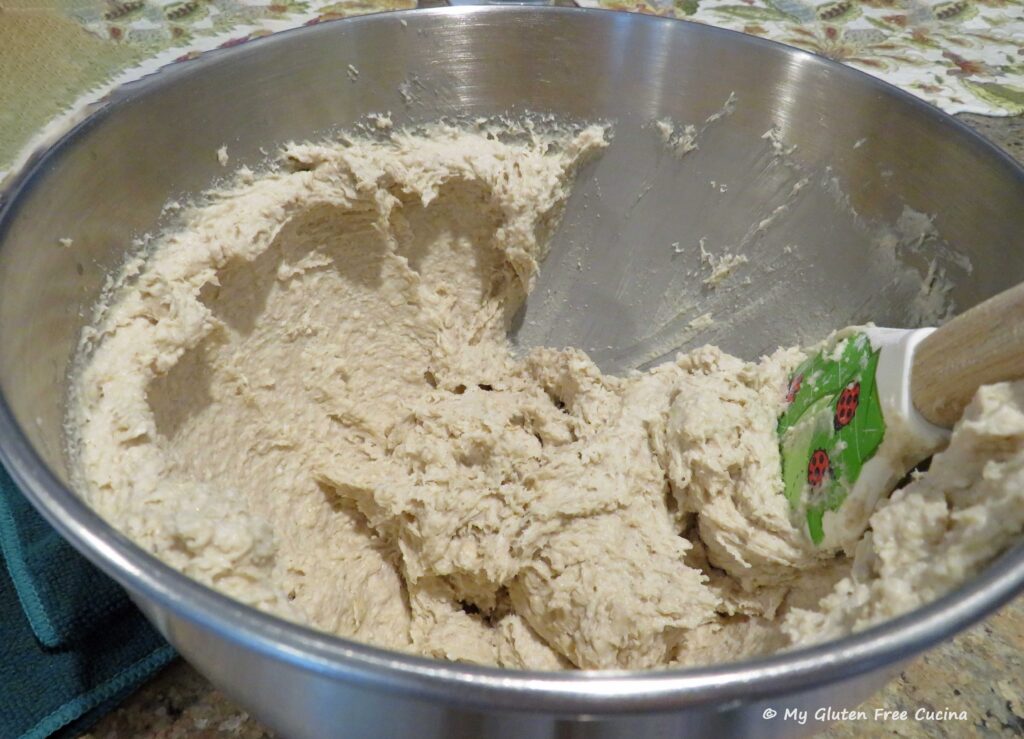
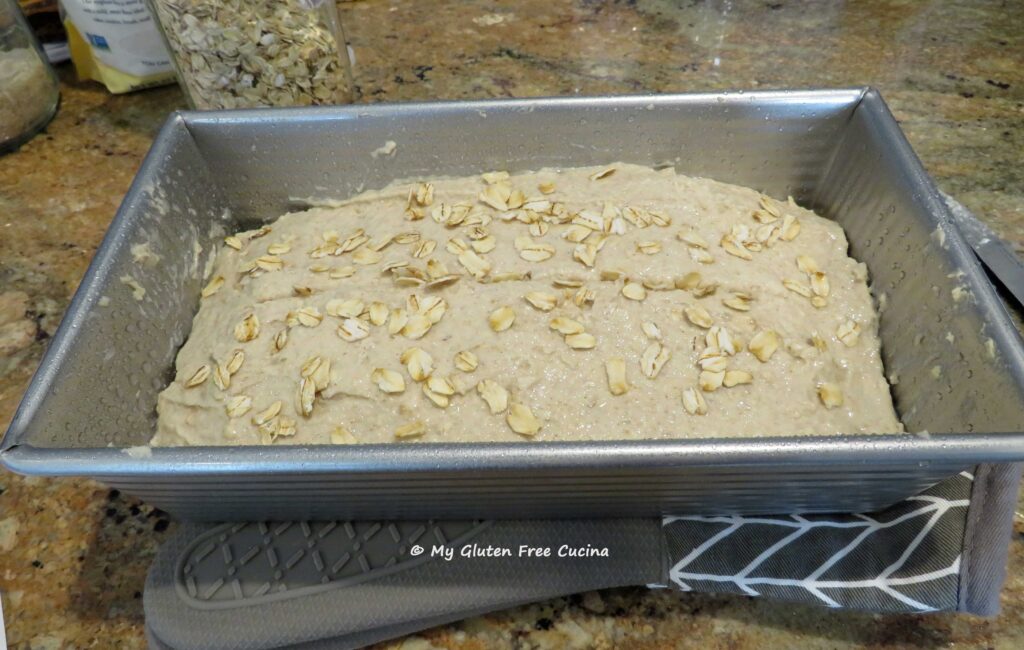
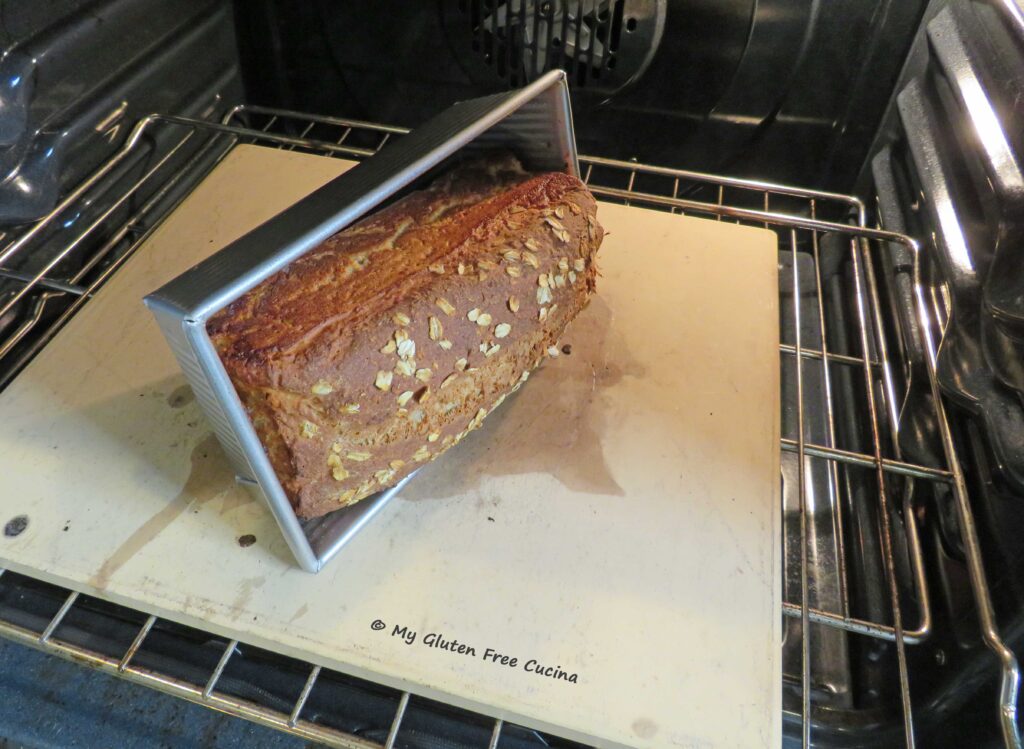


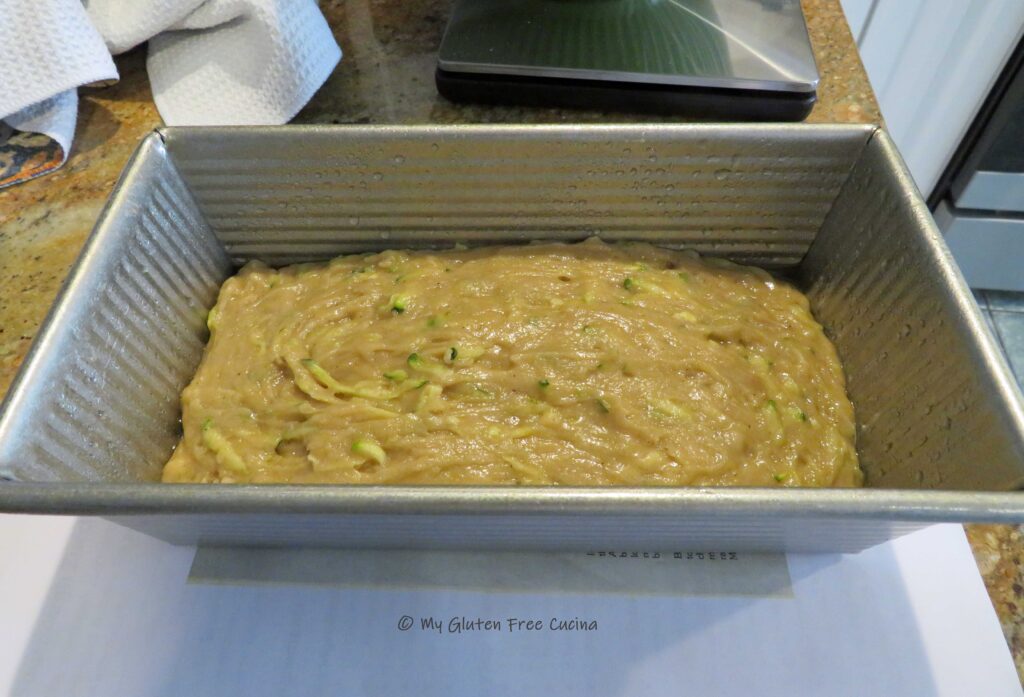
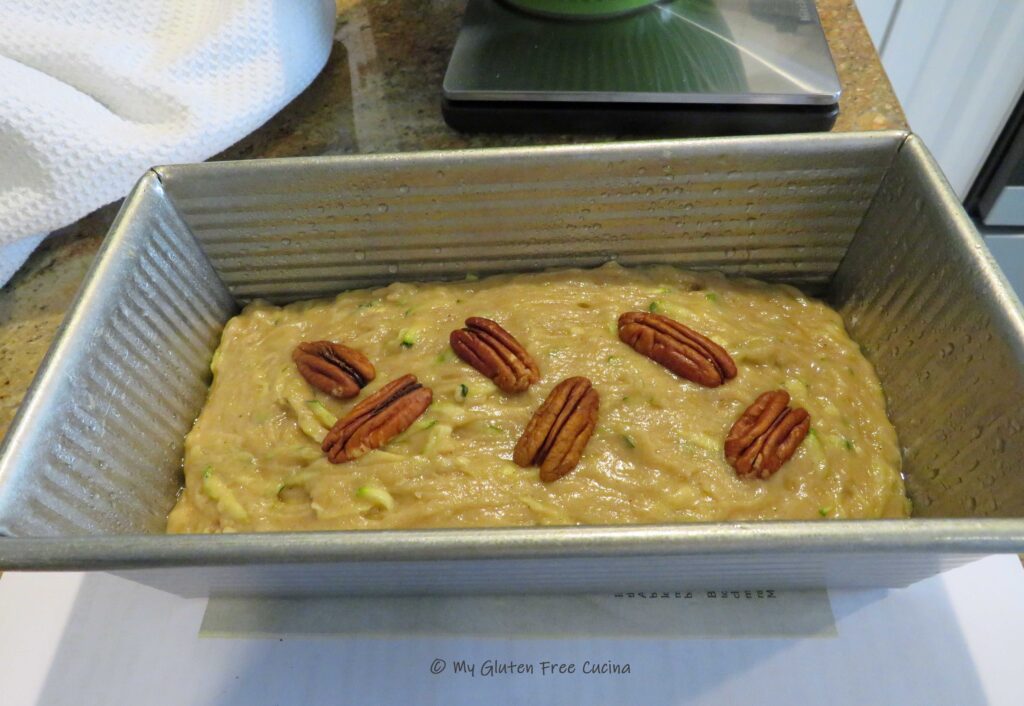
 Preparation:
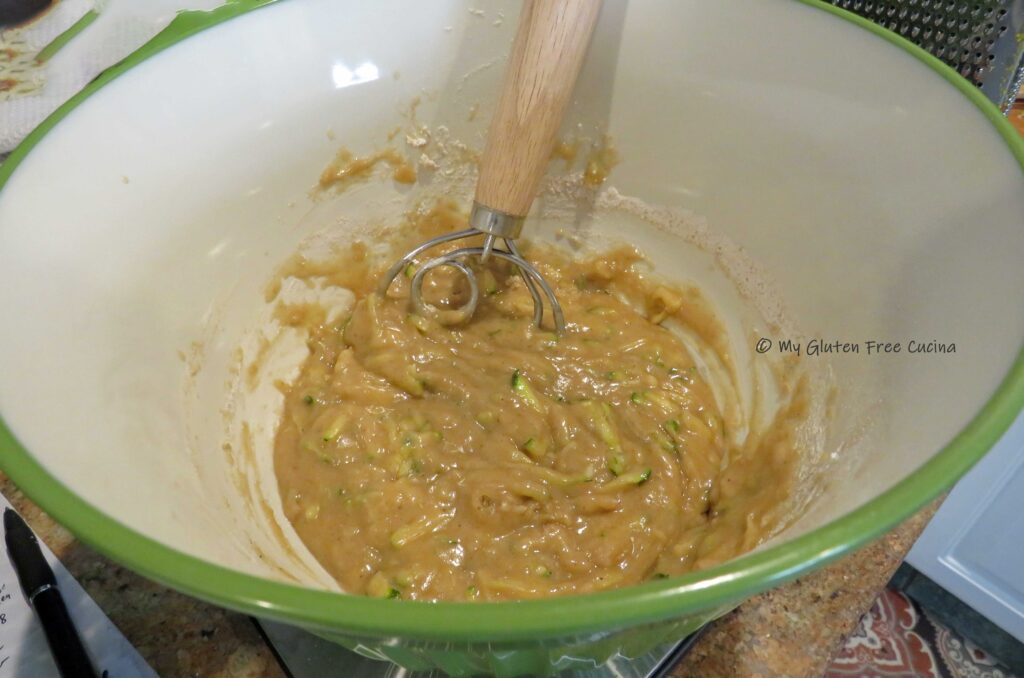
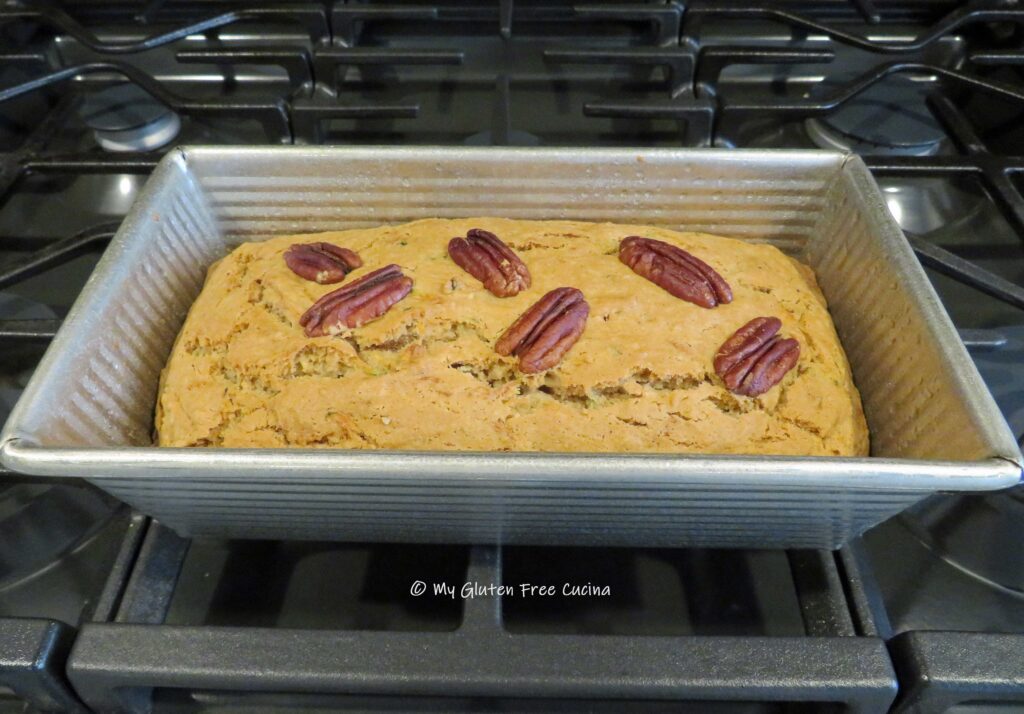
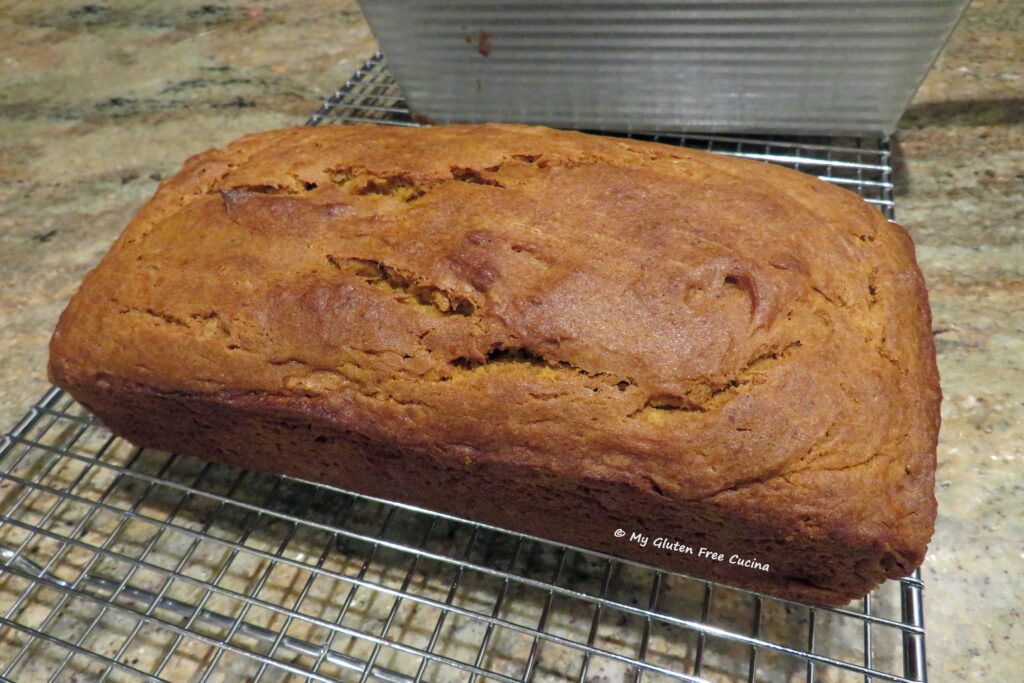
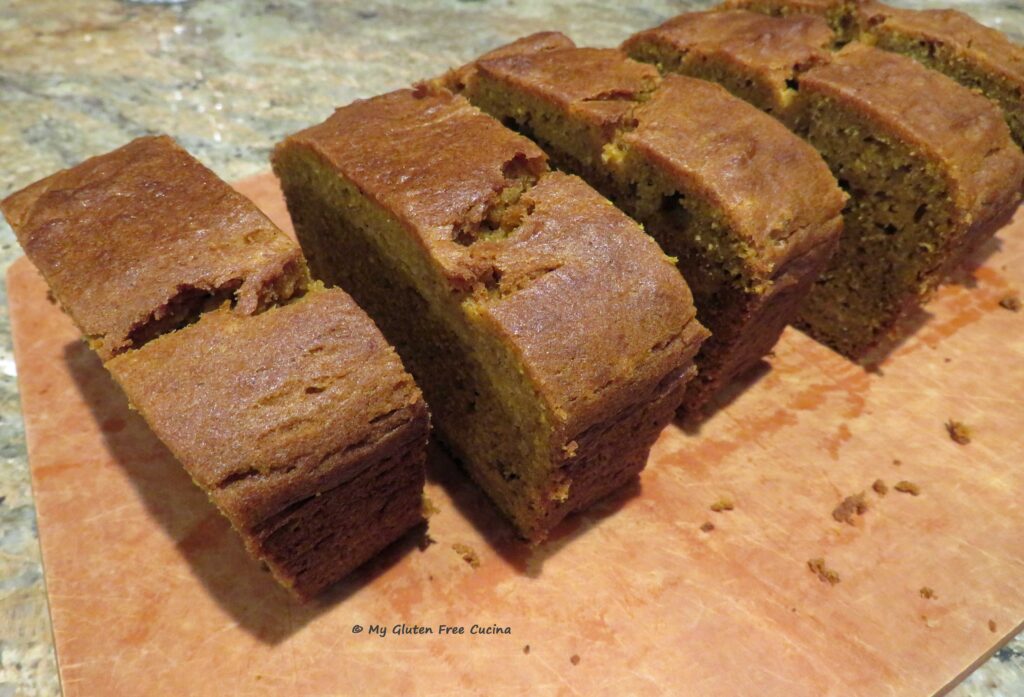
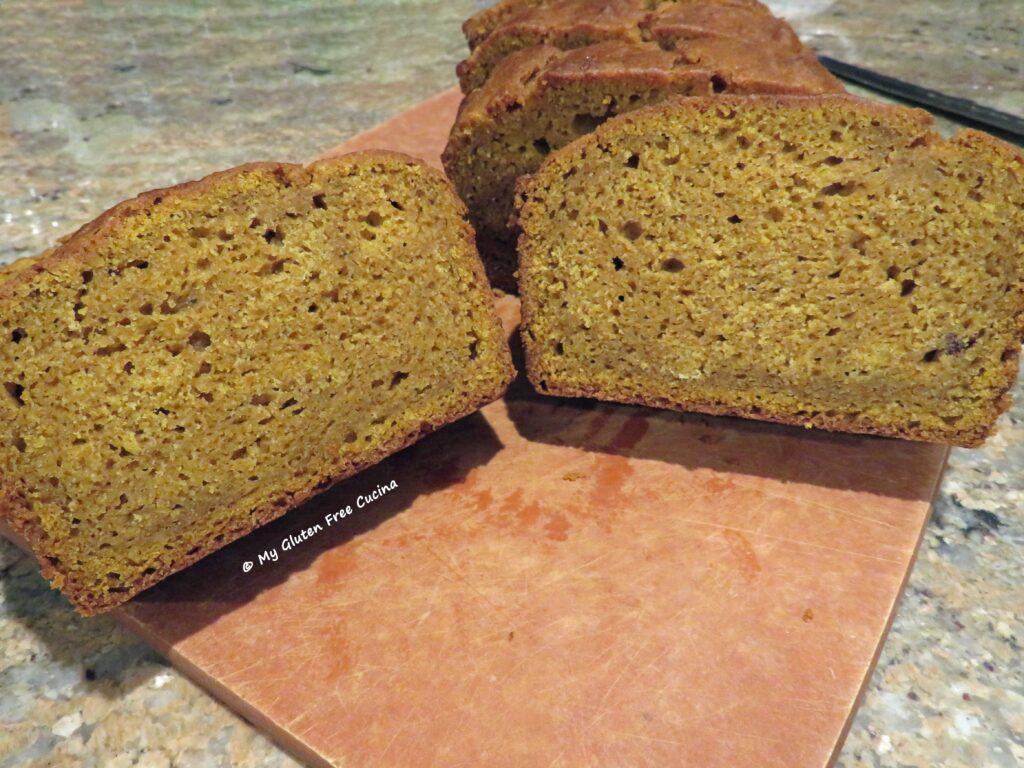
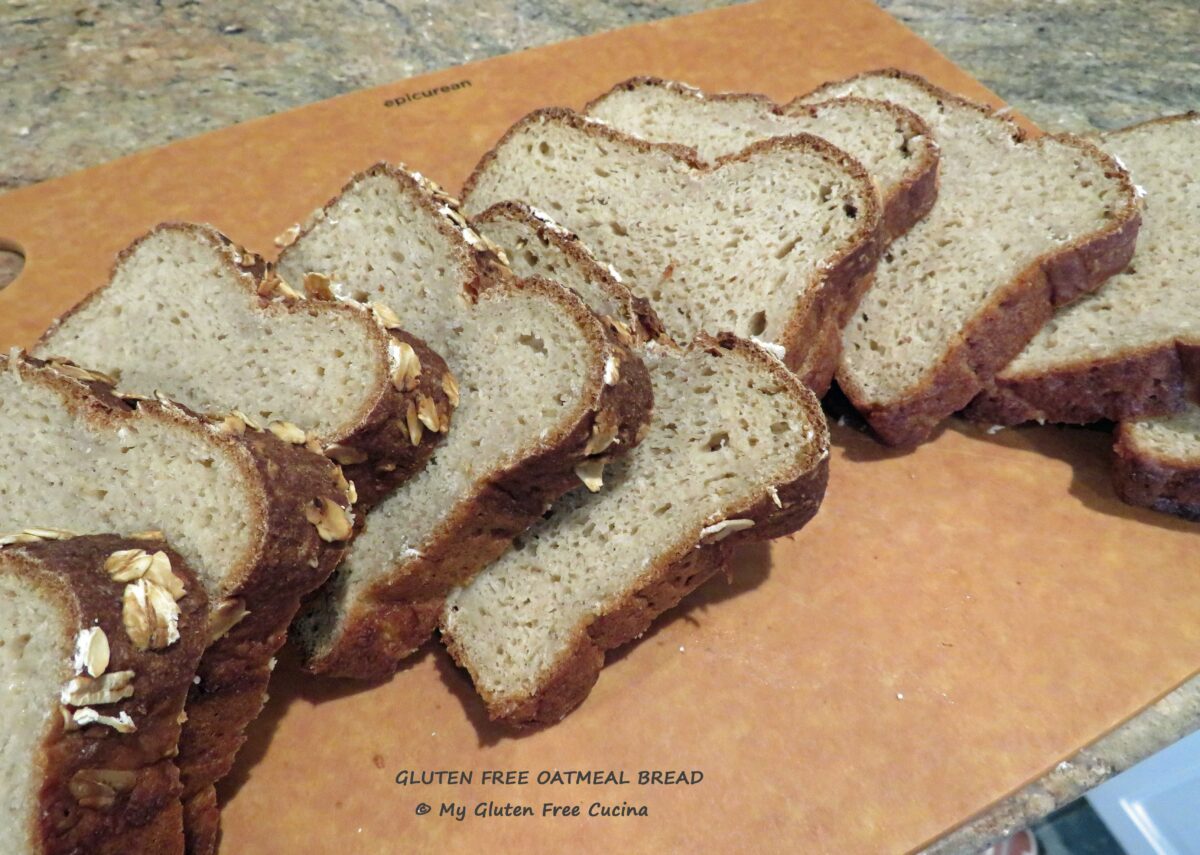
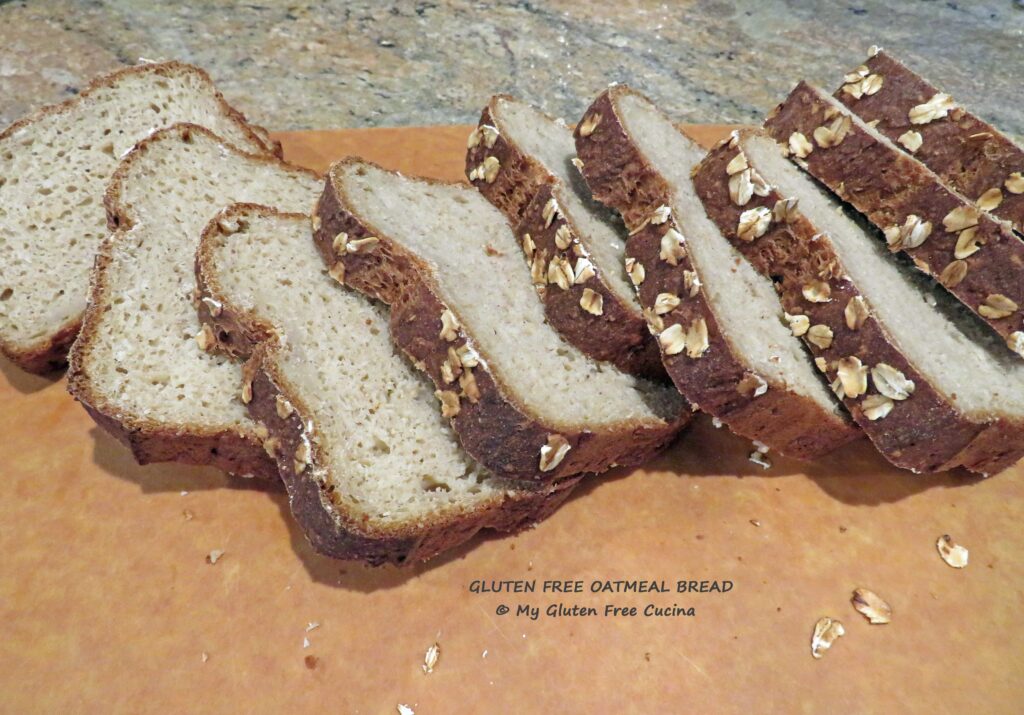
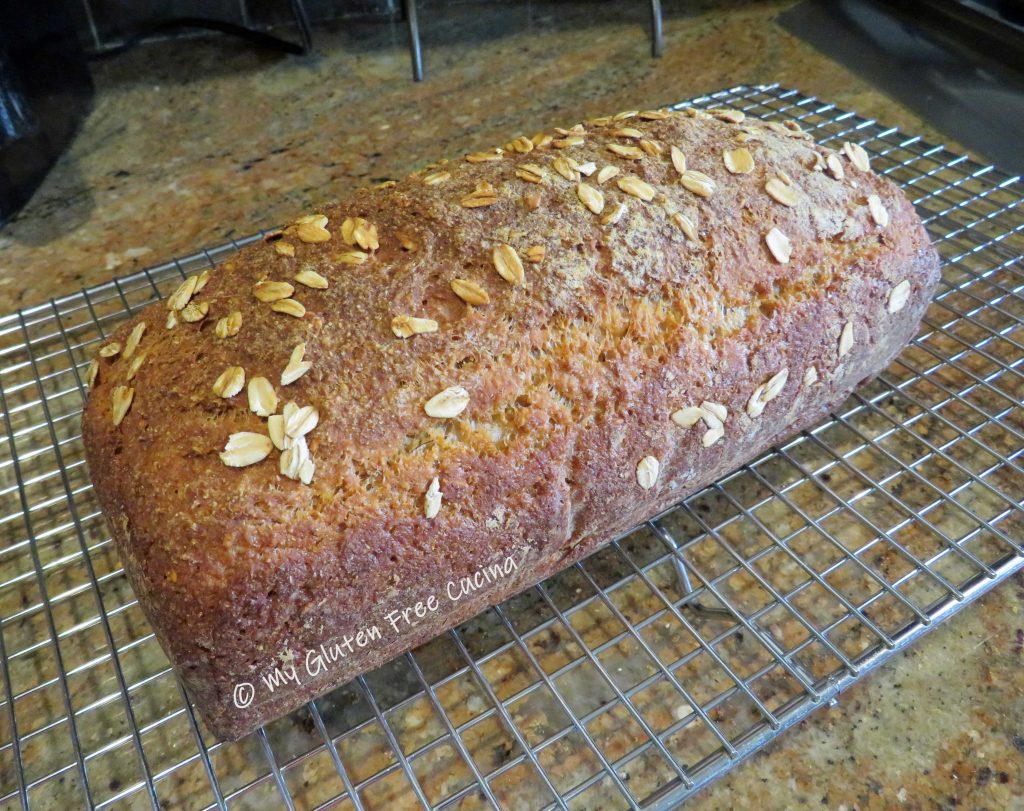
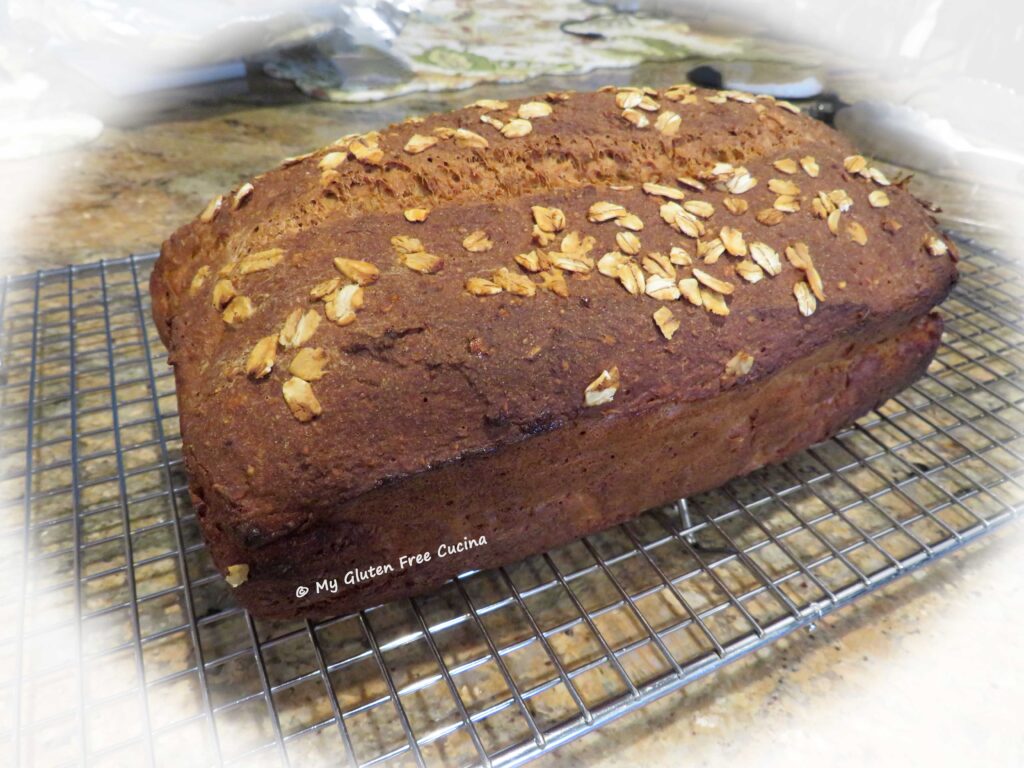
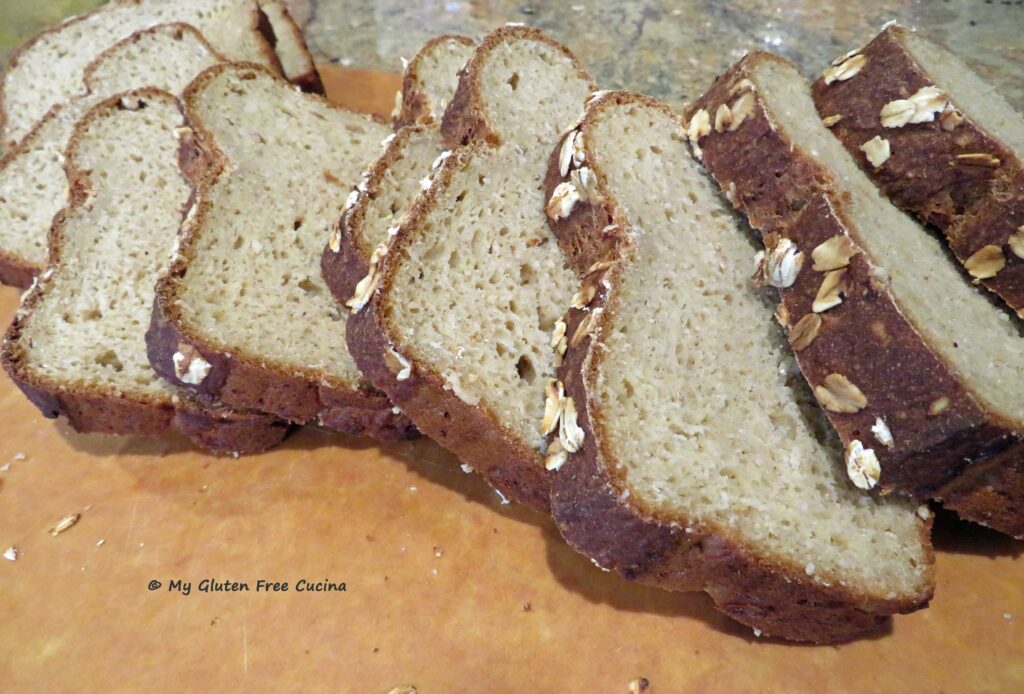
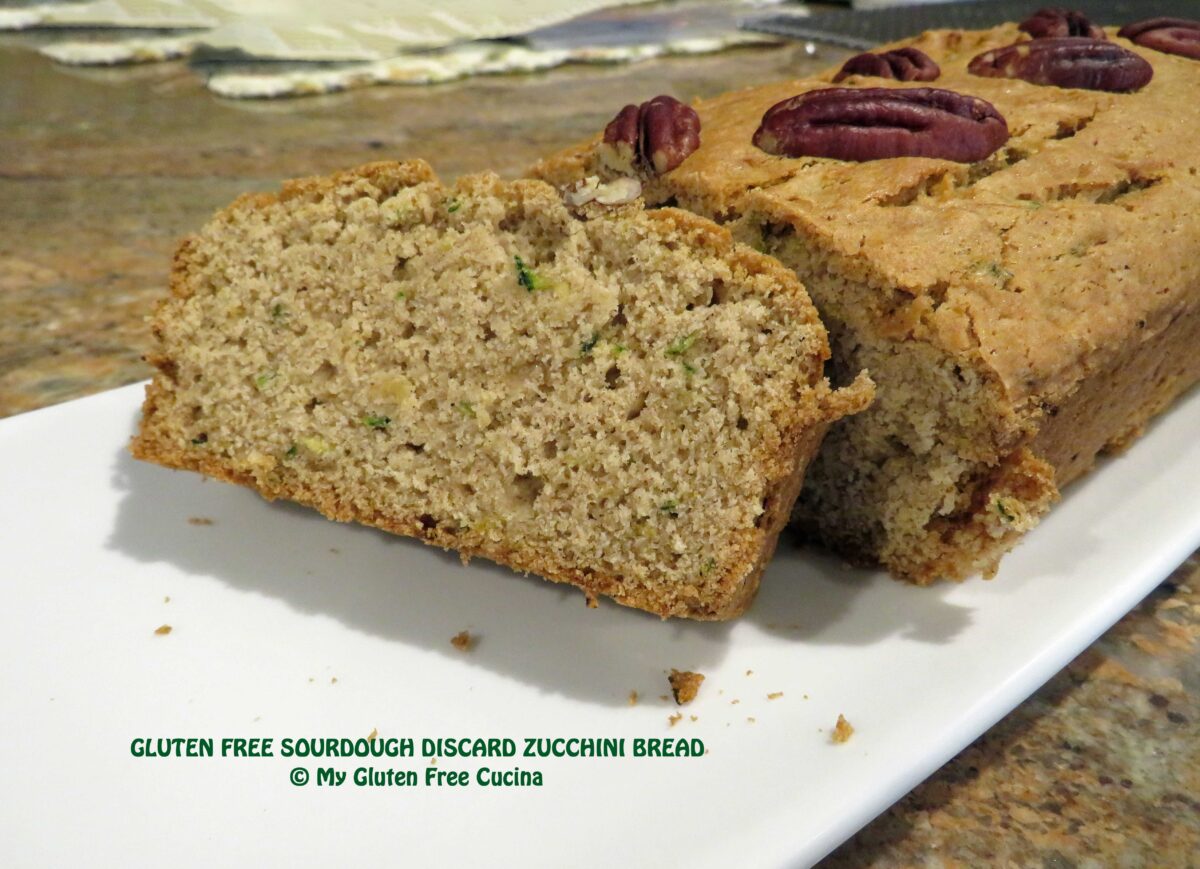
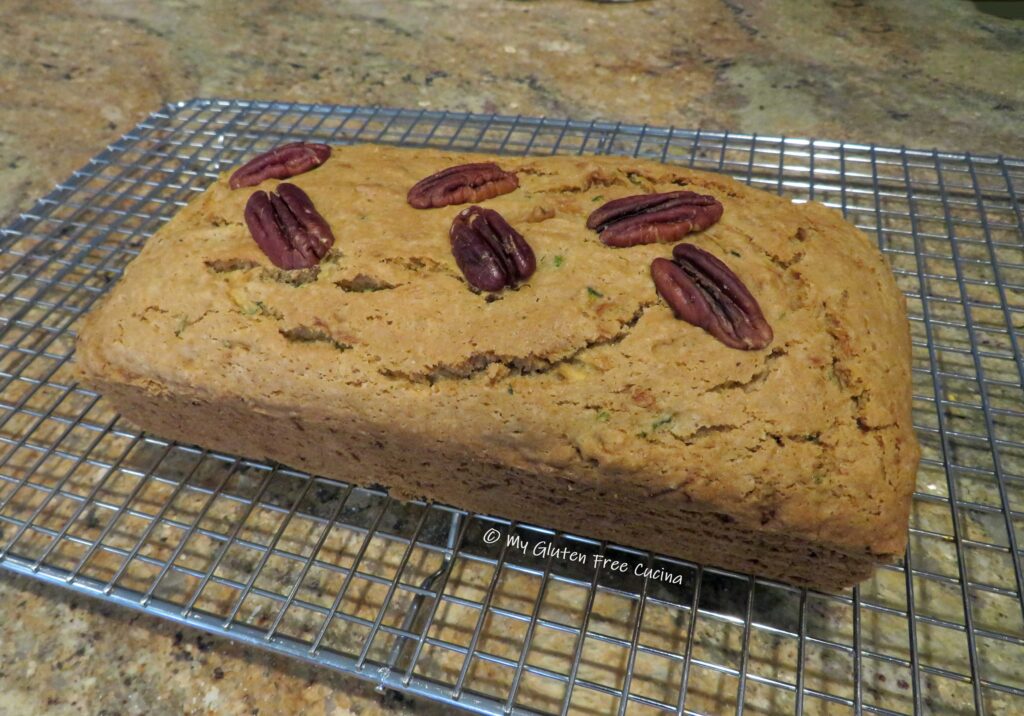
 Check out the crumb, it came out so delicious and moist. Every bit the traditional zucchini bread, and you don’t really taste the sourdough.
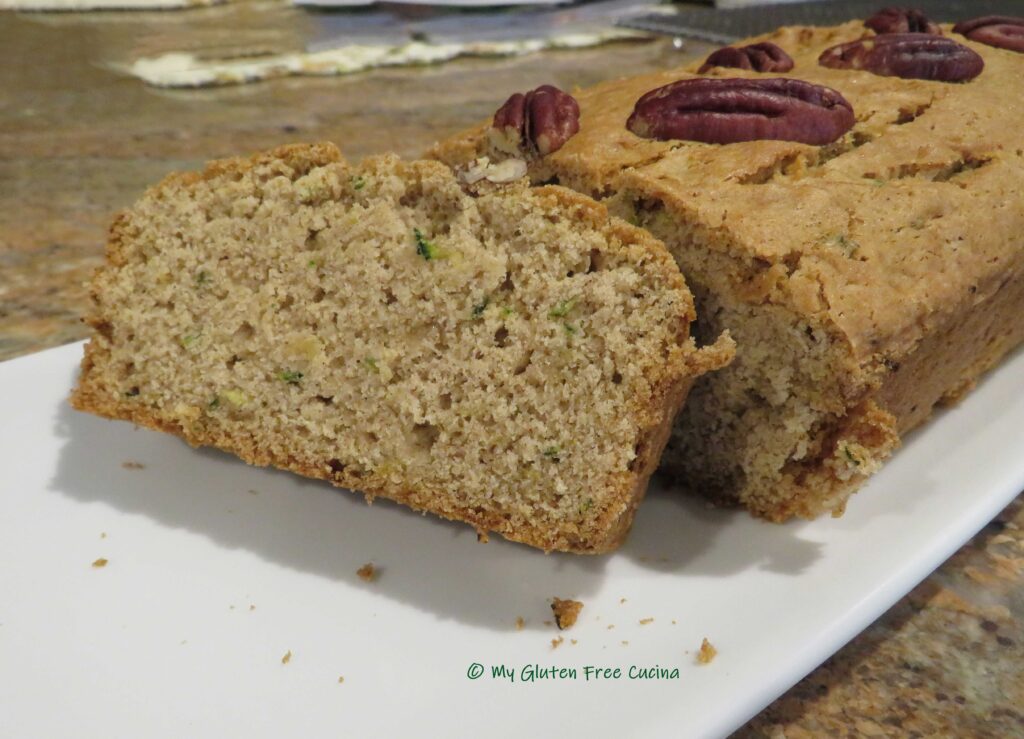 Leftovers can be stored at room temperature for a day. Beyond that, I recommend you wrap slices tightly in plastic wrap and freeze (store in a freezer safe bag).