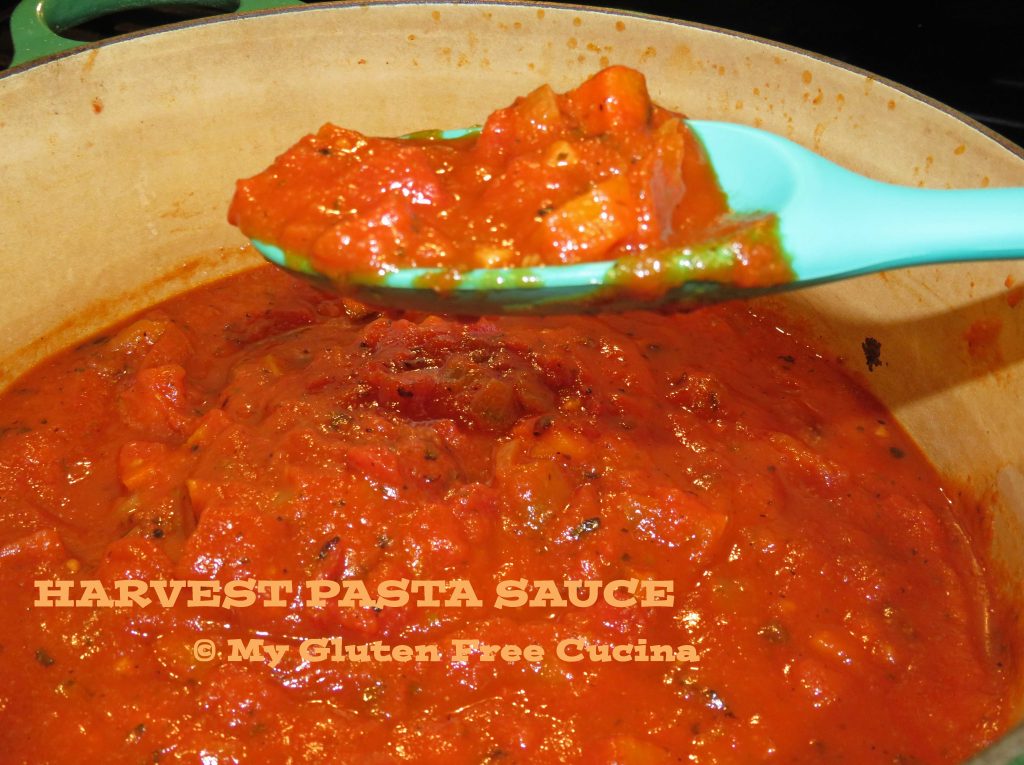
This pasta sauce captures all the colors and flavors of the autumn harvest. It’s thick and chunky, loaded with veggies! Roasting the vegetables first is the secret to the amazing flavor. Make it this weekend for your gluten free Italian Sunday Dinner!

This post contains affiliate links.
Ingredients:
- 1/2 medium butternut squash
- 1 large carrot
- 1/2 large sweet onion, divided
- 2 tbsp. olive oil
- salt and pepper to taste
- 2 cans (14.5 oz.) fire roasted diced tomatoes
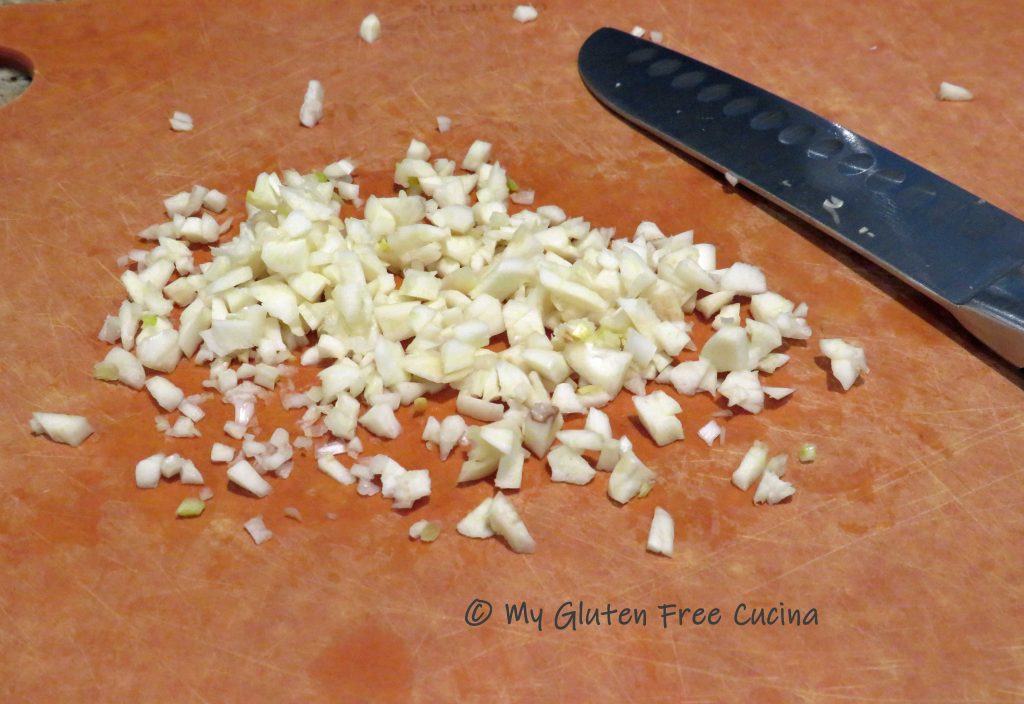
- 2 garlic cloves, minced
- 1 tsp. dried basil
- 1/2 tsp. dried oregano
- 1/2 tsp. garlic granules
- 1/2 tsp. onion granules
- 1/2 tsp. fresh ground pepper
- 1 can tomato sauce (14.5 oz.)
- 1/4 cup pumpkin puree
- 1 tbsp. brown sugar
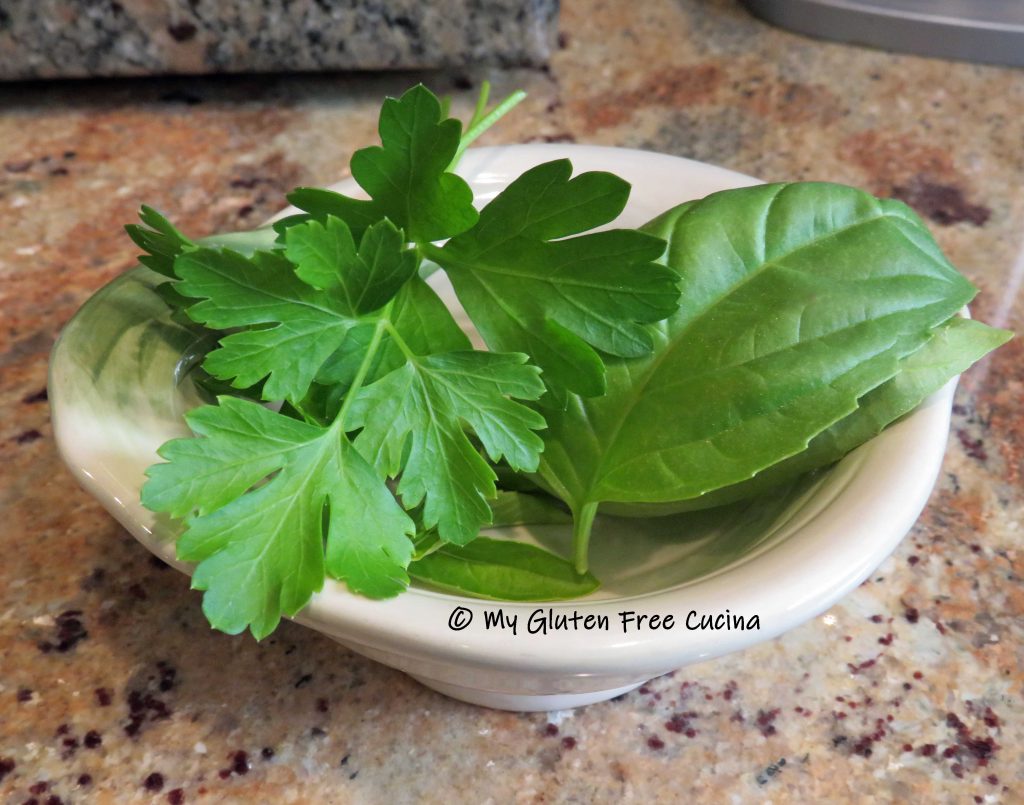
- fresh Italian parsley, optional for garnish
Preparation:
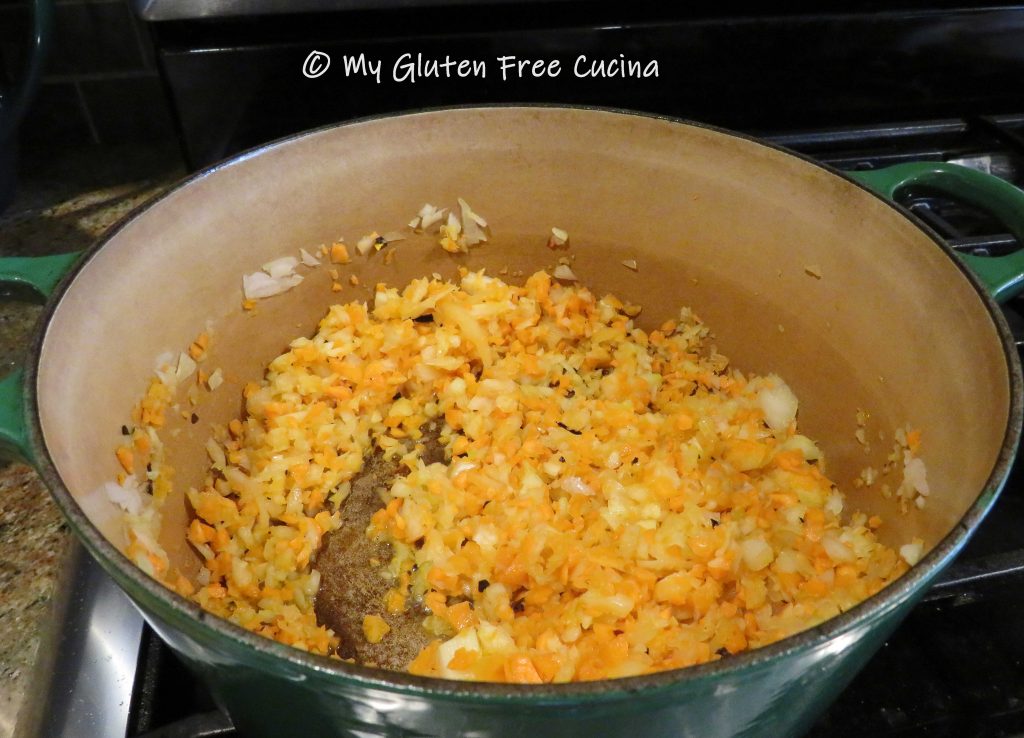
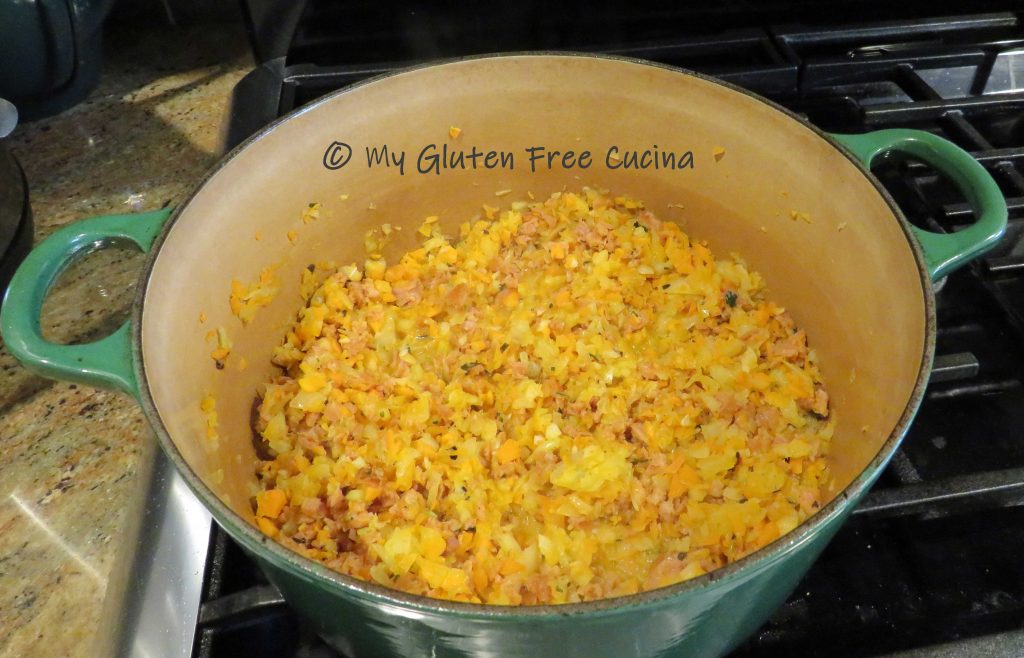
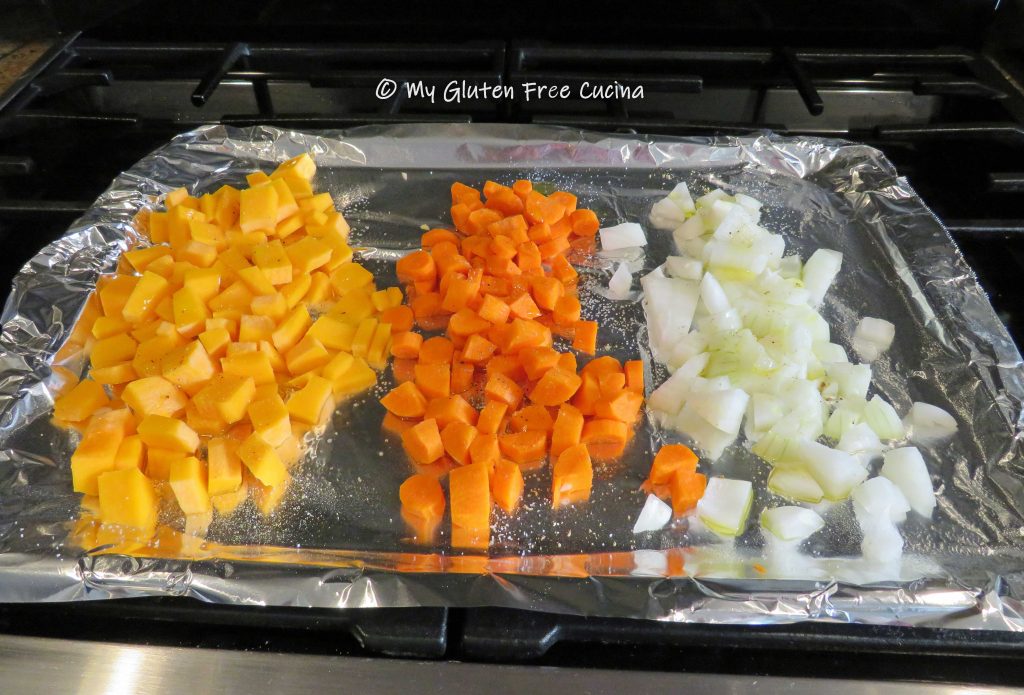
Peel and chop the vegetables into 1/2″ dice. Spread the squash, carrots and half of the onions on a foil lined baking sheet. Drizzle lightly with olive oil, and season with salt and pepper. Roast for 30 minutes at 425º.
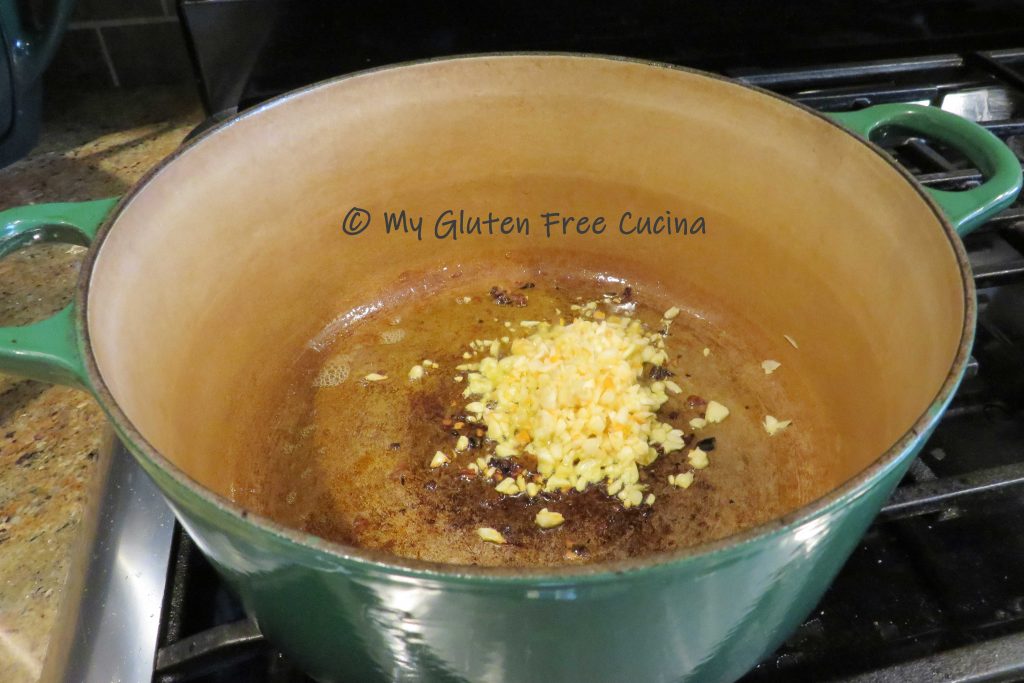
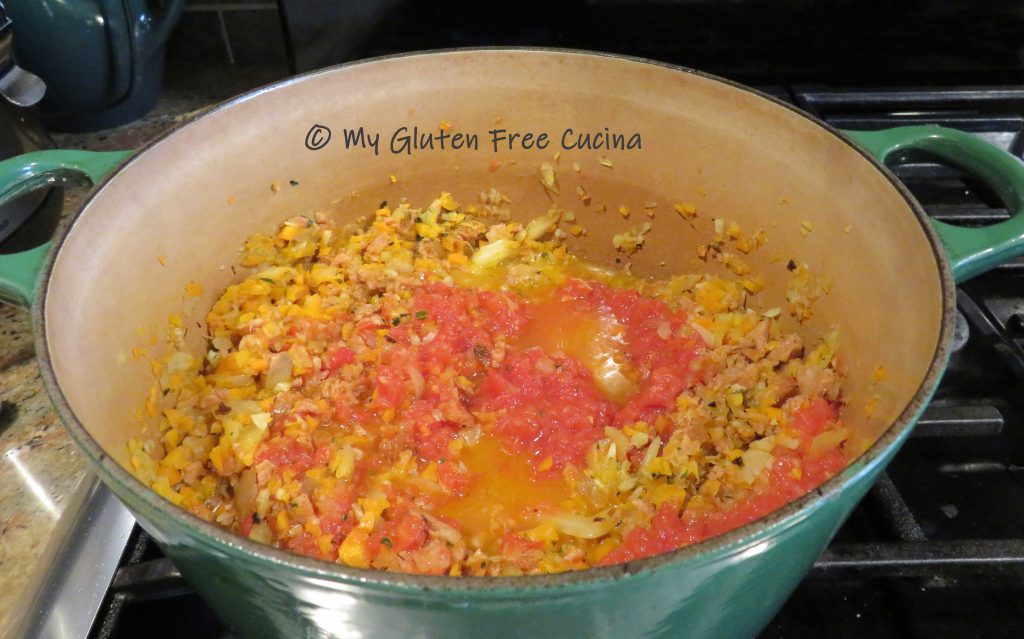
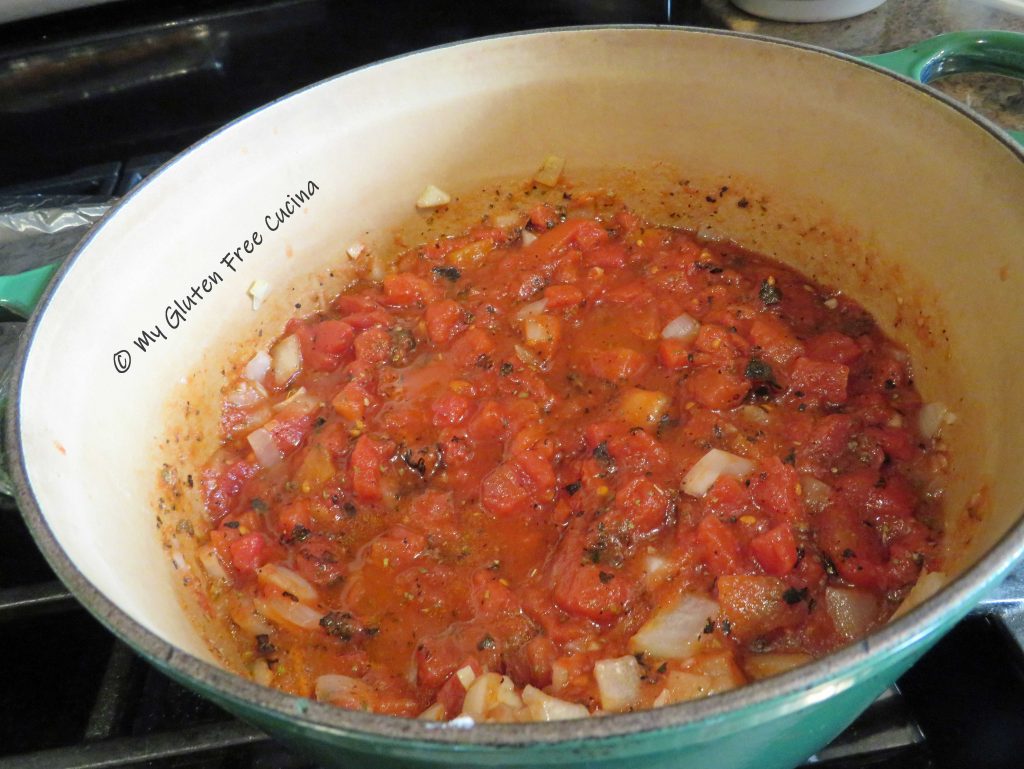
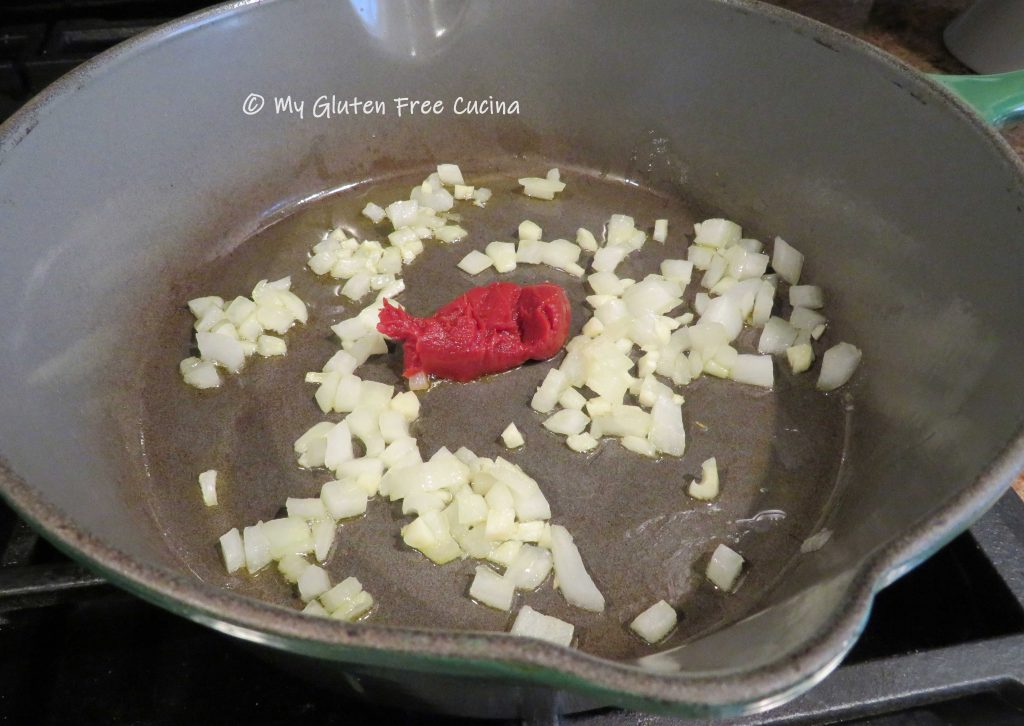
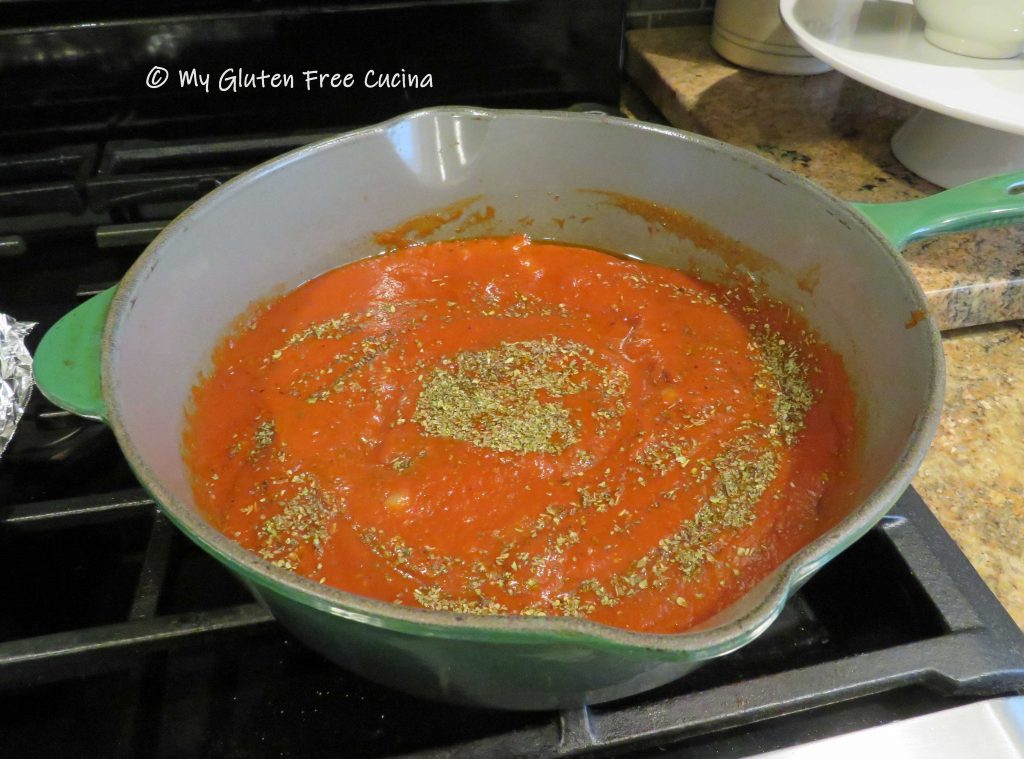
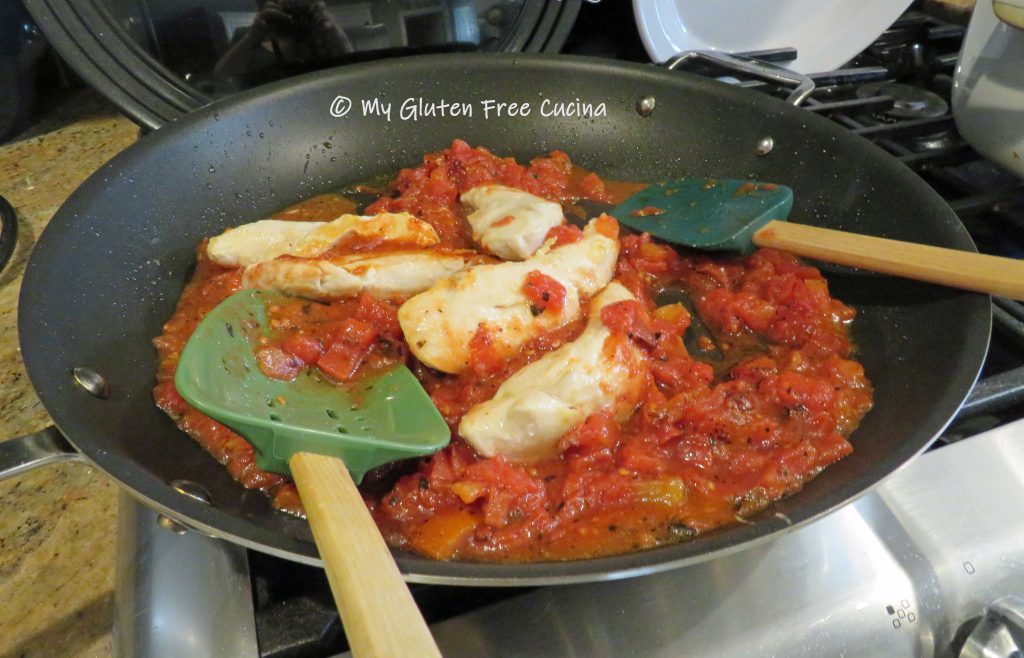
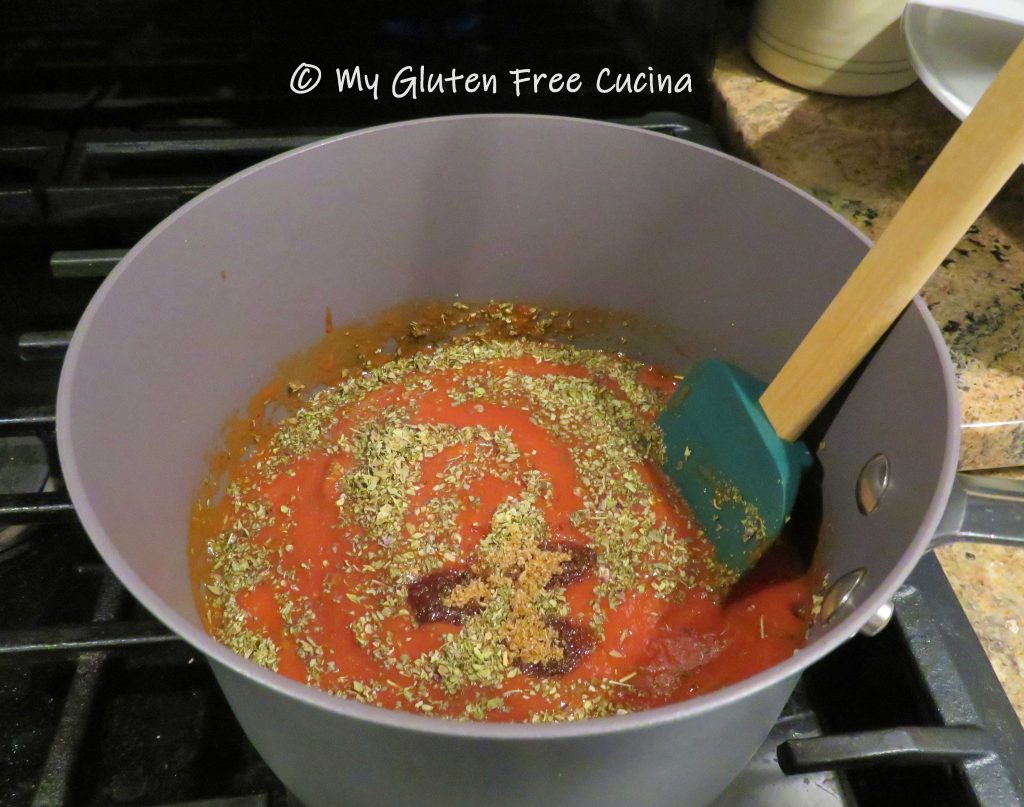
 While the veggies are roasting, heat 2 tbsp. olive oil in a Dutch oven over medium low. Add the remaining half of the onions and the garlic. Stir for about 30 seconds or until fragrant, then add the diced tomatoes with their liquid. Season with basil, oregano, garlic granules, onion granules and fresh ground pepper. Simmer 15 minutes uncovered, to concentrate the sauce.
Next add the tomato sauce, roasted vegetables, pumpkin puree and 1 tbsp. brown sugar. Stir well, cover and turn the heat down to low.
 Cover and simmer 2 hours. I used a simmer mat to keep the sauce on the lowest possible heat and prevent the bottom from burning.

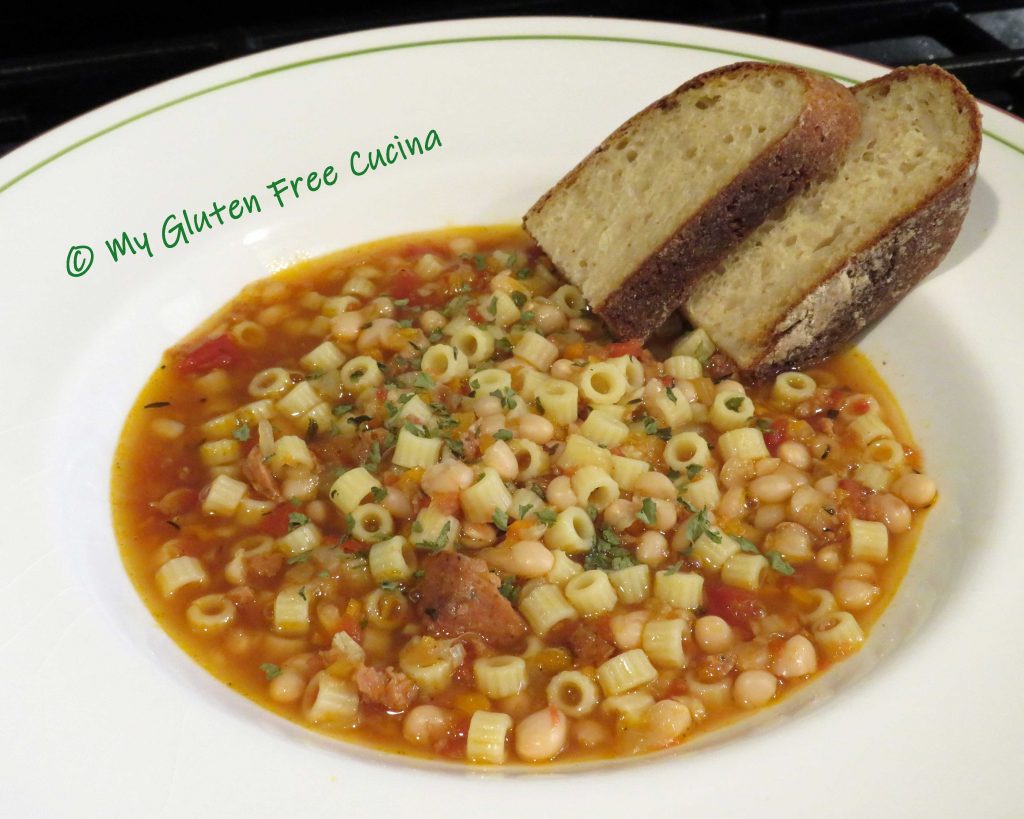
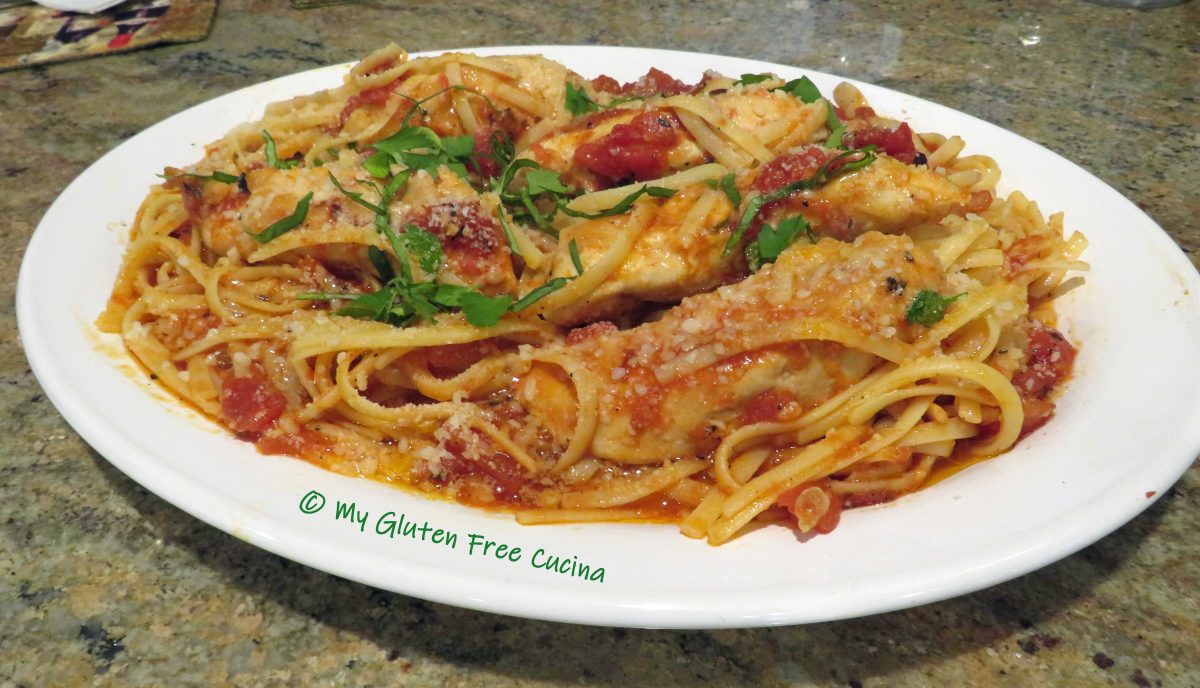
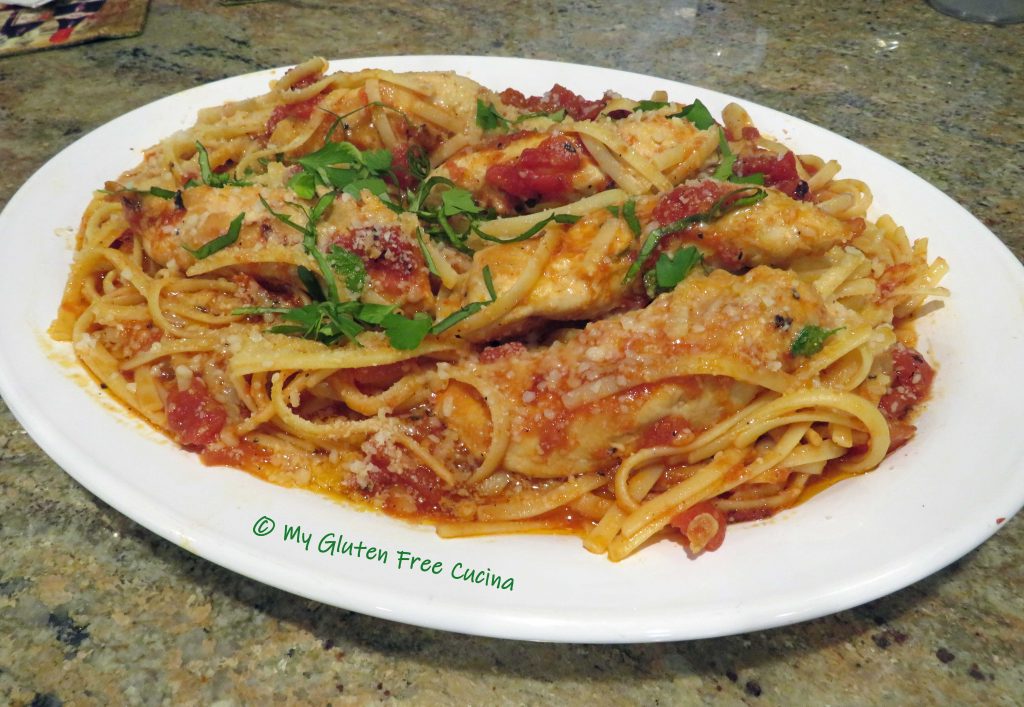
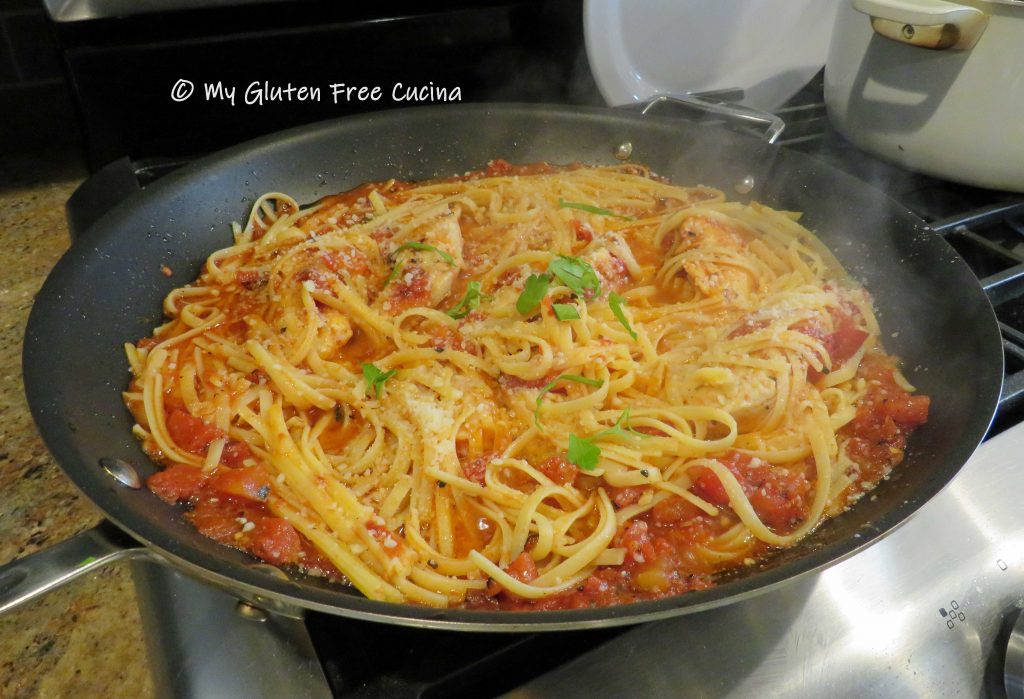
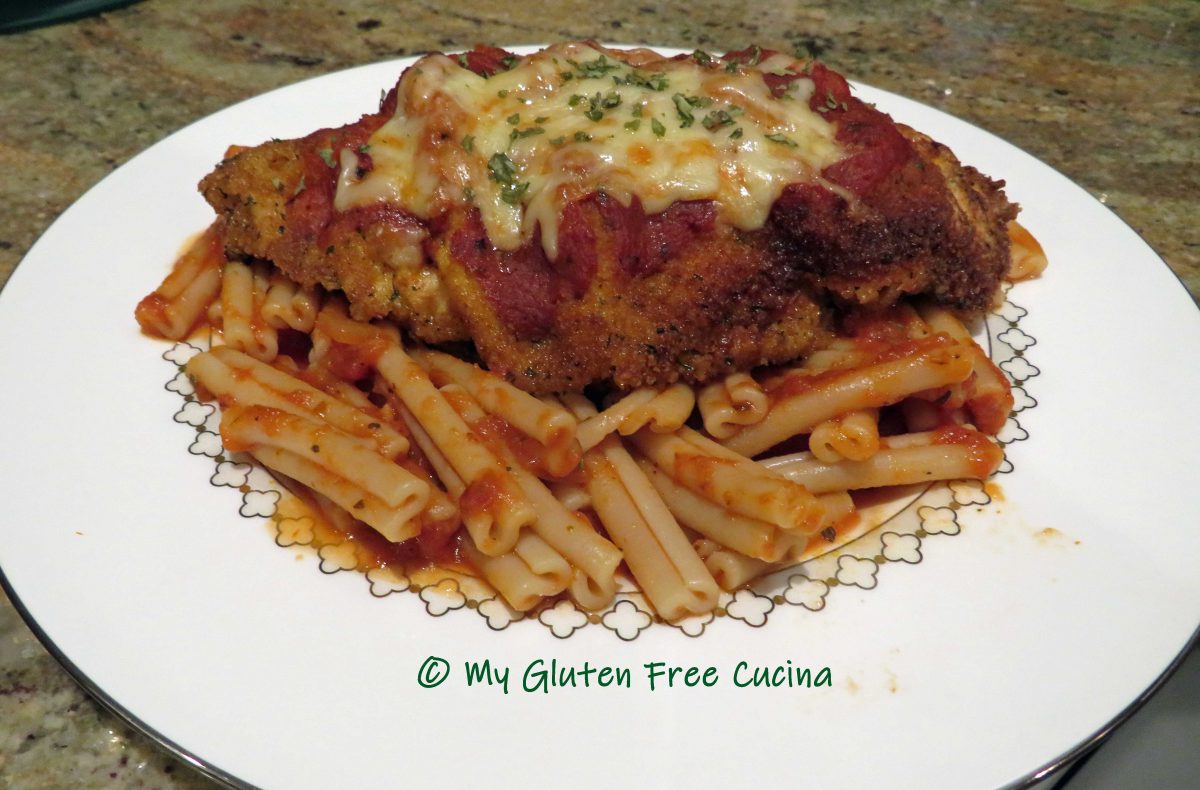
Look at that hearty sauce! The carrots, pumpkin and butternut squash give it so much natural sweetness. Serve over your favorite gluten free pasta, with grated cheese and fresh parsley.

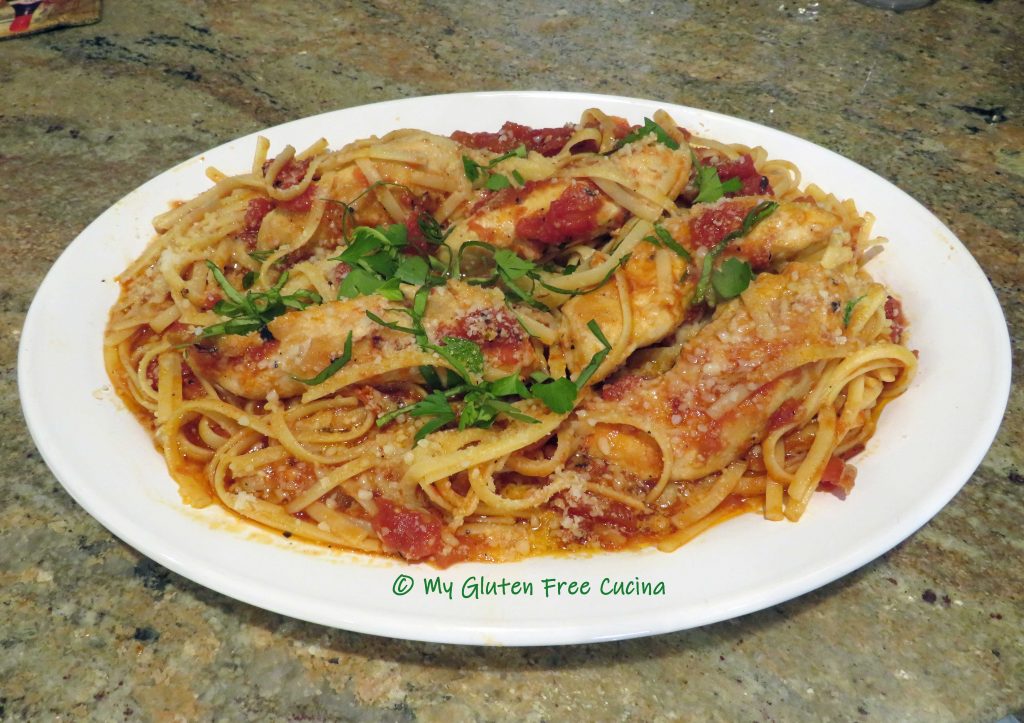
Friends, what a meal! I would not hesitate to serve this to company, or even as a holiday first course. Oh, and did I catch you eyeing that pasta? It’s a special one, that I made just for pairing with this sauce. Check out the recipe here!
Notes ♪♫ In addition to being gluten free we are also a low sodium household. I used unsalted tomatoes in this sauce, as I do with most recipes to have better control over the salt content.


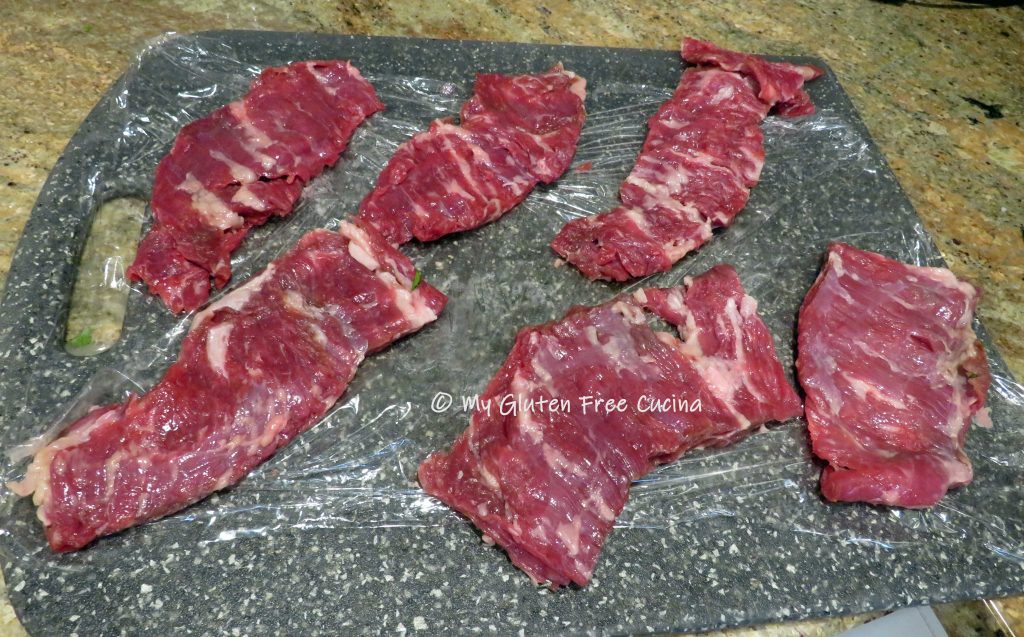
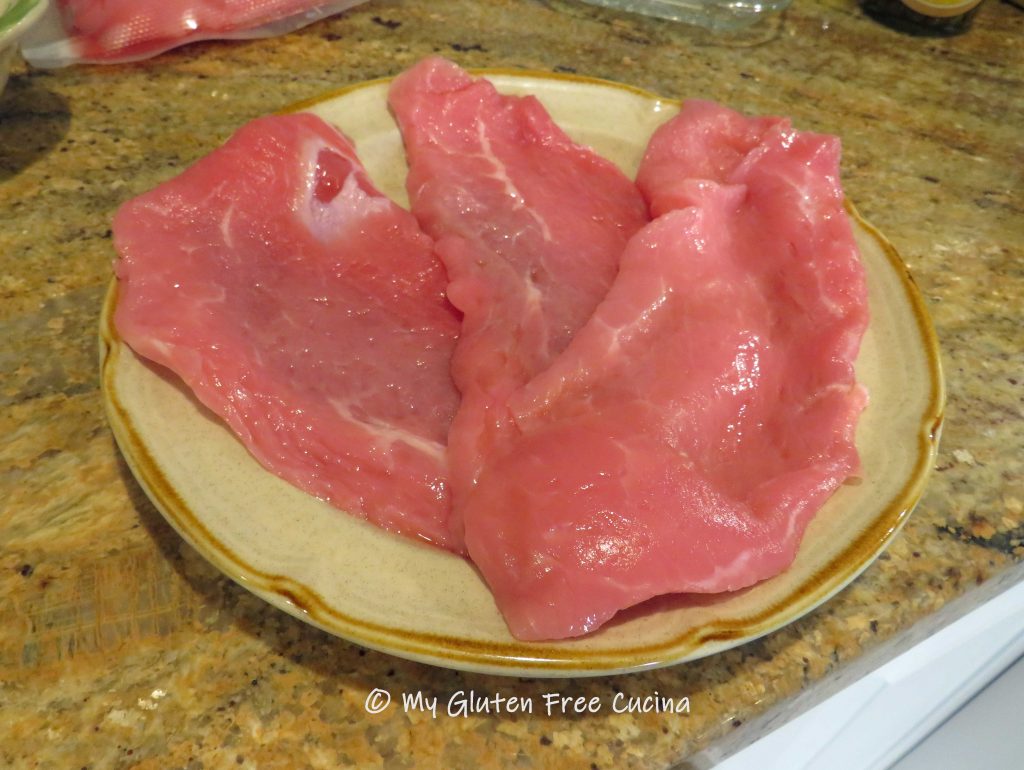
 Lay the steak out on a
 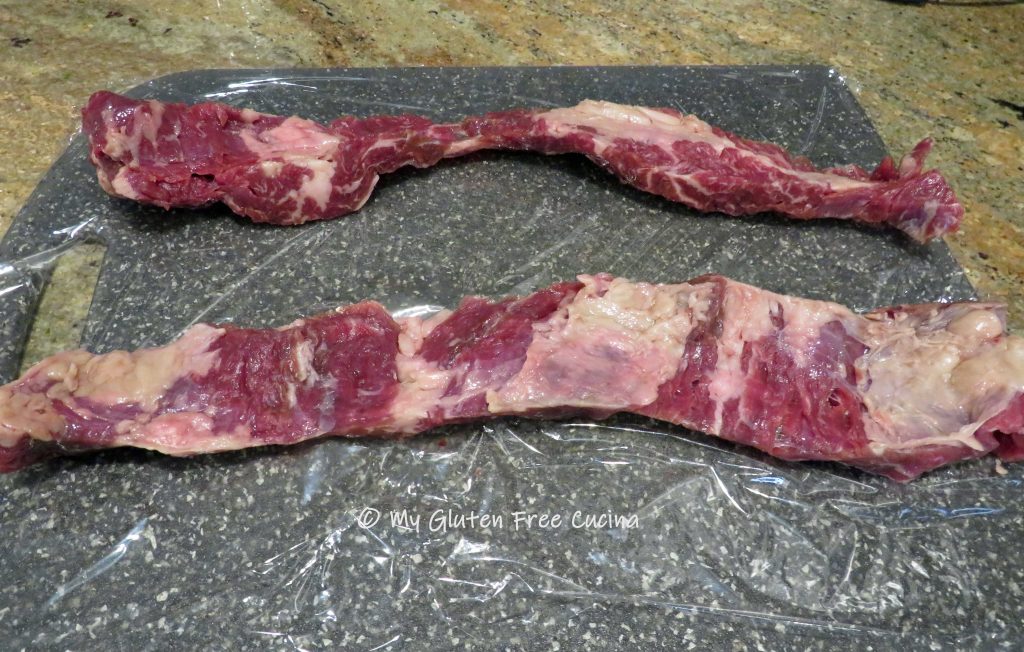 Cover the meat with another sheet of plastic wrap and
 Spread the garlic mixture evenly over the steak.


 Remove them when the internal temperature reaches 135º for medium (

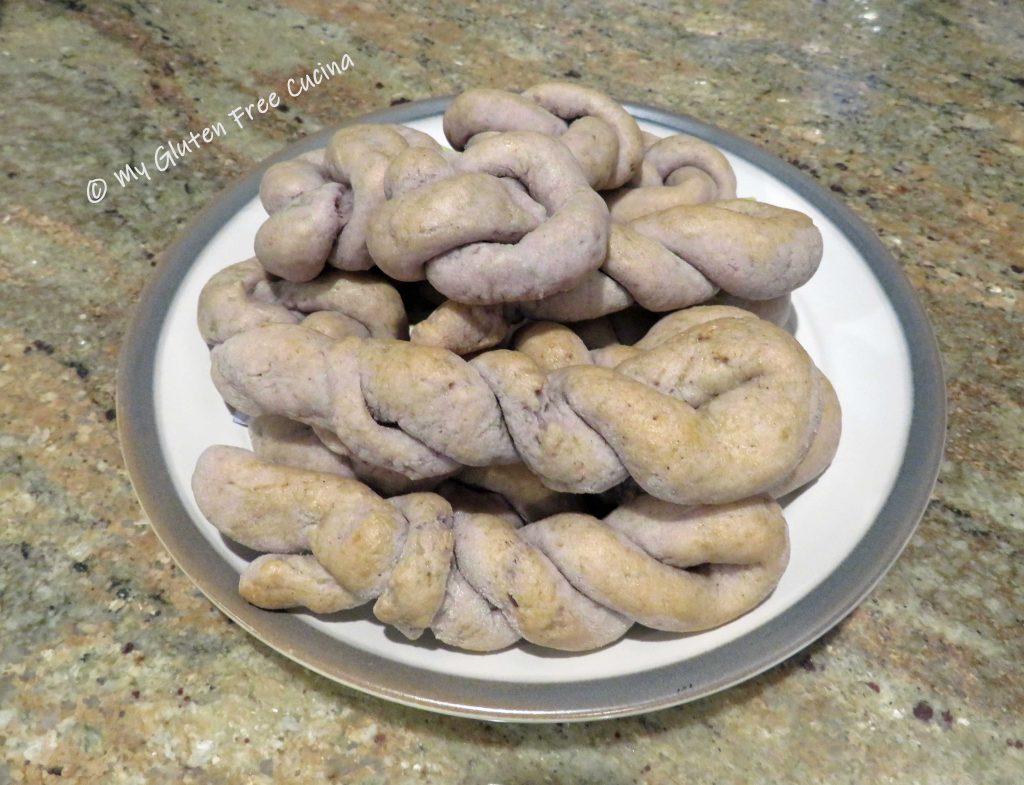


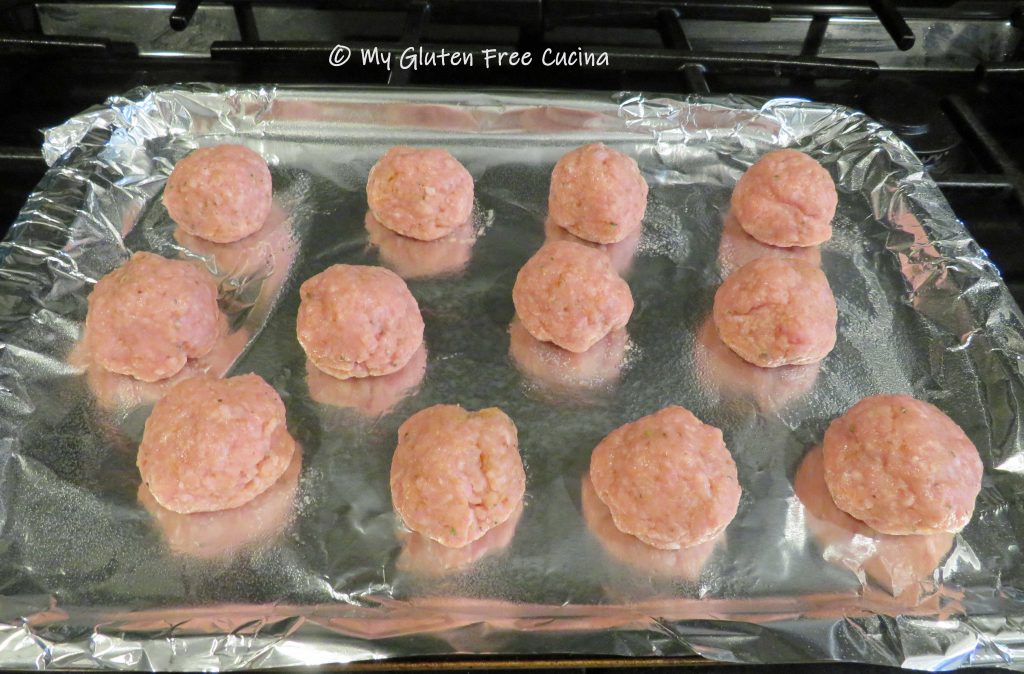
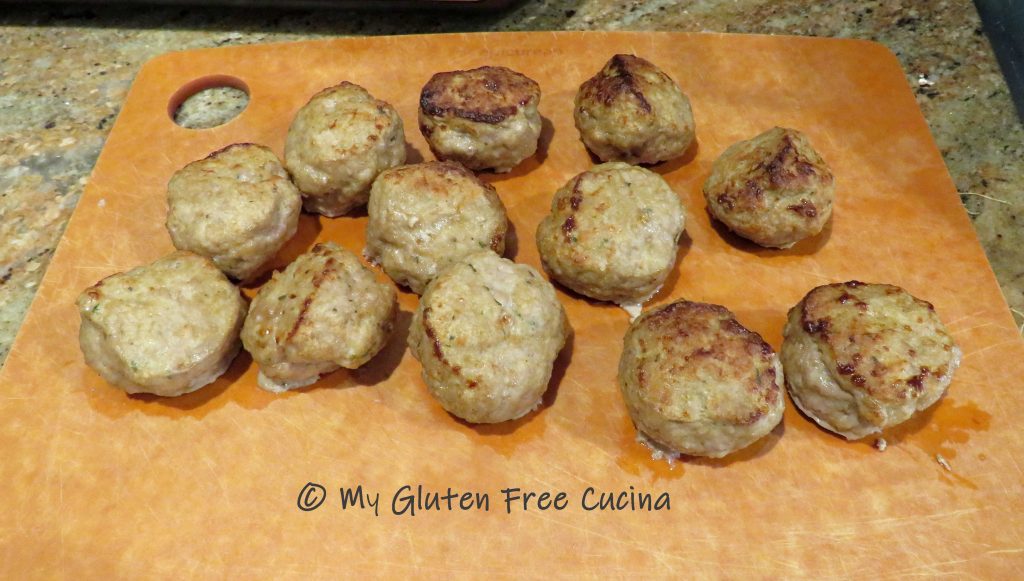
 Bake for 22-25 minutes. Cool in the pan 10 minutes then transfer to a rack. Enjoy them warm or at room temperature.
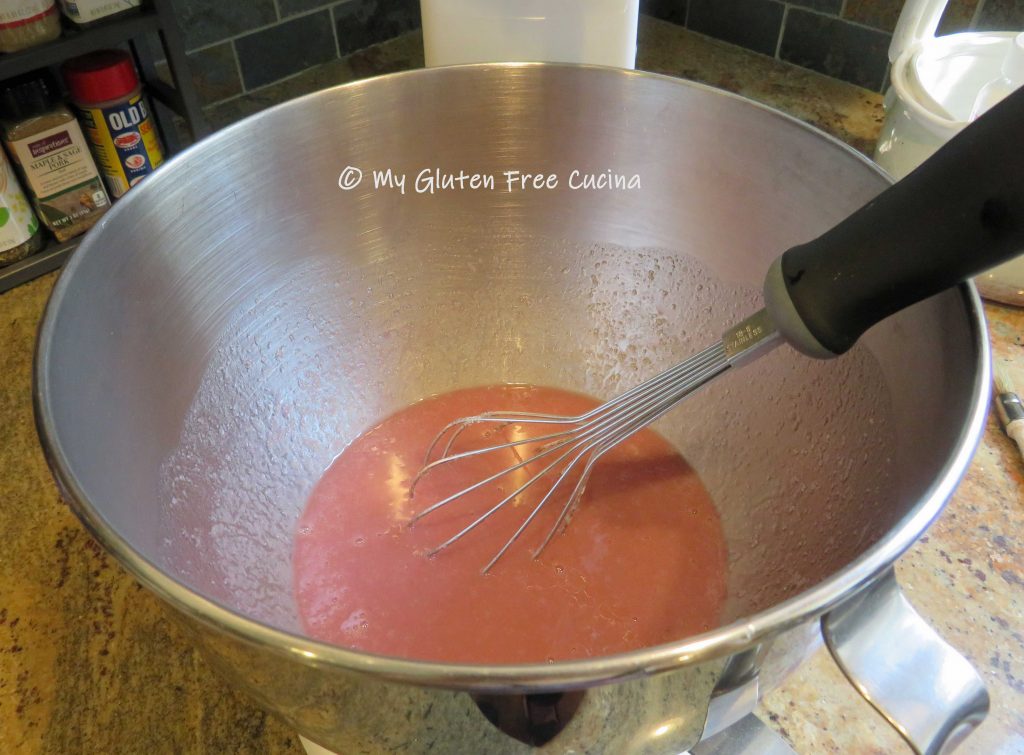
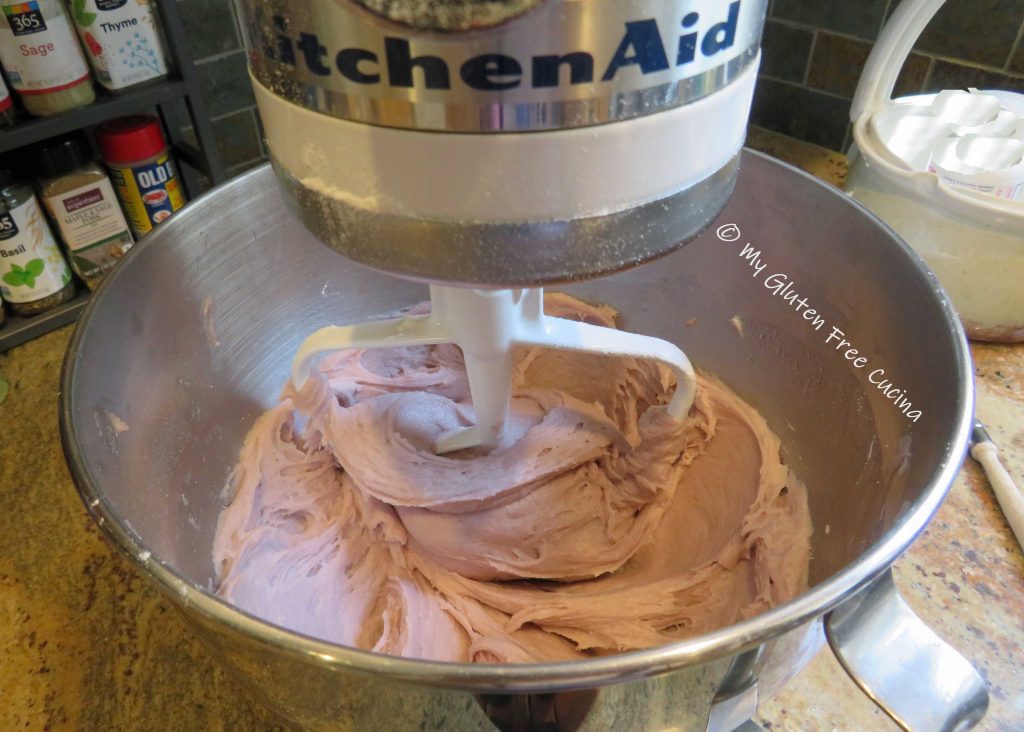
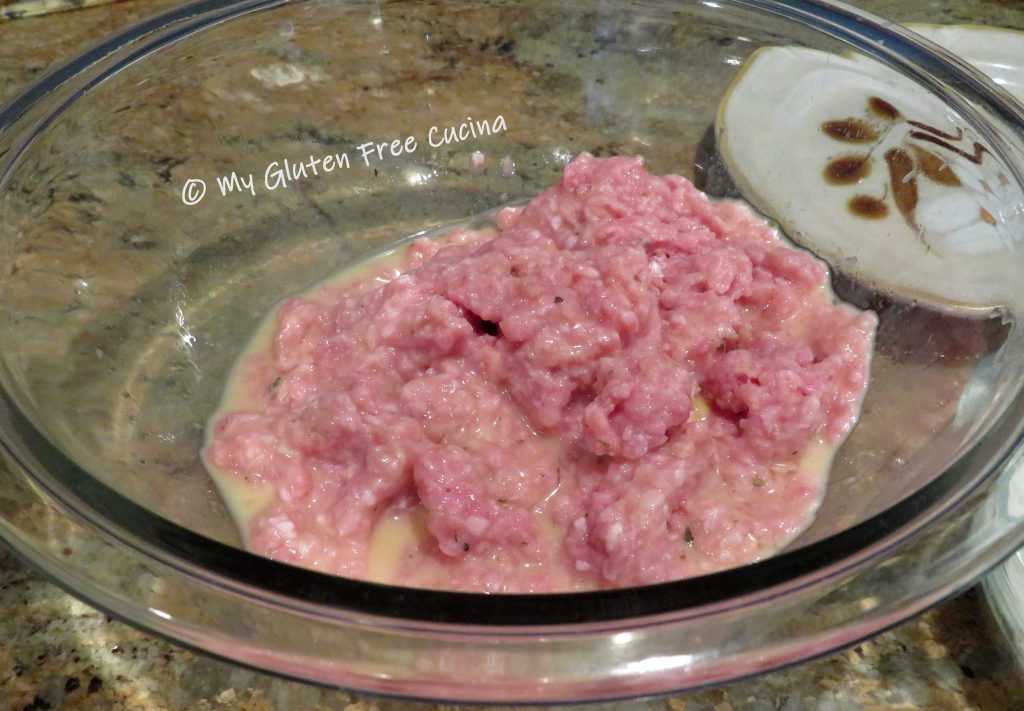
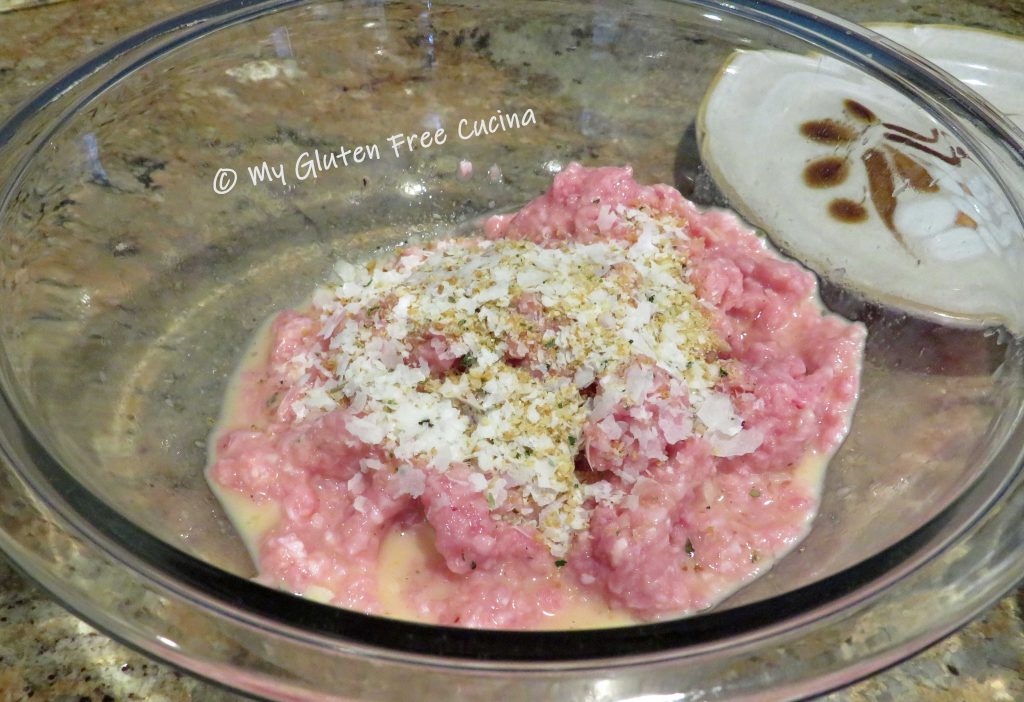
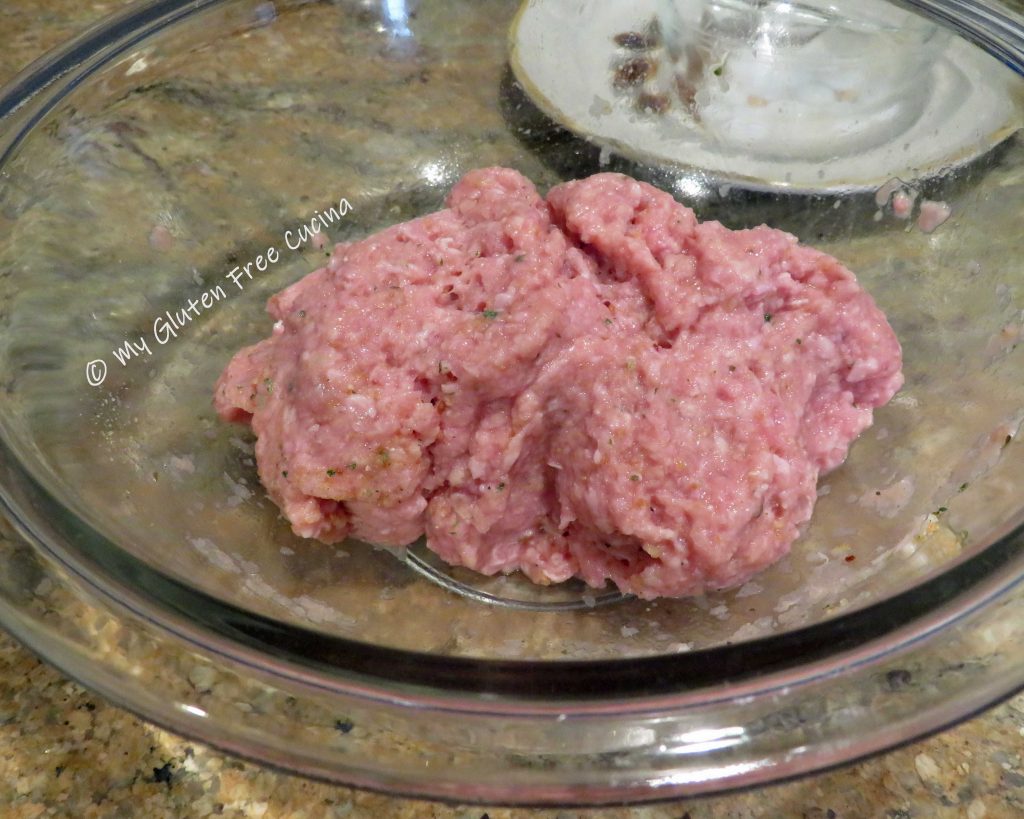
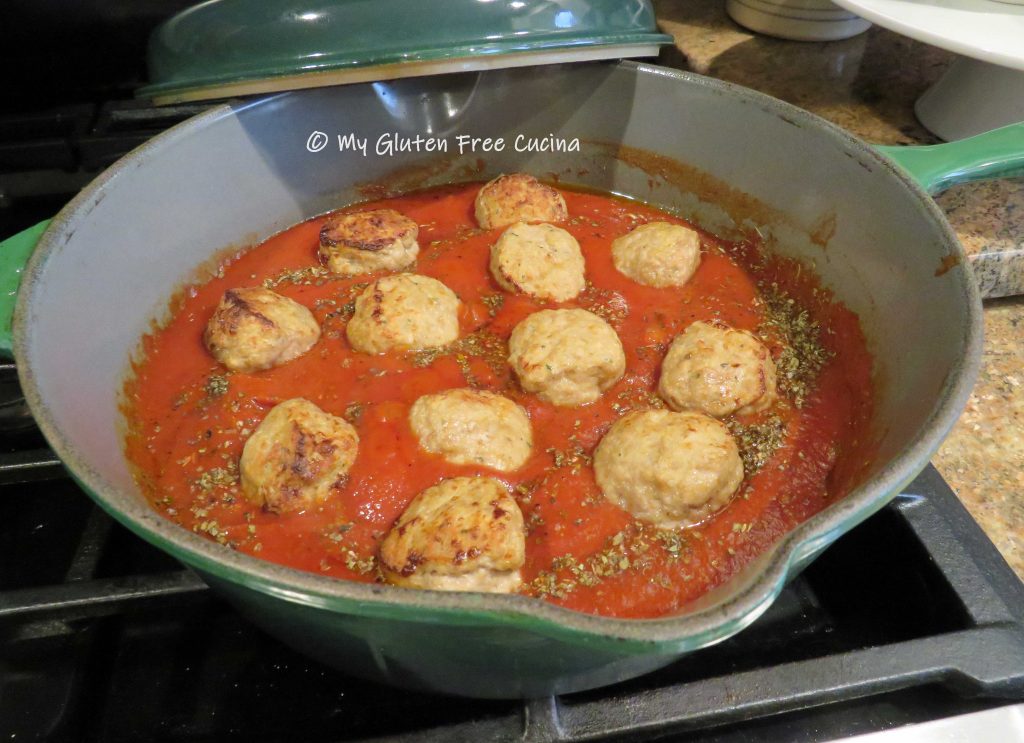
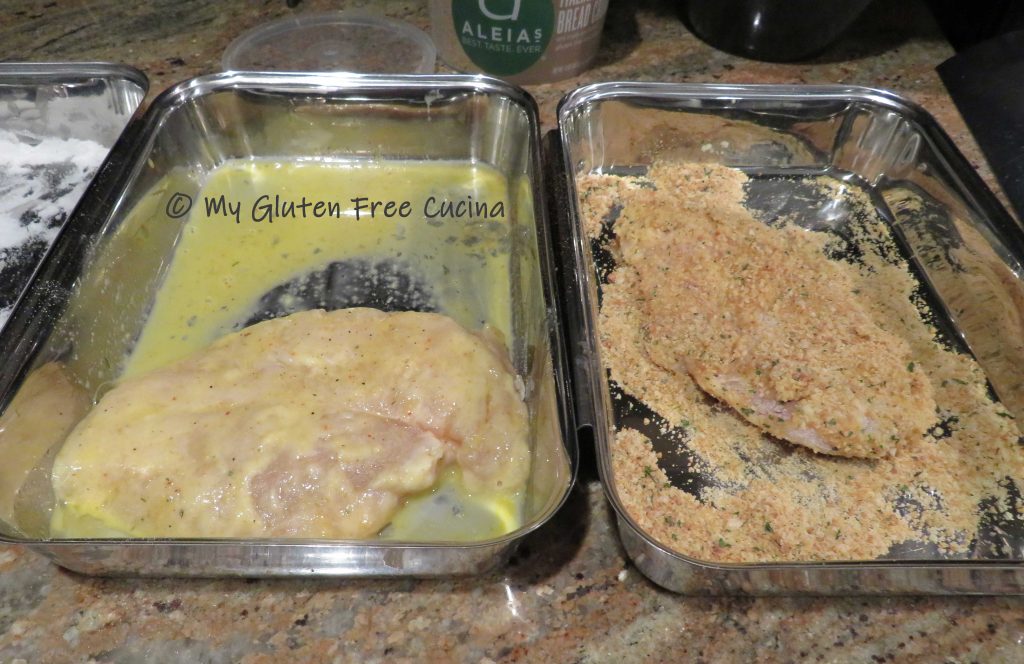
 Next we’ll make the meatballs. Combine the beaten egg and Italian seasoning. In another bowl combine the bread crumbs and potato flakes.
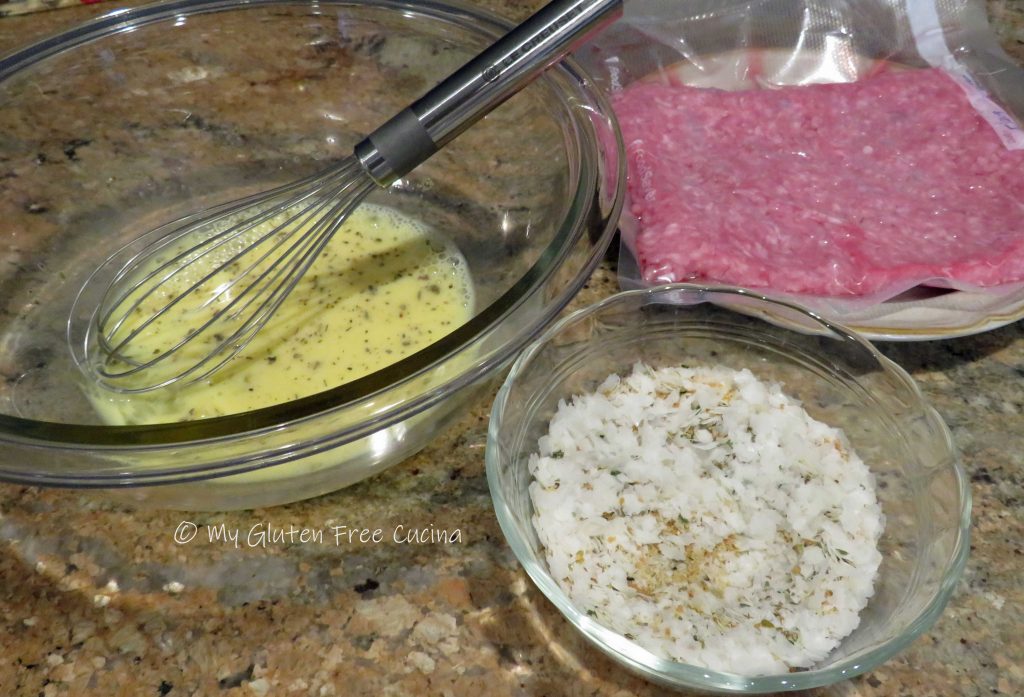

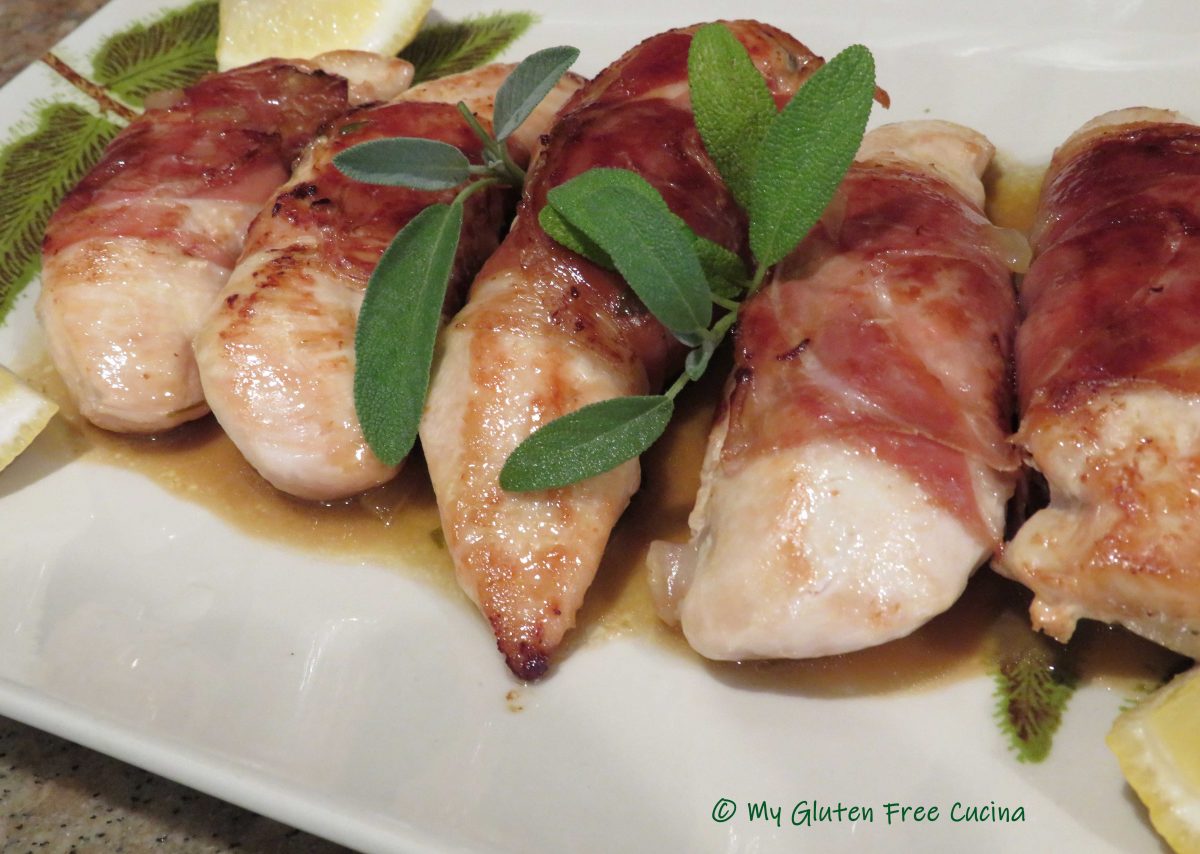
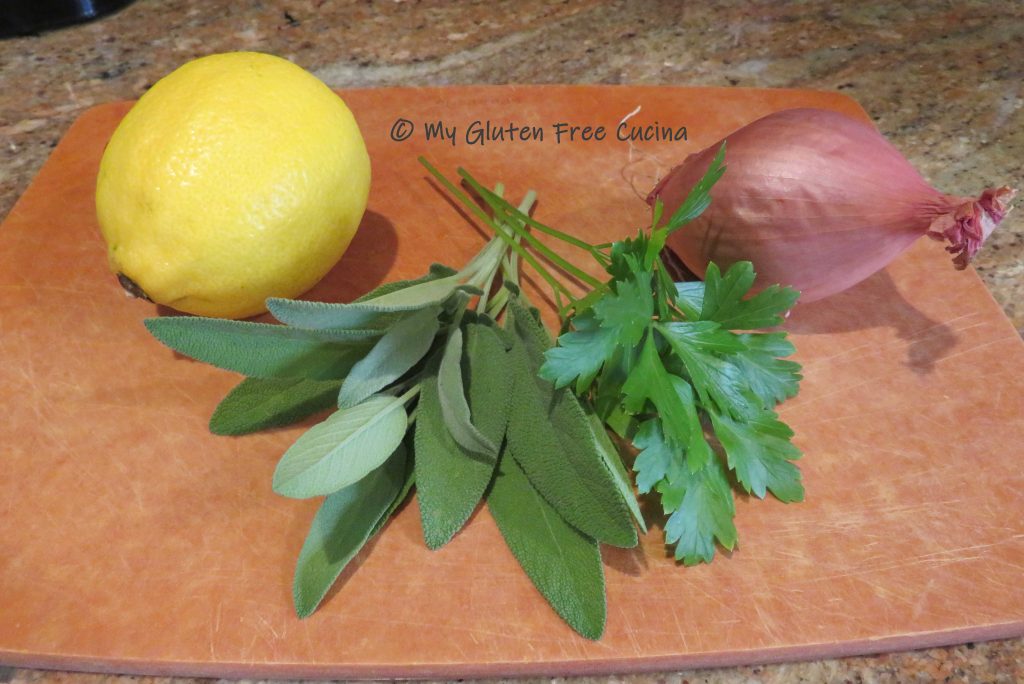
 The inspiration for this post was a beautiful pot of sage from my herb garden. I’m really proud that I grew it from seed!
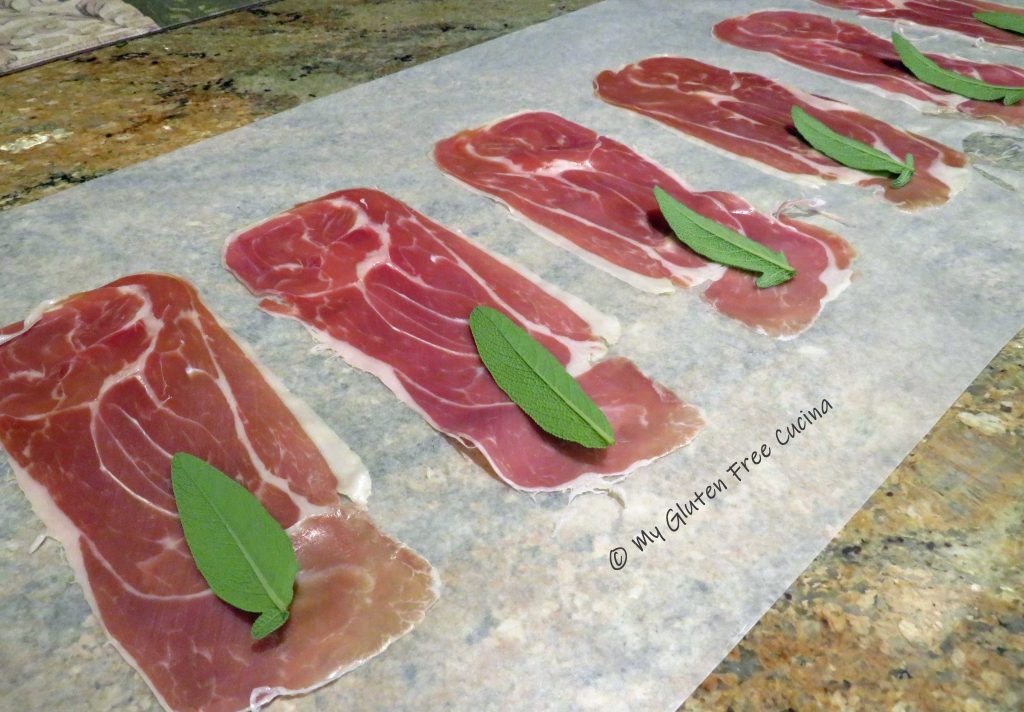


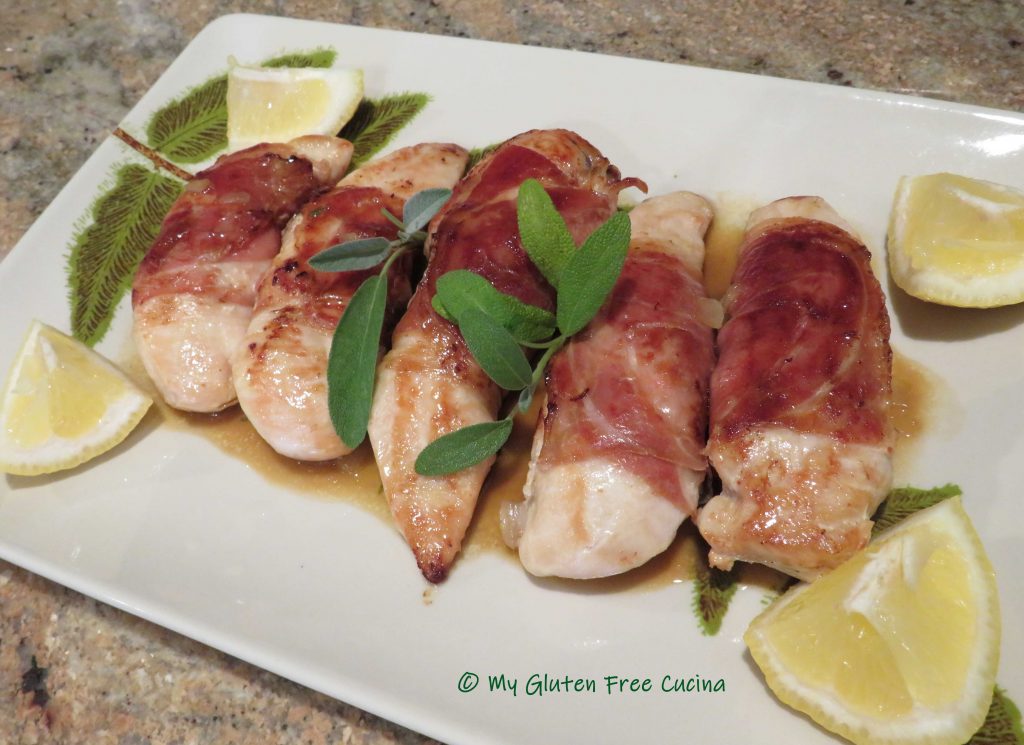


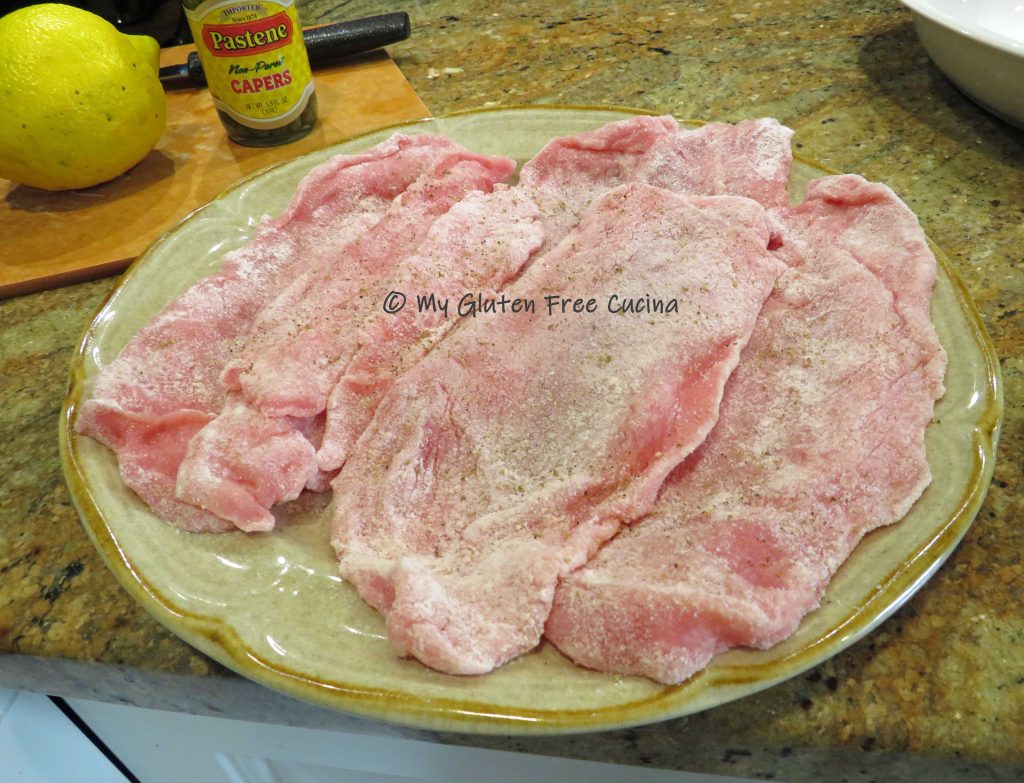


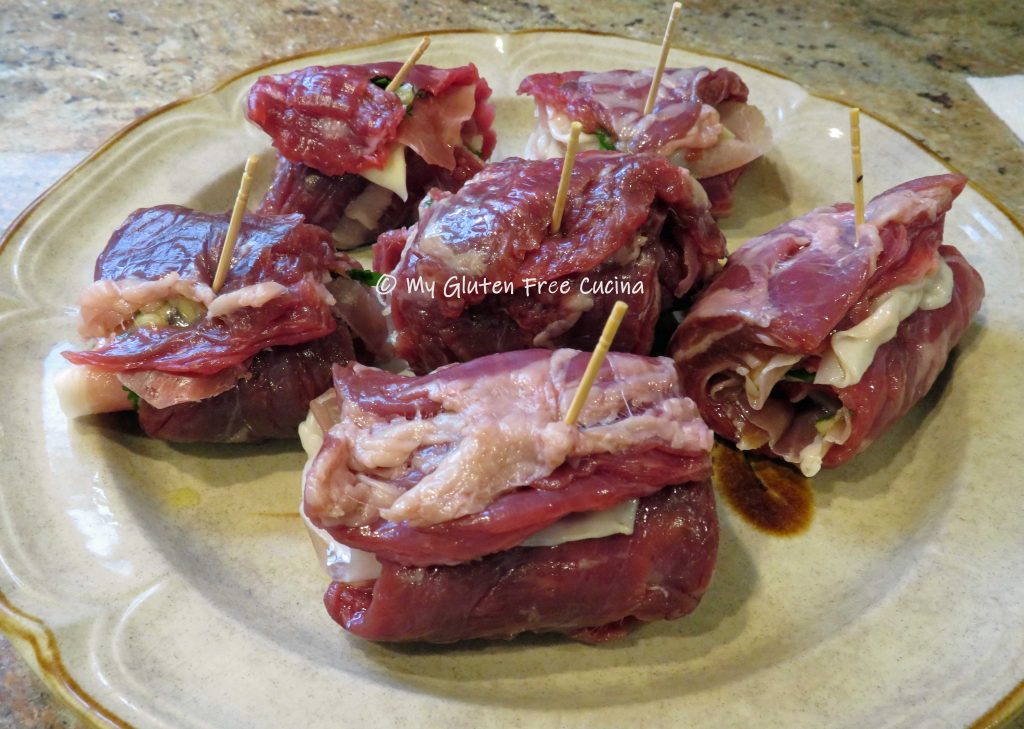
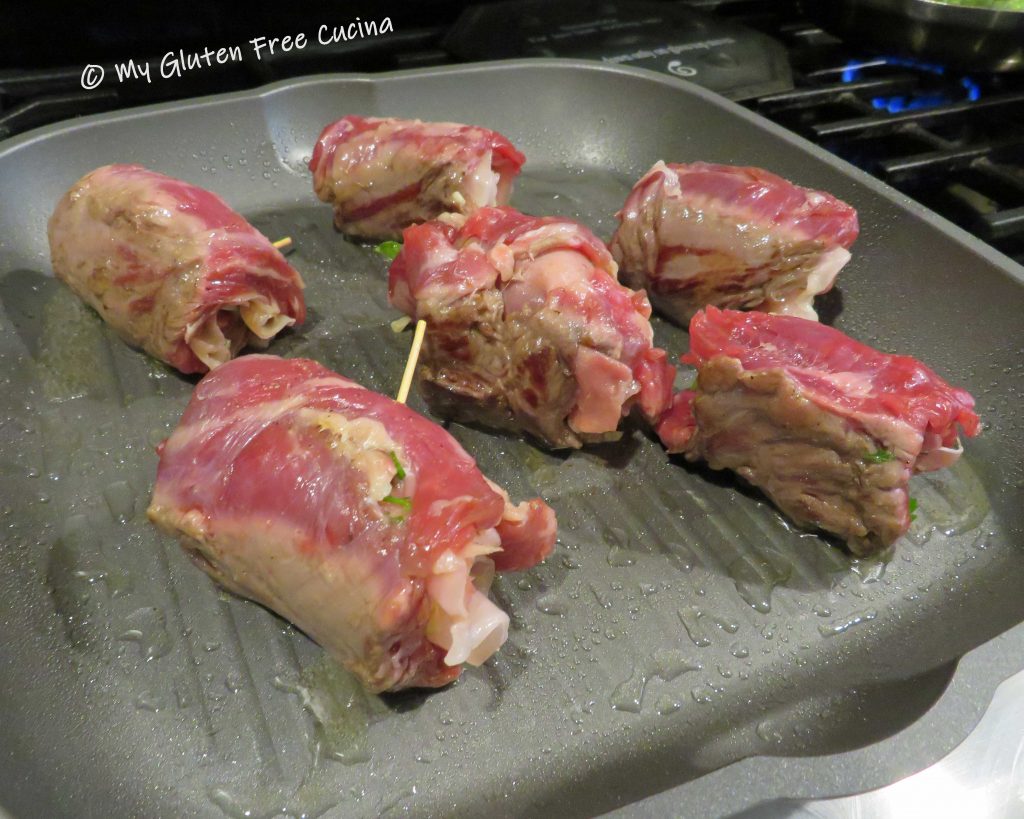
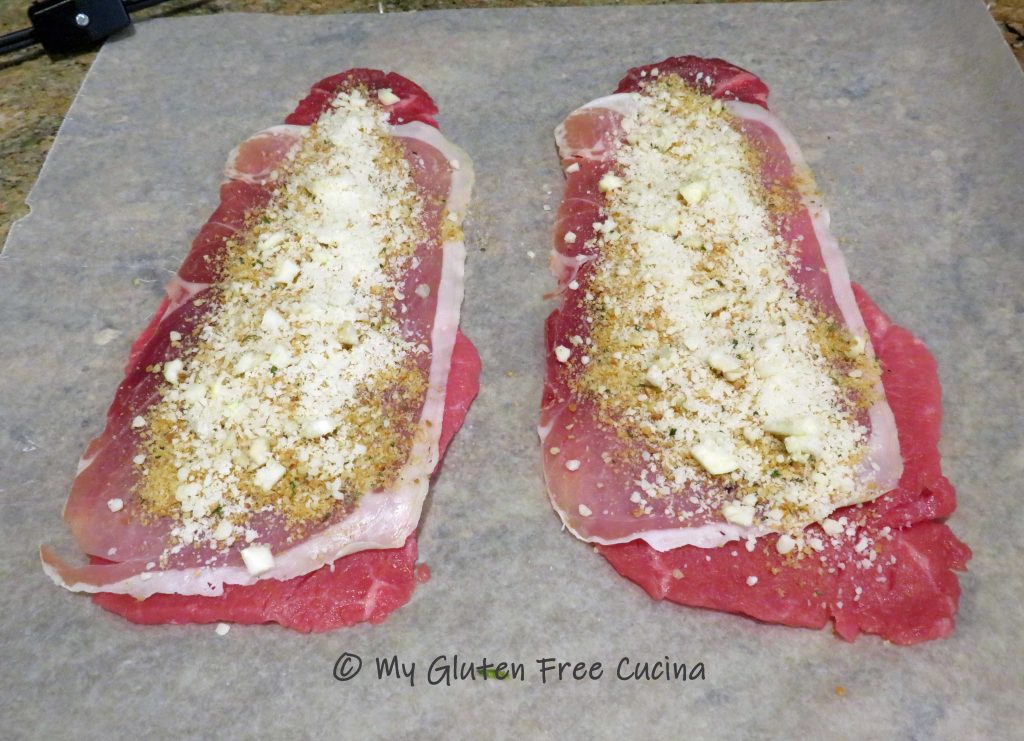
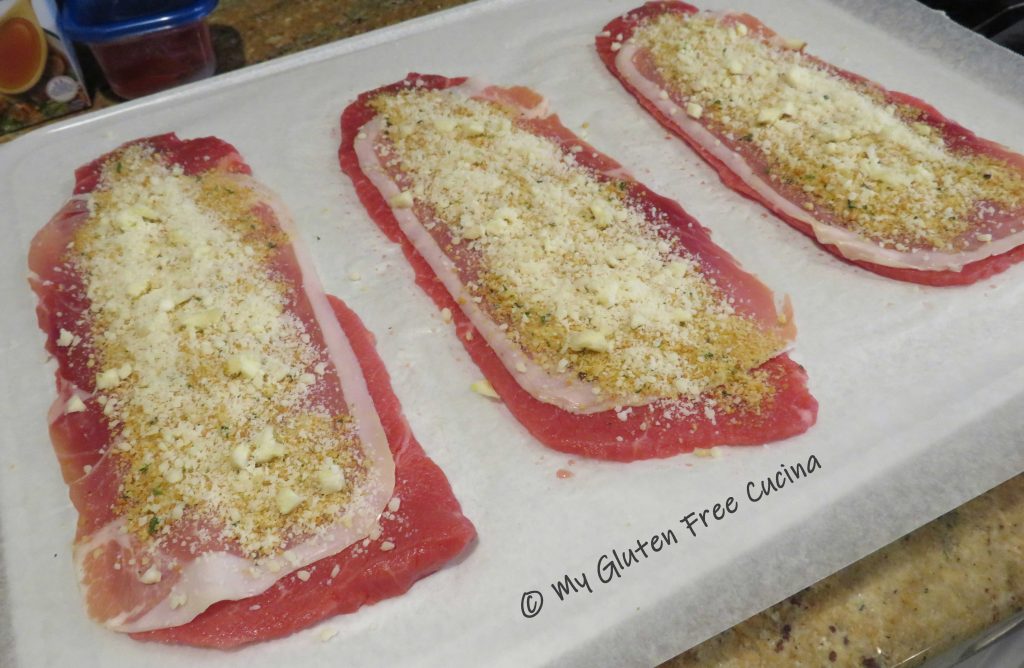
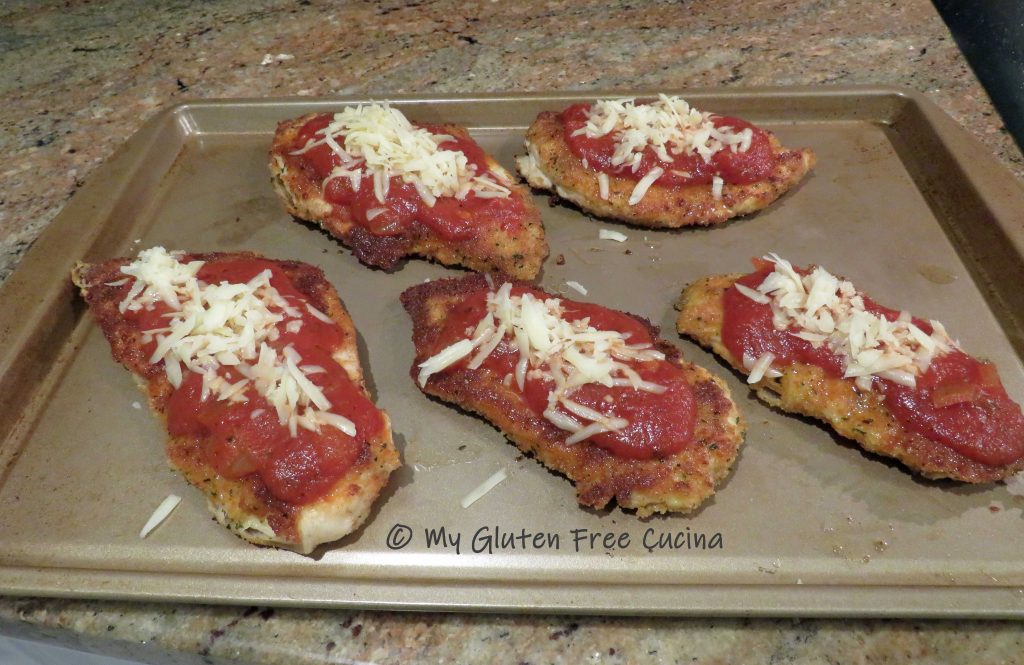
 Season the beef with salt and pepper, then layer with a slice of prosciutto. Sprinkle each with about 1 tbsp. gluten free Italian breadcrumbs, 1 tbsp. grated cheese and 1/2 tsp. of the minced garlic.
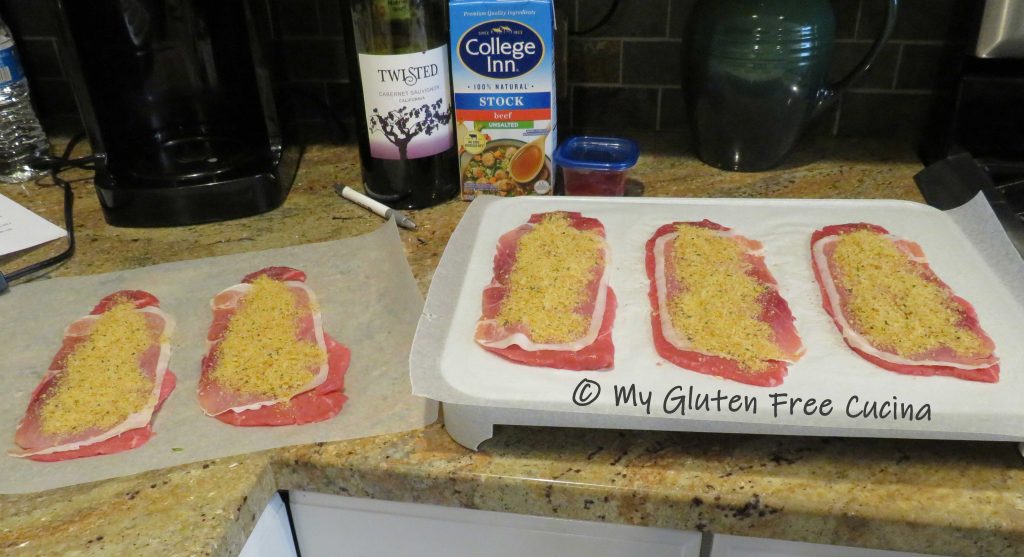
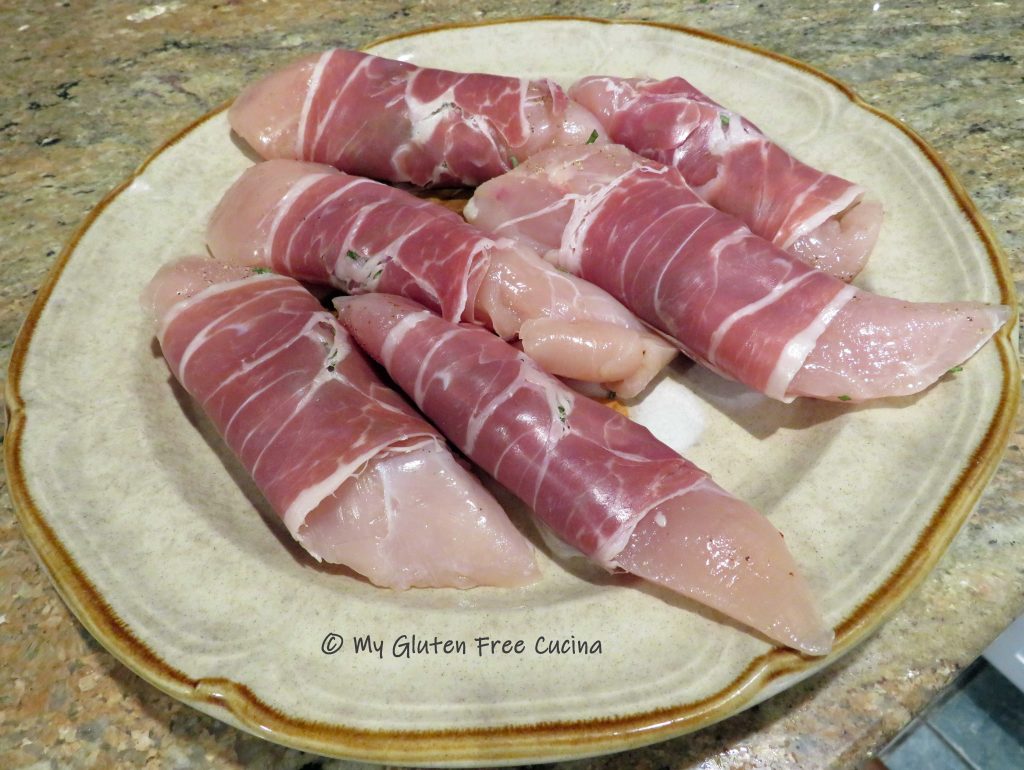
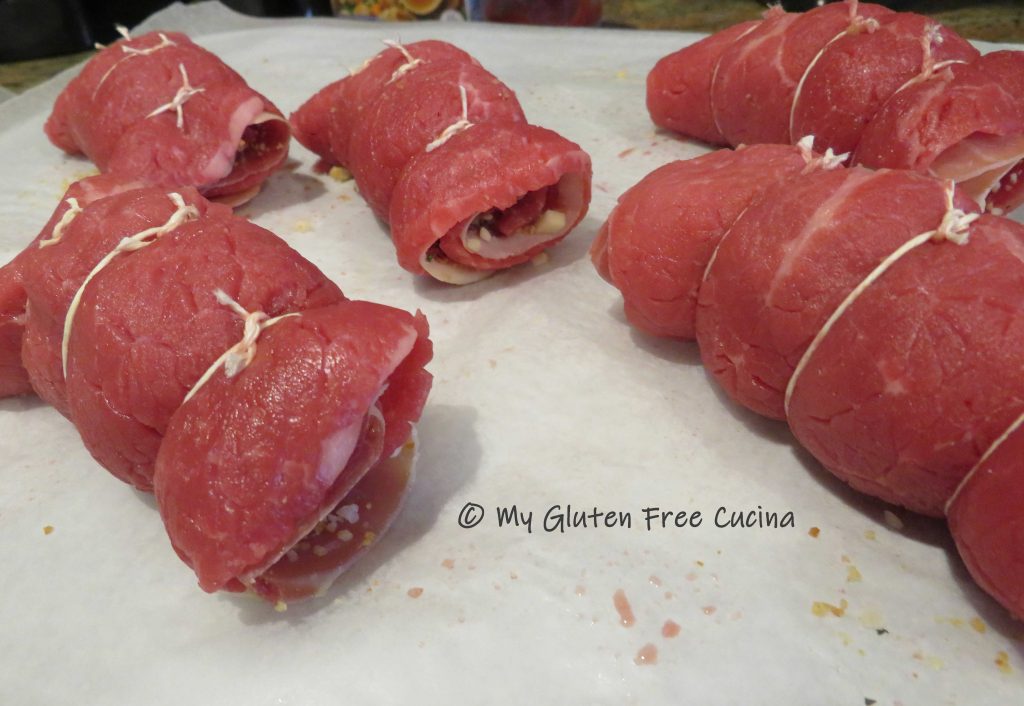
 Starting at the narrow end, roll up the meat into bundles.
 Secure each bundle with cooking twine or toothpicks (twine is more secure but toothpicks are easier to remove).
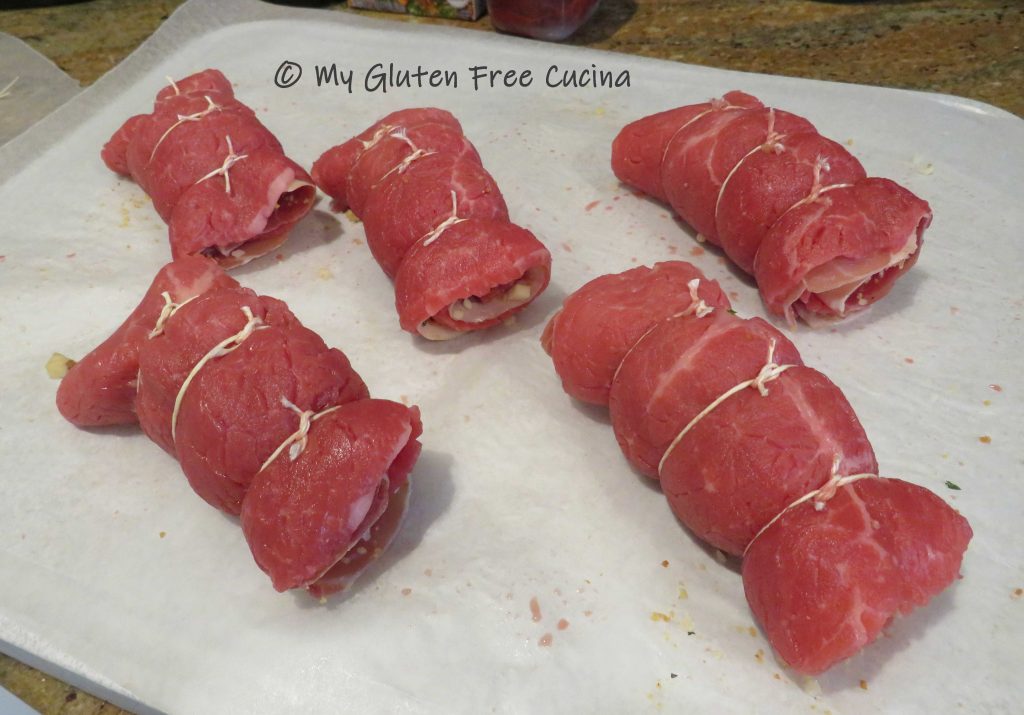

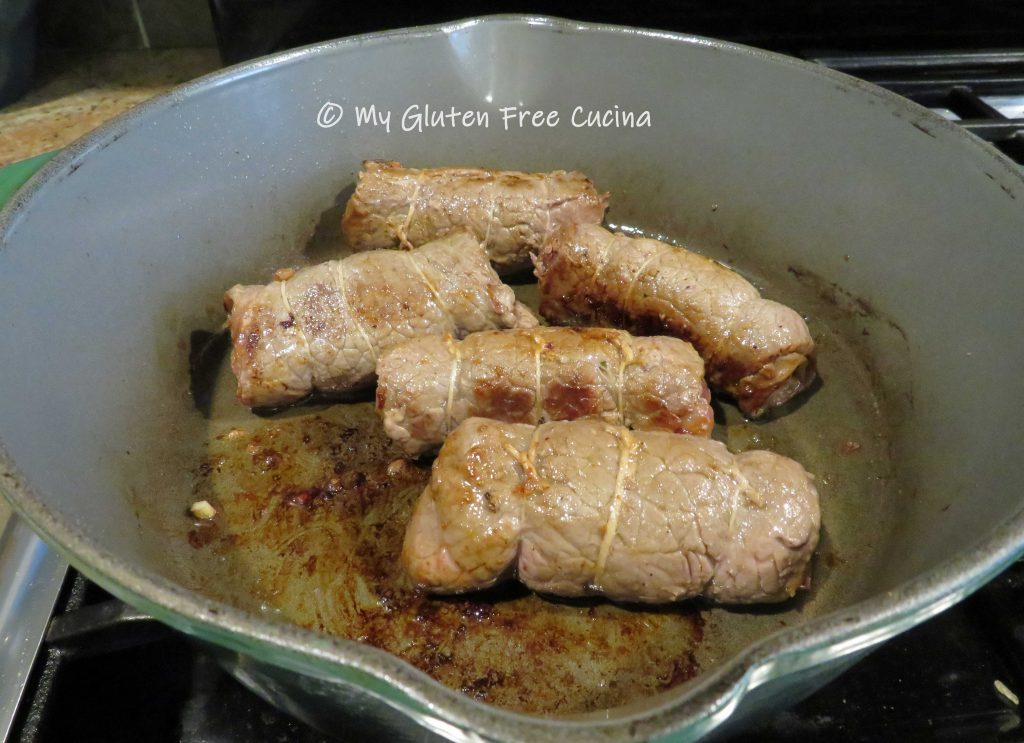
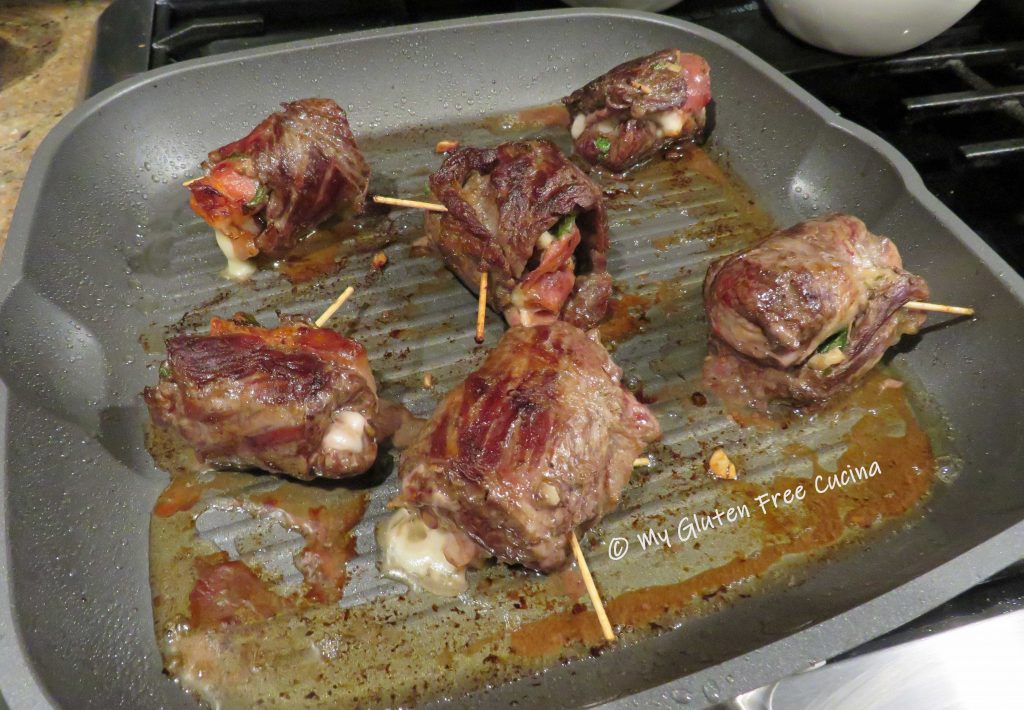
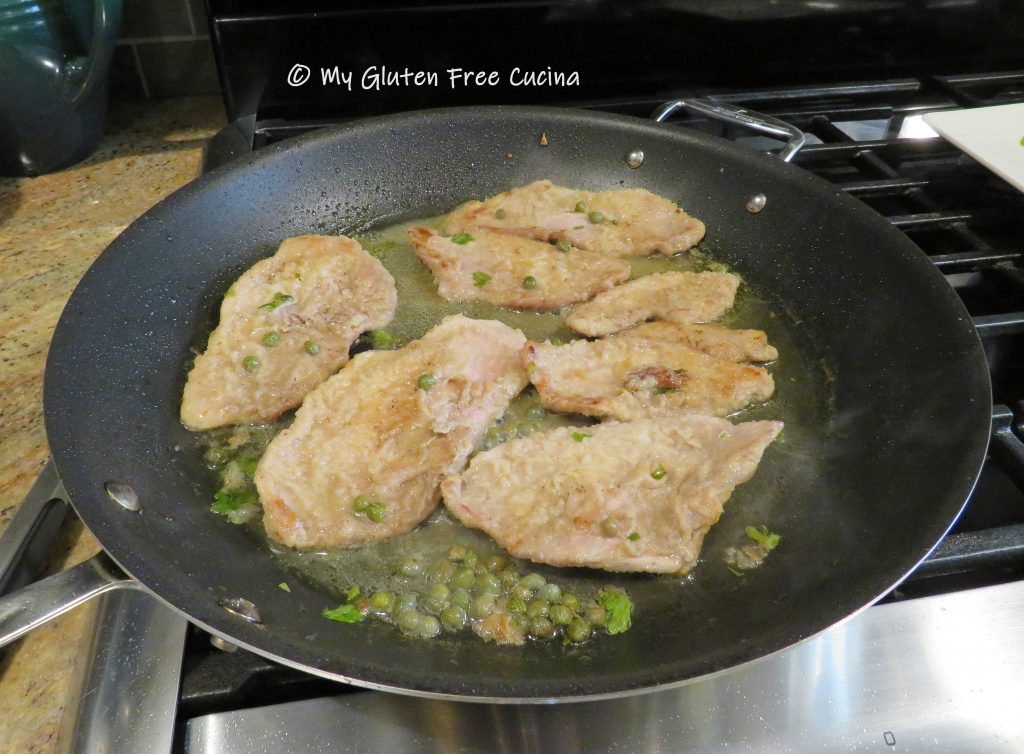
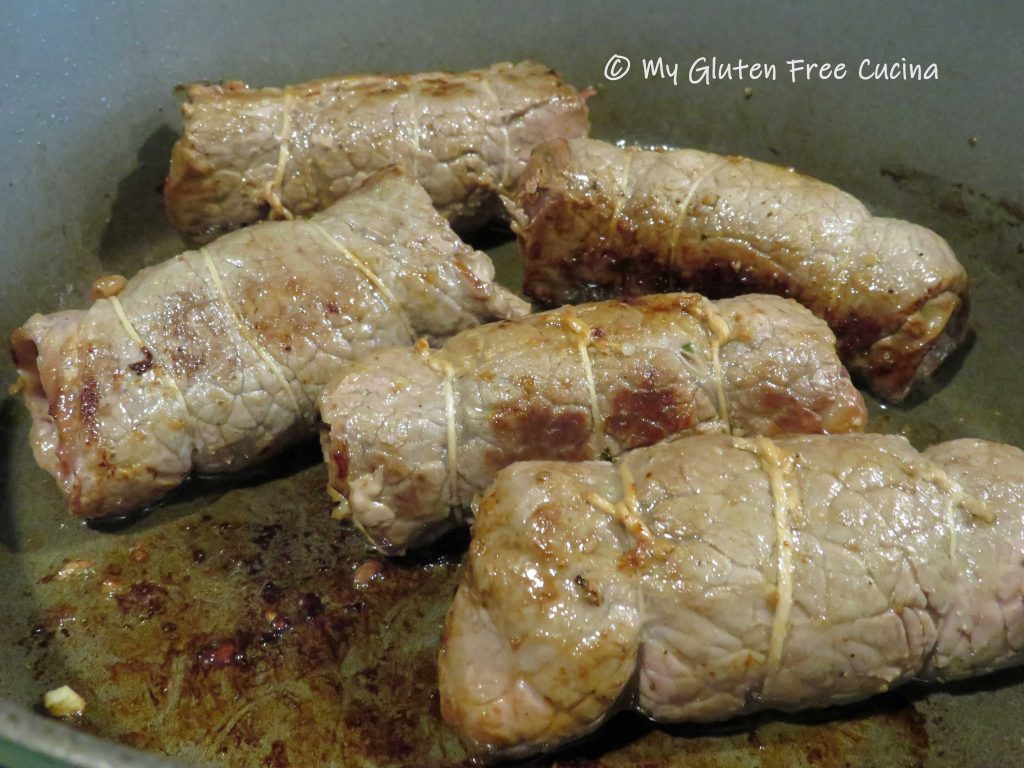 Remove the meat, keeping the pan on low heat.
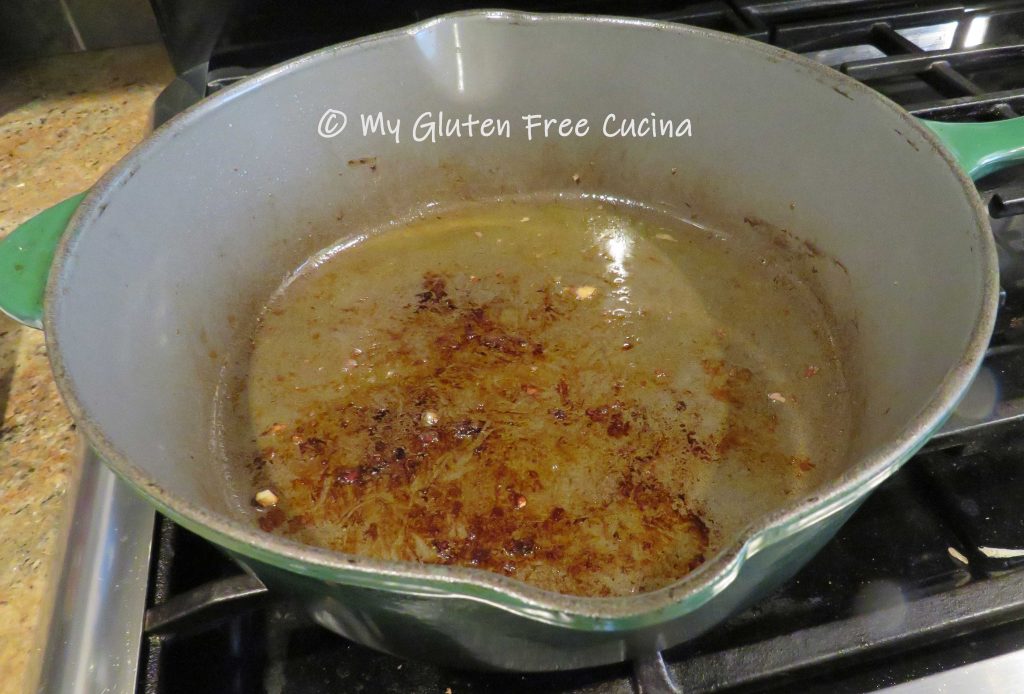
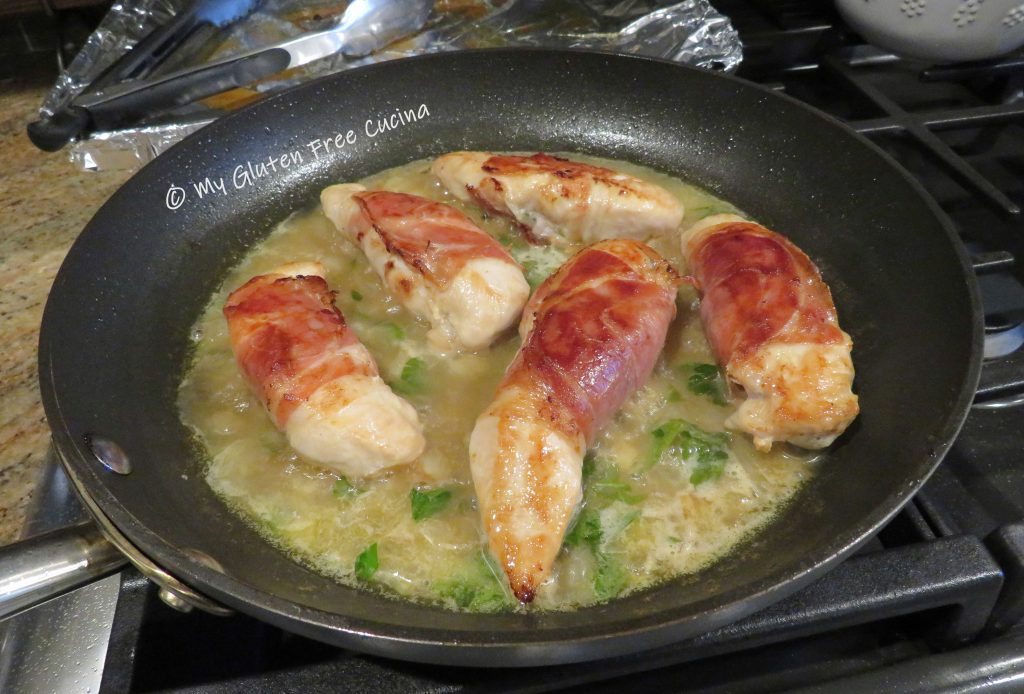
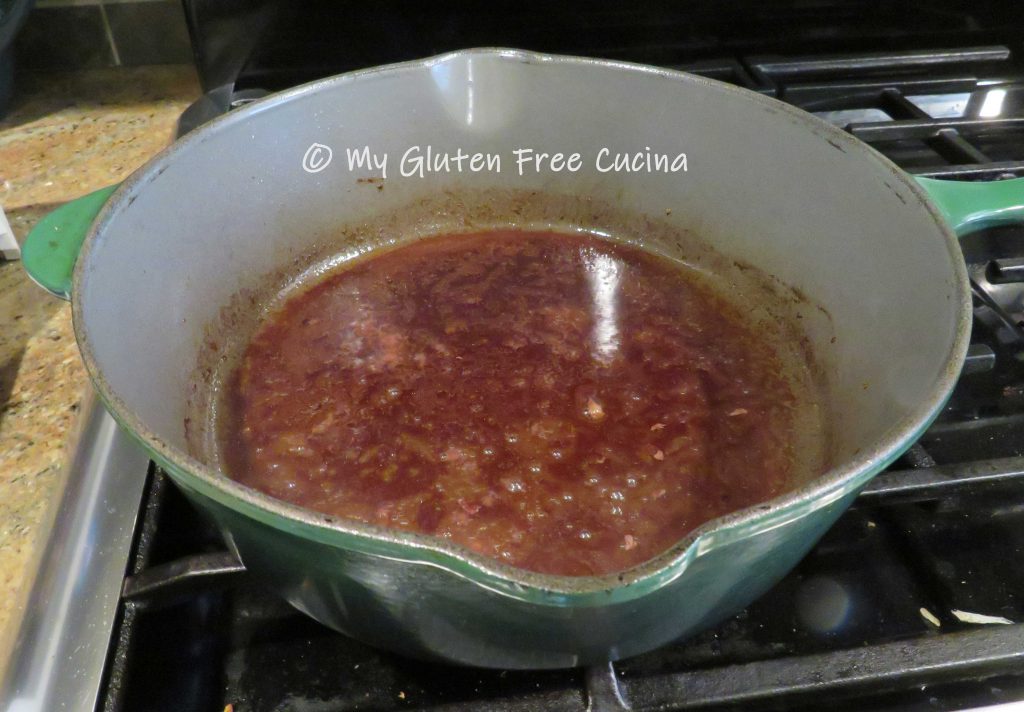 Add the tomato paste, beef broth, remaining garlic and herbs.
 Stir it all together and continue cooking over low heat to make a reduction. Doesn’t that look good?
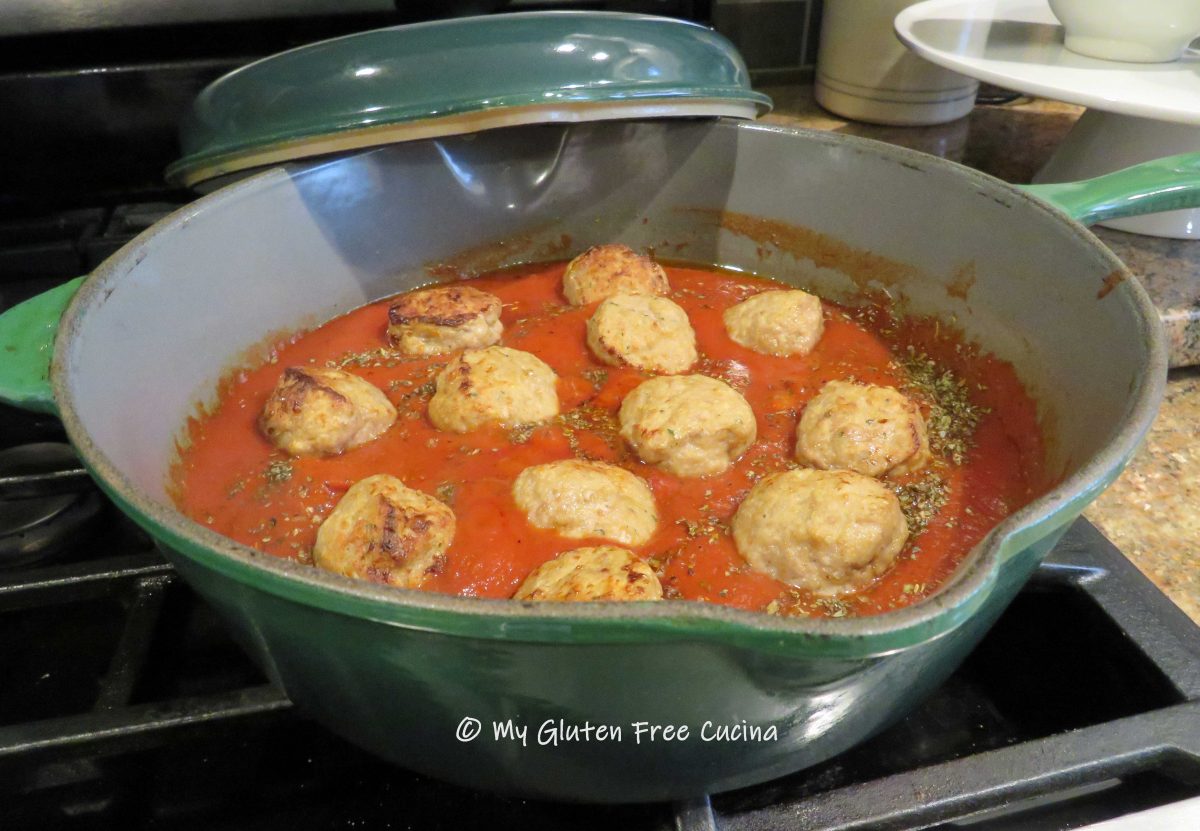
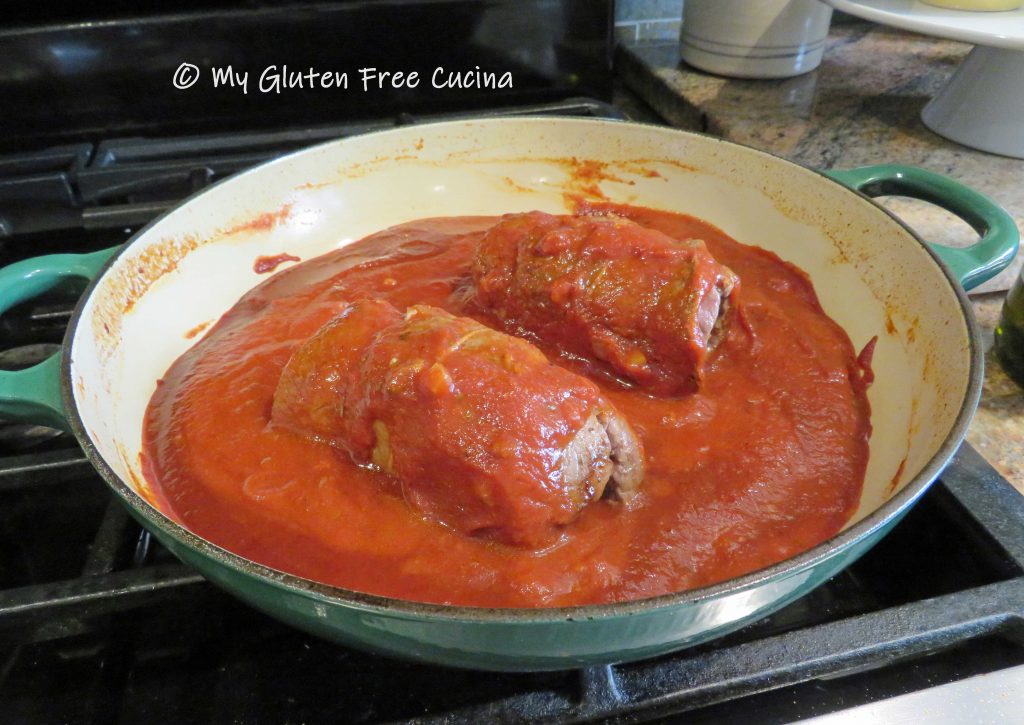
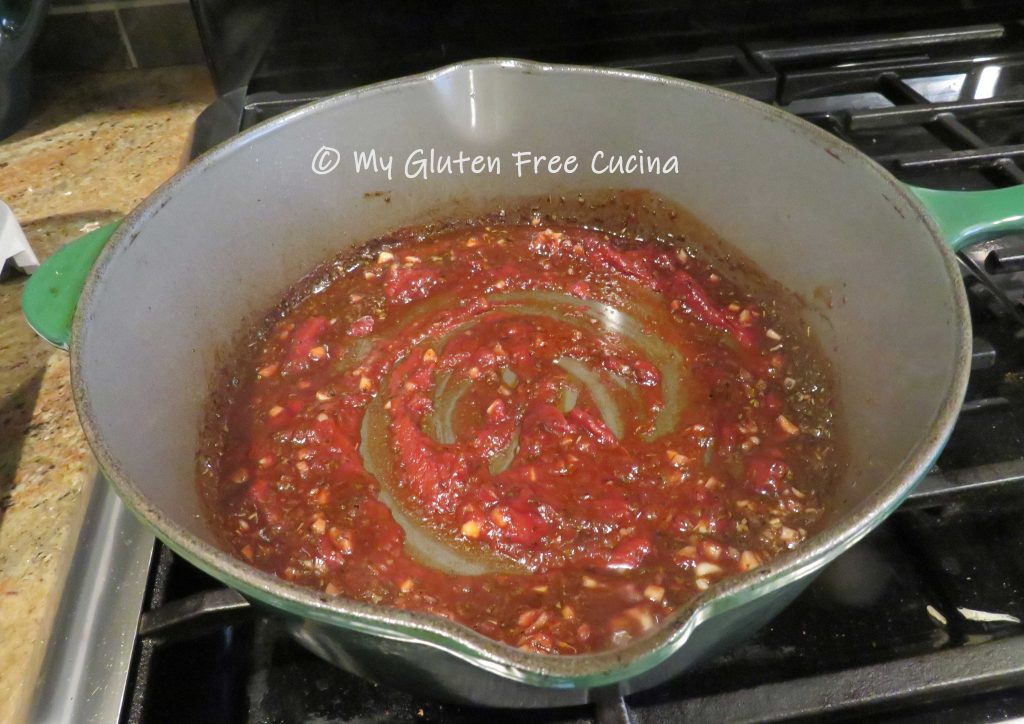 When most of the liquid has evaporated, add the tomato sauce, along with the meat bundles.
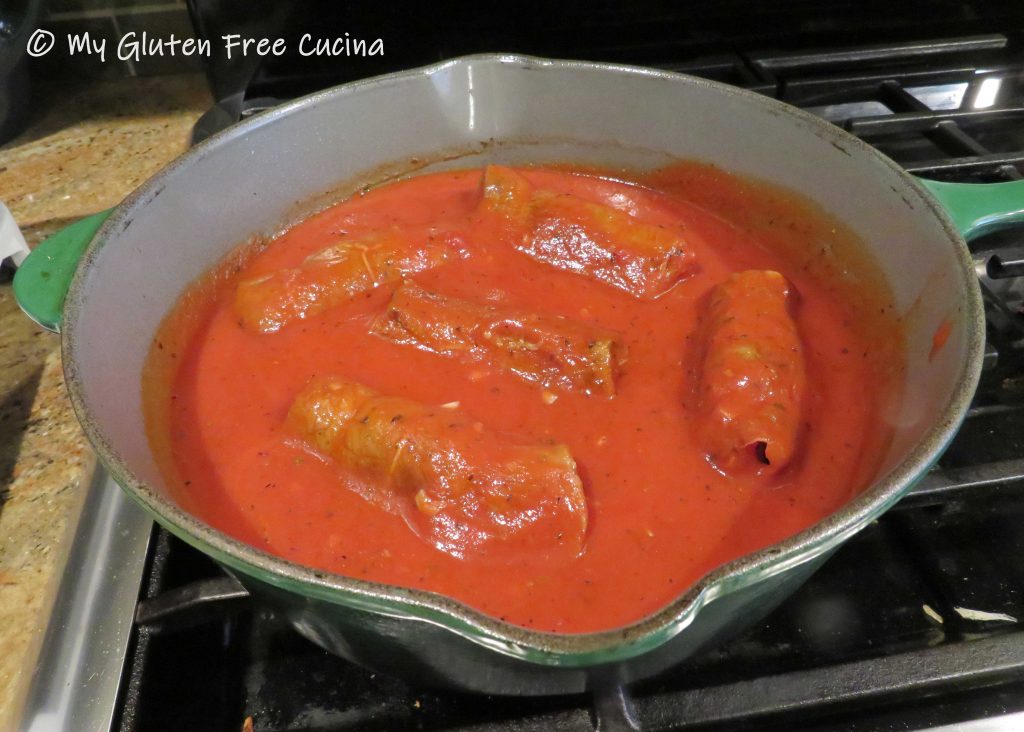 Cover and cook on lowest heat for 3 hours. Use a
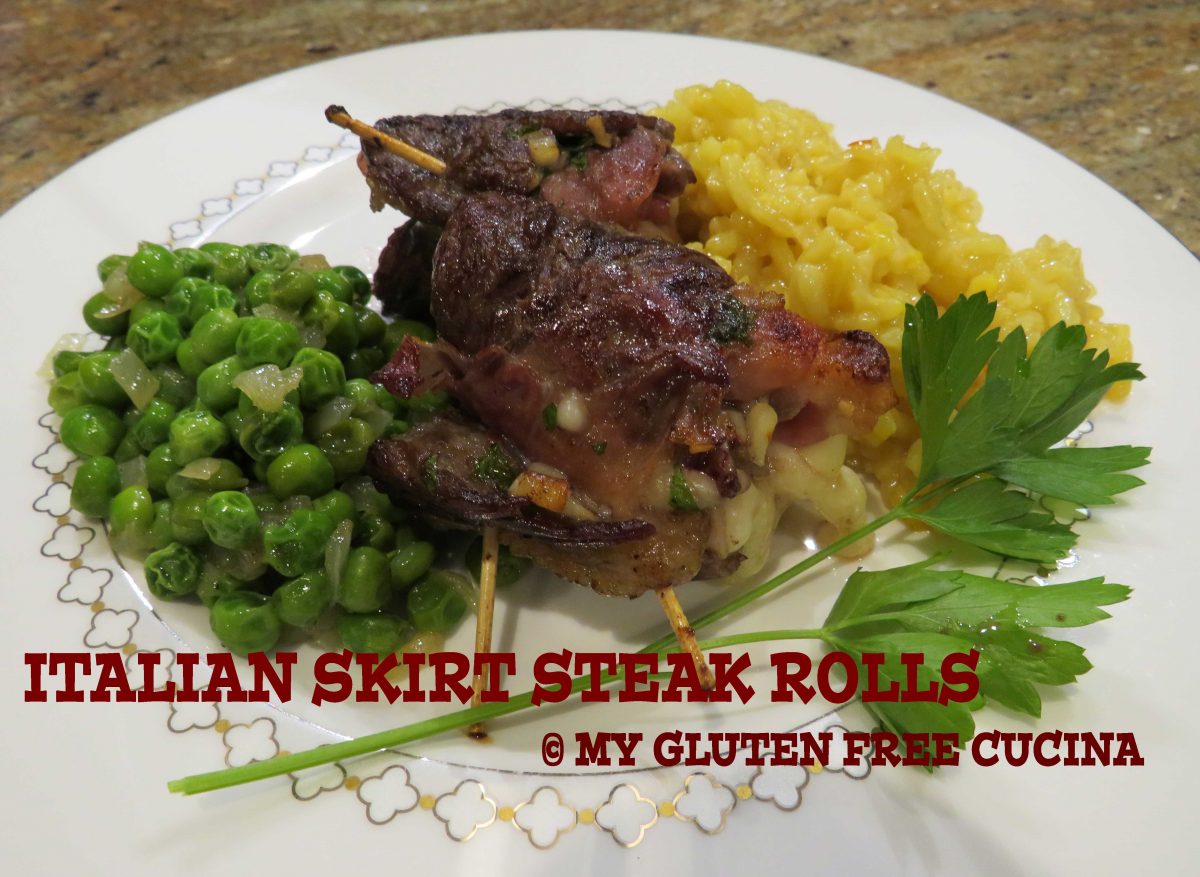
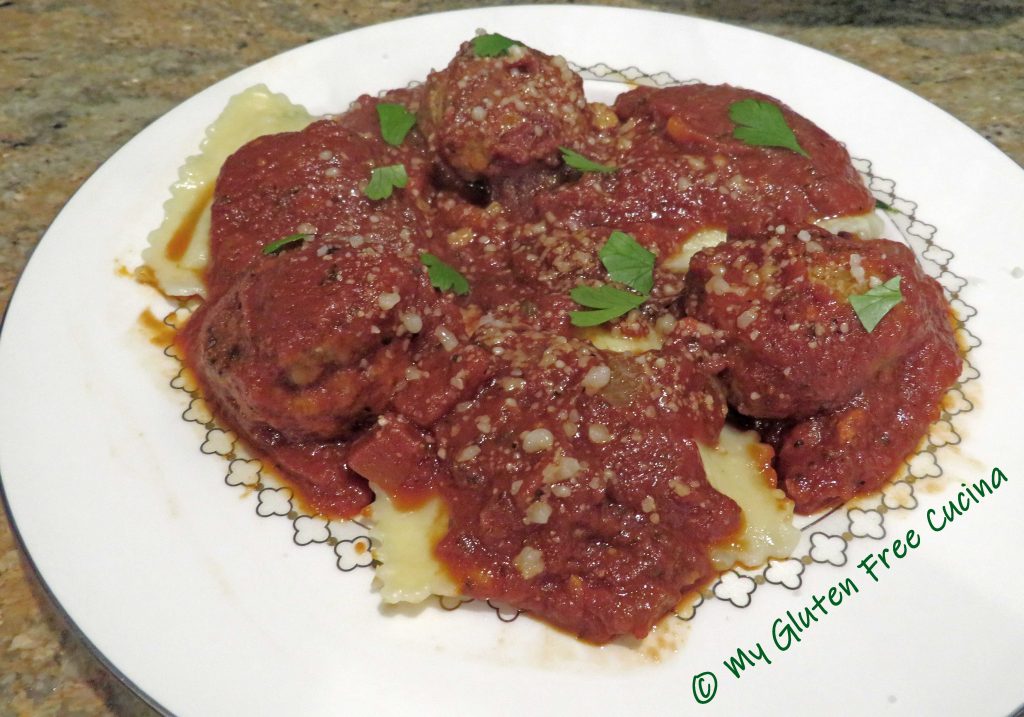
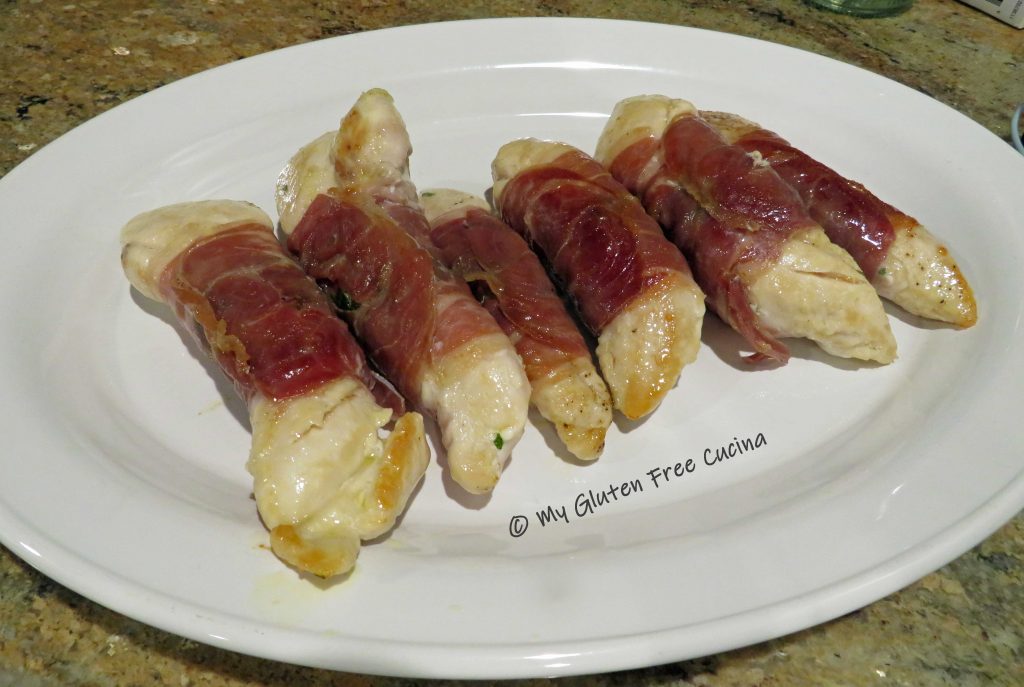
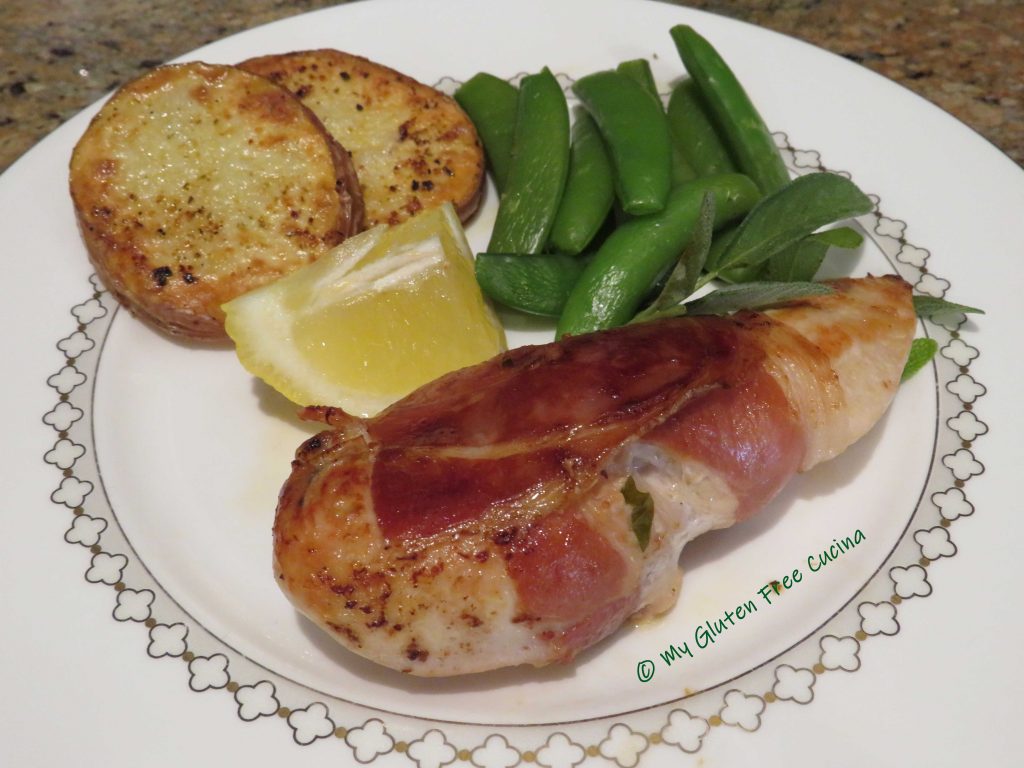
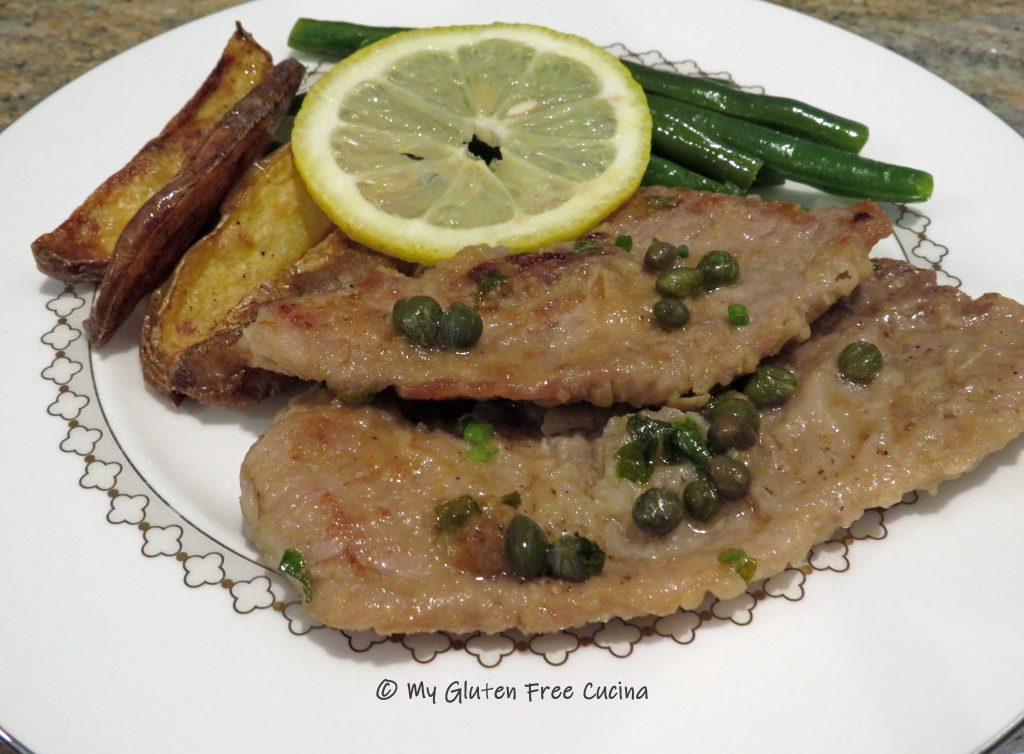
  Serve alongside your favorite gluten free pasta, with extra sauce and grated cheese. Garnish with fresh parsley or chives. Don’t forget to remove the twine and toothpicks!


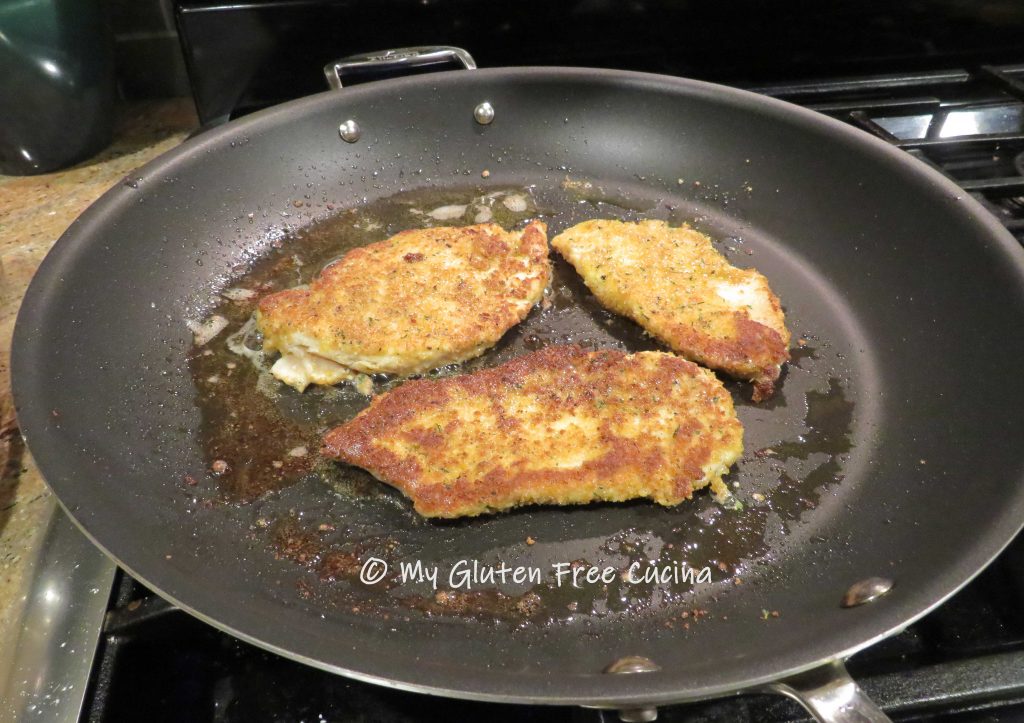

 Finish in the oven for 15-20 minutes or until the cheese is melted.
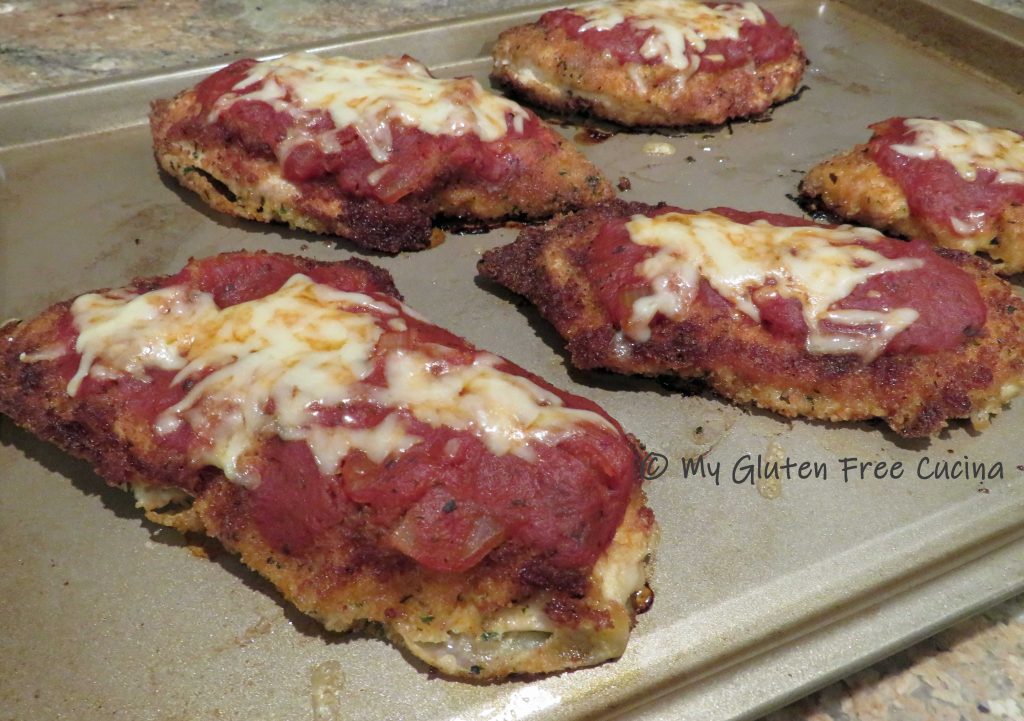
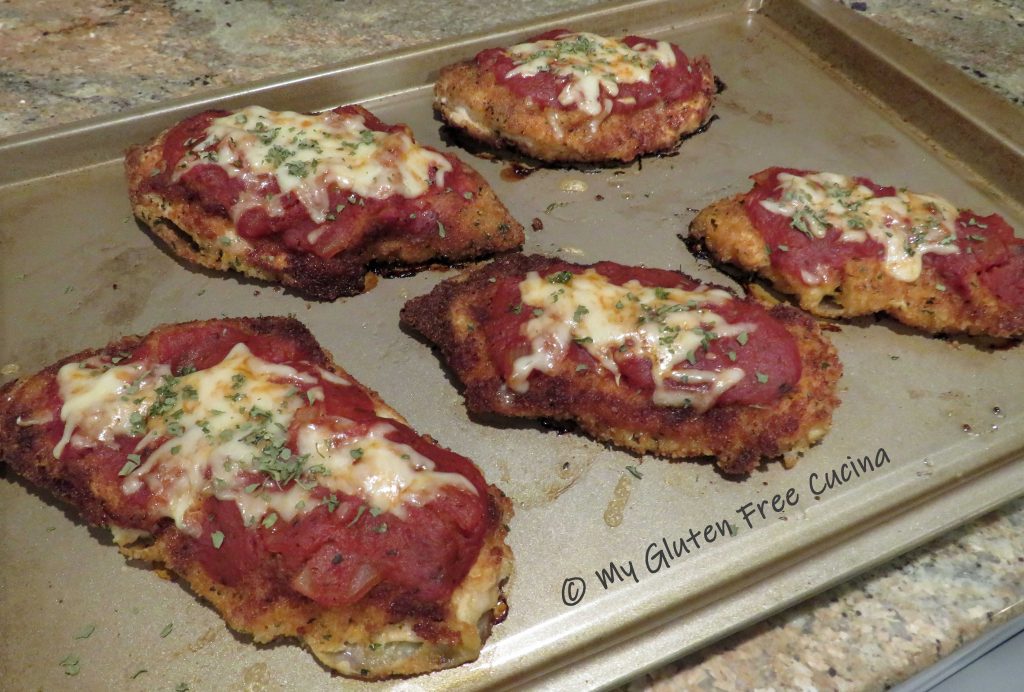
 When I made this for company, no one knew it was gluten free. Mum’s the word!