There are times in one’s life when it is imperative to keep things simple. Maybe you are working long hours, have new or increased family responsibilities, or are going through a major life change like a move, new job, or loss of a loved one.
It can be overwhelming to carry on during life’s ups and downs, and what’s for dinner is often the last thing on your mind. With Celiac disease of course, there may not be options for ordering takeout or stopping for fast food (plus it costs a fortune). The kitchen must be our safe space, because on top of whatever life throws at us, we do not need to get sick from consuming gluten.
That’s why I decided to put together a week’s worth of meals that I like to make when things get hectic. May they be an inspiration for you during life’s busy moments, as well as a reminder that gluten free doesn’t have to be difficult or fancy. These are healthy, balanced meals, that combine a quick cooking protein with sides like rice, potato, or pasta and microwaved veggies (from the freezer). Use these ideas to make dinner for one, two or a family. Make extra for leftovers, so you get a night off.
This post contains affiliate links.
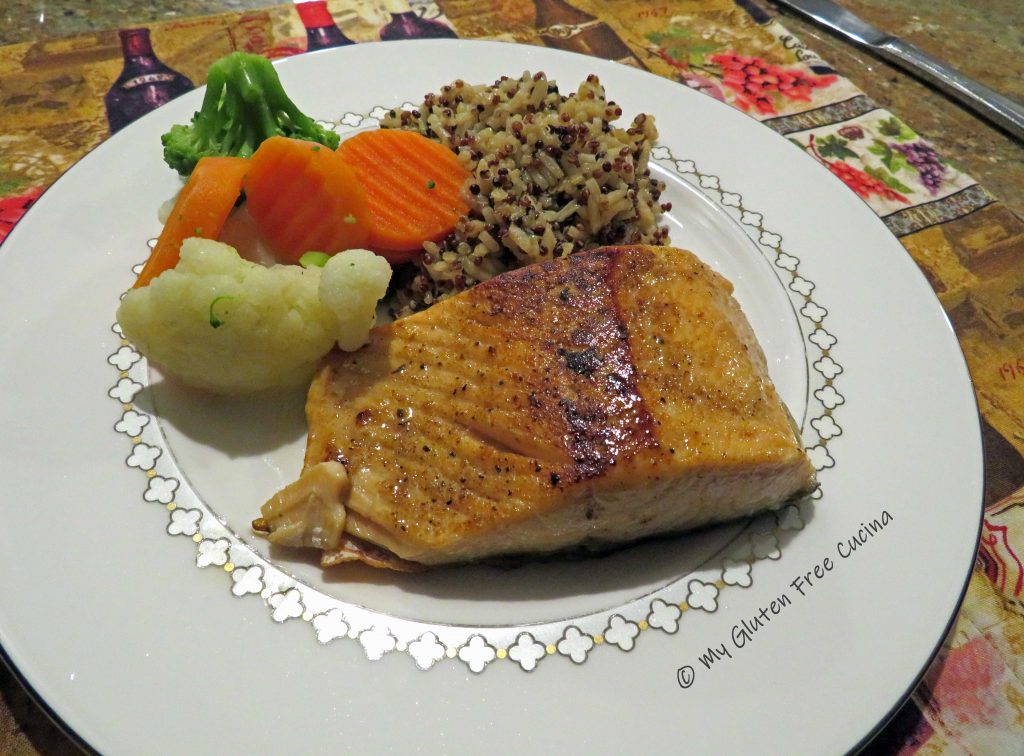
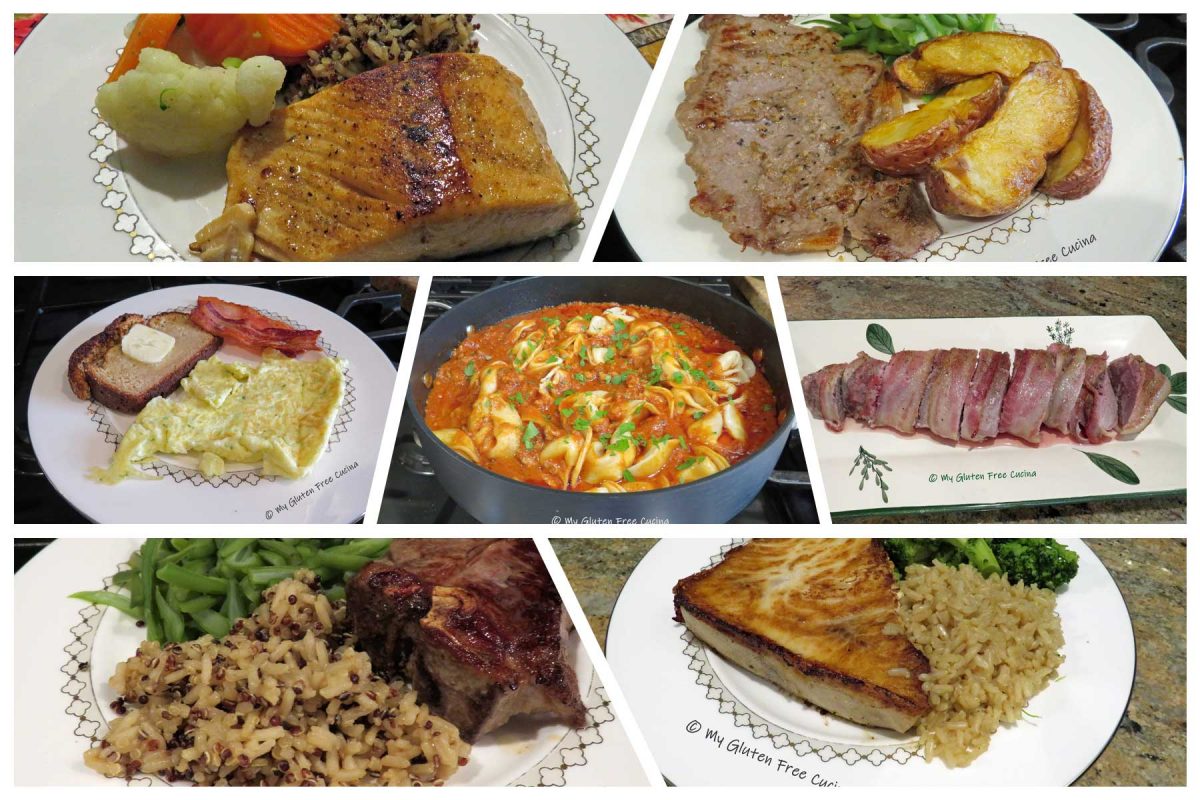
1 Salmon, Rice and Quinoa, Mixed Veggies
Salmon is widely available in the frozen section of most markets. It often comes packaged in individual portions. For this meal, I sprinkled the salmon with a Maple Garlic Seasoning and cooked in a skillet misted with olive oil spray. For sides, I cooked white rice and tri-color quinoa together in chicken broth and microwaved mixed veggies. Total time, 20 minutes.
2 Taste Republic Tortellini with Quick Meat Sauce
Taste Republic has some amazing gluten free pastas, I found their Four Cheese Tortellini in the refrigerator section at Whole Foods. For the sauce, I browned 1/2 lb. ground beef, 1/2 diced onion, and 2 garlic cloves then added one 29 oz. can of tomato sauce, brown sugar, basil, oregano, salt and pepper. Simmered and ready in 30 minutes.

3 Lamb Chops, Rice and Quinoa, Green Beans
Cook once, eat twice is a good strategy when you’re busy. I had these Lamb Chops (cooked in a skillet with olive oil and rosemary) with leftover Rice and Quinoa from the other night. Served with a side of French style green beans.

4 Breakfast for Dinner, Scrambled Egg, Toast and Bacon
When you’re just too tired or there’s not much in the fridge, breakfast for dinner is such an easy option. One of my favorites is a scrambled egg, bacon and gluten free toast (from the freezer). Easy peasy.

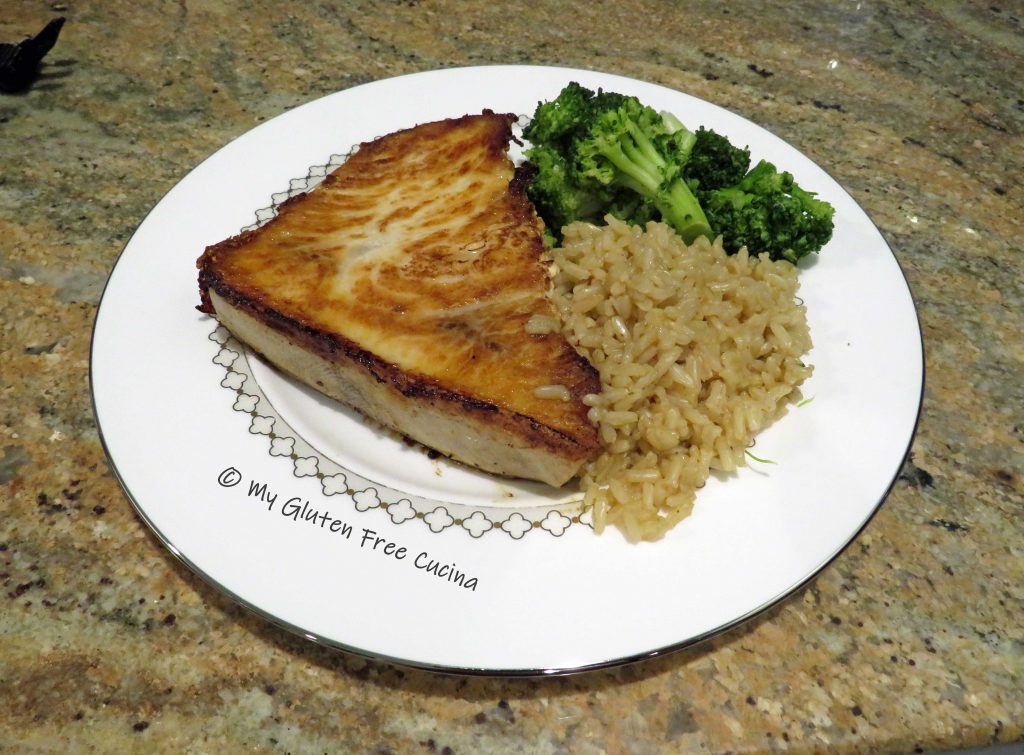
5 Swordfish, Brown Rice and Broccoli
Swordfish can also be found individually portioned in the freezer section. Cooked simply in a skillet with a pat of butter and sprinkle of Old Bay. Served with a side of brown rice and steamed broccoli.
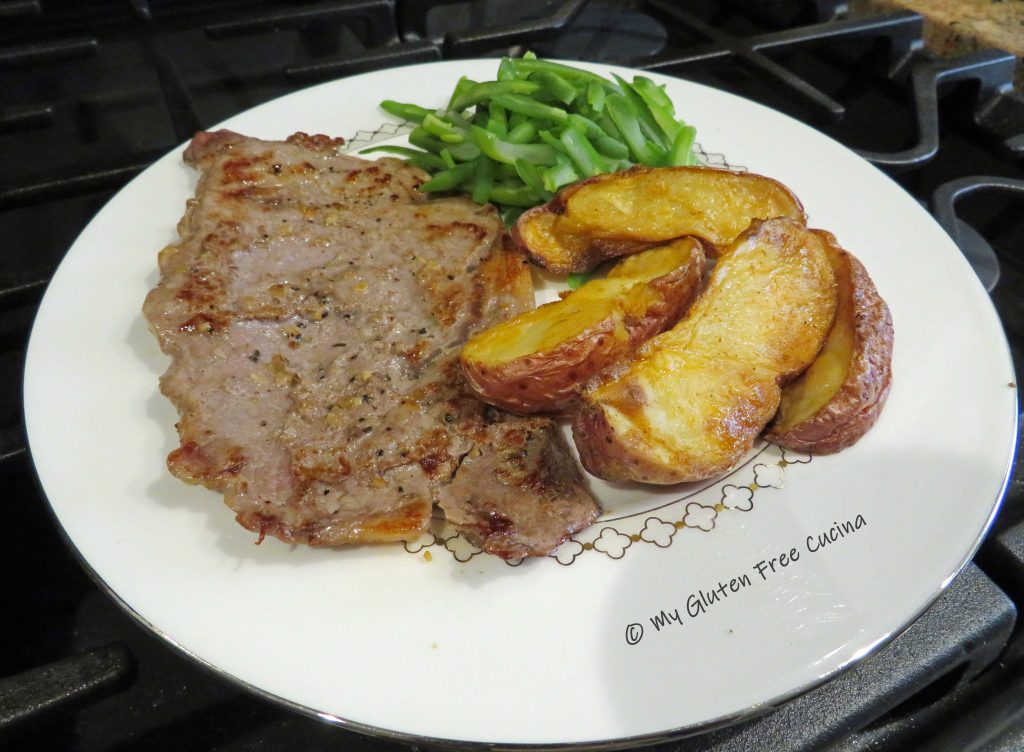
6 Thin Ribeye, Potato Wedges and Green Beans
Thin ribeye cooks in minutes! Just add to a hot skillet with olive oil and Montreal Steak Seasoning, cook 2-3 minutes per side. Served with roasted potato wedges and French green beans.
7 Bacon Wrapped Pork Tenderloin
Pork tenderloin is delicious on its own but wrap it up in bacon and wow! Roast at 325º until the internal temperature reaches 145 degrees for medium. A one-pound tenderloin will finish cooking in under 30 minutes. Serve with leftover sides from all the other nights!

Notes ♪♫ I hope you enjoyed these easy, gluten free meal ideas. Drop me a line if you have questions and be sure to let me know if you have tried any of these recipes at home!

 Print This Post


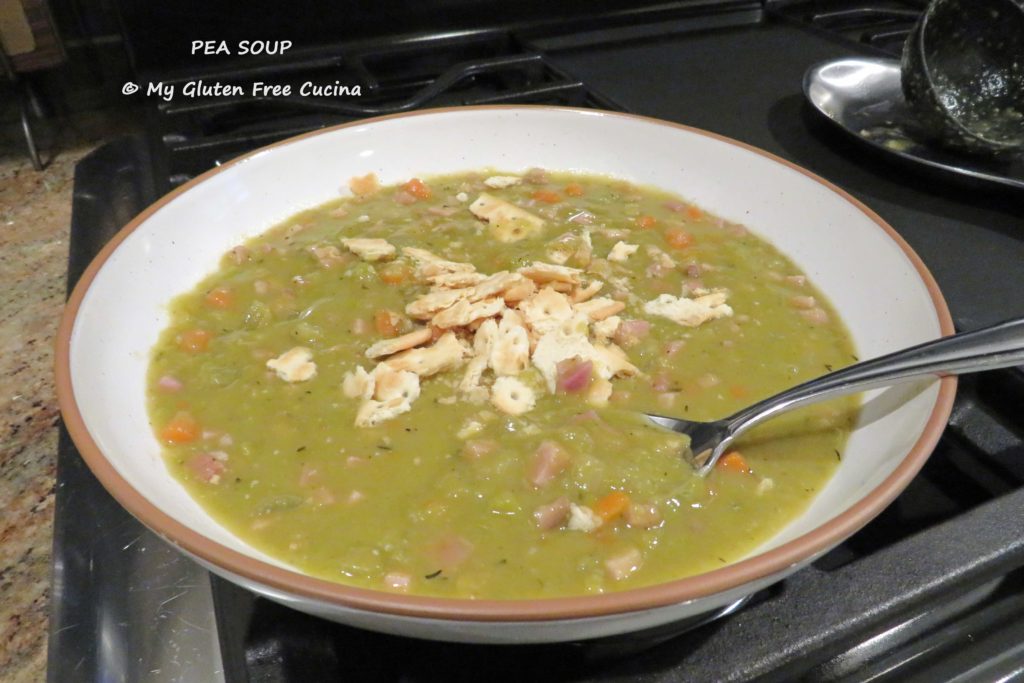
 Season with sage, thyme, salt and pepper. Add 32 oz. of the chicken stock, bay leaves, and bouillon. Simmer 30 minutes.
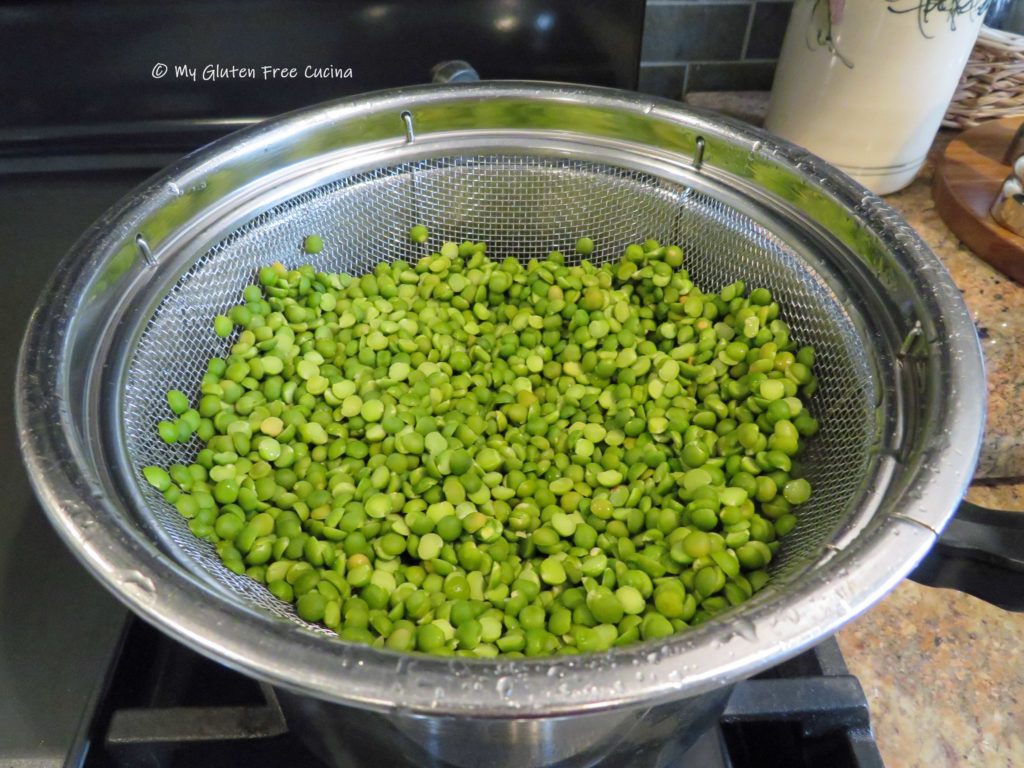
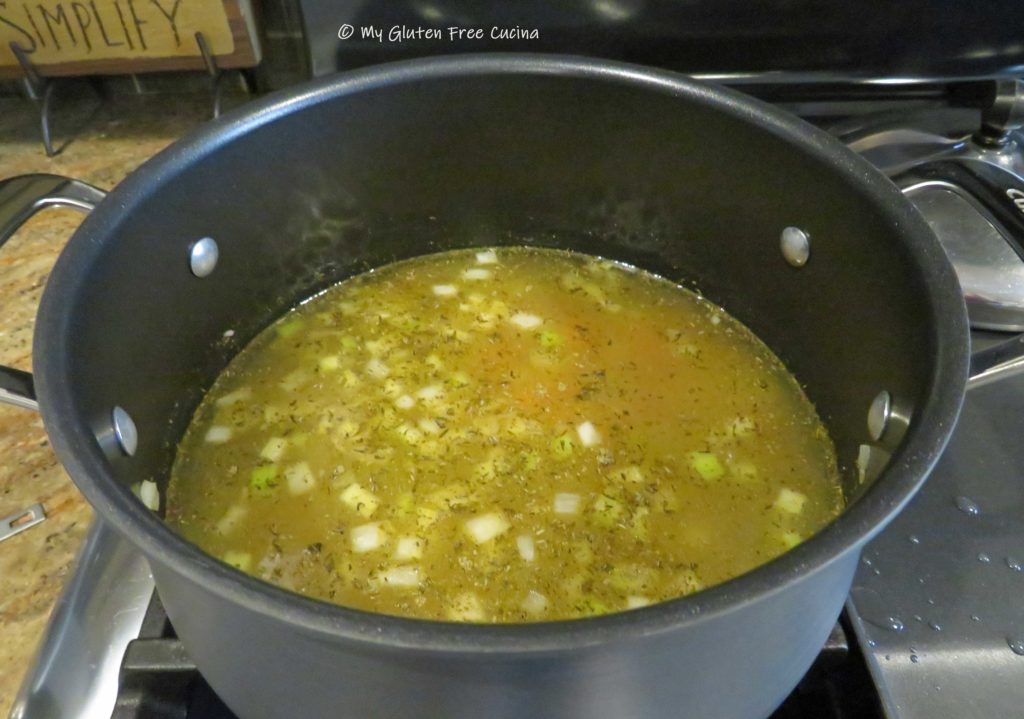 Drain and rinse the peas again. Add them to the pot, stir well and continue cooking for another 45 minutes to an hour, or until the peas are tender.
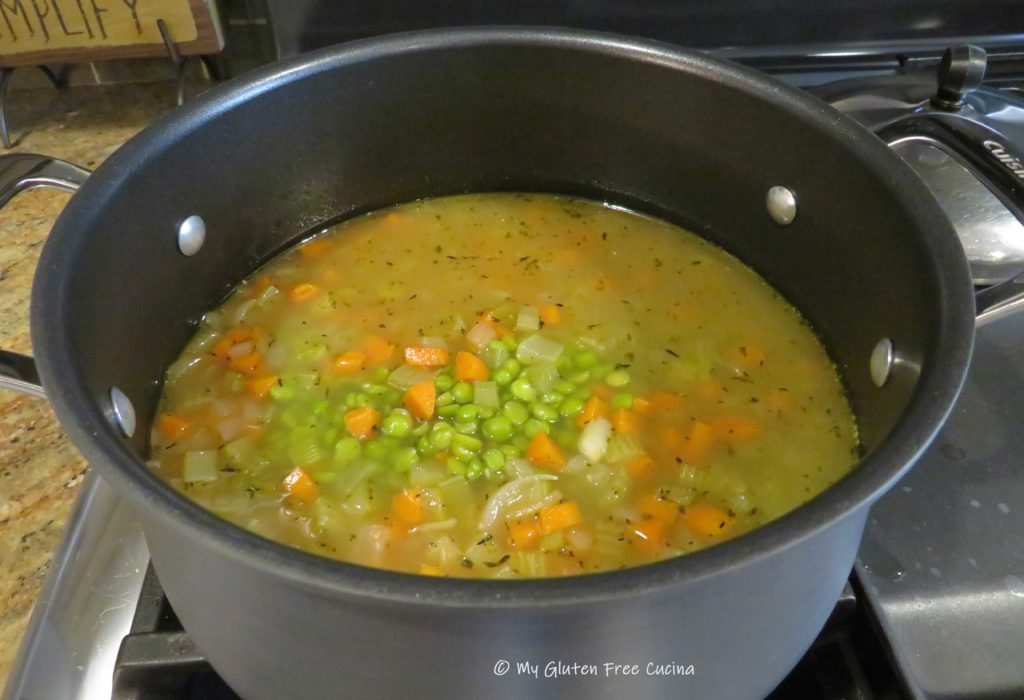 As they simmer, the peas will absorb quite a bit of liquid, so add more chicken broth as needed.
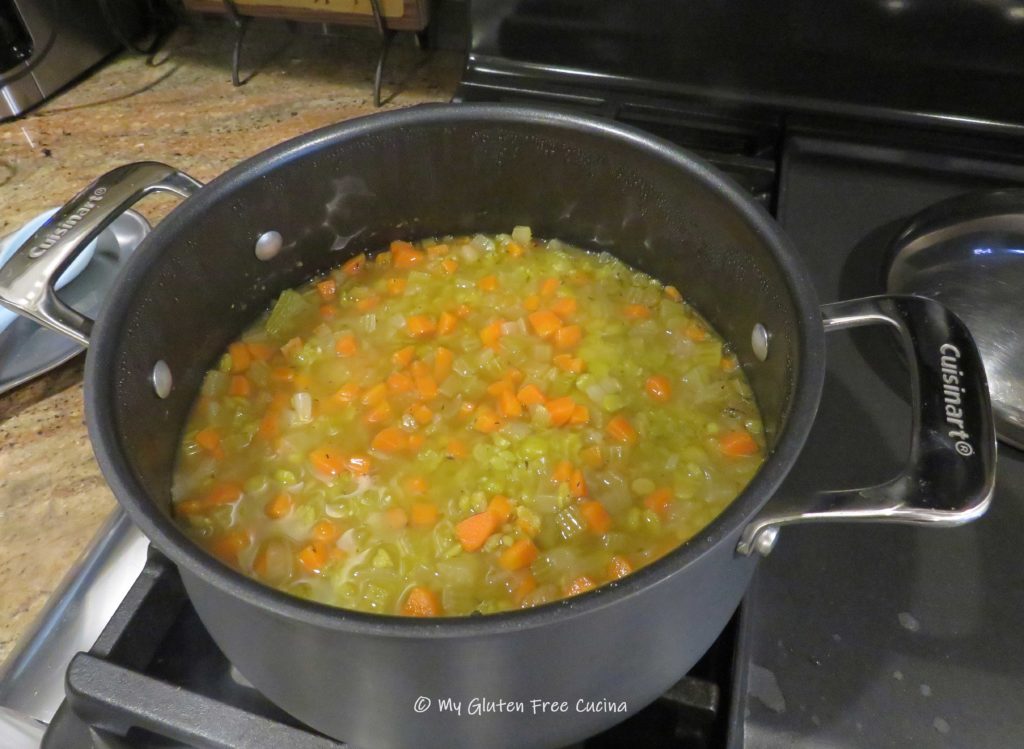

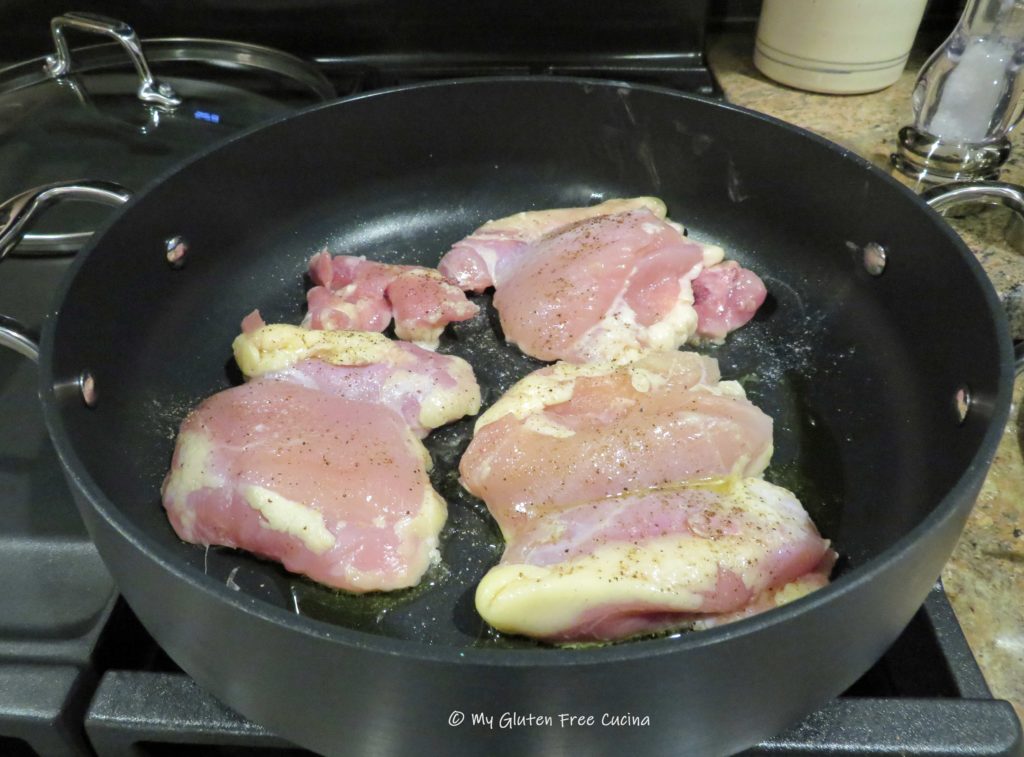

 Add the chicken back to the pan with about 1 cup of chicken broth. Cover and cook for 25 minutes.
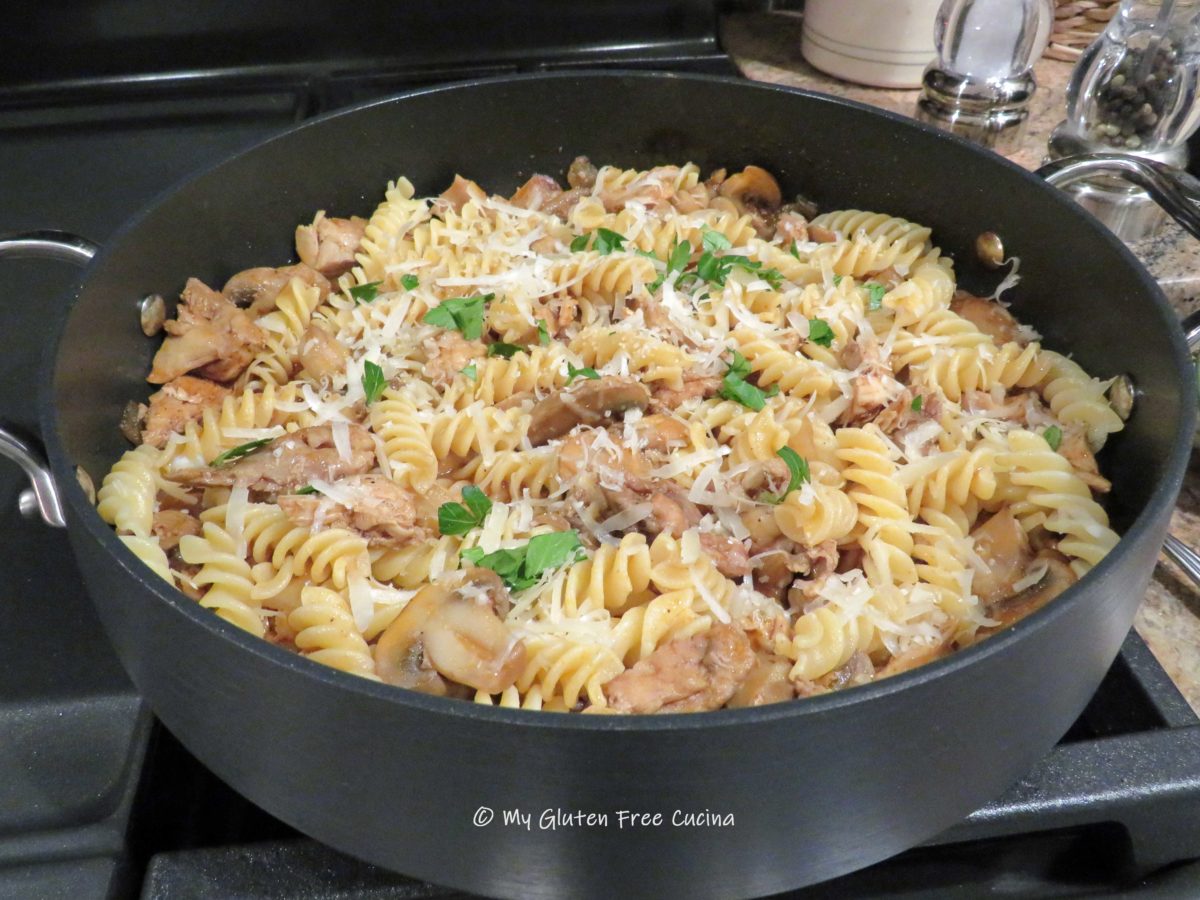
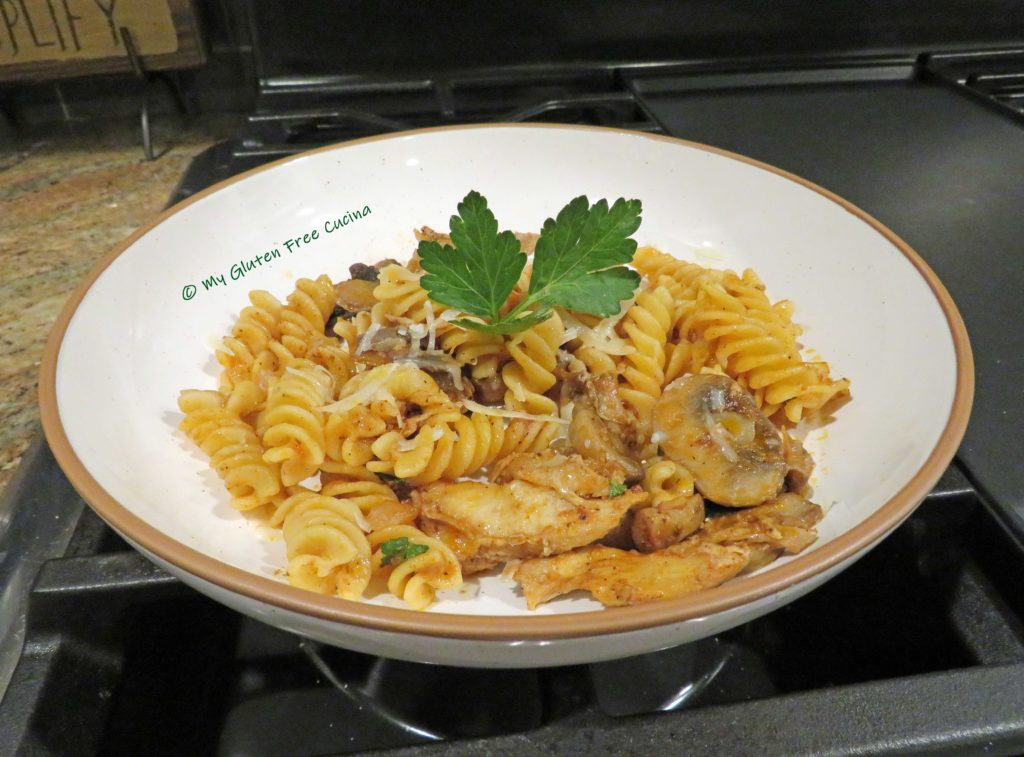
 Bring to a simmer and add back the chicken. Cook for an additional 15 minutes. While the ragu finishes, boil water for pasta.


 Cover and simmer on low for 20 minutes, adding a bit more water if it seems dry.

 Drizzle the liquid into the pan as you continue whisking.
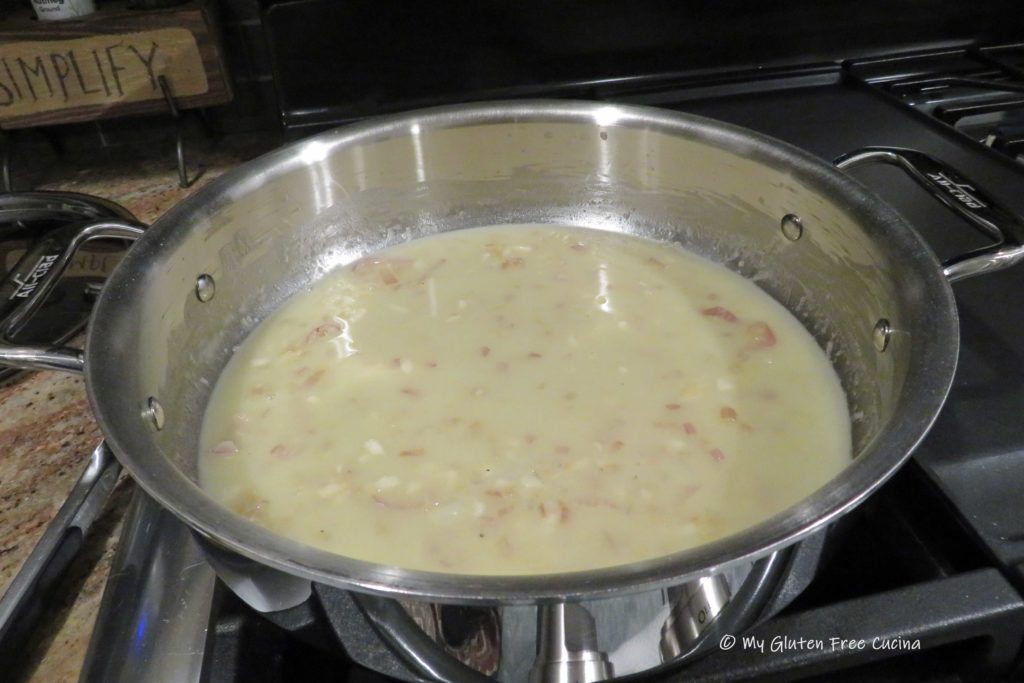


 Preparation:
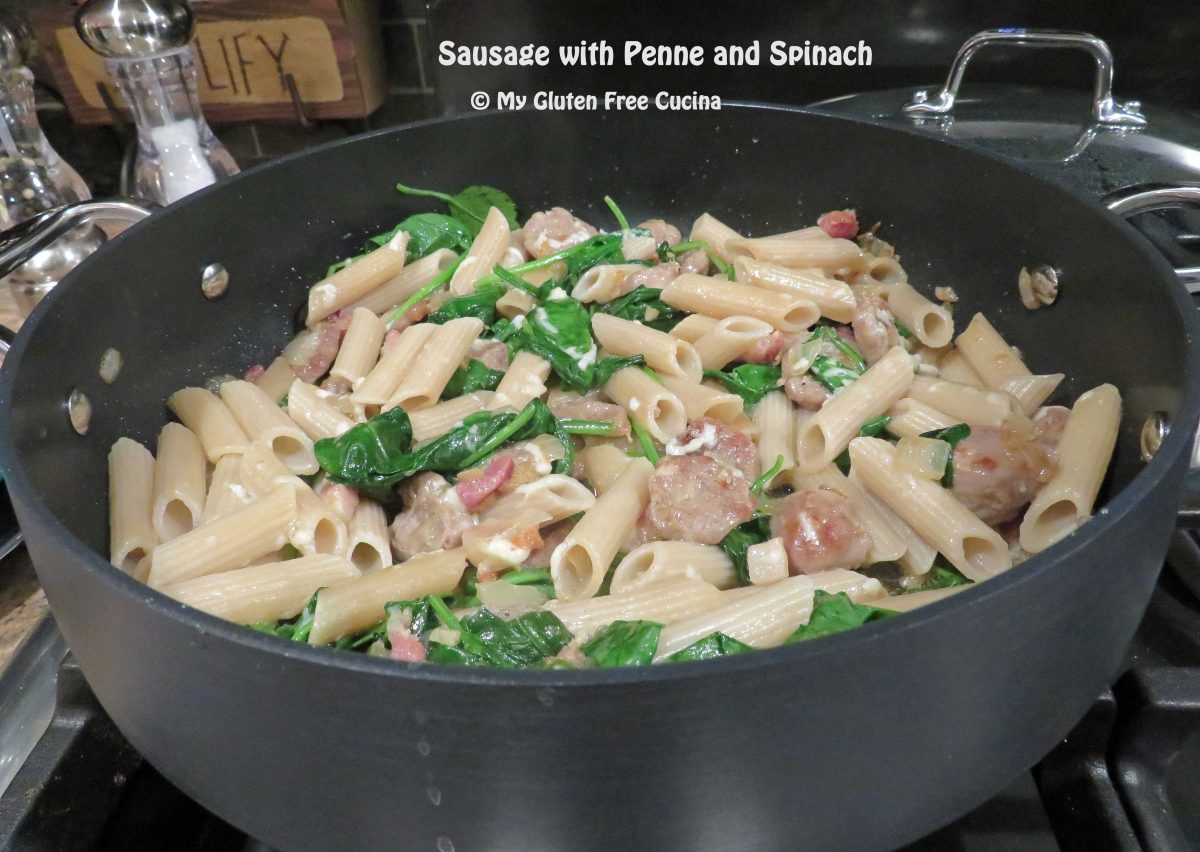
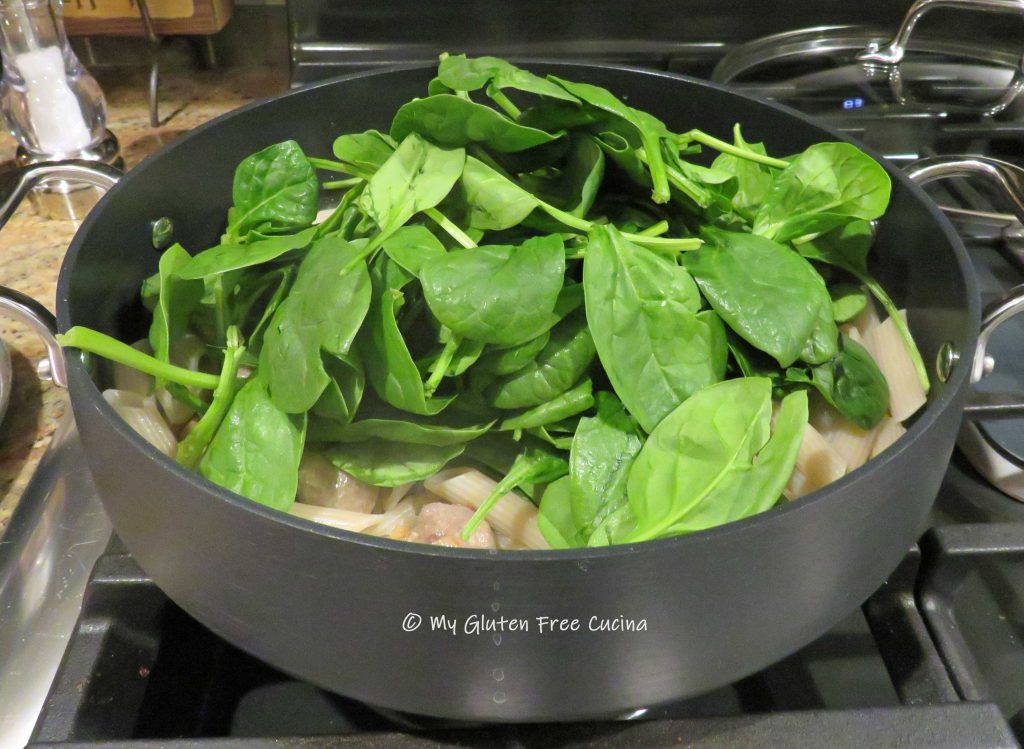
 Next add the drained penne, all of the spinach, white wine and a ladle of the pasta water.
 Preparation:
 By now the pasta water should be ready, cook the pasta to a few minutes less than the package directions, it will finish cooking in the sauce.
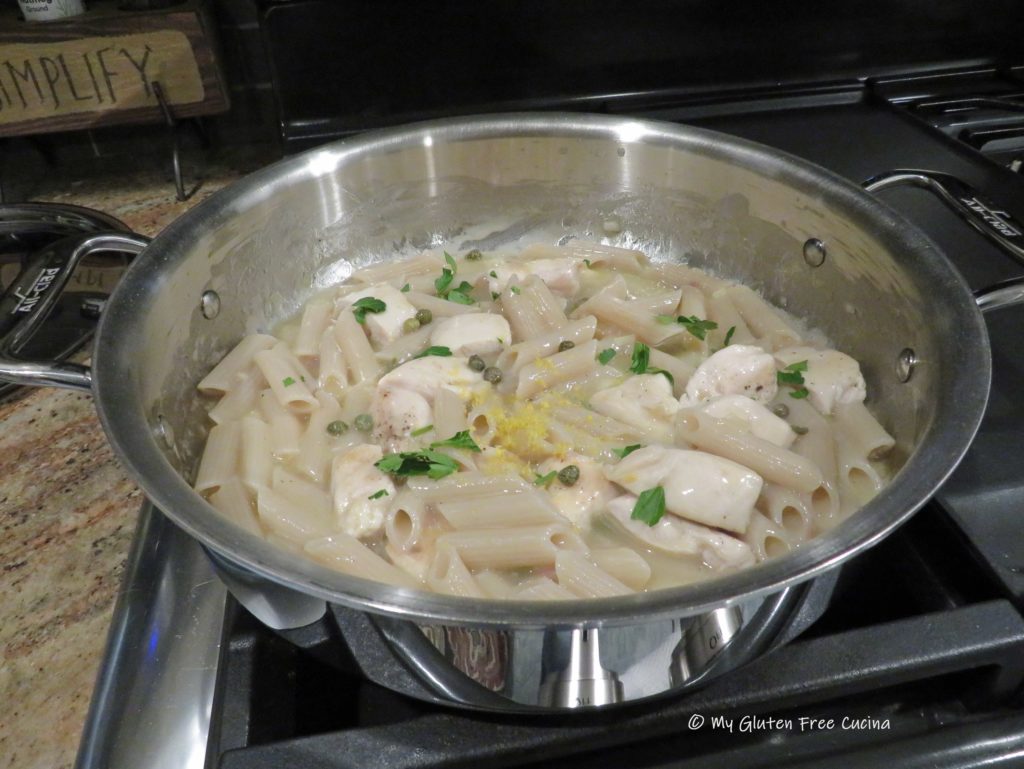
 Cook for 1 minute, stir it all together and return the chicken to the pan.
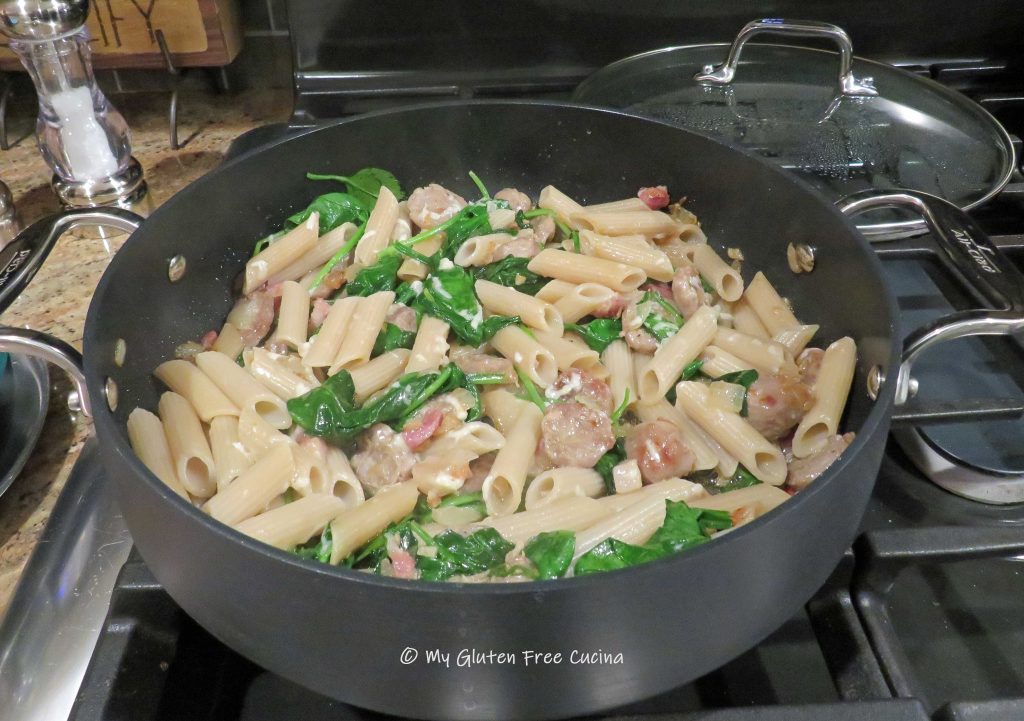
 Drain the pasta and add to the pan, toss well and cook for one more minute.


 Preparation: