Once upon a time, three generations of my Italian family would gather around the table every Sunday afternoon for the traditional Italian Sunday Dinner. Antipasto, Italian bread, macaroni, meatballs and sausage were Sunday staples at our house, but every so often my mother would make a special treat. Thin slices of beef were rolled and stuffed with prosciutto, cheese, garlic and breadcrumbs, then tied in a bundle and simmered all morning in a rich tomato sauce. It’s called Bracciole. If you grew up in an Italian family like I did, you no doubt had a mother or grandmother who made this popular braised dish.
For me, the recipe brings back long ago memories of that huge pot simmering on the stove and our family, parents and grandparents all having Sunday dinner together.
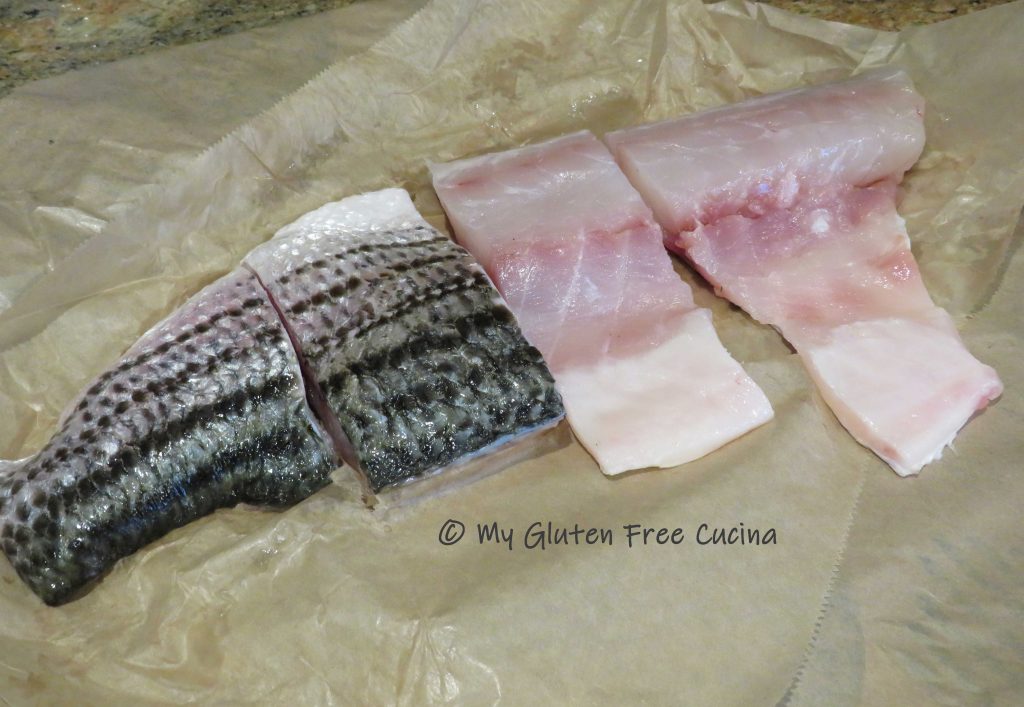
Cuts of meat suitable for Bracciole include flank steak, top round, bottom round, or veal. If you are lucky enough to live near an Italian market, you can purchase thin slices of beef cut specifically for making Bracciole. If not look for a top round or flank steak that you can pound thin.
4-6 Servings, can be doubled or tripled for a large family
This post contains affiliate links.
Ingredients:
- 5-6 thin slices of top round, or about 1 lb. top round, bottom round or flank steak
- salt and pepper to taste
- thin slices of prosciutto, you will need one slice per bundle
- grated cheese (use Romano or Parmesan)
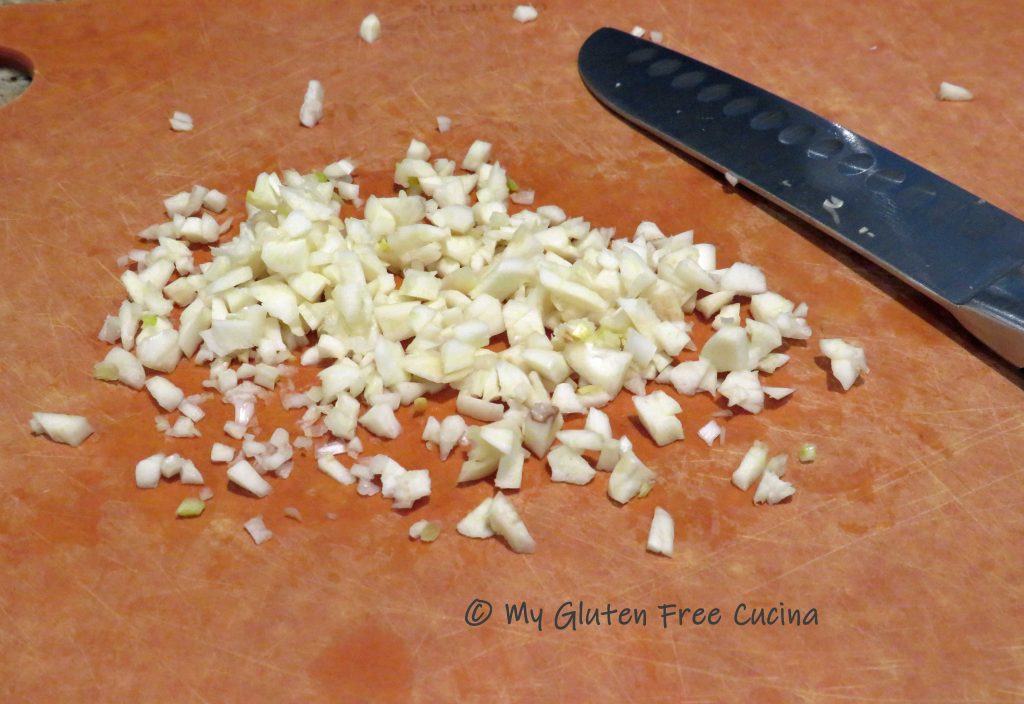
- 5 minced garlic cloves, divided use
- gluten free Italian seasoned breadcrumbs
- 1 tbsp. olive oil
- 1/4 cup red wine
- 1/4 cup beef broth
- 2 tbsp. gluten free tomato paste
- one large (28 oz.) can or 2 medium (14.5 oz.) of gluten free tomato sauce
- 1/2 tsp Italian seasoning
- 1 tsp basil
- 1 tsp oregano
- fresh parsley or chives, for garnish (optional)
Preparation:
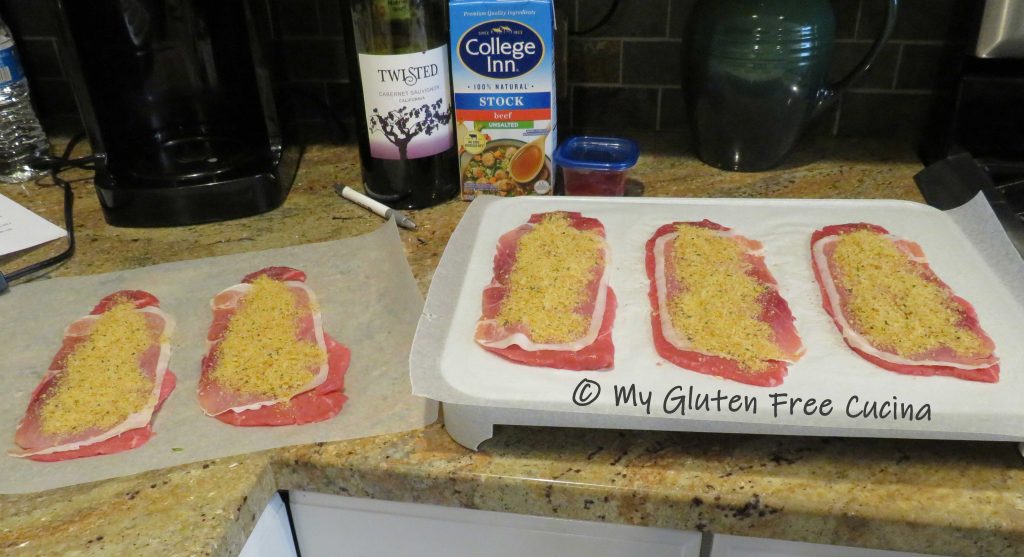
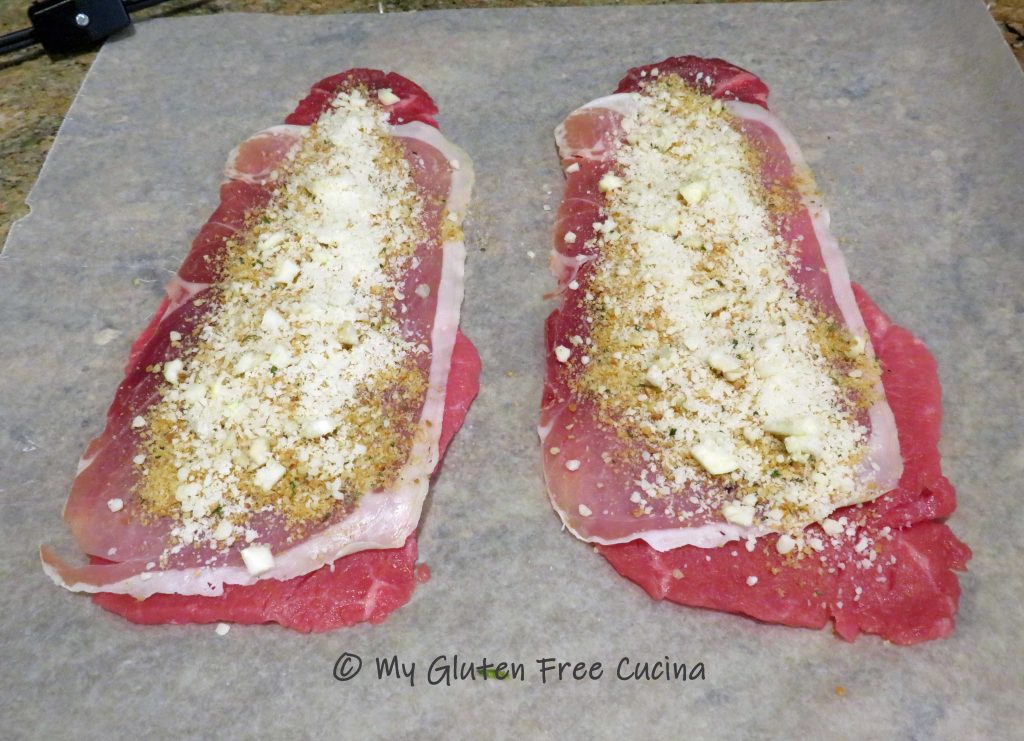
If you purchased one large cut of meat, you will need to pound it to an even thickness of 1/4″ using the flat side of a meat mallet. Trim any visible fat and place the meat between 2 sheets of plastic wrap. Starting in the center, begin pounding it as thin as possible without tearing. I was able to get mine pre-cut from the market, a real time saver! Prepare your work area by lining your cutting board or countertop with parchment or plastic wrap. Lay out the meat slices.
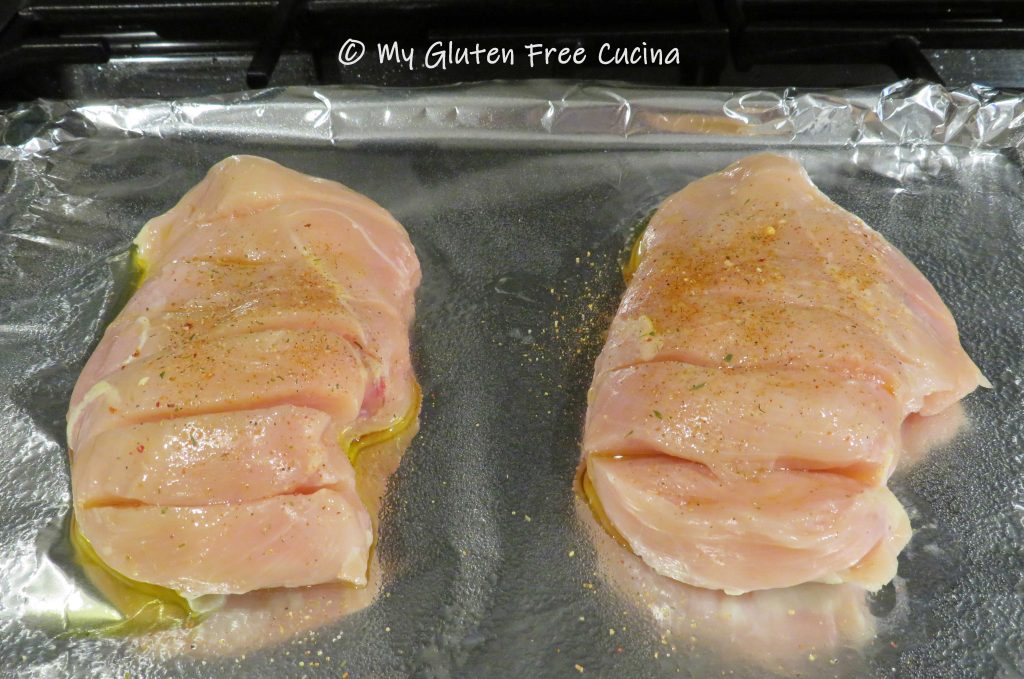
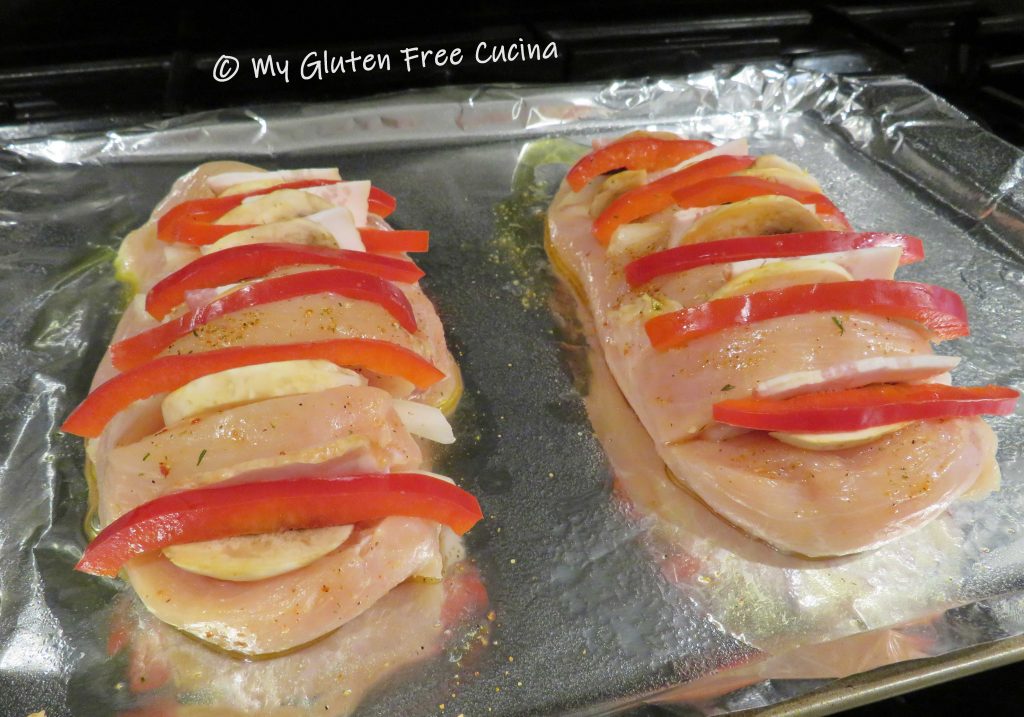
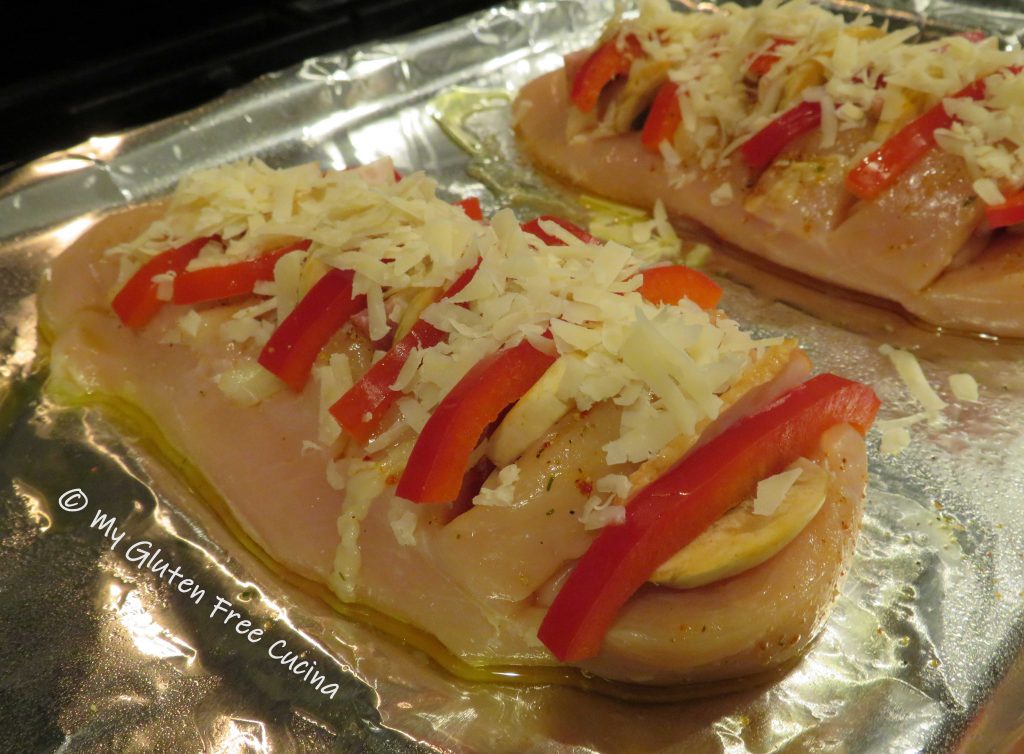
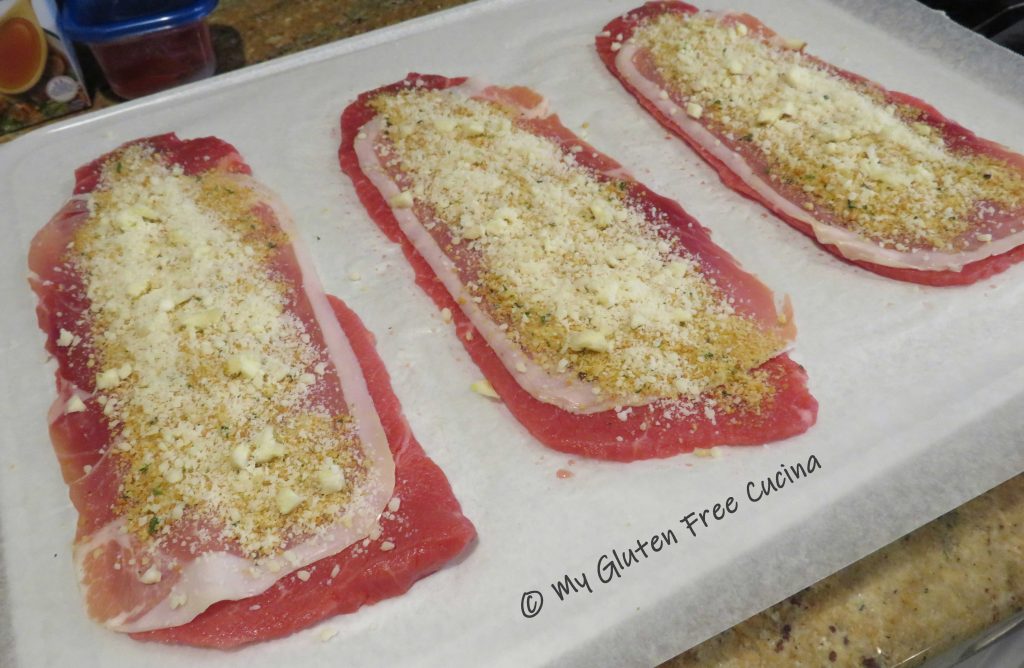
 Season the beef with salt and pepper, then layer with a slice of prosciutto. Sprinkle each with about 1 tbsp. gluten free Italian breadcrumbs, 1 tbsp. grated cheese and 1/2 tsp. of the minced garlic.
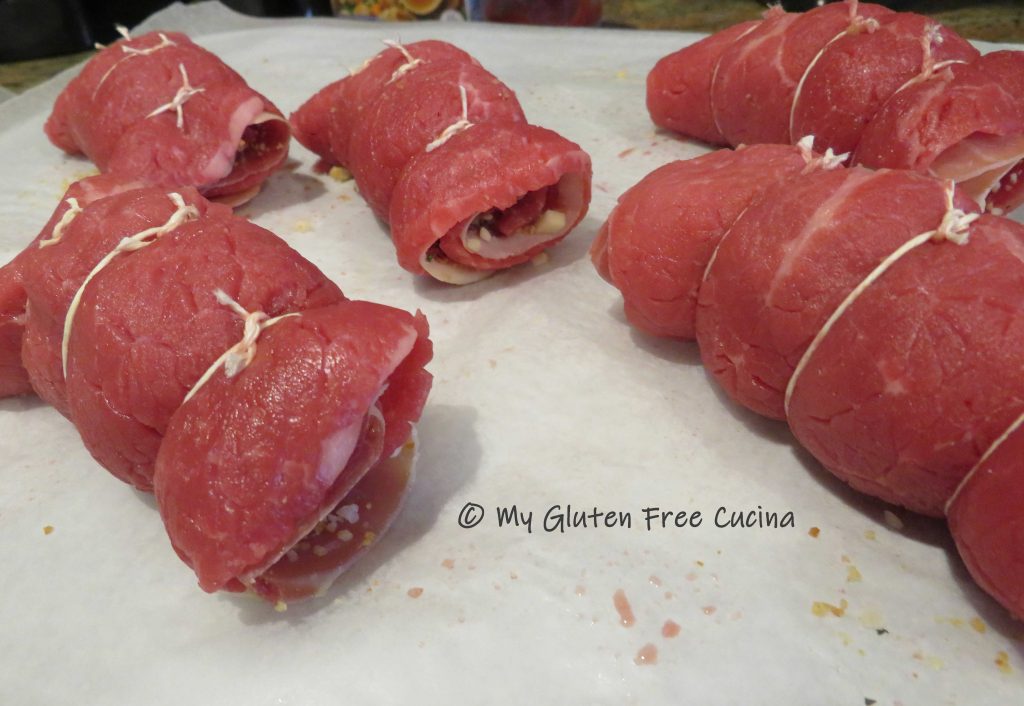
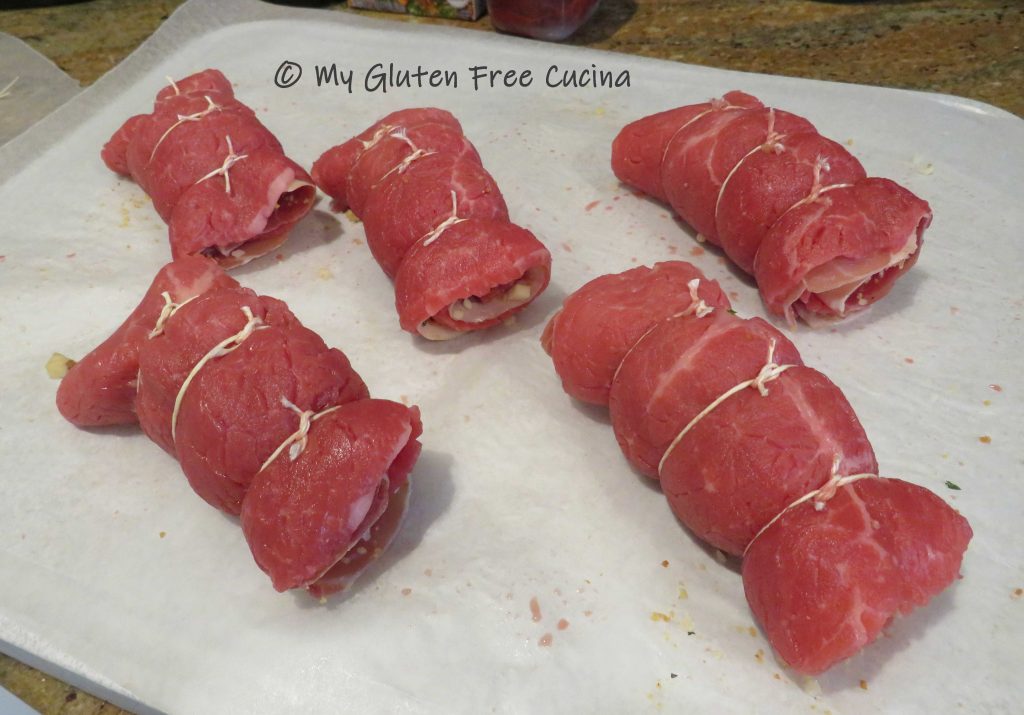
 Starting at the narrow end, roll up the meat into bundles.
 Secure each bundle with cooking twine or toothpicks (twine is more secure but toothpicks are easier to remove).
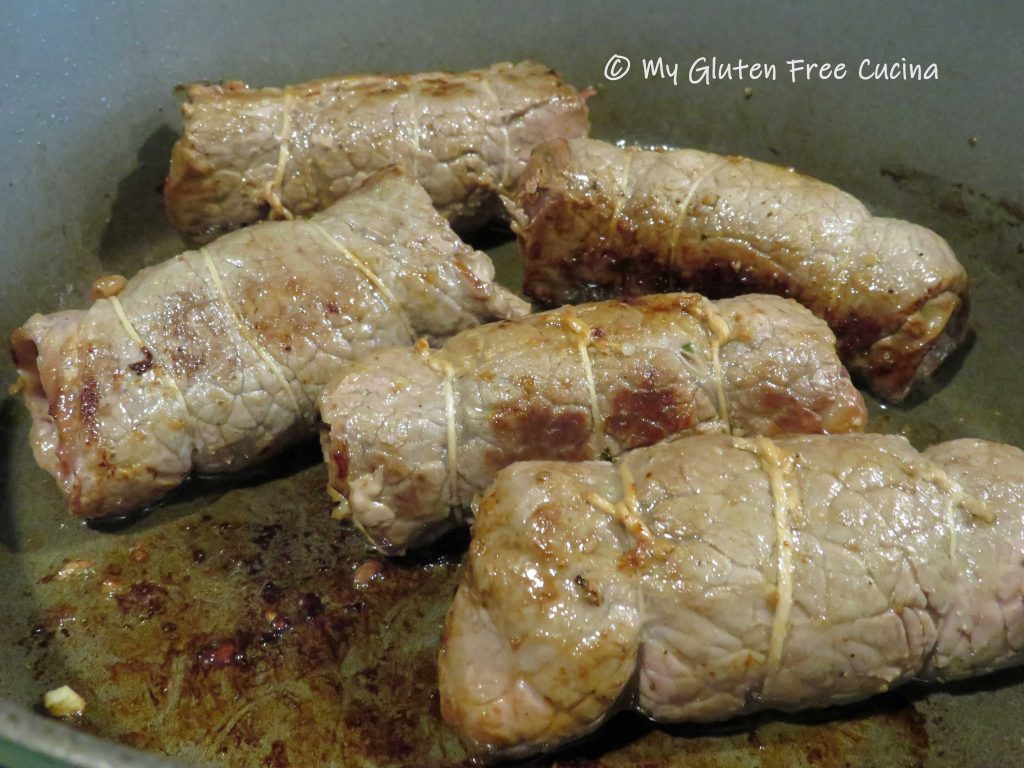
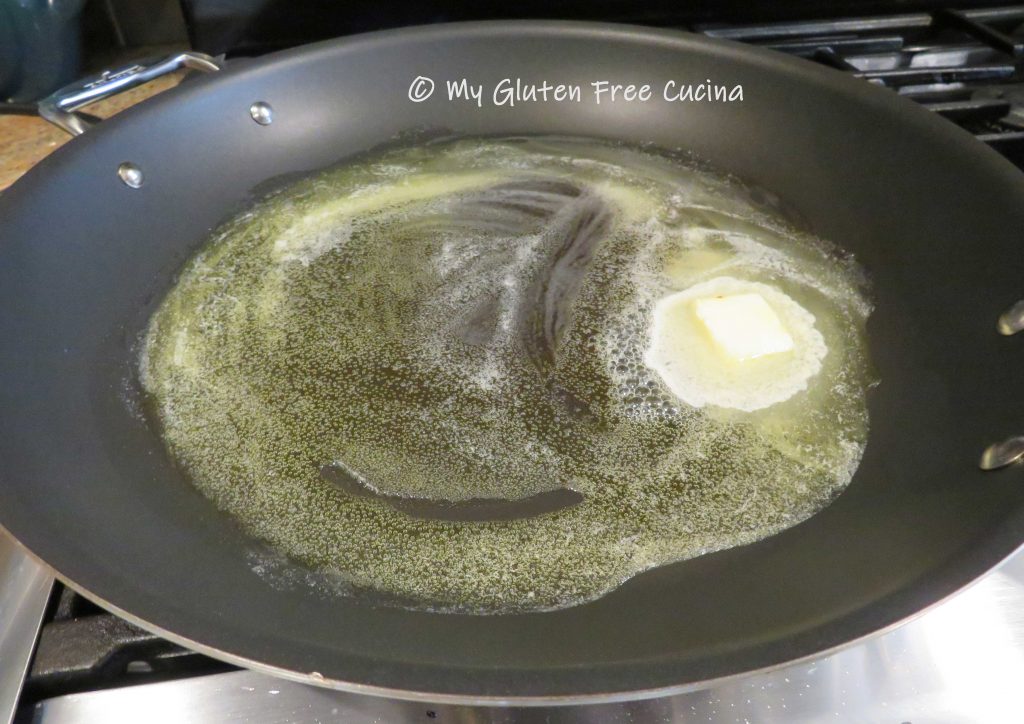
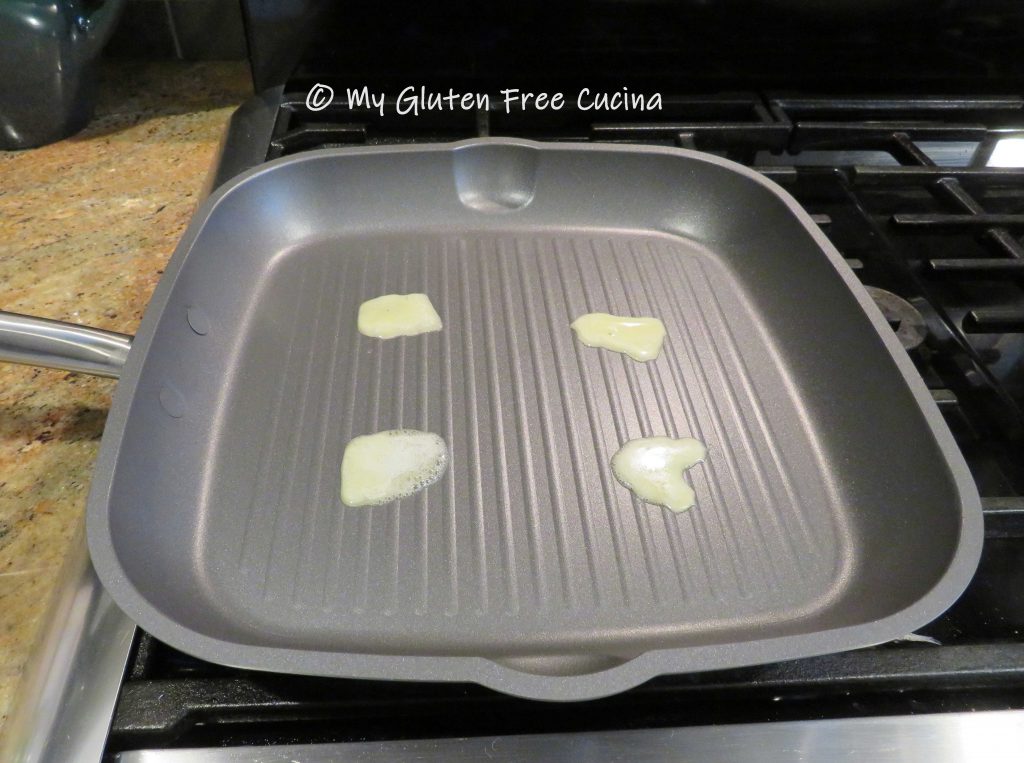
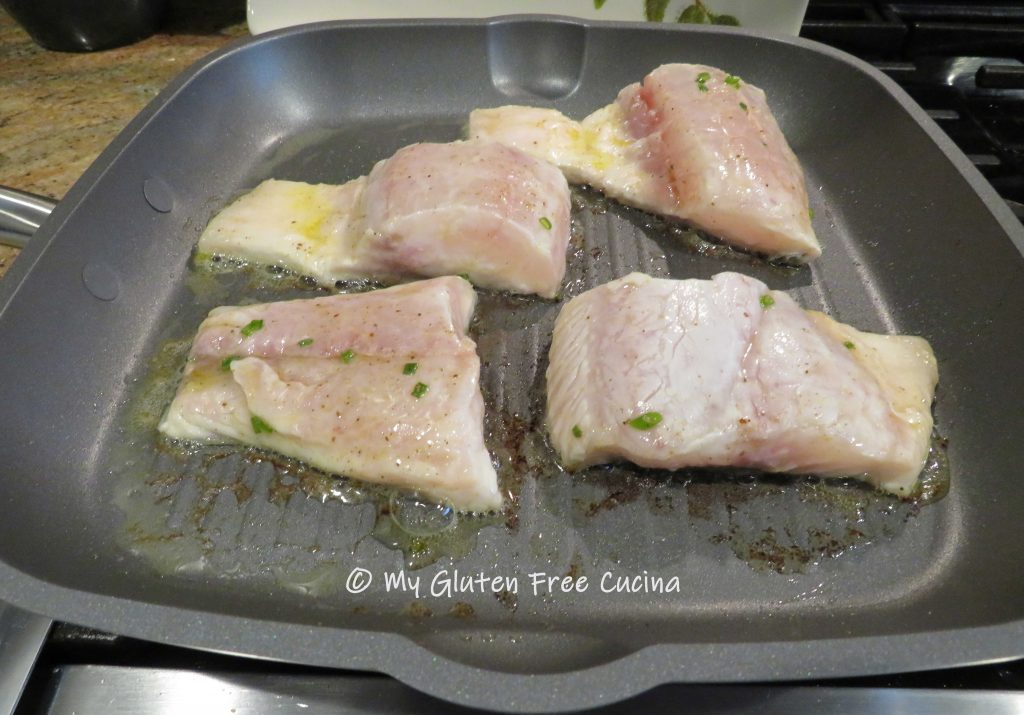
Heat a Dutch oven or use a deep, heavy skillet with a cover. Coat the bottom with olive oil and begin browning the meat on all sides.

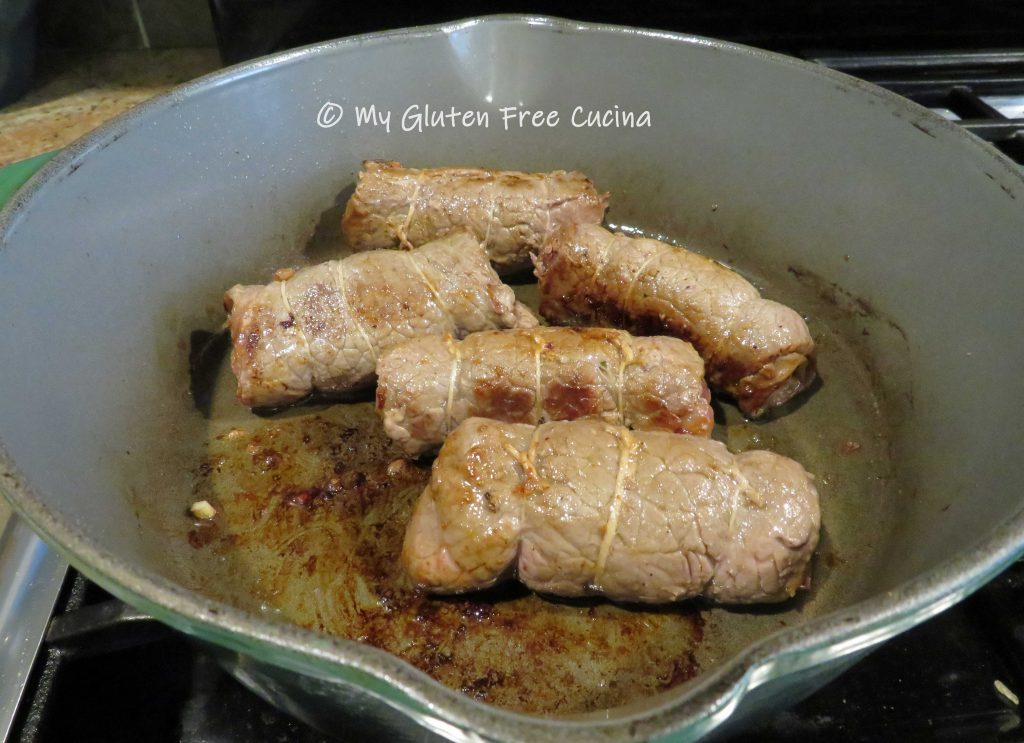
Don’t crowd the pan, brown the meat in batches if needed.
 Remove the meat, keeping the pan on low heat.
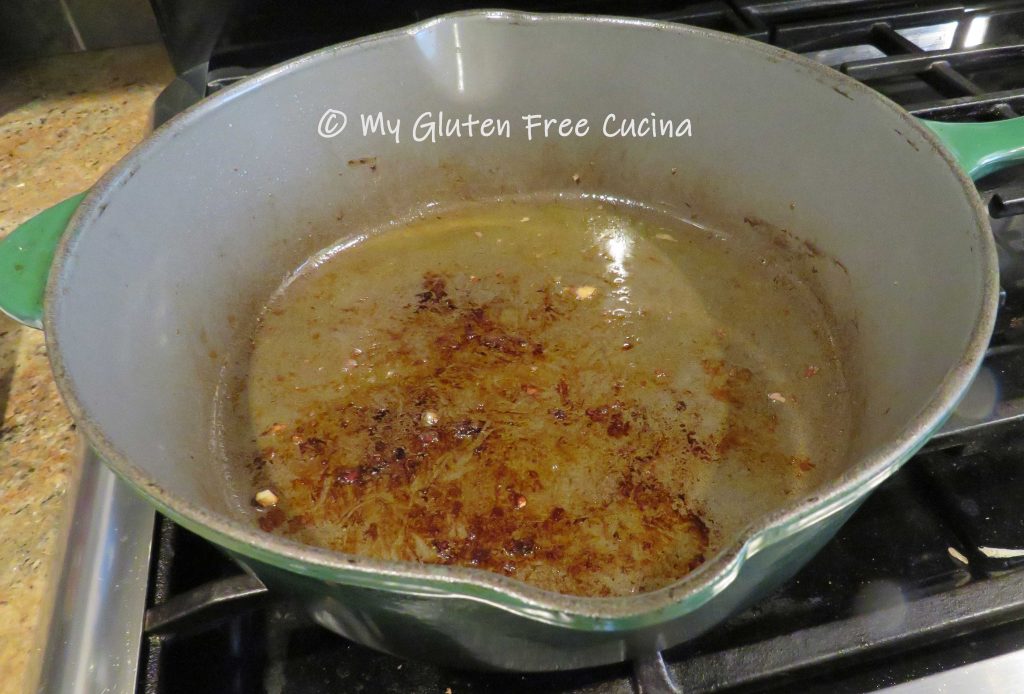
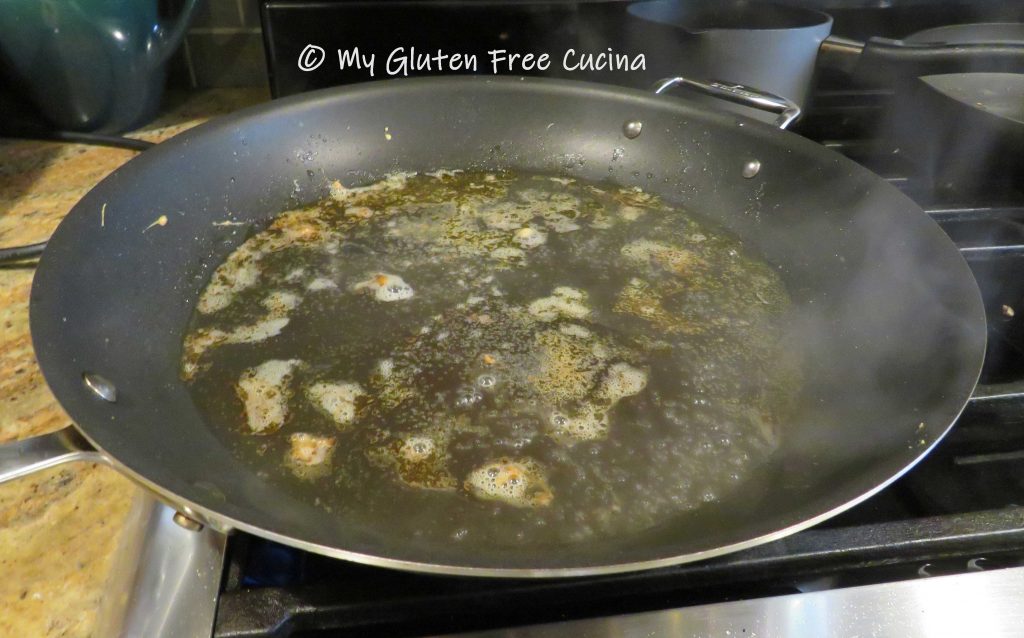
Add the wine and deglaze the pan, using a spatula to scrape up those delicious, browned bits.
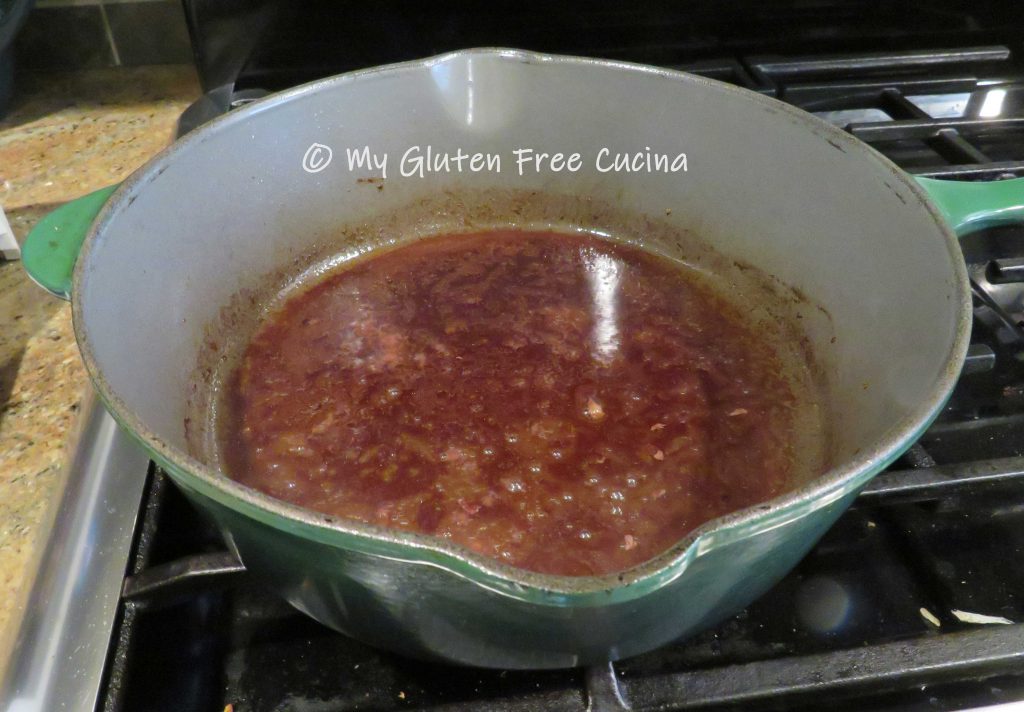 Add the tomato paste, beef broth, remaining garlic and herbs.
 Stir it all together and continue cooking over low heat to make a reduction. Doesn’t that look good?
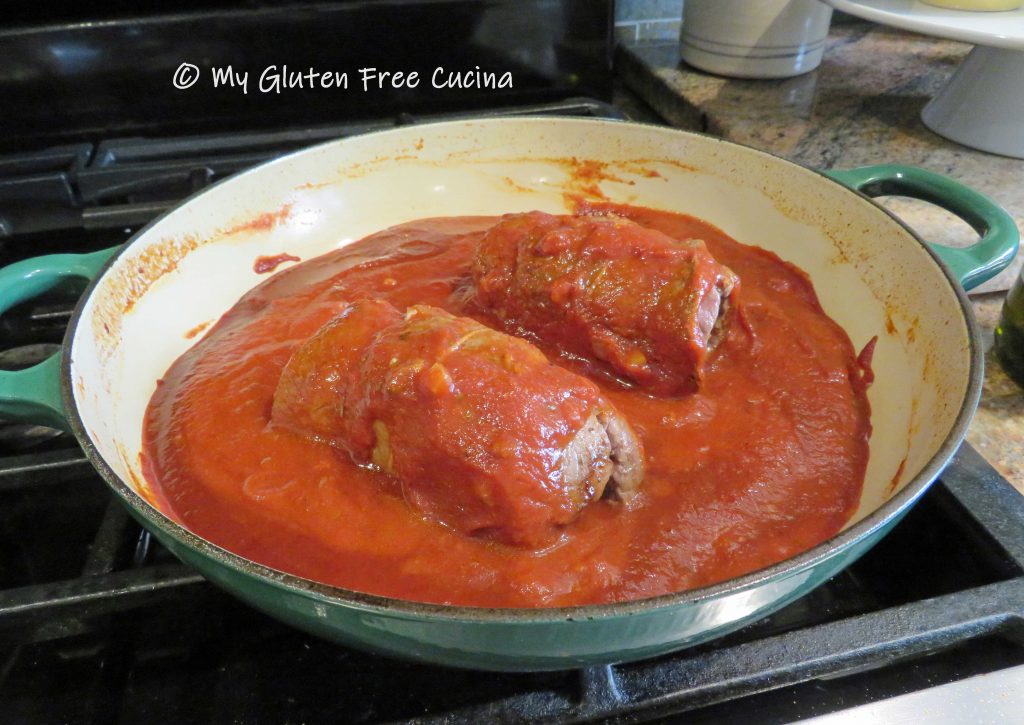
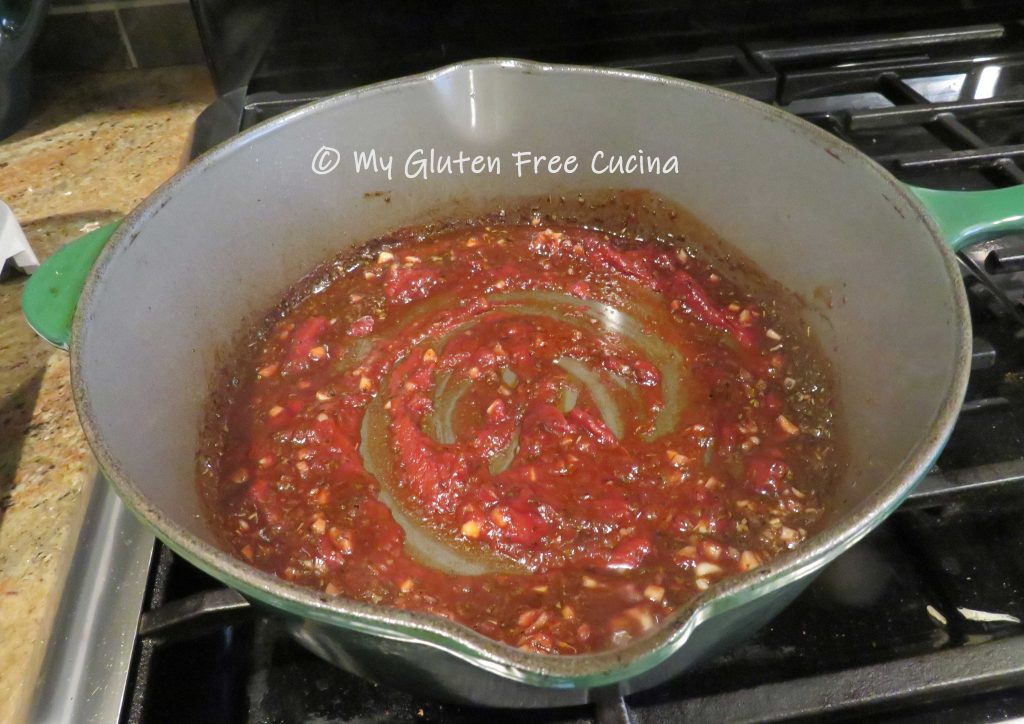 When most of the liquid has evaporated, add the tomato sauce, along with the meat bundles.
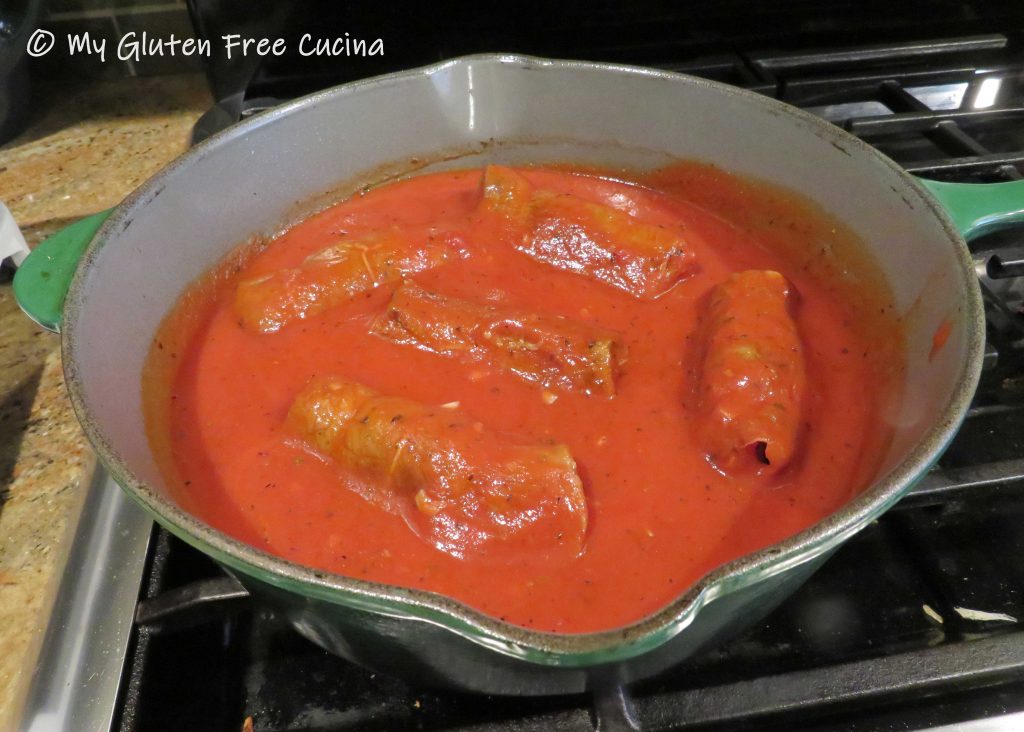 Cover and cook on lowest heat for 3 hours. Use a simmer mat if you have one (highly recommended!) to keep the sauce from burning at the bottom of the pan.
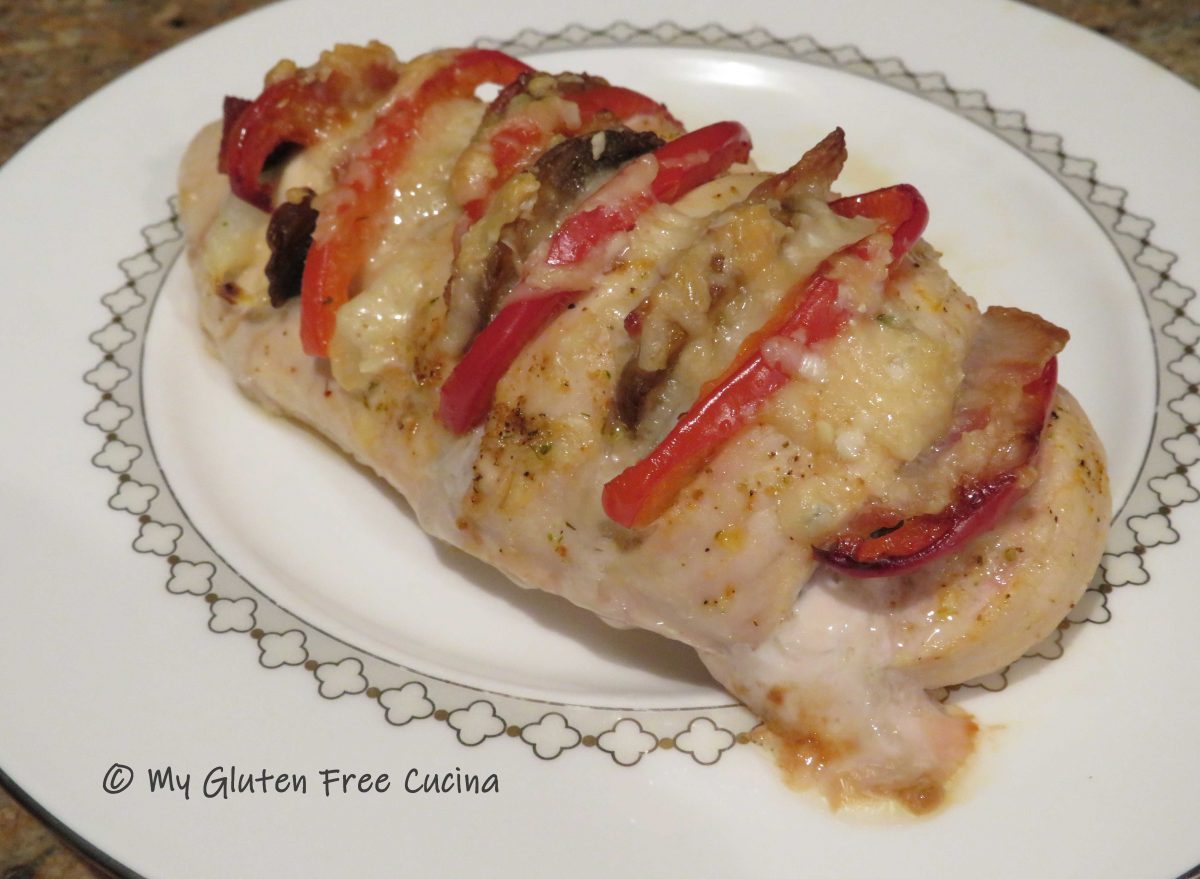
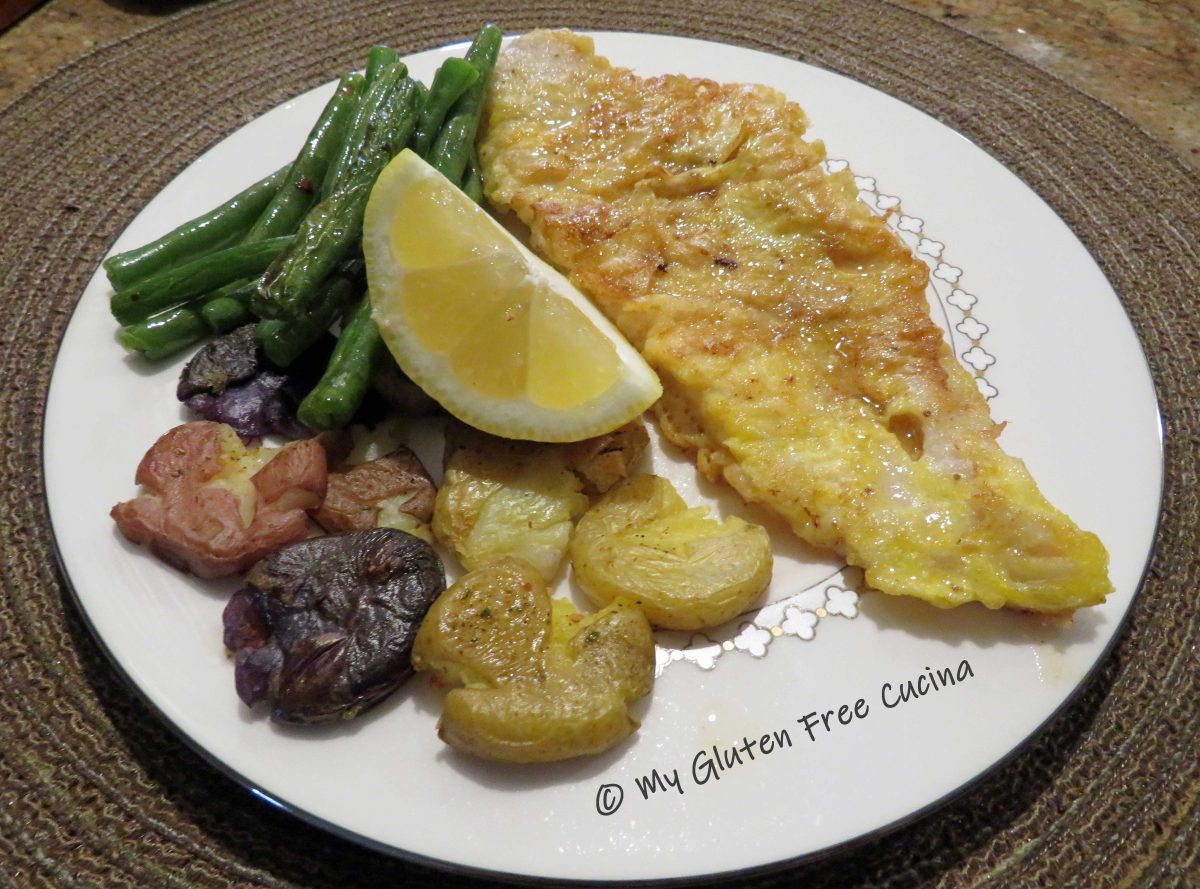
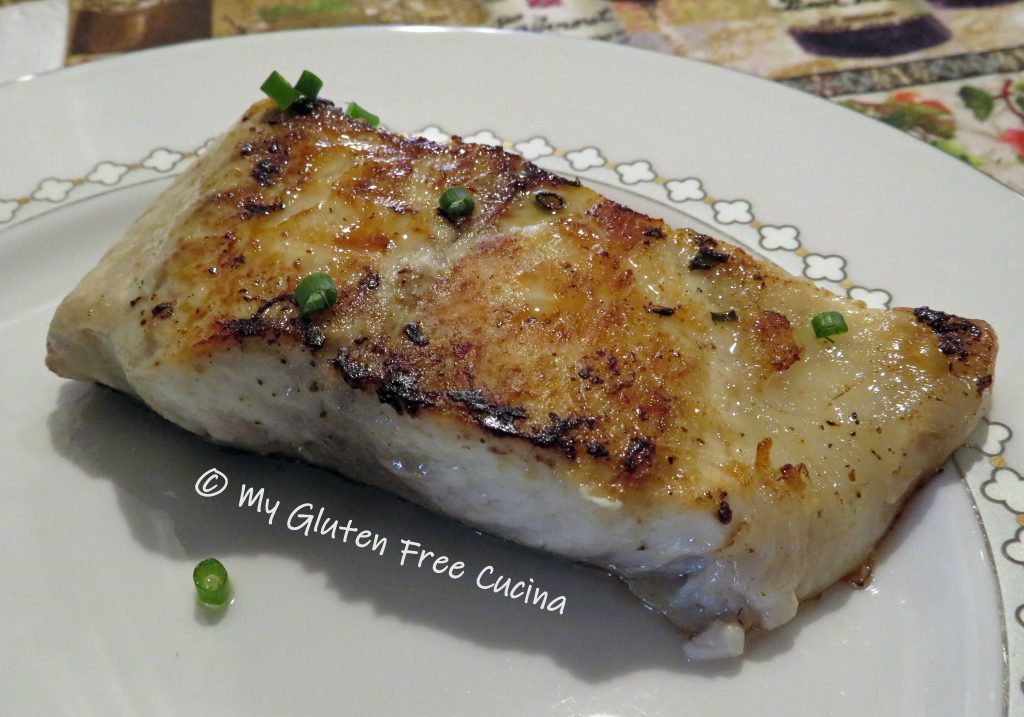
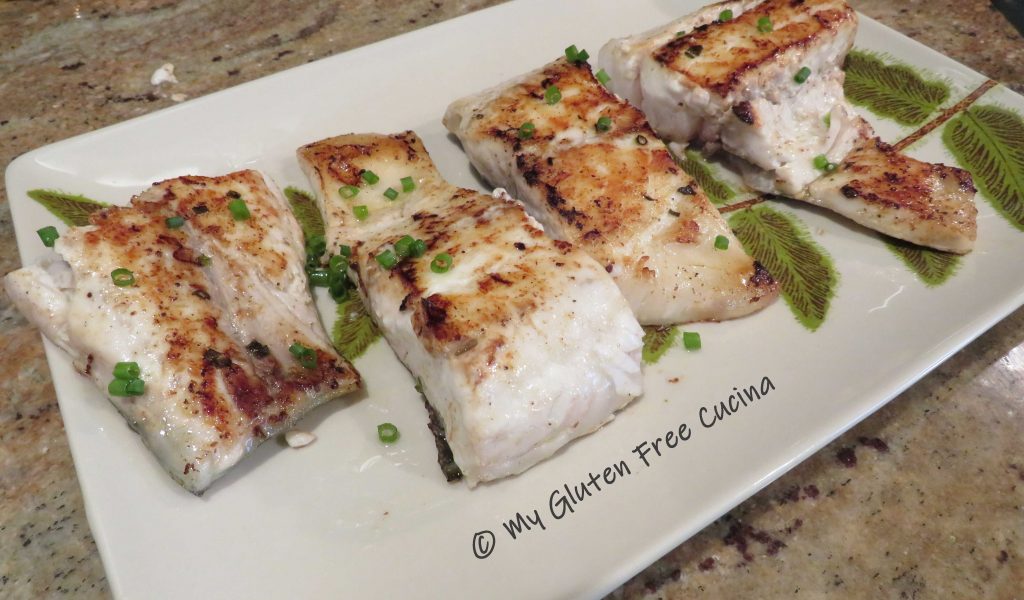
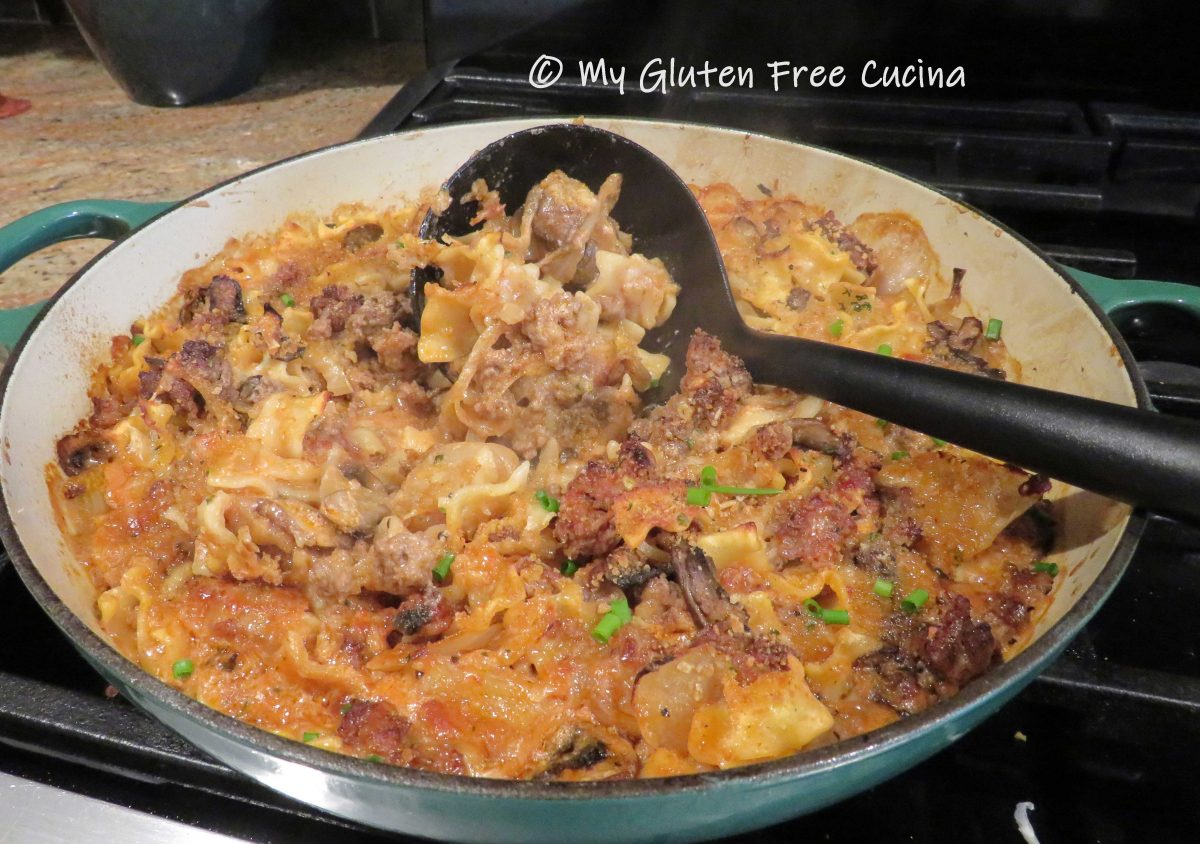
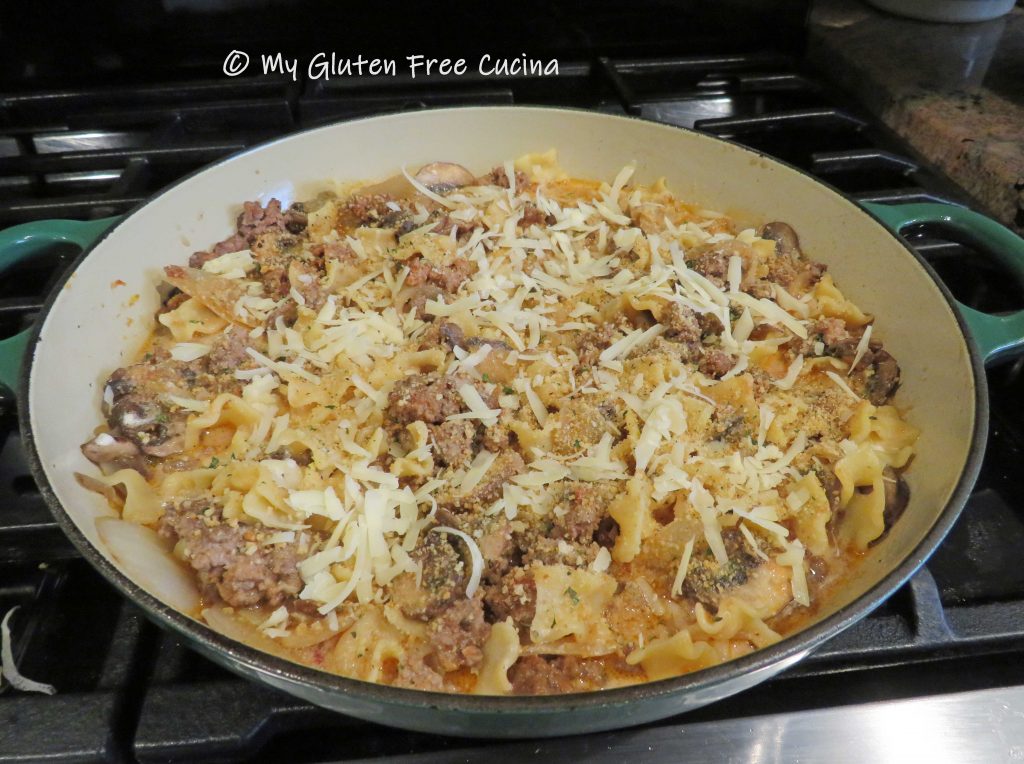
 Serve alongside your favorite gluten free pasta, with extra sauce and grated cheese. Garnish with fresh parsley or chives. Don’t forget to remove the twine and toothpicks!
 Notes ♪♫ Is Bracciole gluten free? Except for the breadcrumbs, yes. I used Aleia’s gluten free breadcrumbs and of course I checked the labels on my tomatoes, cold cuts, grated cheese, etc. Other than that, I followed my mother’s recipe exactly. Proof once again that many of your old family favorites can still be enjoyed by changing just an ingredient or two!

 Print This Post


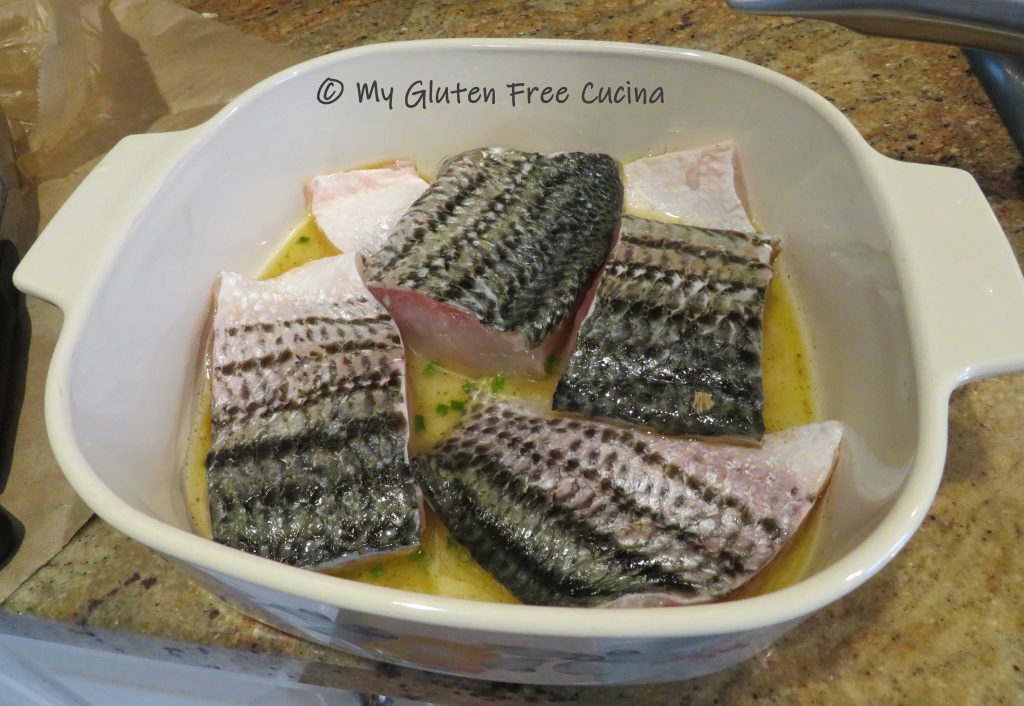
 Add steaks or beef tips, turning to coat. Cover and rest at room temperature for 1 hour, turning the meat halfway through. Then cook or grill as usual. For dinner ideas, check out my ribeye steak or beef kabobs!
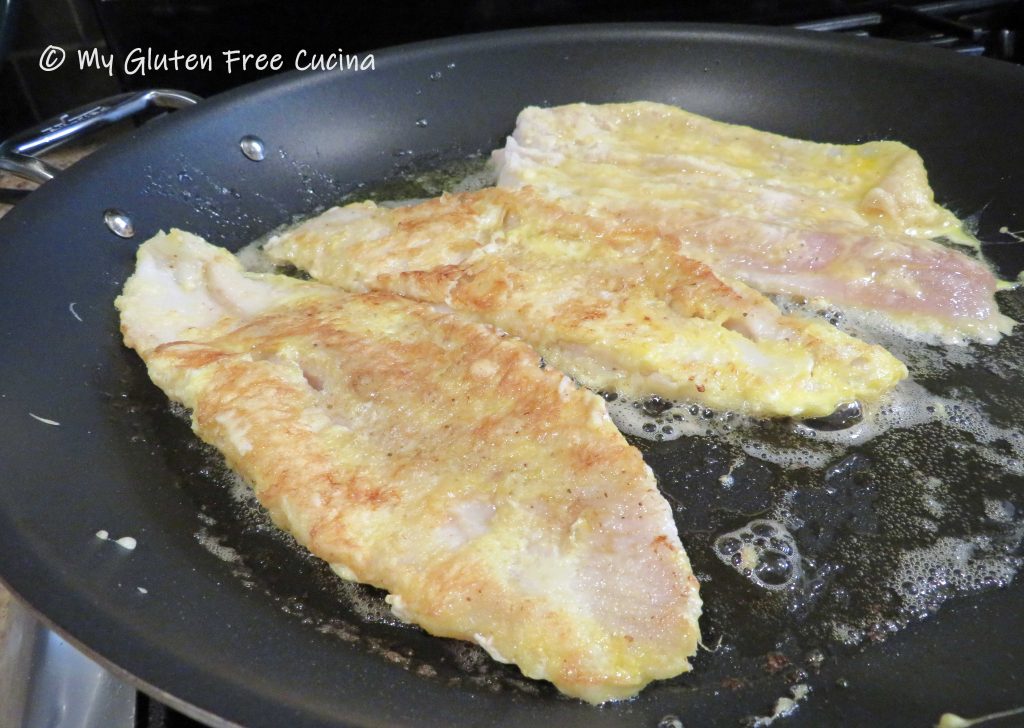
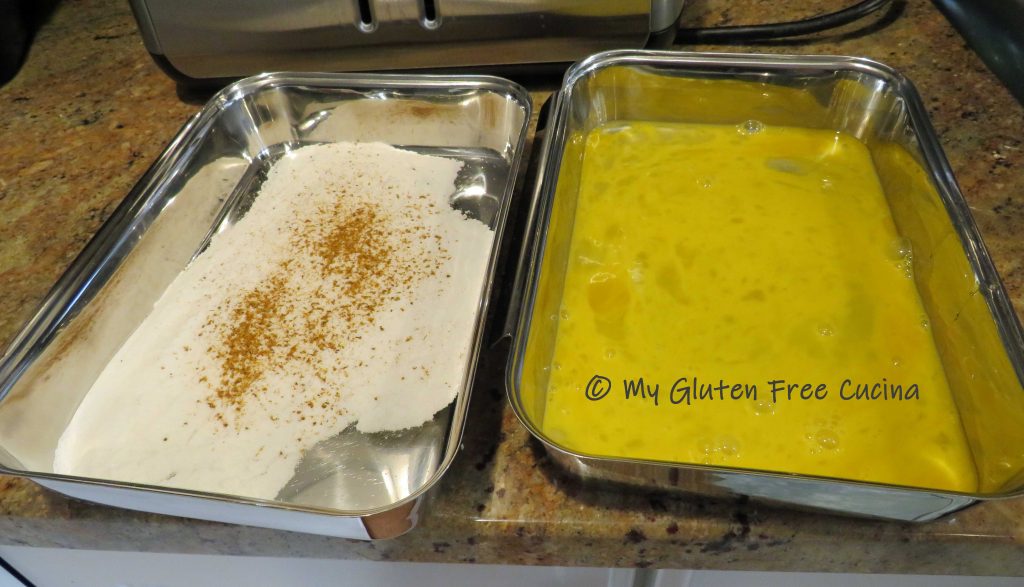
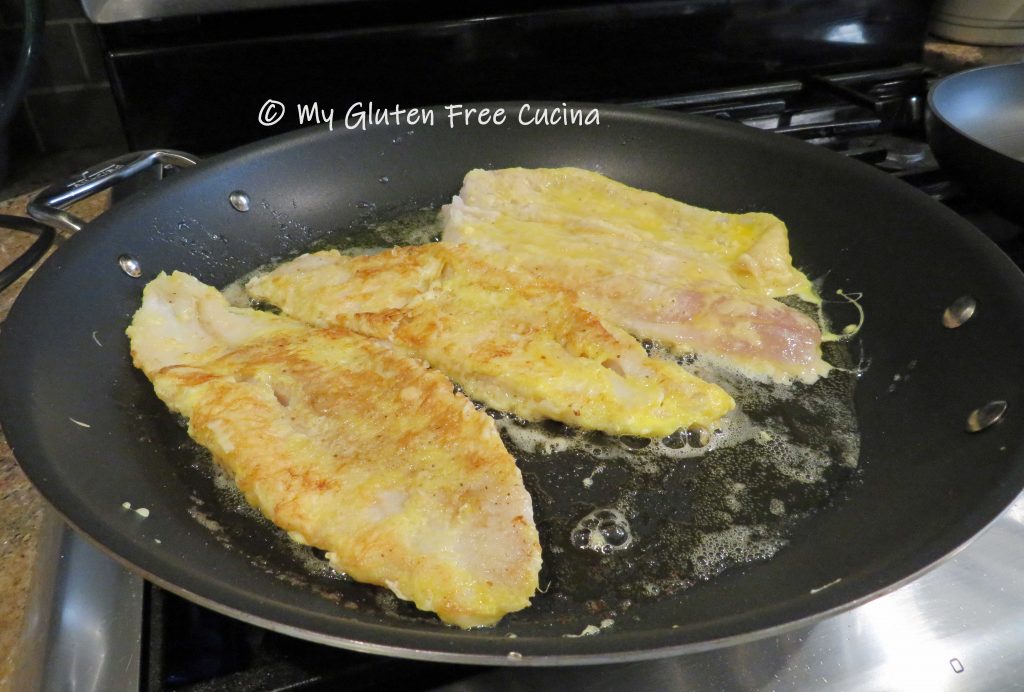
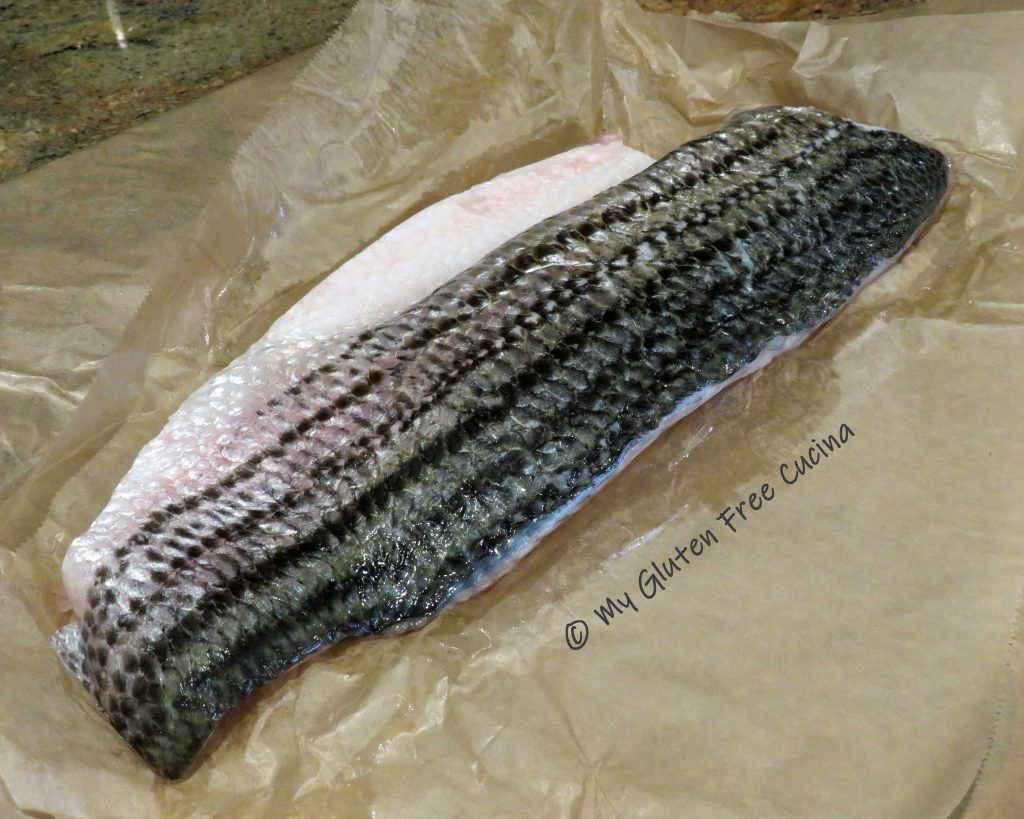
 Sprinkle the sole fillets with Old Bay, then dredge each piece in flour. Dip in egg, shaking off the excess.
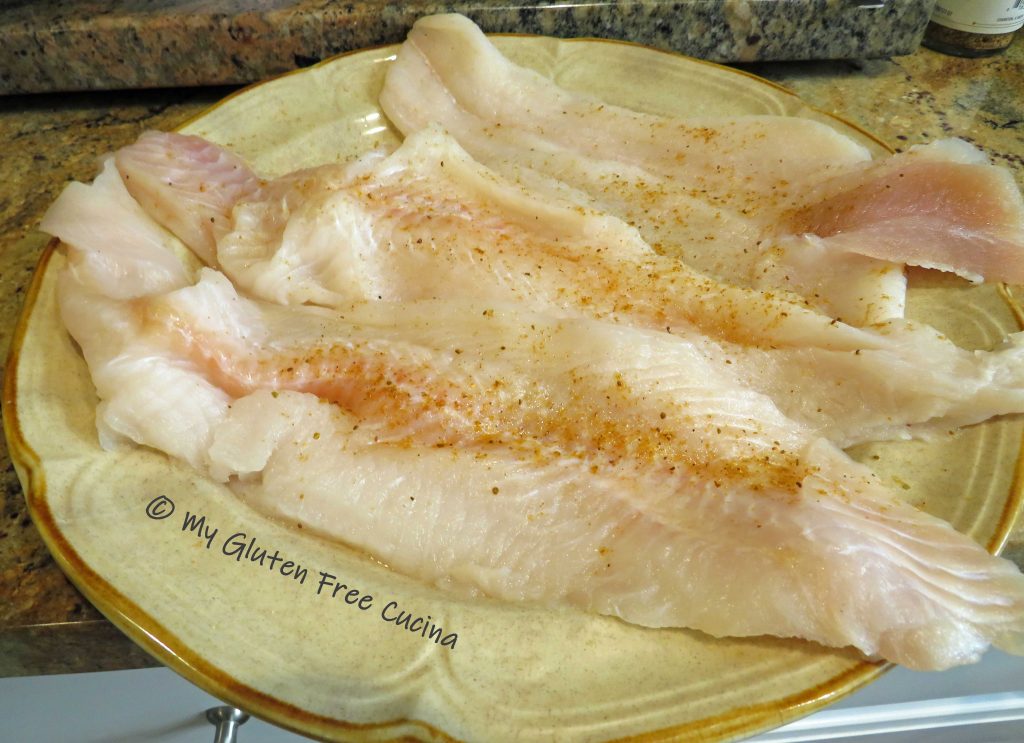


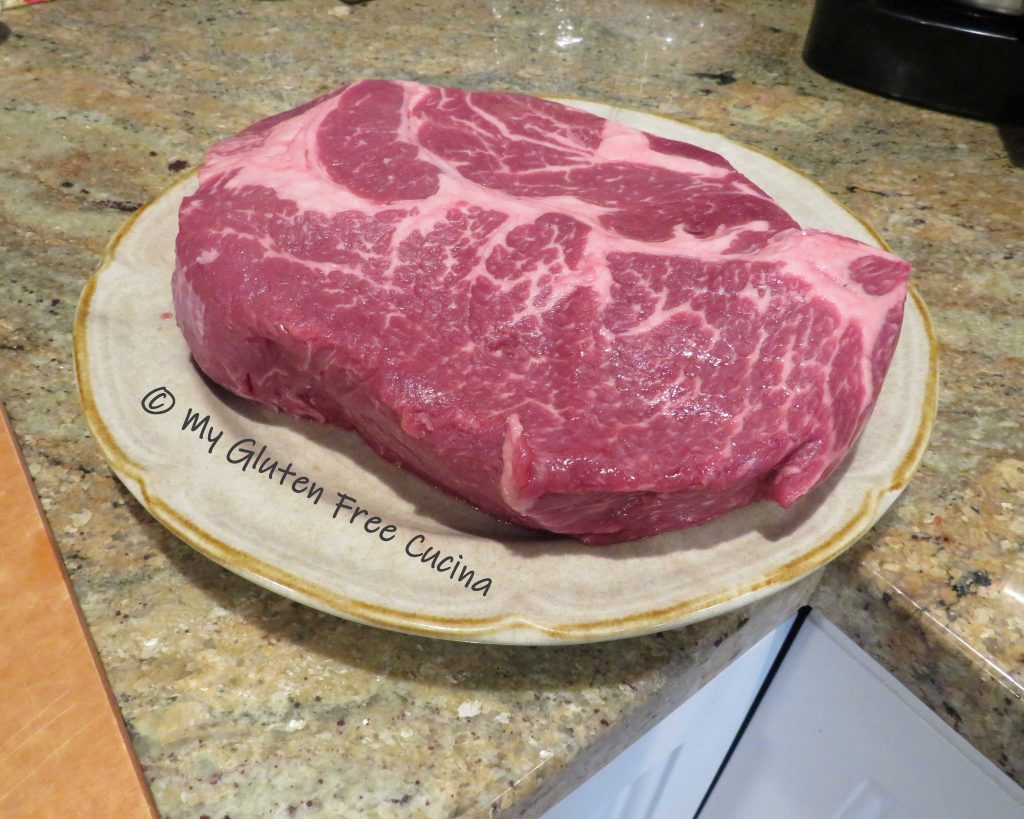 Pat the roast dry. Make 1/2″ slits all over and insert the garlic slivers. Sprinkle both sides with seasoning.


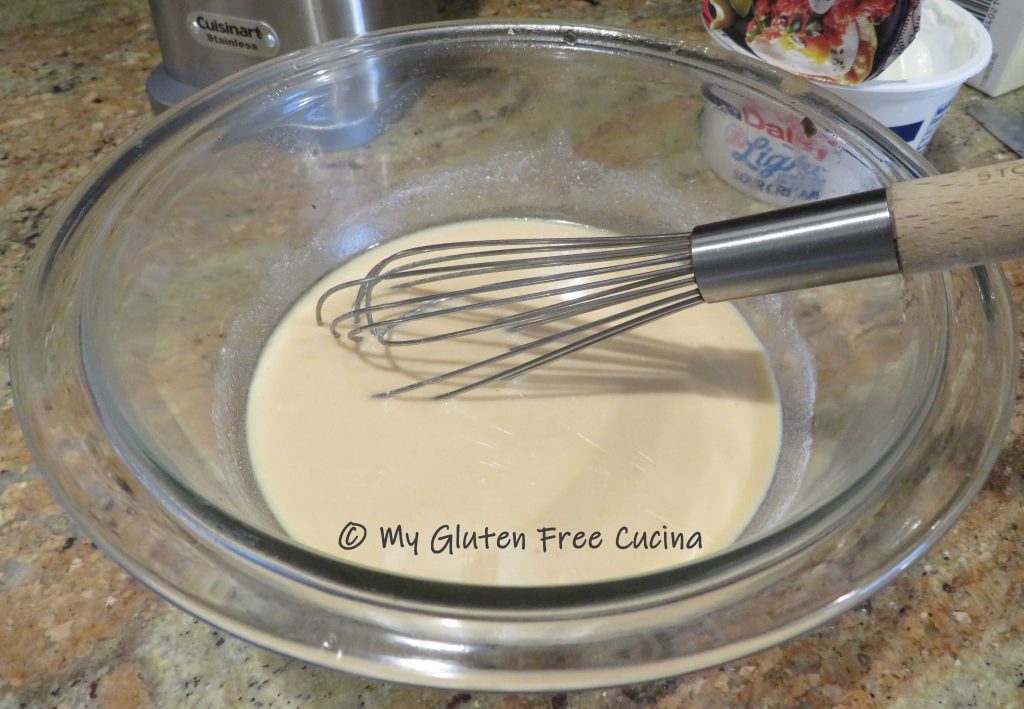
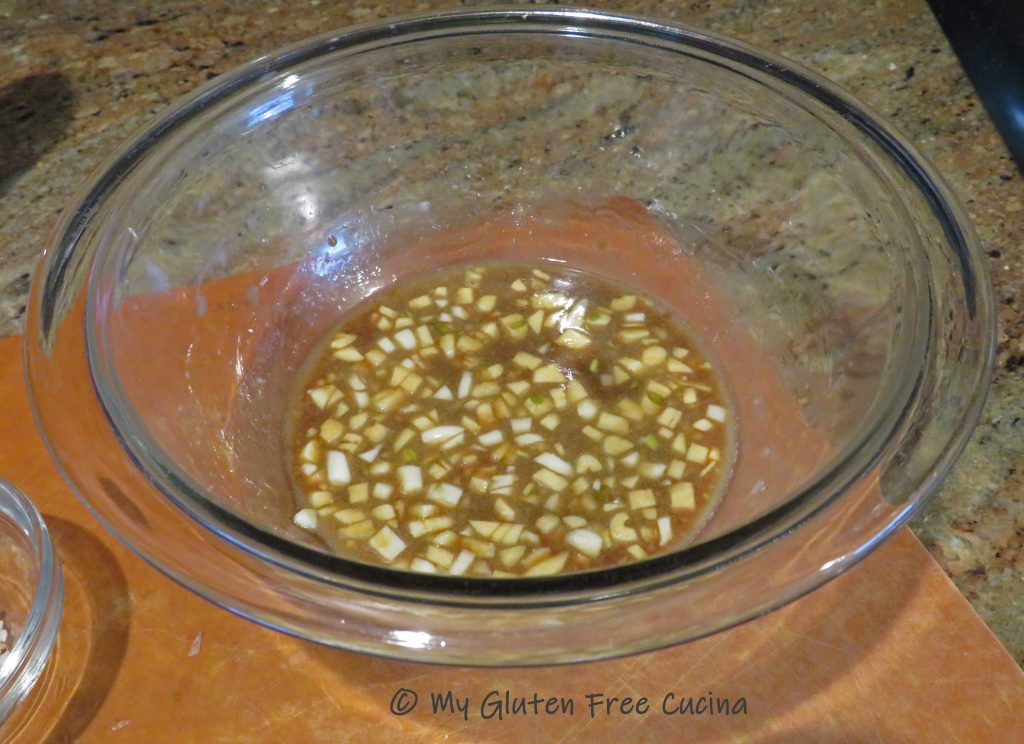
 Whisk together the marinade ingredients with a sprinkle of Old Bay®, a few grinds of fresh ground pepper and 1 tsp. of fresh chives.
 Preparation:
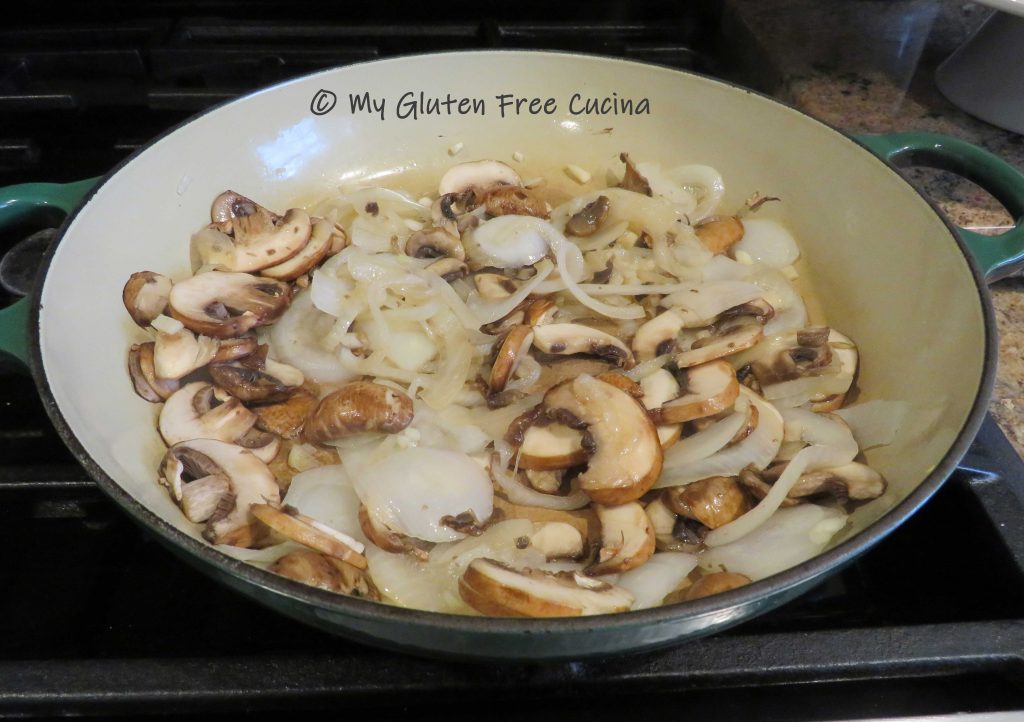


 Add back the mushrooms and onions, with a sprinkle of seasoning.


 Remove the neck and giblets from the hen and discard. Rinse and pat dry.
 Next rub the butter mixture all over the hen, be sure to get under the legs and wings.
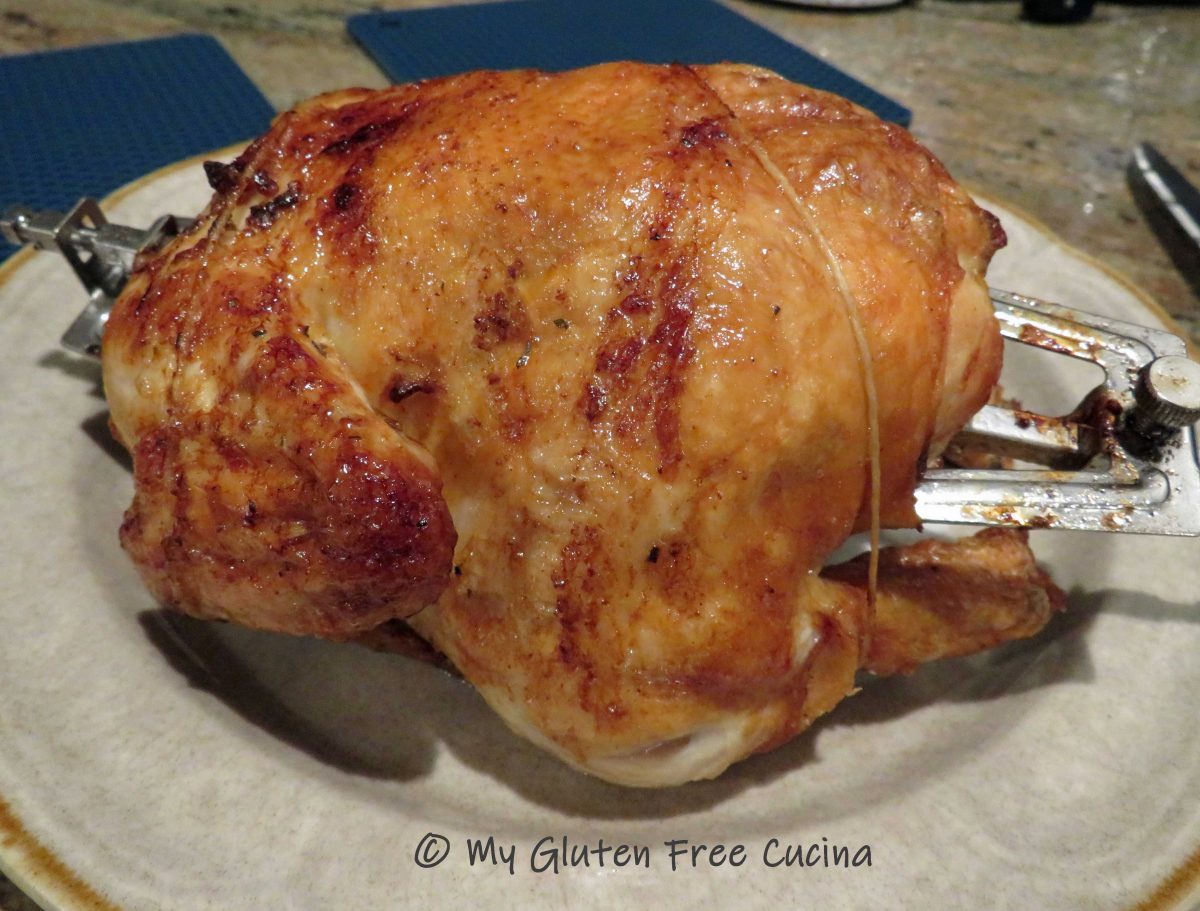
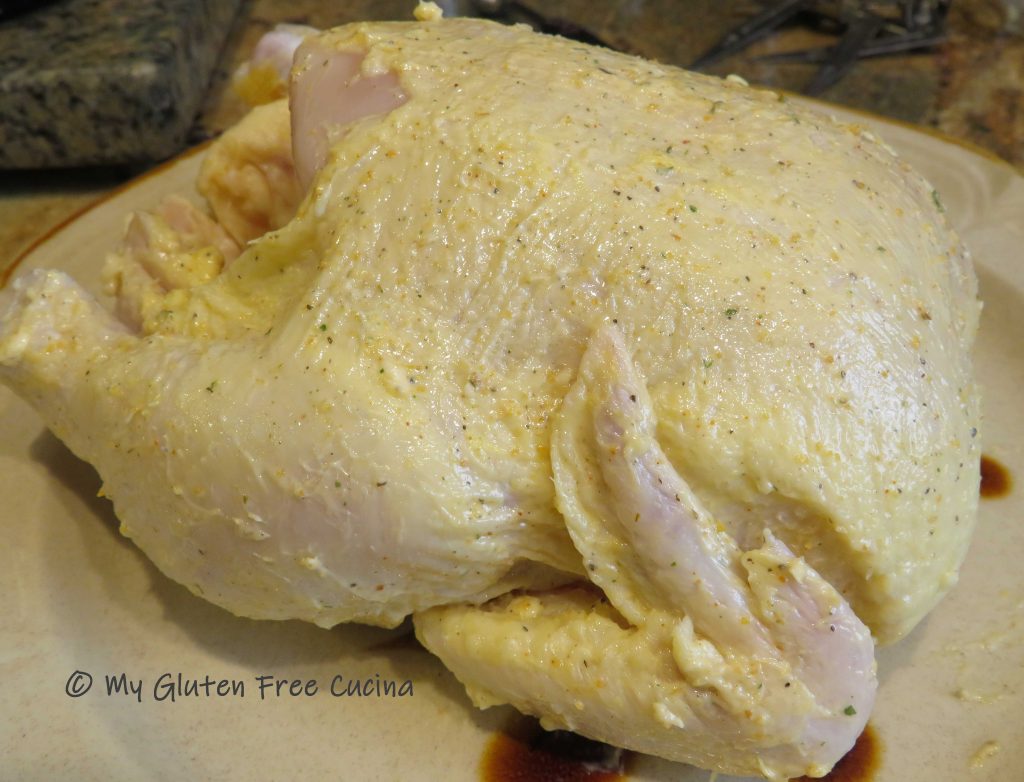 Insert the rotisserie spit and secure the ends with clips, then tie the legs and wings with twine. Sprinkle all over with paprika.
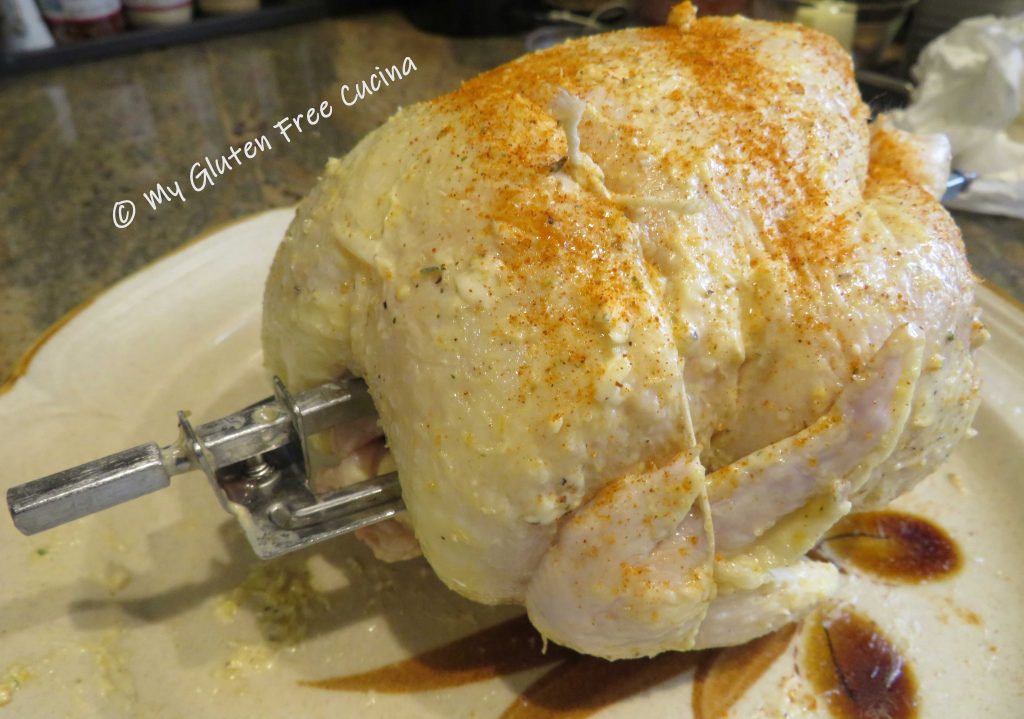
 Place the hen in the air fryer for 45 minutes at 375º.
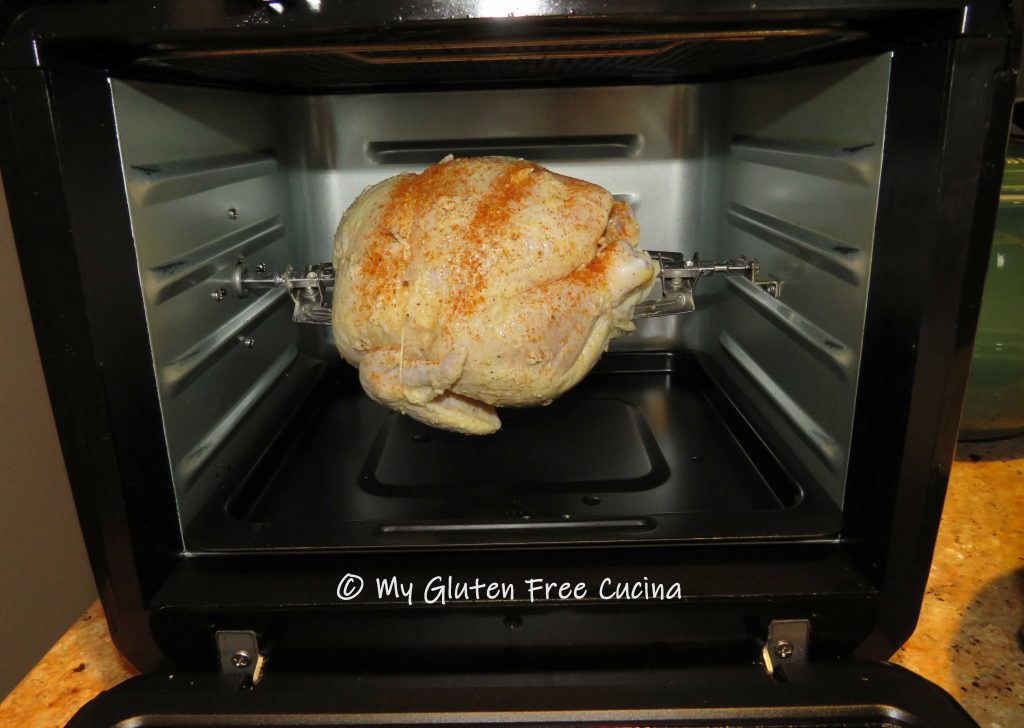 When finished, check with a


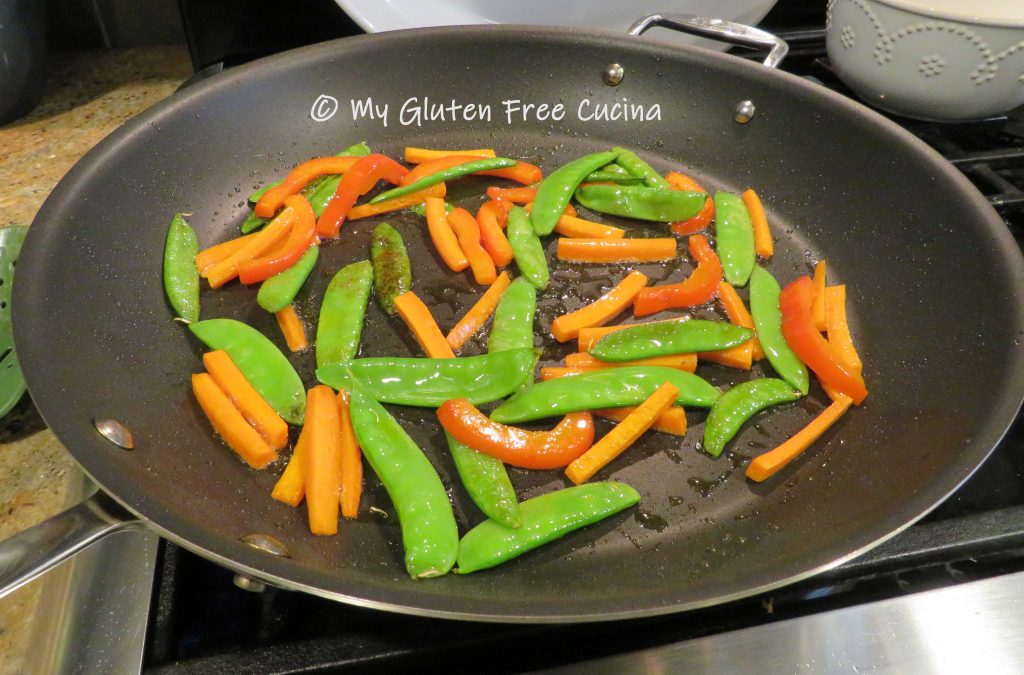
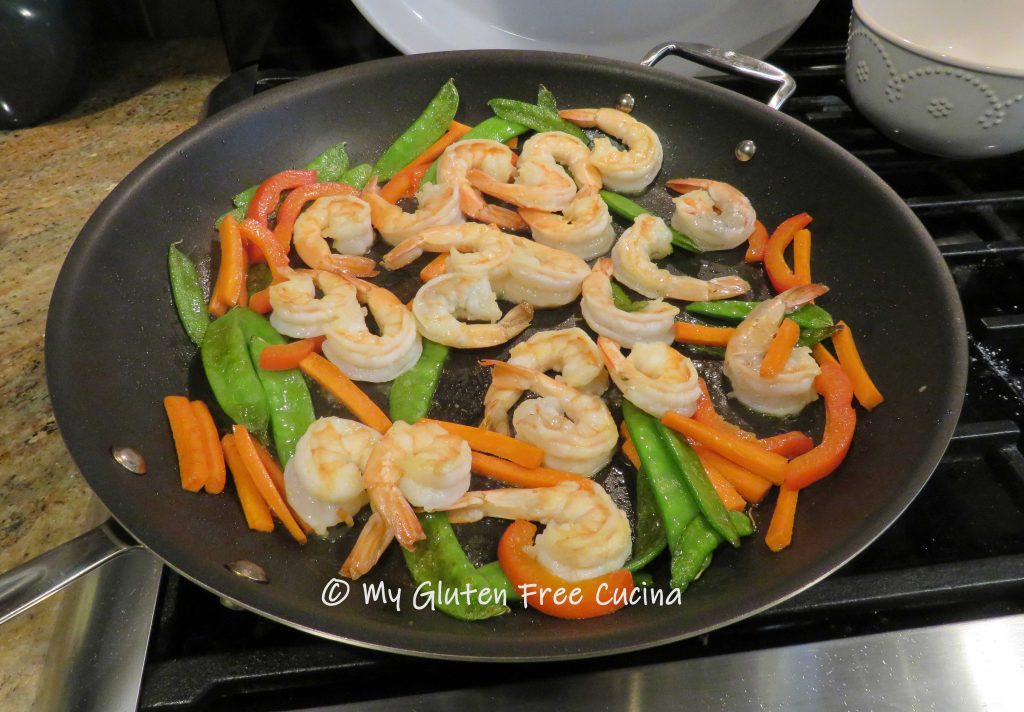
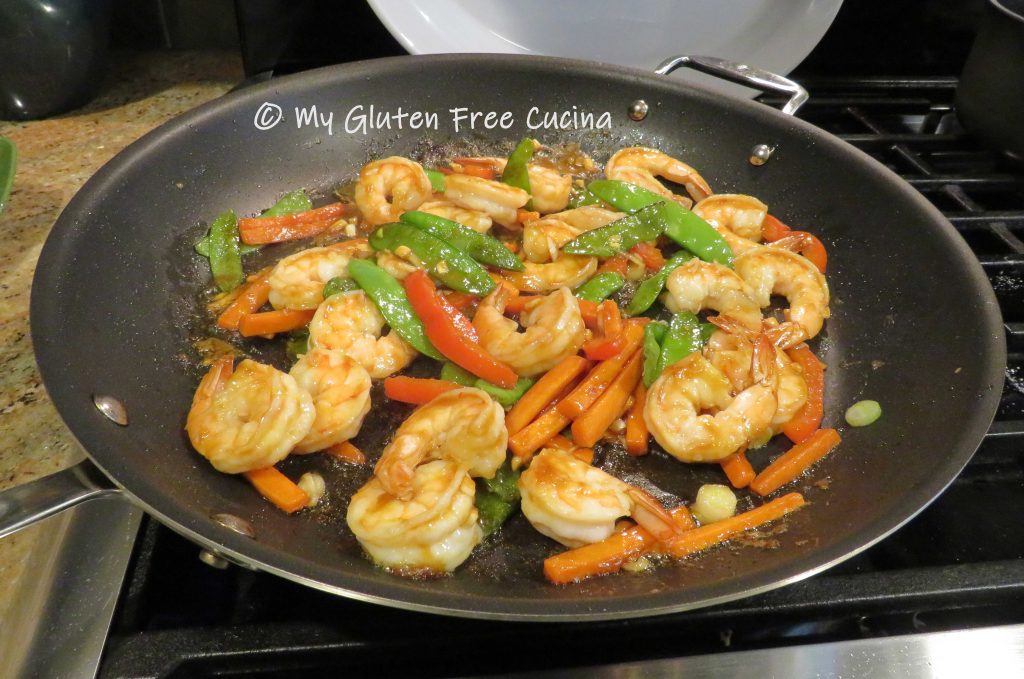
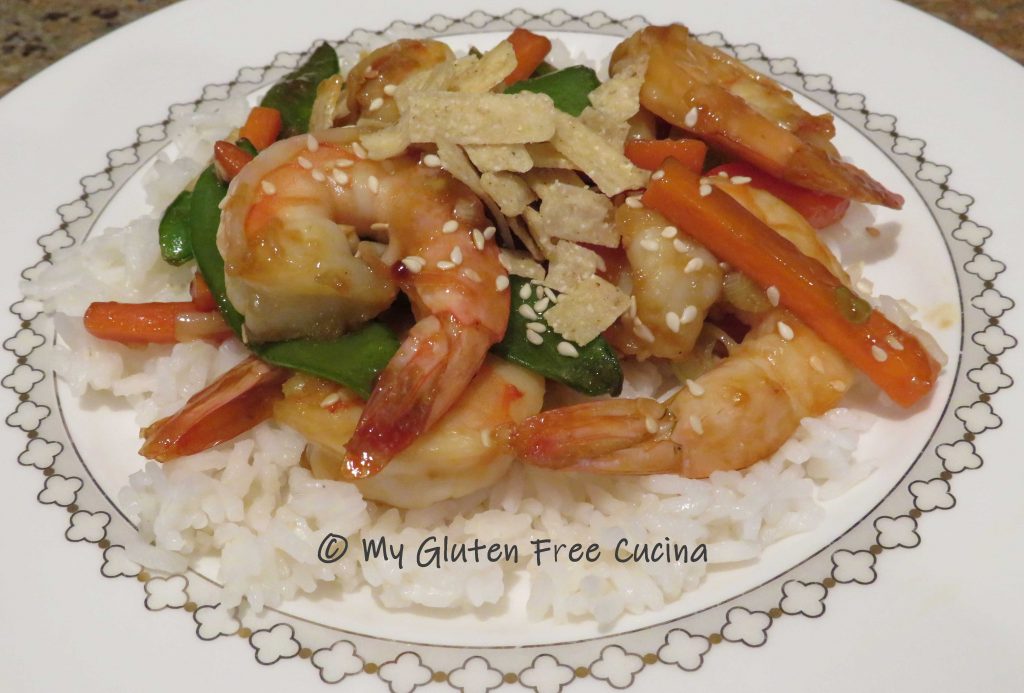
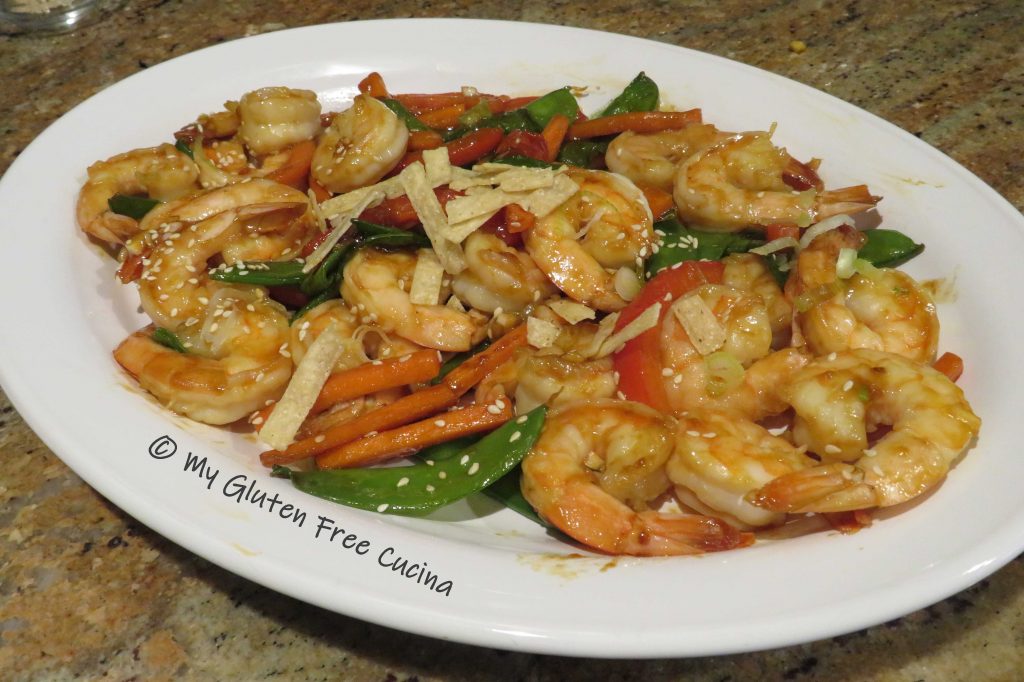 To serve, spoon the shrimp and veggies over the rice with more sesame seeds and tortilla strips.