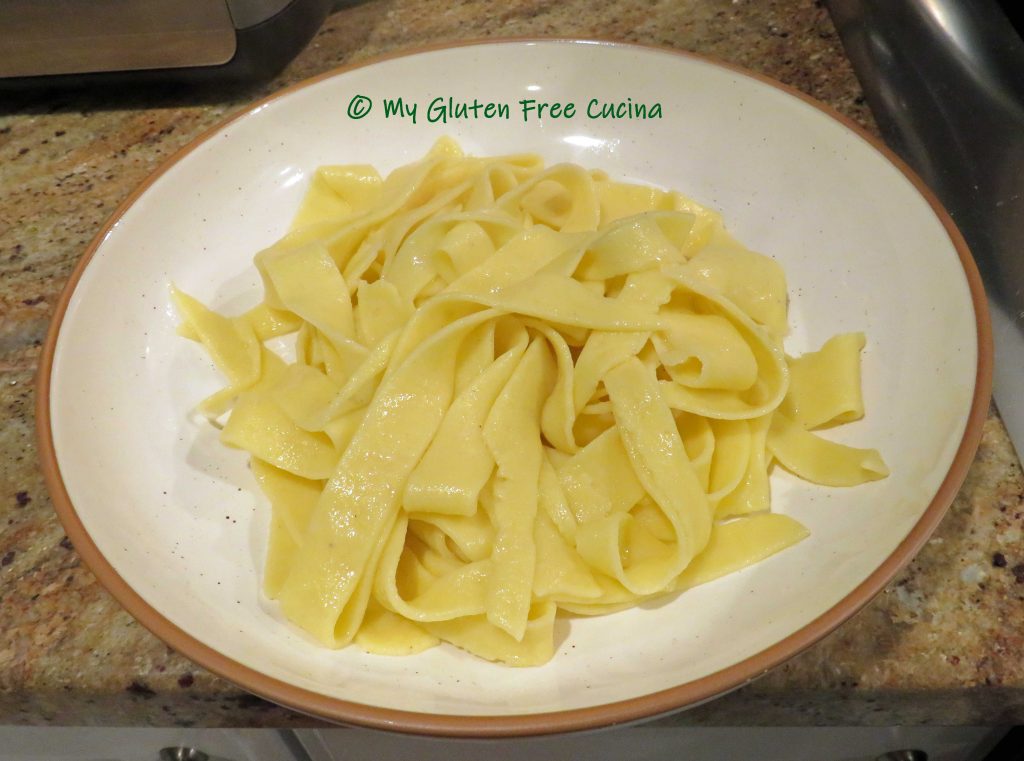
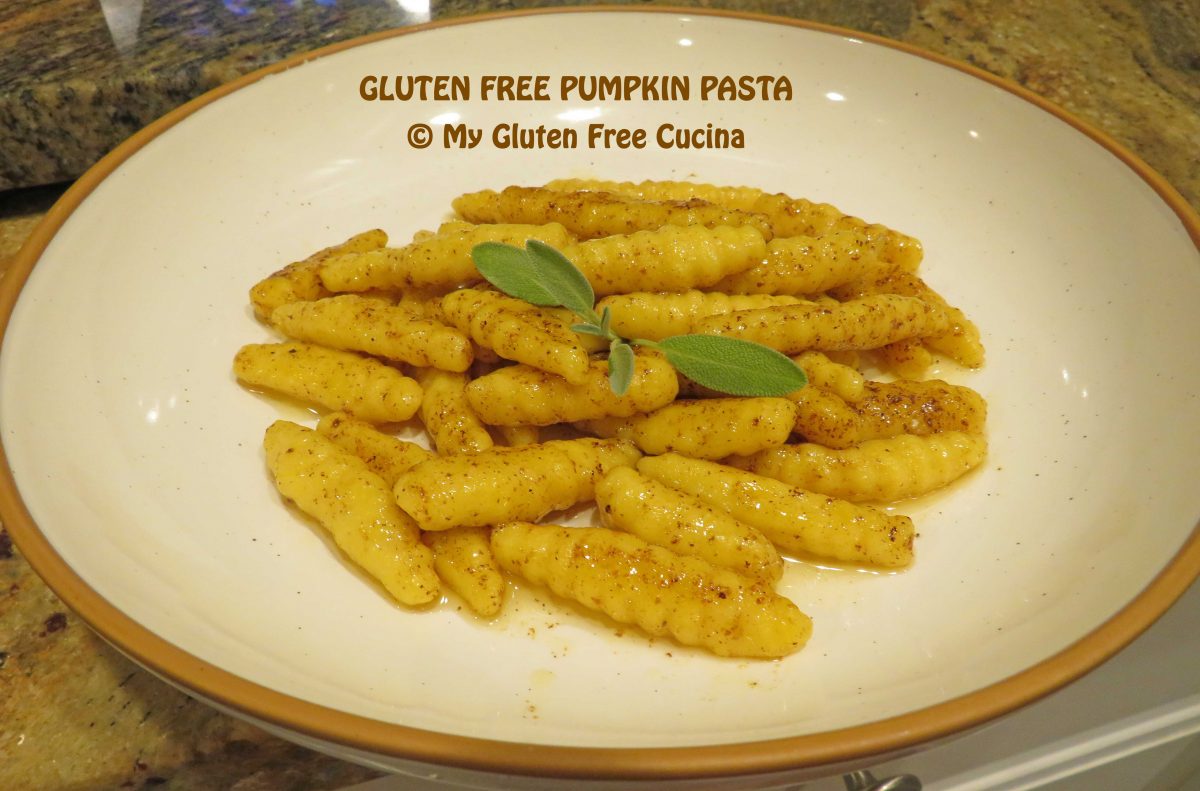
Look at that pasta! The dough is enriched with egg and pumpkin puree, giving it a beautiful color and texture. Yes, it is from scratch, and completely gluten free!
In the years before my Celiac diagnosis, I prided myself on my homemade pasta. I made endless batches both by hand and with my KitchenAid®. It’s been a while, but with the cooler weather I decided it was time to try it again. This fall inspired pumpkin pasta was easy to make and I was so happy with the result!

This post contains affiliate links.
I don’t make huge batches of pasta anymore, but this little test batch is enough for a nice dinner for two. The recipe is scalable, so you can adjust it to make a small dinner or a feast for the family. I give you ingredient measures for 2, 4, 6 and 8 servings.
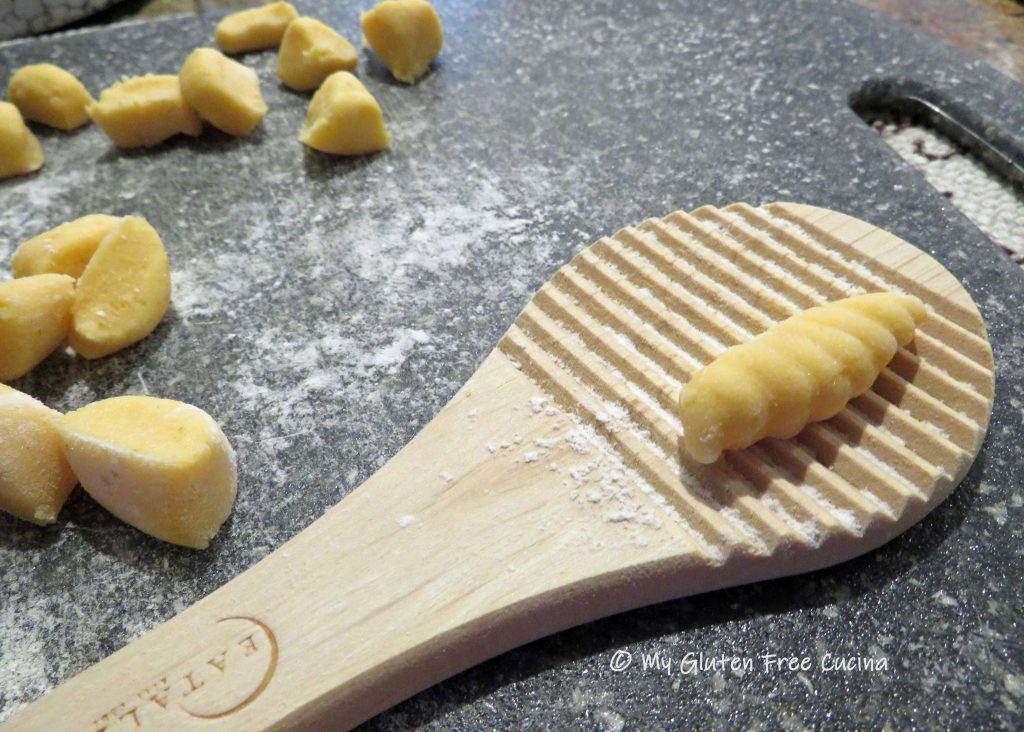
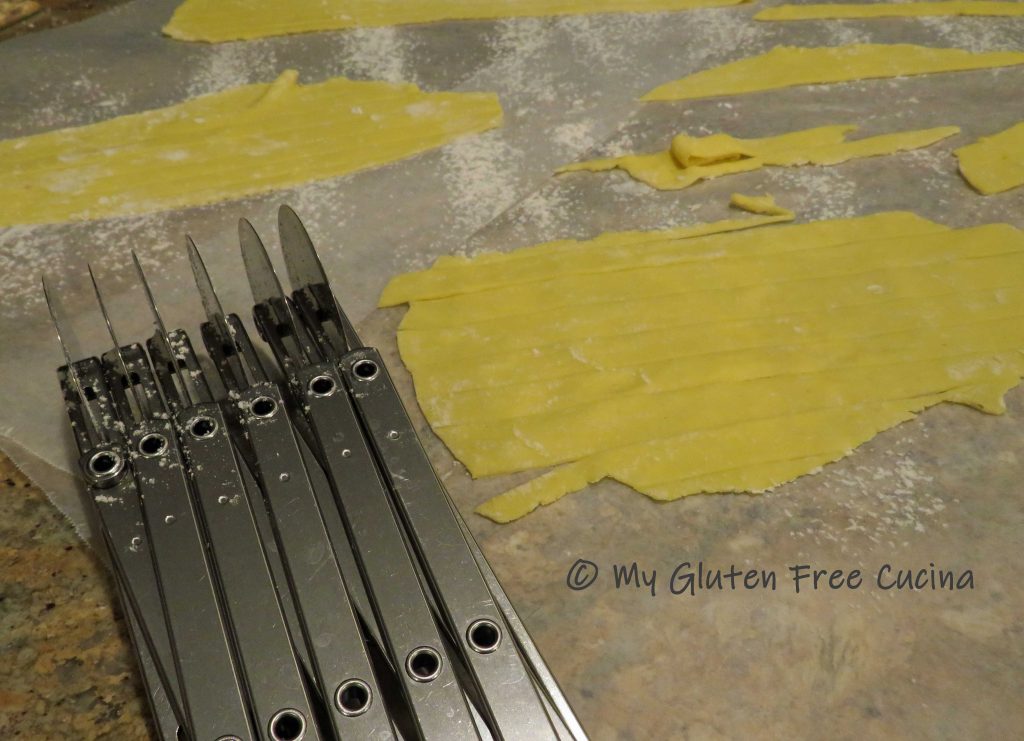
I used a Malloreddus board to create the ridged shape. You can find them at specialty shops like Fante’s. Similar to a gnocchi board, it’s a cool little gadget to have in your collection! Did you know that traditional Malloreddus pasta is made with semolina? Of course, that is off limits on the gluten free diet!
So, for this pasta I used Better Batter Original Gluten Free Flour, and wow, just wow! The resulting dough was beautiful and silky smooth. It was so easy to work with, reminiscent of the Italian 00 flour that I would have used back in the day. Most importantly though, the pasta cooked beautifully and had great taste and texture. Even the leftovers remained al dente. Now that is a gluten free success story!
Shop Better Batter and use my Promo Code MGFC30 at checkout to receive 30% off any non-sale item!

Ingredients:
| INGREDIENTS: |
2 Servings |
4 Servings |
6 Servings |
8 Servings |
| Better Batter Flour |
70 G |
140 G |
210 G |
280 G |
| Olive oil |
3/4 tsp. |
1-1/2 tsp. |
2-1/4 tsp. |
3 tsp. |
| Salt |
1/8 tsp. |
1/4 tsp. |
3/8 tsp. |
1/2 tsp. |
| Egg |
1 large |
2 large |
3 large |
4 large |
| Pumpkin Puree |
1 tbsp. |
2 tbsp. |
3 tbsp. |
4 tbsp. |
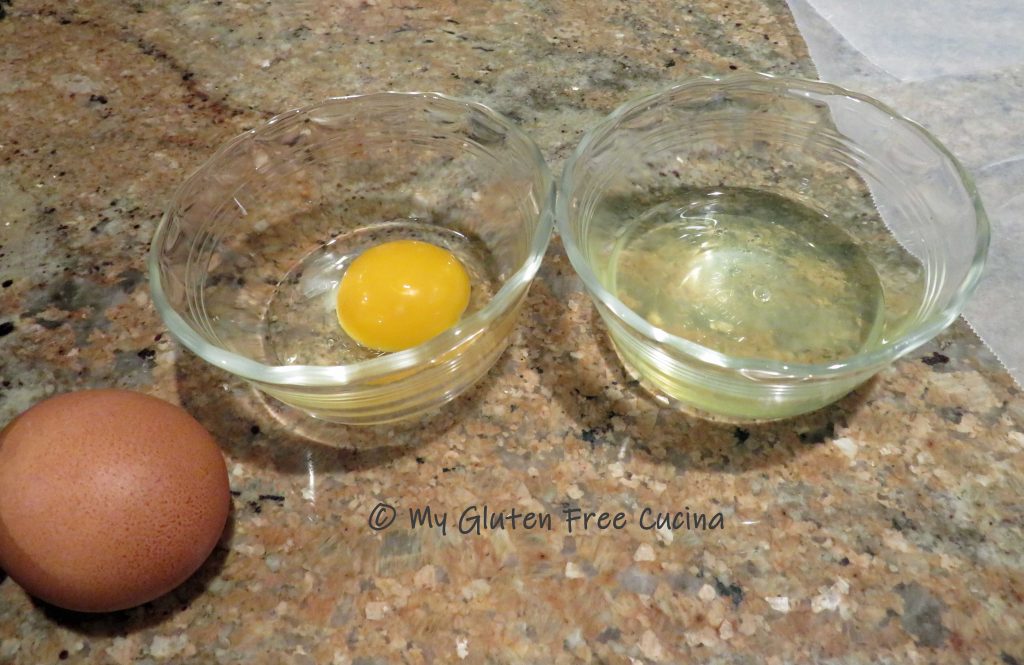
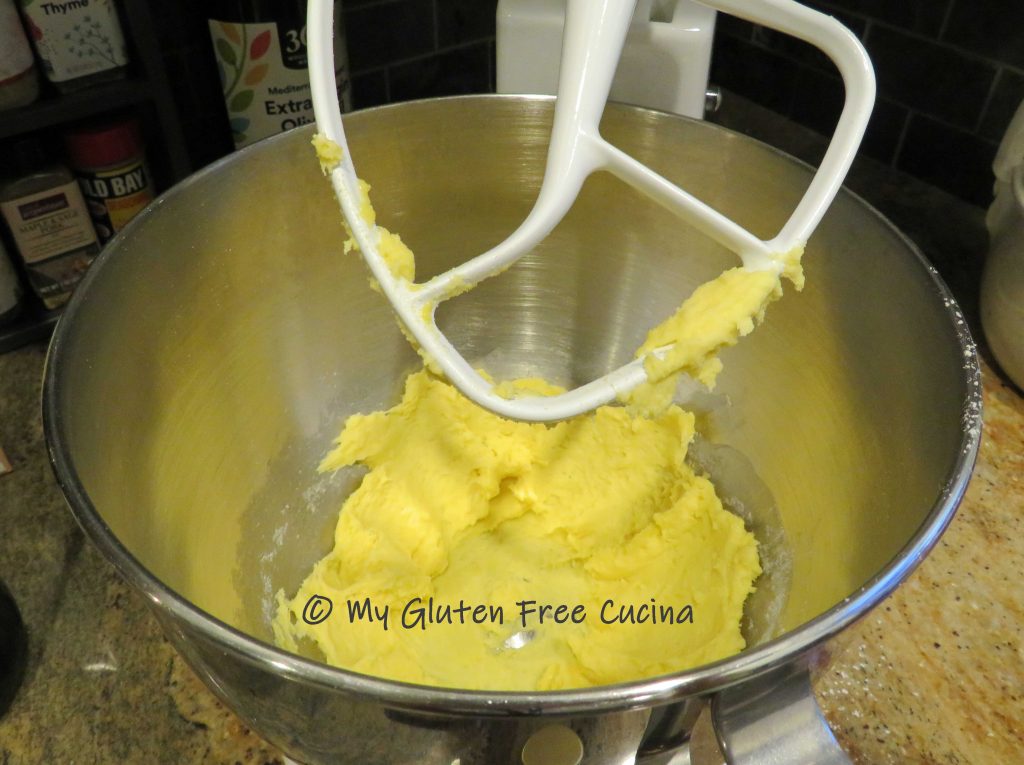
Measure your ingredients according to serving size. Be sure to use a scale to weigh the flour. Whisk the egg, pumpkin, olive oil and salt in the bowl of a stand mixer. Add the flour and mix with the beater attachment to form a smooth, soft dough.
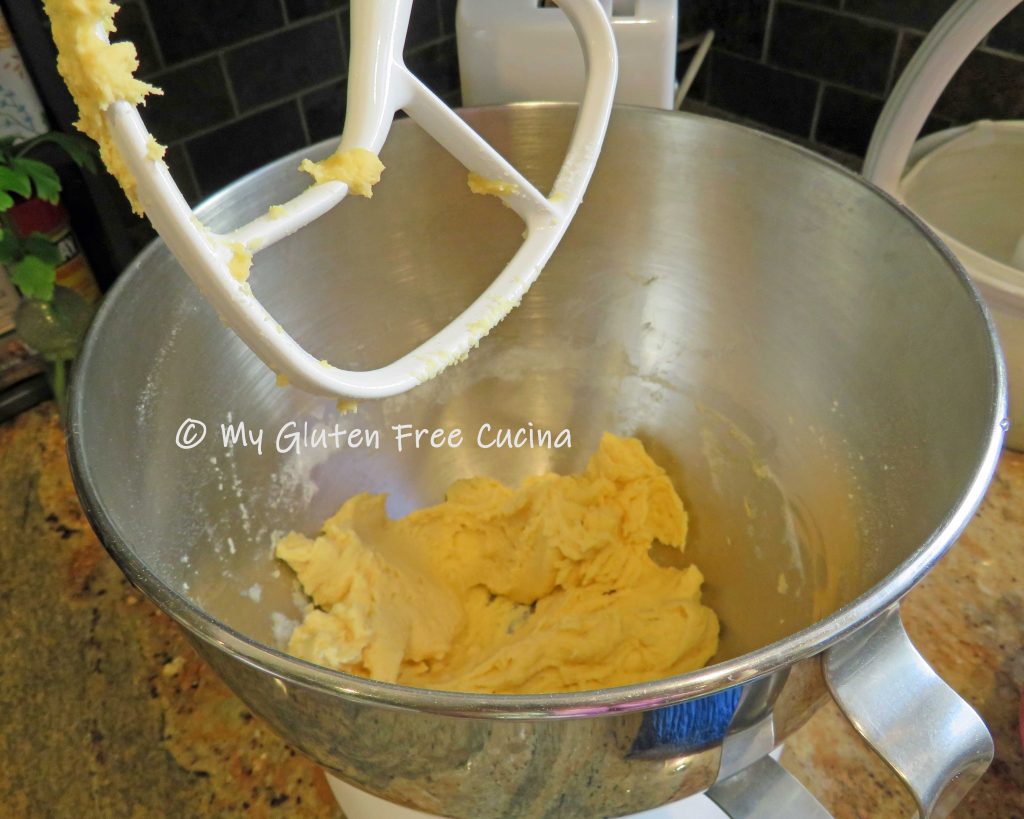

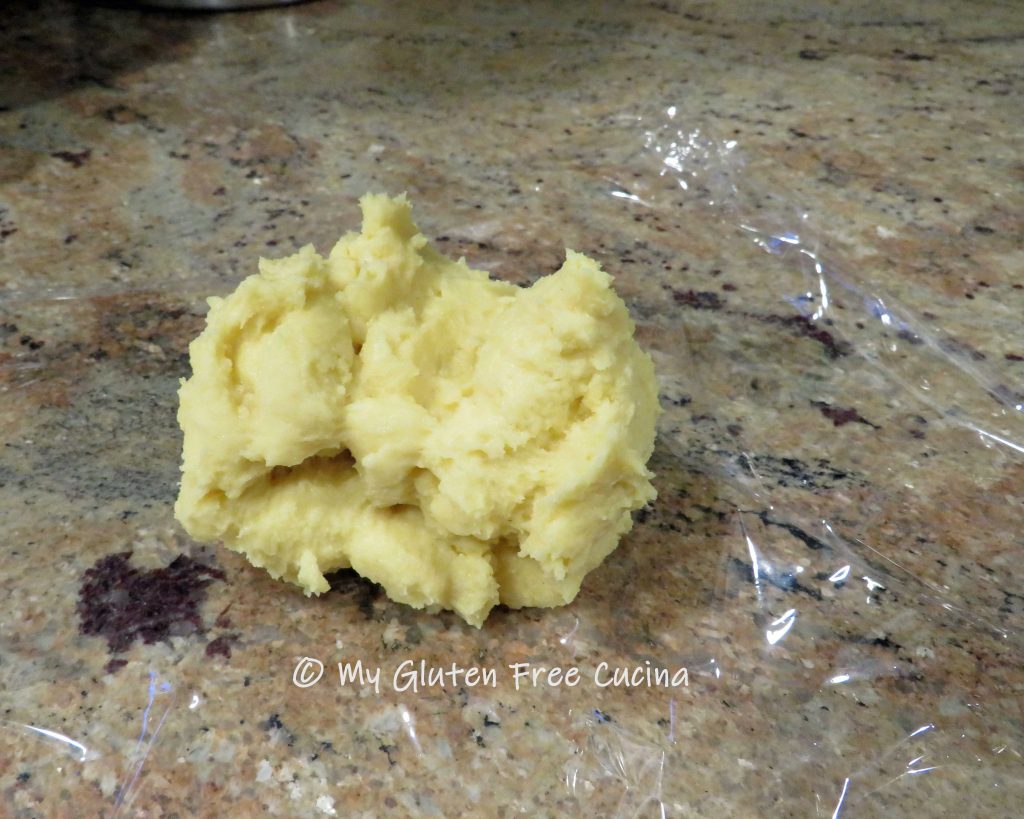
Gather the dough into a ball, wrap tightly in plastic wrap and let it rest for 15-20 minutes at room temperature. This is a good time to wash the mixer bowl and attachments. 😉

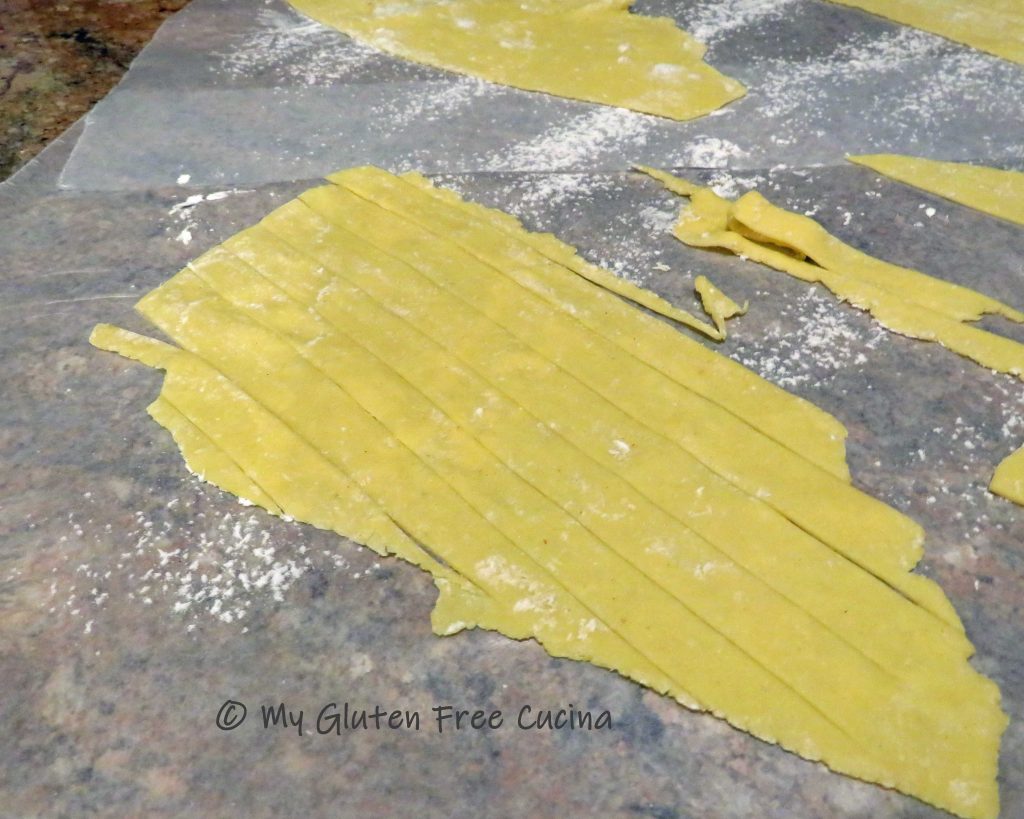
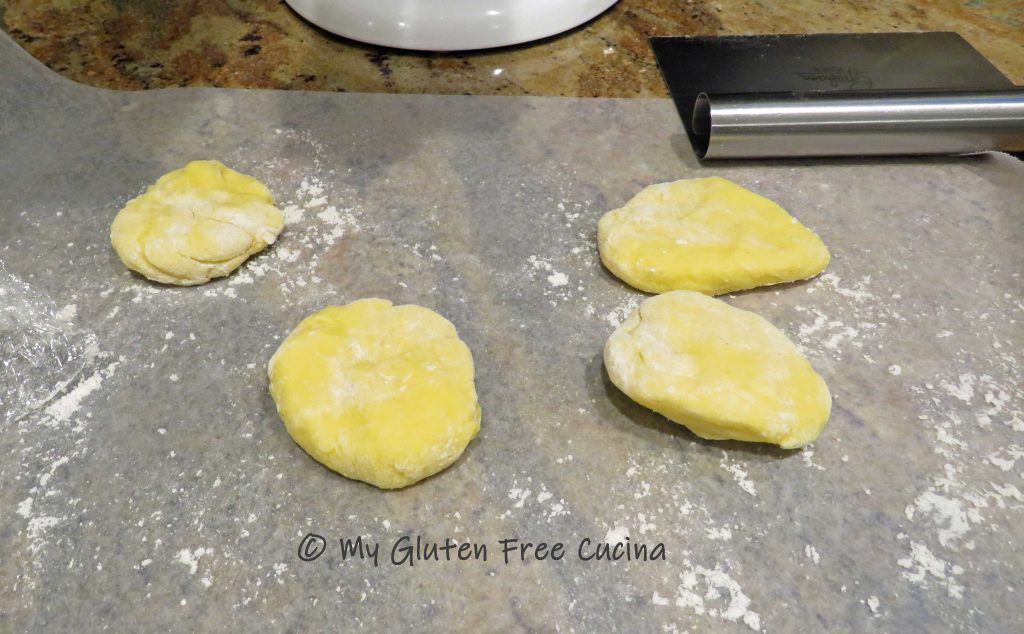
Lightly dust a cutting board with flour. Use a bench knife to cut the dough into 4 pieces.

Roll each piece of dough into a rope. This is the moment when you know you have a good gluten free dough. It rolls out beautifully without crumbling or breaking.

Cut each rope into 1/2″ pieces.

Using your fingers or a bench knife, gently roll each piece over the pasta board to create the ridges.
Line a baking sheet with wax paper and dust with flour. As you form the pasta place it on the baking sheet.

Important- Always follow food safety guidelines. If you are not going to cook the pasta immediately, refrigerate until ready.
How to serve it
You can dress this beautiful pasta with a simple brown butter sage sauce that comes together in minutes. I grew sage in my container garden this year and it is amazing with browned butter. If you don’t have an herb garden, try to find fresh sage at the market (or just leave it out).

| INGREDIENTS: |
2 Servings |
4 Servings |
6 Servings |
8 Servings |
| Butter |
1/2 stick |
1 stick |
1.5 sticks |
2 sticks |
| Fresh Sage Leaves |
8 leaves |
12 leaves |
16 leaves |
20 leaves |
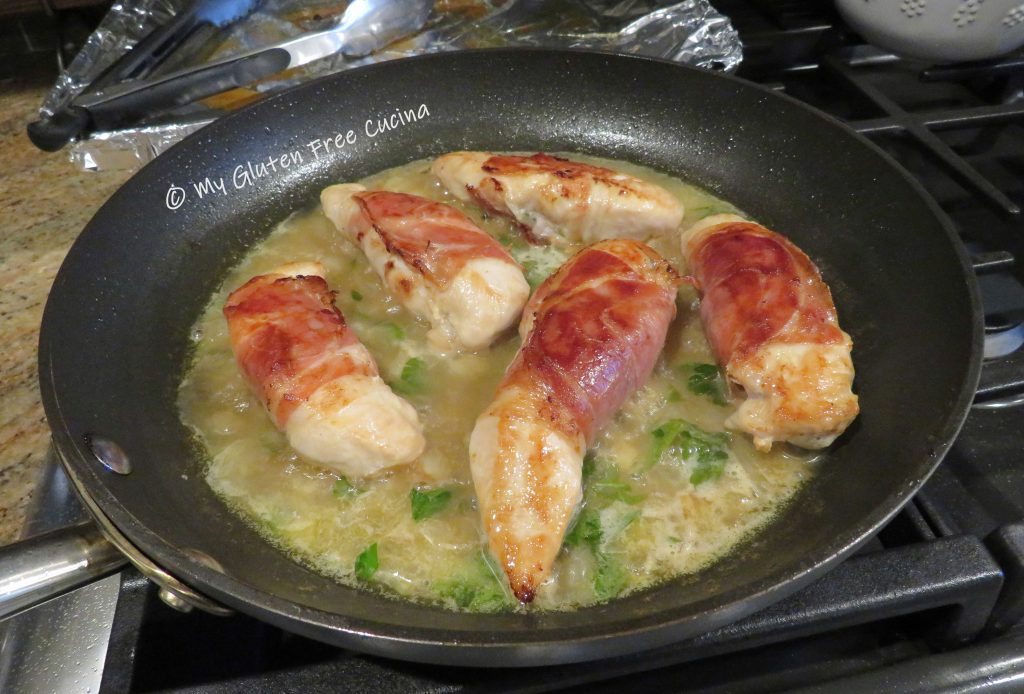
 When ready, set up a large pot of salted water for the pasta. Bring the water to a boil while you make the sauce. Melt the butter in a nonstick skillet.

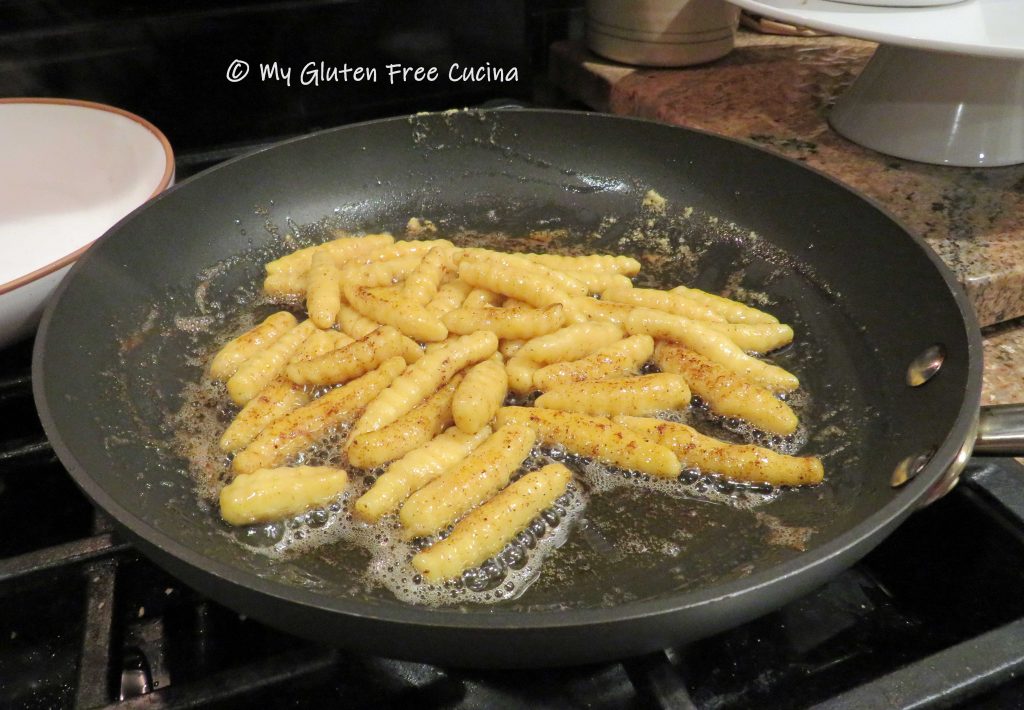
As soon as the butter begins to foam, add the sage leaves.

As you stir the butter, you will notice the white solids beginning to separate. Use a slotted spoon or spatula to push them to one side of the pan, skimming off as much as possible. Watch carefully that the butter doesn’t get too dark. Remove from the heat when it is just beginning to turn brown. This shade is perfect.

When the water comes to a rolling boil, add the pasta and cook for about 3 minutes for al dente. The pasta is done when it floats to the top (taste to see if you like the texture).
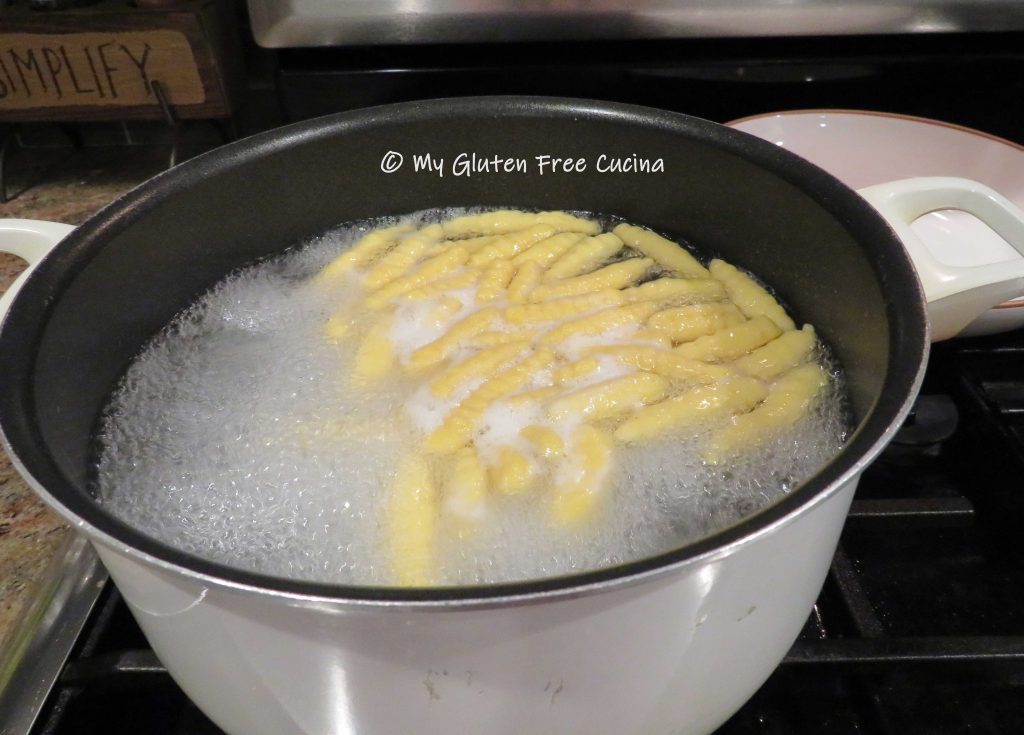
Use a spider strainer to remove the pasta and add it directly to the sauce.
Toss well to coat for 30 seconds and transfer to a serving platter.

More Serving Ideas:
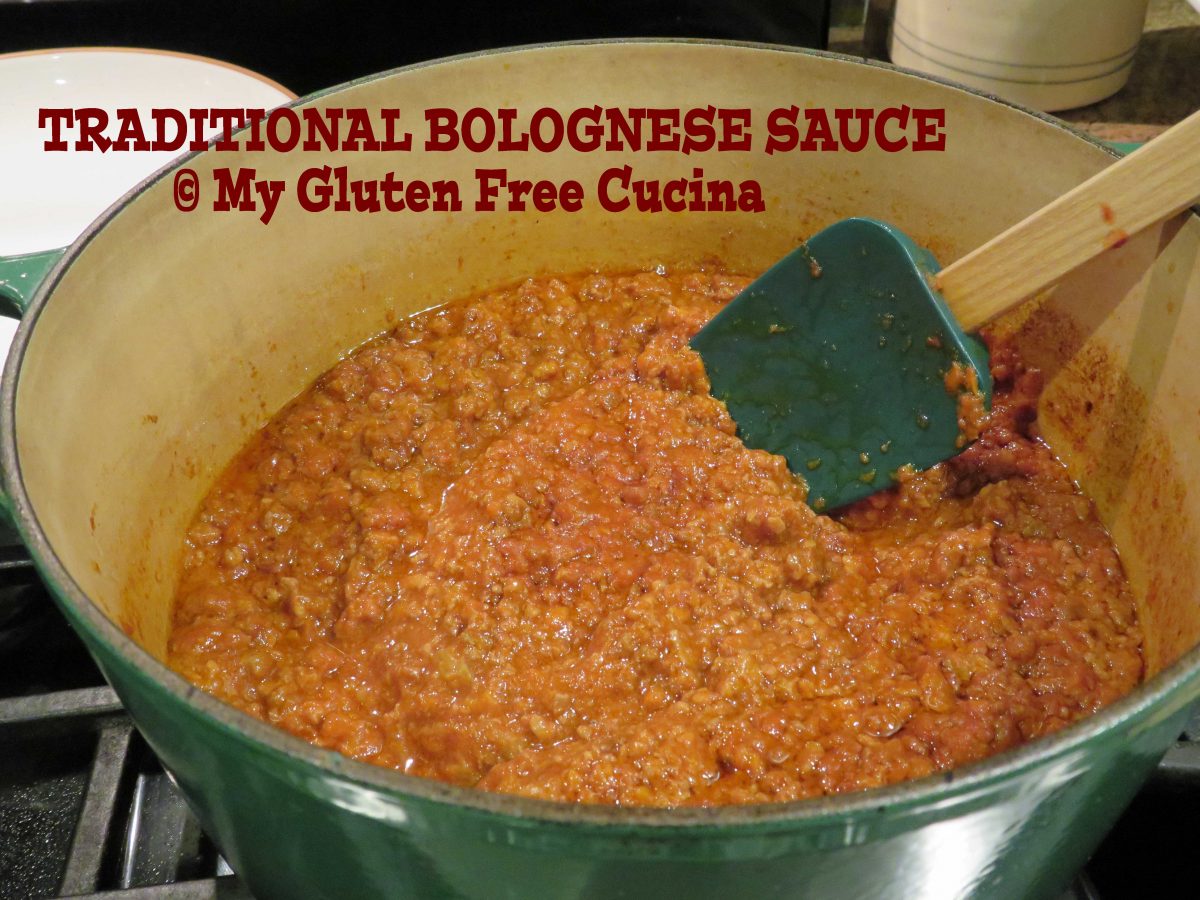
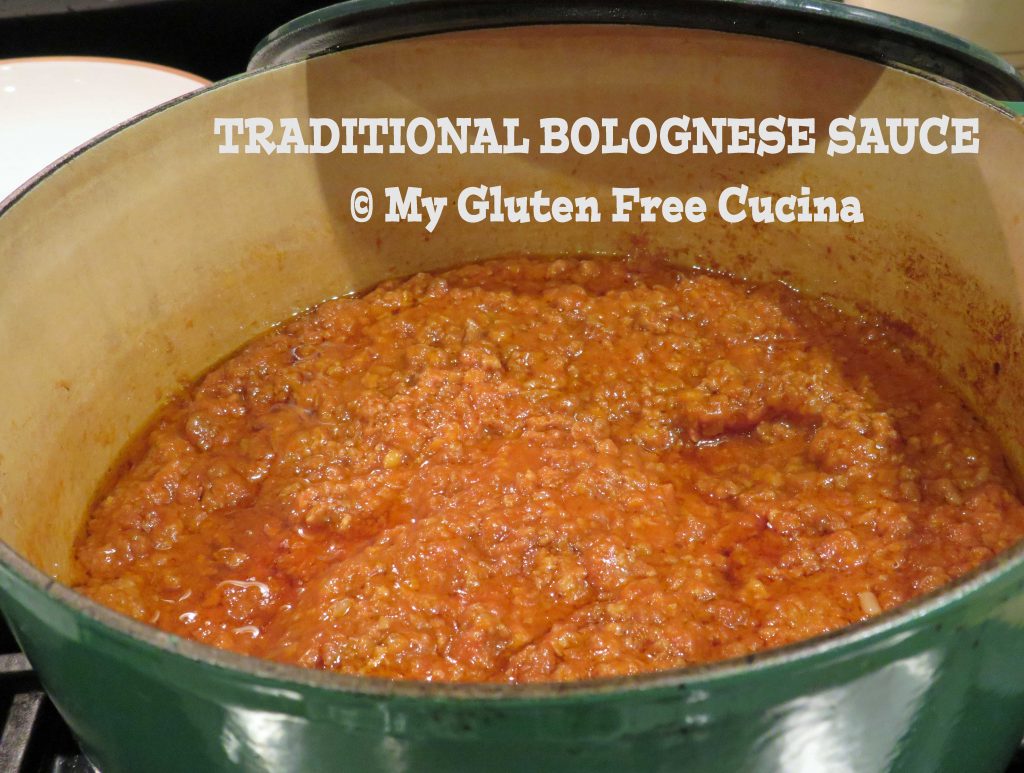
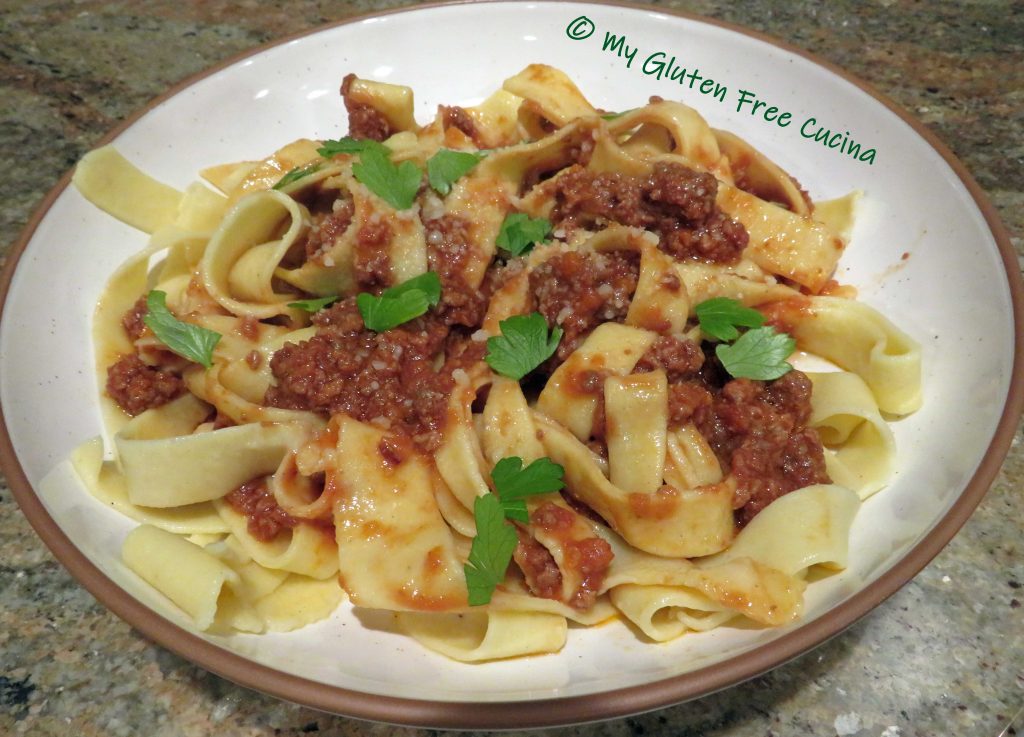
This pasta is sturdy enough to hold up to a thick and chunky sauce, like my Harvest Pasta Sauce. Made with tomato, carrot, squash and pumpkin, the flavors pair beautifully with the pumpkin pasta, perfect for a fall inspired dinner. Enjoy it as a side dish or a main course.

Notes ♪♫ Not all gluten free all-purpose flours are created equal. In fact, they can vary greatly in terms of ingredient content. You can try other brands, but I strongly recommend you use Better Batter Gluten Free Original Blend for this recipe. It was absolutely perfect for making pasta, and what a pleasure to have a smooth silky dough that doesn’t crumble in your hands. I also used this all-purpose flour to make a gluten free version of My mother’s Italian Wine Biscuits. Try it, you will not be disappointed!

 Print This Post


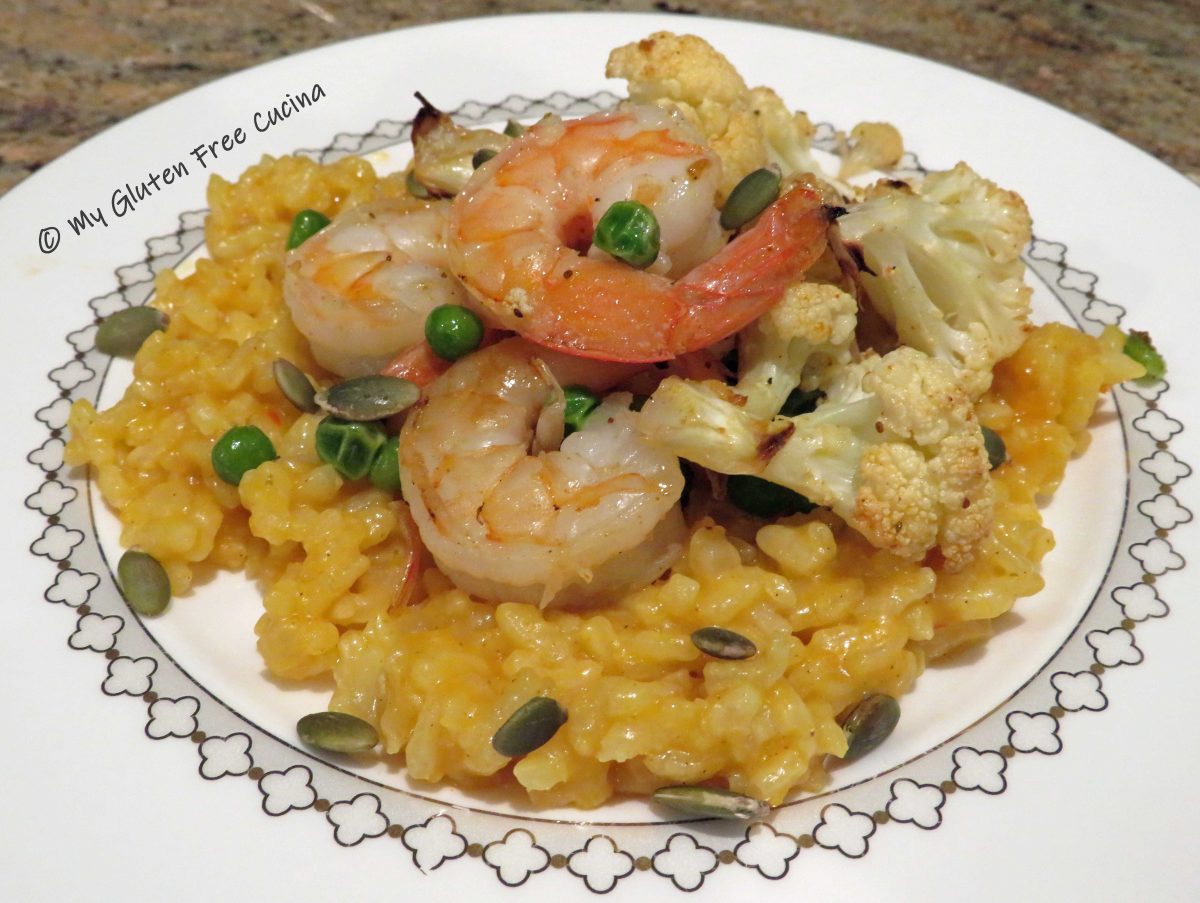


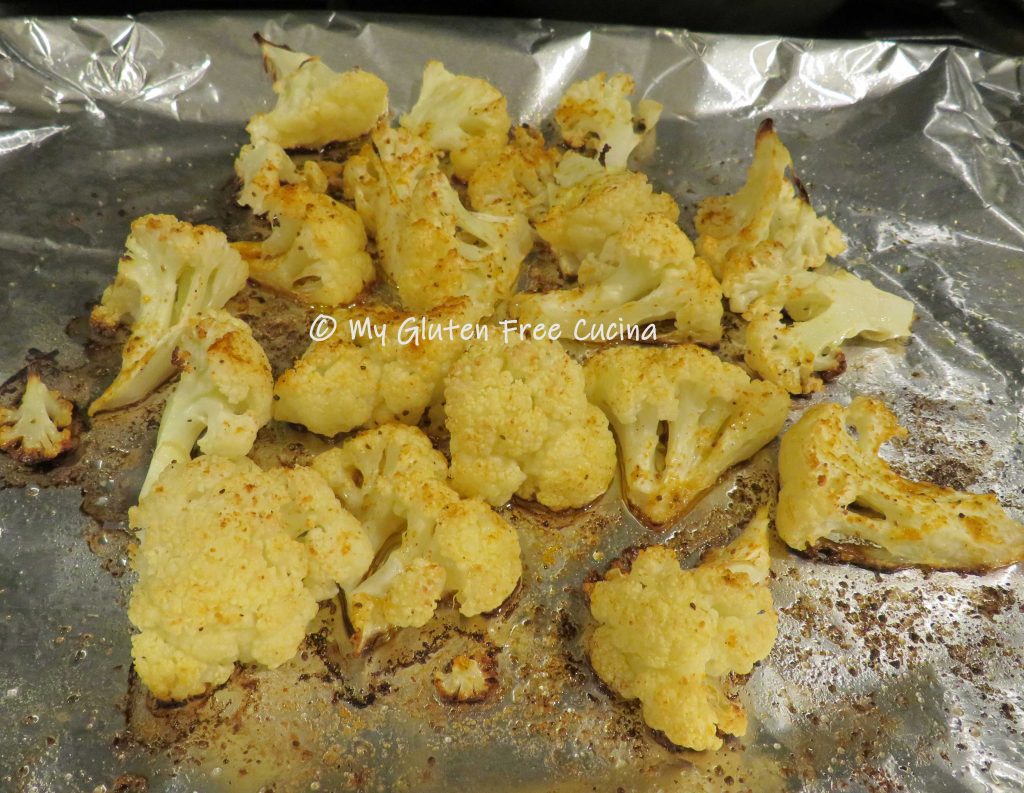

 Add the roasted cauliflower to the skillet.
 Warm the cooked risotto in a
 To plate, make a bed of risotto and top with the shrimp and veggies. Garnish with a few pumpkin seeds.
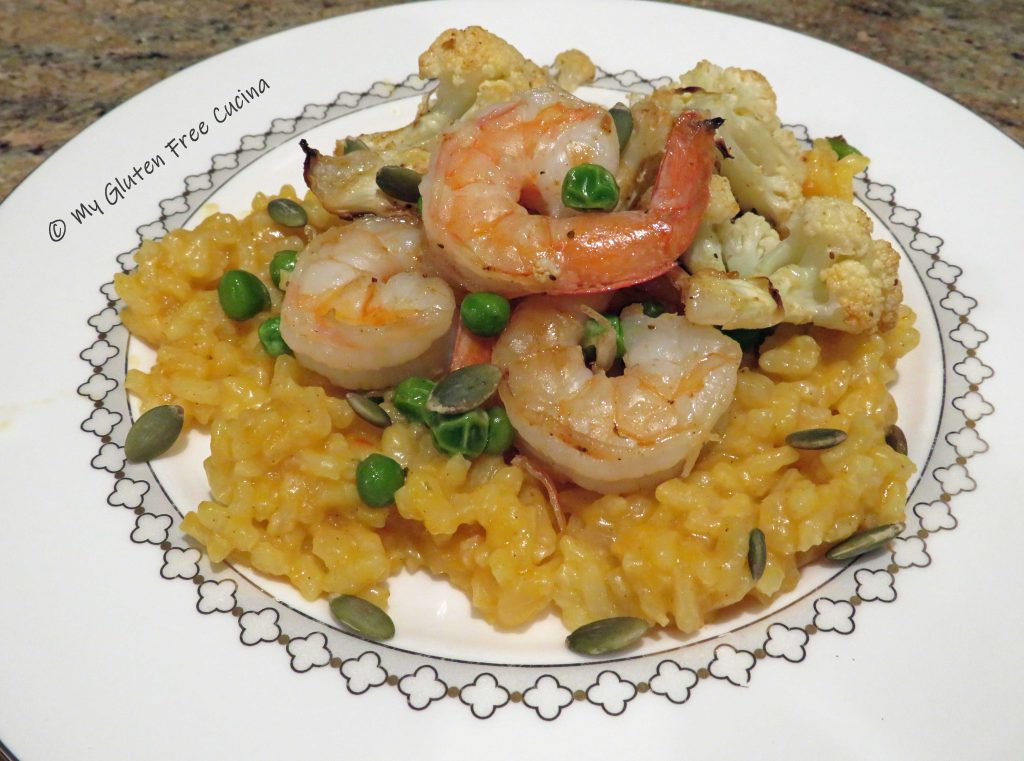

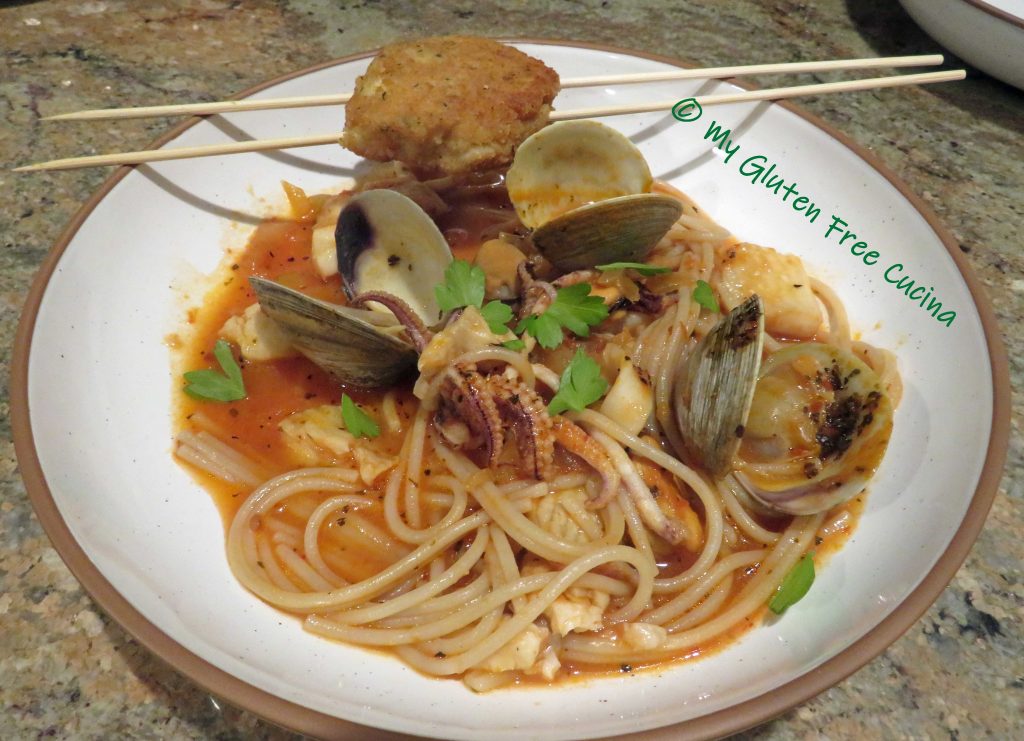
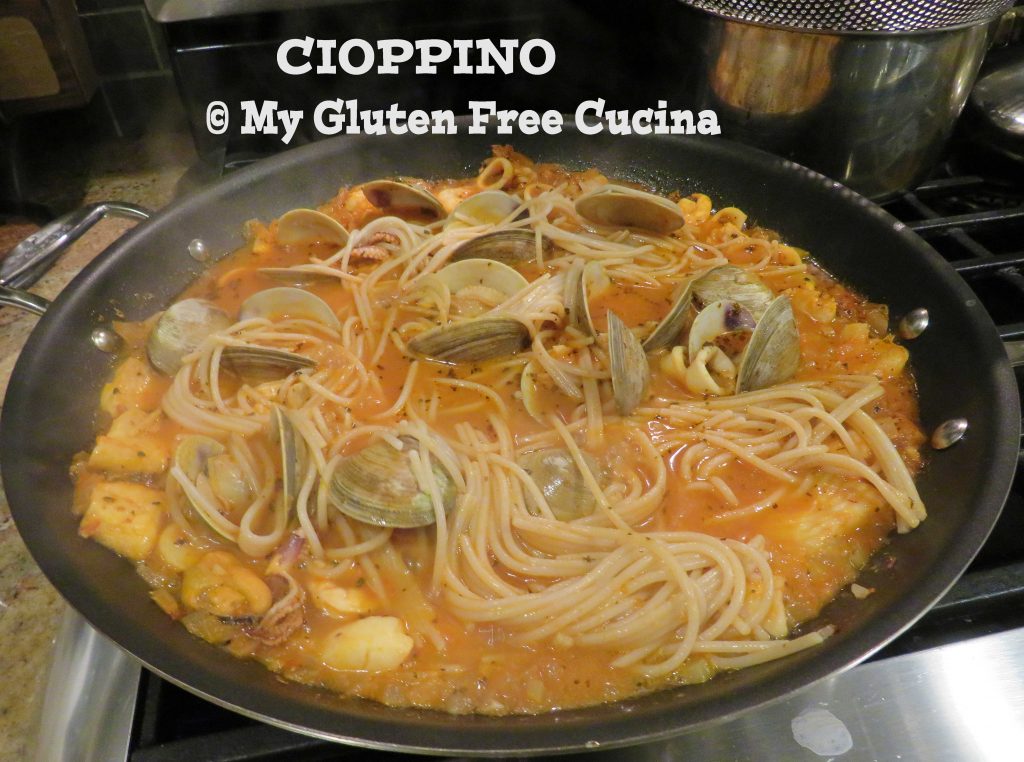
 To complete my seven fishes, I bought a dozen fresh littlenecks and flounder from the frozen aisle. I topped it all off with a crab cake made with

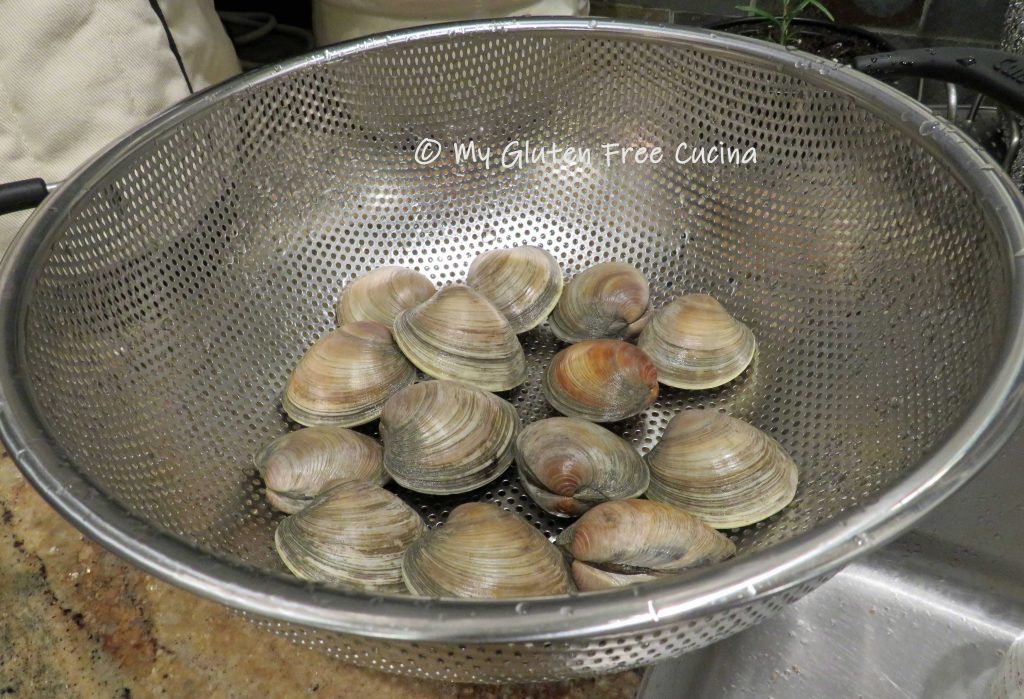 If using frozen fish, thaw before cooking. You can improve the texture by soaking it in milk.
 Sauté 2 minutes then add the tomatoes, lemon juice, Worcestershire sauce, stock, white wine and the spices. Cover and simmer on low for 30 minutes.
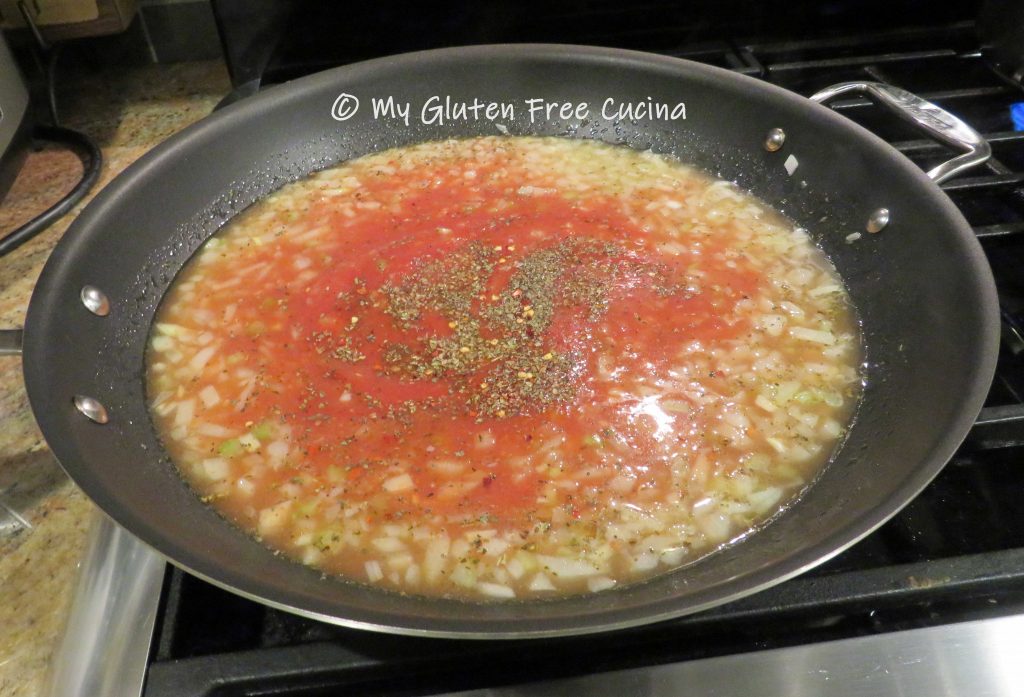


 Use a
Use a 


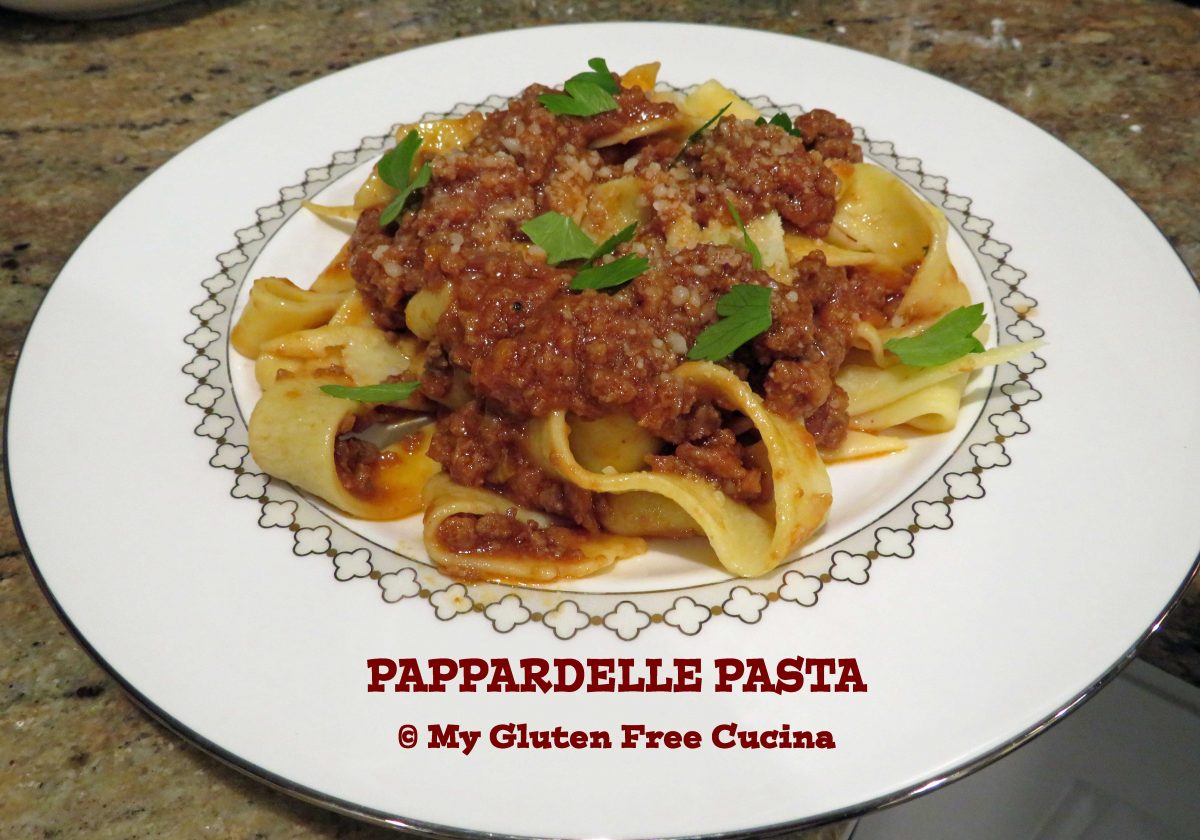
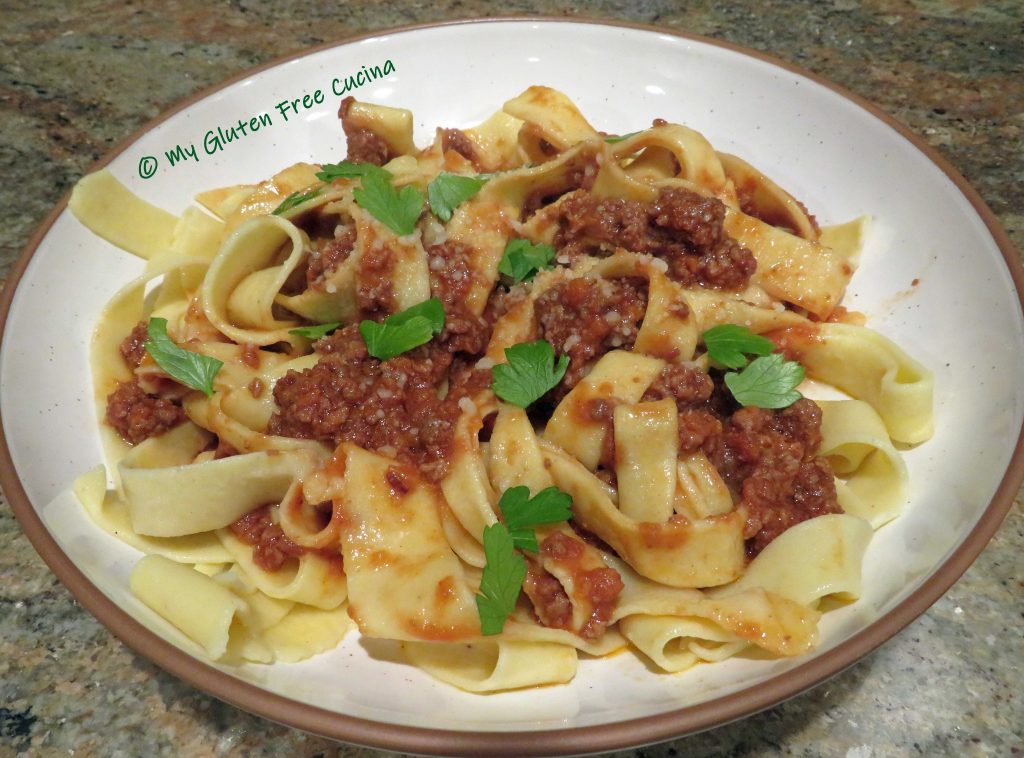
 Chop the pancetta into fine dice or pulse a few times in the processor.
 Add it to the pot and continue cooking slowly for 10 more minutes.
 Allow some of the liquid to evaporate before adding more meat, you want it to brown, not steam. Add more salt and pepper to taste.
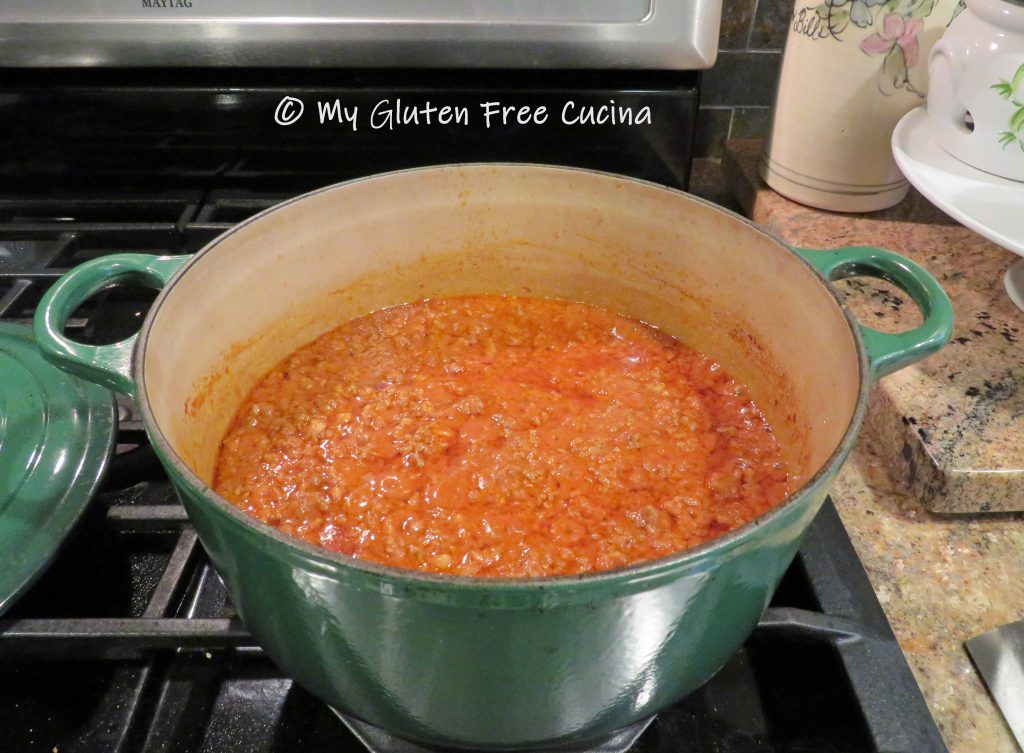
 After about 20 minutes the meat should be well browned and starting to caramelize on the bottom of the pan. Clear a spot in the middle of the pan and add the tomato paste. Cook for 2 minutes, then stir the tomato paste into the meat.
 Add the red wine, and use a spatula to loosen up any browned bits on the bottom of the pan and stir them into the sauce.
 Simmer 3 minutes to allow some of the wine to cook off, then add the milk (or cream), tomatoes and stock.
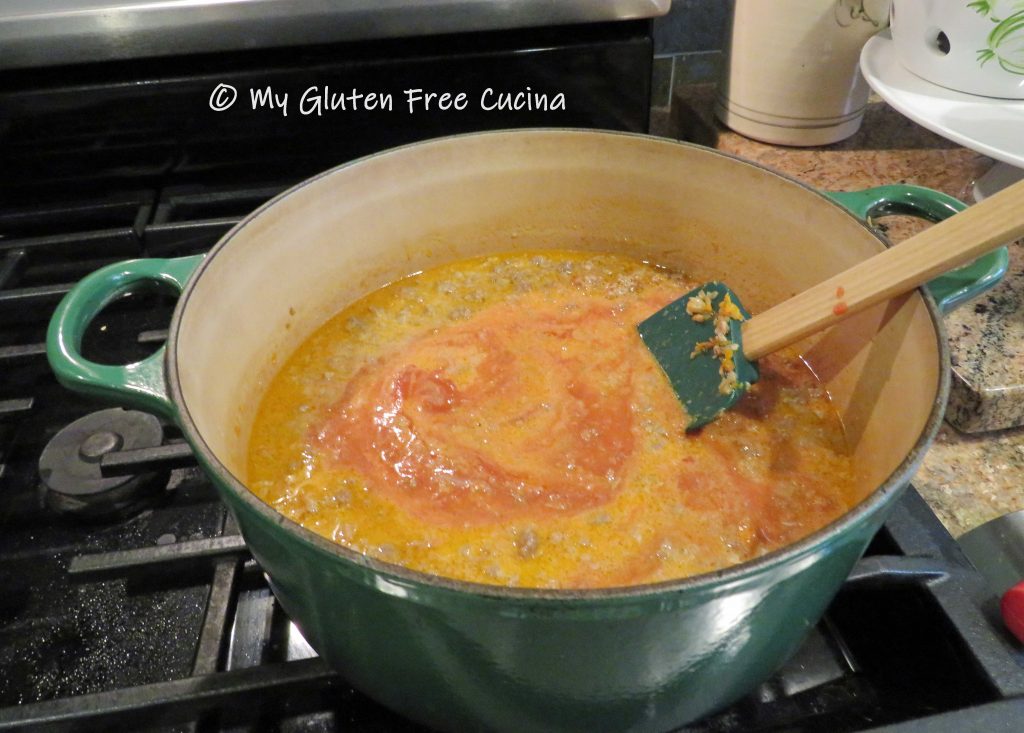

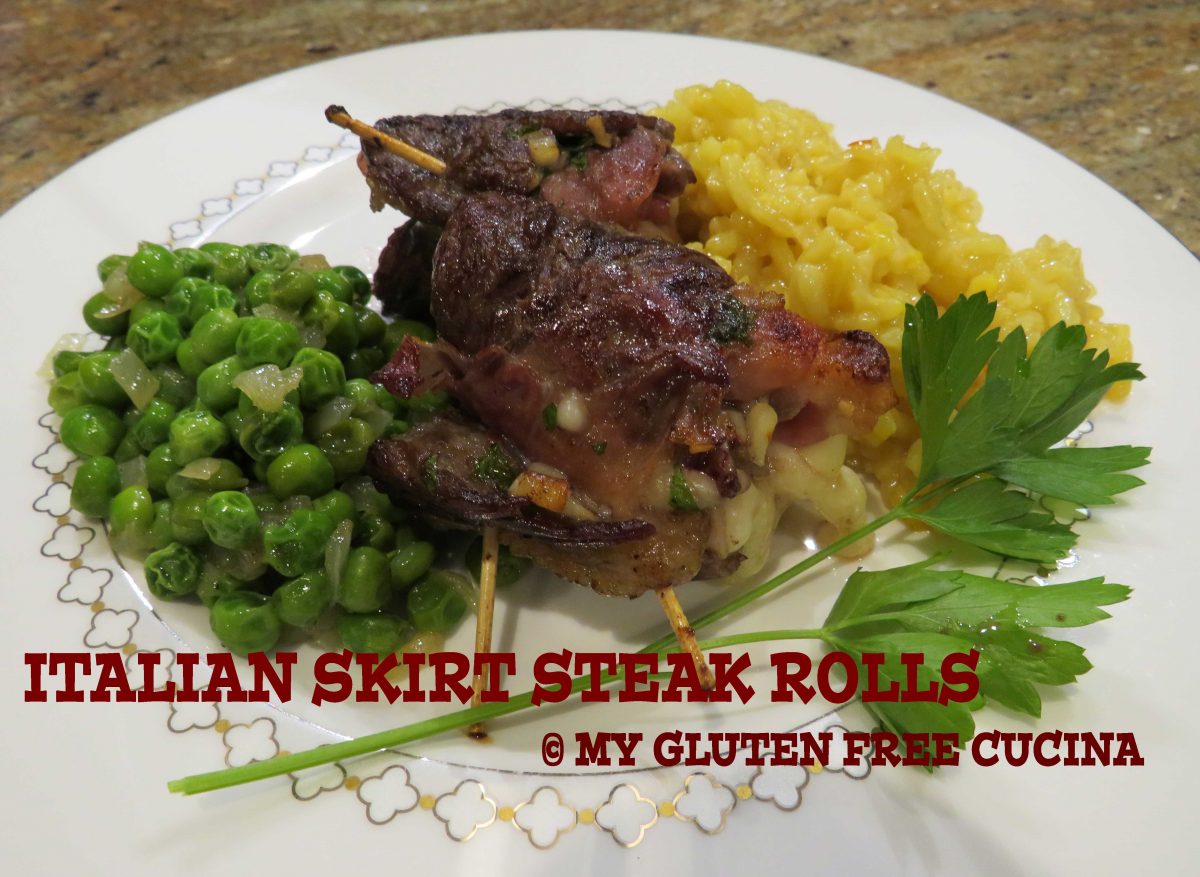


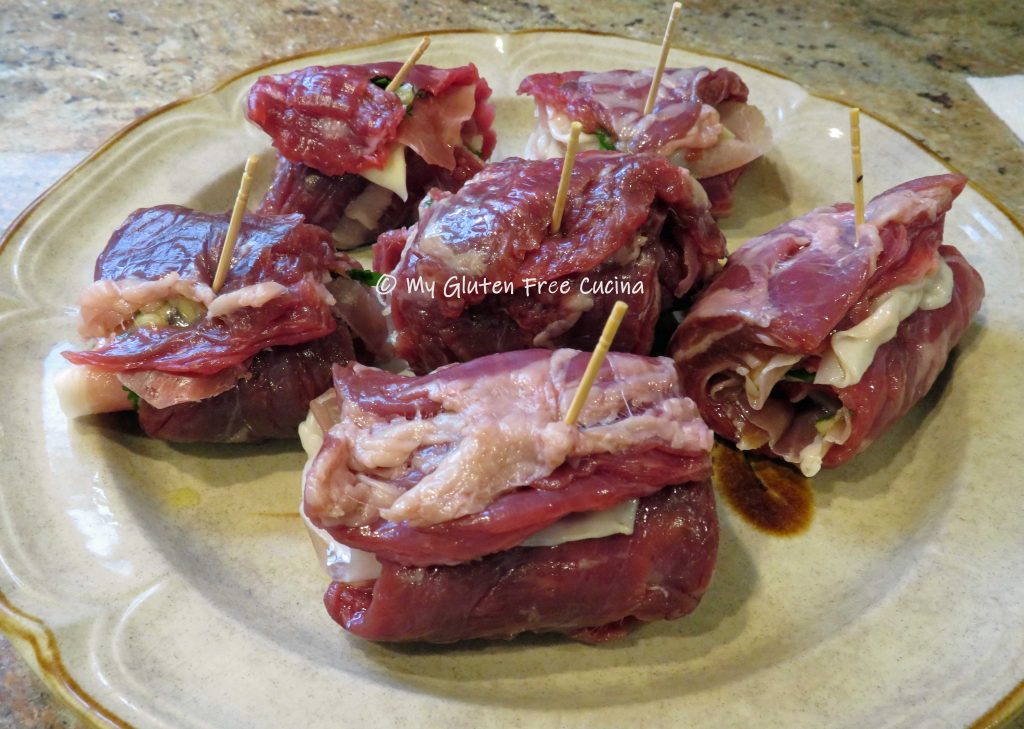
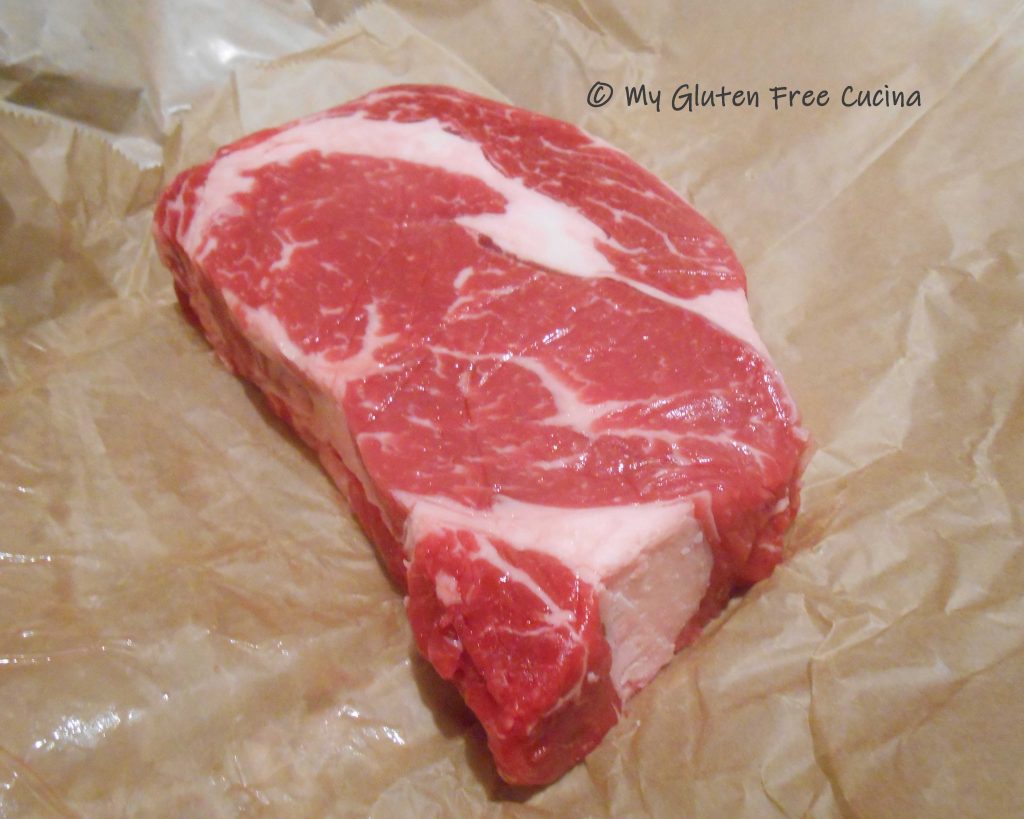
 Lay the steak out on a
 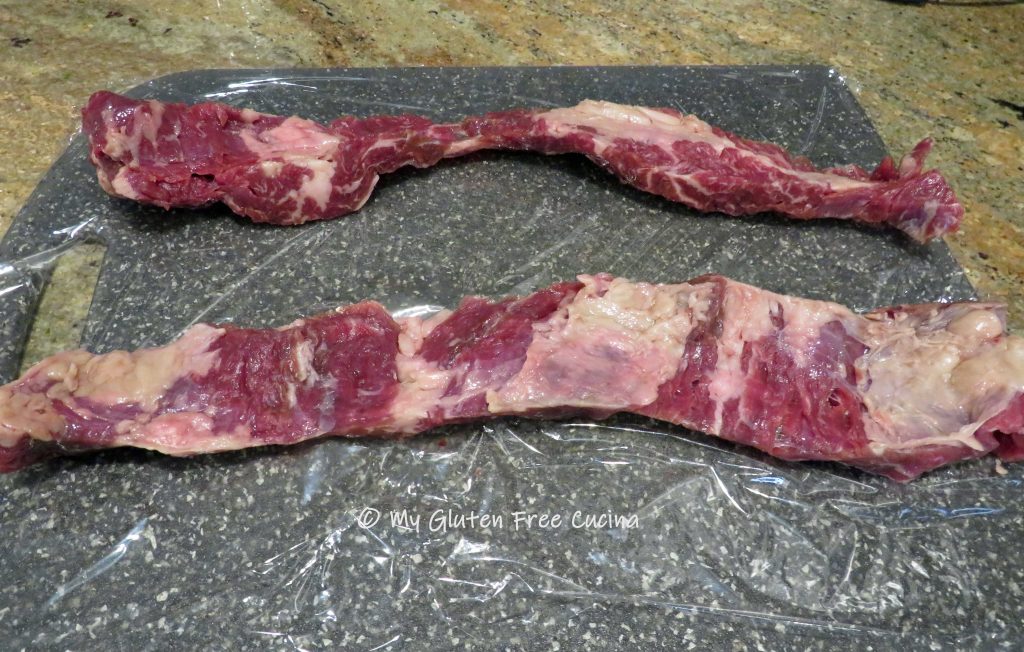 Cover the meat with another sheet of plastic wrap and
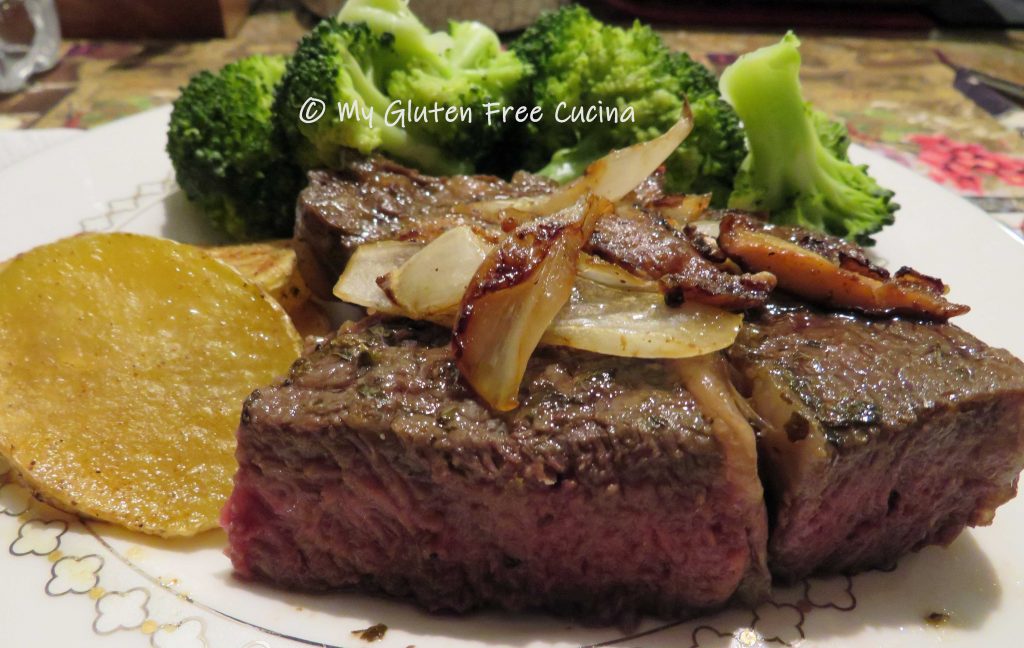
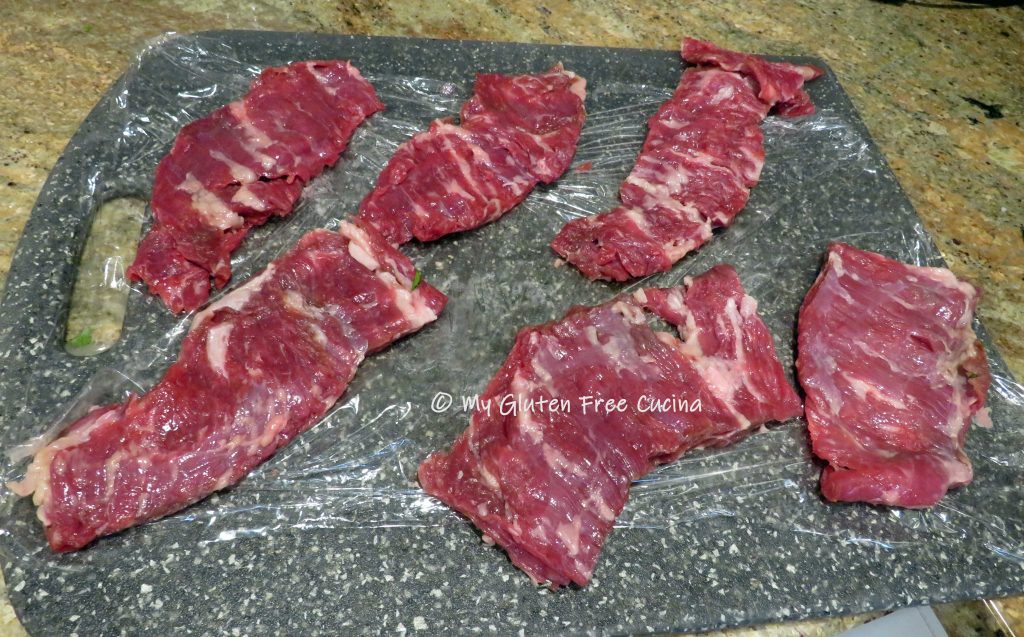 Spread the garlic mixture evenly over the steak.


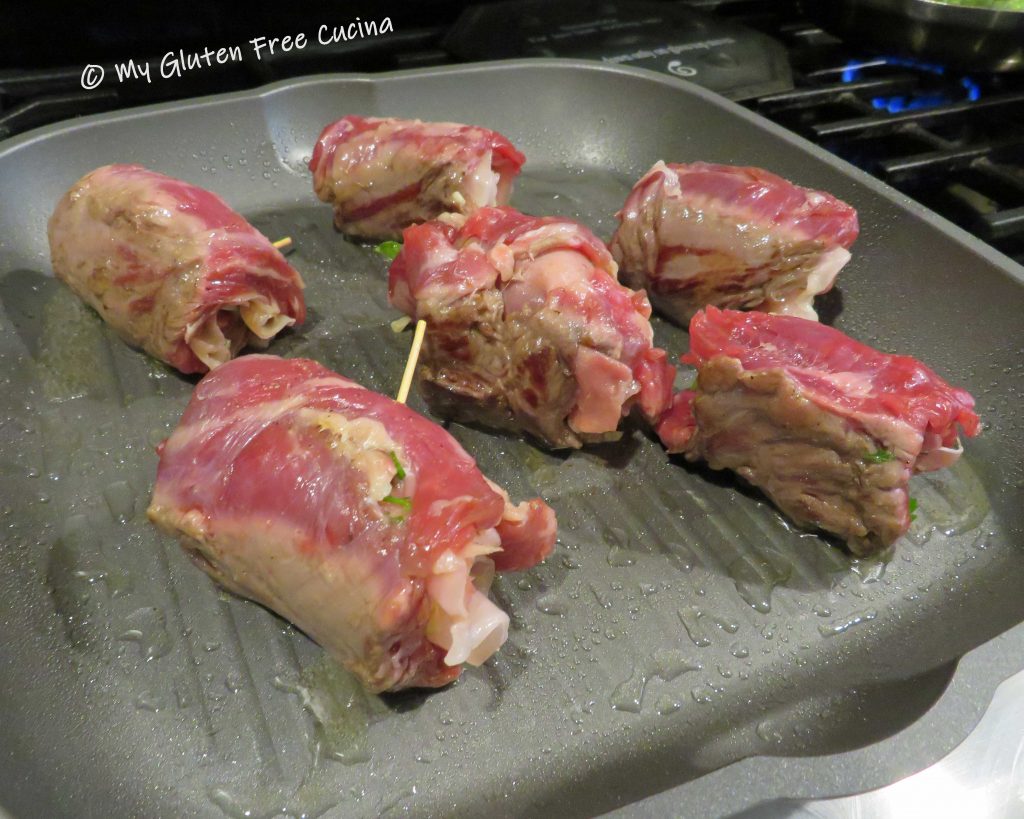
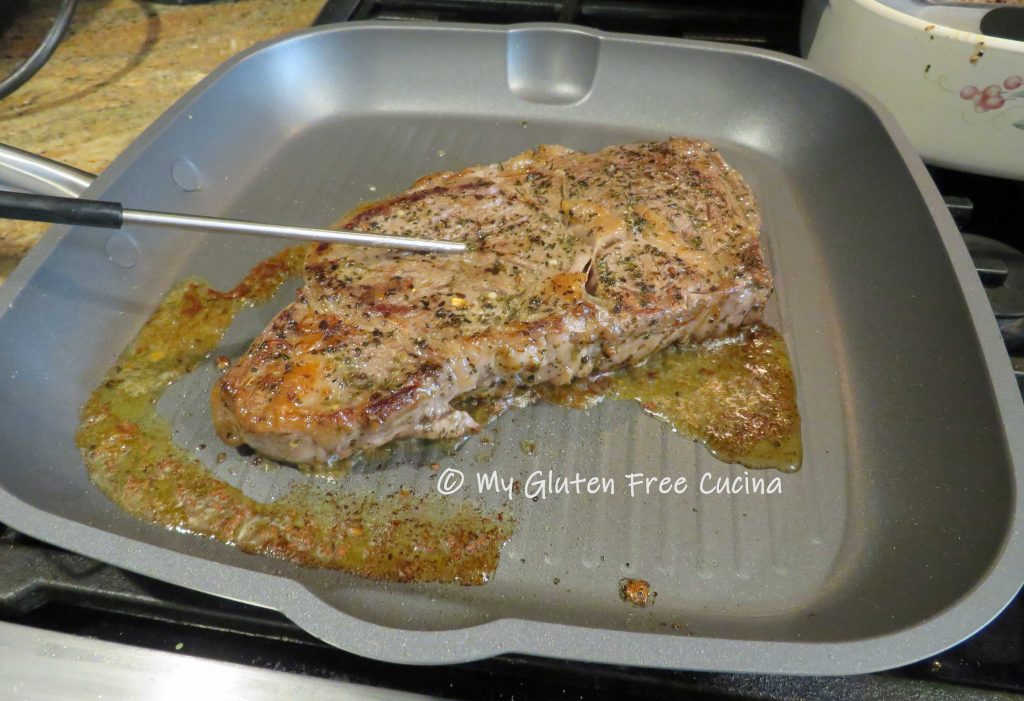
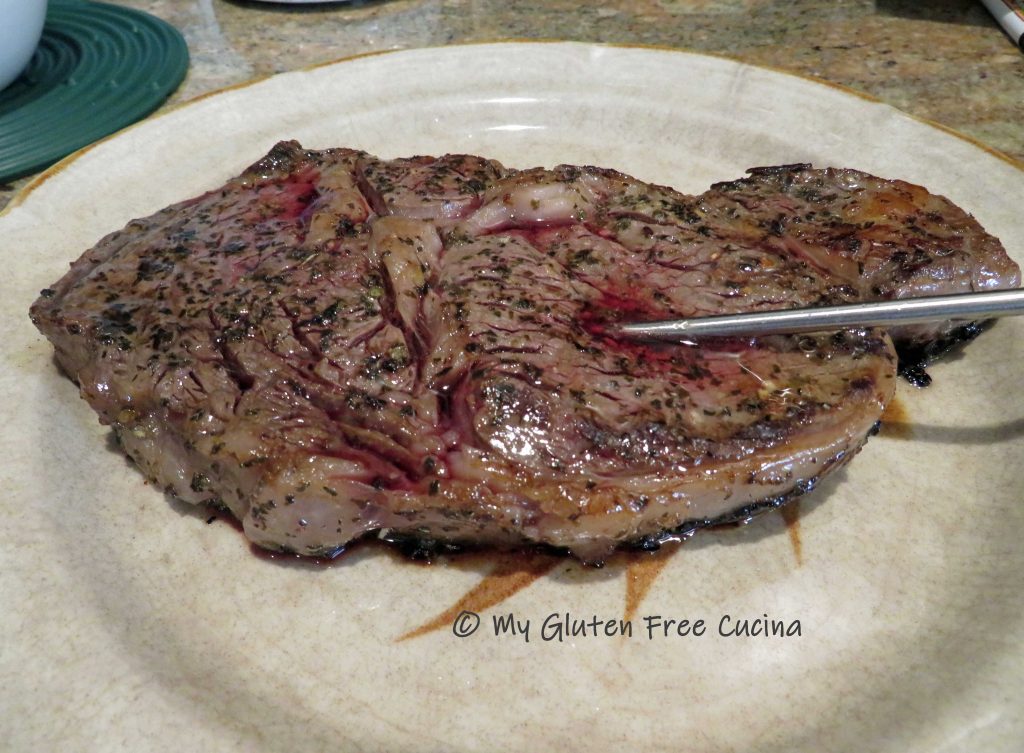
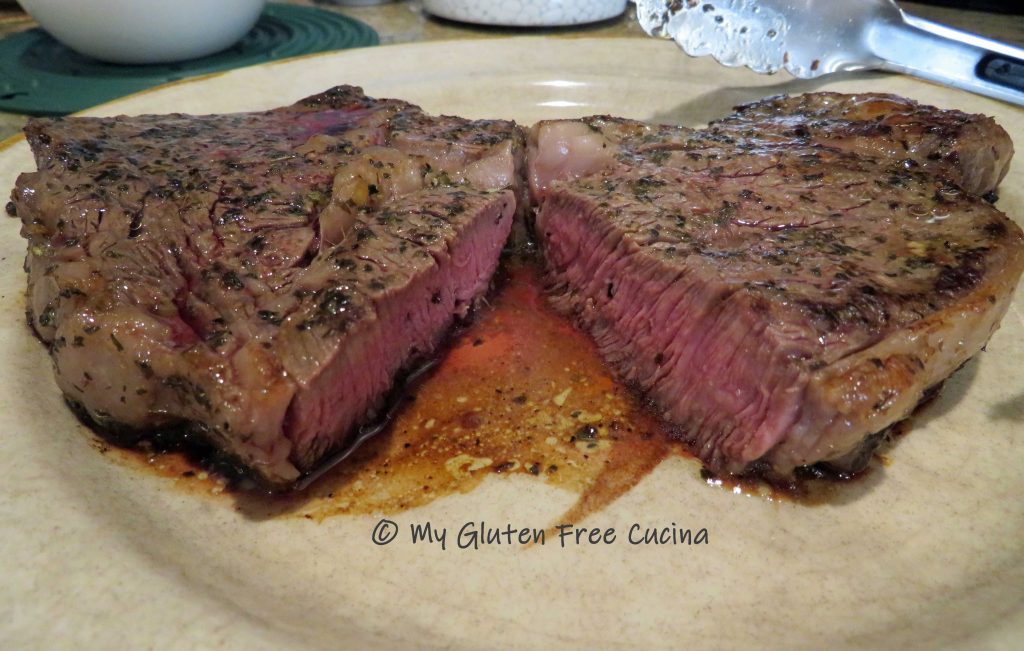
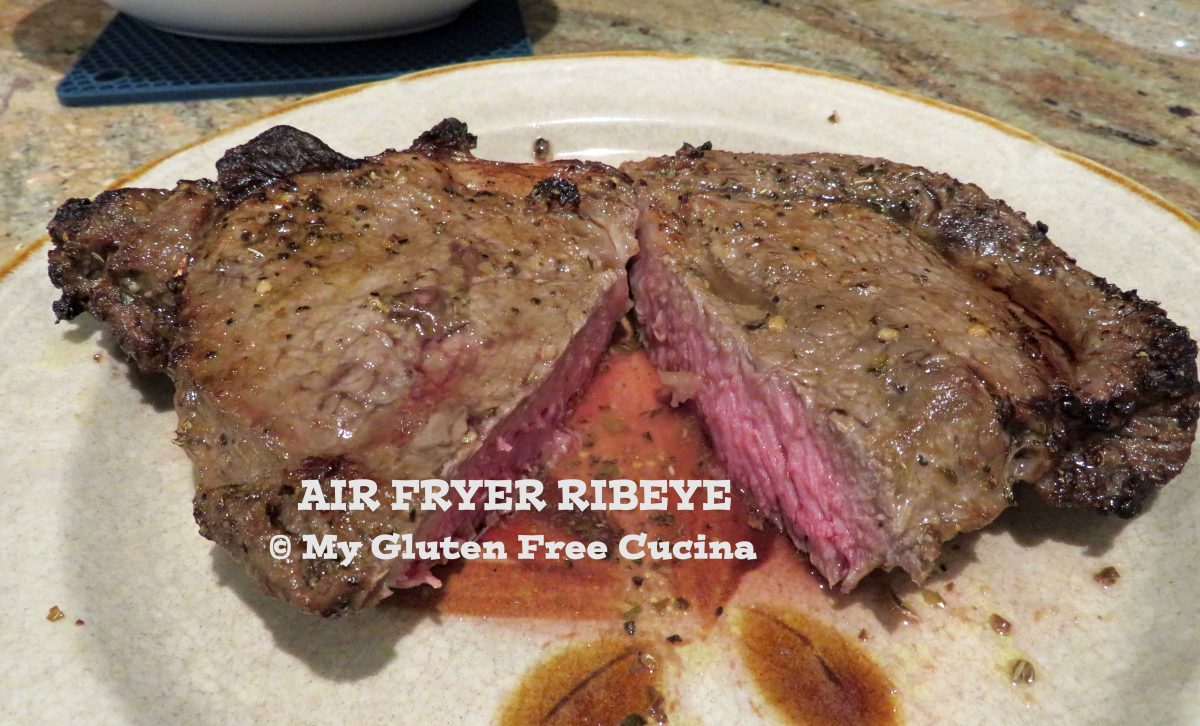
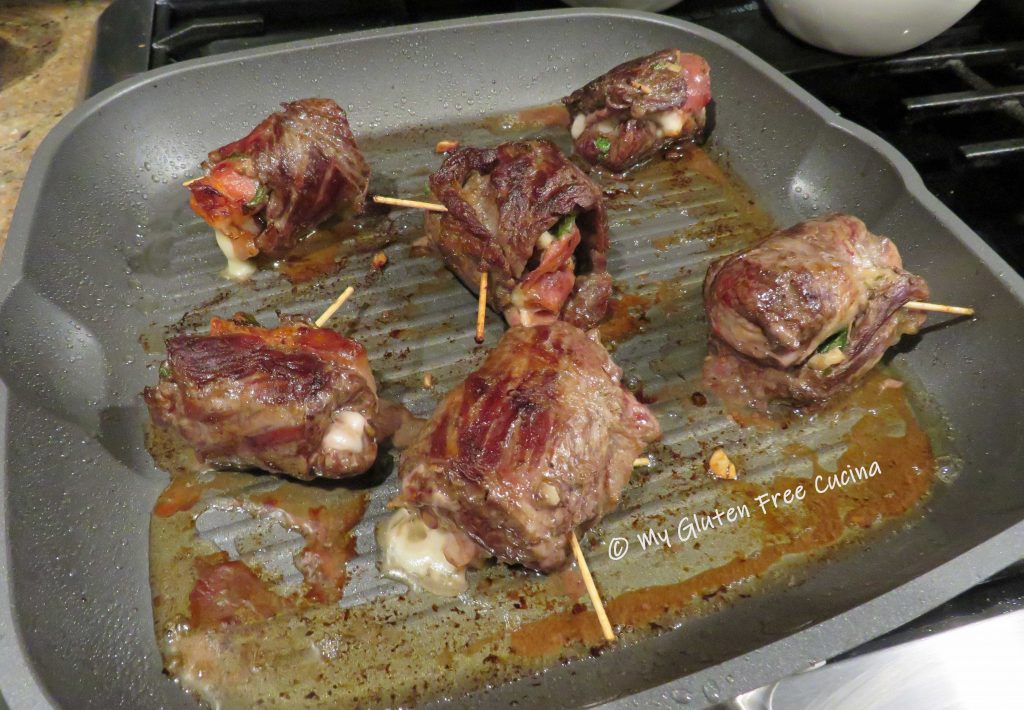
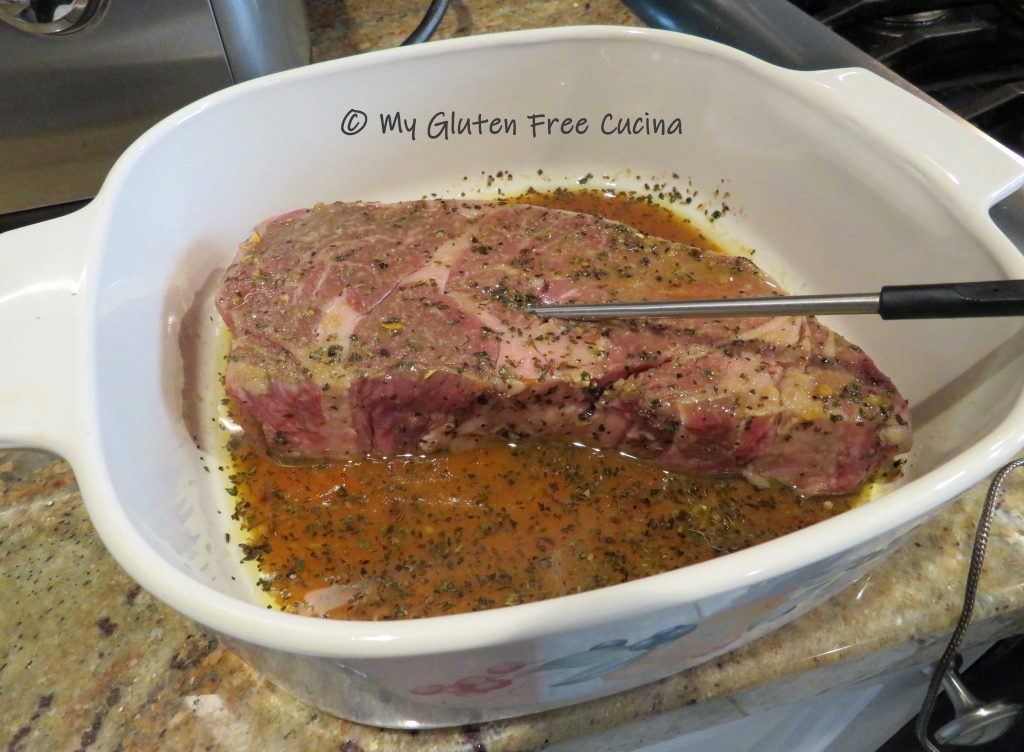
 Remove them when the internal temperature reaches 135º for medium (
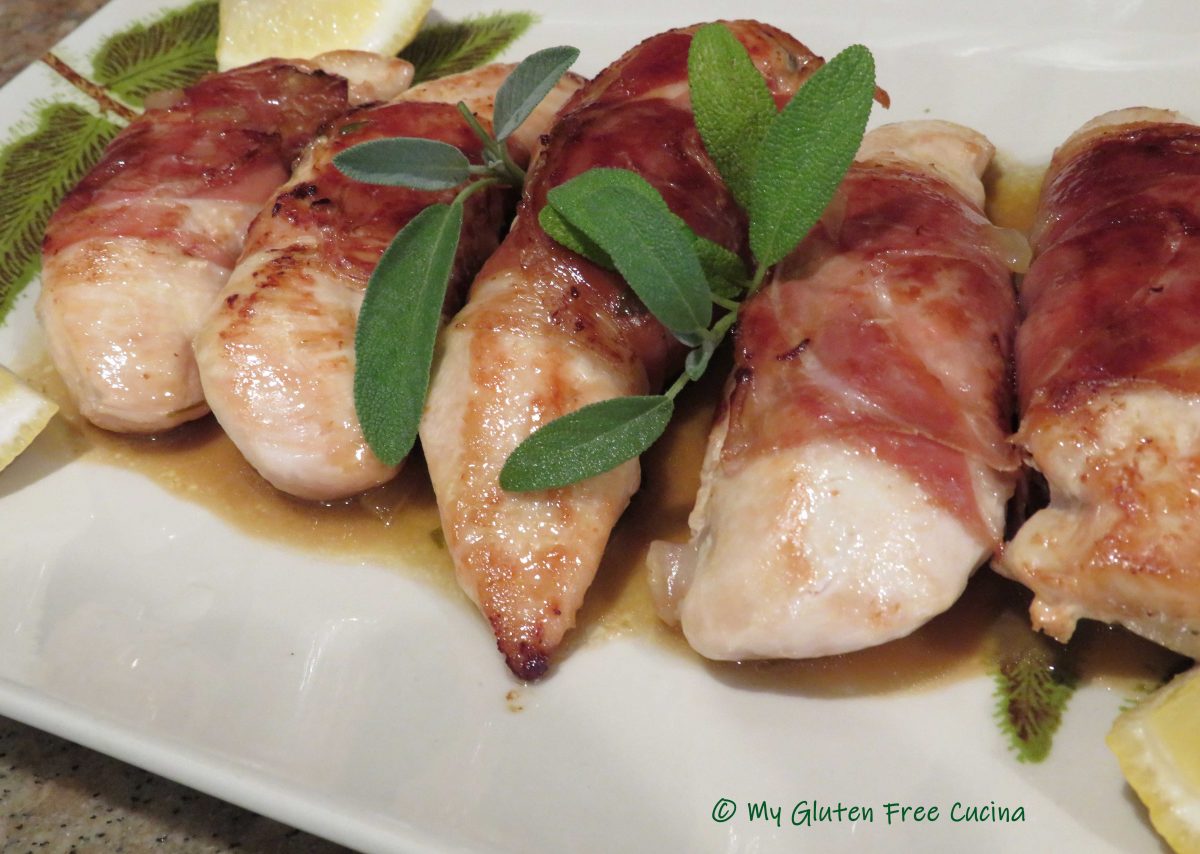
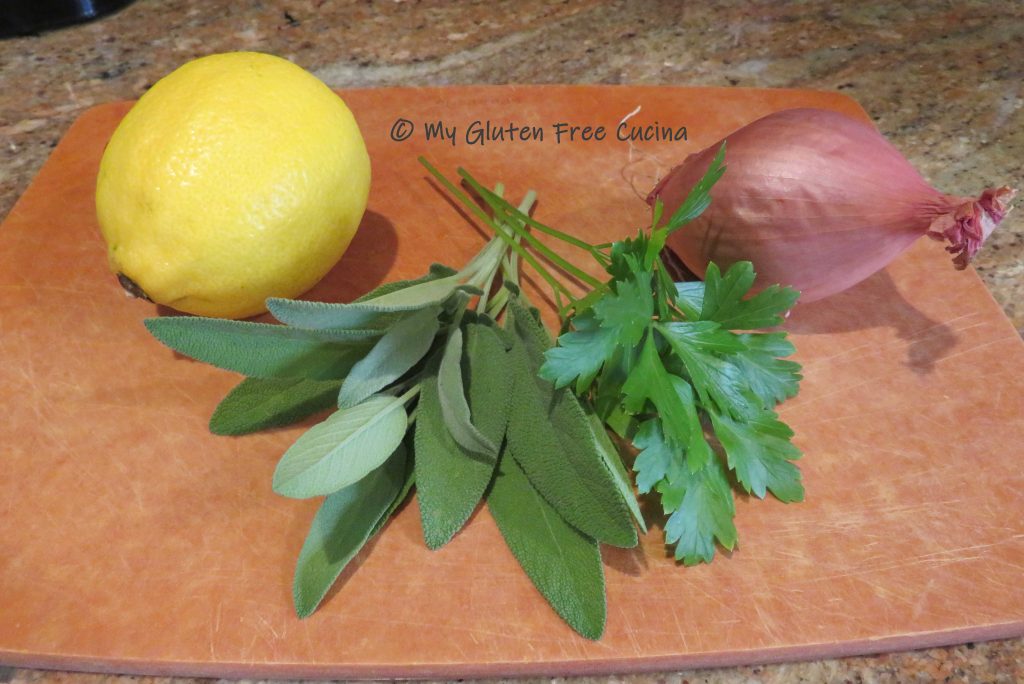
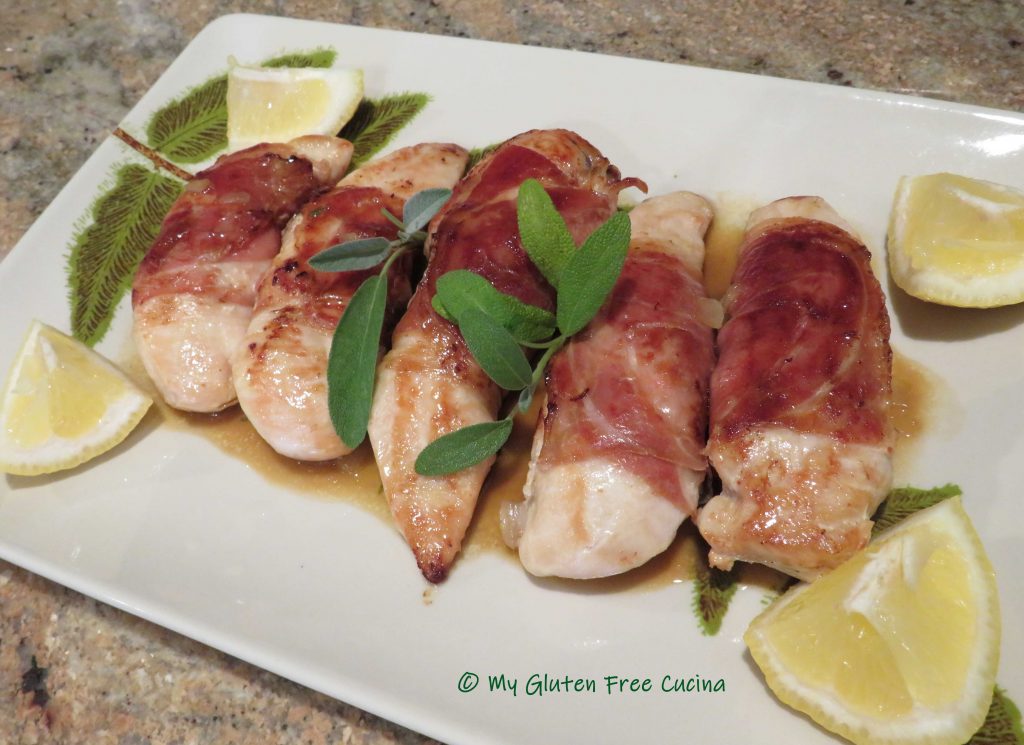
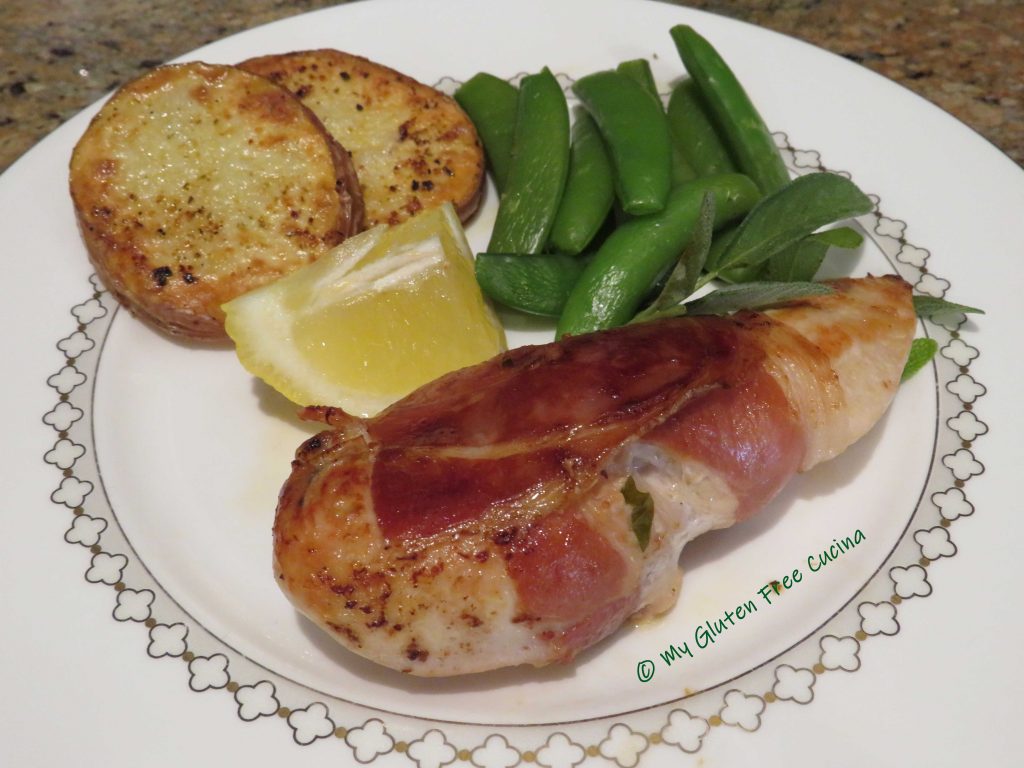
 The inspiration for this post was a beautiful pot of sage from my herb garden. I’m really proud that I grew it from seed!


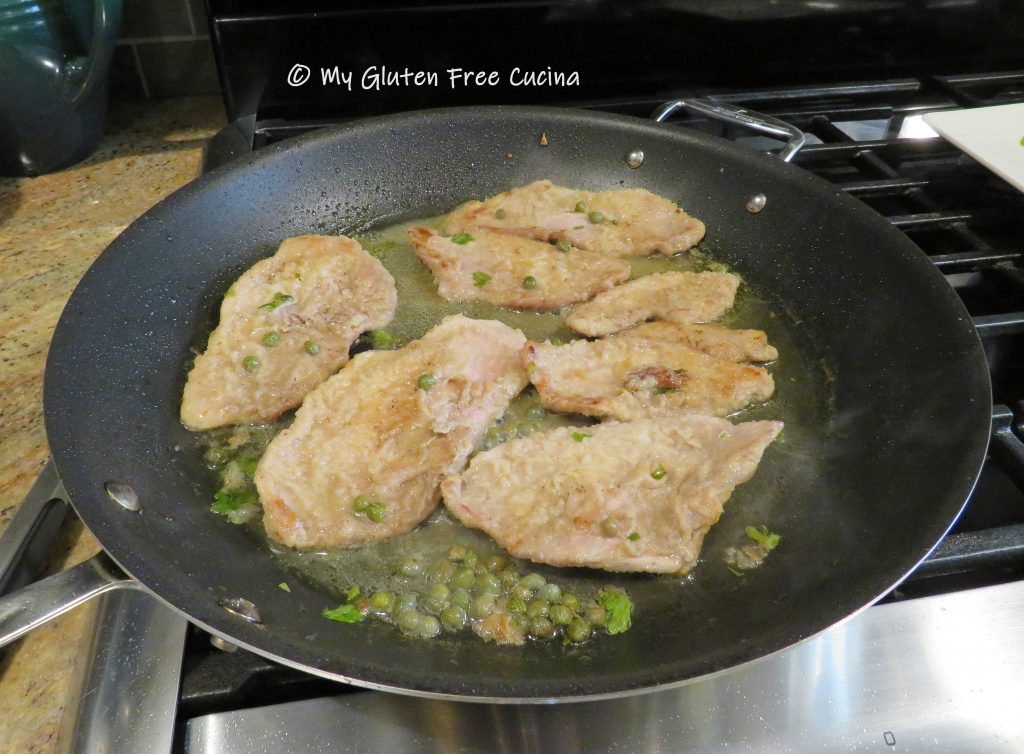
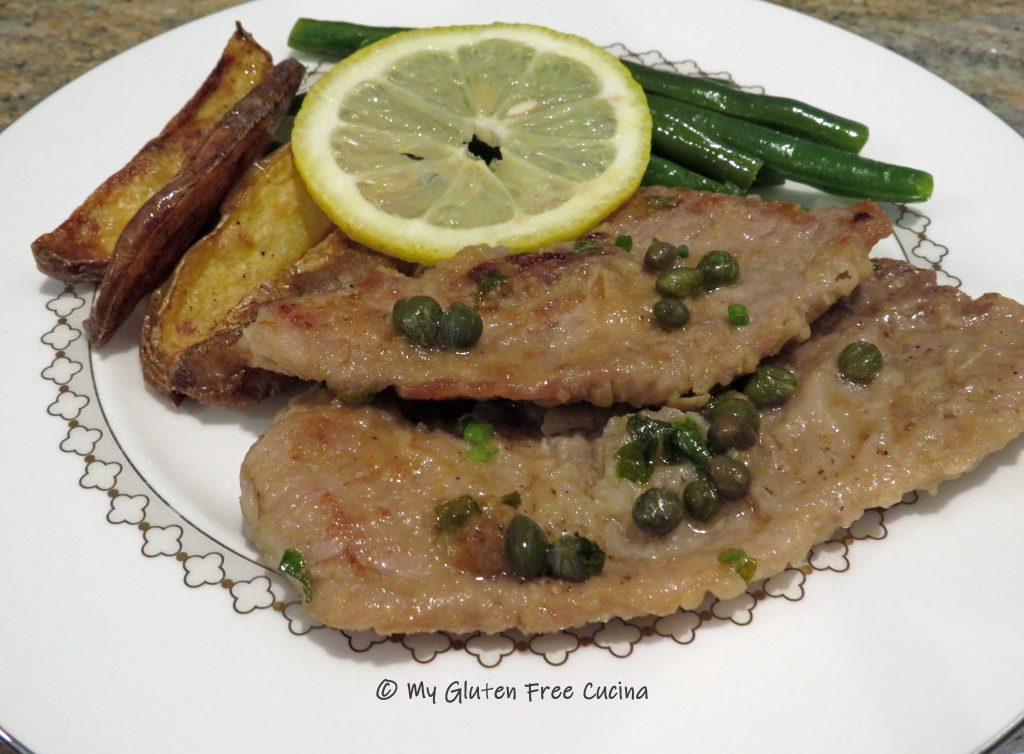
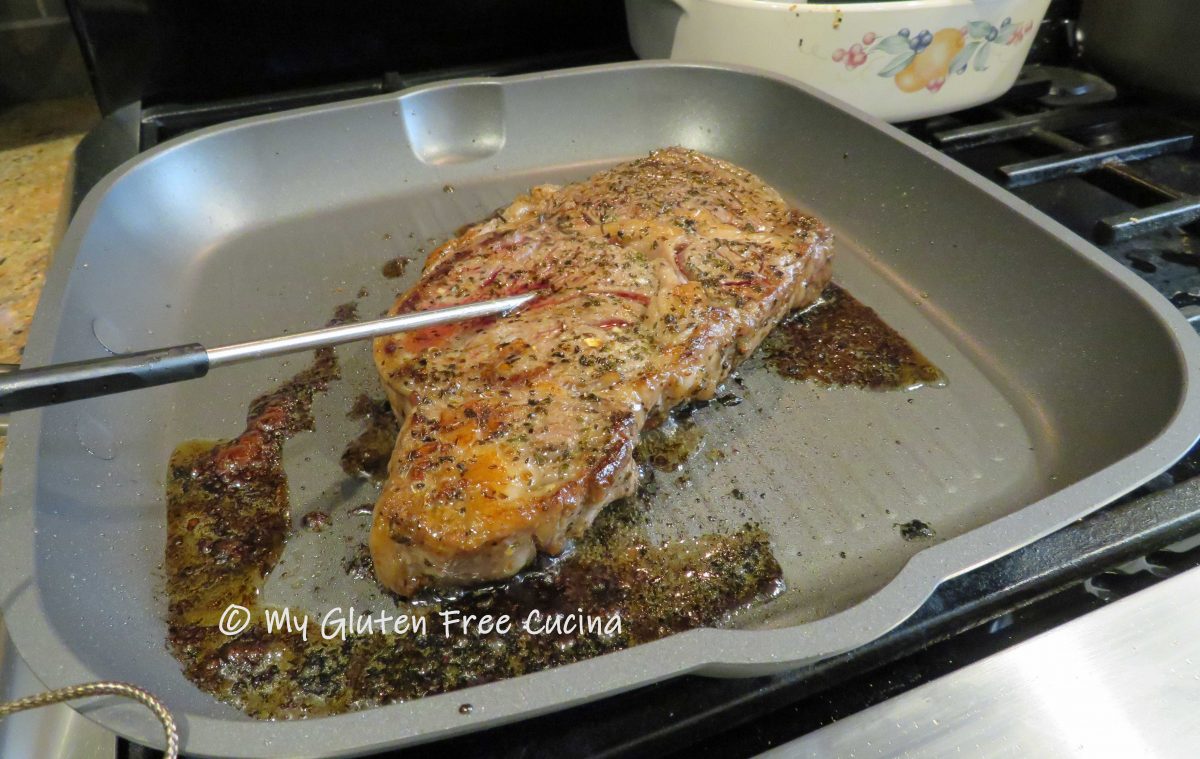


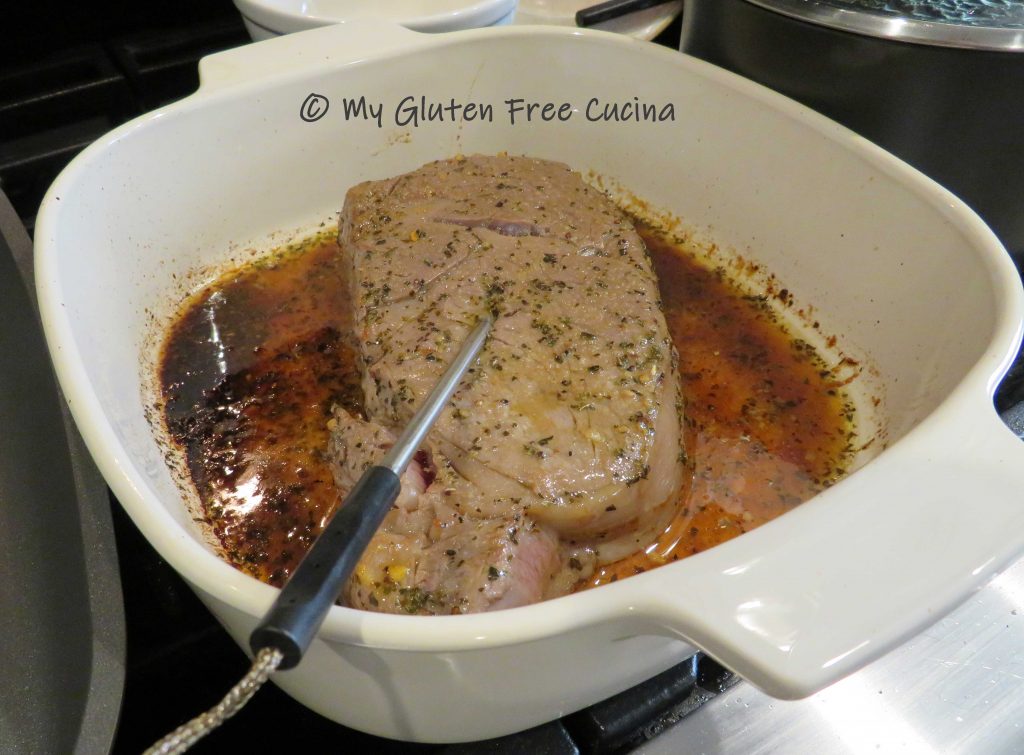

 Keeping the thermometer in place, cook the steak for 2 minutes more per side, or until the internal temperature reaches 140º for medium.