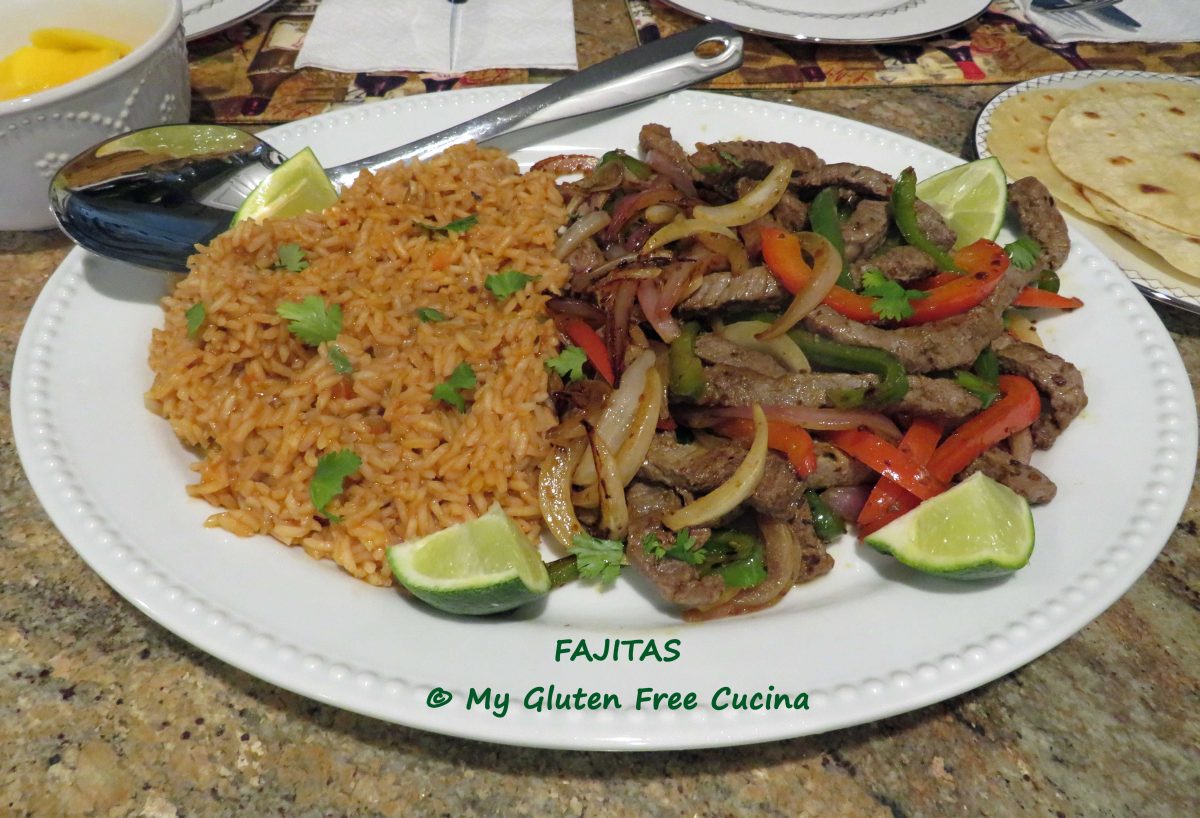
Fajitas are easily adapted to the gluten free diet, since most of the ingredients are naturally gluten free! Steak, peppers and onions cooked stovetop on the griddle with a side of Spanish Rice. I served it all with gluten free corn tortillas, salsa and sliced fresh mango.
You have probably seen fajitas traditionally cooked and served in a cast iron pan like this one. They make a great presentation, coming to the table with a sizzle. But – if you don’t have one, or if like me you can’t lift cast iron pans anymore, it’s perfectly fine to use a nonstick griddle or skillet to cook this fun meal.
I mixed up my own seasoning blend for this recipe. I always have a large collection of individual spices on hand, so I can blend together just enough for a specific meal with nothing wasted. Another benefit is that I can adjust the flavors to my liking. More heat? Add more chipotle. Don’t like cumin? Just leave it out. You get the idea.

For my friends who love spicy food, you are going to want to make this meal! I loved the Spanish rice. Considering I make rice several times a week, this was a nice change from my usual preparation.
4 servings
This post contains affiliate links.
Ingredients:
Seasoning:
- 1 tsp. crushed chipotle chili flakes
- 1/2 tsp. cumin
- 1/2 tsp. paprika
- 1/2 tsp. oregano
- 1/4 tsp. garlic powder
- 1/4 tsp. onion powder
- 1/8 tsp. red pepper flakes
- 1/2 tsp. sea salt
Fajitas:
- 3/4 lb. sirloin, skirt steak or flank steak, sliced thin
- 1/2 red bell pepper, cut into strips
- 1/2 green bell pepper, cut into strips
- 1/2 medium sweet onion, sliced thin
- 1/2 medium red onion, sliced thin
- 1 lime, half juiced and half for serving
- 2 tbsp. olive oil
- gluten free tortillas for serving
- salsa, for serving (this one is my favorite)
- fresh mango, for serving (optional, my favorite!)
 Preparation:
Combine the spices and mix well.
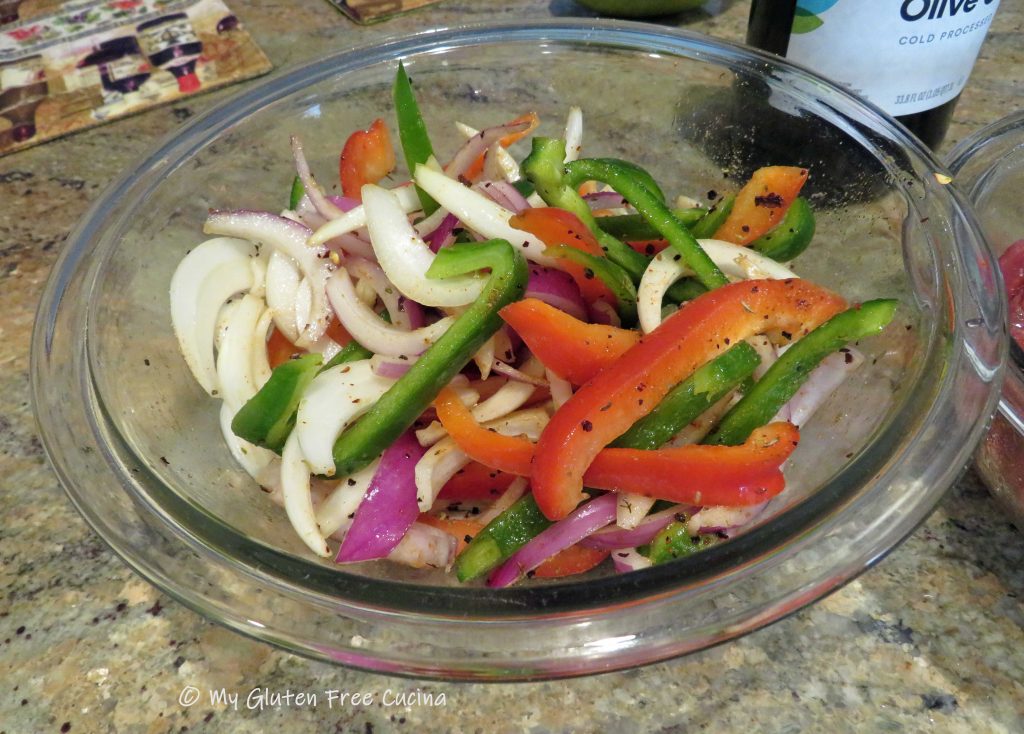
Add the sliced peppers and onions to a medium bowl with 1 tbsp. olive oil and 1 tsp. of the spice blend.
In a separate bowl, toss the beef strips with 1 tbsp. olive oil and 1 tsp. of the spice blend.

Heat a griddle or large nonstick skillet and warm the tortillas, about 30 seconds per side. Remove to a plate and keep warm.

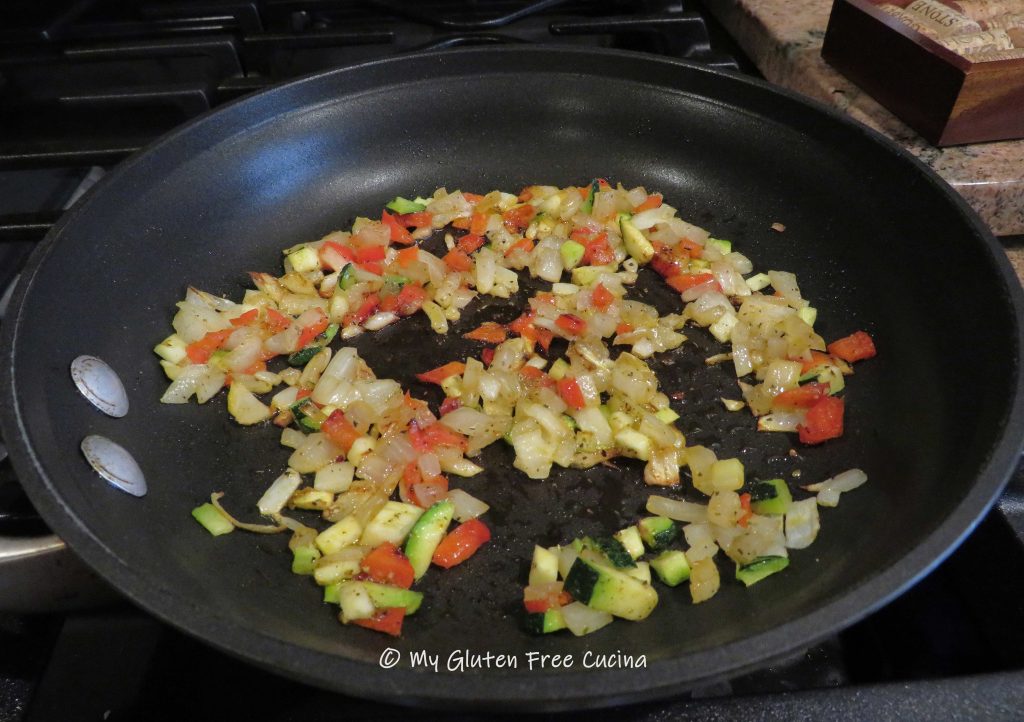
Add the peppers and onions to the griddle and cook to crisp tender, stirring occasionally.


Push the veggies to the back of the griddle and add the meat. Cook quickly about 1 minute per side.


Toss with the peppers and onions and squeeze the juice from 1/2 lime over the top. Garnish with fresh cilantro and serve with the tortillas, lime wedges, rice and salsa.

Spanish Rice Ingredients:
- 1/2 cup long grain white rice
- 1 tbsp. olive oil
- 1/4 cup minced onion
- 2 tbsp. minced bell pepper
- 2 tbsp. tomato sauce
- 1 cup chicken broth
- 1 tsp. fajita seasoning (from above)
Preparation:
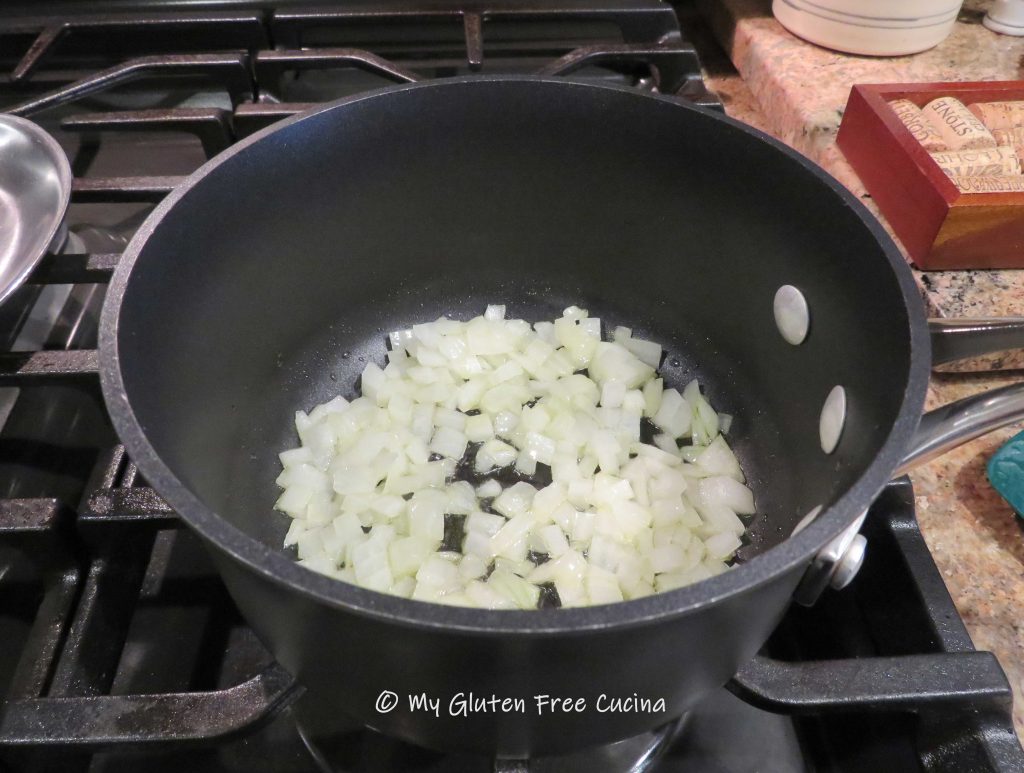
In a small saucepan, combine olive oil, onion and bell pepper and cook over medium low heat until the onions are translucent. Stir in the rice, tomato sauce and chicken broth. Cover and cook 15 minutes. Garnish with cilantro.

Notes ♪♫ Truth be told, I was not a fan of the store-bought gluten free tortillas. Next time I will make them myself, but that’s another blog post! Sometimes you need a shortcut, right? And this dinner was a success in every other way. 🙂


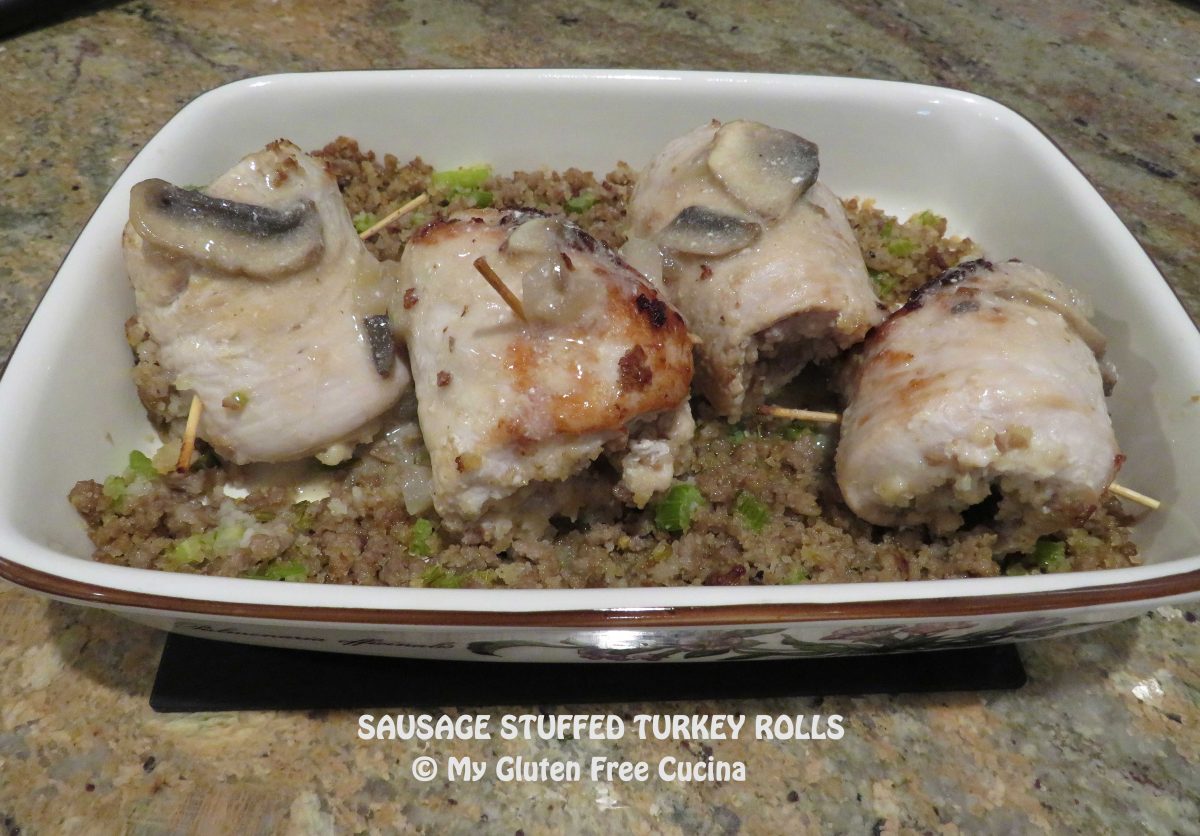


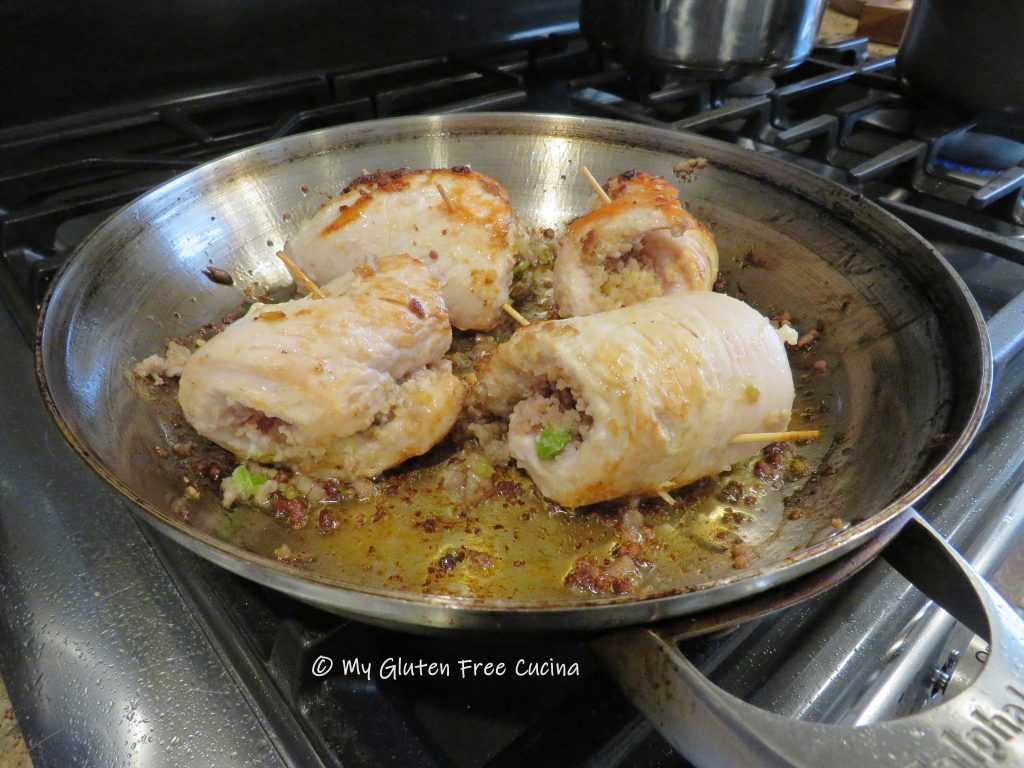


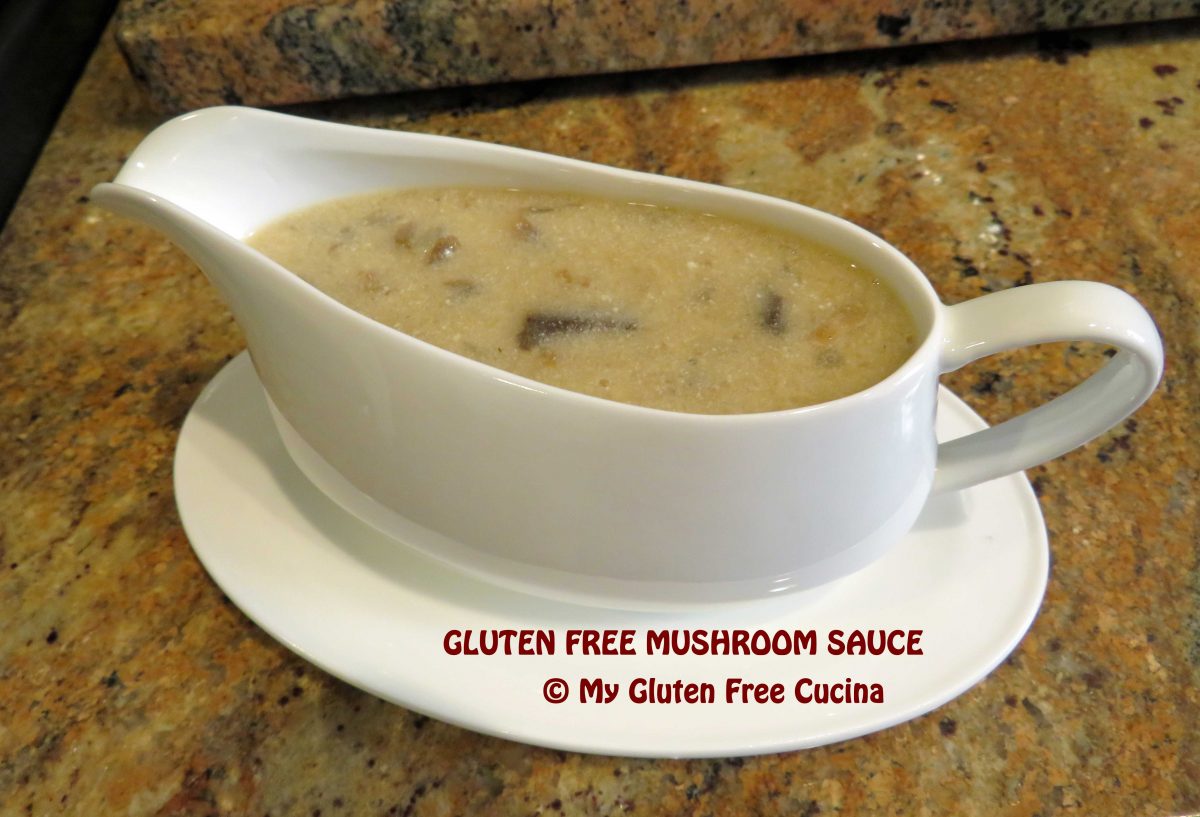


 This sauce goes well with so many things. Beef, poultry, pork… I am especially proud of this next recipe for Sausage Stuffed Turkey Rolls. Paired with the Mushroom Sauce and a side of wild rice, this was a great meal.
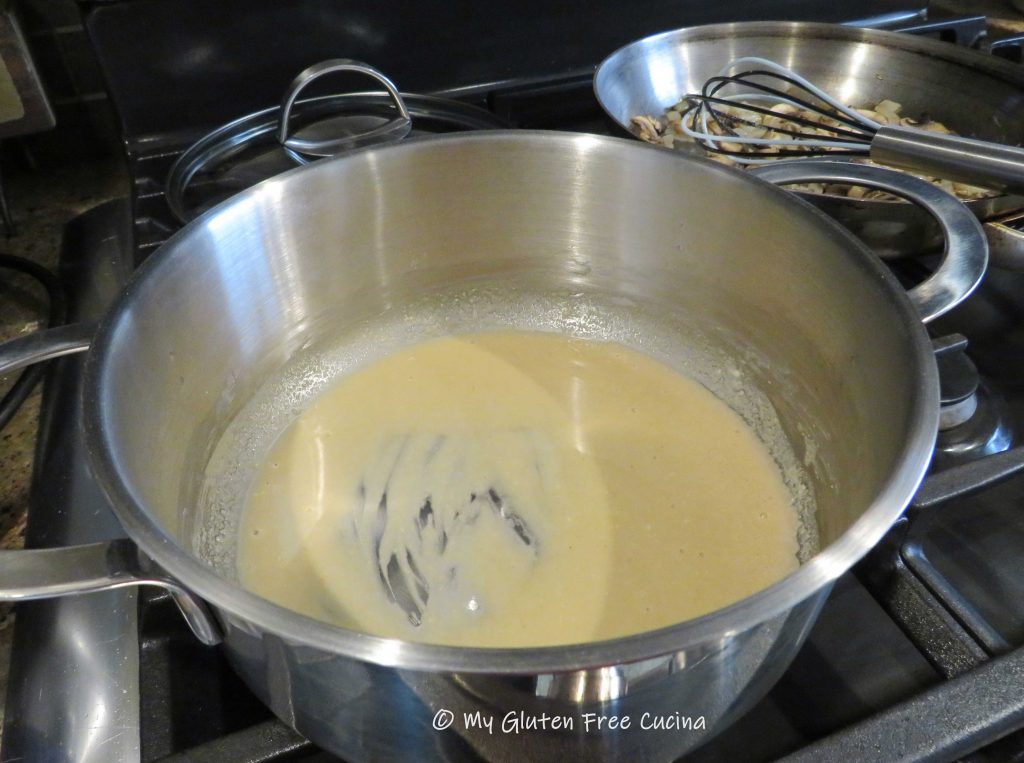
 Transfer to a
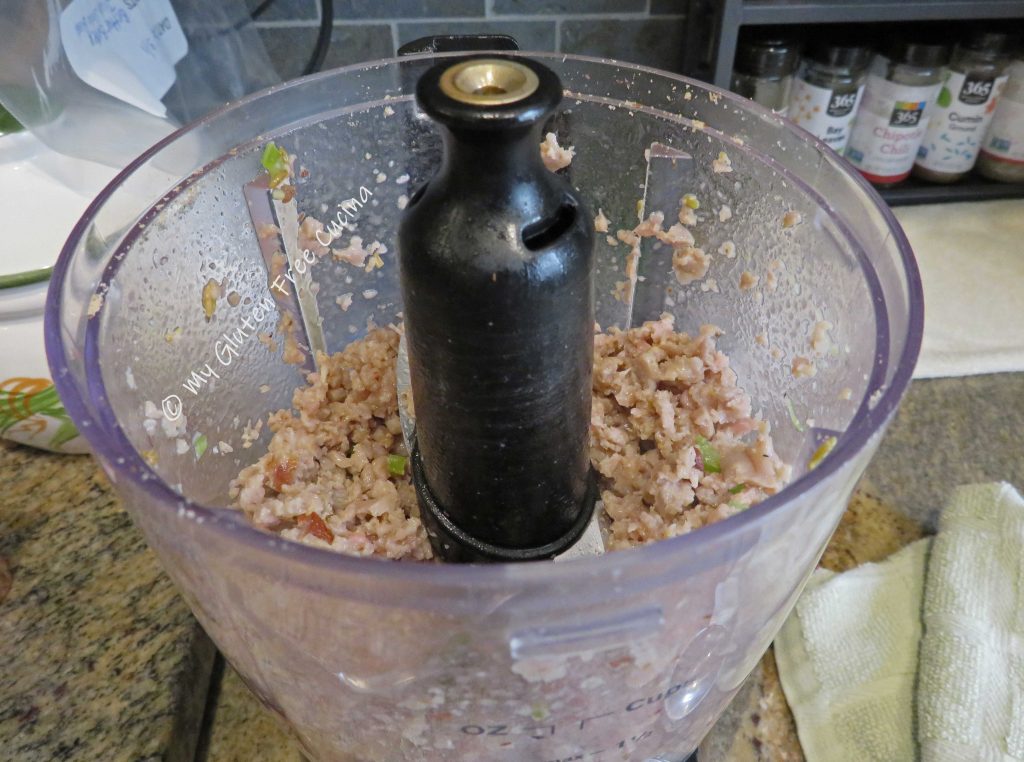
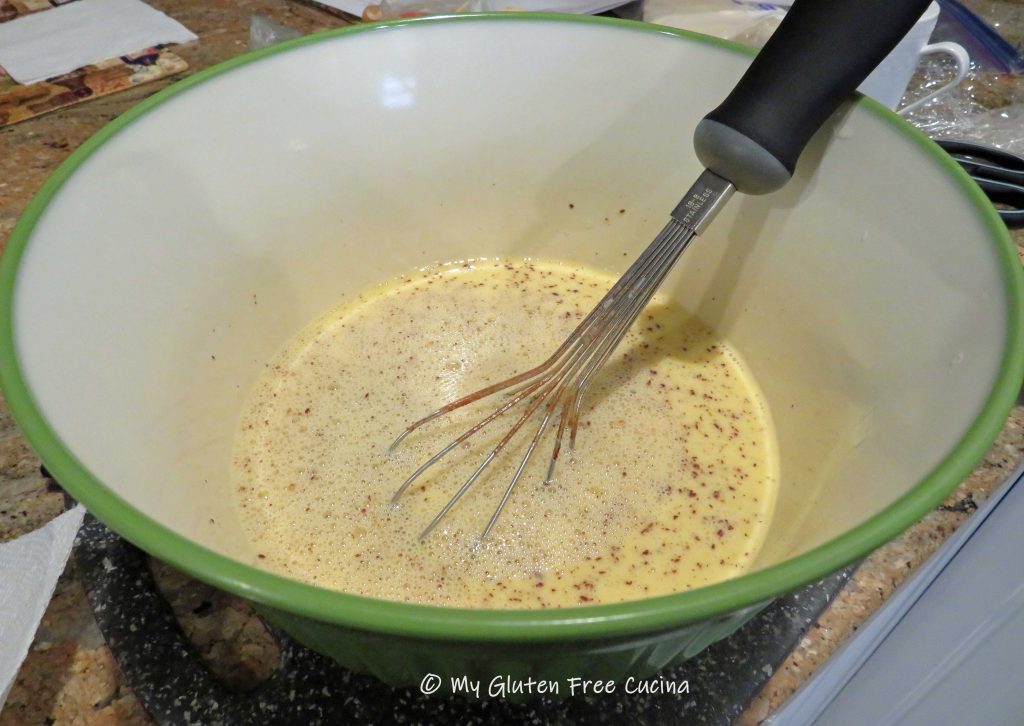
  When cooled, whisk in the ketchup followed by the egg and more seasoning.
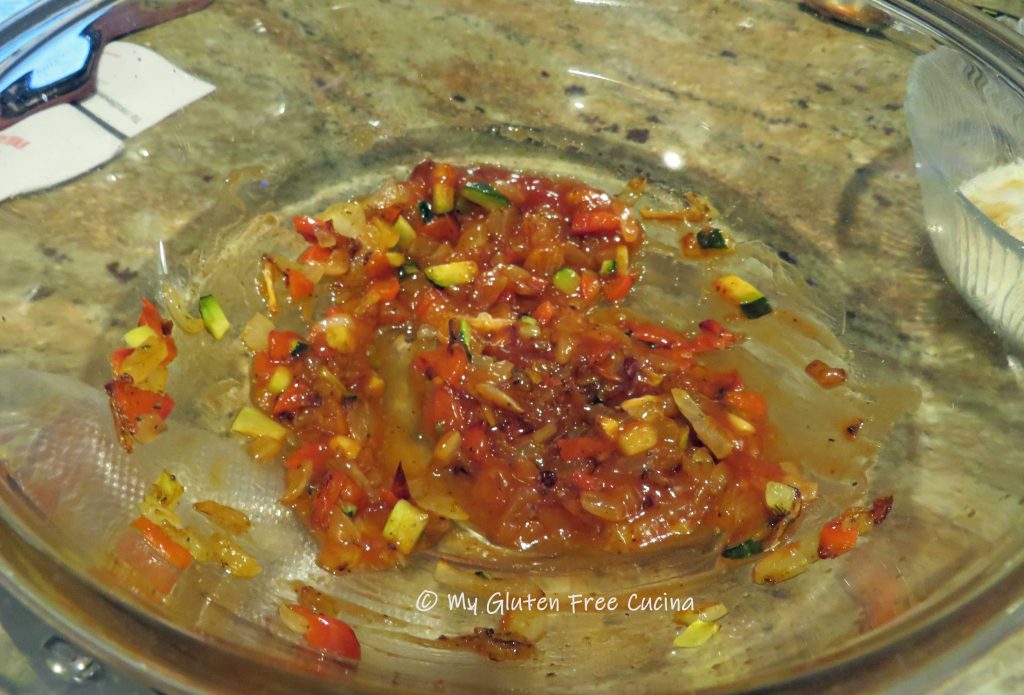
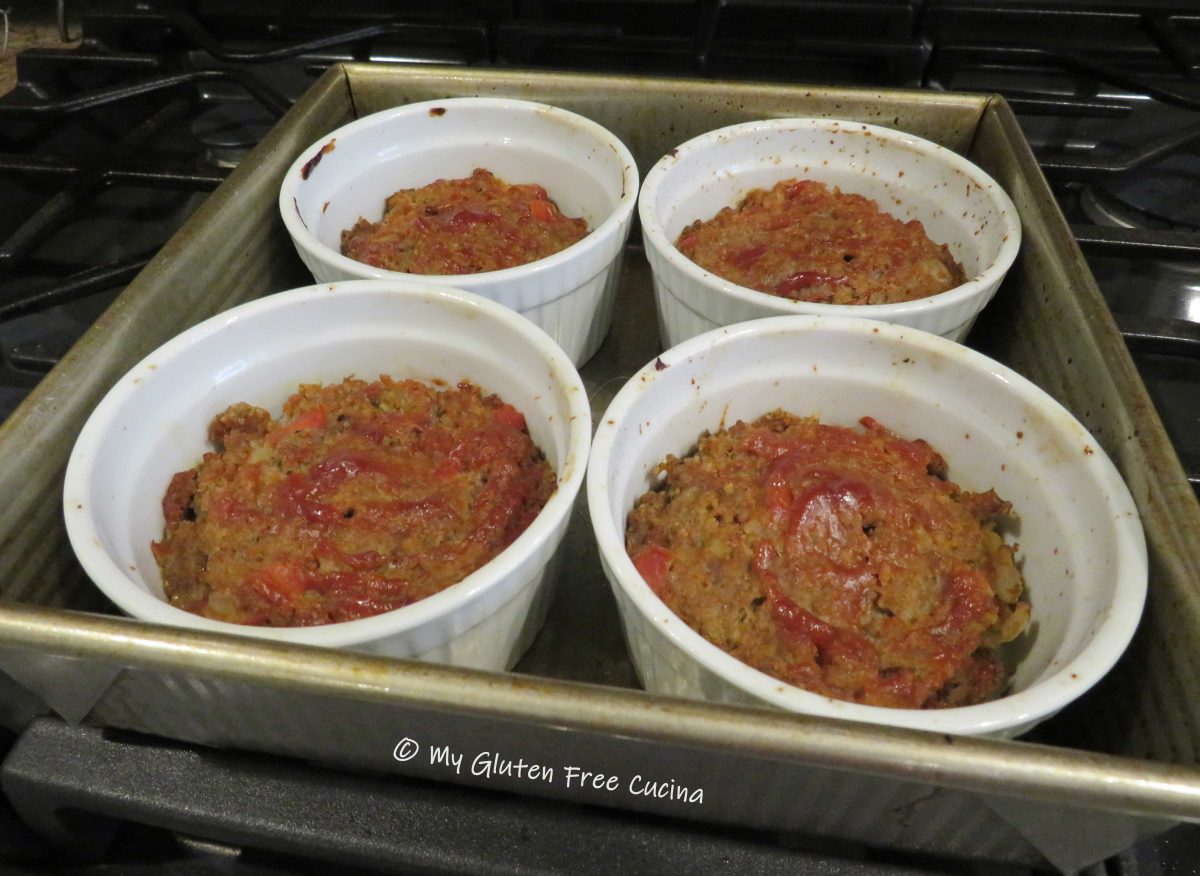
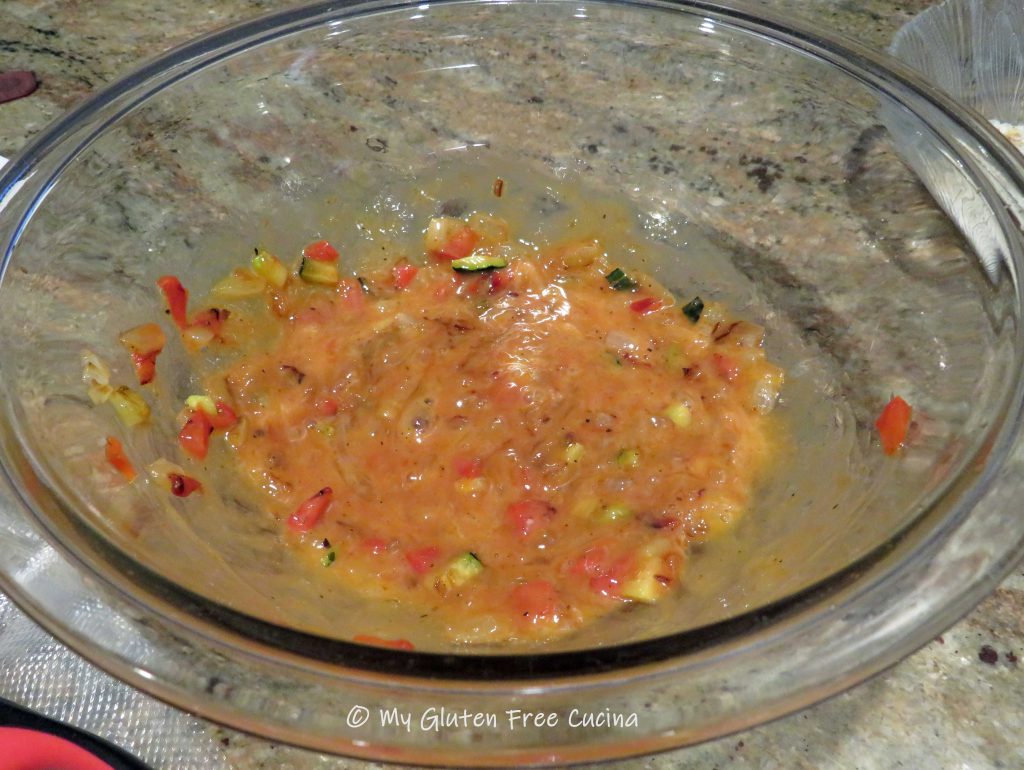 Next add the beef, working it in with your hands. Gradually add the potato flakes and breadcrumbs and combine well.
 Divide the meatloaf mixture between the 4 ramekins. Top with ketchup and smooth the tops with a fork.
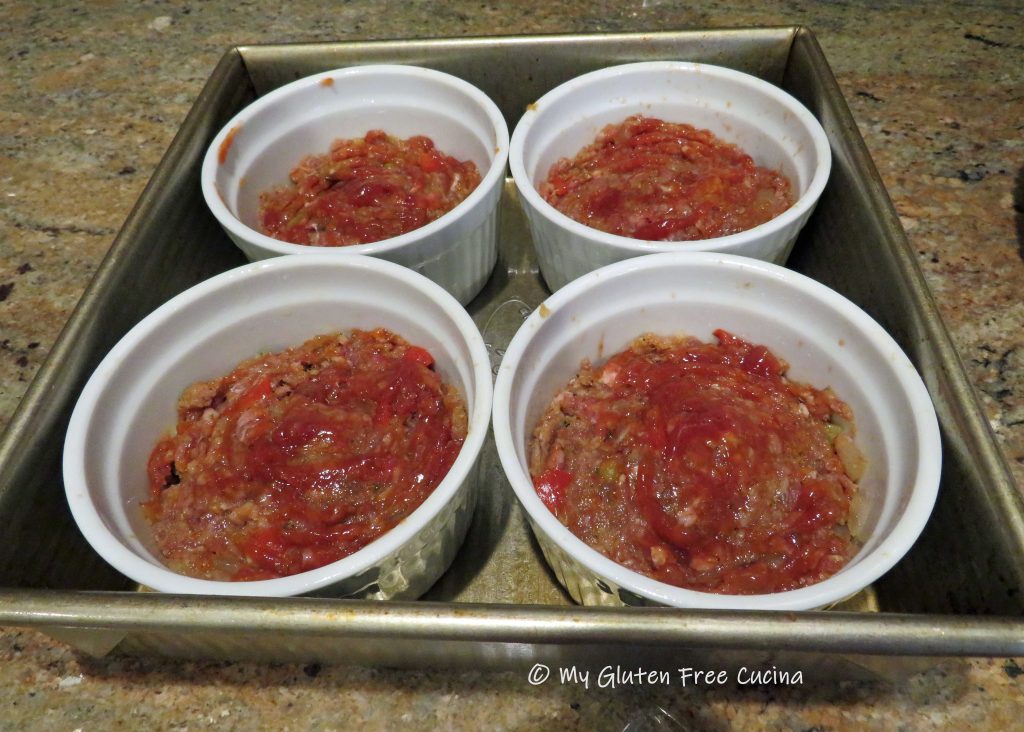 Bake at 375º for 20 minutes or until the internal temperature reaches 150º (
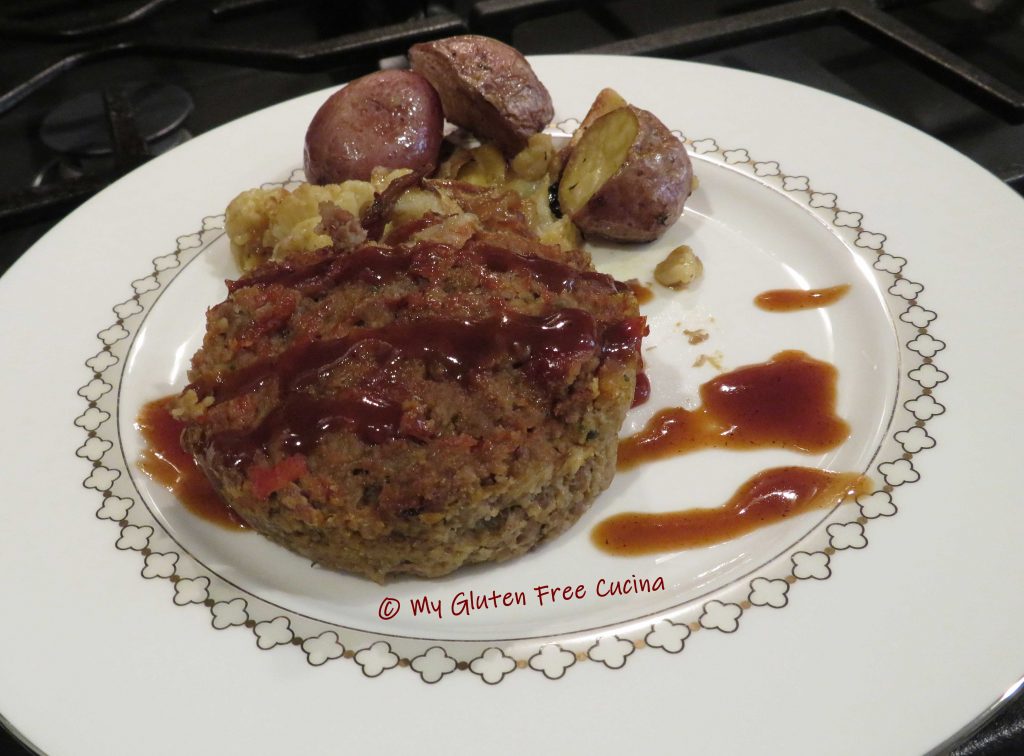
 Serve with ketchup or your favorite BBQ sauce (my favorite is
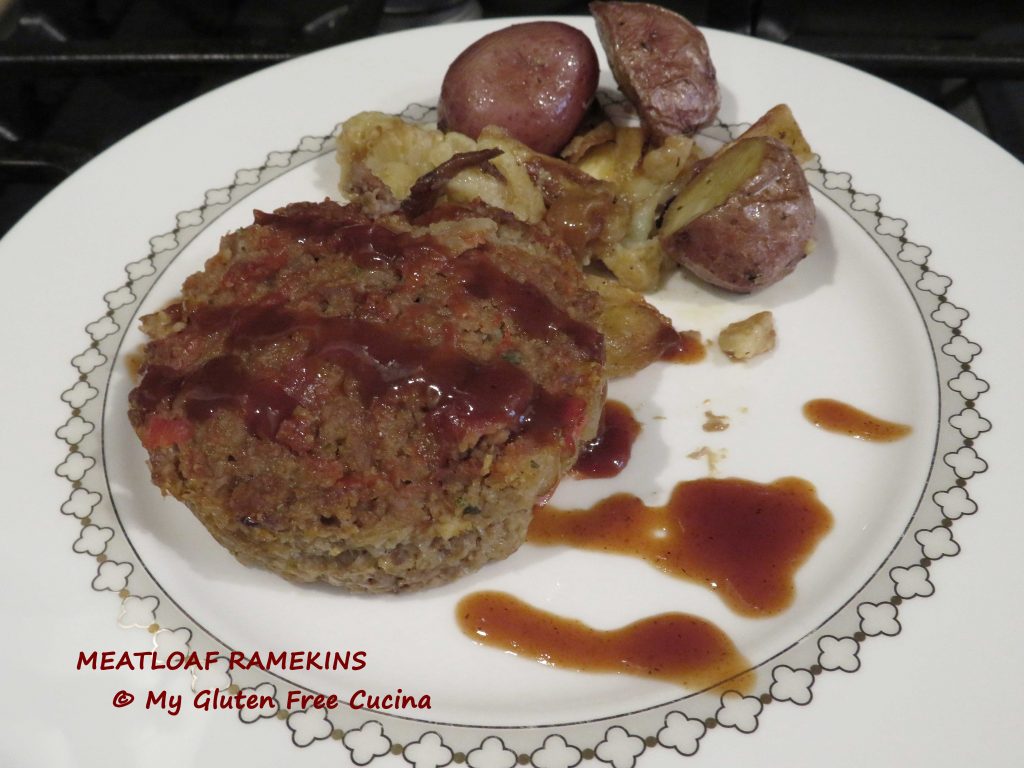


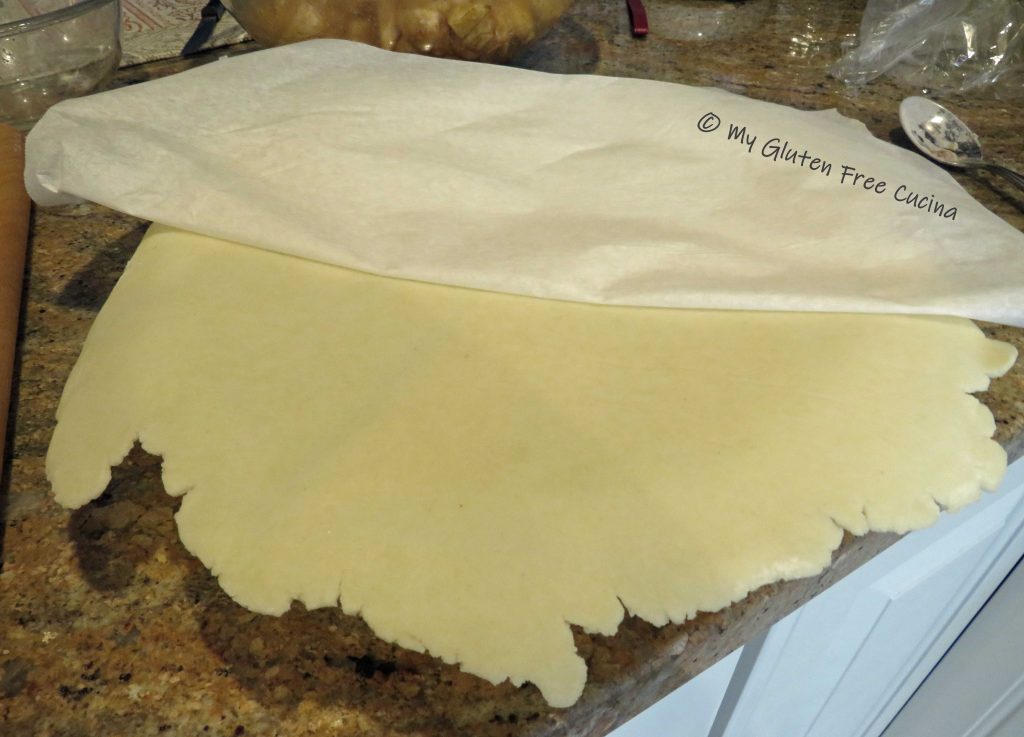
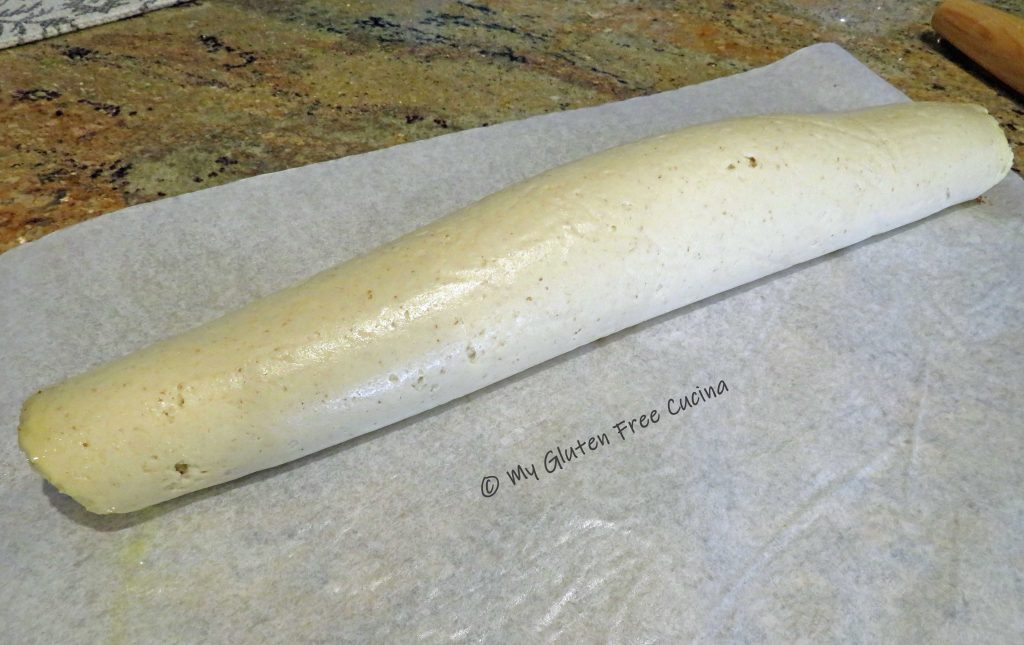
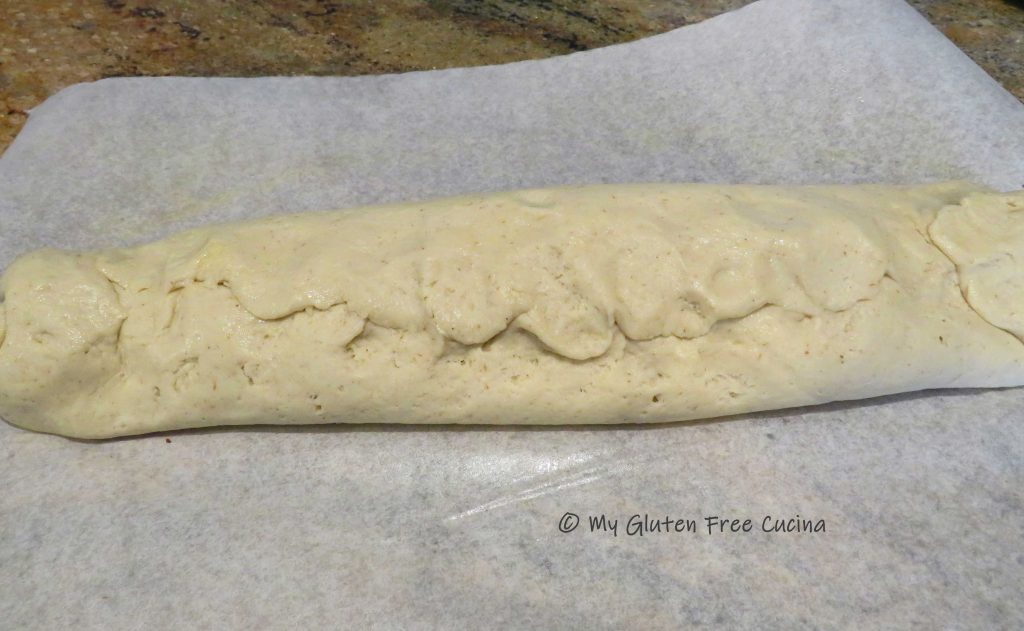
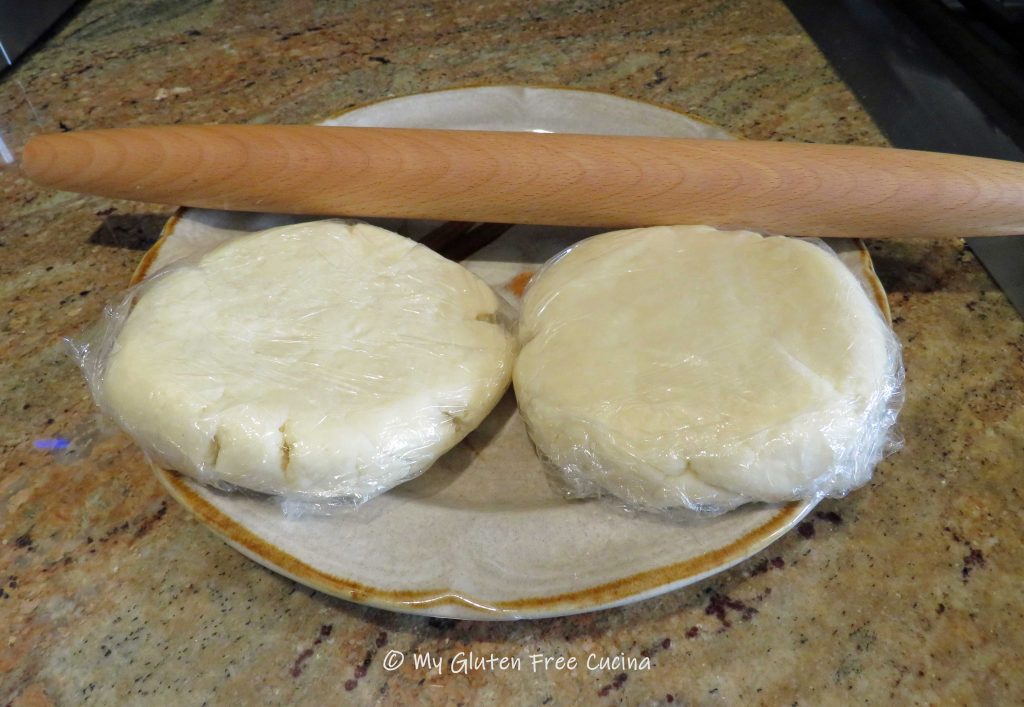 The easiest way to roll the dough is to lay it on a sheet of lightly floured

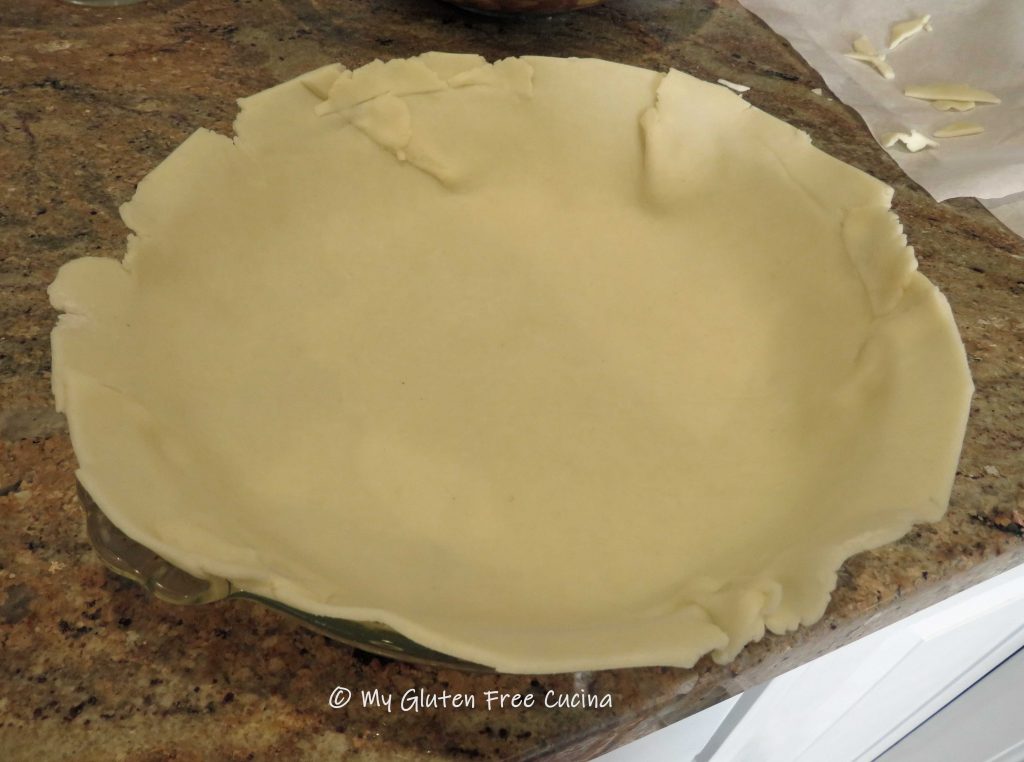
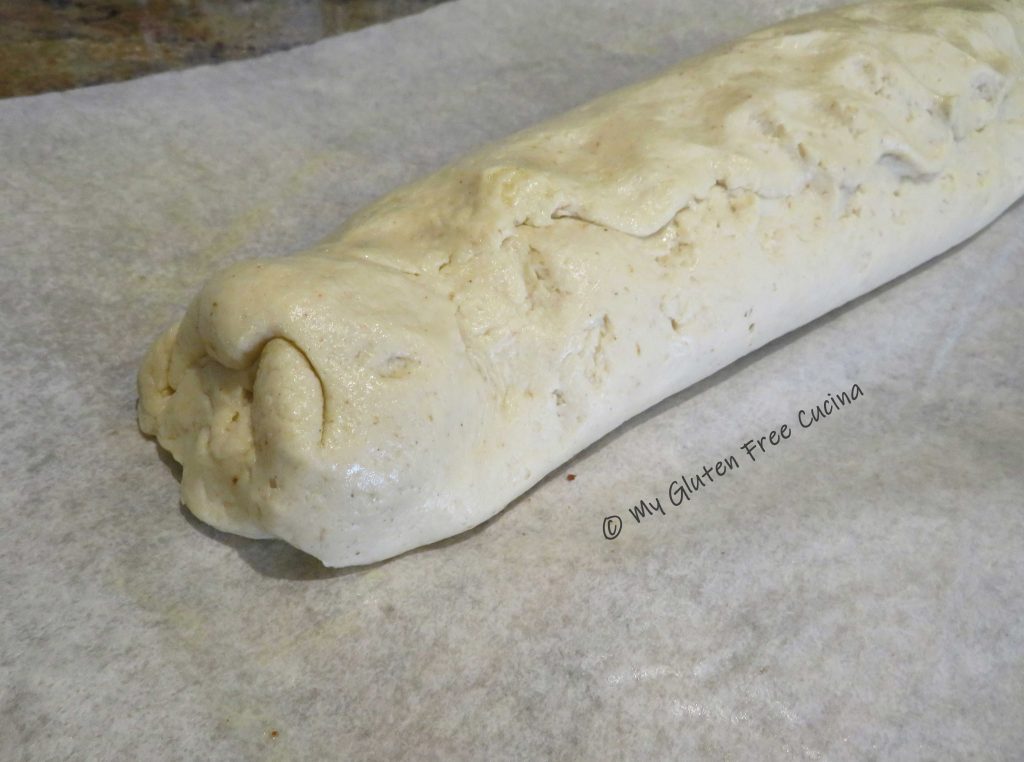
 Carefully peel away the parchment and ease the dough into the dish like this.


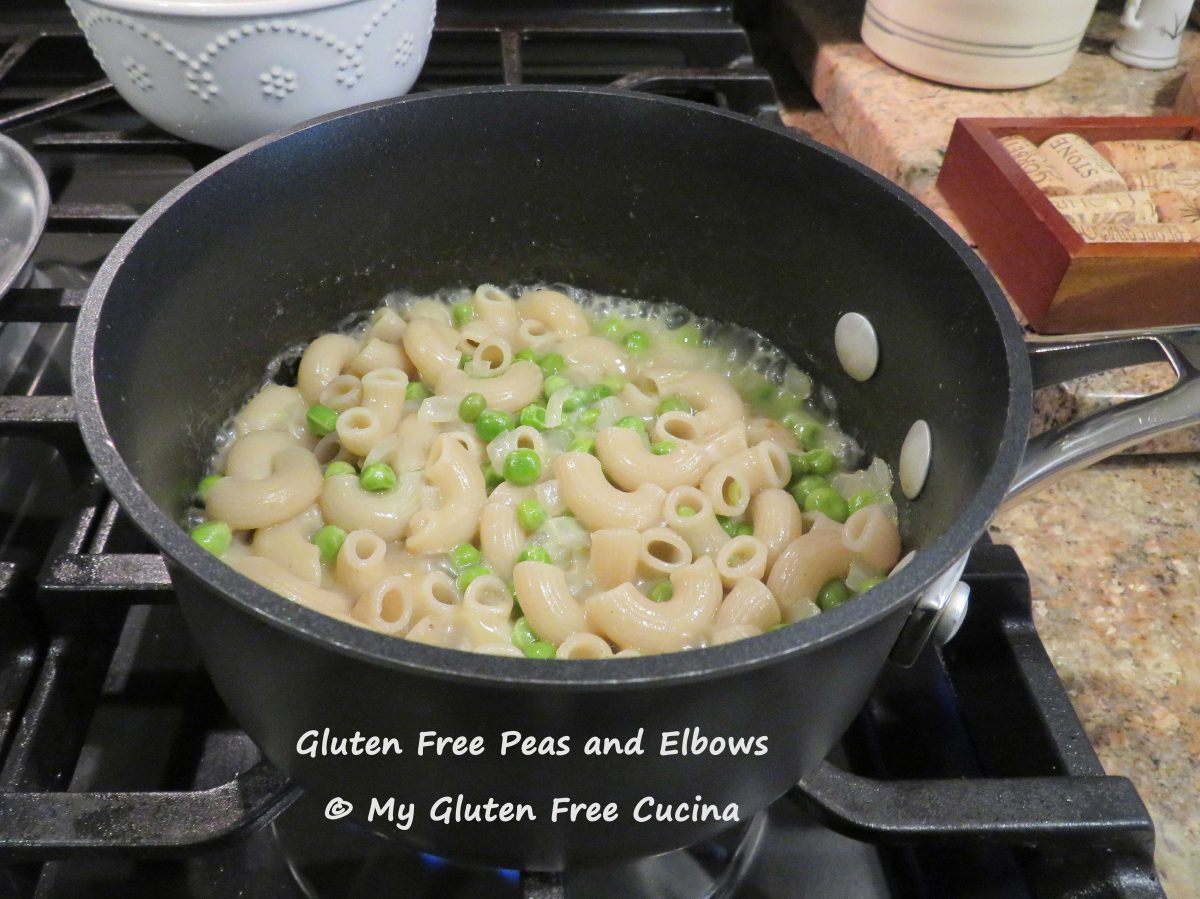
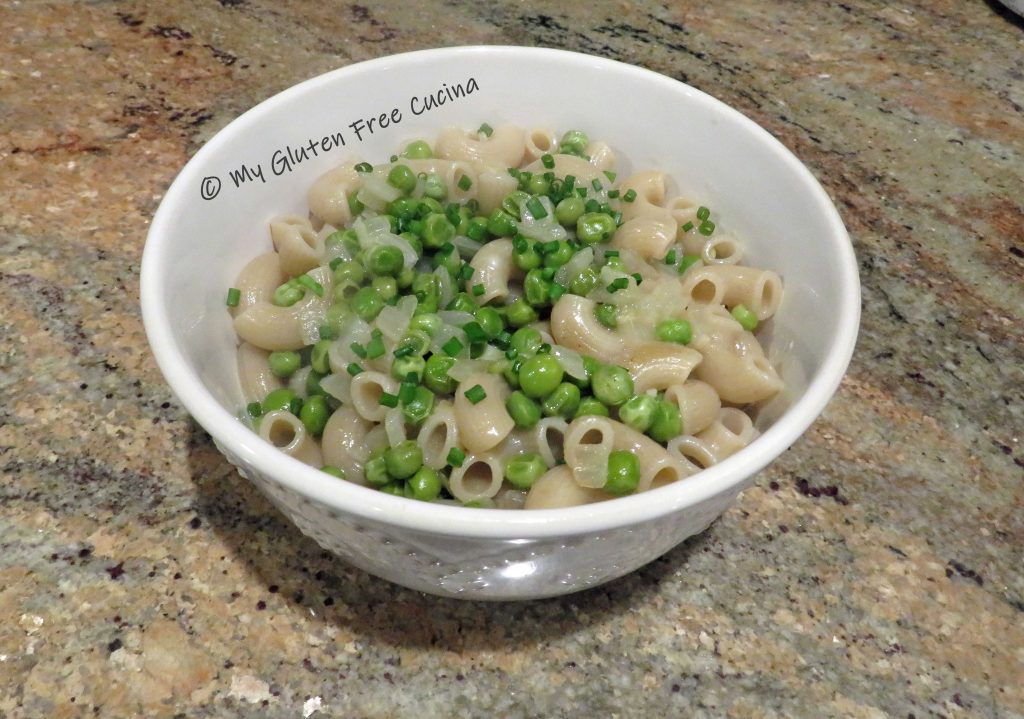
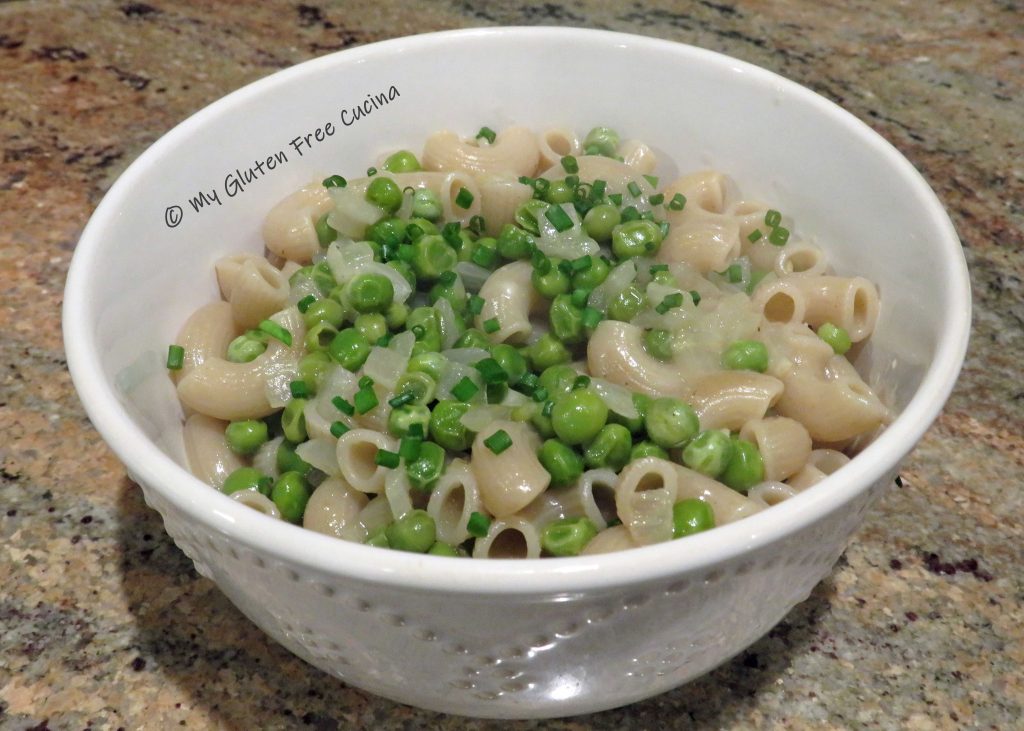
 Stir in 1 tbsp. butter, a heaping tbsp. of cheese (or more if you like) and transfer to a serving bowl.
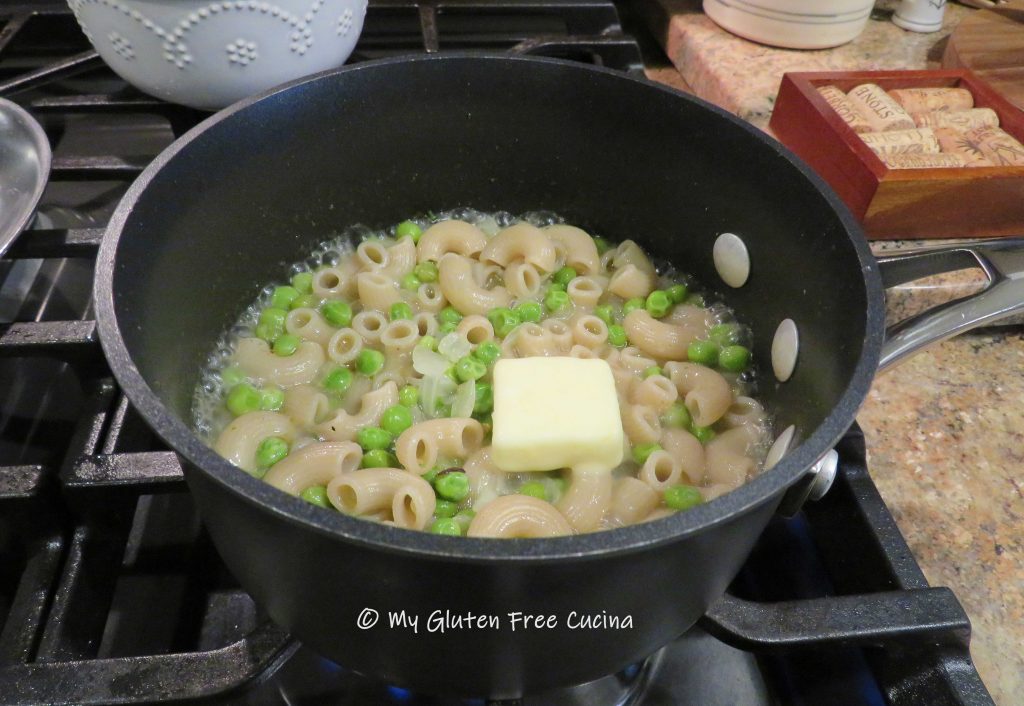
 This post contains affiliate links.
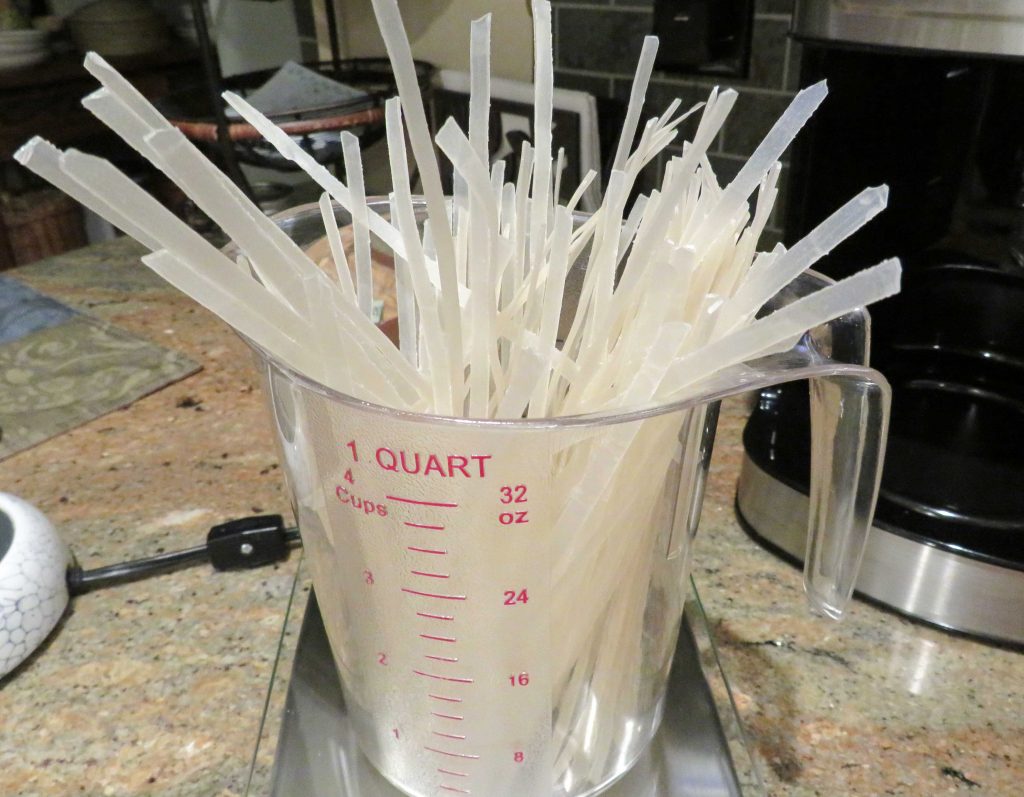 Preparation:
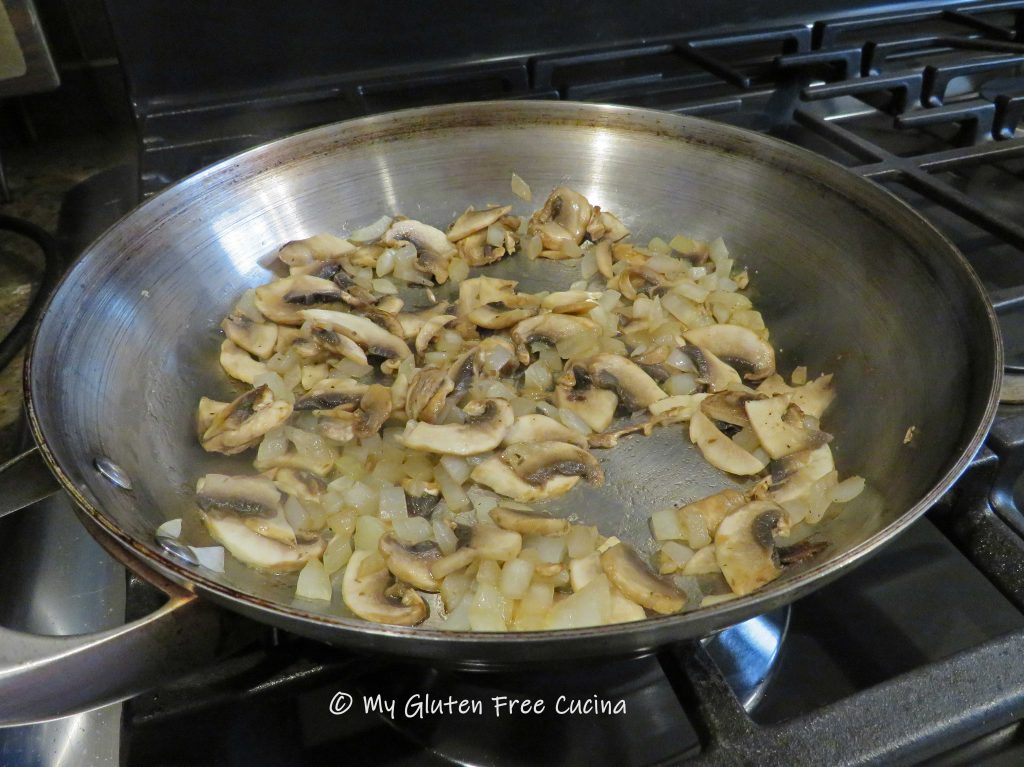
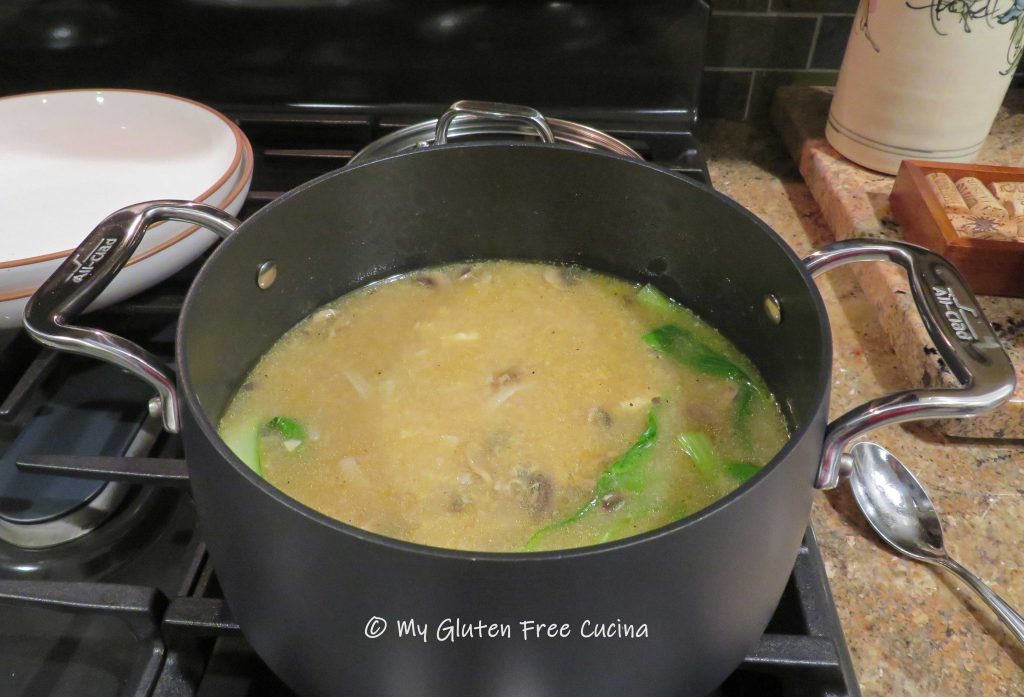
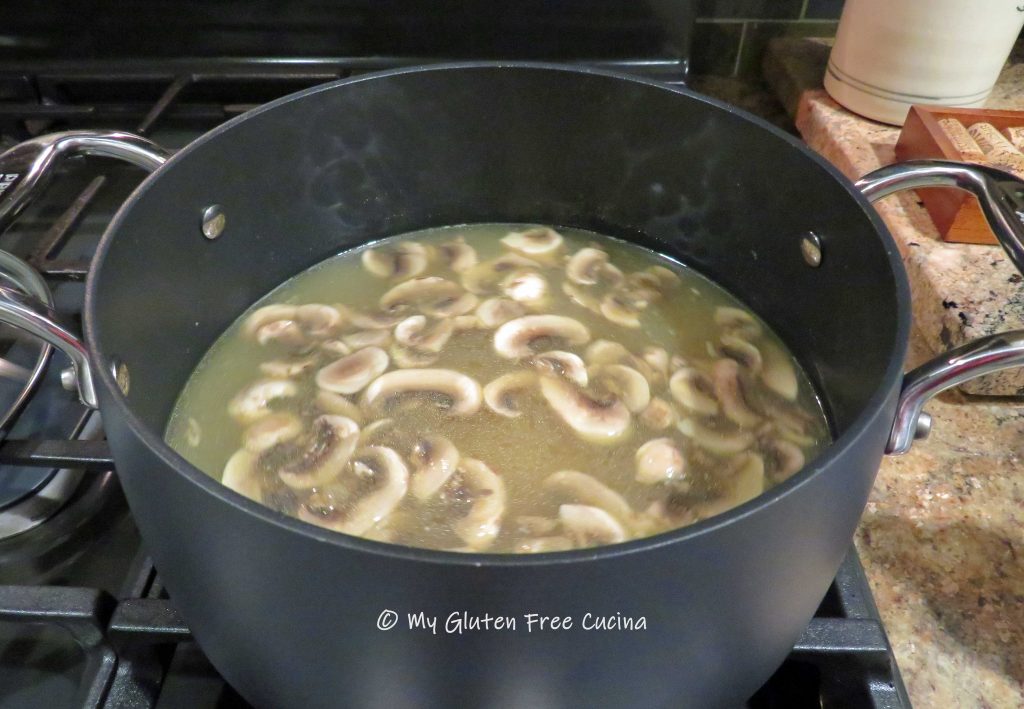
 Stir until the mushrooms release their liquid, then add the bone broth, 2 tsp. of tamari and 1 tsp. sesame oil (or more, to taste). Season with salt and pepper and bring to a simmer for 15 minutes.
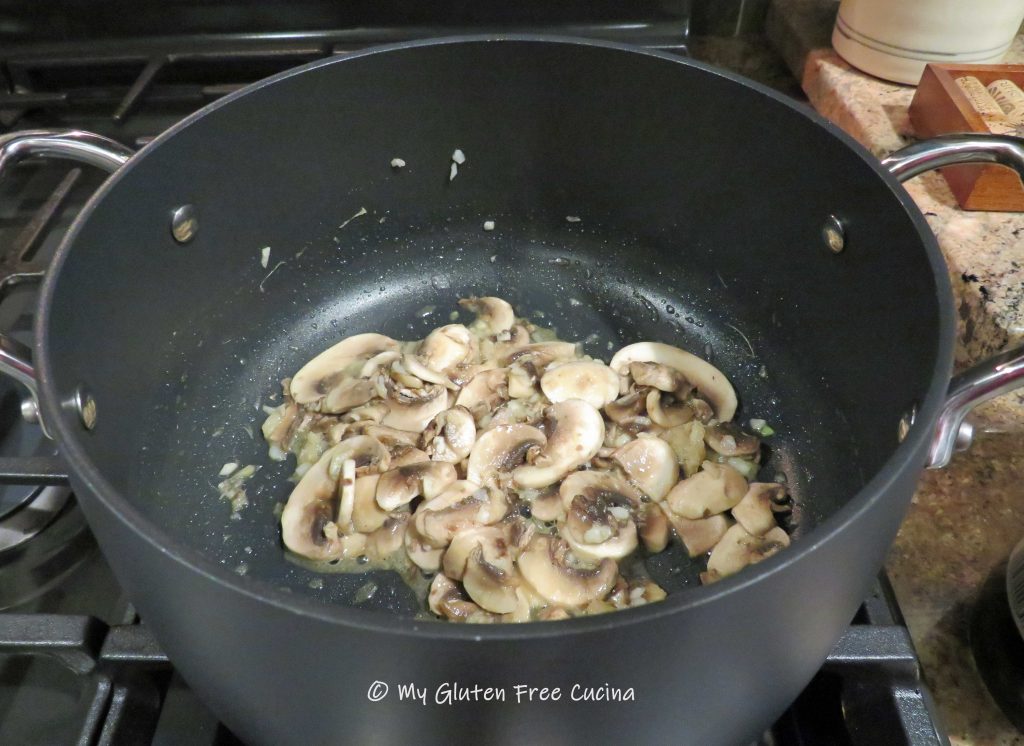
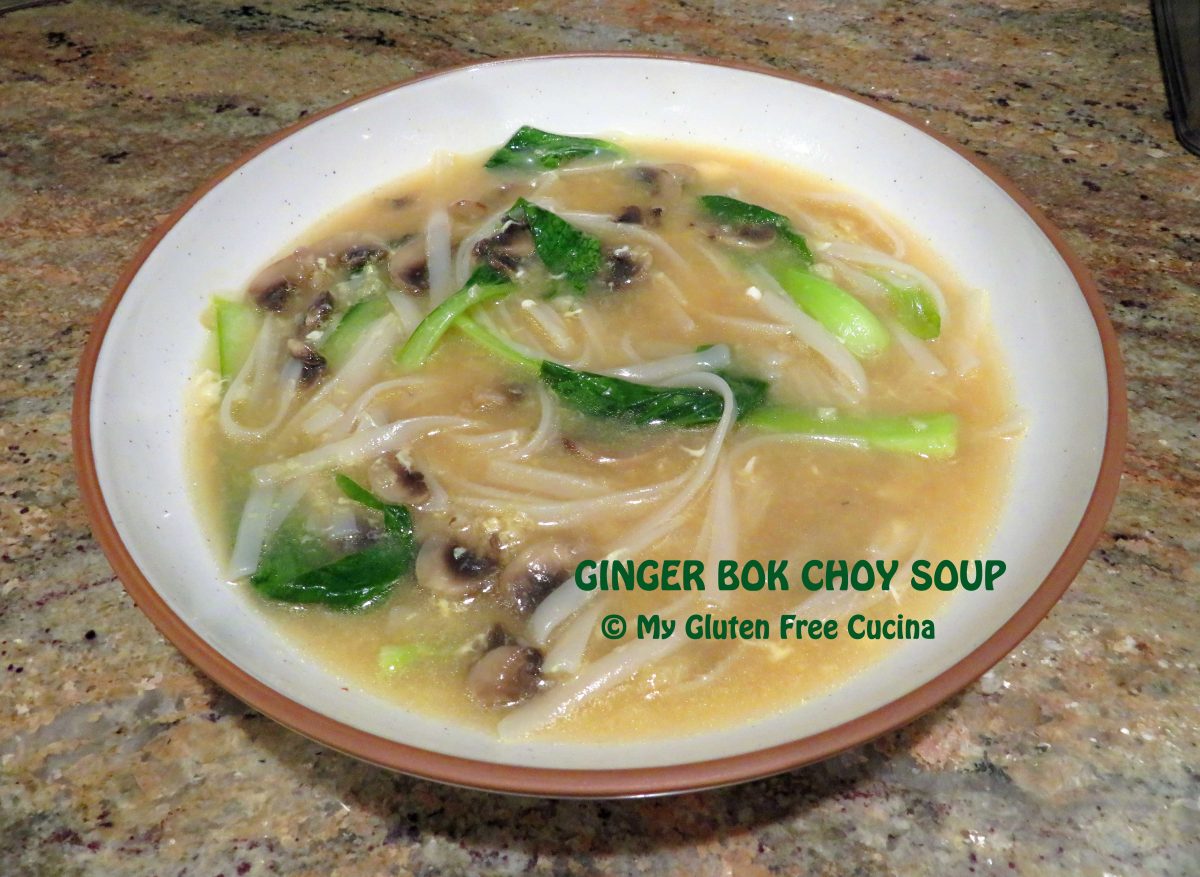
 Trim away the tough, lower part of the Bok choy, then rinse and halve the leaves. Stir them into the soup to wilt and lower the heat to keep warm.
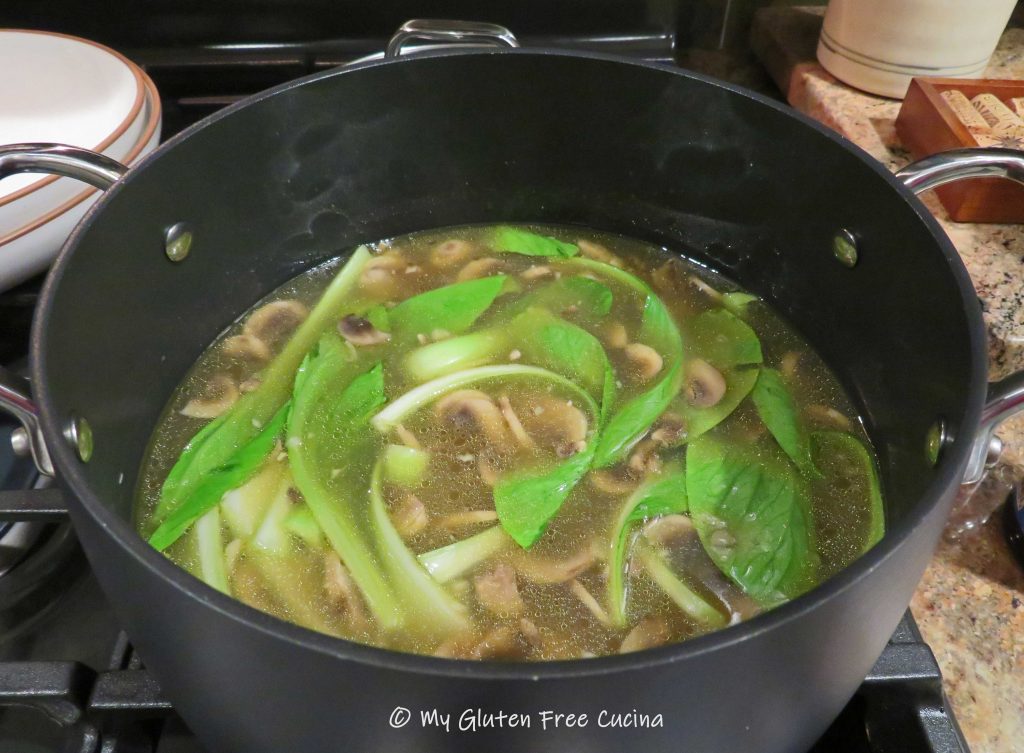 Cook the rice noodles in a separate pan according to package directions. Just prior to serving, drizzle the beaten egg into the soup and swirl it around with a whisk. Add the cooked rice noodles.
 Ladle into
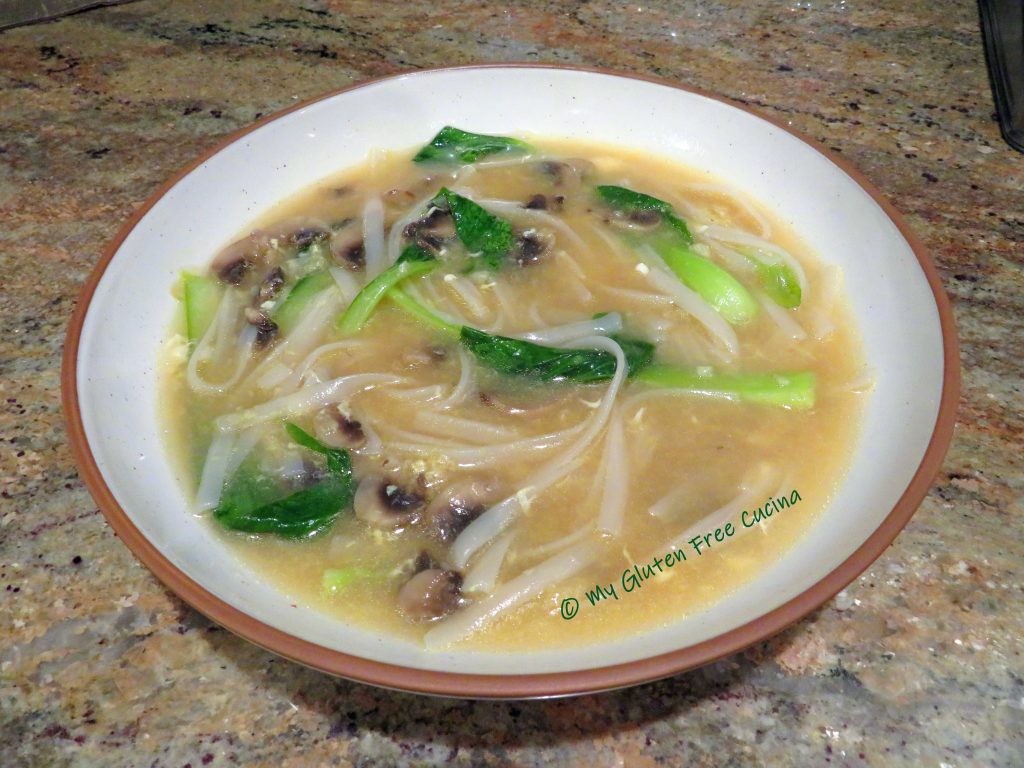
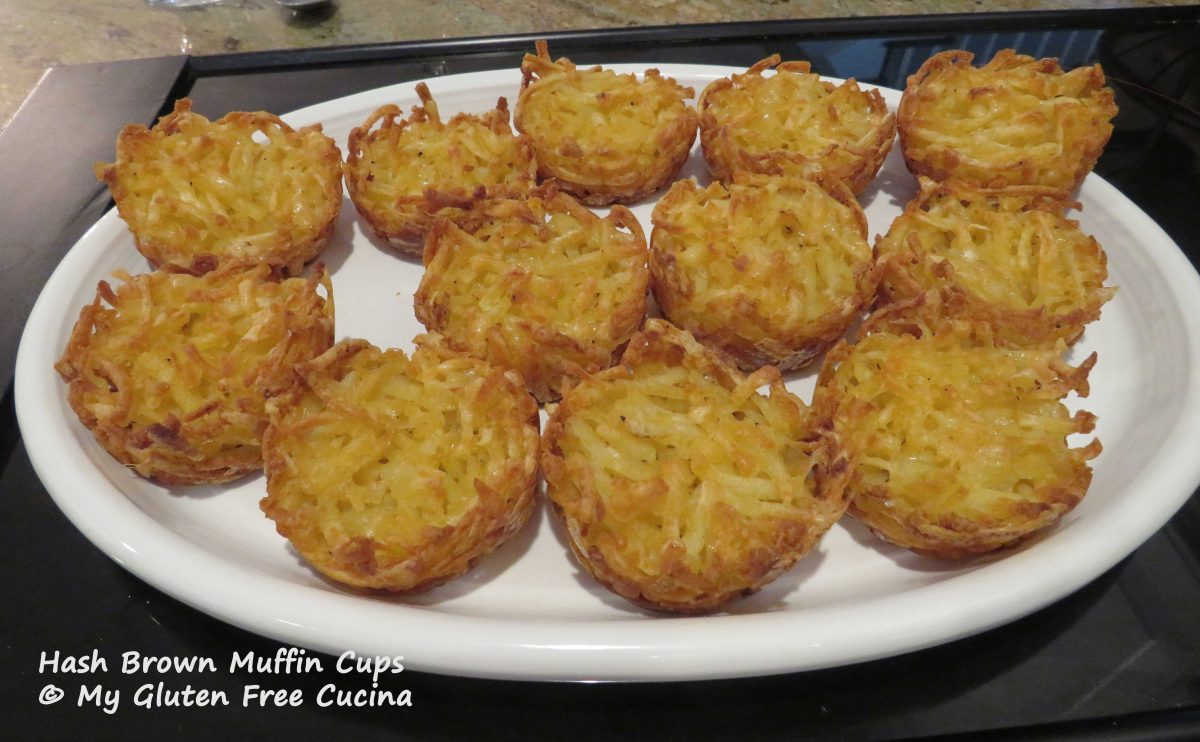
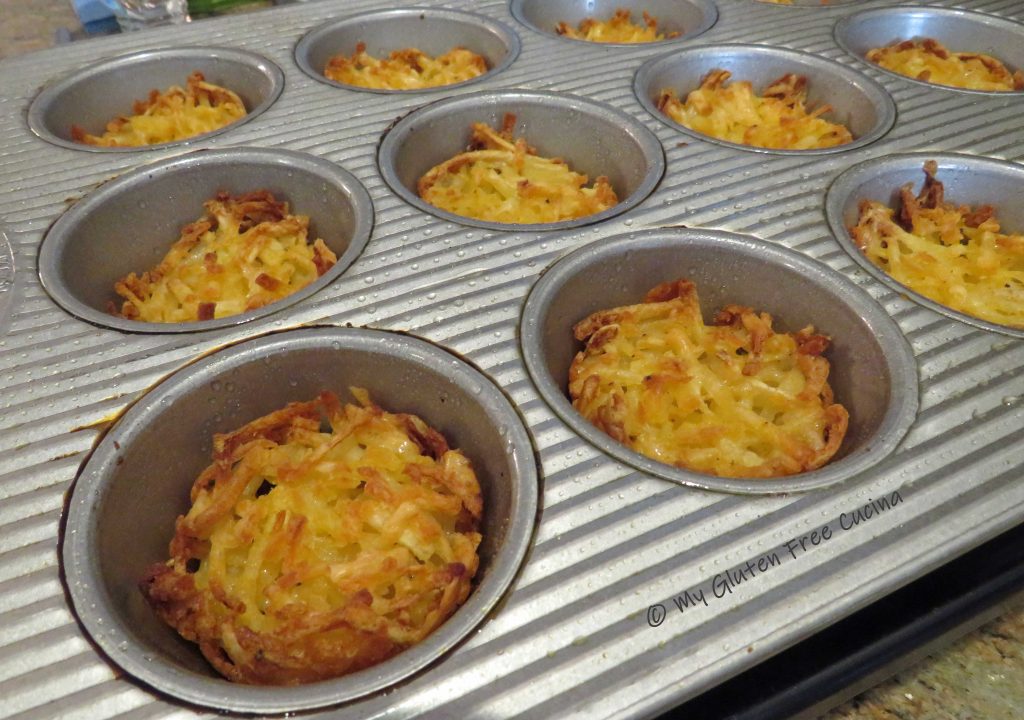
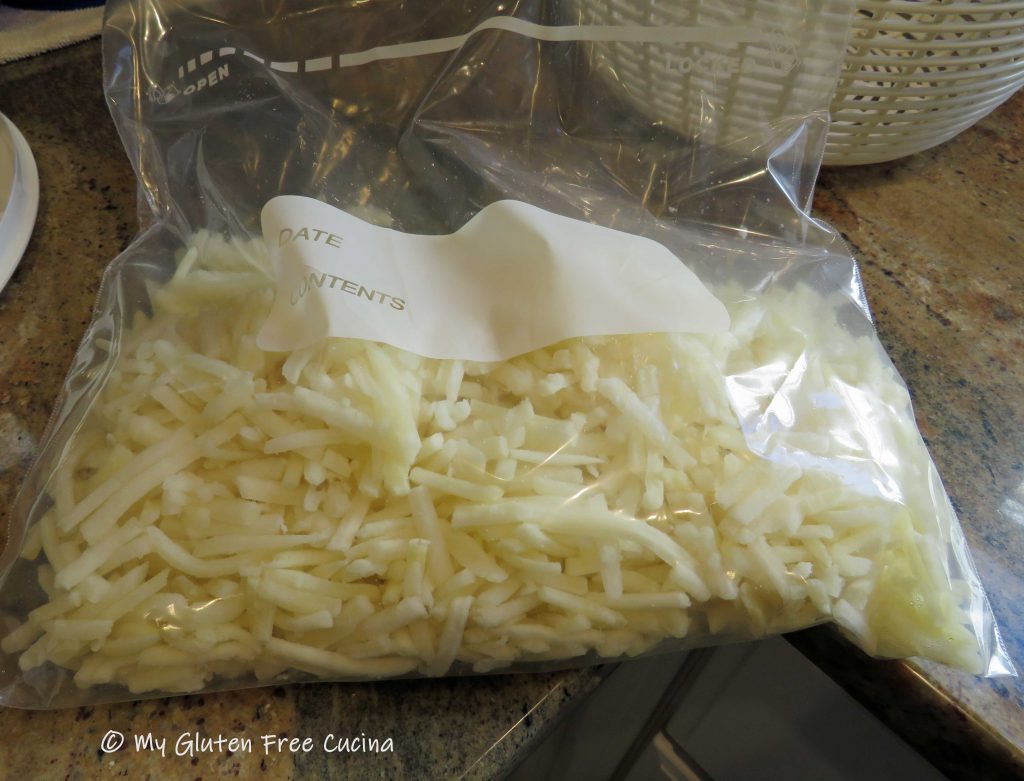

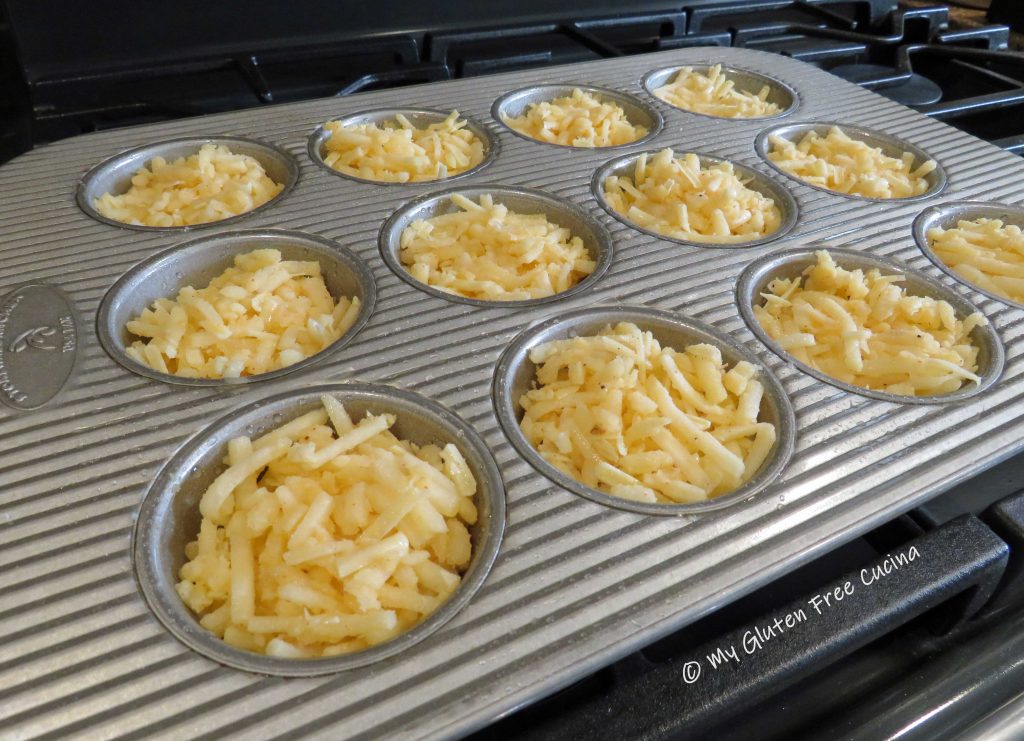

 Hash Brown Muffin Cups will be a great addition to your brunch menu, or a fun dinner side. They reheat well, and ours stayed crispy even after microwaving. You will want to keep a bag of hash browns in your freezer pantry, so you can make a batch any time you like!
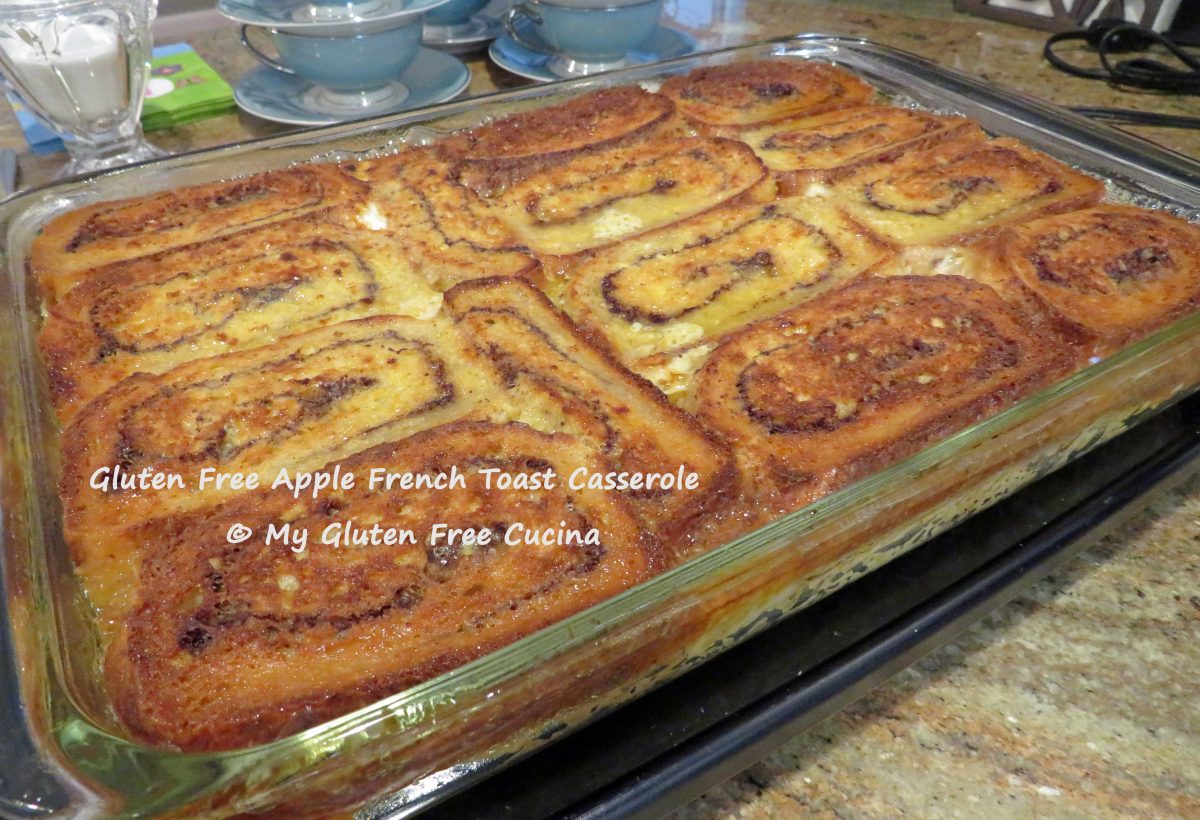


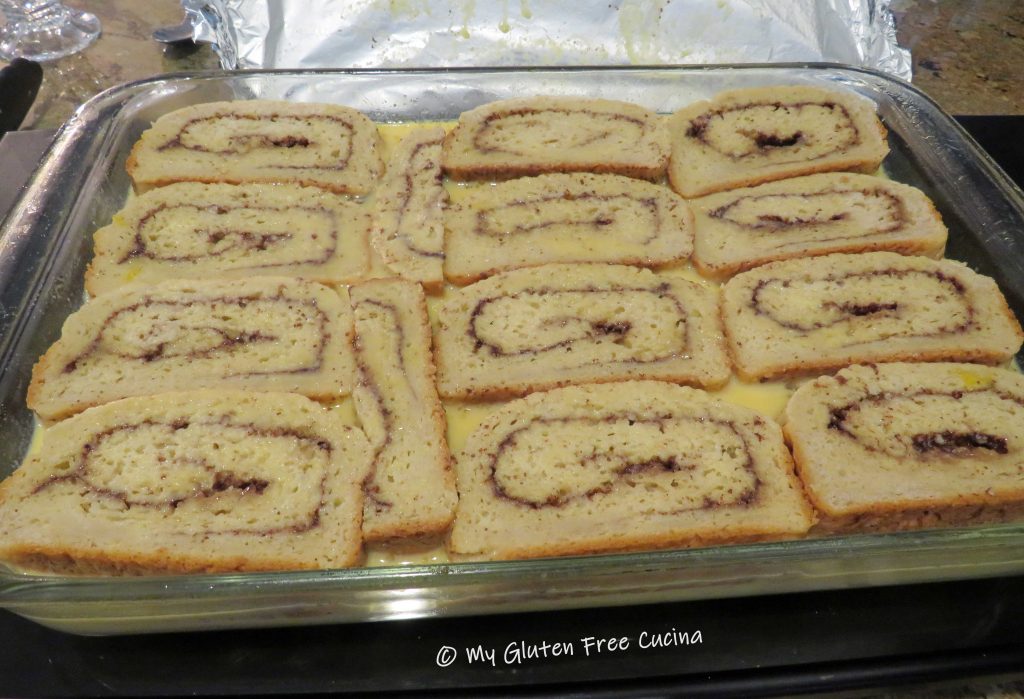
 Pour the egg mixture over the bread slices and press down with a spatula.
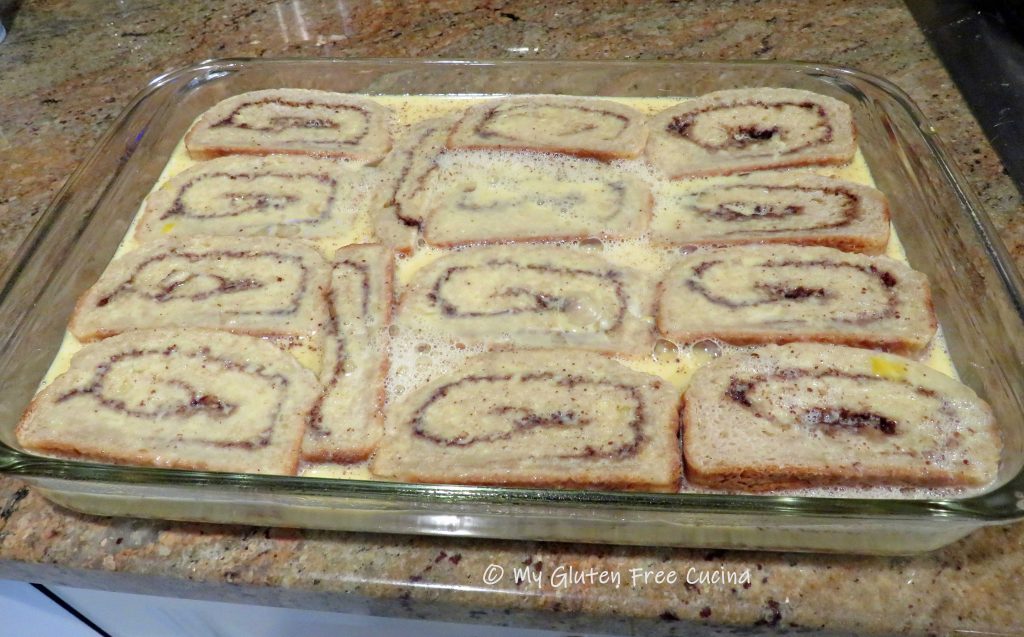


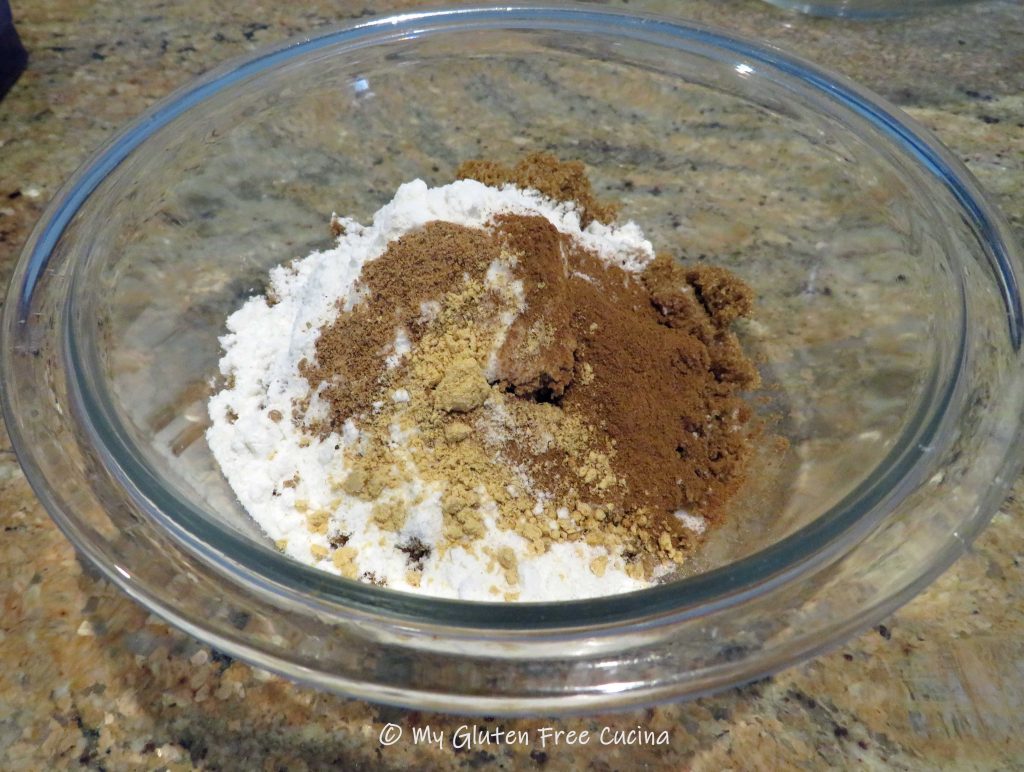
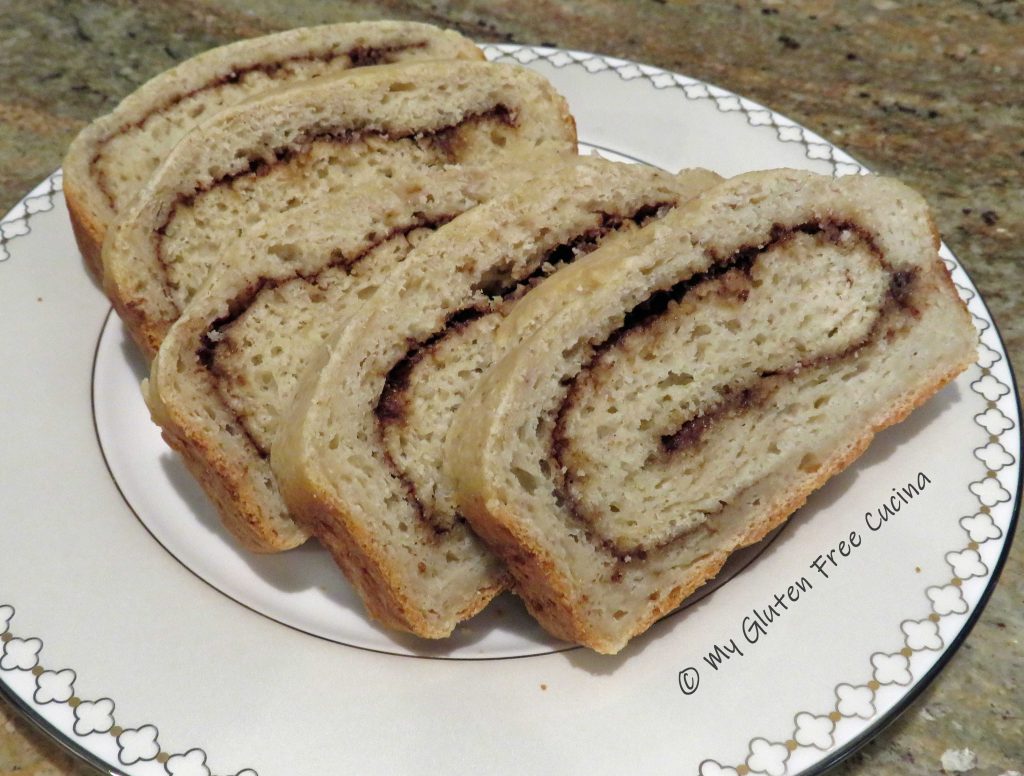
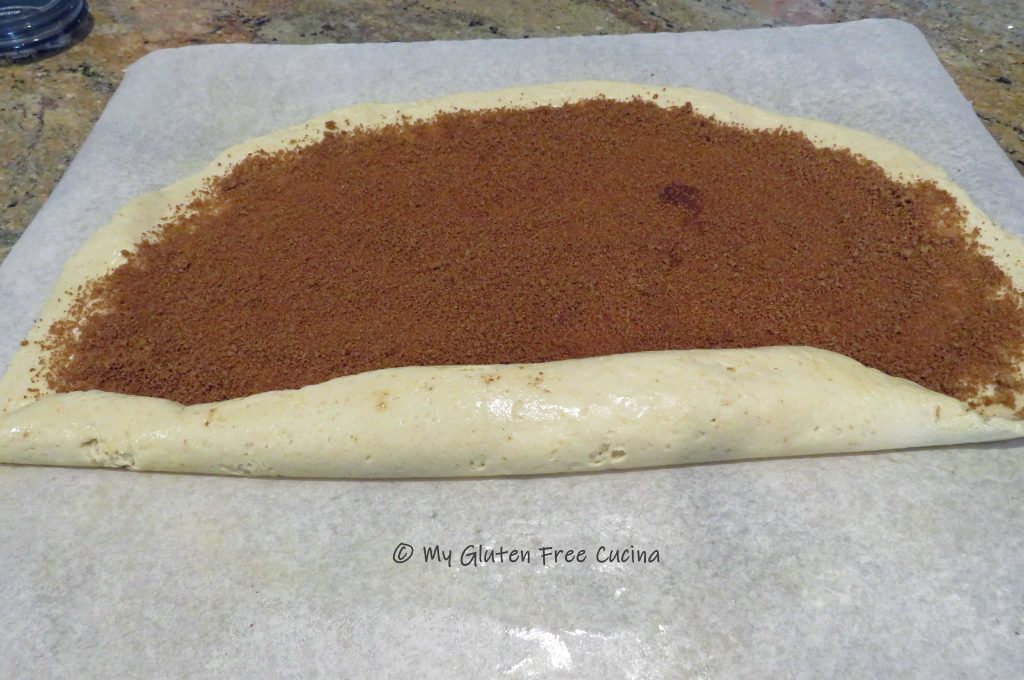
 Spread the brown sugar and cinnamon mixture evenly over the dough, leaving a 1″ border all around.
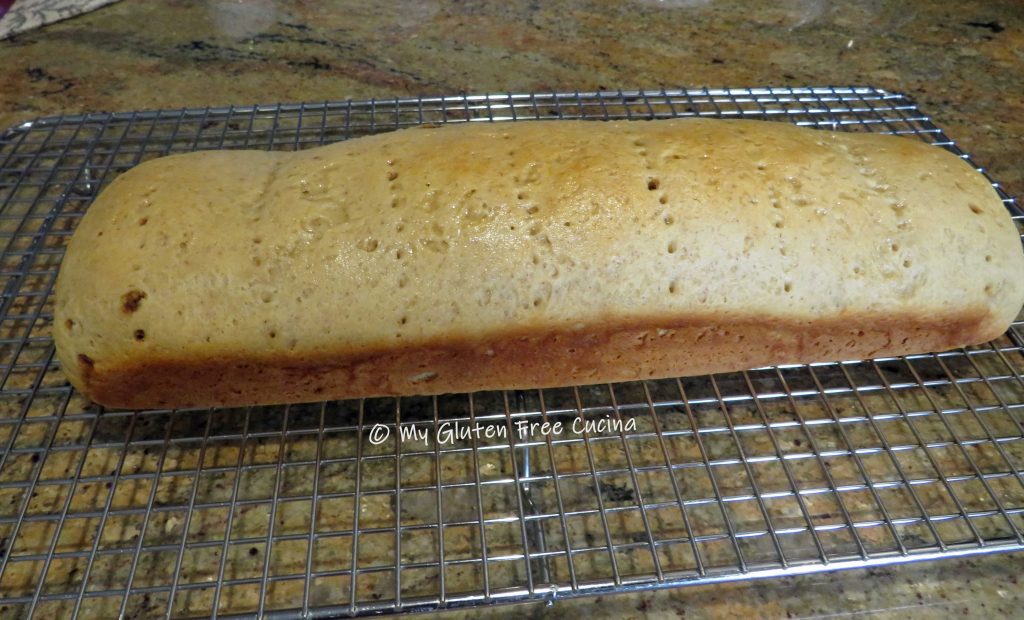
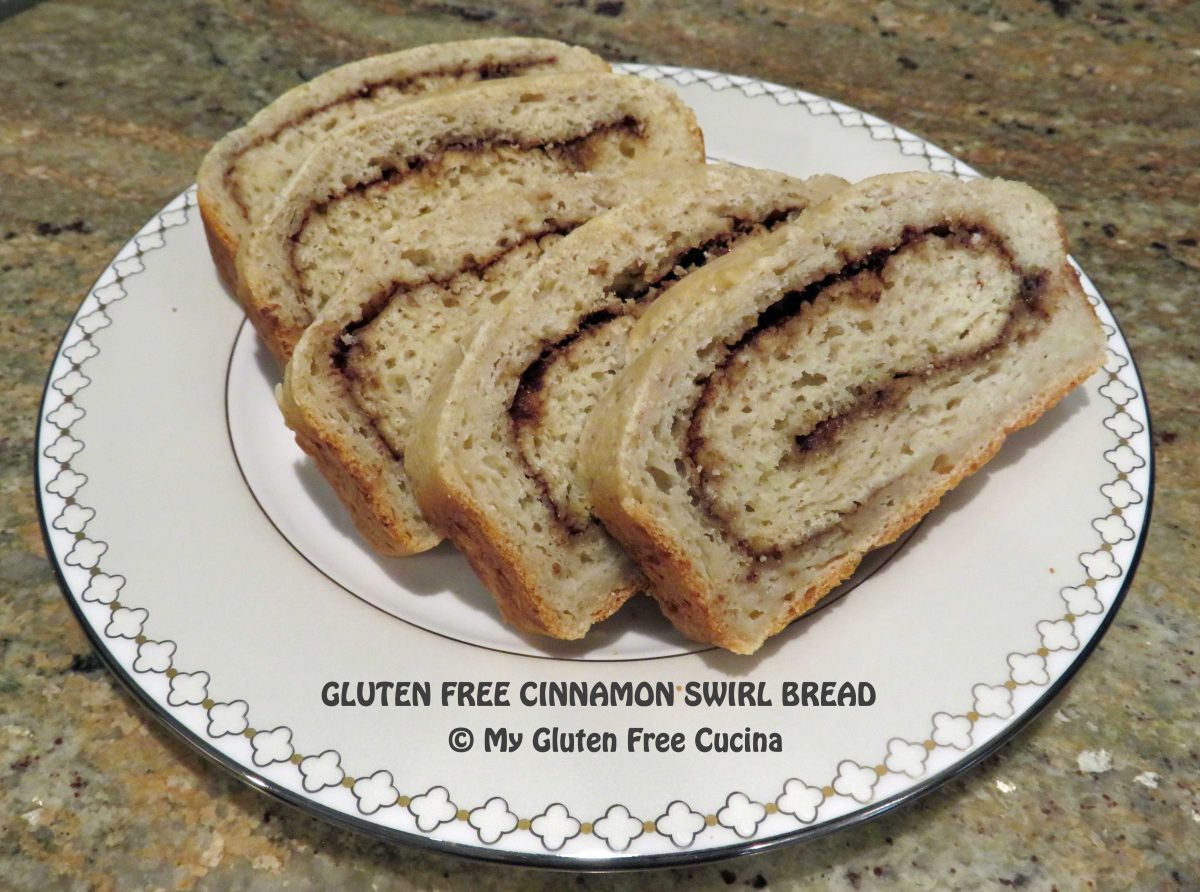
 Bake for 40 minutes or until the internal temperature reaches 200º. Remove from the oven and brush the top with 1 tbsp. melted butter.
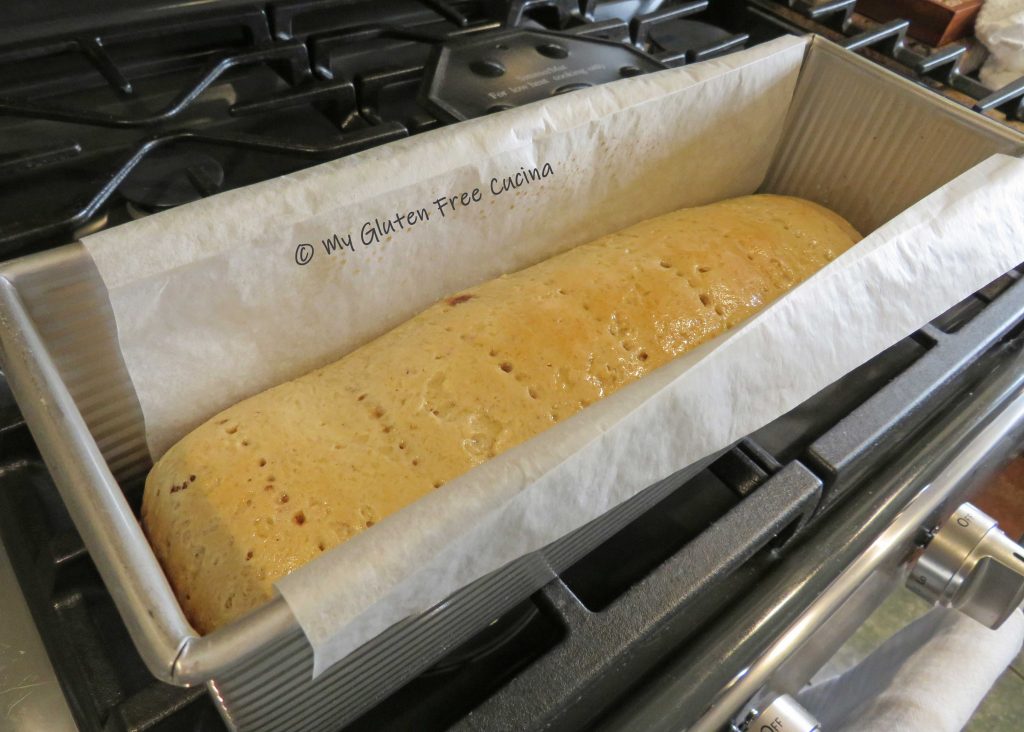 Grasp both sides of the parchment to lift the loaf out of the pan to a cooling rack.
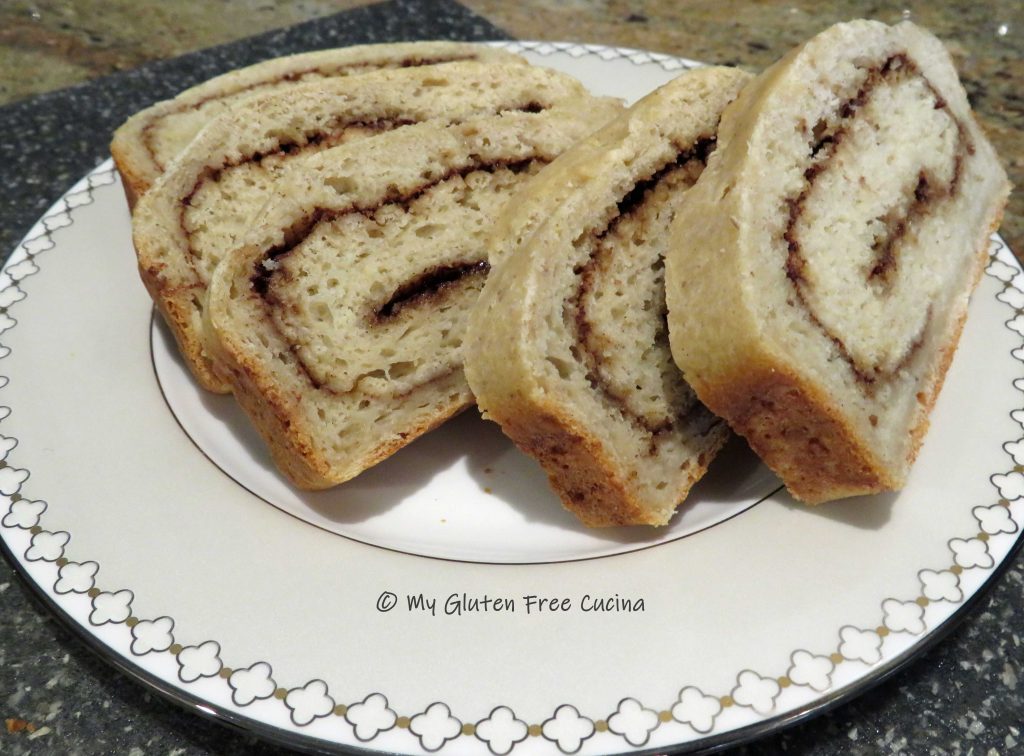
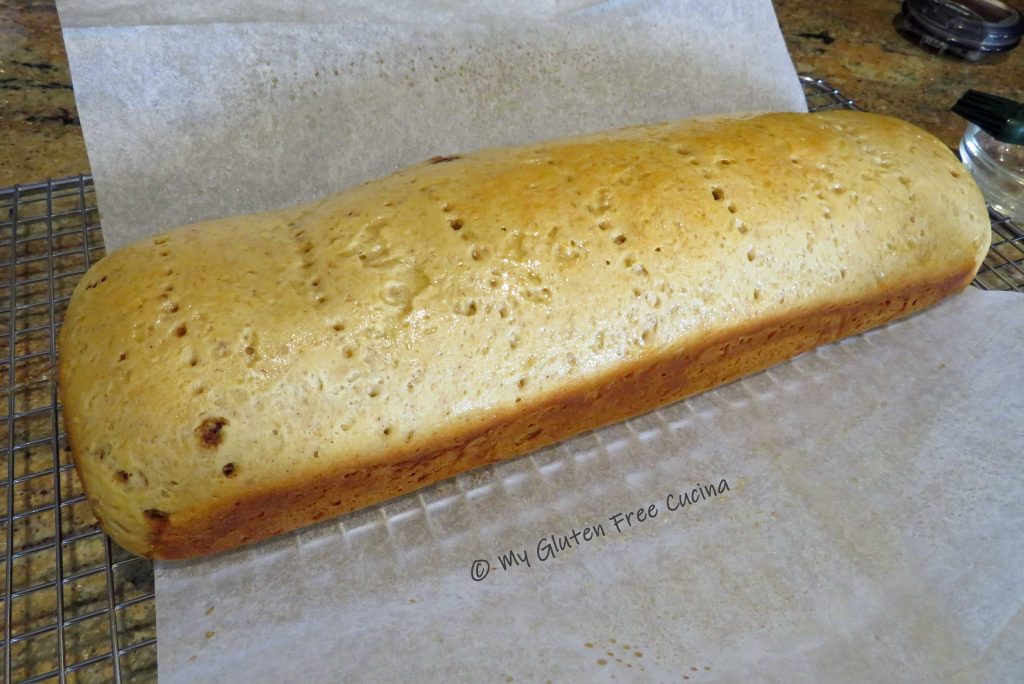 Slide the parchment out and let the loaf cool completely before slicing.