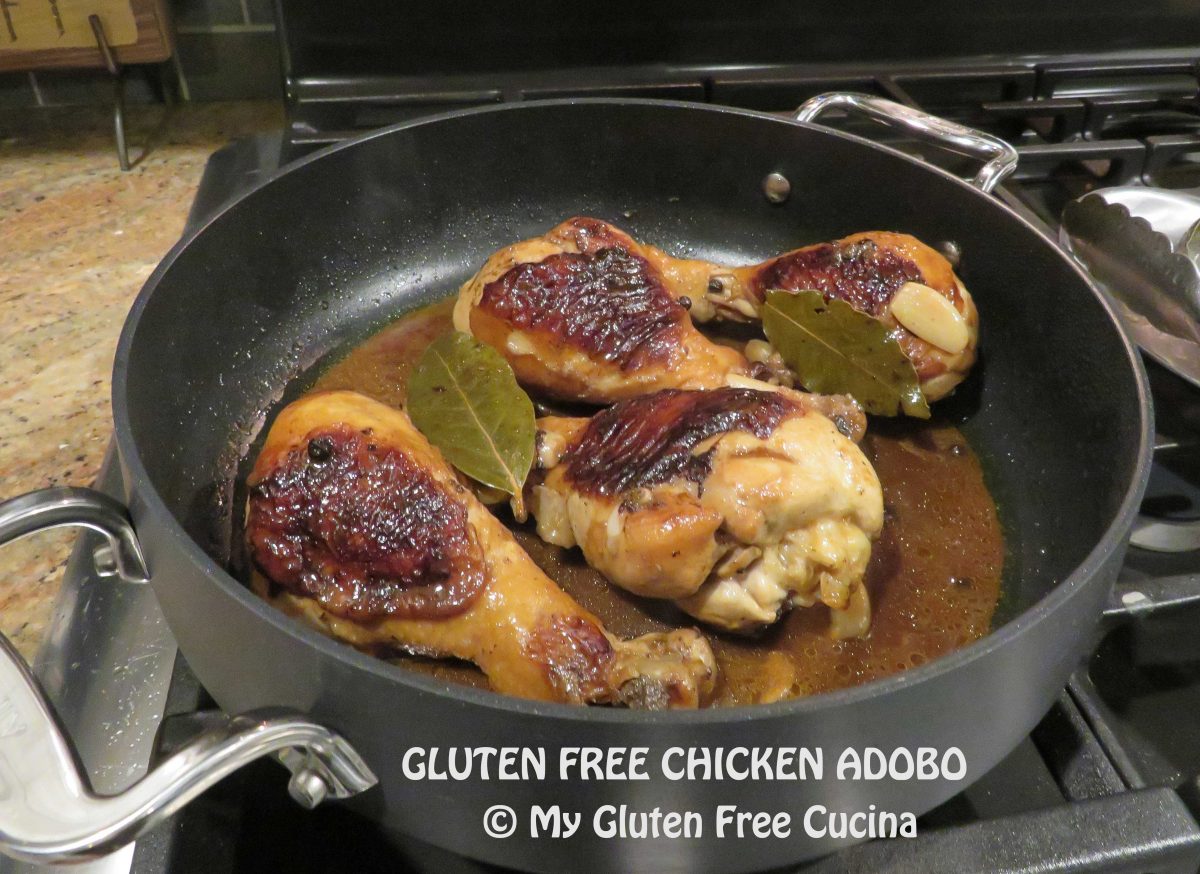
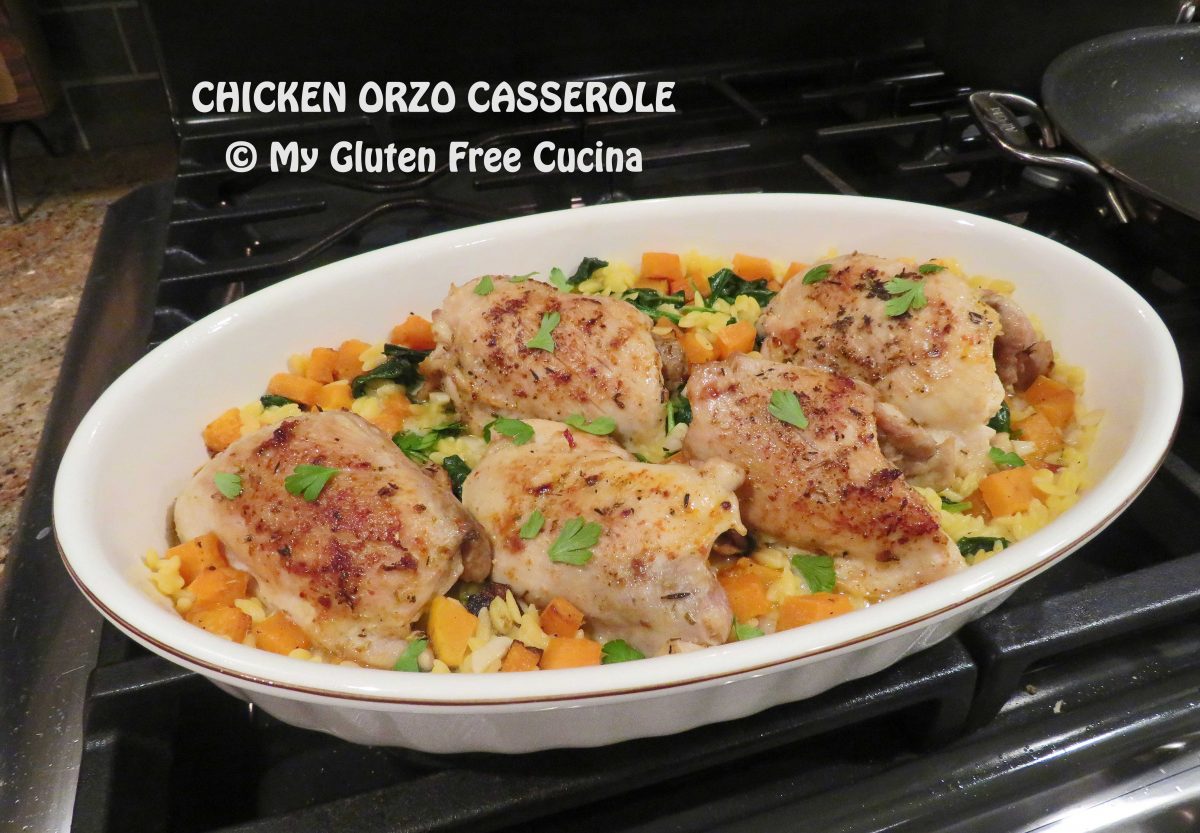
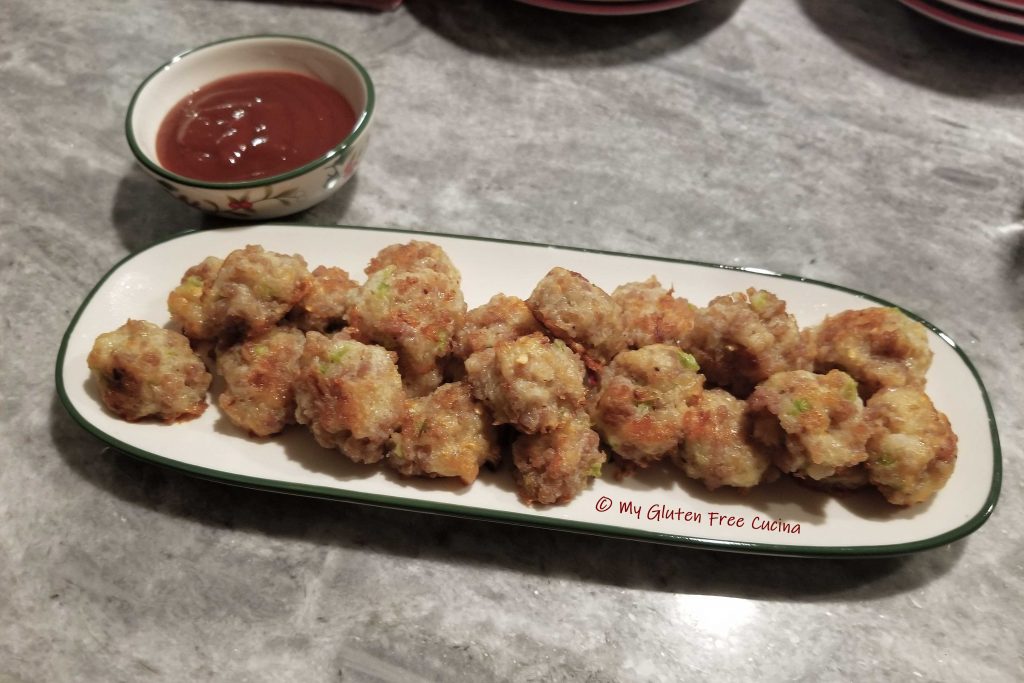
Chicken Adobo is a traditional Philippine dish made with pantry staples. Vinegar, soy sauce, garlic, peppercorns, and bay leaves are used to create a marinade. The chicken is marinated, then simmered in the same marinade on the stove top until the meat is cooked through.
Is Chicken Adobo gluten free?
The only gluten containing ingredient in a traditional Adobo marinade is the soy sauce. By replacing it with either Tamari or Coconut Aminos, the dish is completely gluten free.

4 Servings (can be doubled)
Ingredients:
- 3 tbsp. red wine vinegar
- 2 tbsp. coconut aminos
- 3 garlic cloves, crushed and skins removed
- 1/2 tsp. whole black peppercorns
- 2 bay leaves
- 1 tbsp. olive oil
- 4 pcs. chicken legs or thighs (about 1 lb.)
- 1/2 cup water
- 1 tsp. brown sugar
This post contains affiliate links.

Preparation:
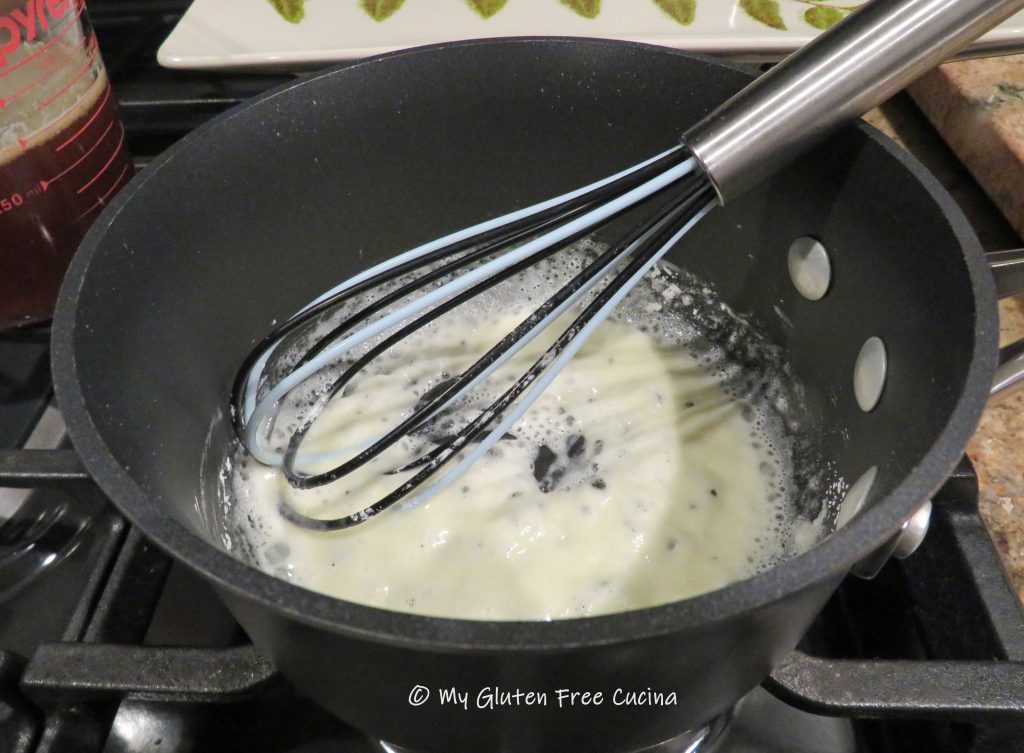
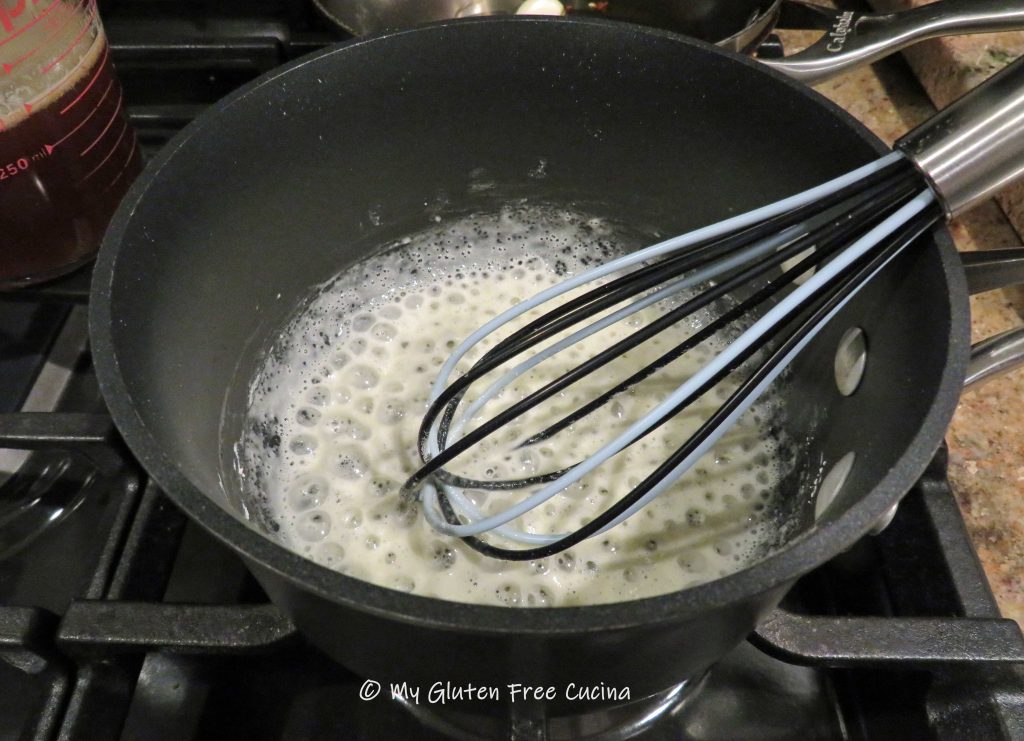
Whisk together the first 6 ingredients, vinegar through bay leaves. Add the chicken, cover and marinate 1 hour at room temperature, turning every 15 minutes.

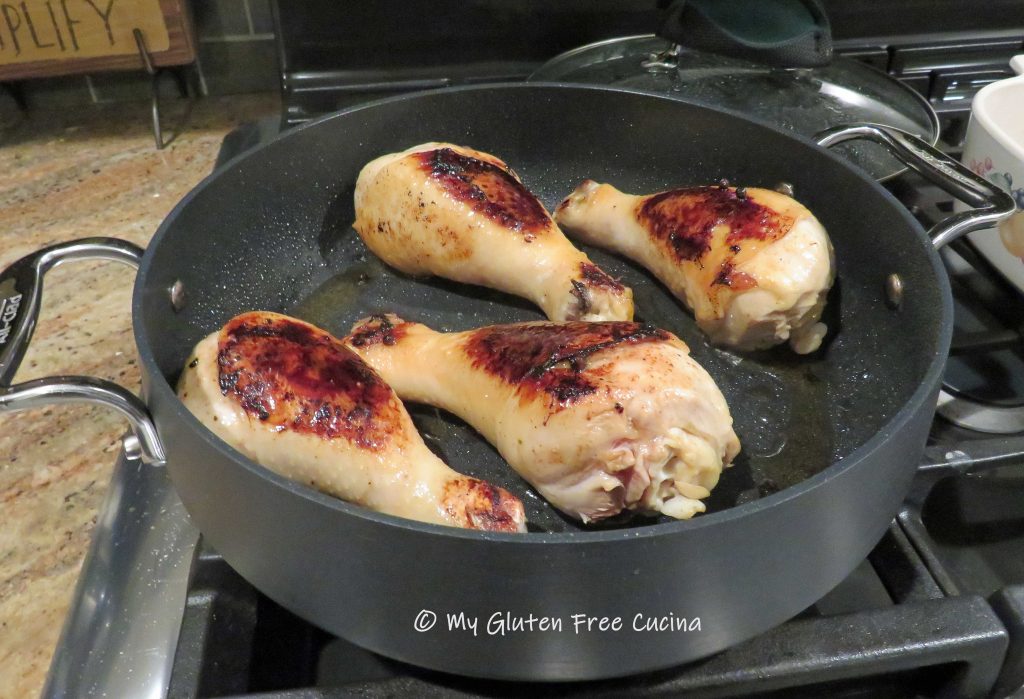
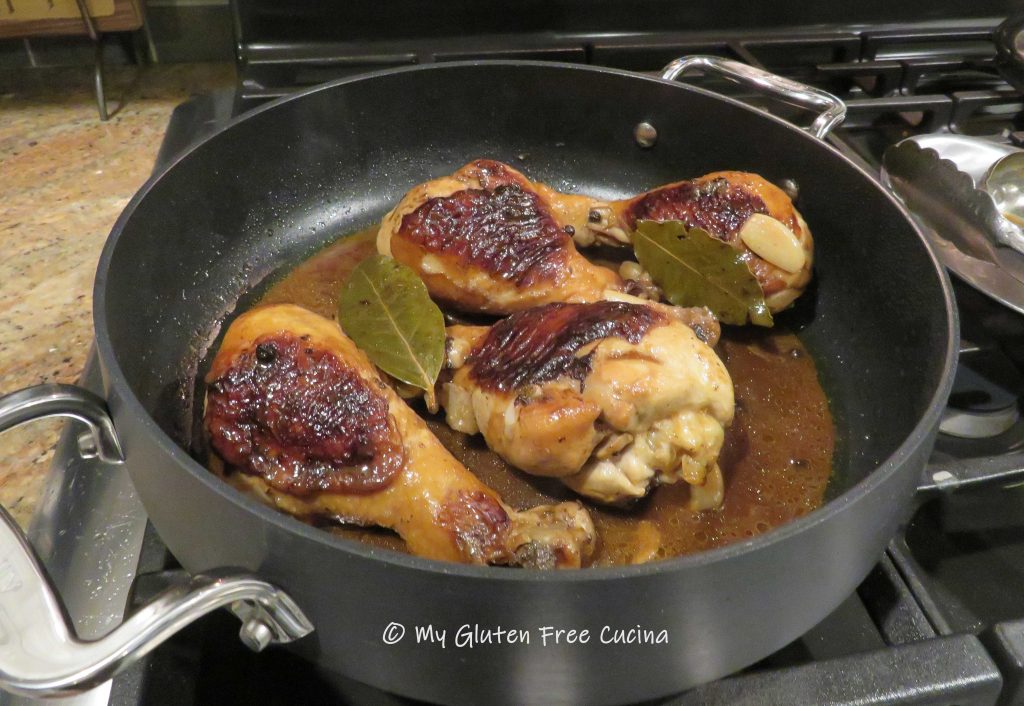
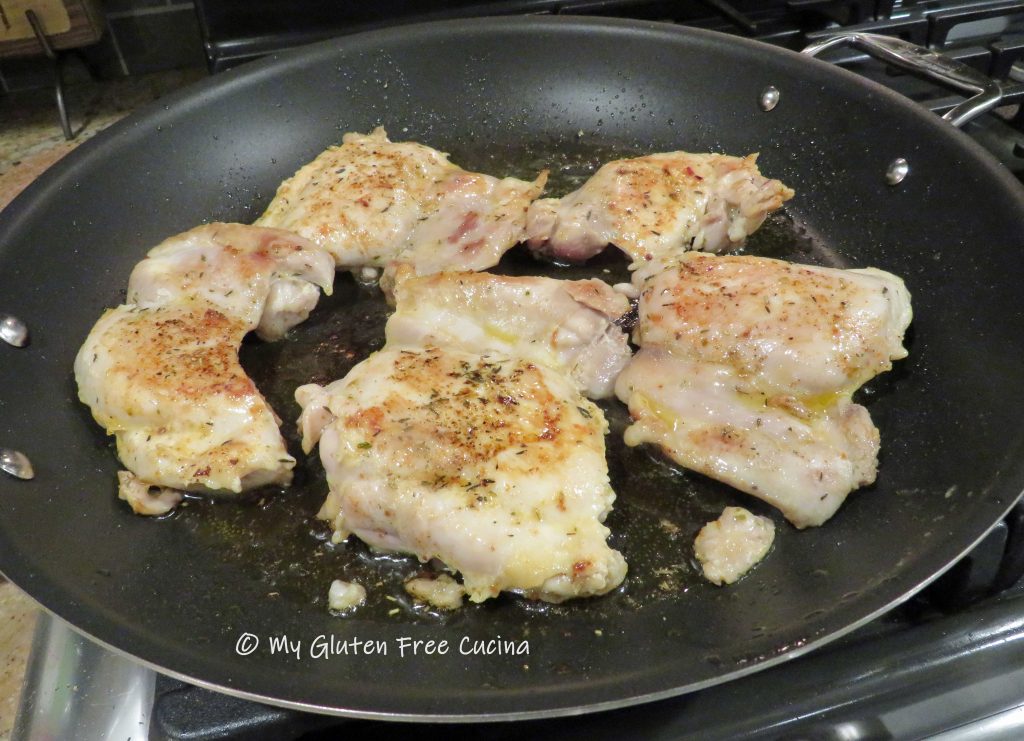
Add olive oil to a deep skillet or Sauteuse pan over medium heat. Brown the chicken on all sides.

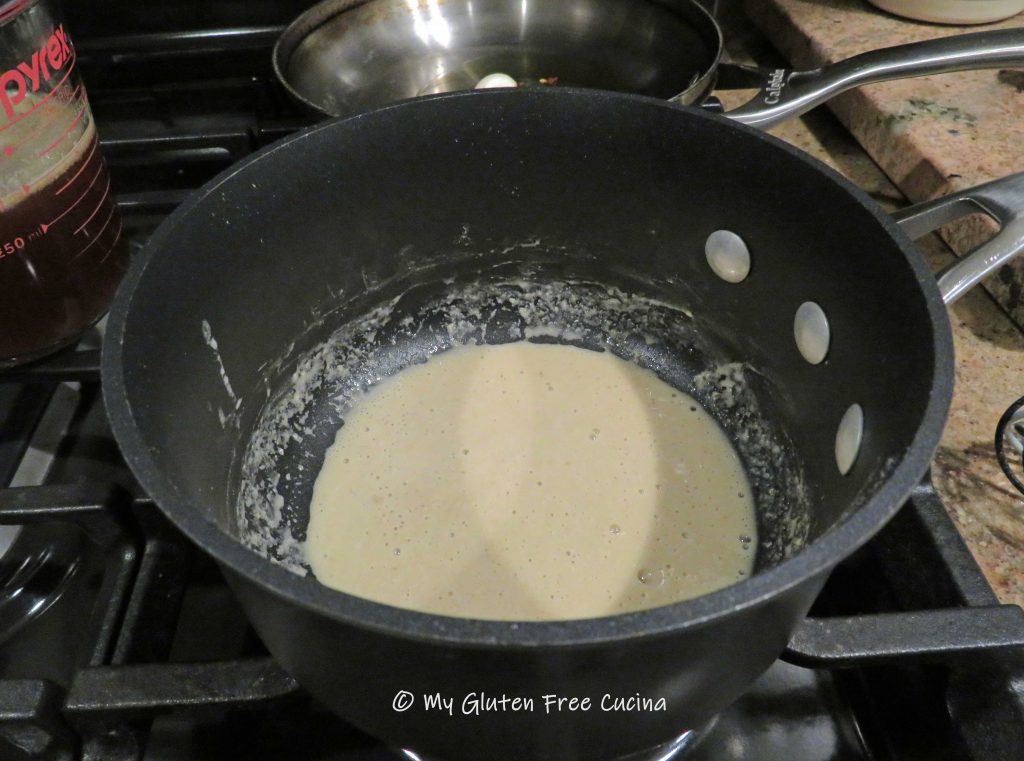
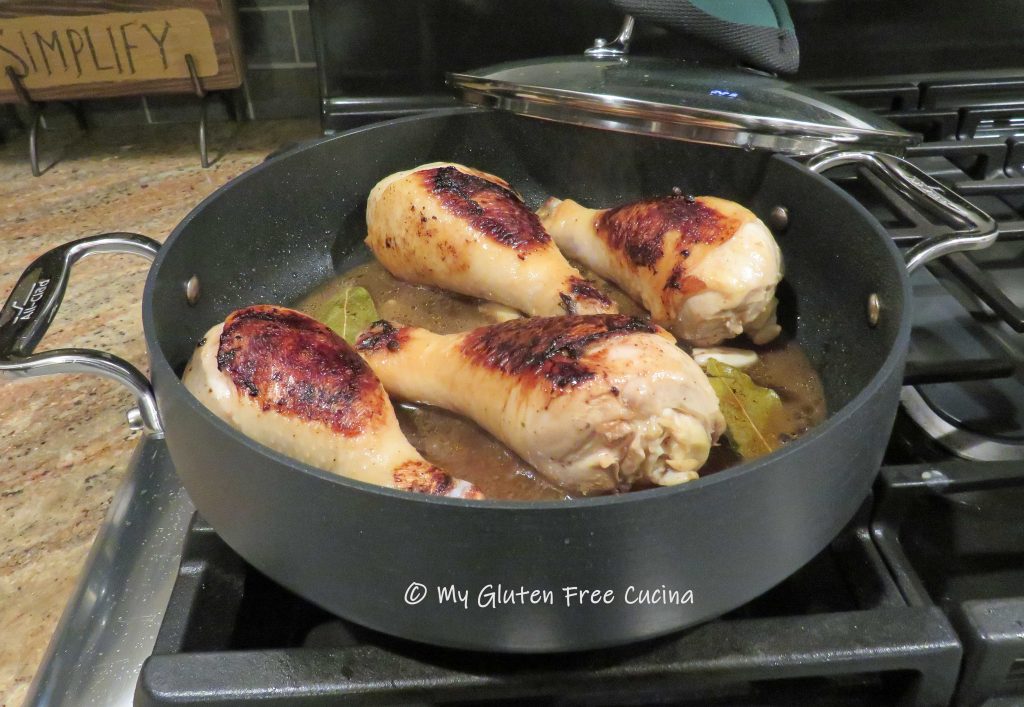
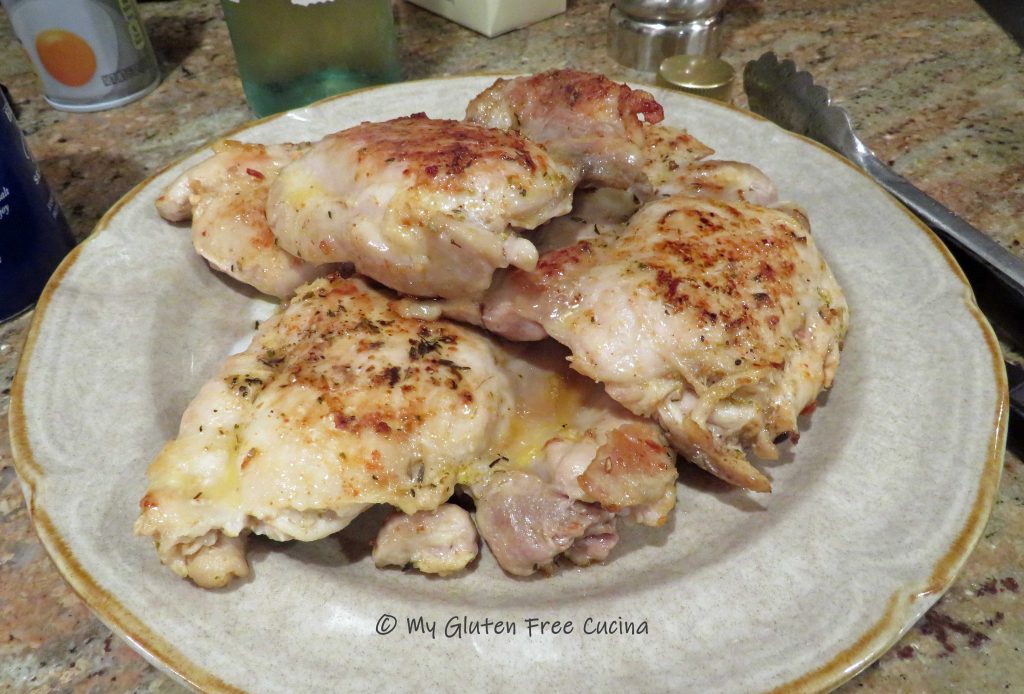
Stir in the water and reserved marinade. Cover and simmer on lowest heat, 60-90 minutes depending on size, turning every 20 minutes. When done, the chicken should easily pull away from the bone.
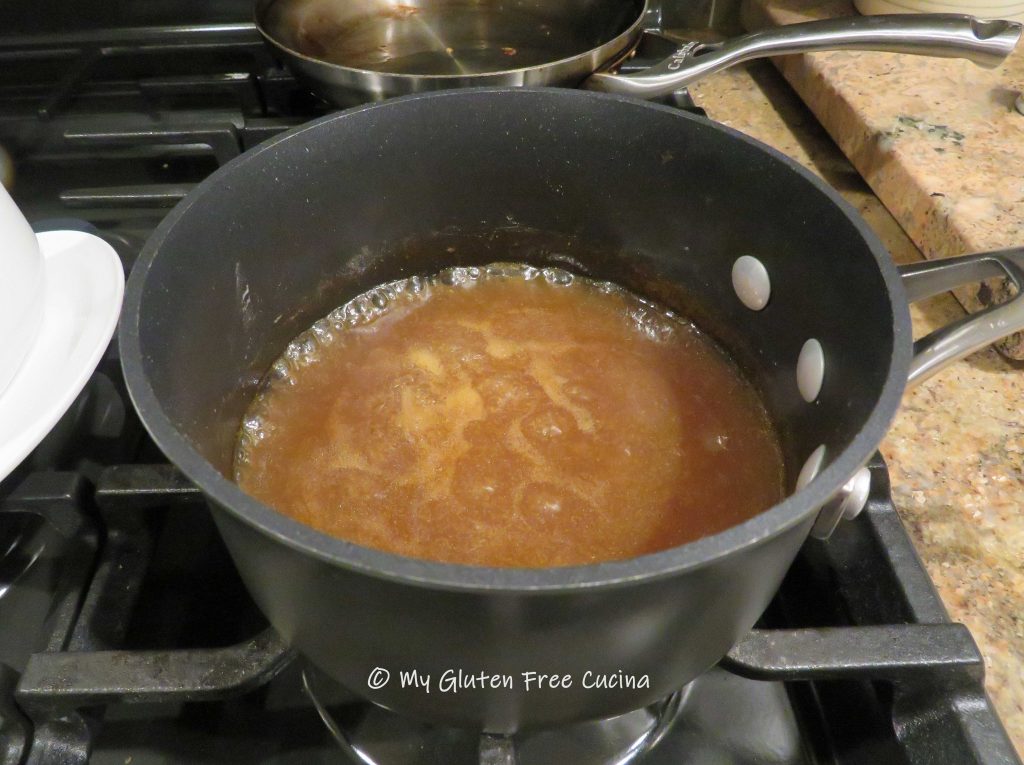
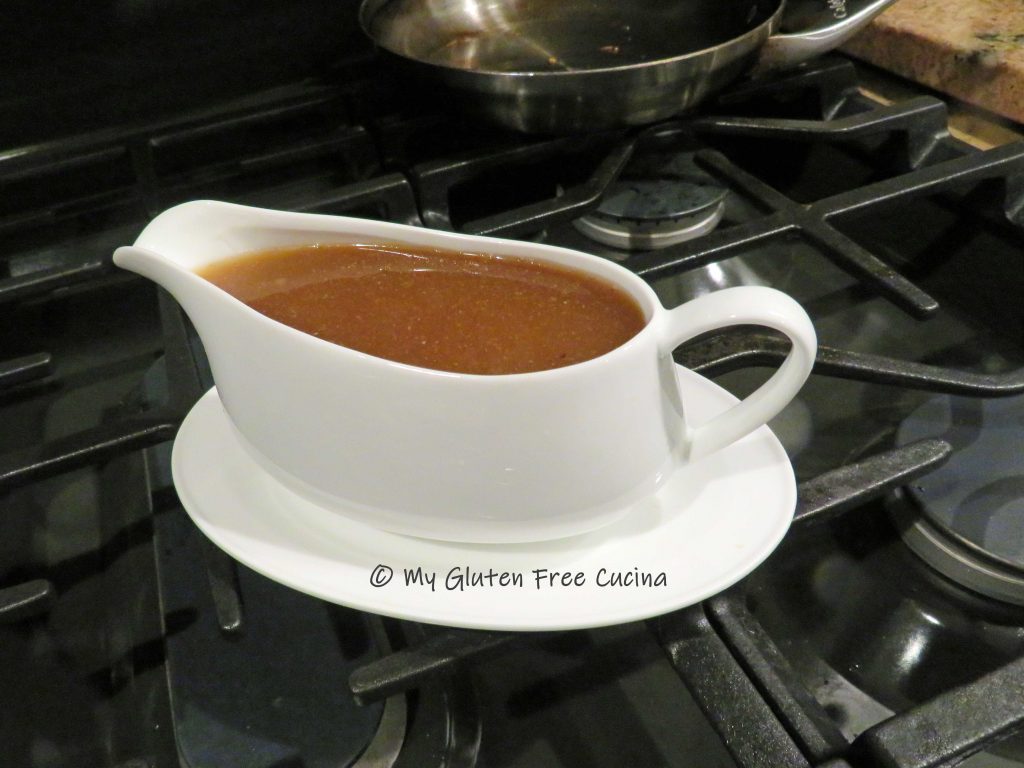
Take the lid off during the last 10 minutes of cooking to thicken the sauce. Serve with rice.
Notes ♪♫ There are so many variations of this classic dish. I used red wine vinegar, but many recipes say to use white vinegar. It’s just a matter of taste. I used Coconut Aminos, because it is much lower in sodium than Tamari. If you are not limiting salt, then gluten free Tamari is a great substitute for soy sauce in gluten free recipes.


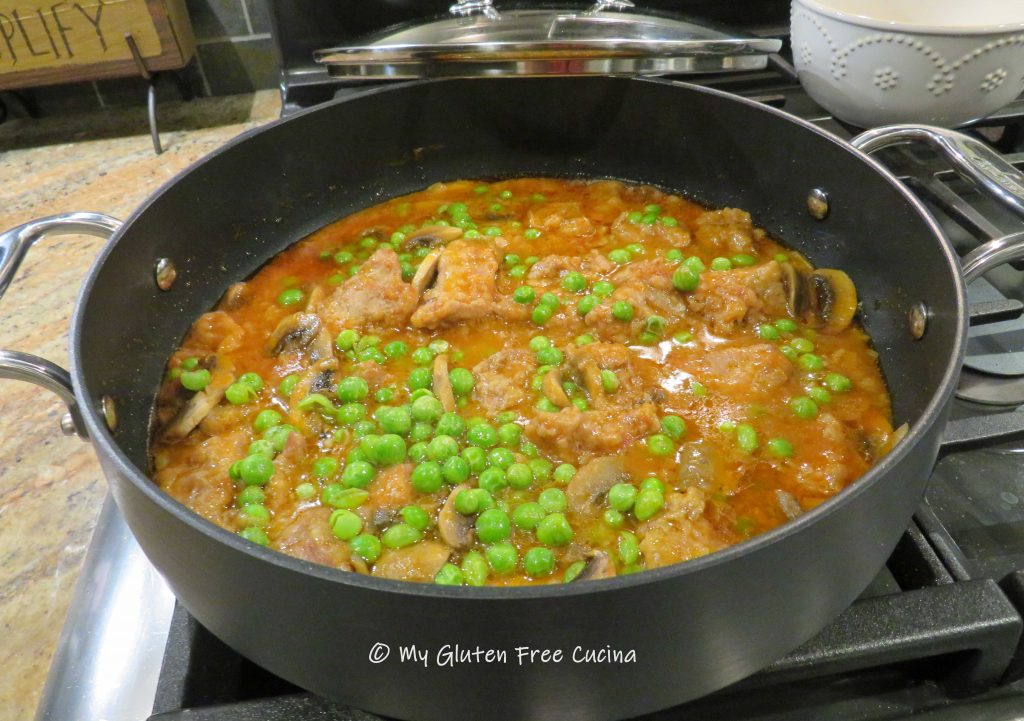
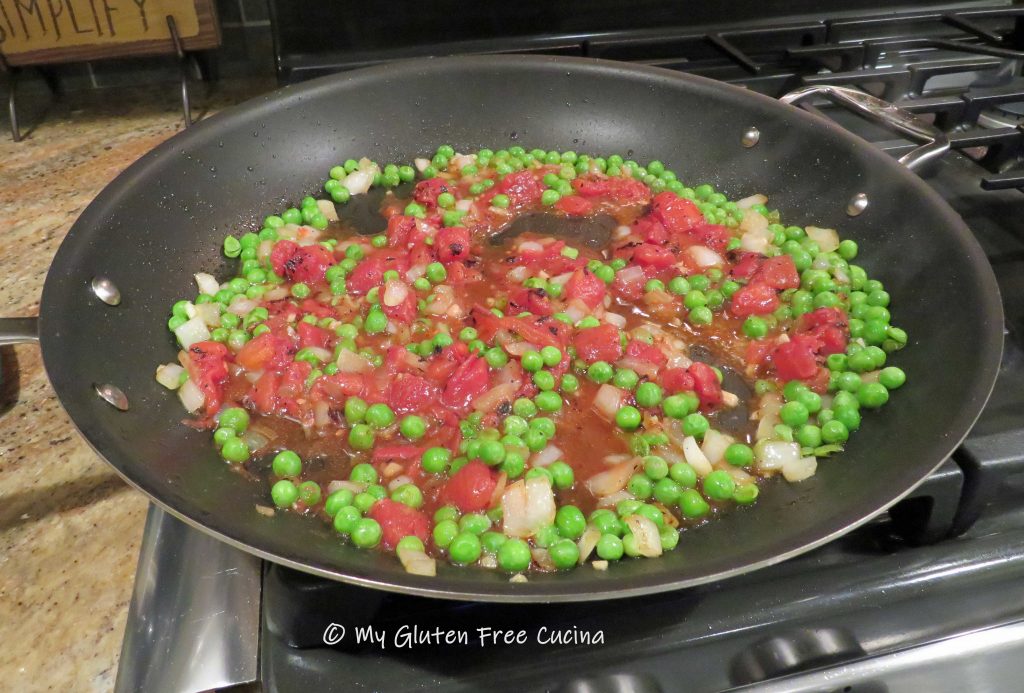
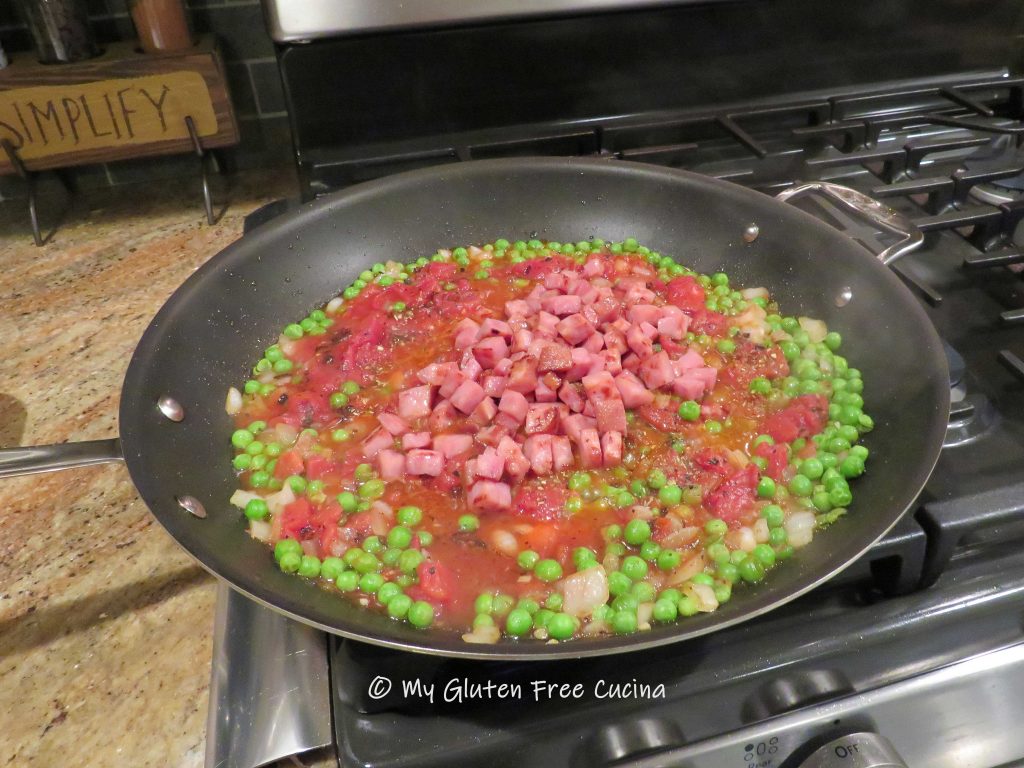
 During the last 10 minutes of cooking add the peas, and finish cooking uncovered to thicken.
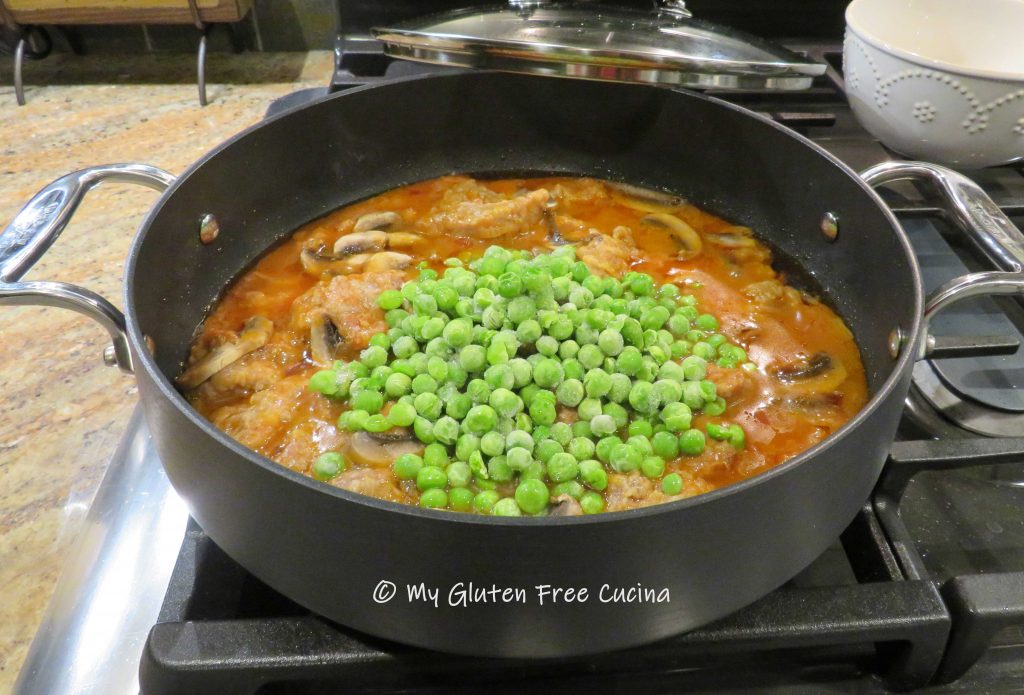


 Stir in 1 cup


 Preparation:


 If you don’t have a probe (oven safe) thermometer, then roast for 20 minutes per pound and check with an