I so look forward to our Thanksgiving turkey dinner each year and all the delicious sides! But what if you don’t want to deal with roasting a whole turkey? Maybe a turkey breast is just the ticket for smaller gatherings. I always plan on 1/2 lb. per serving, and a whole breast is more than enough for 6-8 people.
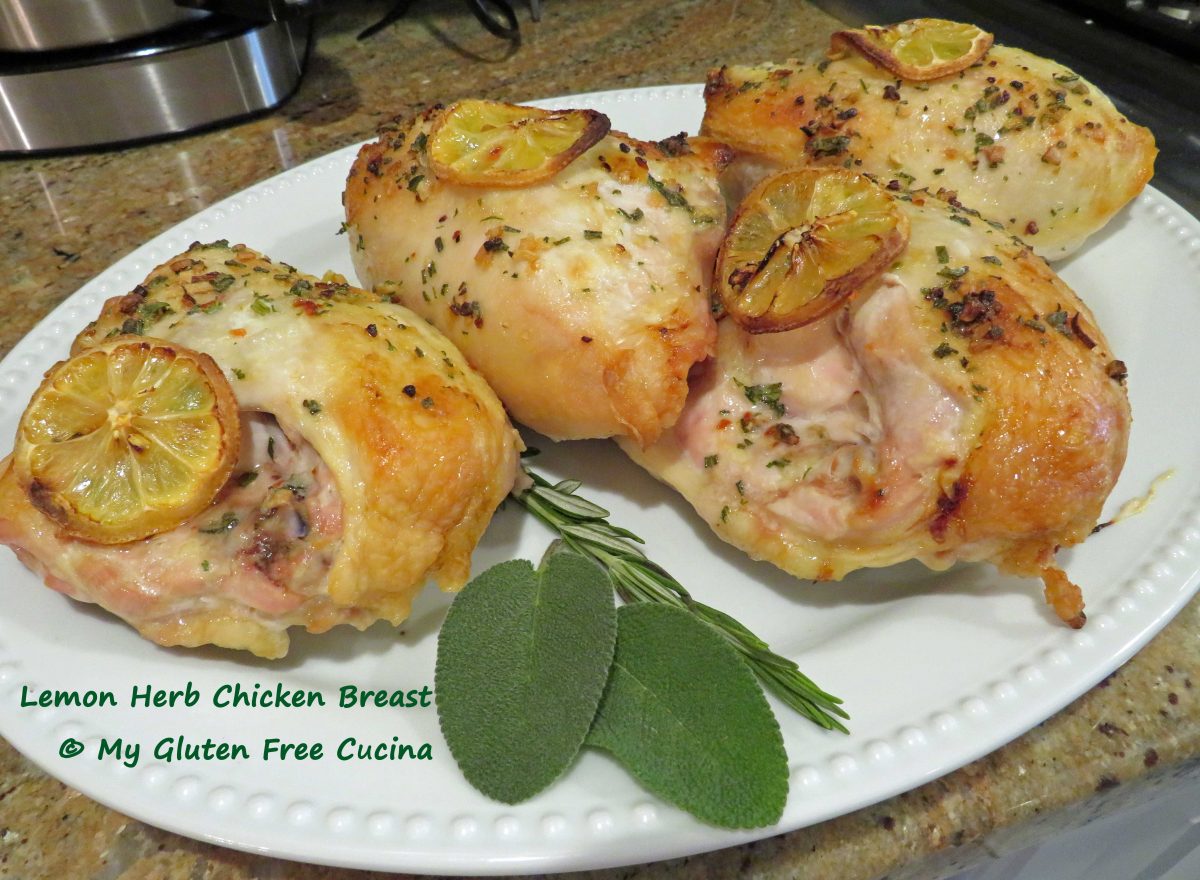
I prepare the breast the same way I would a whole turkey. Nothing fancy, just rub the breast with herbed butter, cover with cheesecloth and roast it. You can do this!
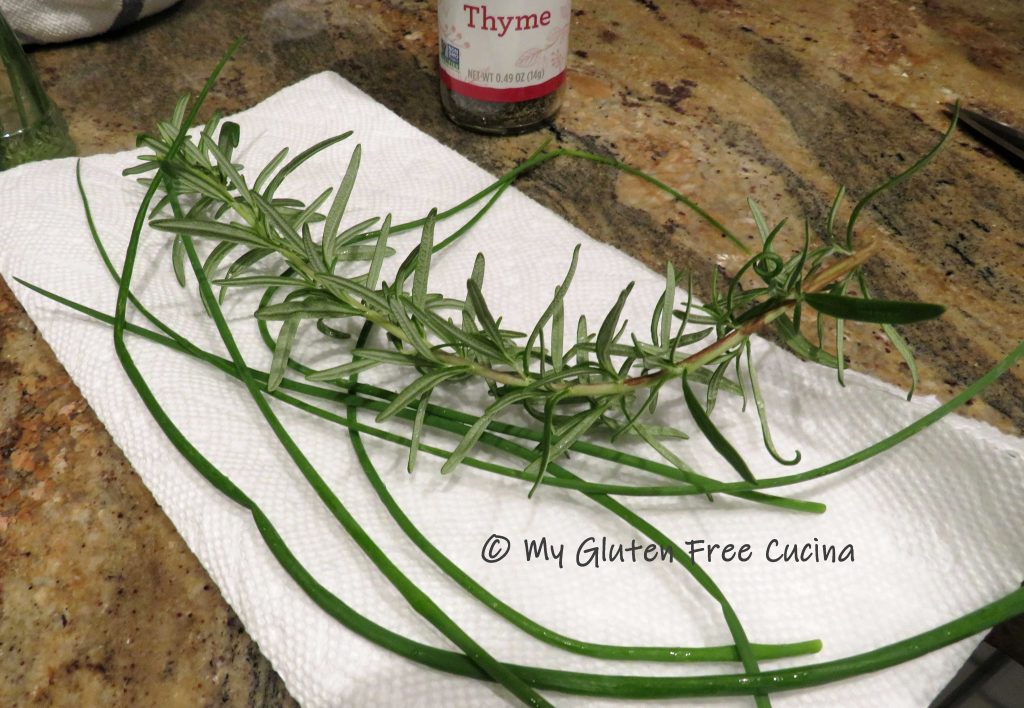
I am so lucky to still have chives and rosemary growing in my garden in late November, but if you don’t grow your own herbs, either grab some at the market or use a smaller amount of dried.
This post contains affiliate links.
Ingredients:
- 8-10 lb. turkey breast, thawed
- 1/2 stick butter, softened
- 1/2 tsp. lemon peel
- 1/2 tsp. thyme
- 1 tbsp. fresh chives (or 1 tsp. dry)
- 1 tbsp. fresh rosemary (or 1 tsp. dry)
- 1 cup chicken broth, or use white wine, or water
- 2 carrots
- 2 celery stalks
- 1/2 sweet onion
Preparation:
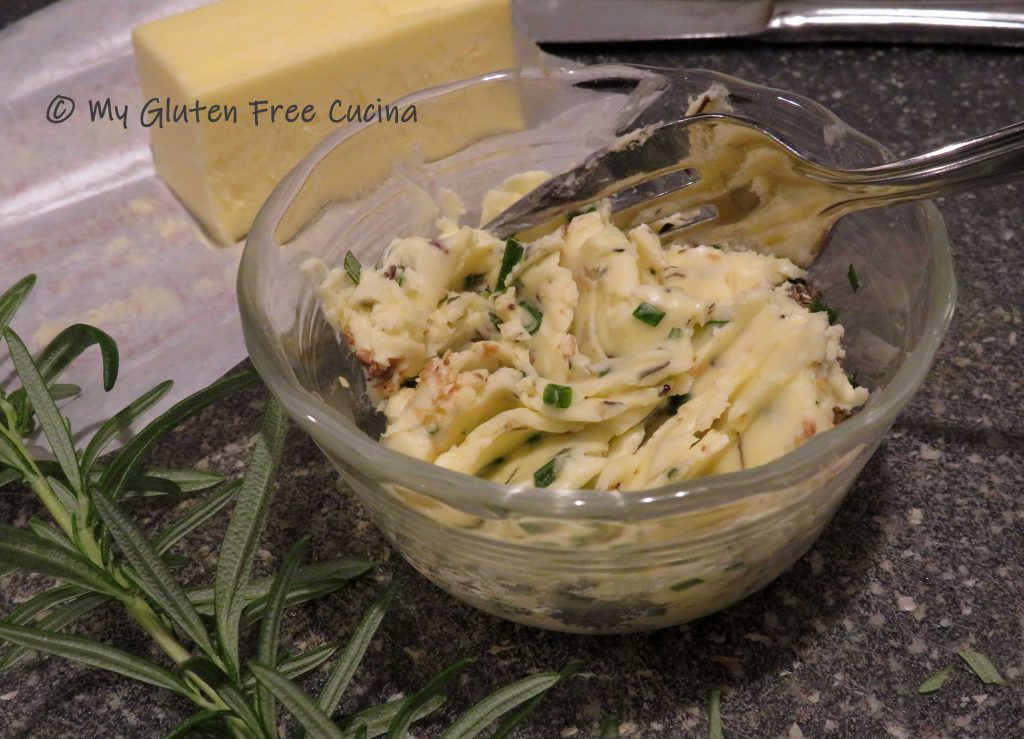
Mince the herbs and combine with the lemon peel and softened butter.
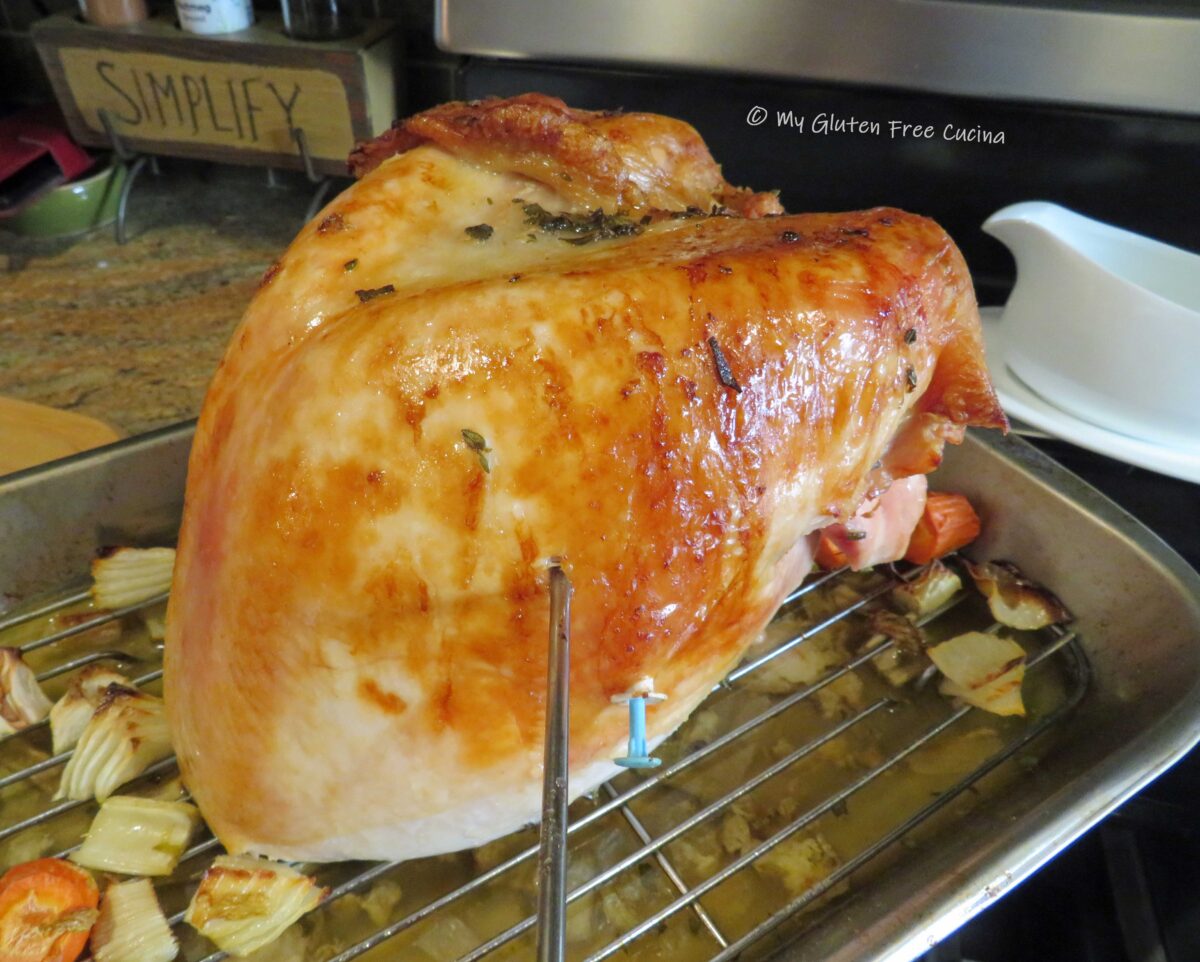
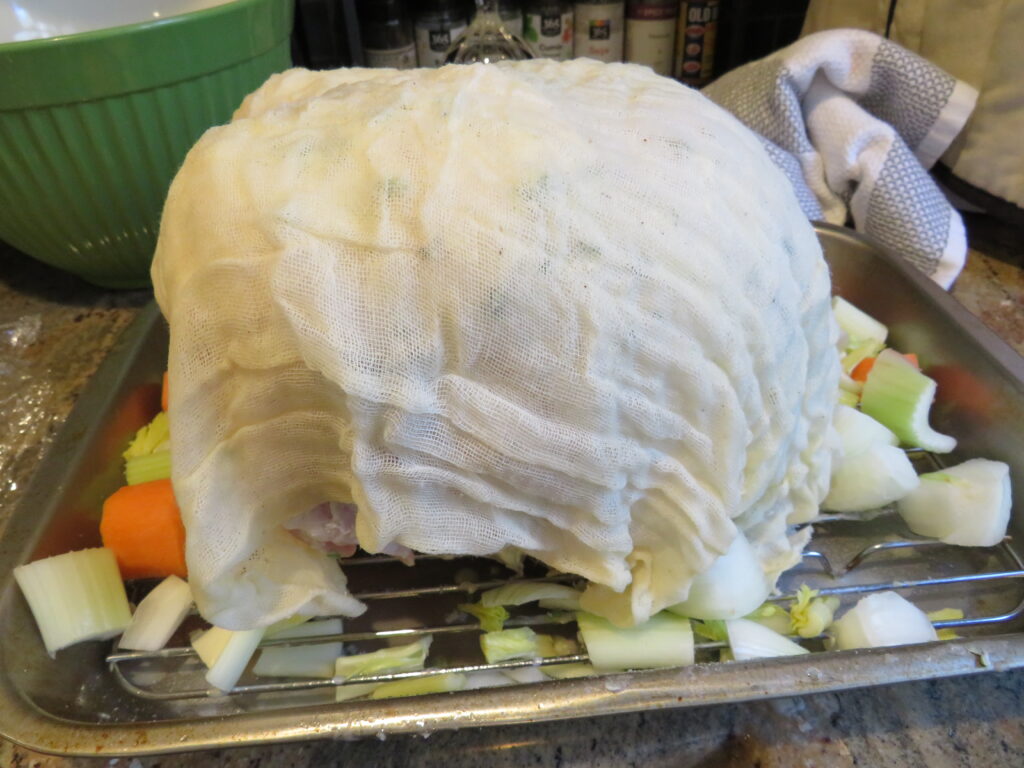
Preheat the oven to 325º and spray a small roasting pan and rack with cooking spray. Chop the onion, celery and carrot and add to the bottom of the pan. Rinse the turkey breast and pat dry with paper towels. The breast will usually have a pop-up thermometer, if not use a meat thermometer (I used both just to be on the safe side).
Rub the breast all over with the butter mixture and cover with cheesecloth. Pour 1 cup of liquid (chicken broth, wine, water or combination) into the bottom of the pan.
 Roast for 25 minutes per pound, or until a thermometer inserted into the thickest section registers 165º. The pop-up thermometer was spot on, but I was still glad that I used my own.
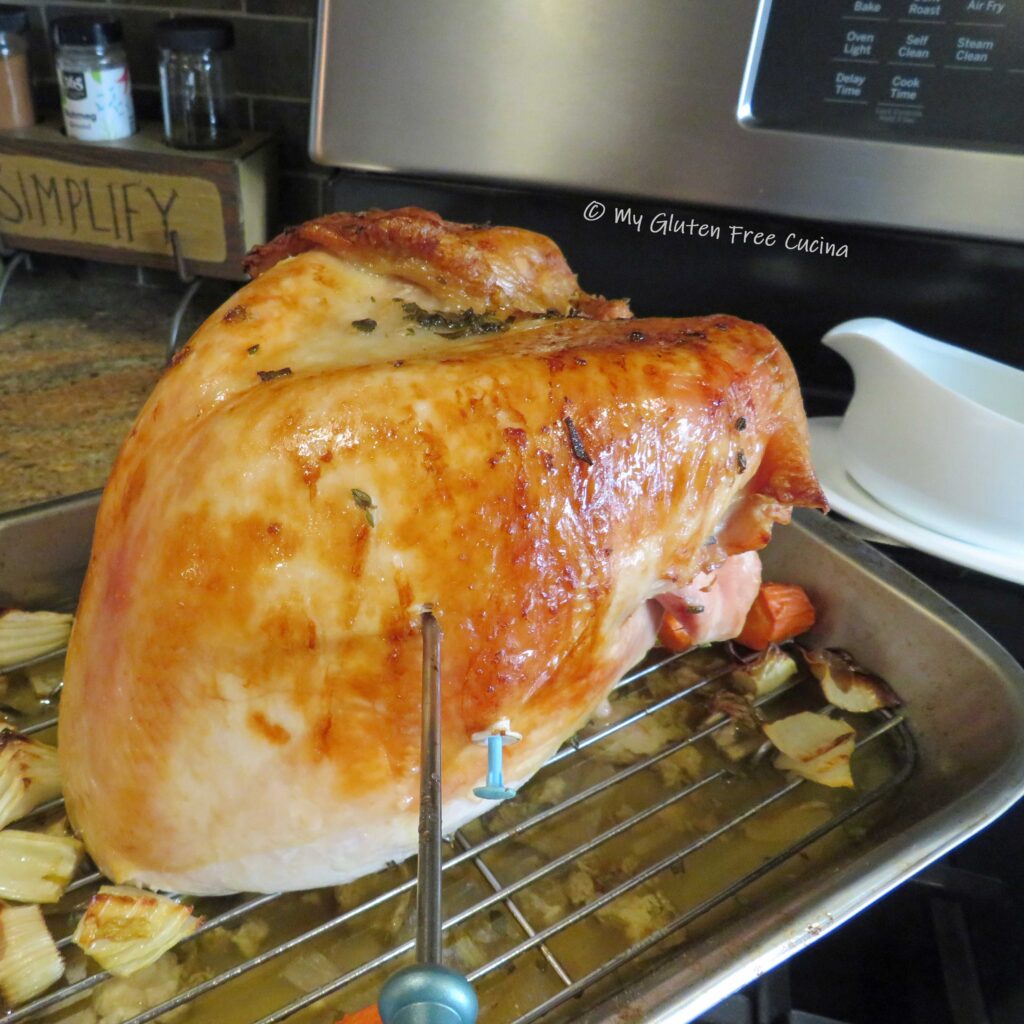
Tent with foil and let it rest for at least 15 minutes. The internal temperature will continue to rise as the turkey rests.
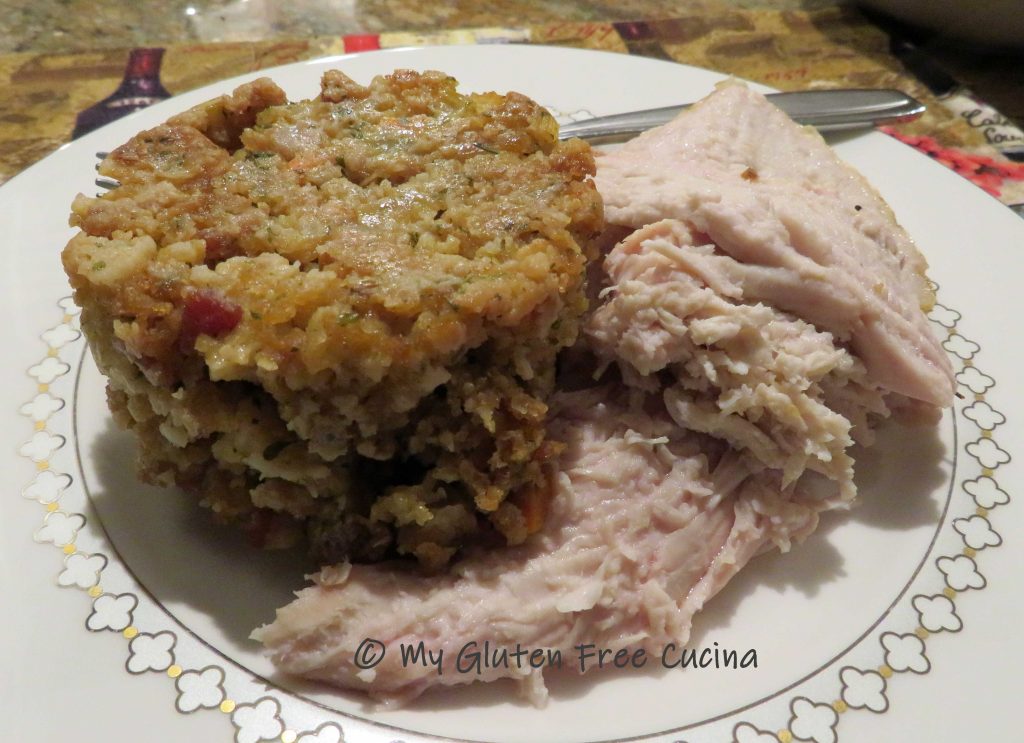
That’s all there is to it, slice and serve.
 Enjoy with Gluten Free Roast Turkey Gravy and be sure and check out my Gluten Free Ramekin Stuffing Cups!
Notes ♪♫ White meat lovers will love this easy meal. For all the dark meat lovers out there be sure and check out my from scratch Gluten Free Roast Turkey Gravy made with legs or thighs, or for ultimate ease try my Crock-Pot Turkey Drumsticks. Happy Thanksgiving to all from My Gluten Free Cucina!


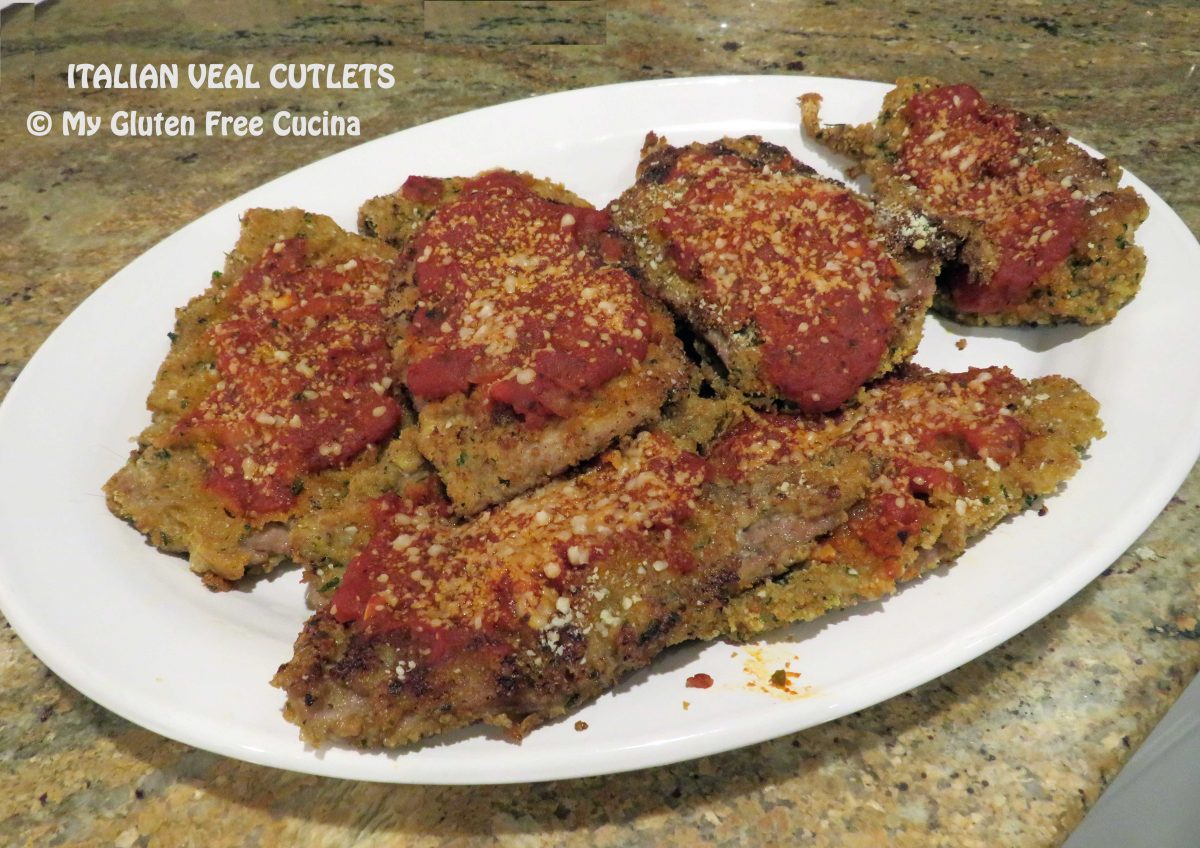

 Ladle marinara over each slice and top with grated cheese, as much as you like.
 Place in the oven for 15-20 minutes, just enough to melt the cheese.
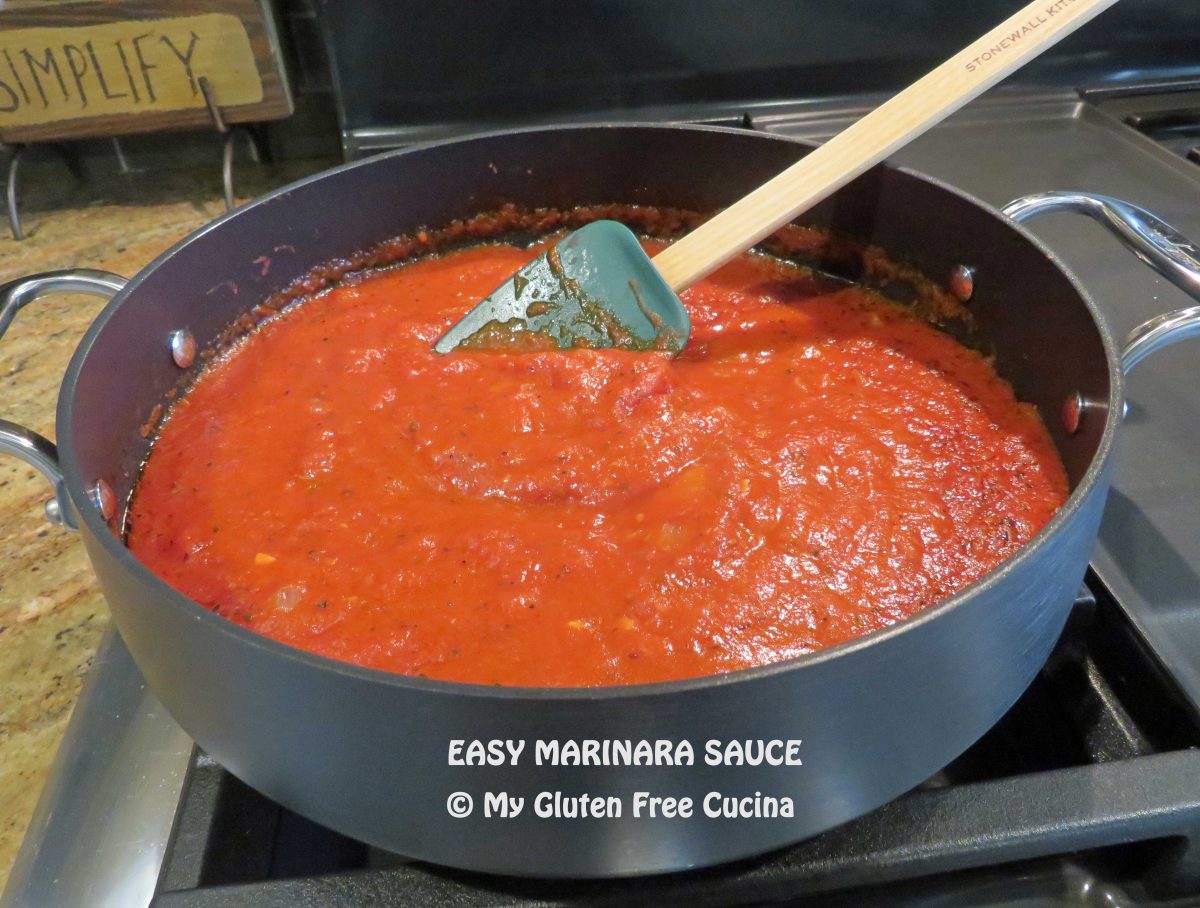


 Now that you know how to make a good marinara sauce, what restaurant favorite will you have for dinner tonight? How about
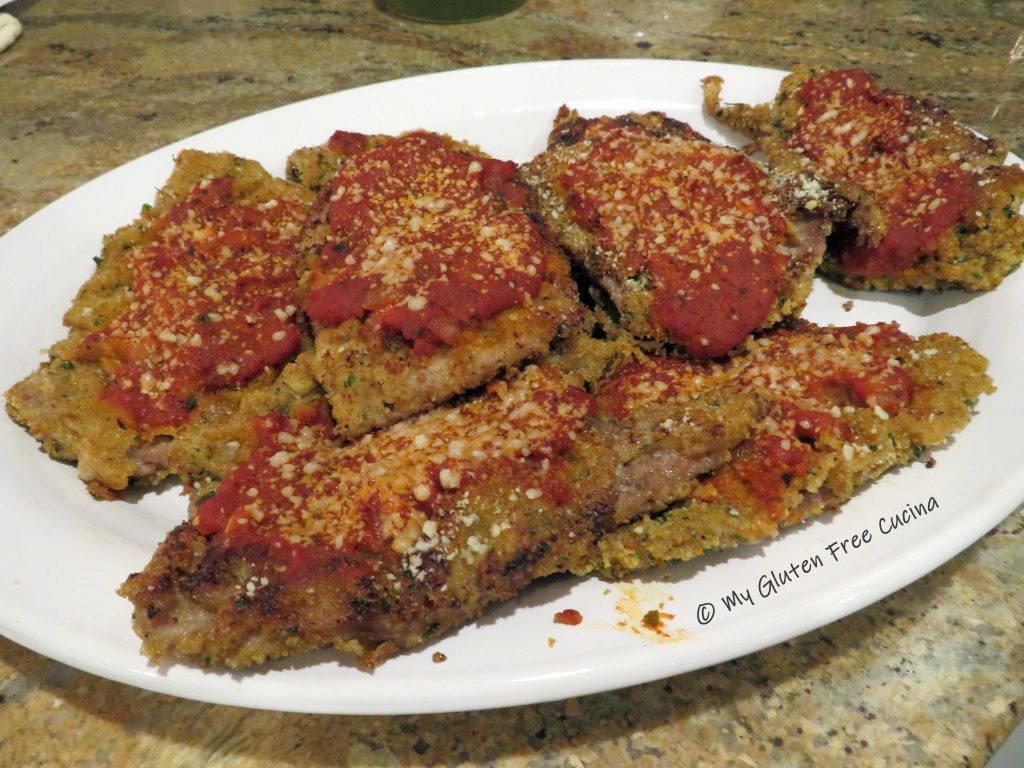

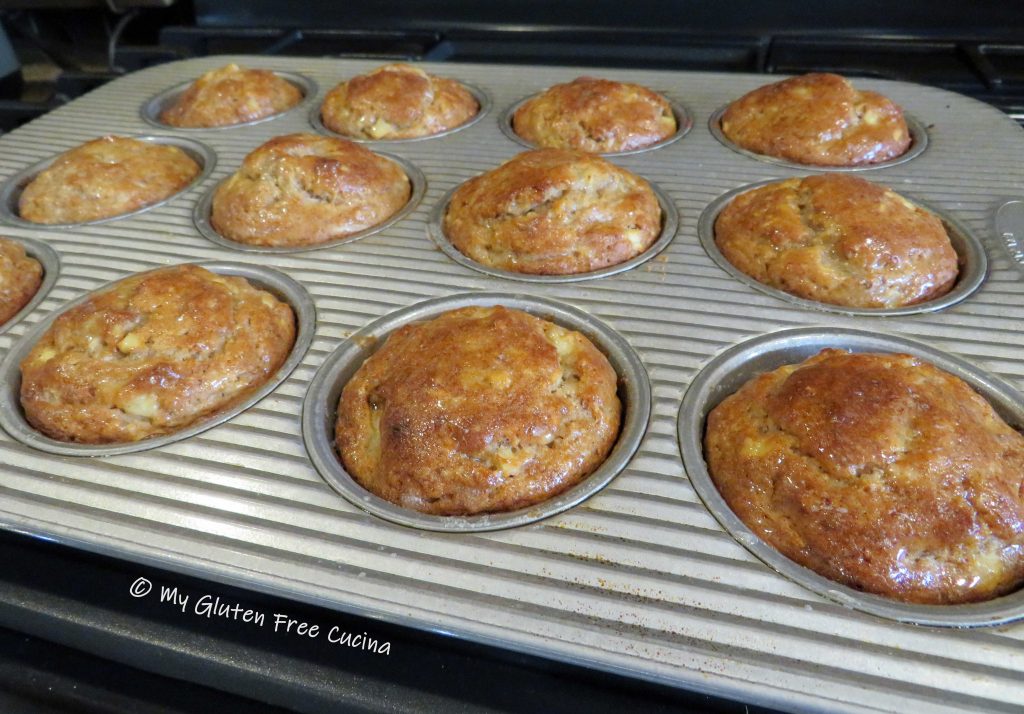
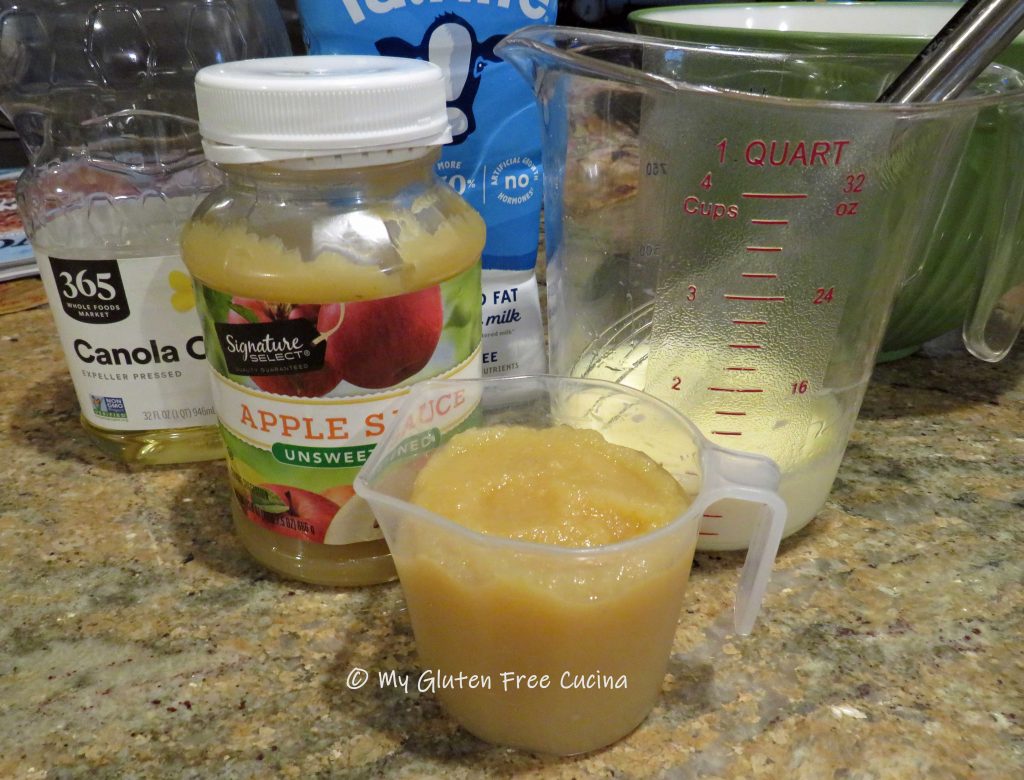
 Using a gluten free pancake mix makes this recipe a snap and no oddball ingredients to purchase! I love
 Preparation:
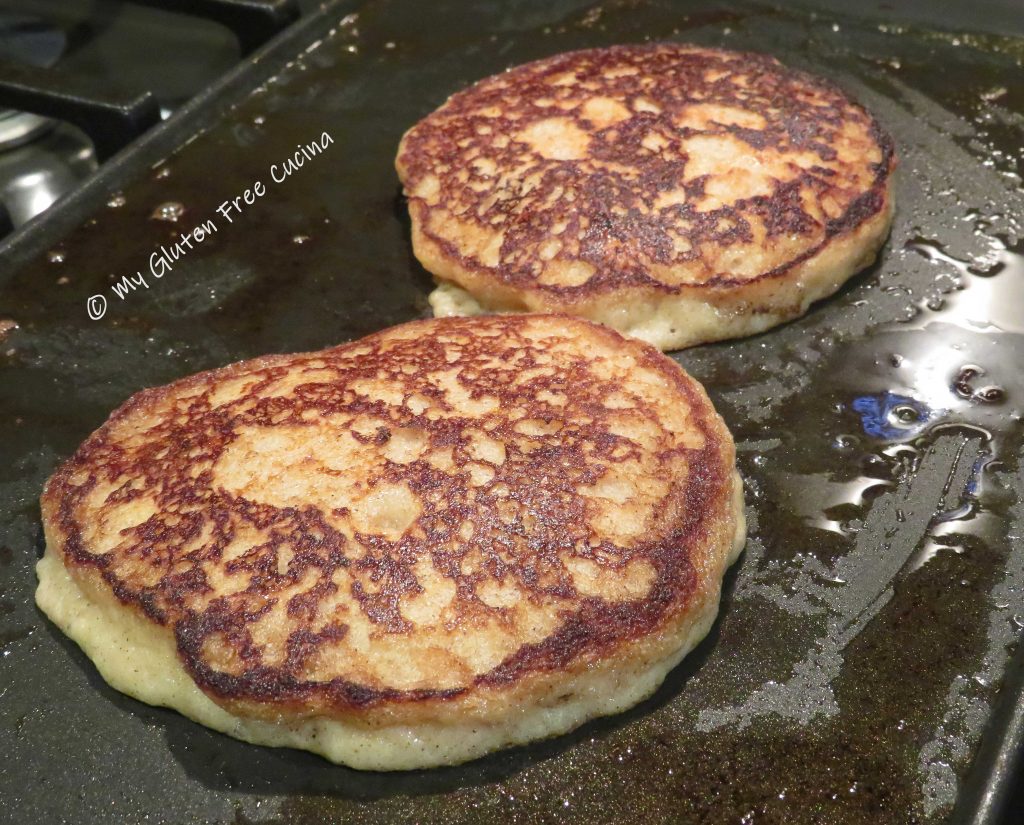
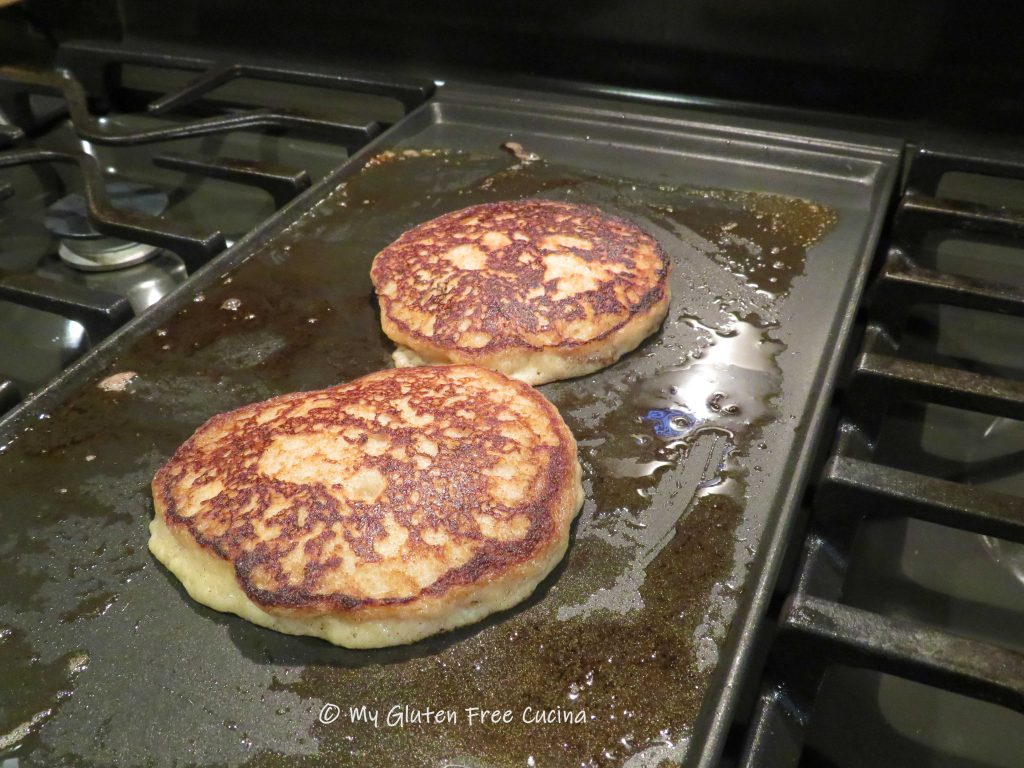
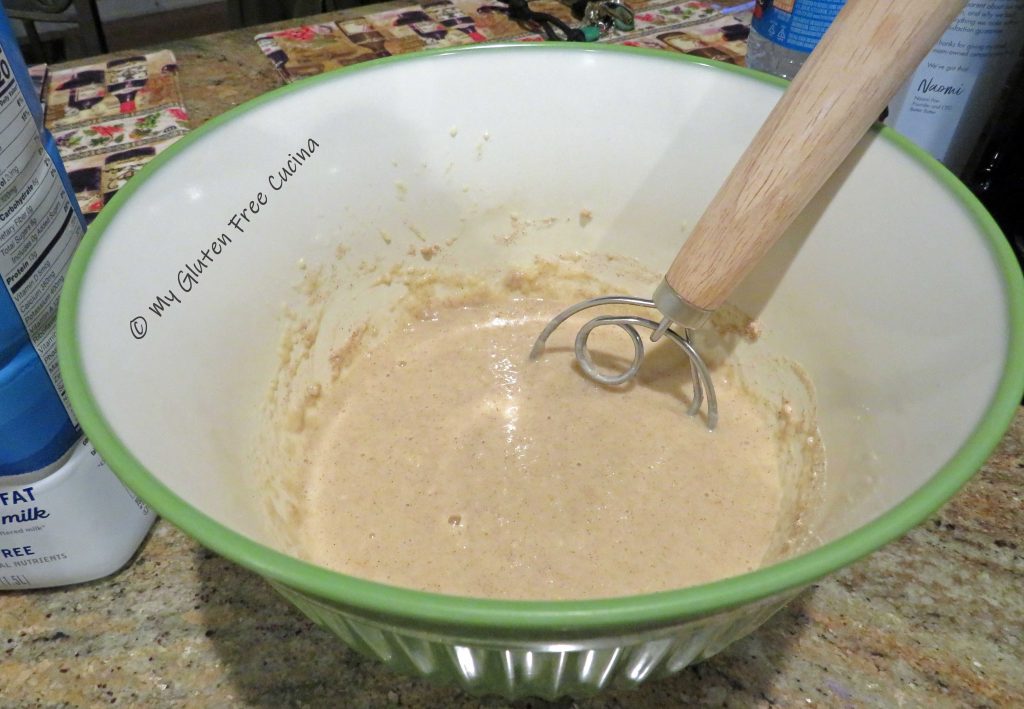 Coat the griddle with butter and spoon the batter in circles, about 1/3 cup each. Cook for 4-5 minutes per side. They are ready to turn when the tops begin to bubble. Continue with the rest of the batter, adding more butter to the griddle each time.
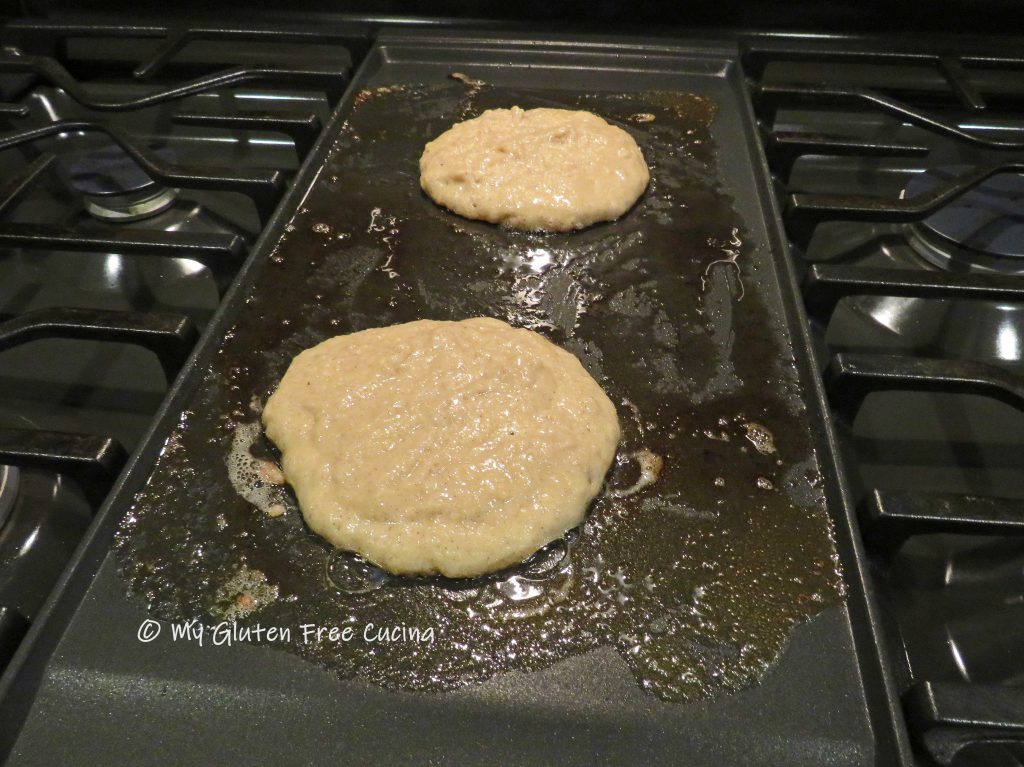
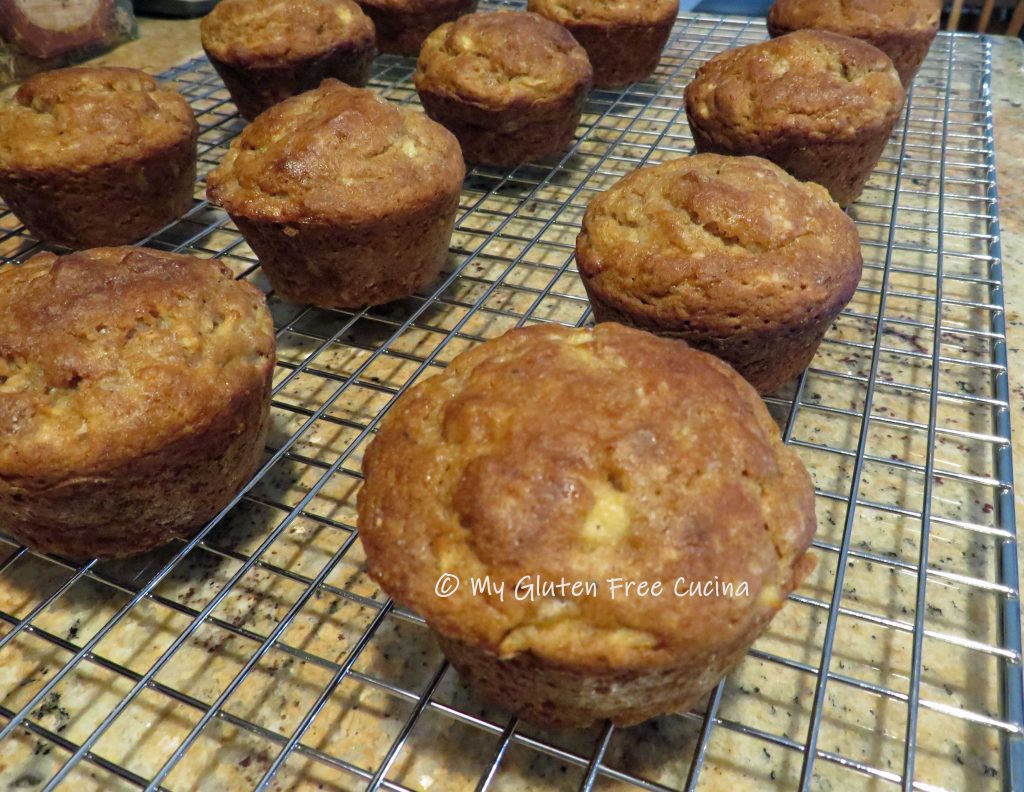
 Transfer the cooked pancakes to a cooling rack (or right onto your plate!). I usually make enough to freeze so they will get individually wrapped in plastic wrap and stored in freezer safe bags.
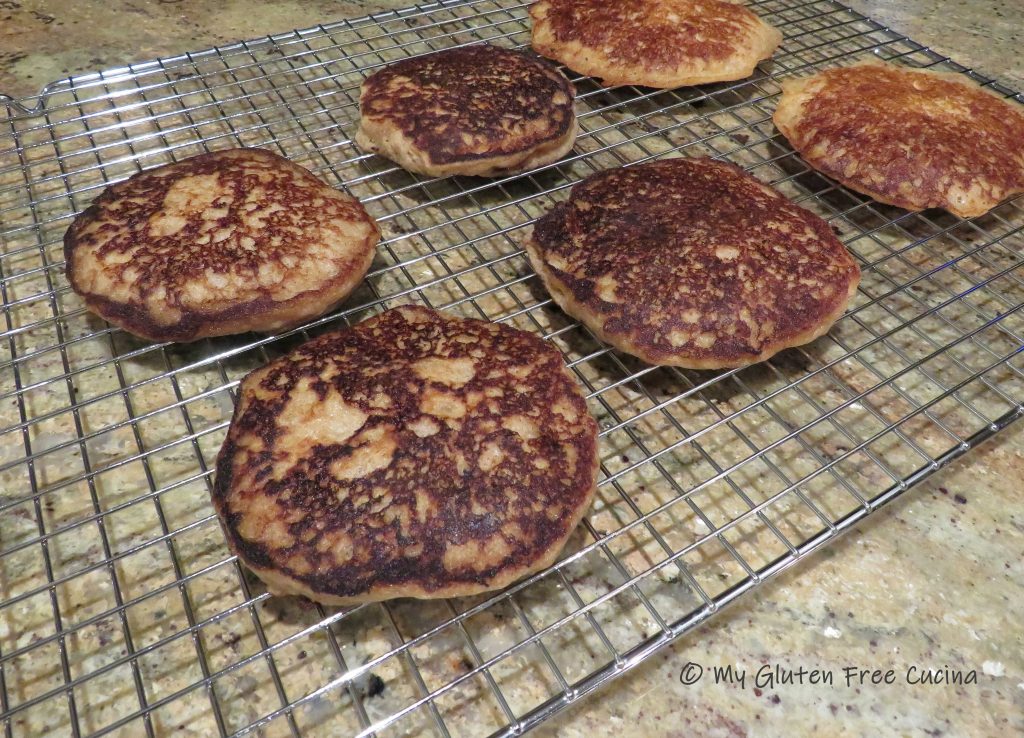 You can reheat them on the griddle, microwave or toaster.
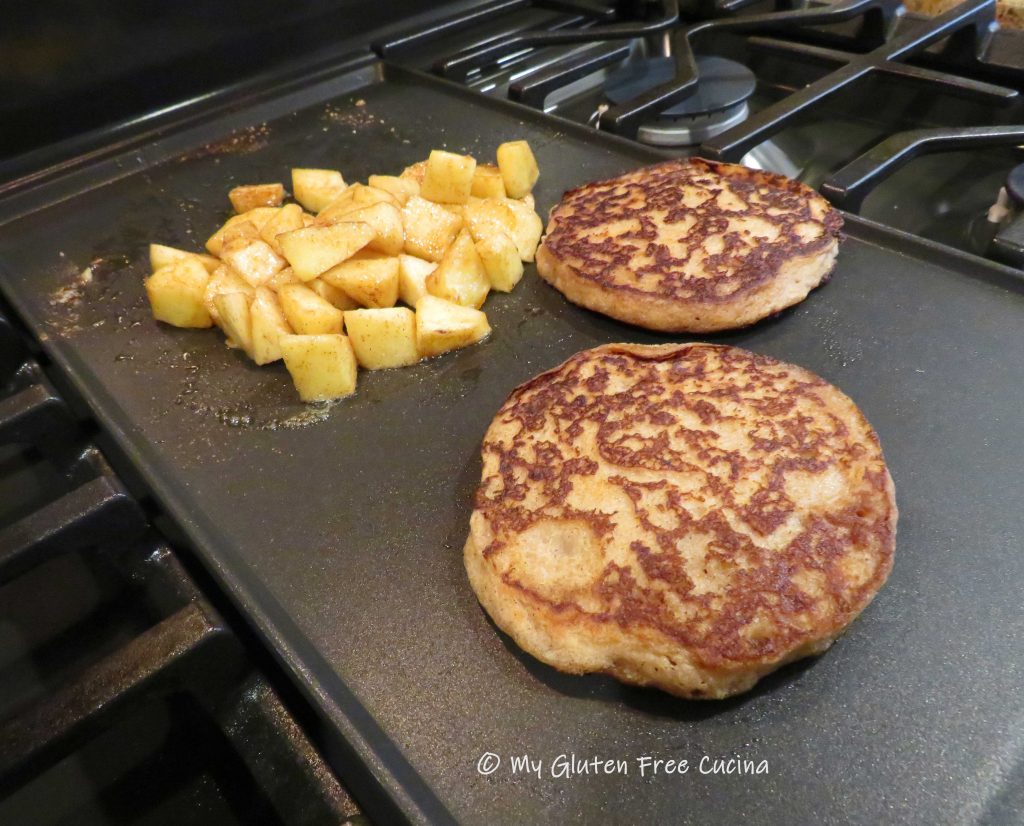 I served them with a side of
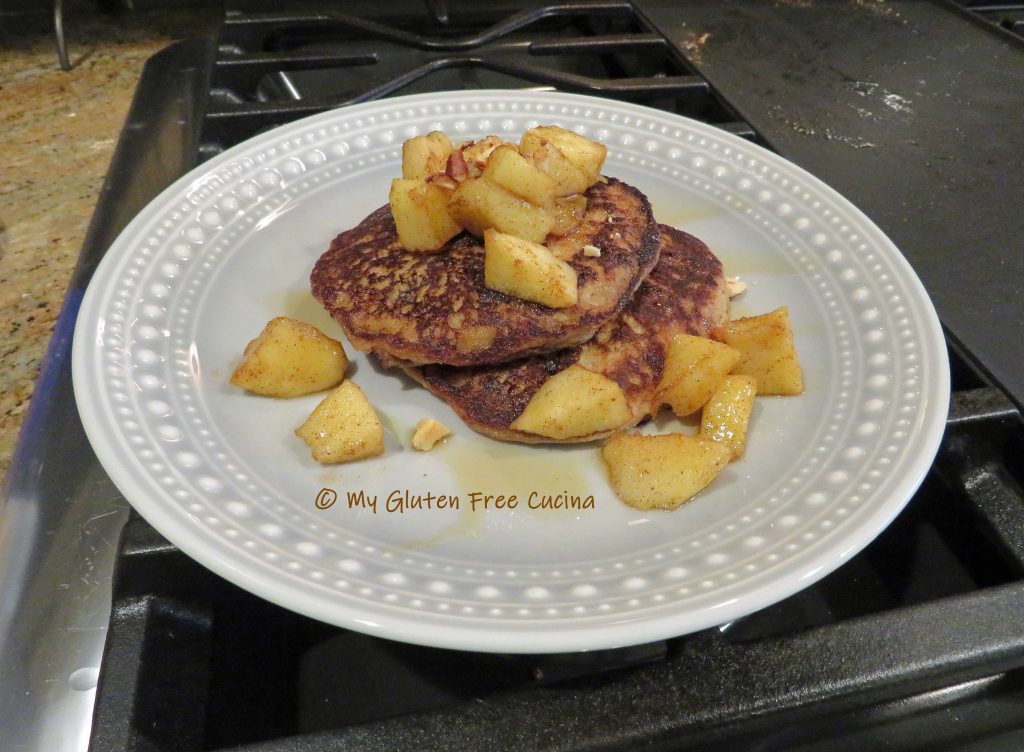
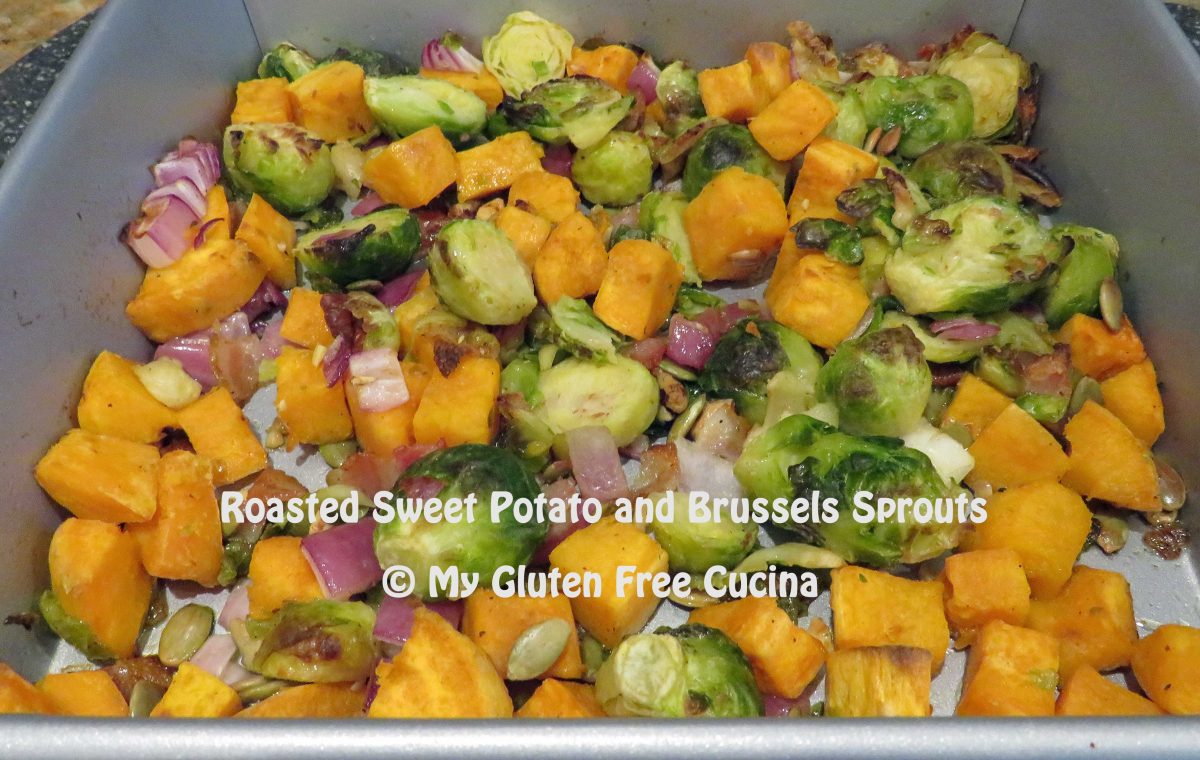
 Combine the brussels sprouts, red onion, and bacon in a
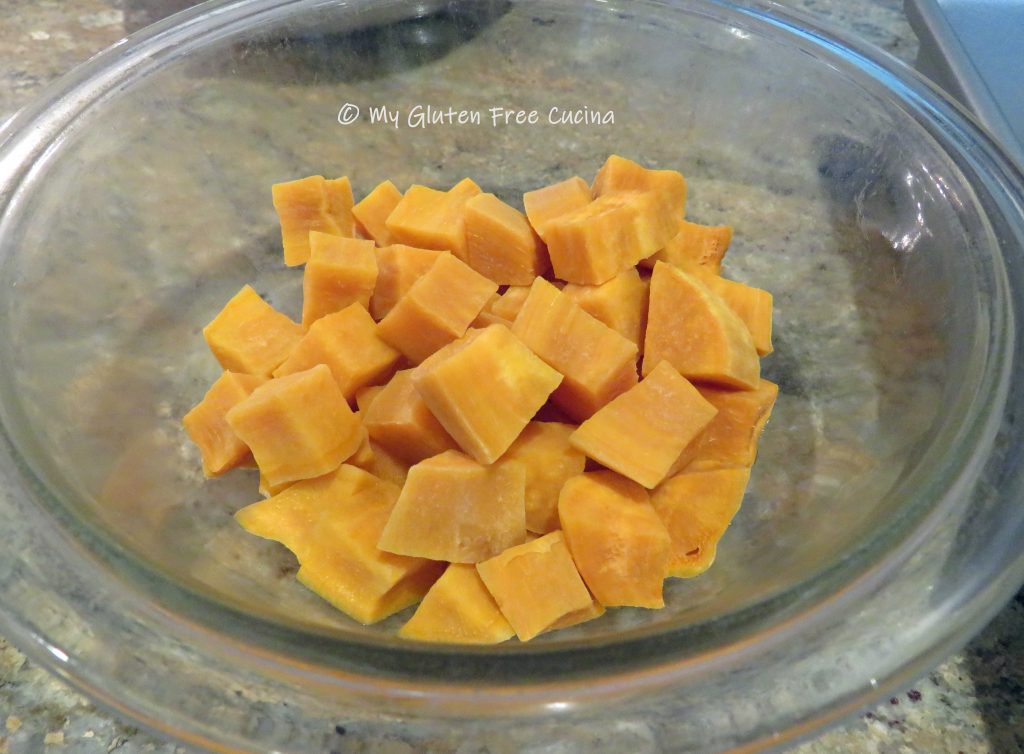
 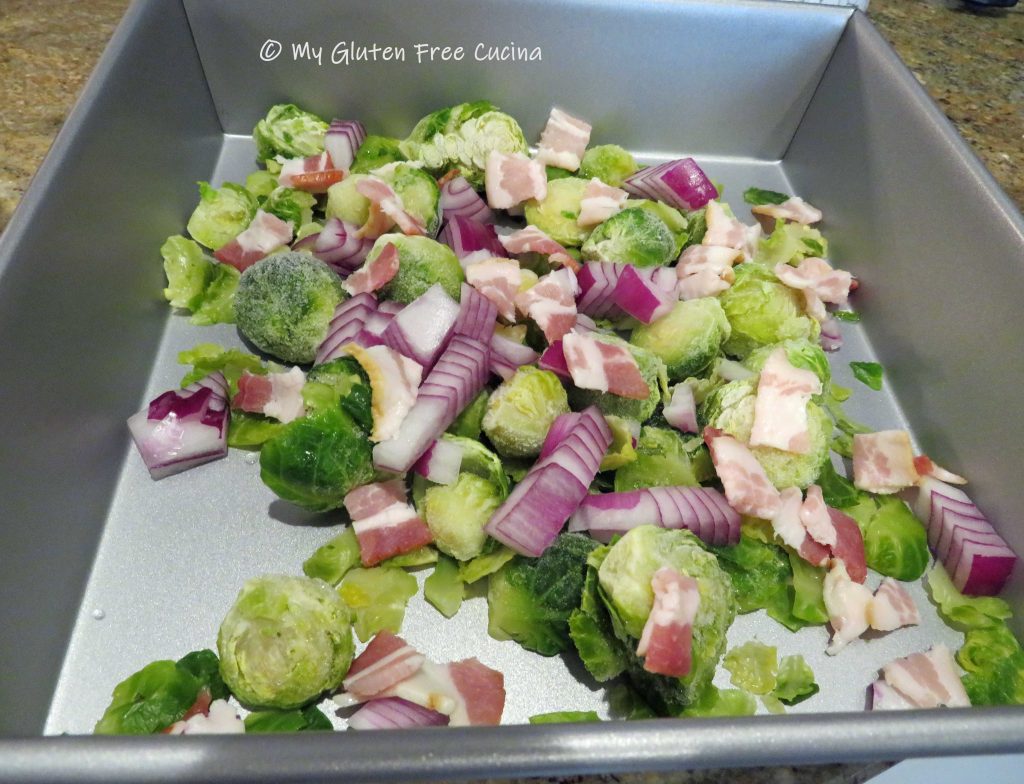 Stir in the cooled potatoes and toss with oil, salt and pepper. Top with the nuts and seeds and make sure everything is spread in an even layer.


 Transfer to a
 Preparation:
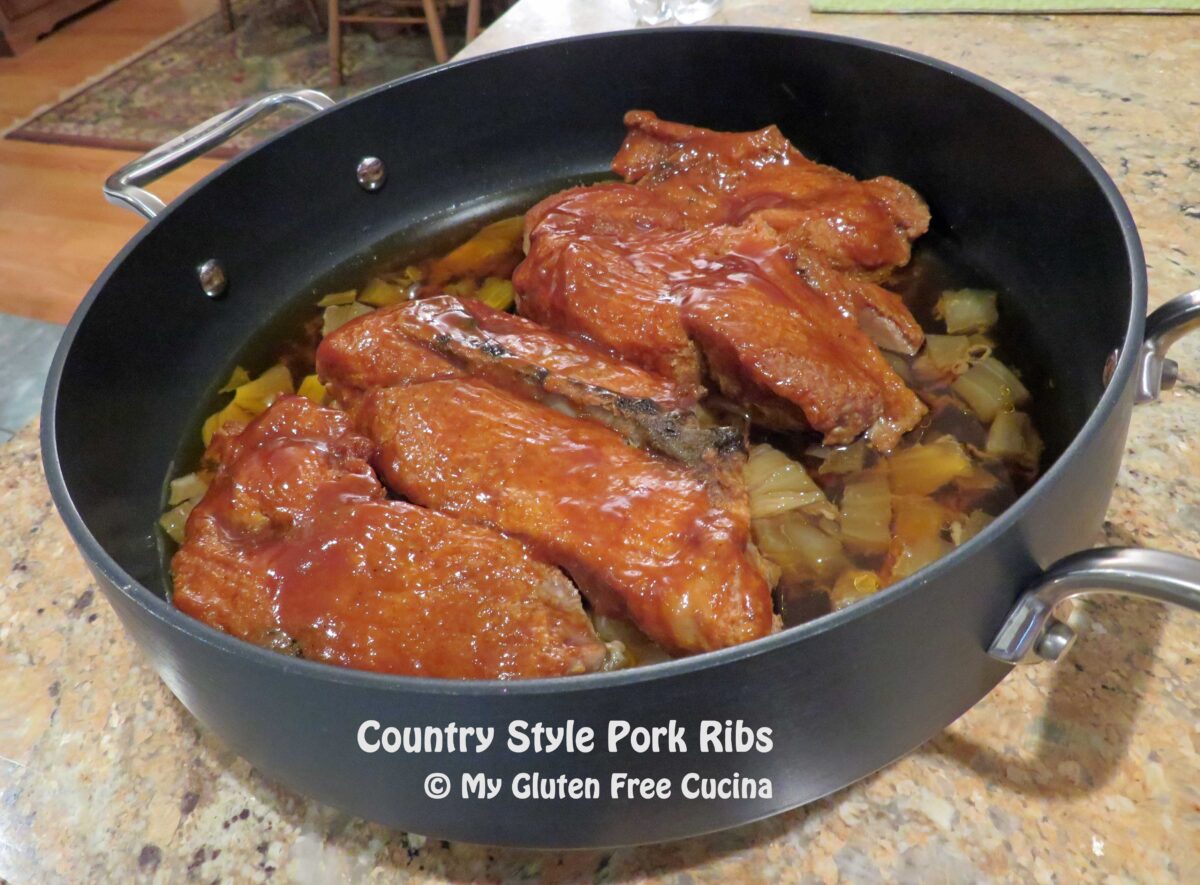
 Mist a covered skillet, Dutch oven or braising pan with cooking spray. Cut the onions into large chunks and arrange in a single layer, to create a base for the ribs.
 Place the ribs on top of the onions. As the ribs cook down, they will release liquid, and you want them to be elevated for most of the cook time, not submerged.
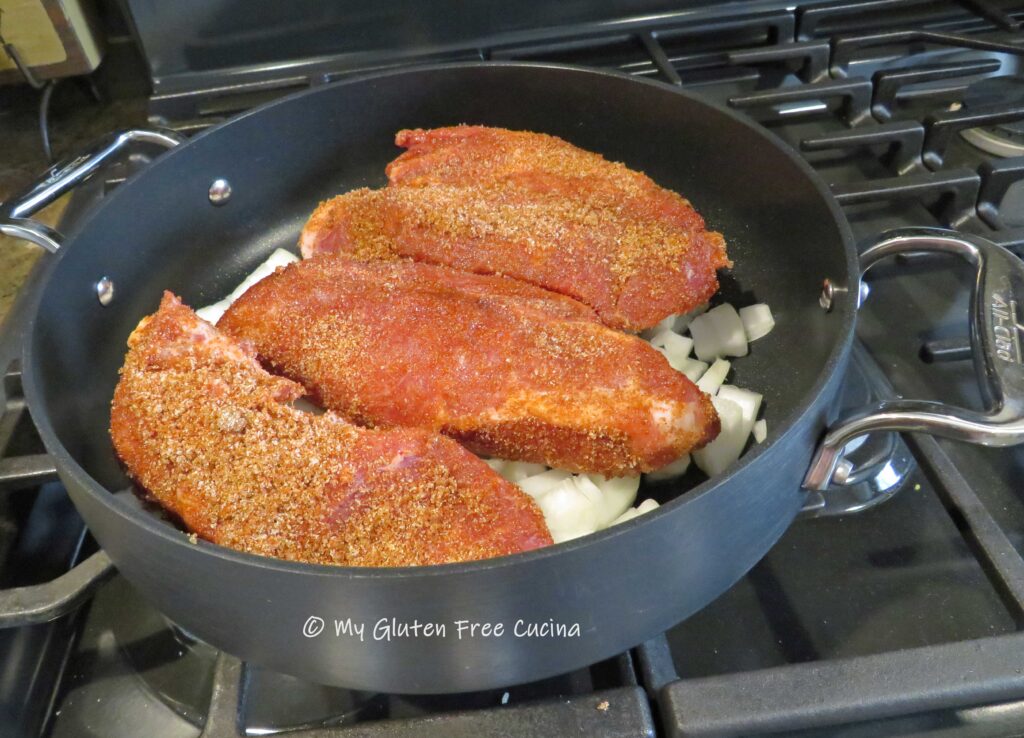 Cover and roast at 225° for 4 hours total. After 3-1/2 hours, uncover and brush liberally with BBQ sauce.
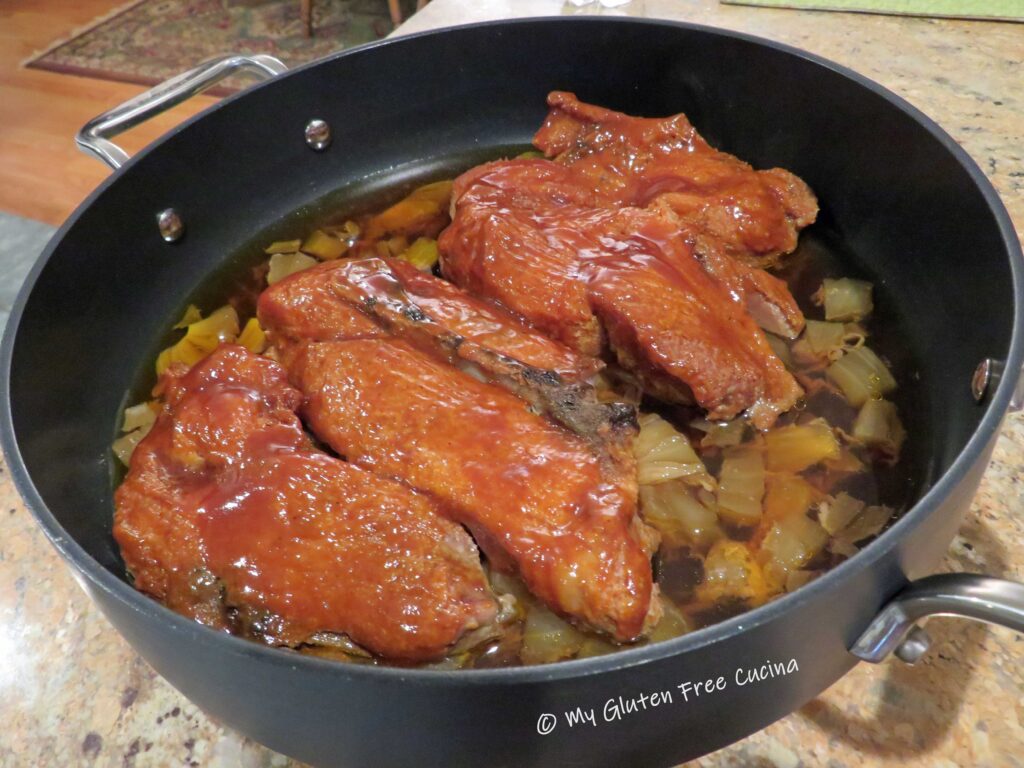 Continue cooking 1/2 hour longer. The meat will be falling off the bone tender!
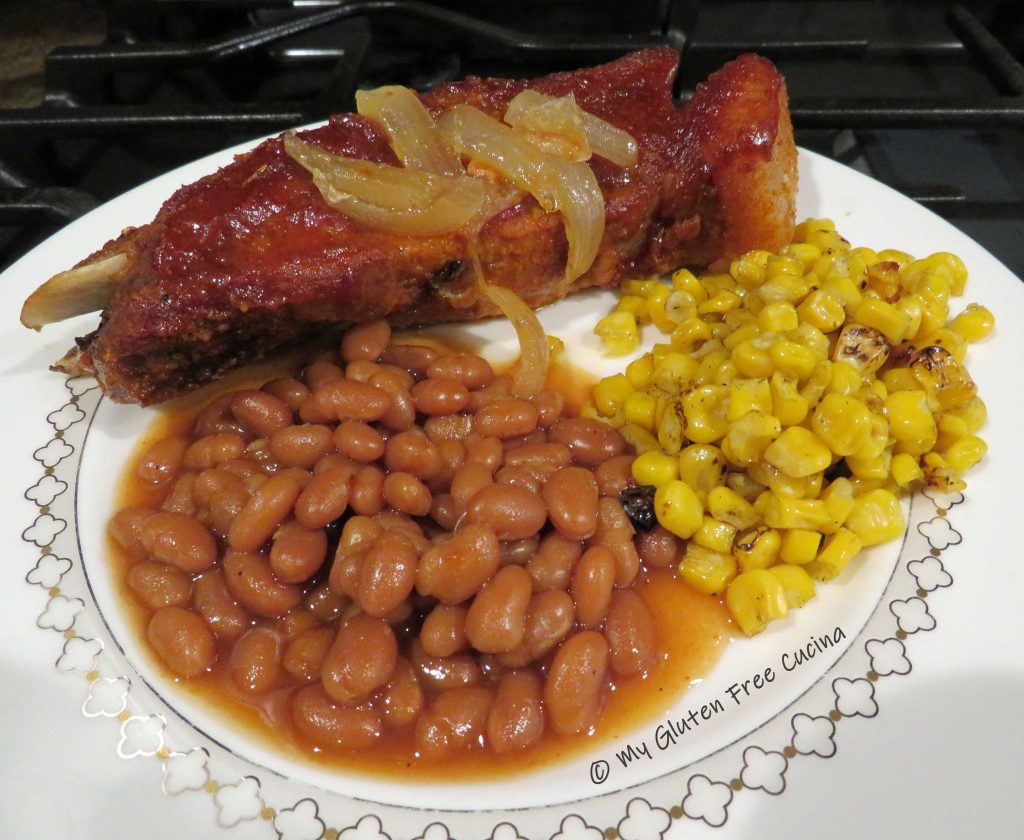
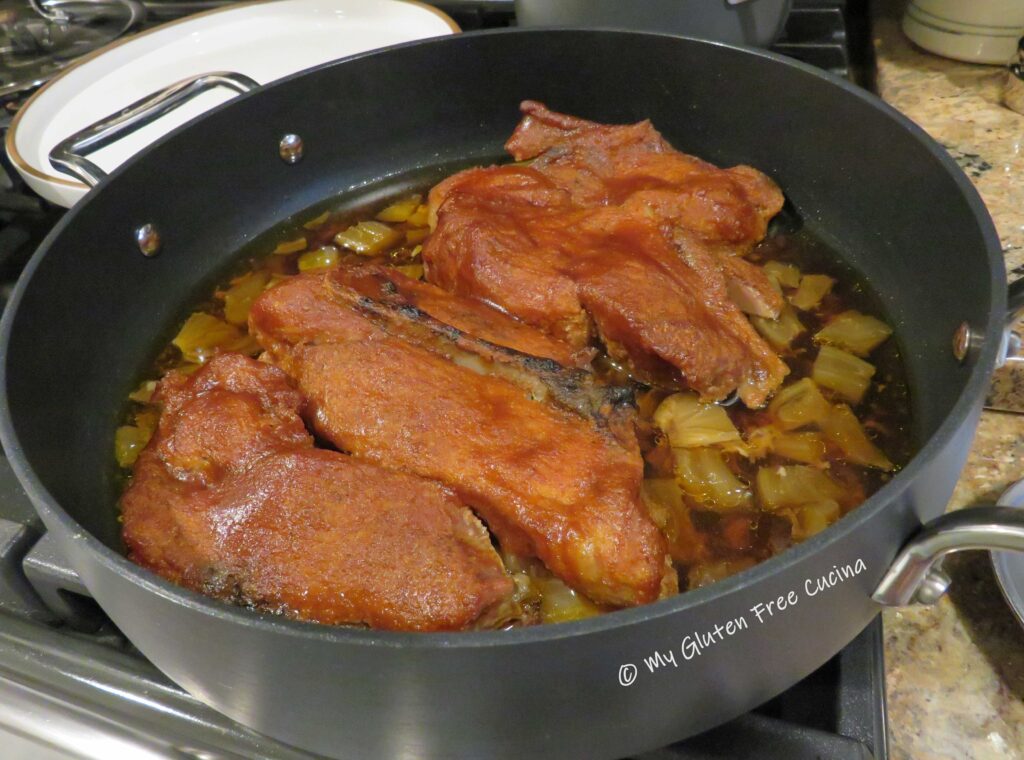 See how much liquid has accumulated in the bottom of the pan, yet the ribs are not swimming in it?
 To plate, spoon some of the onions and pan juice over the ribs. I served the ribs with a side of