Classic Chicken Cordon Bleu. Years ago this dish was a restaurant standard, and it has long been on my culinary bucket list to make a gluten free version at home! Swapping out the flour and breadcrumbs for gluten free was all that was needed.

This is a great dish for a dinner party, or a romantic dinner for two. When planning your meal, allow about 6 oz. chicken cutlet and 2 slices prosciutto per serving. You can save time by purchasing thin sliced chicken breast, but if all you can find are larger breasts then you can follow my instructions to cut and pound them into thin slices.
This post contains affiliate links.
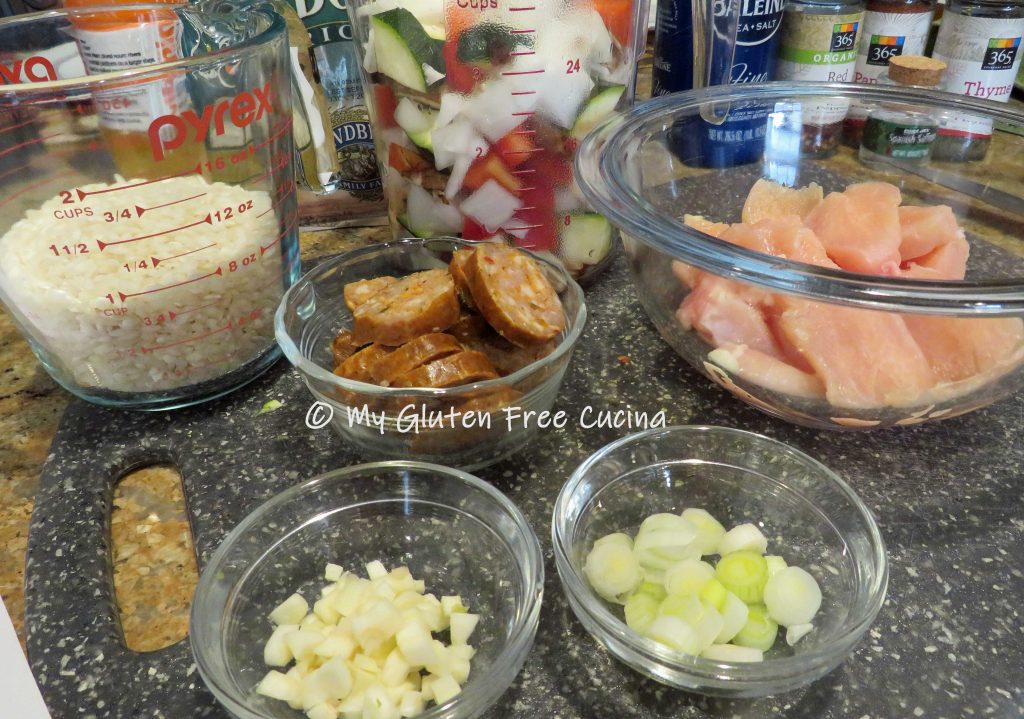
Ingredients:
- boneless chicken breast cutlets, 6 oz. per serving
- thin sliced prosciutto, 2 slices per serving
- grated gruyere cheese, 2-3 tbsp. per serving
- 1 egg or 1/4 cup egg whites
- 1/4 cup white rice flour seasoned with paprika
- 1/2 cup gluten free seasoned breadcrumbs
- cooking spray

Preparation:
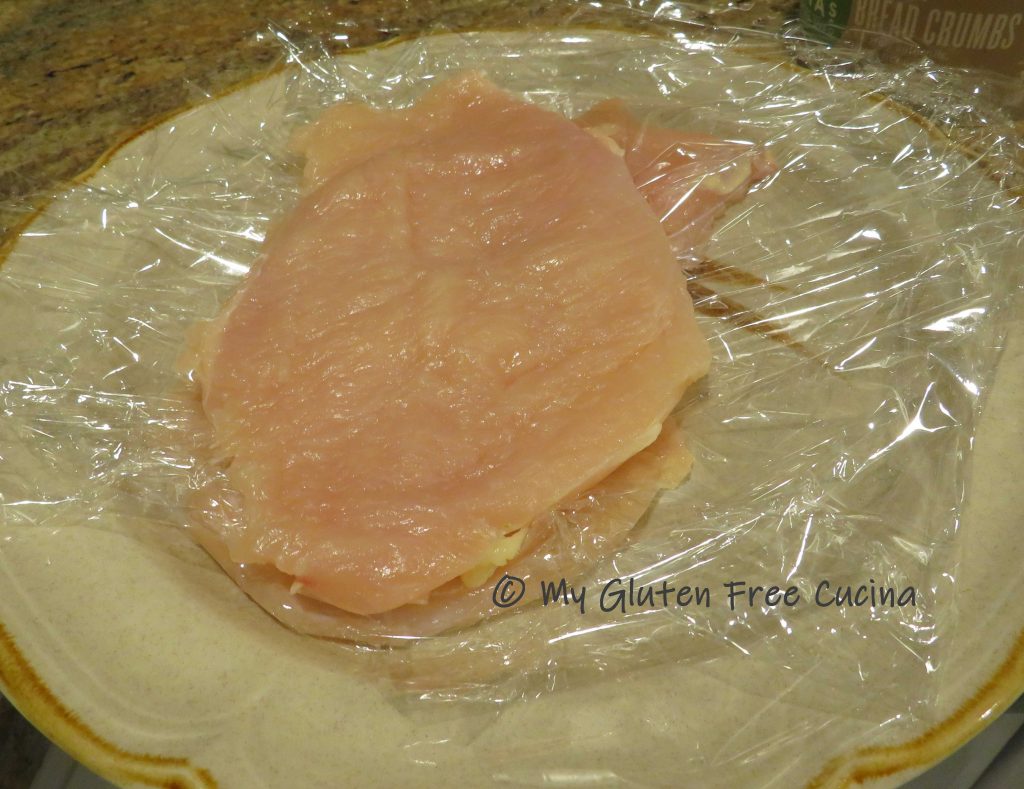
Using a sharp paring knife, slice horizontally through the center of the breast making 1/2″ slices about 6 oz. each. Cover with plastic wrap and use the flat side of a meat mallet to pound each slice to an even thickness.

Continue with each slice, stacking between layers of plastic wrap.
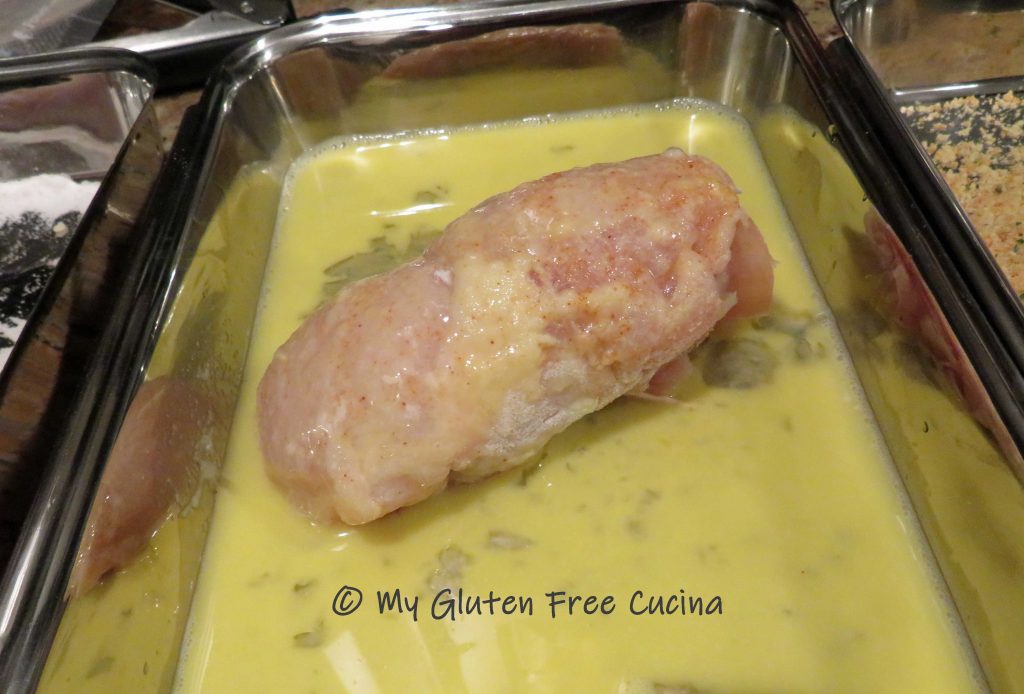
When you are ready to assemble, layer each piece of chicken with 2 slices of prosciutto.
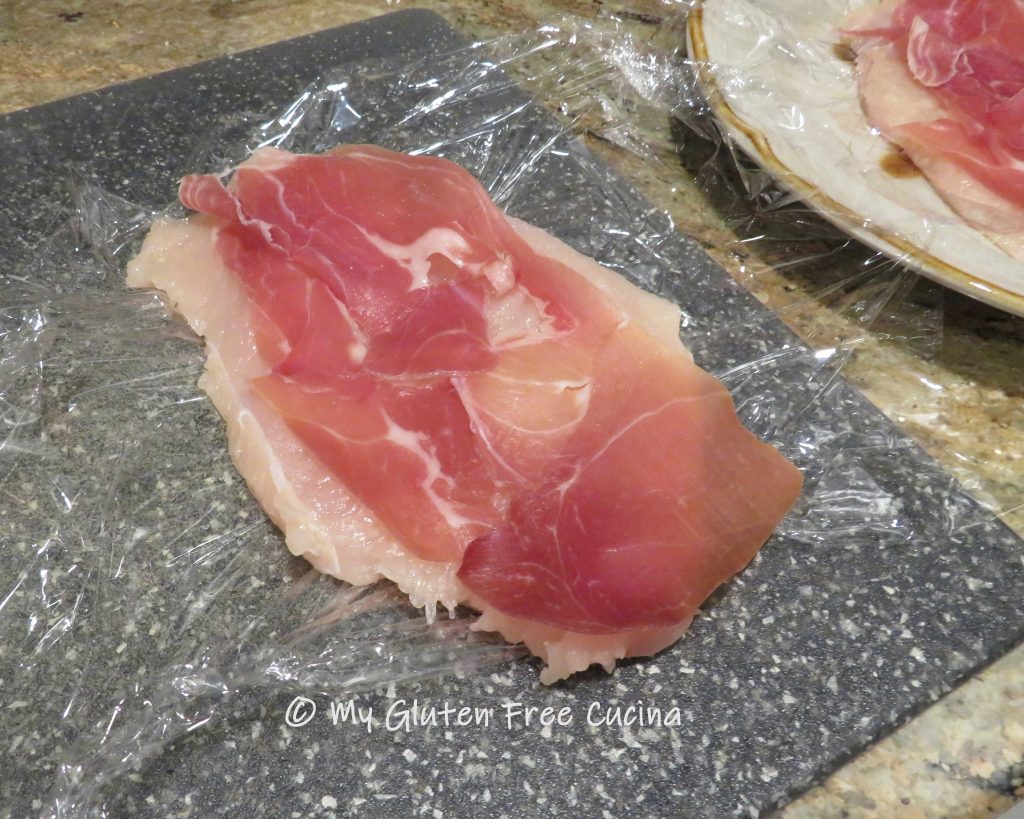
Sprinkle evenly with Gruyere cheese and roll up into a bundle.

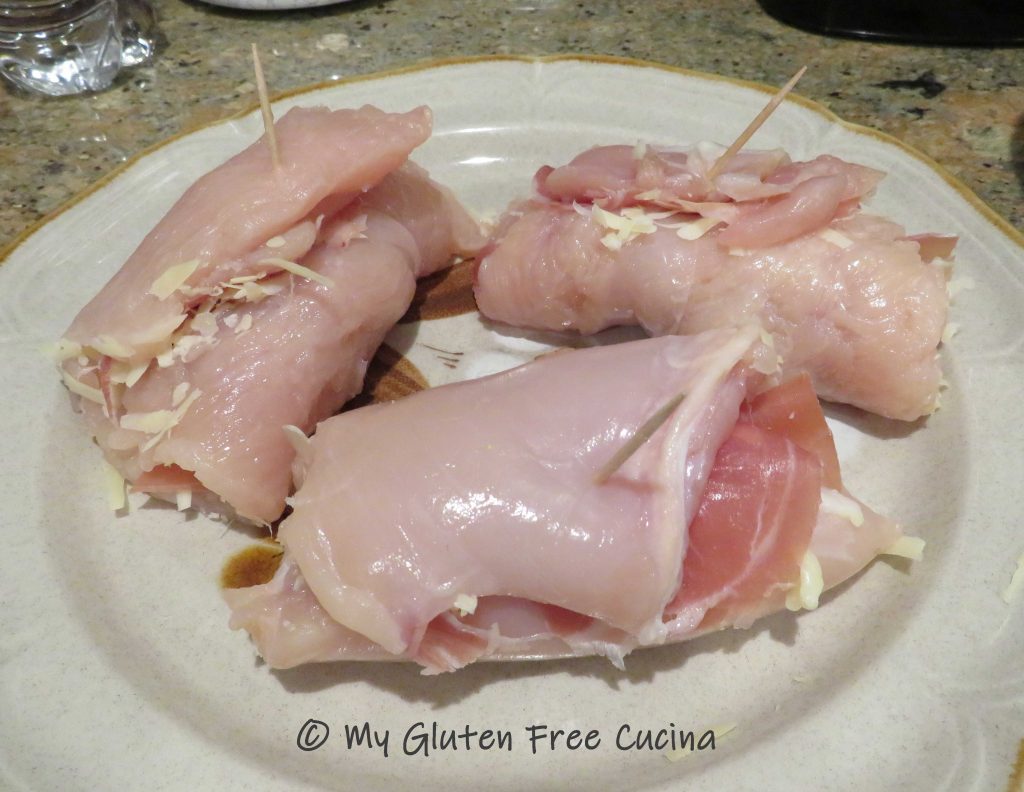
If you have the time, roll up the chicken in plastic wrap, twisting the ends like a sausage casing. Refrigerate for at least 1 hour. This is a great trick for to help the bundles stay together without using twine or toothpicks!

Pressed for time and don’t have that extra hour? Don’t worry! Just secure the bundles with a toothpick, like this.
Set up breading trays with the flour, egg and breadcrumbs.
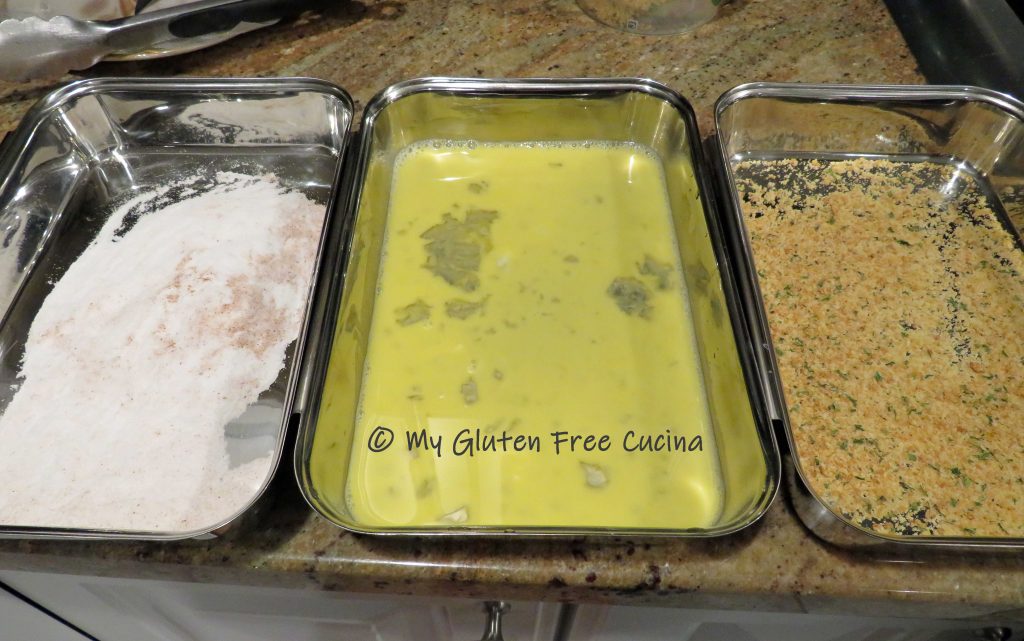
Gently roll the bundles in the flour, then dip in the egg, and finally roll in the breadcrumbs.

 Set the bundles seam side down on a baking sheet lined with foil and coated with cooking spray.

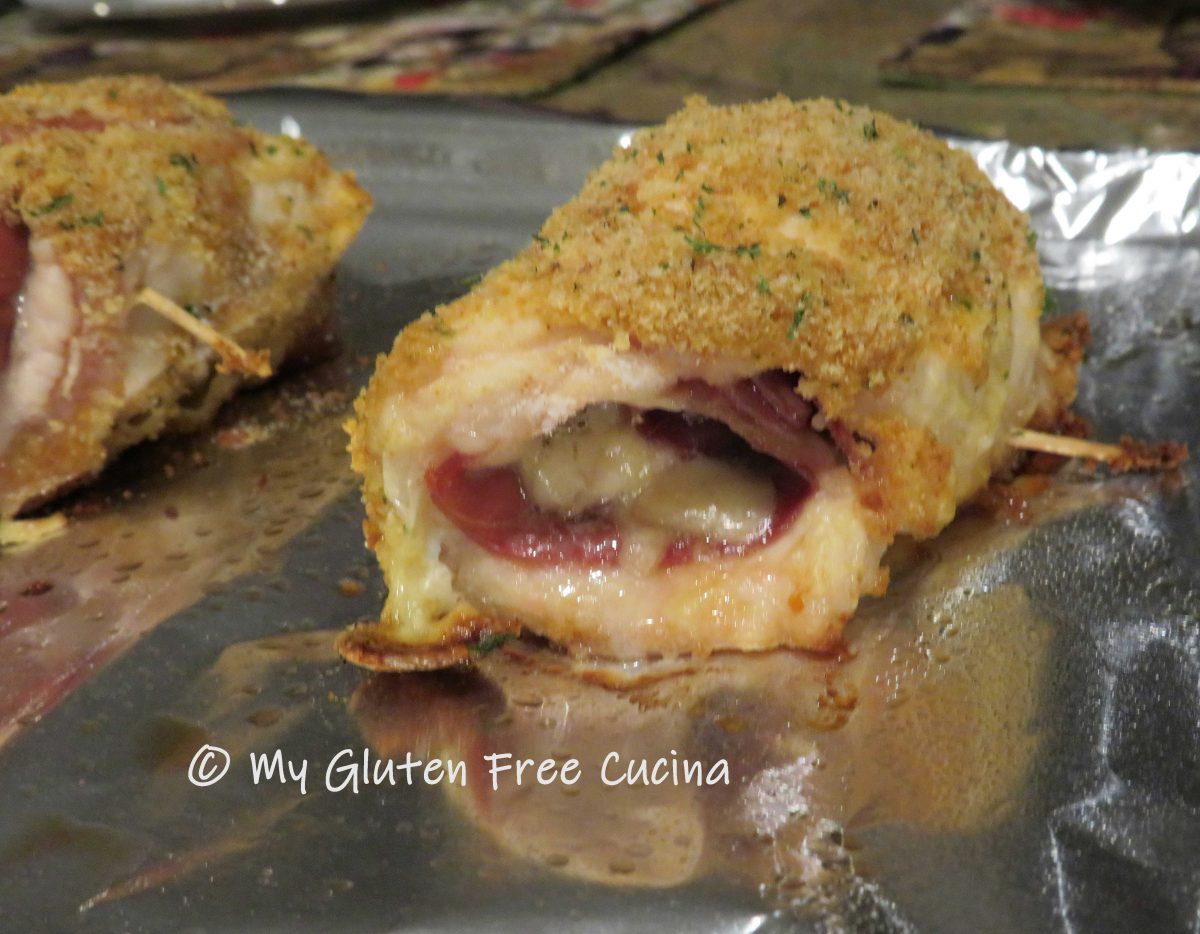
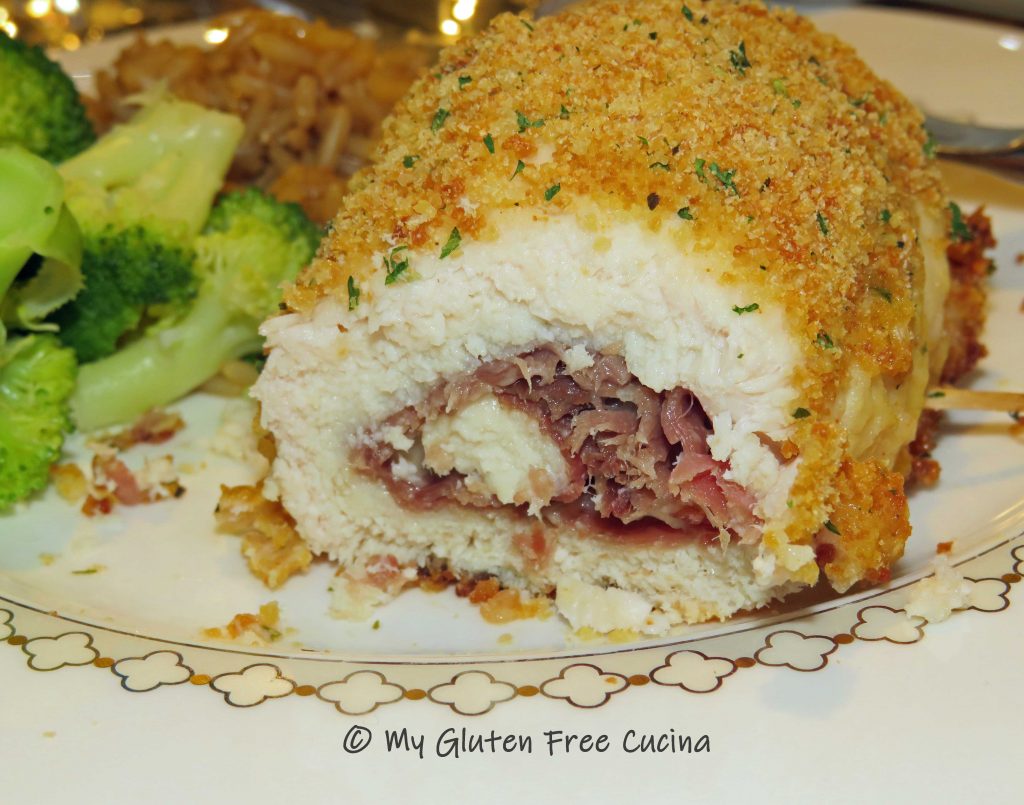
Bake for 40 minutes at 350º and rest 5 minutes before serving.

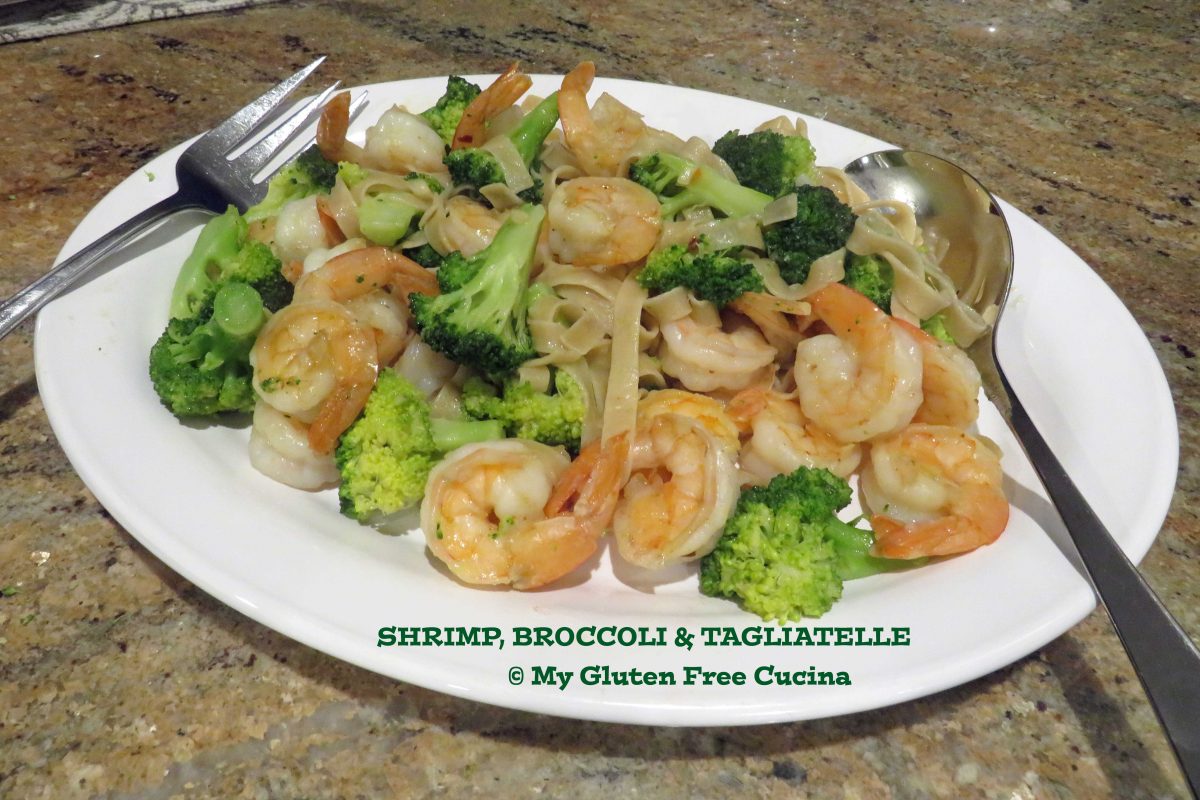
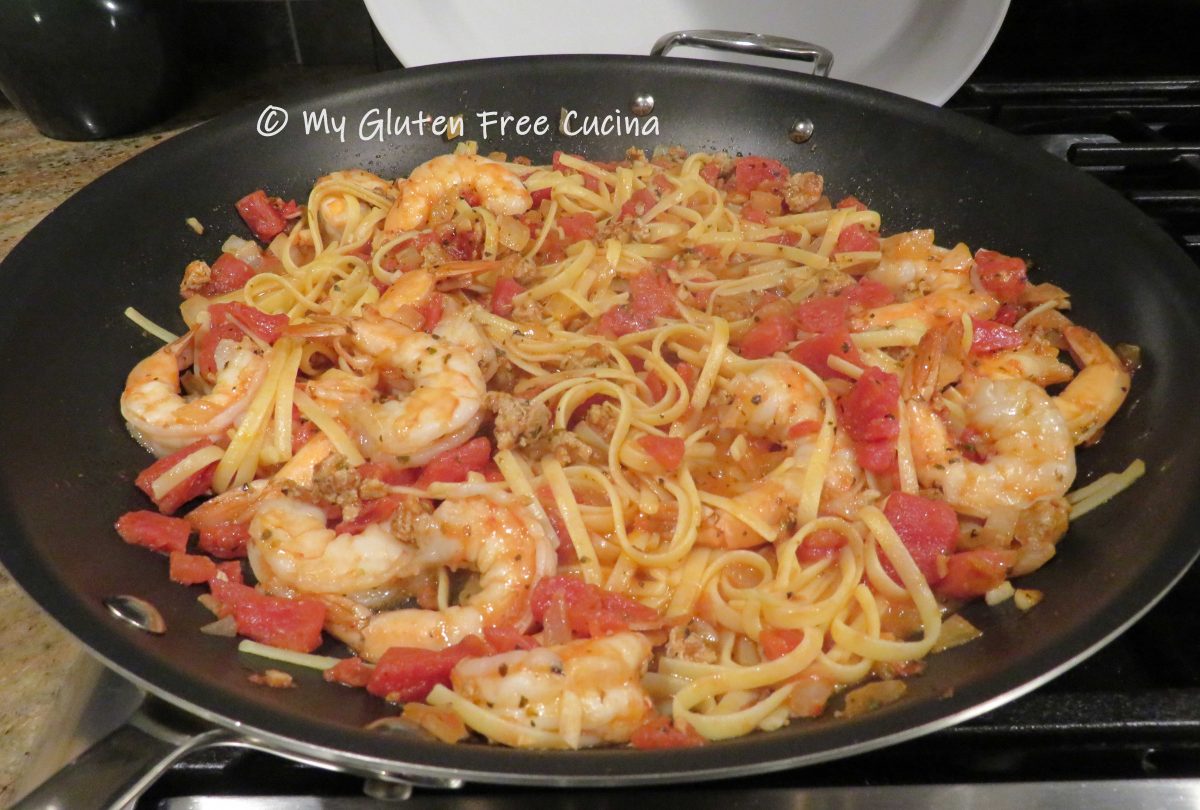
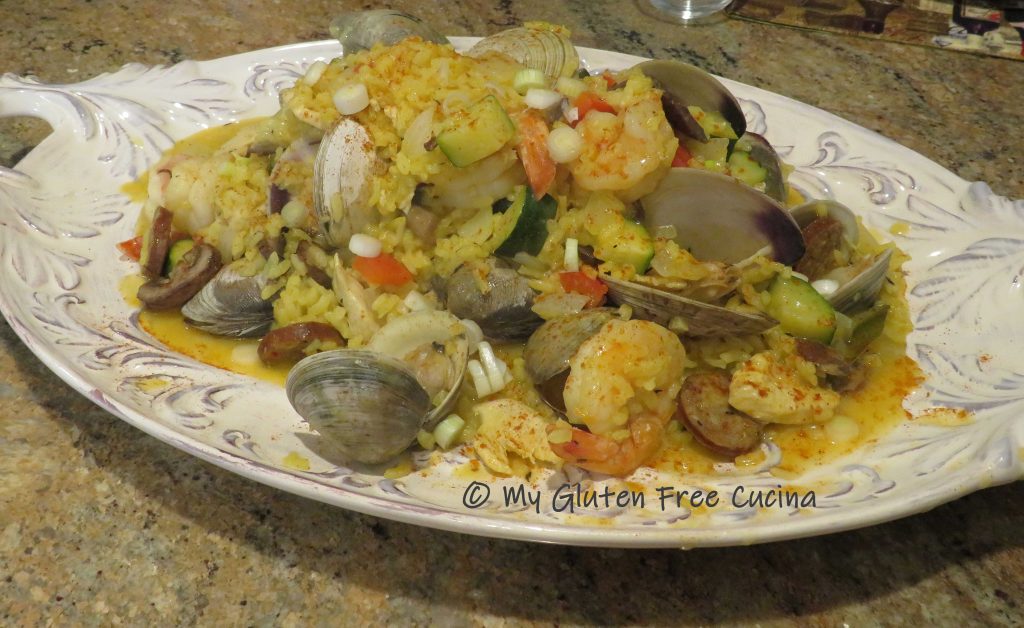
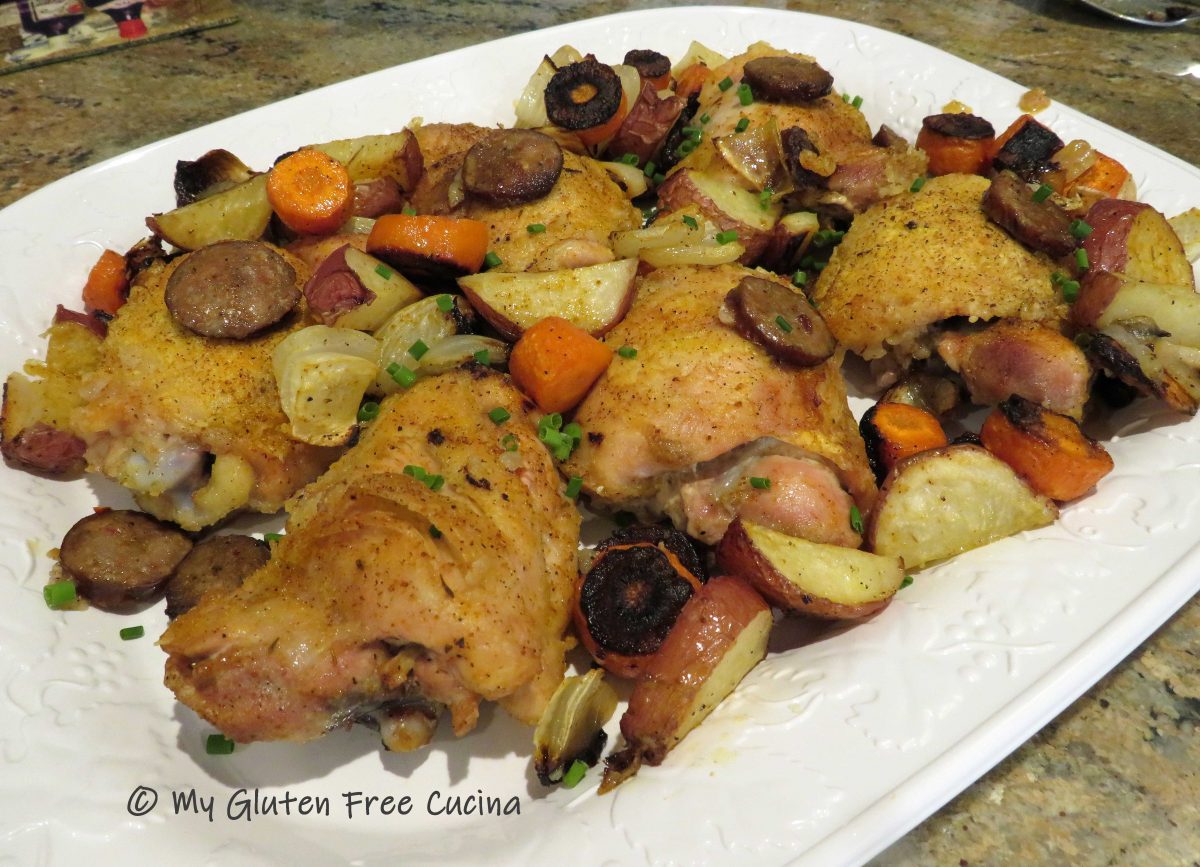
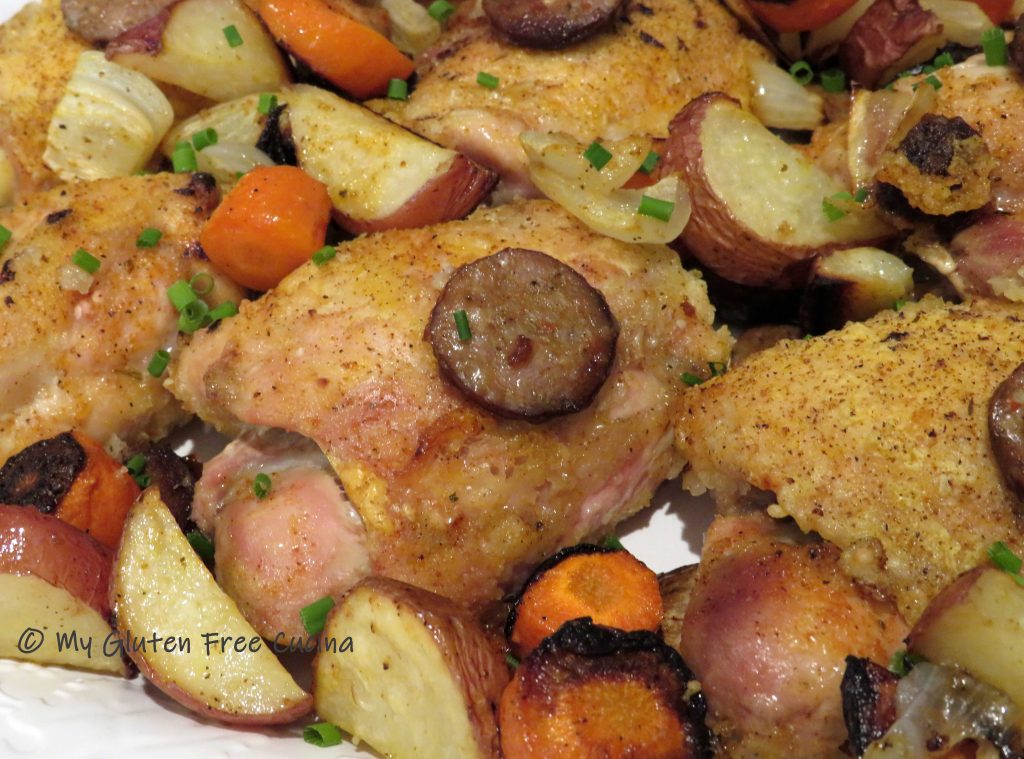
And that’s it friends. A beautiful plate!

I hope you enjoyed this post and have been inspired to give the recipe a try! Be sure to check out some of my other restaurant classics that you can make at home, gluten free.
Notes ♪♫ Ingredients make the difference! I used Aleia’s gluten free Italian breadcrumbs in this recipe. They are simply the best!


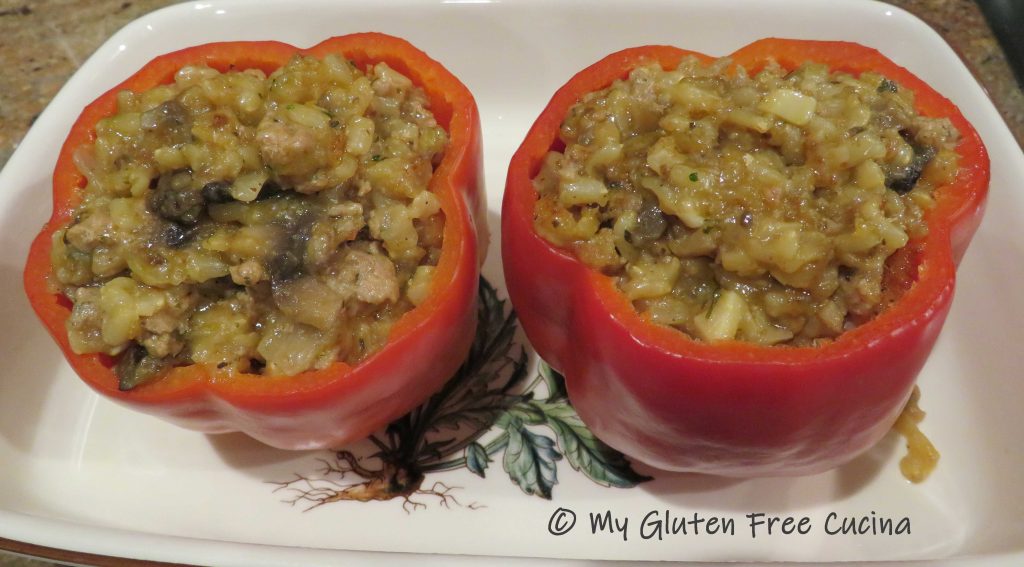
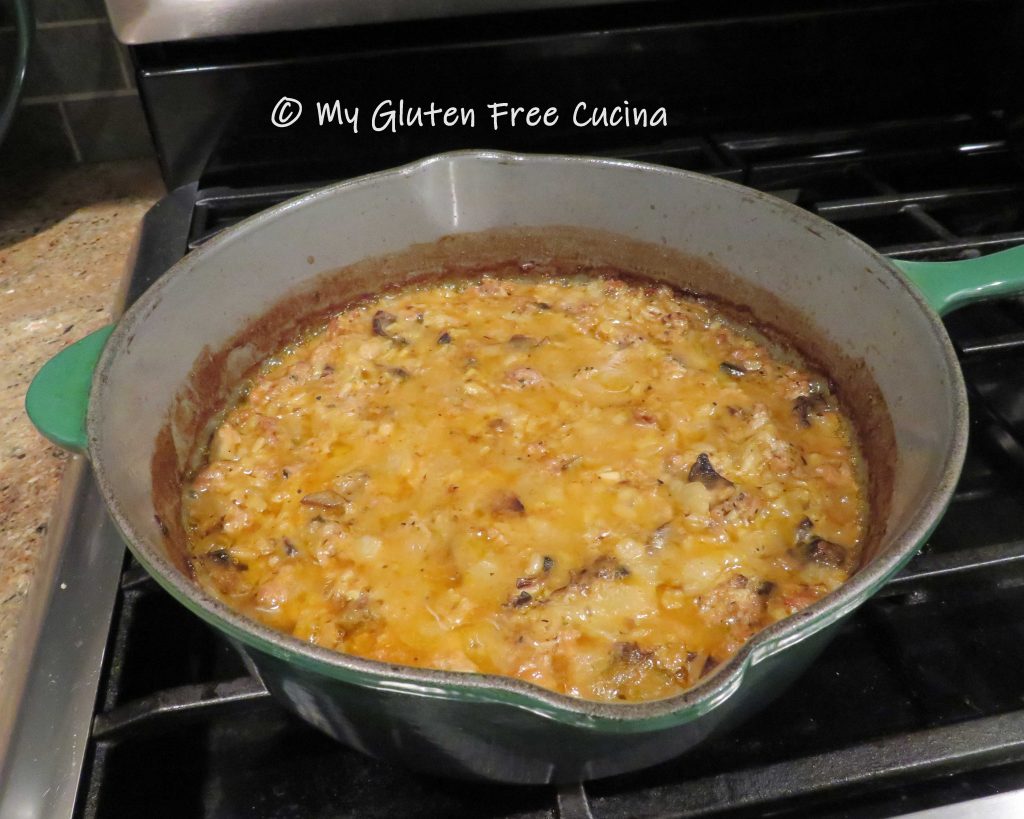
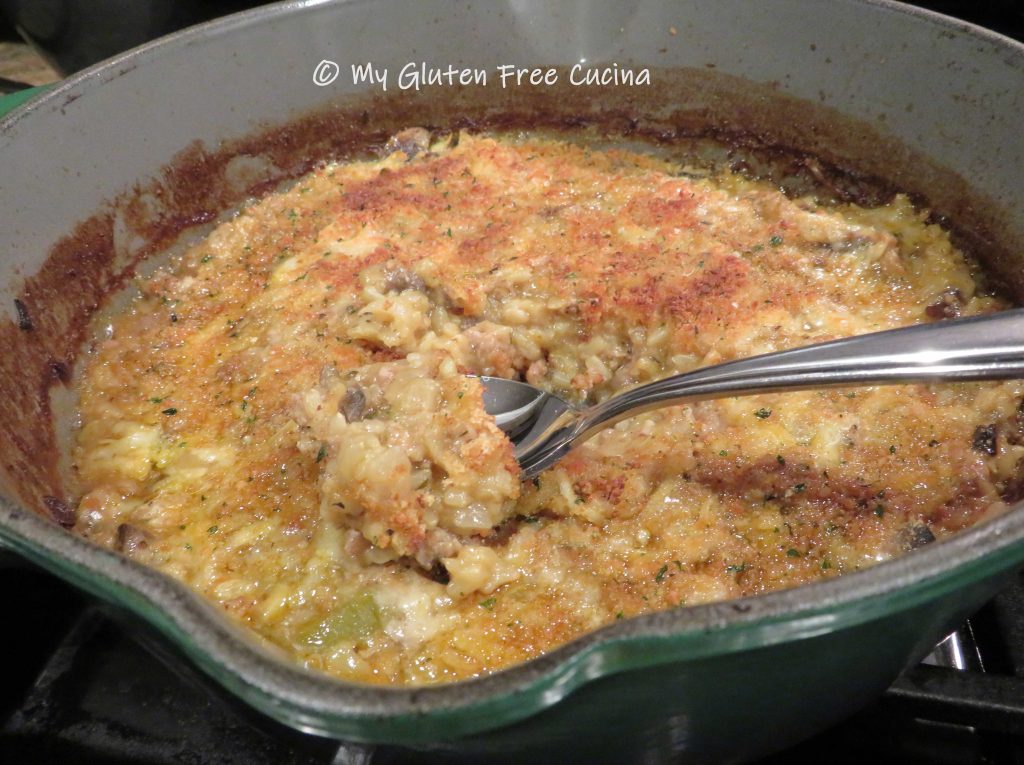
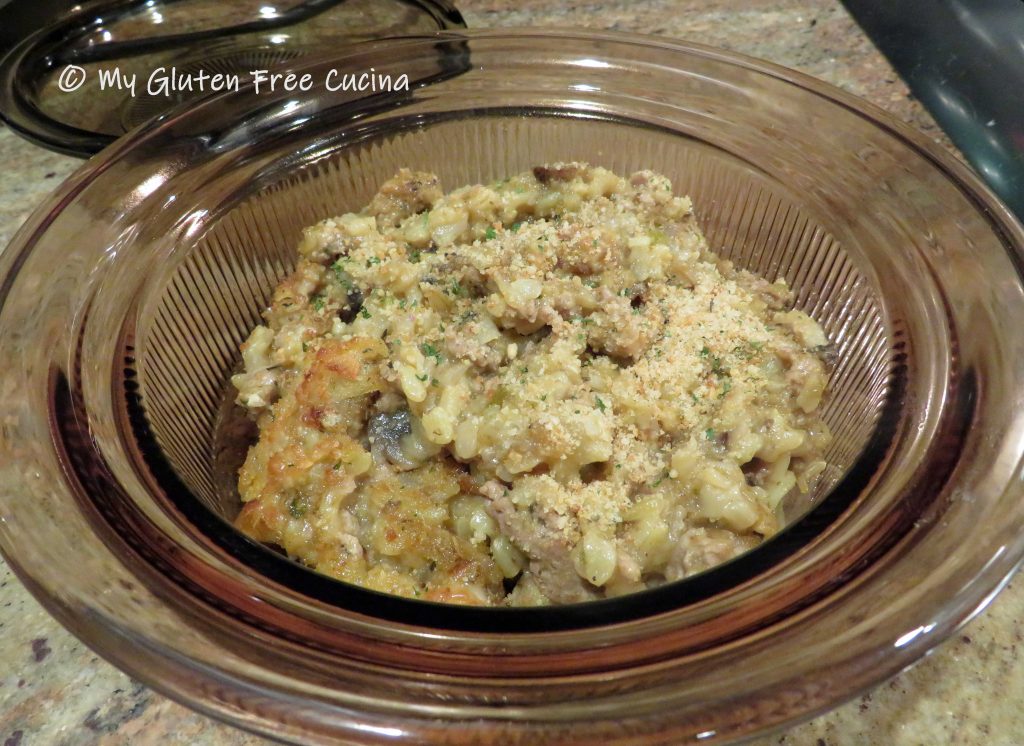
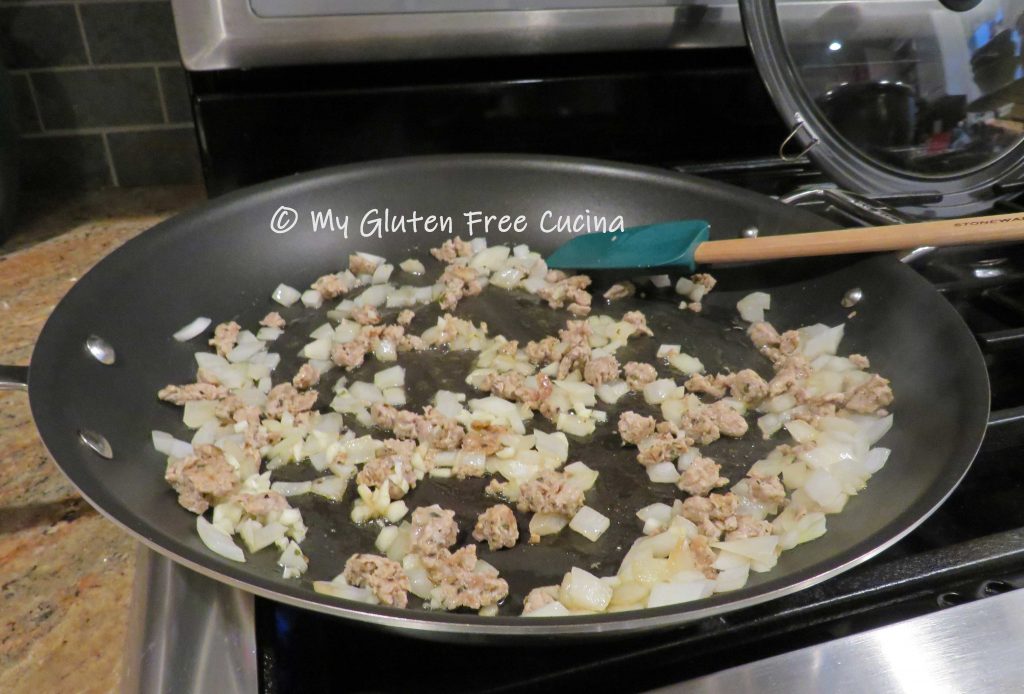
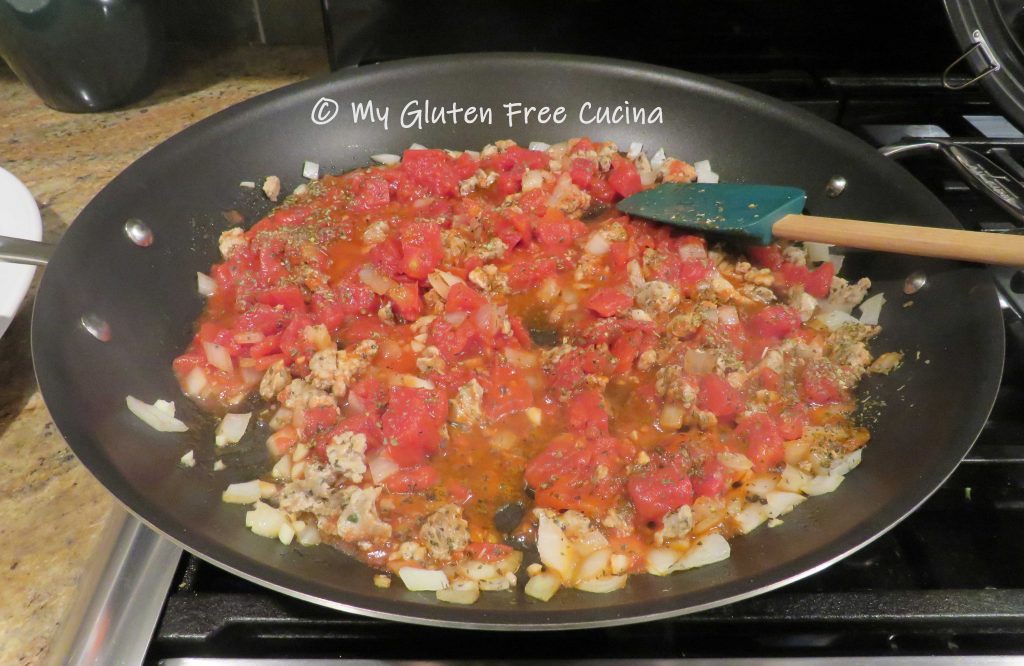
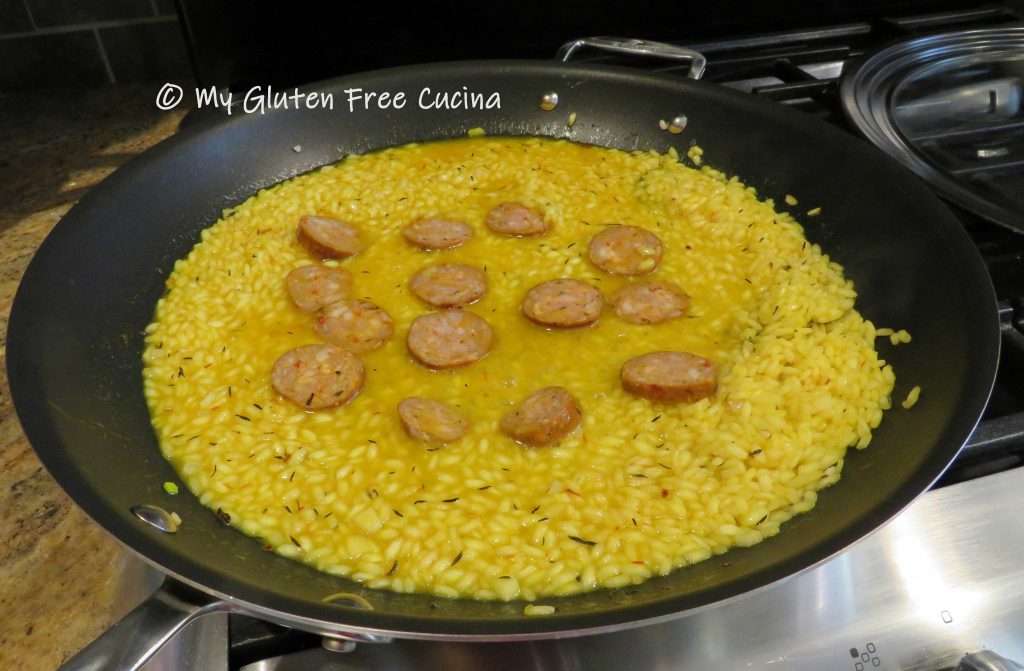
 The sausage and rice stuffing is so delicious and can stand on its own as a casserole!


 Sprinkle the top with paprika and place the skillet in a 350° oven. Bake for 30 minutes uncovered.


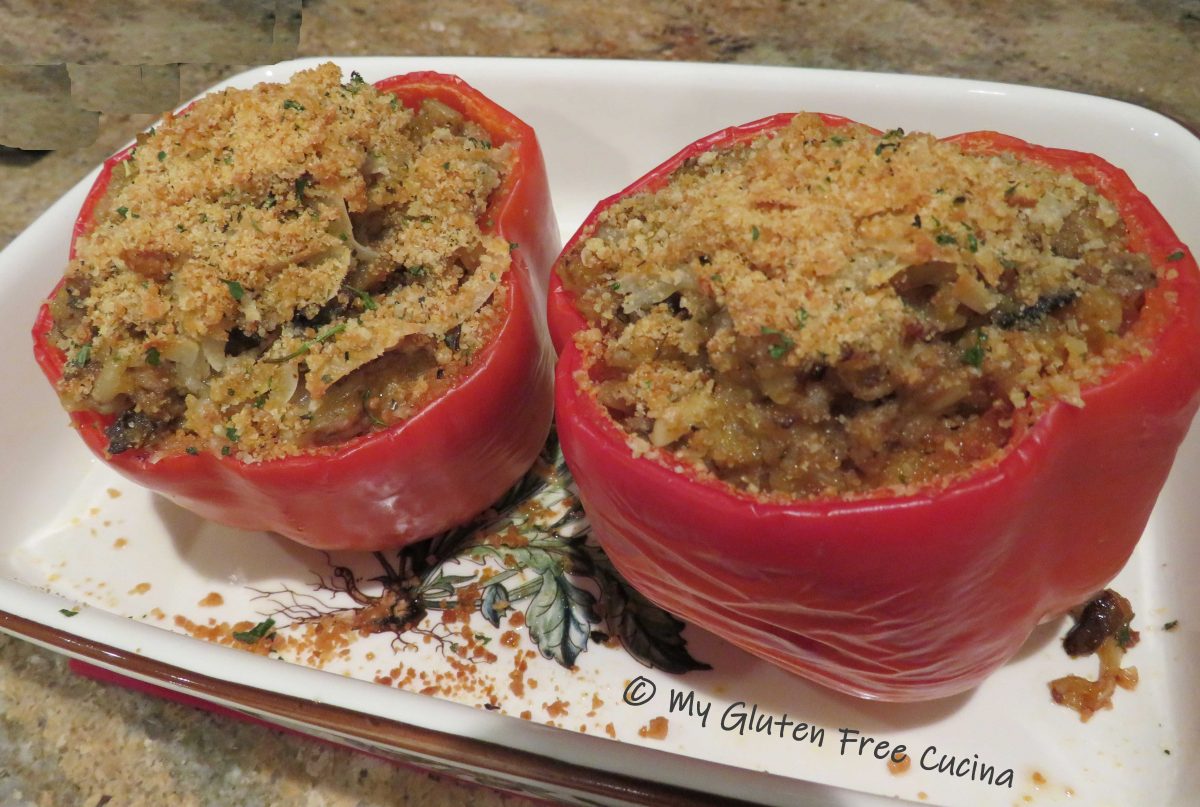
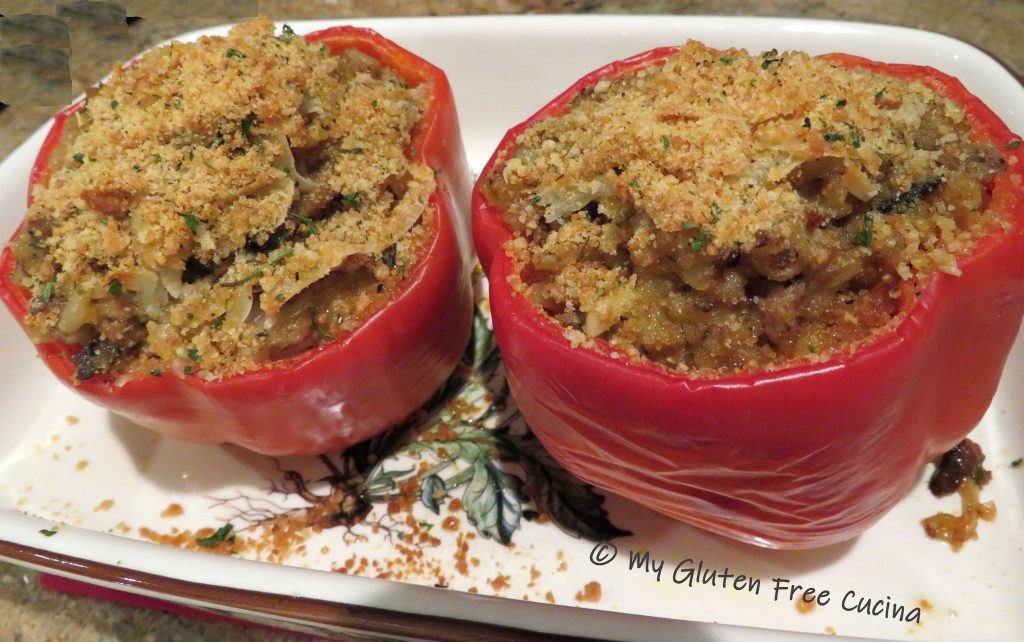
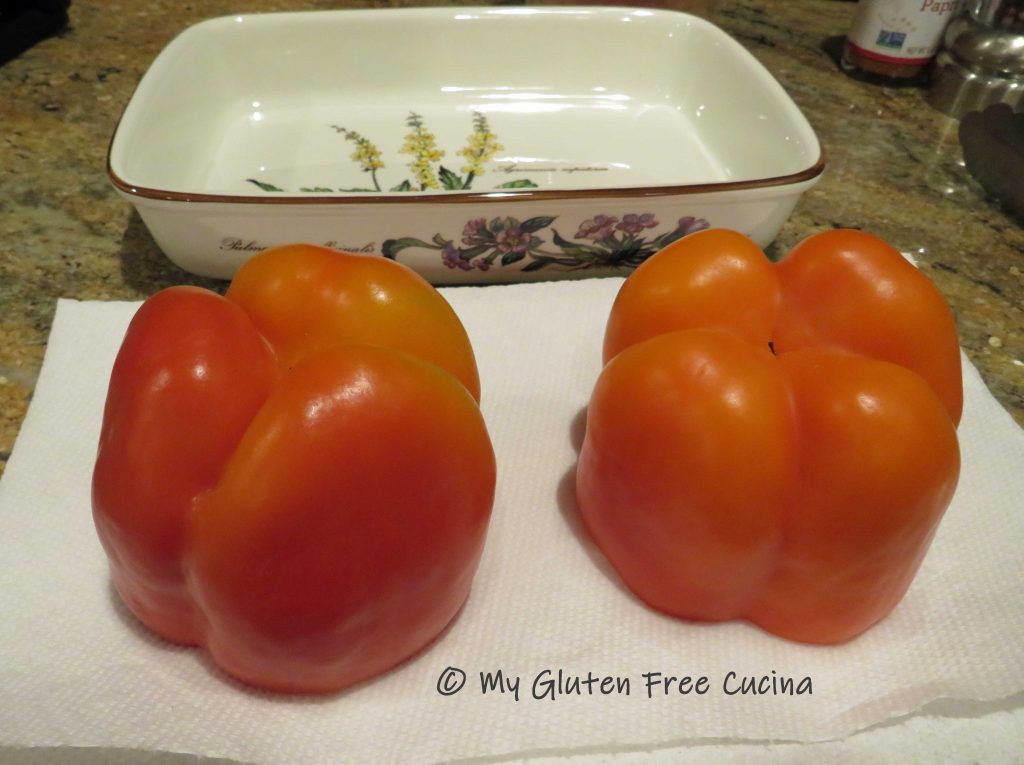 Arrange the cooled peppers in a baking dish coated with cooking spray and spoon in the stuffing.
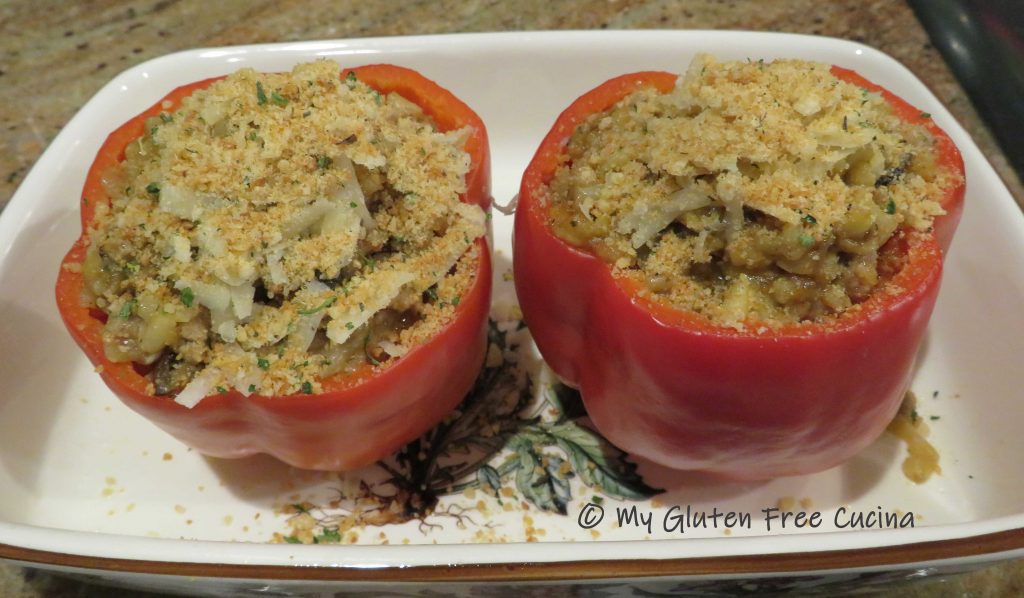
 Finish under the broiler for 1-2 minutes, just until the tops are browned.


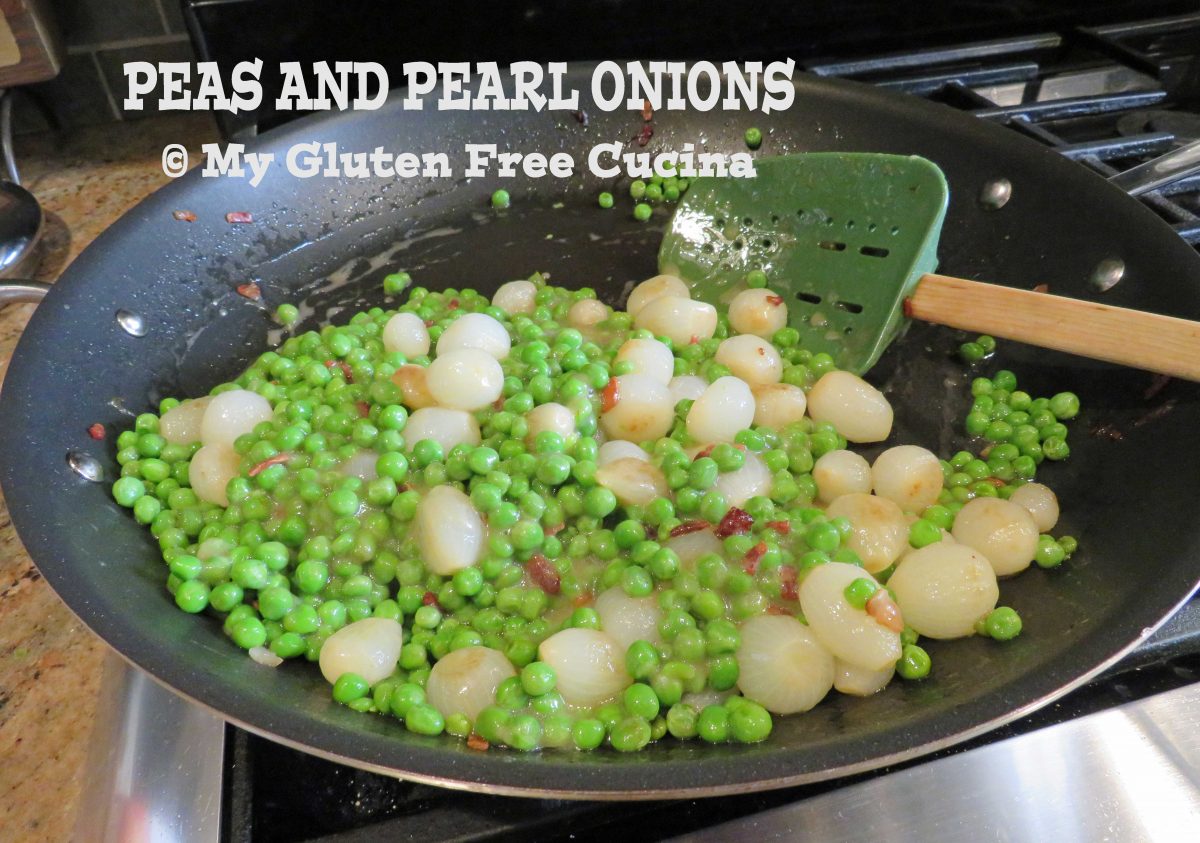
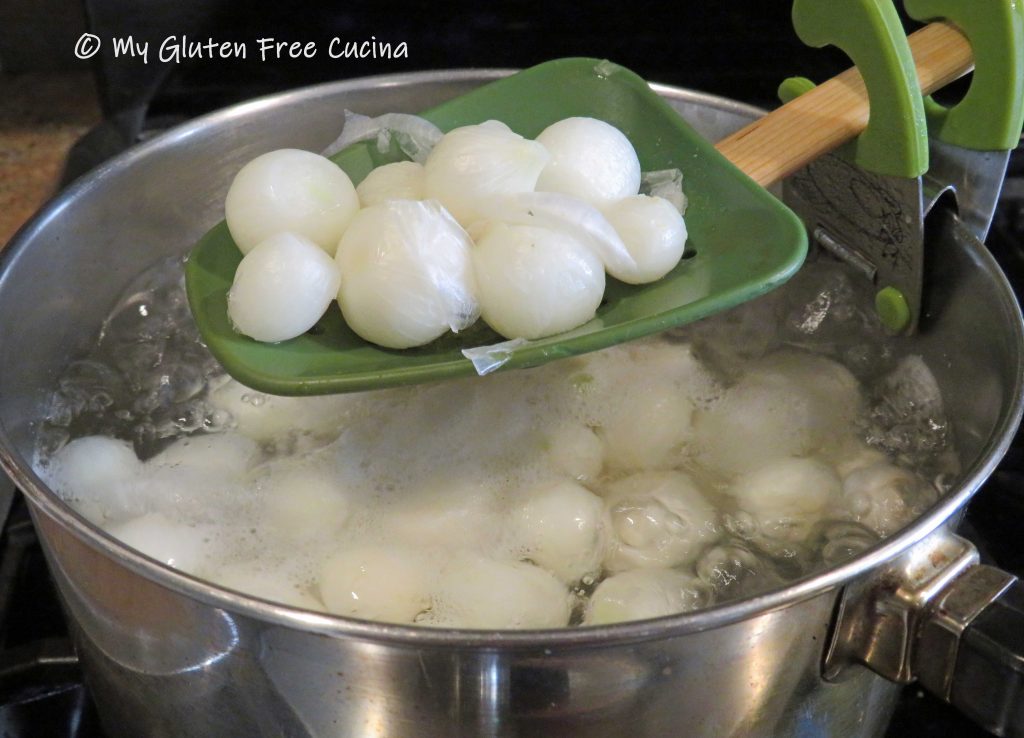

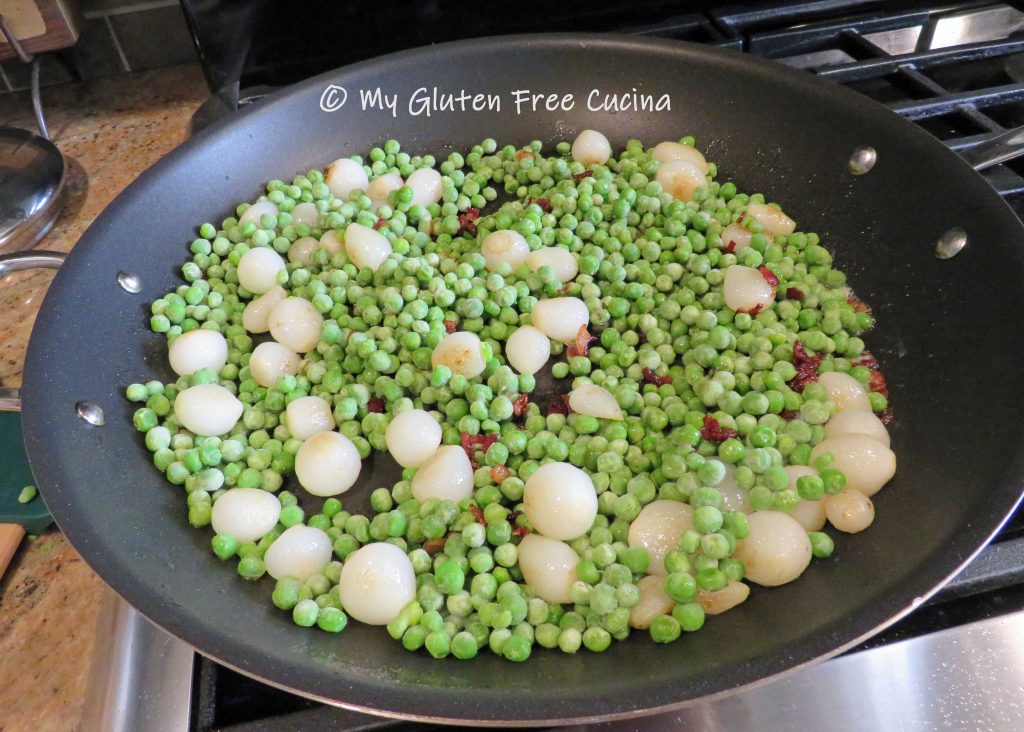
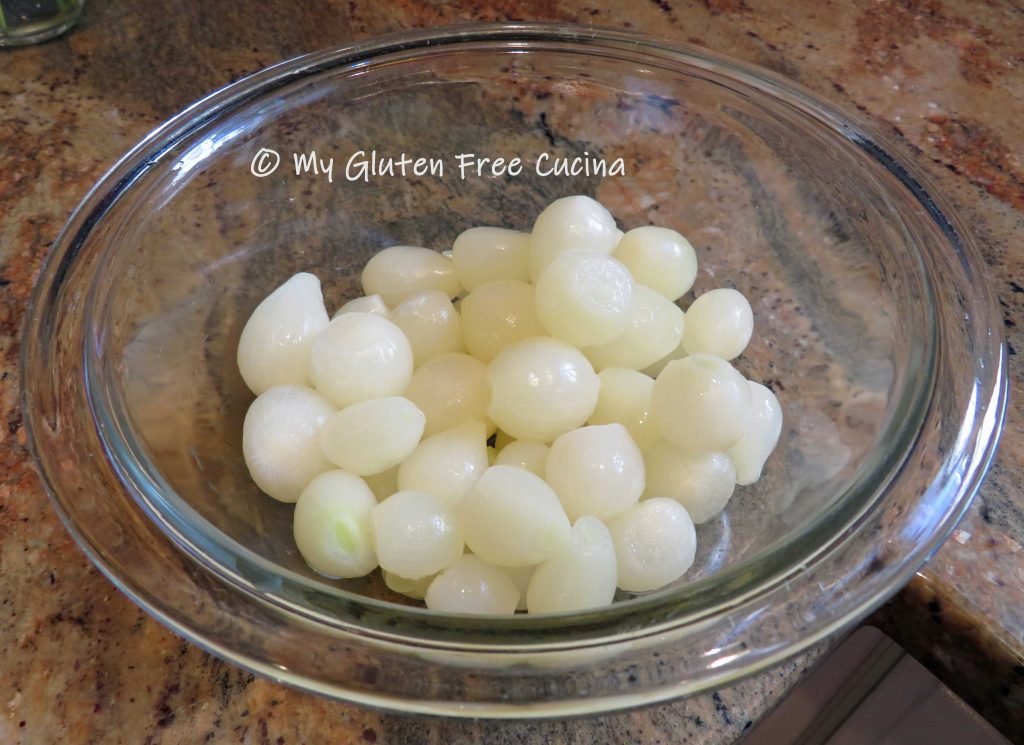 If you were lucky enough to find frozen pearl onions, thaw them on the counter for at least 30 minutes, along with the peas. Frozen pearl onions have already been peeled and blanched, a real time saver!
 When the bacon starts to brown, add the onions and cook for 5 minutes over medium low heat.
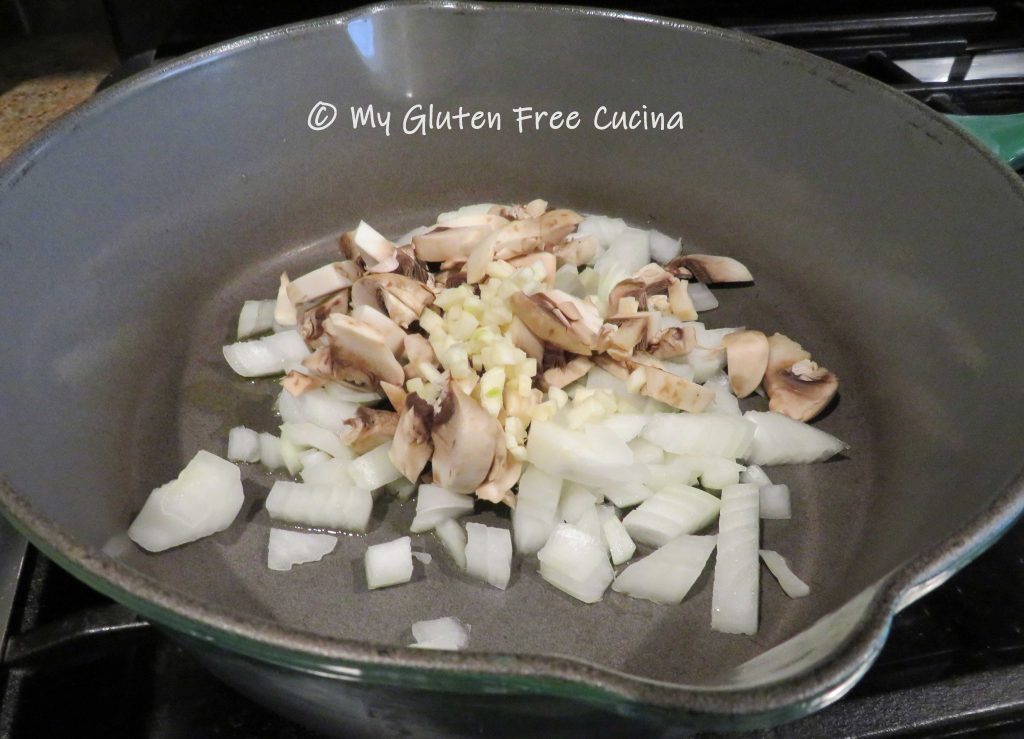
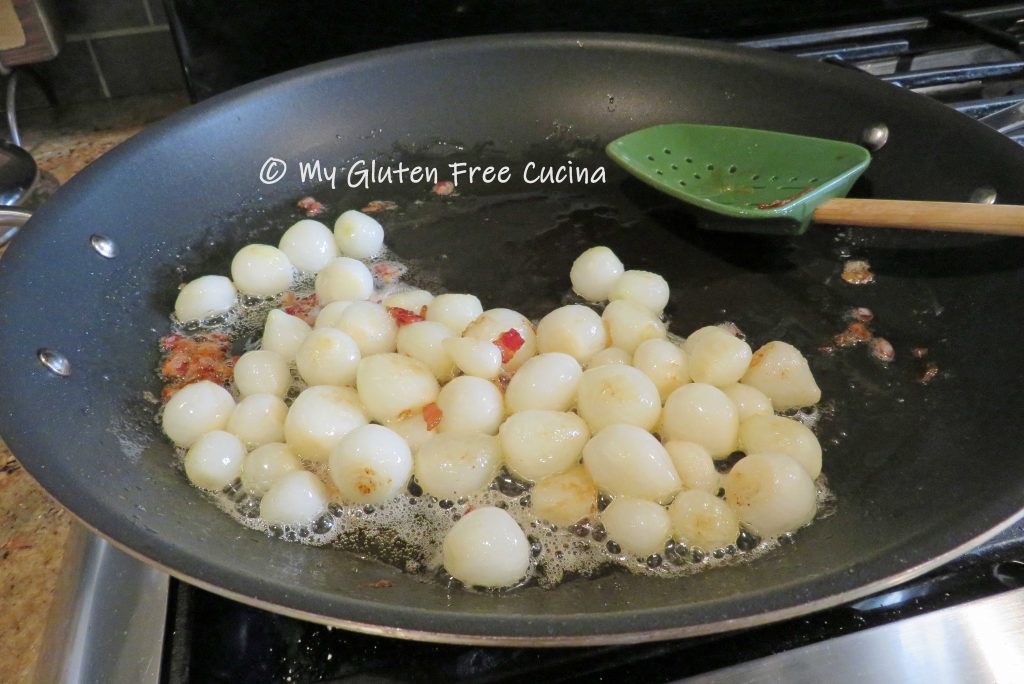
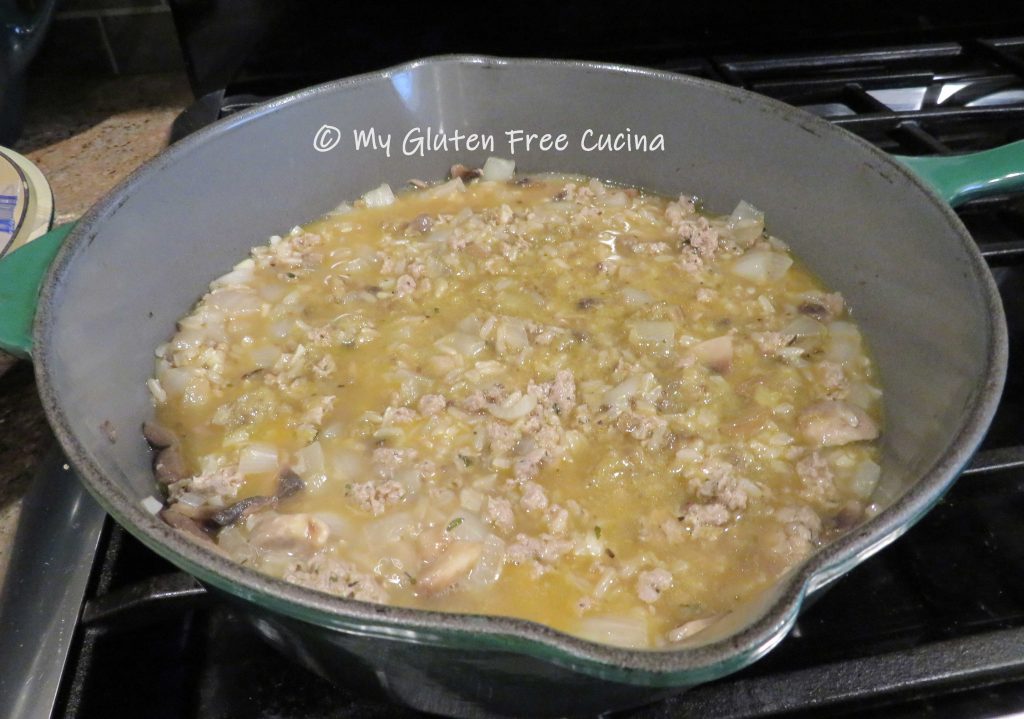
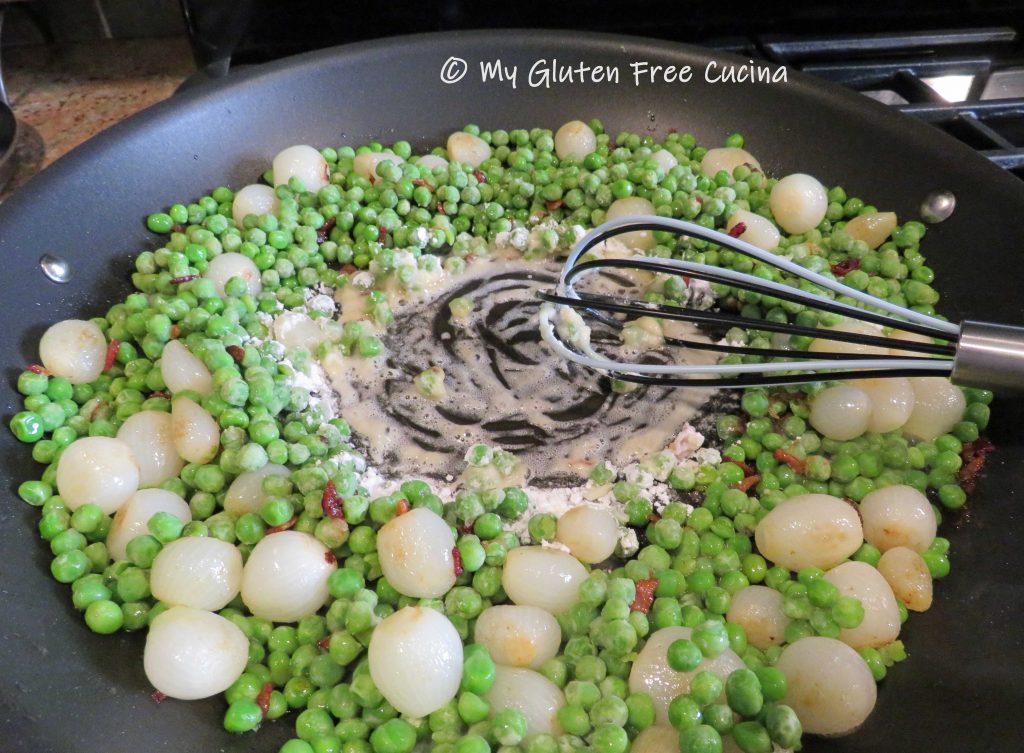 Stream in the chicken broth as you continue whisking. Start with 1/2 cup and add more if needed.
 Remove from the heat and stir in the cream or half and half if desired.