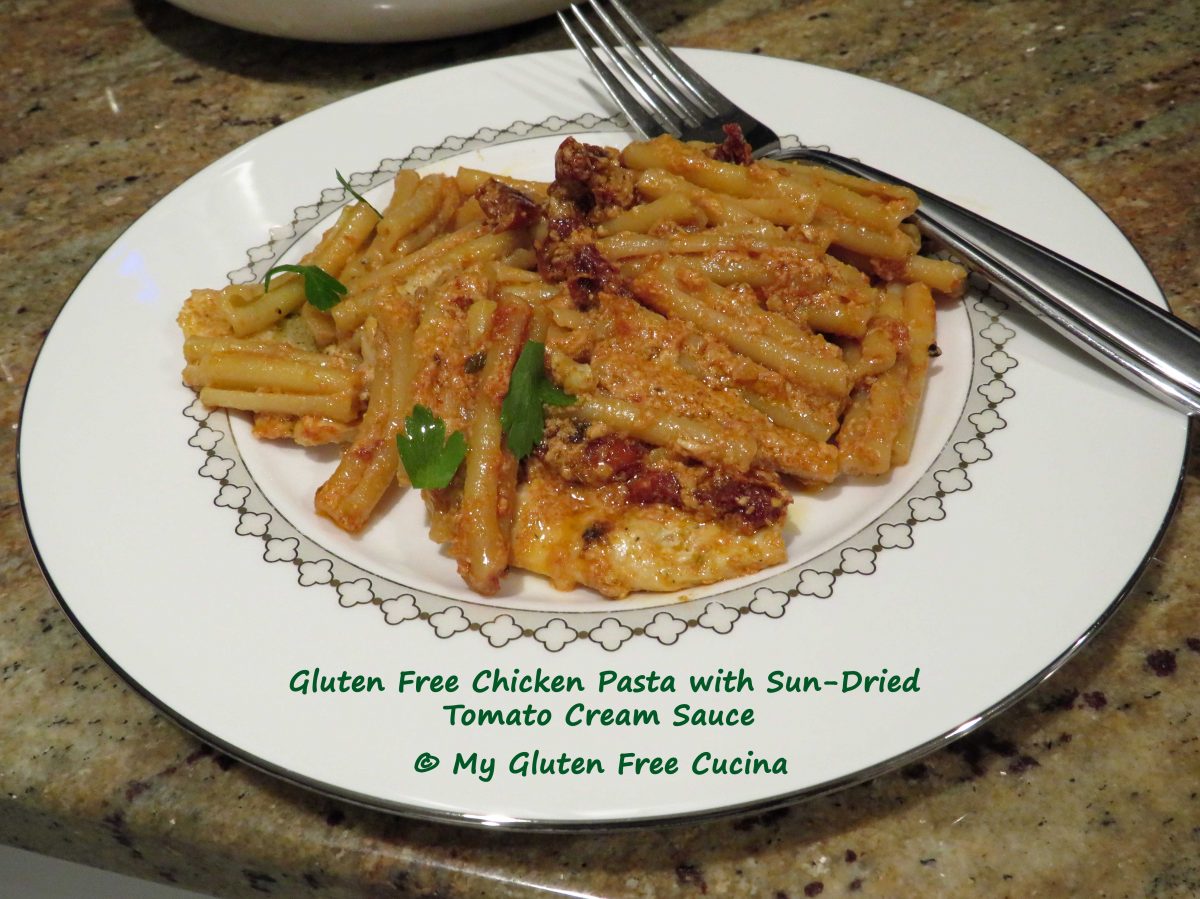
Gluten Free Sun-Dried Tomato Chicken Pasta. This plate full of happiness is a feast for the eyes and the taste buds! Using simple ingredients from the pantry, it’s a fast easy dinner to enjoy any night of the week! Other than the pasta, the ingredients are naturally gluten free.
Dinner for two
This post contains affiliate links.
Ingredients:
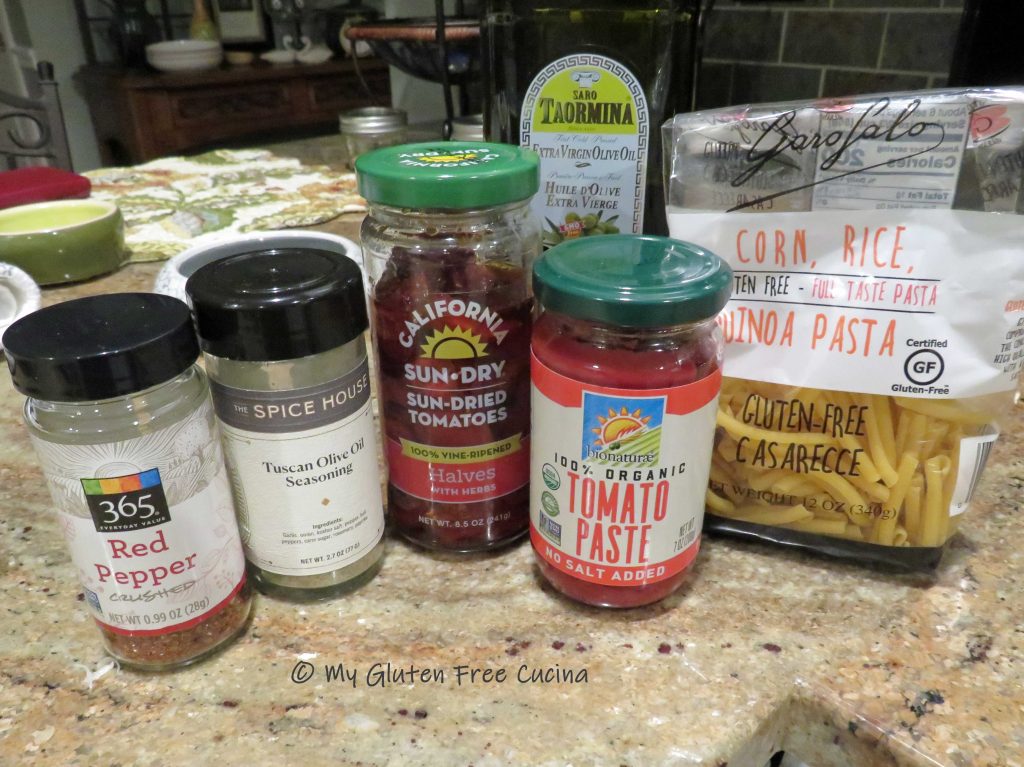
- 2 tbsp. olive oil, divided use
- 8 oz. thin sliced chicken cutlets
- 1/2 tsp. Italian seasoning (I like this one)
- paprika
- 2 oz. sun dried tomatoes in oil
- 1 tbsp. tomato paste
- 2 garlic cloves, minced
- 1/2 cup half and half
- 1/2 cup shredded Gruyere cheese
- 4 oz. gluten free Casarecce pasta
- pinch of red pepper flakes
- fresh Italian parsley, for garnish.
 Preparation:
This is one of those recipes that goes very quickly once you begin, so you want to have all of your ingredients at the ready. Heat a pot of salted water for the pasta. Mince the garlic and grate the cheese.
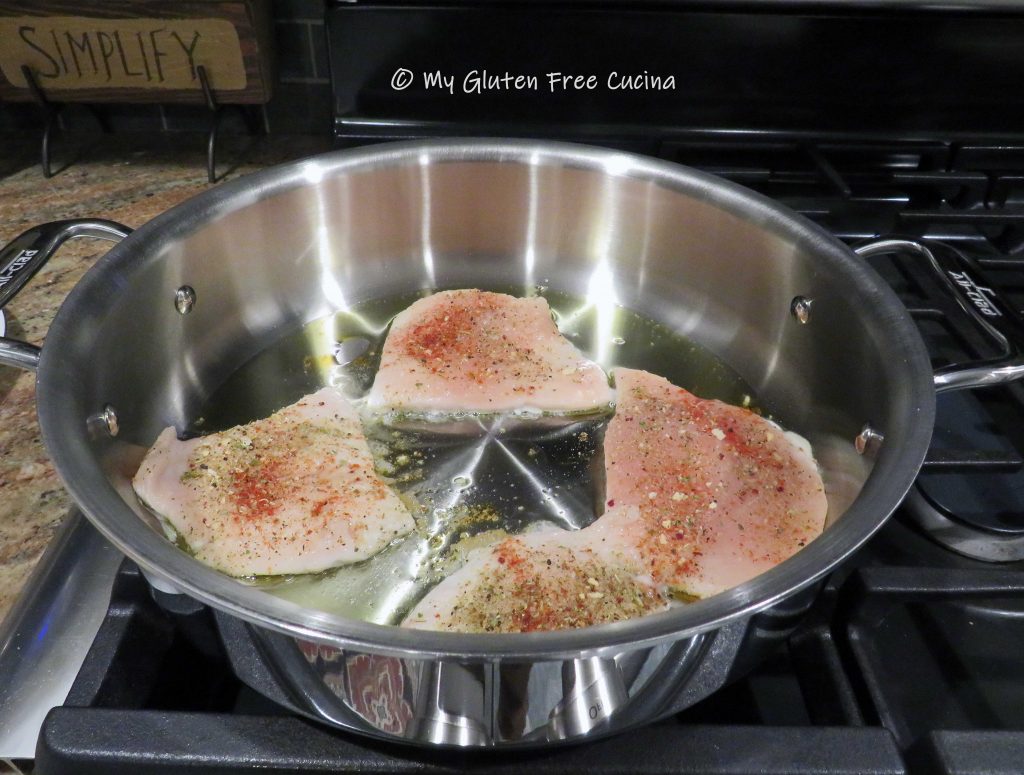
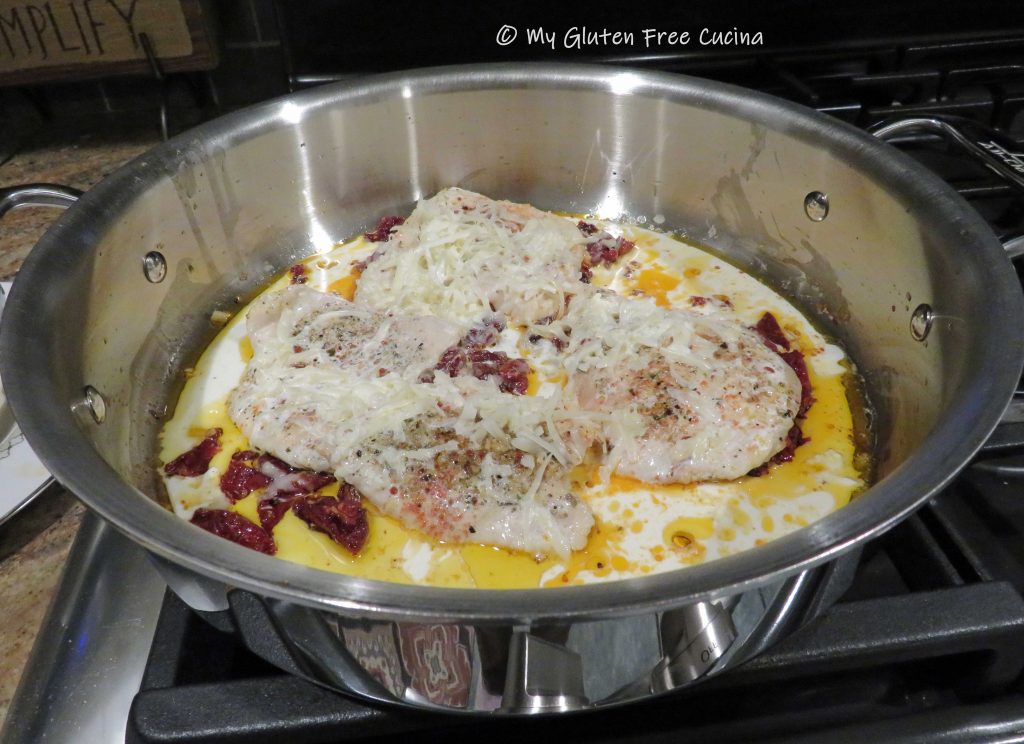
Heat a deep skillet with 1 tbsp. of the olive oil and add the chicken. Sprinkle it with Italian seasoning and paprika. Cook for 1 minute each side (longer if you have thicker slices) and remove to a plate.
 By now the pasta water should be ready, cook the pasta to a few minutes less than the package directions, it will finish cooking in the sauce.
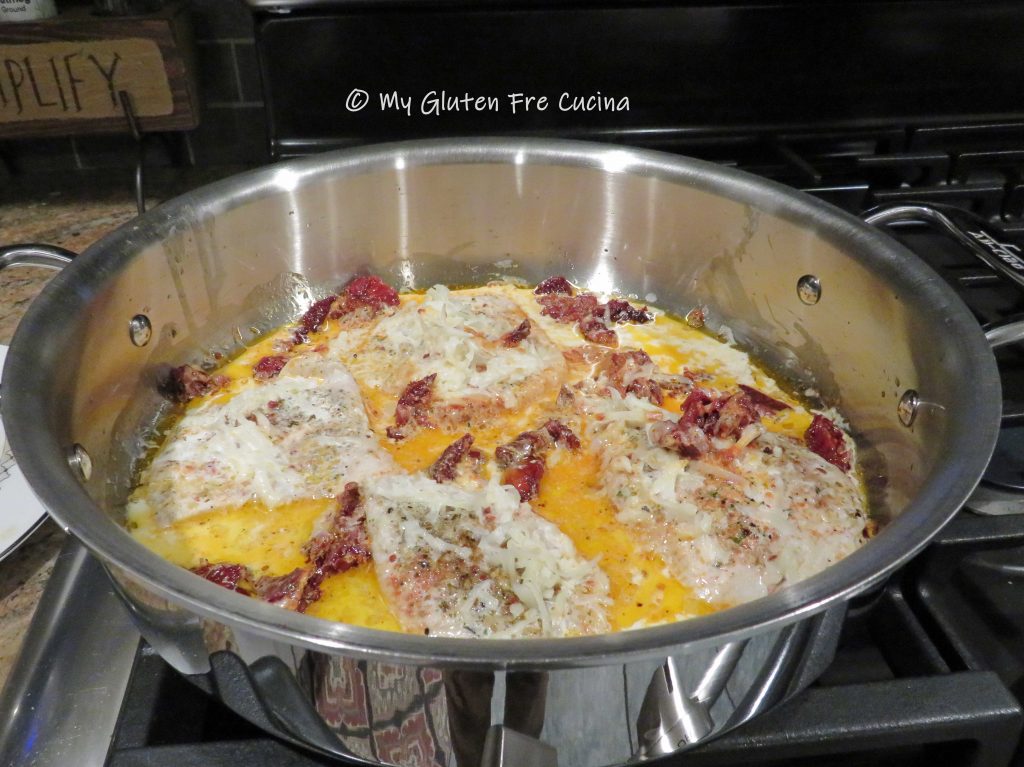
Next add the sun-dried tomatoes to the pan with their oil. Cook until they begin to sizzle, then remove and rough chop them or use kitchen shears to julienne.

Return the sun-dried tomatoes to the pan with the minced garlic and 1 tbsp. tomato paste.
 Cook for 1 minute, stir it all together and return the chicken to the pan.

Top it with the Gruyere cheese and pour in the half and half. Add a pinch of red pepper flakes and stir to combine.
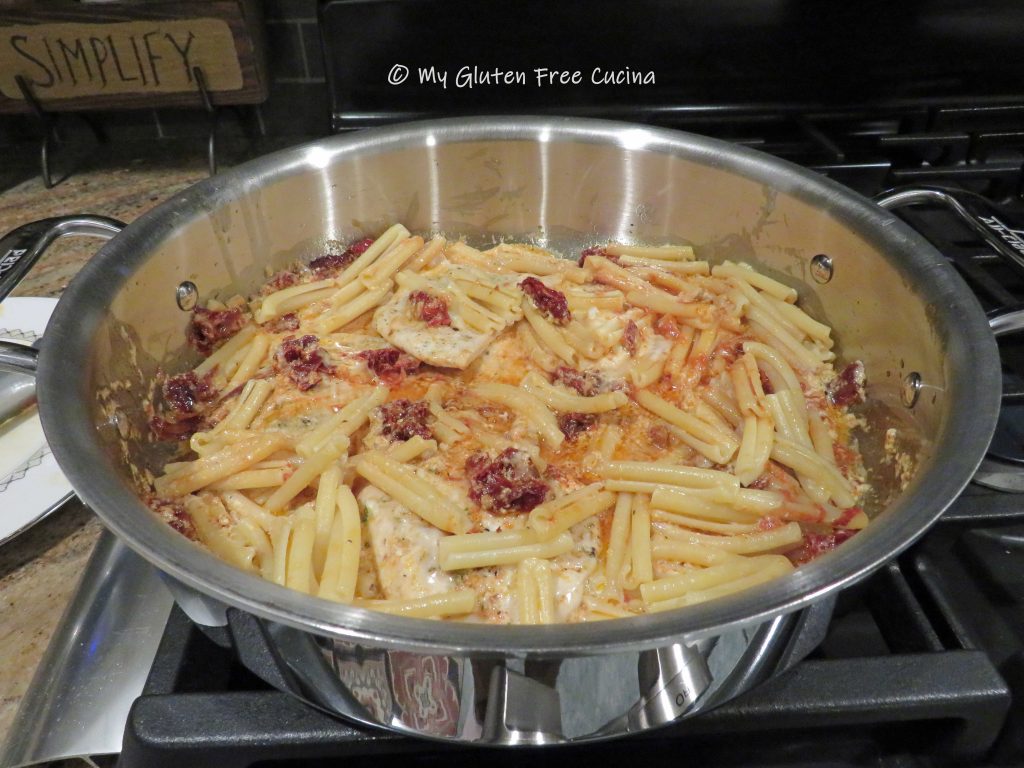
 Drain the pasta and add to the pan, toss well and cook for one more minute.
Transfer to a serving dish, drizzle with the remaining tbsp. of olive oil and garnish with Italian parsley.
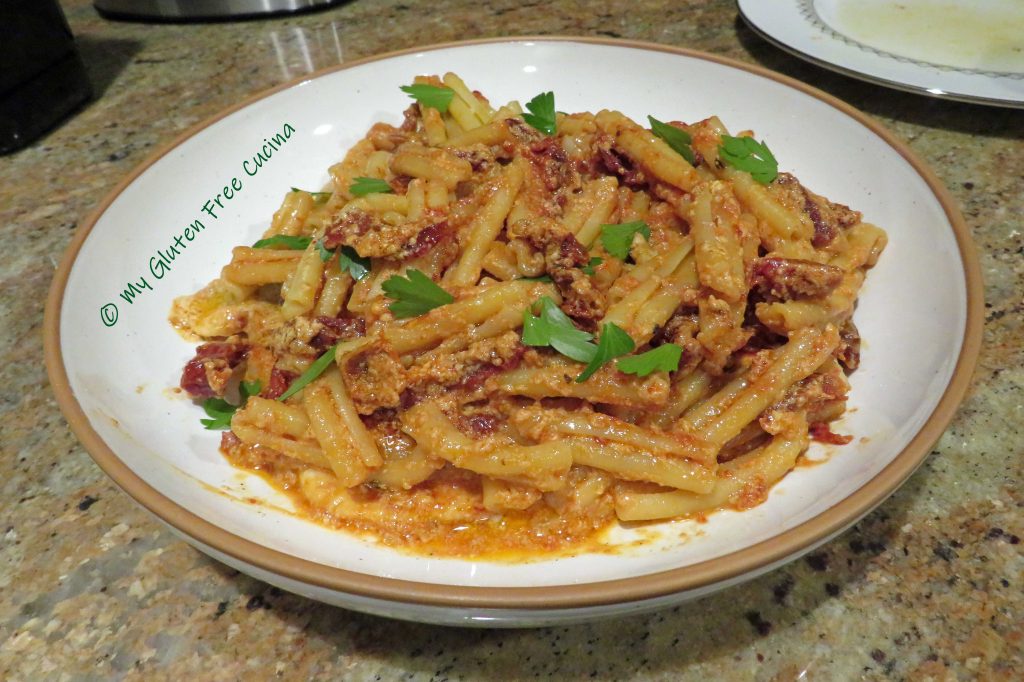
Mmm, mmm, mmm. This was SO good! Sometimes I even amaze myself.
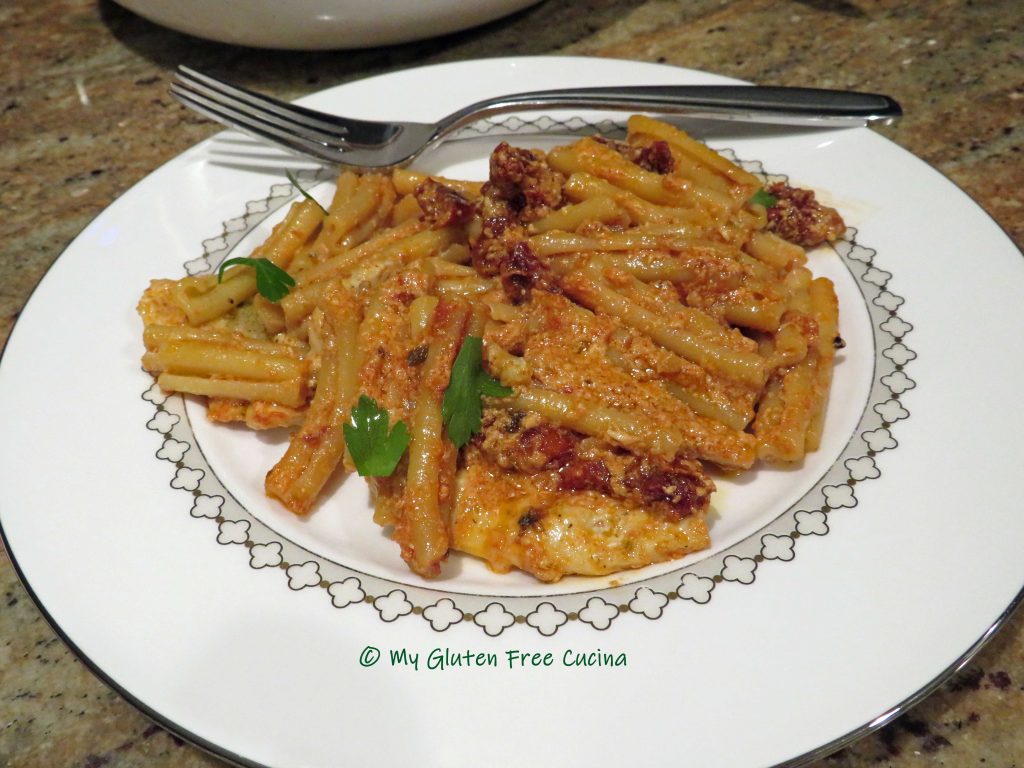
Notes ♪♫ For this dish, use sun-dried tomatoes in oil. The oil in the jar is infused with flavor and gives the entire dish a beautiful color.


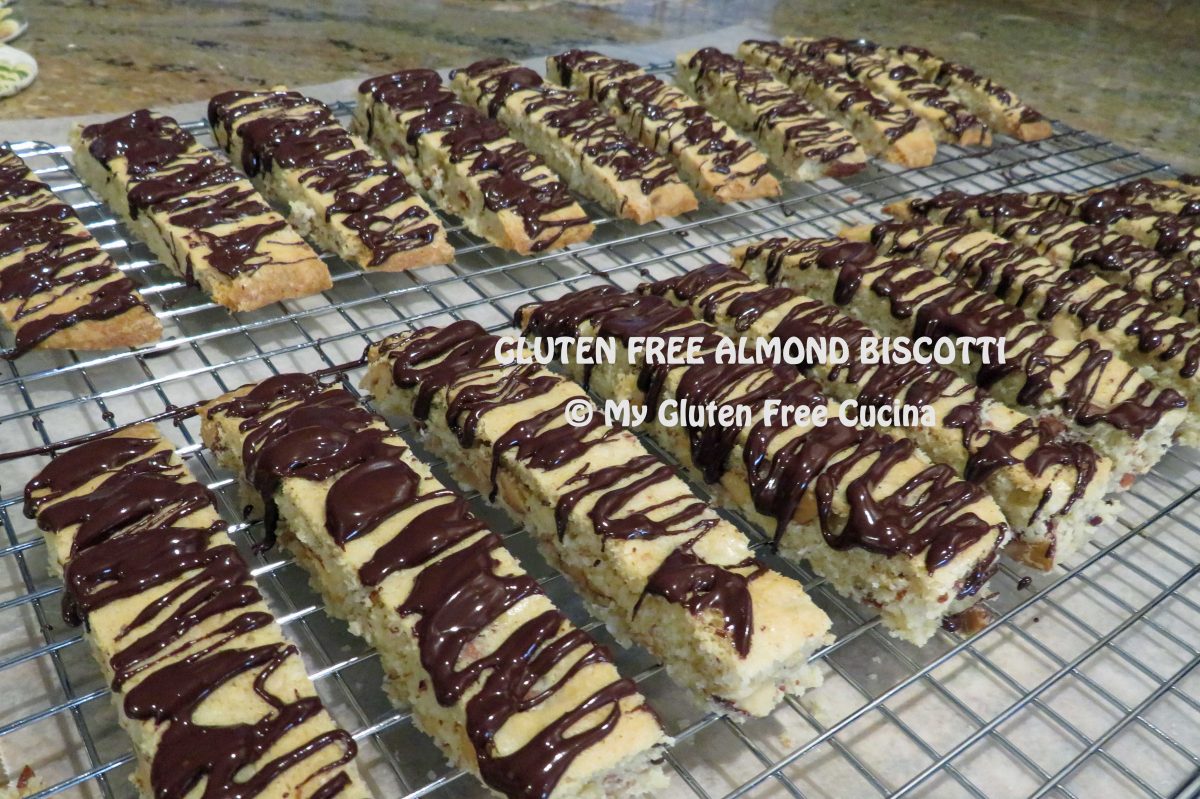


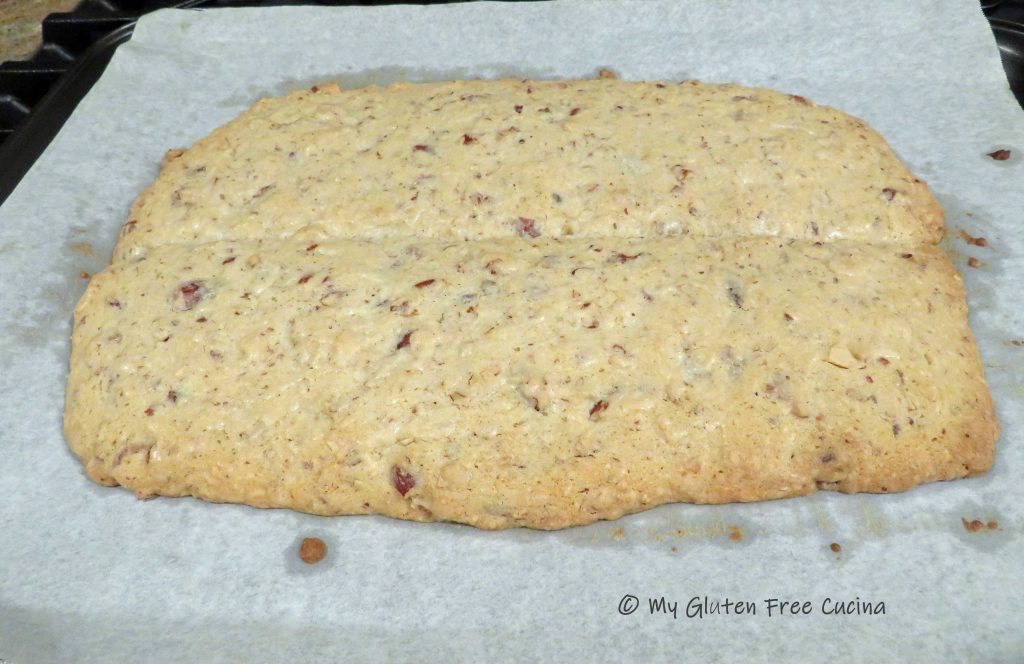
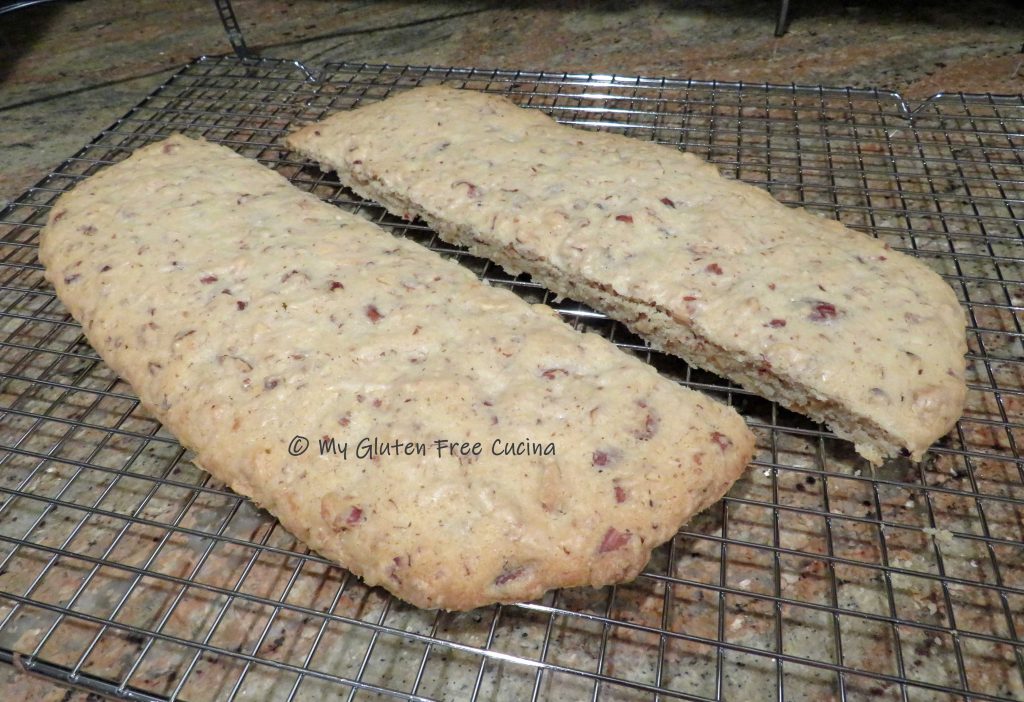
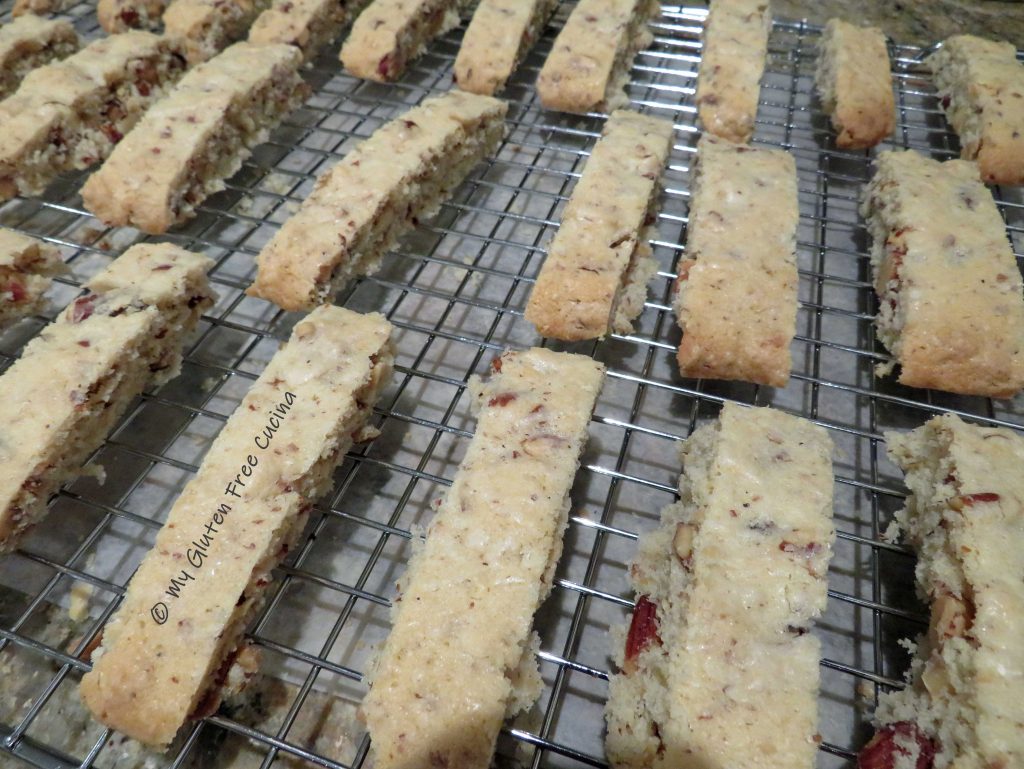 If you like a crisp, hard cookie (great for dunking) return the sliced biscotti to the baking sheet cut side up and bake for 10 minutes longer.


 Preparation:


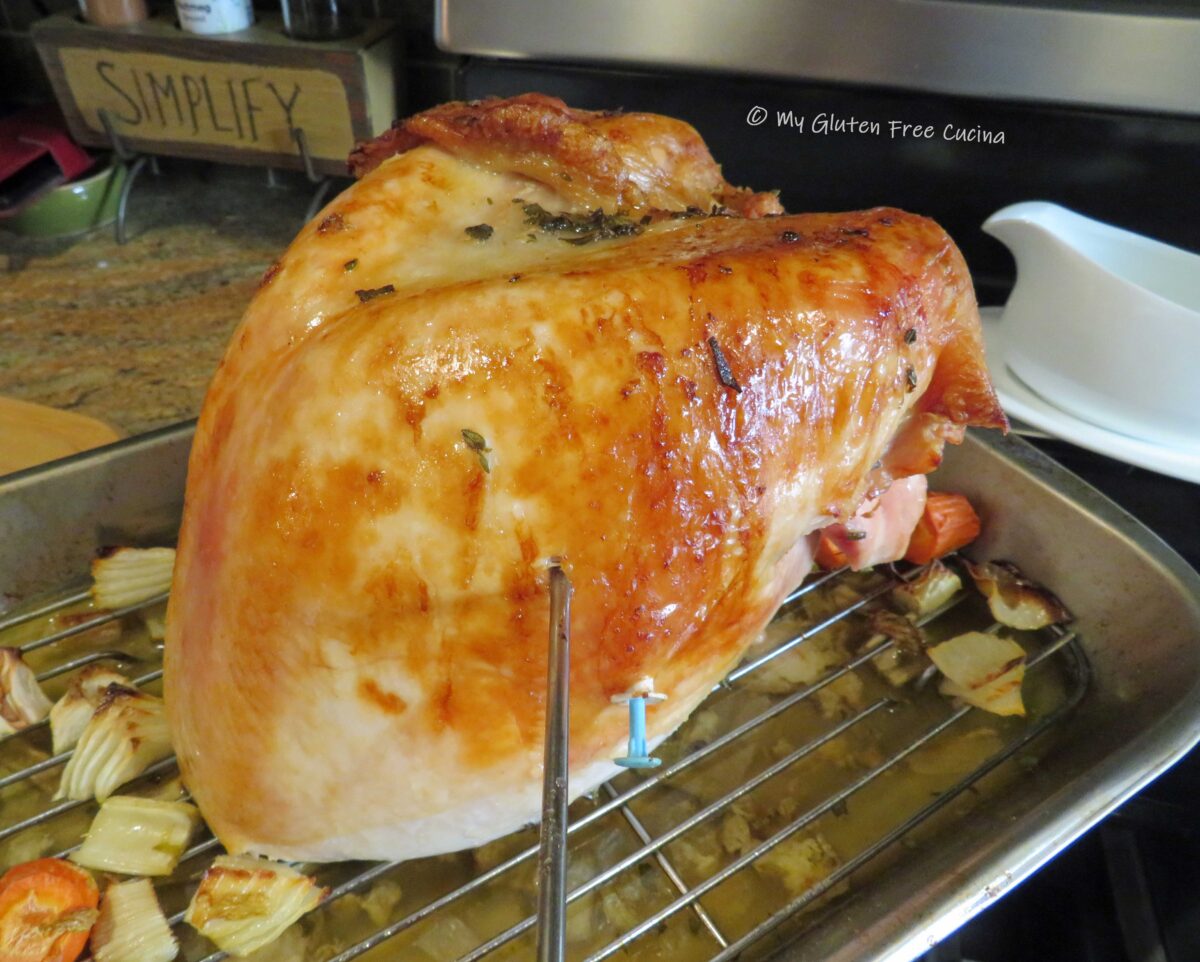
 Roast for 25 minutes per pound, or until a thermometer inserted into the thickest section registers 165º. The pop-up thermometer was spot on, but I was still glad that I used my own.
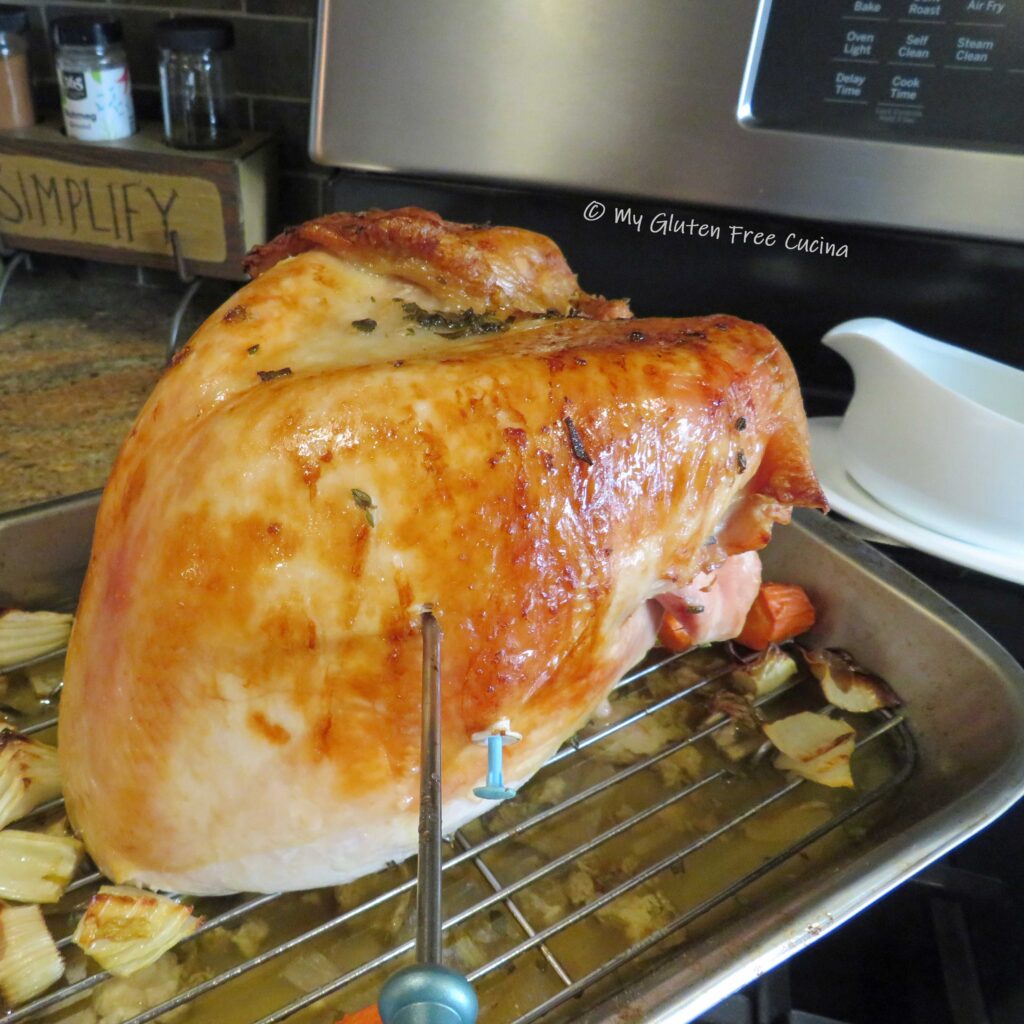
 Enjoy with
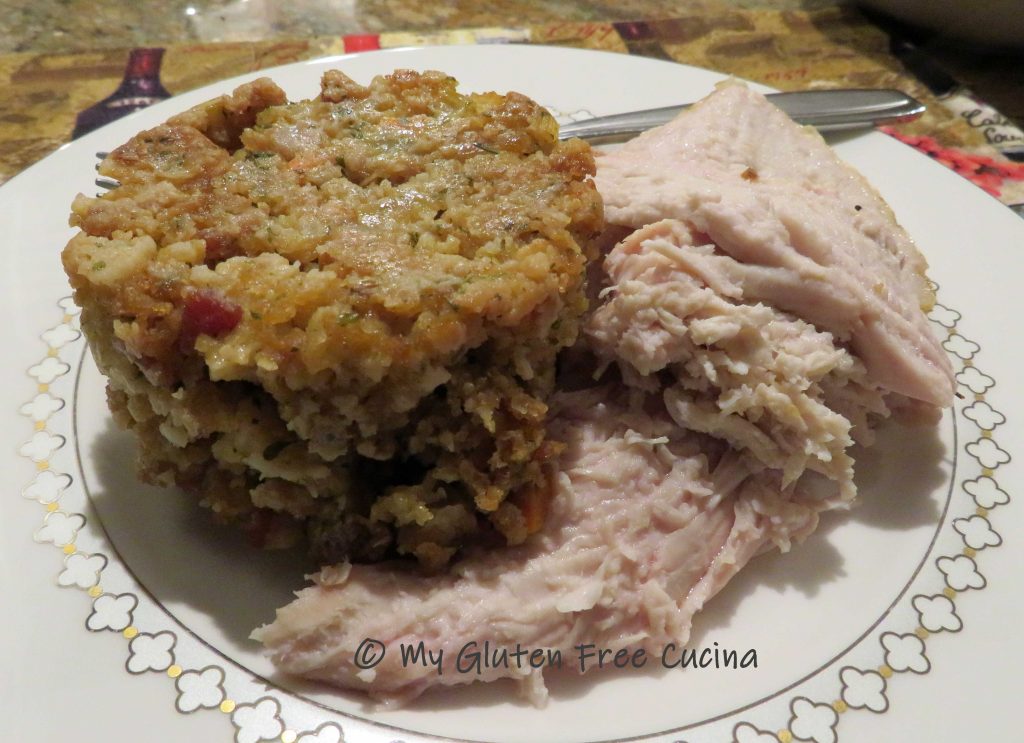
 Combine the yeast, ground chia seeds, sugar and 1/2 cup water in a small bowl or measuring cup. Let the mixture rest for 10 minutes.
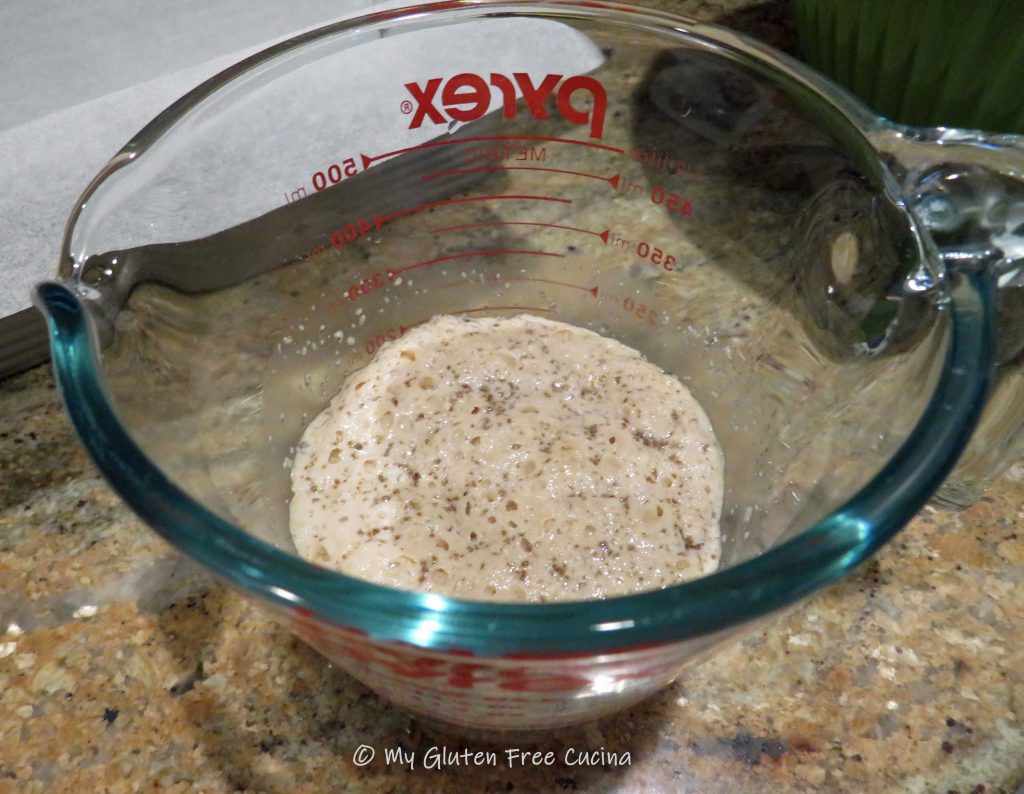
 Whisk it all together, and then add the dry ingredients into the wet. Mix for 5 minutes with the paddle attachment. The dough will be heavy and wet.
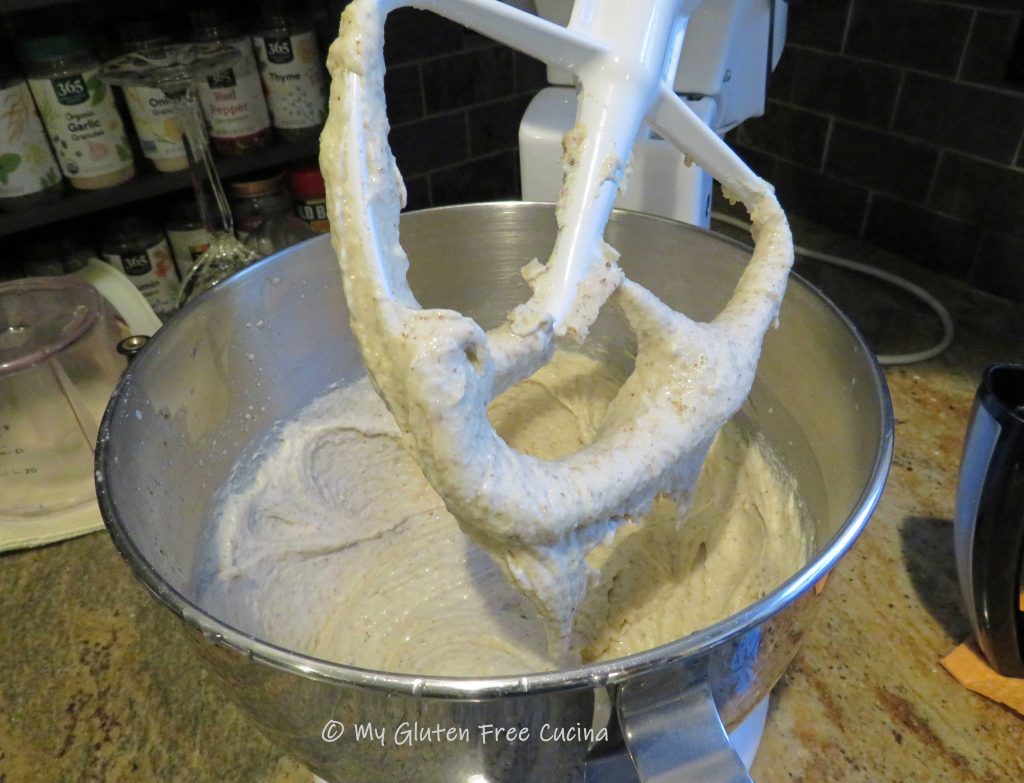
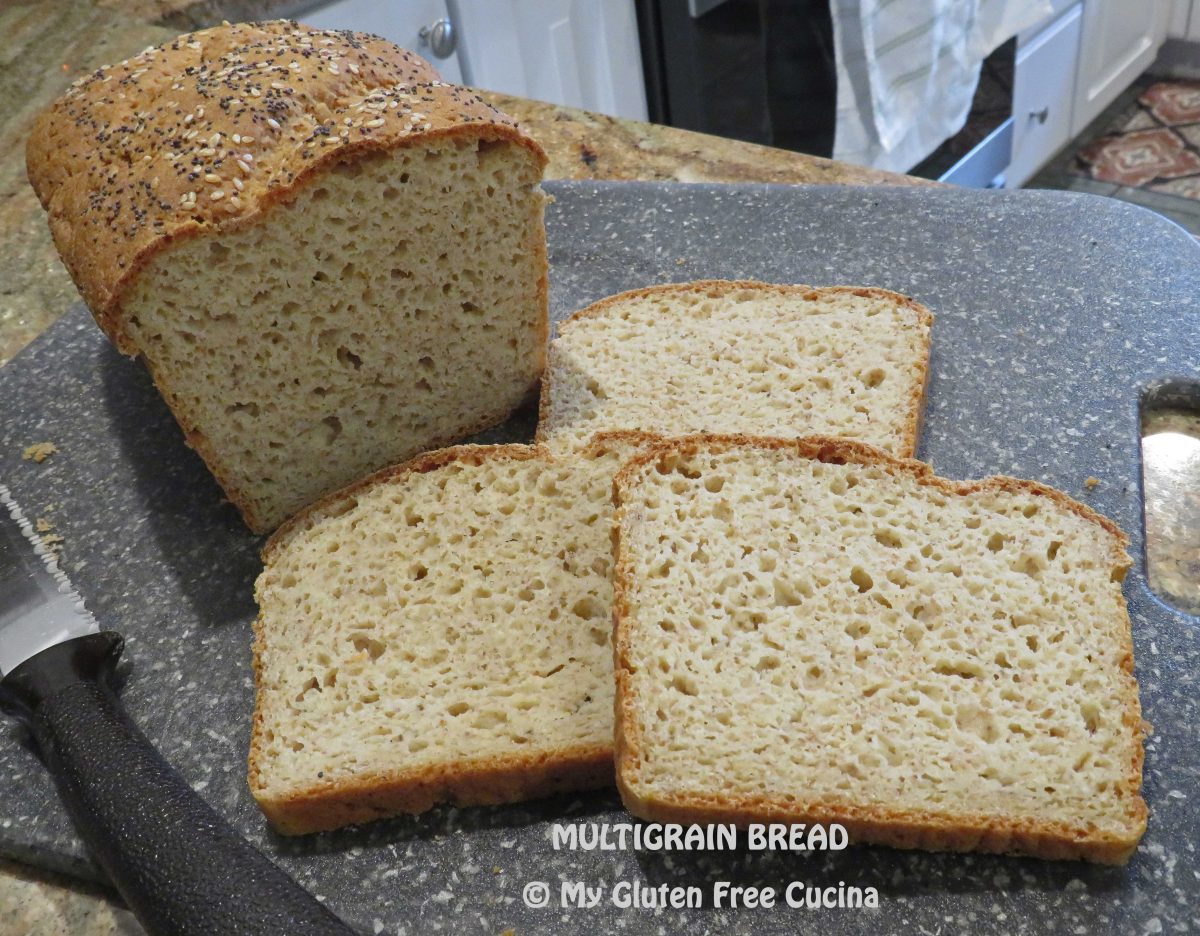
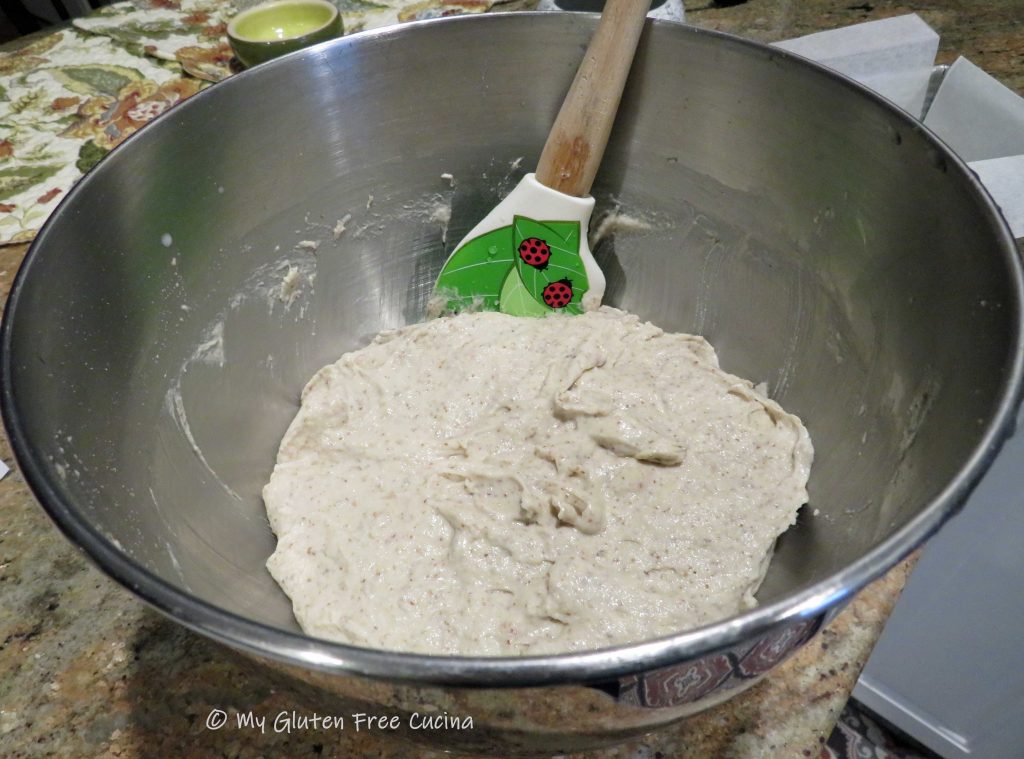 Scrape the dough into the prepared pan, smoothing out the top with a spatula dipped in water.
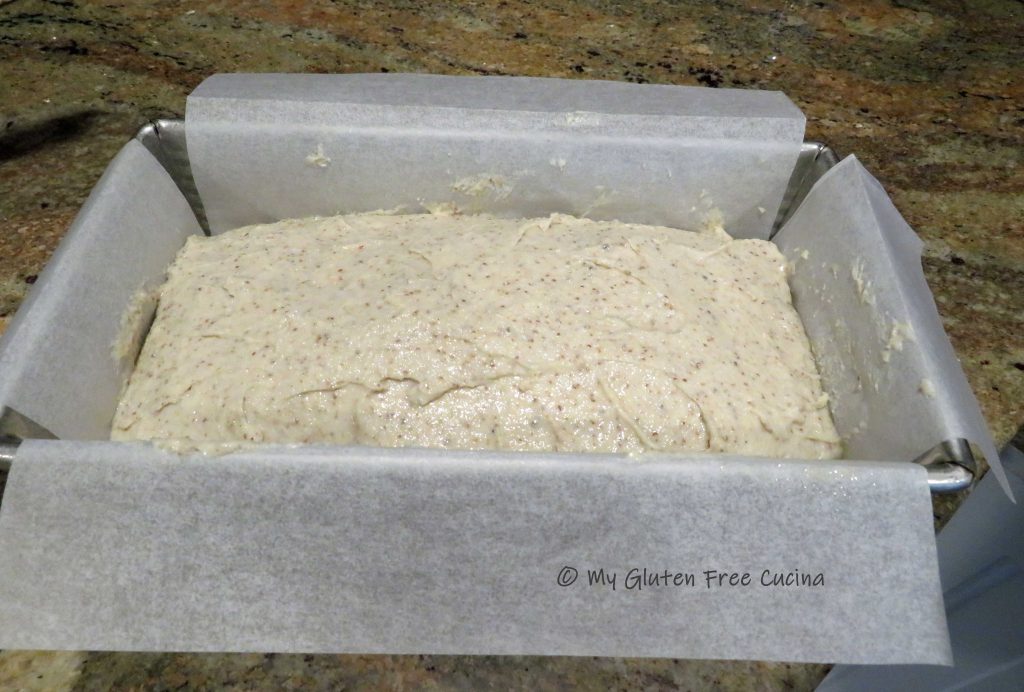
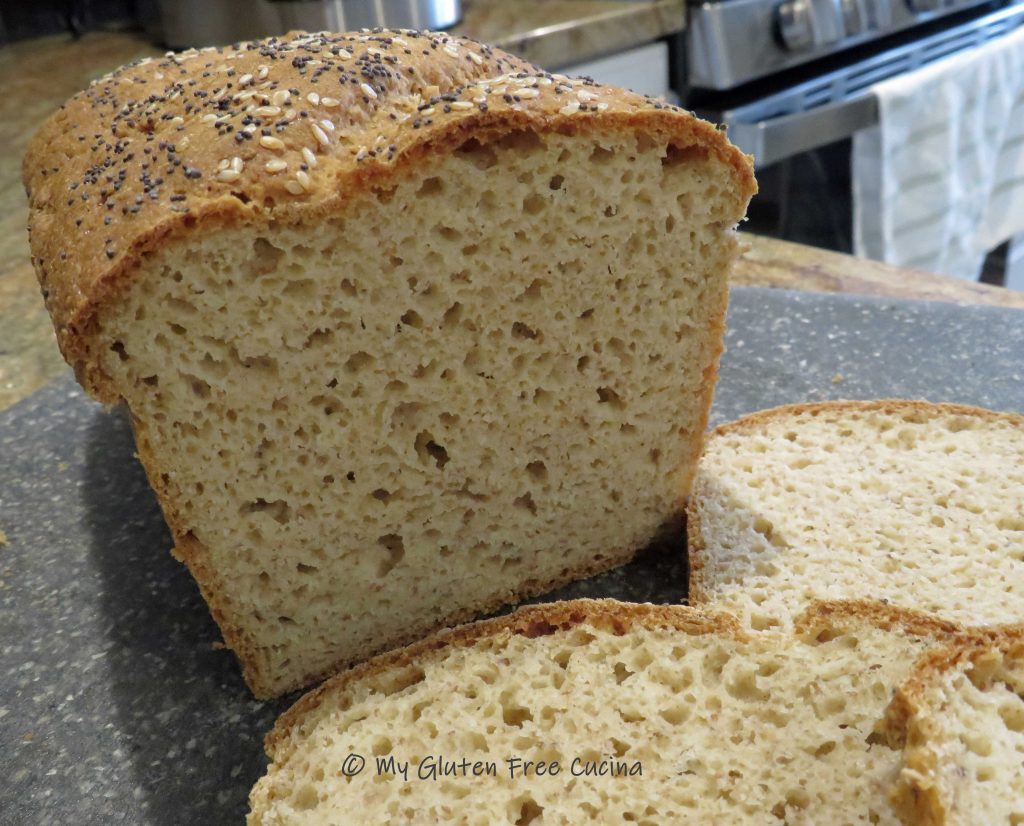
 Quickly make 2 diagonal slashes across the top of the loaf with a sharp knife.

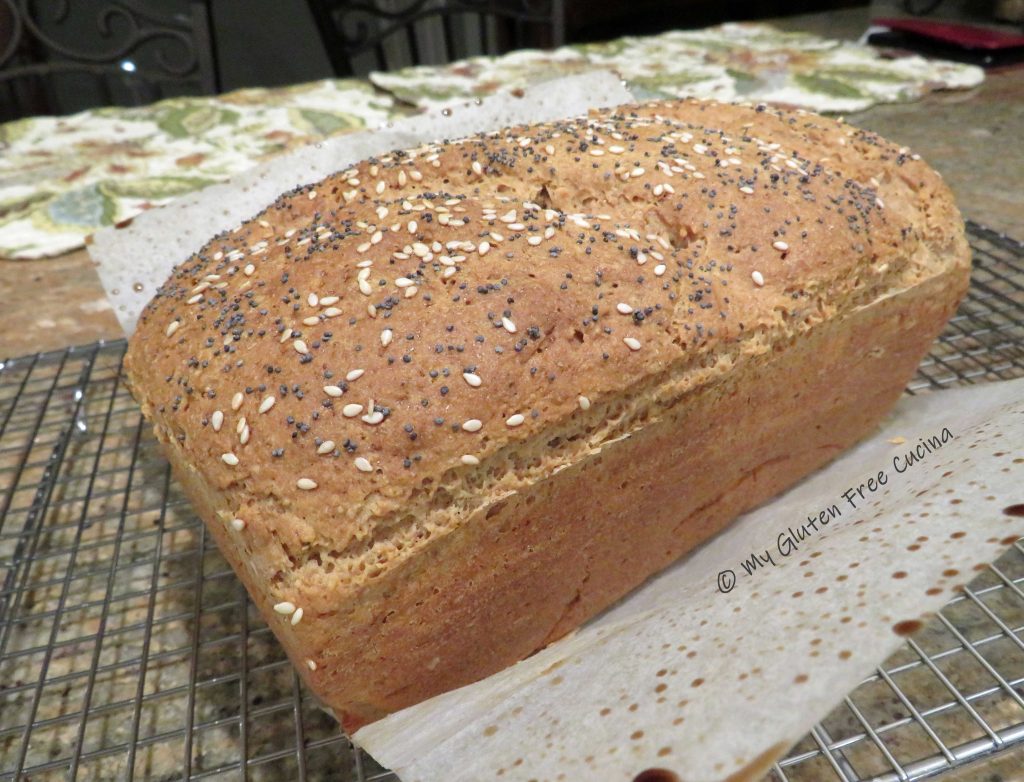
 Cool to room temperature, then
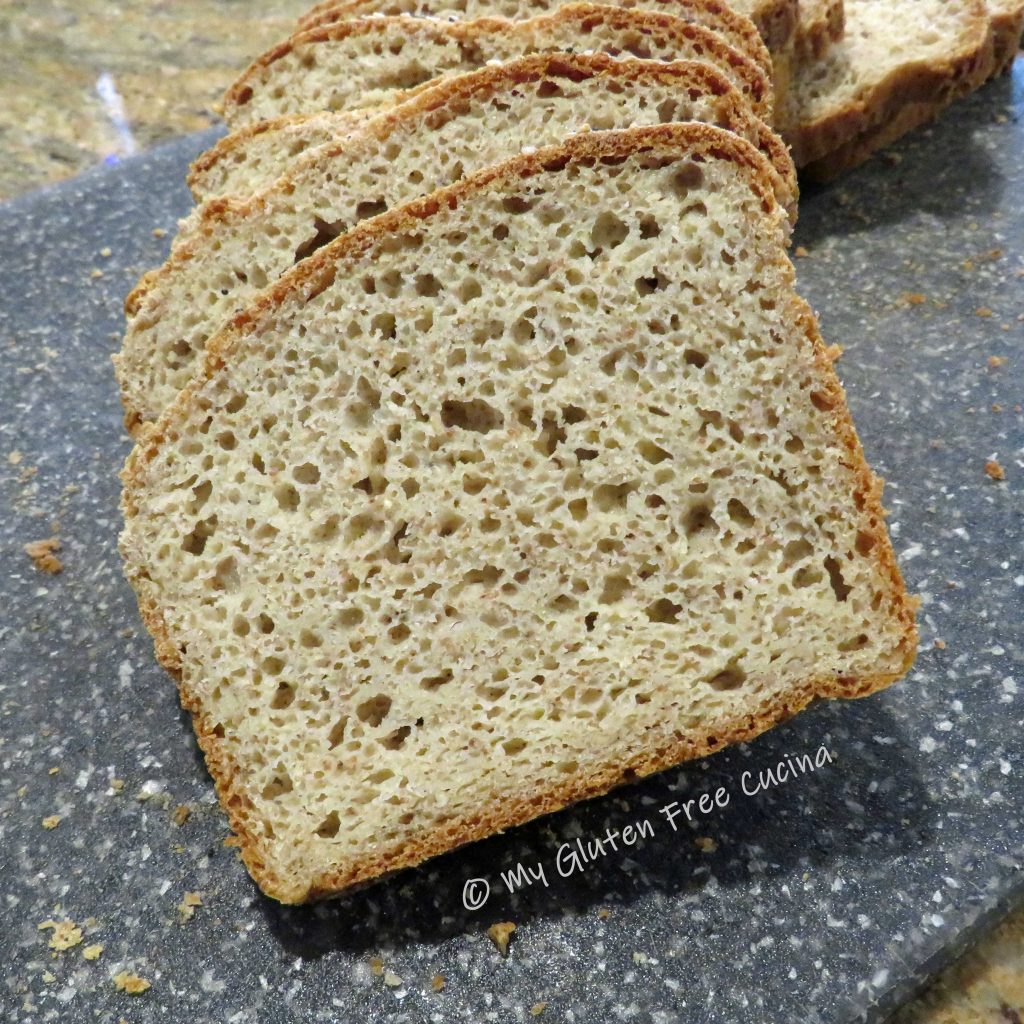
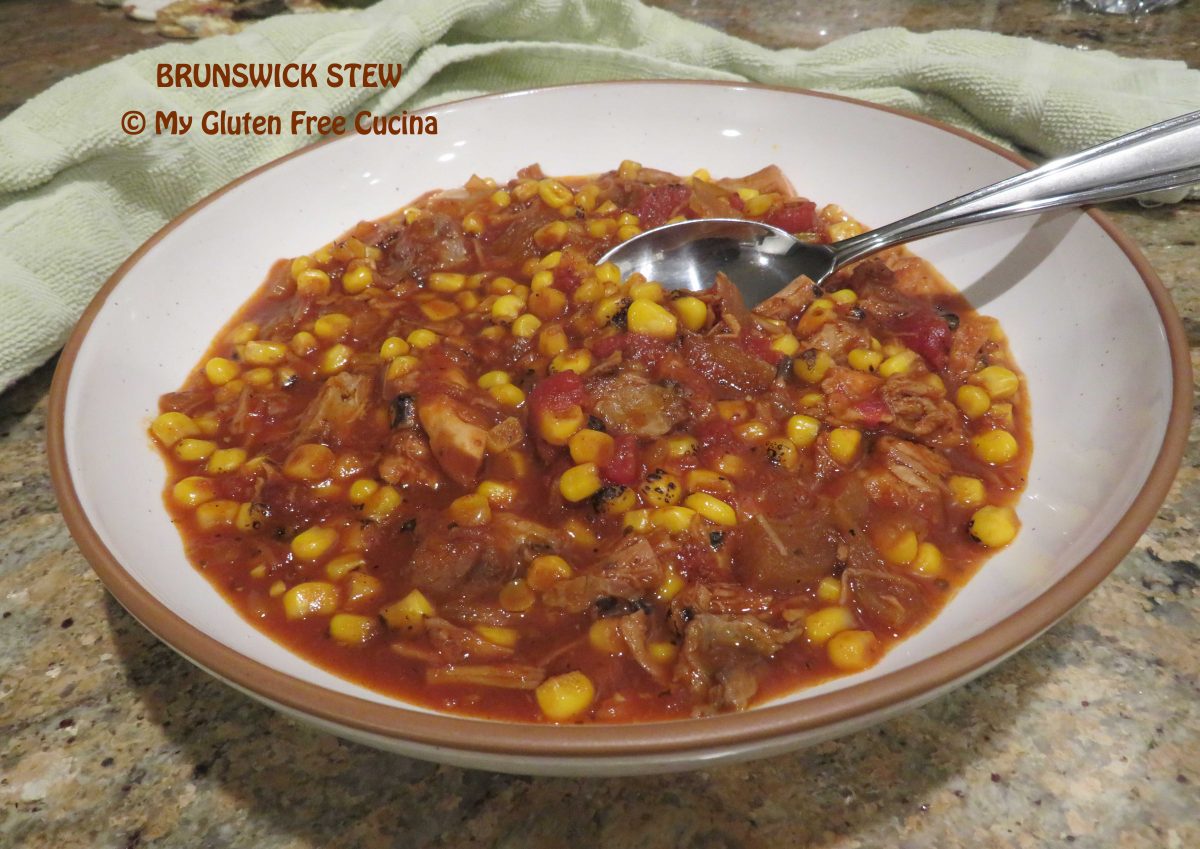

 Let it toast for a minute then add the stock, tomatoes, BBQ Sauce, brown sugar, Worcestershire sauce and seasonings.
 Finally add the fire roasted corn and stir everything together.


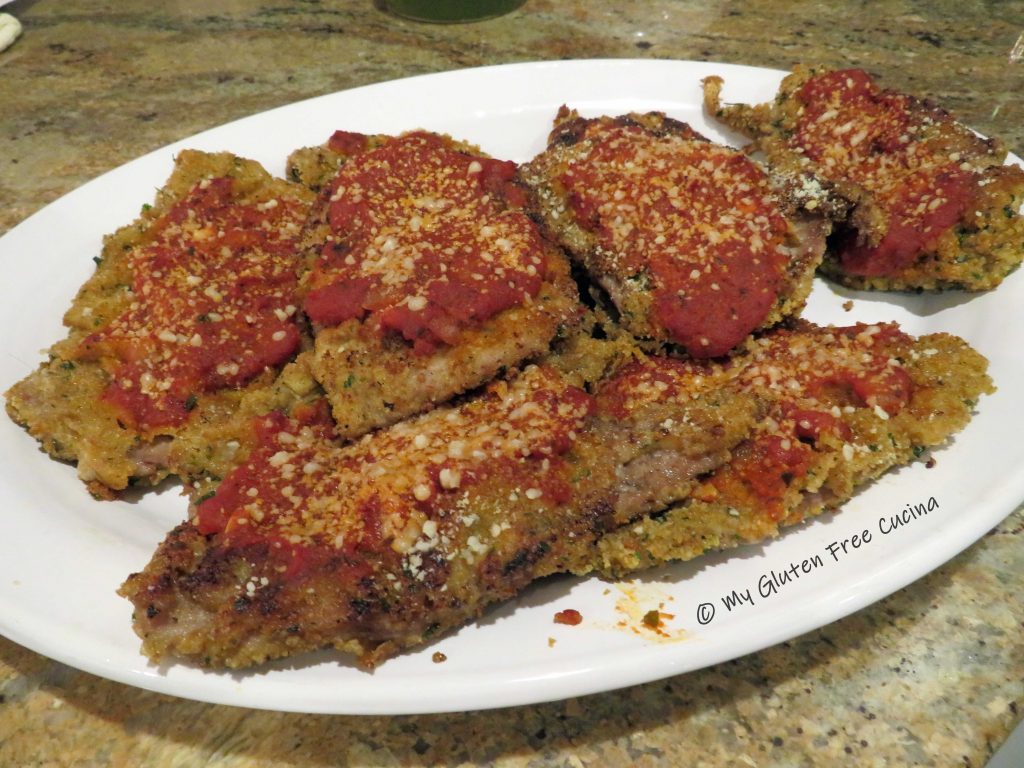
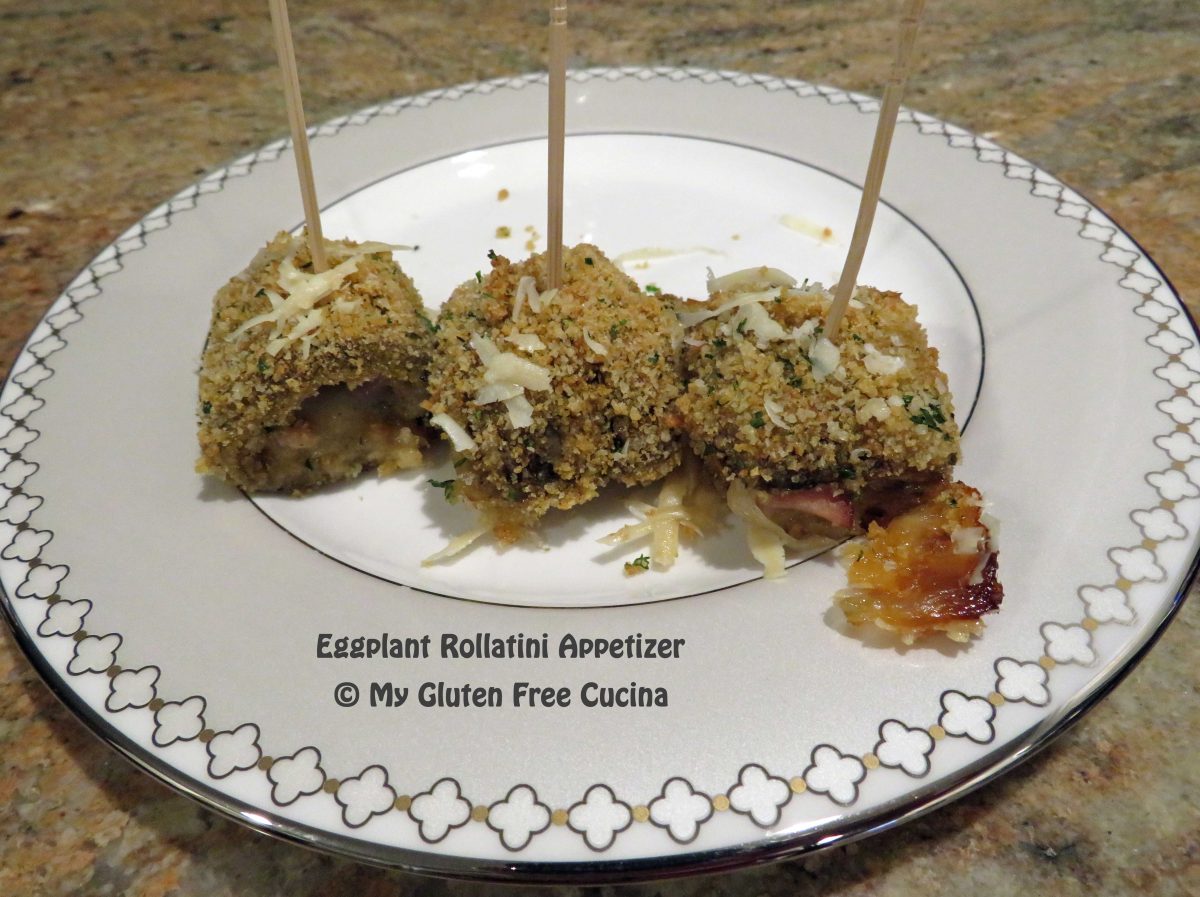
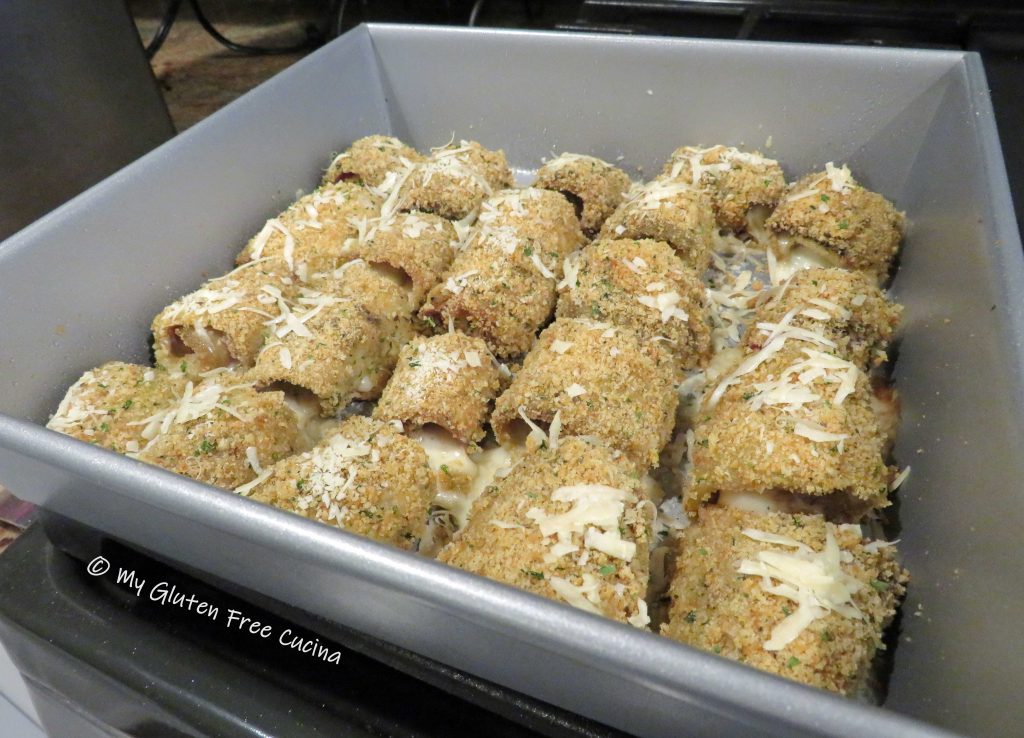
 Ladle marinara over each slice and top with grated cheese, as much as you like.
 Place in the oven for 15-20 minutes, just enough to melt the cheese.