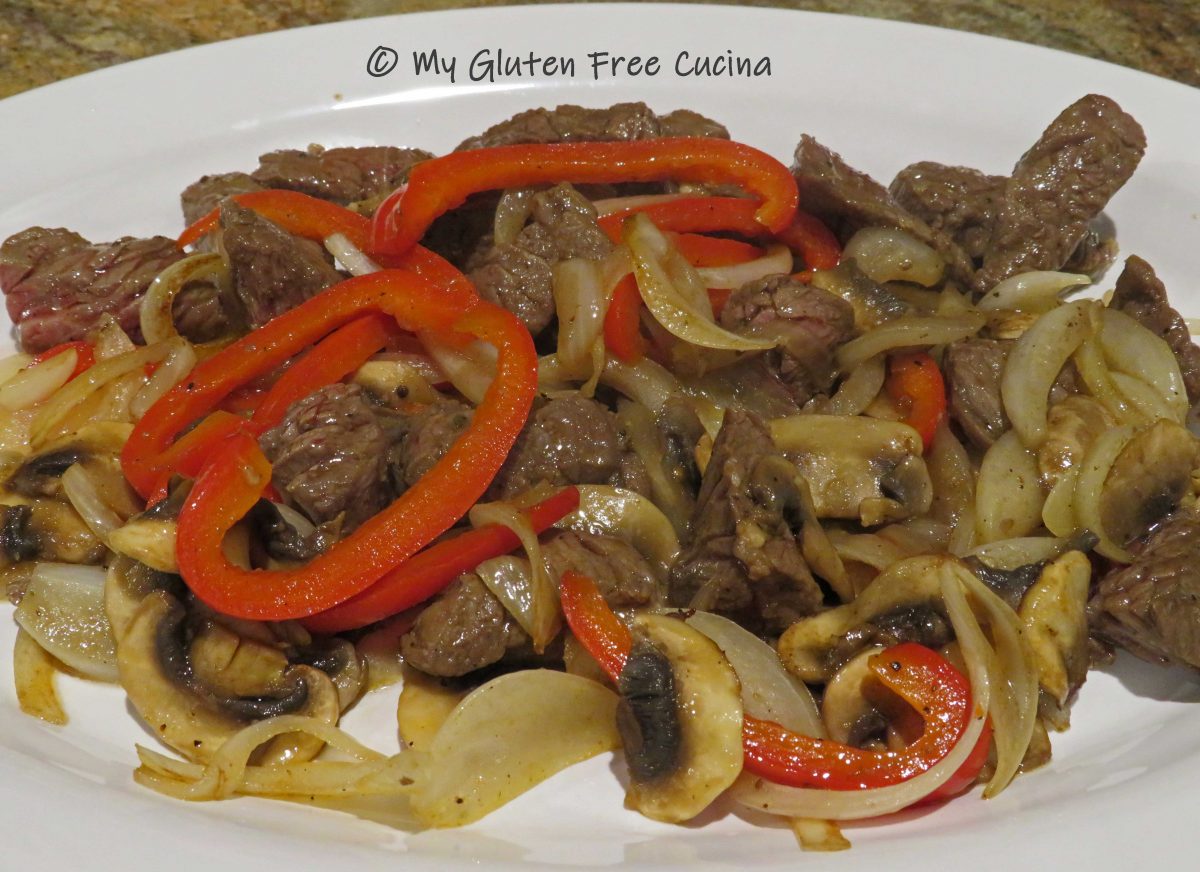
Sirloin tips have always been one of my favorite restaurant entrees. Much to my dismay, many restaurants use soy sauce in their steak marinade, making this meal off limits for those of us with Celiac disease. Fortunately, it is easy to recreate this great meal at home. Be sure and check out my homemade, gluten free steak marinade, or use coconut aminos for a lower sodium option.
Dinner for two
This post contains affiliate links.
Ingredients:
- 1 lb. sirloin tips
- gluten free steak marinade
- olive oil
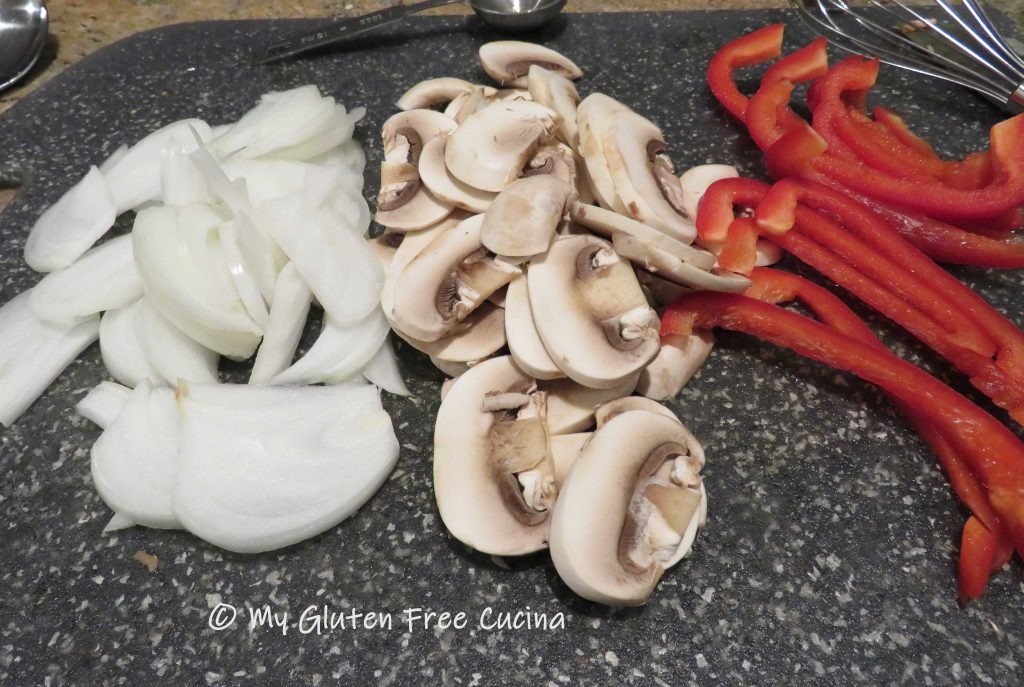
- 1/2 sweet onion, sliced
- 1/2 red bell pepper, sliced
- 1 cup white mushrooms, sliced
- salt and pepper to taste
- Tamari or Coconut Aminos
- 3/4 cup long grain brown rice
- 2 cups gluten free broth (beef, chicken or vegetable)
- salt and pepper to taste
Preparation:
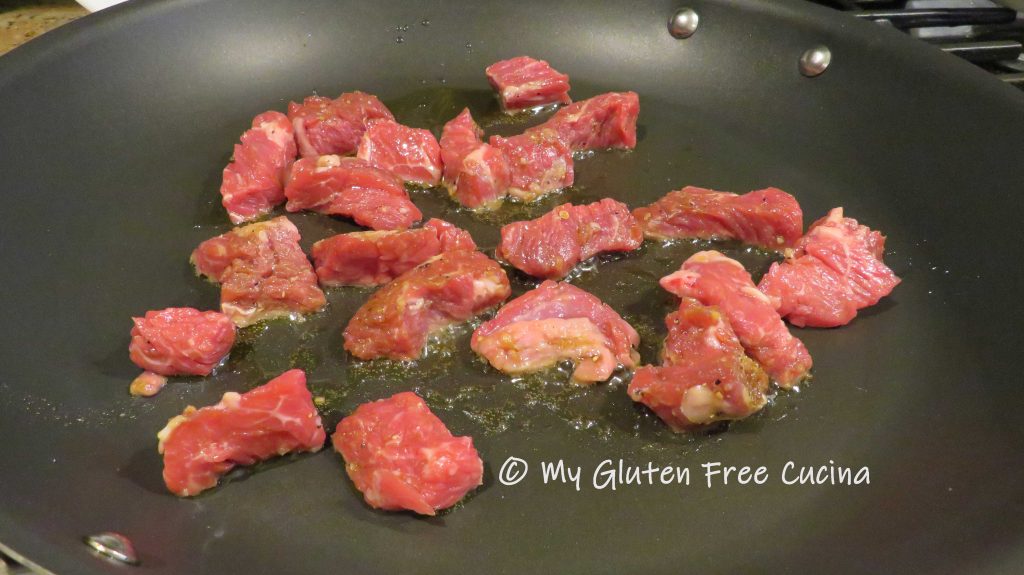
Combine the steak tips with 2 tbsp. gluten free steak marinade. Let them marinate for 30 minutes to an hour at room temperature.

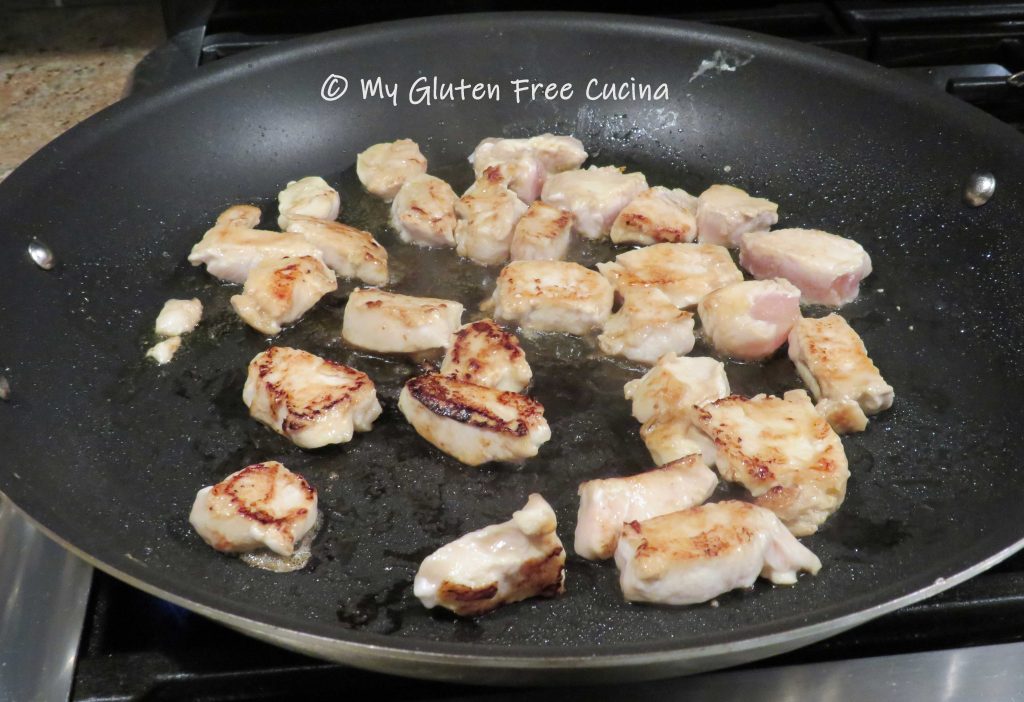
While the steak marinates, cook the rice in 2 cups broth, either stovetop or in a rice cooker (here’s mine, it’s perfect for 2 people). Heat a large nonstick skillet with a little olive oil over medium low. Add the steak tips.
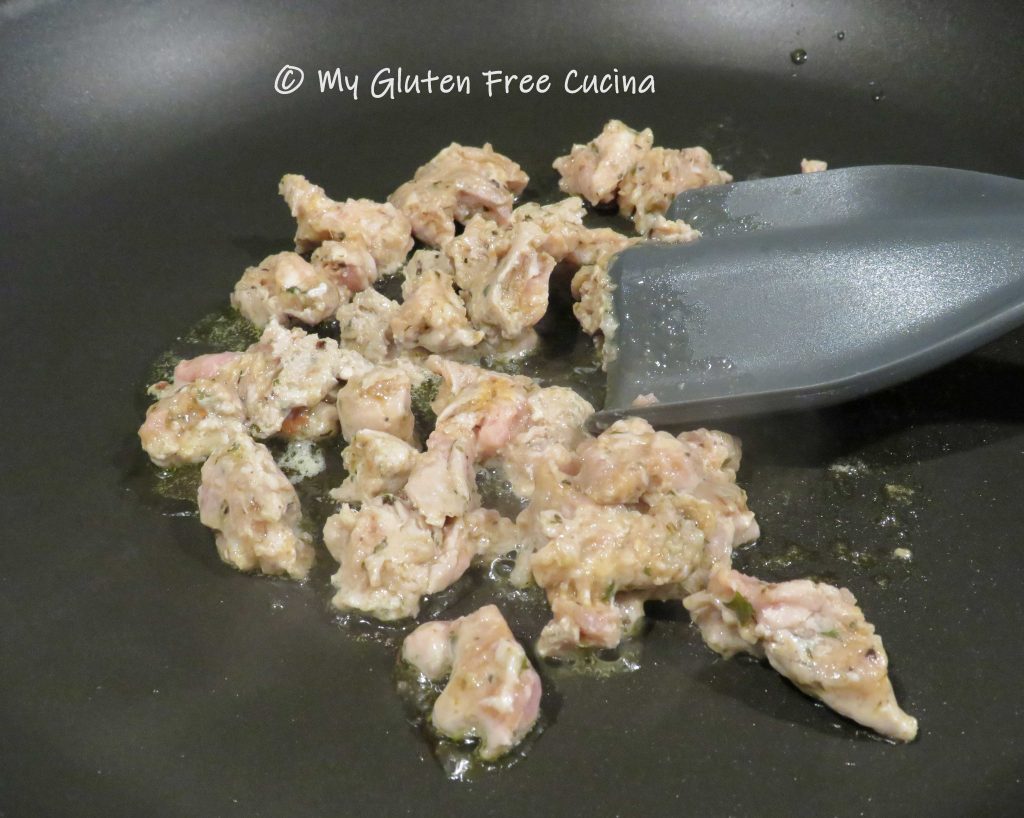
Brown the meat on both sides, turning once.
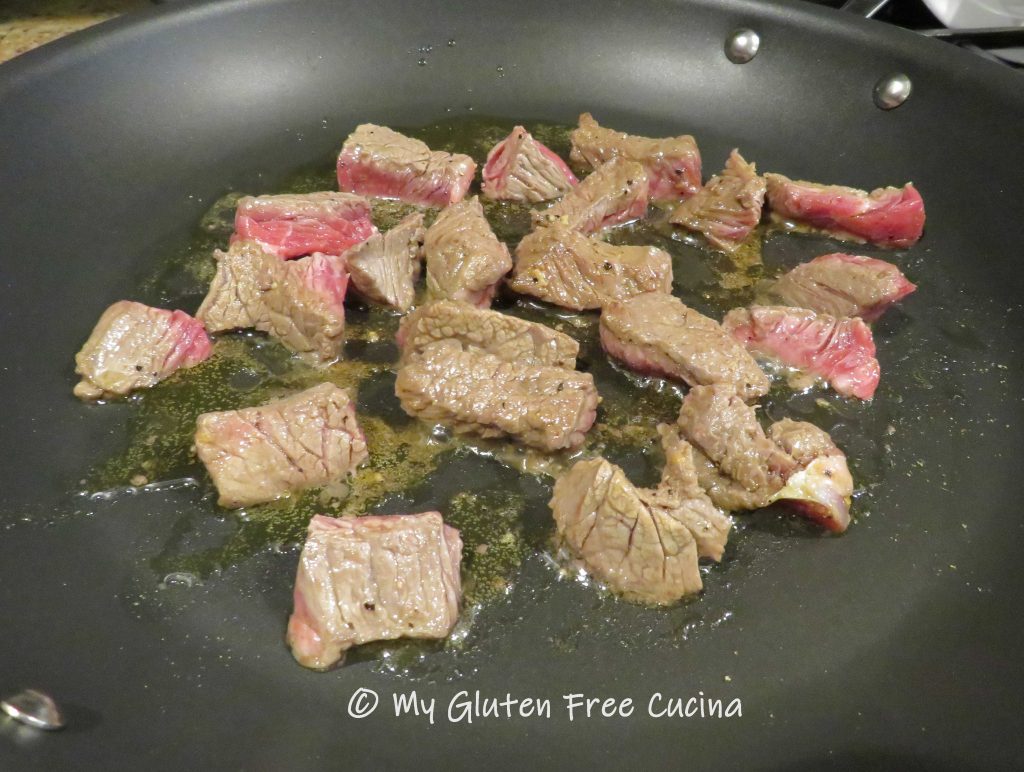
It doesn’t have to be cooked through at this point.

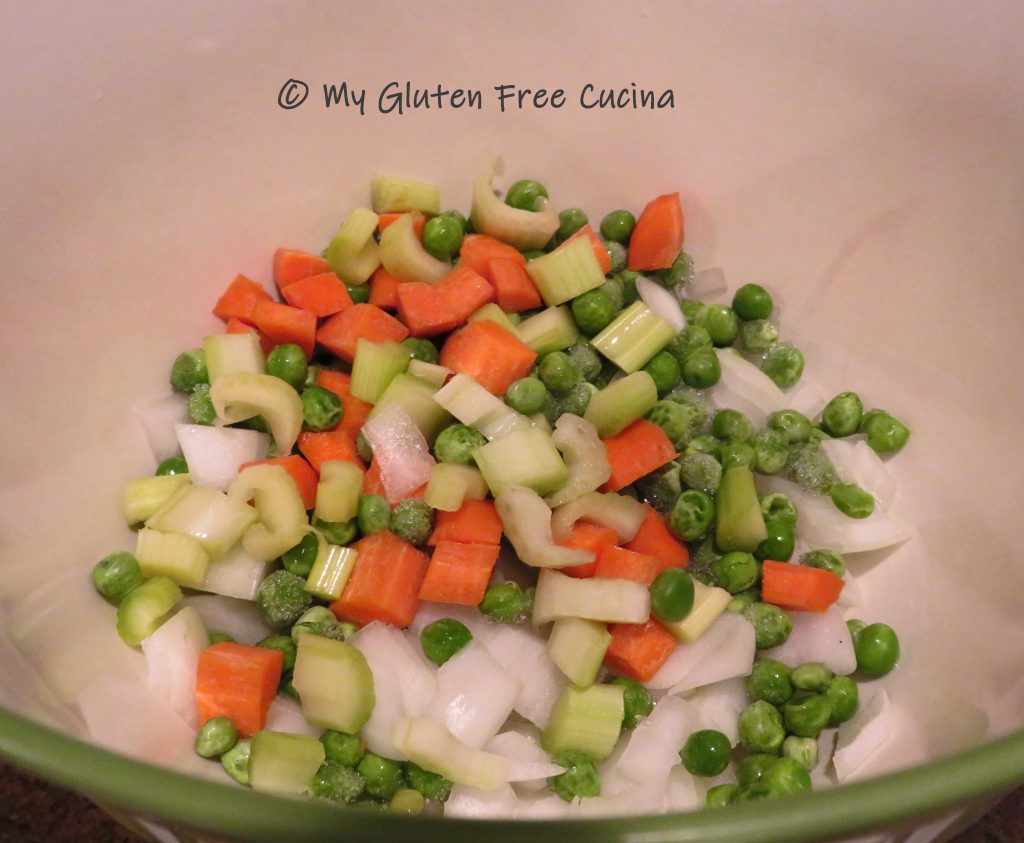
Transfer to a bowl, wipe the skillet clean and add the veggies with more olive oil.

Cook several minutes until crisp tender. Season with salt and pepper. Add the steak tips back to the skillet to finish cooking.
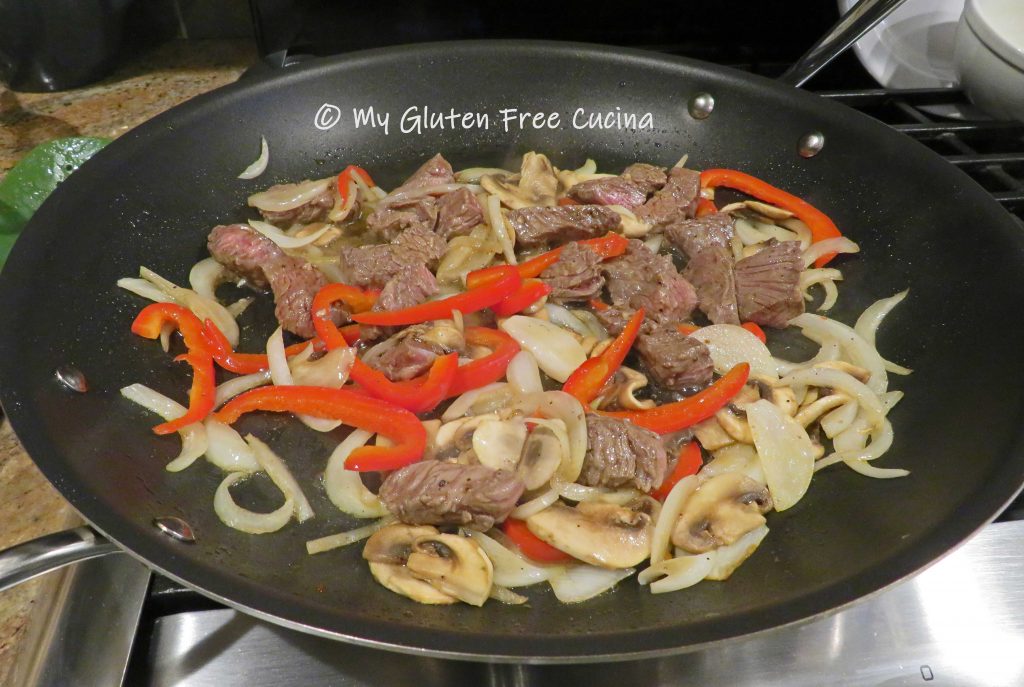
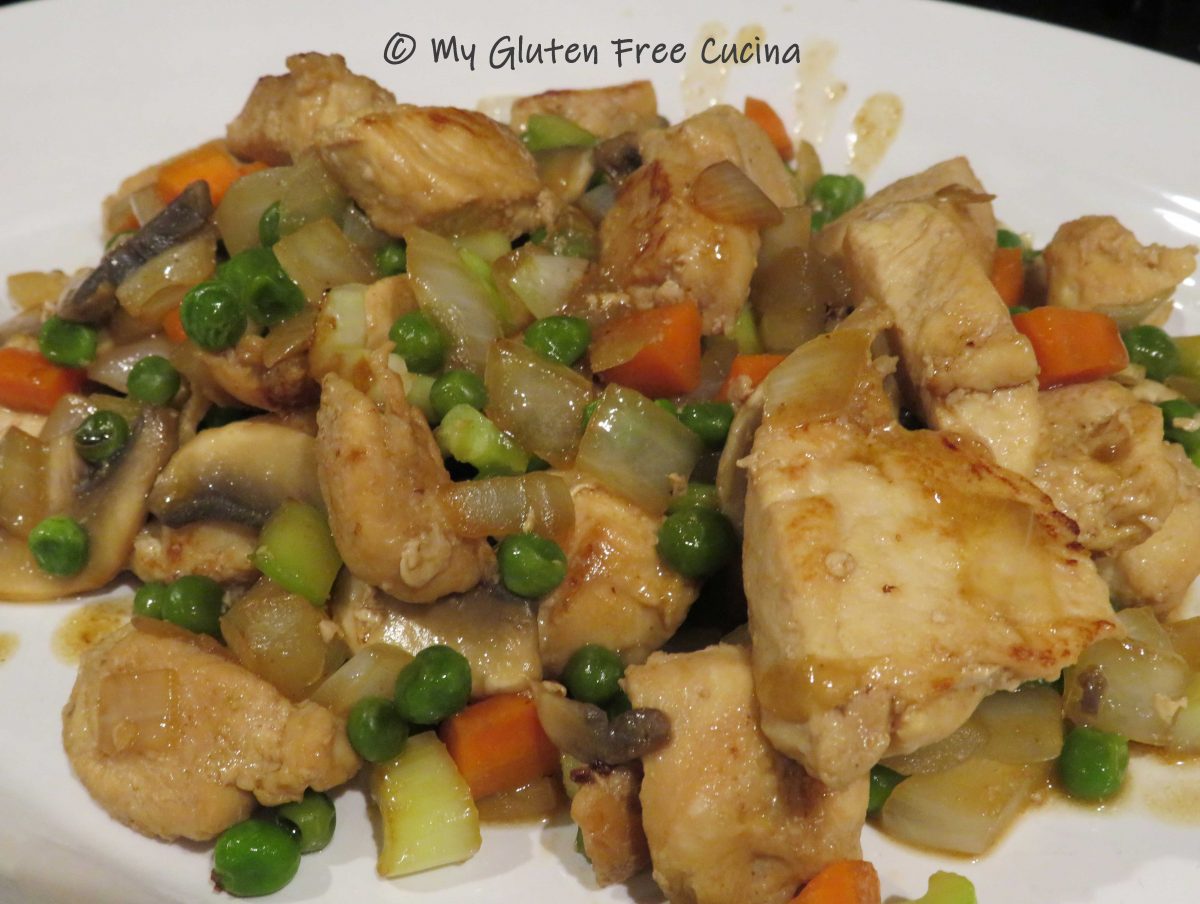
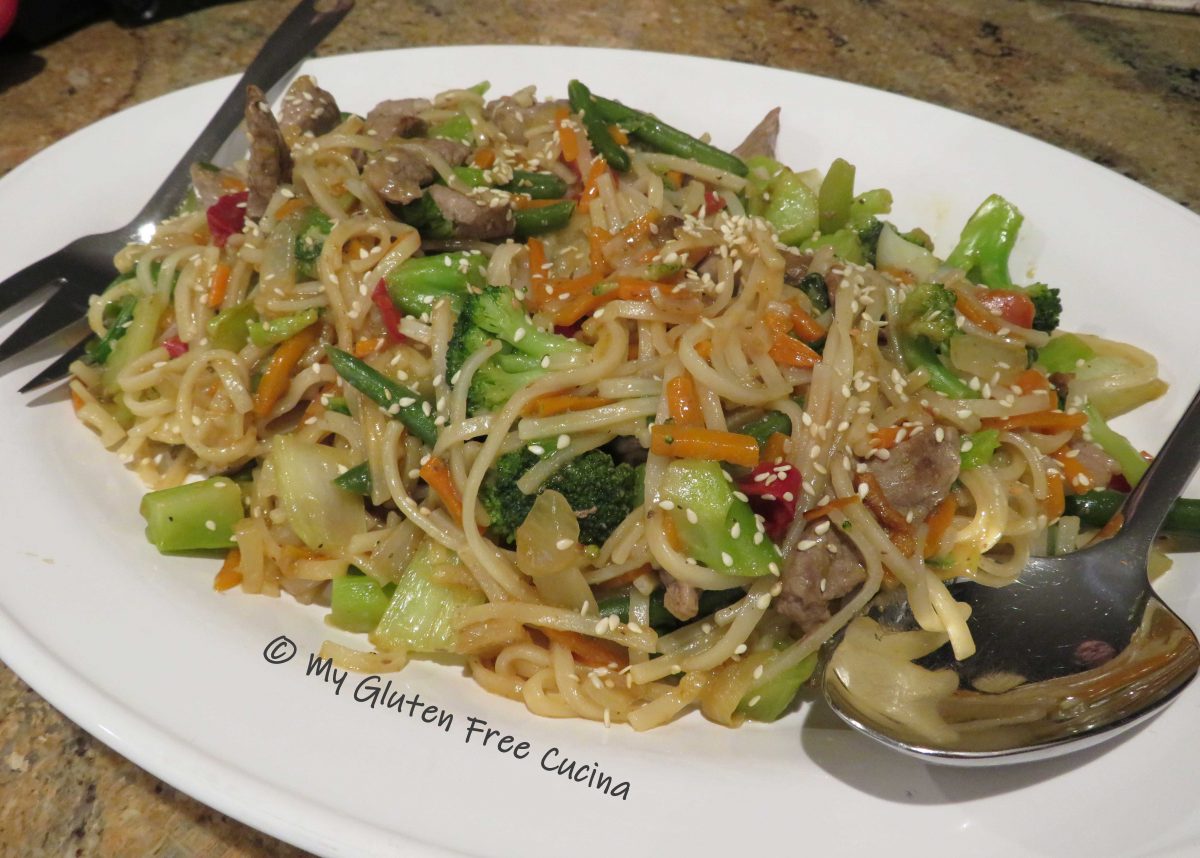
Finish with 1 tbsp. tamari or coconut aminos, and transfer to a serving platter. You can combine with the rice at this point or keep the rice separate if you’re watching carbs.

Serve with rice and you have one easy meal!

Notes: ♪♫ Tamari is a delicious, gluten free alternative to soy sauce. San-J gluten free Tamari is my favorite. If sodium is a concern, try Coconut Aminos. Both gluten free and soy free, Coconut Aminos have a much lower sodium content. Coconut Secret is the brand I use, and it works well in this recipe as well as many of my Asian inspired favorites.


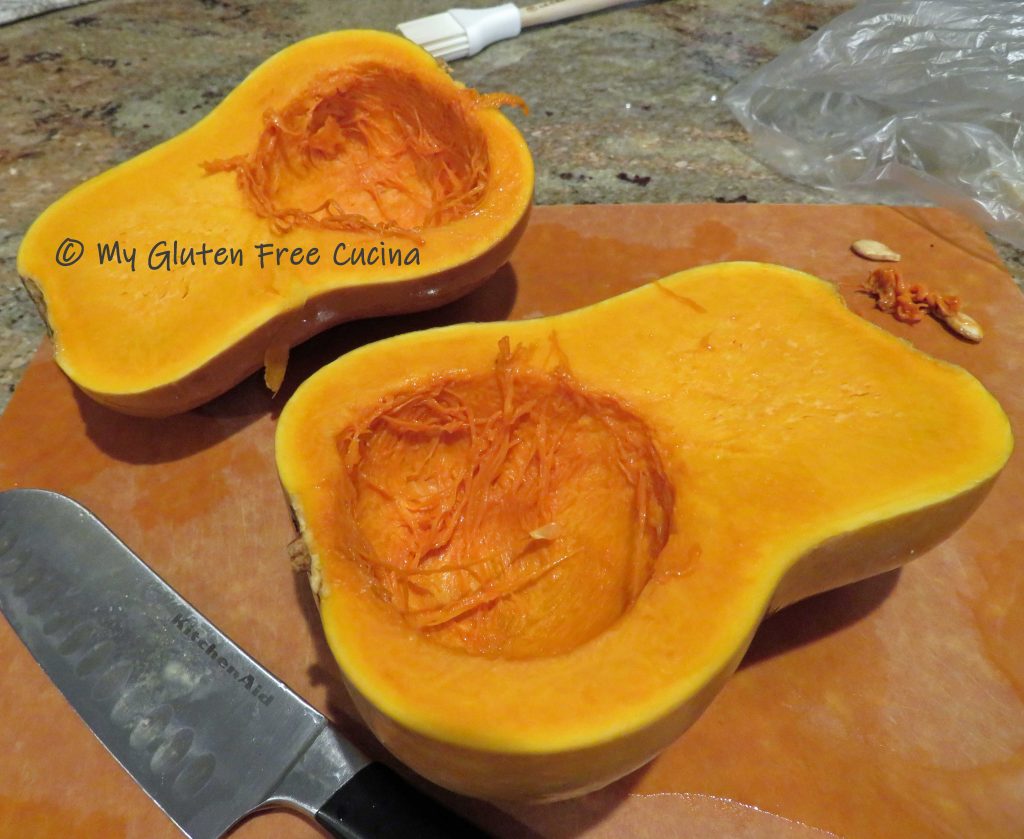
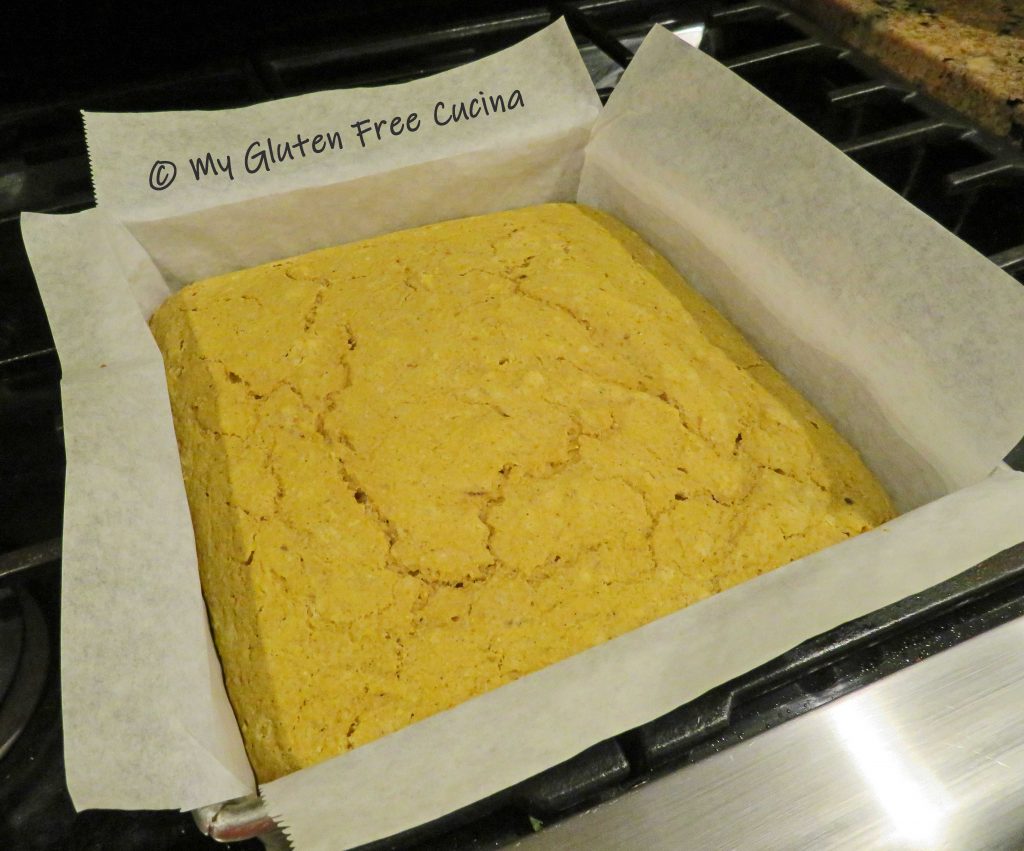
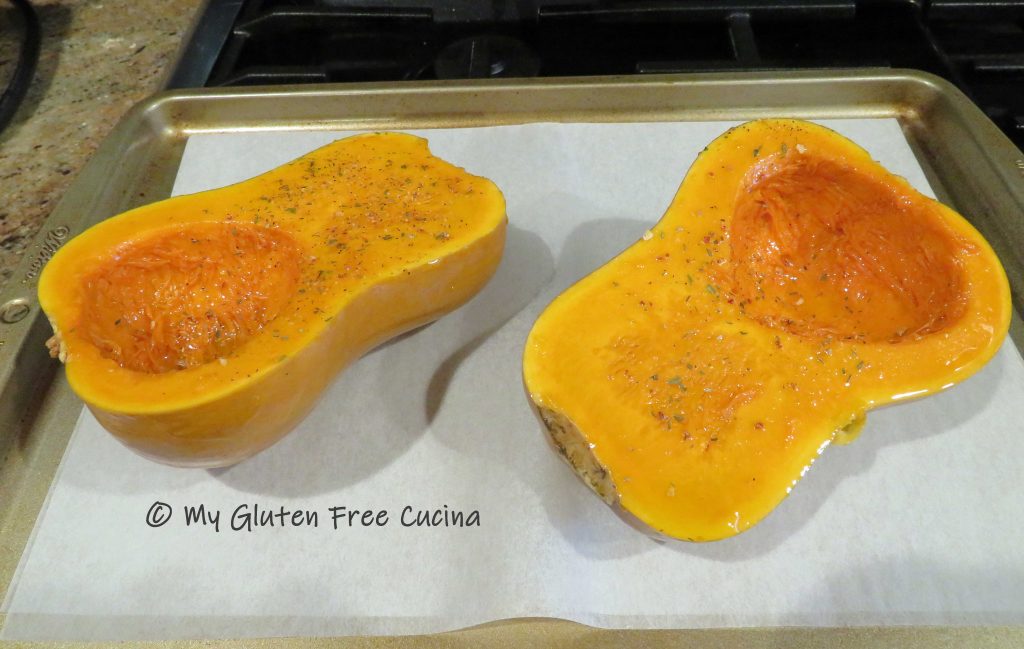 Arrange cut side down on a baking sheet lined with parchment or foil and bake for 35 minutes at 375º.
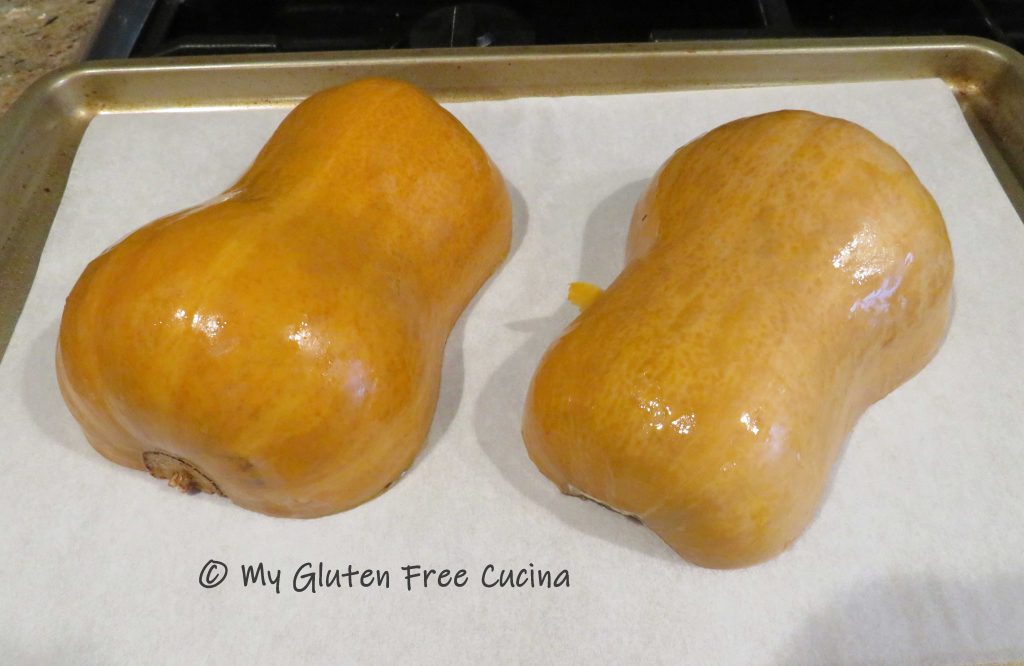
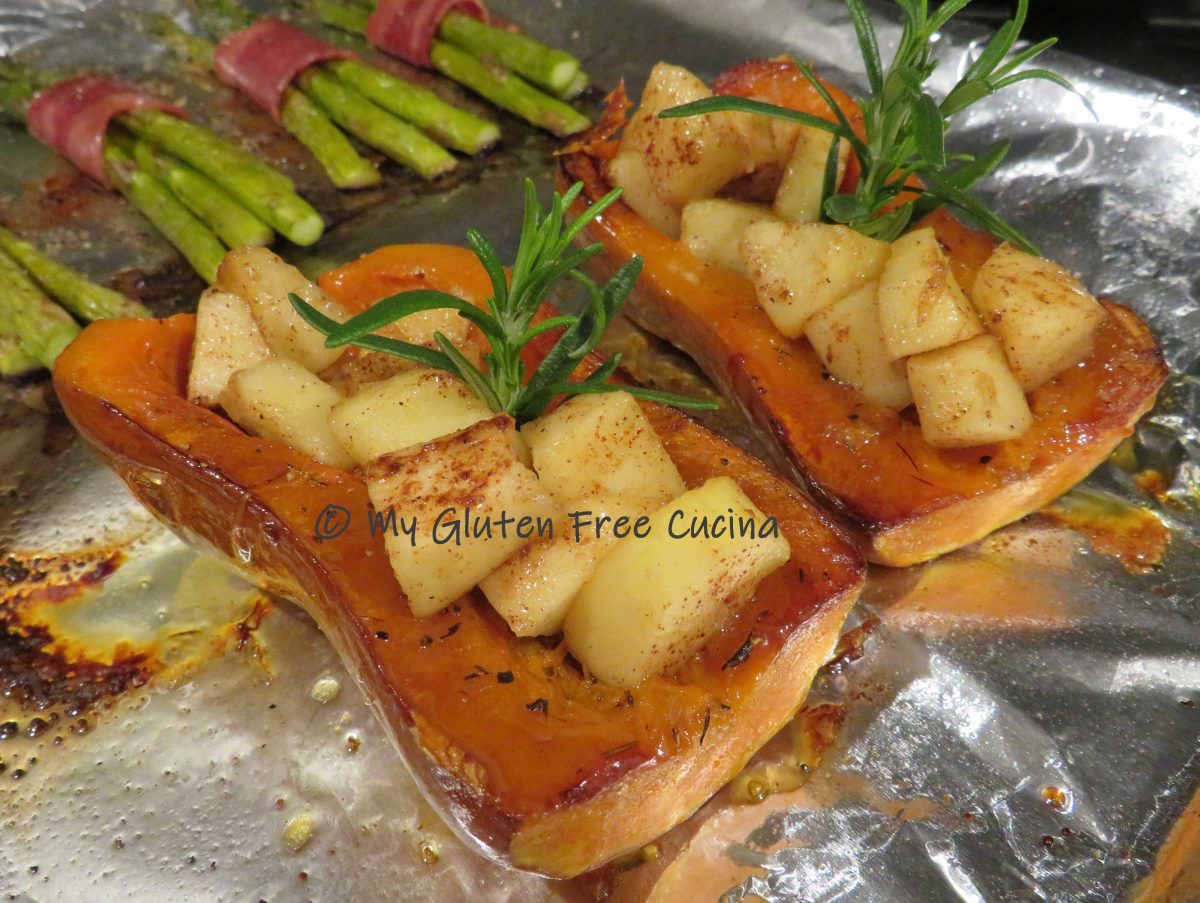
 While the squash is baking, peel and dice the apple. I used a Honeycrisp apple. Heat a small skillet on medium low. Add the apples with a pat of butter and toss to combine. Cook 3 minutes, stirring frequently. Sprinkle with cinnamon.
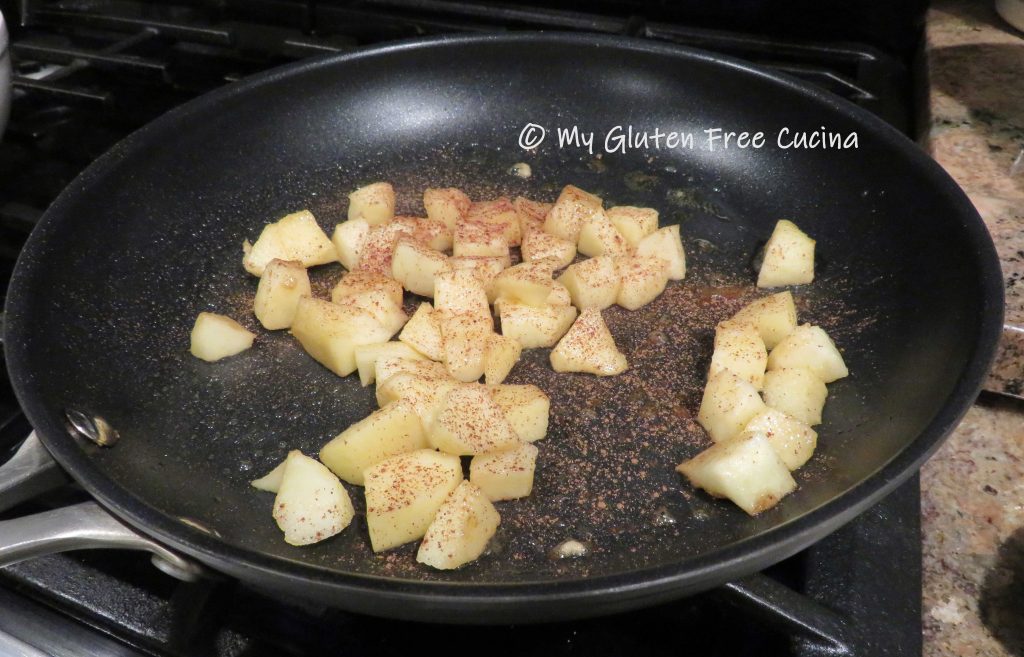


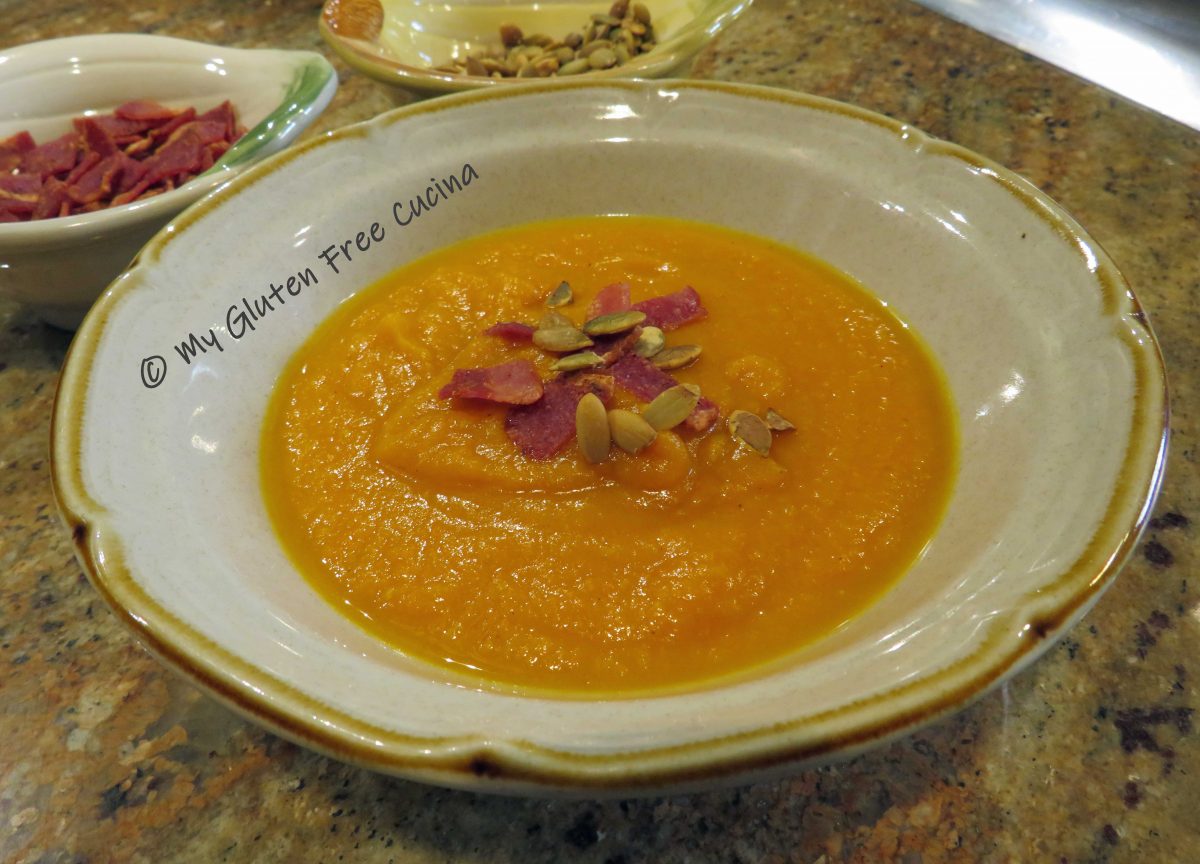

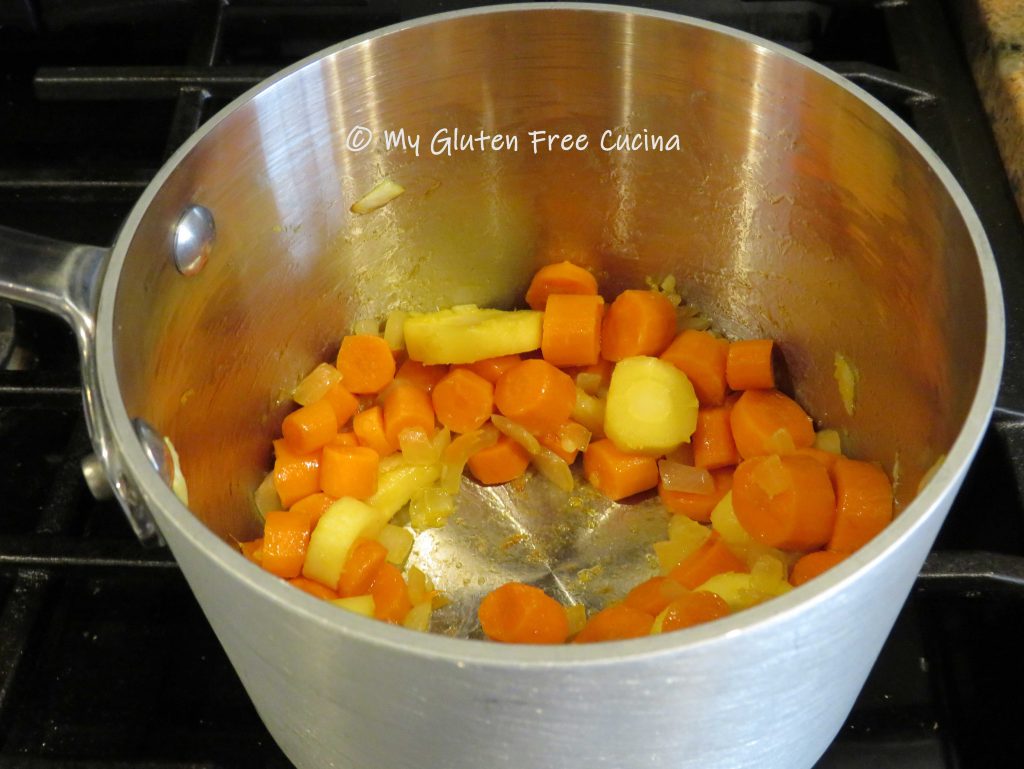
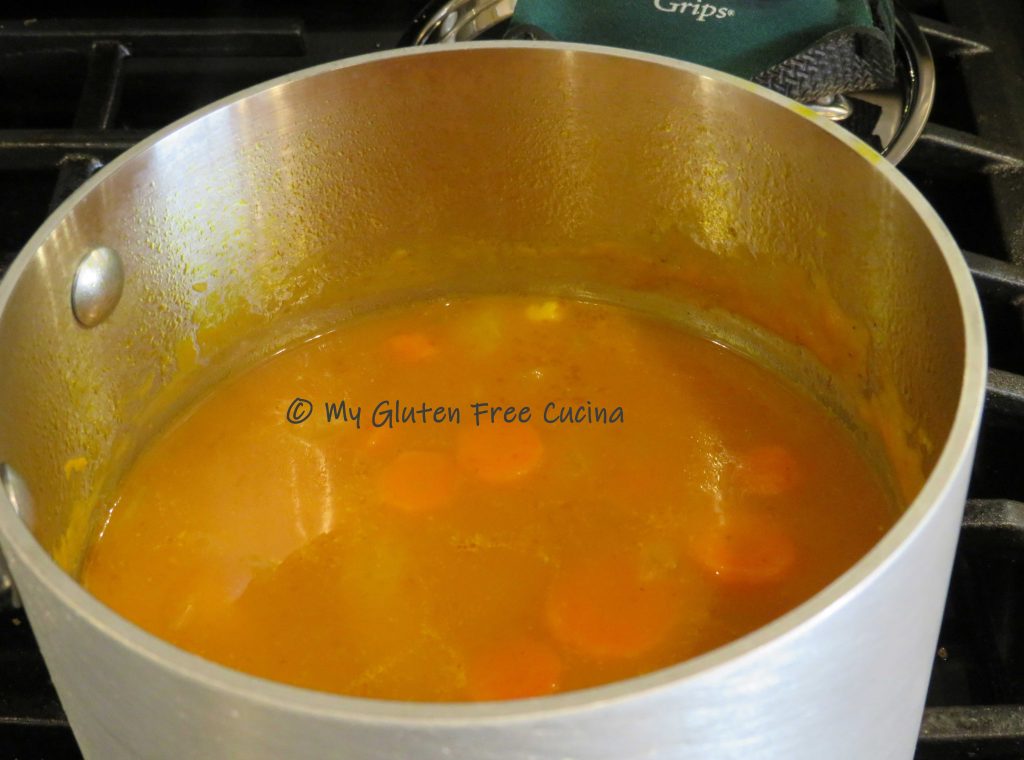
 Add the carrots and parsnips and continue cooking for 15 minutes, stirring frequently.
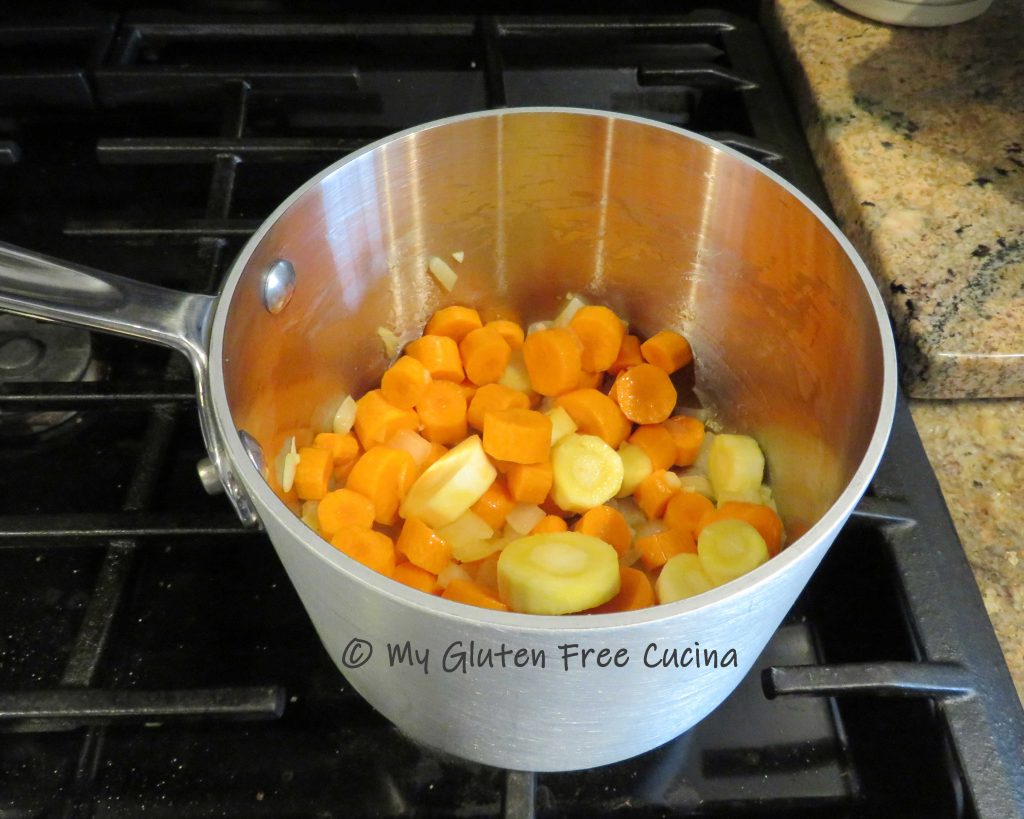


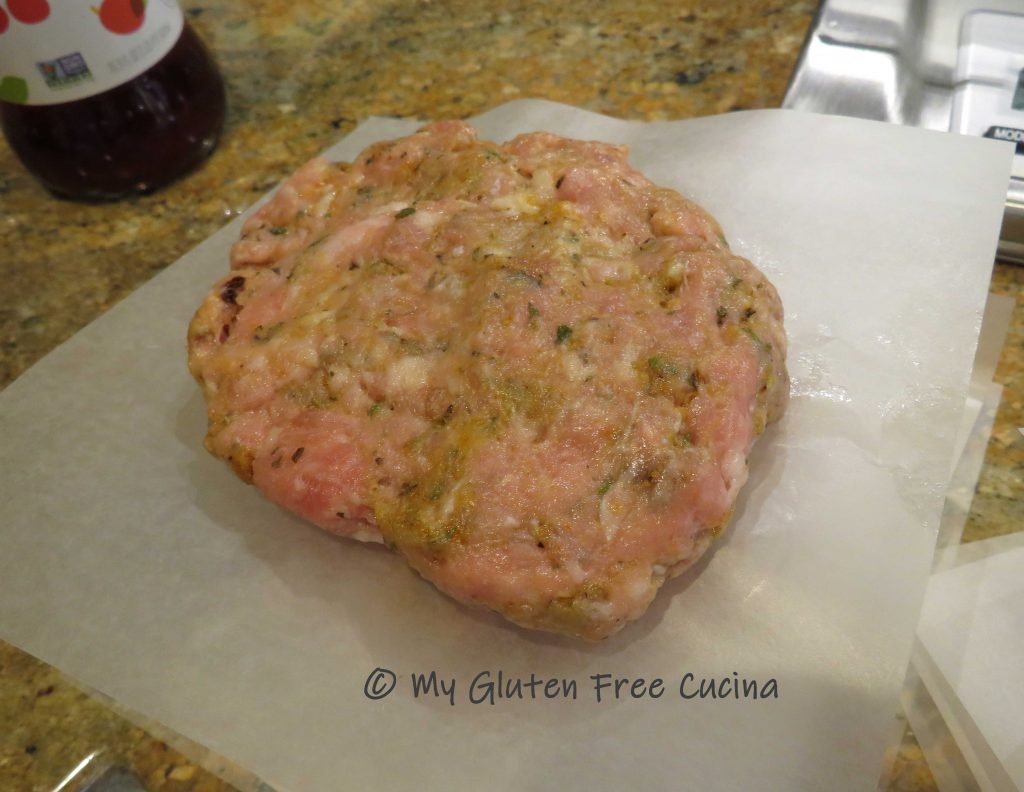

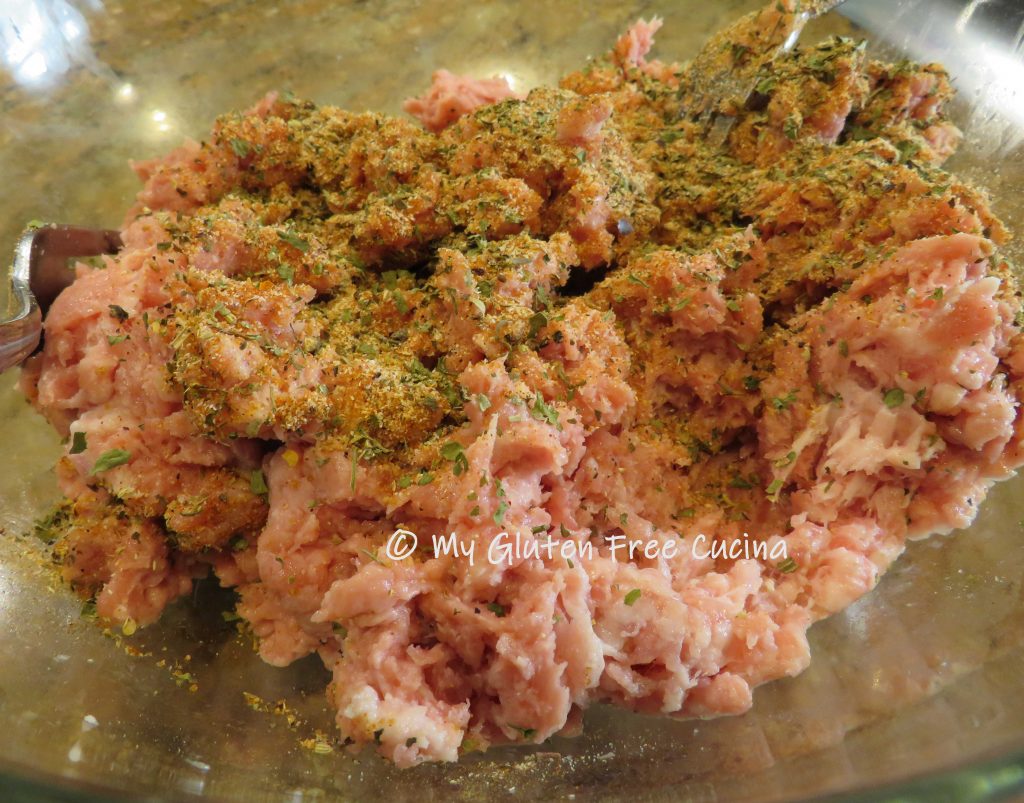
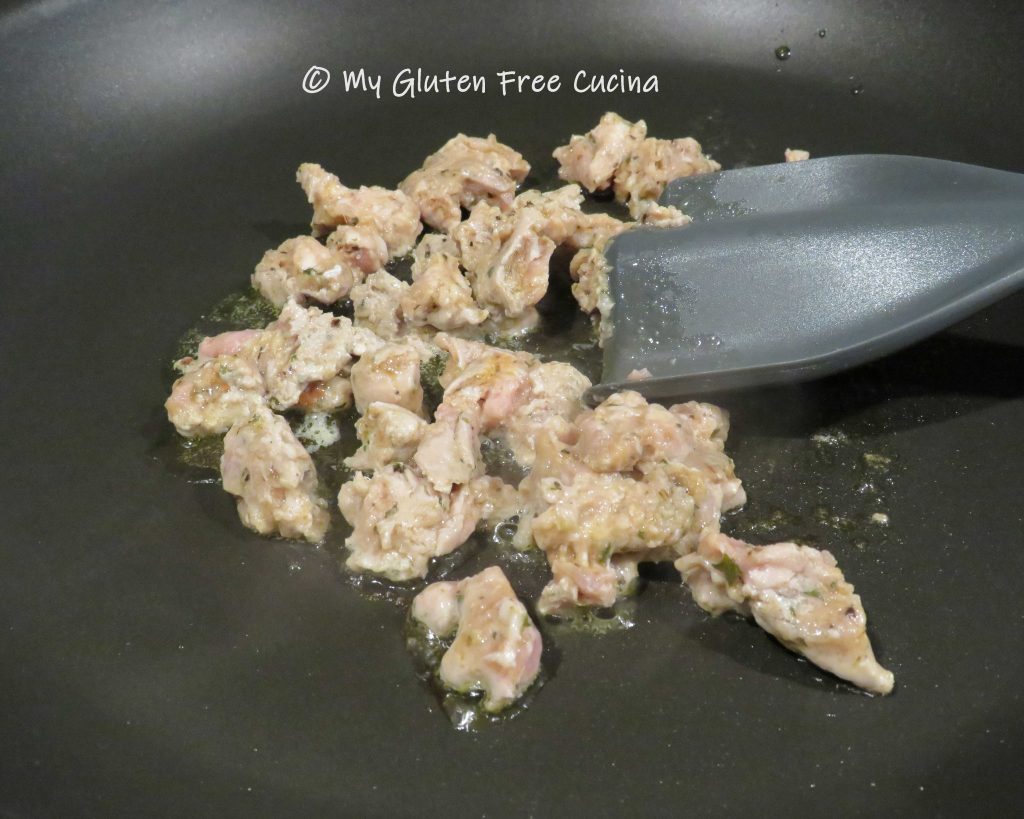
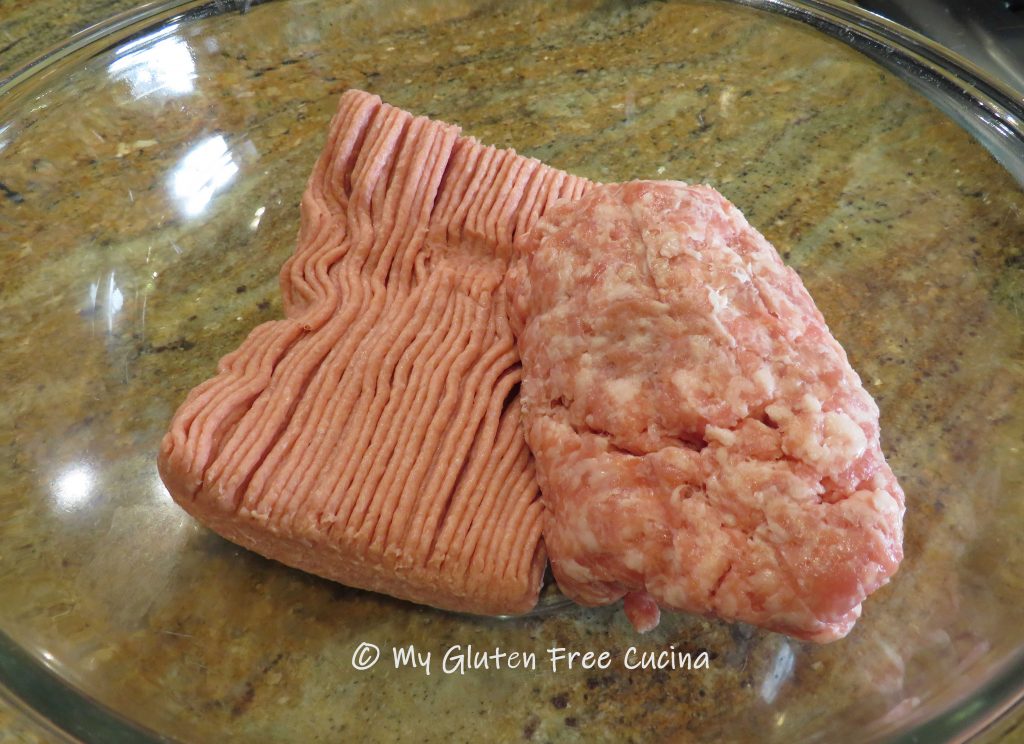 Use 2 forks to break apart the meat and mix it together. This will take some time and patience, as you want it well mixed but not compressed.