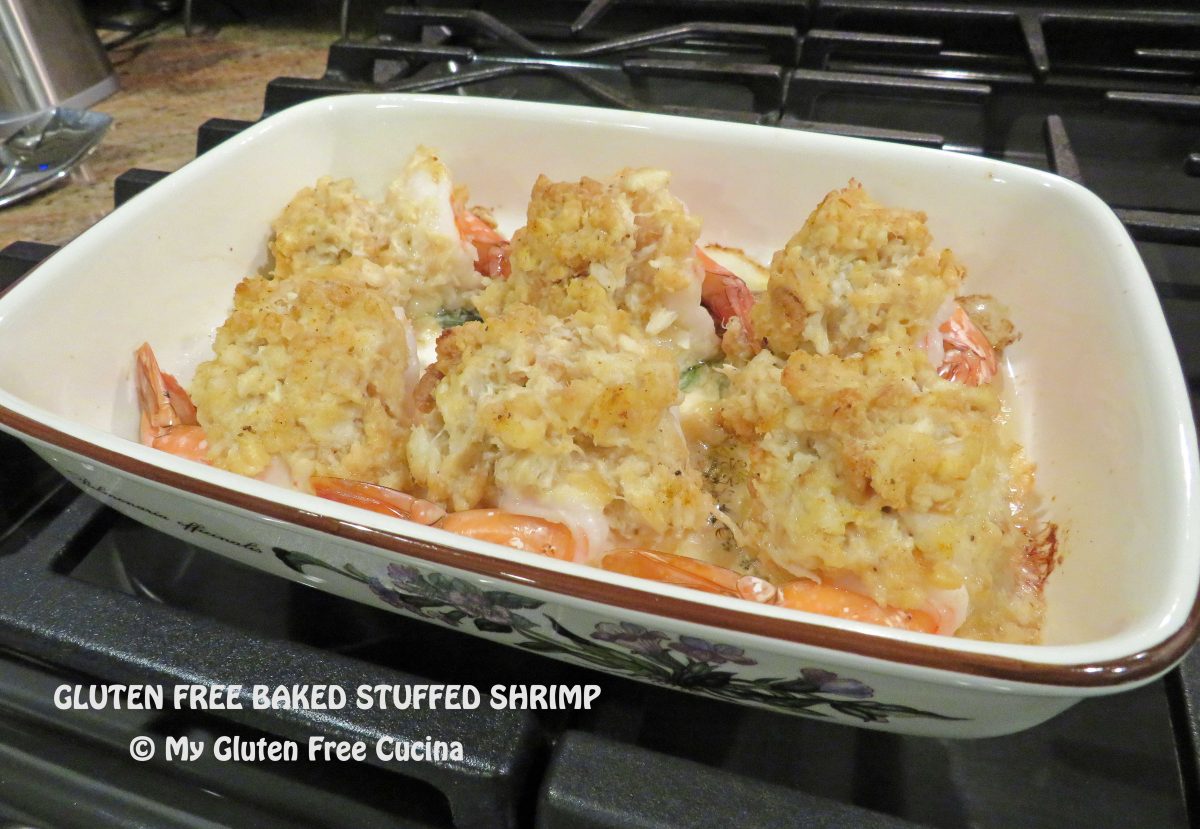
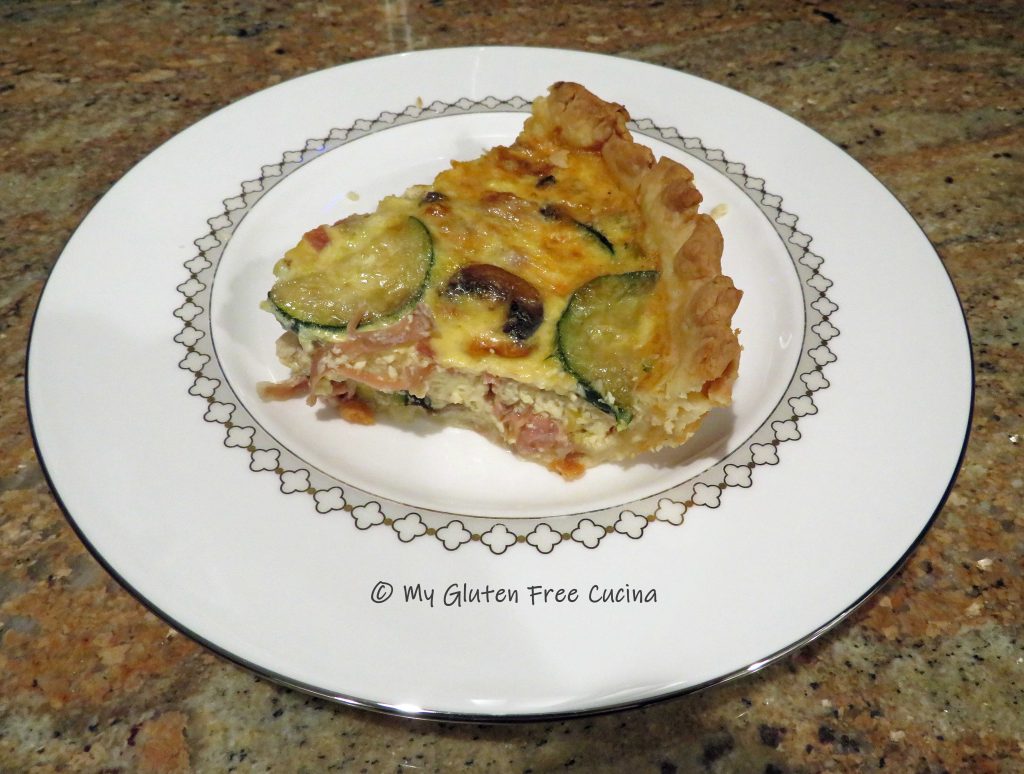
This 5-star entrée has all the makings of a romantic dinner for two. Dine like a king and queen with this old restaurant favorite made right in your own kitchen, minus the gluten! The addition of crab meat to the butter and cracker crumb stuffing makes it really special!

This post contains affiliate links.
Dinner for two
Ingredients:
- 6 colossal shrimp (8-12 count)
- 6 oz. can lump crab meat (I used Bumble Bee)
- 4 tbsp. butter, divided use
- 1/4 tsp. garlic granules
- 1/4 tsp. Old Bay seasoning
- 1/2 cup gluten free cracker crumbs (about 10 crackers)
- cooking spray

Preparation:
Preheat the oven to 400º. Mist a baking dish with cooking spray. Melt butter in a small saucepan and set aside.
Combine the crab meat, garlic granules, Old Bay, and cracker crumbs with 2 tbsp. of butter in a small bowl.


Rinse the shrimp under cold water and remove the shells. Drain and pat dry.

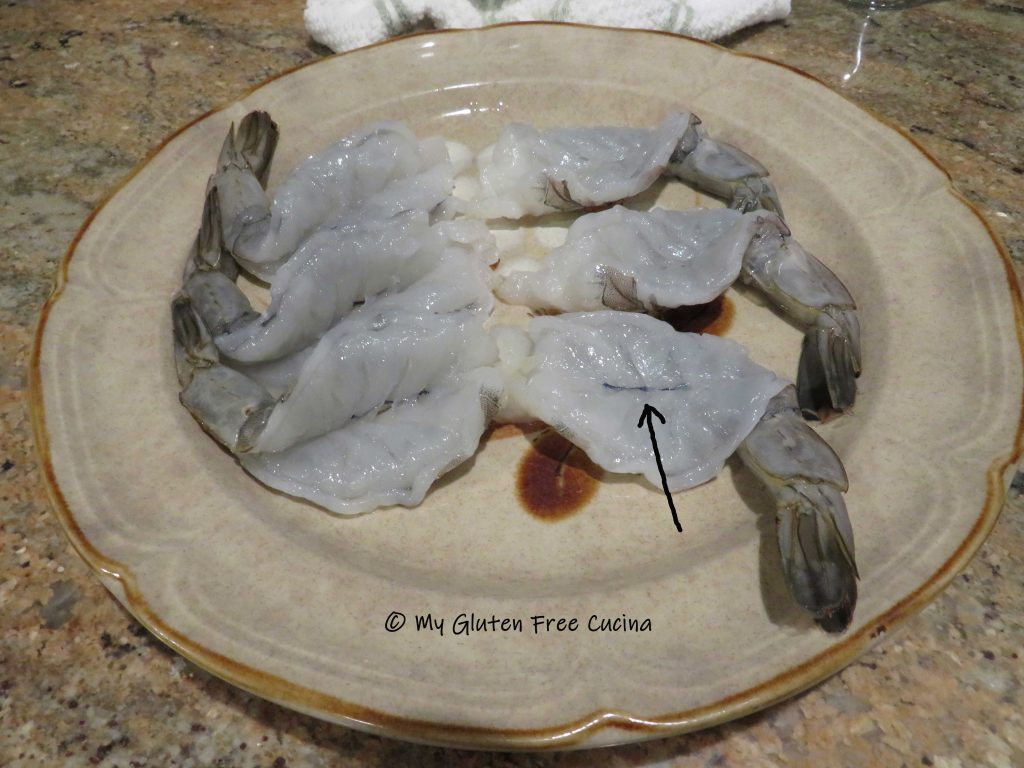
Lay each shrimp on its side, and run a paring knife along the backside, be careful not to cut all the way through. Open the shrimp and lay on a clean plate or cutting board.

Remove the dark vein running down the center of the shrimp.
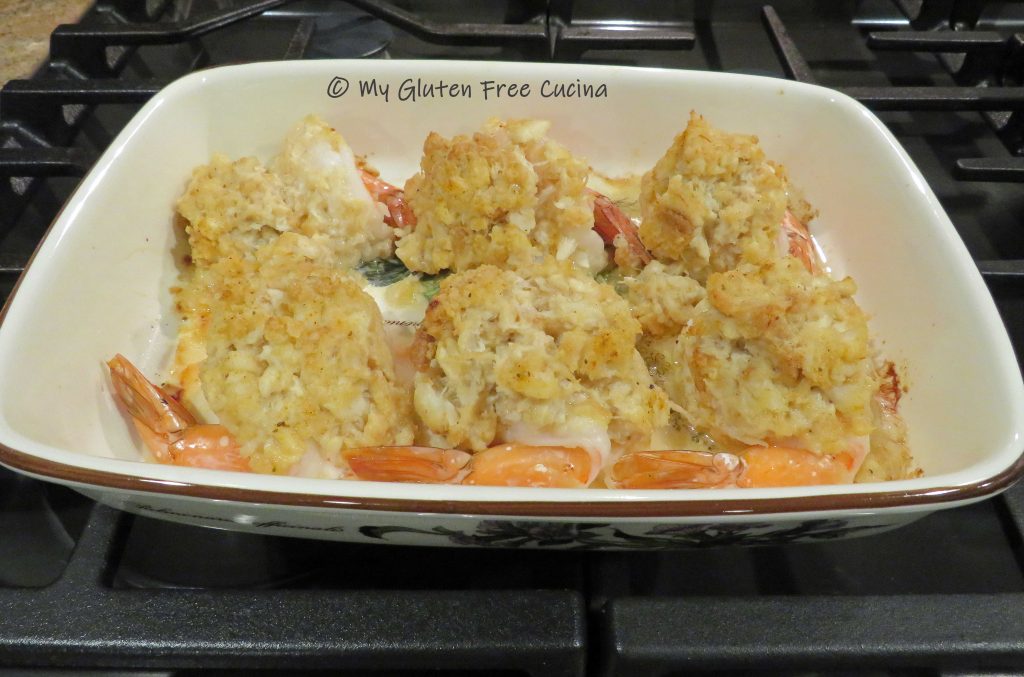
Mound the crab stuffing onto each shrimp.

Arrange the shrimp in the baking dish and drizzle the remaining 2 tbsp. butter over the top. Sprinkle with more Old Bay seasoning, bake for 15 minutes and serve.

This is a filling entrée! Three shrimp each with a side salad and rice would make a wonderful meal. Make it tonight for your special someone!
Notes ♪♫ For a hearty dinner size portion, choose colossal shrimp (8-12 count). I always look for sales in the frozen section and stock up when I can. Thaw in the refrigerator and rinse under cold water to remove the shells.


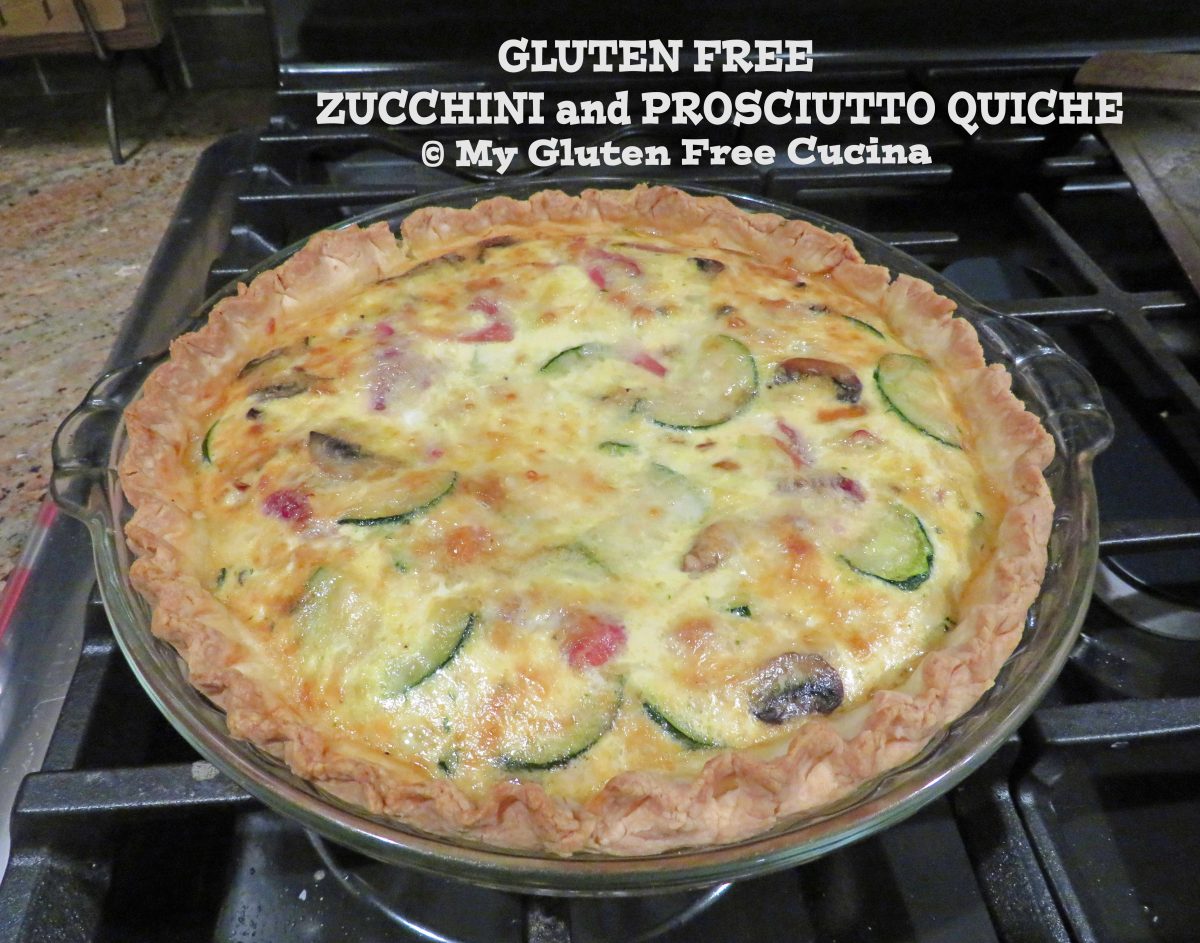


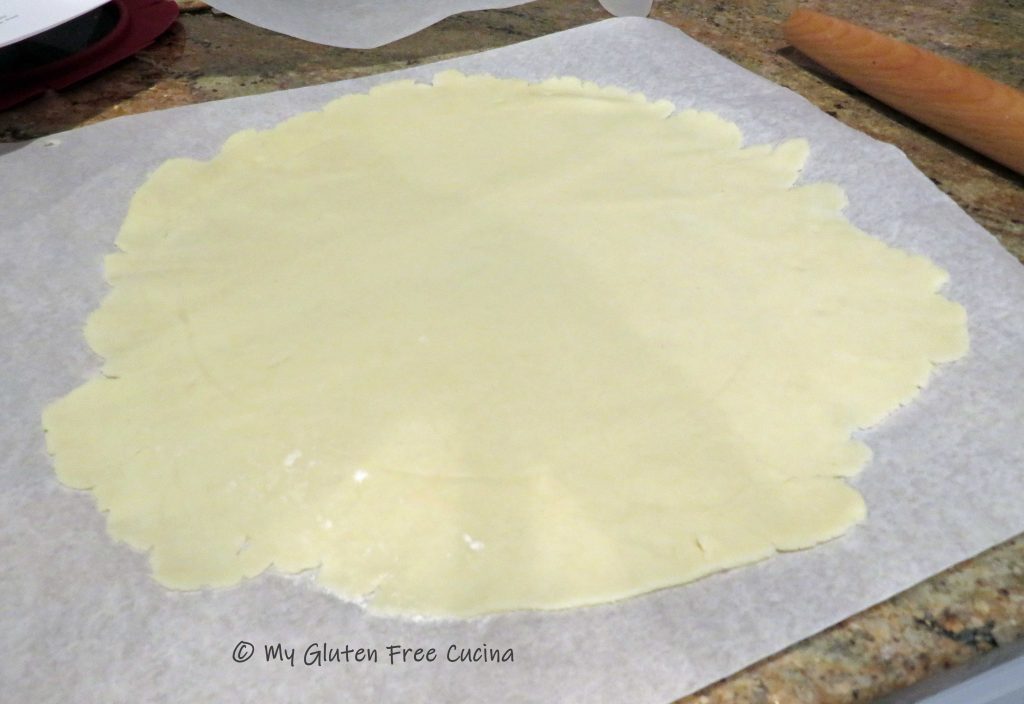
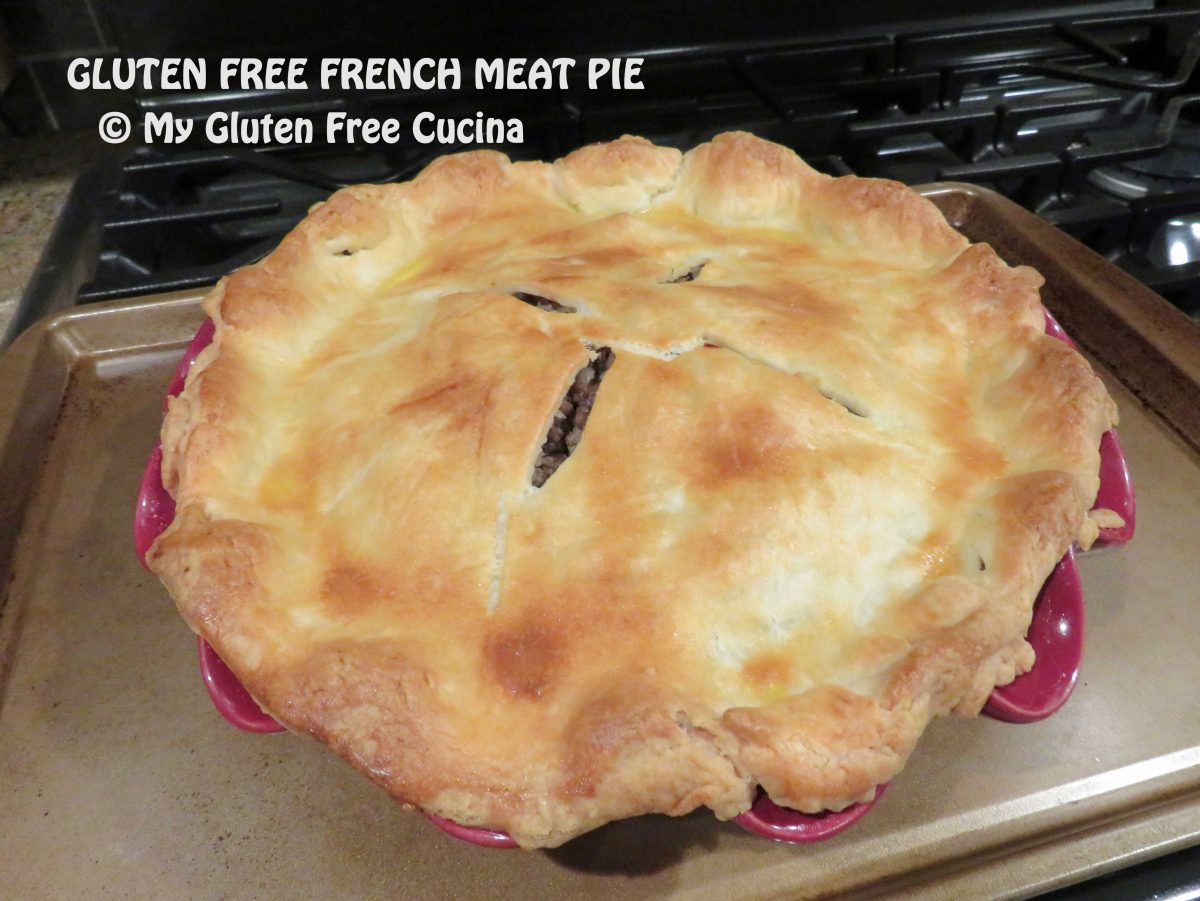
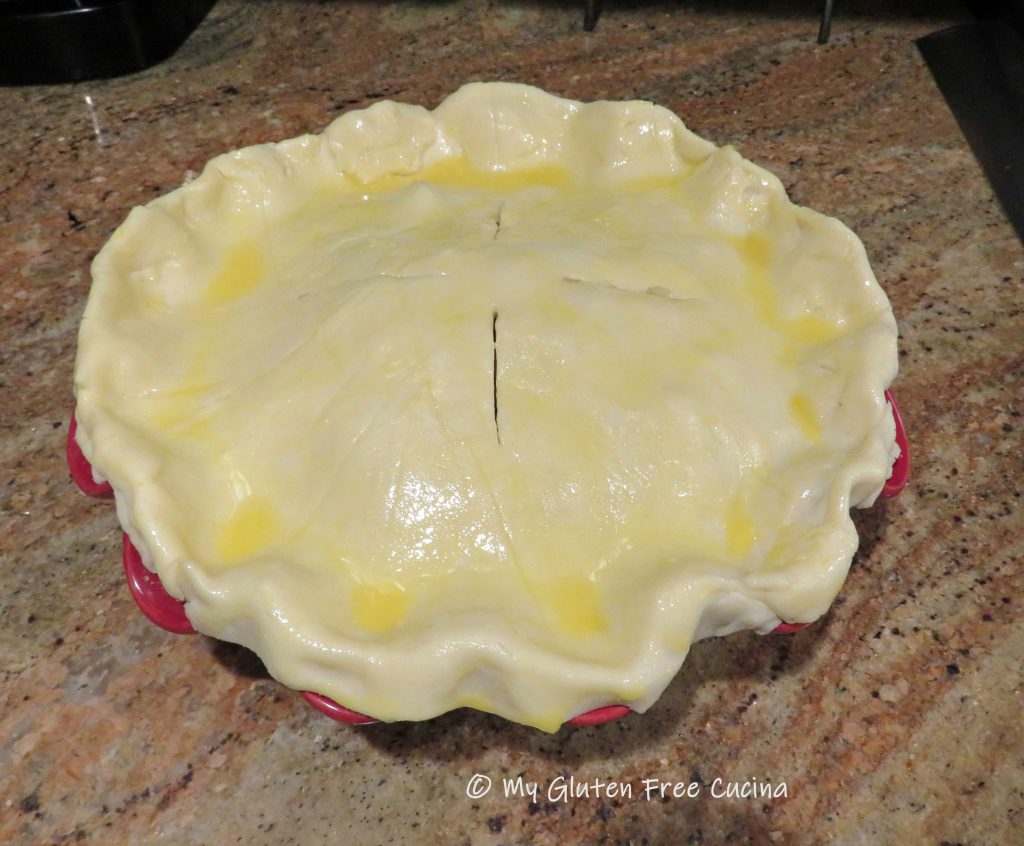
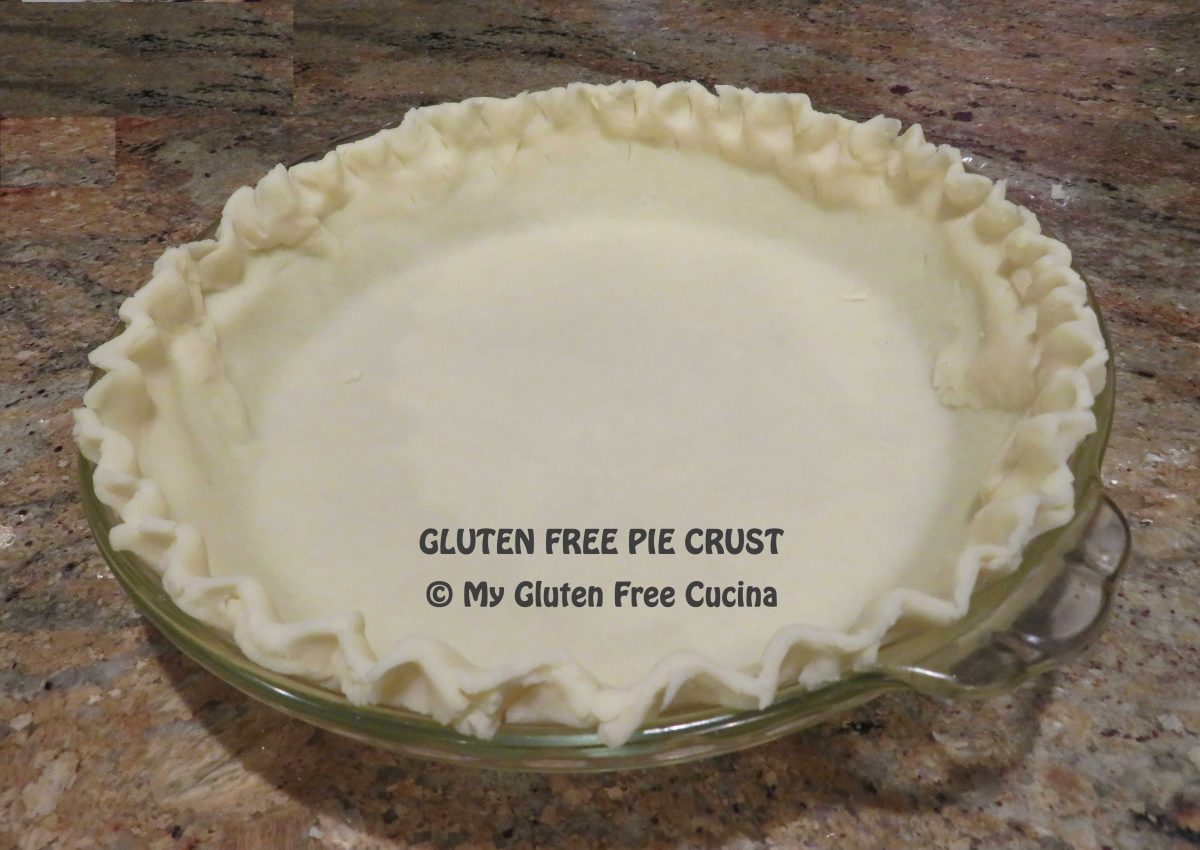
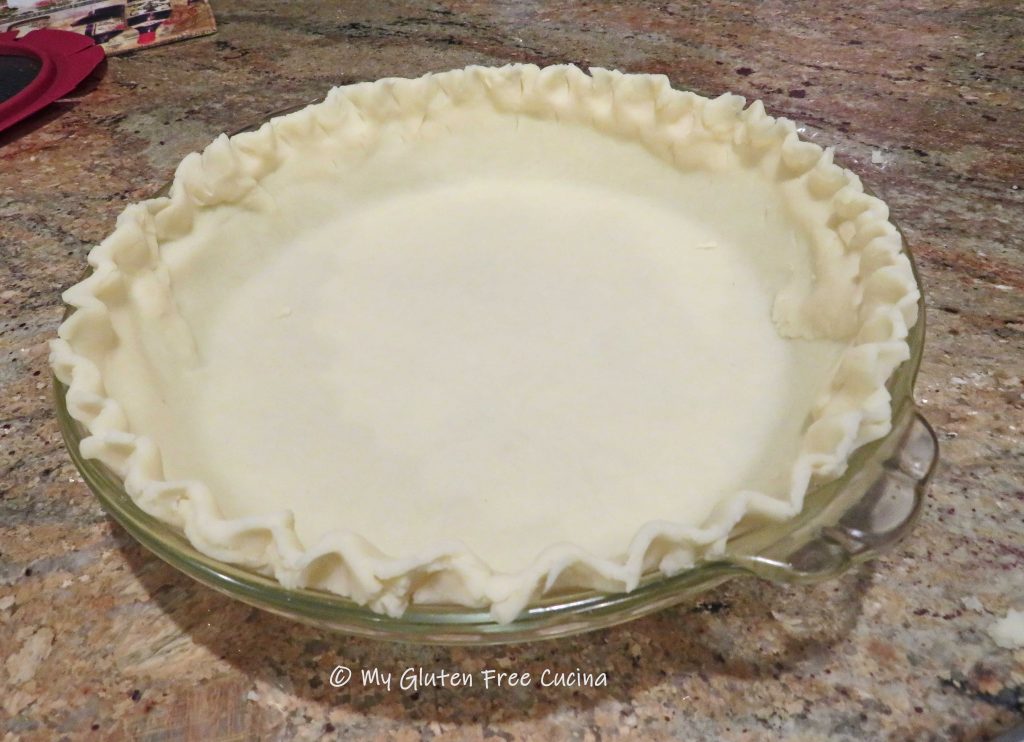
 Trim the excess (can be used to patch any cracks or holes), fold the edges under and crimp.
 Because the filling is made with heavy, wet ingredients, you will need to blind bake (pre-bake) the crust for 10 minutes to keep it from getting soggy. Be sure to weigh down the crust down to keep the bottom from puffing up. You can cover the crust with parchment and use beans or


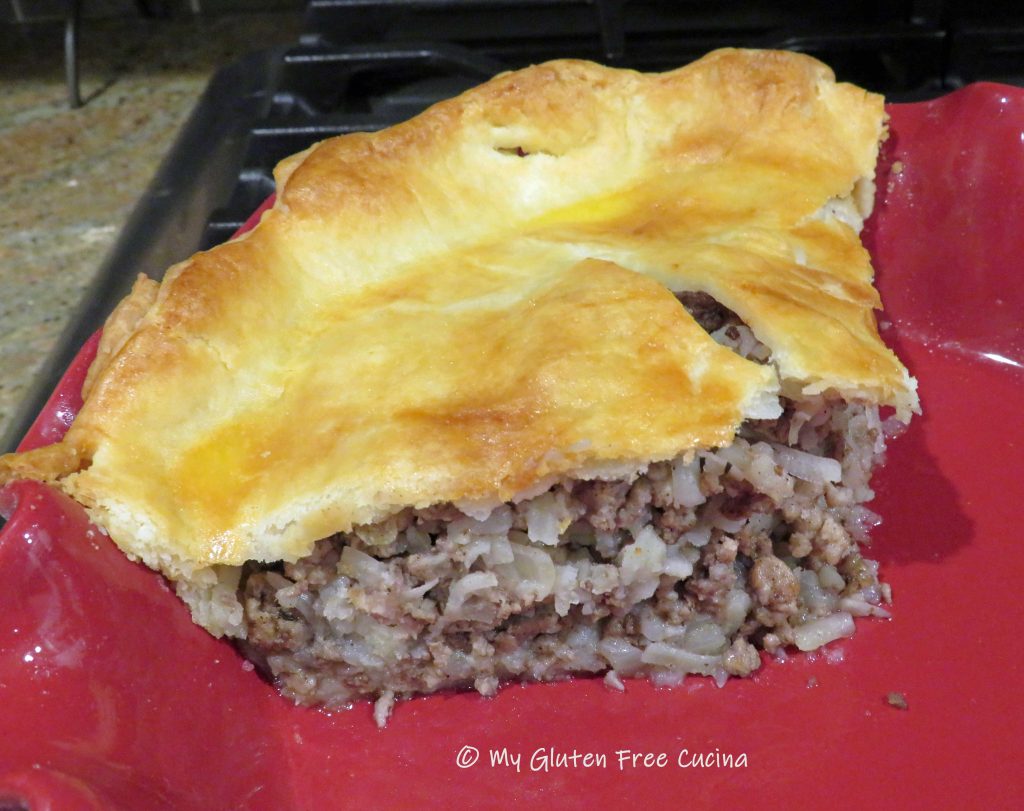
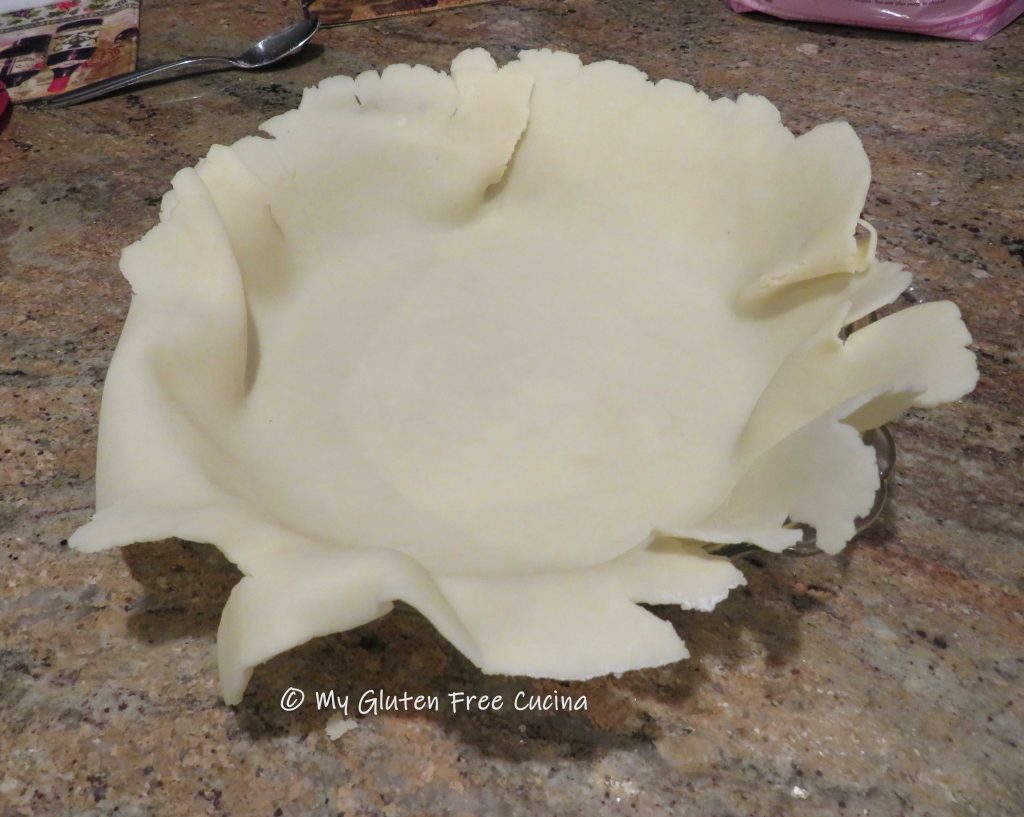
 Place one crust in the


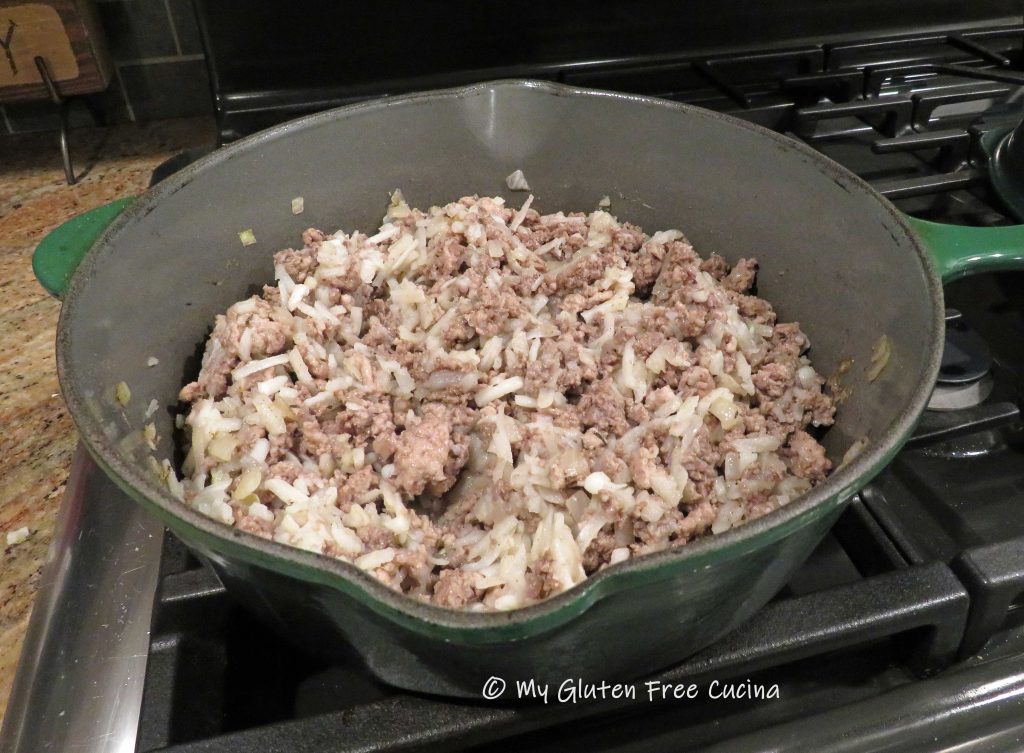


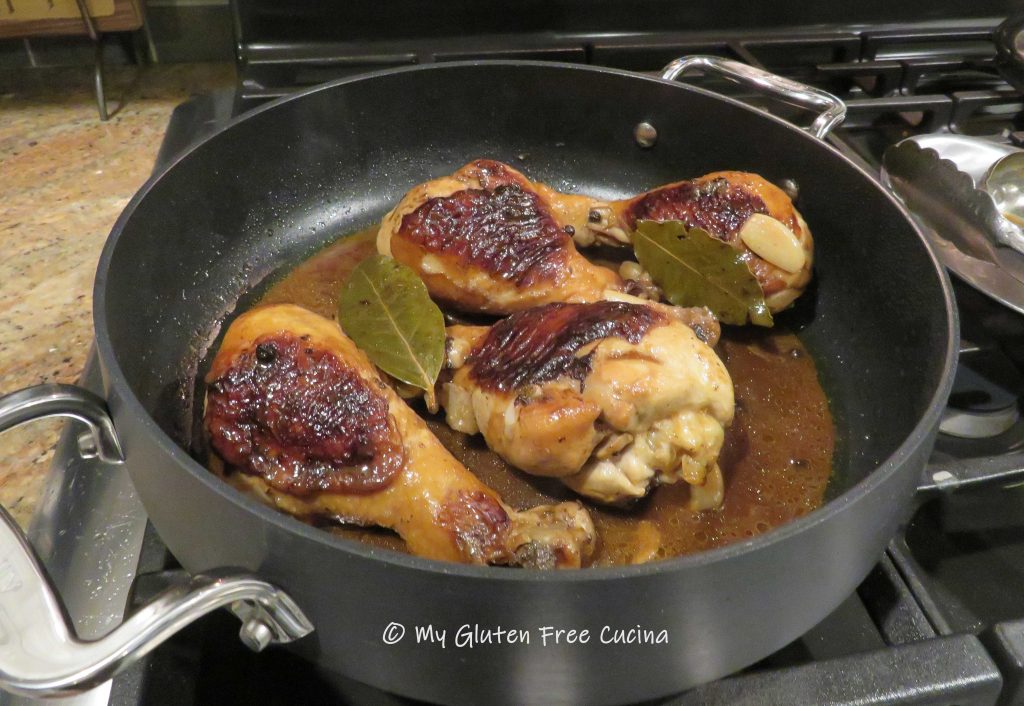
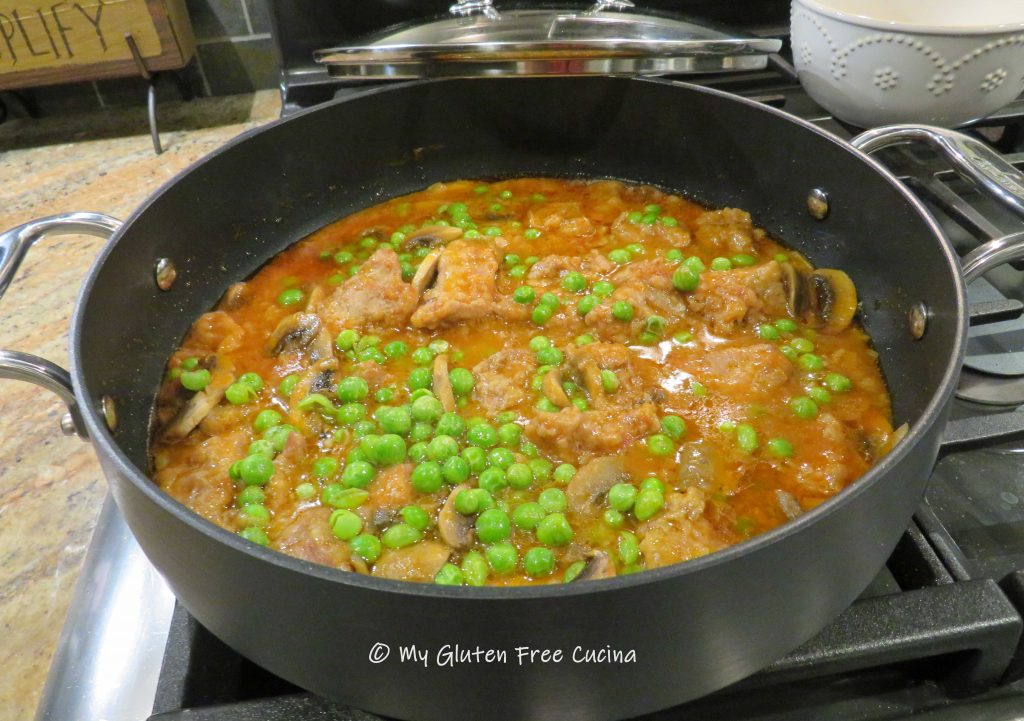
 During the last 10 minutes of cooking add the peas, and finish cooking uncovered to thicken.
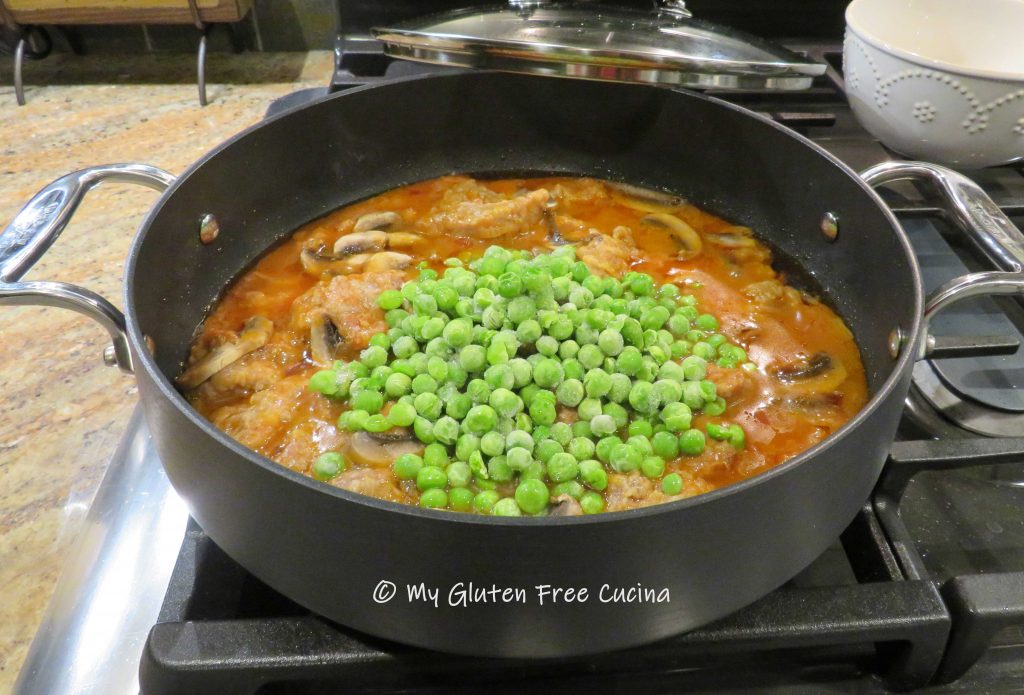


 Stir in 1 cup