
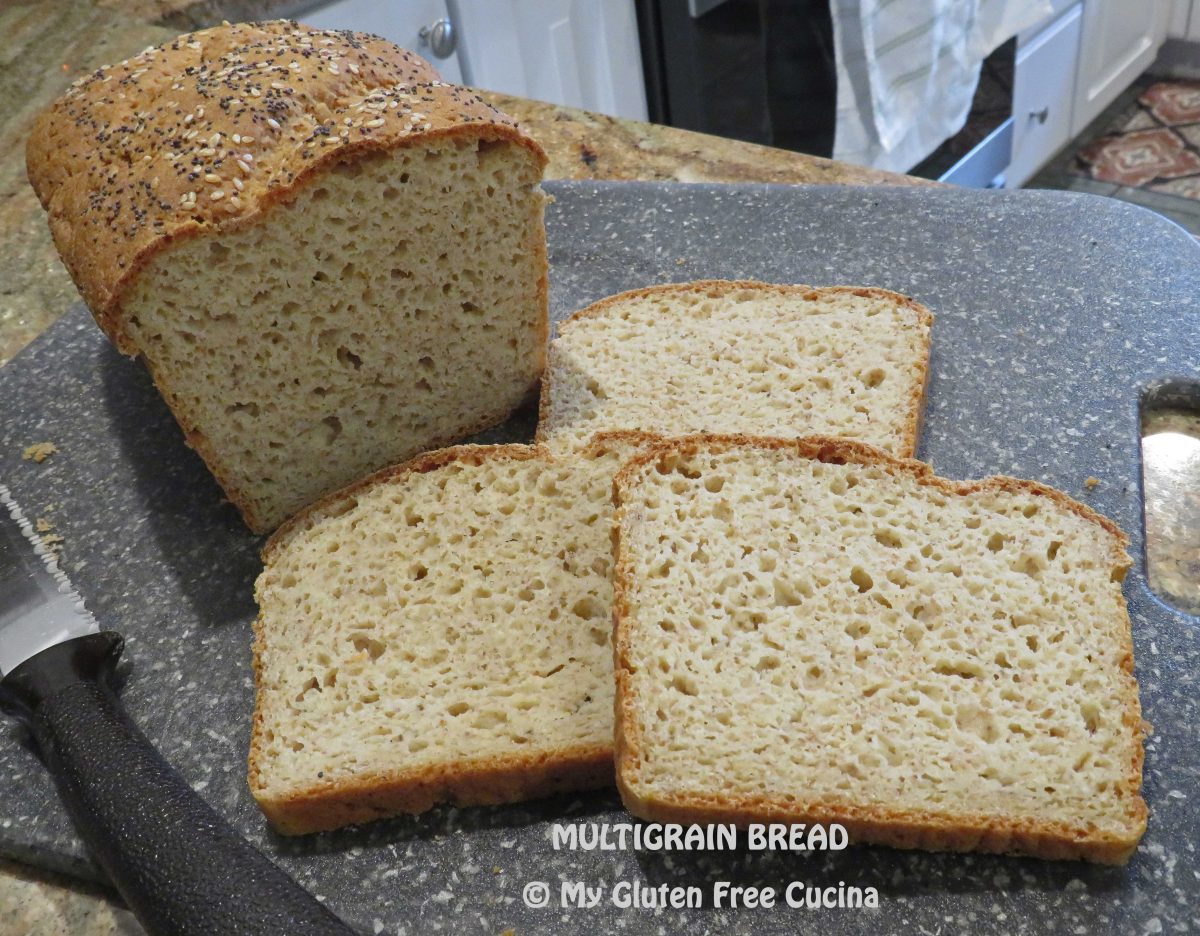
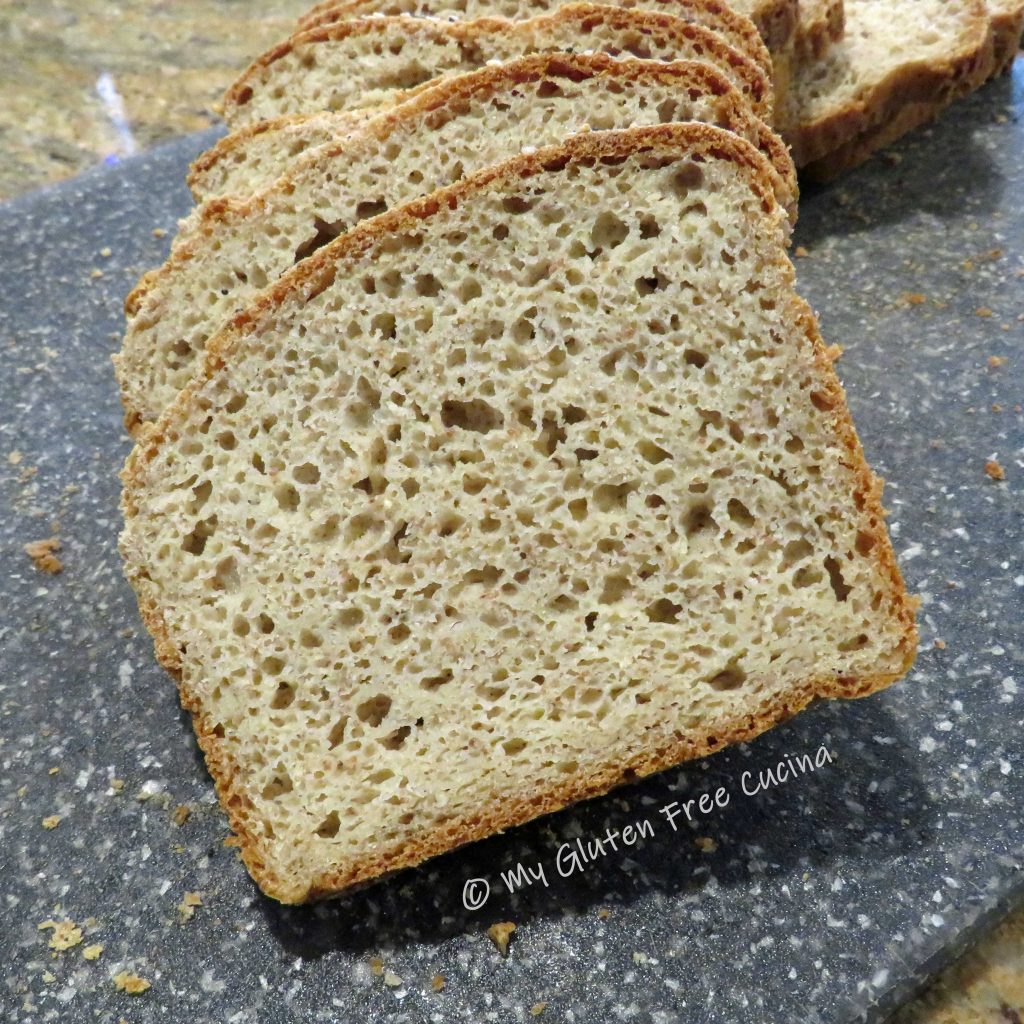
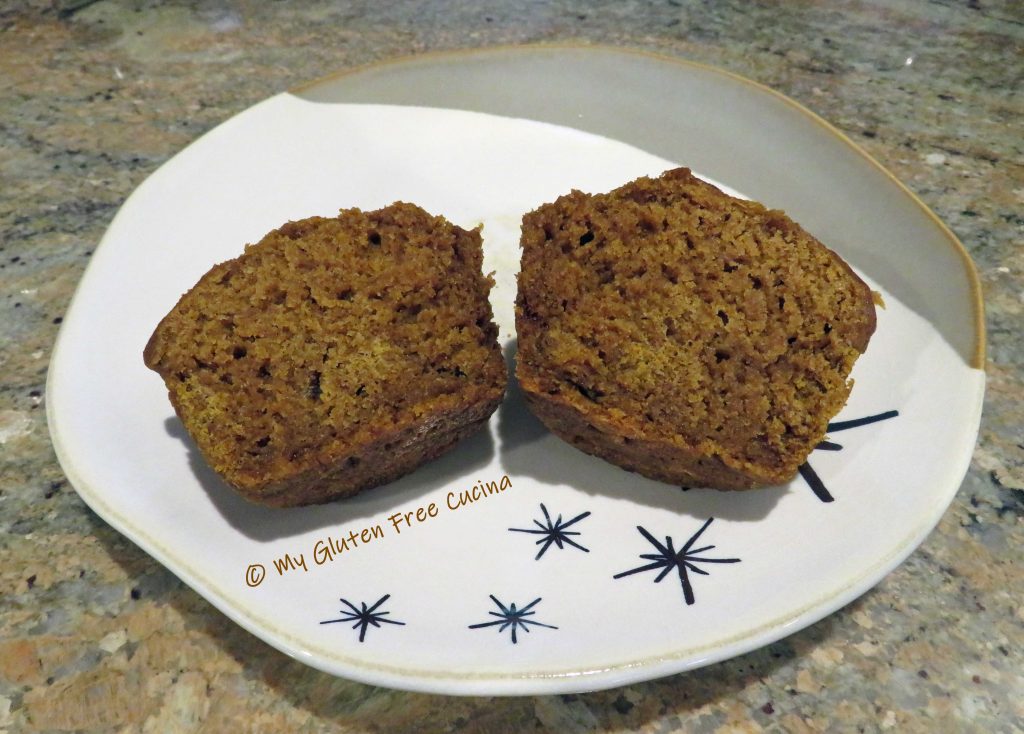
Just look at that beautiful loaf of bread! In the gluten free universe, this is what dreams are made of! Not only does it taste great, but it is also nutritious and wholesome, made with a combination of grains that delivers real bread flavor without the gluten.
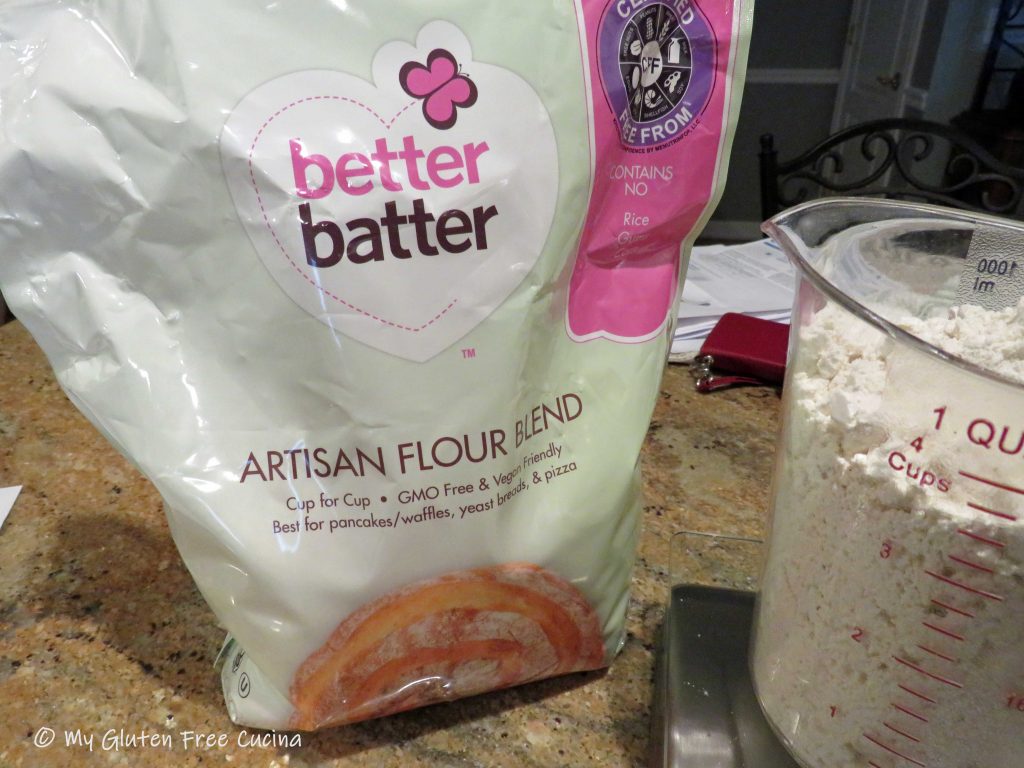
If you like to mix up your own flour blends, then this recipe is for you!
I adapted this recipe from one of my own, Gluten Free Sandwich Thins. I always made them for lunch when I worked in an office, but now that I’m home most of the time I find that I like to have sliced bread in the house. When you make a loaf, you can slice it as thin or as thick as you want for sandwiches, toast or just to go with dinner.
This bread is wonderful for sandwiches. It doesn’t need toasting, doesn’t fall apart in your hands and the middle is not wet or tacky at all. It’s a gluten free dream come true!
This post contains affiliate links.
Ingredients:
- 1 tbsp. yeast
- 1 tbsp. ground chia seeds
- 1 tbsp. sugar
- 1/2 cup warm water
- 127 g. whole grain sorghum flour
- 183 g. brown rice flour
- 56 g. tapioca starch
- 56 g. arrowroot starch
- 56 g. potato starch
- 21 g. teff grain, ground
- 1 tsp. gelatin
- 1.5 tsp. xanthan gum
- 1 tsp. salt
- 1 large egg
- 3 tbsp. olive oil
- 3/4 cup warm milk (I used 2%)
- 1/2 cup warm water
- 2 tbsp. milk, for brushing
- sesame seeds
- poppy seeds
Preparation:
Line a 1 lb. loaf pan with parchment paper and mist with cooking spray.
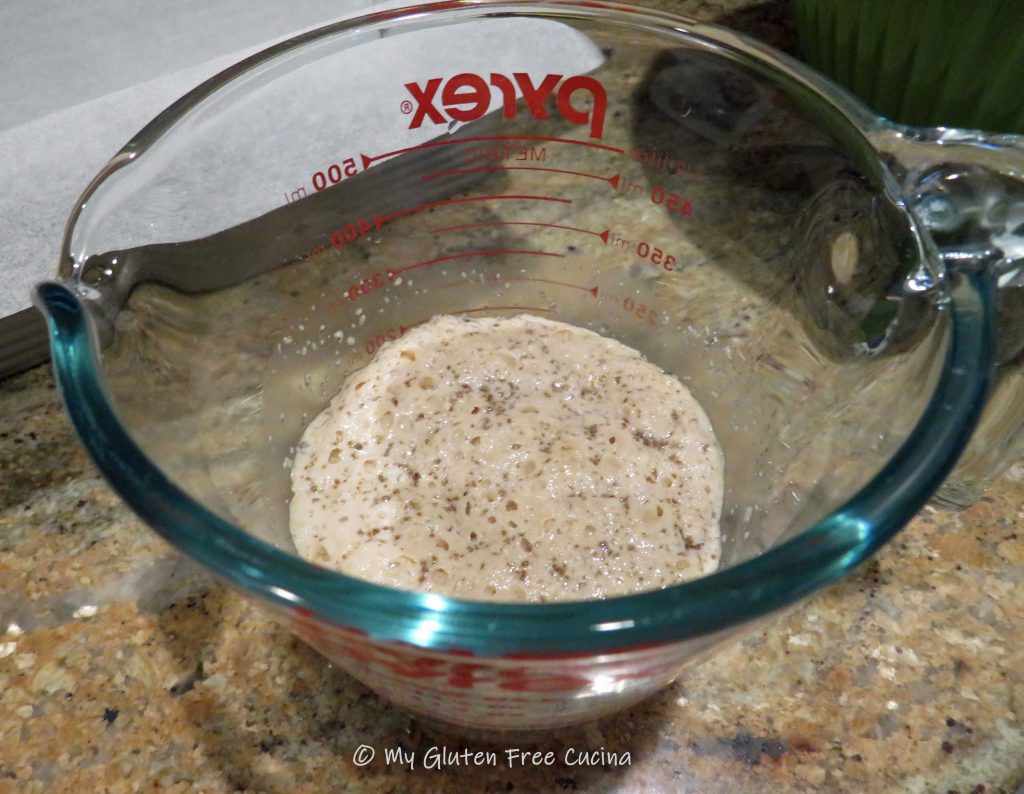
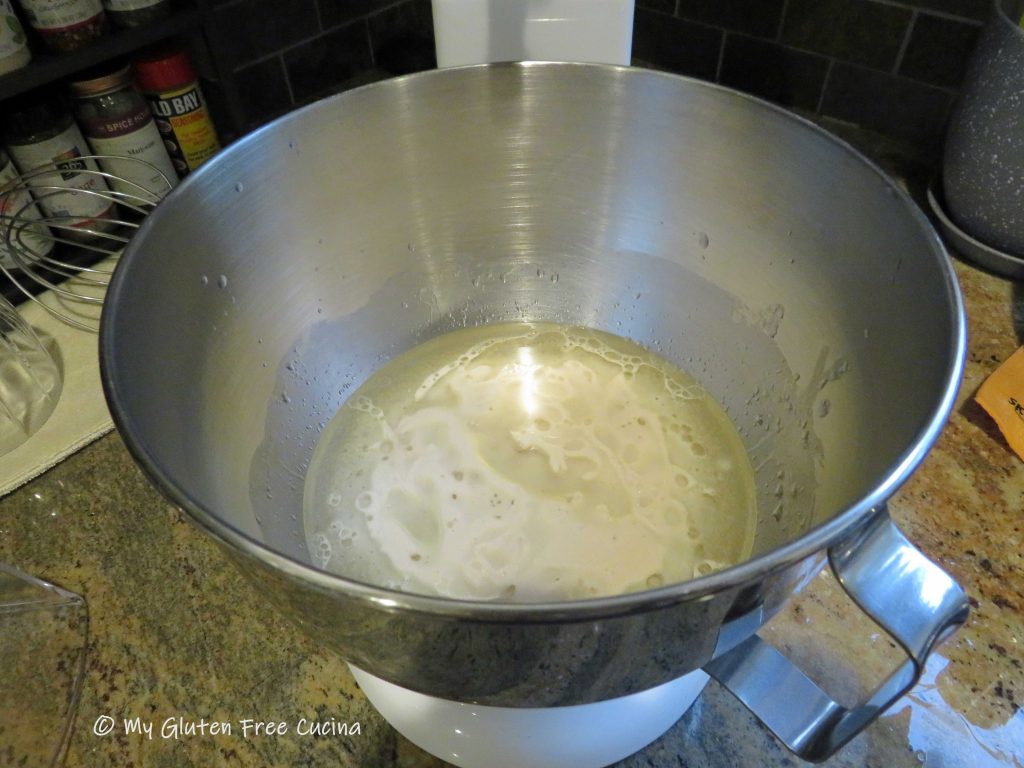
 Combine the yeast, ground chia seeds, sugar and 1/2 cup water in a small bowl or measuring cup. Let the mixture rest for 10 minutes.
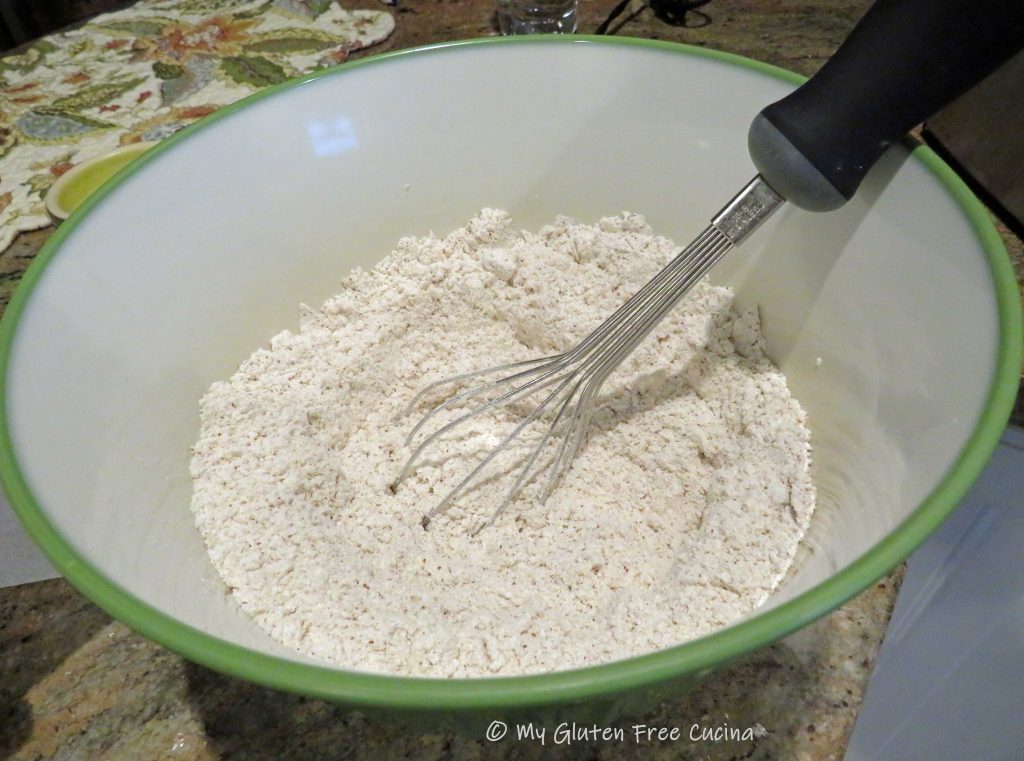
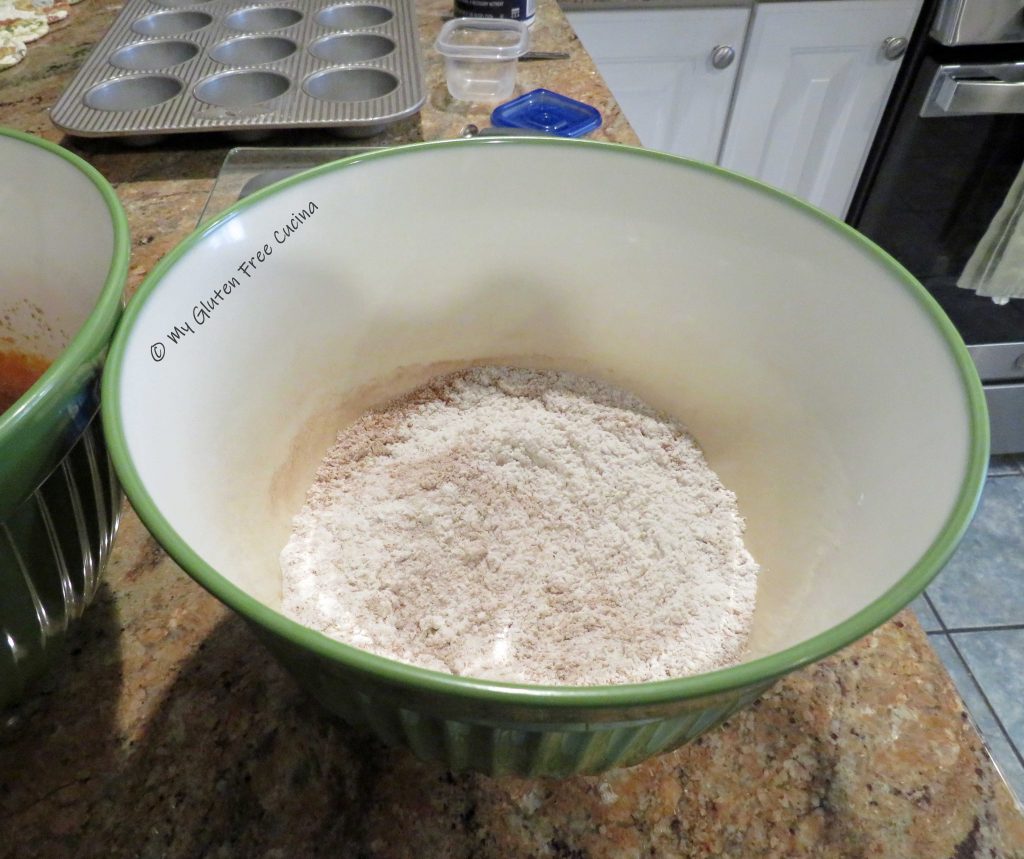
In a separate bowl, whisk together all of the dry ingredients, sorghum flour through salt.
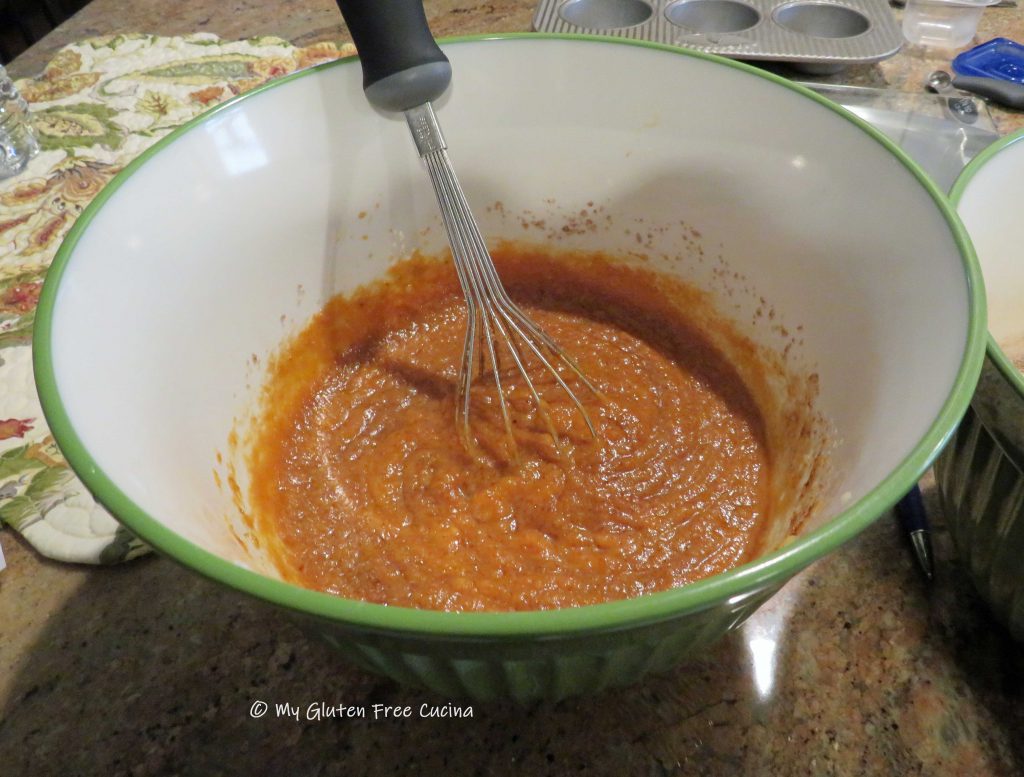
When the yeast has bloomed, add the mixture to the bowl of a stand mixer along with the egg, olive oil, milk and water.
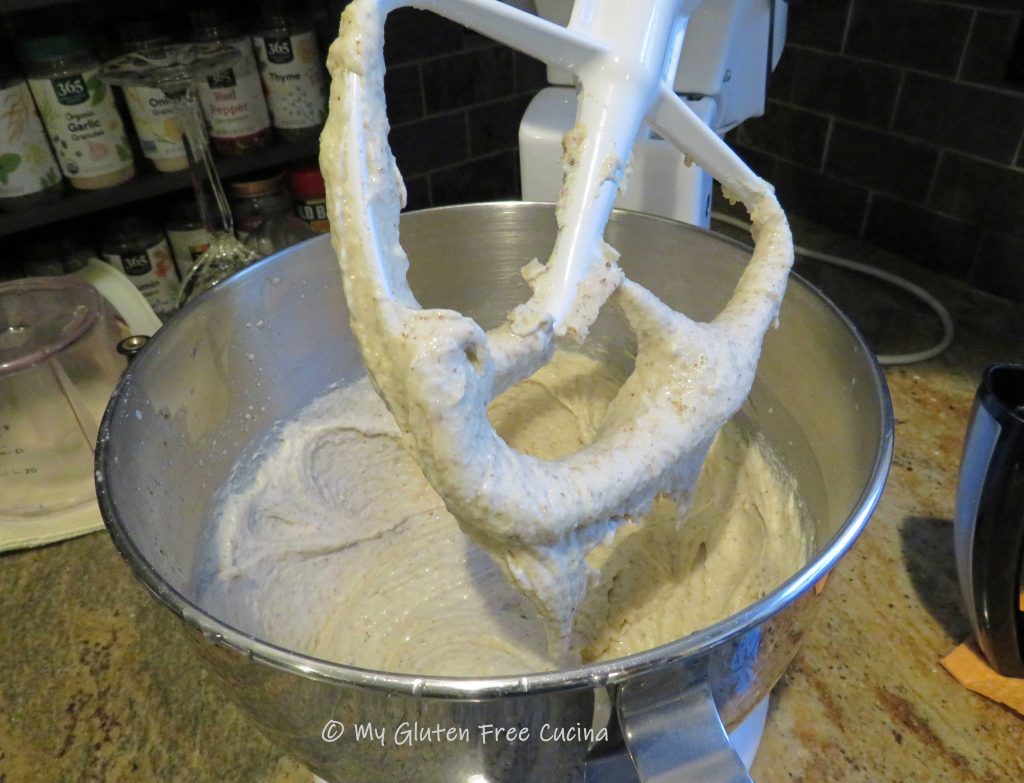
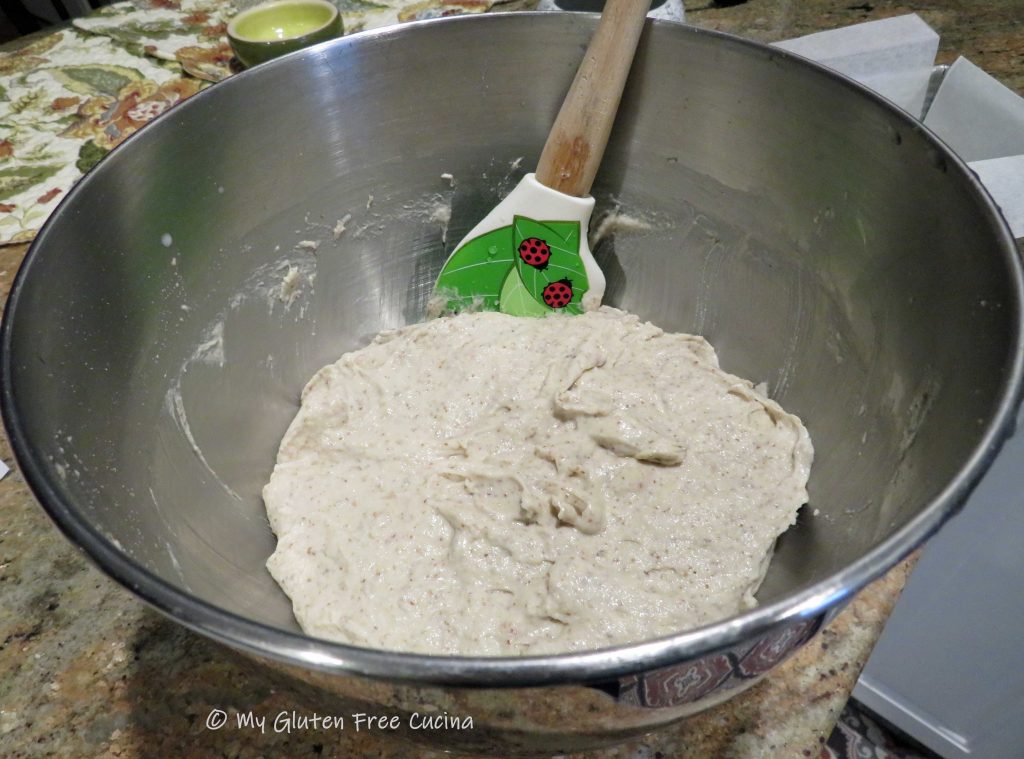
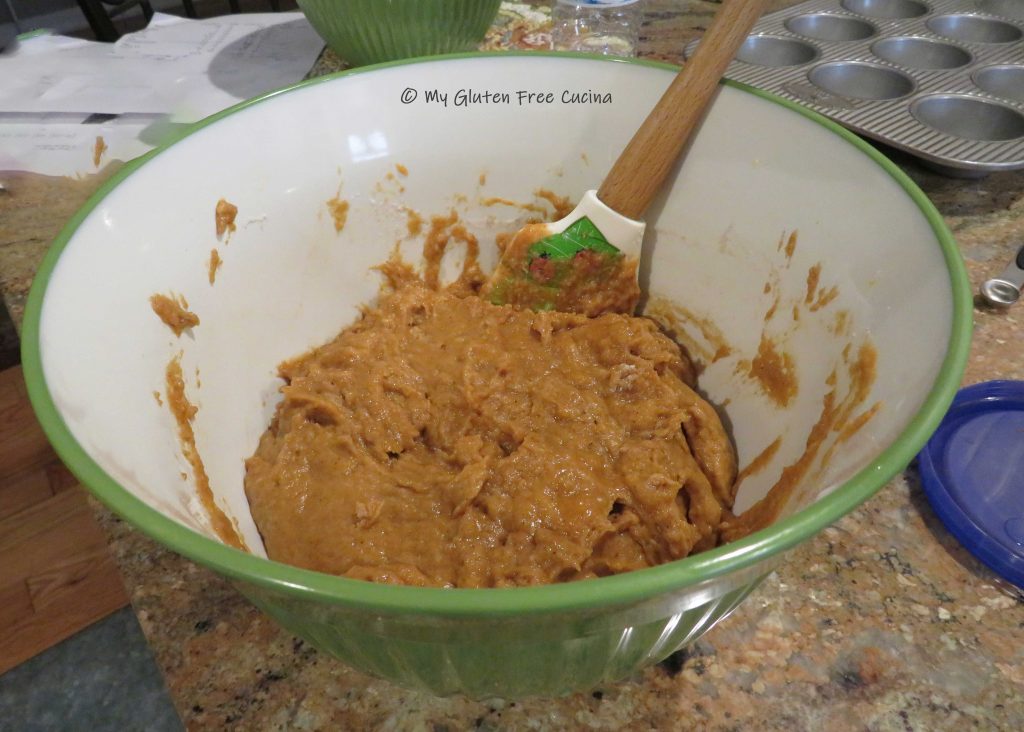
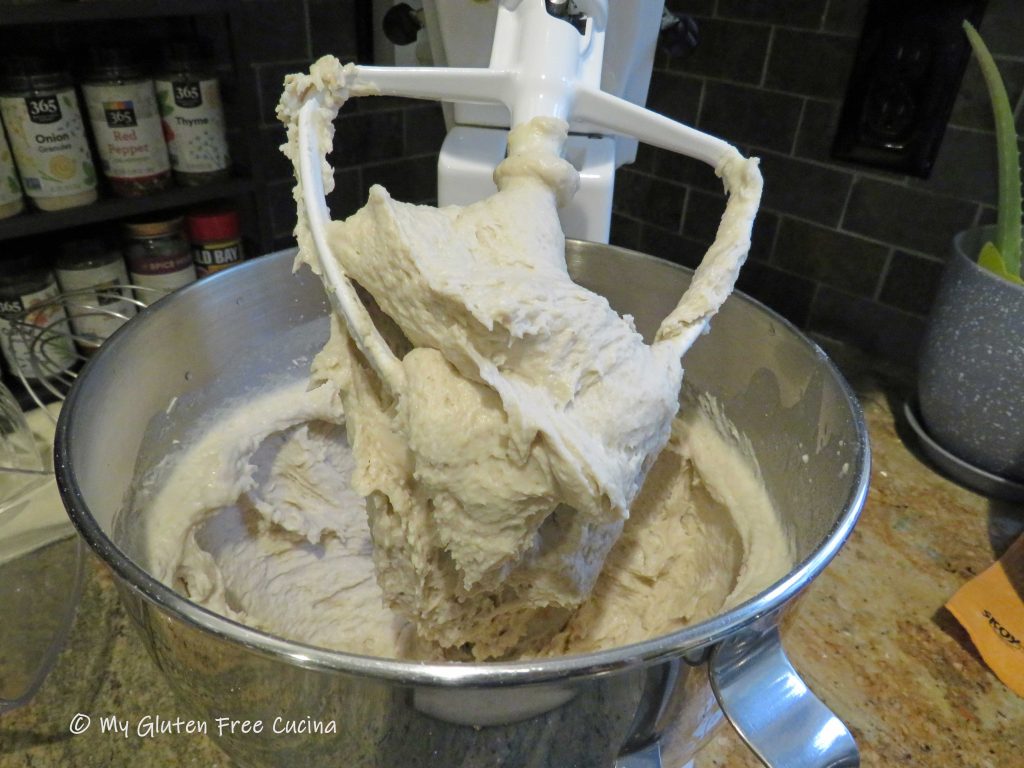
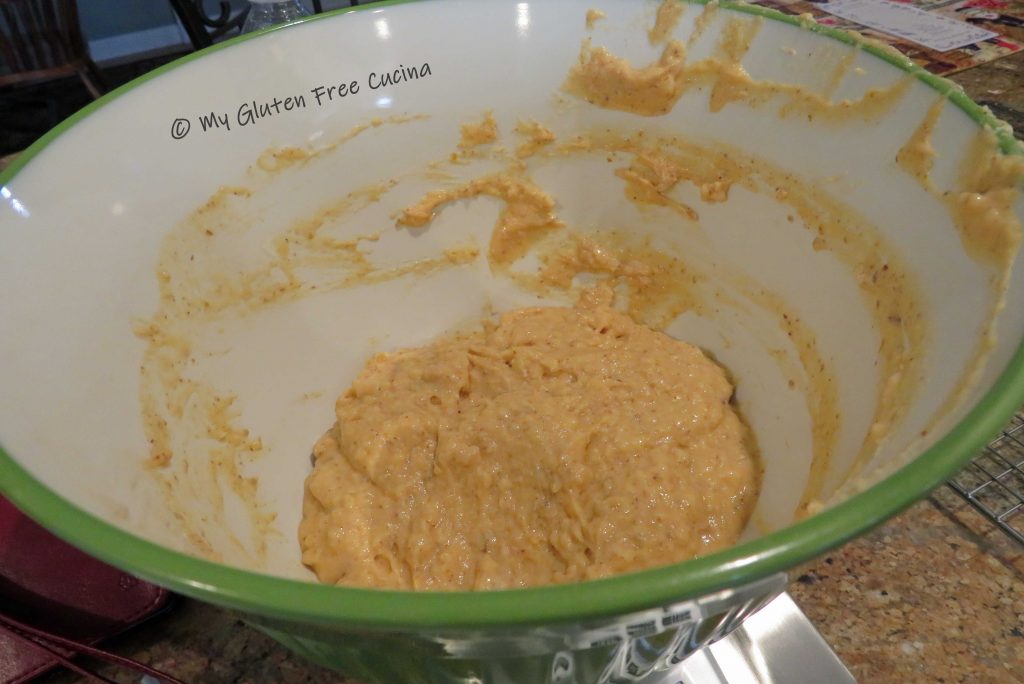
 Whisk it all together, and then add the dry ingredients into the wet. Mix for 5 minutes with the paddle attachment. The dough will be heavy and wet.
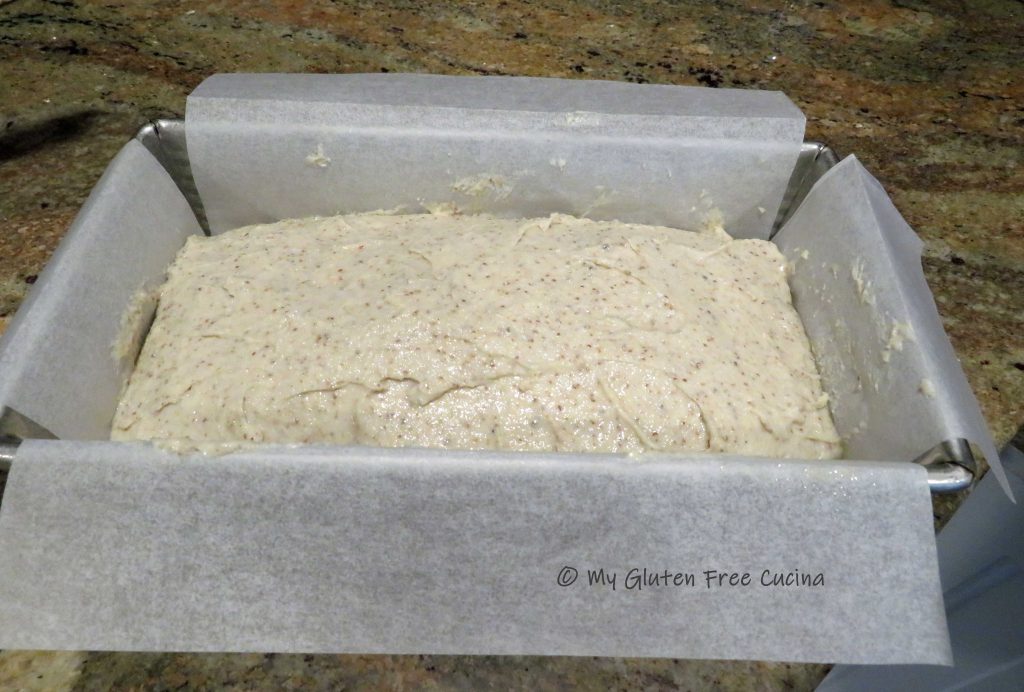
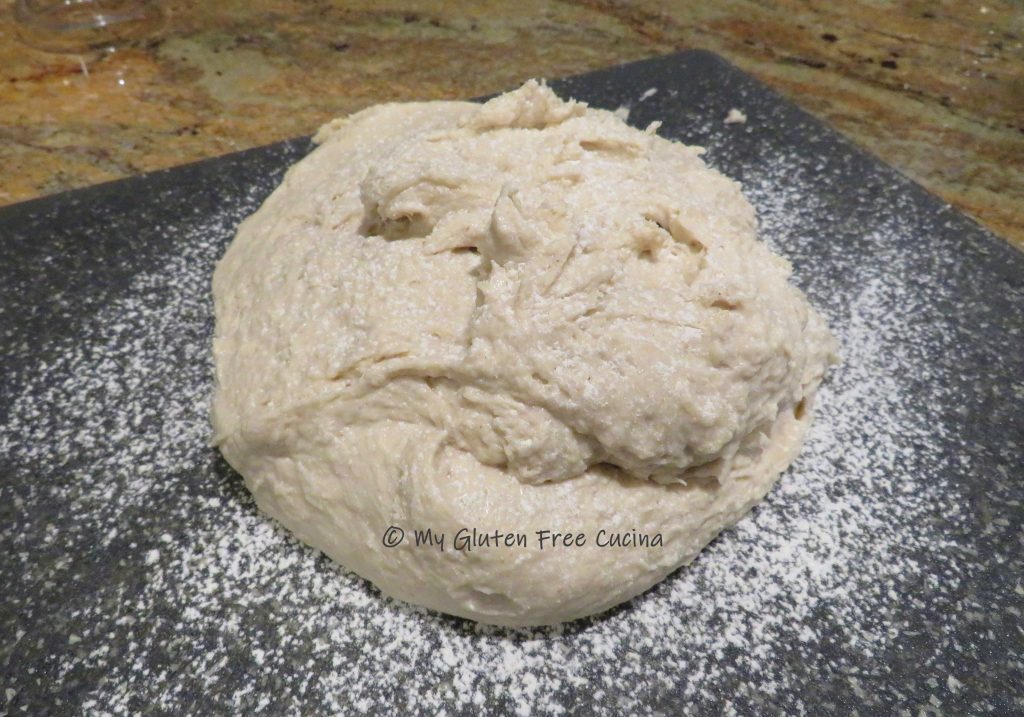
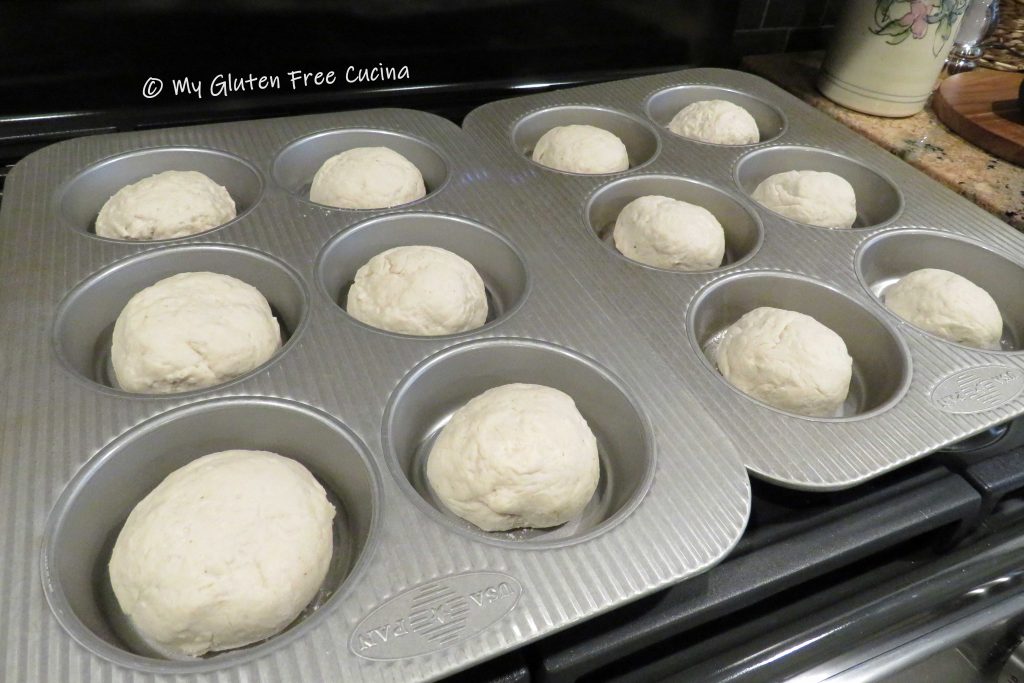
 Scrape the dough into the prepared pan, smoothing out the top with a spatula dipped in water.
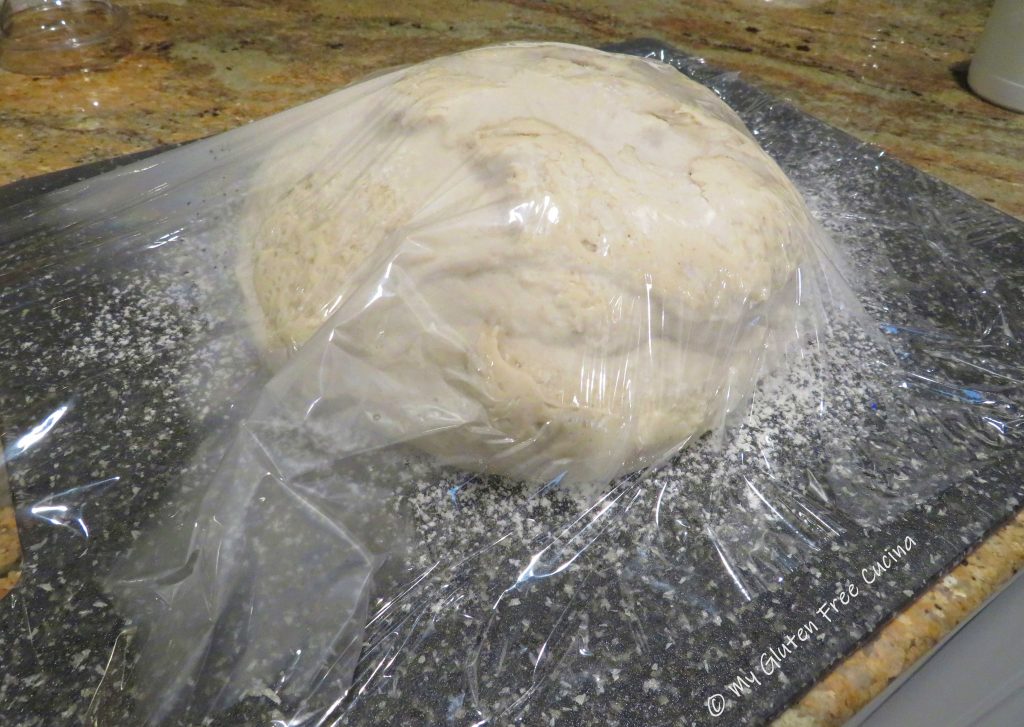
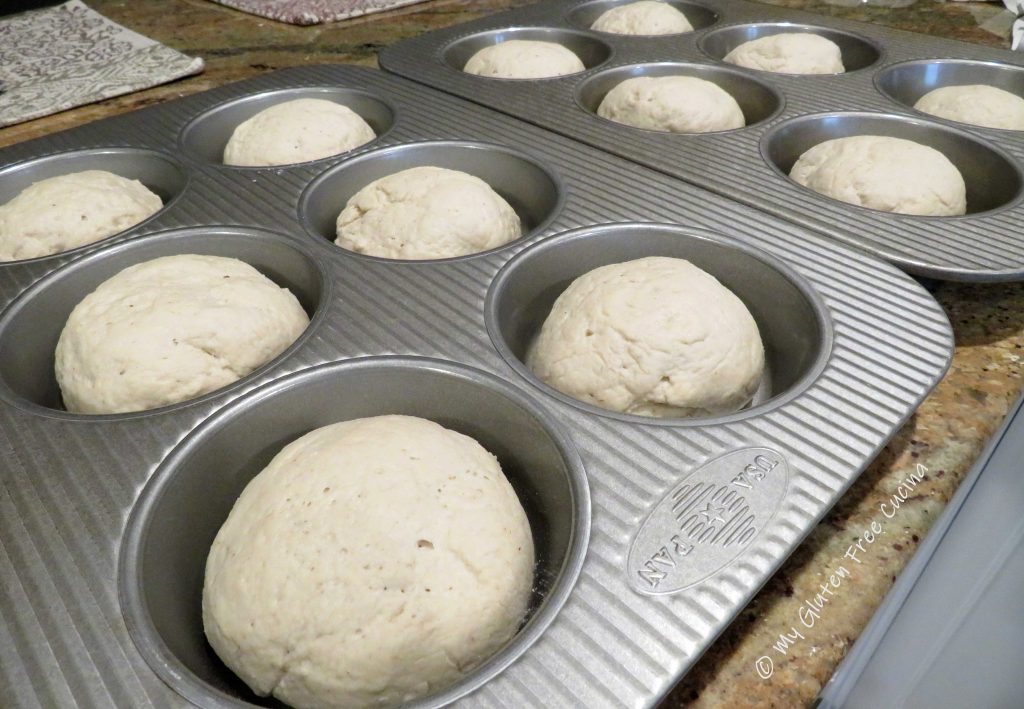
Covered with oiled plastic wrap and let it rise for 30 minutes while you preheat the oven to 400 degrees.
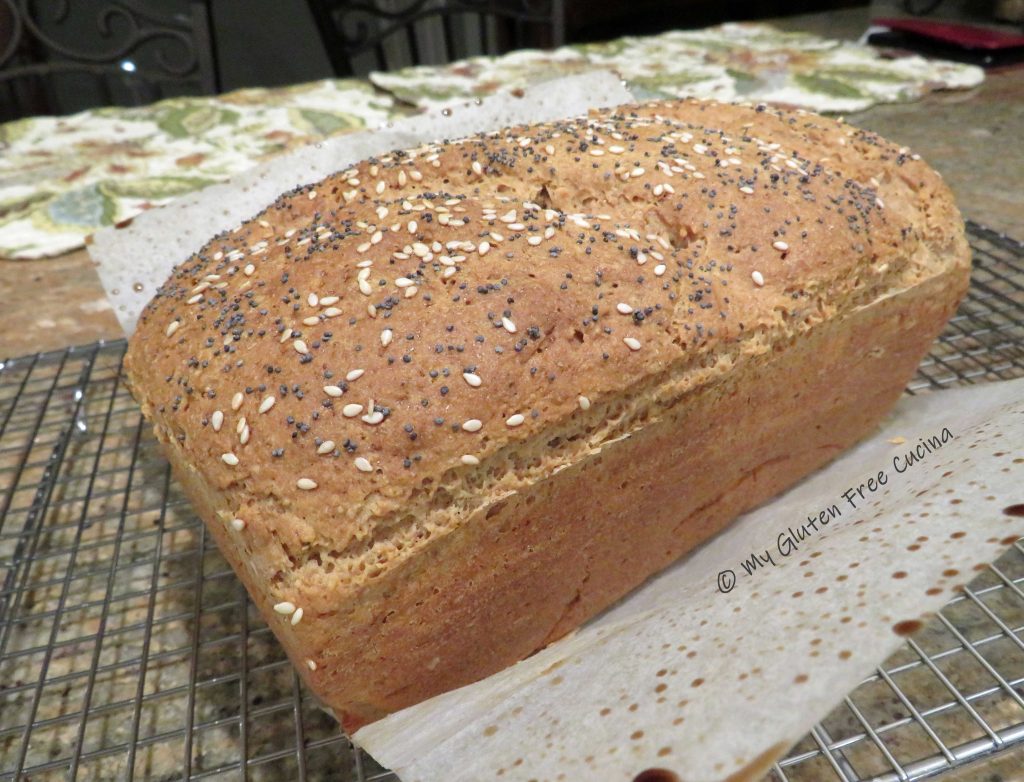
Brush the top of the loaf with milk, and sprinkle with sesame and poppy seeds.
 Quickly make 2 diagonal slashes across the top of the loaf with a sharp knife.

Place the loaf on the middle rack of the oven, close the door and drop the temperature to 375º. Bake 50-55 minutes, or until the internal temperature reaches 205º (use a thermometer).

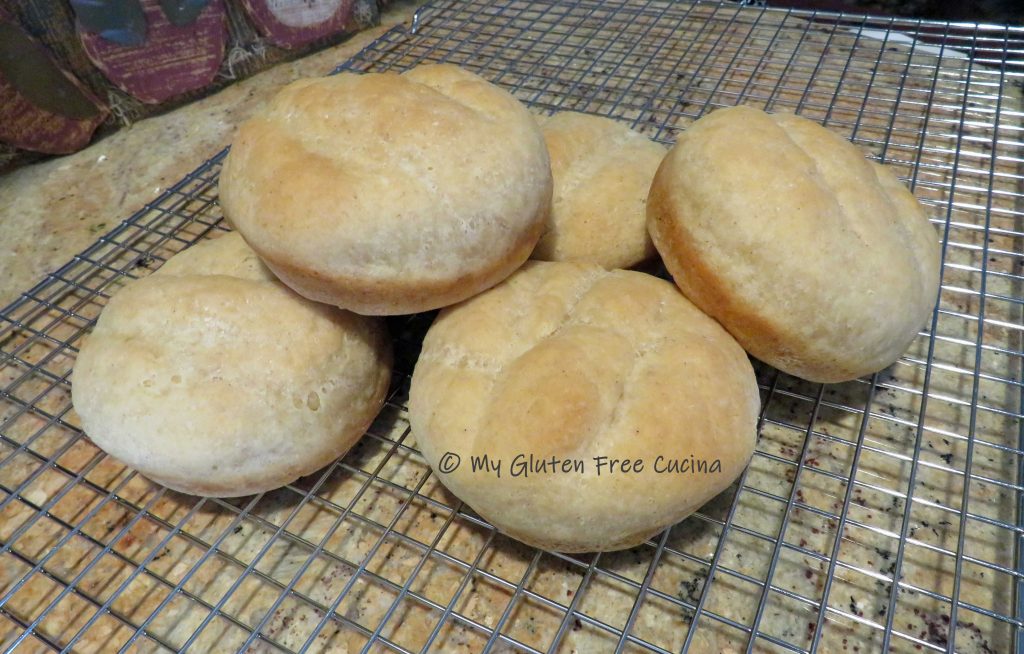
Cool in the pan 15 minutes, then transfer to a rack.
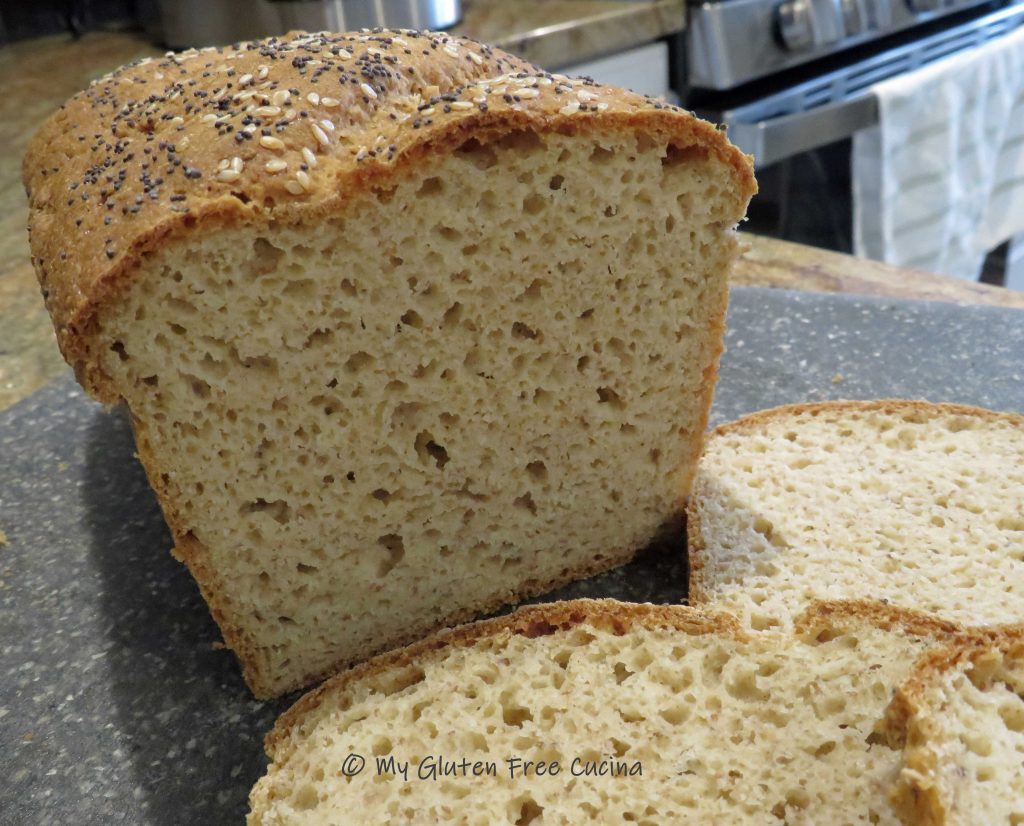
 Cool to room temperature, then bag it and let the loaf stand at room temperature overnight. Resist the urge to cut into that loaf right away, and your patience will be rewarded with this amazing crumb! It is truly worth the wait!
Notes ♪♫ You might be interested to know that I mill some of my flour from the whole grain. In this recipe, I used my KitchenAid grain mill attachment to mill whole sorghum berries into flour. For the teff flour, I ground whole teff grain in a coffee grinder. Storing grain in its whole form will keep it fresh longer, great for those infrequently used ingredients. If you would like to learn more about using a grain mill, check out this post.


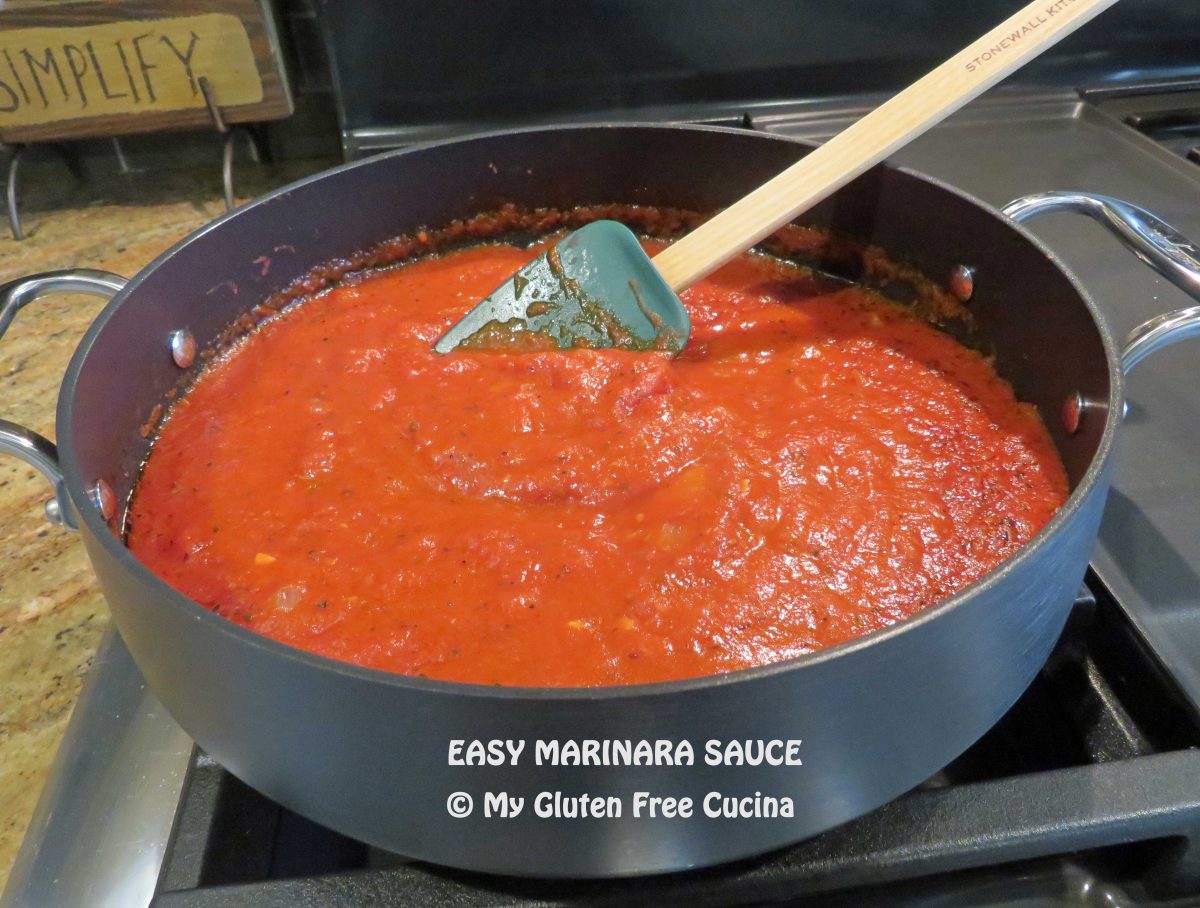
 Let it toast for a minute then add the stock, tomatoes, BBQ Sauce, brown sugar, Worcestershire sauce and seasonings.
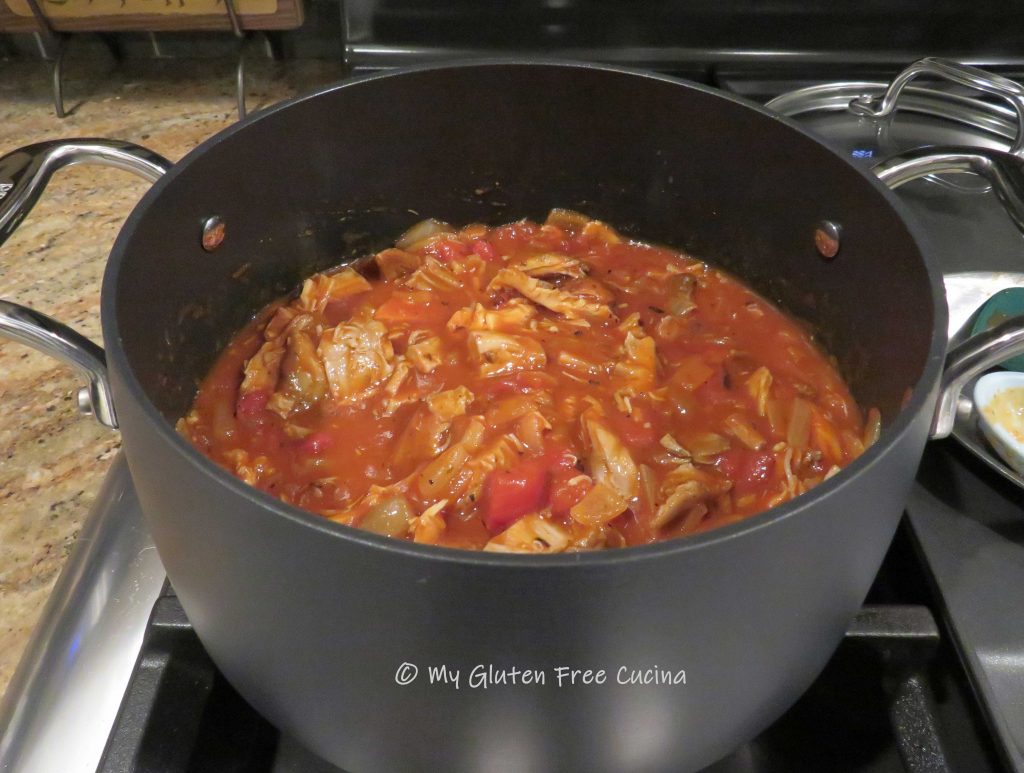 Finally add the fire roasted corn and stir everything together.

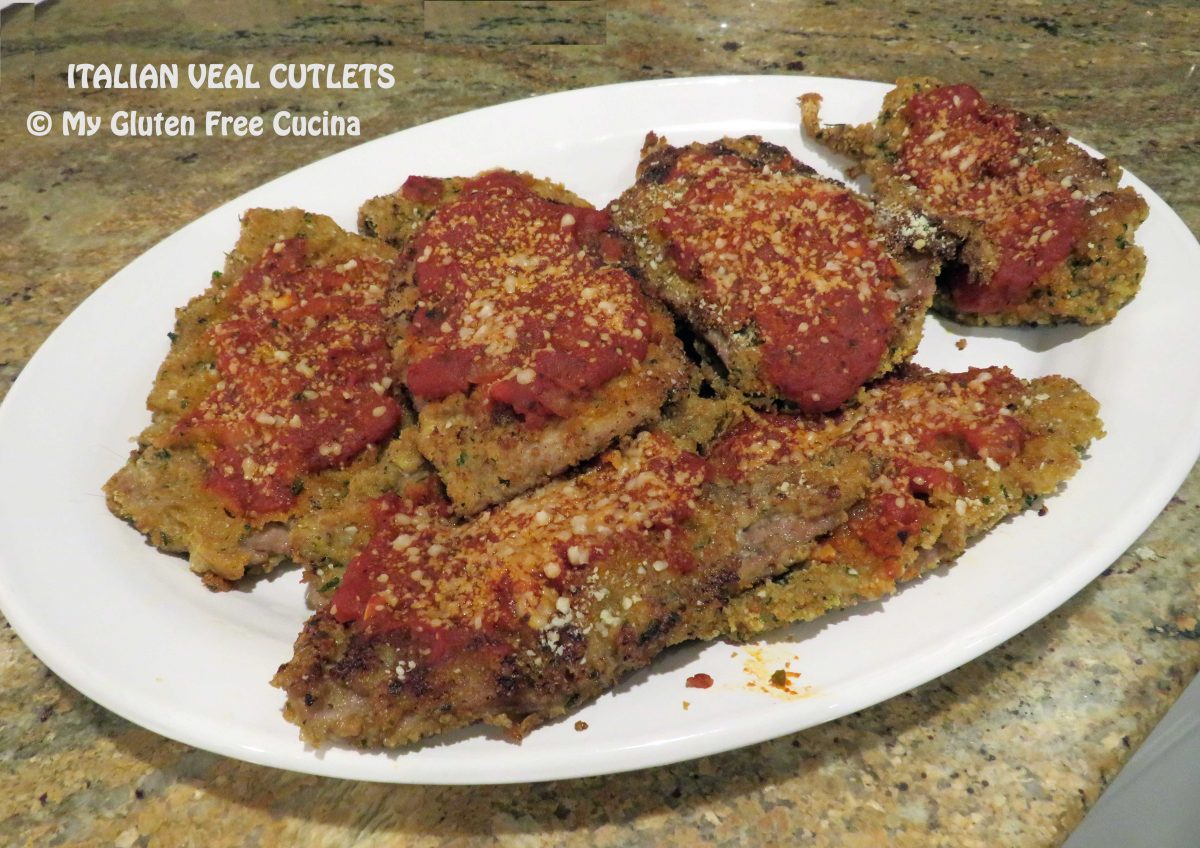

 Ladle marinara over each slice and top with grated cheese, as much as you like.
 Place in the oven for 15-20 minutes, just enough to melt the cheese.


 Now that you know how to make a good marinara sauce, what restaurant favorite will you have for dinner tonight? How about
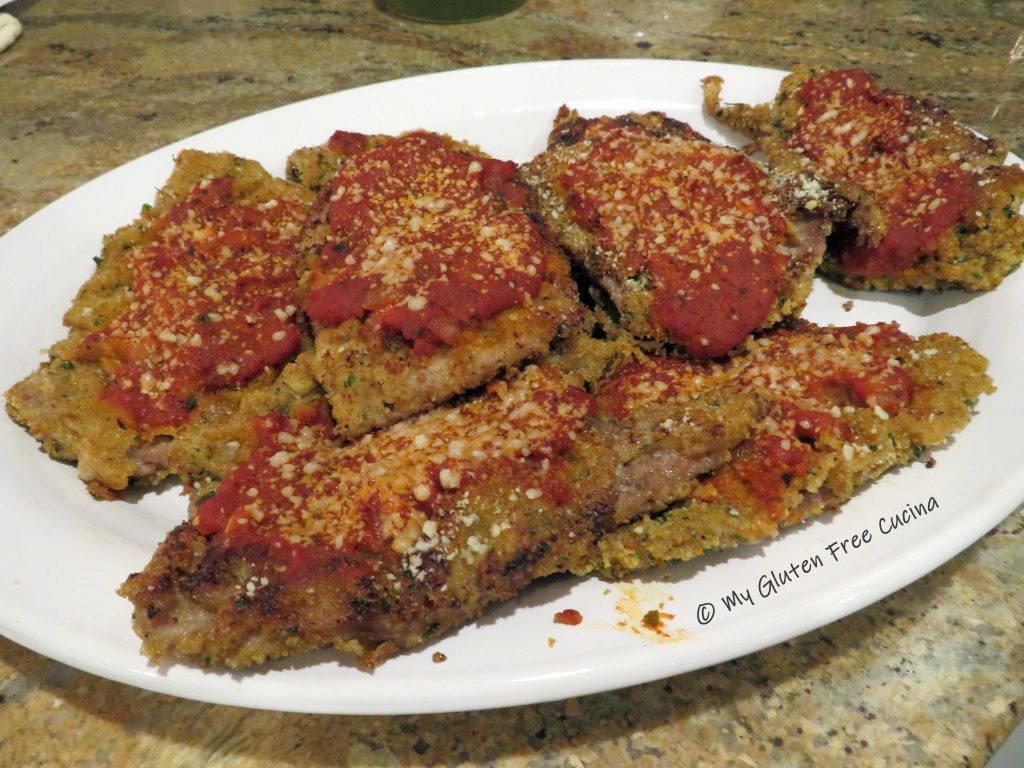
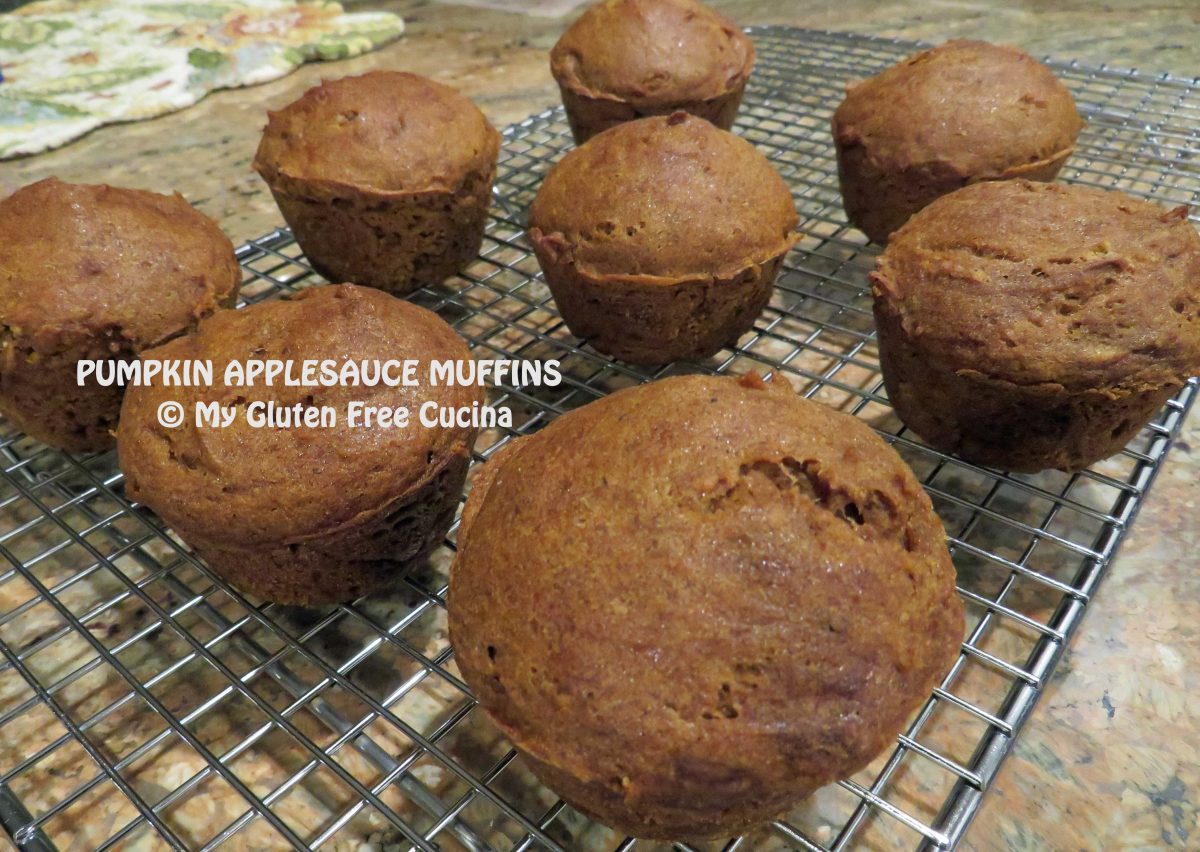


 Cool to room temperature and store on the counter for up to 1 day, then freeze leftovers.
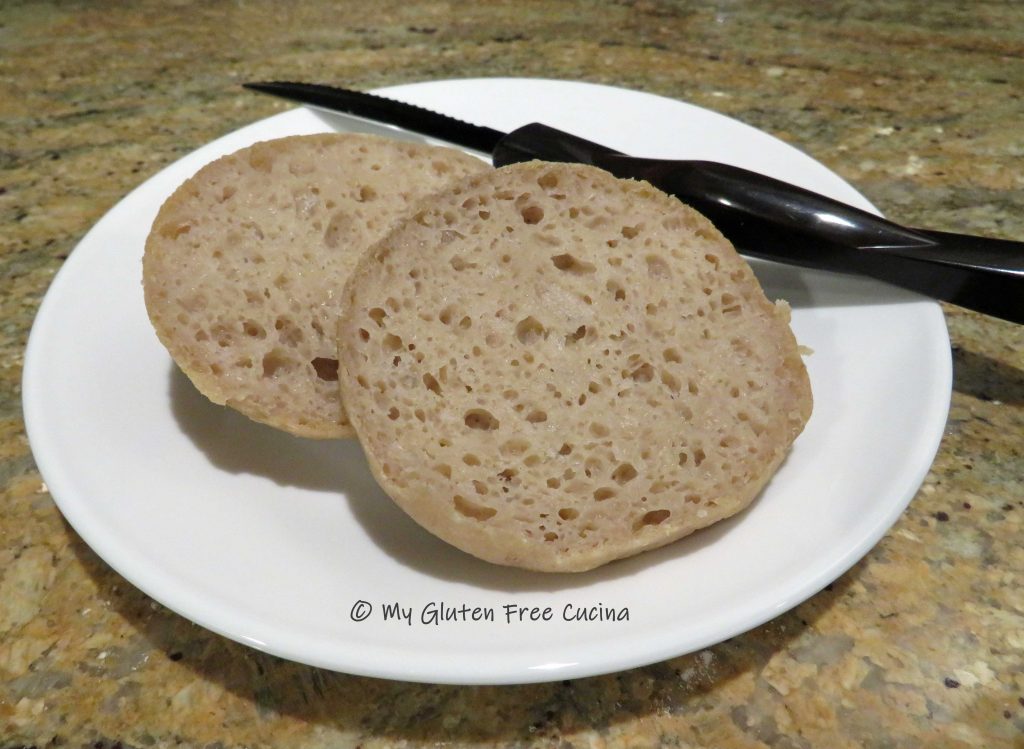


 Using a gluten free pancake mix makes this recipe a snap and no oddball ingredients to purchase! I love
 Preparation:
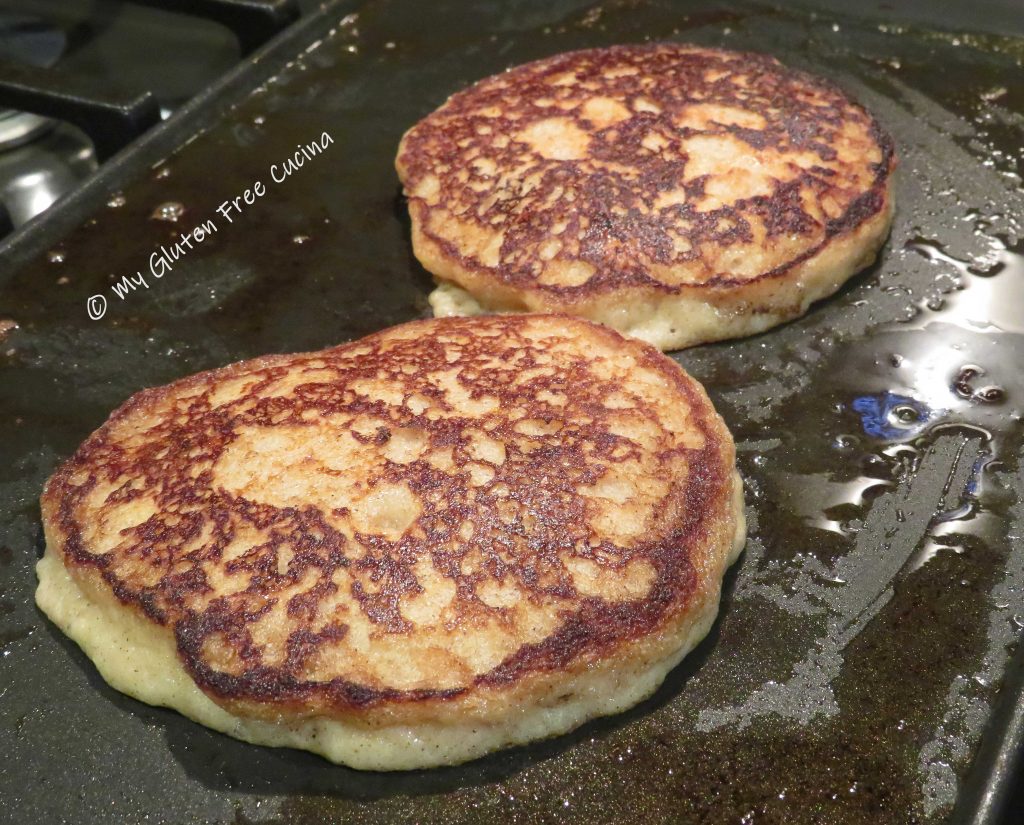
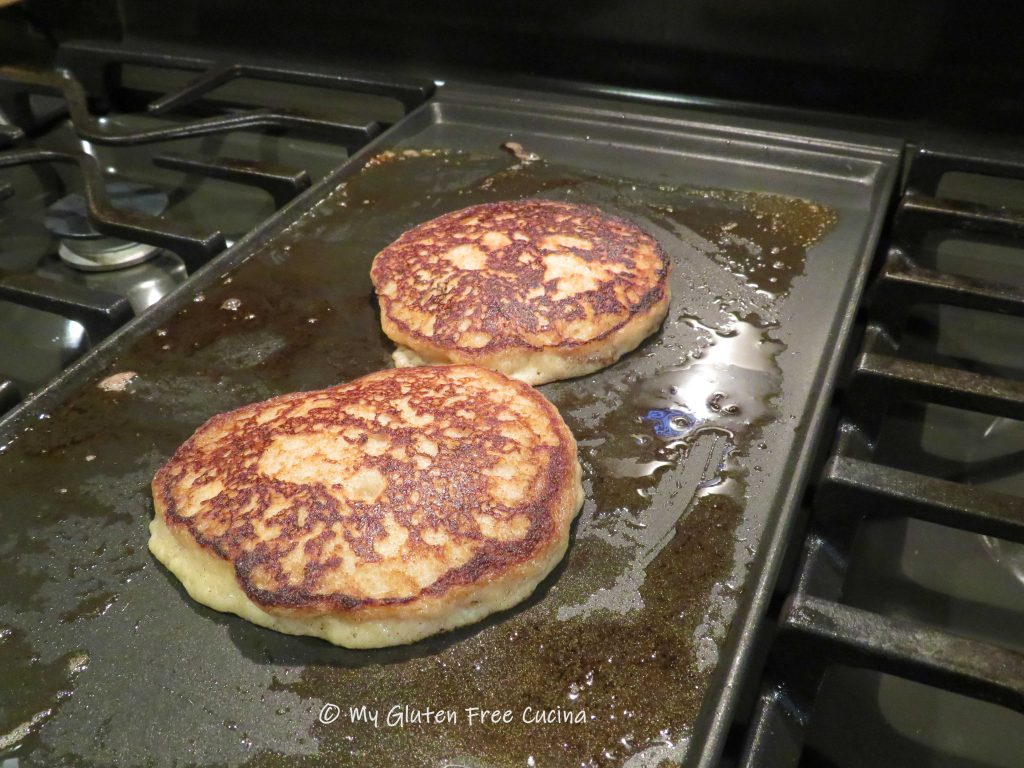
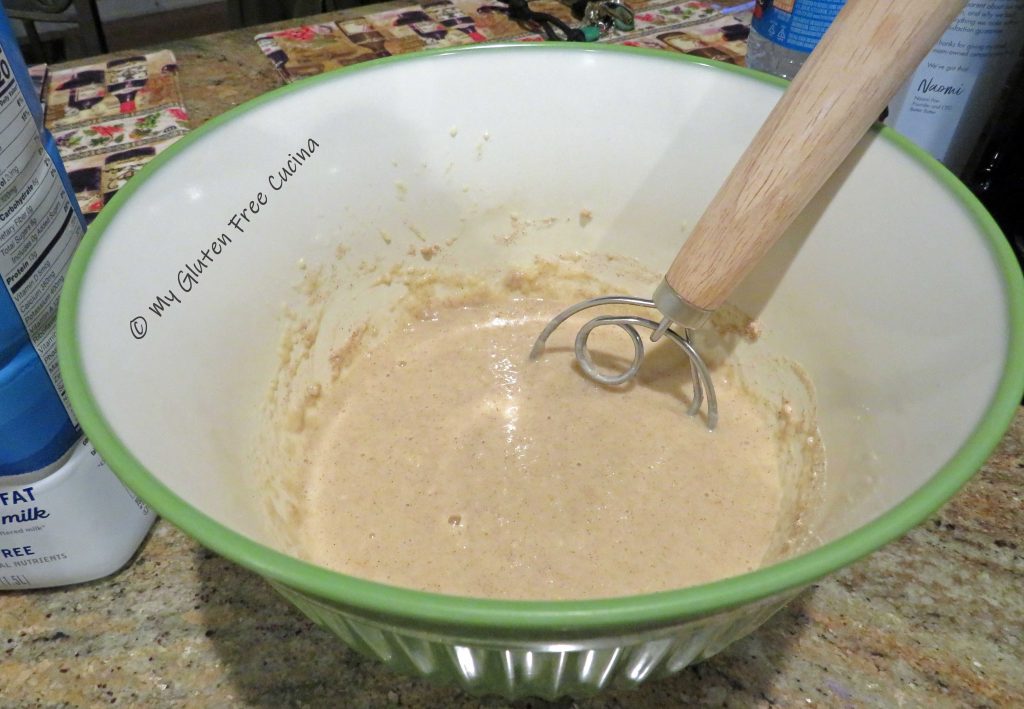 Coat the griddle with butter and spoon the batter in circles, about 1/3 cup each. Cook for 4-5 minutes per side. They are ready to turn when the tops begin to bubble. Continue with the rest of the batter, adding more butter to the griddle each time.
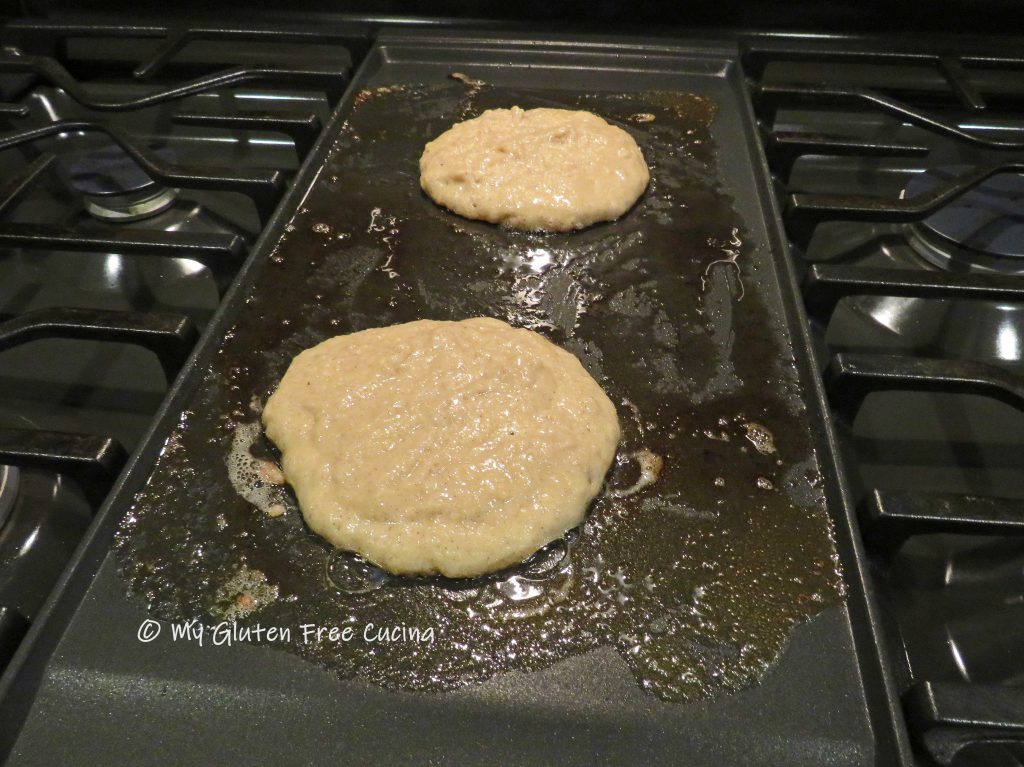
 Transfer the cooked pancakes to a cooling rack (or right onto your plate!). I usually make enough to freeze so they will get individually wrapped in plastic wrap and stored in freezer safe bags.
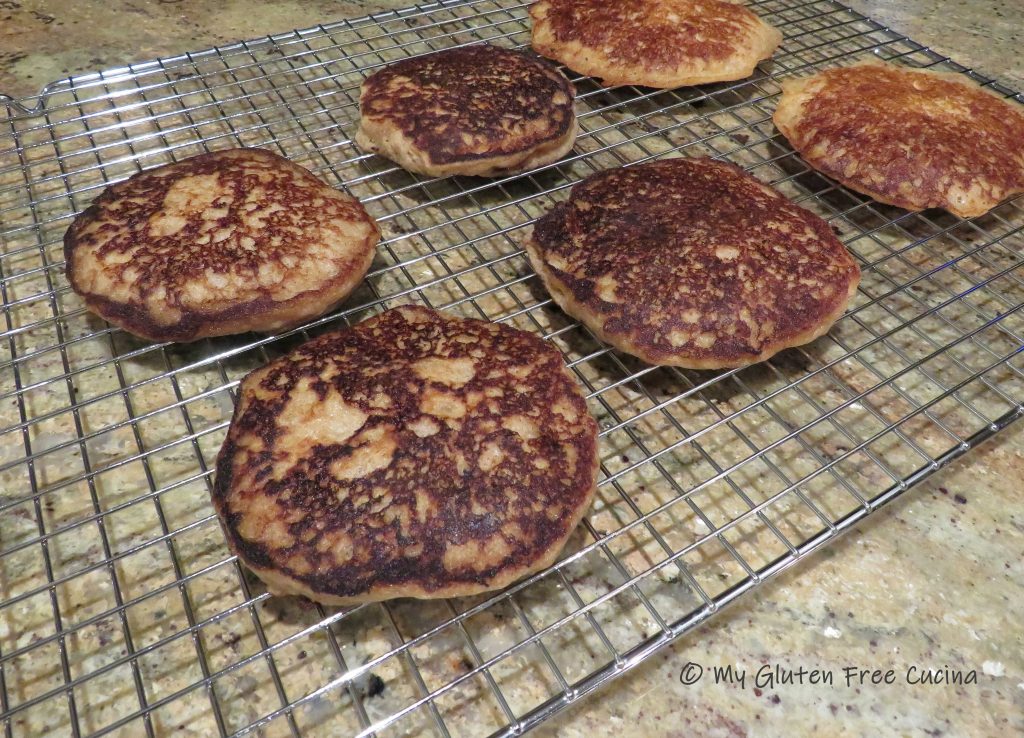 You can reheat them on the griddle, microwave or toaster.
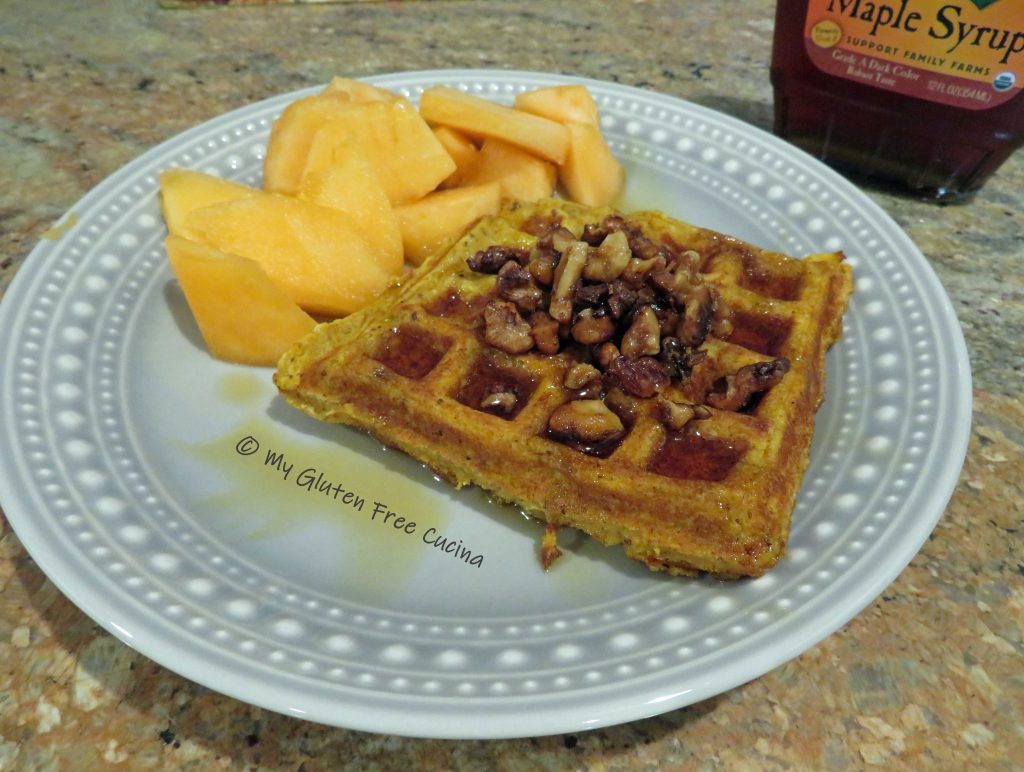
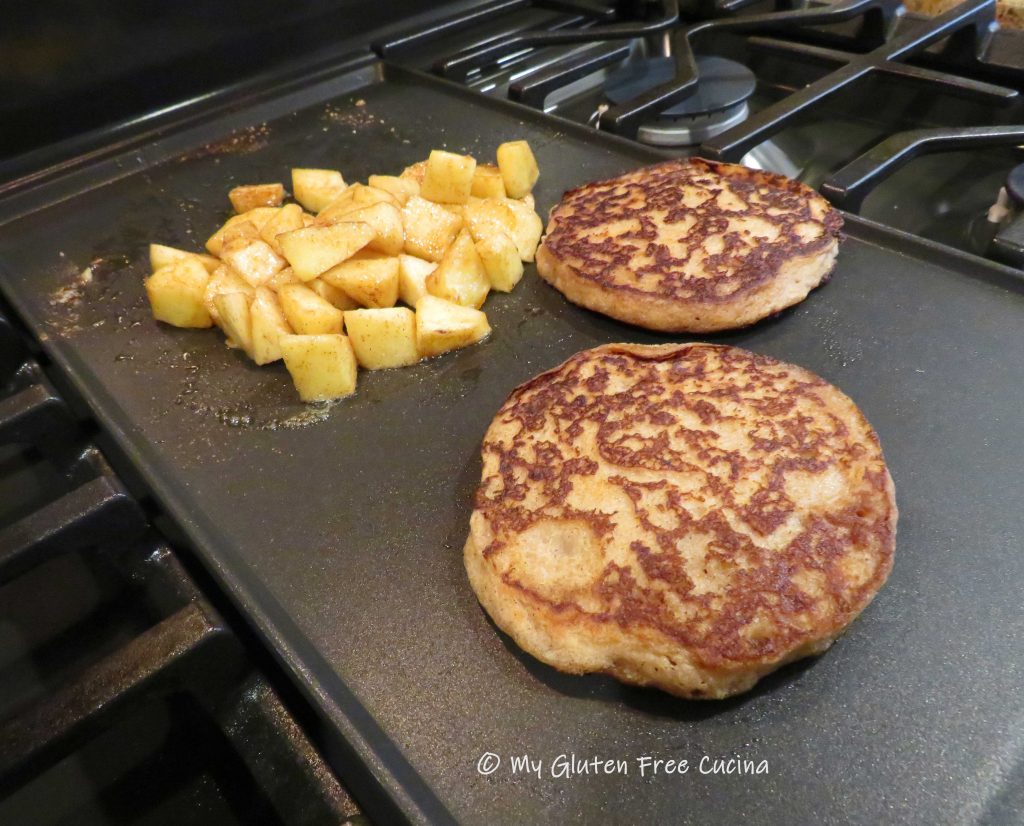 I served them with a side of
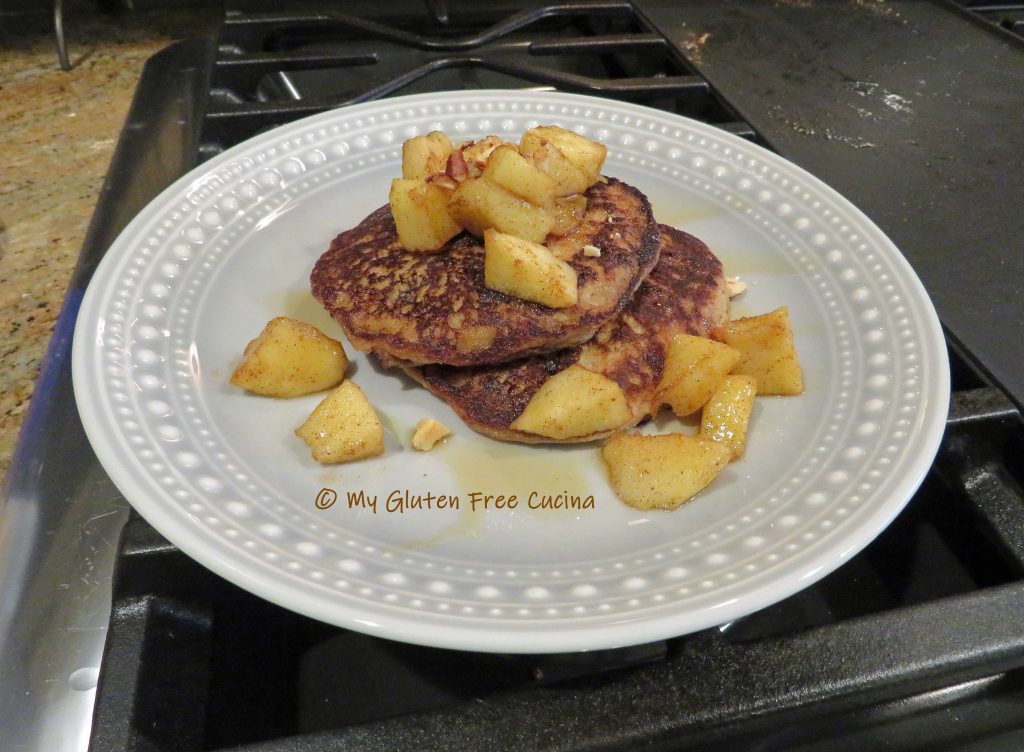
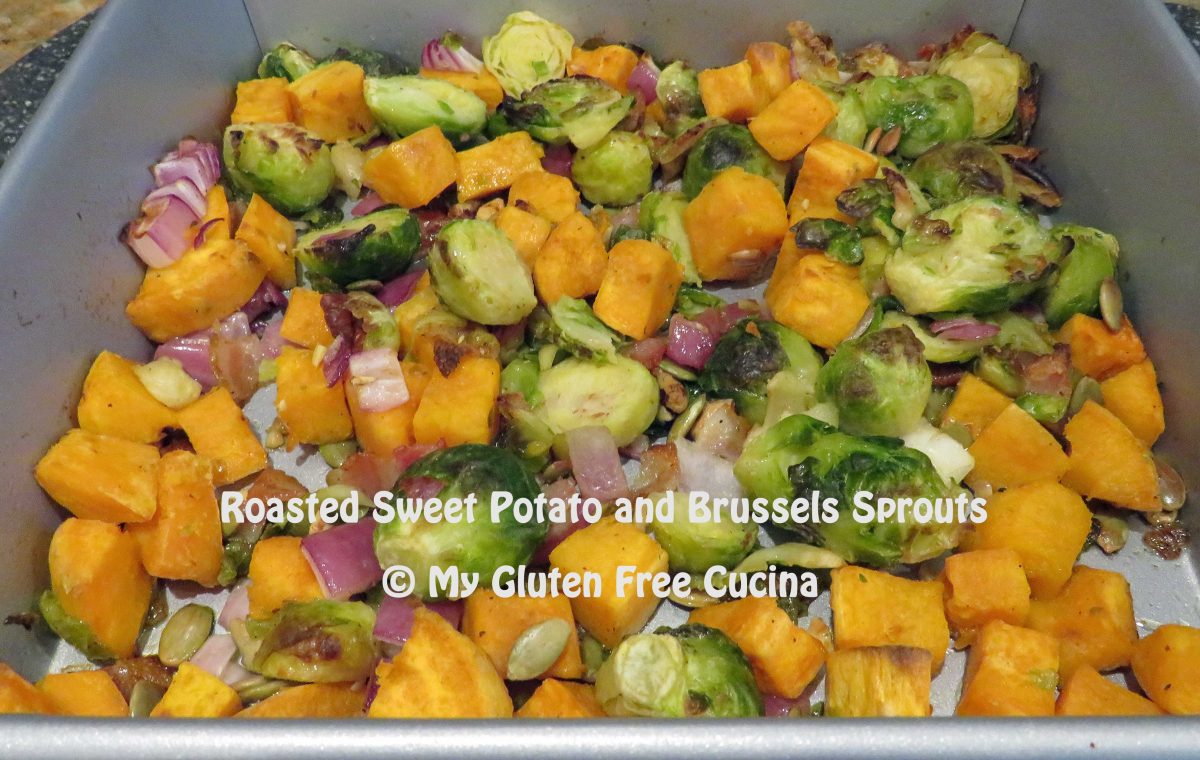
 Combine the brussels sprouts, red onion, and bacon in a
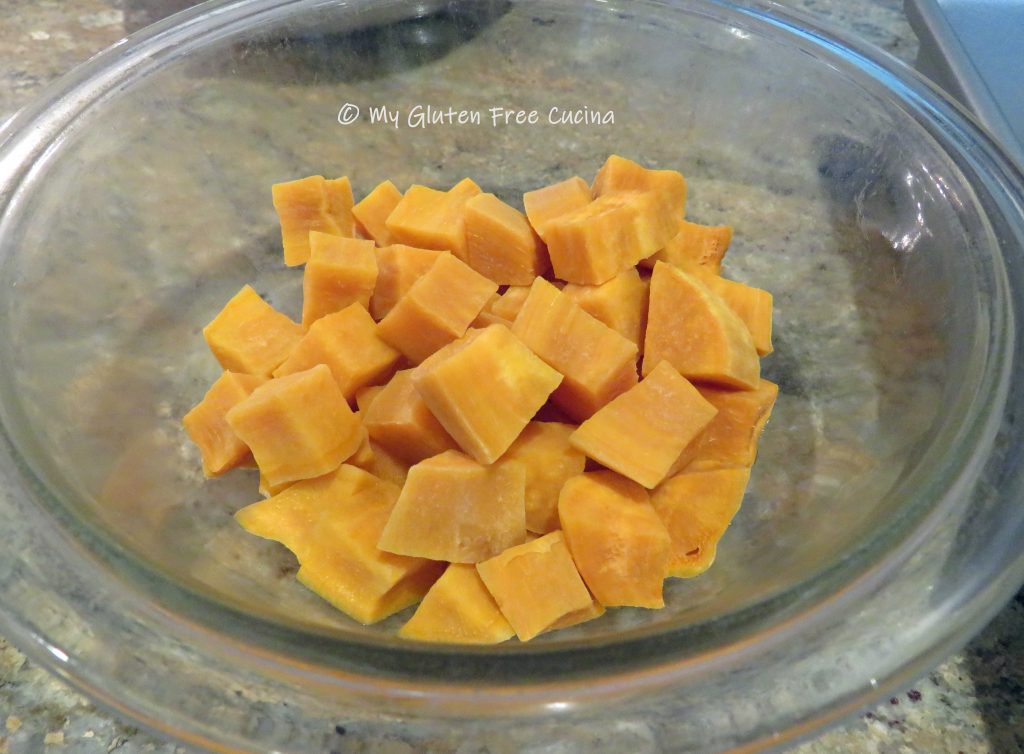
 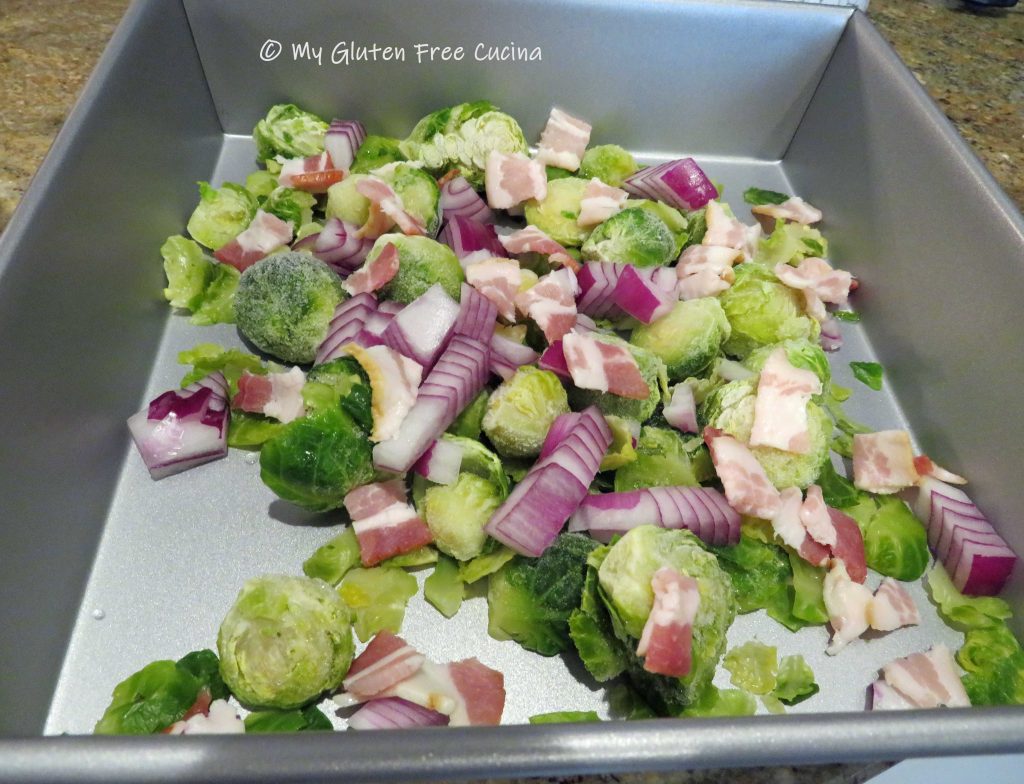 Stir in the cooled potatoes and toss with oil, salt and pepper. Top with the nuts and seeds and make sure everything is spread in an even layer.
