Hoisin Pork Tenderloin with Fried Rice

One of the things I miss most since my Celiac diagnosis is Chinese takeout.  Oh, how I loved those noodles, veggies and fried rice!

At first glance you might think that many of these dishes are gluten free, but did you know that soy sauce contains gluten?  It’s true, traditional soy sauce is fermented with wheat, so it is off limits on the gluten free diet.

Fortunately, there are gluten free alternatives.  For my Asian inspired dishes, I often use San-J Tamari in place of regular soy sauce.  It’s brewed with soybeans and no wheat.

For those who need to be mindful of salt intake, Coconut Aminos can be a lower sodium alternative to gluten free soy sauce or tamari.  It has that umami flavor profile, but with less salt.

Another favorite condiment, Hoisin Sauce can also be found in the Asian aisle in most markets.  It’s sweeter and much thicker than soy sauce and can be used for glazing and dipping.  In this recipe, I use all of these condiments to create a sweet and savory flavor profile.

I was featured at the senior salon pit stop

This post contains affiliate links.

4 servings

Ingredients:

  • 1 cup uncooked long grain white rice
  • 2 cups water
  • 1/2 tsp. salt
  • 14.4 oz. bag frozen stir fry vegetables (or fresh veggie combo of your choice)
  • 1 lb. pork tenderloin
  • salt and pepper
  • garlic powder
  • ginger powder
  • 1 egg
  • 1 tbsp. water
  • olive oil
  • sesame oil
  • cooking spray
  • gluten free Hoisin sauce
  • gluten free Tamari, or Coconut Aminos
  • fresh scallions for garnish
  • sesame seeds for garnish

Preparation:

Cook the rice according to package directions and set aside to cool.  This step can be done ahead, in fact the rice works better in this recipe if it has been cooked in advance and refrigerated.

While the rice cooks, prep all the vegetables.  Using a frozen stir fry blend like this one is a real time saver.

I did think the veggies were a bit large for fried rice, so I cut them into smaller pieces.  Season the veggies with salt and pepper to taste.  Sprinkle with garlic and ginger powder and leave them out to defrost.

Preheat the oven to 375º.  Arrange the tenderloin on a foil lined baking sheet.  Sprinkle both sides with salt, pepper, garlic powder and ginger.

Insert an oven safe thermometer in the thickest part of the tenderloin and roast until it reaches 120º.  Brush the roast with hoisin sauce and return to the oven until the internal temperature reaches 140º.  When the meat is done, let it rest for 10 minutes.

For the rice, heat a large nonstick skillet over medium low and mist with cooking spray (I like Bertolli because it doesn’t damage my nonstick pans).  Whisk the egg with 1 tbsp. water and scramble.  Crumble the egg and set aside.

Next, add a little olive oil to the skillet with the veggies.  Drizzle with just a little sesame oil, and sprinkle salt, pepper, garlic and ginger.  When cooked through, add a few shakes of Tamari or Coconut Aminos.

Add the cooked rice and egg back to the skillet, with more sesame oil, Tamari and/or coconut aminos.  The amount you add is up to you, just taste as you go.

To plate, transfer the fried rice to a serving dish.  Slice the tenderloin and arrange it over the rice.  Drizzle hoisin sauce over the pork, and garnish with scallions and sesame seeds.

This Asian inspired dish is better than any restaurant! It has all the flavors that you have been missing, minus the gluten!  Everyone in your family will love it!

Notes ♪♫ Gluten free Asian condiments can be found in most markets and online.  Some of my favorite brands are San J, Sun Luck, and Coconut Secret.  Always look for the gluten free label, as some brands will have both a regular and gluten free version of the same product.

Originally posted 10/21/2019   *   Updated and rephotographed 11/20/2024

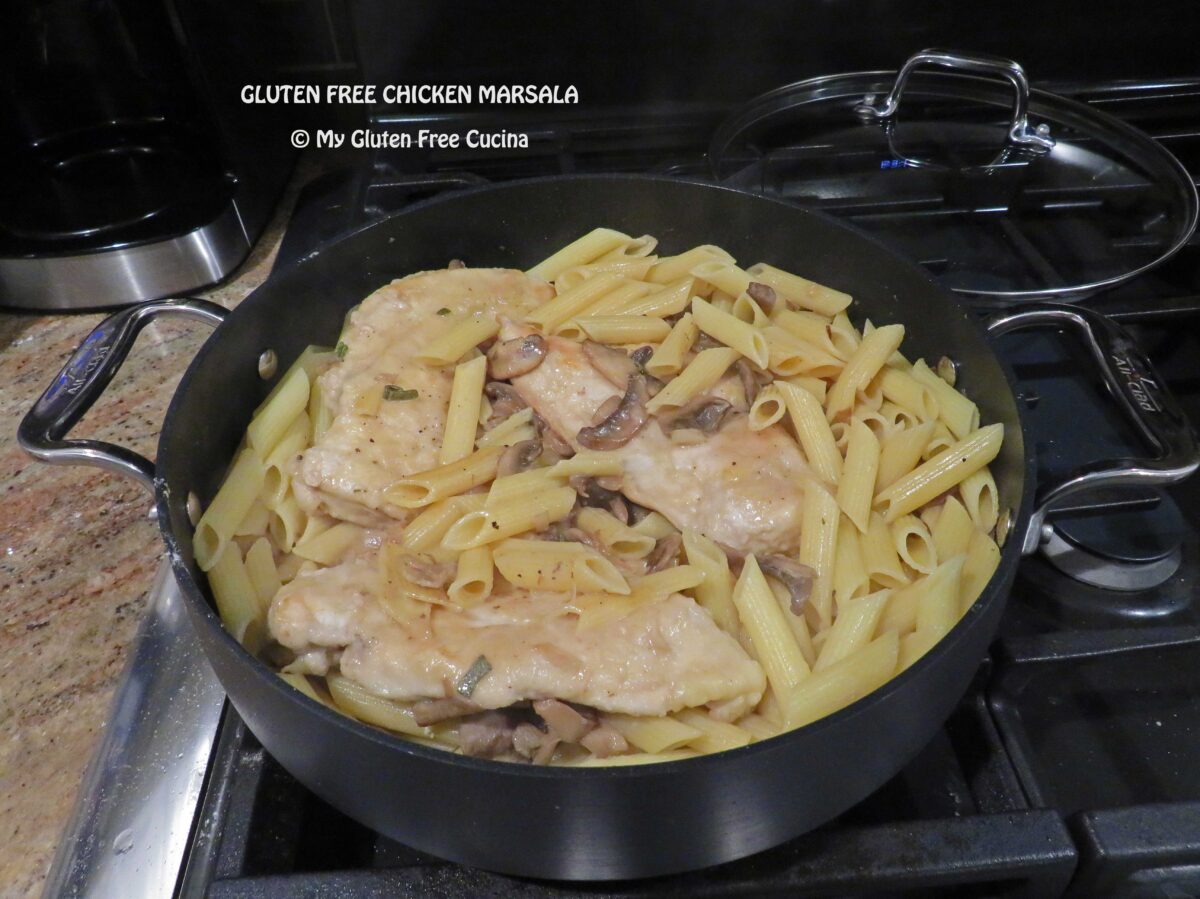
Gluten Free Chicken Marsala

This restaurant classic gets a gluten free makeover with just two ingredient swaps!  I can’t remember the last time I made Chicken Marsala.  It’s definitely been on my recipe bucket list though, so on my last trip to the liquor store I picked up a bottle of dry marsala wine.

I was able to get thin sliced chicken breast for this recipe, lucky me, a real time saver!  Each slice weighed about 6 oz.  If you can’t find this, just use a whole breast and cut into 1/2″ slices.

This post contains affiliate links.

Ingredients:

  • thin sliced chicken breast, about 6 oz. per serving
  • olive oil
  • white rice flour
  • 2 tbsp. butter
  • 1/4 cup shallots, sliced
  • 8 oz. package button mushrooms, cleaned and sliced
  • 1 tbsp. fresh minced sage leaves
  • 1/2 cup dry marsala wine (not cooking wine!)
  • 1/3 cup gluten free chicken broth
  • 1/2 cup heavy cream
  • salt and pepper to taste
  • 8 oz. gluten free penne (I used Barilla)
  • Italian parsley for garnish

Preparation:

Once you slice the mushrooms and shallots, this meal comes together quickly, so be sure to have all your ingredients laid out and at the ready.

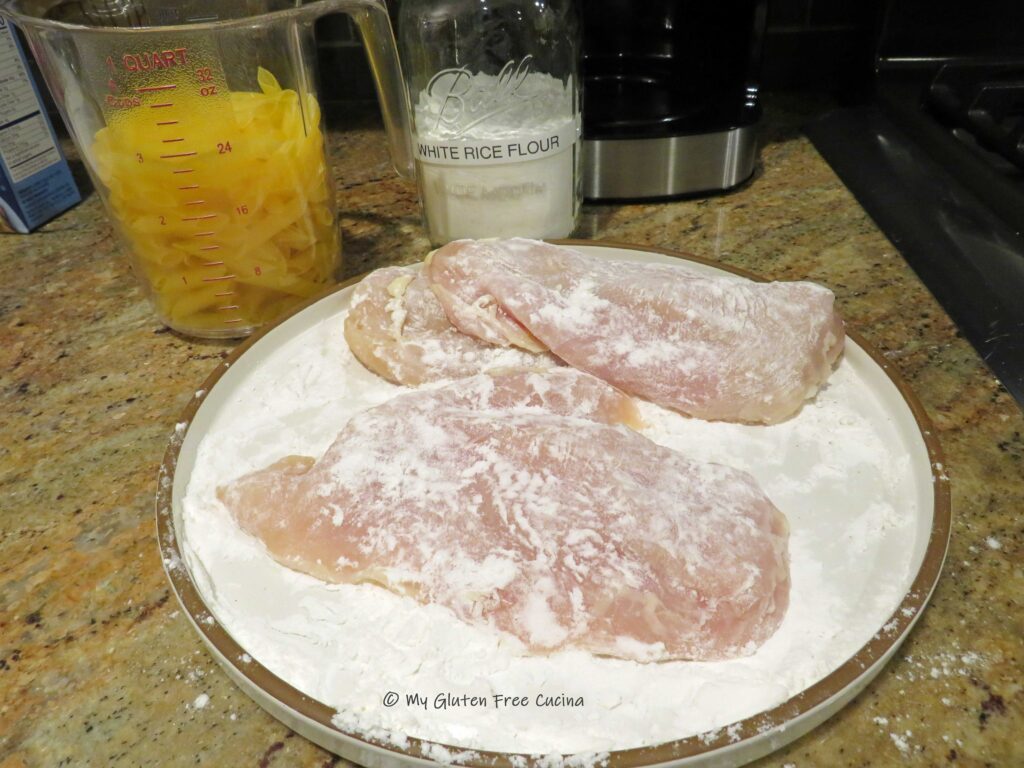
Heat a large pot of salted water for the pasta.  Dredge the chicken breast in the rice flour, shaking off the excess.

Coat a large nonstick skillet or sauteuse pan, with olive oil, and begin browning the chicken.  Season with salt and pepper.

When the chicken is cooked through (check with a thermometer), remove to a plate.  Cook the pasta to several minutes less than the package directions (it will finish cooking in the sauce.

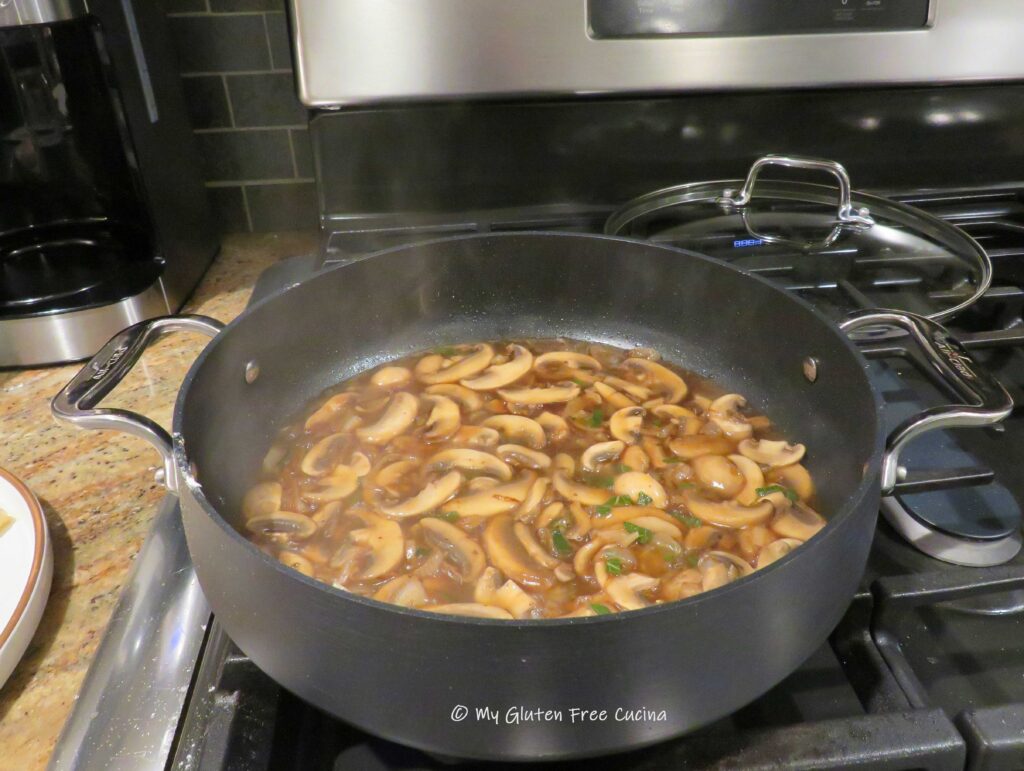
Add the butter to the pan and stir in the shallots.  Cook for 30 seconds then add the mushrooms and sage.  Season with salt and pepper.

Add the marsala wine to the pan and simmer to reduce by half.

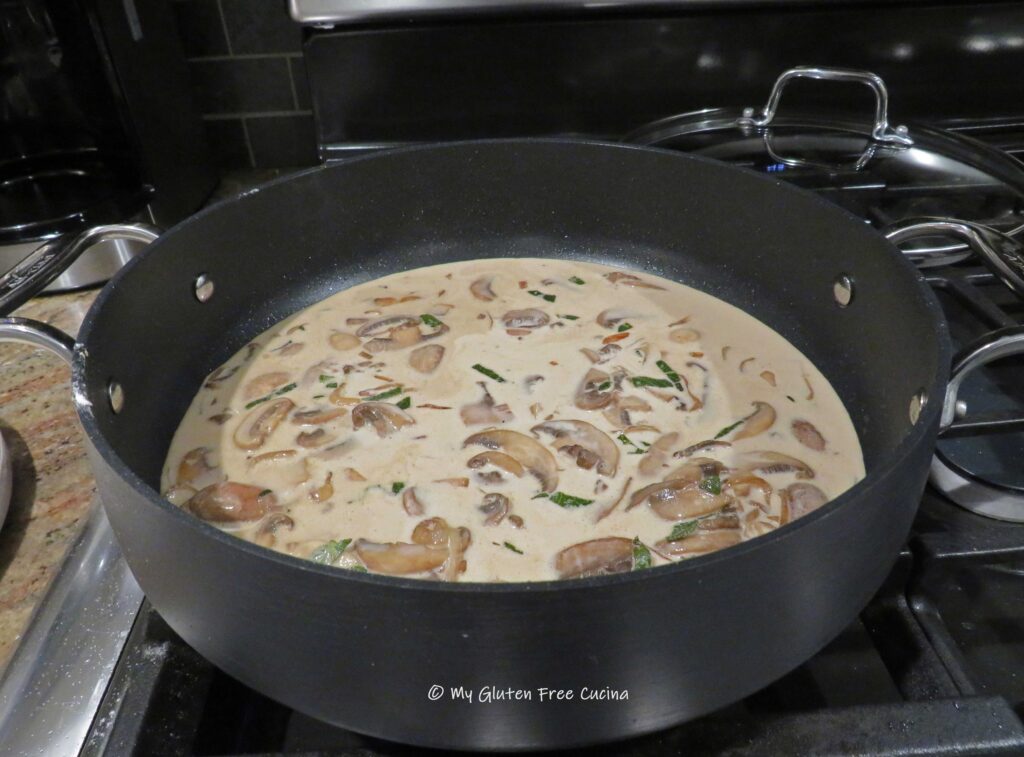
Add the chicken broth and heavy cream and return to a simmer.

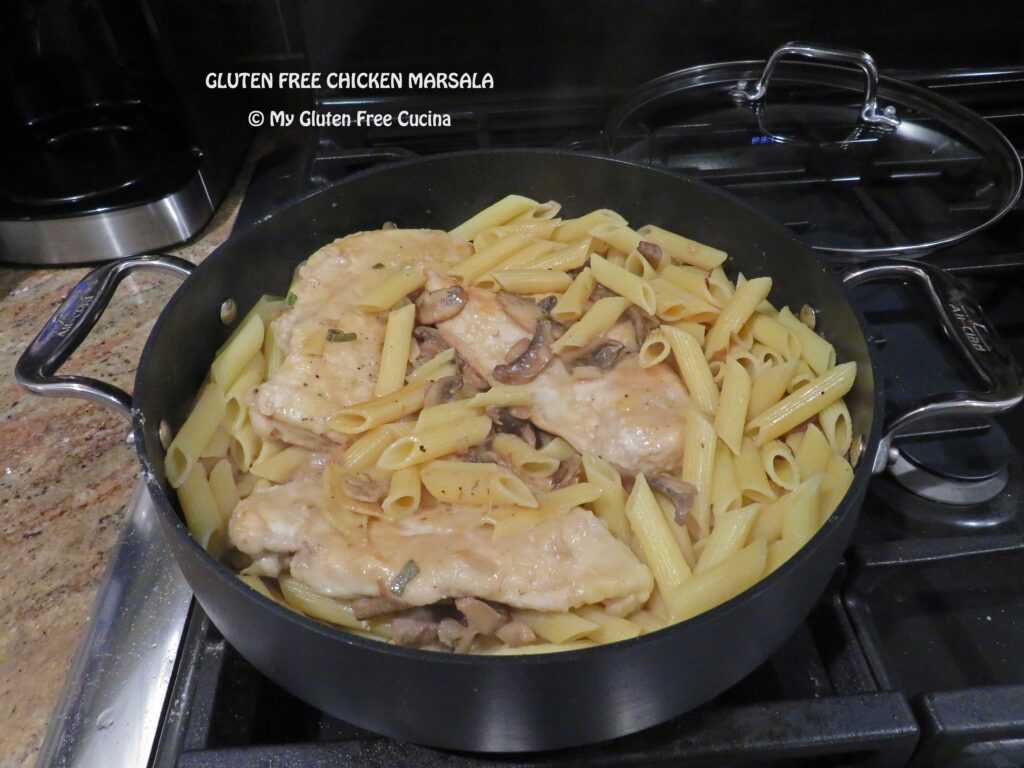
Add the chicken back to the pan, along with the pasta.  Toss well and continue cooking for several minutes to warm the chicken through and finish cooking the pasta.

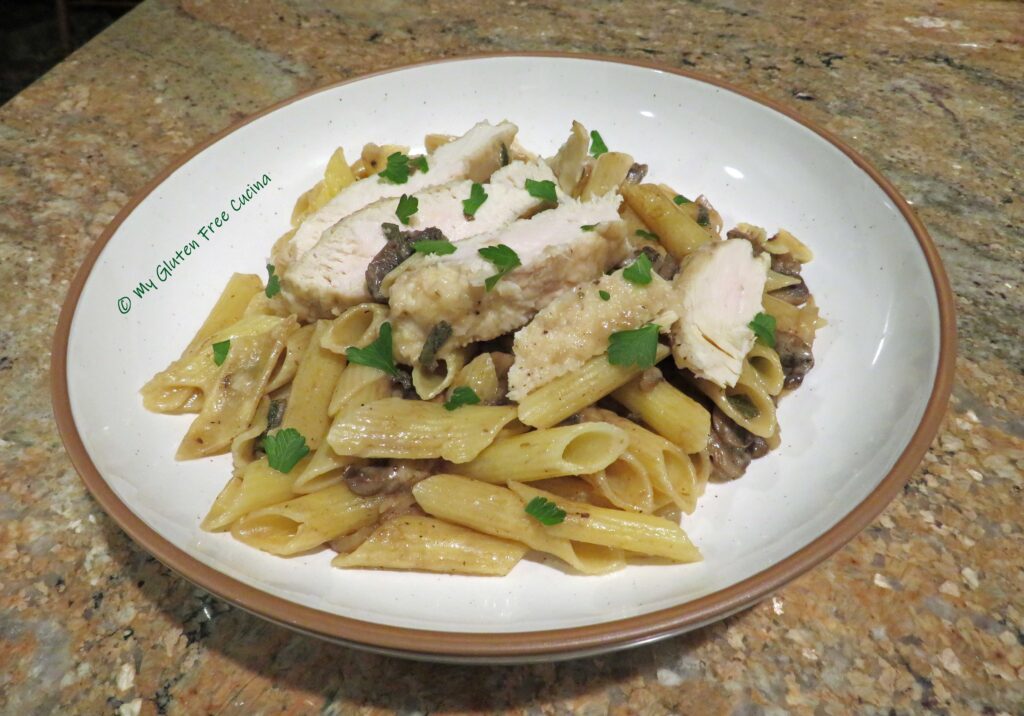
Serve in bowls and garnish with Italian parsley.
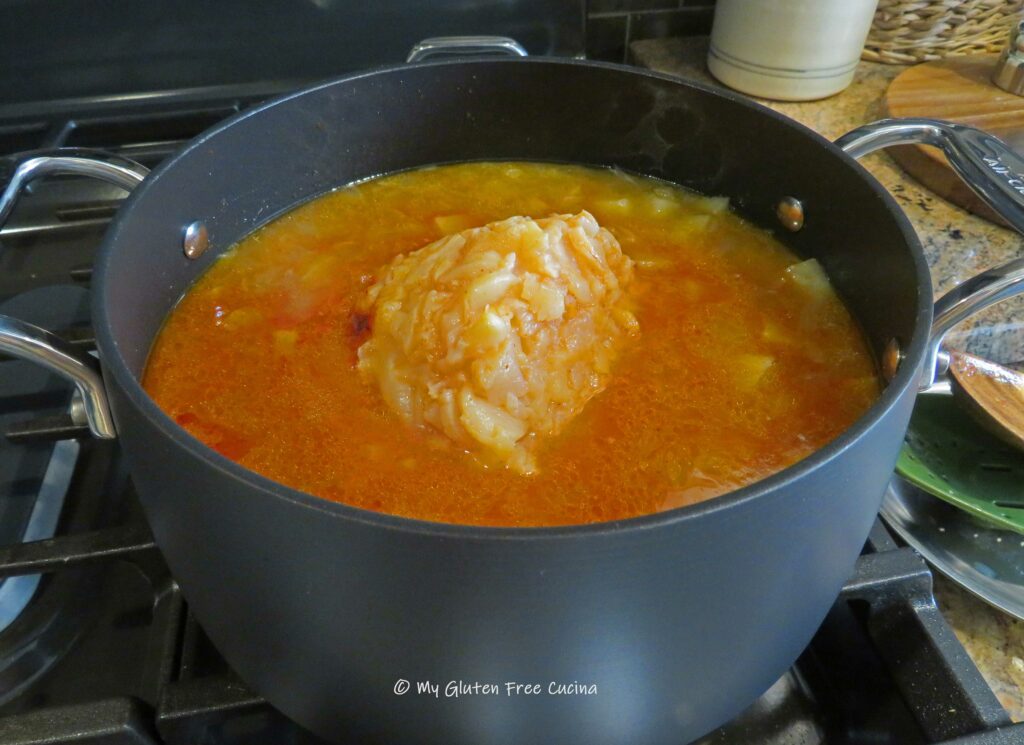
Notes ♪♫ Be sure to use REAL marsala wine, not cooking wine.  I picked up a bottle of Nando dry marsala for under $10 and it was excellent in this recipe.  I’m sure I’ll use the rest of it, because this meal was a definite do-over!

Print This Post Print This Post

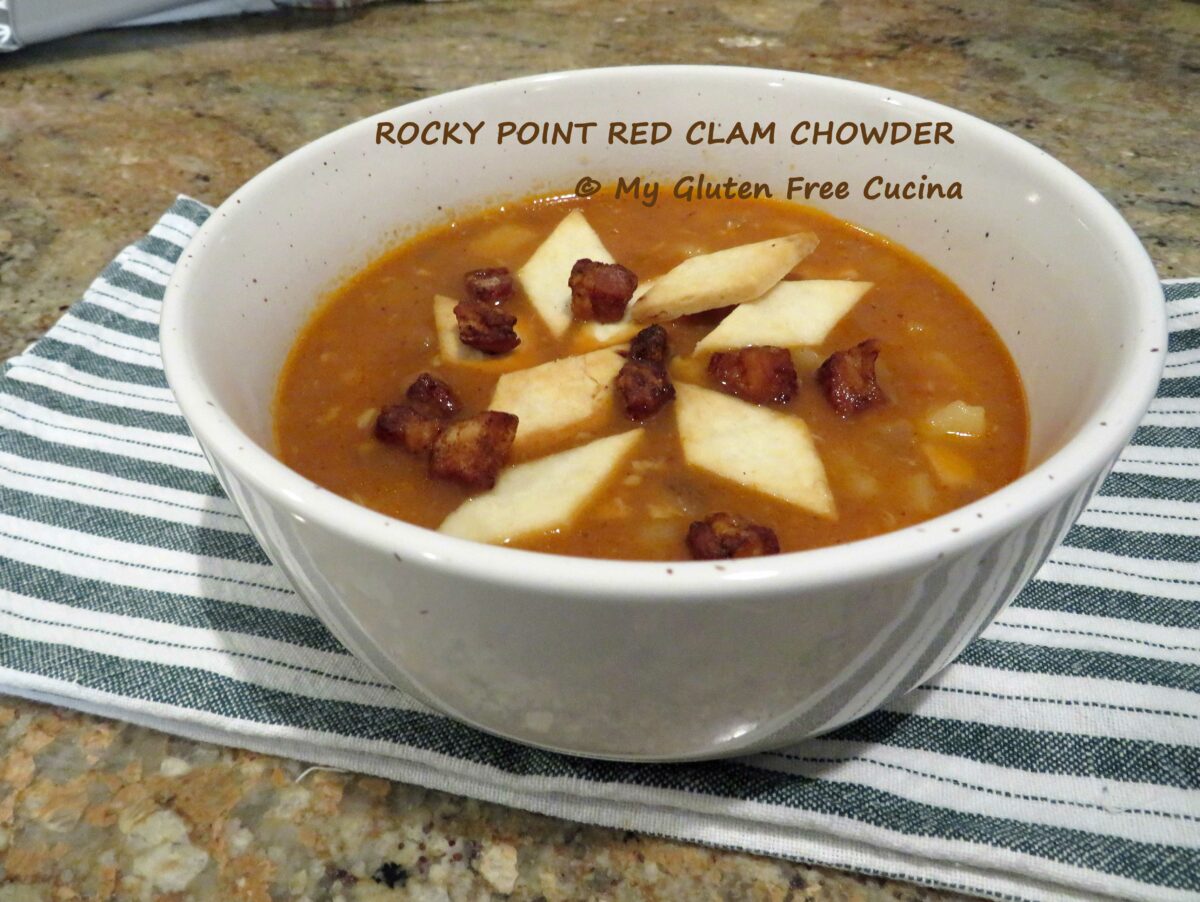
Rocky Point Red Clam Chowder

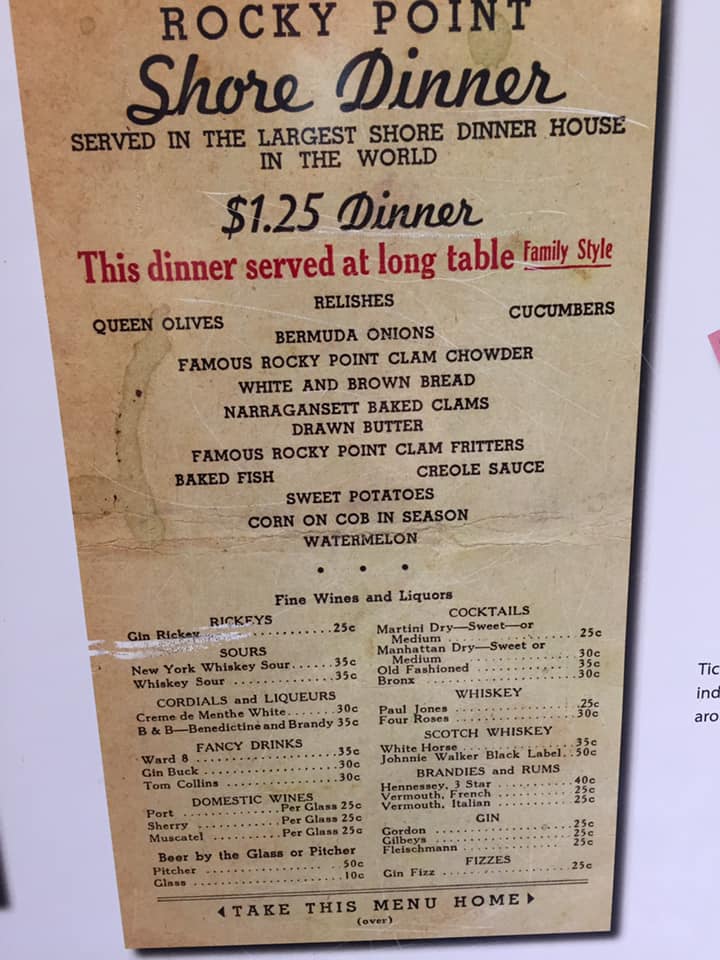
I was born and raised in RI and have lived here for most of my life.  This post celebrates a Rhode Island icon of my youth, Rocky Point Park.  The amusement park, which operated from the late 1840s until it closed in 1994 was a favorite childhood destination for its incredible thrill rides.  Shore Dinner Hall at Rocky Point was the place to go for clam cakes and chowder that were famously served to thousands at a time.

Copycat recipes abound for Rocky Point Red Clam Chowder.  Here is my gluten free rendition, and I think it is a fitting tribute to the original!

This post contains affiliate links.

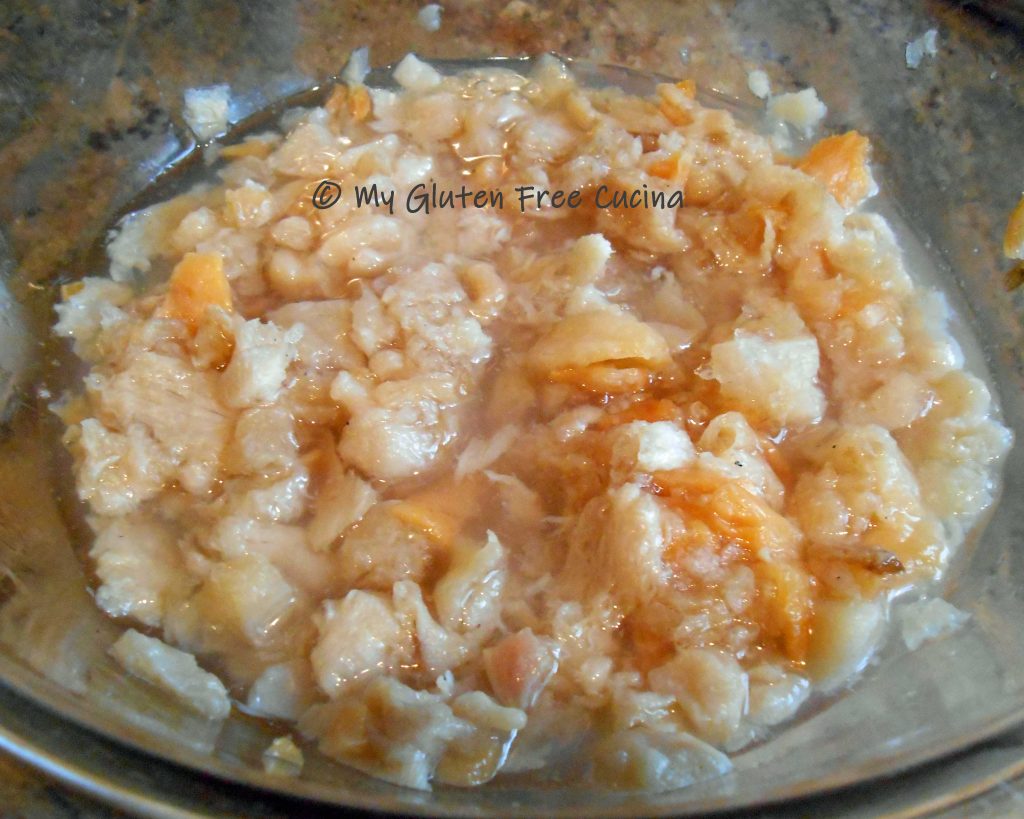
Fresh clams are always available in RI, but if you don’t want to do all that prep, frozen raw clams are a great alternative.  They are so much better than canned, and worth seeking out.  Remember, clams cook quickly and should only be added to the chowder during the last 5 minutes of cooking.

Ingredients: 

  • 4 oz. salt pork
  • 3 tbsp. unsalted butter
  • 1 large, sweet onion, diced
  • 2 bottles (16 oz. total) clam juice
  • 2 large russet potatoes, peeled and diced
  • 1 tsp. Old Bay seasoning
  • 16 oz. container frozen raw chopped clams, thawed
  • 1 can gluten free tomato soup
  • 1-1/2 tsp. paprika
  • black pepper to taste 

Preparation:

Peel and dice the onions and potatoes, dice the salt pork into 1/2″ pieces.

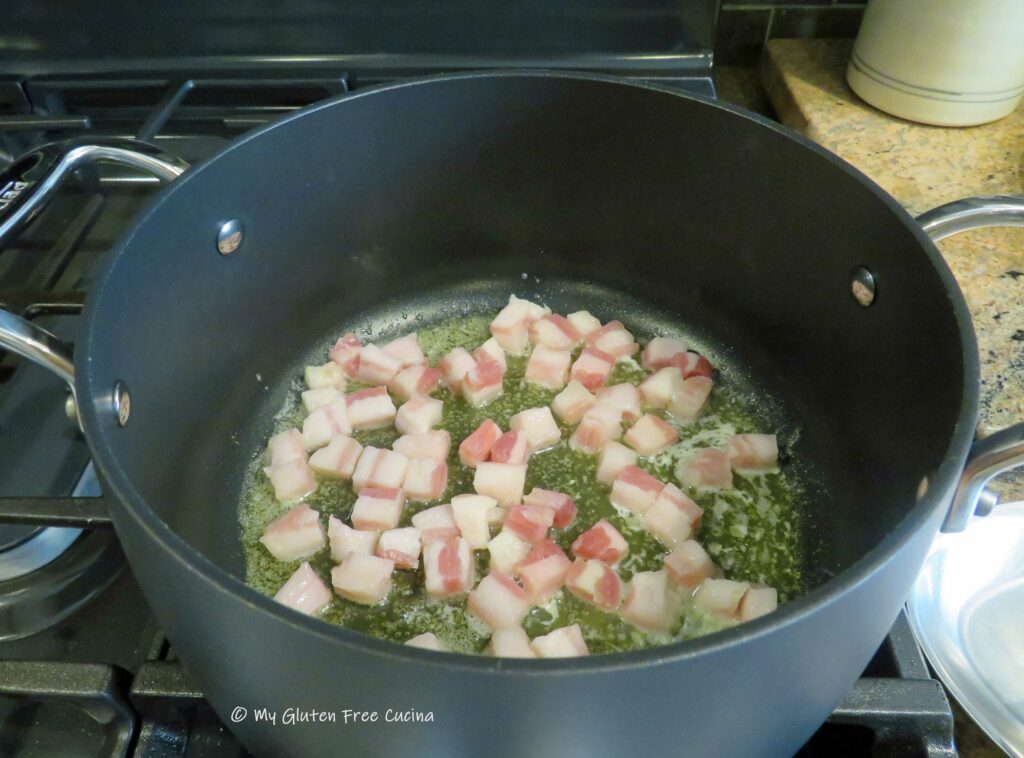
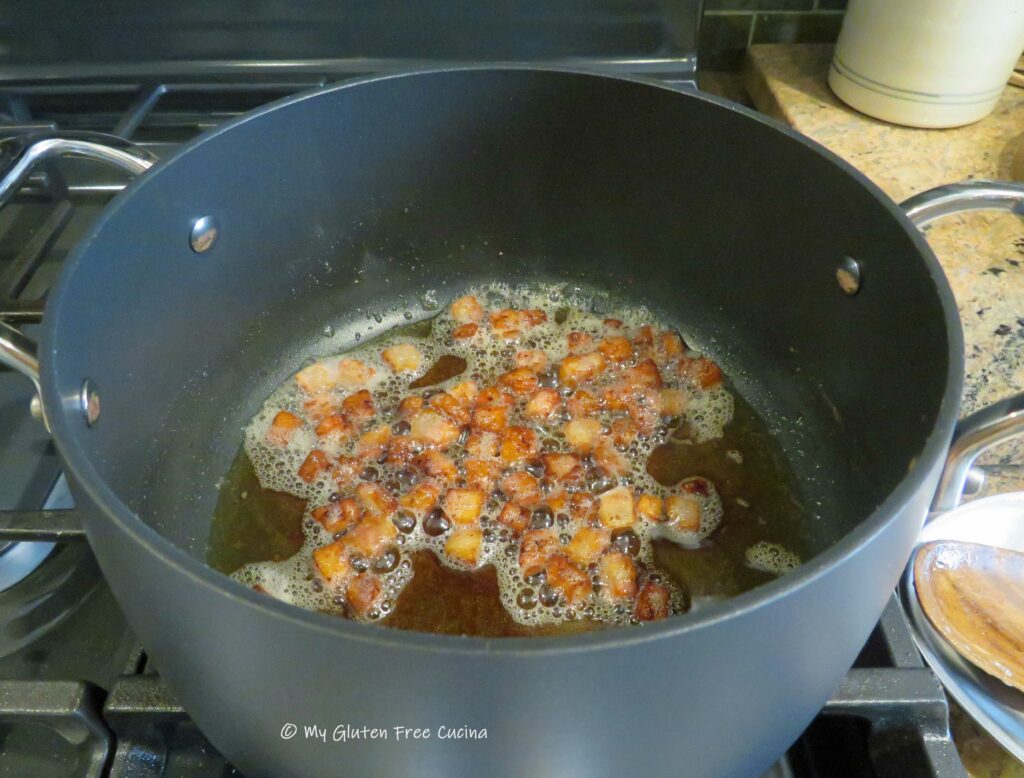
Melt the butter in a Dutch oven or heavy stockpot over medium low heat.  Add the diced salt pork and cook for about 15 minutes, stirring constantly.  Take your time here, you want nicely browned pork bits and all the rendered fat that is going to flavor the chowder.

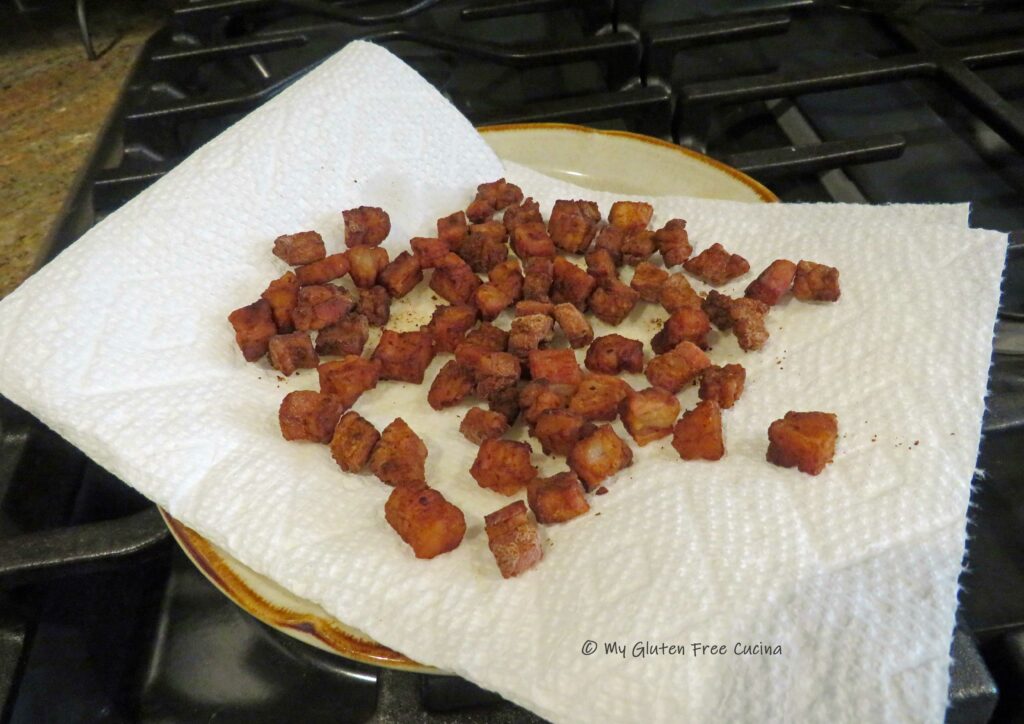
Remove the browned bits with a slotted spoon, drain on paper towels and set aside for garnish.  Reserve the fat in the pan.

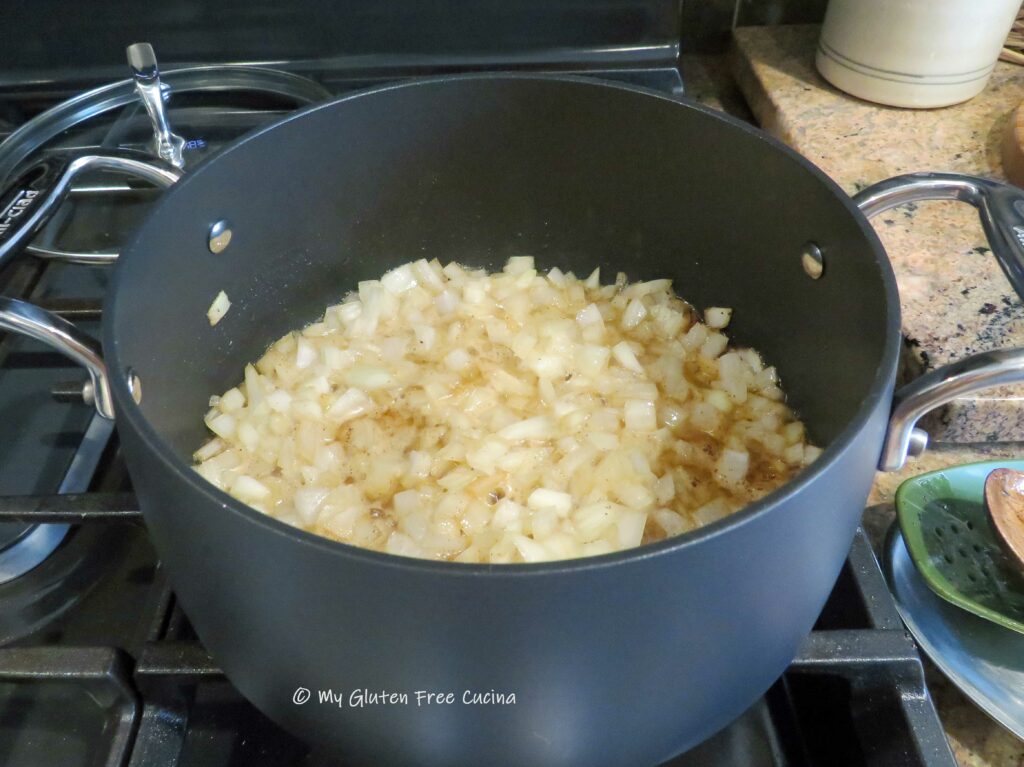
Add the onions and cook 5 minutes, stirring frequently.

Add the potatoes, clam juice, and Old Bay seasoning.  Bring to a boil and simmer 15 minutes.

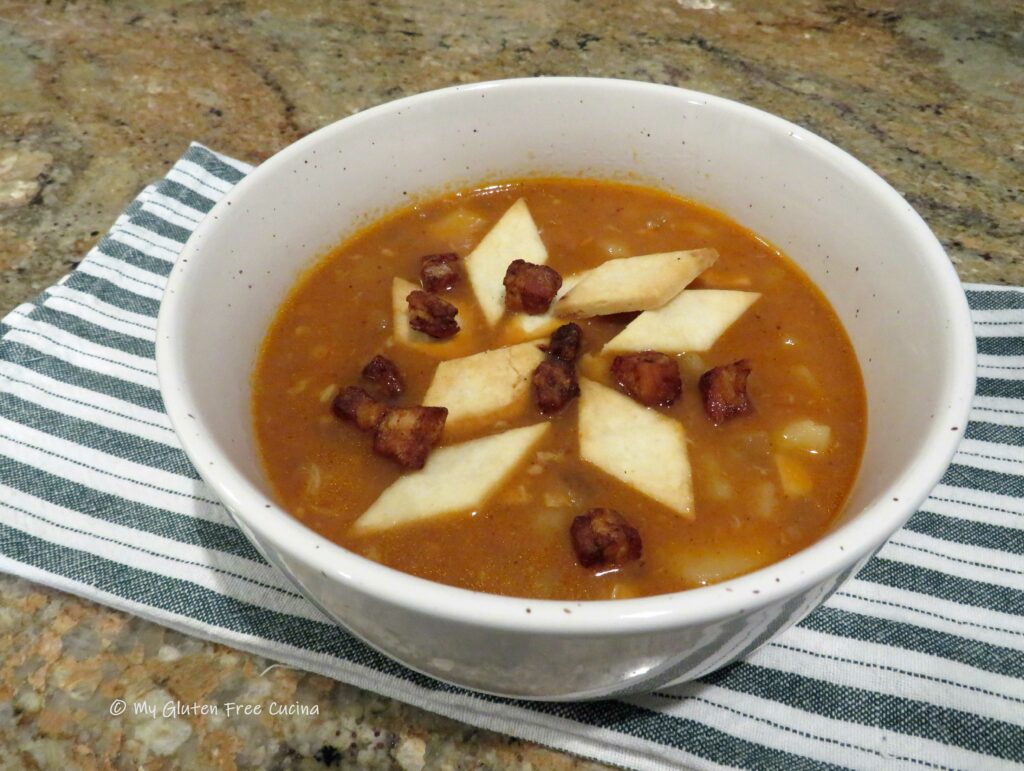
Finally, add the clams, tomato soup and the paprika.  Cook 5 minutes longer (just a simmer, not a rolling boil), season with black pepper and remove from the heat.  Let stand for 1 hour before serving.

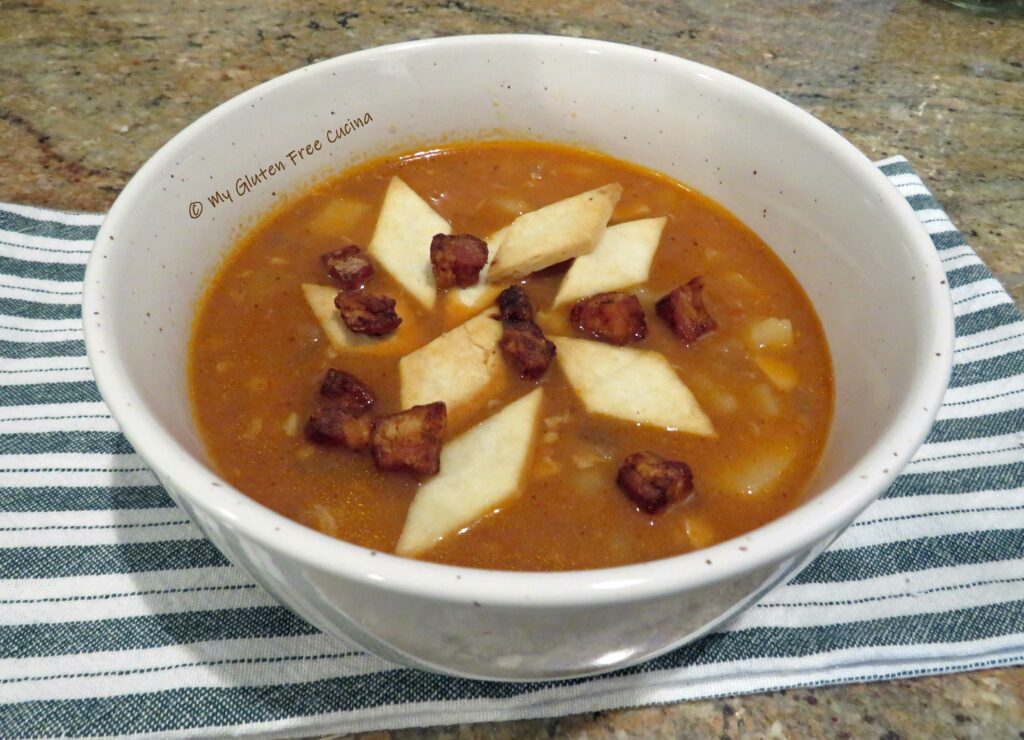
Serve the chowder with a few of the reserved bacon bits for garnish, they really make the flavor pop!  And how about those Oyster Crackers?  Yes, they are from scratch, and they are gluten free!  You’re welcome.

I hope my fellow Rhode Islanders have enjoyed this bit of local nostalgia.  Try the recipe and let me know what you think!  You don’t have to be gluten free, or a local to love this chowder, it is fabulous!

Notes ♪♫ Many red clam chowder recipes call for a can of condensed tomato soup, but don’t reach for the Campbells!  It is not gluten free.  I used Health Valley tomato soup, certified gluten free and no salt added.  It is very good in this recipe, and I used the unsalted because there are so many other salty ingredients.  Always check labels for hidden gluten, and if the salt pork is too much sodium, you can sub a few slices of low sodium bacon.

Originally published 8/31/2018, Updated 5/30/21, Rephotographed 7/16/2024

Print This Post Print This Post

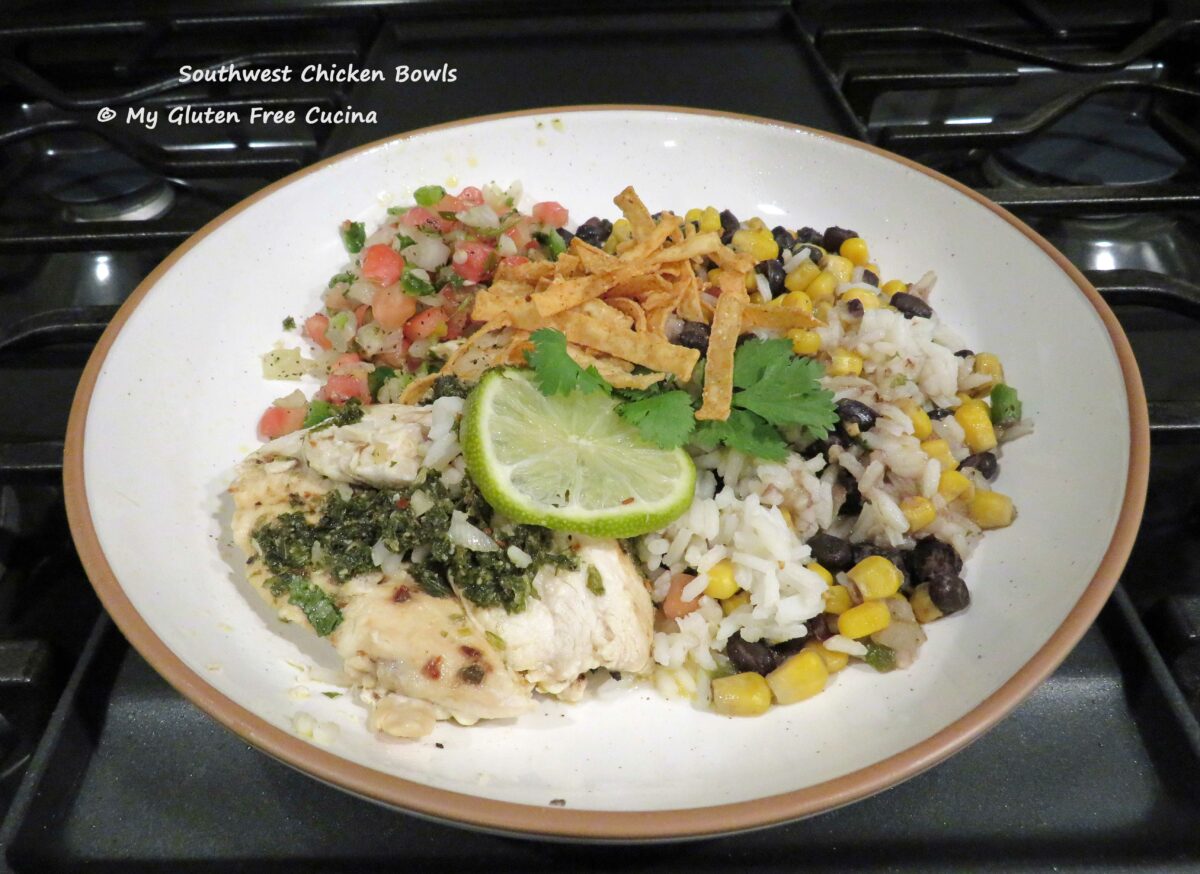
Gluten Free Southwest Chicken Bowls

If you love that popular chain restaurant with the “irresistible” rice bowls, you know that this started out as a copycat recipe.  I love everything about this meal- the chicken and rice, the Pico de Gallo, the beans and corn, and that chimichurri sauce!

So, I used the restaurant entree as my inspiration, but the best part of cooking at home is that you can adapt a recipe to suit your own taste and preferences.  For instance, I left out the lettuce, and added more chicken and rice.  I used way less salt and hold the guac please (am the only person in the world who doesn’t like avocado?).

The verdict, I thought it came really close to the restaurant version, and the recipe was not difficult (shortcuts are ok!).

So, are you ready to cook?  Let’s break it down into easy steps.

4 Servings

This post contains affiliate links.

Ingredients:

Seasoning Blend

  • 1/2 tsp. Cipotle Chile
  • 1/2 tsp. oregano
  • 1/2 tsp. cumin
  • 1/2 tsp. onion granules

Chimichurri

  • 3 tbsp. olive oil
  • 1-1/2 tbsp. red wine vinegar
  • 2 tbsp. chopped fresh parsley
  • pinch red pepper flakes

OR take a short cut and use a chimichurri mix

Pico de Gallo

  • 1 plum tomato, small dice
  • 1/4 cup red onion, small dice
  • 1 tbsp. jalapeno, fine dice

OR take a short cut and use store bought 😉

Cilantro Lime Rice

  • 1 cup white rice (uncooked)
  • 1/2 cup corn (optional)
  • 2 cup water
  • 1/2 tsp. salt
  • 1/4 tsp. spice
  • squeeze of lime juice
  • 2 tbsp. chopped cilantro

Beans and Corn

  • 1 can black beans, drained and rinsed
  • 1 can sweet corn, drained and rinsed
  • 1/4 cup chicken broth
  • 1 tbsp. jalapeno, fine dice (or more, to taste)
  • 2 tbsp. olive oil

Grilled Chicken

  • 1 lb. boneless chicken breasts, thin sliced
  • olive oil
  • seasoning
  • lime juice
  • cilantro for garnish
  • gluten free tortilla strips, for serving

Preparation:

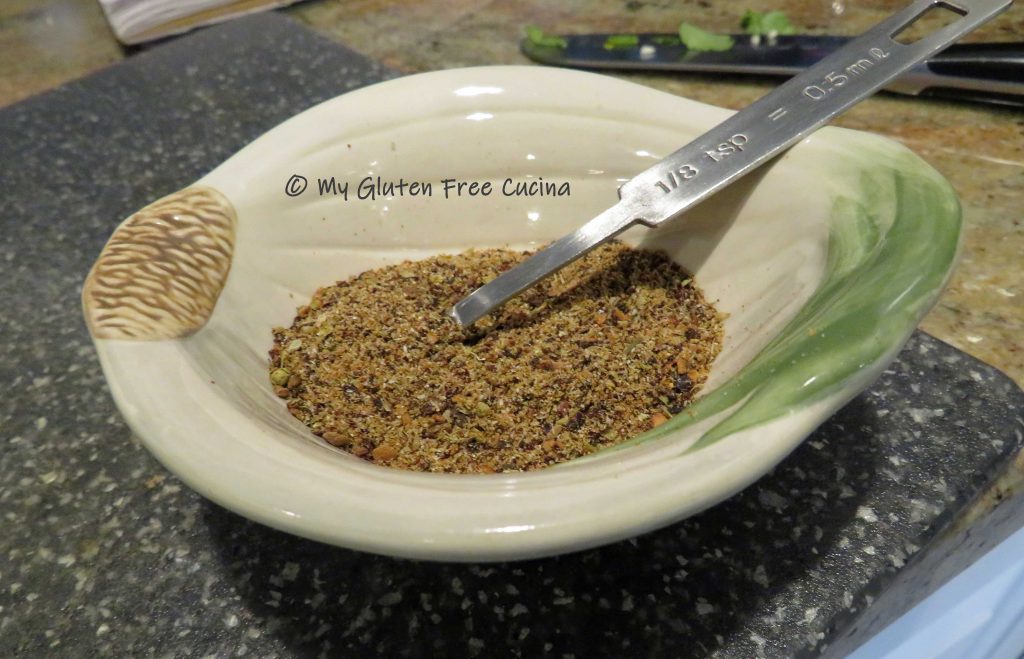
  1. Whisk together the seasoning ingredients.  This is my go-to spice blend for Mexican or Tex-Mex inspired meals.  Read more about it here.  It is bursting with flavor and brings all the components of the recipe together.  You can use as much or as little or you like.

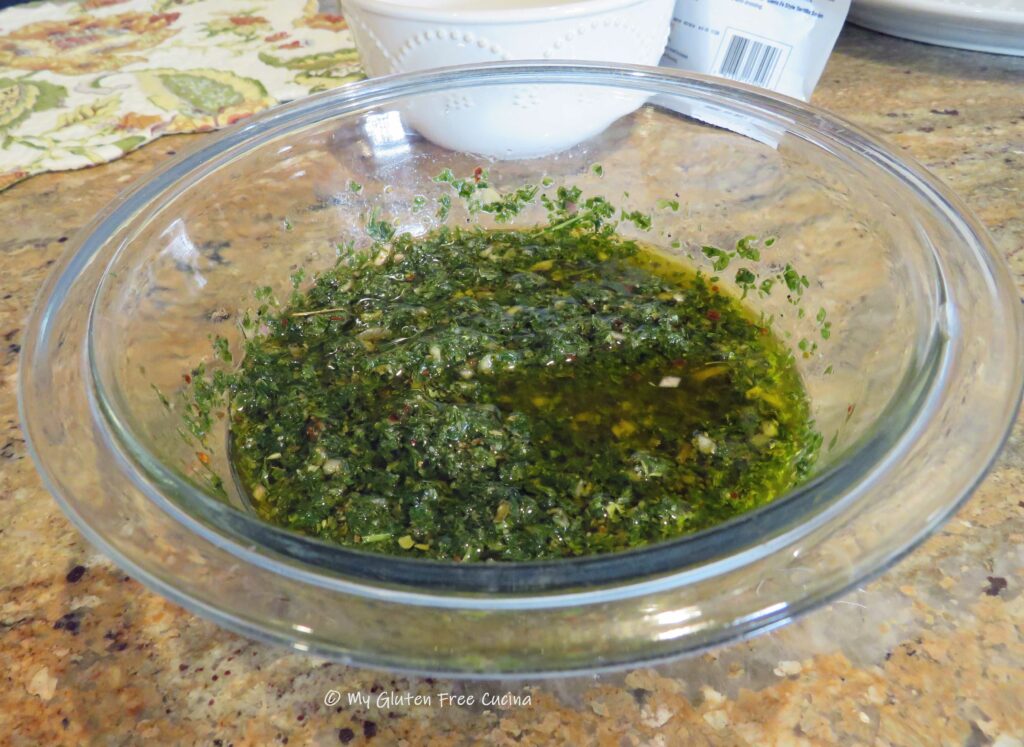
2. Stir together the chimichurri ingredients.  If making from scratch, use kitchen shears to cut the parsley into small mince or for a large batch, you could use an electric chopper.  Be sure to do this ahead of time so the flavors have time to meld.

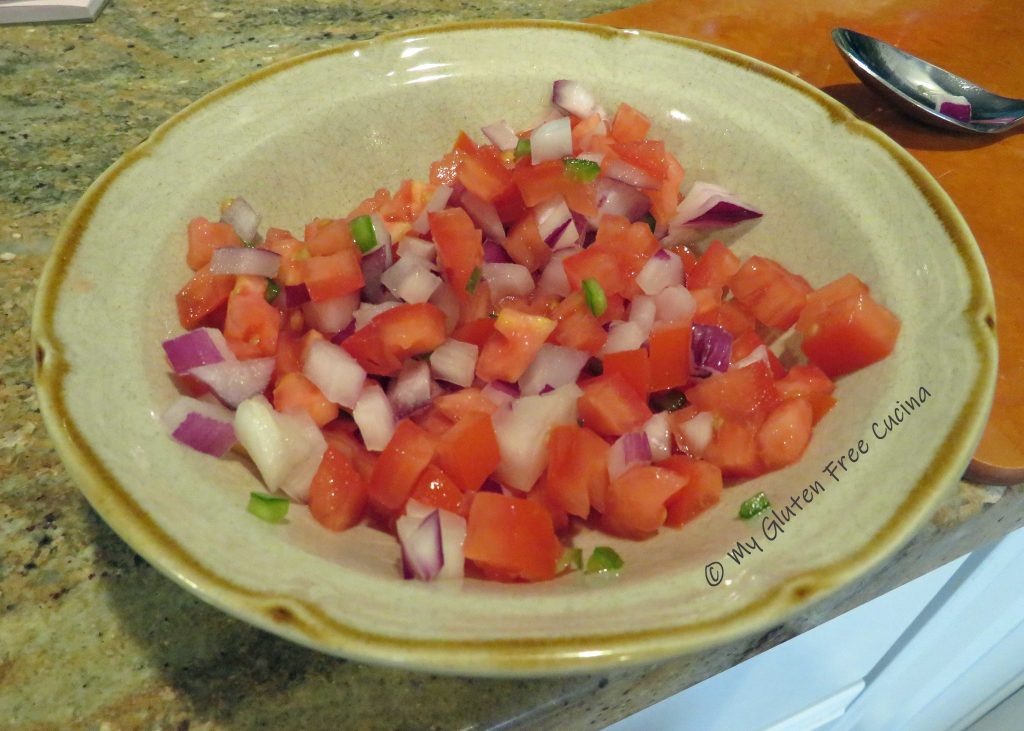
3. For the Pico de Gallo, dice the tomato, red onion and jalapeno and stir together with a squeeze of lime juice.  You can leave it at room temperature or refrigerate.  Score if you found it pre-made at the grocery store!

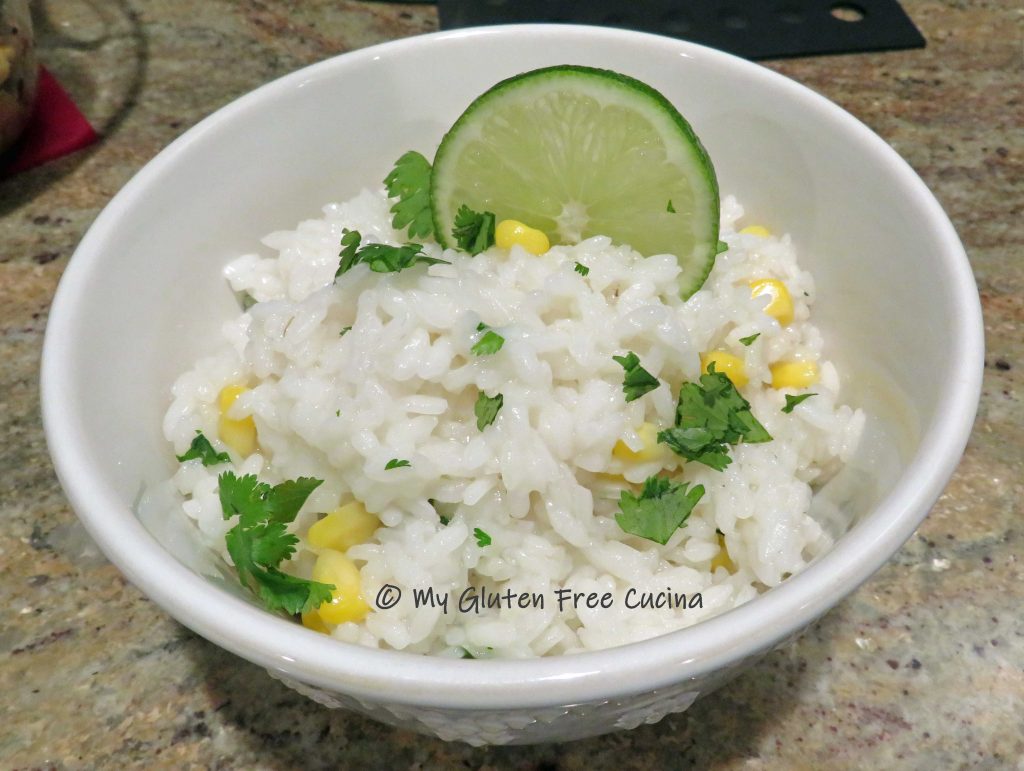
4. Next cook the rice.  Allow 15 minutes cook time and 5 minutes to rest.  Just before serving, stir in chopped cilantro and a squeeze of lime.

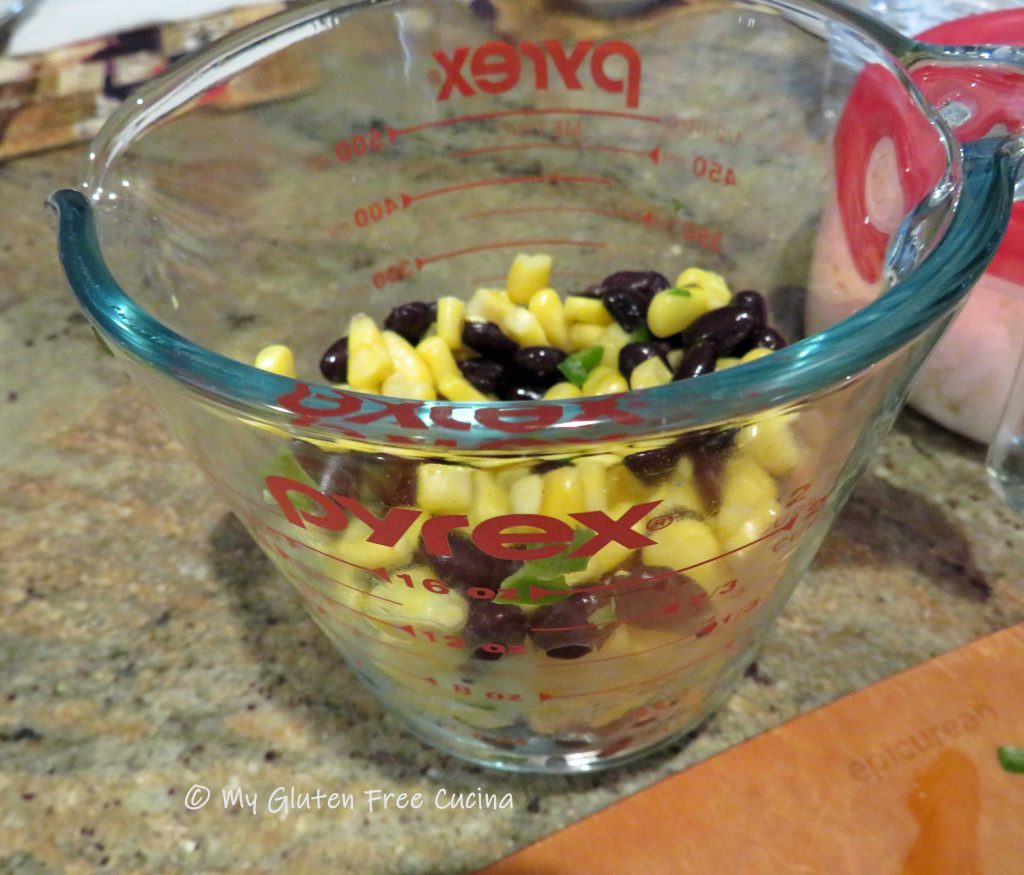
5. Drain and rinse the corn and beans.  In a small saucepan, stir together the corn, beans, olive oil, chicken broth and jalapeno.  Warm over low heat for 15-20 minutes.

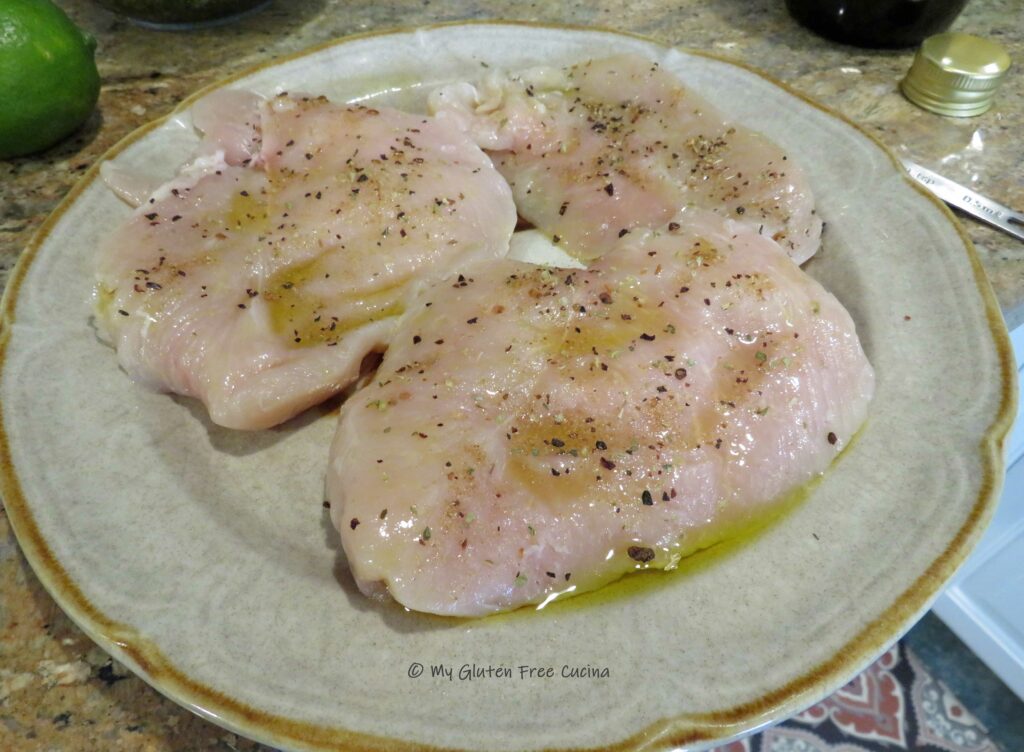
6. Now for the final step, it’s time to cook the chicken breast.  Brush each breast with olive oil and sprinkle seasoning on both sides.  Heat a grill pan over medium heat.

Cook for 8-10 minutes depending on thickness, turning halfway.

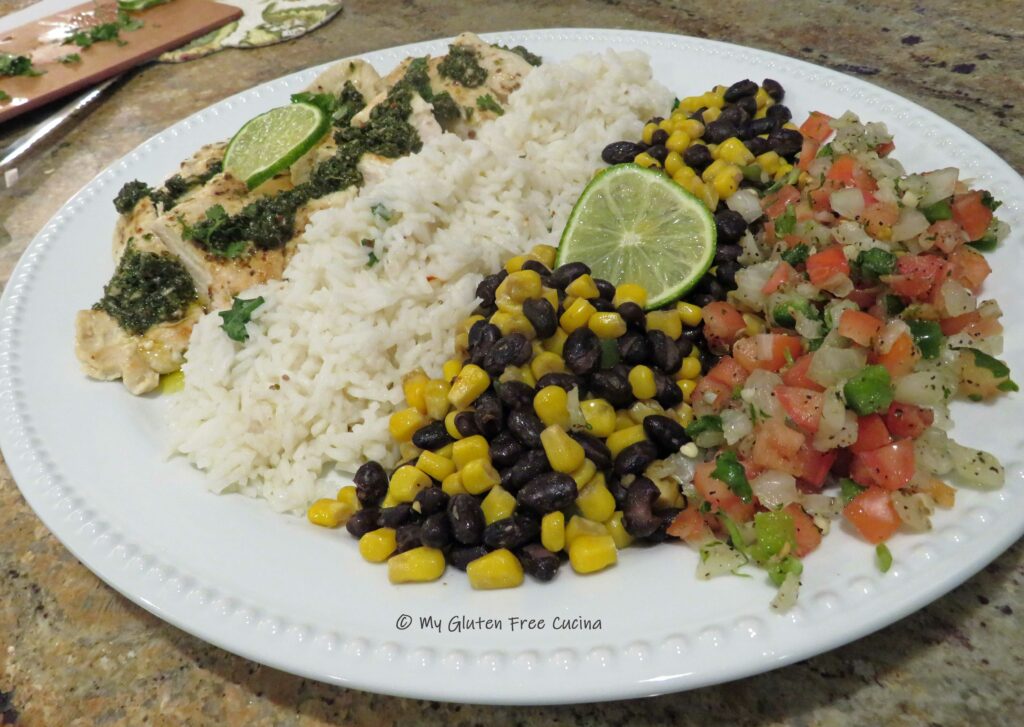
Here’s how I served it.  I sliced the chicken breast and arranged it down one side of a platter.  I layered the rice in the center, beans and corn next, and finally the Pico de Gallo.  I drizzled the chimichurri sauce over the chicken and garnished with lime slices.  For the table, I had extra chimi sauce for serving along with gluten free tortilla strips.

Let everyone make up their bowls with a little bit of everything and drizzle more chimi sauce over the top.  Garnish with tortilla chips.  Adult beverages optional!

Notes ♪♫ When you cook from scratch at home, you have full control over your food and ingredients.  You will not have to weigh the risk of ordering from the “Gluten Sensitive” or “Gluten Friendly” menu or worry if kitchen and serving staff are trained to understand gluten free.  These bowls are absolutely, positively safe and delicious!

Print This Post Print This Post

Gluten Free Chicken Piccata Quick Toss

Do you love Chicken Piccata?  Get all the big restaurant flavor of this classic dish with a few shortcuts that will have dinner on the table in 20 minutes, minus the gluten!

Diced chicken tenders replace cutlets in this express recipe.  Perfect for those busy weeknights when you just want to get dinner on the table, tastes like you’ve been cooking for hours! ❤️

Dinner for two

This post contains affiliate links.

Ingredients:

  • 1/2 lb. chicken tenders, cut into chunks
  • 6 oz. gluten free pasta
  • 4 tsp. olive oil, divided plus more for finishing
  • 4 tsp. butter, divided
  • 1 shallot, minced
  • 2 garlic cloves, minced
  • zest and juice of 1/2 lemon
  • 1 tbsp. arrowroot flour
  • 1/4 cup white wine (not cooking wine)
  • 1/2 cup gluten free, low sodium chicken broth
  • salt and pepper
  • 1 tbsp. small capers (more if you like)
  • Italian parsley for garnish
  • grated cheese

Preparation:

Cook the pasta for 2 minutes less than the package directions, drain and set aside.

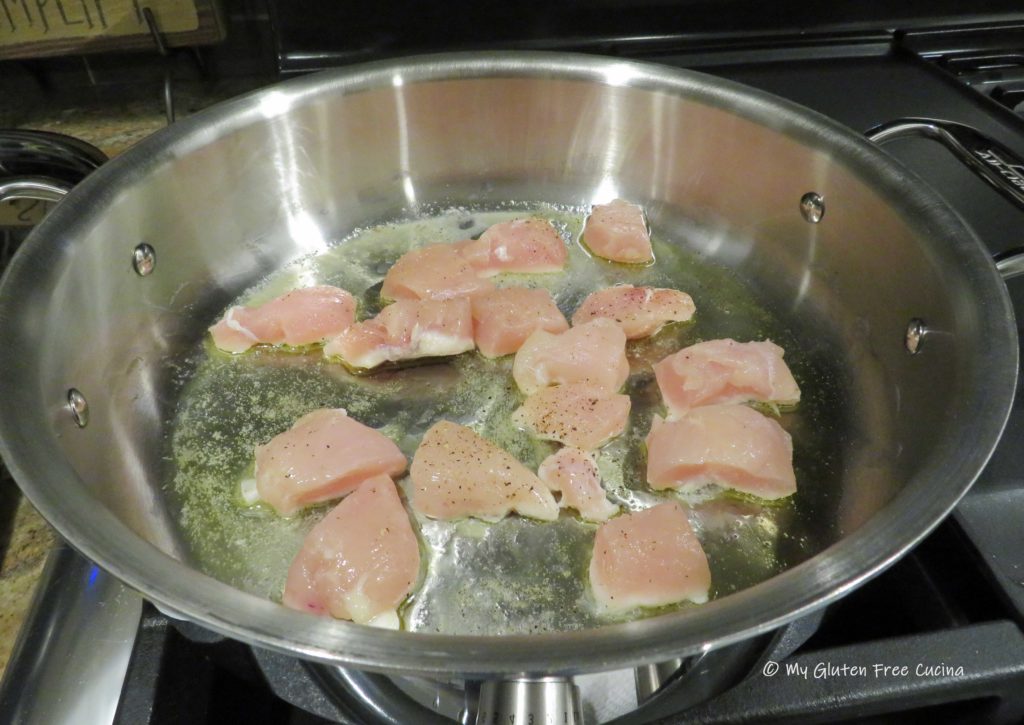
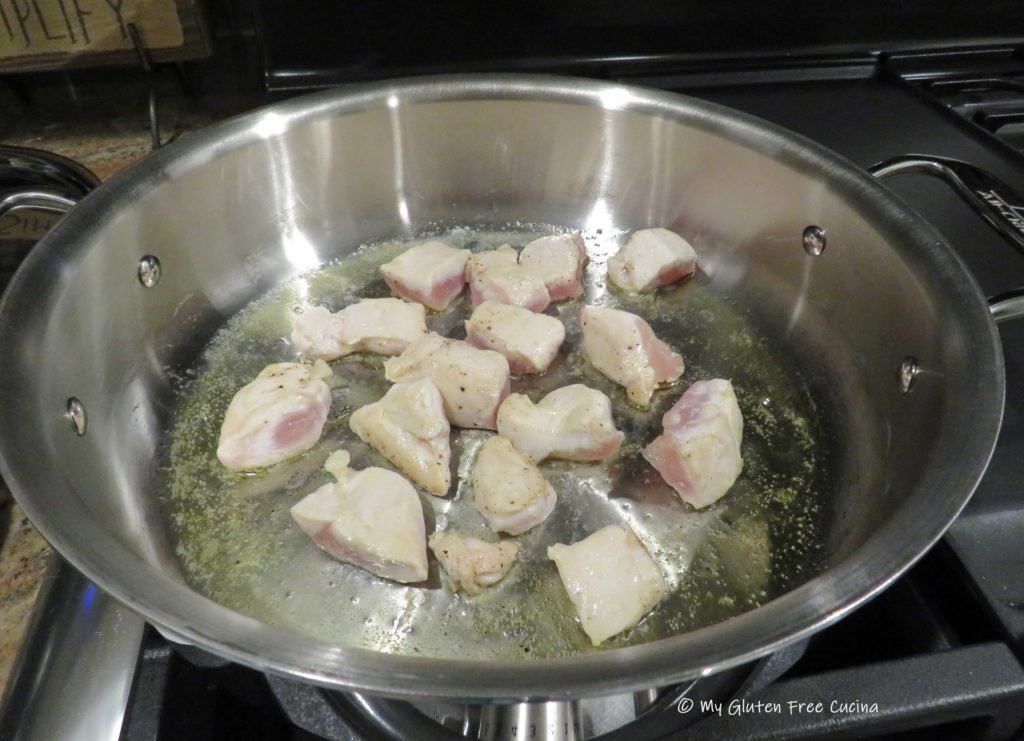
Use a large stainless-steel skillet to brown the chicken in 2 tsp. each of butter and olive oil.  Season with salt and pepper.  Don’t crowd the pan, if it doesn’t fit then make 2 batches.

Notice the chicken isn’t quite cooked through at this point, it will finish in the sauce at the end.

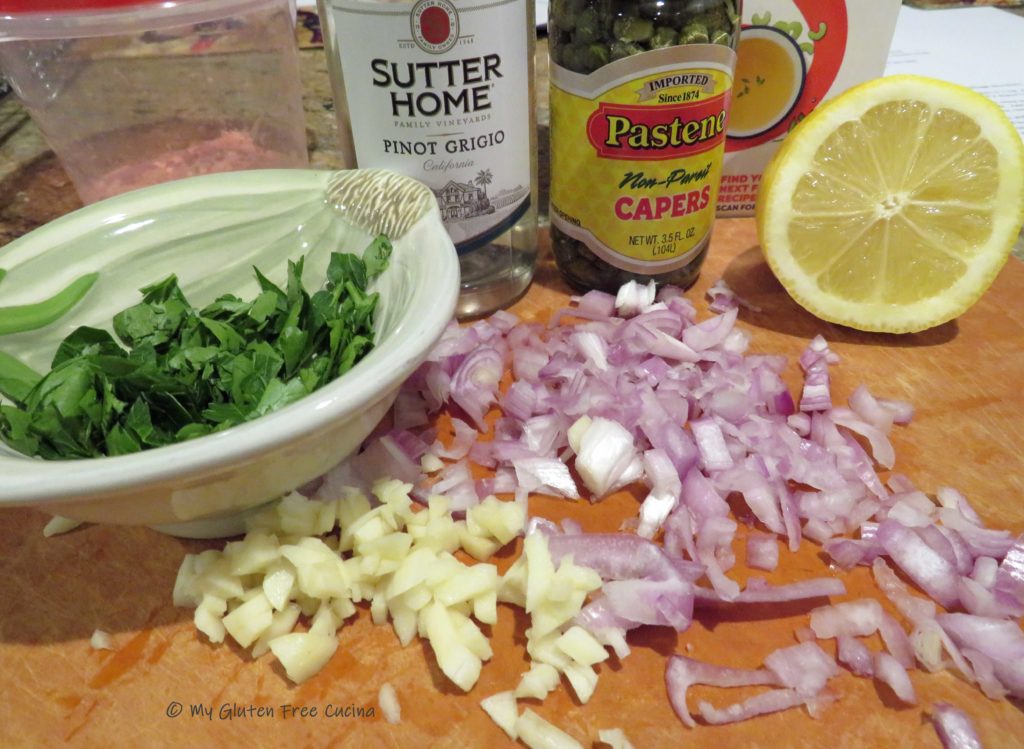
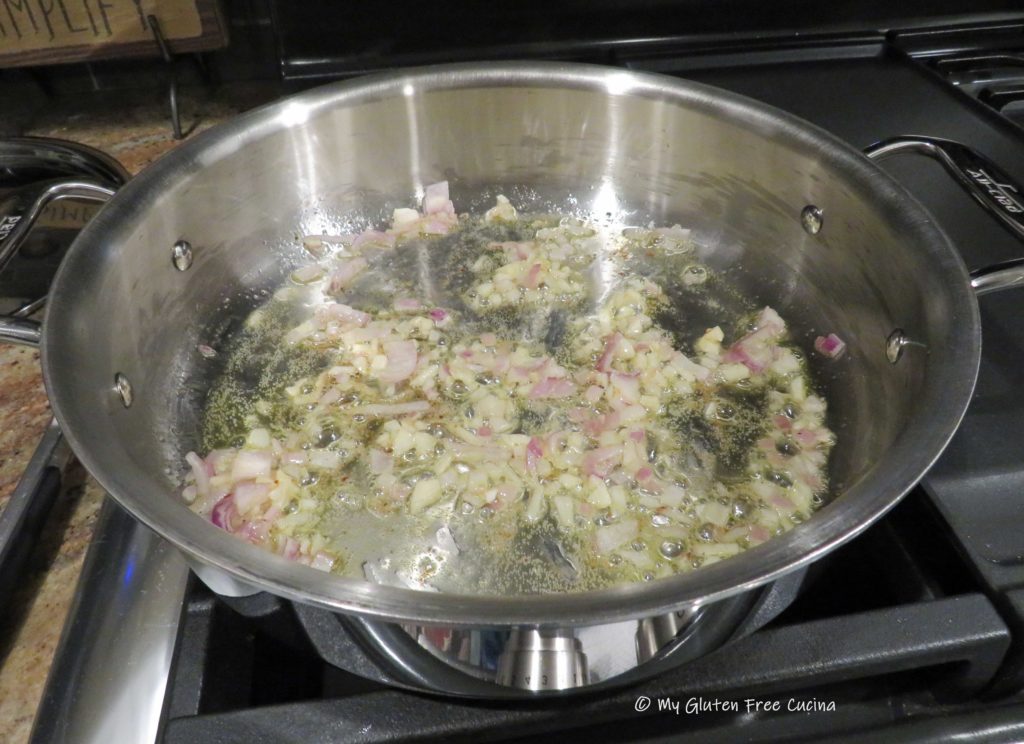
Transfer the chicken to a bowl and set aside, keep warm.  Add the remaining 2 tsp. each of butter and olive oil.  Add the shallots and garlic and cook for 1-2 minutes stirring constantly.

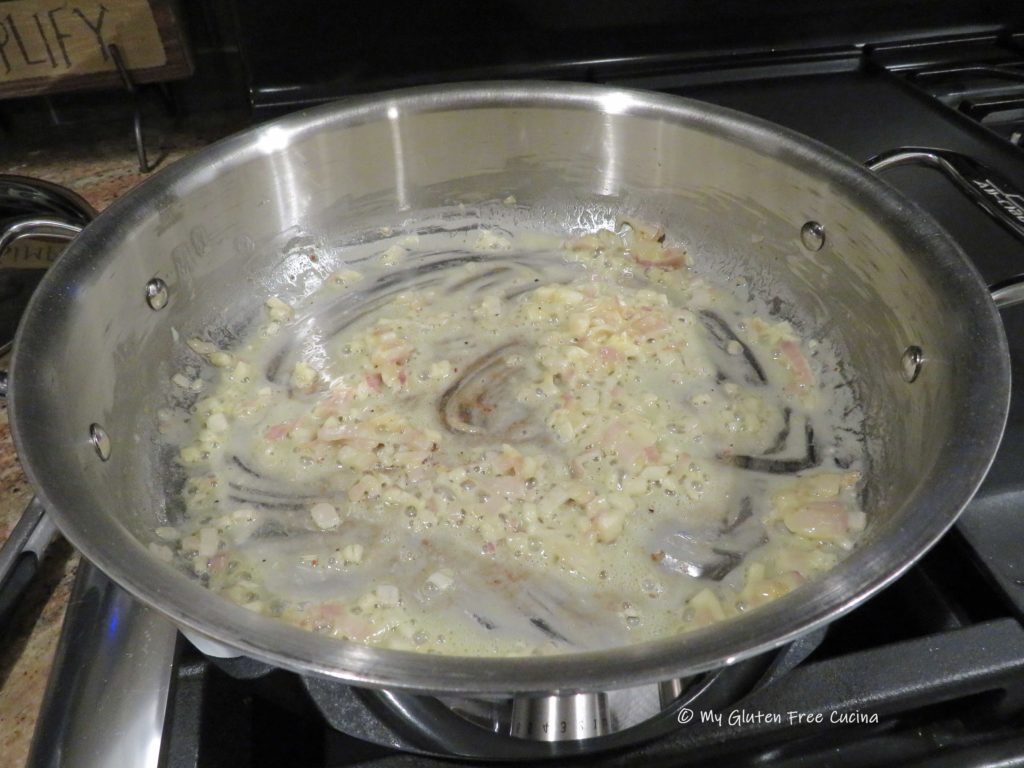
Be ready with the wine, lemon juice and chicken broth.  Sprinkle the flour over the shallots and garlic and whisk continuously.

Drizzle the liquid into the pan as you continue whisking.
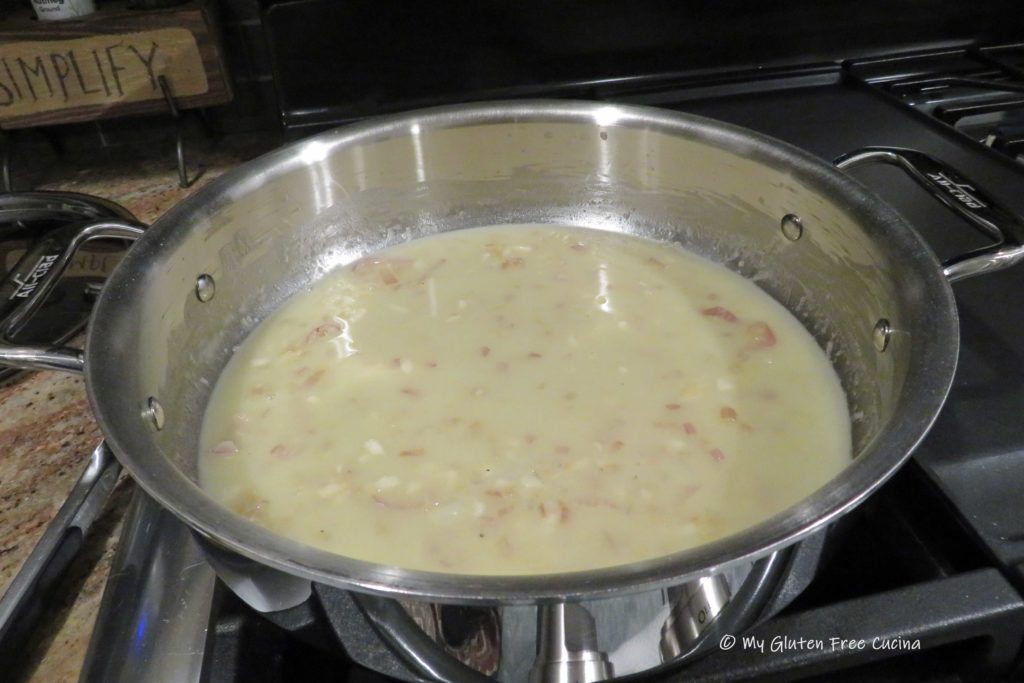
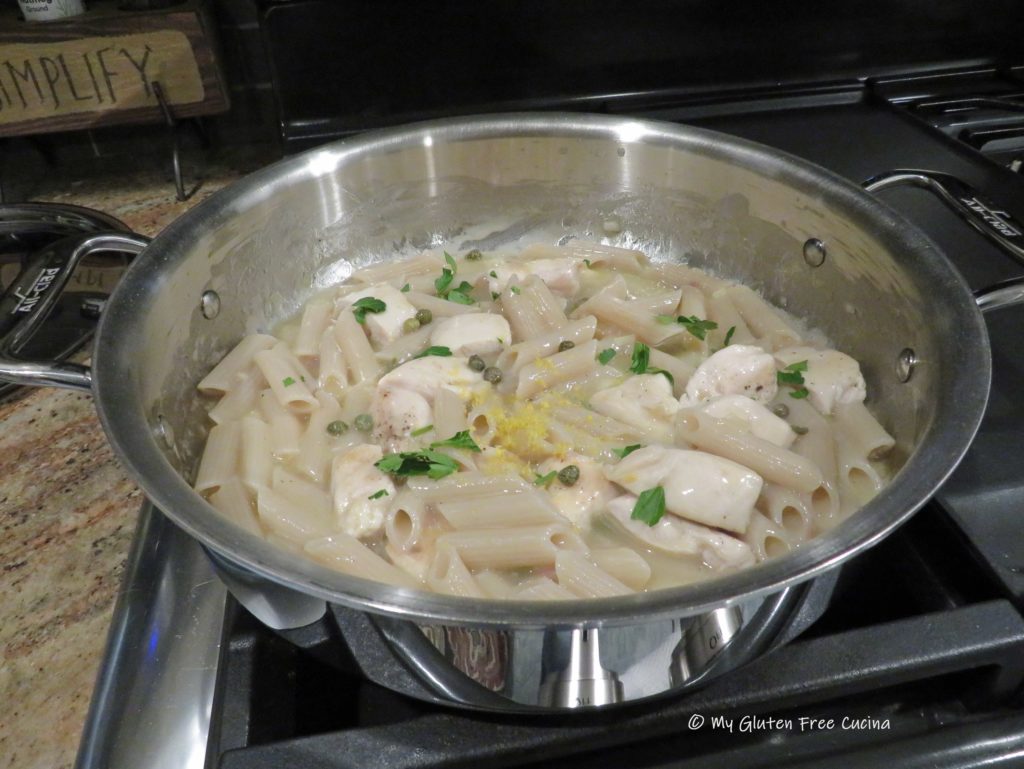
Return the chicken and pasta to the pan and toss to heat through. Cook for several minutes, the liquid will thicken as it comes to a simmer.  Stir in the capers and lemon zest at the very end.

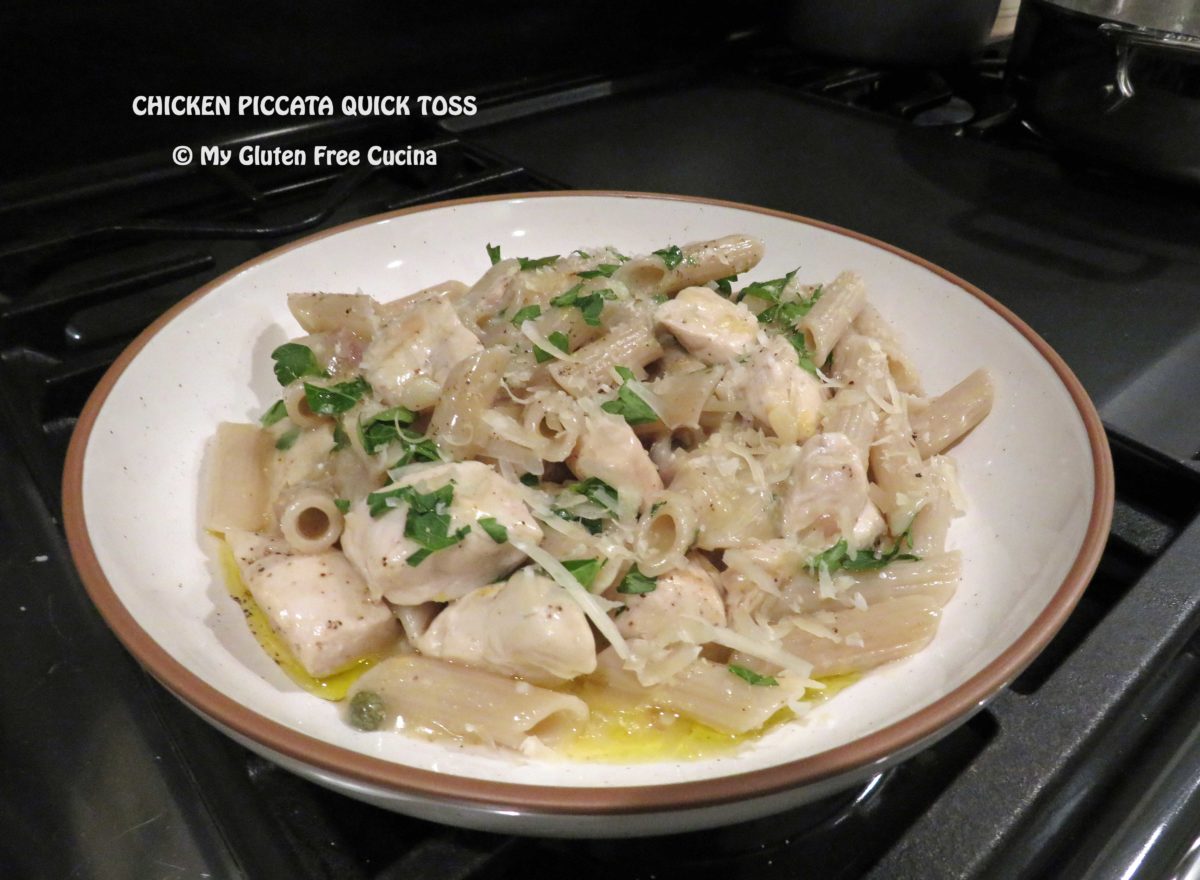
To finish, transfer to a serving bowl and drizzle with more olive oil, then garnish with Italian parsley and a little grated cheese.

Yum, how good does that look?  I love this kind of meal for busy weeknights.  Open a bottle of your favorite white wine for this recipe, and then pour a glass for the cook!

Notes ♪♫ I love arrowroot flour for thickening.  It makes a lump free roux every time and I use it in some of my flour blends for bread baking as well.  It’s something I always have on hand in my gluten free pantry!

Print This Post Print This Post

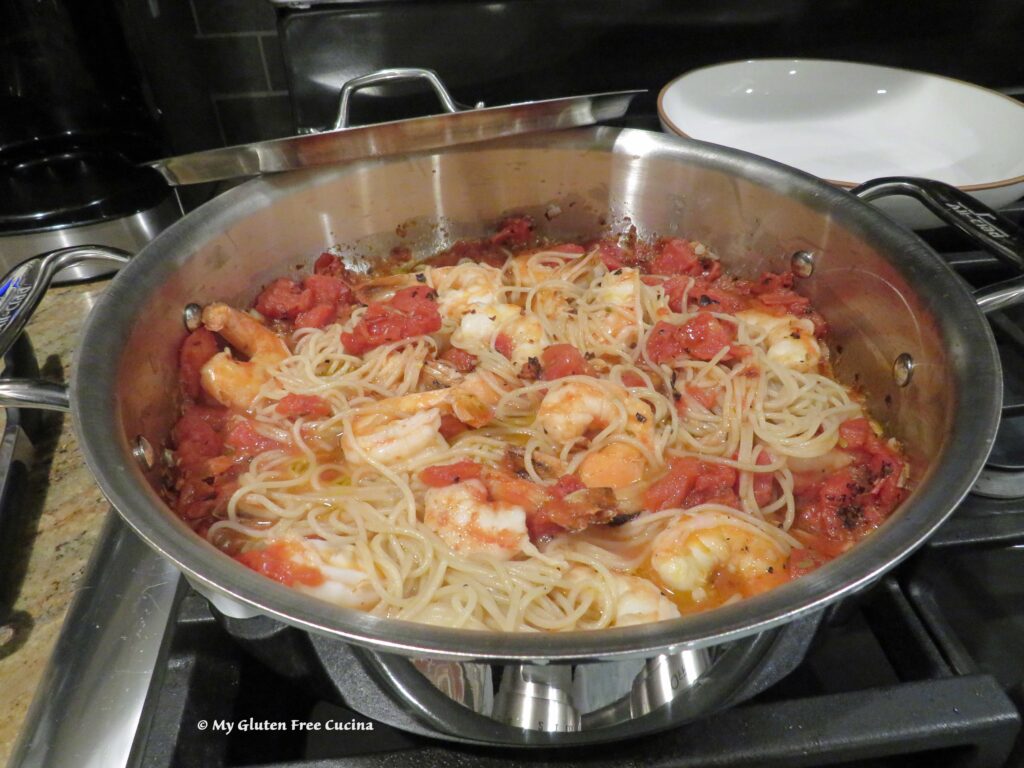
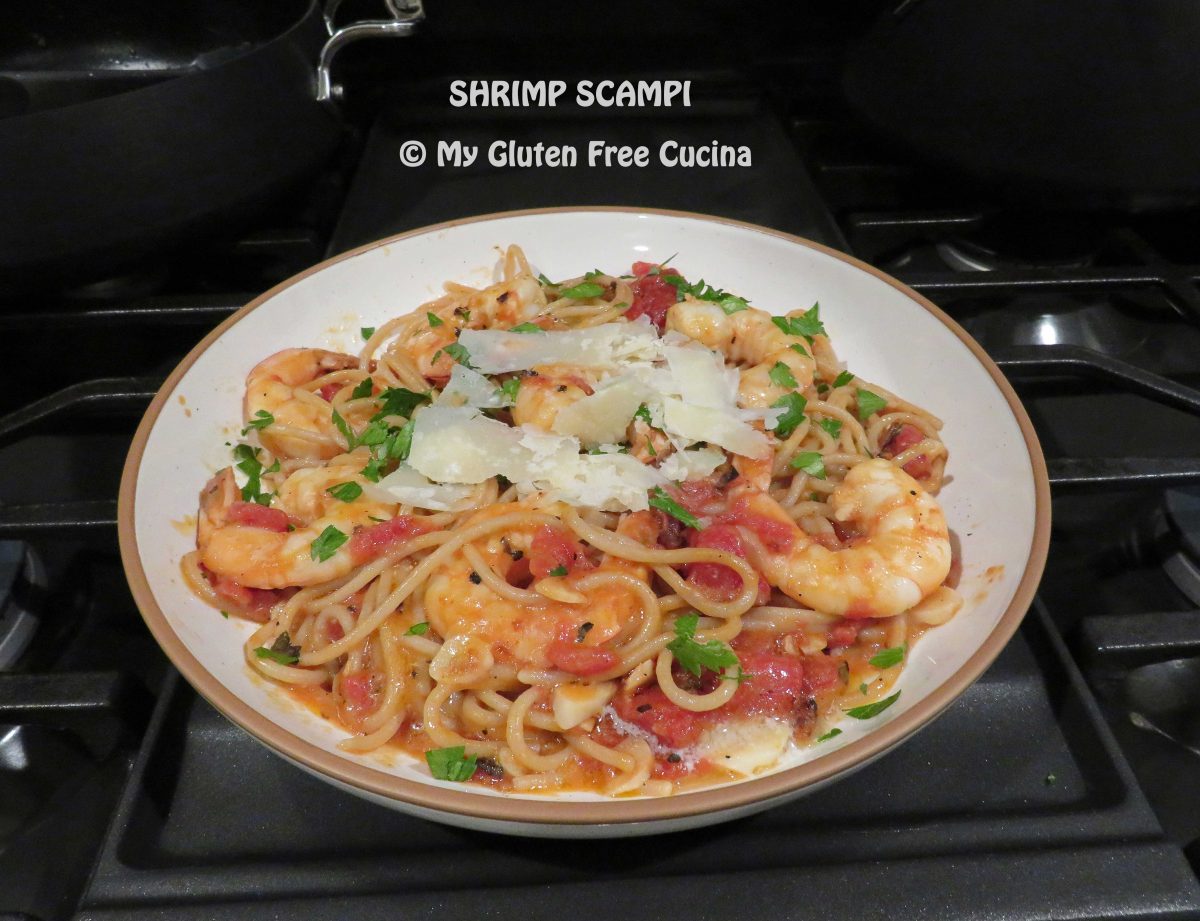
Gluten Free Shrimp Scampi

Sometimes you have a meal in a restaurant, and it just sticks in your mind until you finally take the time to recreate it at home.  This is one of those meals.  I love seafood pasta and Shrimp Scampi has to be at the top of my list for all-time favorites.

Did you know this dish is super-fast and easy to prepare?  Yes, a five-star dinner that is quick enough to make on a weeknight!

Dinner for two

This post contains affiliate links.

Ingredients:

  • 2 garlic cloves, sliced thin
  • 1/8 tsp. red pepper flakes
  • 2 tbsp. olive oil
  • 1 cup (about half of a 14.5 oz. can) fire roasted diced tomatoes
  • 1/2 lb. large shrimp, peeled and deveined
  • 1/2 tsp. sea salt
  • 2 tbsp. white wine
  • 2 tsp. lemon juice
  • 2 tbsp. unsalted butter
  • 4 oz. gluten free spaghetti
  • 2 tbsp. shaved Parmigiano Reggiano
  • 1 tbsp. chopped Italian parsley

Preparation:

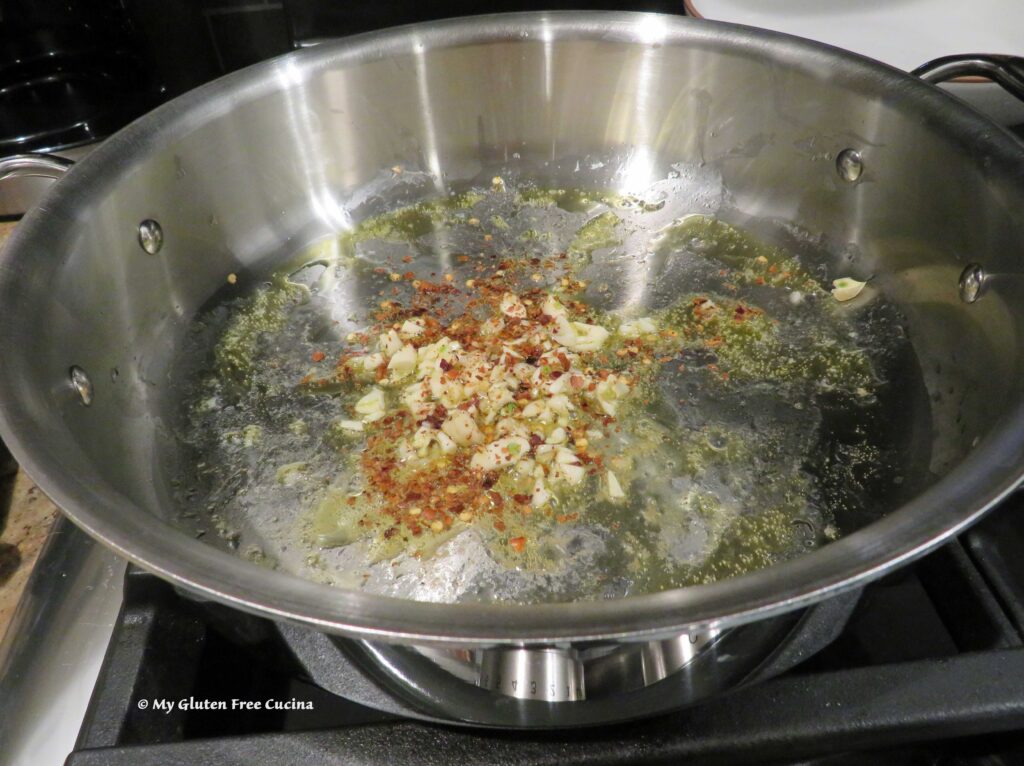
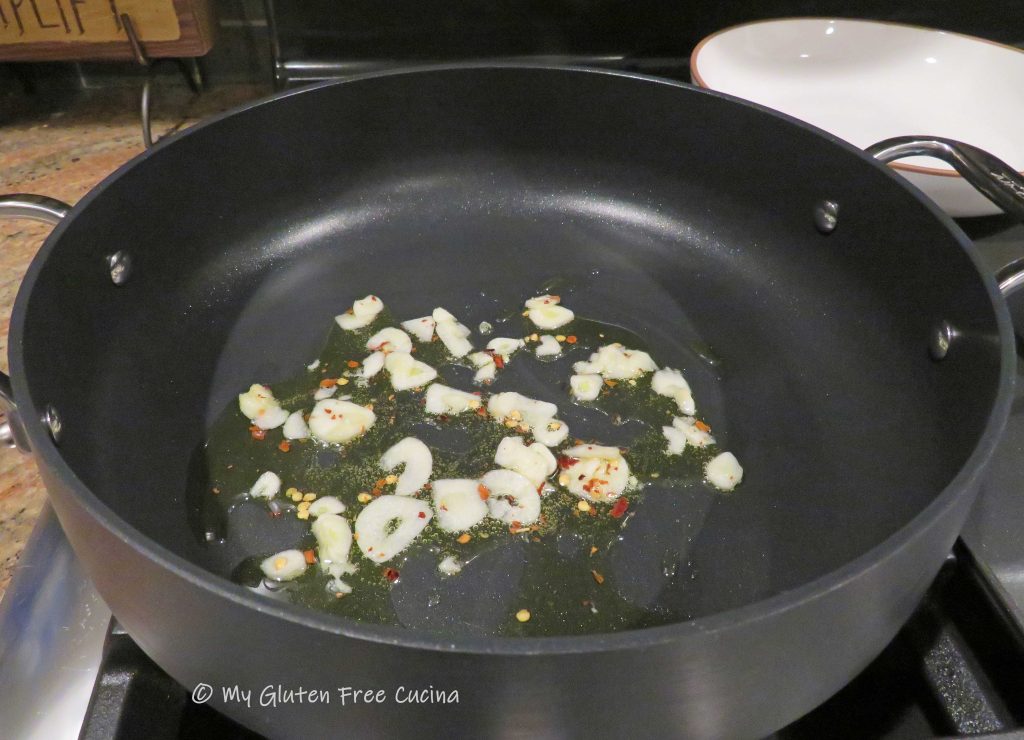
Heat the olive oil in a nonstick deep skillet or Sauteuse Pan.  Add the sliced garlic and red pepper flakes.  Cook for 30 seconds.

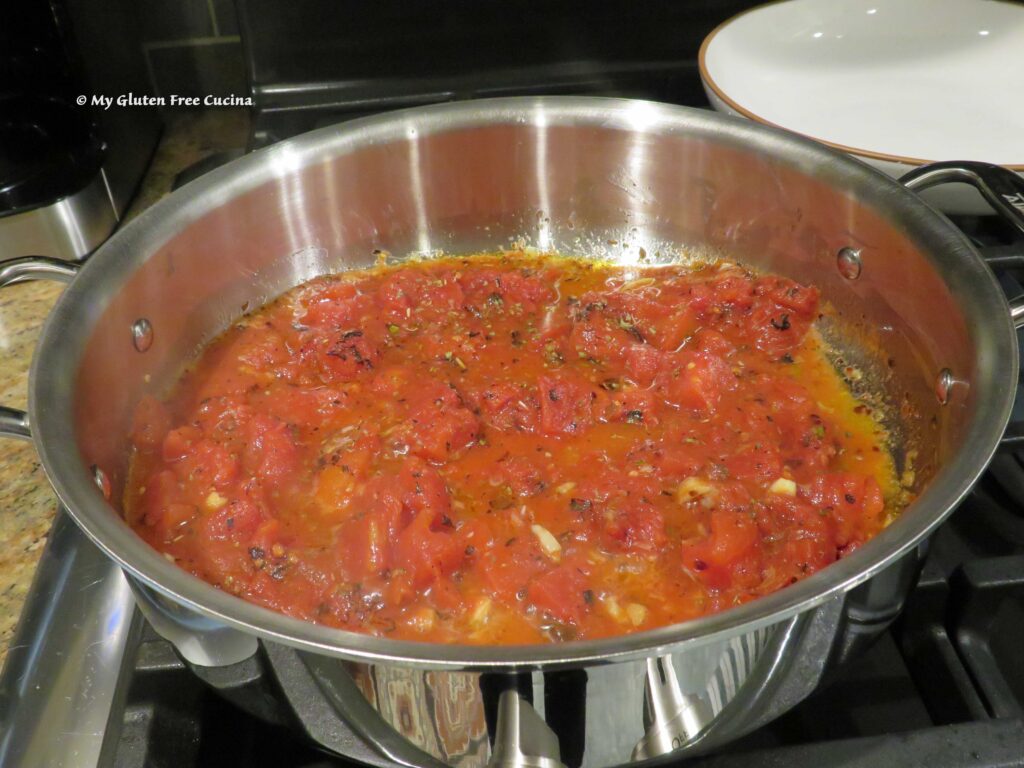
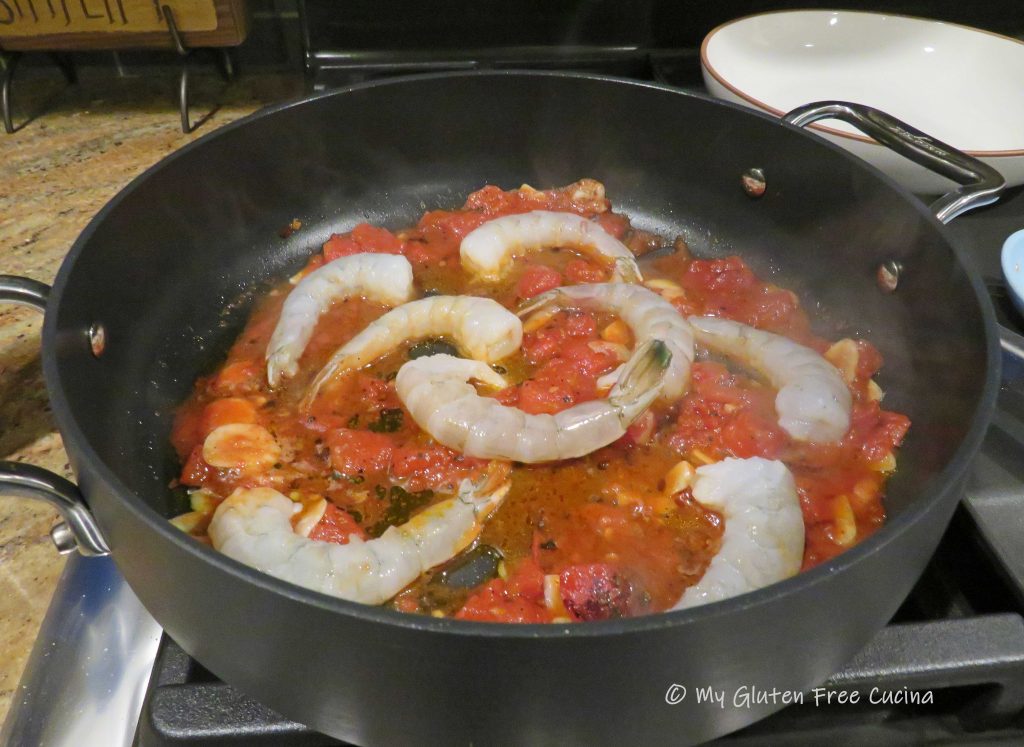
Add the tomatoes, salt, and wine.  Simmer 10 minutes.  Heat a large pot of salted water for the spaghetti and bring to a boil.  Add the spaghetti and set your timer for 1 minute less than the package directions.

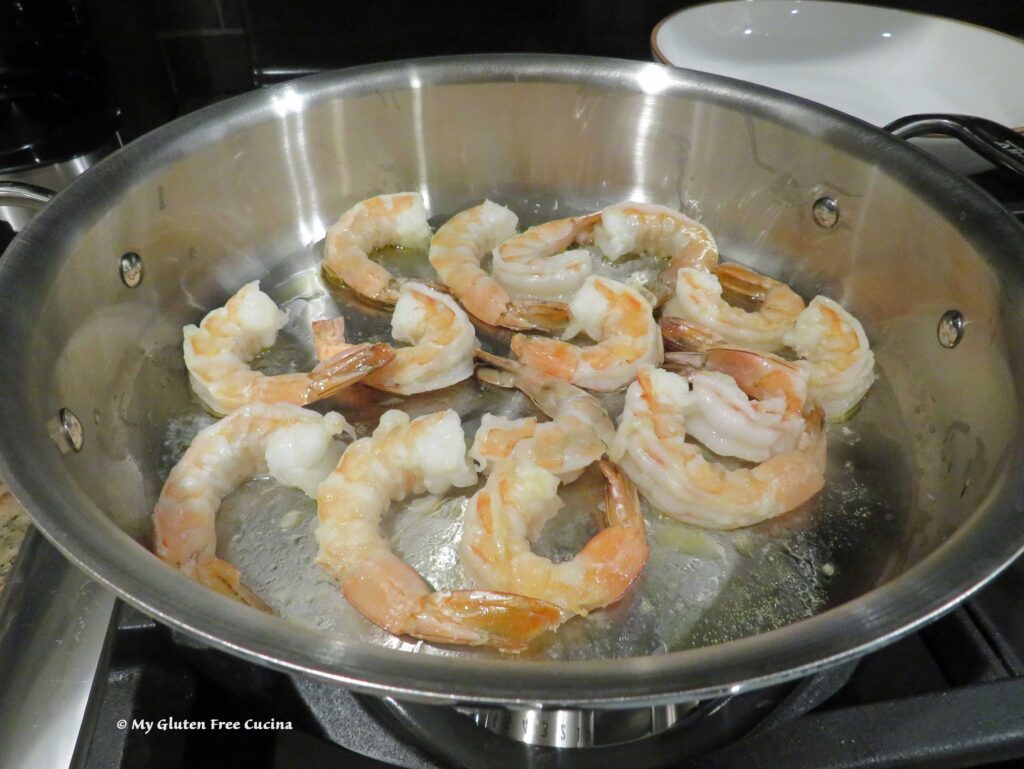
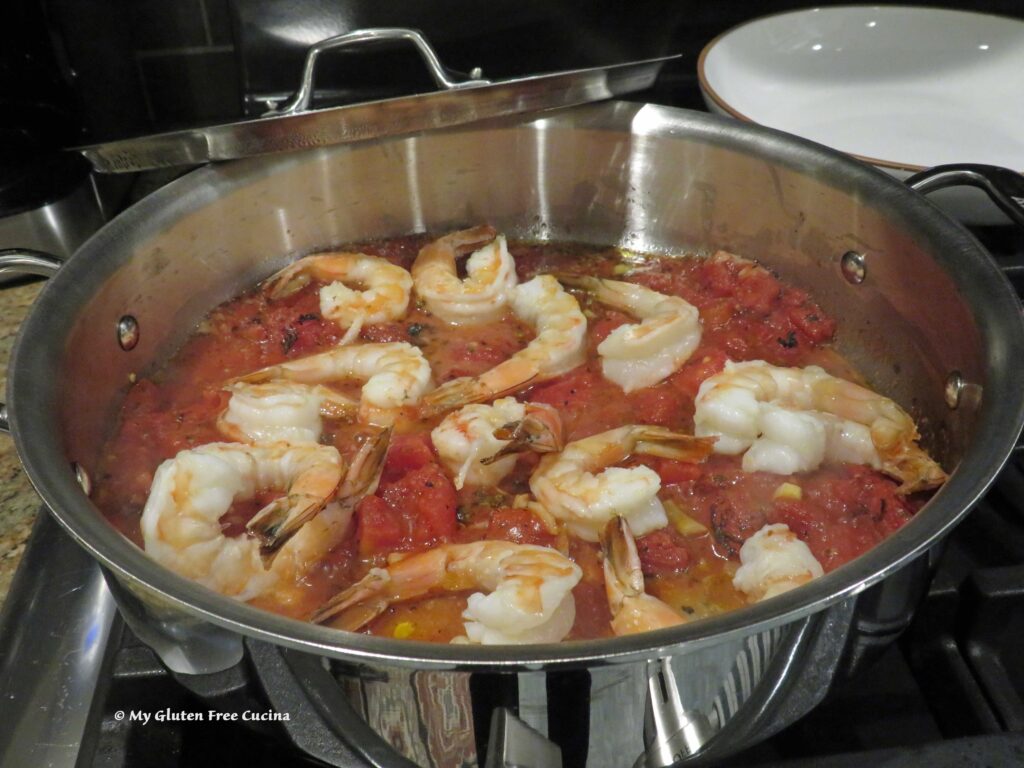
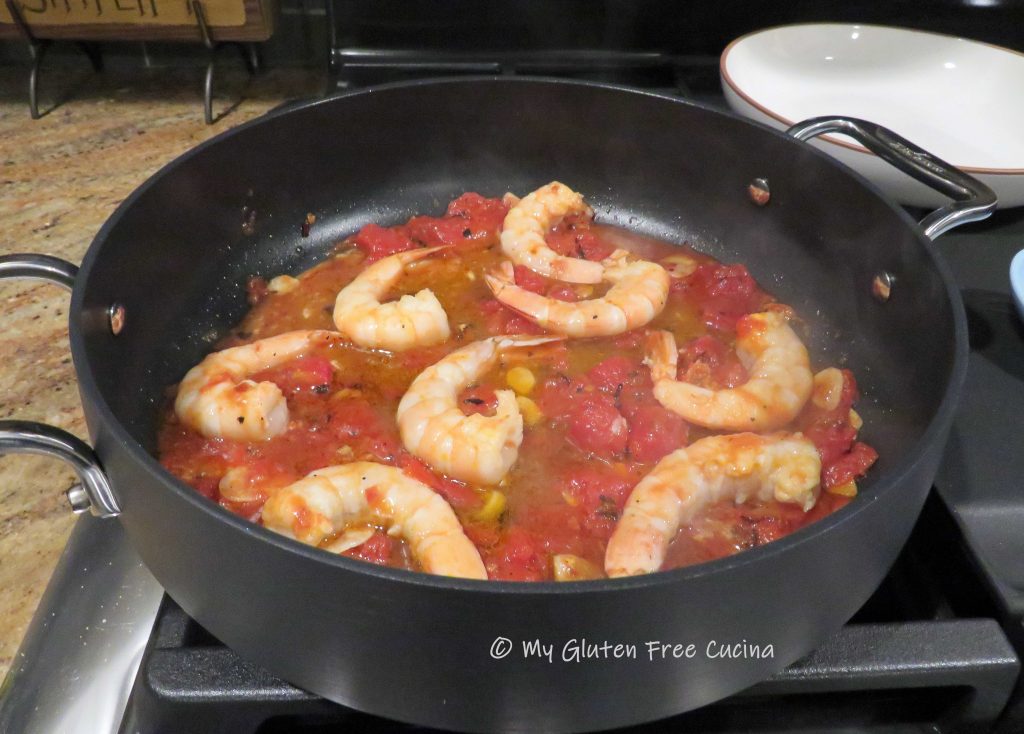
When you have 8 minutes to go on the spaghetti, add the shrimp to the sauce with the lemon juice.  Cook for 3 minutes then turn to finish.

Drain the spaghetti and add it to the pan with 2 tbsp. unsalted butter.  Cook for 1 minute longer to marry the flavors.

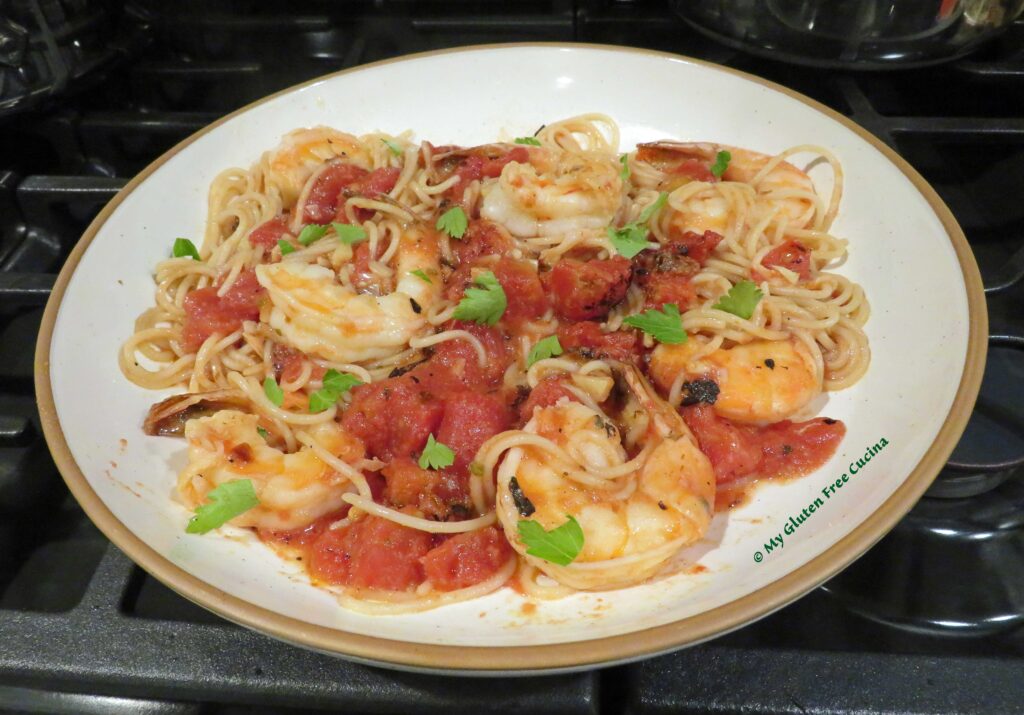
Transfer to a serving bowl and garnish with fresh Italian parsley and shaved Parmigiano.

Notes ♪♫ I know the food police will say that combining cheese with seafood flies in the face of Italian culinary tradition.  But when I had this dish at a restaurant, it came topped with Parmesan shavings and let me tell you it was out of this world!  Use the good stuff, real Parmigiano Reggiano, shaved fresh right before serving.  I am 100% Italian and trust me, it’s wonderful.

Print This Post Print This Post

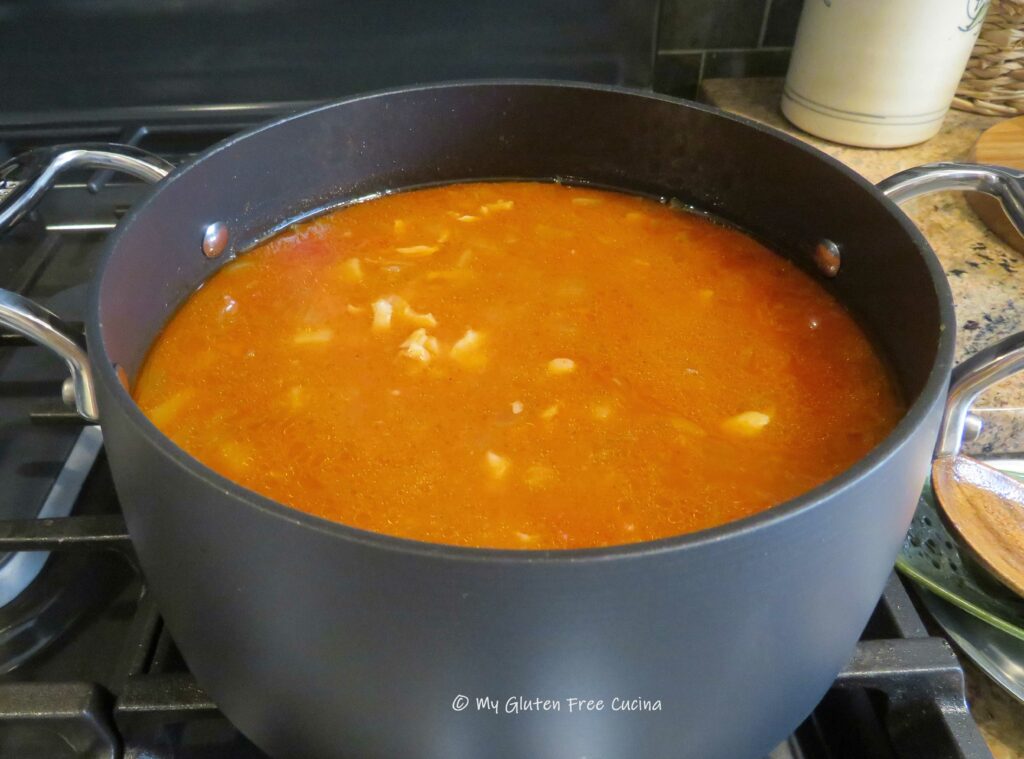
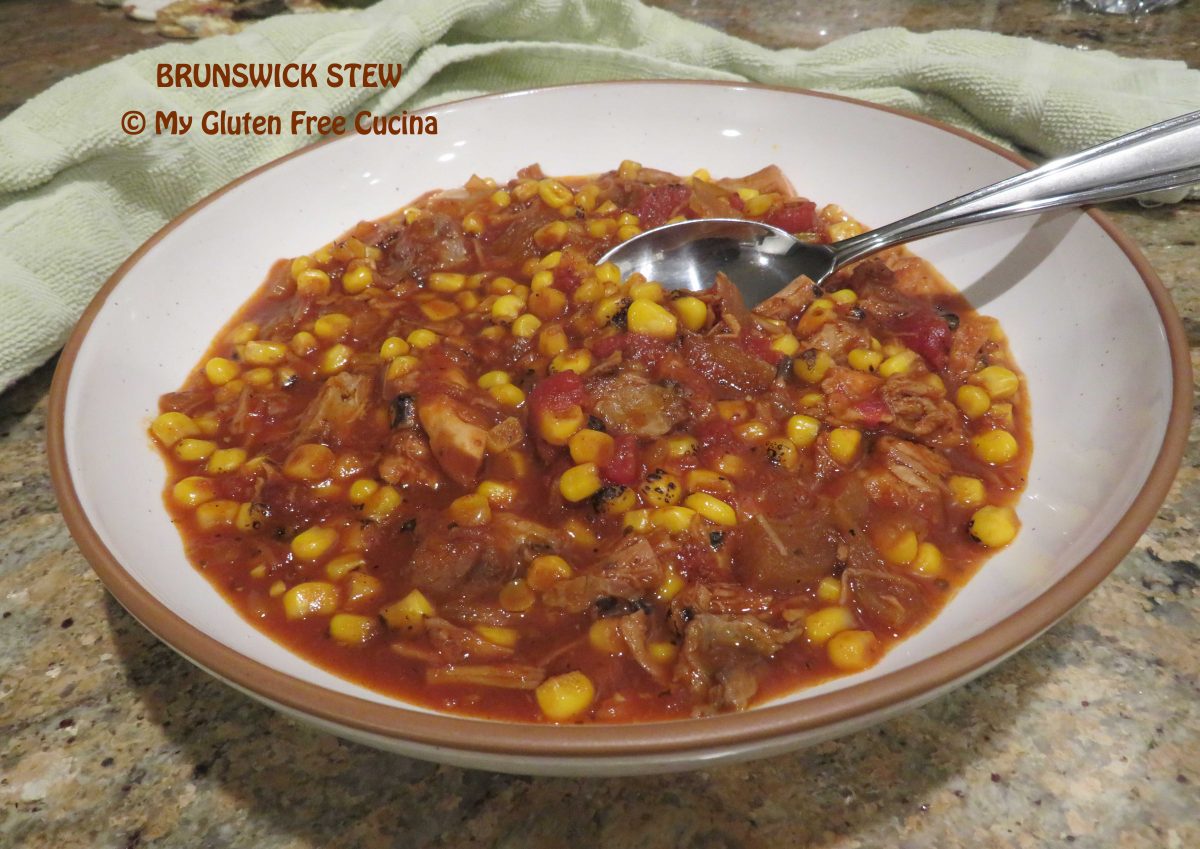
Gluten Free Brunswick Stew

Restaurants have long known the secret, that today’s leftovers can be reinvented into tomorrow’s soups and stews.  It eliminates waste and makes good economic sense too.  I try to follow this principle in my own kitchen by using every last bit of food so that nothing goes to waste.

Brunswick Stew was always a restaurant favorite of mine.  This thick, spicy stew is the ideal way to use up leftovers.  So, whenever I make pulled pork, I put aside some of the meat to make this easy stew.  I add chicken as well, and the rest of the ingredients are pantry staples.

I’m excited to tell you that no oddball ingredients were needed to make Brunswick Stew gluten free.  Of course, when dining out always check with the kitchen to be sure it is safe to order.  At home, you know what to do.  Check labels when using canned products, condiments and seasonings.

 This post contains affiliate links.

Ingredients:

 Preparation:

Shred 3 cups total of leftover pulled pork and/or chicken.  I used 2 cups of leftover pulled pork and 1 cup cooked chicken (meat from one leg quarter).  Look it over carefully to be sure there are no bones.  I also removed most of the visible fat.

In a 4 qt. nonstick soup pot, heat olive oil and butter until melted.  Add the diced onion and cook until translucent.

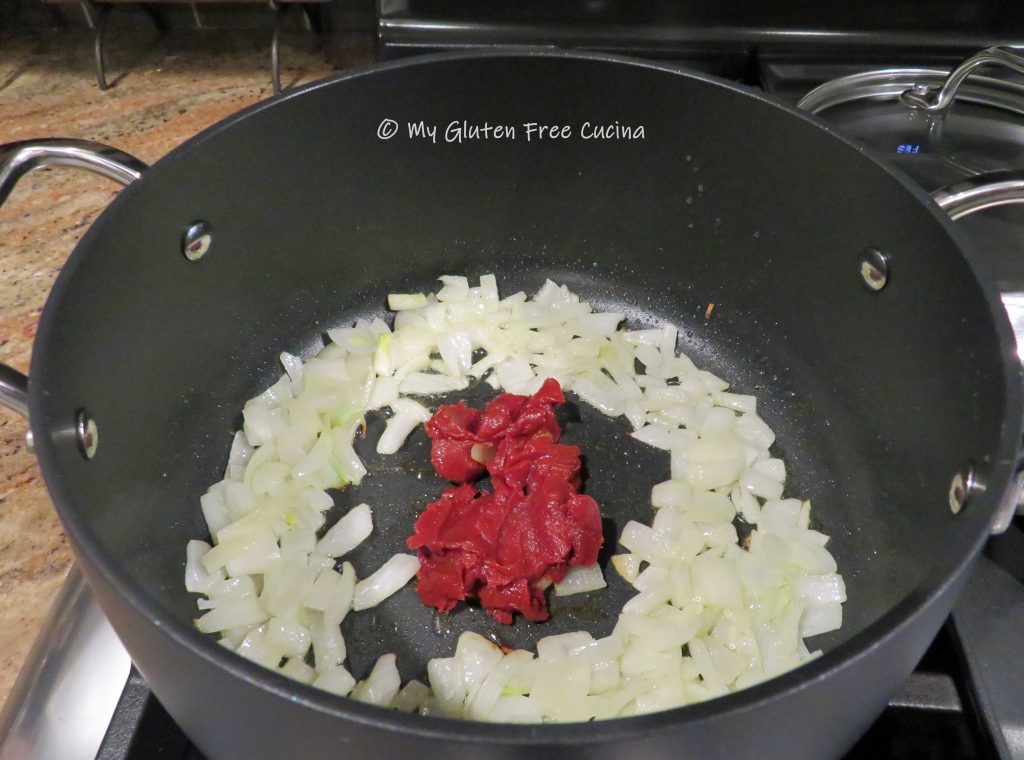
Make a space in the center of the pan and add the tomato paste.

Let it toast for a minute then add the stock, tomatoes, BBQ Sauce, brown sugar, Worcestershire sauce and seasonings.
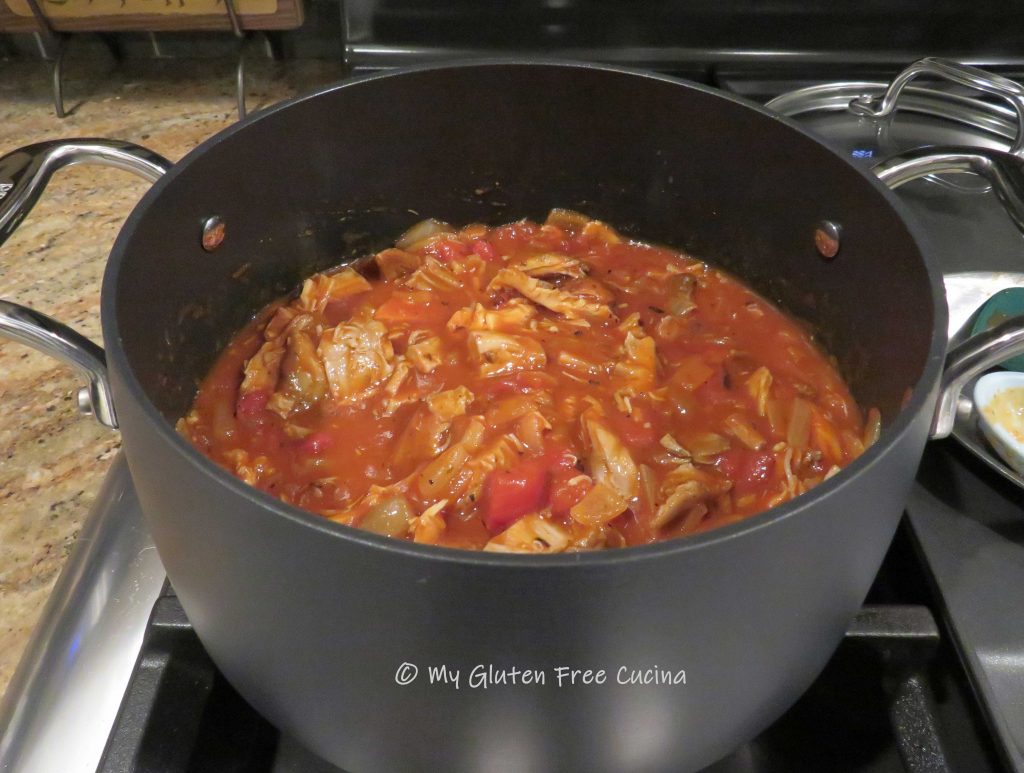
Finally add the fire roasted corn and stir everything together.
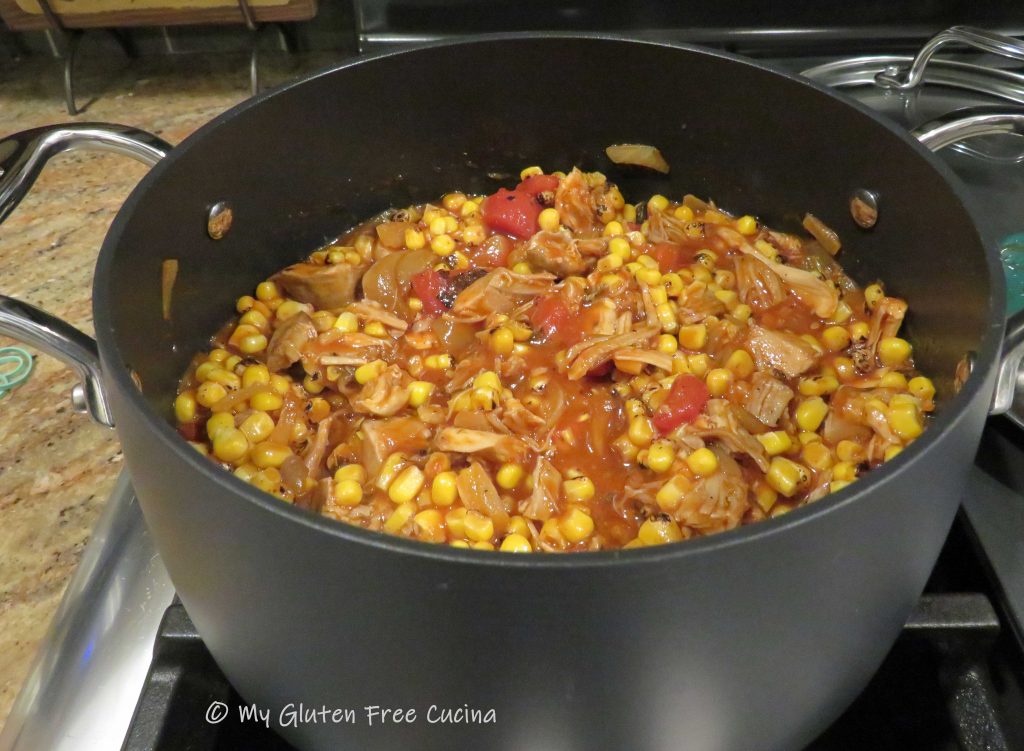
Keep it on a low simmer until all ingredients are heated through, about 20 minutes.  Remember, most of the ingredients are already cooked, so we are warming it up and giving the flavors a chance to meld together.  Like all soups and stews, this one is even better the next day!

Notes ♪♫ As you add the ingredients be sure to taste for seasoning.  If you held back on the pepper flakes and BBQ Seasoning, you could add a bit more for those who like it spicy.  If you prefer a sweeter taste add another tsp. of brown sugar.

Print This Post Print This Post

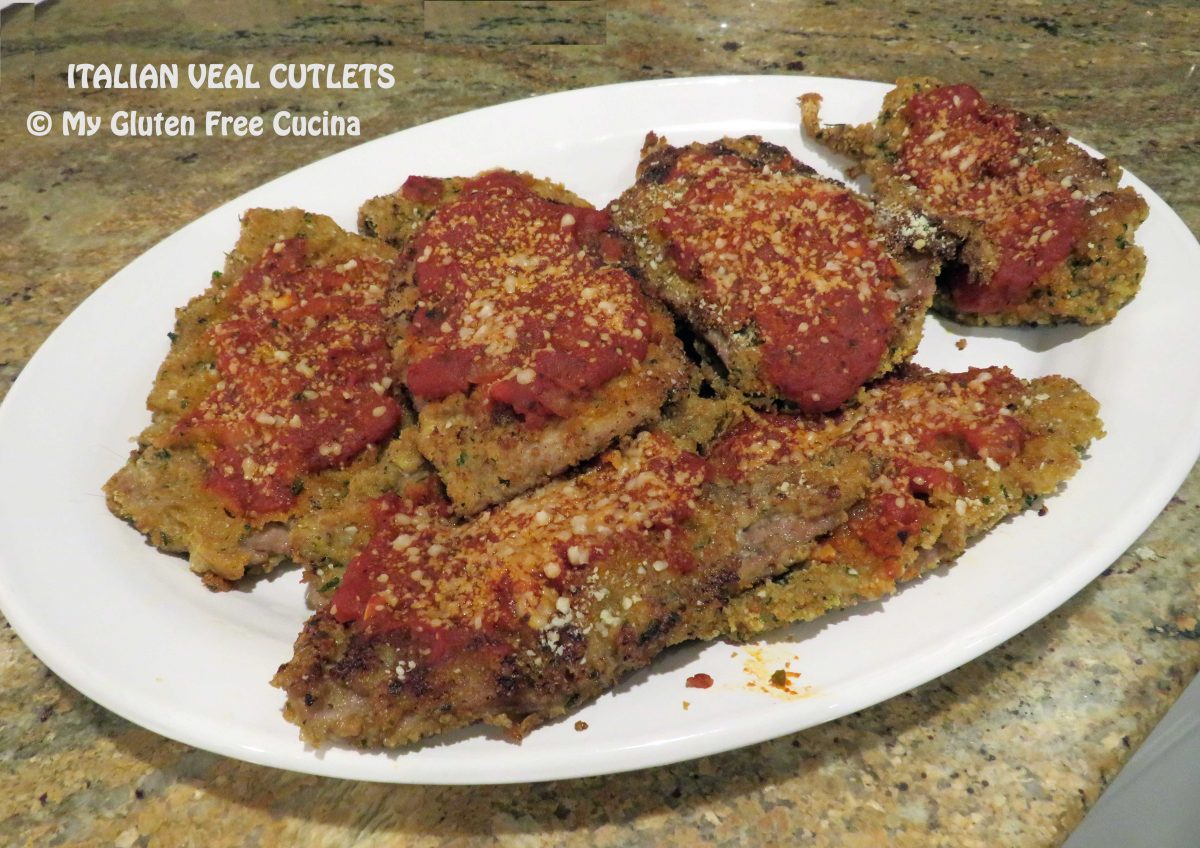
Gluten Free Italian Veal Cutlets

For a special Sunday Dinner, make your family a nice platter of Italian Veal Cutlets.  This was one of my dad’s favorite meals, I especially remember how he loved to order a veal cutlet sandwich at one of the local restaurants.  So be sure to make enough for dinner and leftovers for sandwiches the next day!

This post contains affiliate links.

I am fortunate to live in an Italian neighborhood where we can find thin sliced veal cutlets at the market.  At today’s prices, it’s a splurge but if you are making a nice dinner for two you can get away with less than a pound.  Serve with gluten free pasta and extra marinara sauce.

Ingredients:

Preparation:

Set up 3 breading trays (or use plates), one with rice flour, one with beaten egg and one with breadcrumbs.  Preheat the oven to 350º.

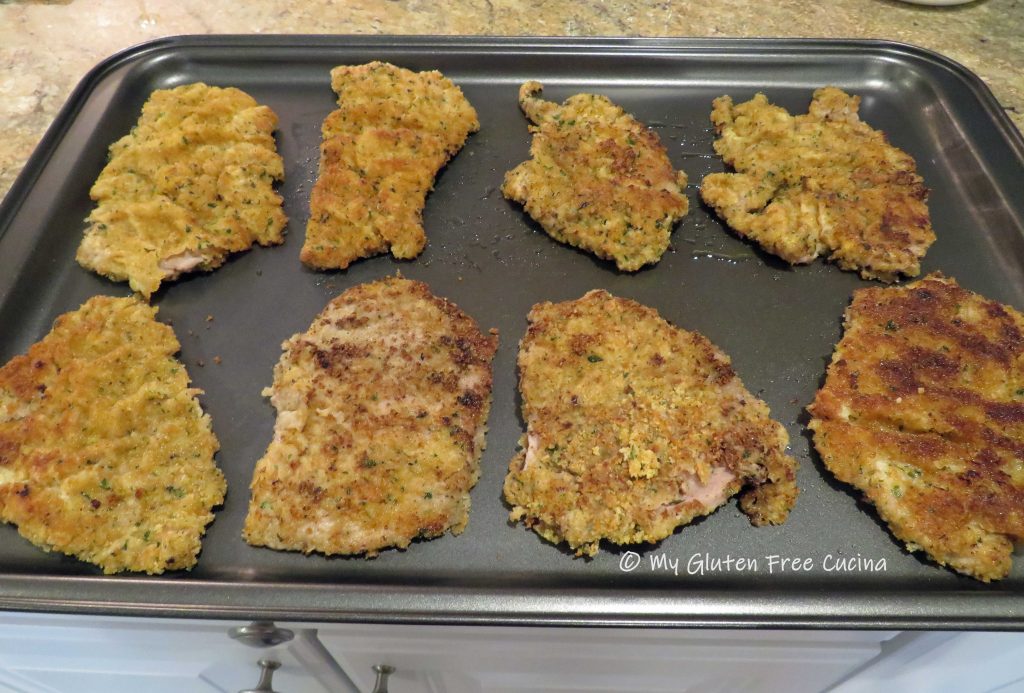
Heat a large nonstick skillet with several tablespoons of olive oil.  Keep the heat on medium low.  Working quickly, dredge each piece of veal in the flour, then dip in the egg mixture.  Shake off the excess egg and dredge in the breadcrumbs.  As you finish coating each piece add it to the skillet.  Cook 2 minutes per side until nicely browned, then transfer to a baking sheet.  Continue with the remaining slices, adding more olive oil to the pan as needed.  The cutlets do not have to be cooked through at this point, they will finish in the oven.

Ladle marinara over each slice and top with grated cheese, as much as you like.

Place in the oven for 15-20 minutes, just enough to melt the cheese.
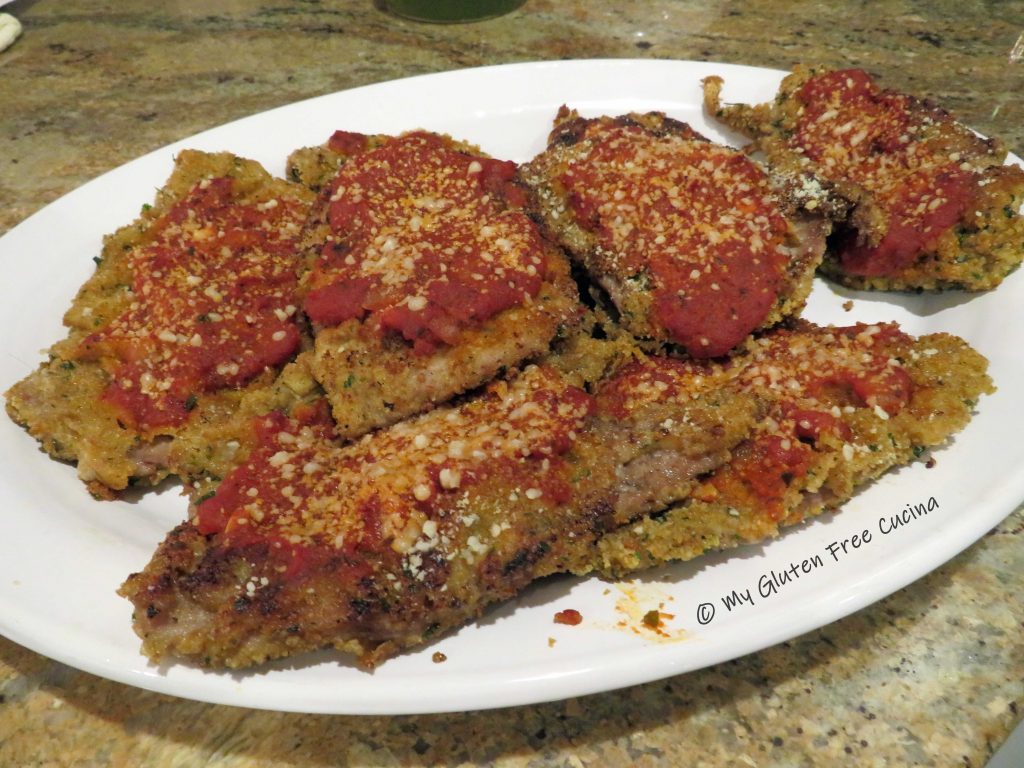
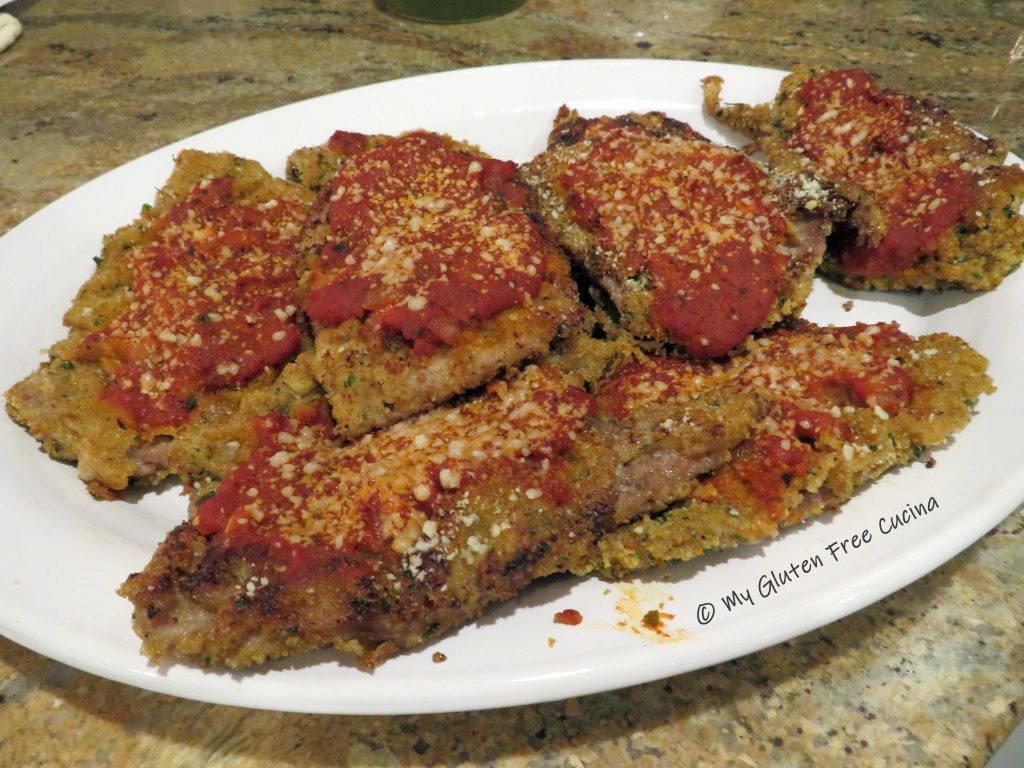
That’s it.  Not complicated at all.  Serve with a nice plate of pasta and some good gluten free bread to soak up the sauce and you’ve got a fine meal on the table in under an hour (they’ll think you’ve been cooking all day though).

Notes ♪♫ Veal cutlets need to be sliced very thin.  If you can’t get them this way at the store you will need to place the meat between 2 sheets of plastic wrap and pound to 1/4″ thickness with a meat mallet.  If veal is not in the budget, you will be happy to know you can also make this recipe with chicken!

Print This Post Print This Post

Easy Marinara Sauce

Why can’t restaurants make a good marinara sauce?  I’m often so disappointed when ordering a simple pasta dish.  It’s the sauce.  You know that bland watery tomato sauce straight out of the can with no seasoning?  Honestly, sometimes I want to walk into the kitchen and show them how to do it!

Well, maybe I’ll just show you, dear readers, that it’s not difficult to make a marinara sauce at home.  Do you really need certified San Marzano DOP dell’agro Sarnese Nocerino tomatoes?  Ok yes, they are out of this world good, but if you’re on a budget it is perfectly fine to start with any canned plum tomatoes or sauce, you just have to jazz it up!

This post contains affiliate links.

I confess, to this day I still prefer Hunts Sauce for my marinara because that’s what my mother used, and it brings back such memories of our Italian Sunday dinners growing up.  If you do decide to splurge on real Certified San Marzano tomatoes, I recommend you shop around.  I paid $6.99 a can at my grocery store but later found them online for less!

Before we get started with the recipe, I will tell you that this is not the purist version of marinara sauce.  Yes, I am 100% Italian, and I add onions (gasp) and sugar to my marinara.  It’s the way I make it, and everyone loves it.   Try it, you’ll see!  So much better than jar sauce and in case you were wondering, marinara sauce is gluten free when you make it yourself and there are no mystery ingredients!

Start with whole peeled tomatoes if you like it chunky, or plain tomato sauce if you prefer a smooth sauce with no seeds.  You can use a combination of the two.

Ingredients:

Preparation:

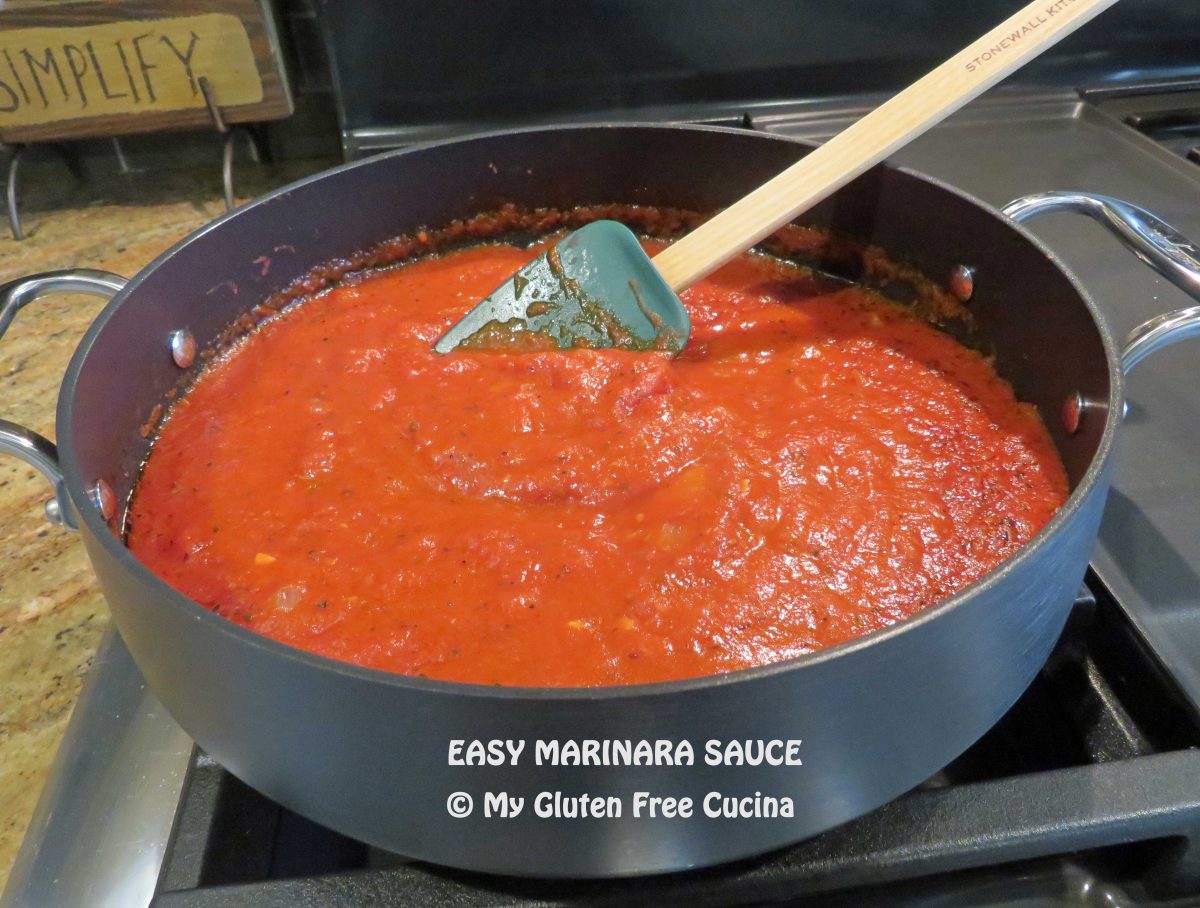
Add 2 tbsp. olive oil to a nonstick deep skillet or Sauteuse and heat over medium low (do not use a saucepan, you want something with a wide surface that will allow the sauce to reduce).  Add the onions and cook for several minutes, stirring frequently until they are fragrant and translucent.  Add the garlic and cook for another 30 seconds, be careful not to let it burn.

Next add the tomato paste.  Using paste gives the sauce body and makes it less watery.  Make a space in the center of the pan and drop it in, then let it toast for a minute before stirring it into the onions and garlic.

Now add the sauce and/or whole peeled tomatoes (break them up with your hands first), brown sugar, pepper, basil and oregano.  I do not add sugar to a meat sauce, but for a marinara I love just a tablespoon of sugar or brown sugar per large can of tomatoes.

Stir it up, cover and simmer on low for about 30 minutes, stirring occasionally.  A simmer mat is great for maintaining a low, gentle simmer and you don’t have to worry about burning your sauce.

When finished, remove the lid and let the sauce sit for 15 minutes.

Now that you know how to make a good marinara sauce, what restaurant favorite will you have for dinner tonight?  How about Spaghetti and Meatballs?  Chicken and shells?  With a great marinara recipe, you can recreate all those great meals right at home!
For some other great sauces, check out my Harvest Pasta Sauce, Traditional Bolognese Sauce, and Mushroom Cream Sauce!

Notes ♪♫ Fun fact, my mother would put a whole onion into her sauce, then remove it before serving “so no one would know”!  She made a huge pot of sauce every month then froze it in portions for Sunday dinner.  I still remember that big Farberware pot on the stove.  I always said my mother’s sauce was better the week after she made it, so go ahead and make a double or triple recipe to always have some on hand!  You can freeze marinara sauce for 6 months.  

Print This Post Print This Post

Lemon Herb Chicken Breast

Look at this beautiful platter of roasted chicken!  I definitely had big eyes when I was shopping for chicken breasts, they were much bigger than I imagined, so huge and meaty!  Enough for dinner with leftovers for sandwiches the next day.

It can be a challenge to cook chicken breast without drying it out.  That’s why bone in, skin on chicken breasts are a great choice for roasting.  The butter and herb rub gives the chicken a nice, crispy skin and helps retain moisture.  Size matters for cook time, so be sure to use a thermometer to check the internal temperature.

I used fresh herbs from my garden to make the herb butter.  The minced sage, thyme and rosemary pair so well with poultry.  If using dried herbs, reduce the quantity to 1 tbsp.

This post contains affiliate links.

The roasting pan you see in the pictures was my mother’s.  Never used, still in the package when I inherited it over 35 years ago, it’s still going strong.  No doubt it came from one of her beloved catalogs that were popular back in the day.  If you are looking for something similar, here’s one that you can order from Amazon.

Ingredients:

  • 1/2 sweet onion
  • 2 celery stalks
  • 2 carrots
  • 4 whole chicken breasts
  • 5 oz. butter, softened
  • 3 tbsp. olive oil
  • 2 tbsp. fresh herbs, minced (I used sage, rosemary and thyme)
  • 2 tsp. Italian seasoning (I like this one)
  • 1 lemon, sliced
  • 1 cup water
  • cooking spray

Preparation:

Preheat the oven to 350º and mist the roasting pan and rack with cooking spray.  Arrange the aromatics (onion, celery and carrots) in the bottom of the pan.  Place the rack in the pan.

Combine the softened butter, olive oil, minced herbs and Italian seasoning and mash together with a fork.  Rub the mixture over the chicken breasts and top each with a slice of lemon.  Place the chicken breasts on the rack.

Add one cup of water to the bottom of the pan and roast uncovered for 1 hour and 20 minutes or until the internal temperature reaches 170º (again, use a thermometer).

Transfer to a serving dish and serve.

Notes ♪♫ Don’t discard all those goodies in the bottom of the pan.  I like to toss it all into a pot with the chicken bones to make soup stock.  Nothing goes to waste, and you get a second meal!

Print This Post Print This Post