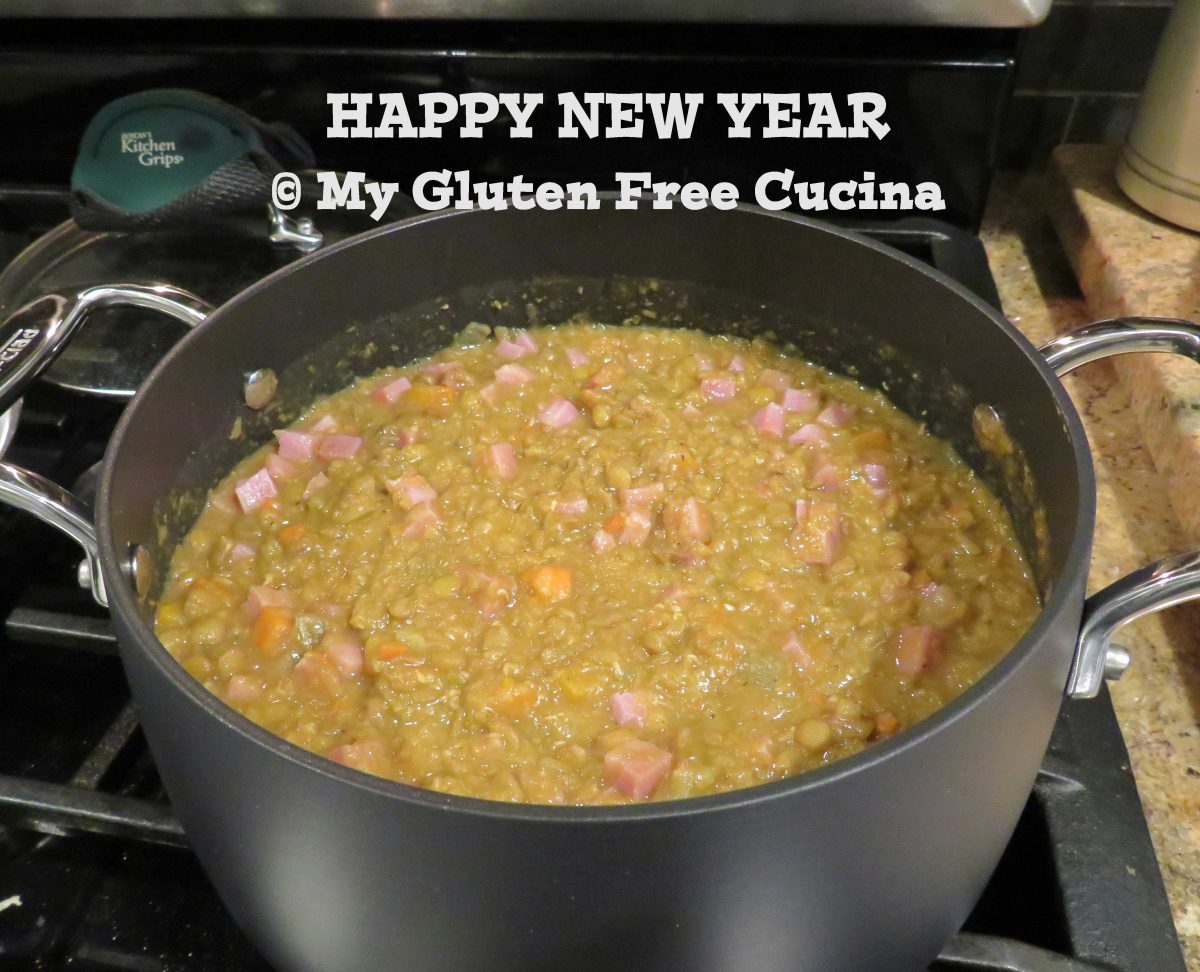
It is an Italian tradition to ring in the New Year with Lentil Soup. Lentils symbolize coins and represent good luck and prosperity!
The base of this soup is often made with the ham bone that is left over from Christmas dinner. But what if you didn’t cook a ham? Lately I tend to forego the Spiral Ham in favor of a small pork roast or pot roast. With ham being so high in sodium, I don’t want to be eating it for days.
So, for this soup I used a homemade Turkey Stock as a base along with purchased broth and added some finely chopped ham steak at the end, and it came out delicious!

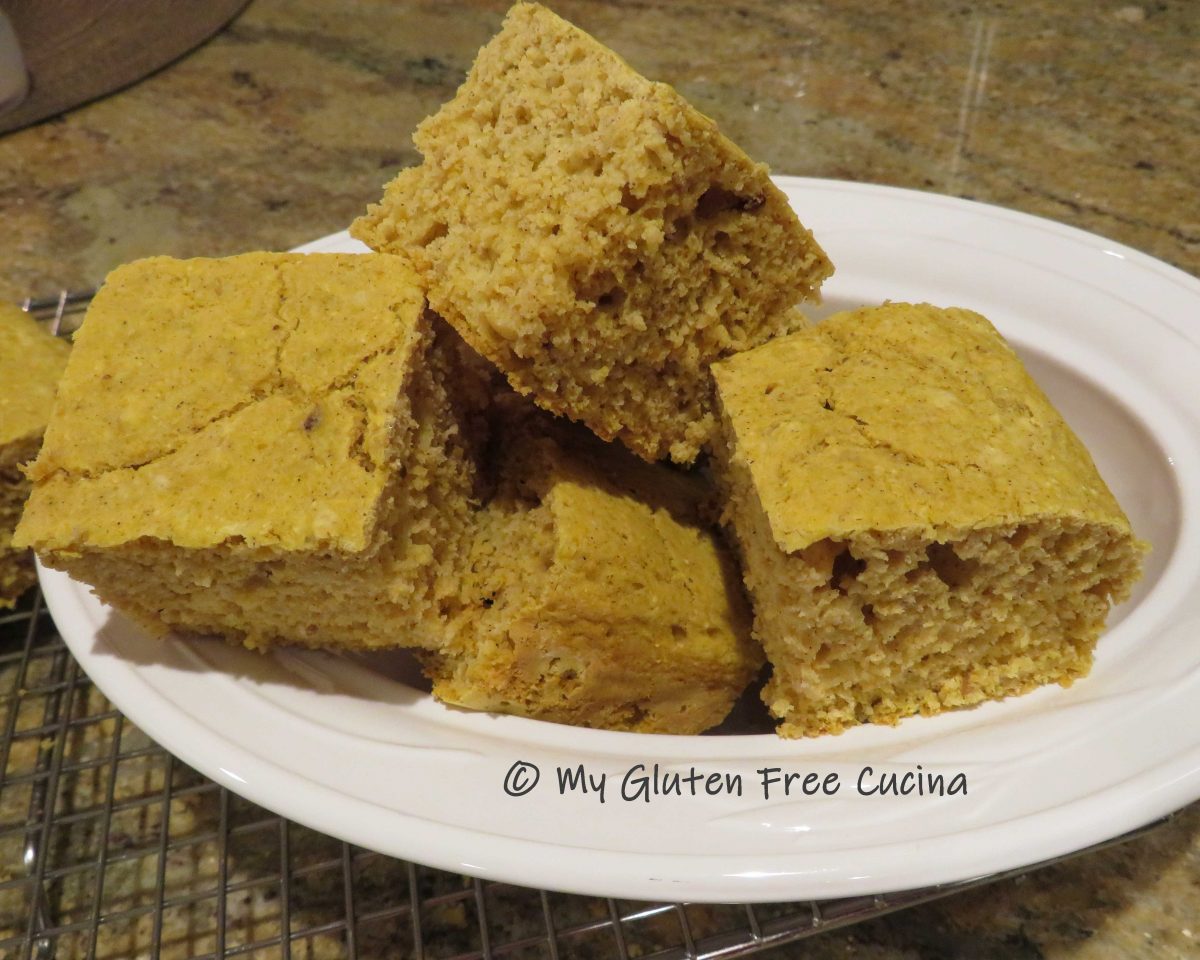
Best of all, this soup has no pasta and most of the ingredients are naturally gluten free! Happy New Year and Buon Anno from My Gluten Free Cucina!
6-8 Servings
This post contains affiliate links.
Ingredients:
- 1 medium sweet onion, diced
- 2 celery stalks, diced
- 2 carrots, diced
- olive oil
- 2 cups gluten free beef broth
- 2 cups gluten free chicken or vegetable broth (I used one of each)
- 1/2 tsp. sage
- 1/2 tsp. thyme
- 1 bay leaf
- ground pepper
- 1-1/2 cups of stock (homemade or purchased)
- 16 oz. bag green lentils
- 8 oz. boneless smoked ham steak
Preparation:
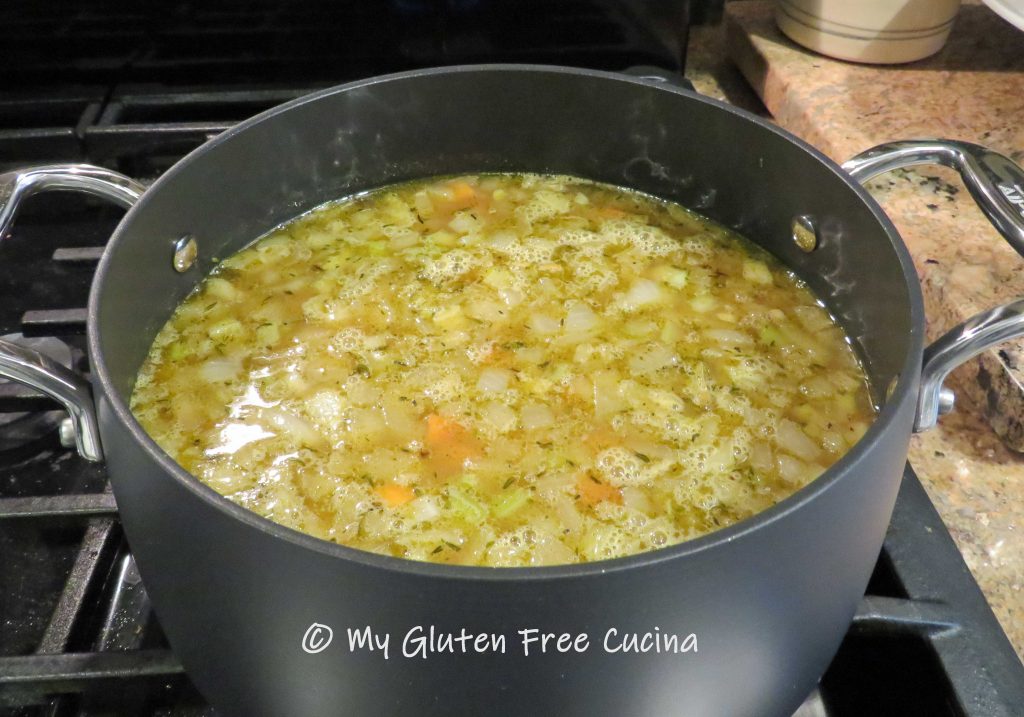
Prep the veggies and dice them all the same size. Heat olive oil in a 4 qt. soup pot. Add the veggies and stir to coat with oil. Cook for 5 minutes until they begin to soften.

Add the broth, stock and seasonings. Bring to a simmer.
What is the difference between broth and stock? Both may contain meat and aromatic vegetables, but stock is made with bones. Roasted and simmered slowly to extract every bit of gelatinous goodness.
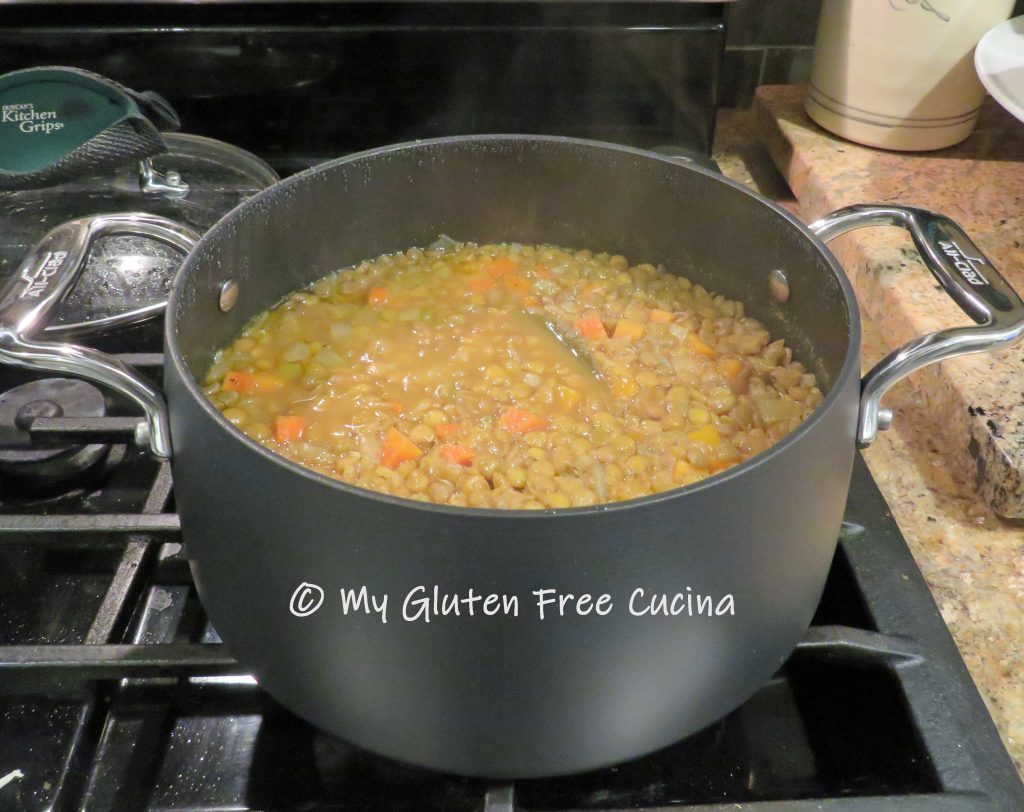
Thoroughly rinse and inspect the lentils, taking care to pick out any odd grains (like barley) that may have snuck in.

Add the lentils to the pot, cover and simmer on low heat for 45 minutes.
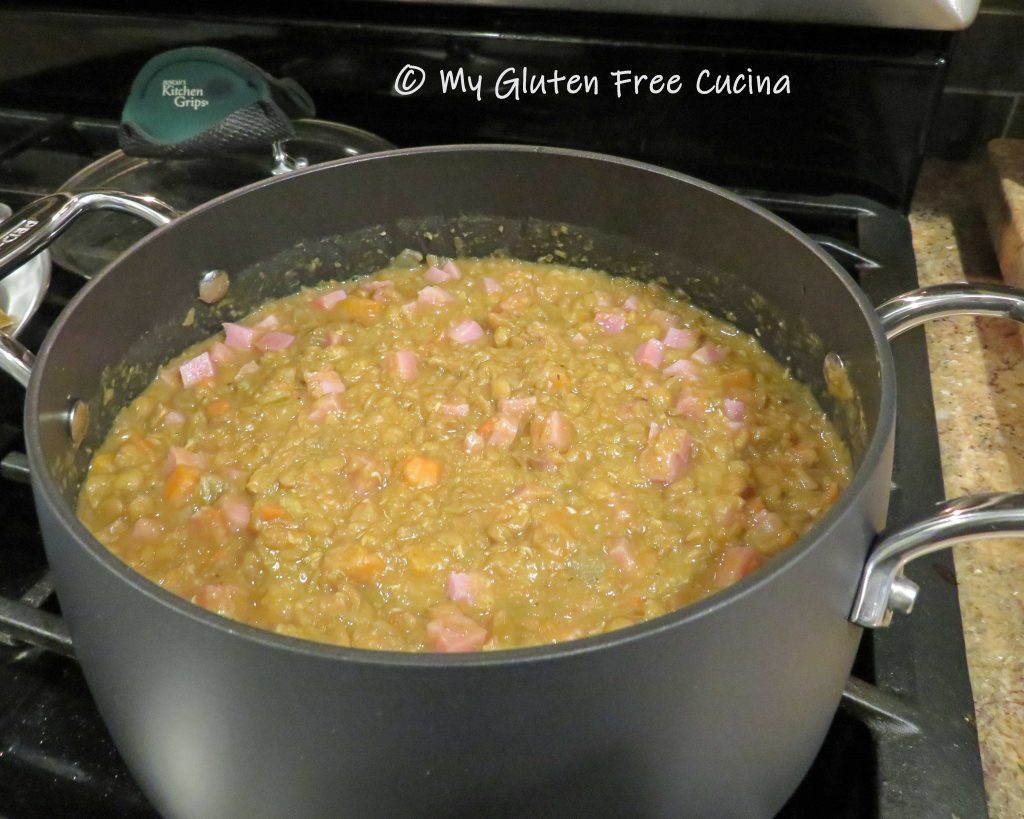
Partially puree the soup with a stick blender. Be sure to pull out the bay leaf first! Chop the ham into fine dice and add to the soup at the end of cooking (the ham should be fully cooked).

This soup is stick to your ribs thick! If you would like to thin it out a bit, you can add more broth.

Notes ♪♫ Notice I don’t list salt in the ingredients? If you are limiting salt in your diet, you may want to use unsalted ingredients (including the broth) all the way through except for the ham. That 8 oz. ham steak has 1893 grams of salt (wow!), more than enough to flavor an entire pot of soup! And just to put it in perspective, you will have 8 servings from this pot, so that is 237 grams per serving. Whew! Of course, if salt is not an issue you can make a stock from your leftover ham bone, it’s a great way to use up every bit of goodness from that holiday meal!

[print_link]


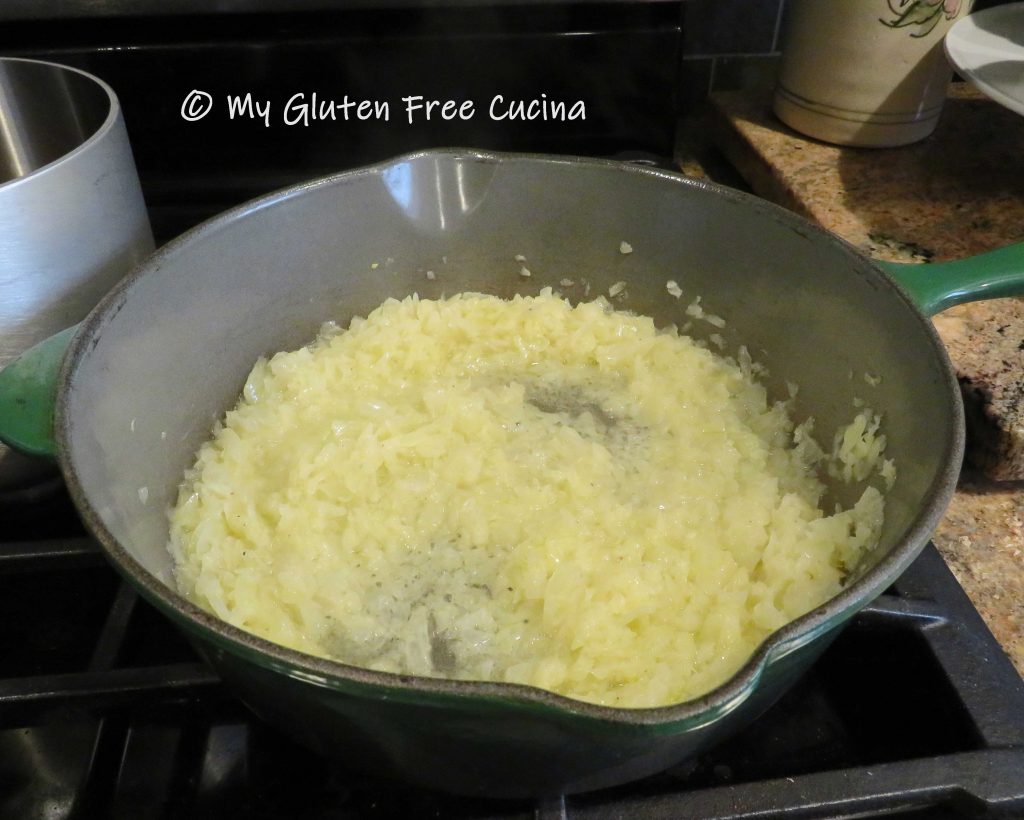 Have the corn starch, broth and a whisk ready for the next step. Sprinkle the corn starch evenly over the onions and whisk whisk whisk for 1-2 minutes. Don’t stop!
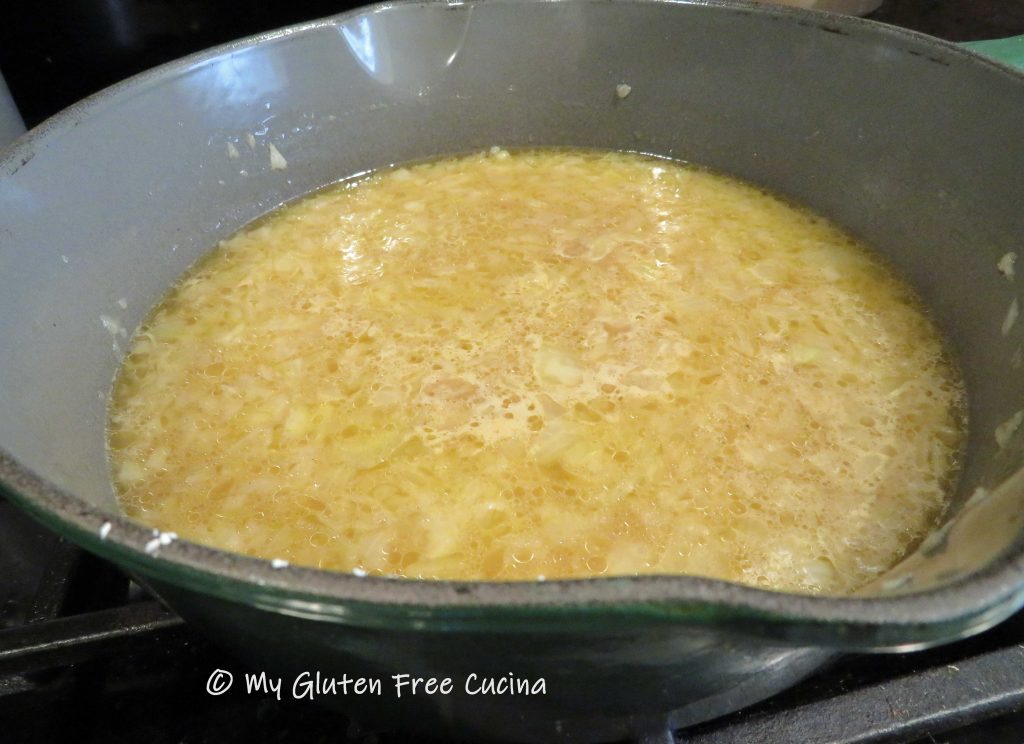
 Stream in the warmed broth and continue whisking. The gravy will thicken.
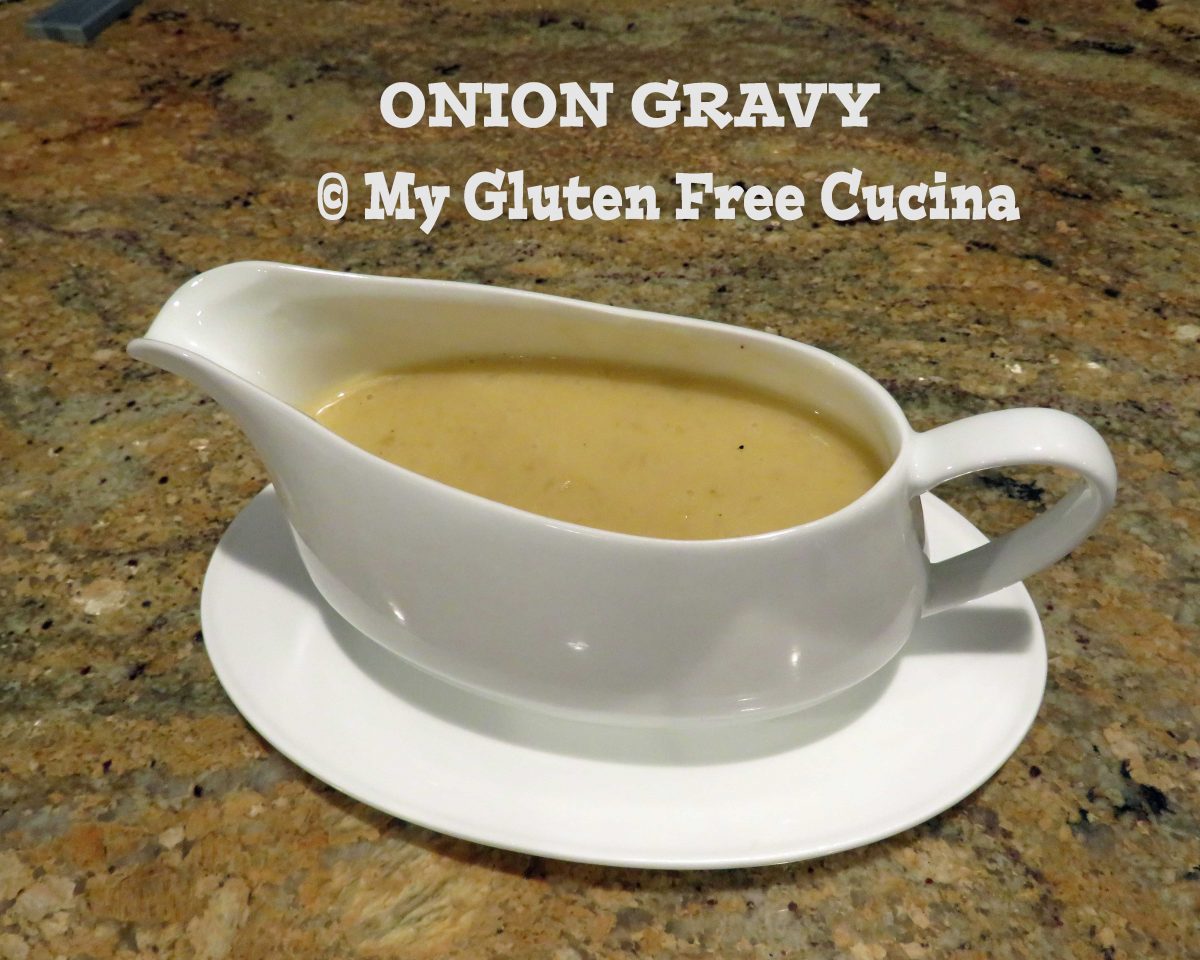
 See how the onions have almost melted into the gravy? If you don’t want the little bits of onion that remain you can strain the gravy or puree it with an immersion blender. If you like a little texture definitely leave them in.
 Transfer the gravy to a small sauce pan, then stir in the brandy and cream. Cover and keep warm until serving.


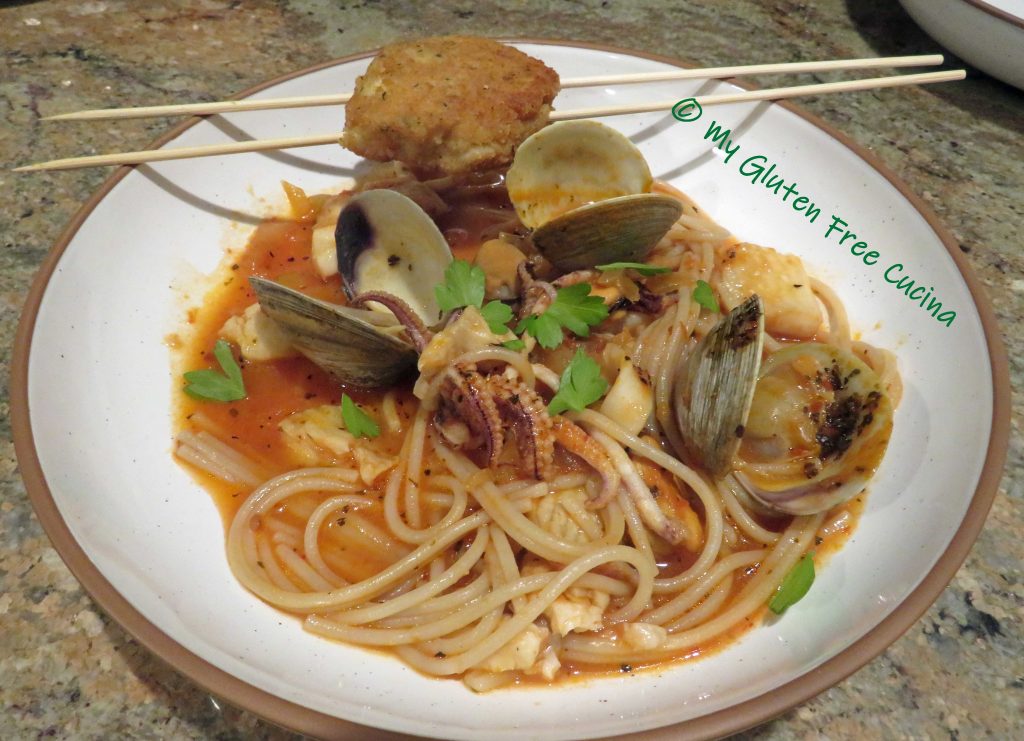
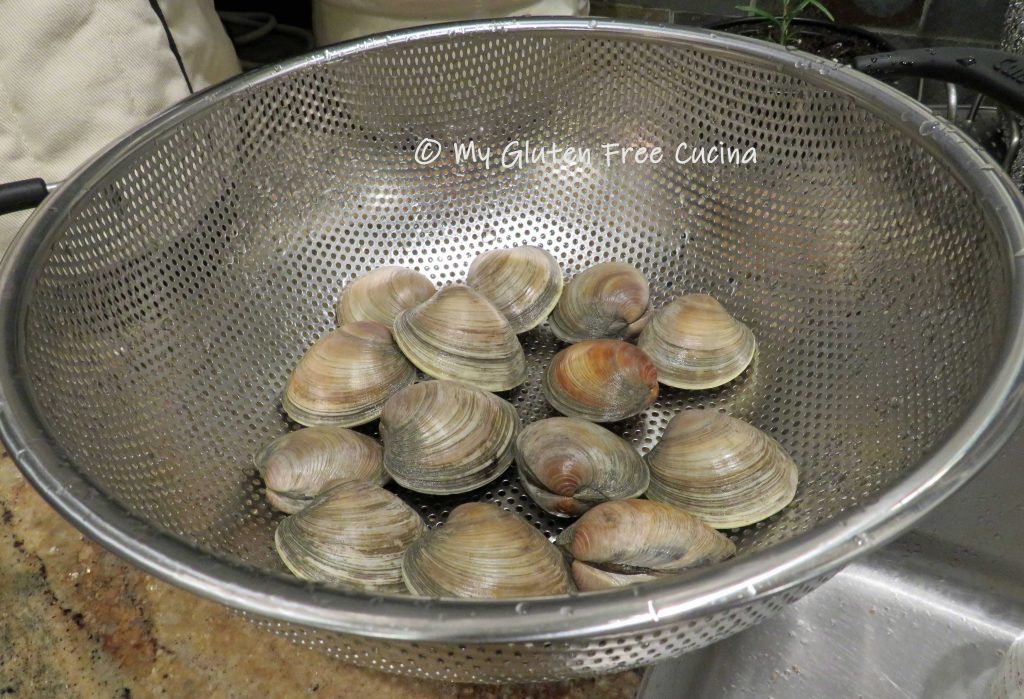
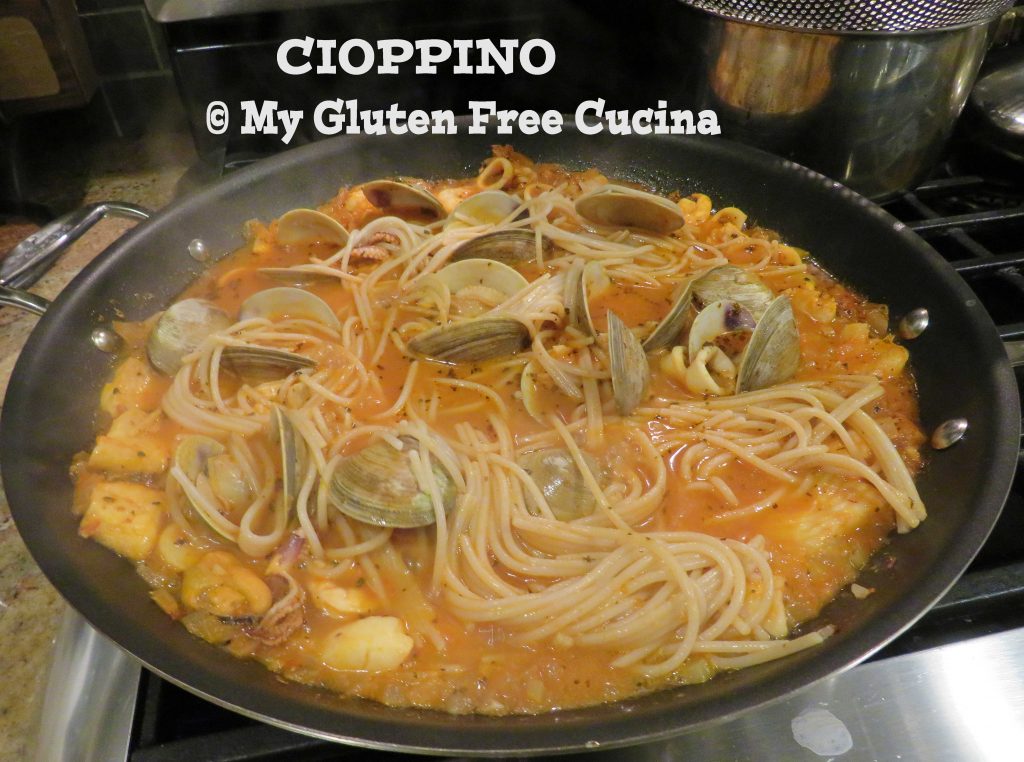
 To complete my seven fishes, I bought a dozen fresh littlenecks and flounder from the frozen aisle. I topped it all off with a crab cake made with

 If using frozen fish, thaw before cooking. You can improve the texture by soaking it in milk.
 Sauté 2 minutes then add the tomatoes, lemon juice, Worcestershire sauce, stock, white wine and the spices. Cover and simmer on low for 30 minutes.
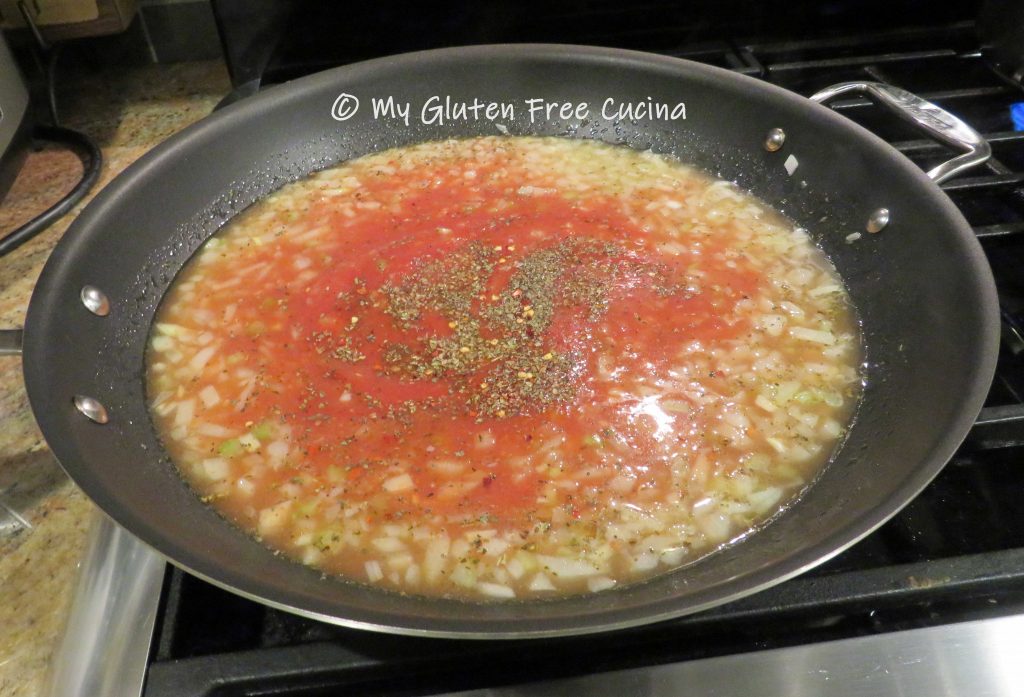


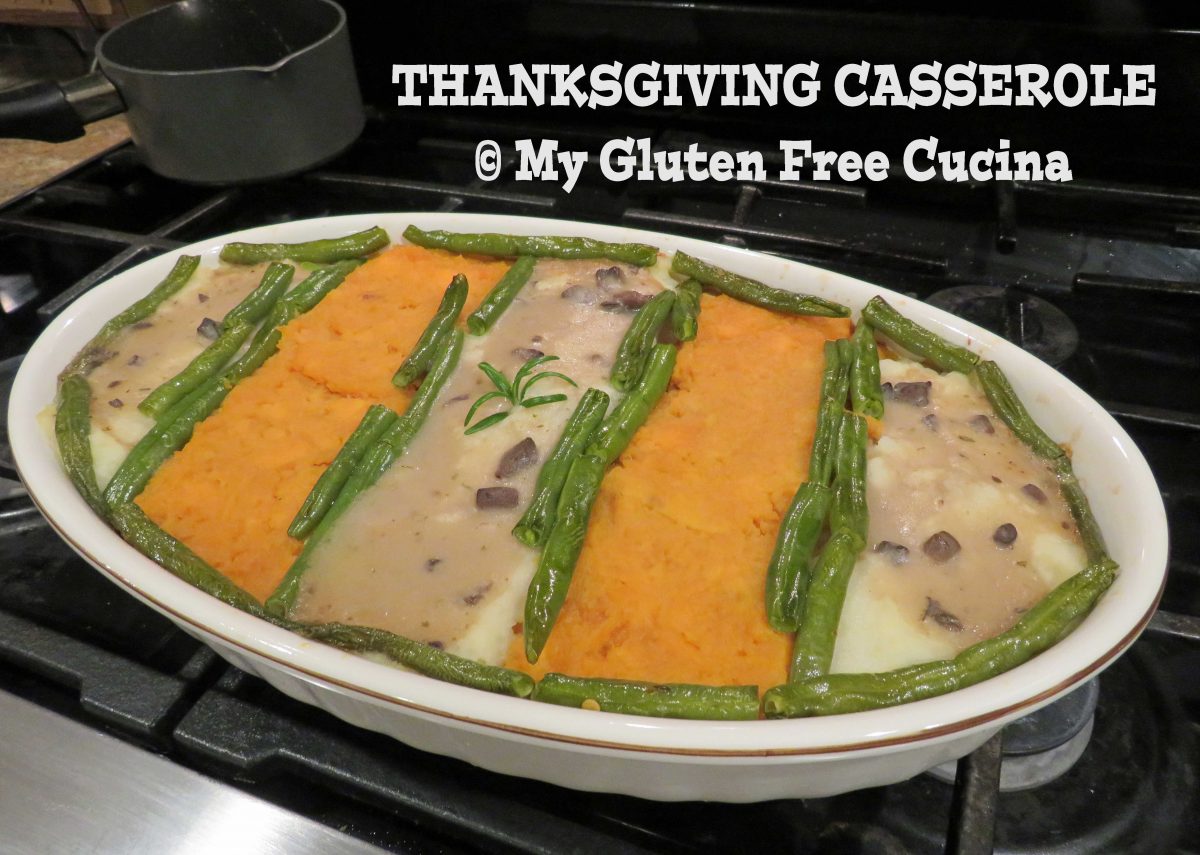
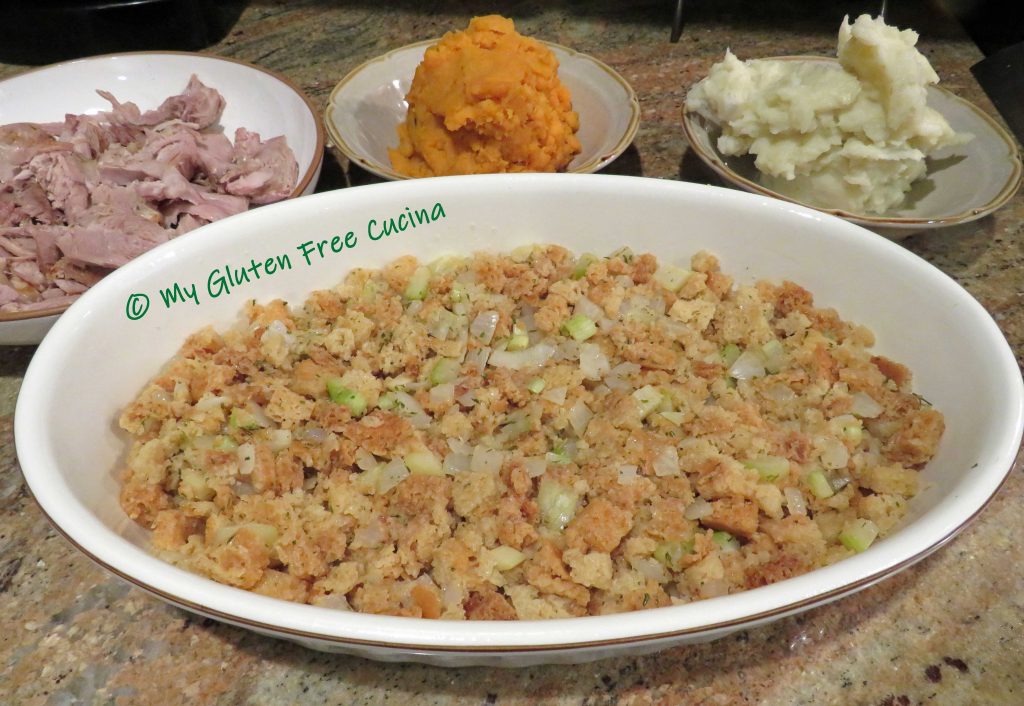
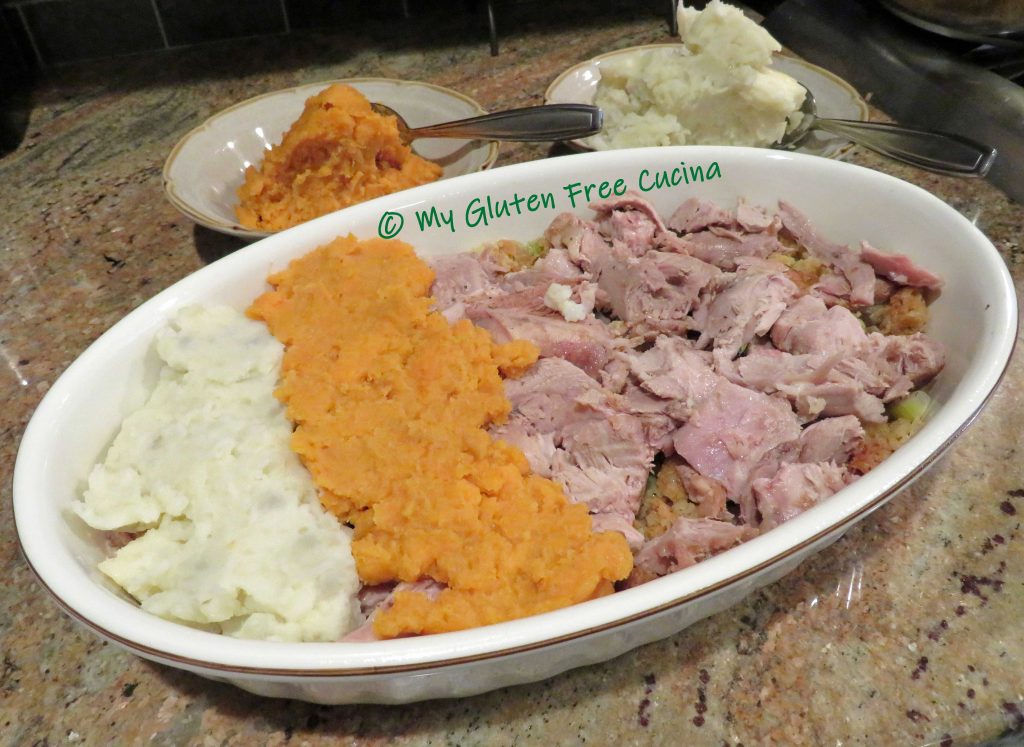
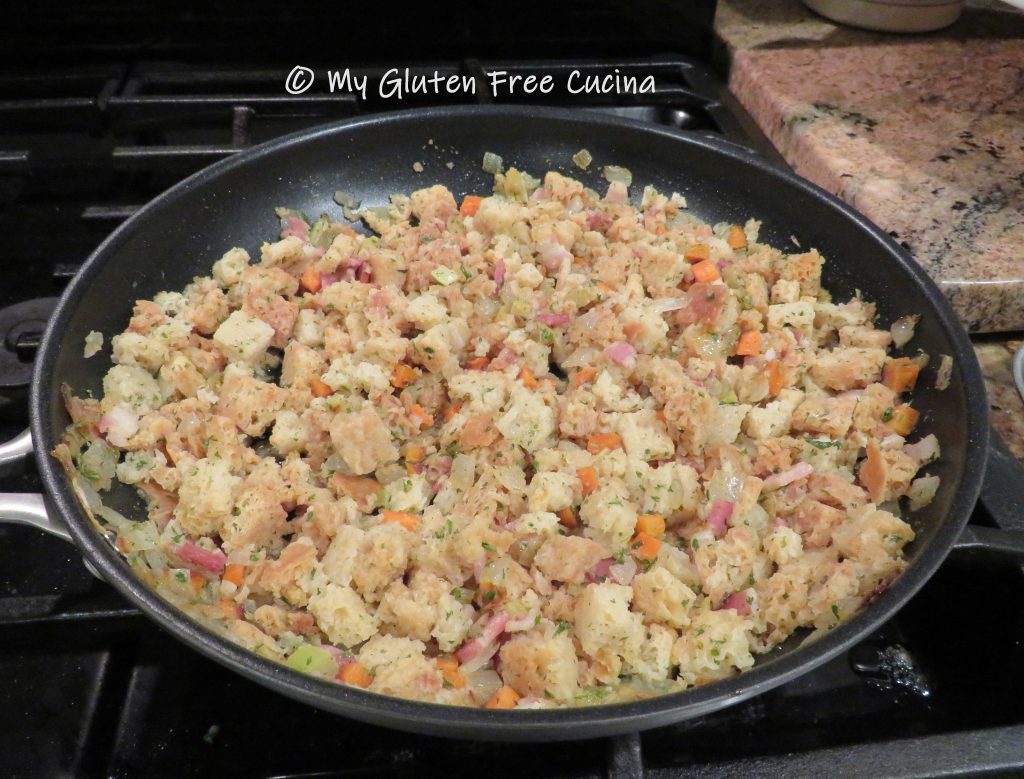
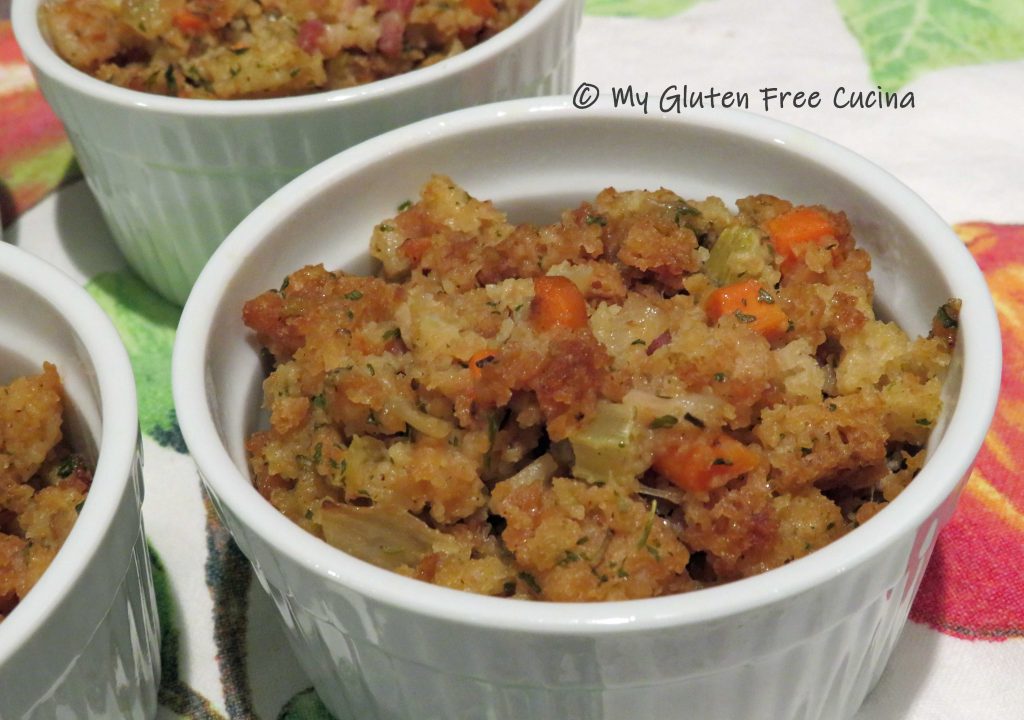
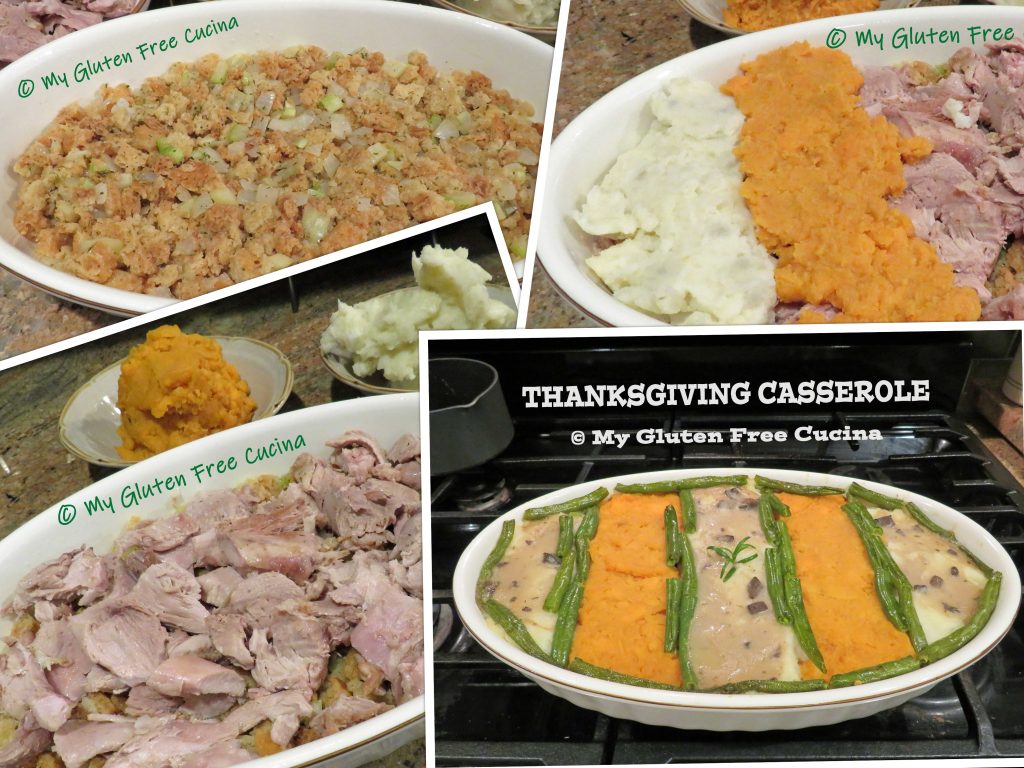 You can make each layer from scratch for a casual take on the traditional Thanksgiving meal or throw it together the next day with your Thanksgiving leftovers!
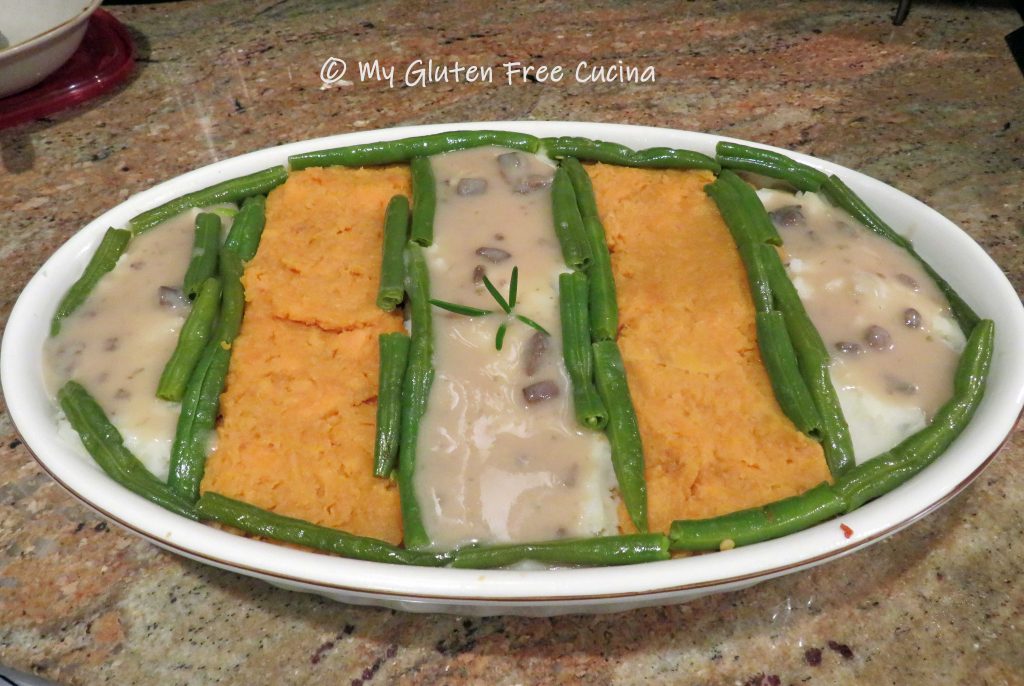


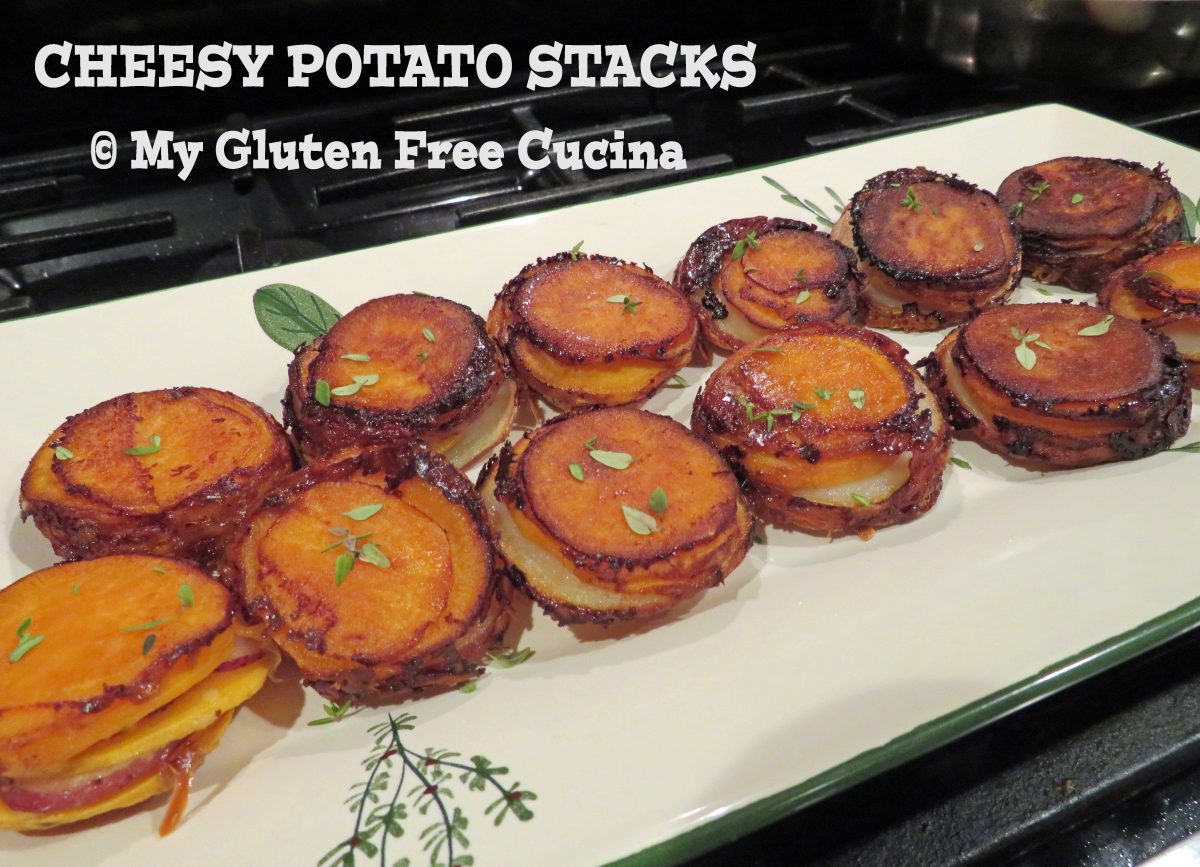
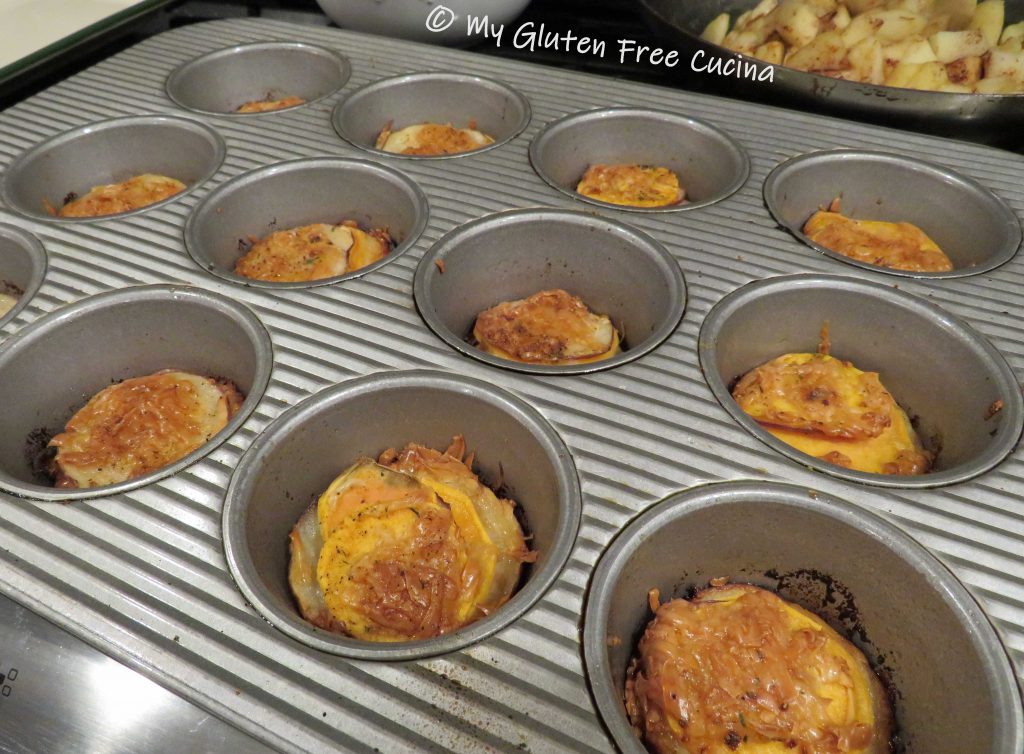


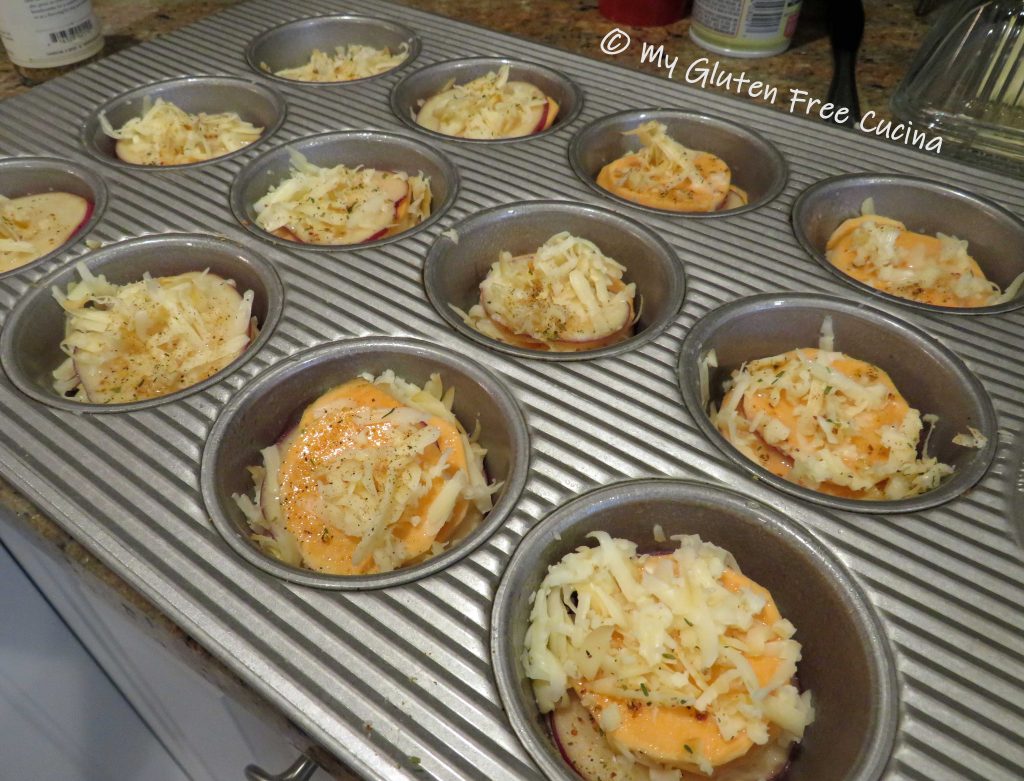
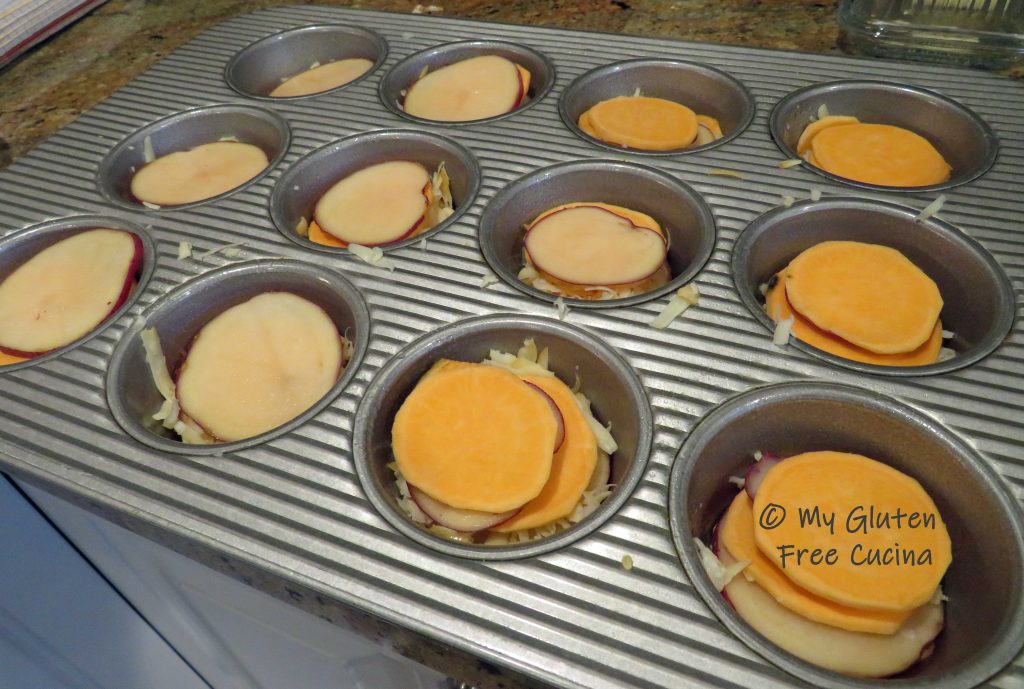 Use the smaller slices on the bottom for the best fit. Drizzle one tsp. of the butter mixture over each stack and top with half of the grated cheese.
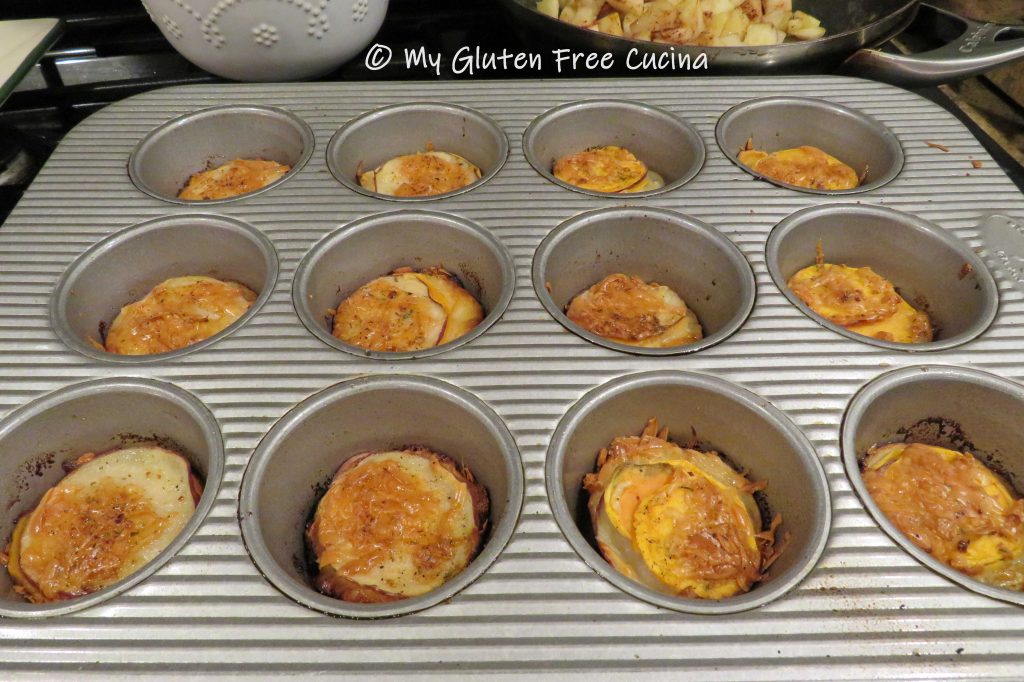


 Bake for 22-25 minutes. Cool in the pan 10 minutes then transfer to a rack. Enjoy them warm or at room temperature.


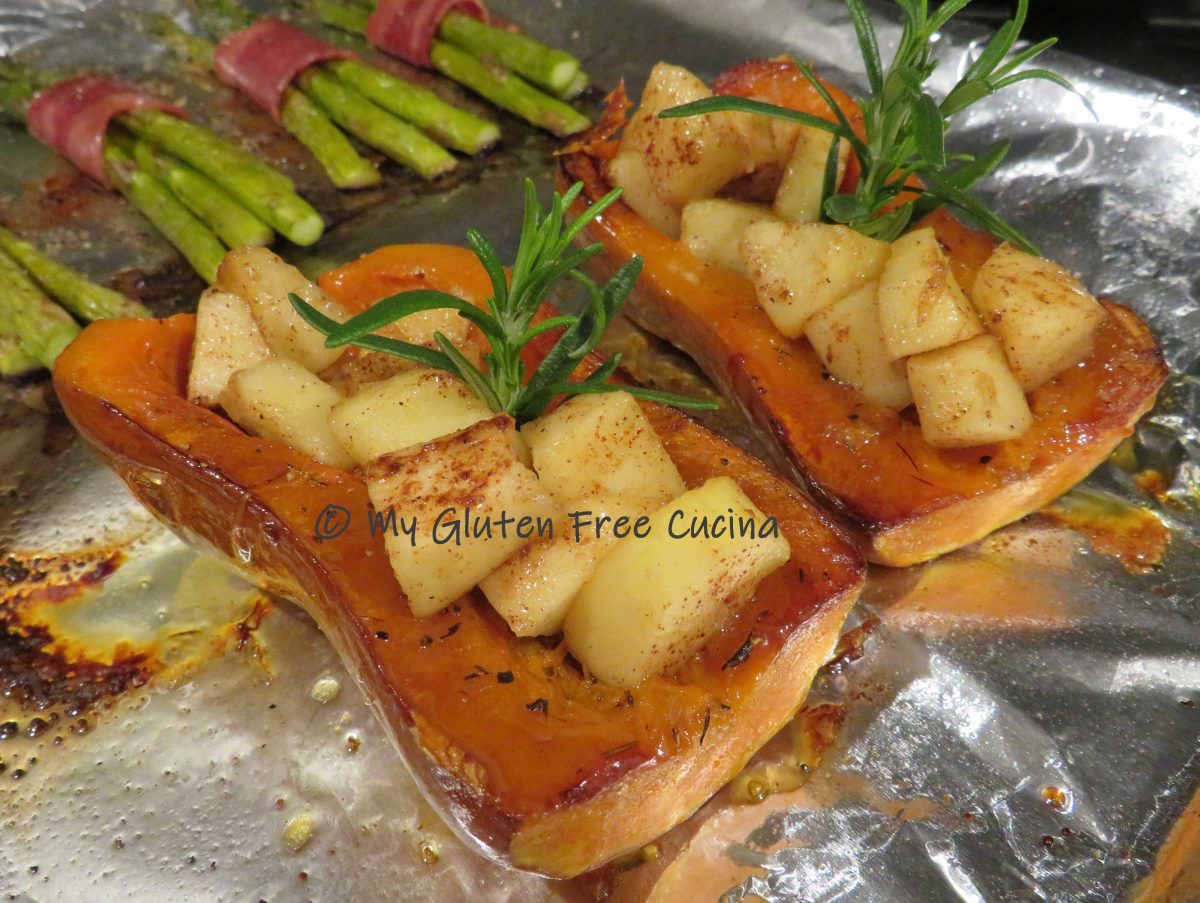


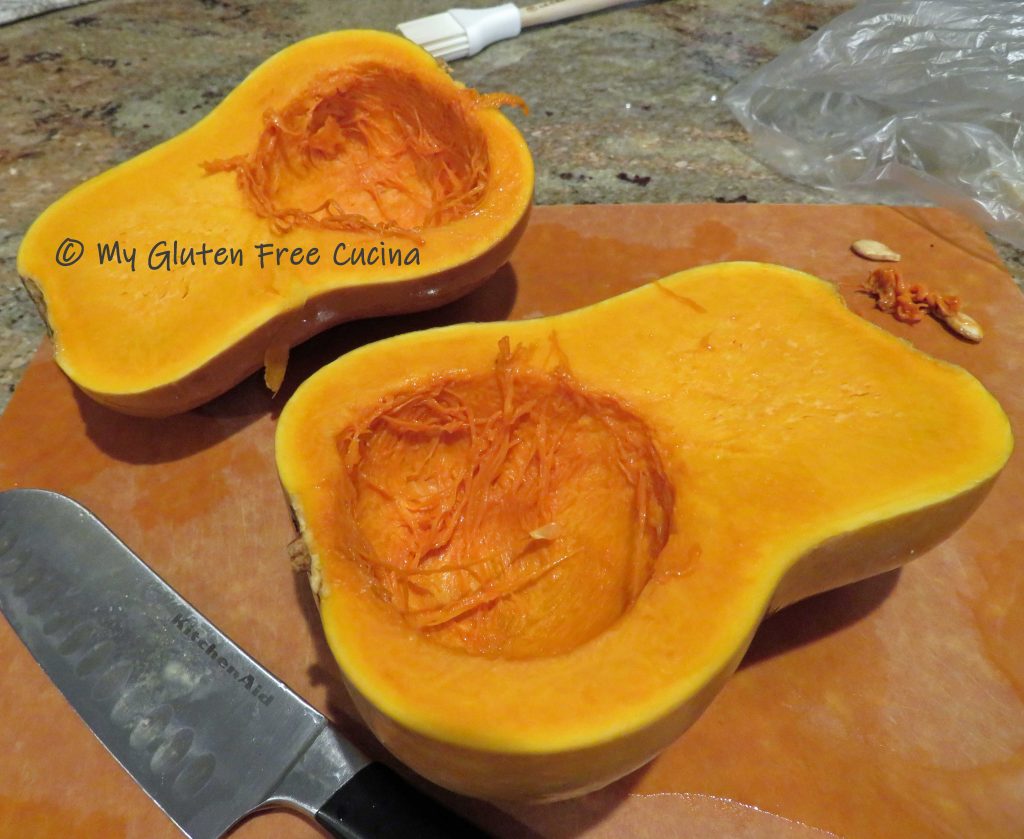
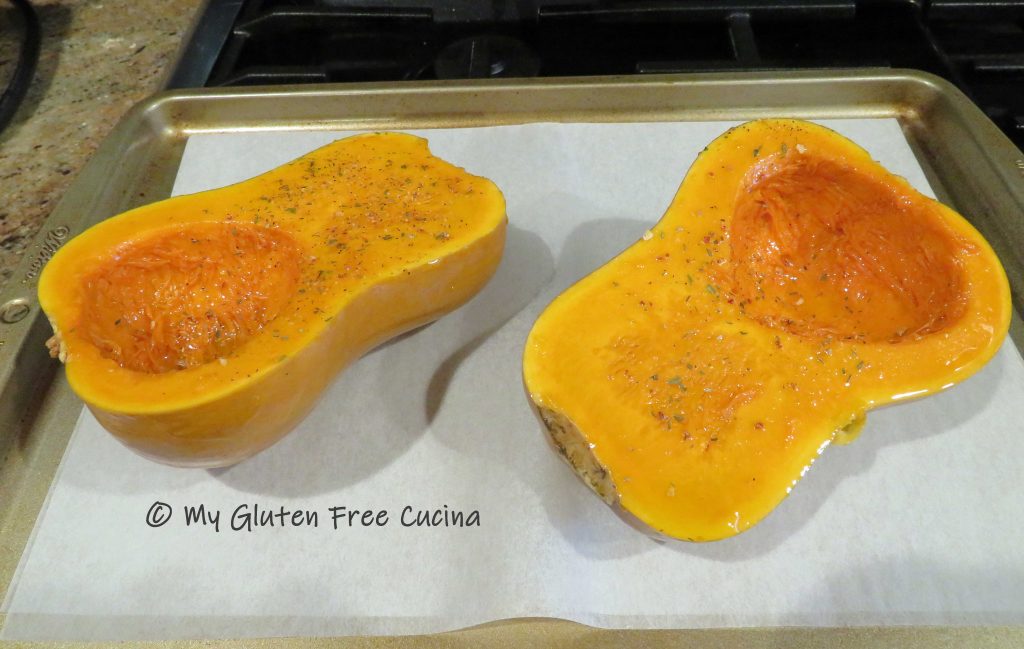 Arrange cut side down on a baking sheet lined with parchment or foil and bake for 35 minutes at 375º.
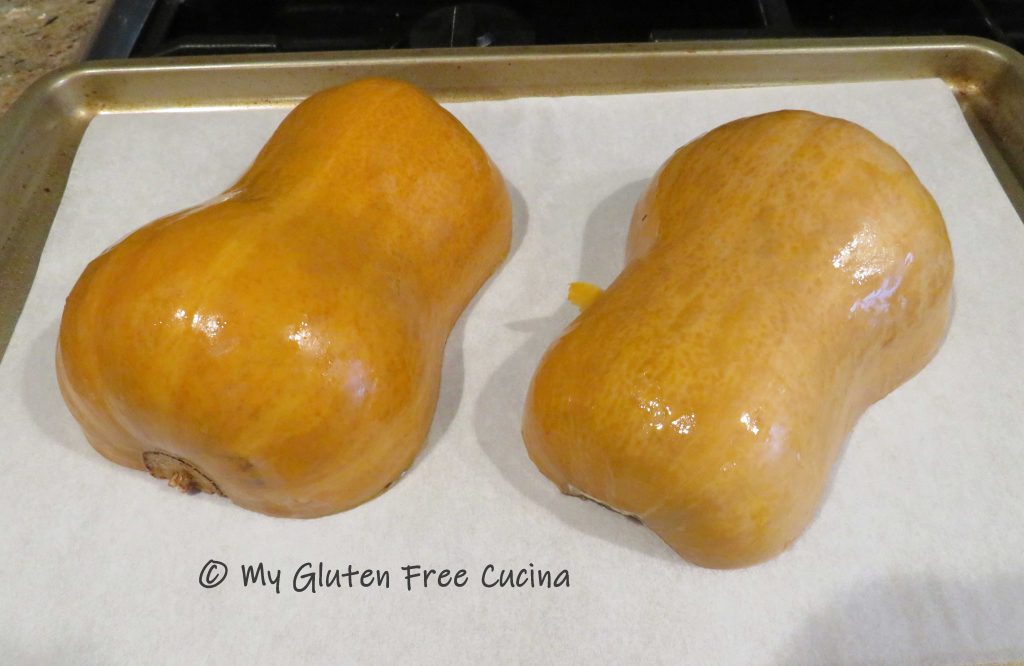
 While the squash is baking, peel and dice the apple. I used a Honeycrisp apple. Heat a small skillet on medium low. Add the apples with a pat of butter and toss to combine. Cook 3 minutes, stirring frequently. Sprinkle with cinnamon.
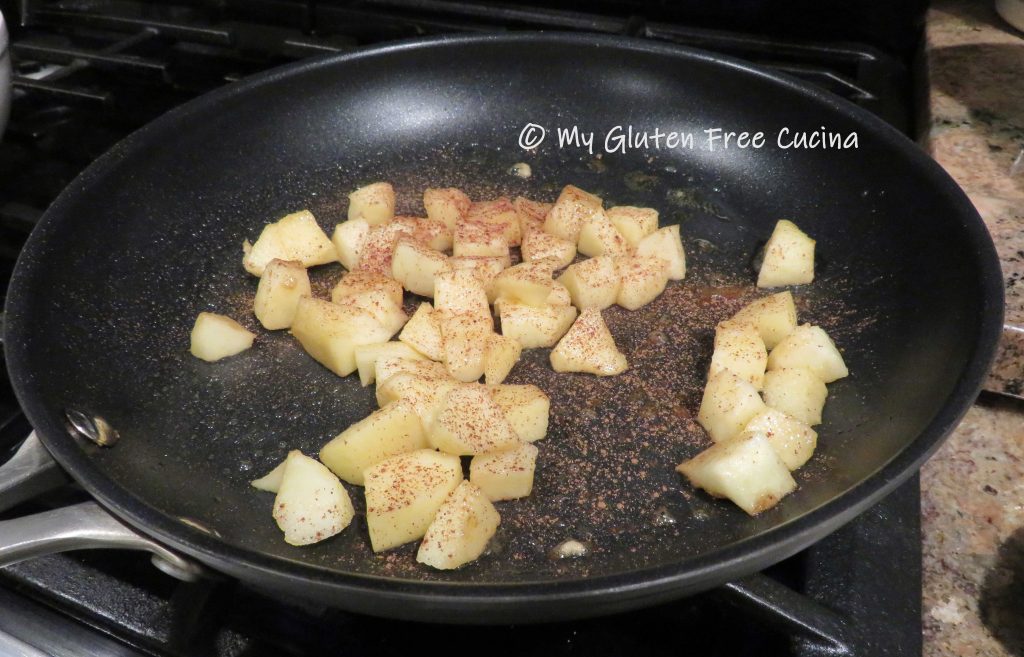


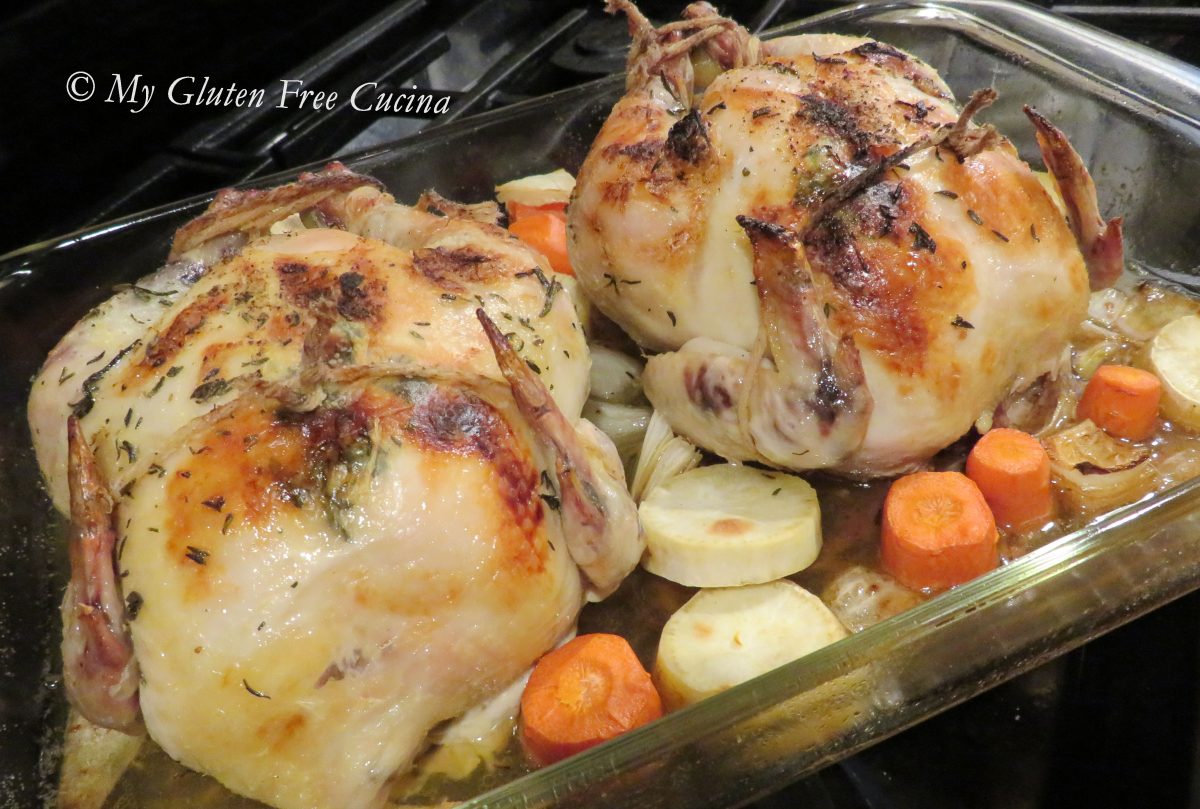
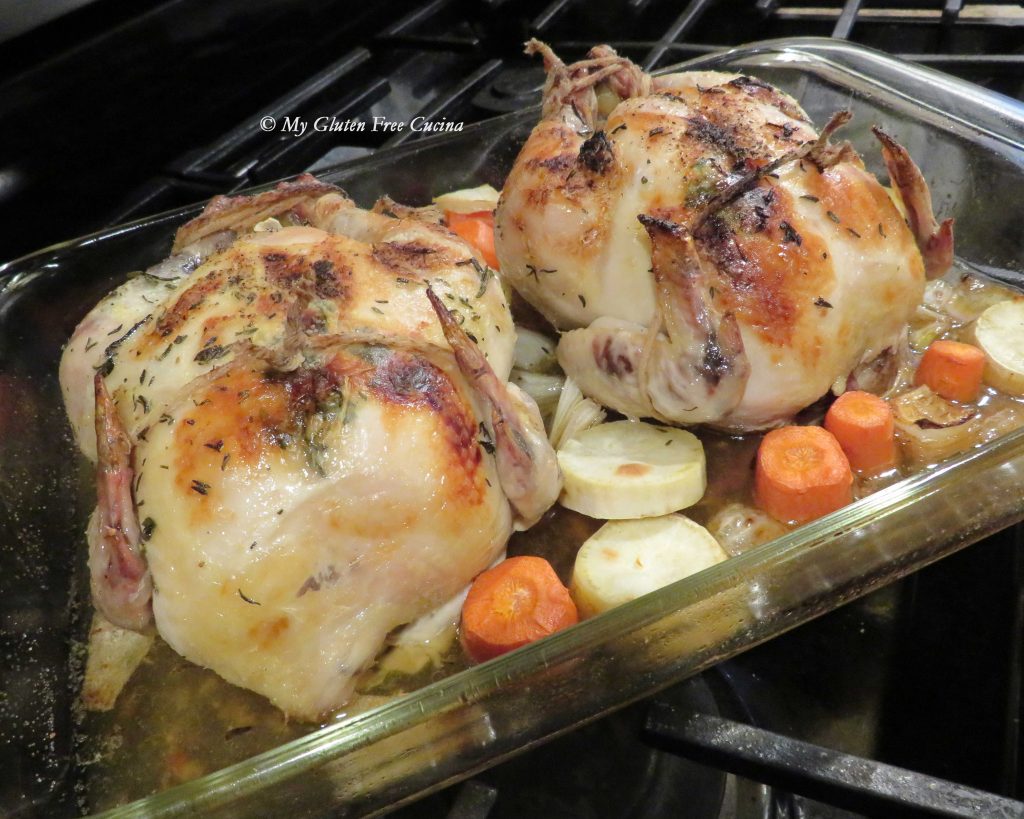
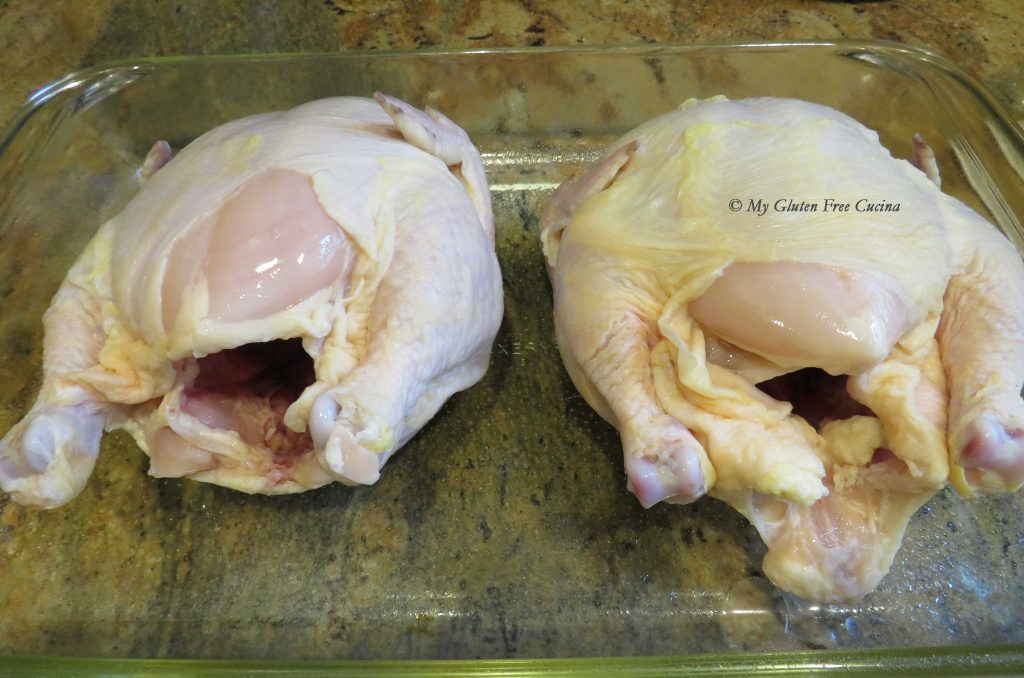
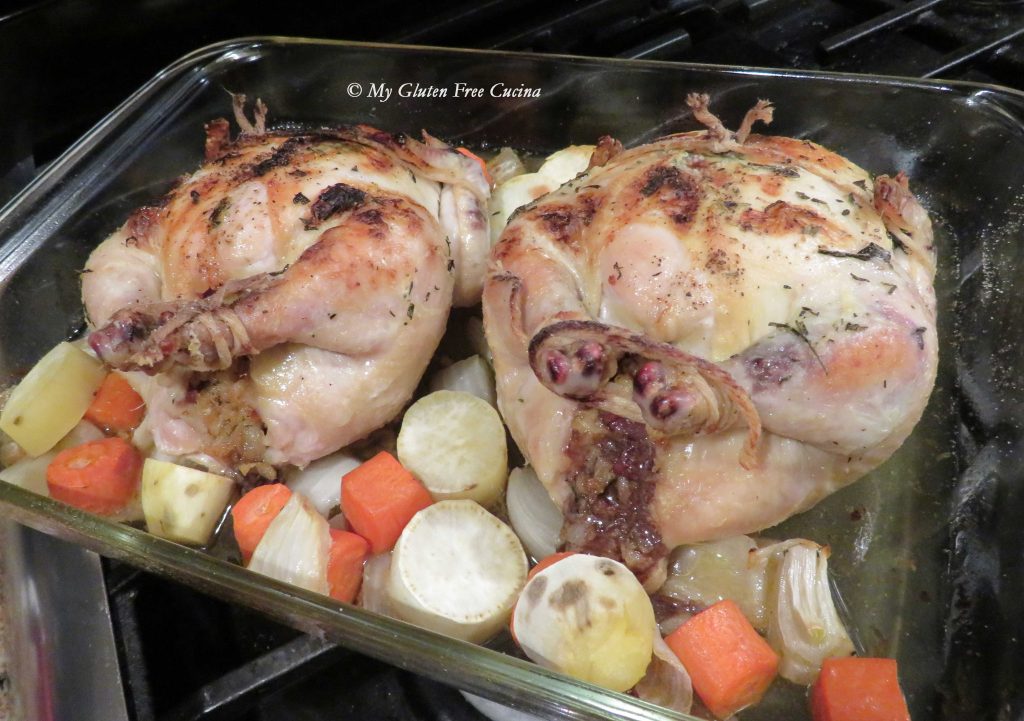 A single Cornish Hen (2 lb.) should yield 2 servings, or for hearty appetites plan on one hen each. Your gatherings may be smaller, but they can still be delicious!