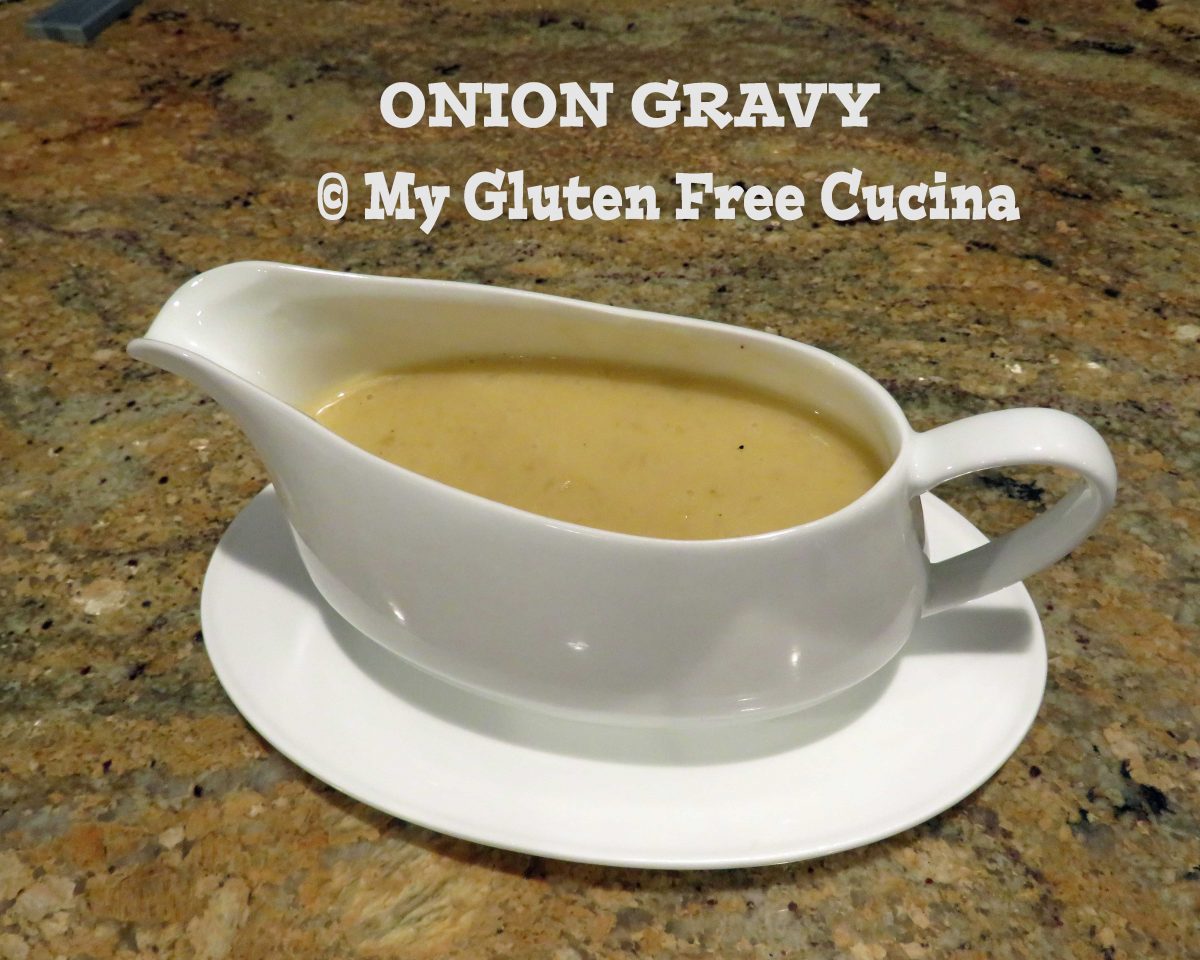
This is one versatile gravy that can be made a day ahead, no pan drippings needed! It can be paired with pork, chicken, turkey, veal or even beef just by varying the base broth. Making a gravy is not my favorite thing, especially trying to pull one together from pan drippings just as a holiday meal is about to be served. Take the pressure off the big day and make a delicious onion gravy the night before!
This post contains affiliate links.
Ingredients:
- 1/2 cup (1 stick) unsalted butter
- 2 cups sweet onion, minced
- 2 tbsp. gluten free corn starch
- salt and pepper to taste
- 2 cups of gluten free broth, warmed (I used 2/3 cup each of chicken, beef and vegetable broth)
- 1 tbsp. brandy
- 1 tbsp. heavy cream (optional or use half and half, or milk)

Preparation:
Pulse the onions in an electric chopper to make the prep work fast and easy. You should have 2 cups total, minced.

In a heavy skillet melt the butter, add the onions and season with salt and pepper. Stir frequently and cook slowly over medium low heat until the onions begin to break down, about 20 minutes.

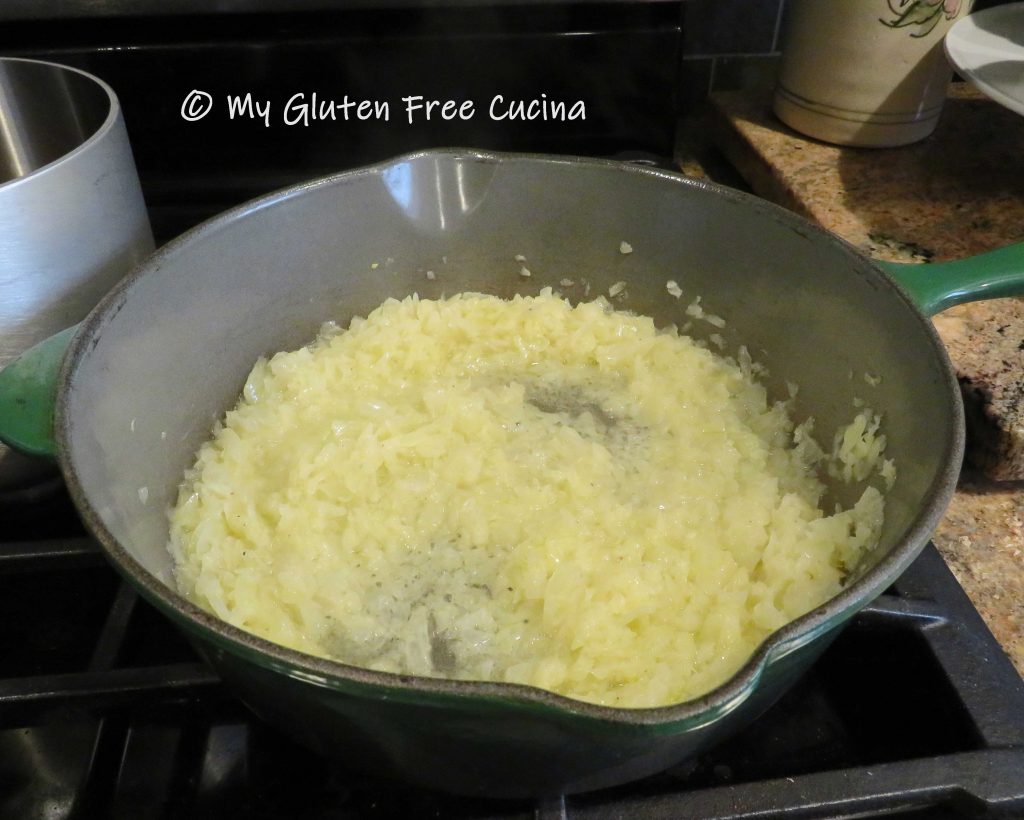 Have the corn starch, broth and a whisk ready for the next step. Sprinkle the corn starch evenly over the onions and whisk whisk whisk for 1-2 minutes. Don’t stop!

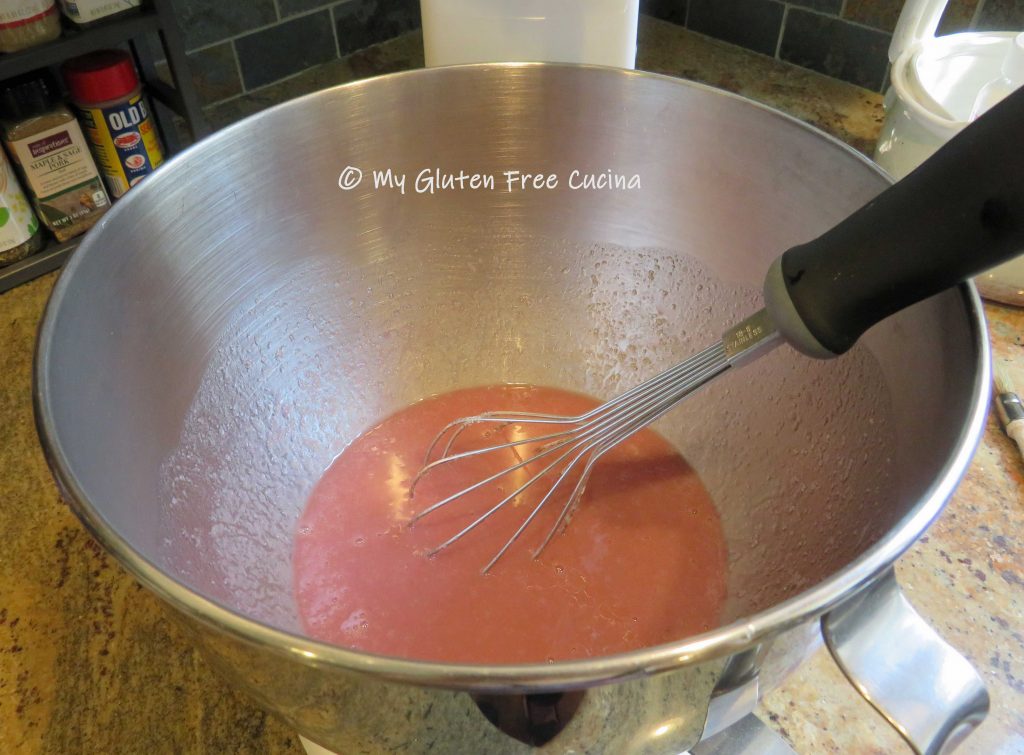
 Stream in the warmed broth and continue whisking. The gravy will thicken.

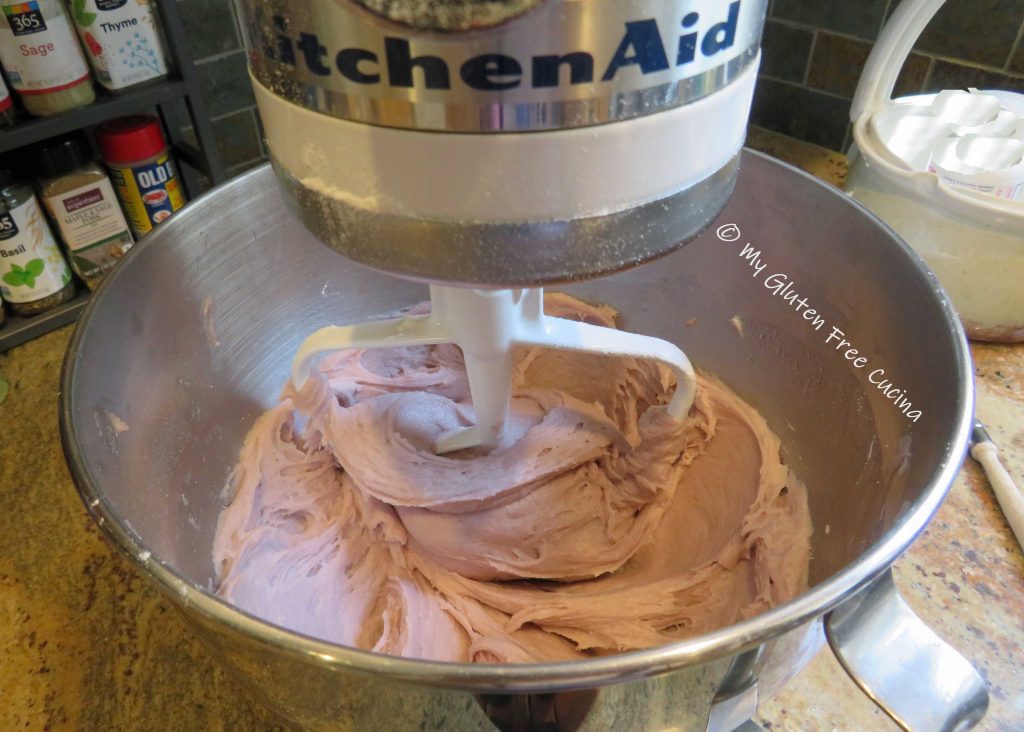
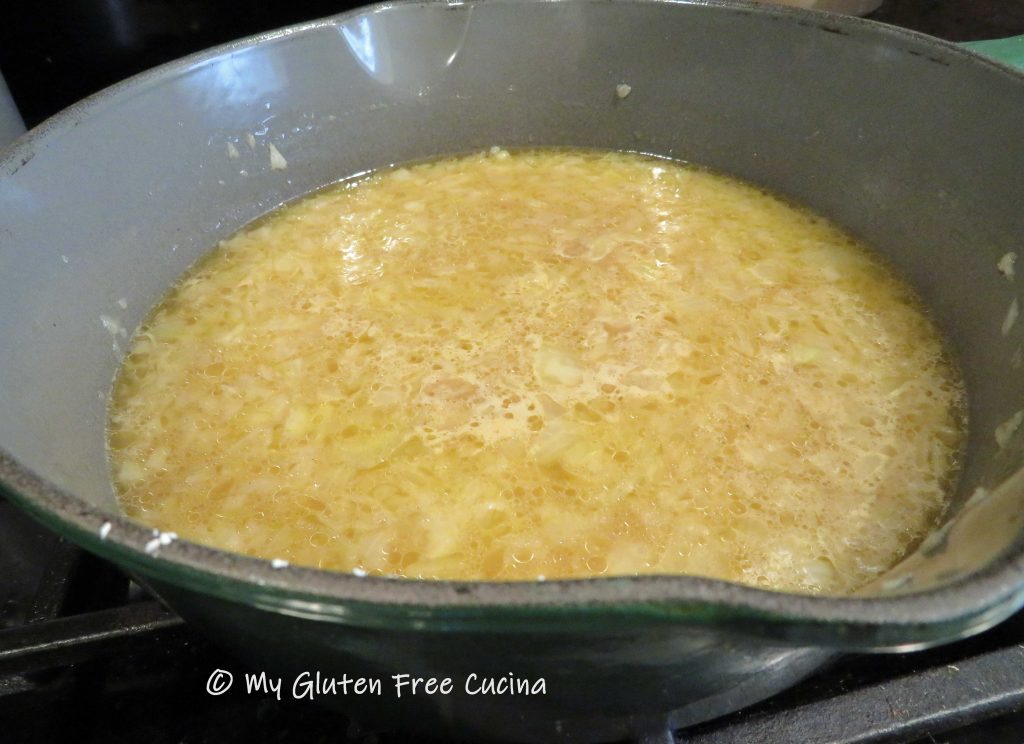 See how the onions have almost melted into the gravy? If you don’t want the little bits of onion that remain you can strain the gravy or puree it with an immersion blender. If you like a little texture definitely leave them in.
 Transfer the gravy to a small sauce pan, then stir in the brandy and cream. Cover and keep warm until serving.

This gravy was made with a combination of chicken, vegetable and beef broth (2/3 cup each) and has a pale cream/light brown color. I’ll be serving it with a pork roast. You can use all chicken, beef or vegetable broth, or a combination as I did here. Experiment with each or make a blend to create the shade and flavor you prefer.

Notes ♪♫ If making a day ahead, cool the gravy to room temperature and refrigerate. The day of the meal gradually reheat and thin with a little extra broth if needed.


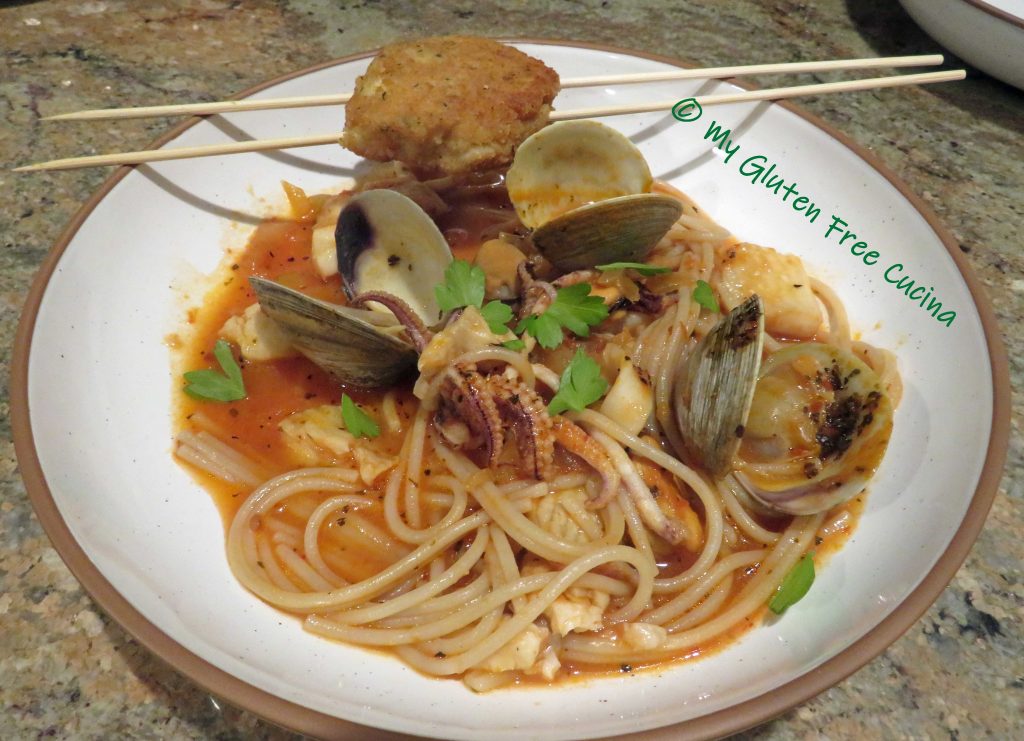
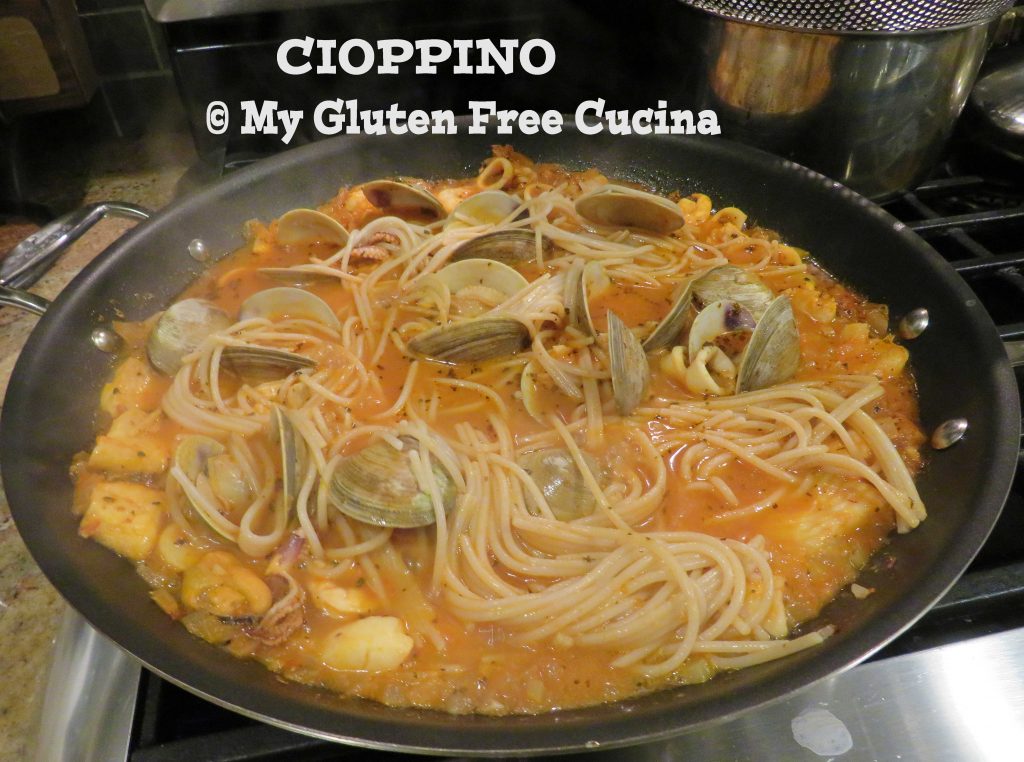
 To complete my seven fishes, I bought a dozen fresh littlenecks and flounder from the frozen aisle. I topped it all off with a crab cake made with

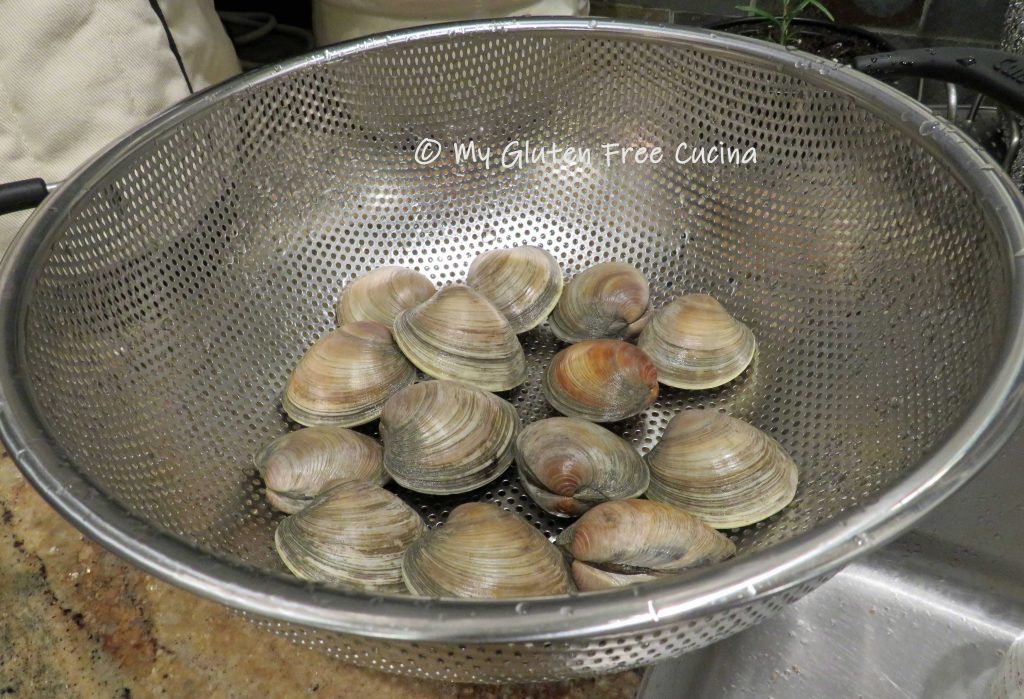 If using frozen fish, thaw before cooking. You can improve the texture by soaking it in milk.
 Sauté 2 minutes then add the tomatoes, lemon juice, Worcestershire sauce, stock, white wine and the spices. Cover and simmer on low for 30 minutes.
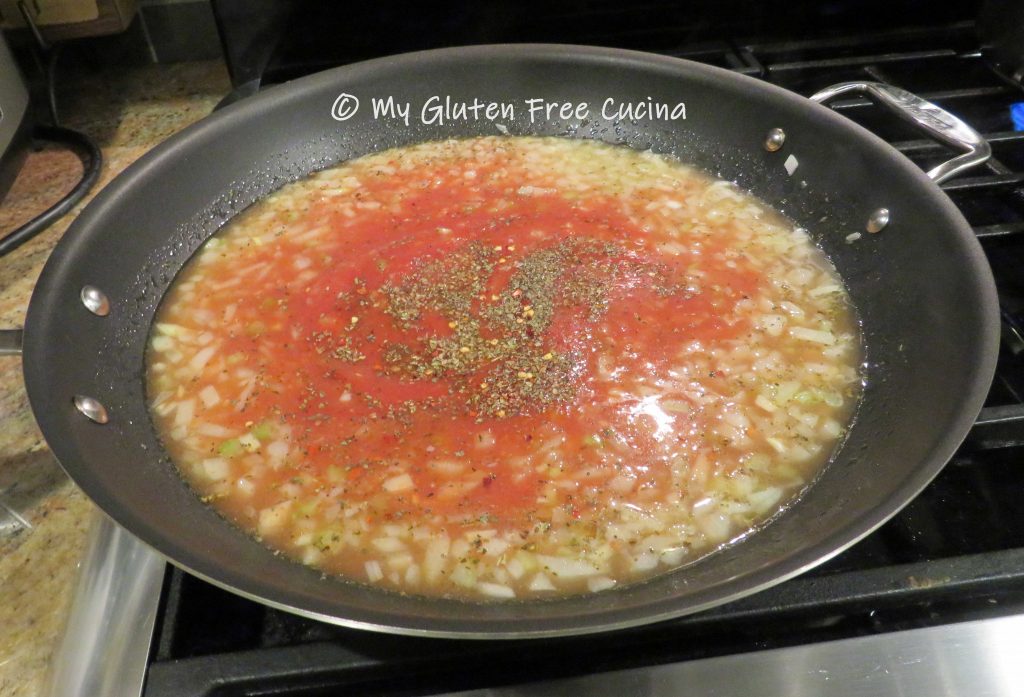


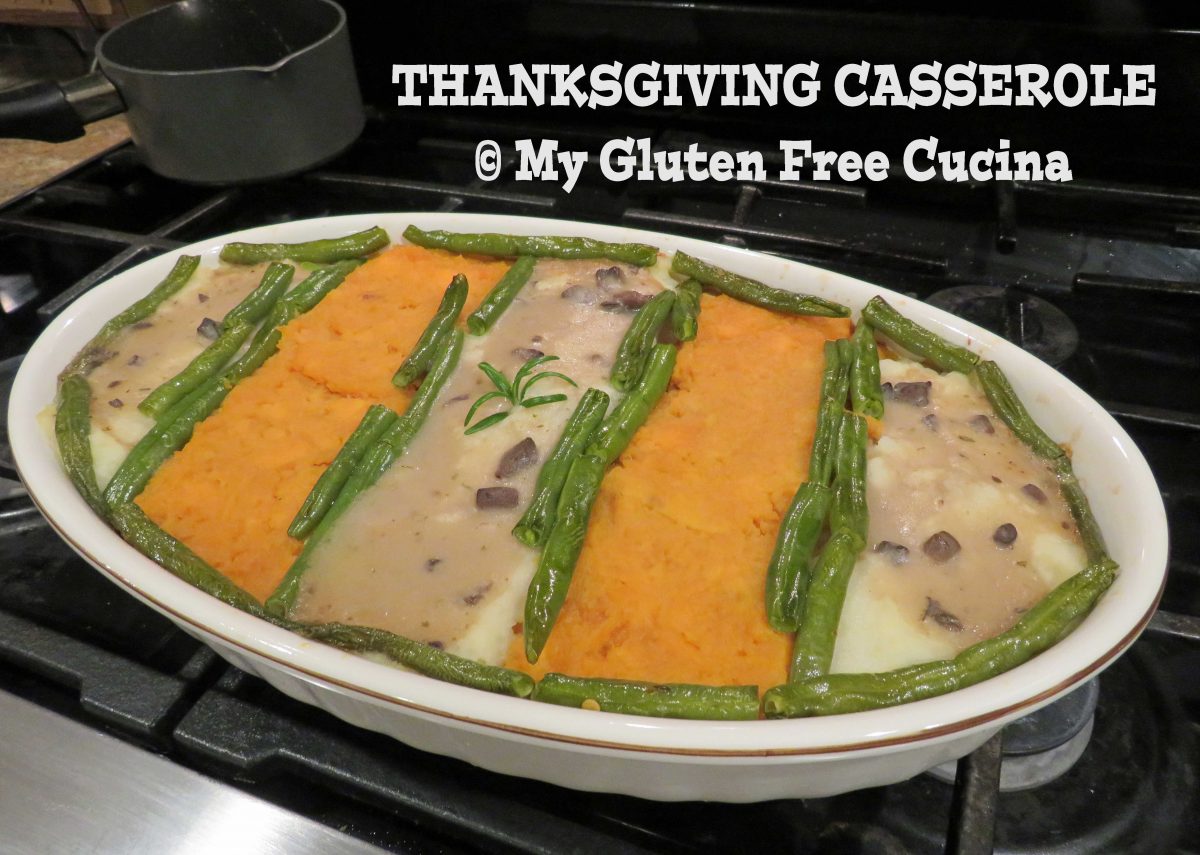
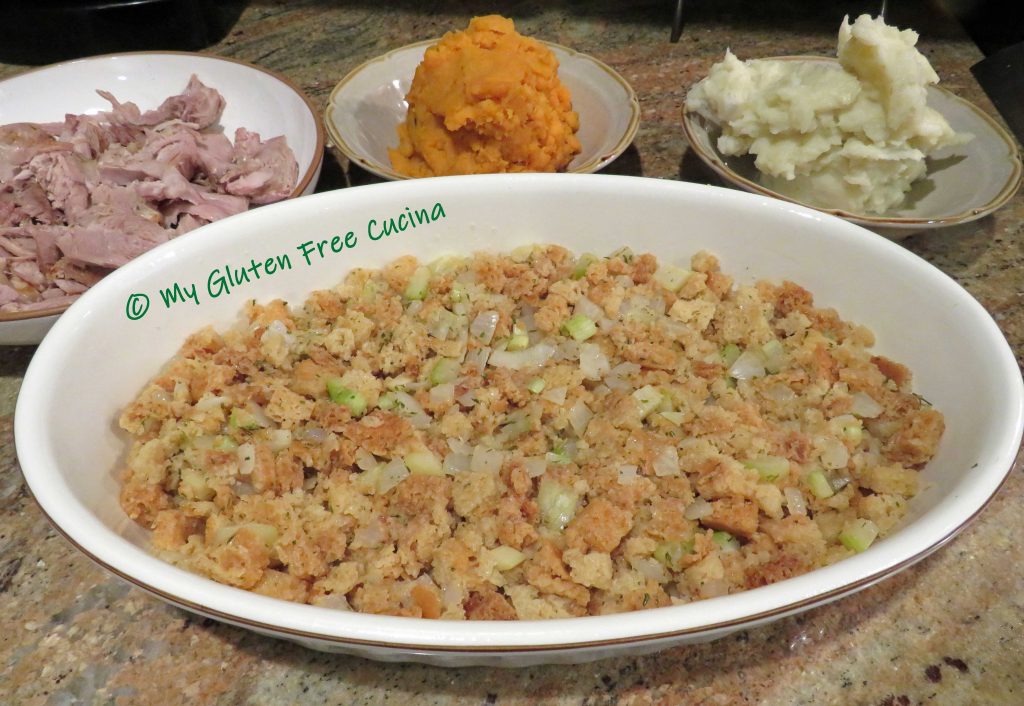
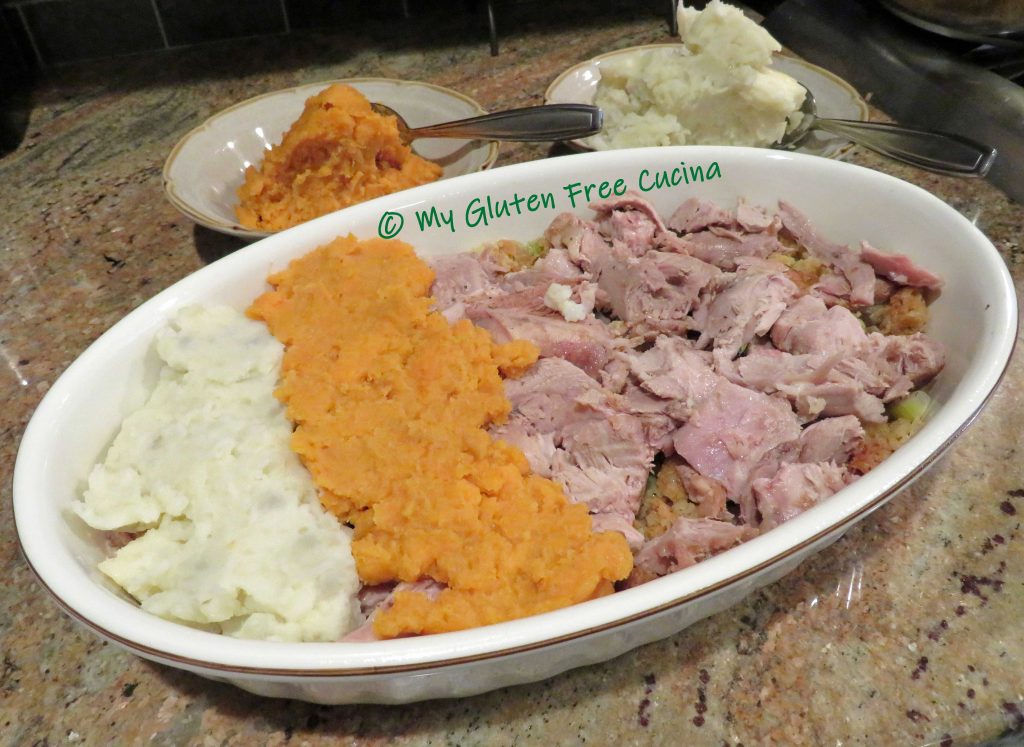
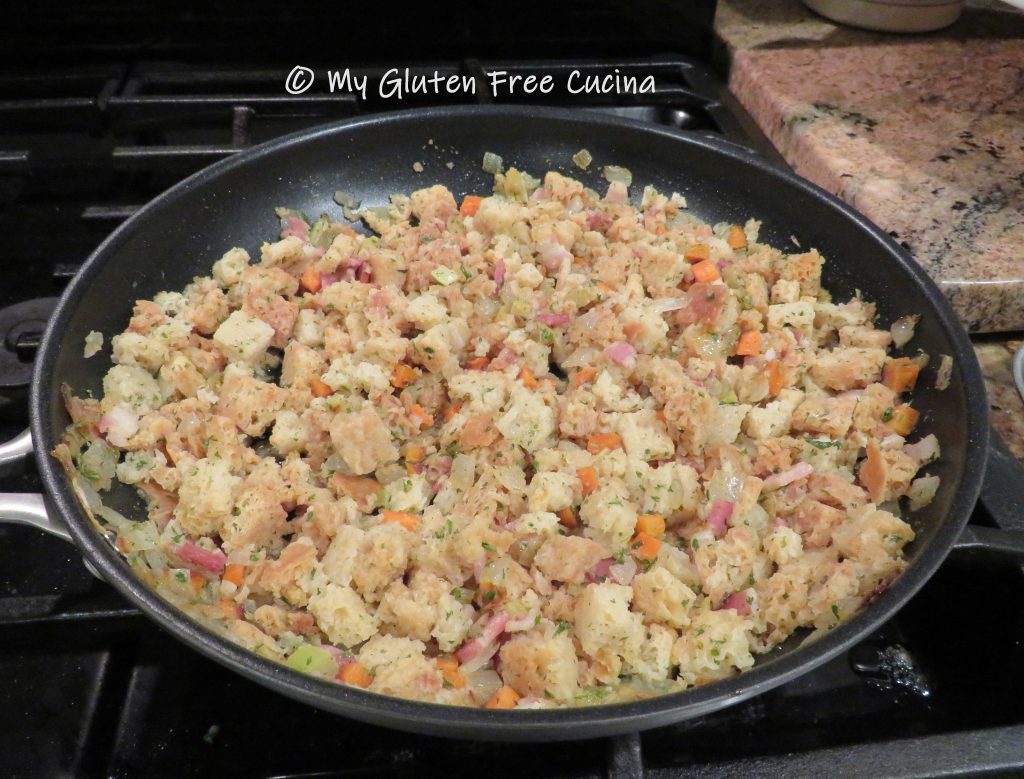
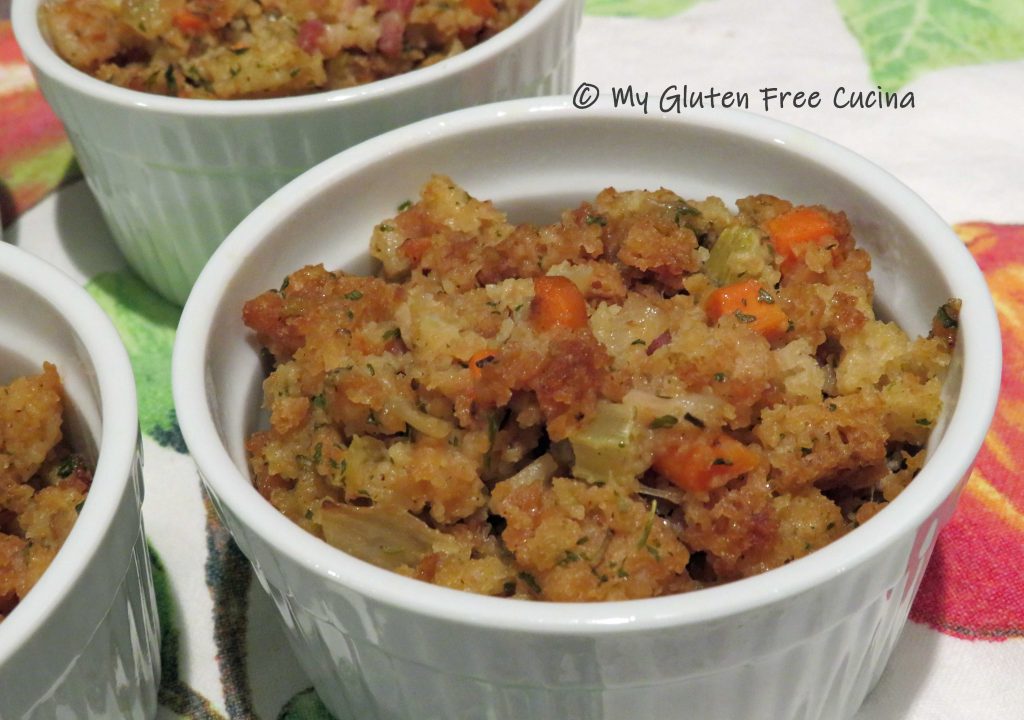
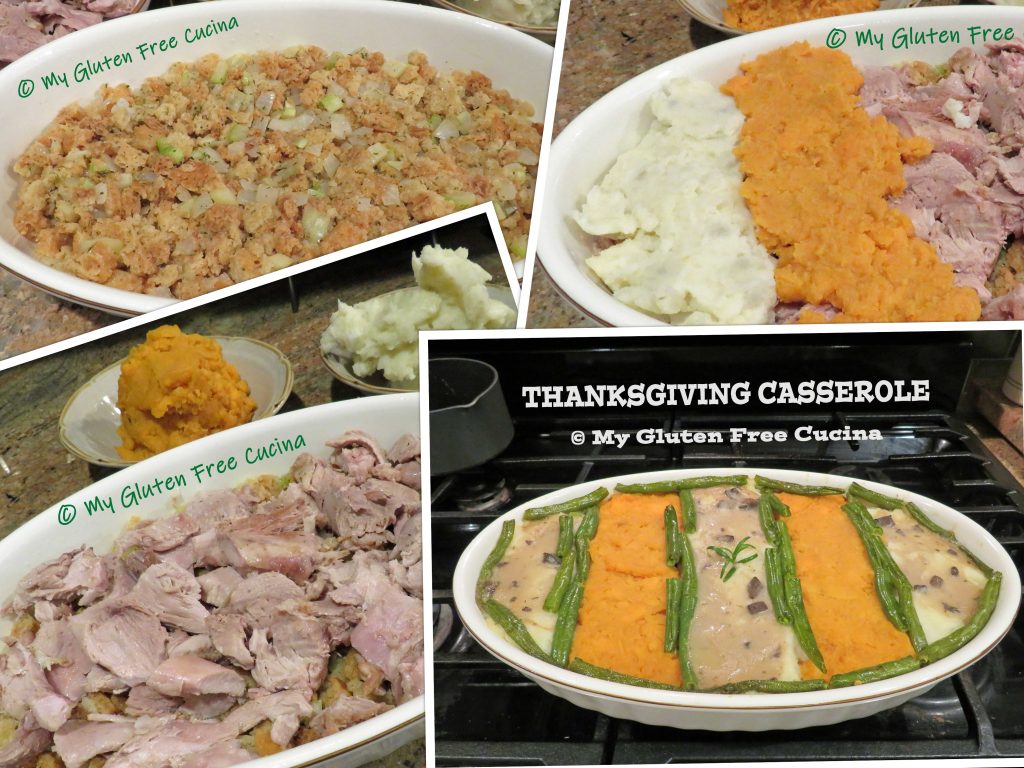 You can make each layer from scratch for a casual take on the traditional Thanksgiving meal or throw it together the next day with your Thanksgiving leftovers!
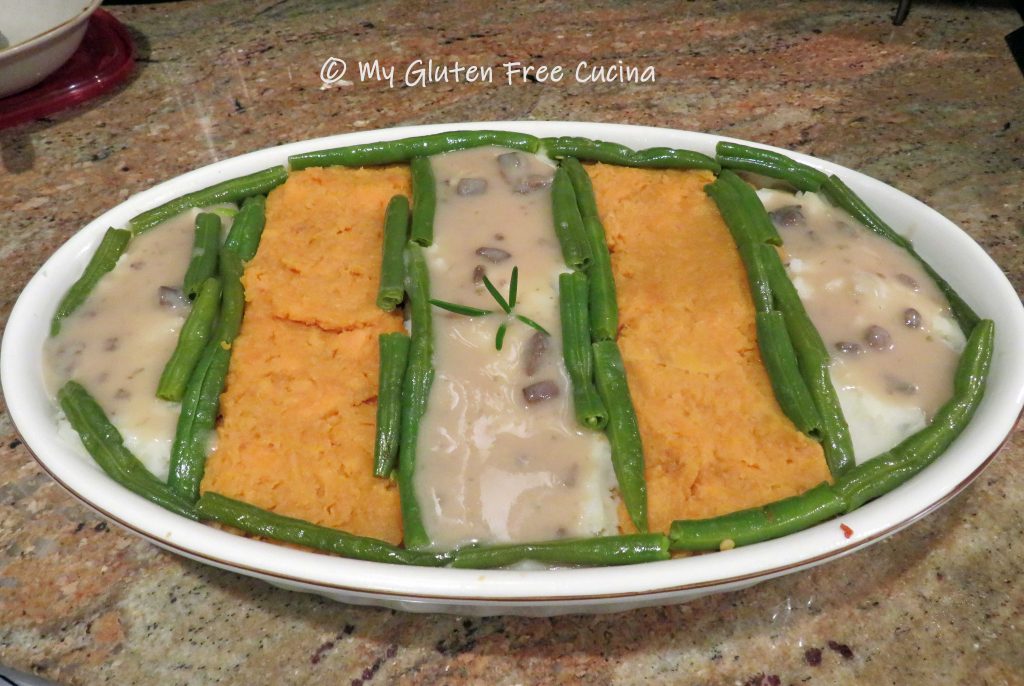


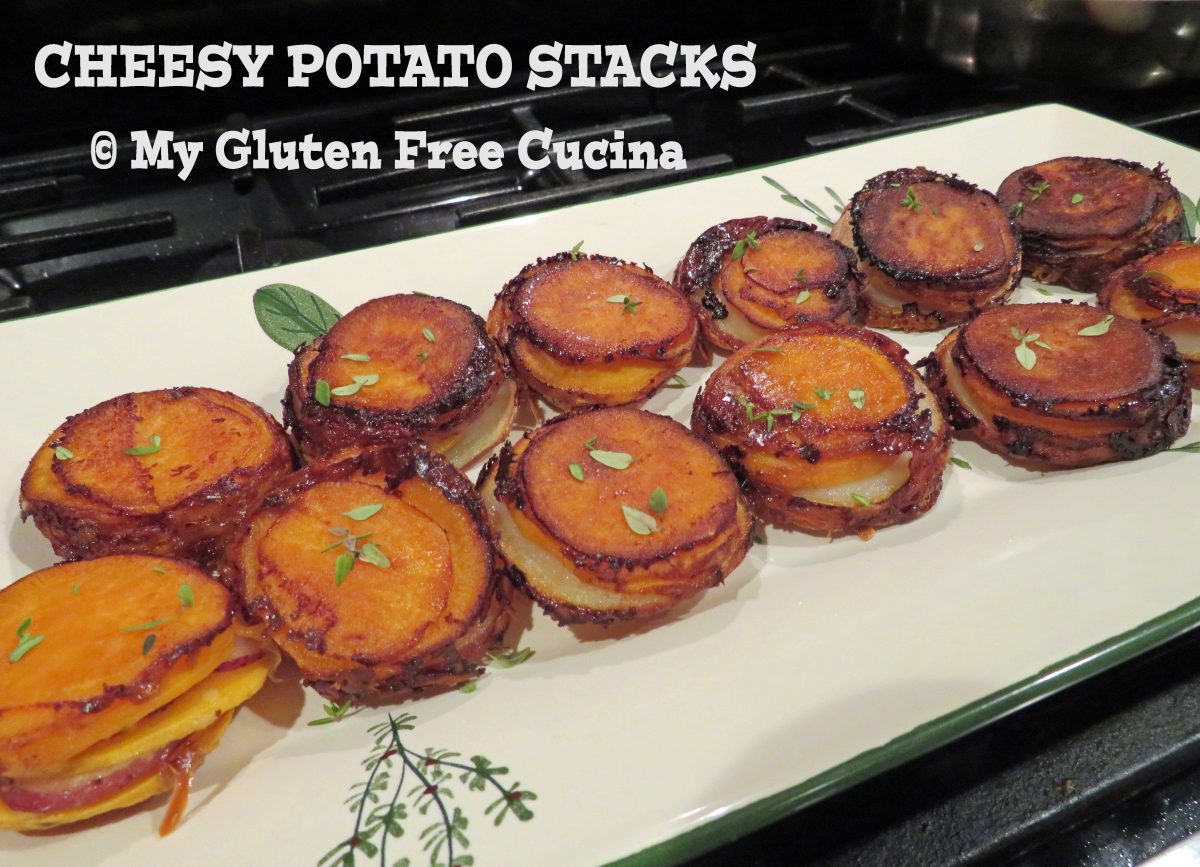
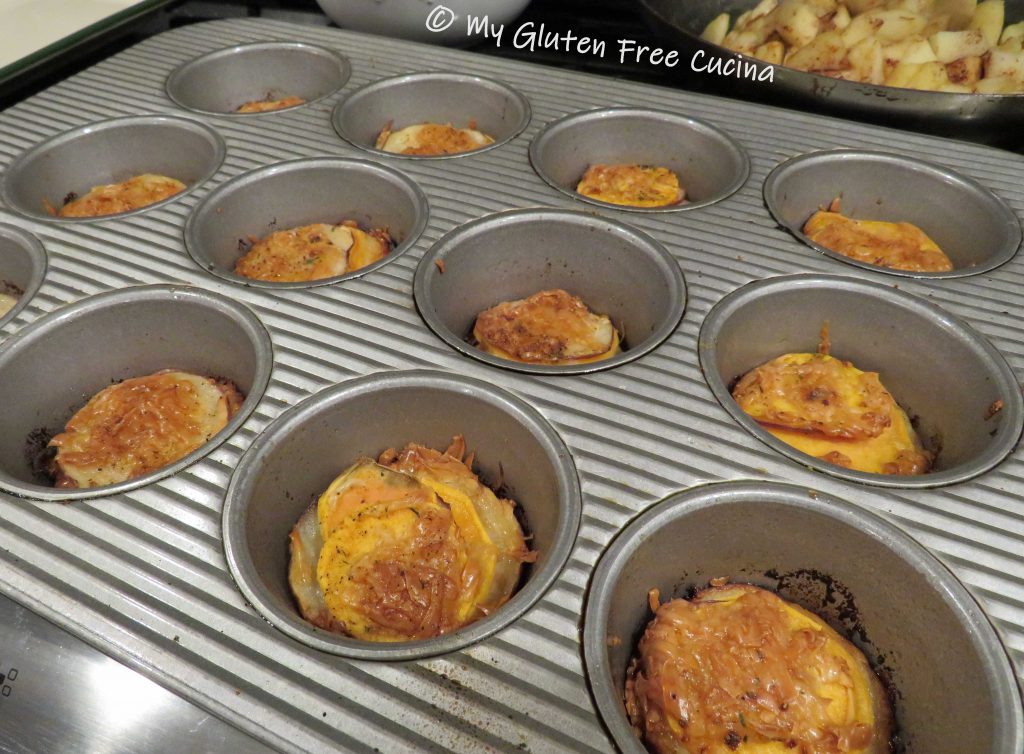


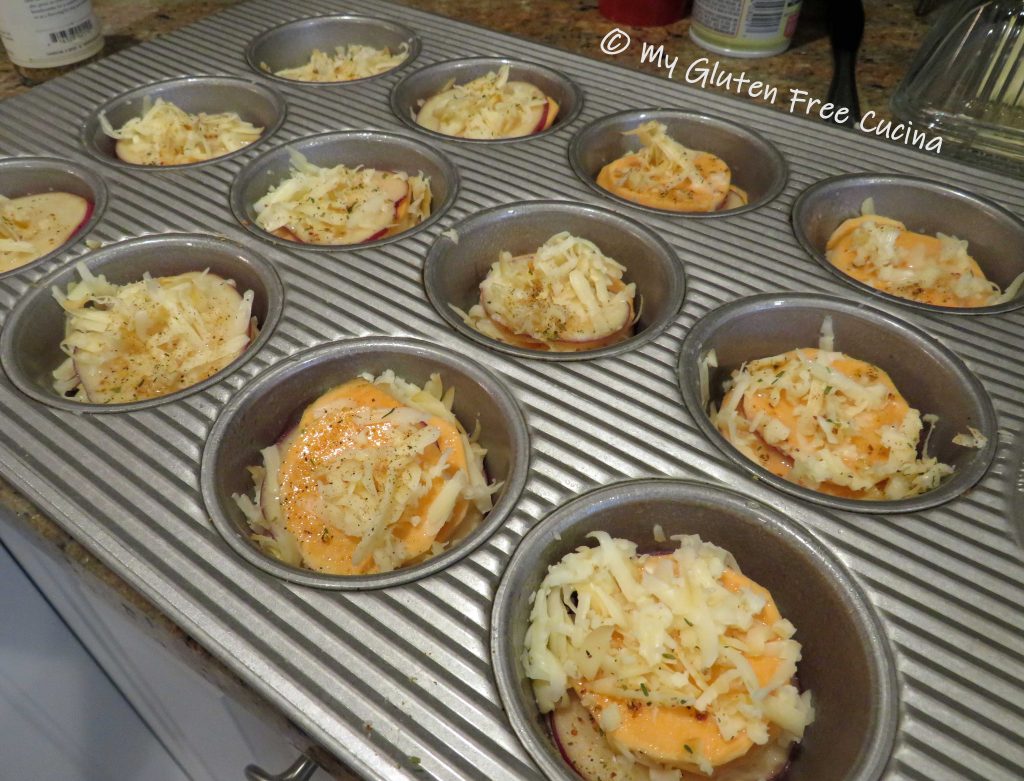
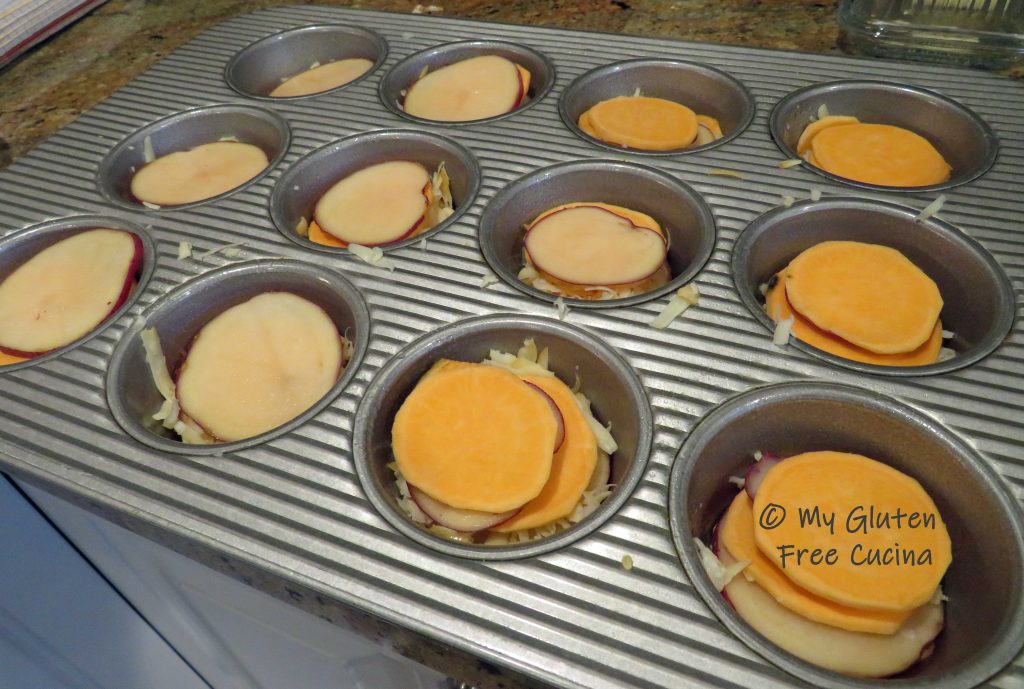 Use the smaller slices on the bottom for the best fit. Drizzle one tsp. of the butter mixture over each stack and top with half of the grated cheese.
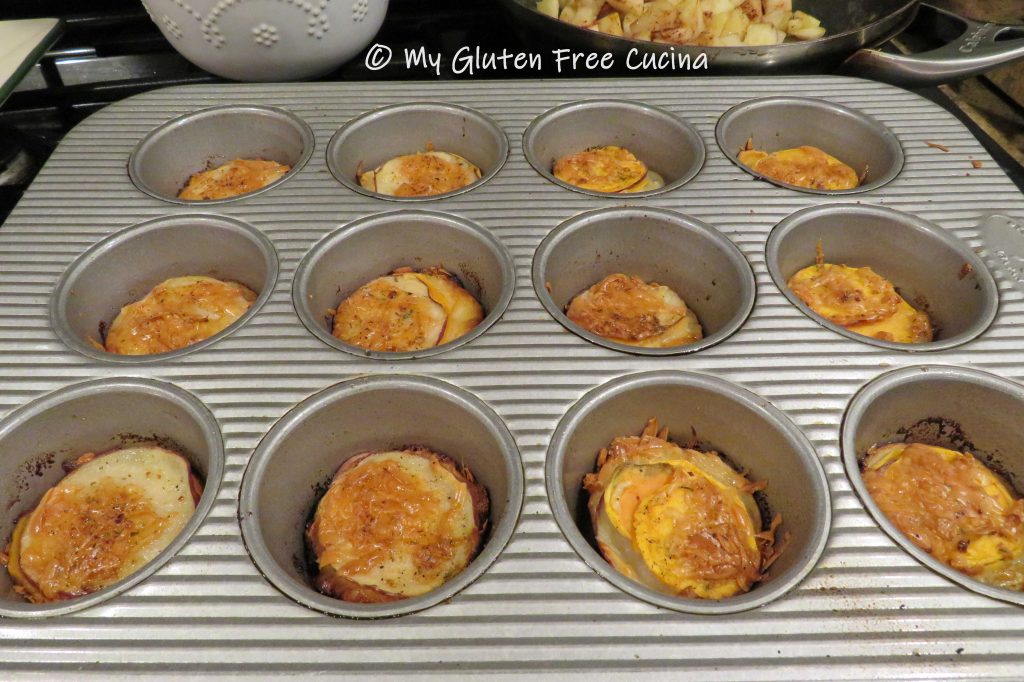


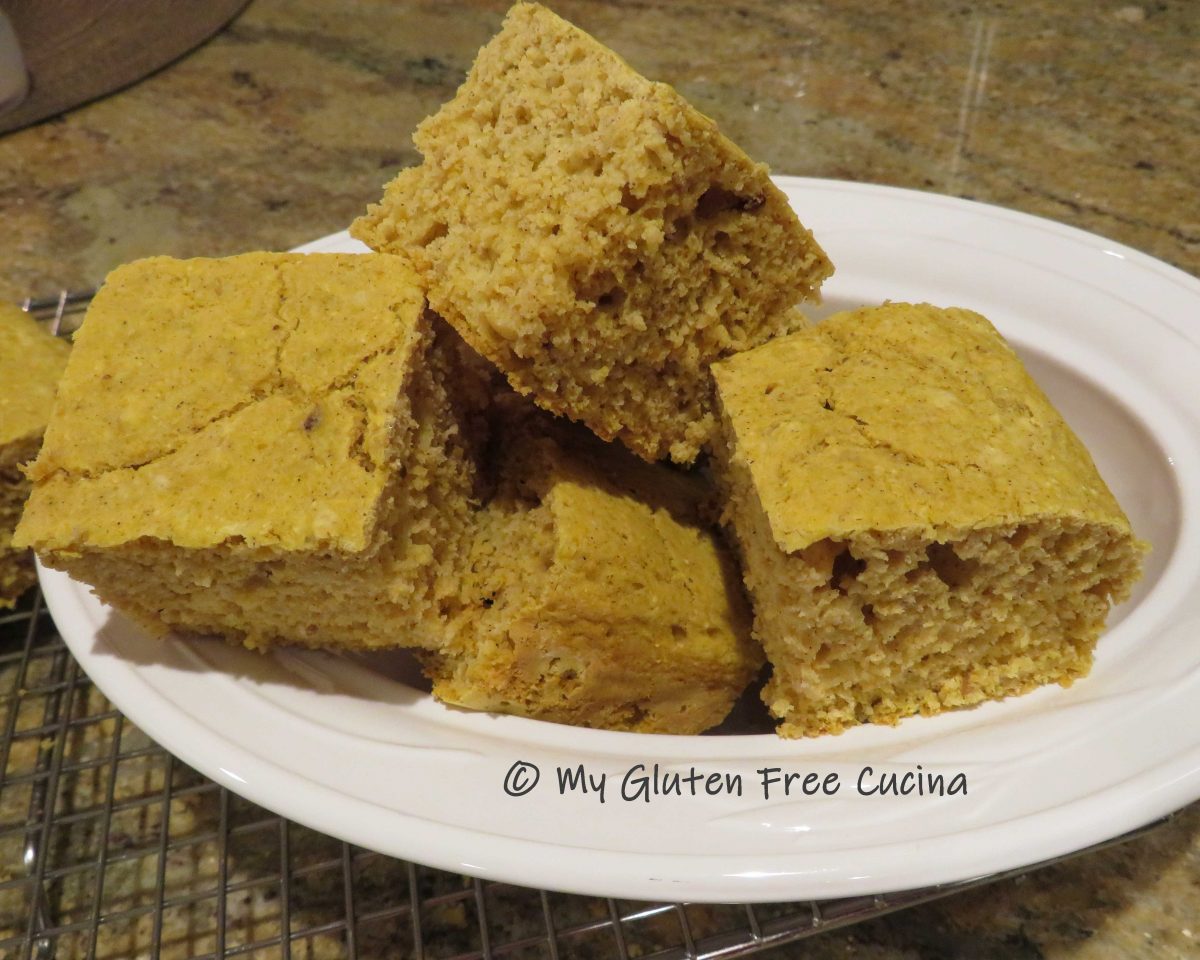
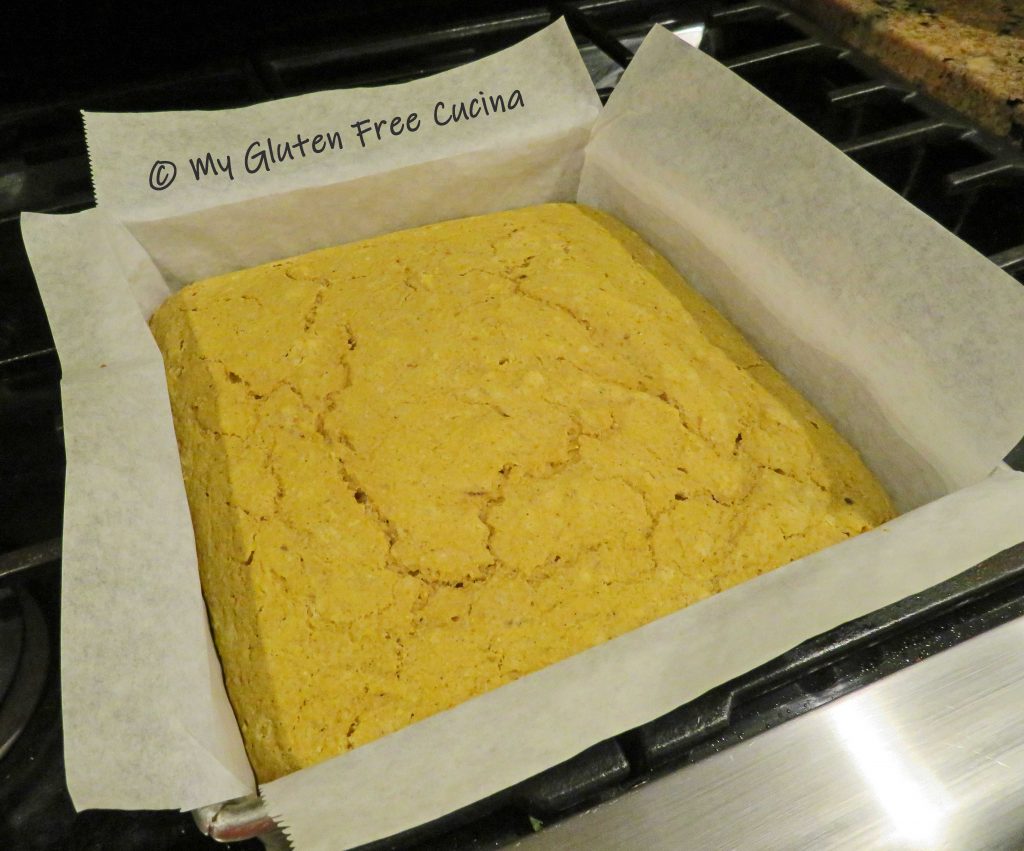
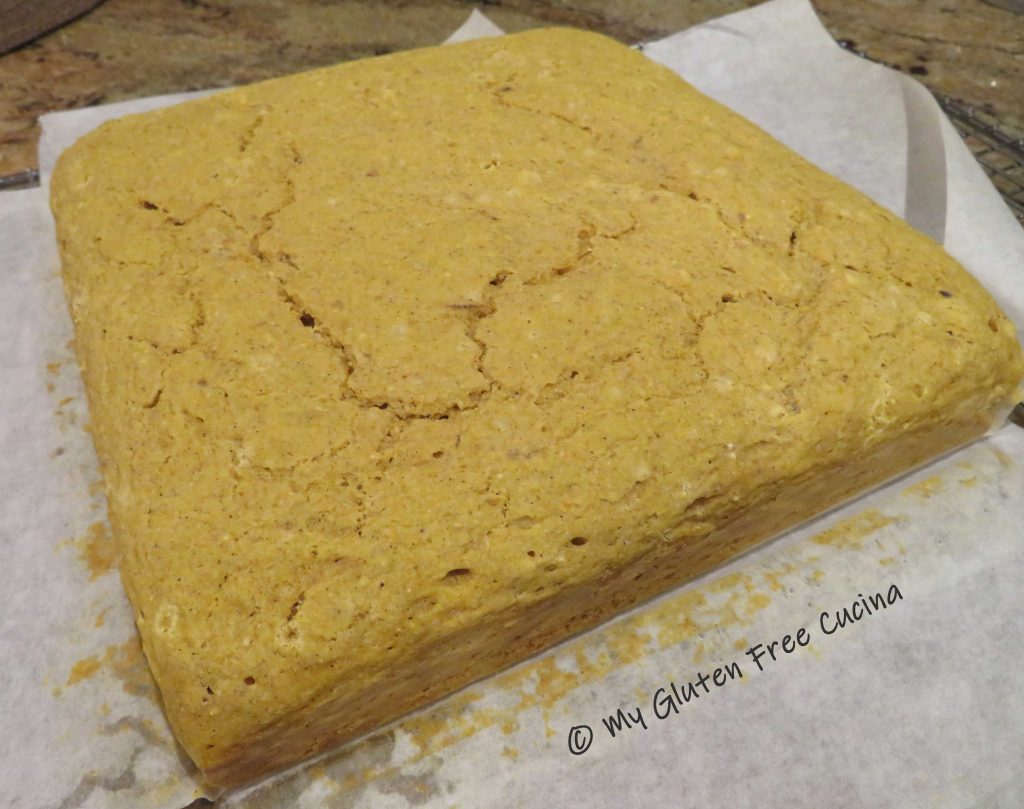
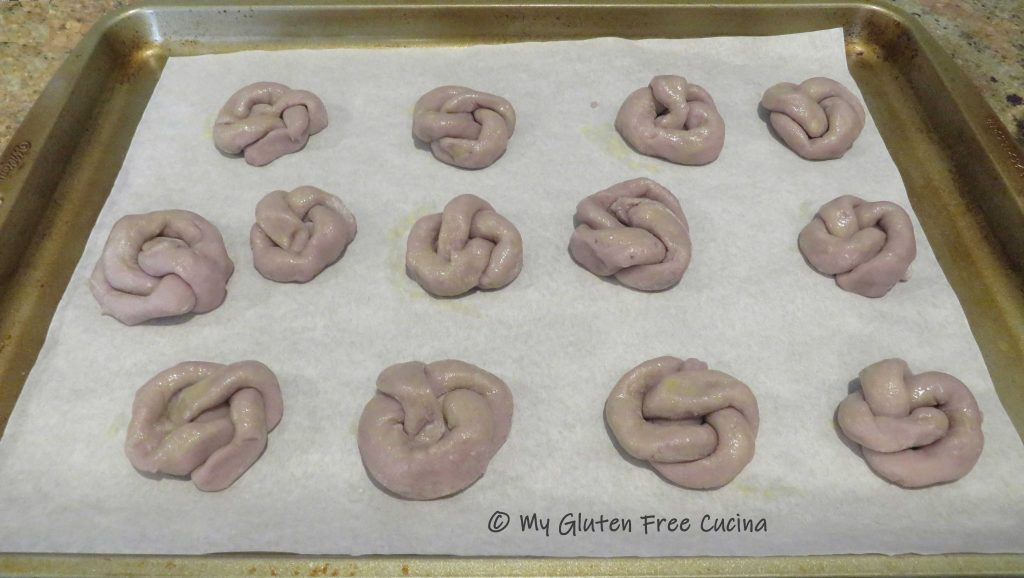 Bake for 22-25 minutes. Cool in the pan 10 minutes then transfer to a rack. Enjoy them warm or at room temperature.


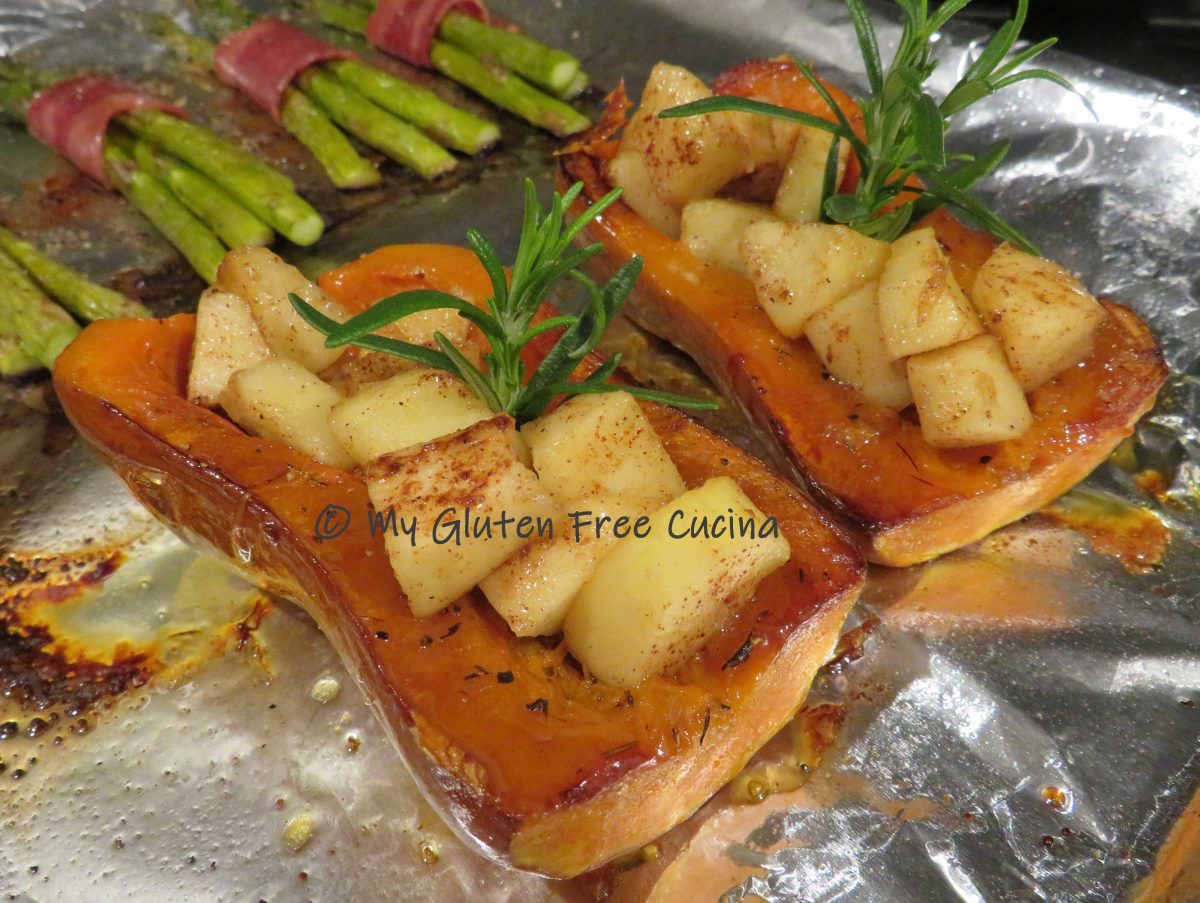


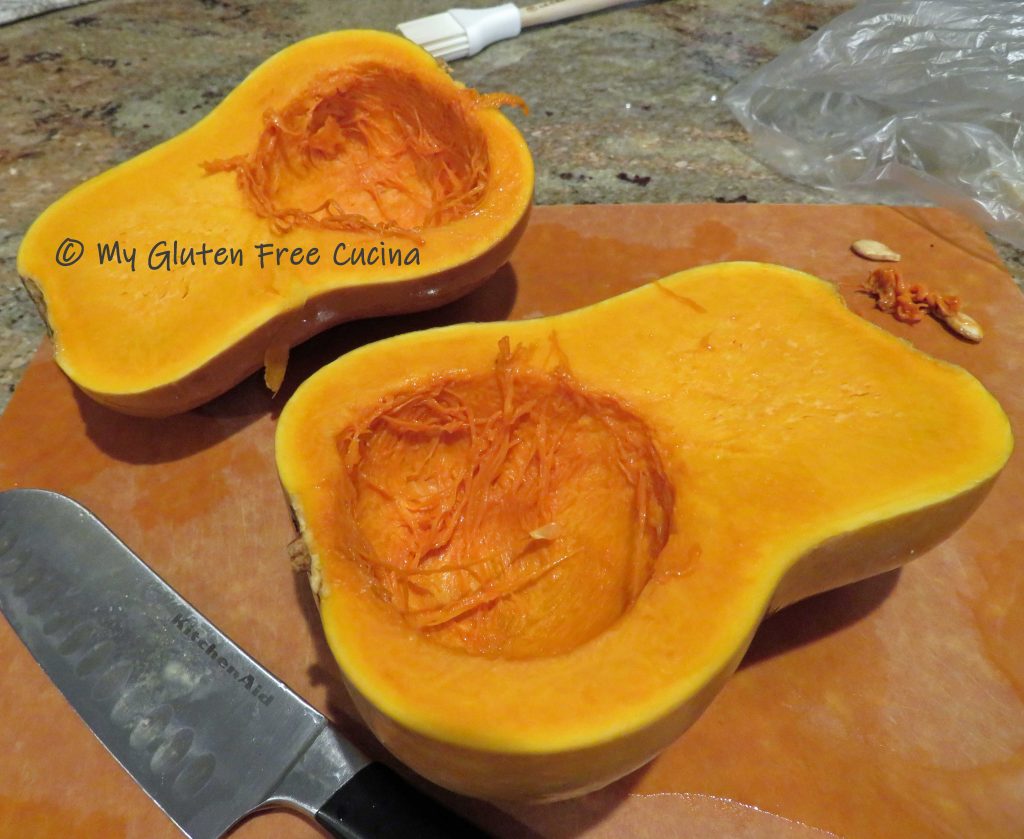
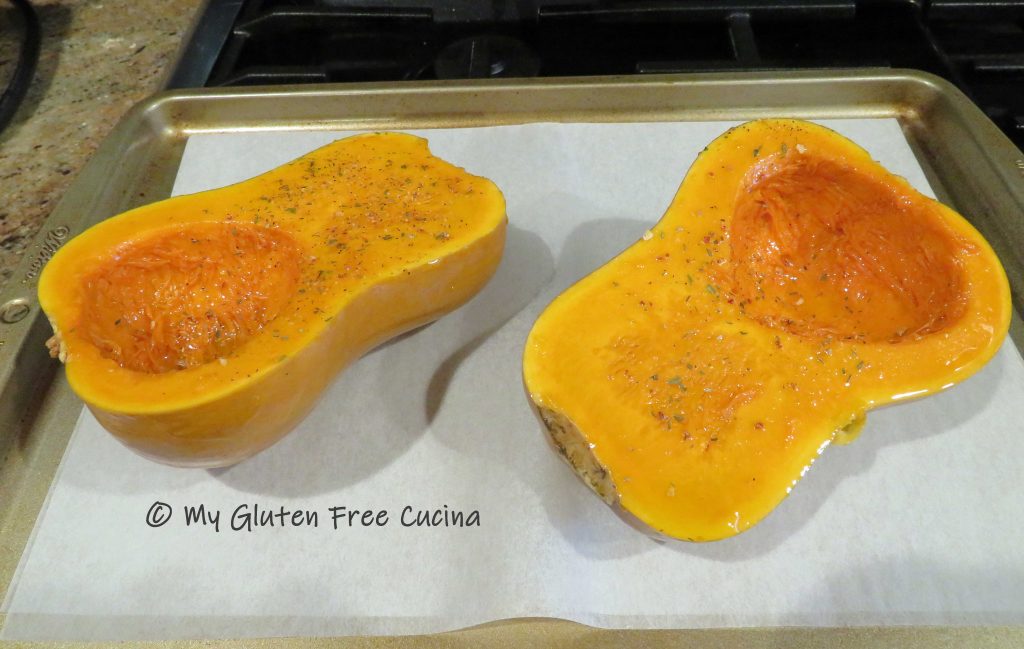 Arrange cut side down on a baking sheet lined with parchment or foil and bake for 35 minutes at 375º.
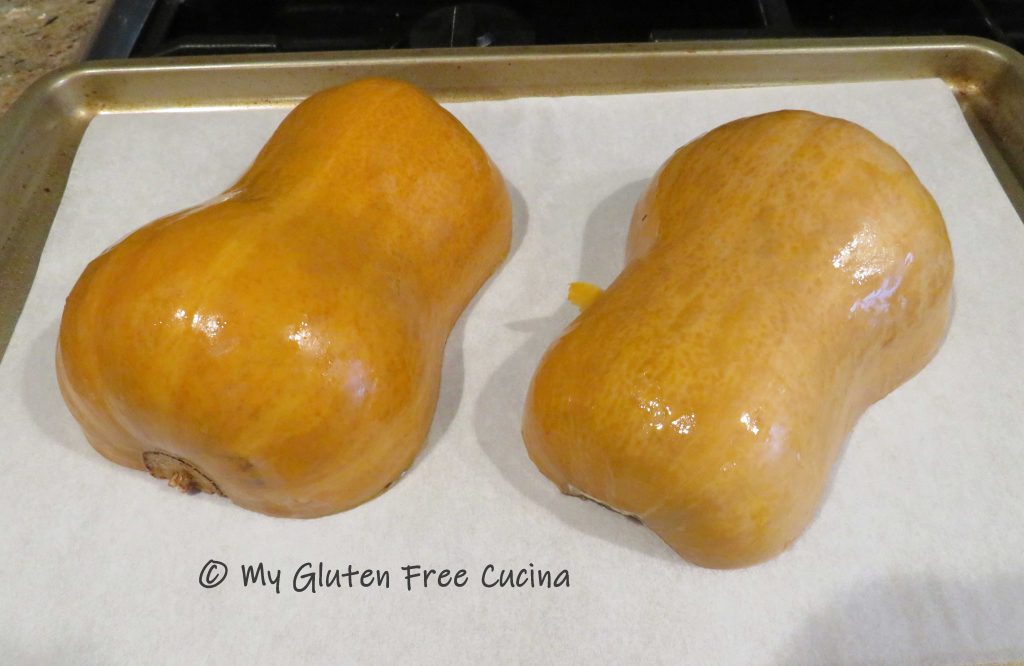
 While the squash is baking, peel and dice the apple. I used a Honeycrisp apple. Heat a small skillet on medium low. Add the apples with a pat of butter and toss to combine. Cook 3 minutes, stirring frequently. Sprinkle with cinnamon.
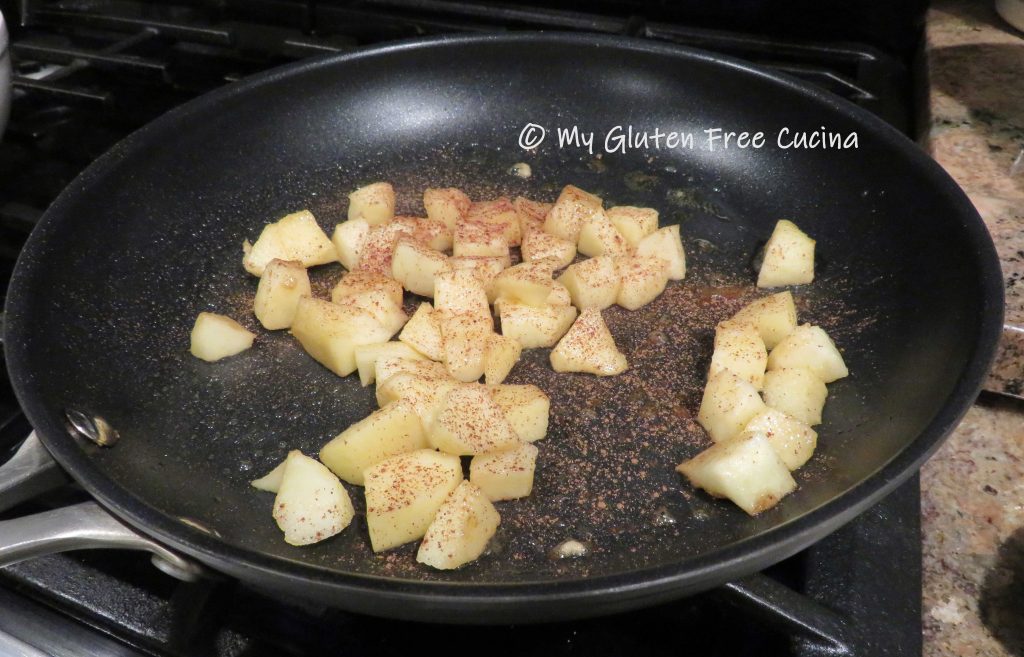


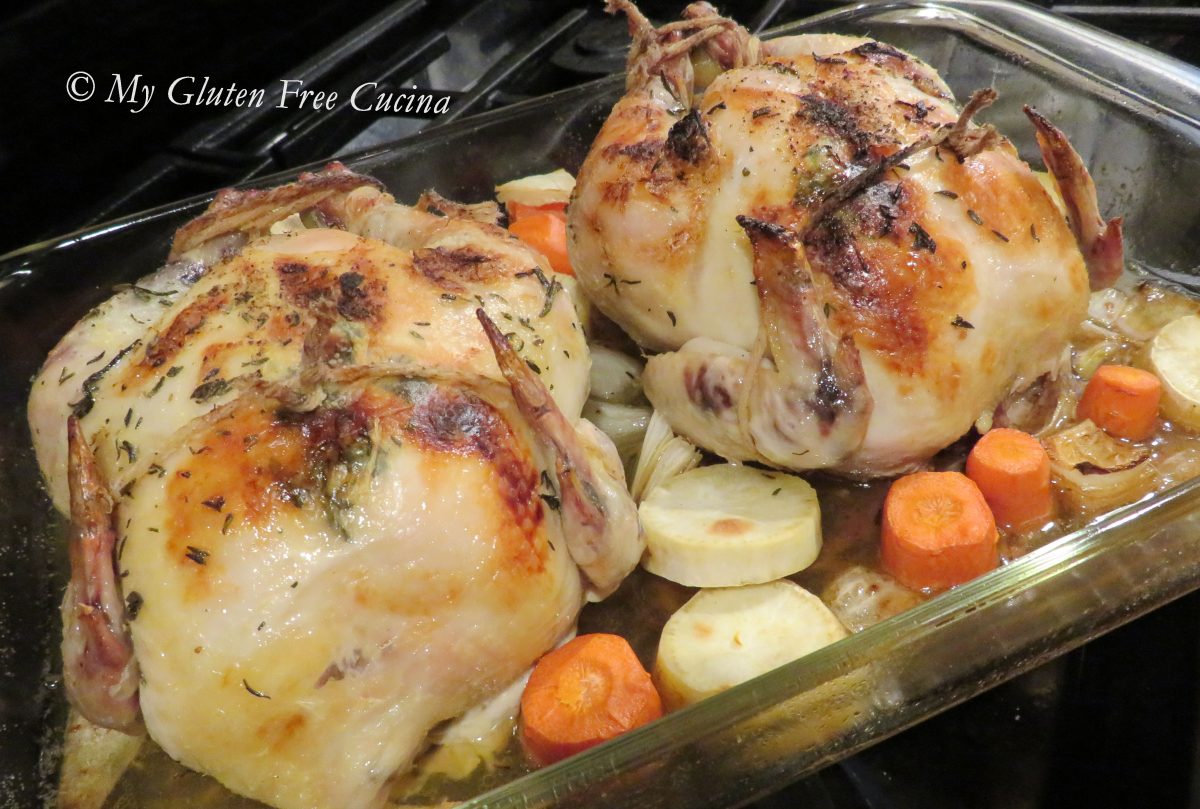
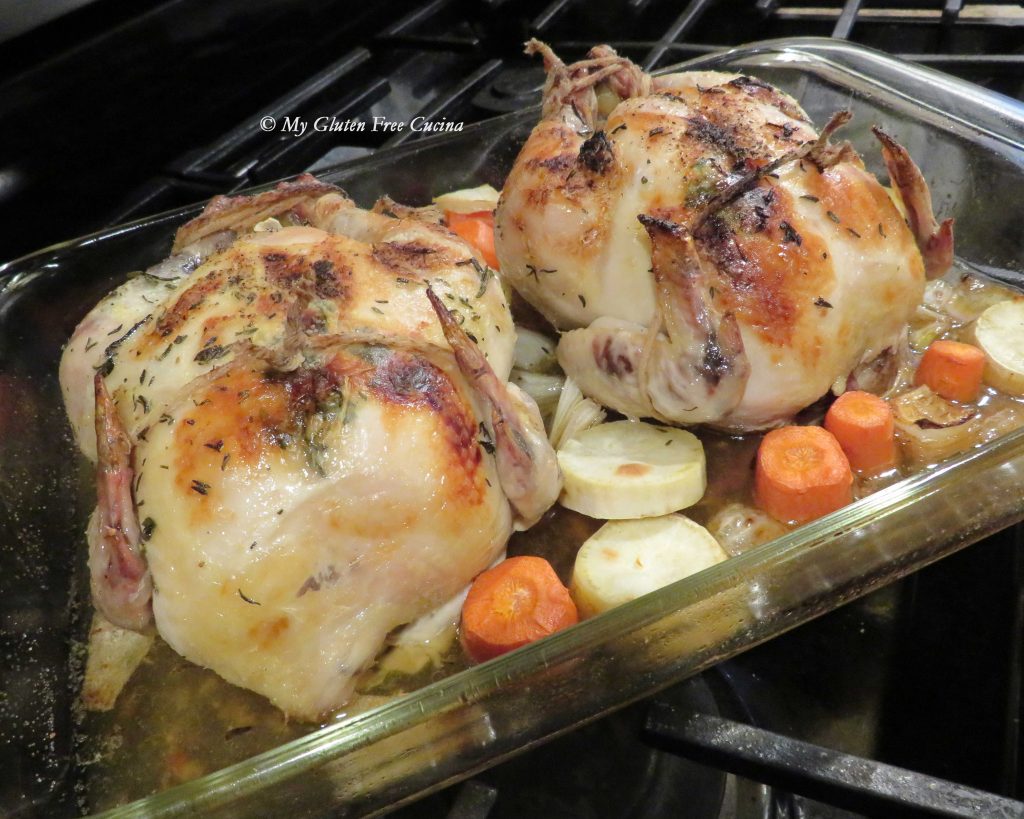
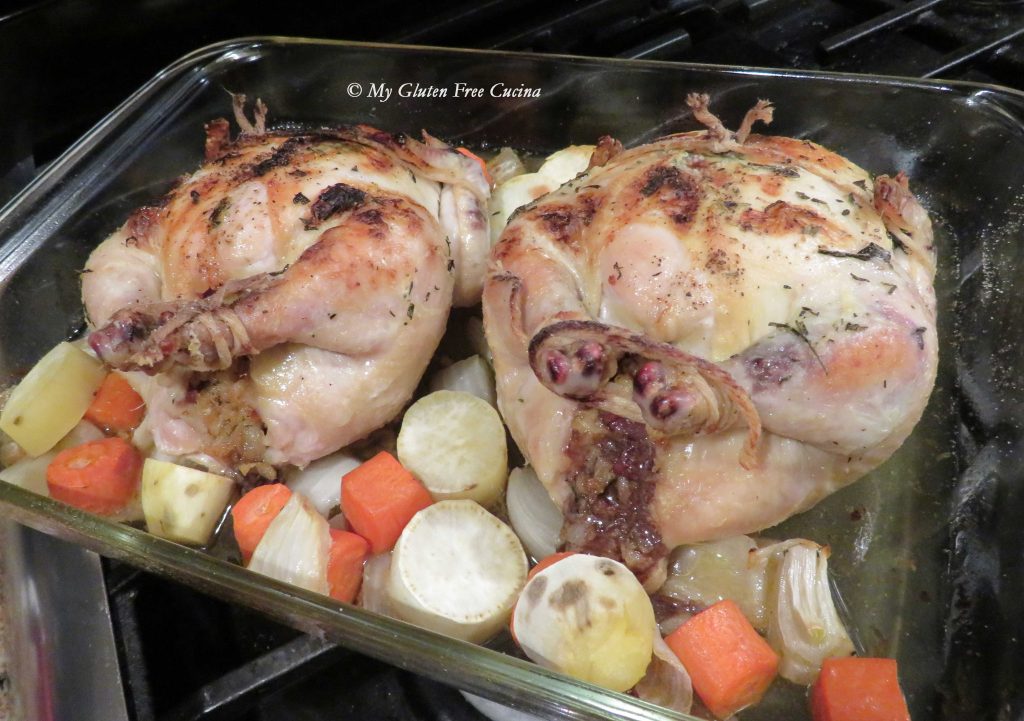 A single Cornish Hen (2 lb.) should yield 2 servings, or for hearty appetites plan on one hen each. Your gatherings may be smaller, but they can still be delicious!