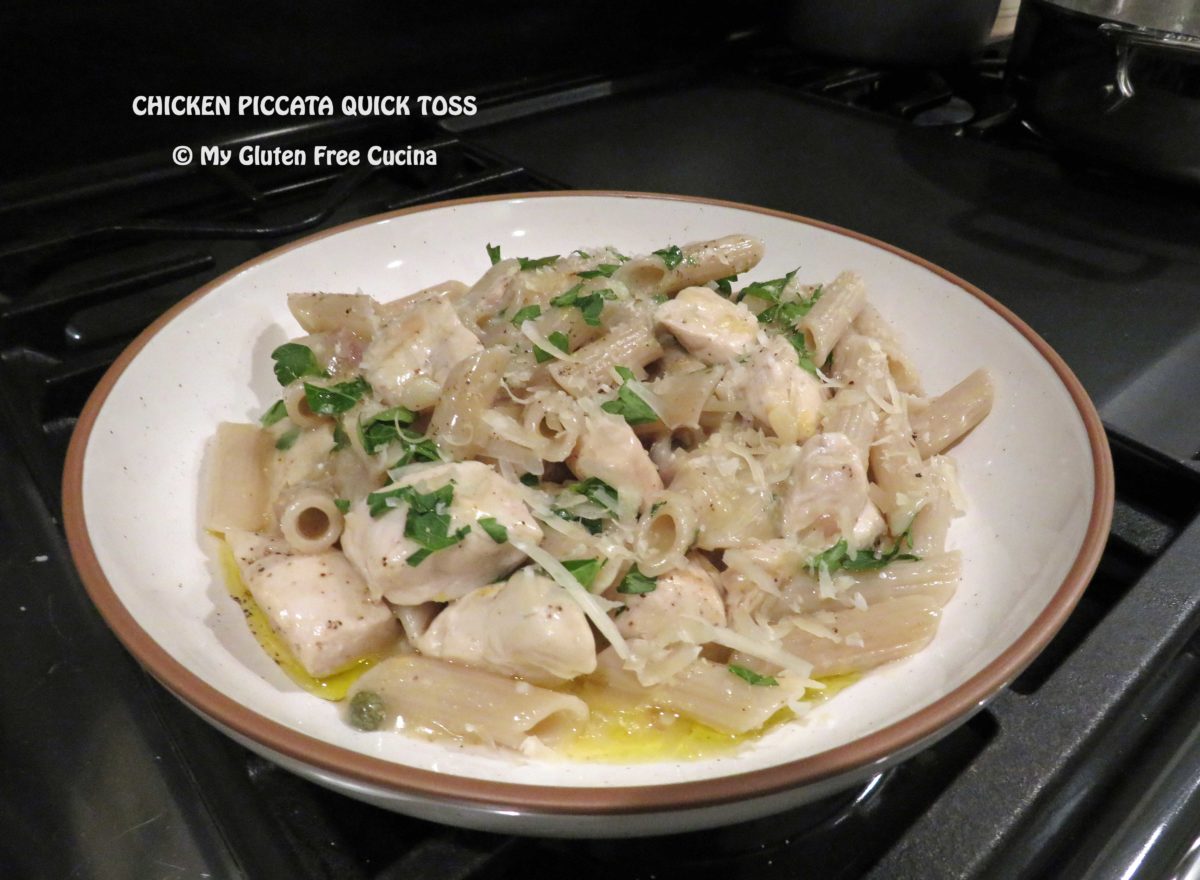
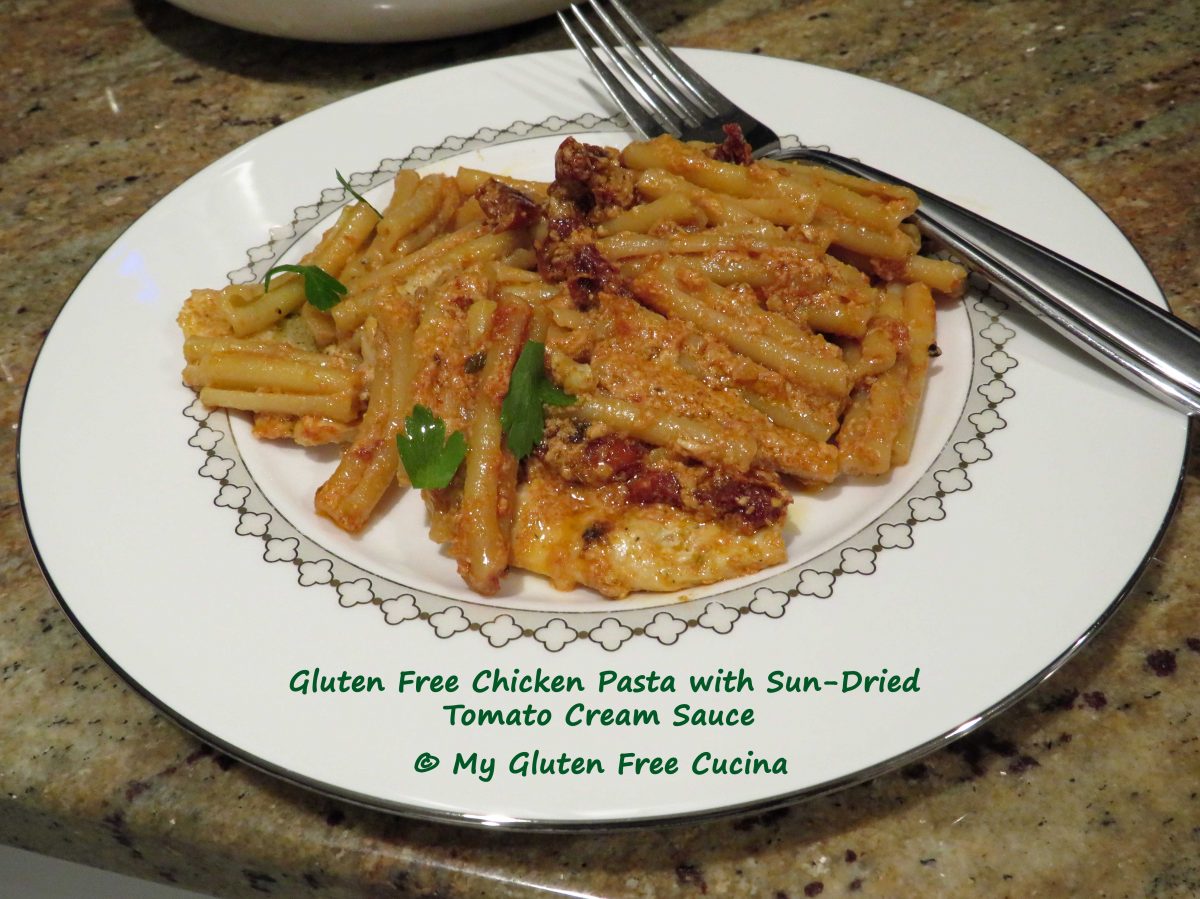
Do you love Chicken Piccata? Get all the big restaurant flavor of this classic dish with a few shortcuts that will have dinner on the table in 20 minutes, minus the gluten!
Diced chicken tenders replace cutlets in this express recipe. Perfect for those busy weeknights when you just want to get dinner on the table, tastes like you’ve been cooking for hours! ❤️
Dinner for two
This post contains affiliate links.
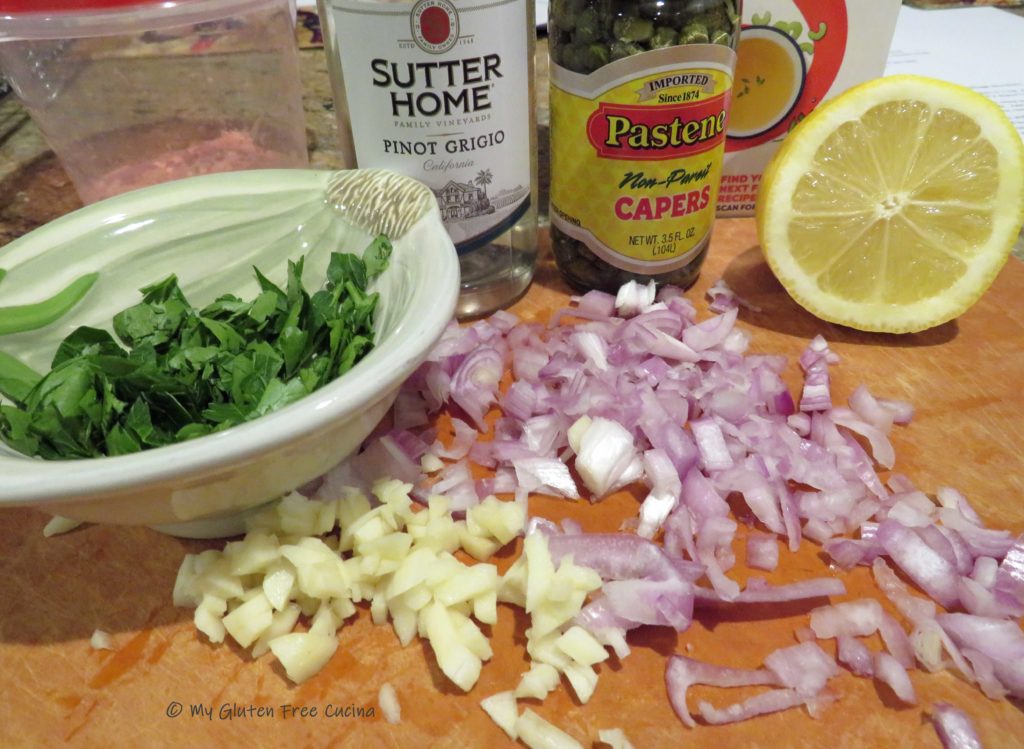
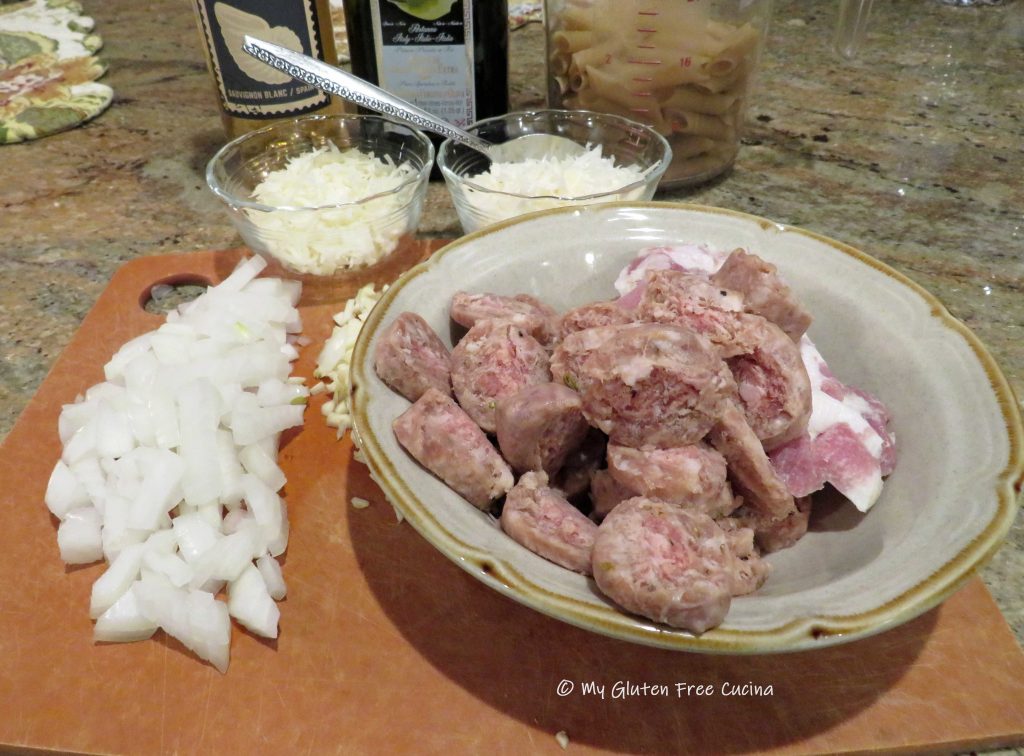
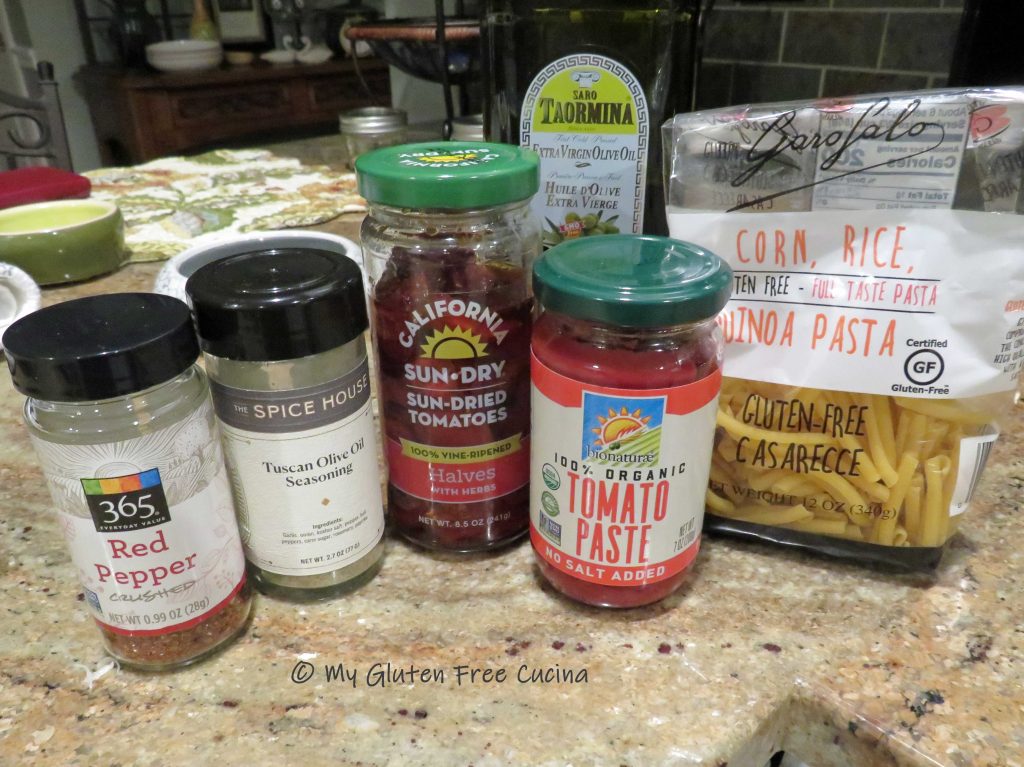
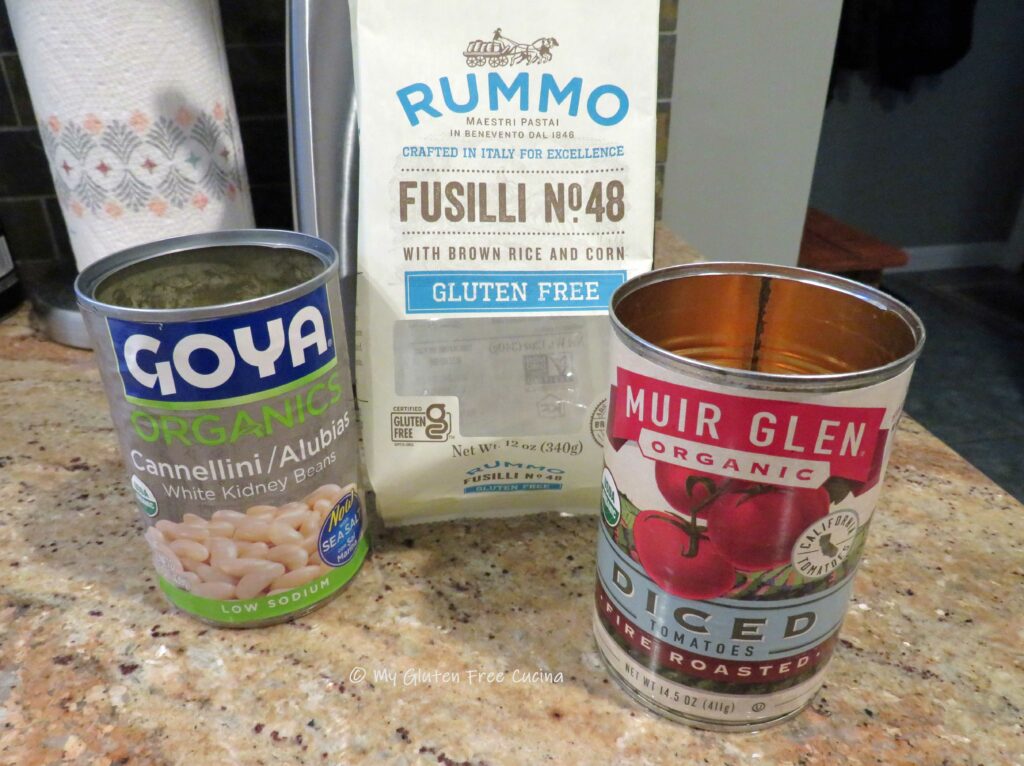
Ingredients:
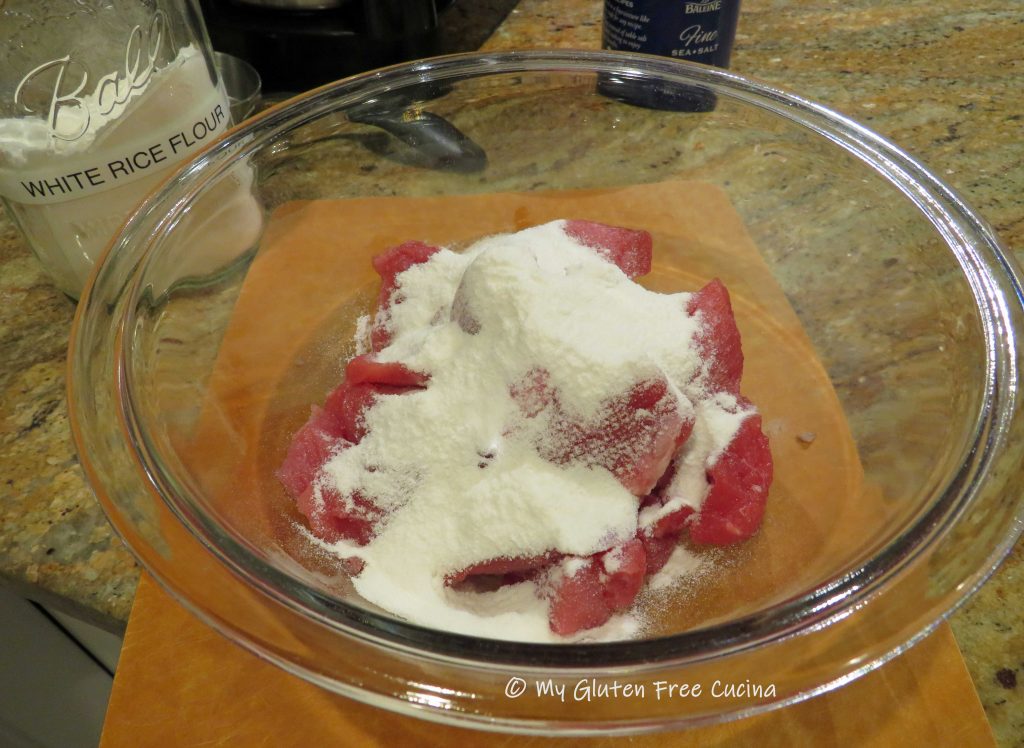
- 1/2 lb. chicken tenders, cut into chunks
- 6 oz. gluten free pasta
- 4 tsp. olive oil, divided plus more for finishing
- 4 tsp. butter, divided
- 1 shallot, minced
- 2 garlic cloves, minced
- zest and juice of 1/2 lemon
- 1 tbsp. arrowroot flour
- 1/4 cup white wine (not cooking wine)
- 1/2 cup gluten free, low sodium chicken broth
- salt and pepper
- 1 tbsp. small capers (more if you like)
- Italian parsley for garnish
- grated cheese
Preparation:
Cook the pasta for 2 minutes less than the package directions, drain and set aside.
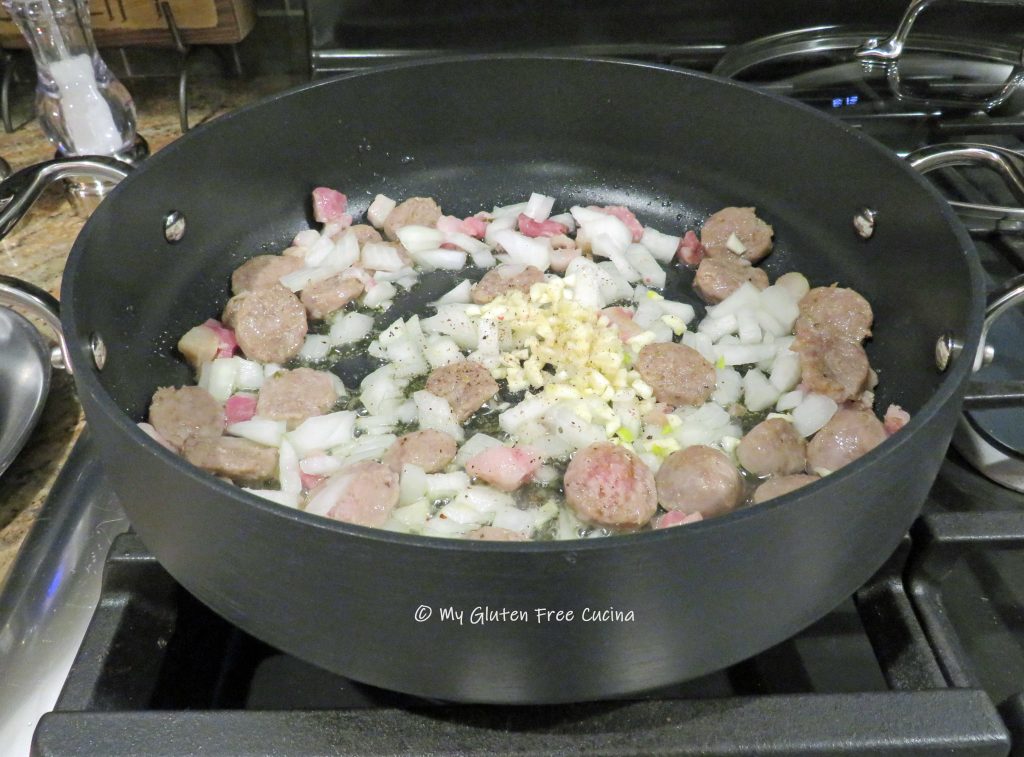
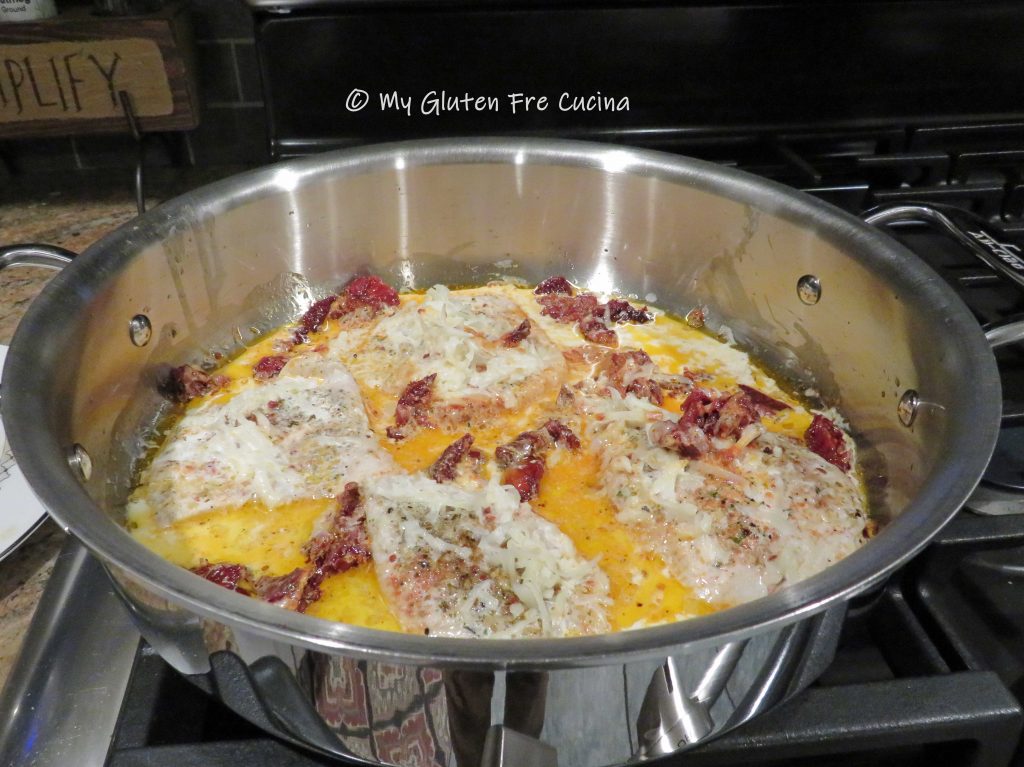
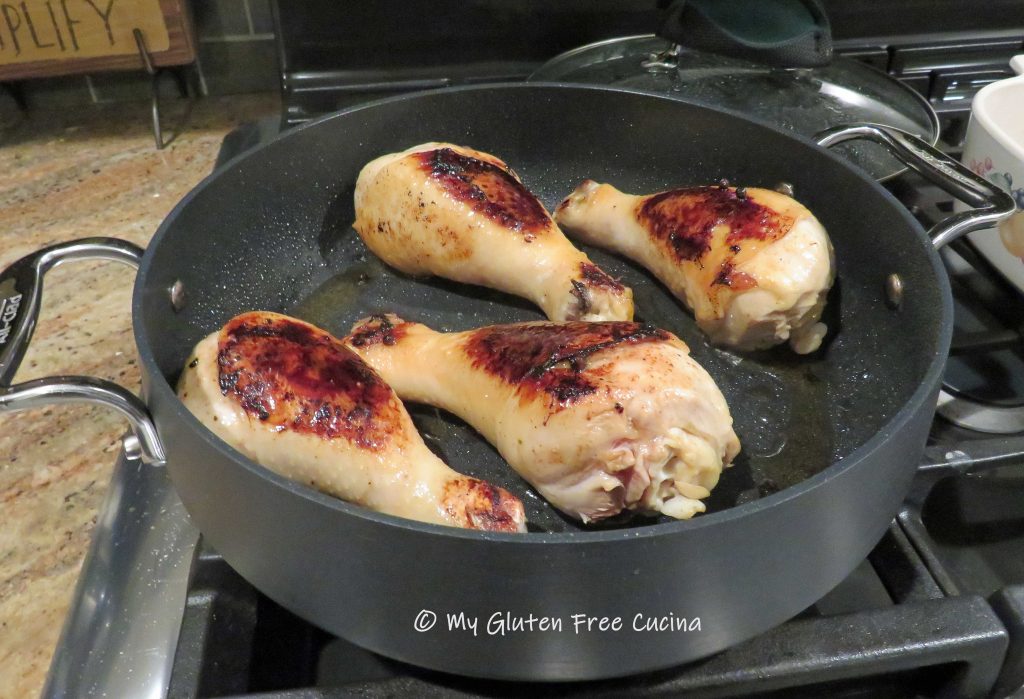
Use a large stainless-steel skillet to brown the chicken in 2 tsp. each of butter and olive oil. Season with salt and pepper. Don’t crowd the pan, if it doesn’t fit then make 2 batches.
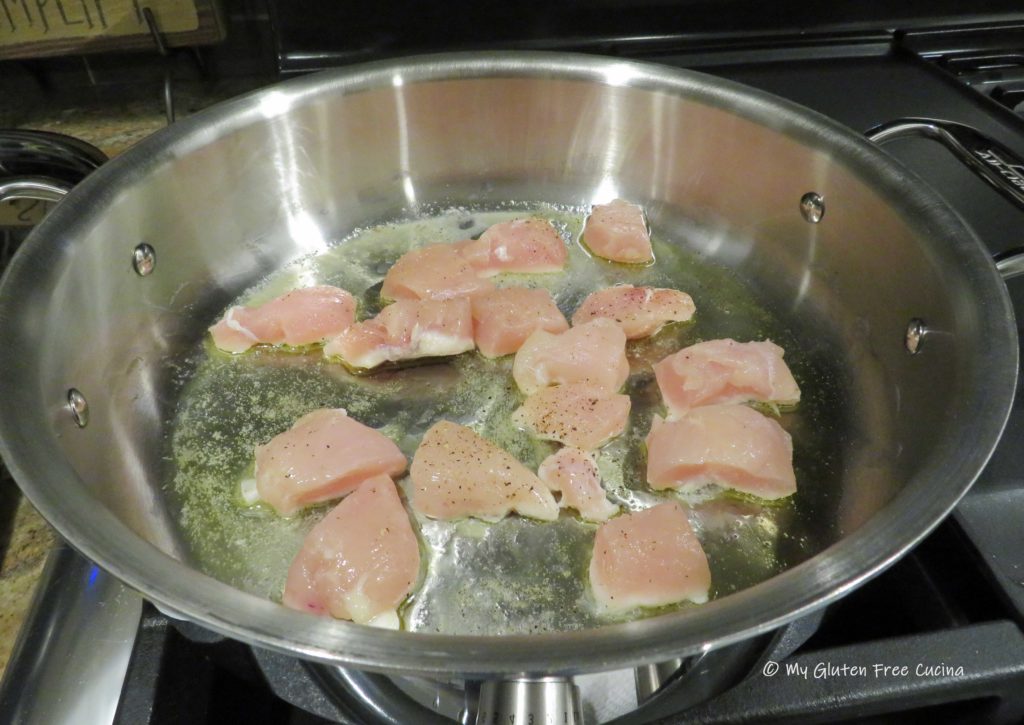
Notice the chicken isn’t quite cooked through at this point, it will finish in the sauce at the end.
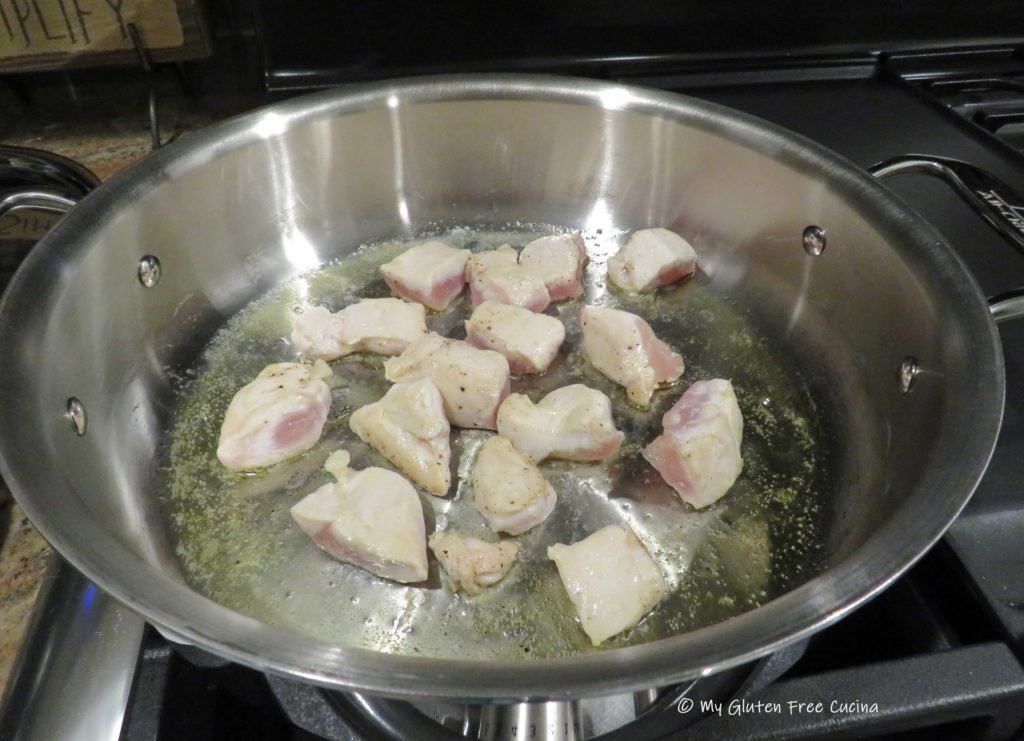
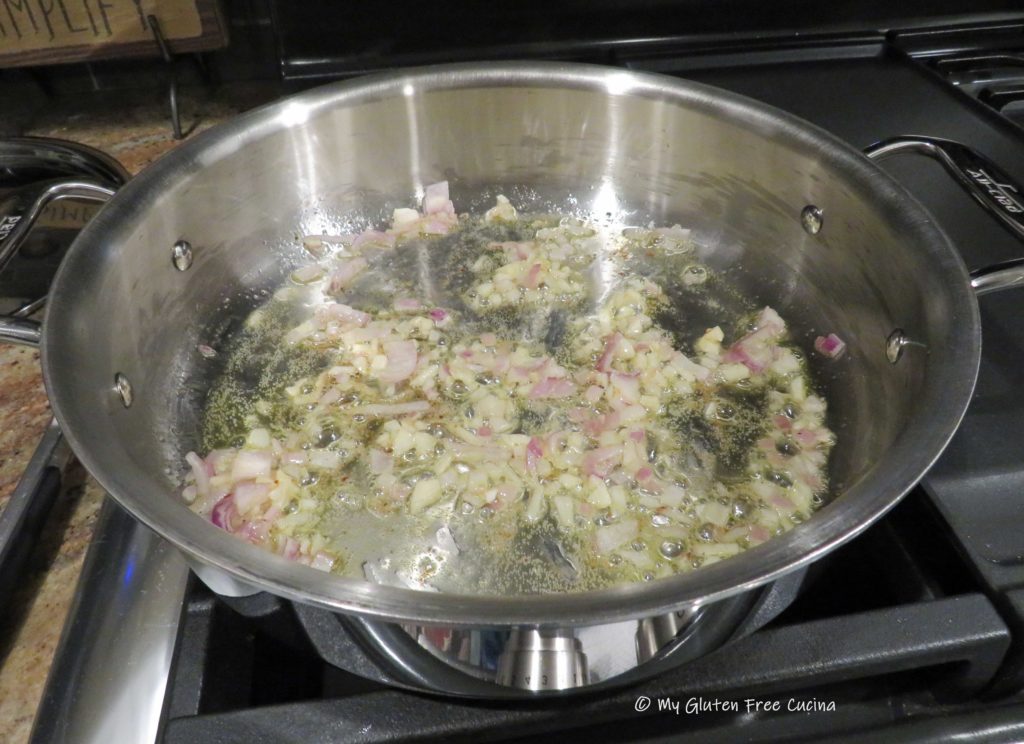
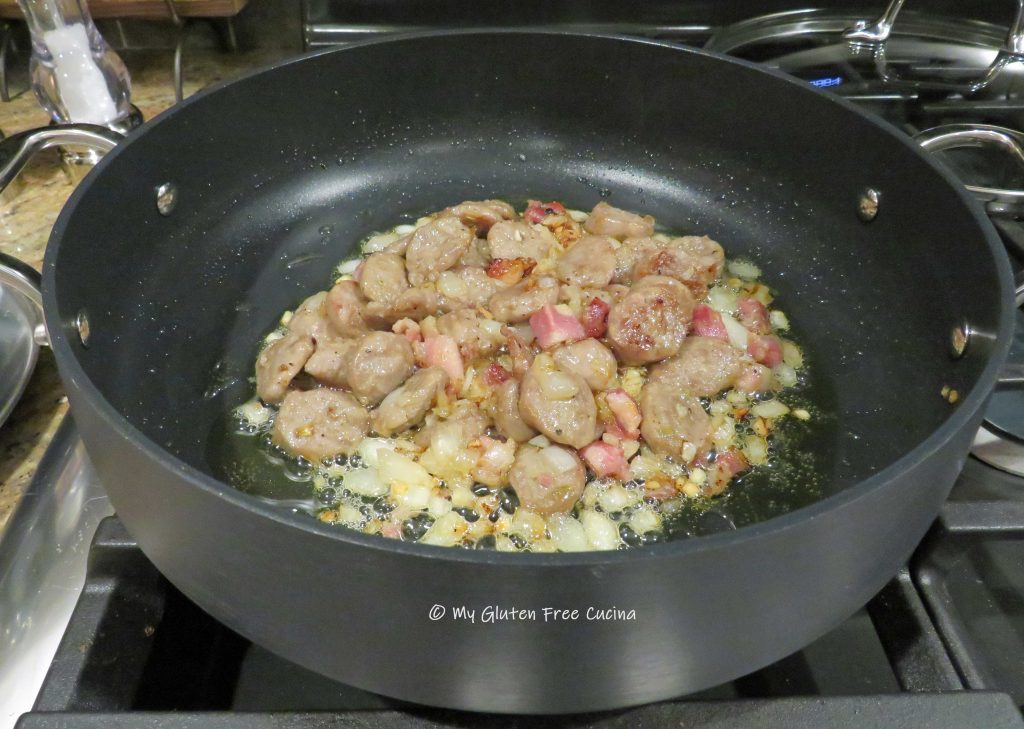
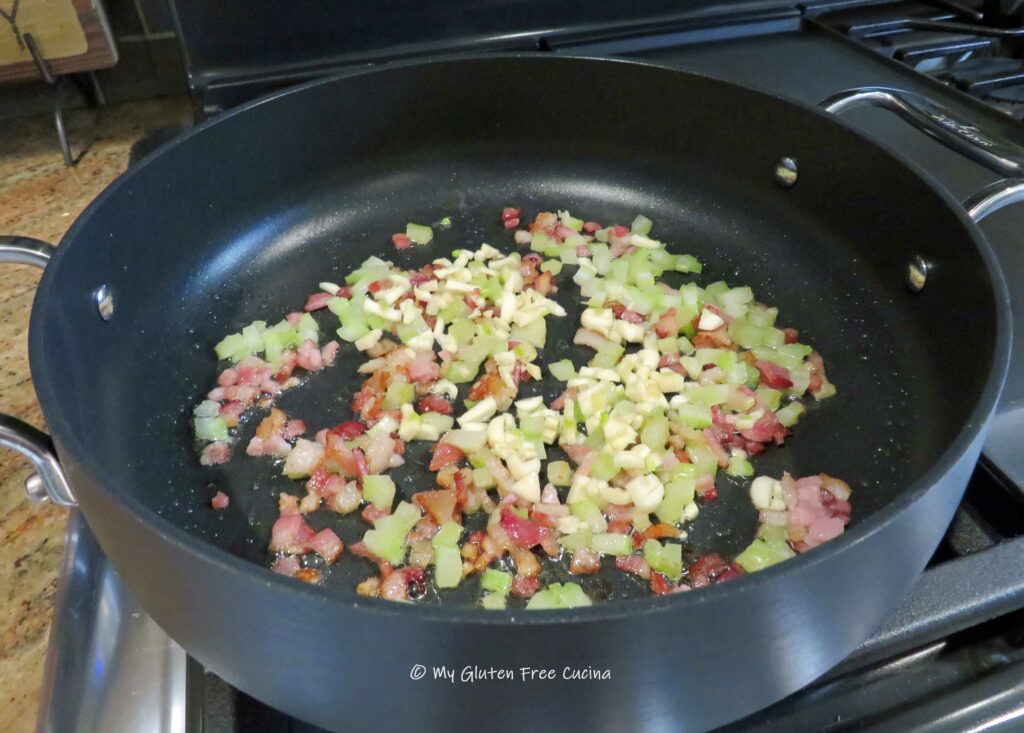
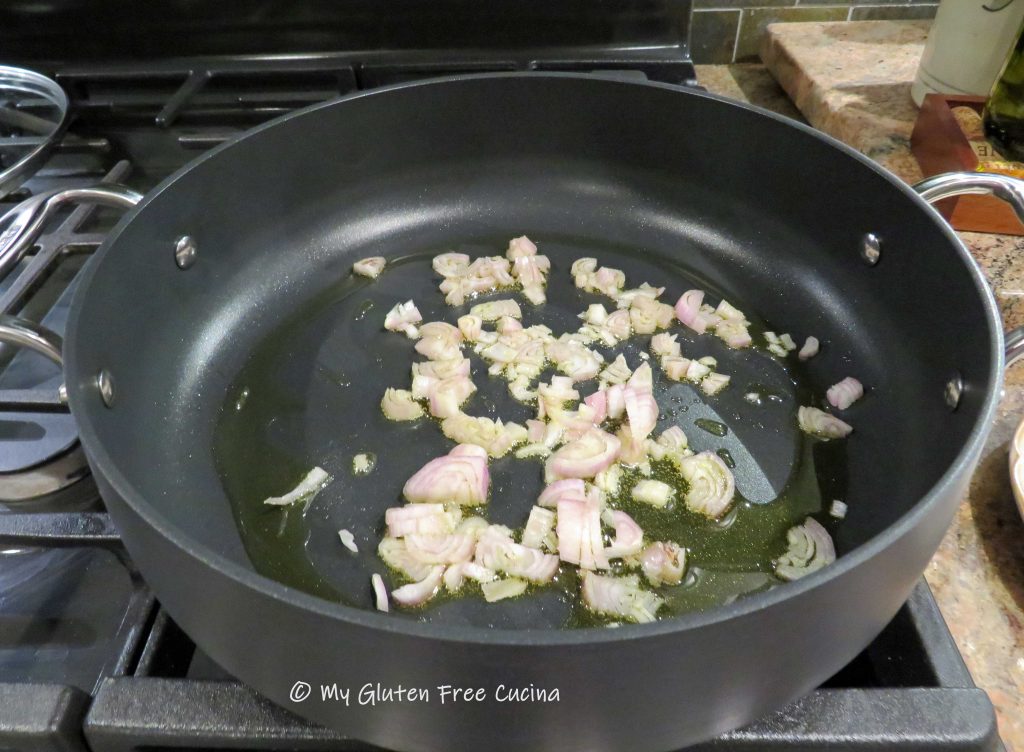
Transfer the chicken to a bowl and set aside, keep warm. Add the remaining 2 tsp. each of butter and olive oil. Add the shallots and garlic and cook for 1-2 minutes stirring constantly.
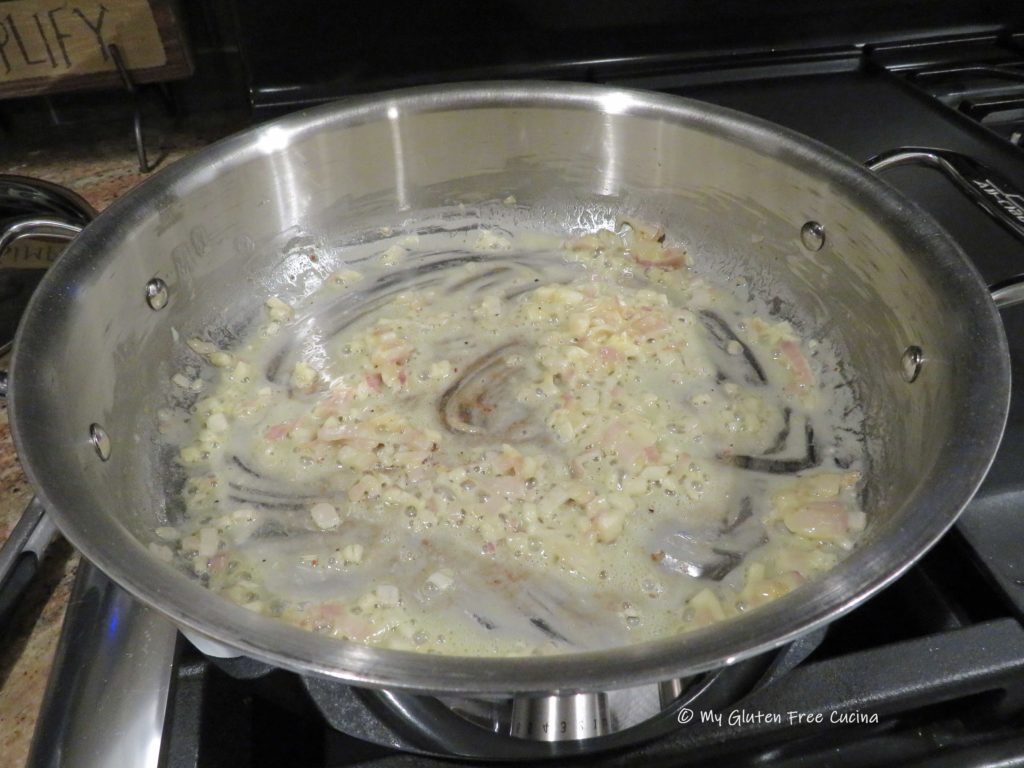
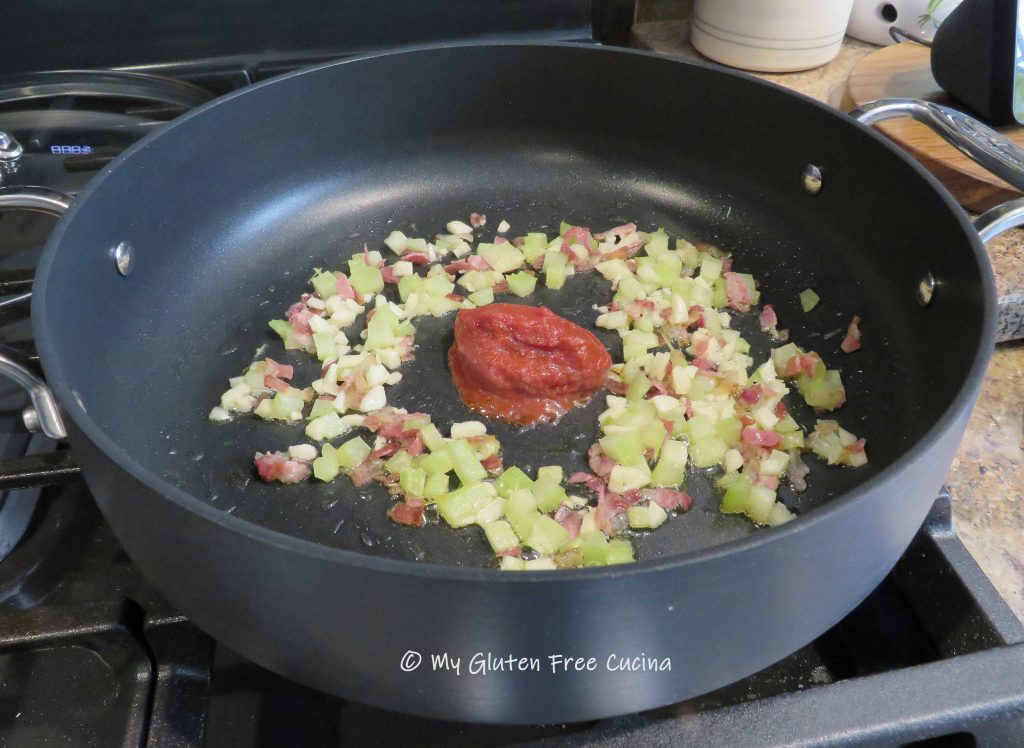
Be ready with the wine, lemon juice and chicken broth. Sprinkle the flour over the shallots and garlic and whisk continuously.
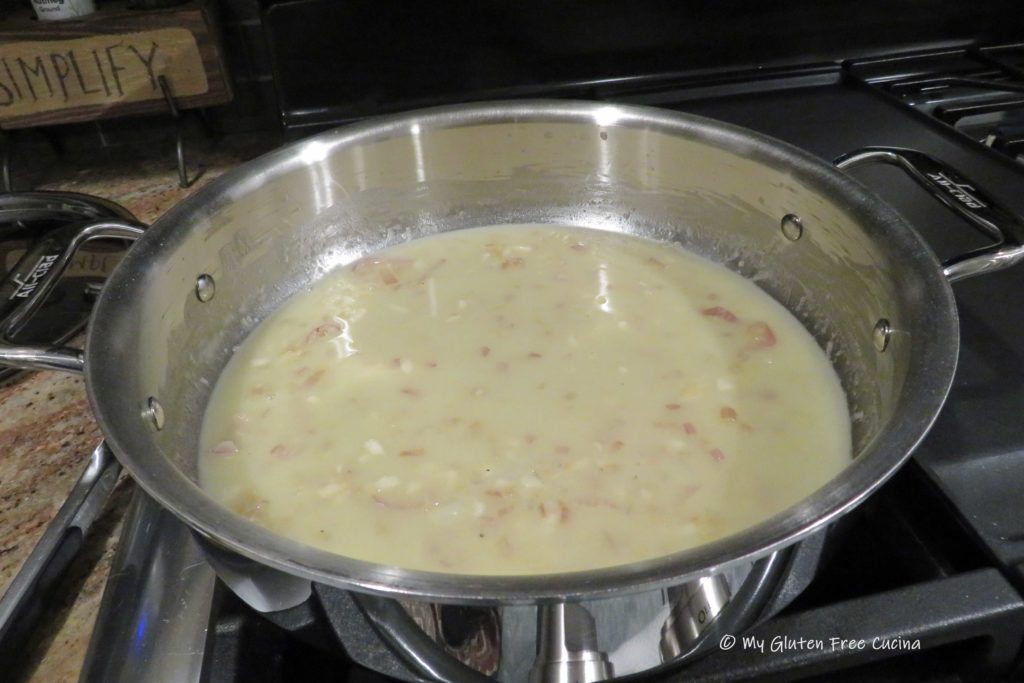
 Drizzle the liquid into the pan as you continue whisking.
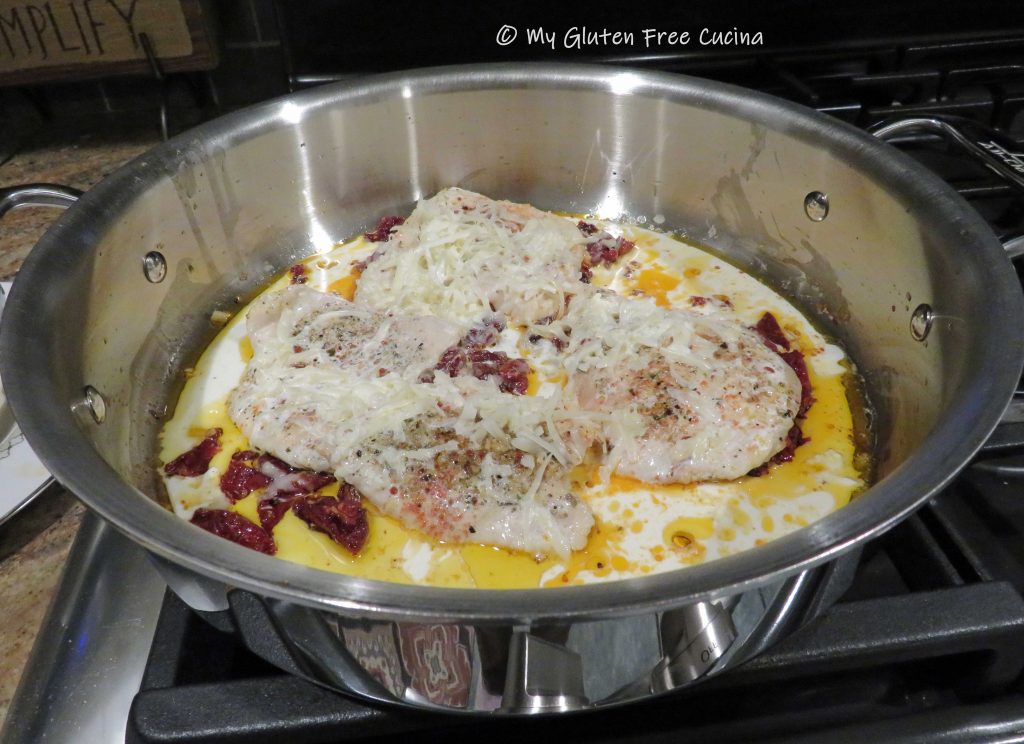
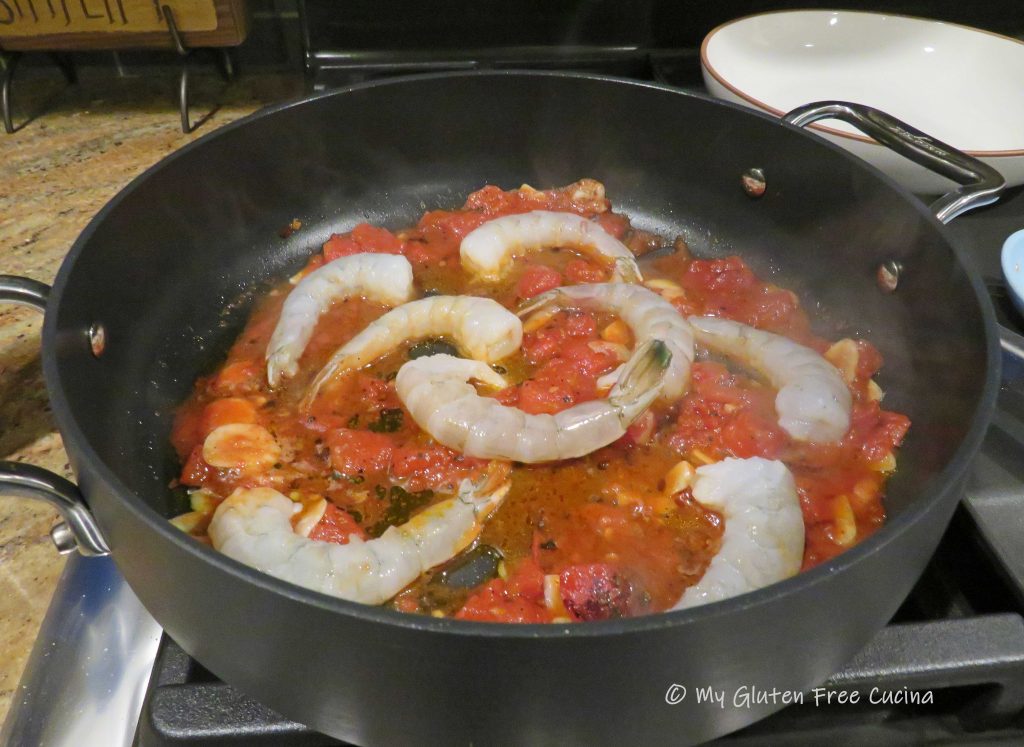
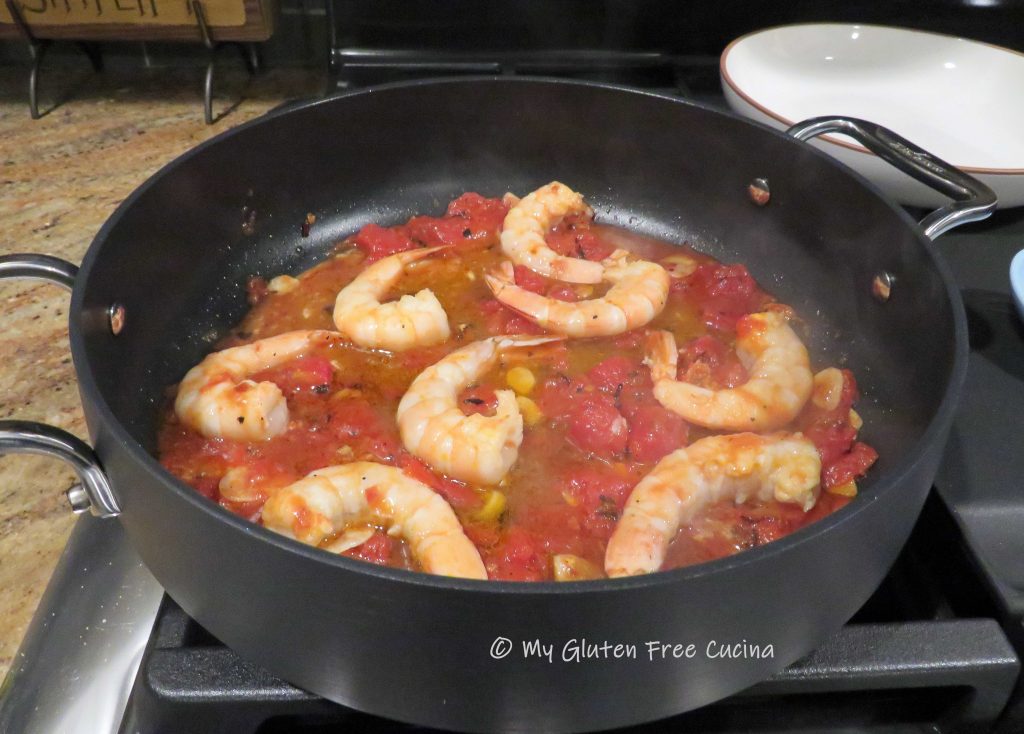
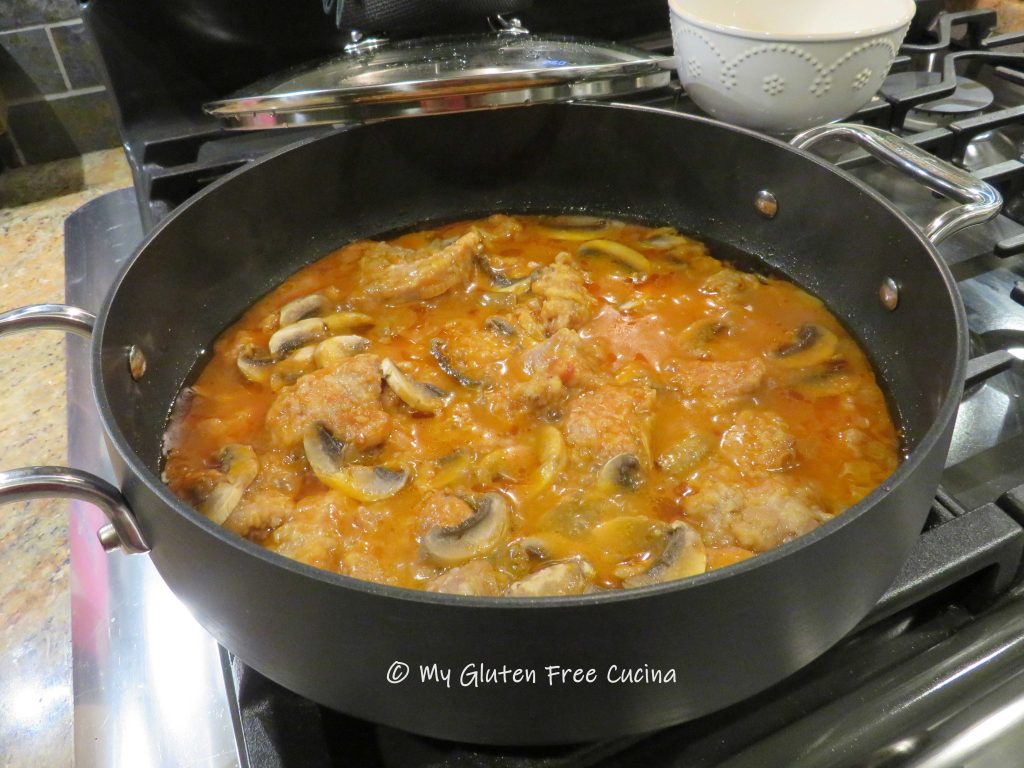
Return the chicken and pasta to the pan and toss to heat through. Cook for several minutes, the liquid will thicken as it comes to a simmer. Stir in the capers and lemon zest at the very end.
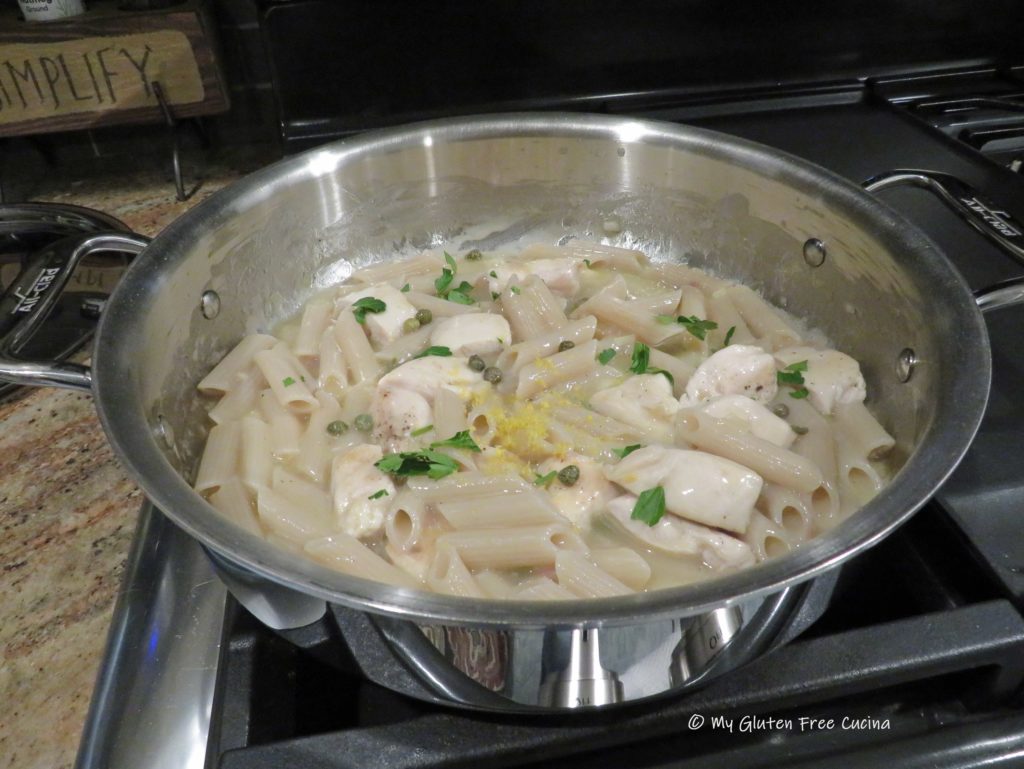
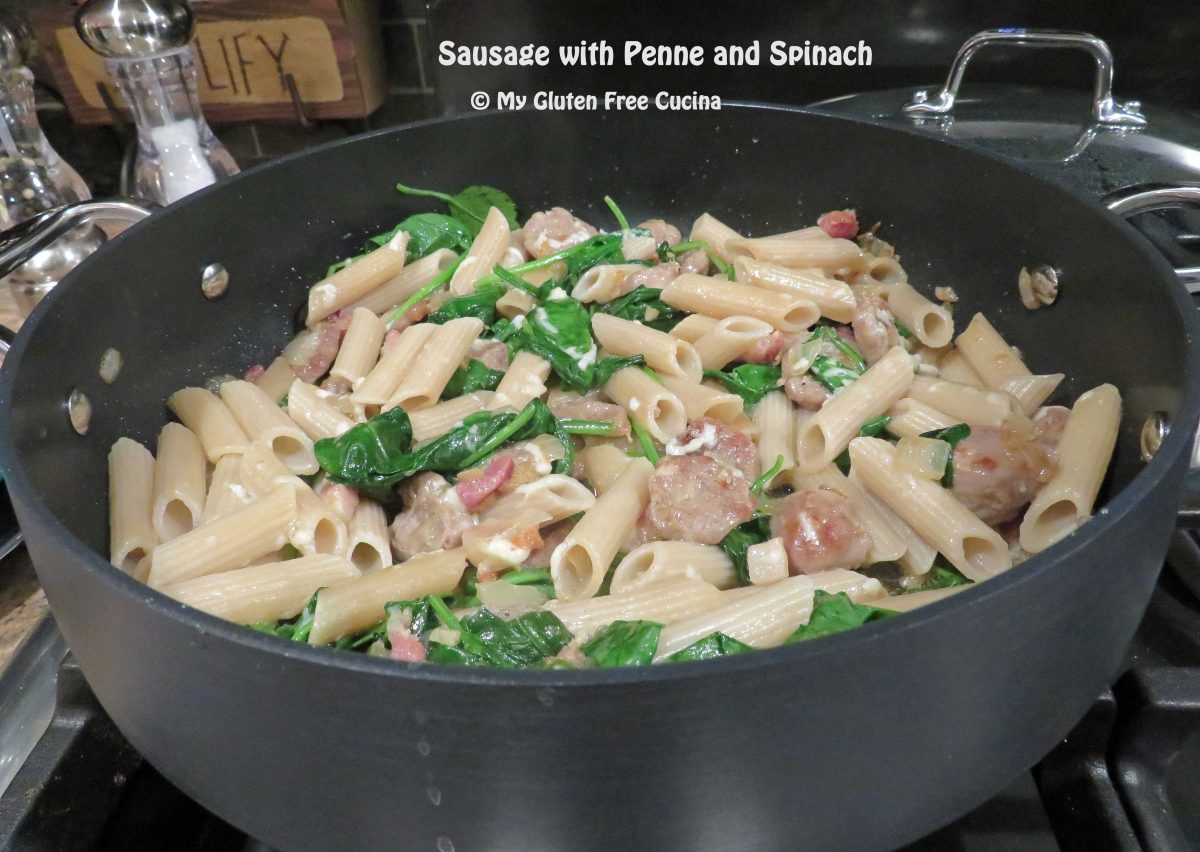
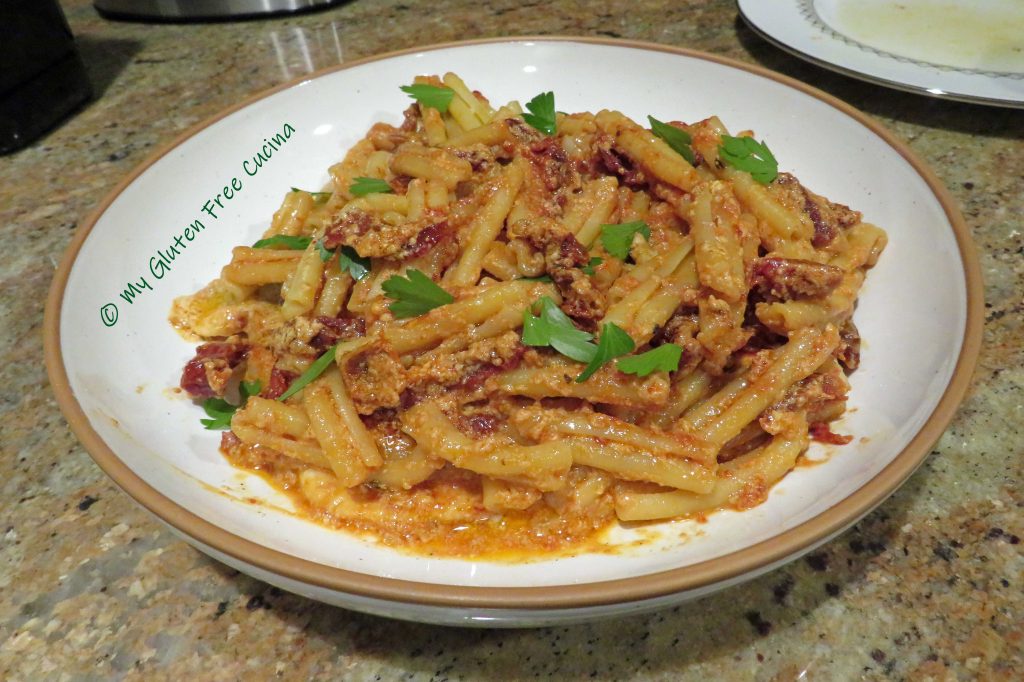
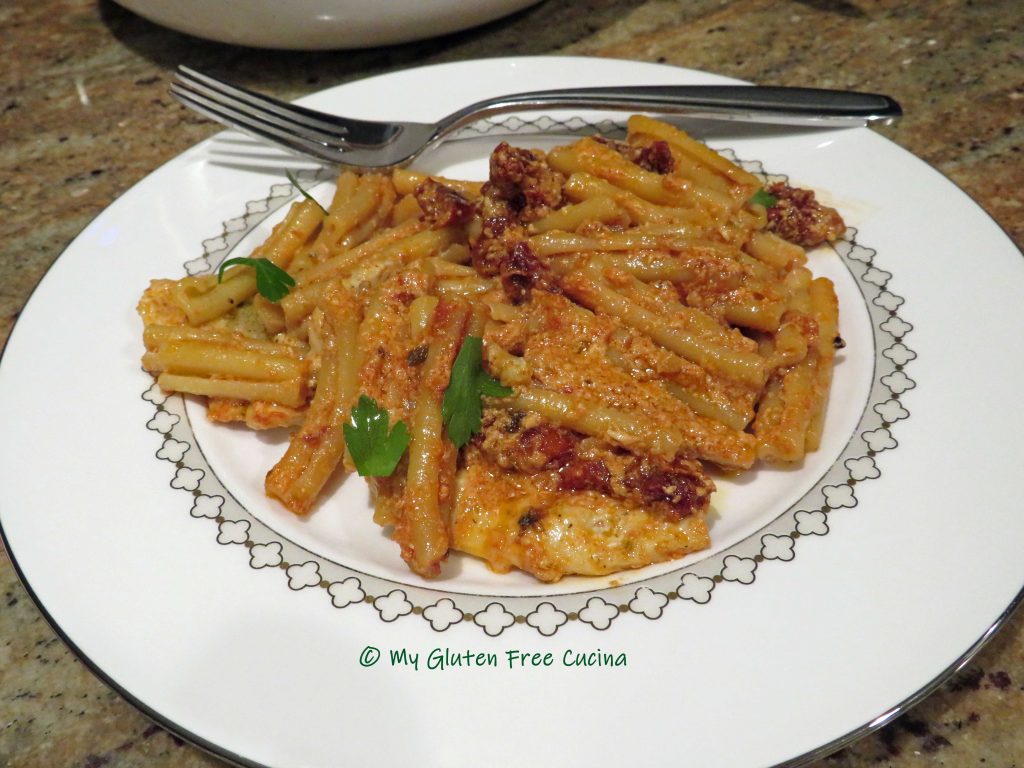
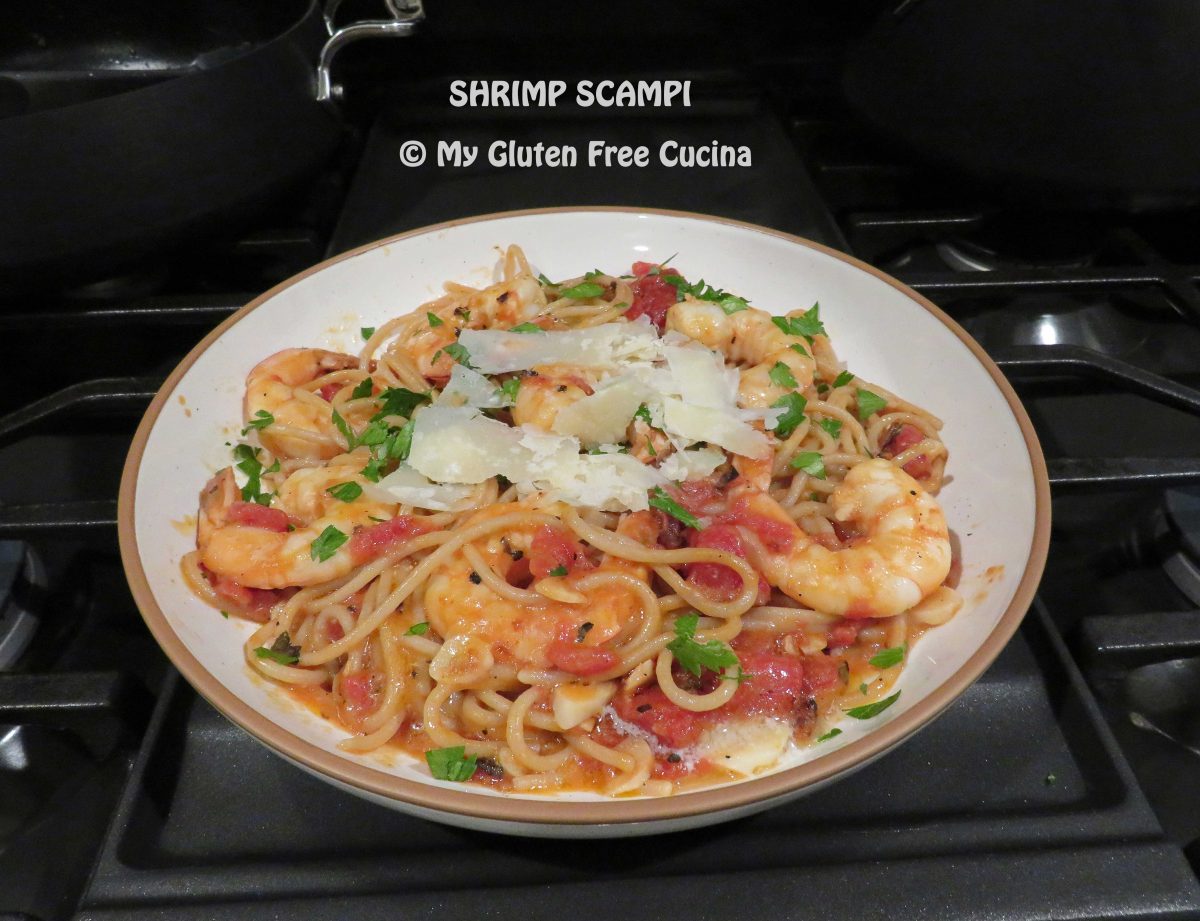
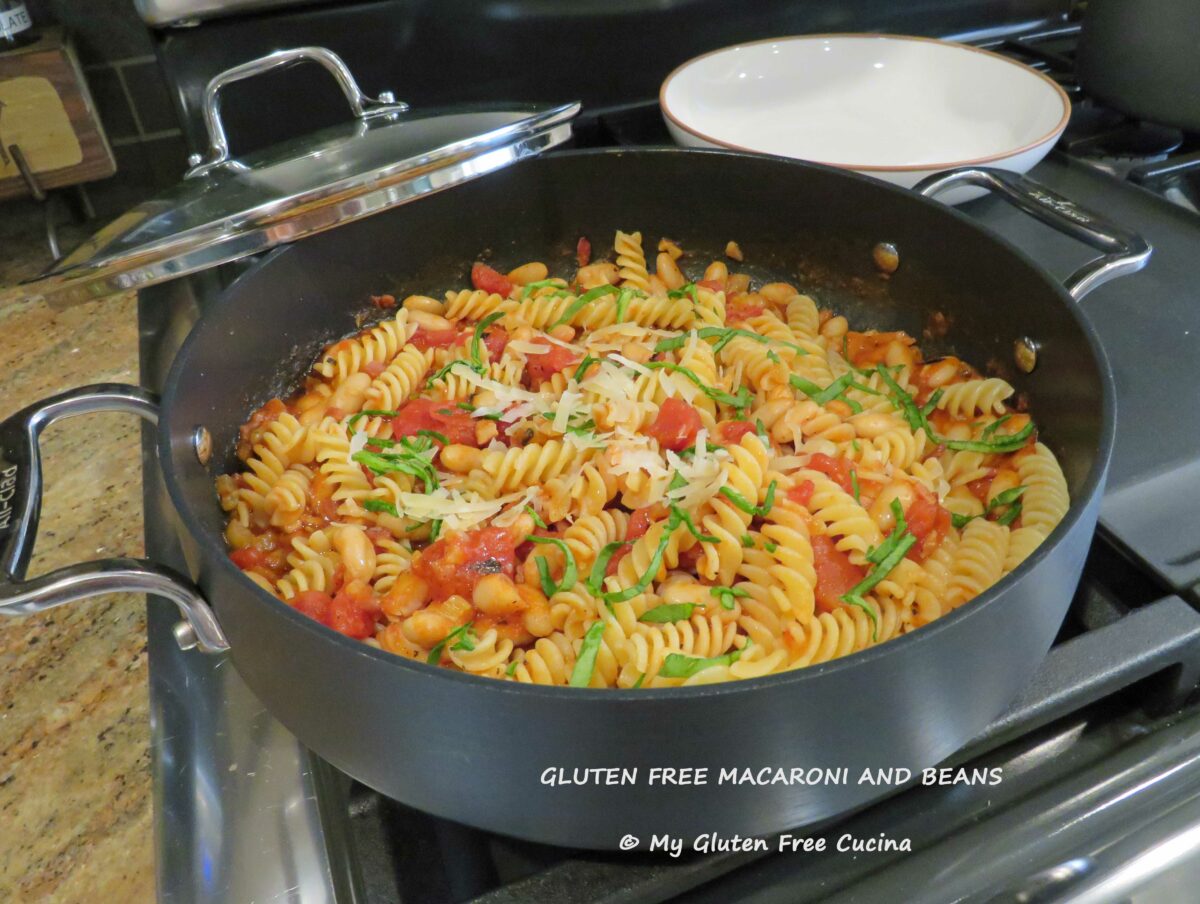
To finish, transfer to a serving bowl and drizzle with more olive oil, then garnish with Italian parsley and a little grated cheese.

Yum, how good does that look? I love this kind of meal for busy weeknights. Open a bottle of your favorite white wine for this recipe, and then pour a glass for the cook!
Notes ♪♫ I love arrowroot flour for thickening. It makes a lump free roux every time and I use it in some of my flour blends for bread baking as well. It’s something I always have on hand in my gluten free pantry!


 Preparation:
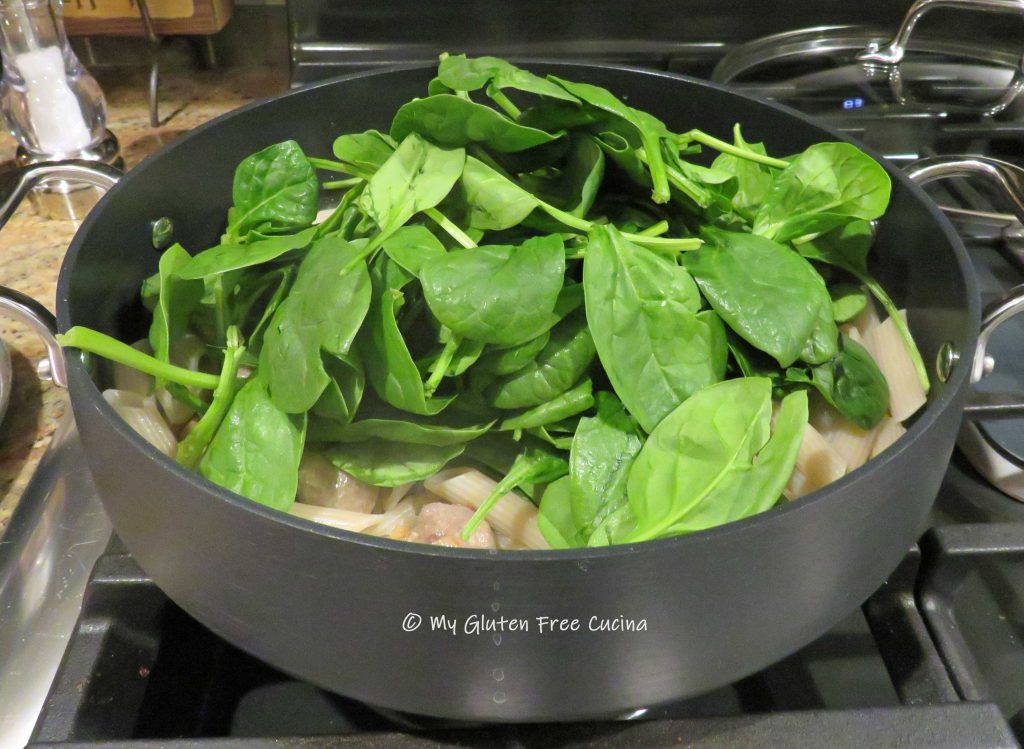
 Next add the drained penne, all of the spinach, white wine and a ladle of the pasta water.
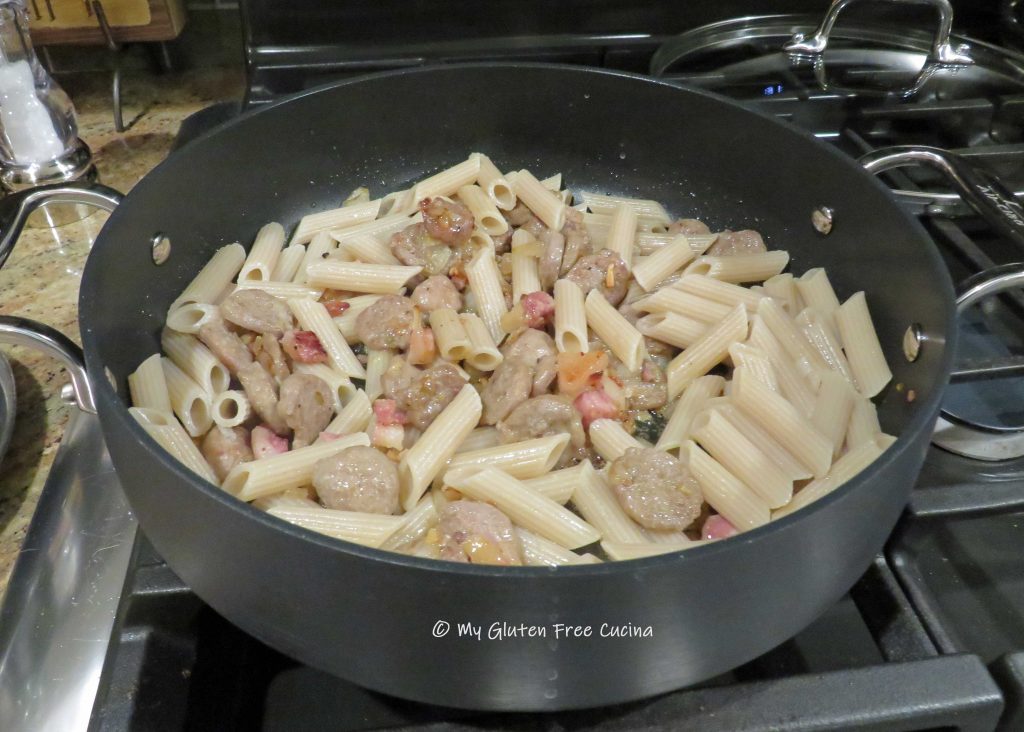
 Preparation:
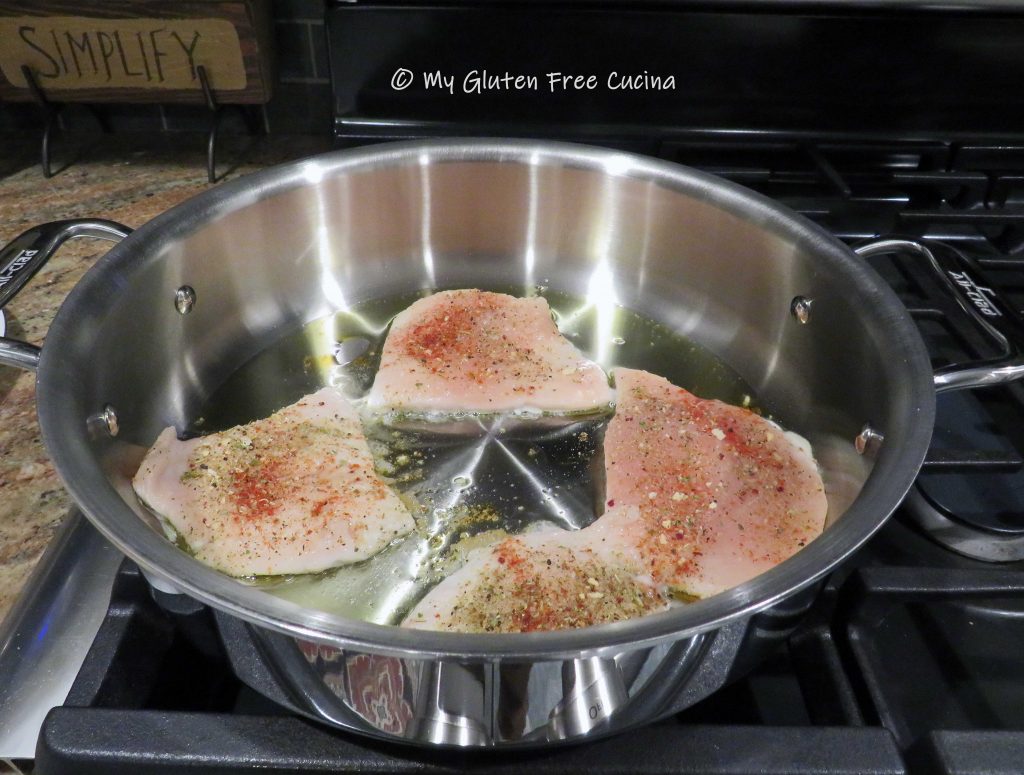
 By now the pasta water should be ready, cook the pasta to a few minutes less than the package directions, it will finish cooking in the sauce.
 Cook for 1 minute, stir it all together and return the chicken to the pan.
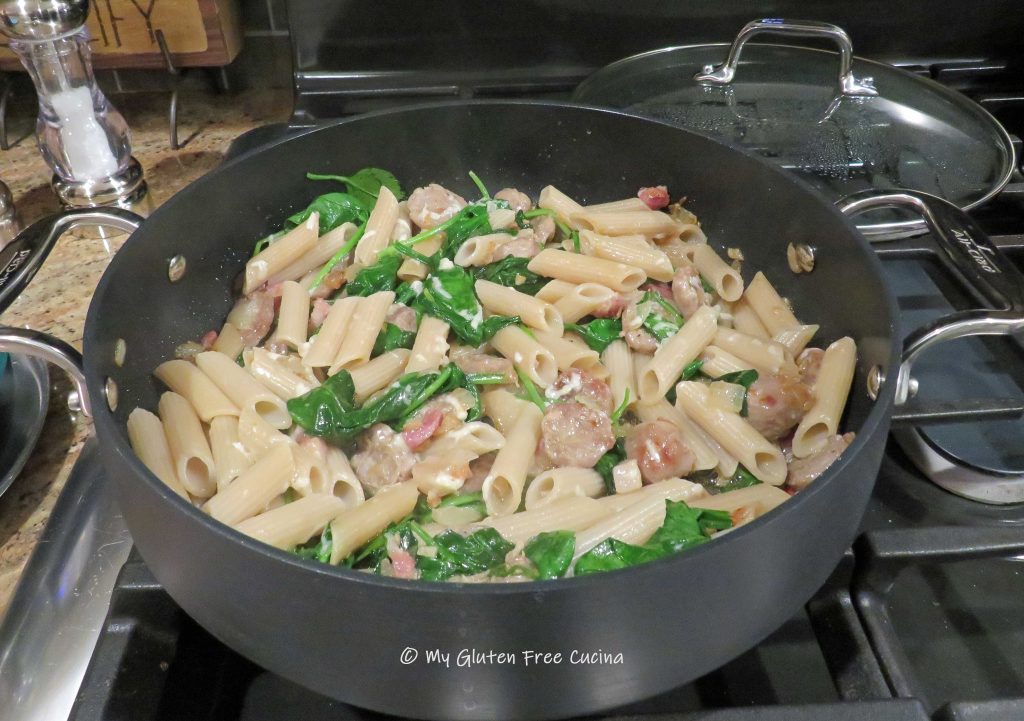
 Drain the pasta and add to the pan, toss well and cook for one more minute.
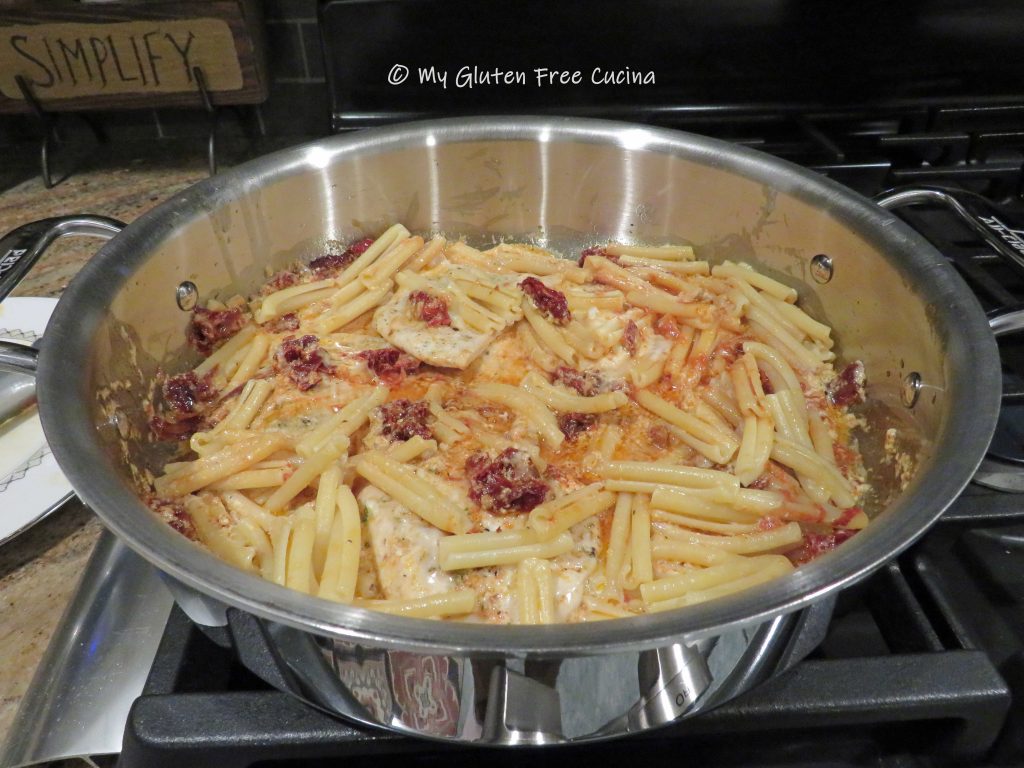


 Preparation:
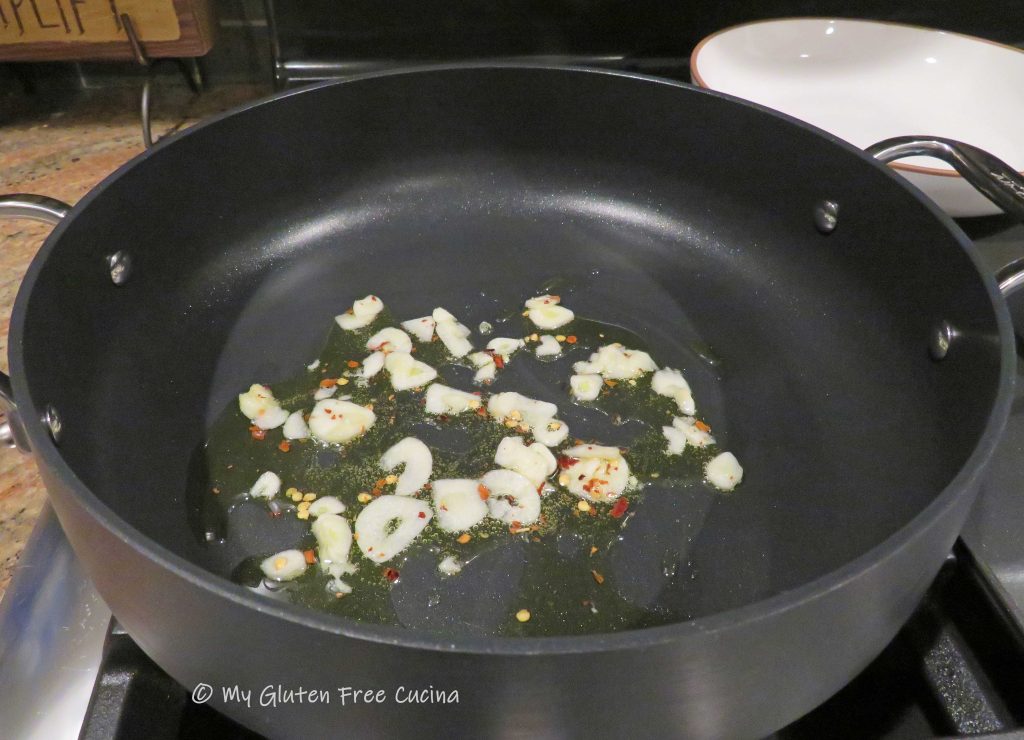


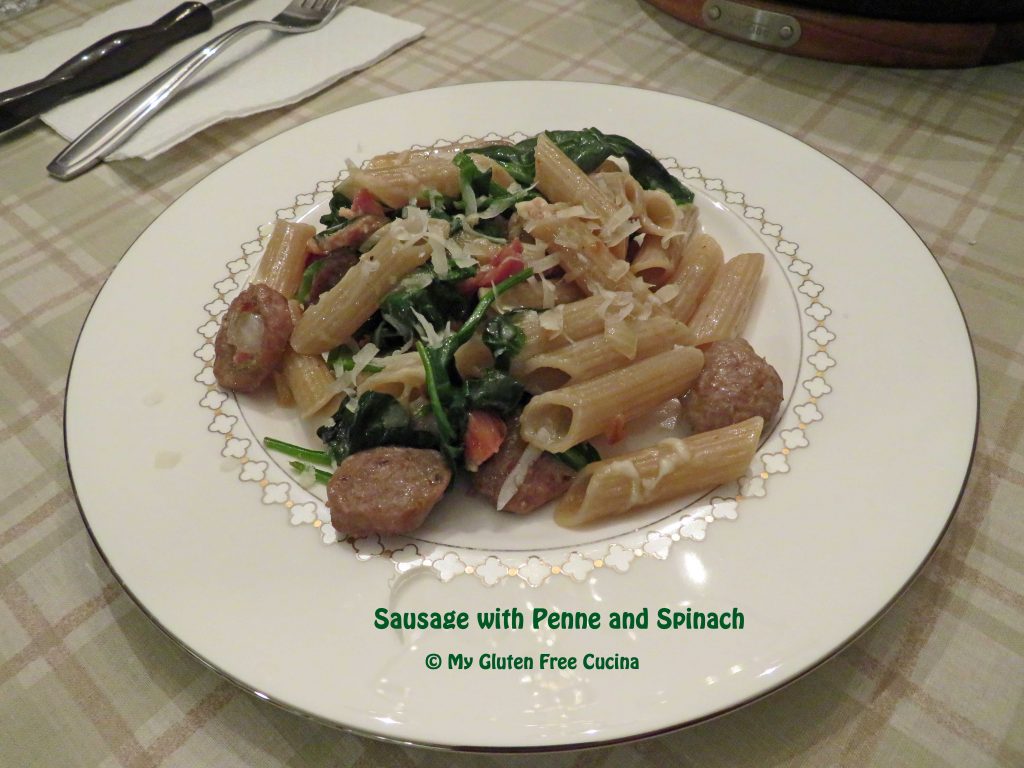
 Sprinkle with

 Transfer to a


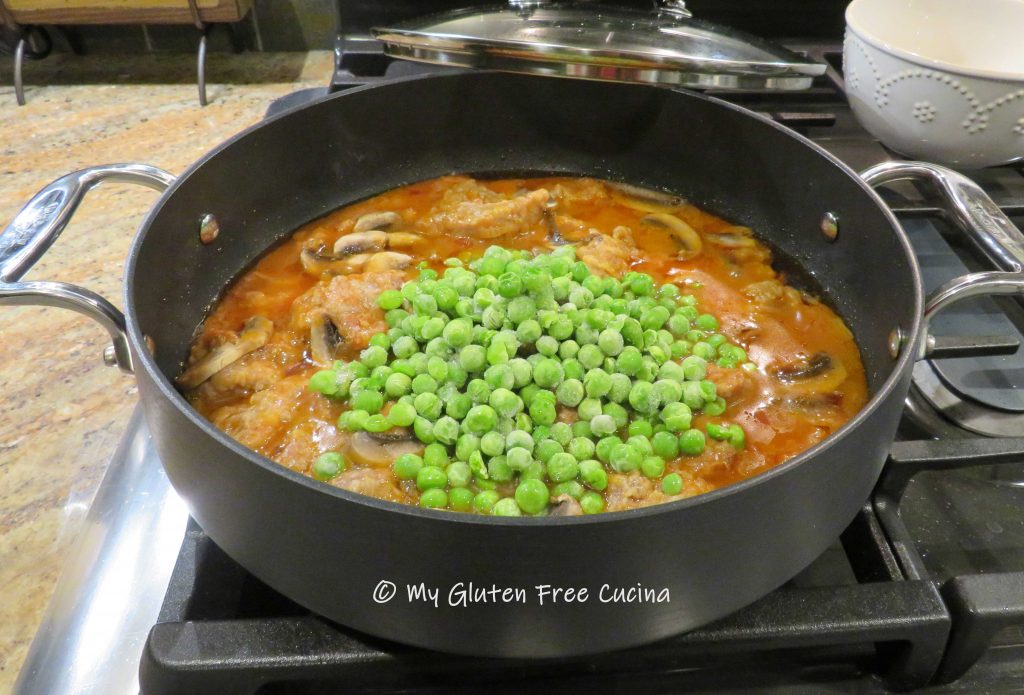
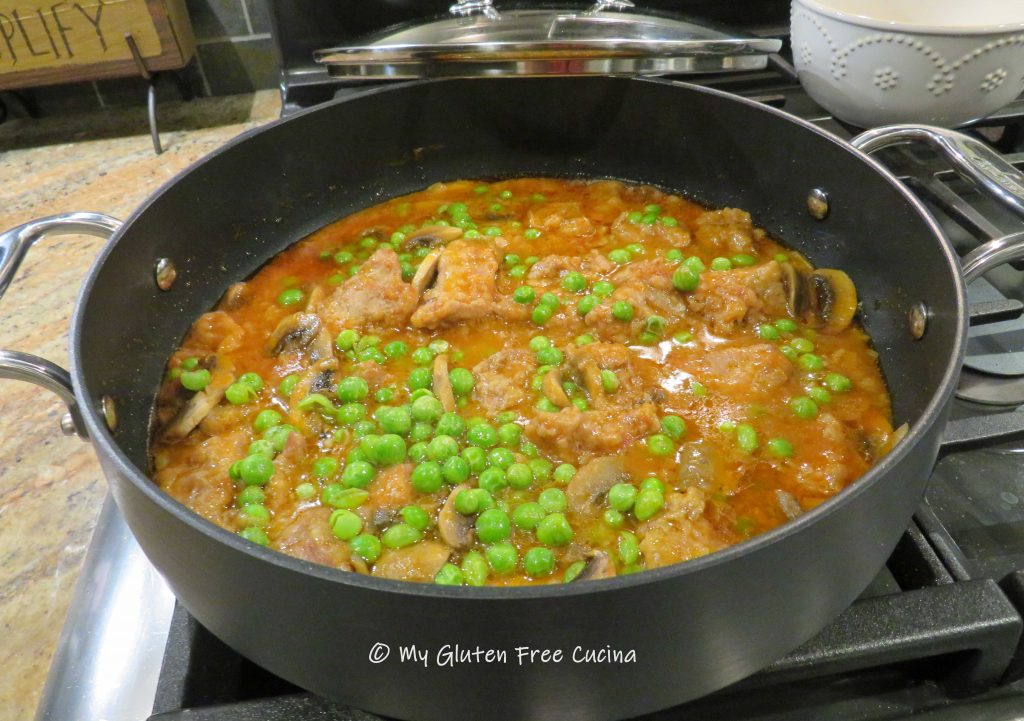
 During the last 10 minutes of cooking add the peas, and finish cooking uncovered to thicken.