Be the star of your next cookout or potluck with these delicious, slow cooked beans. The best part of the recipe, it cooks overnight! This leaves you free to do other things the day of your event. Be sure to have all of the ingredients on hand, to allow enough time for soaking and cooking, 24 hours total! For best flavor and texture, don’t try to speed up the recipe. Start soaking the beans in the morning, and prepare them for the crockpot in the evening. You may find it hard to sleep, with all the amazing aromas coming from your kitchen!
This is an old family recipe that I have adapted to be gluten free. The biggest change was that I left out beer, and substituted an equal amount of club soda. Other than that, I just had to check the ingredient labels on my bacon, BBQ sauce, ketchup and Worcestershire. Are beans gluten free? Yes, they are a naturally gluten free food! I always give them a thorough rinse before cooking to be on the safe side, in case of cross contact during processing.
This post contains affiliate links.

Ingredients:
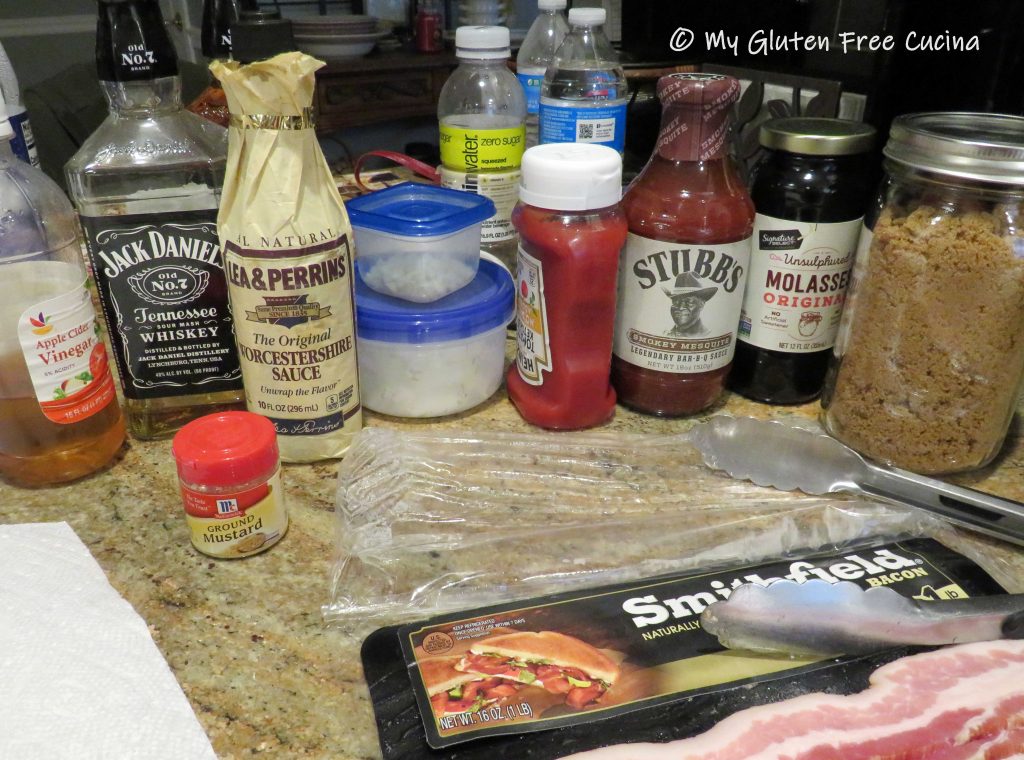
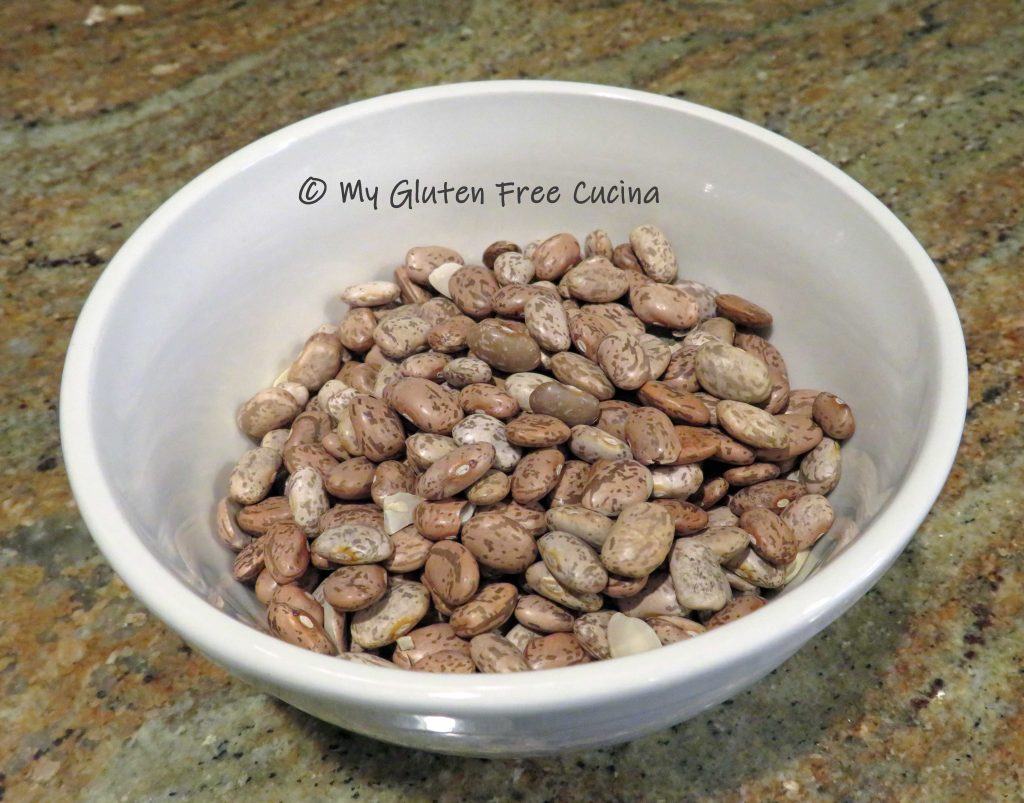
- 1 pound bag of navy beans
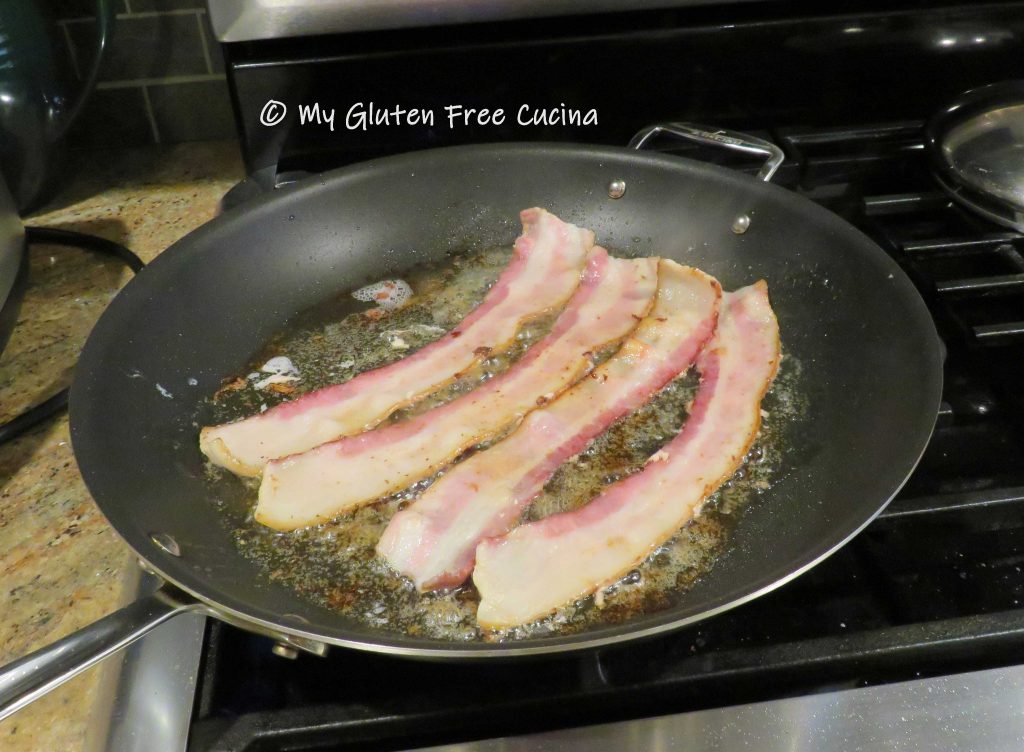
- 12 oz. package of gluten free, lower sodium bacon (I used Smithfield)
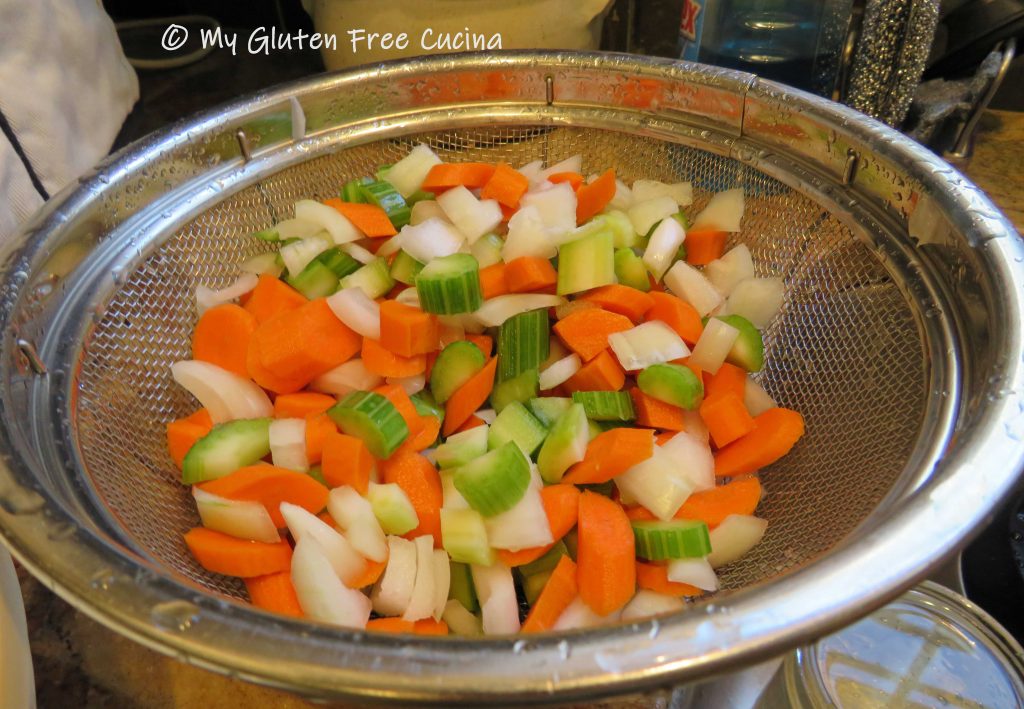
- 1/2 Vidalia or sweet onion, cut into small dice
- 3 garlic cloves, minced
- 1 cup of club soda
- 3/4 cup gluten free BBQ sauce (I used Stubbs Smoky Mesquite)
- 1 cup dark brown sugar
- 1/4 cup gluten free, unsalted ketchup
- 2 tbsp. molasses
- 1 cup of Jack Daniels Tennessee whiskey
- 2 tsp. dry mustard powder
- 1/4 cup apple cider vinegar
- 2 tbsp. gluten free Worcestershire sauce
- up to 1 cup of water, only if needed, to adjust thickness
- cooking spray
Preparation:
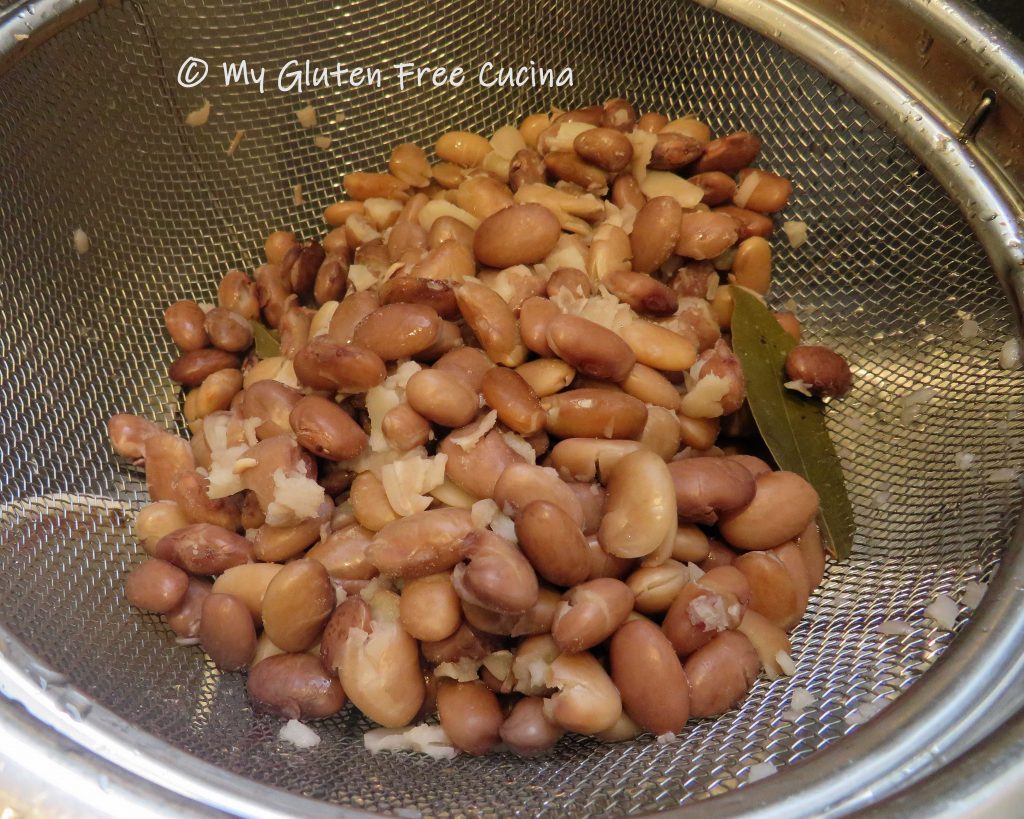
In the morning, place the beans in a saucepan and add at least 6 cups of cold water. Cover and soak (no heat) for 10 hours. For guaranteed tender beans, never salt the soaking water!
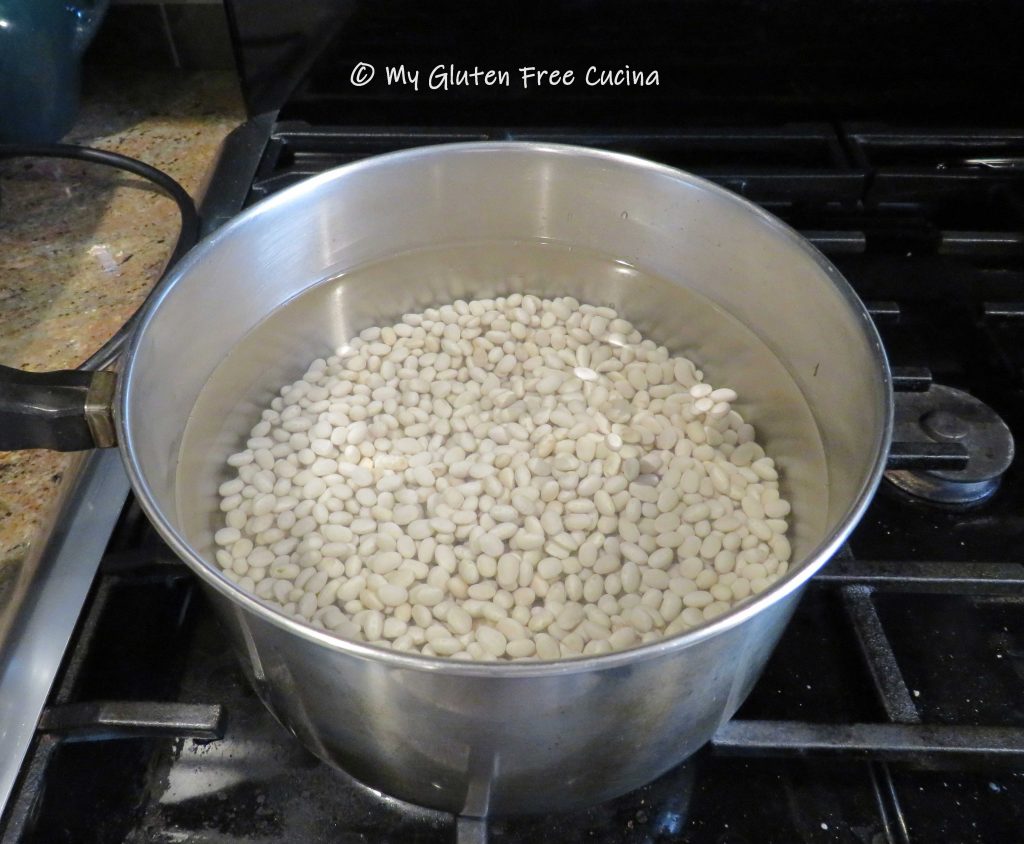
The beans will double or more in size.
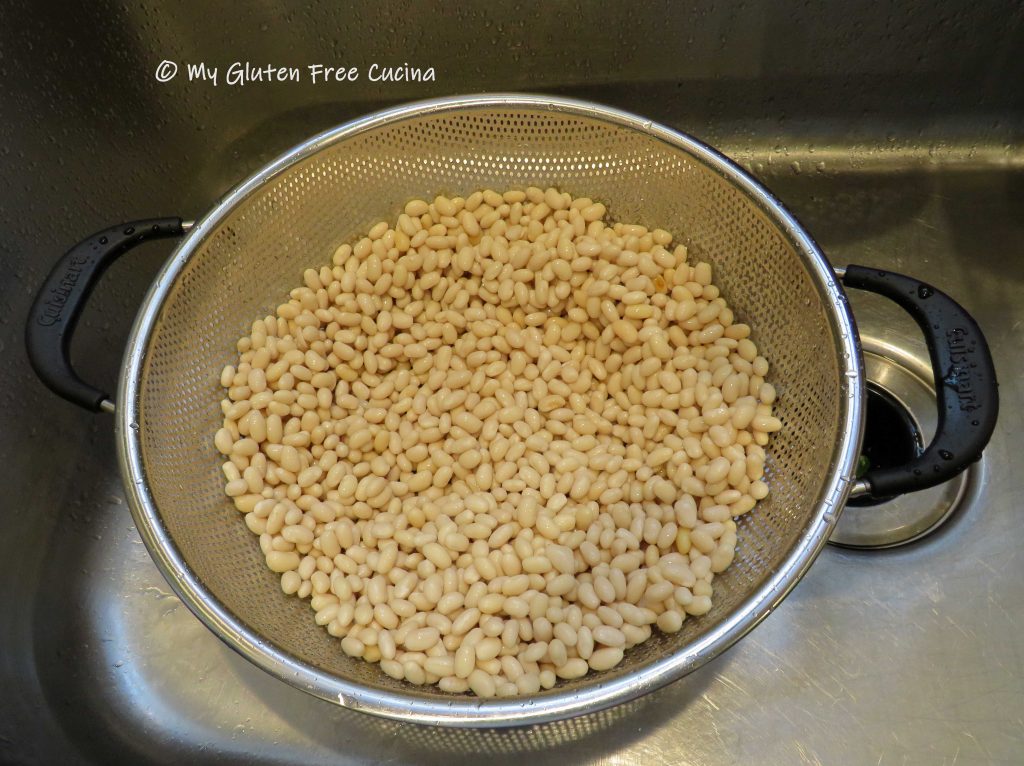
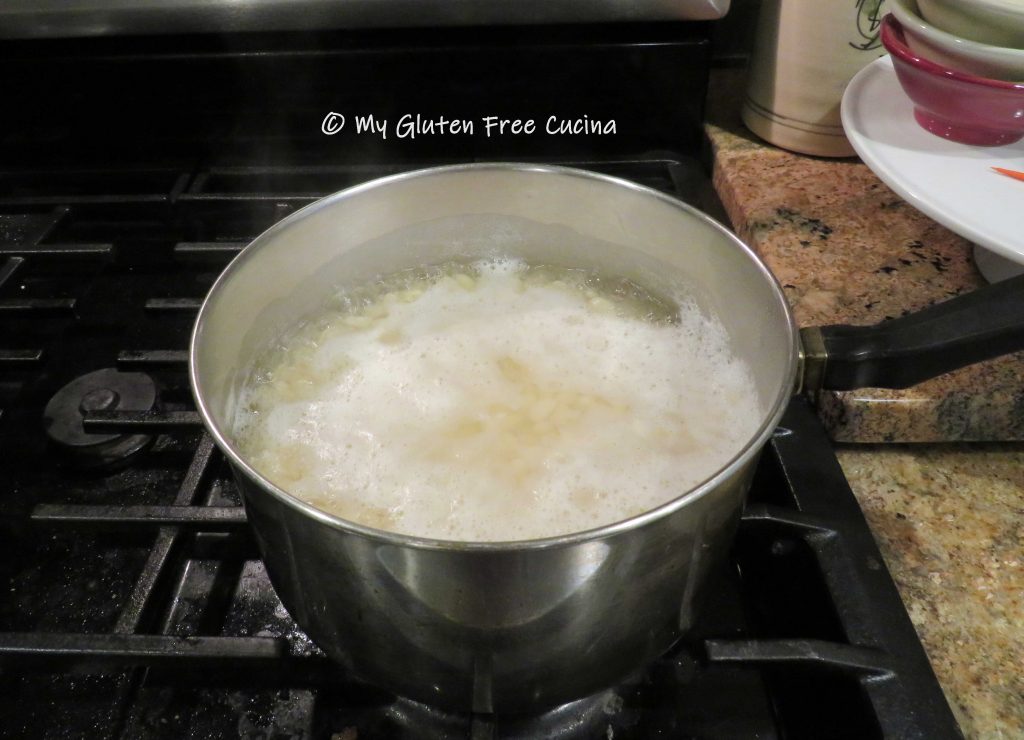
After 10 hours, drain the beans and rinse them thoroughly. Return them to the pot, cover with water and bring to a simmer. Cook for 30 minutes then drain and rinse again.
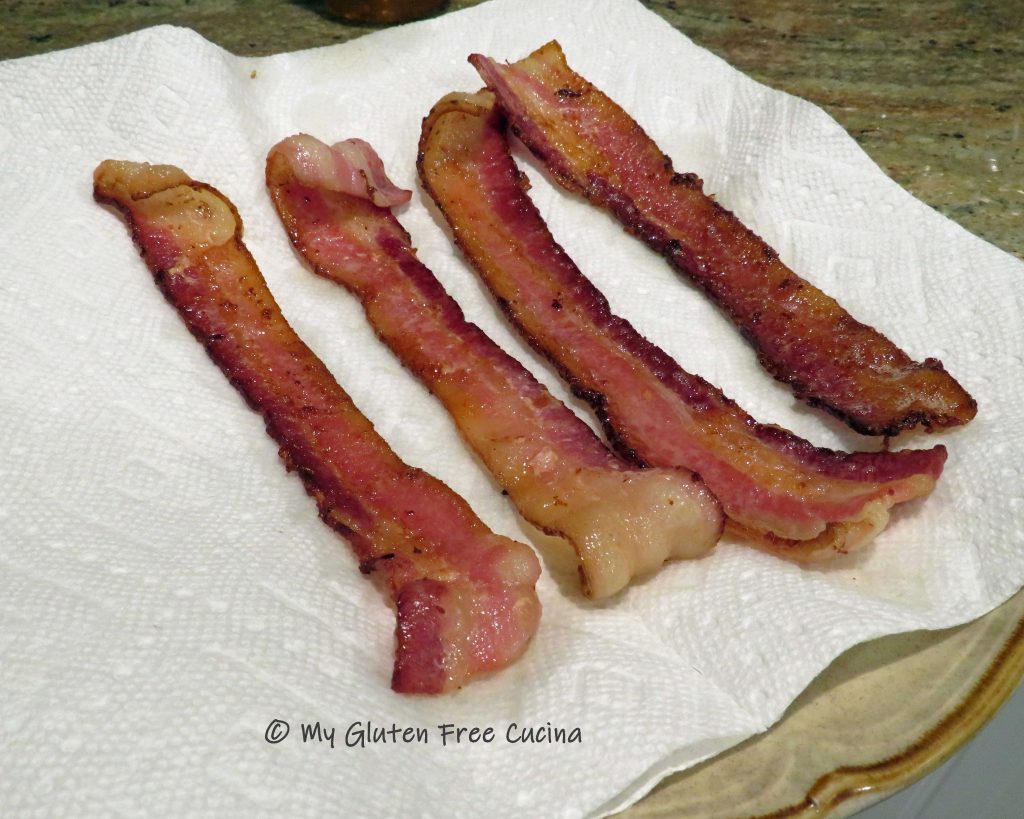
Set up your crockpot and mist it with cooking spray. While the beans simmer, heat a large nonstick skillet and cook the bacon until crisp. Drain on paper towels, then crumble or chop into 1/2″ pieces.
Skim the bacon fat and remove any burnt debris. You should be left with a few tablespoons of clear fat in the pan. Add the onions and cook just until lightly browned. Add the garlic, stir for a few seconds then pour everything into the crockpot, fat included.

Add the club soda, sugar, ketchup, molasses, whiskey, mustard, cider vinegar and Worcestershire sauce to the crockpot and stir well to combine with the onion mixture. Finally, stir in the drained beans and the chopped bacon.
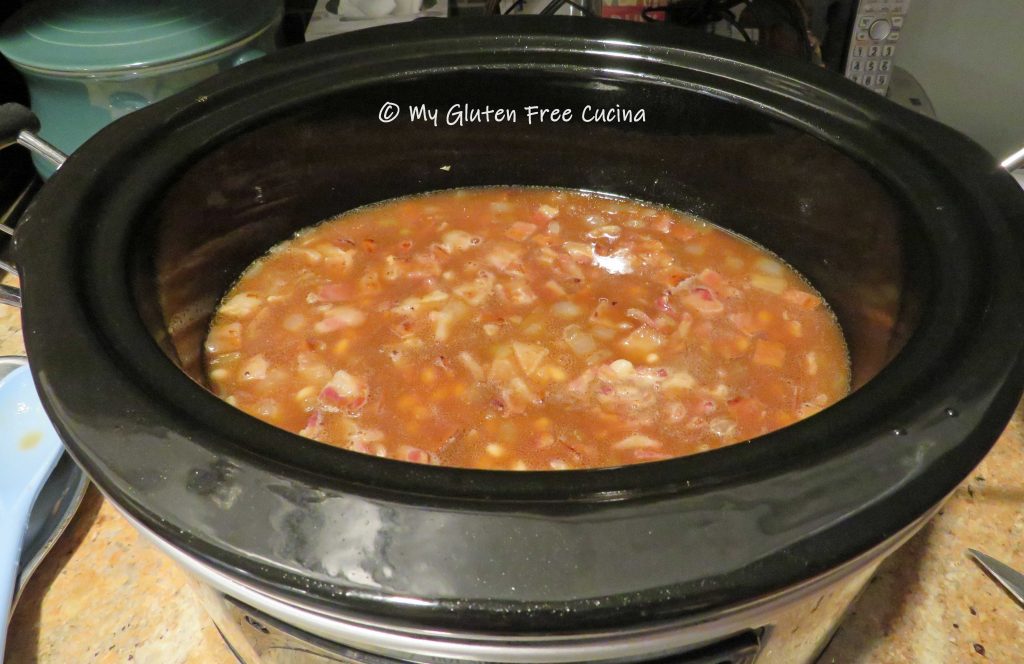
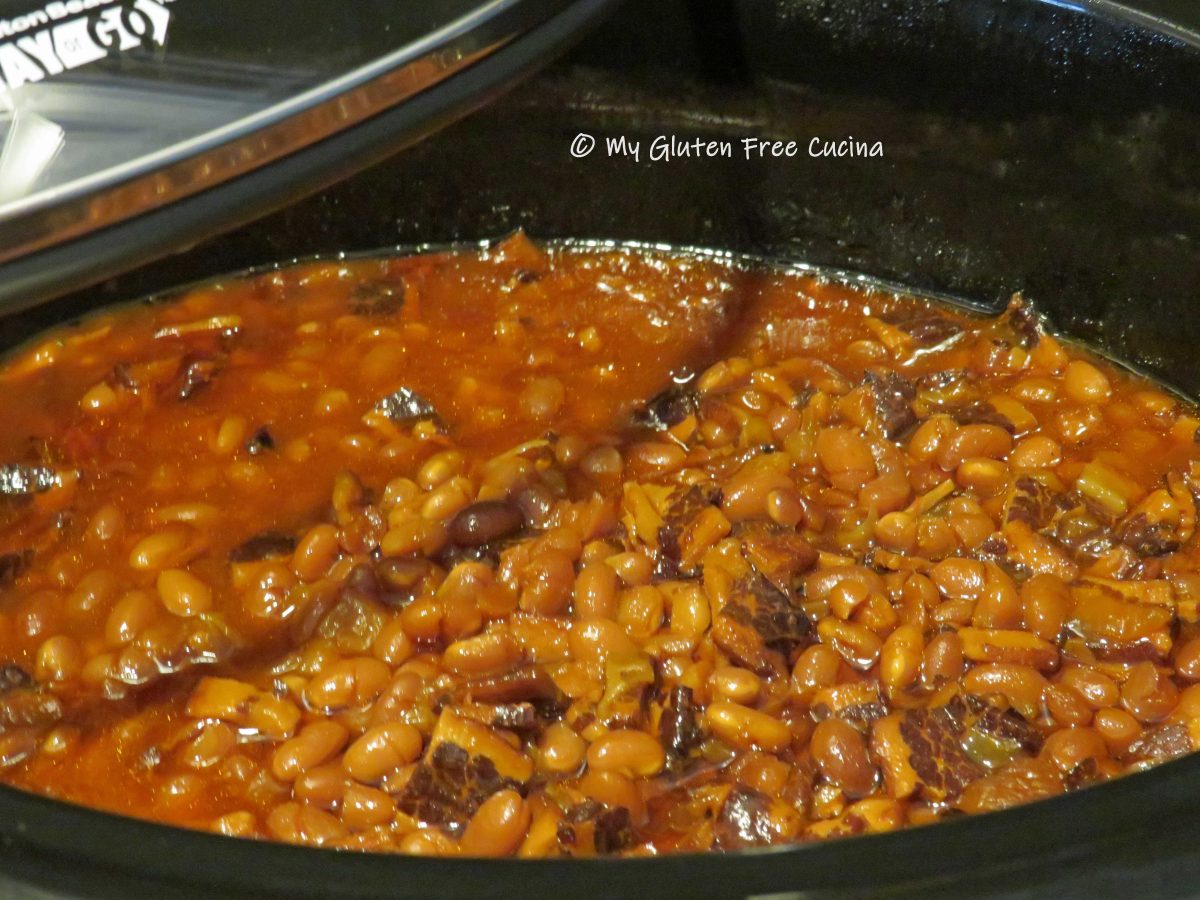
Cover and cook for 12 hours on low overnight. Stir every 4 hours (or whenever you wake up) and check the consistency as the sauce thickens, if the mixture is too dry add a bit more water.
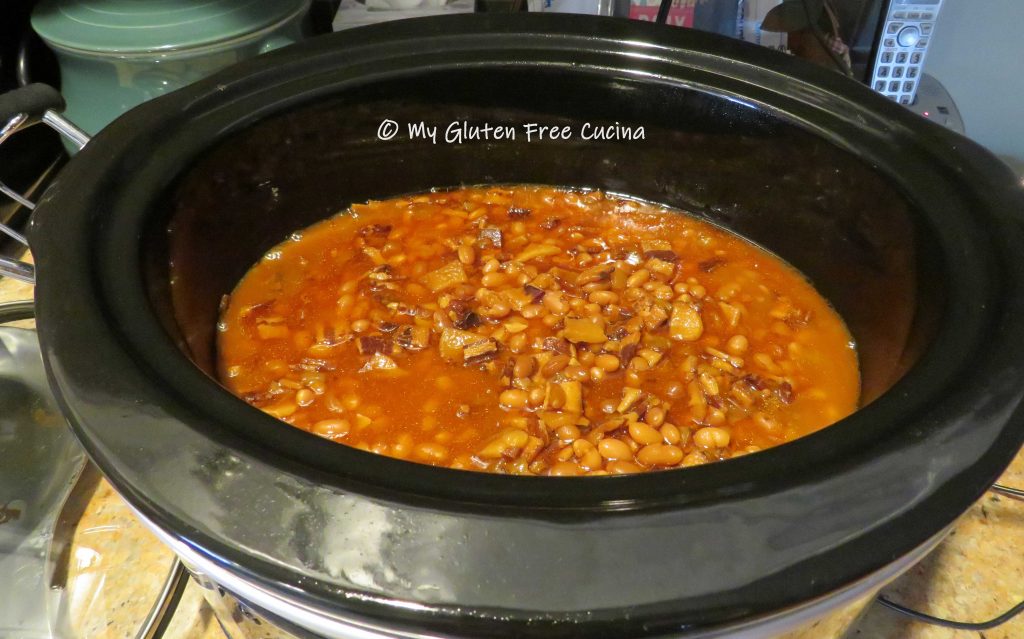
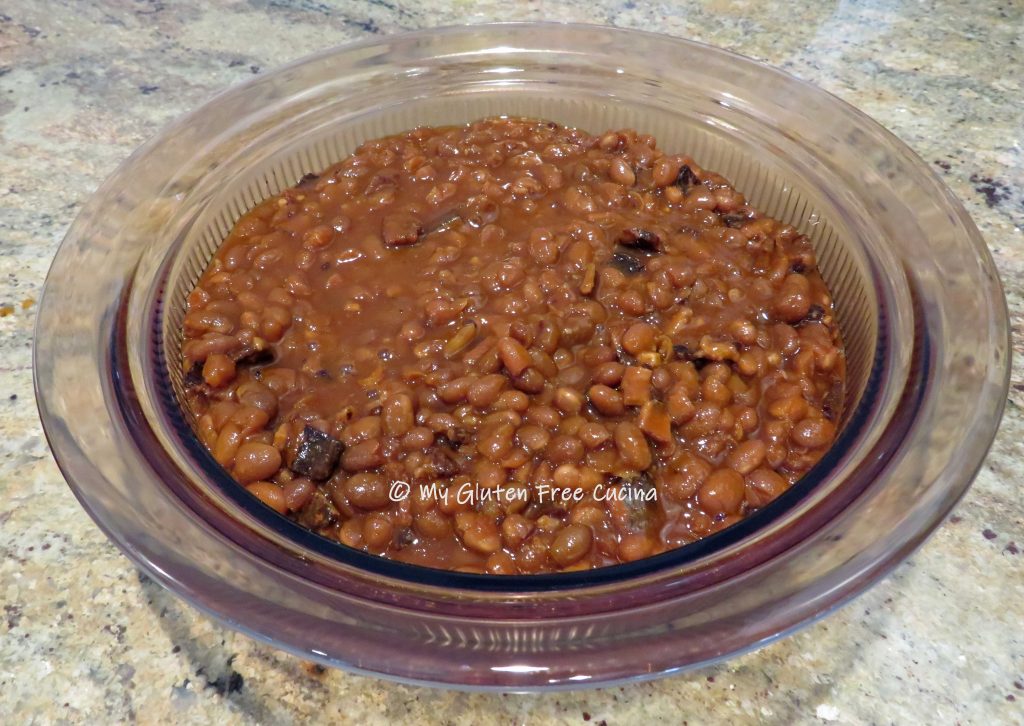
After 12 hours, set the crock-pot to keep warm. Let the beans sit for 2 more hours on warm to finish absorbing the liquid.

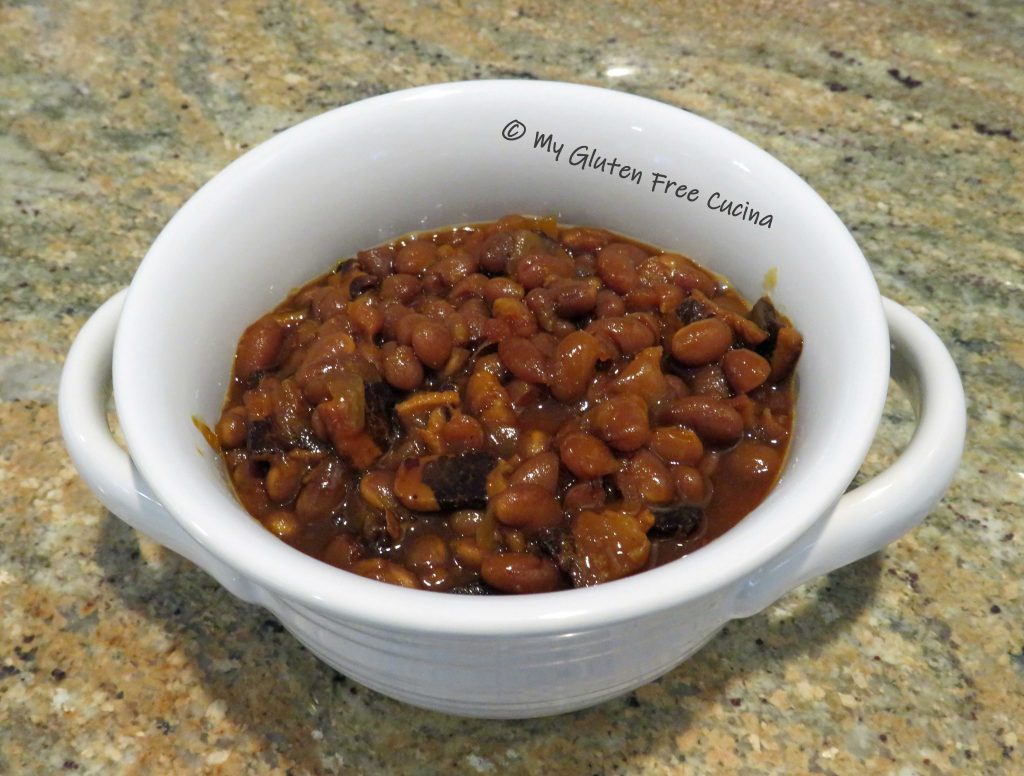
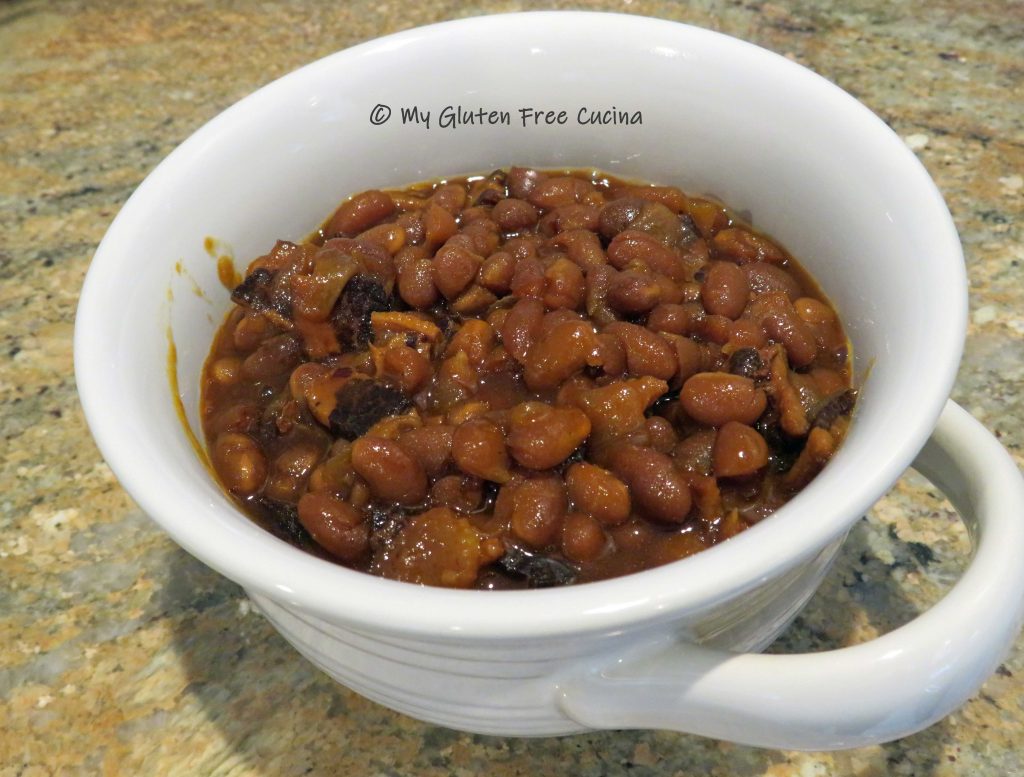
You can see why this recipe has become a family favorite!
You’ll get rave reviews when you make this dish! I hope you will give it a try for your next family gathering!
Notes ♪♫ I opt for lower sodium ingredients wherever possible. Given the amount of salt in the bacon, you will not notice if it is absent in some of the condiments.


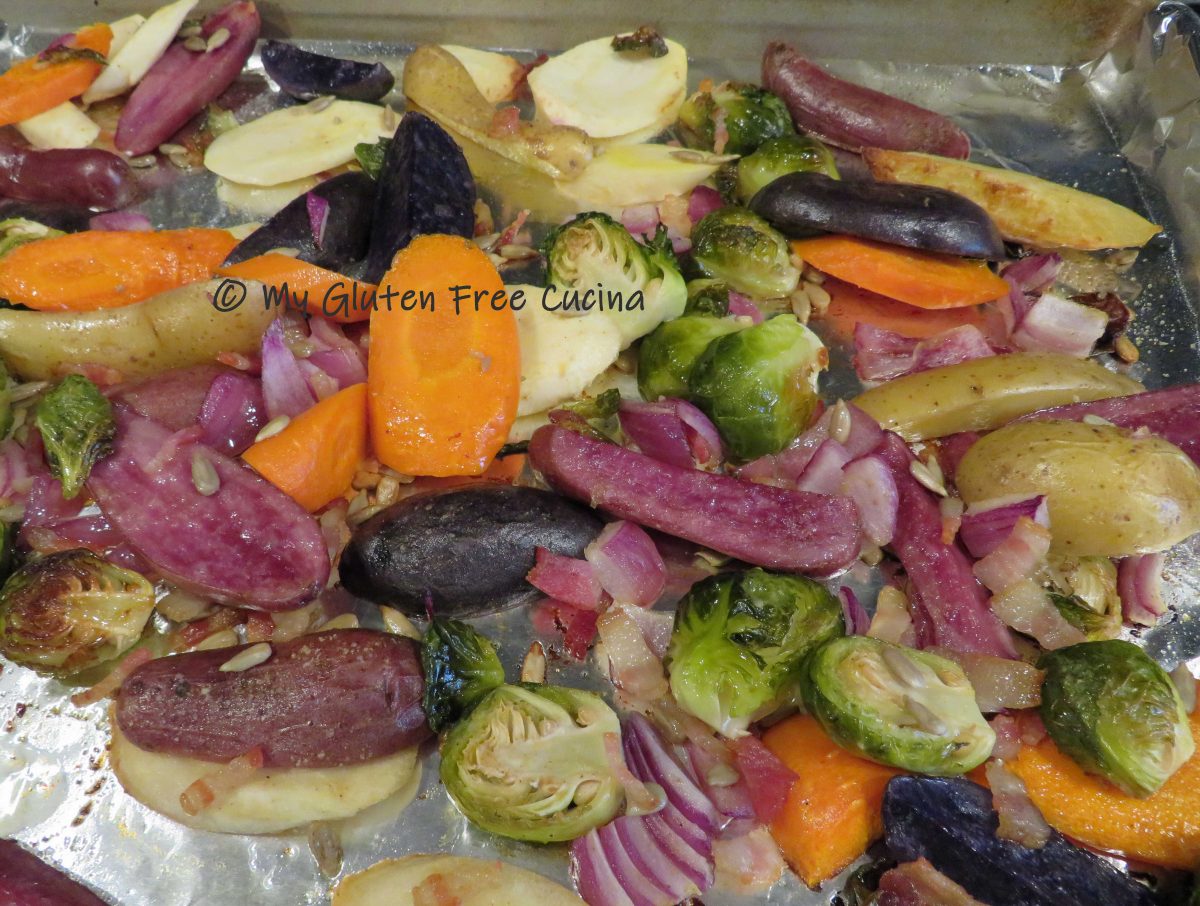
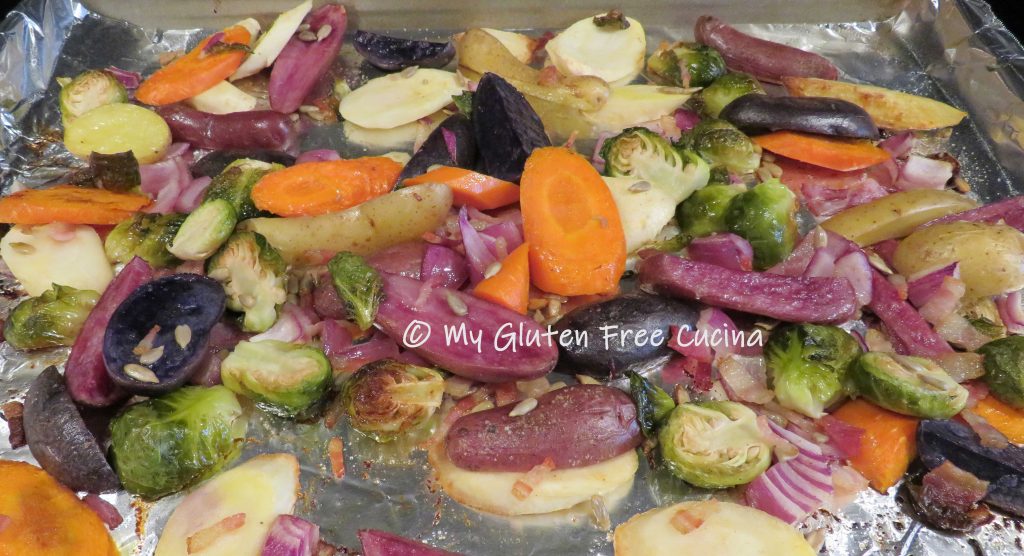
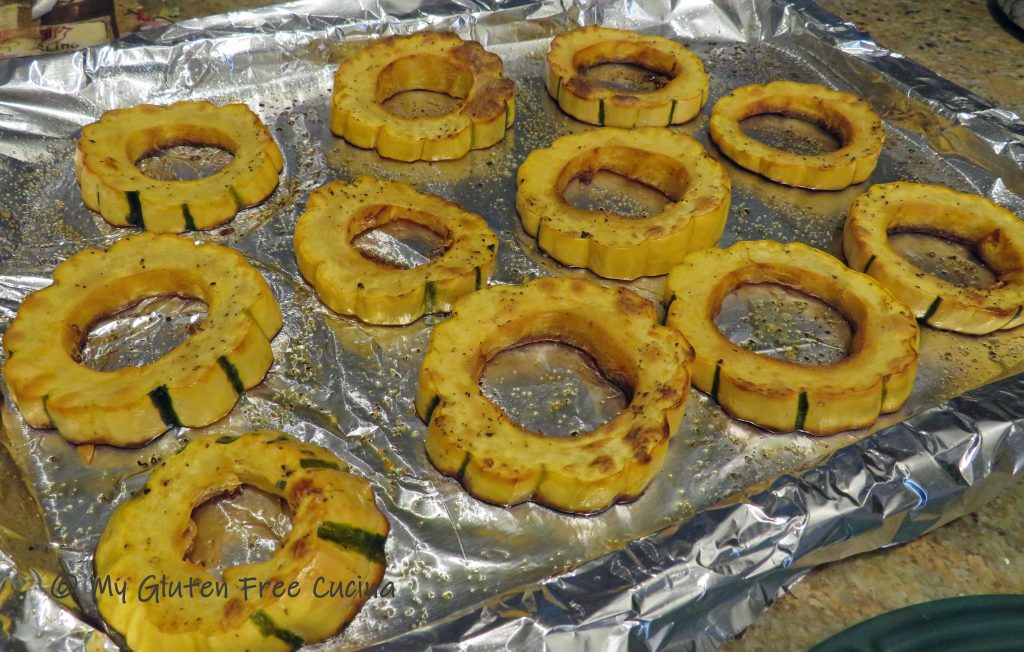
 Bake for 20 minutes. Transfer to a serving platter or serve right in the pan.


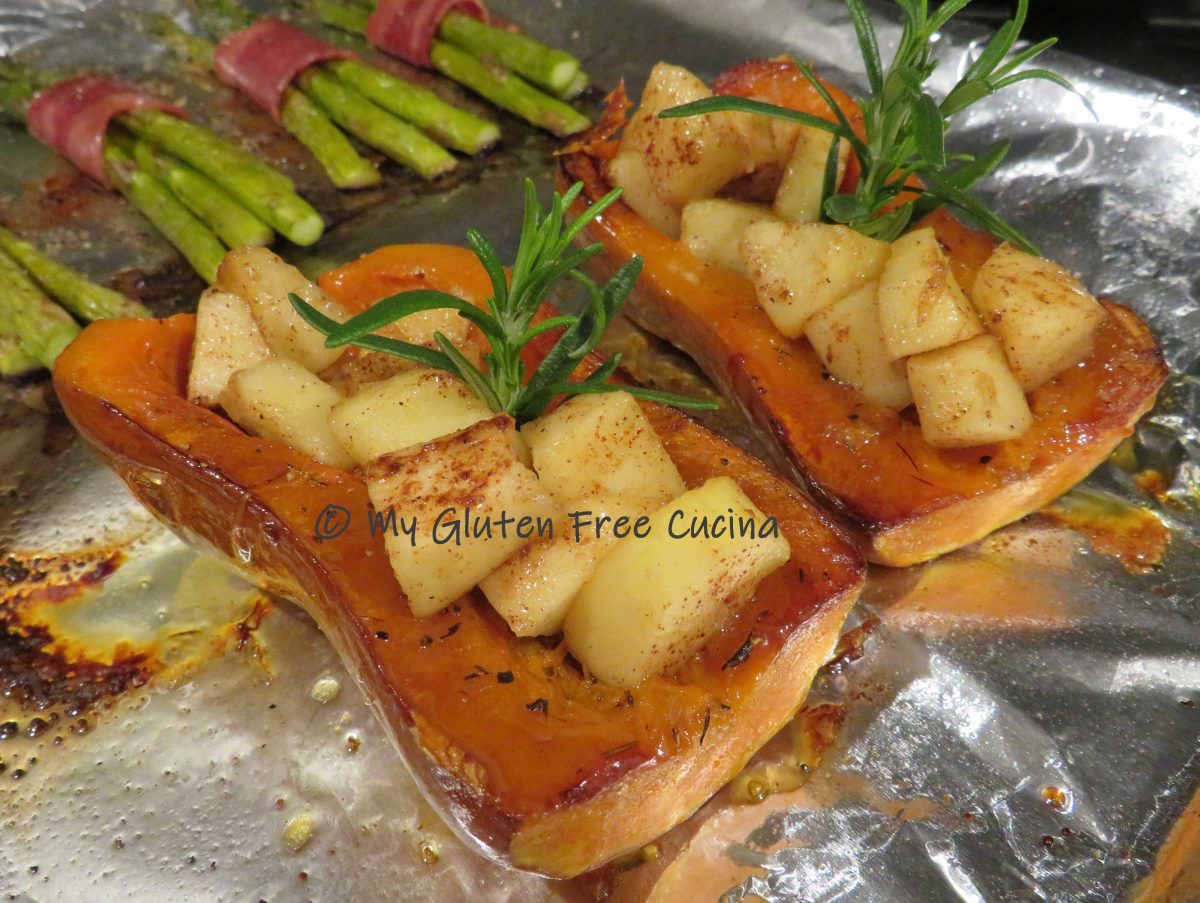


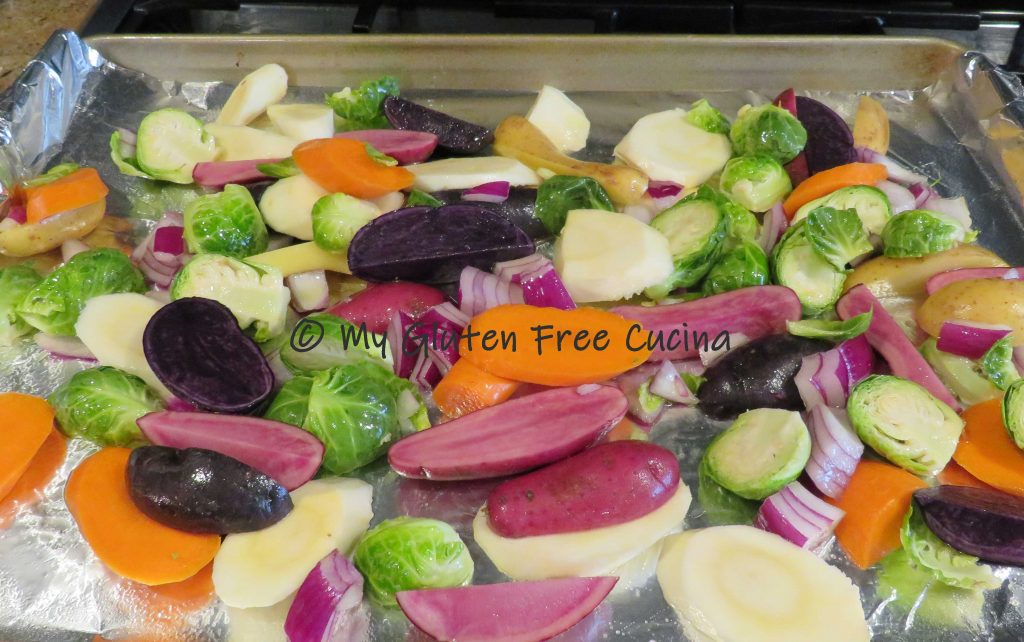
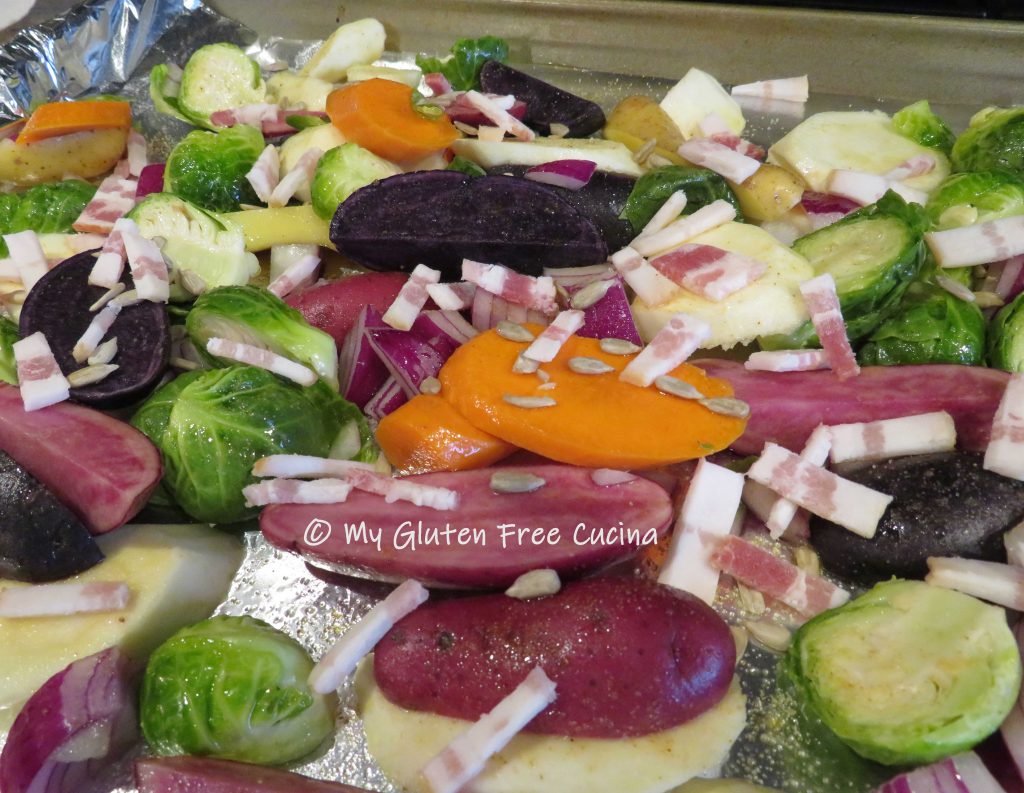
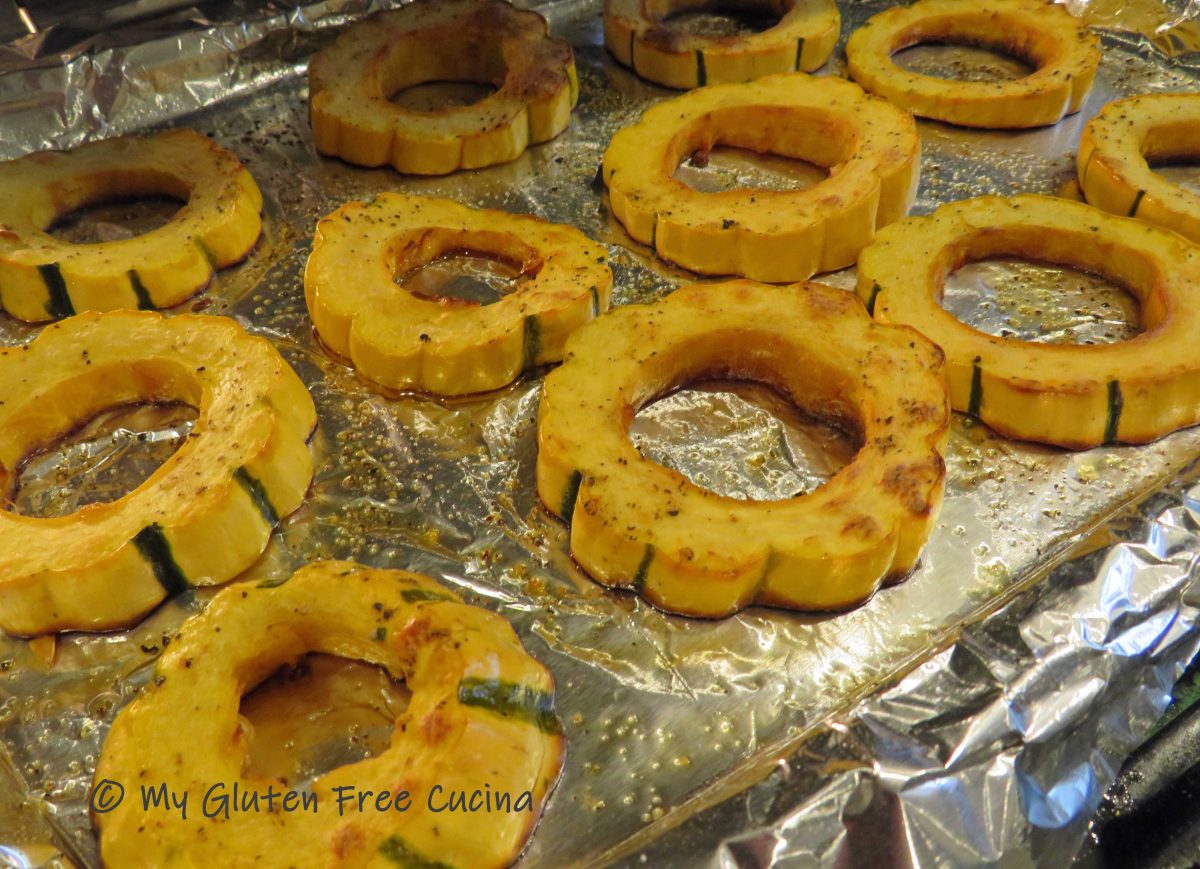
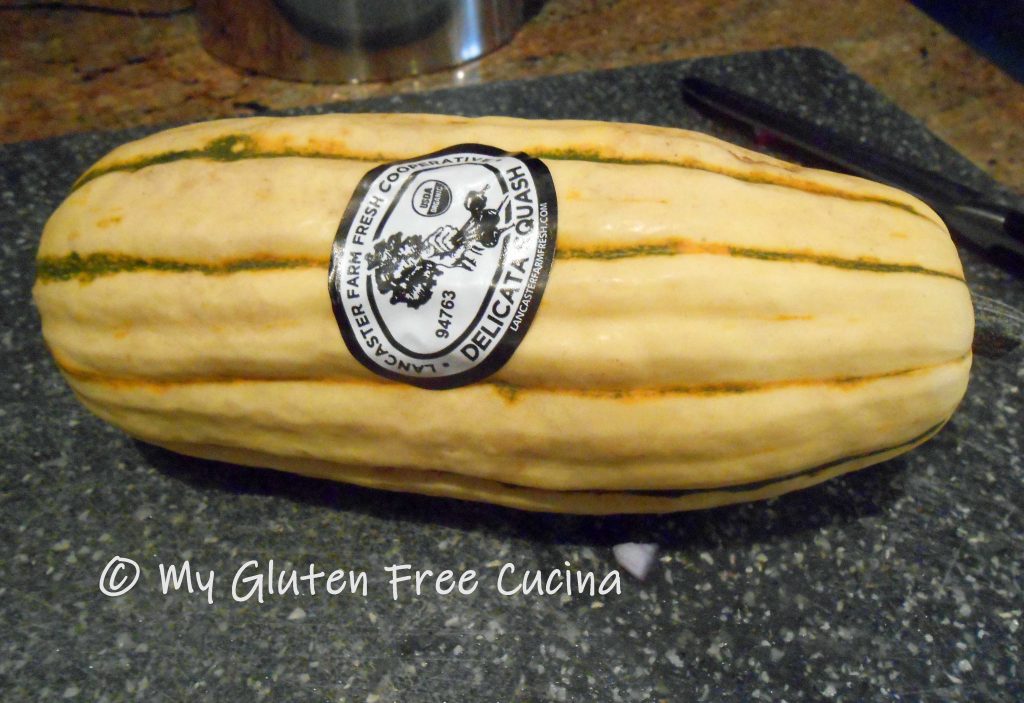
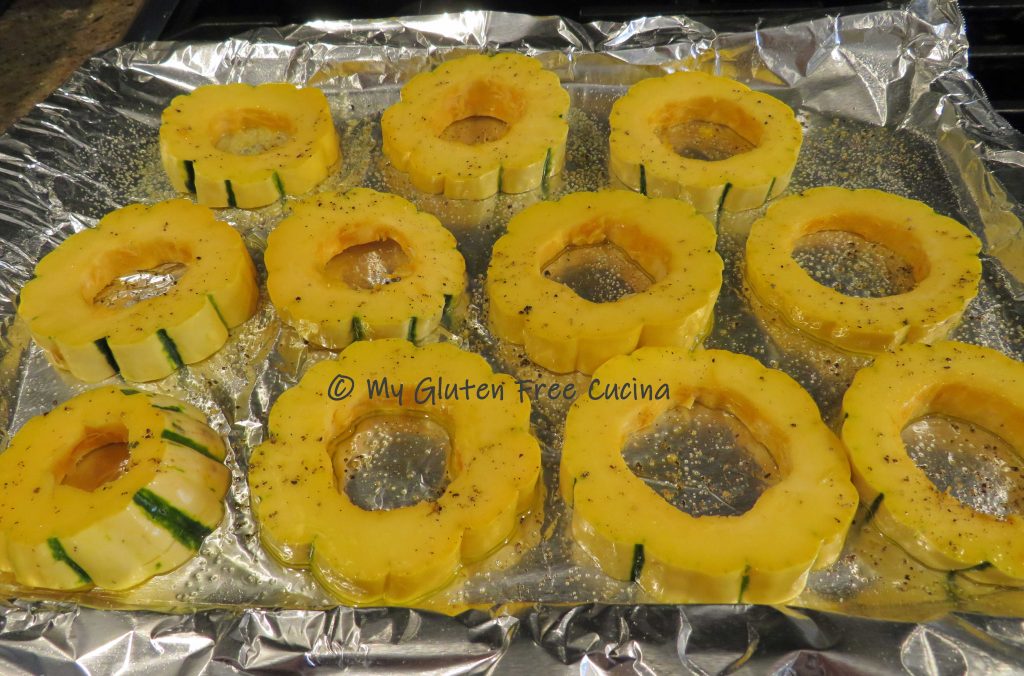
 Arrange cut side down on a baking sheet lined with parchment or foil and bake for 35 minutes at 375º.
 While the squash is baking, peel and dice the apple. I used a Honeycrisp apple. Heat a small skillet on medium low. Add the apples with a pat of butter and toss to combine. Cook 3 minutes, stirring frequently. Sprinkle with cinnamon.
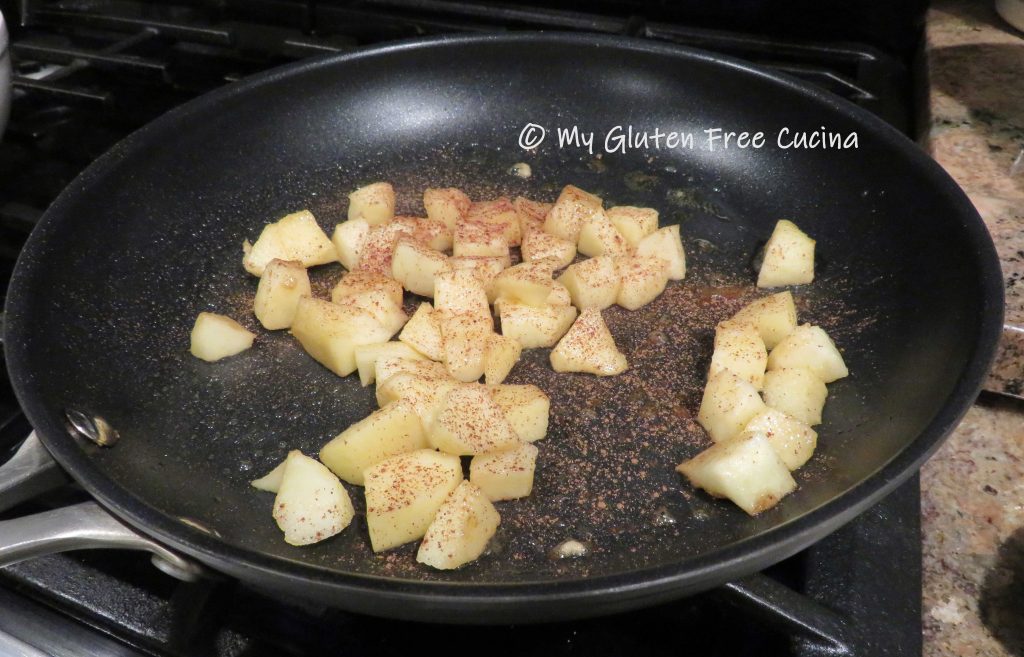


 Slide the parchment onto a