Homemade Breakfast Sausage Patties are the bomb! I always say homemade is best, but why would you go to the trouble of making your own sausage patties? For starters, you control the fat, you control the salt, no chemicals, no nitrites, no preservatives, NO GLUTEN! And with no casings needed they are easy to make. You can buy gluten free breakfast sausage seasoning or make your own. Experiment with different spice combinations to find the one you like best. Be sure to use real maple syrup. For years I purchased breakfast sausage links at the supermarket, but not anymore!
This post contains affiliate links.

Ingredients:
- 1 lb. ground pork
- 1 lb. ground turkey
- 2 tbsp. homemade gluten free sausage seasoning (see below)
- 4 tbsp. maple syrup
- fresh thyme sprigs, for garnish
Sausage Seasoning:
- 1 tsp. salt (use less if limiting salt)
- 2 tsp. sugar
- 1 tsp. paprika
- 1 tsp. black pepper
- 1/4 tsp. nutmeg
- 1/4 tsp. cayenne
- 1/2 tsp. sage
- 1/2 tsp. thyme
- 1/2 tsp. ground fennel
- 1/2 tsp. ground coriander
OR use a purchased Sausage Seasoning
Preparation:
Combine the pork and turkey in a large bowl and blend together lightly with 2 forks. Don’t compress the meat. Of course, you can use all pork or all turkey, but I found that blending equal amounts of each gives a good balance of flavor and fat.


Drizzle in the maple syrup and sprinkle the seasoning a little at a time. With each addition, use the forks to thoroughly incorporate.


Line a baking sheet with wax paper. Scoop the mixture into 2 oz. balls, then gently press into patties. You will have about 15 total.

Prepare the patties and refrigerate one day ahead for a brunch. The patties will keep for several months in the freezer. You can freeze them on the baking sheet then transfer to a freezer safe bag. They are great to have on hand to enjoy on the weekend.
Cook sausage patties 5 minutes per side in a nonstick skillet. For a nice presentation, I like to garnish the patties with fresh thyme sprigs.

Add some homemade goodness to your family breakfast table with this easy recipe. If you enjoyed this post, check out some of my favorite brunch ideas to feed a family or a crowd!
Notes ♪♫ Always check ingredient labels for hidden gluten. Seasoning blends are convenient, but if you are limiting salt make your own!


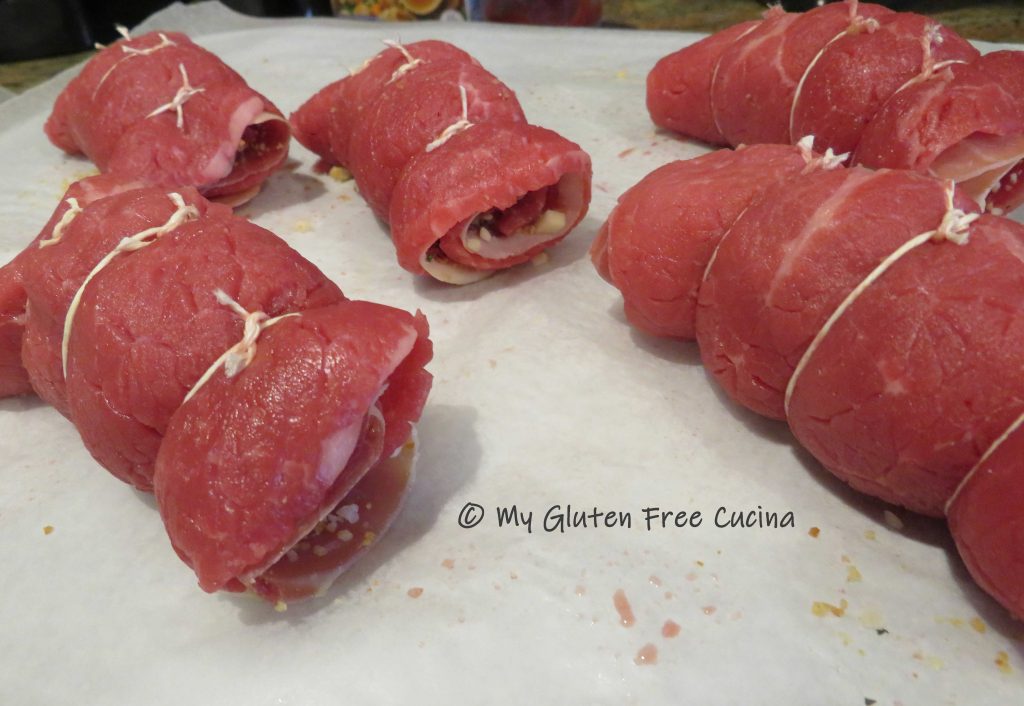
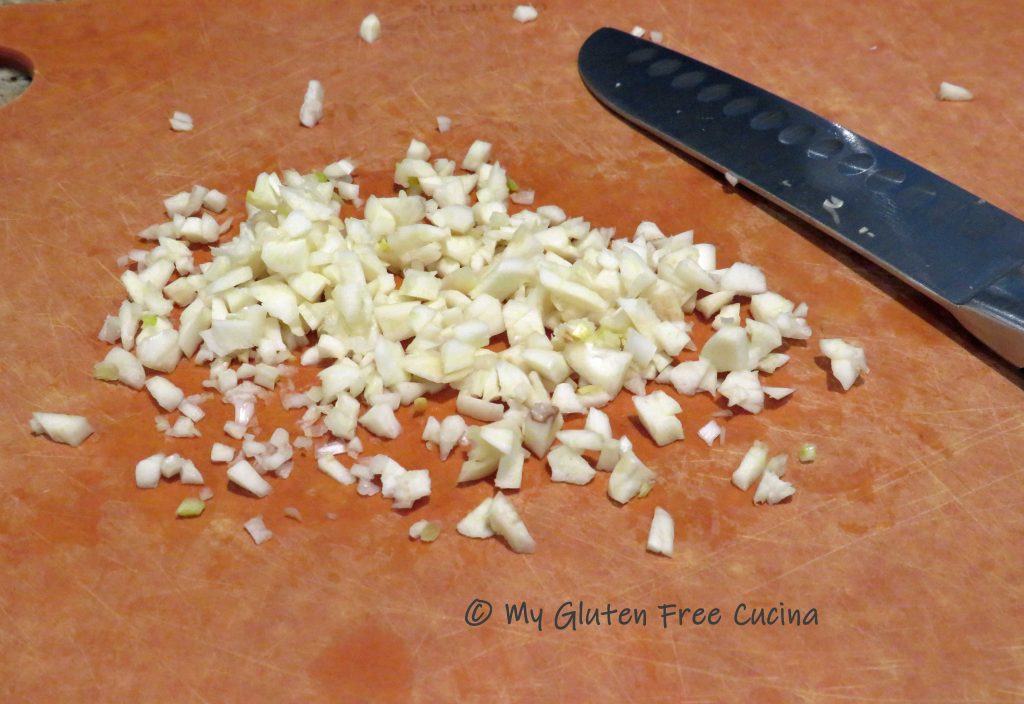
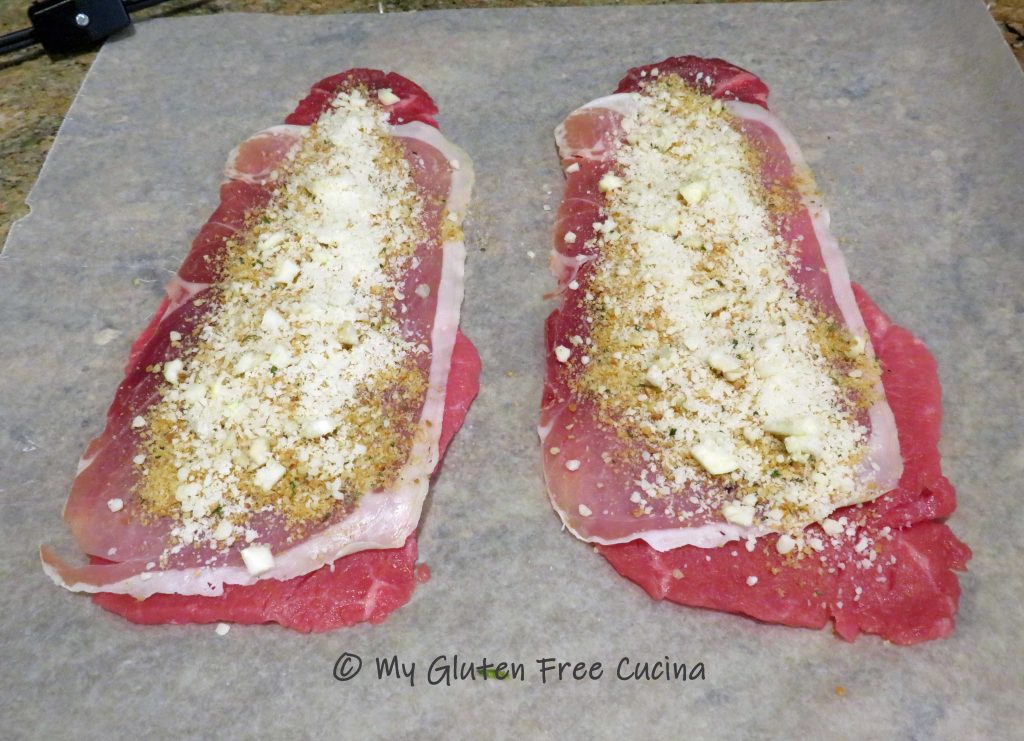
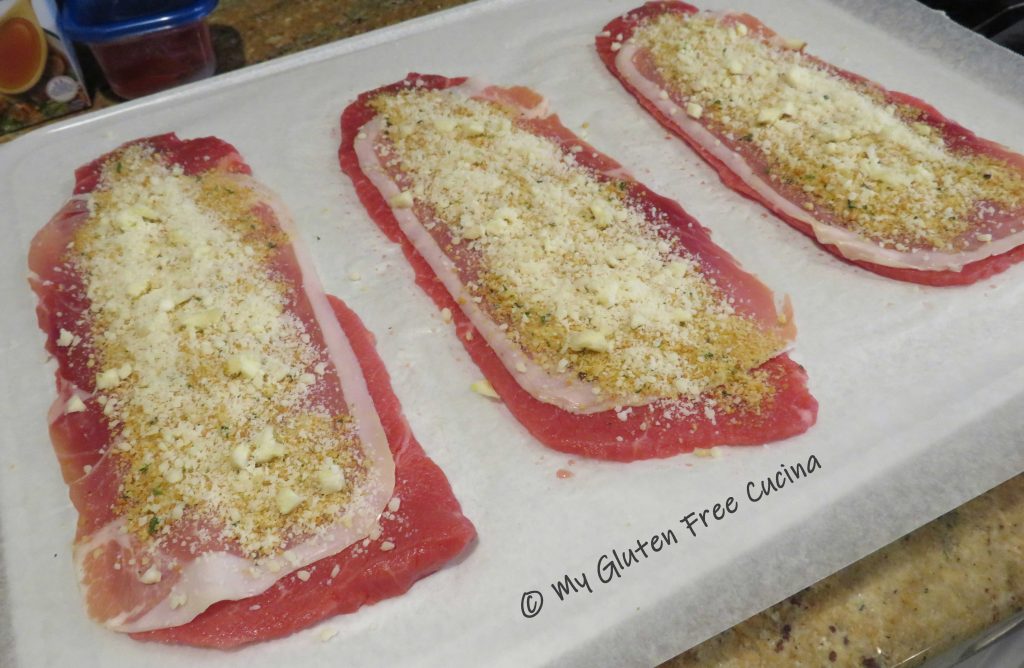
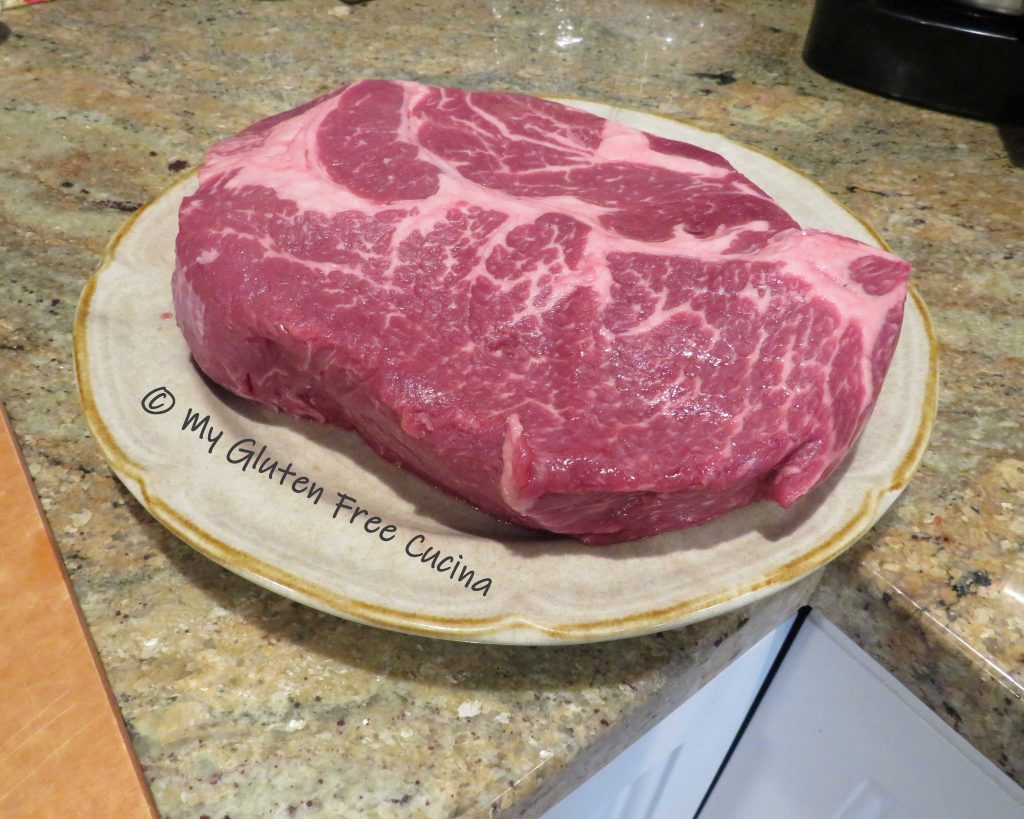
 Season the beef with salt and pepper, then layer with a slice of prosciutto. Sprinkle each with about 1 tbsp. gluten free Italian breadcrumbs, 1 tbsp. grated cheese and 1/2 tsp. of the minced garlic.
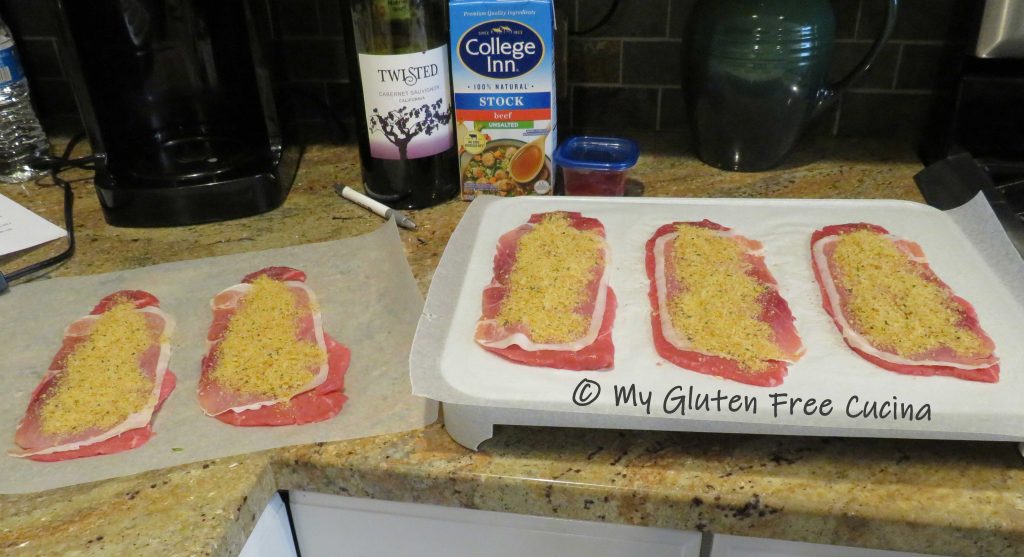
 Starting at the narrow end, roll up the meat into bundles.
 Secure each bundle with cooking twine or toothpicks (twine is more secure but toothpicks are easier to remove).
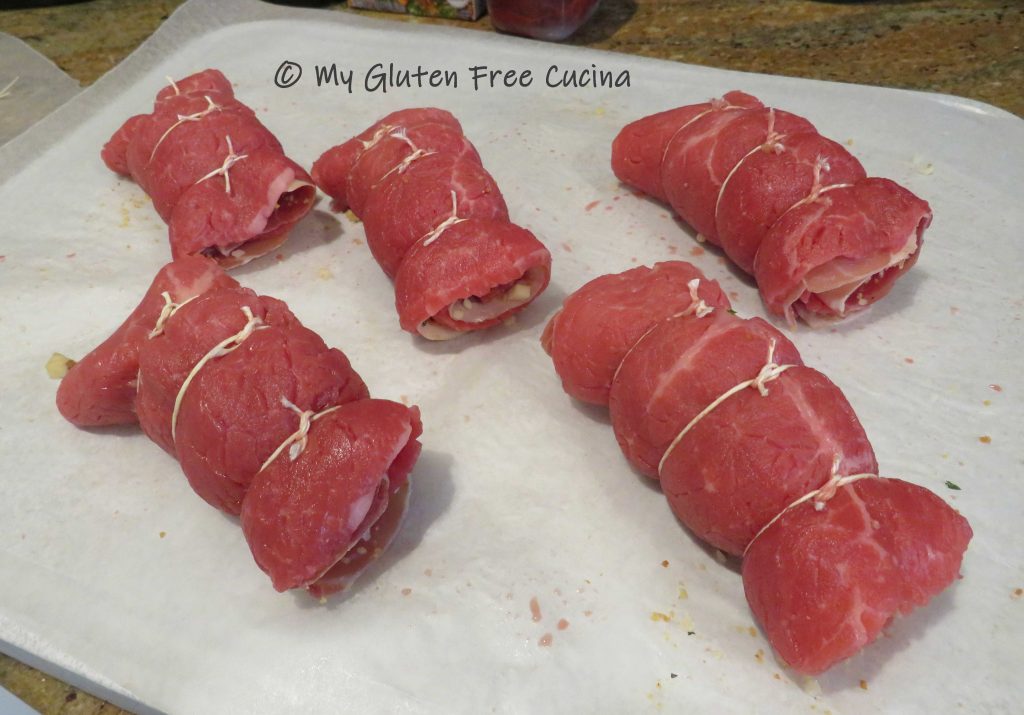

 Remove the meat, keeping the pan on low heat.
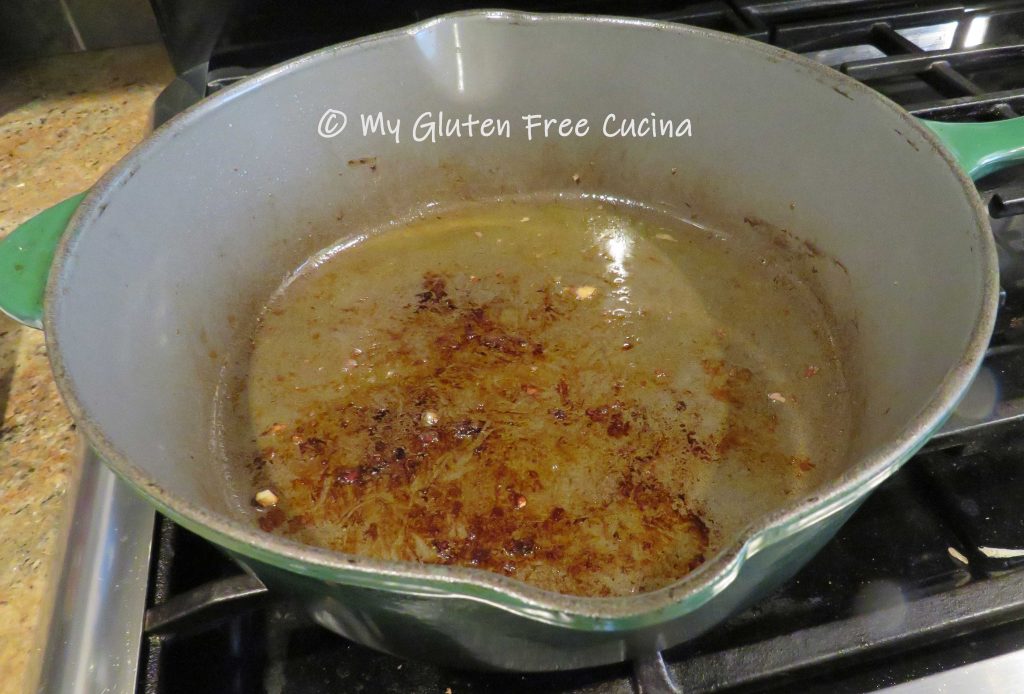
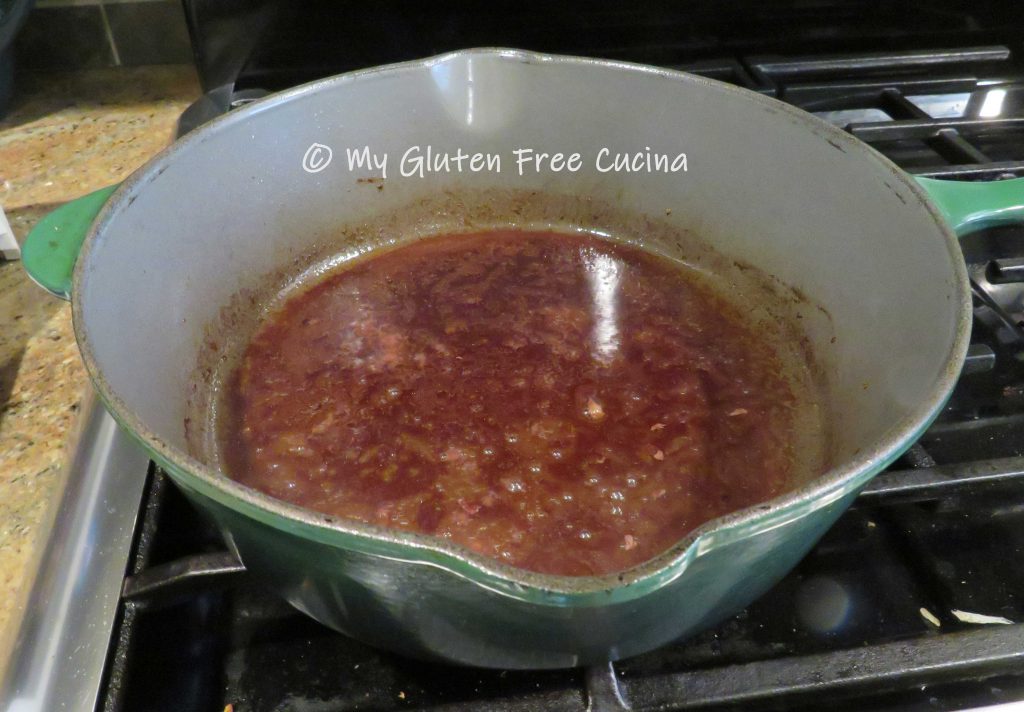 Add the tomato paste, beef broth, remaining garlic and herbs.
 Stir it all together and continue cooking over low heat to make a reduction. Doesn’t that look good?
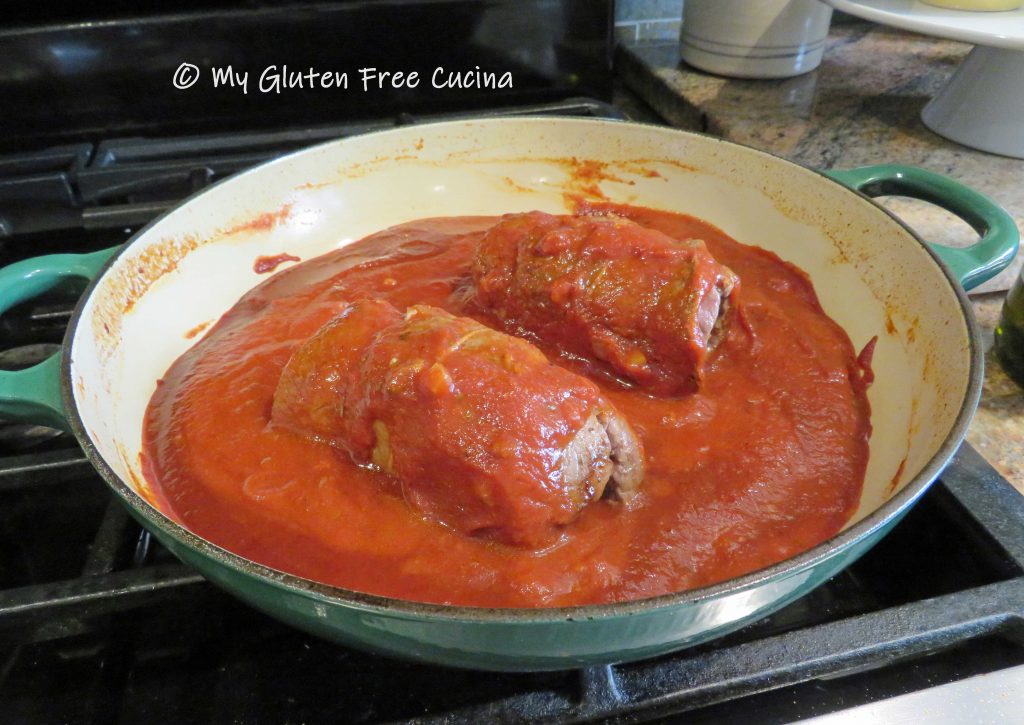
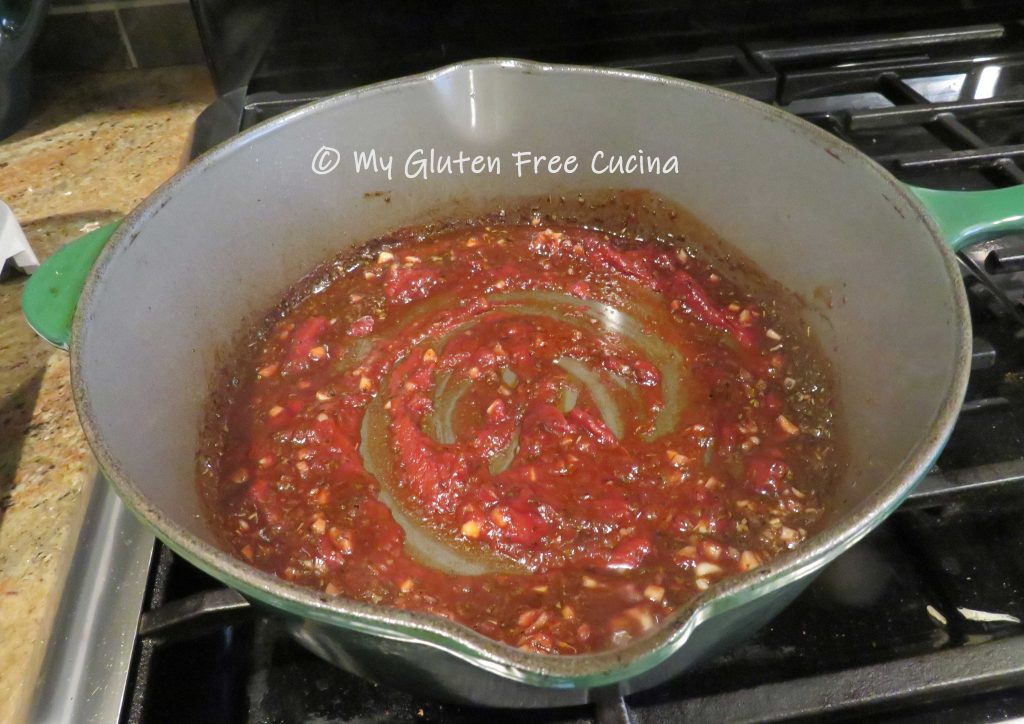 When most of the liquid has evaporated, add the tomato sauce, along with the meat bundles.
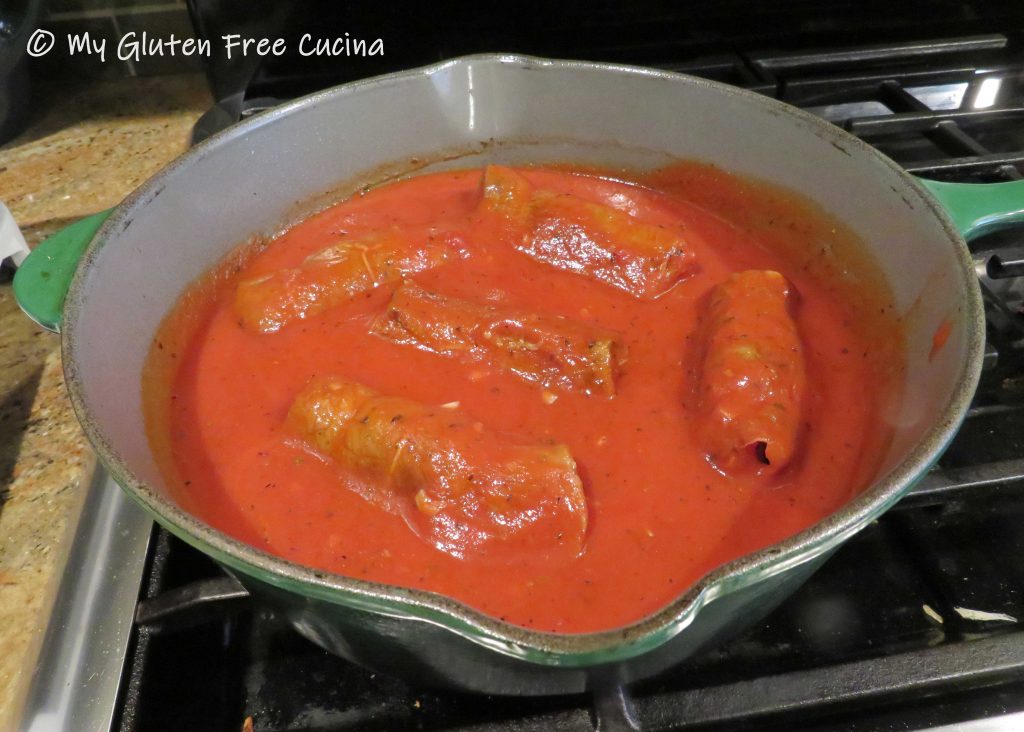 Cover and cook on lowest heat for 3 hours. Use a
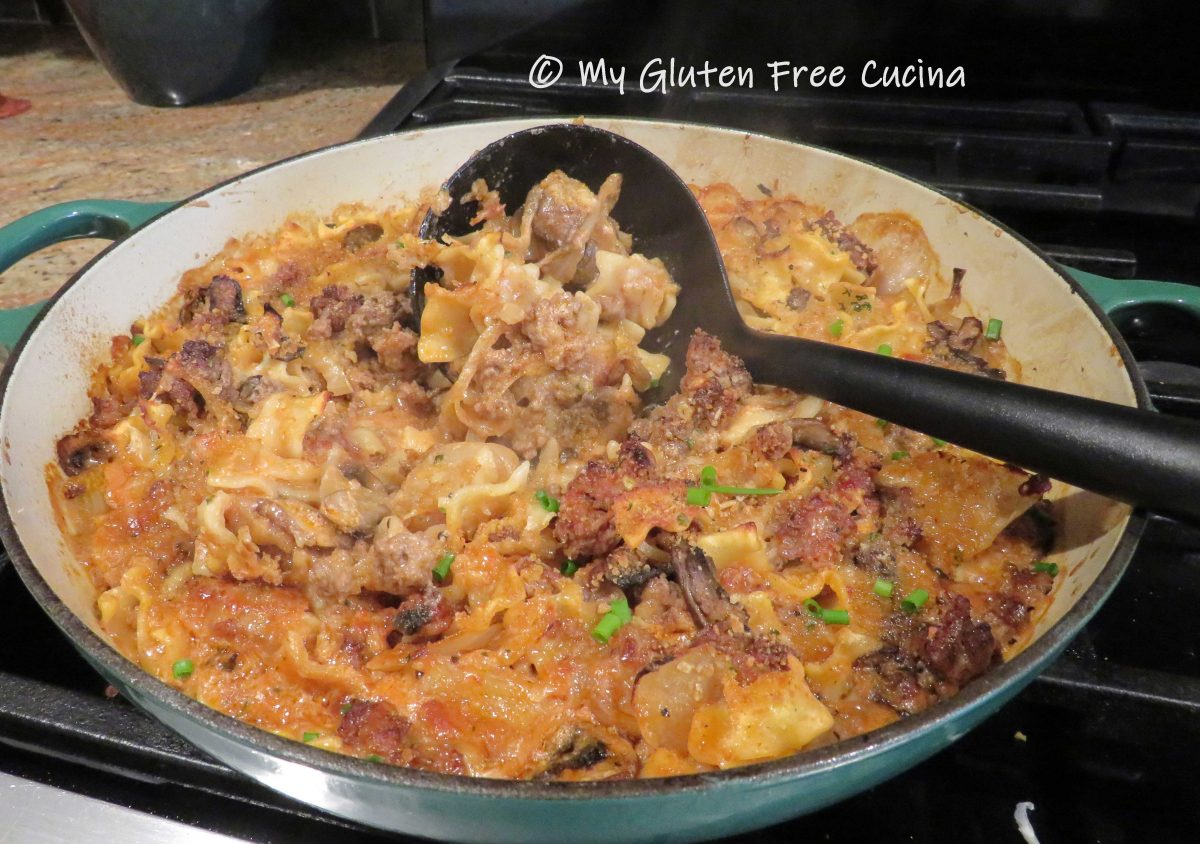
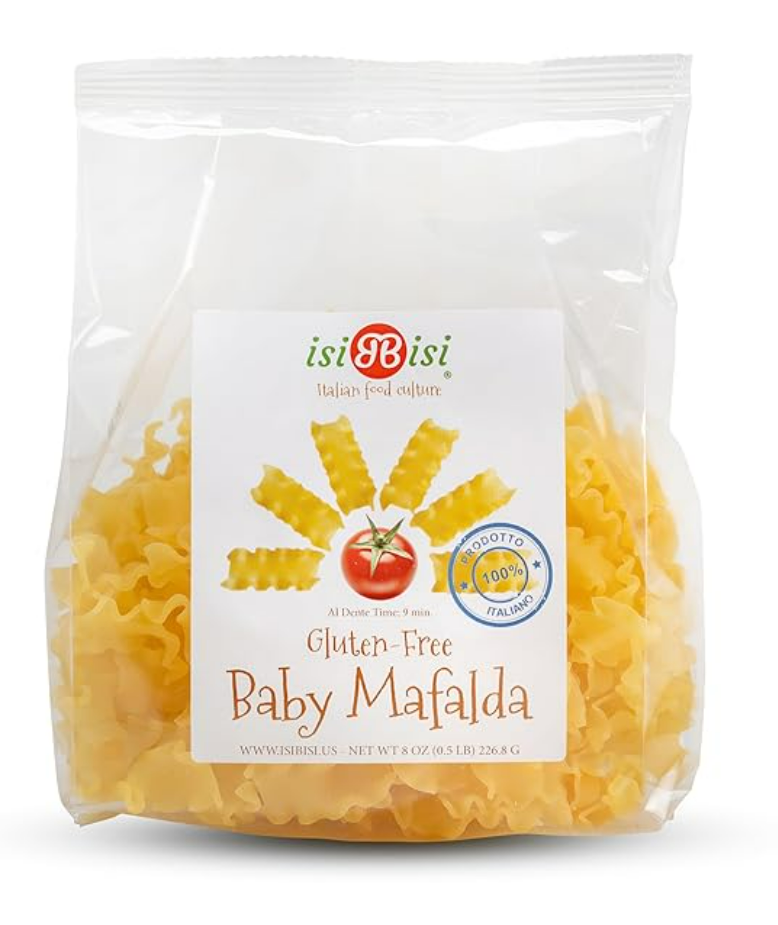
  Serve alongside your favorite gluten free pasta, with extra sauce and grated cheese. Garnish with fresh parsley or chives. Don’t forget to remove the twine and toothpicks!


 Pat the roast dry. Make 1/2″ slits all over and insert the garlic slivers. Sprinkle both sides with seasoning.


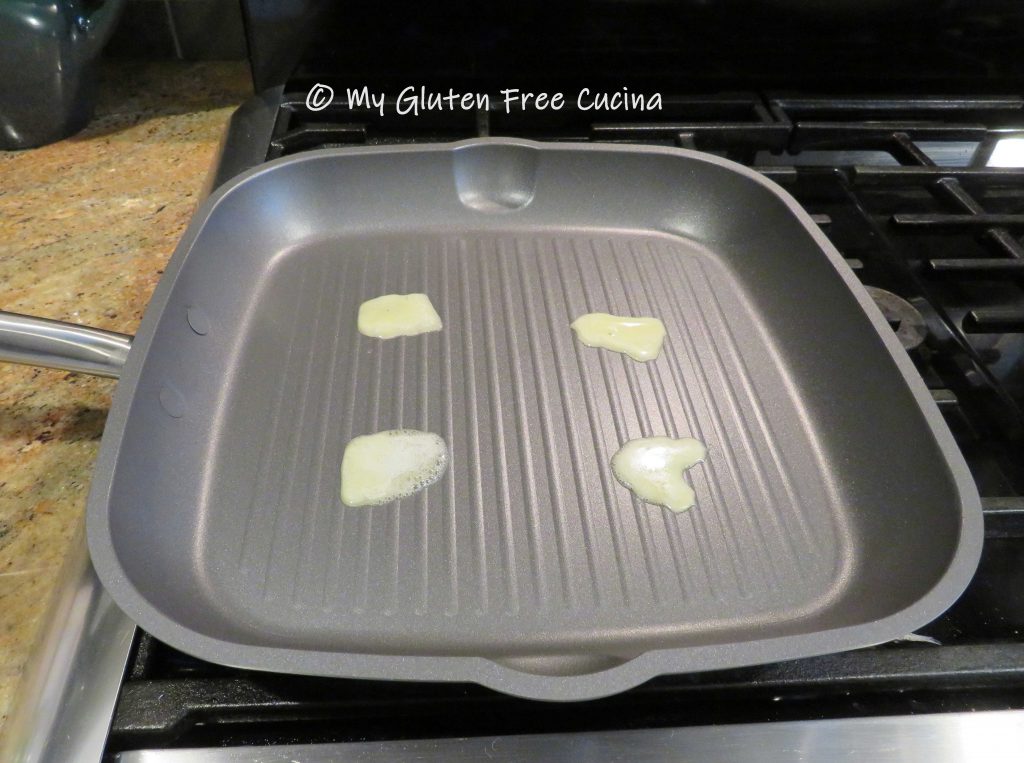
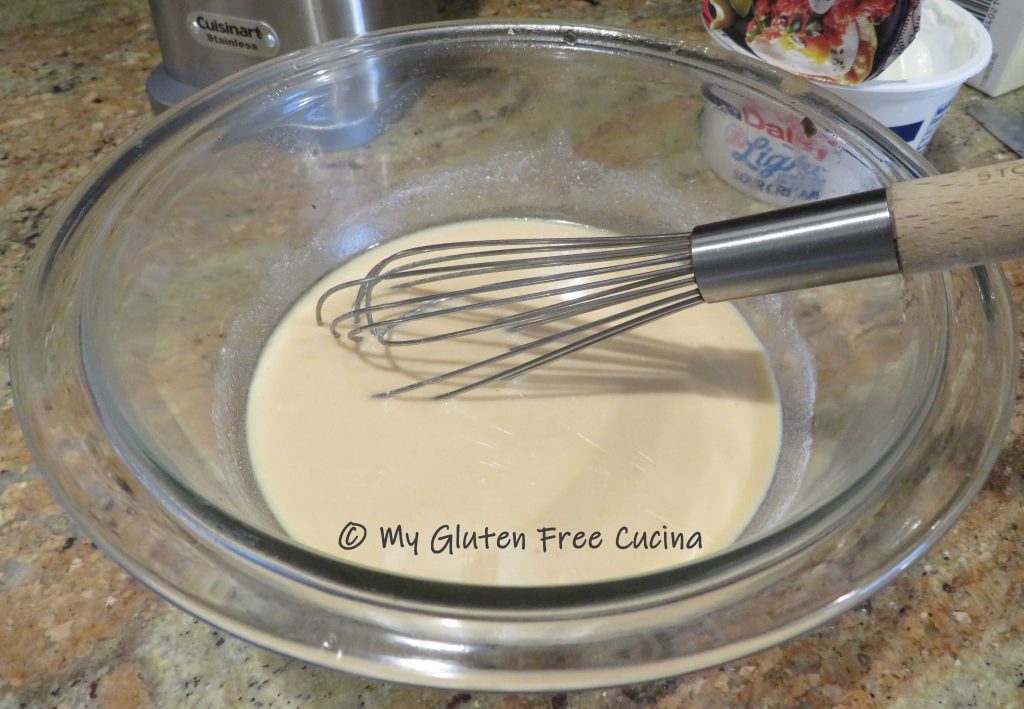
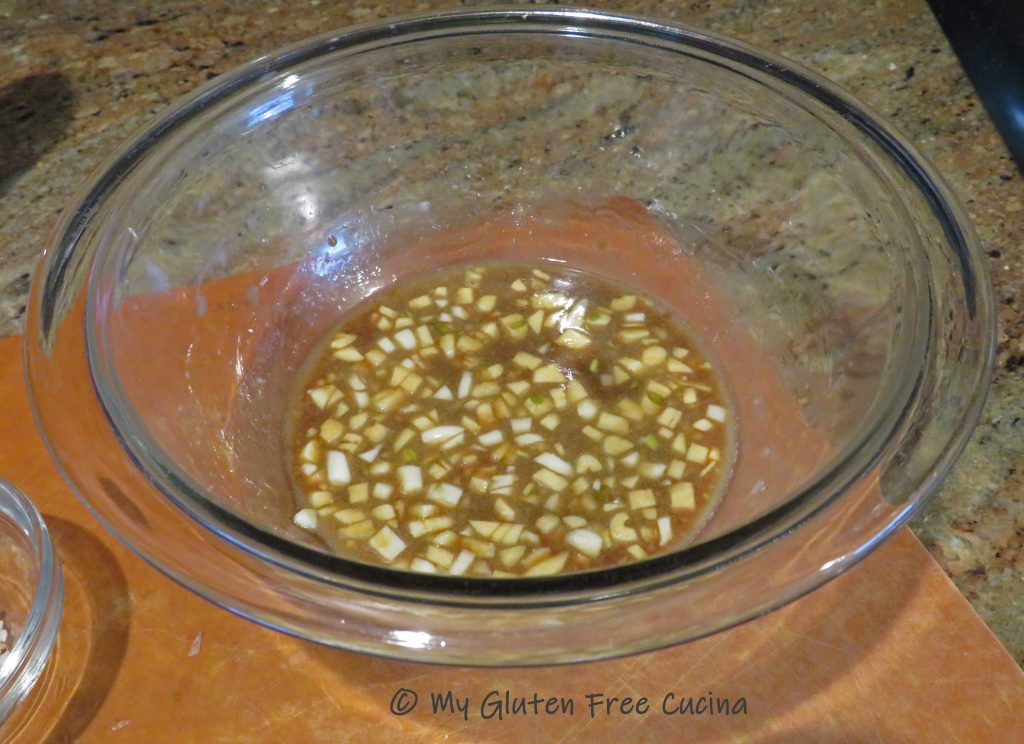
 Whisk together the marinade ingredients with a sprinkle of Old Bay®, a few grinds of fresh ground pepper and 1 tsp. of fresh chives.
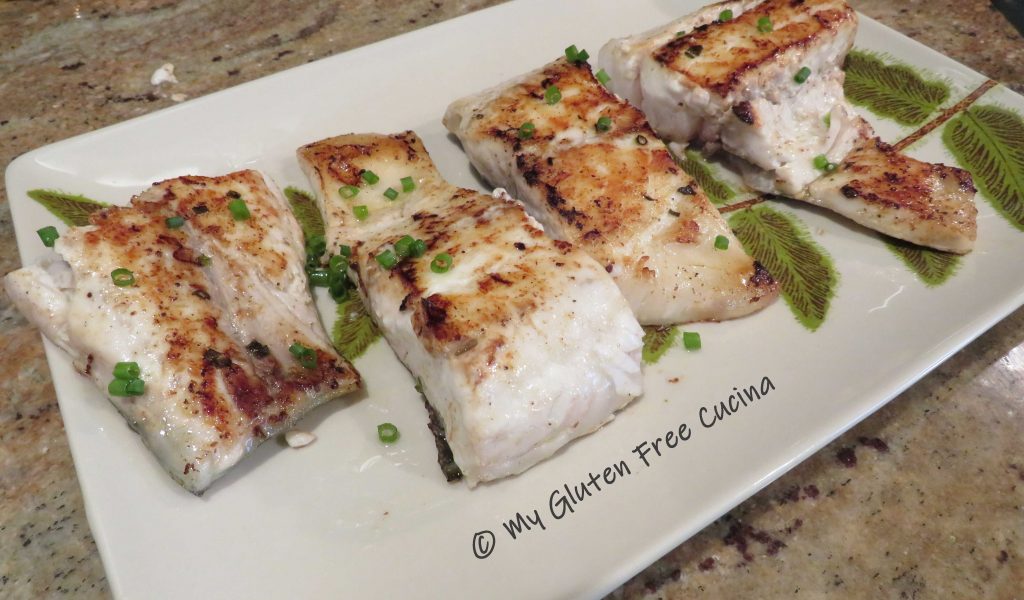


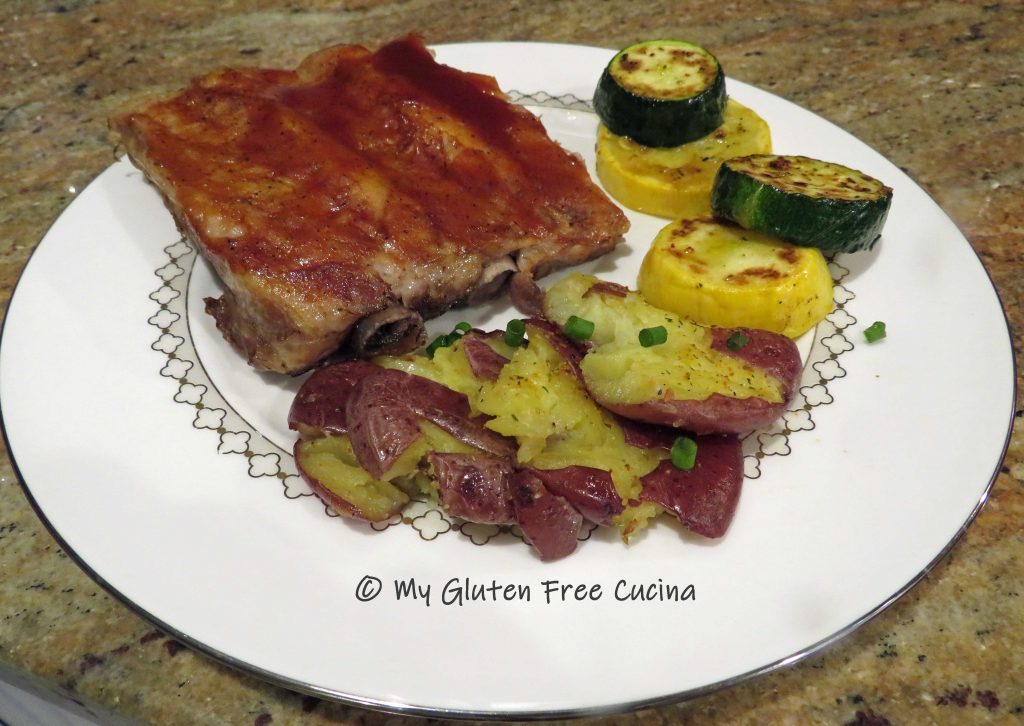


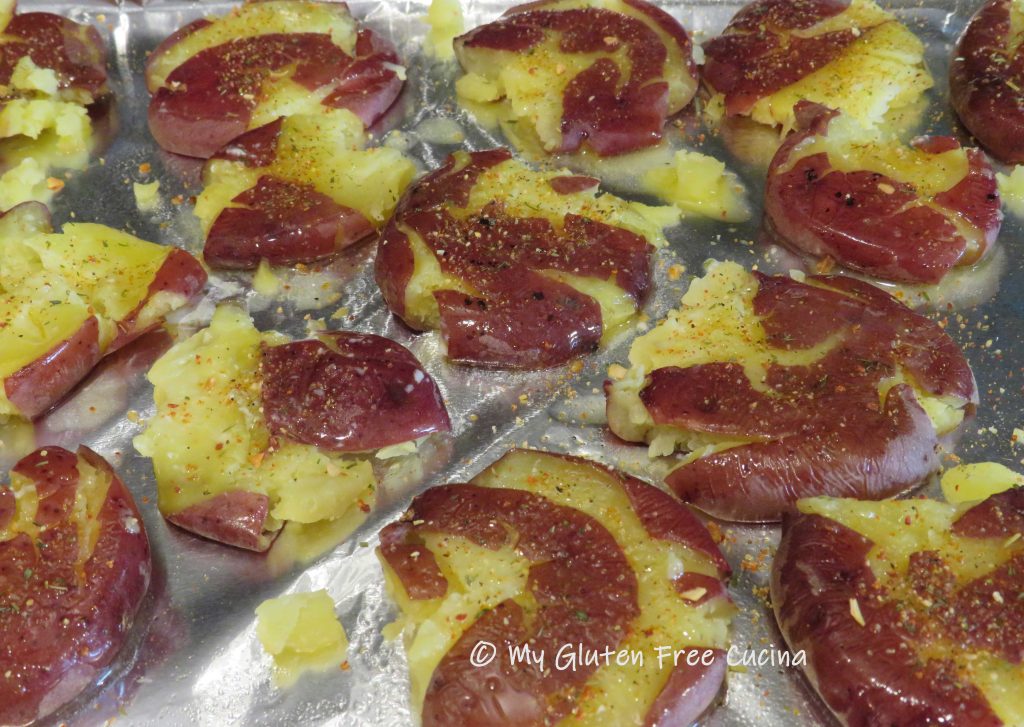 Bake for 20 minutes. Transfer to a serving platter or serve right in the pan.
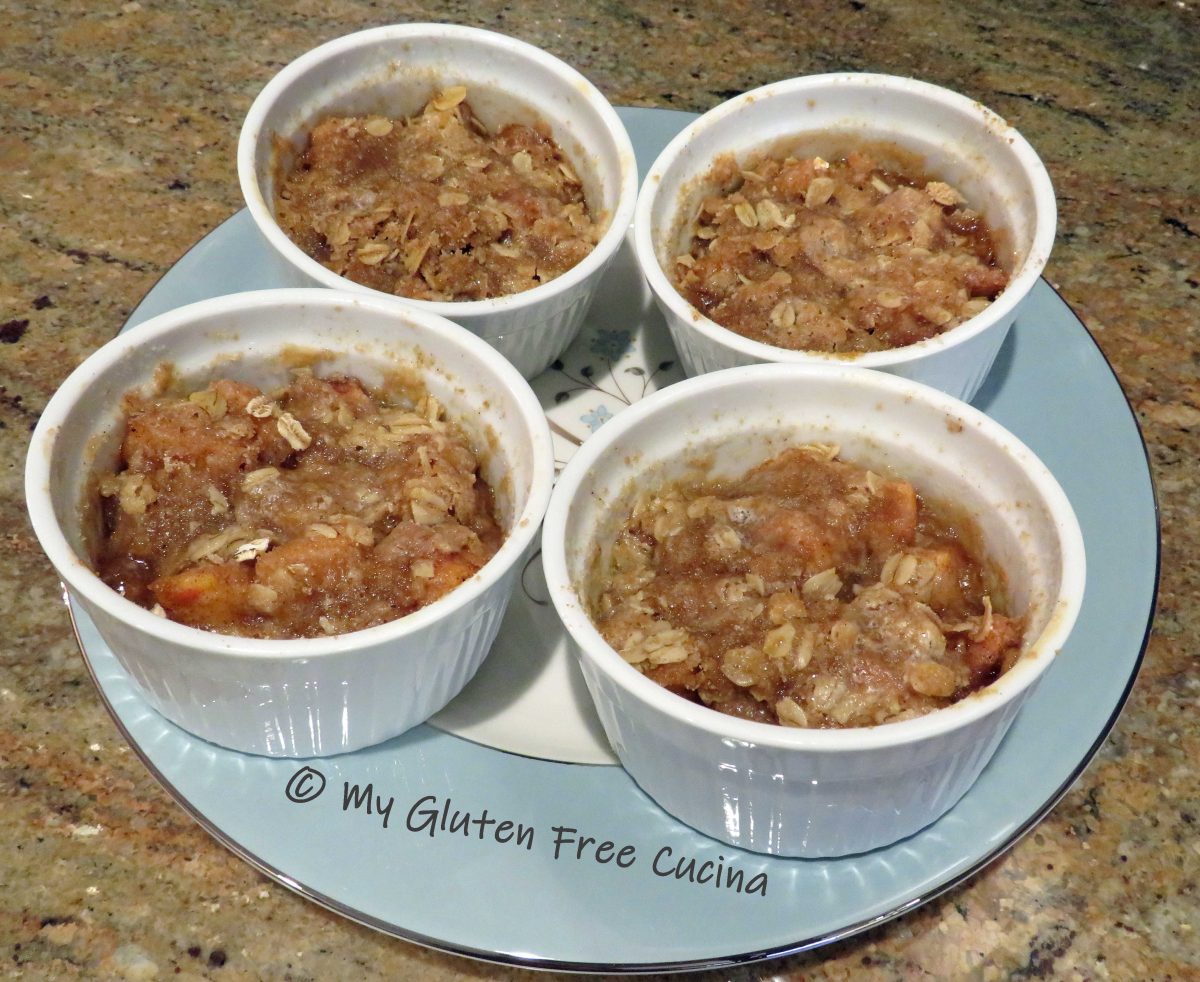
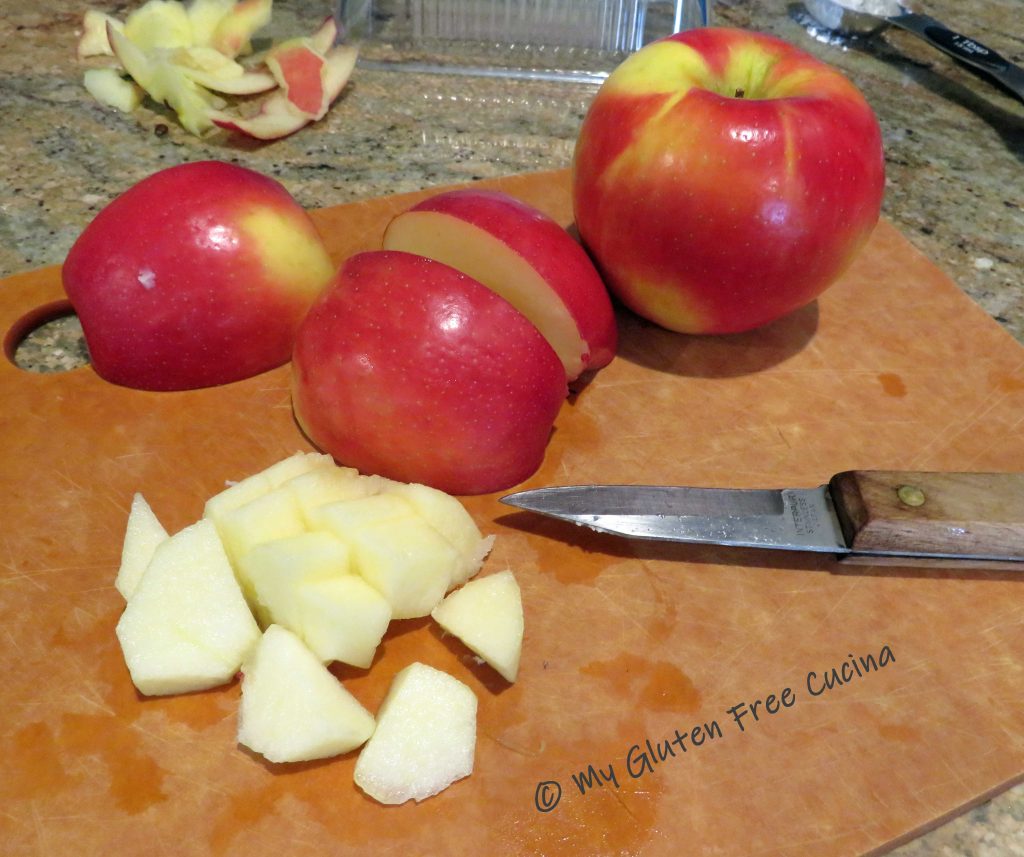

 Toss the apples with the filling mixture.
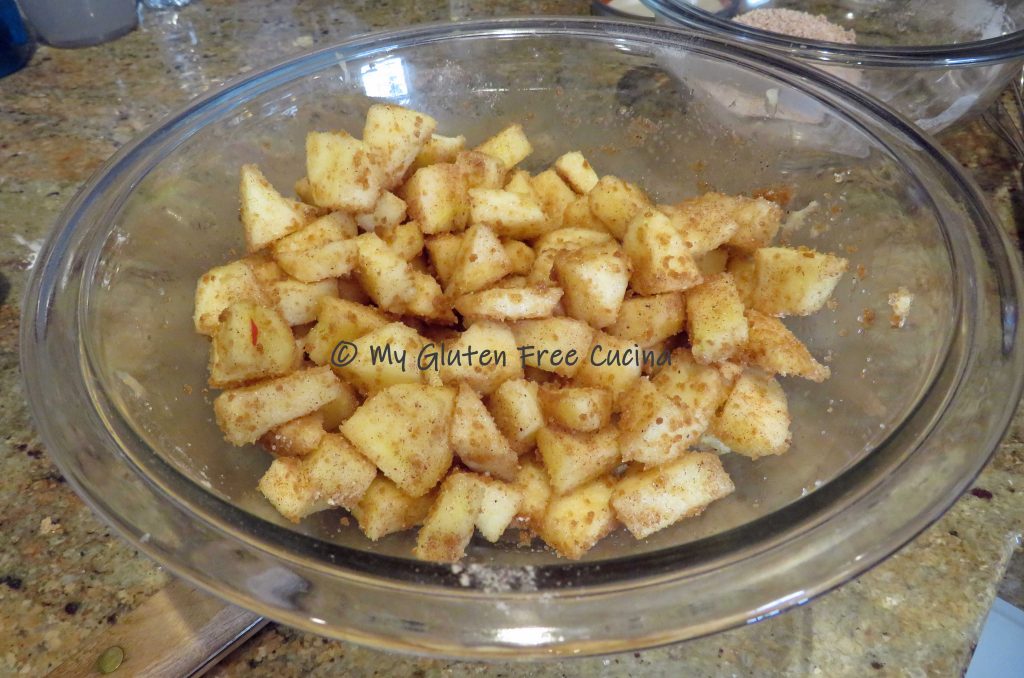


 Spread the topping mixture over each ramekin.
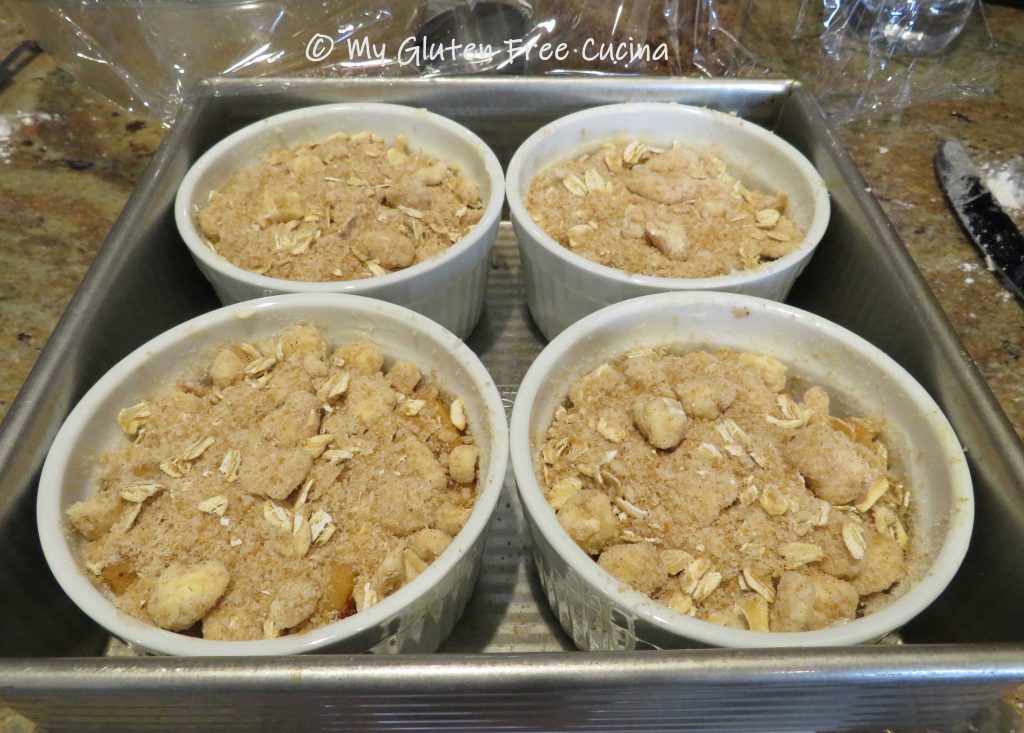

 Preparation:
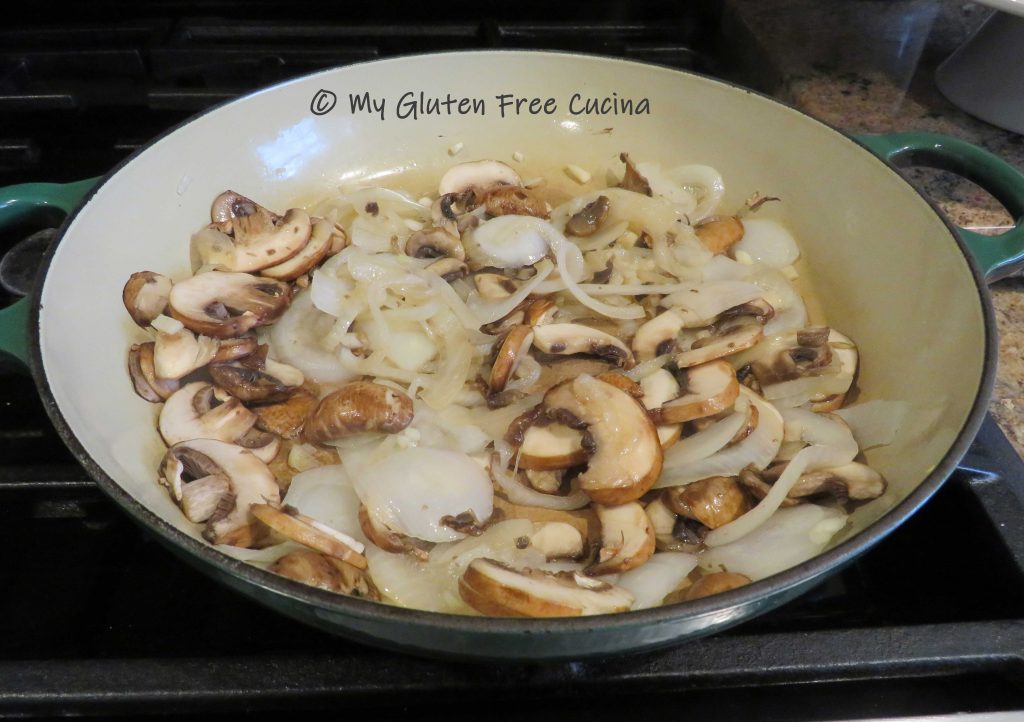


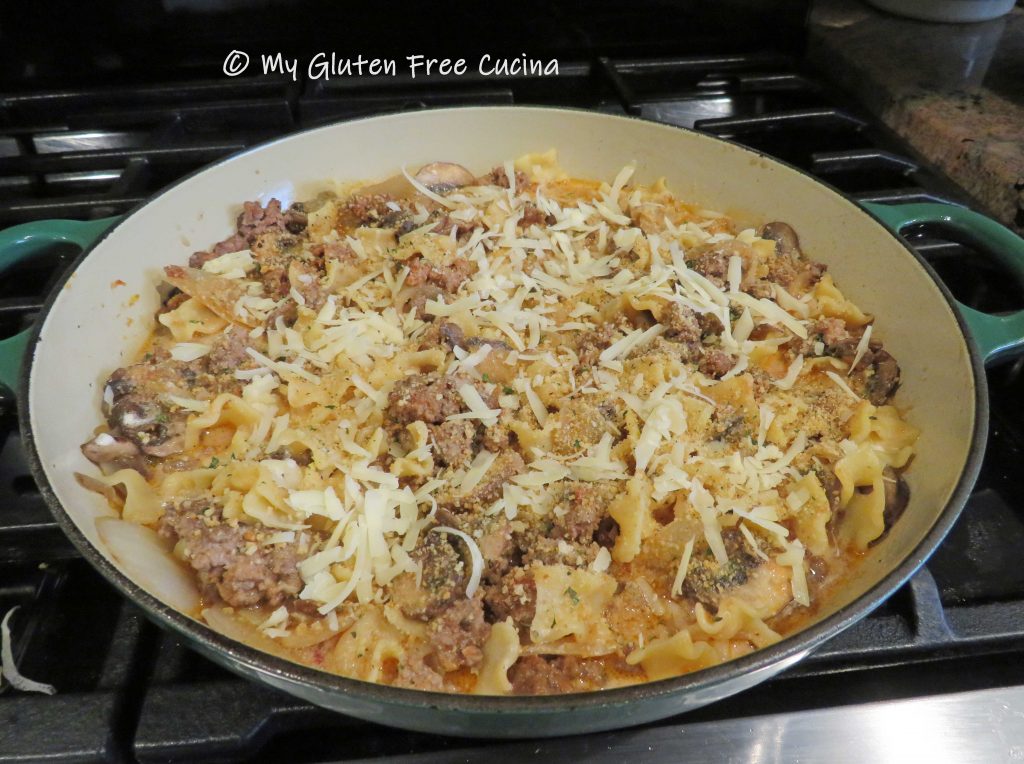
 Add back the mushrooms and onions, with a sprinkle of seasoning.


 Remove the neck and giblets from the hen and discard. Rinse and pat dry.
 Next rub the butter mixture all over the hen, be sure to get under the legs and wings.
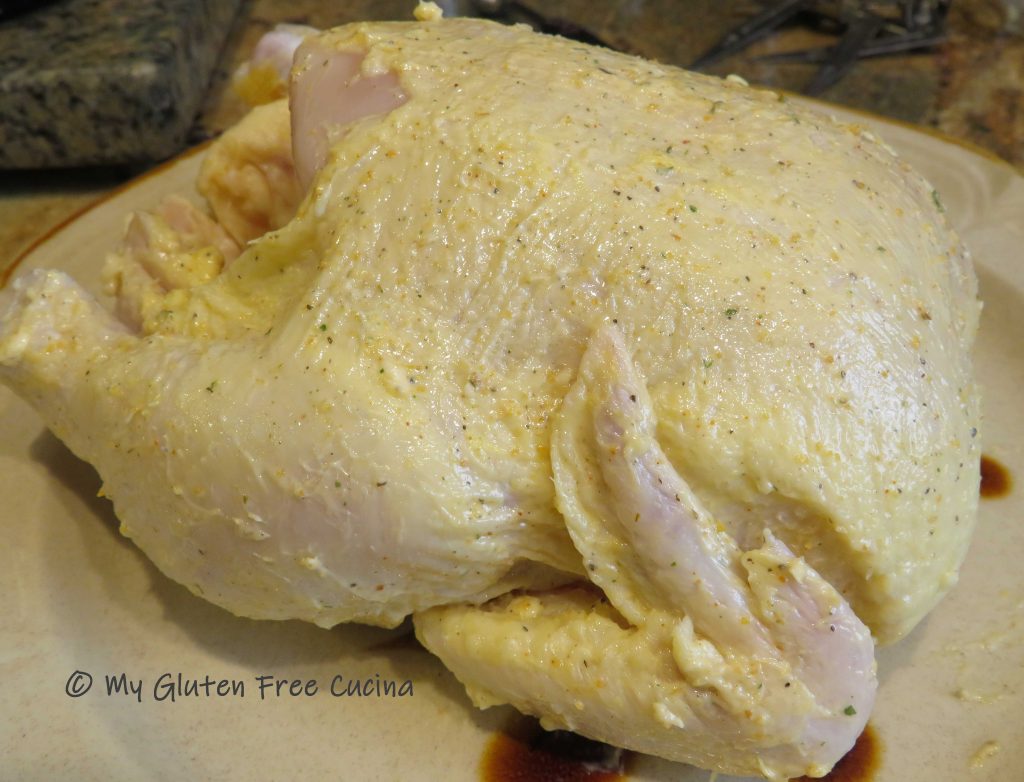 Insert the rotisserie spit and secure the ends with clips, then tie the legs and wings with twine. Sprinkle all over with paprika.
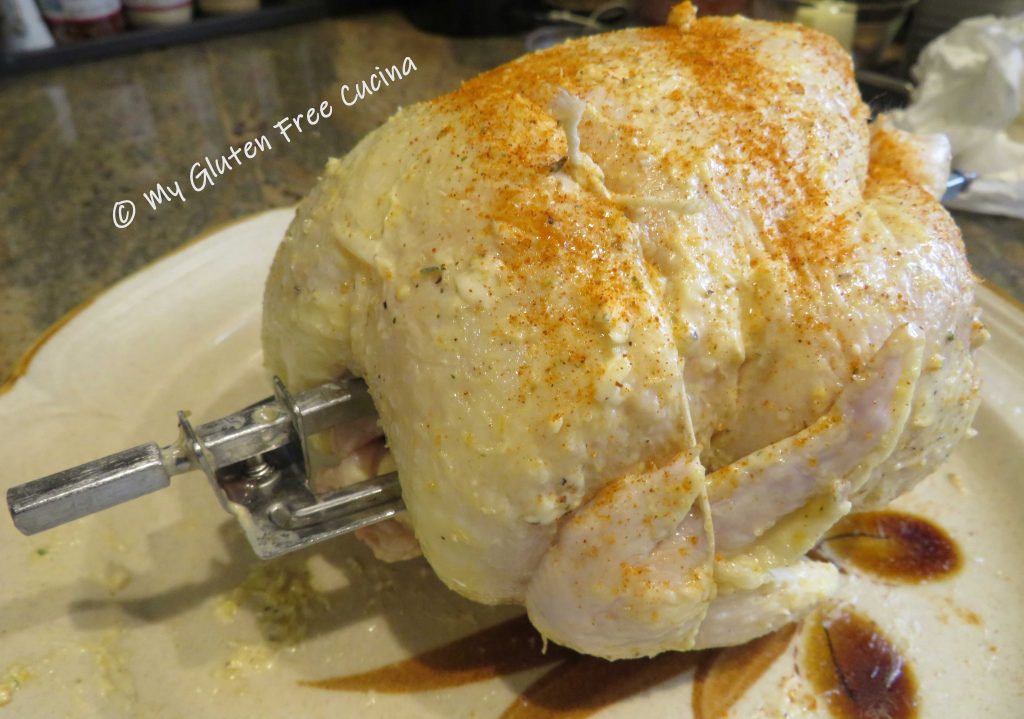
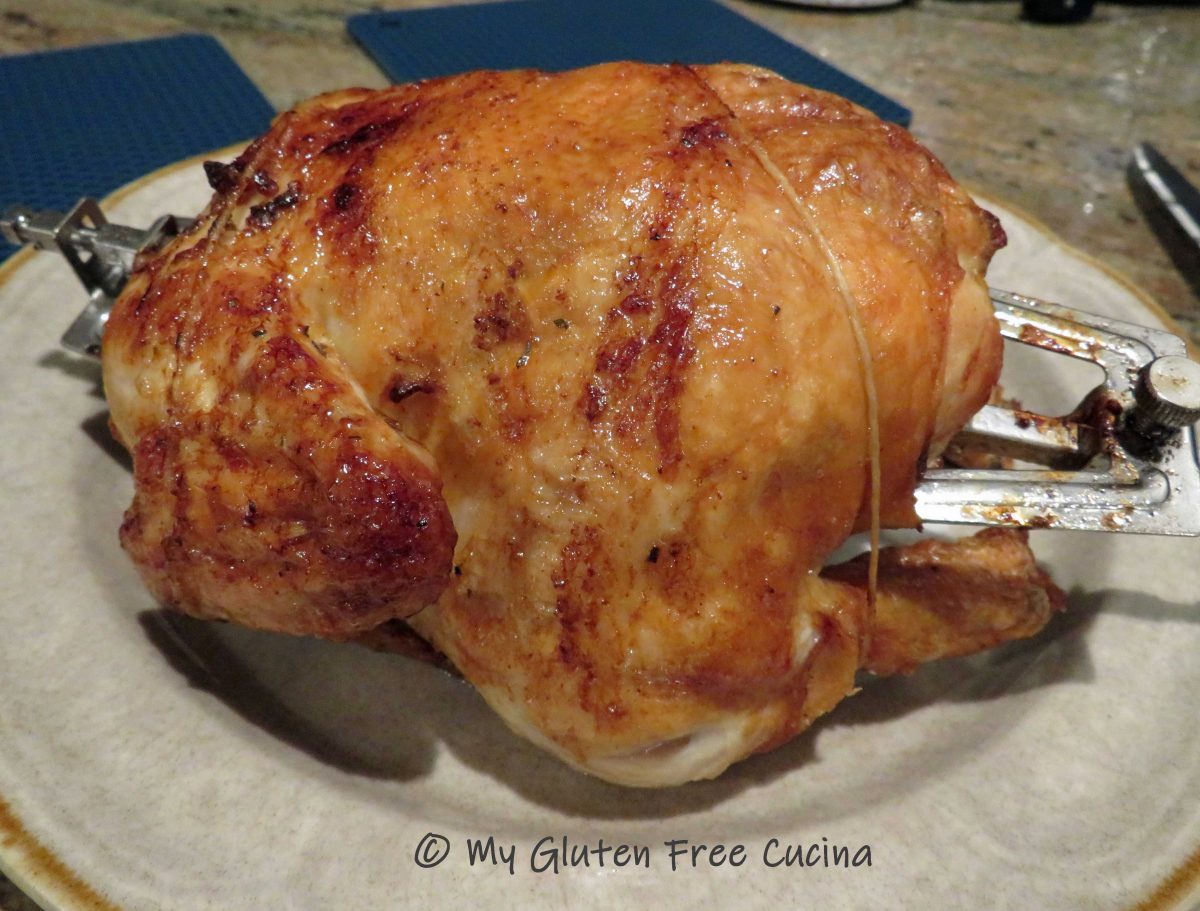
 Place the hen in the air fryer for 45 minutes at 375º.
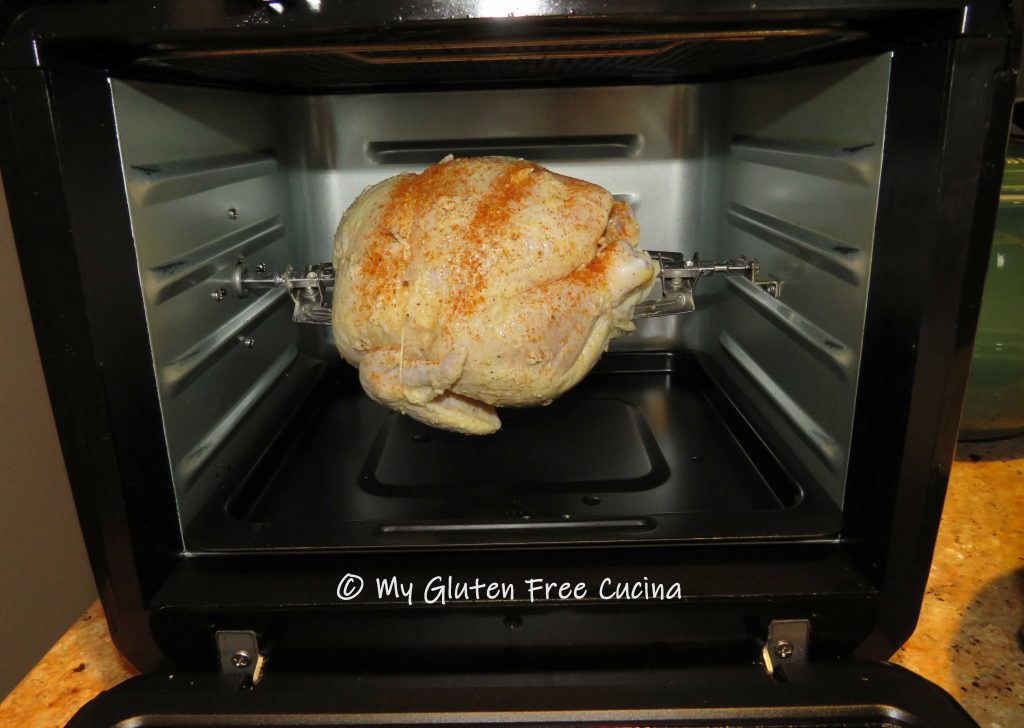 When finished, check with a


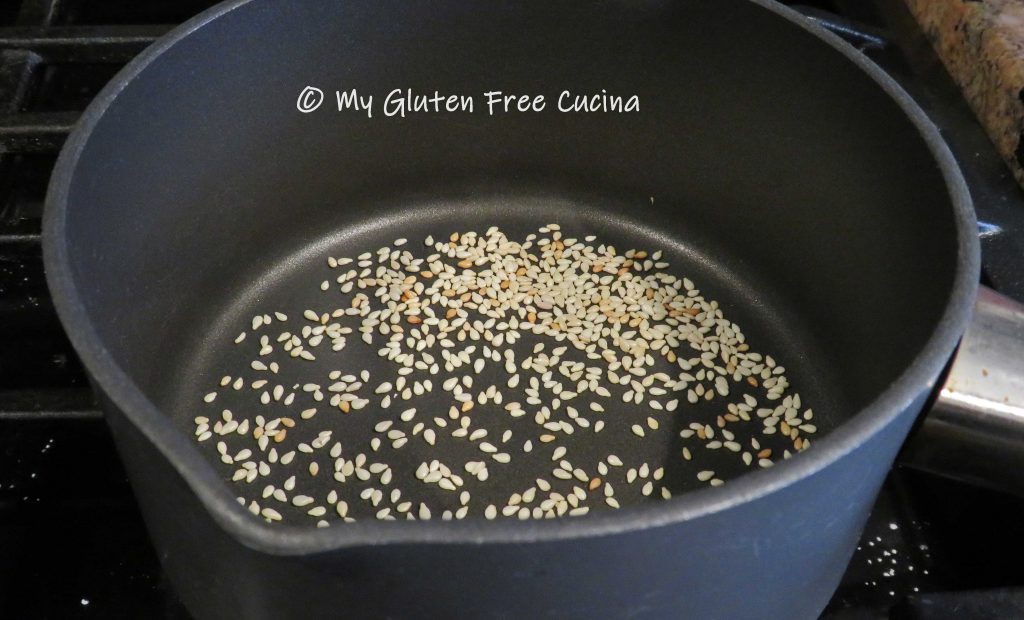
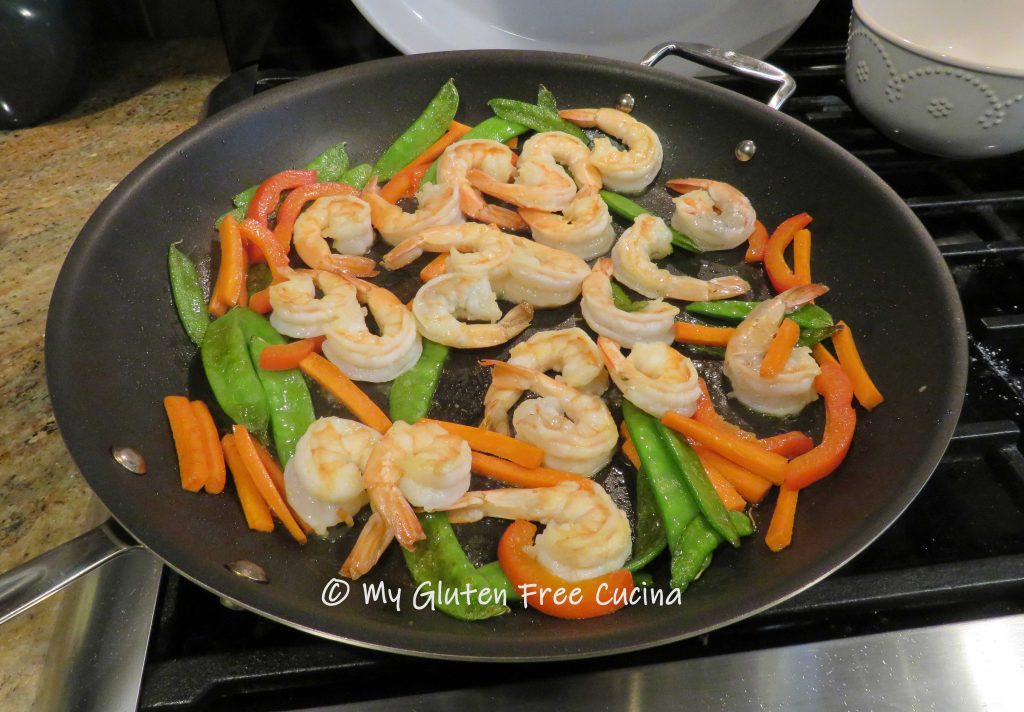
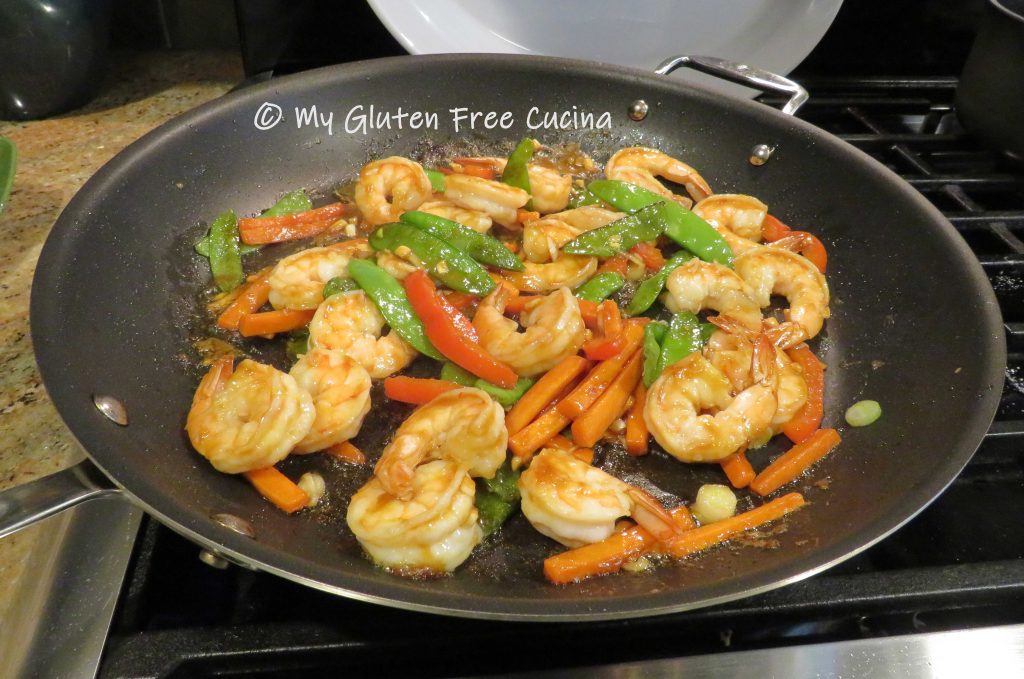
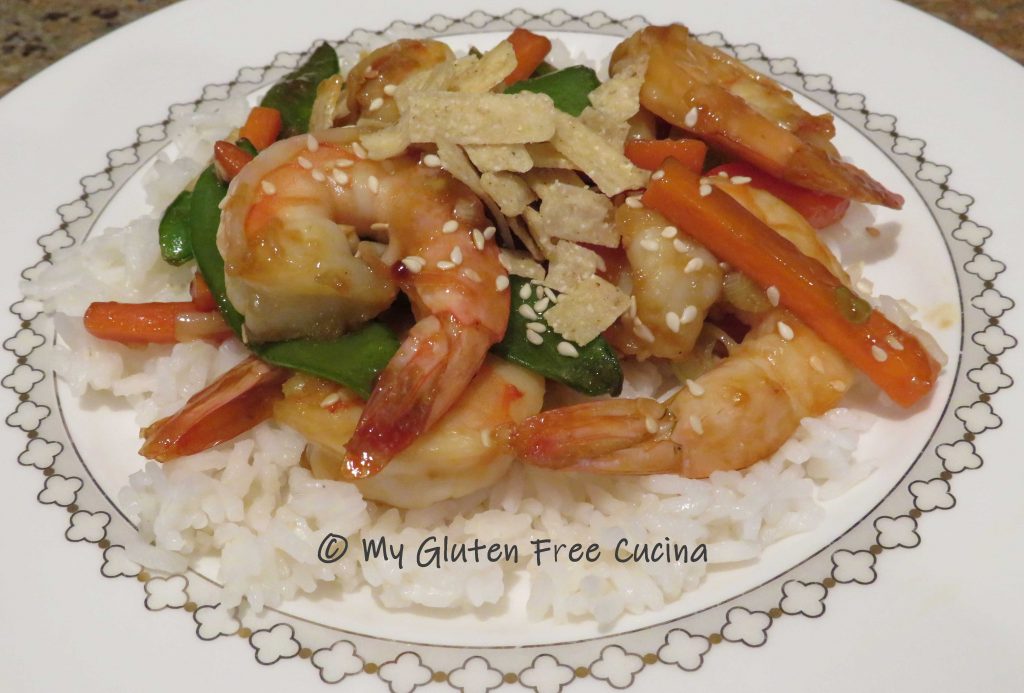
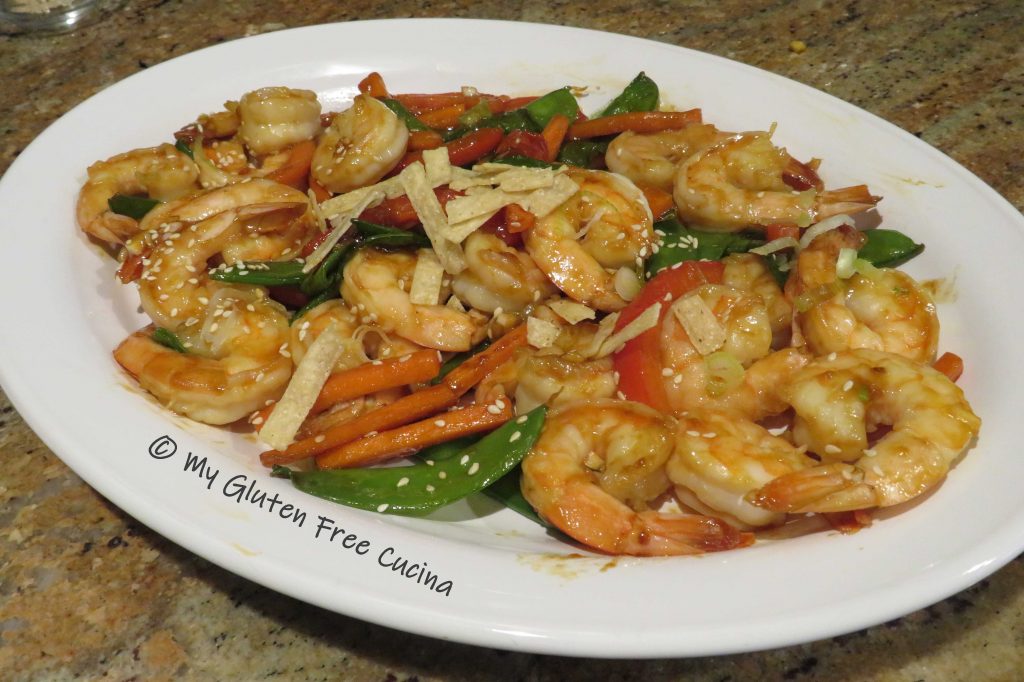 To serve, spoon the shrimp and veggies over the rice with more sesame seeds and tortilla strips.