Biscotti are at the top of my list of treats to bake for Christmas visits and gifting. Everyone loves this traditional Italian cookie, even Santa!
Before my Celiac diagnosis, I would bake biscotti every Christmas for my family, friends and co-workers. I had truly missed this tradition, and so I resolved to make a gluten free biscotti with all the flavor and texture of my old recipe.

There are so many variations of biscotti, but this almond and dark chocolate combo is my favorite. If you bake only one cookie for Christmas, let it be this one!
Almonds, almond flour and almond extract deliver a triple punch of flavor in these beloved Italian treats. And you will be surprised at how easy they are to make!
This post contains affiliate links.

Ingredients:
- 60 g. brown rice flour
- 55 g. potato starch
- 25 g. tapioca starch
- 1 tsp. xanthan gum
OR
- 140 g. gluten free flour blend (I tested with Better Batter)
PLUS
- 45 g. almond flour
- 1/2 tsp. baking powder
- 1/4 tsp. salt
- 1/8 tsp. nutmeg
- 1 stick of butter, softened
- 142 g. powdered sugar
- 2 large eggs
- 1 tsp. almond extract
- 175 g. sliced almonds or chopped whole almonds
- 1/4 cup dark chocolate chips
Preparation:
Line a half sheet pan with parchment or use a silicone mat. If using sliced raw almonds, you need to toast them first. Just spread them in a single layer and bake for 5 minutes at 350º. Watch that they don’t burn! Set them aside in a bowl to cool down before adding to the batter.

If you have whole toasted almonds, you can skip this step and just blitz them a few times in an electric chopper.

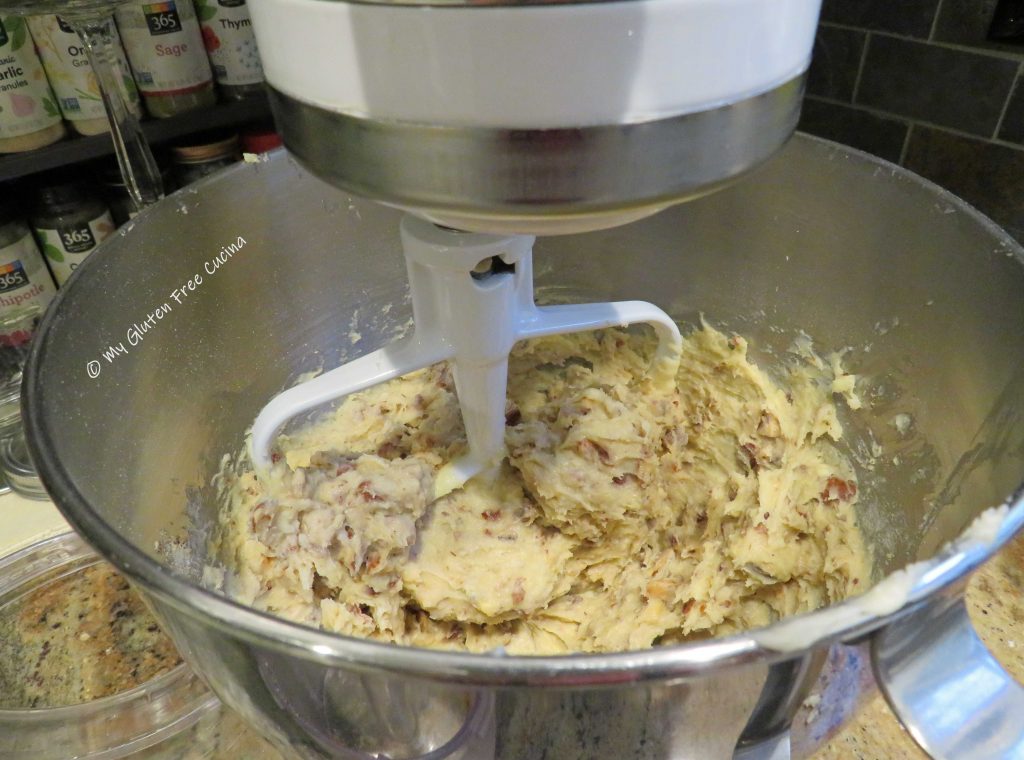
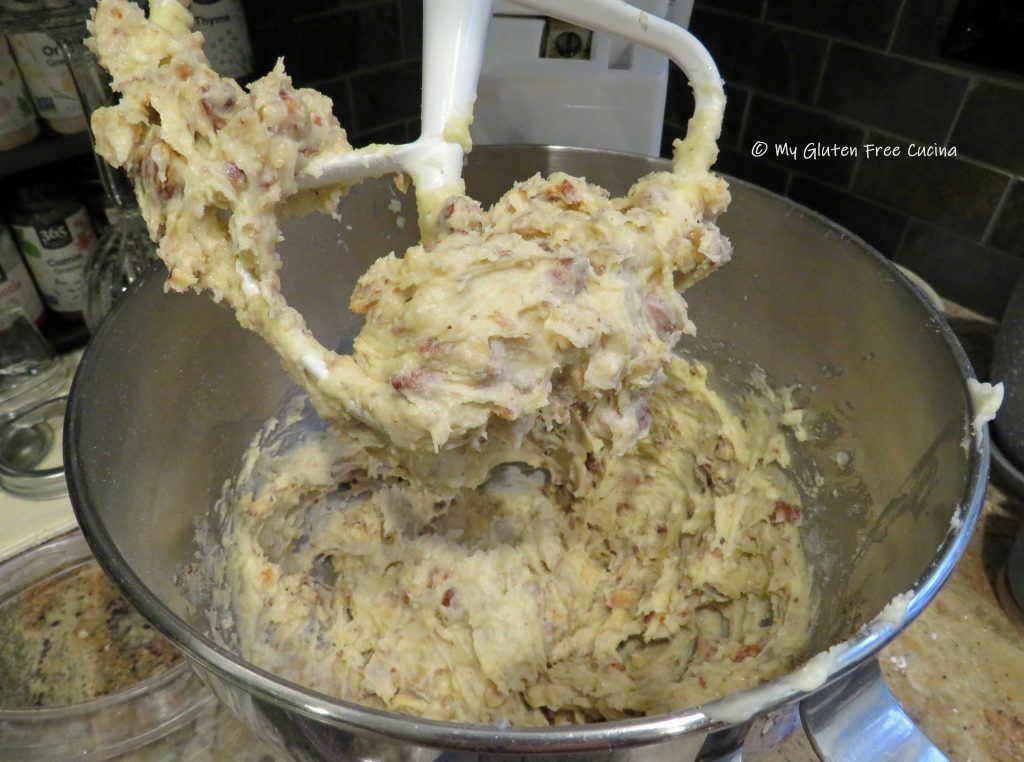
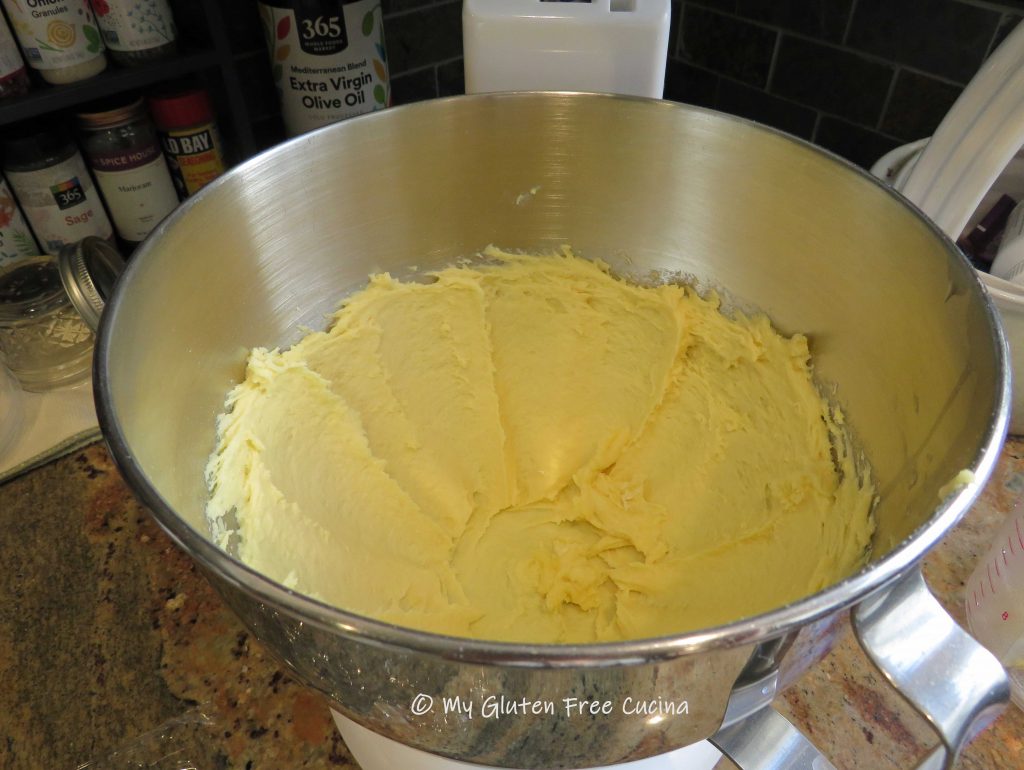
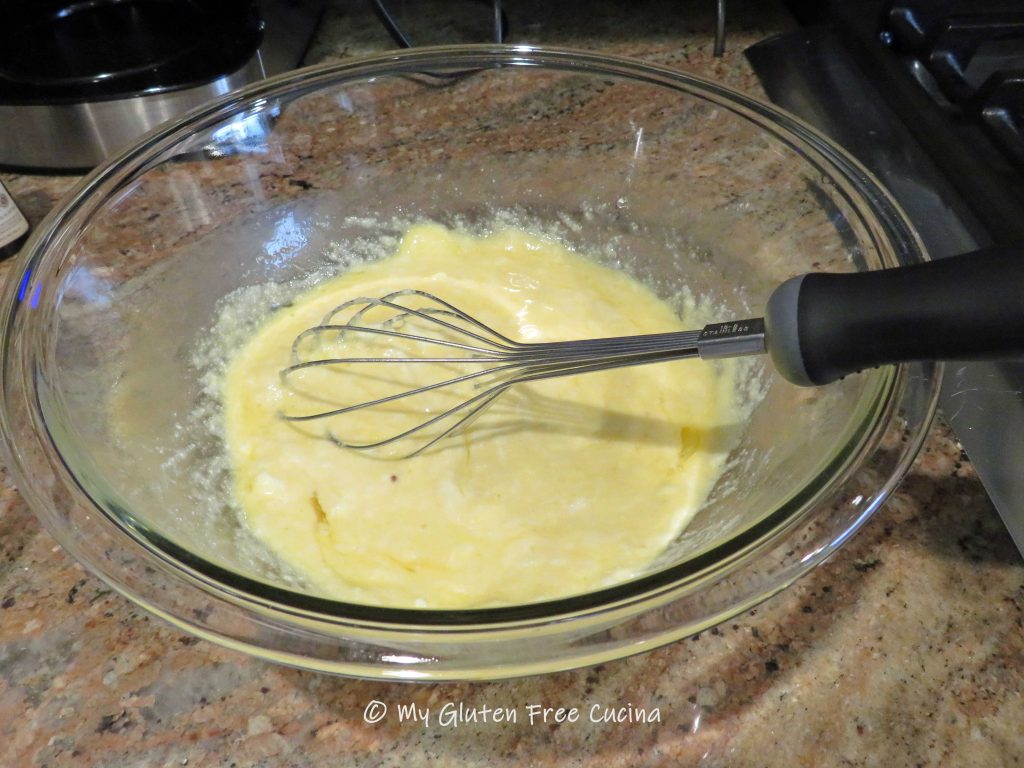
Next, whisk together the dry ingredients (through nutmeg). In the bowl of a stand mixer, cream together the butter and sugar, beat for 3 minutes.

Next add the eggs, one at a time with the almond extract.
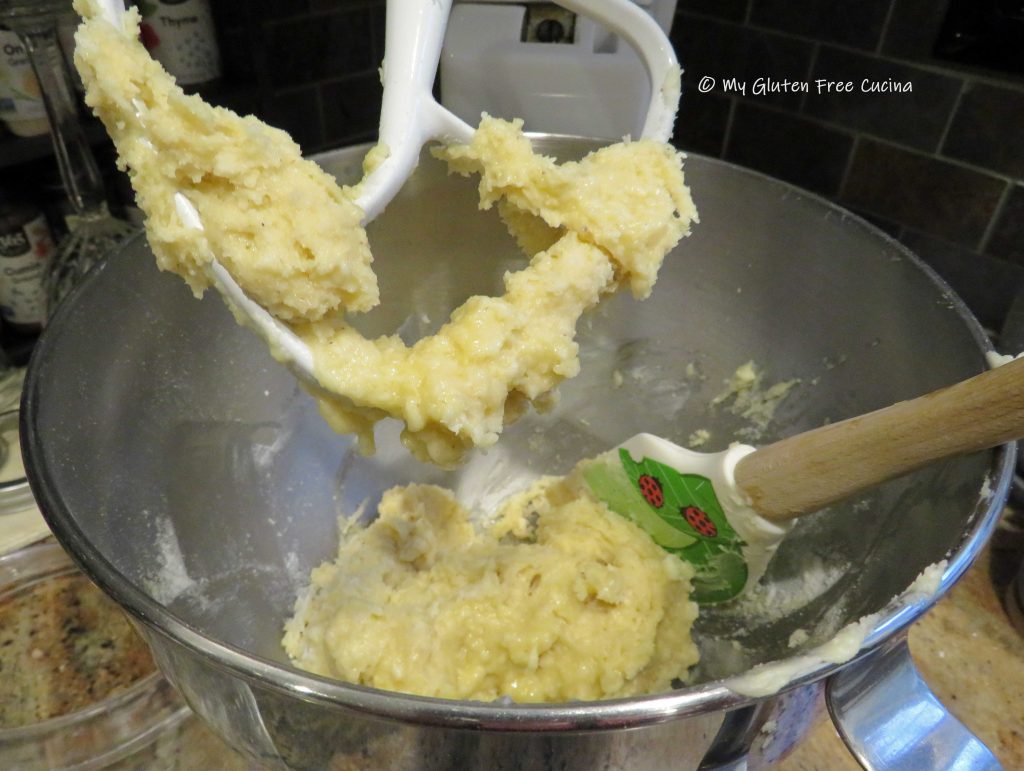
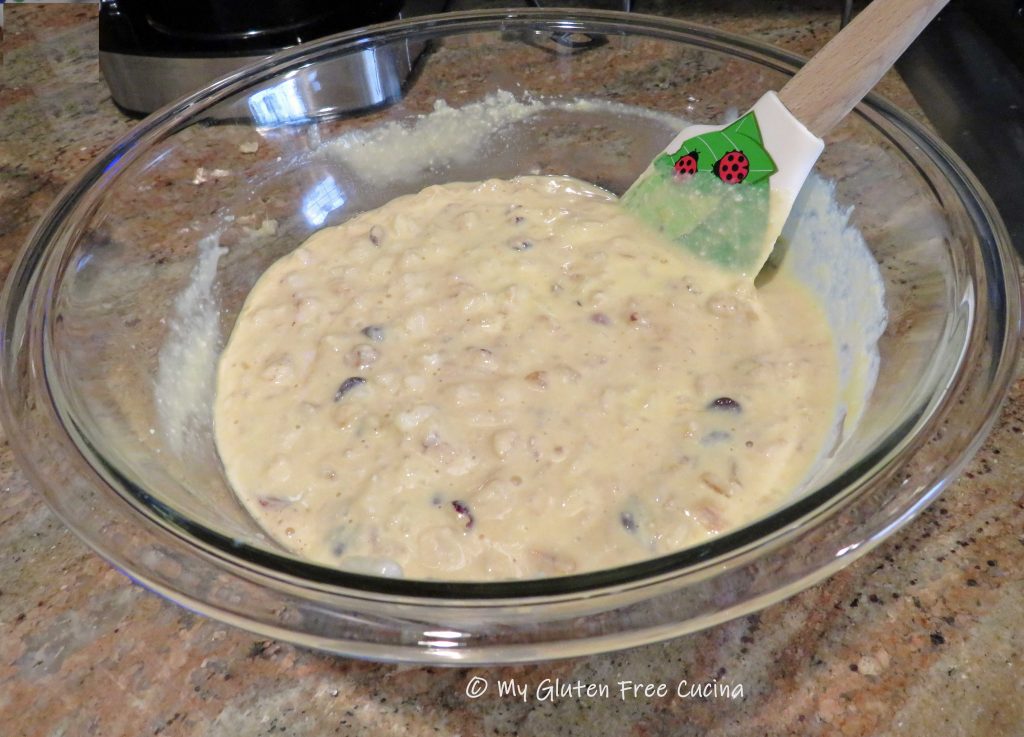
Beat well for 1 minute then incorporate the flour mixture, just until moistened. Last add the nuts and mix on low for a few seconds to incorporate.
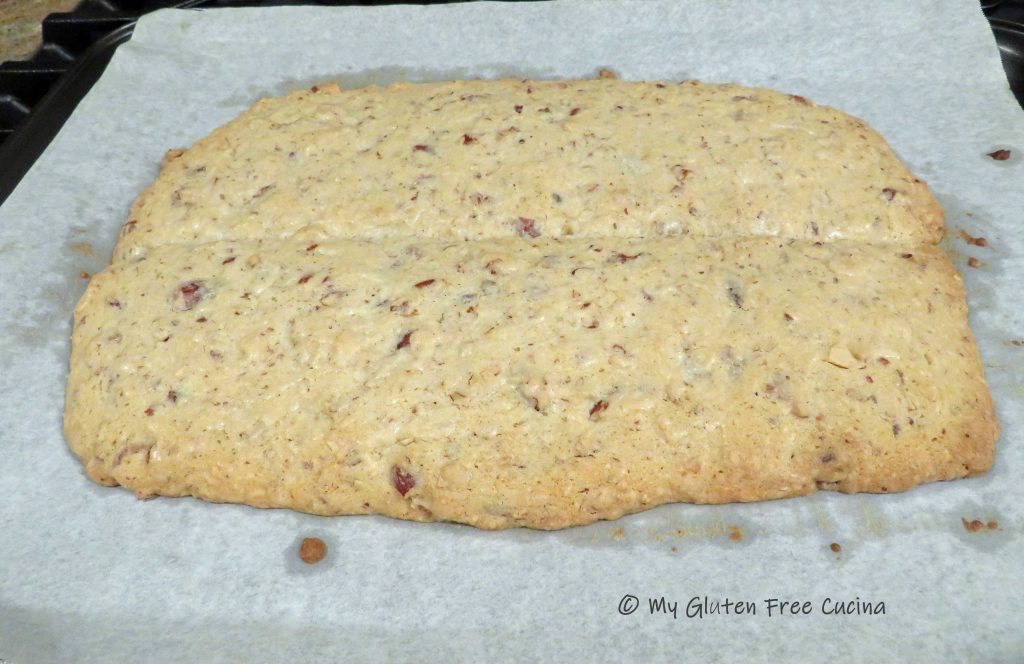
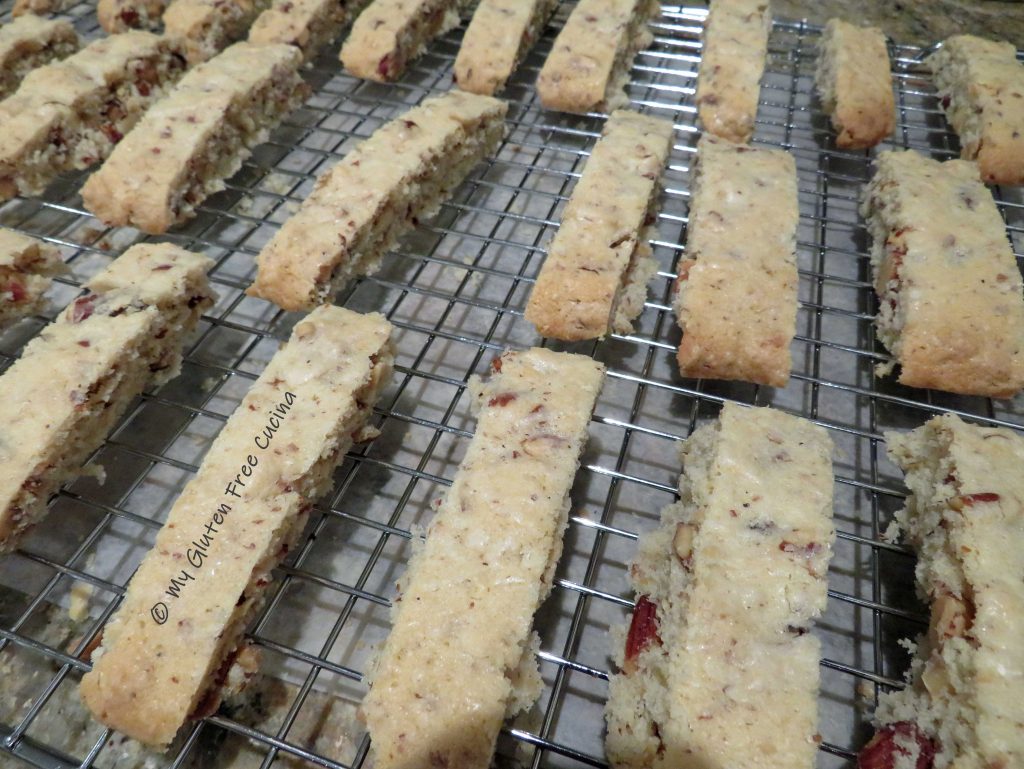
Spread the dough onto the lined baking sheet in a log shape.

Use a spatula to smooth and pat it into a log, about 1/2″ thick. Divide the log in 2 lengthwise (I used a dough scraper). Run the spatula around the sides of the dough to smooth the rough edges. Put the dough in the refrigerator for 20 minutes while you preheat the oven to 350º.

Then bake for 30 minutes.
I divided the dough along the crease before moving it to a rack to cool.
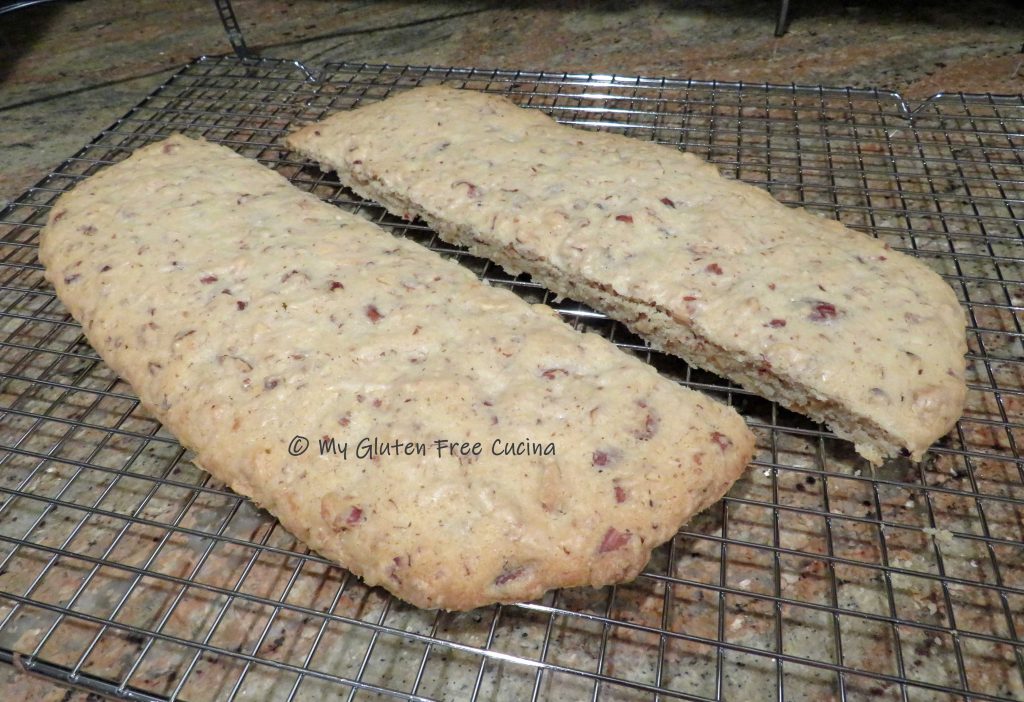
Probably the biggest difference between gluten free biscotti and those made with wheat flour is that instead of waiting 5-10 minutes before slicing you will need to cool it for a full 30 minutes. You might be tempted to slice into it right away, but don’t do it or your biscotti will crumble to bits! Allow the cookies to set for at least 30 minutes and your patience will be rewarded.
 If you like a crisp, hard cookie (great for dunking) return the sliced biscotti to the baking sheet cut side up and bake for 10 minutes longer.
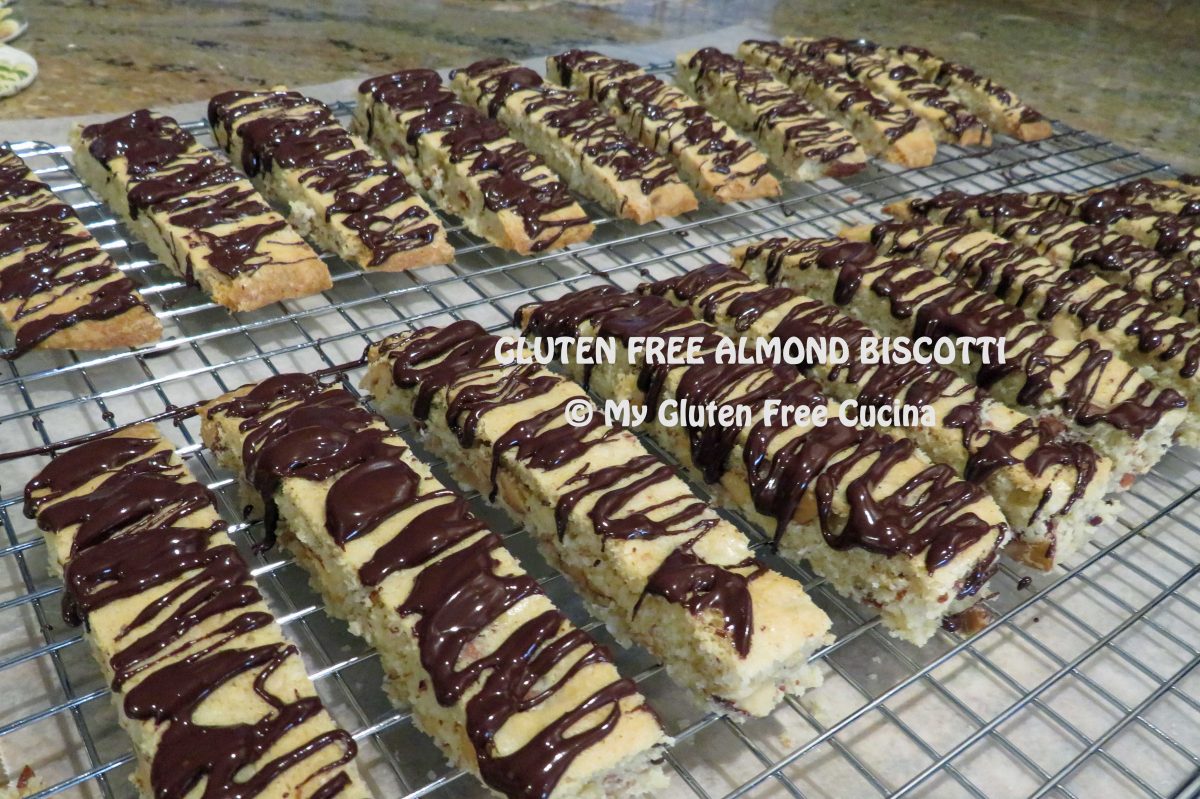
Before frosting, arrange the biscotti on a rack over a sheet of wax paper to keep the counter clean, and let them cool completely. Melt the dark chocolate in a double boiler or the microwave. I like to use a spoon or spatula to drizzle the chocolate in a zig-zag pattern over each cookie.
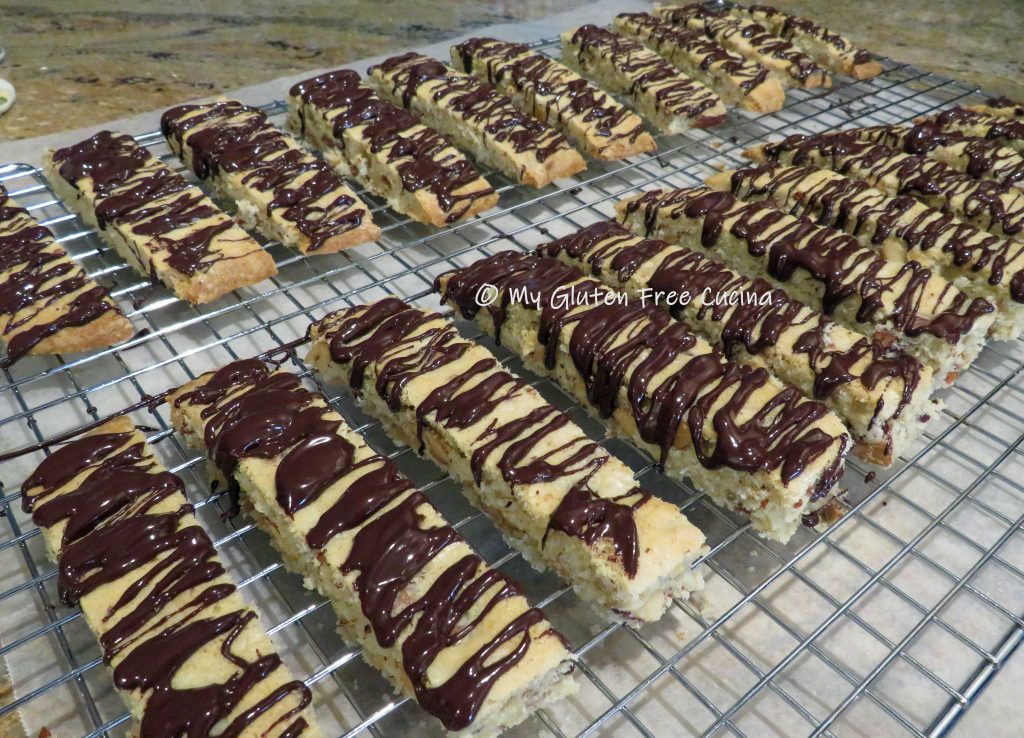
Let the biscotti stand at room temperature until the chocolate is completely set, then arrange on a platter. If you are in a hurry, you can place biscotti in the refrigerator for 20 minutes to speed things up.

Now that you know how easy it is to prepare this holiday treat, start your own Christmas tradition and bake up a batch for gifting your family and friends.
Merry Christmas from My Gluten Free Cucina
Notes ♪♫ Since gluten free baked goods are notorious for crumbling, I find that using sliced almonds rather than whole helps the biscotti hold together with nice, clean slices. Either way, they taste great!
Originally published 12/29/2019 Updated 12/15/23


 Preparation:


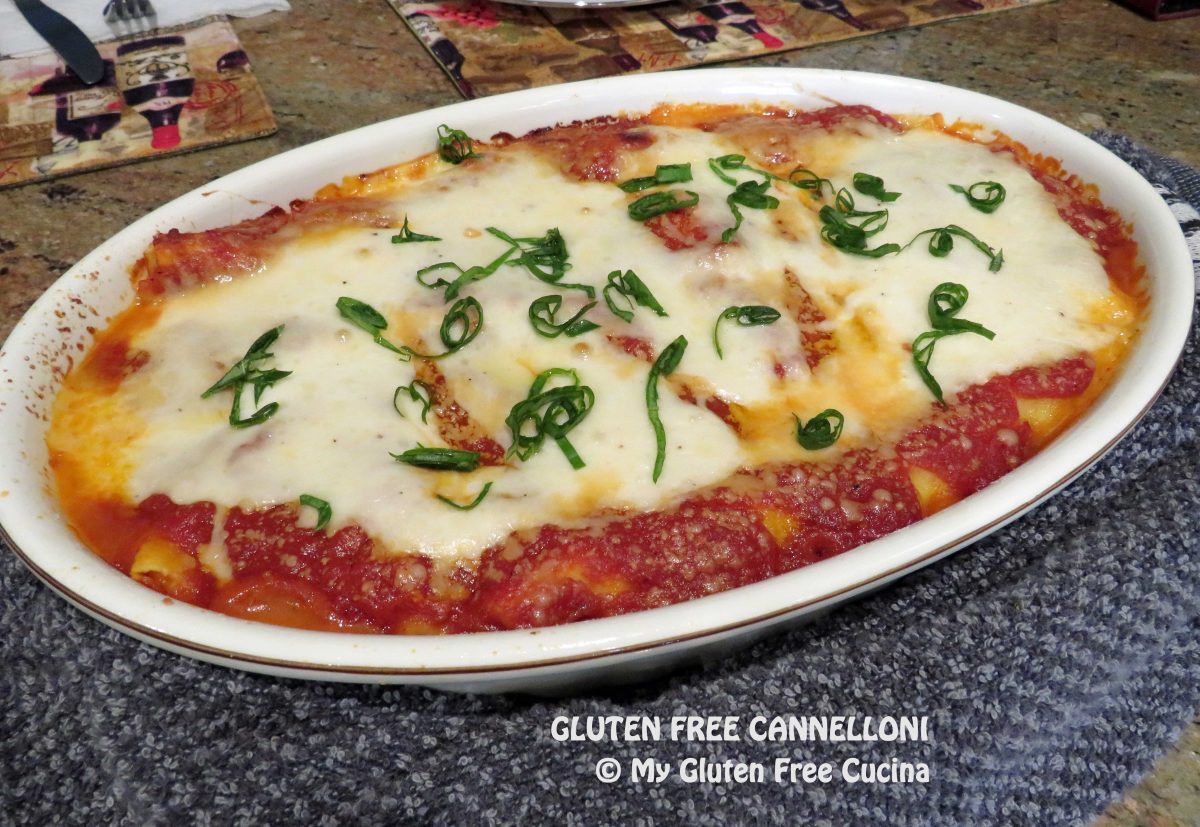
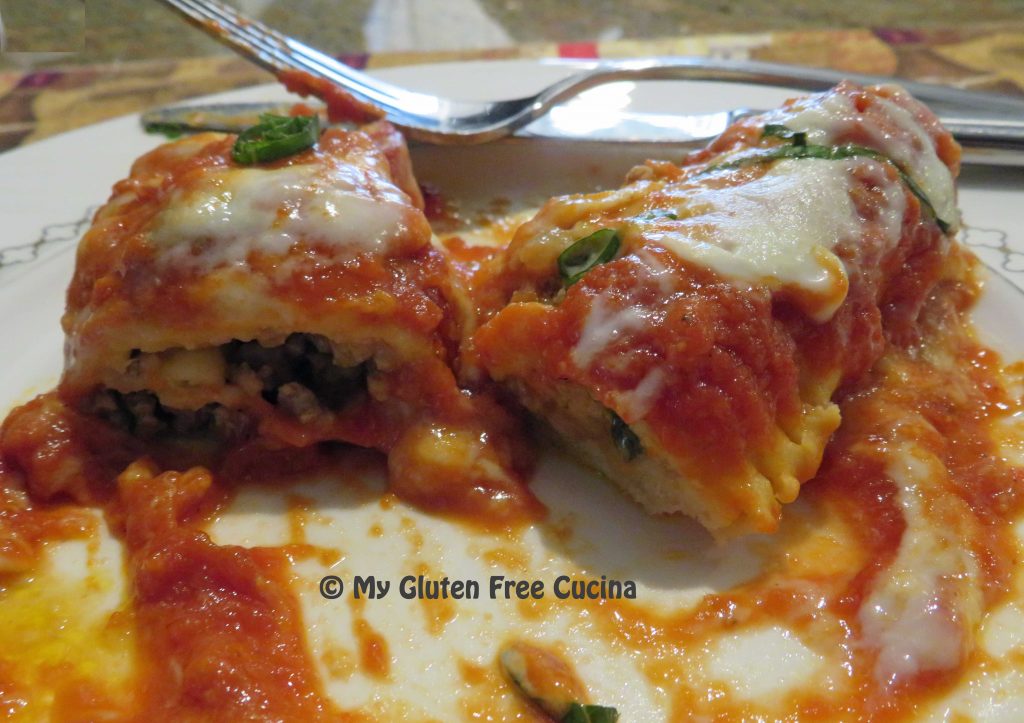
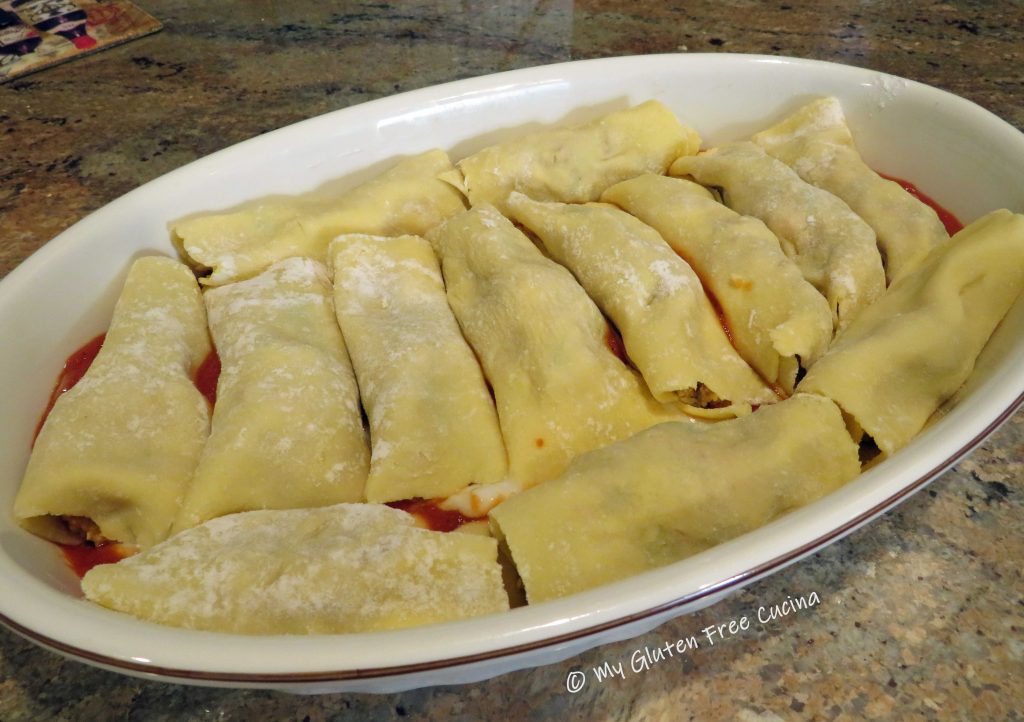
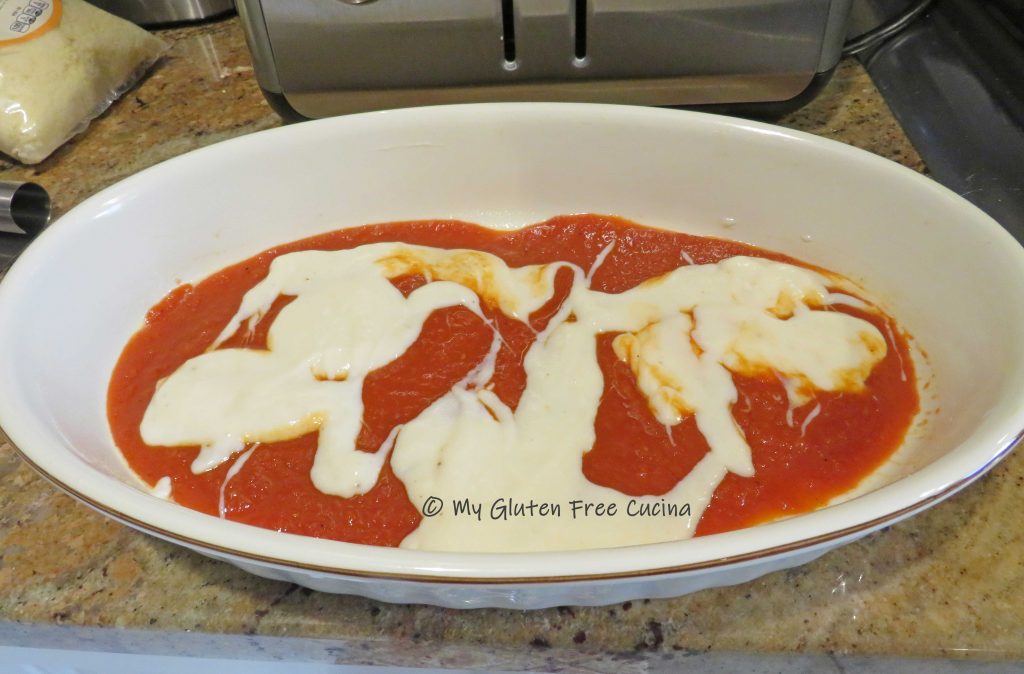
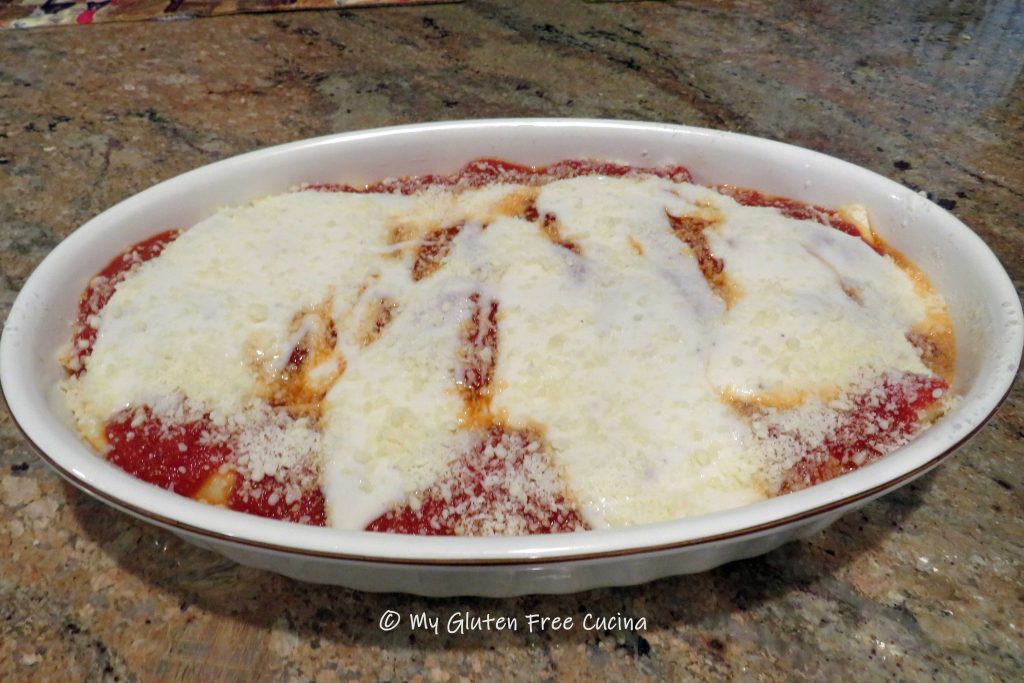
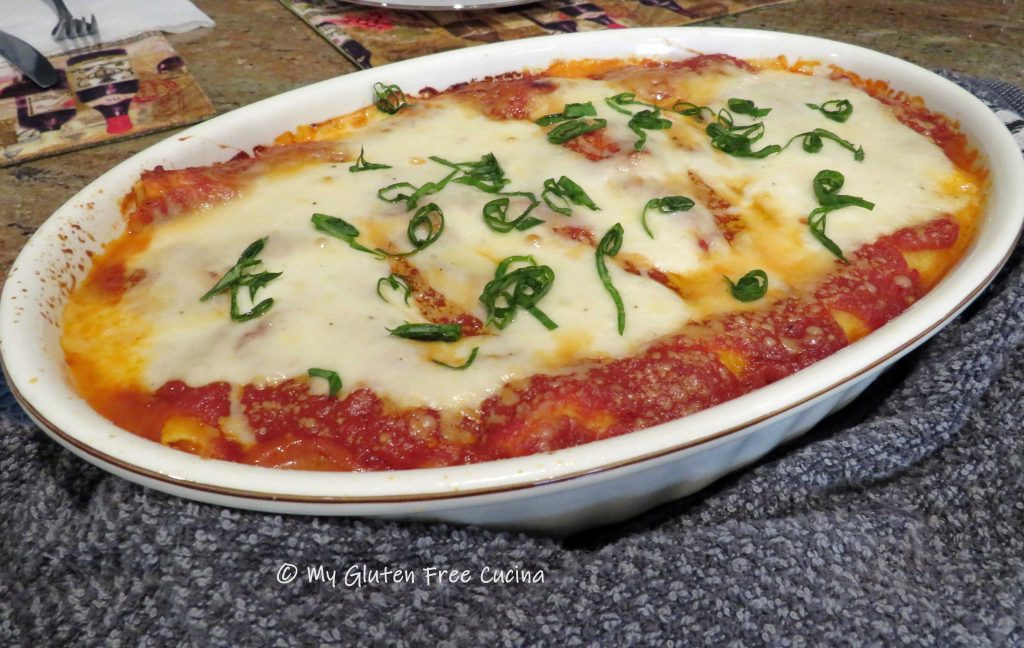
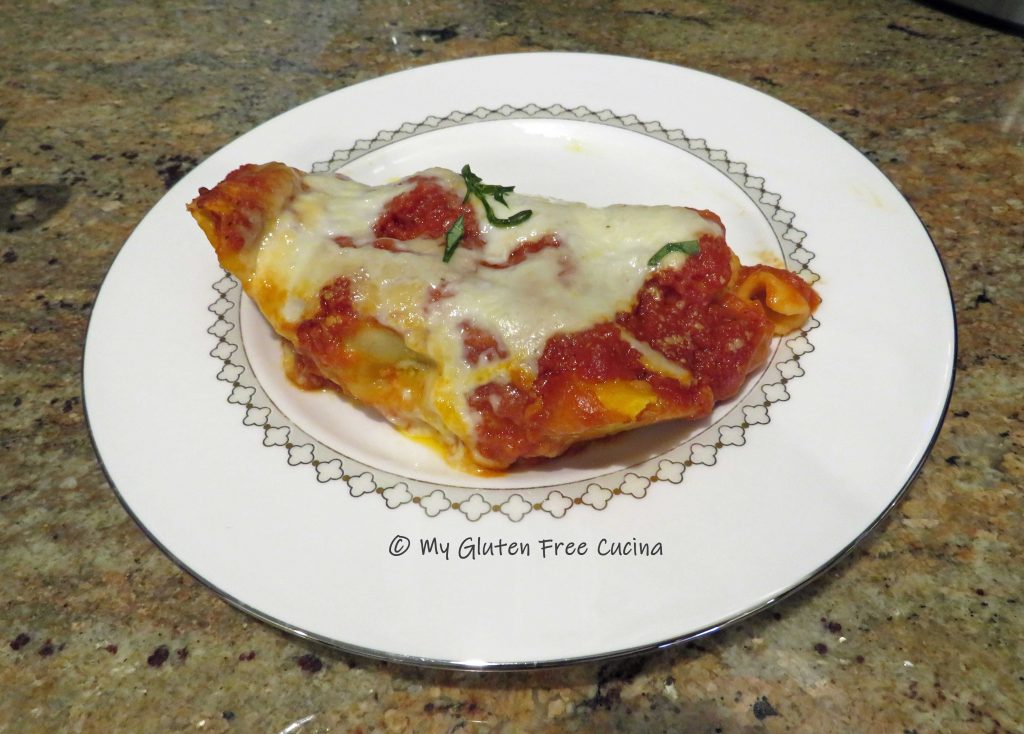
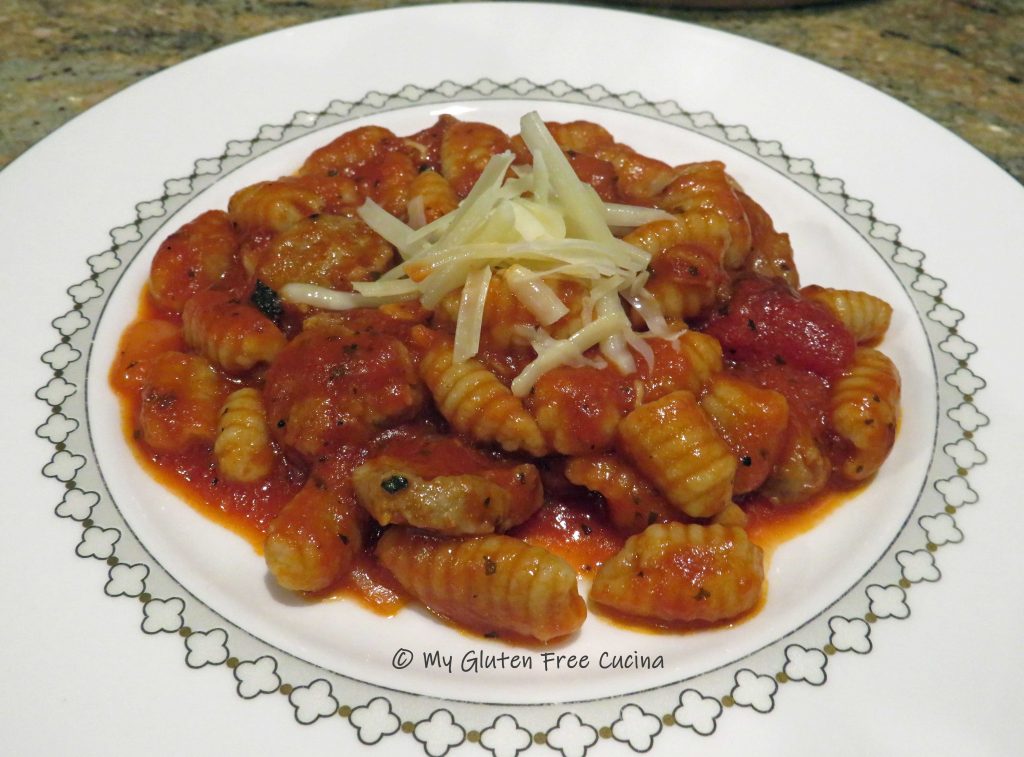
 Ladle marinara over each slice and top with grated cheese, as much as you like.
 Place in the oven for 15-20 minutes, just enough to melt the cheese.


 Now that you know how to make a good marinara sauce, what restaurant favorite will you have for dinner tonight? How about
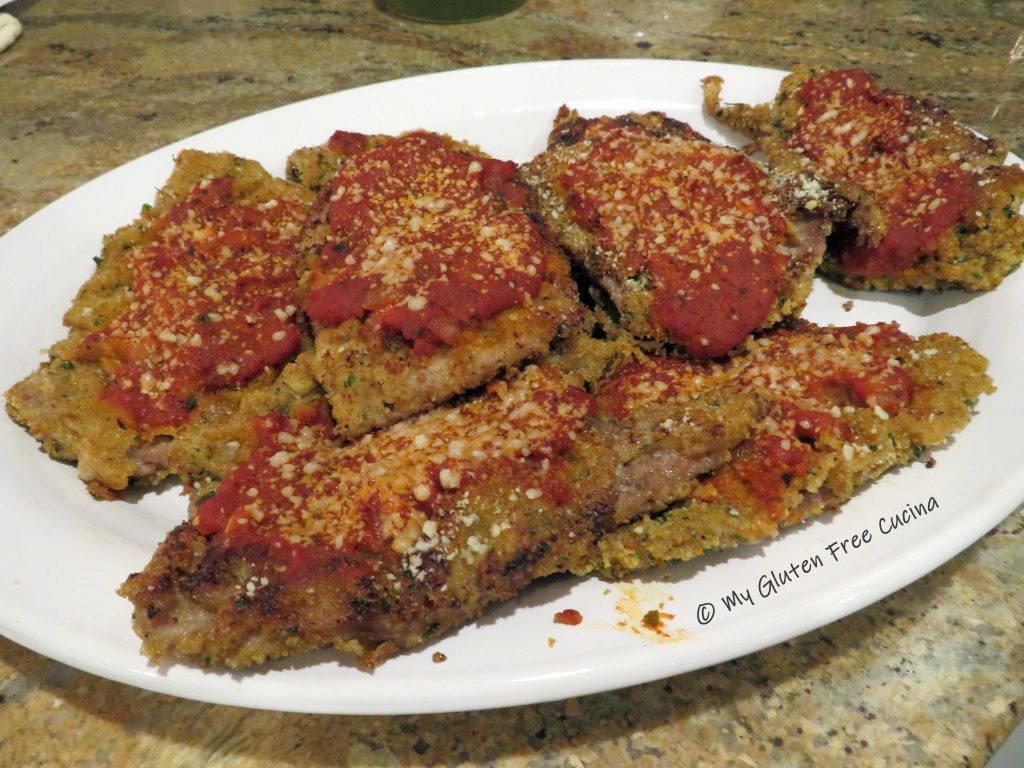

 Sprinkle with
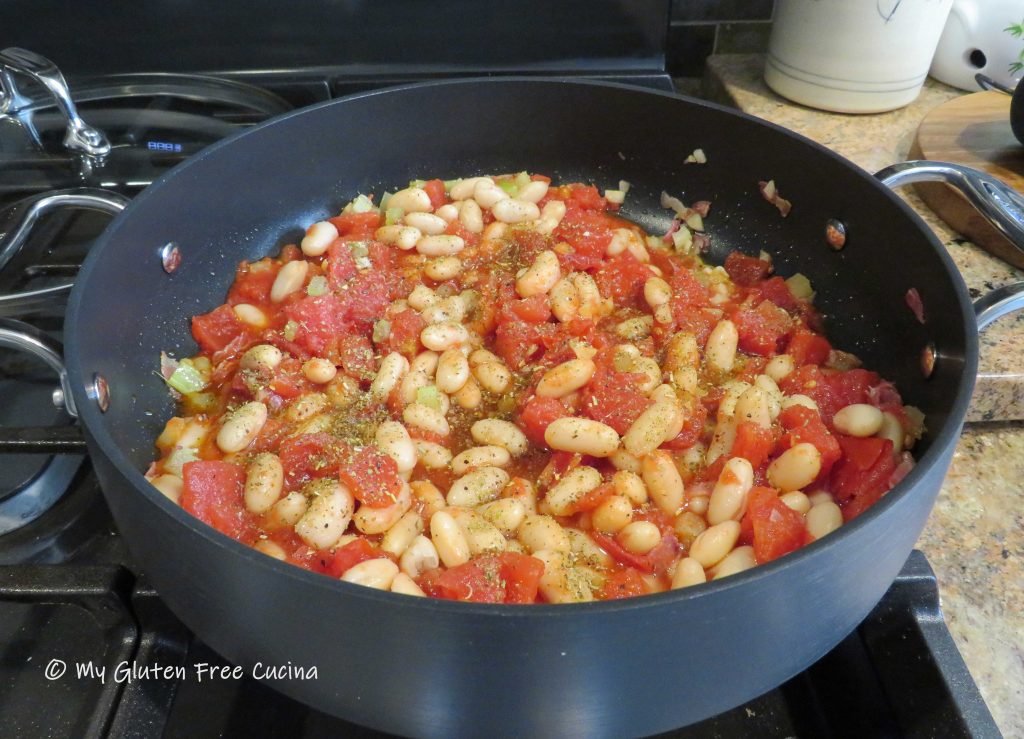

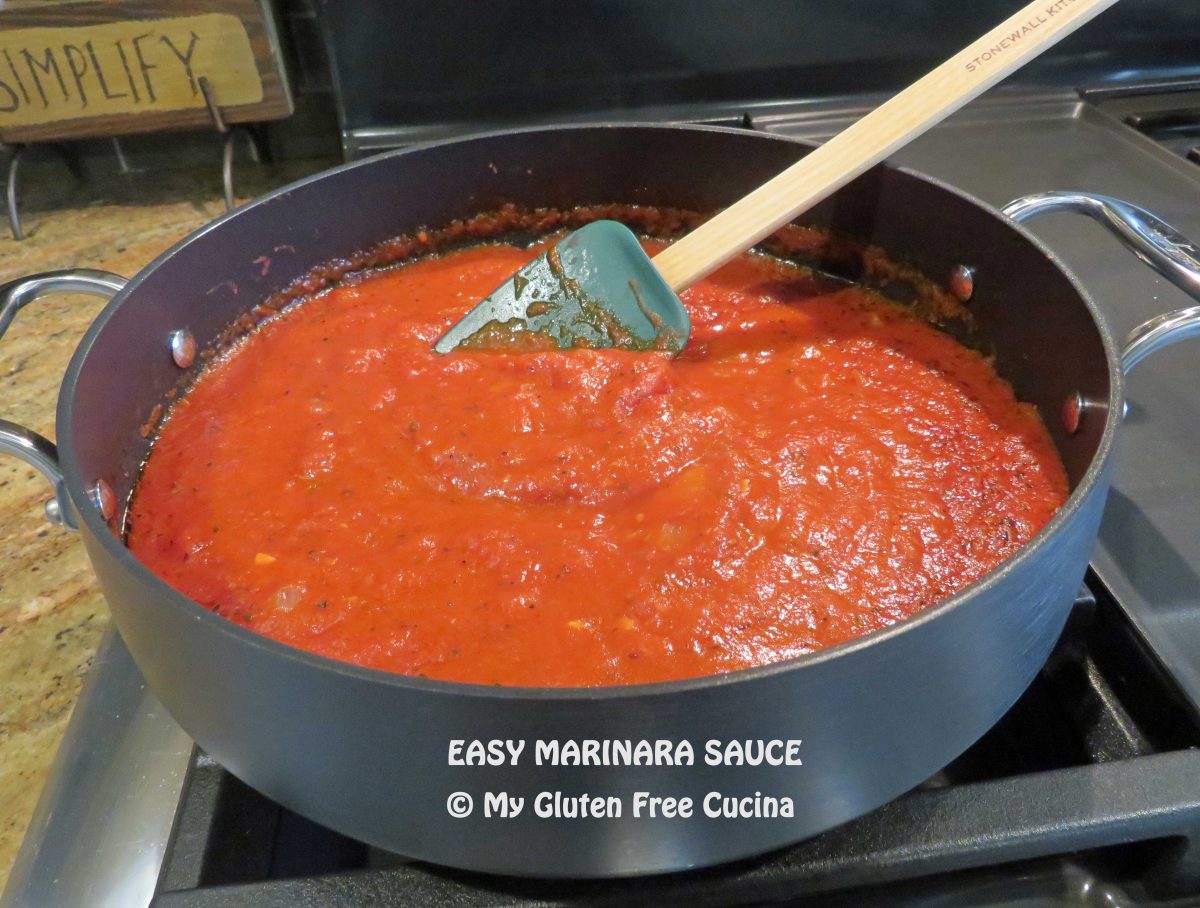
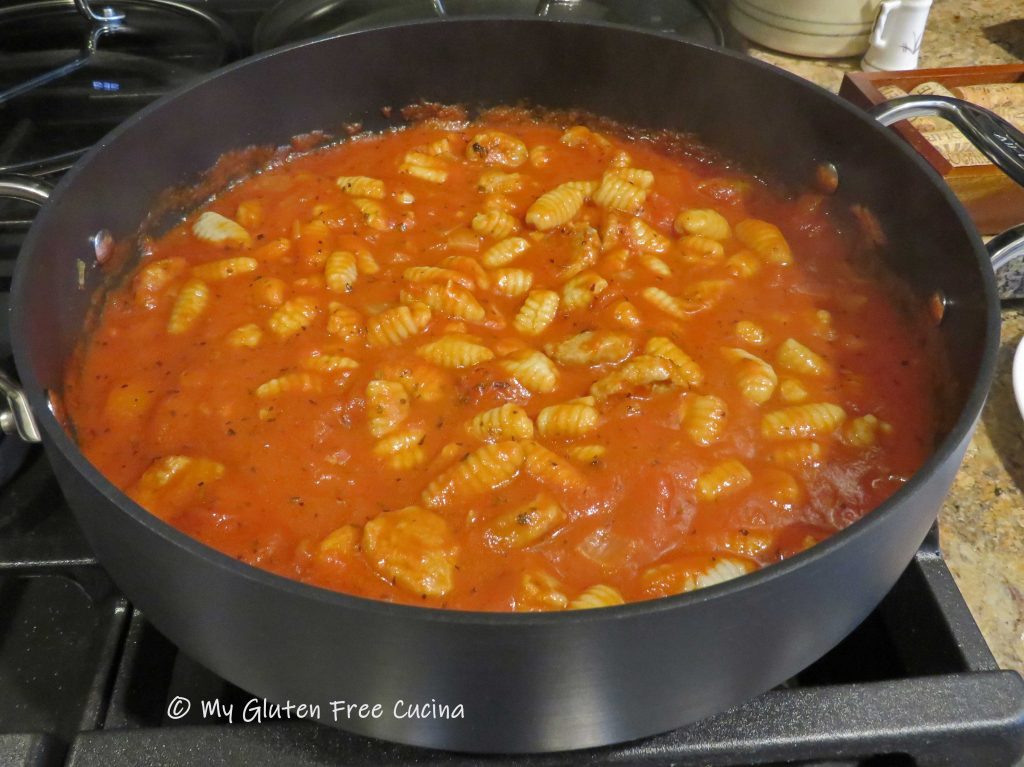
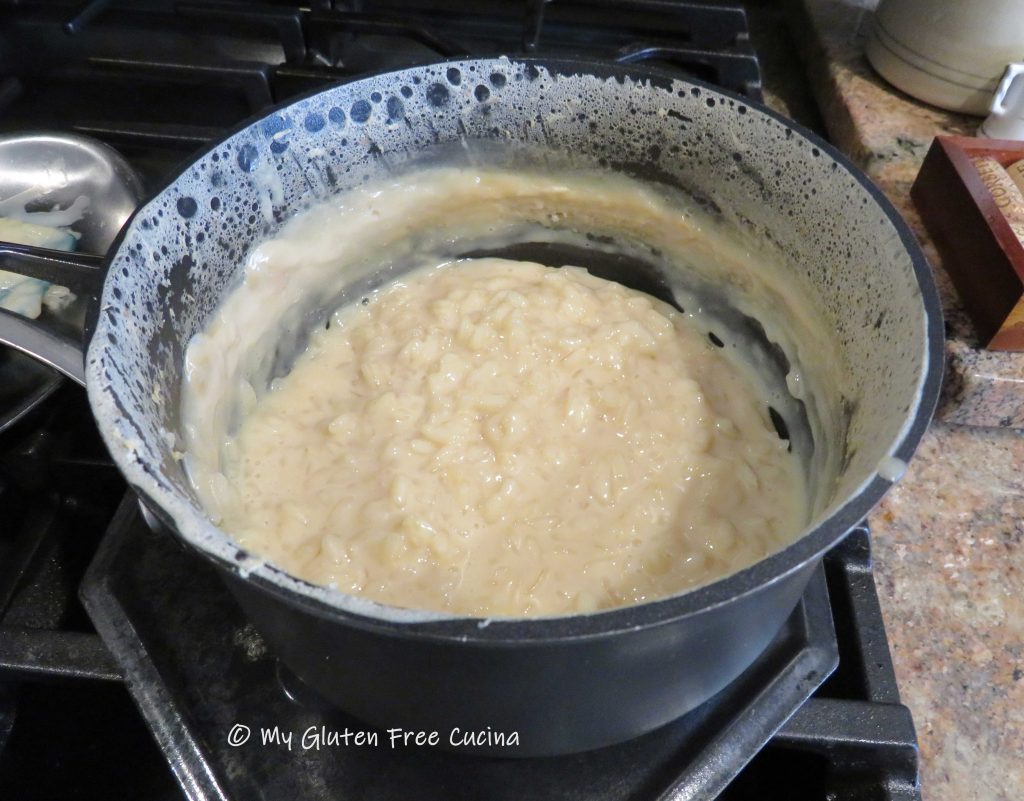
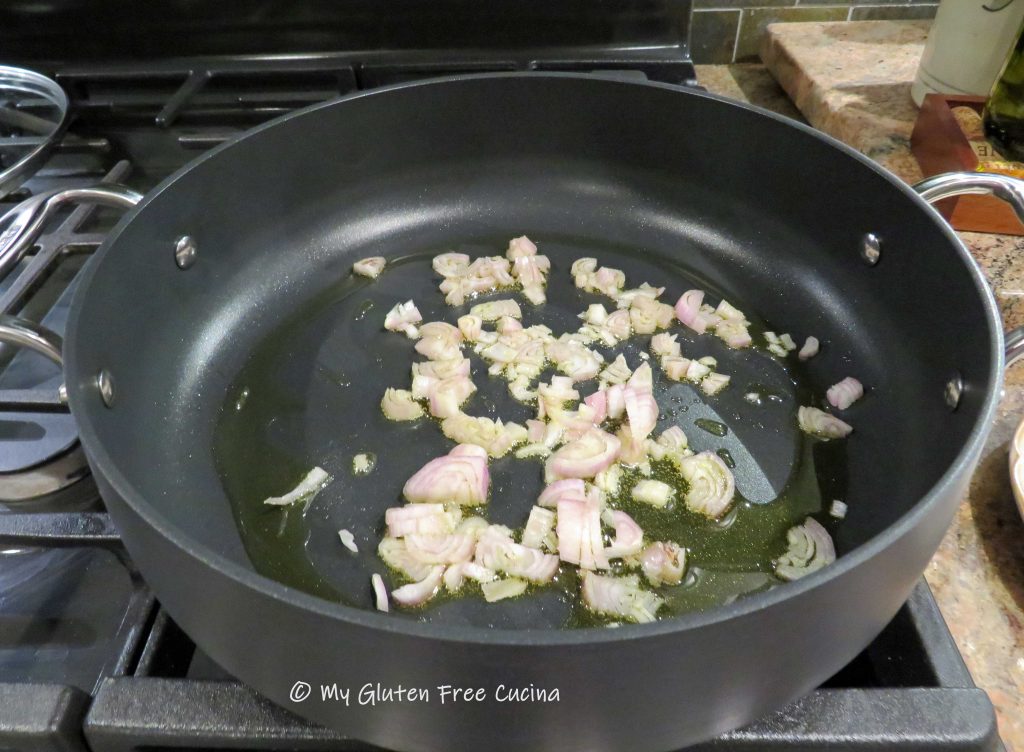
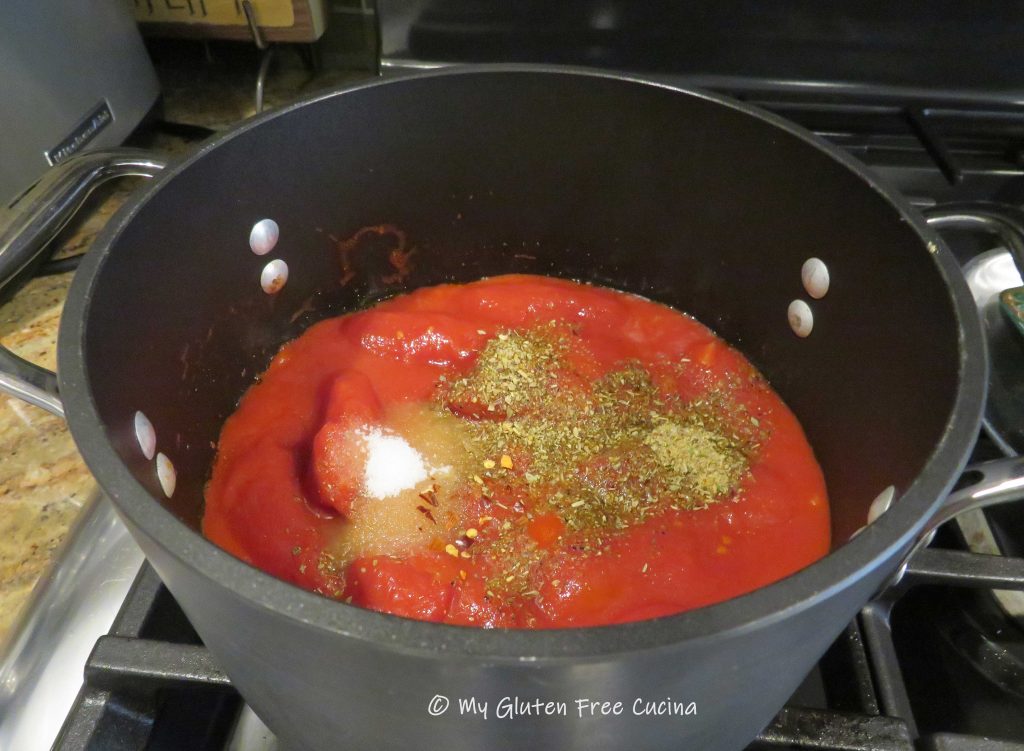 Cover and simmer on low for 2 hours, stirring occasionally. I like to use a
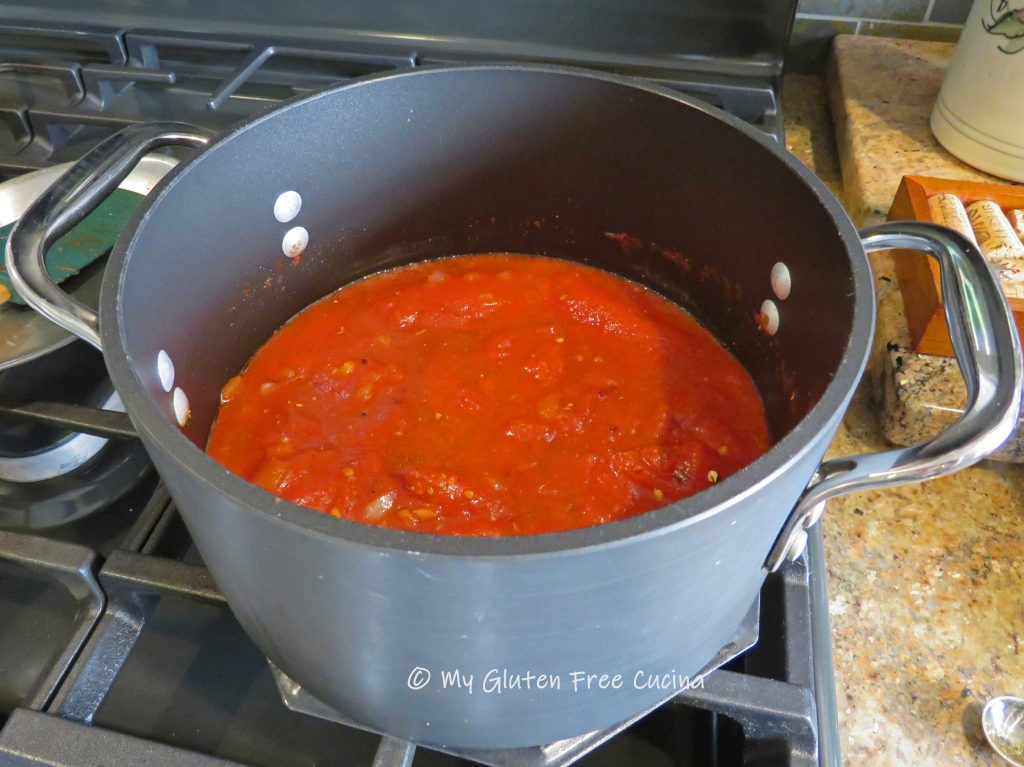
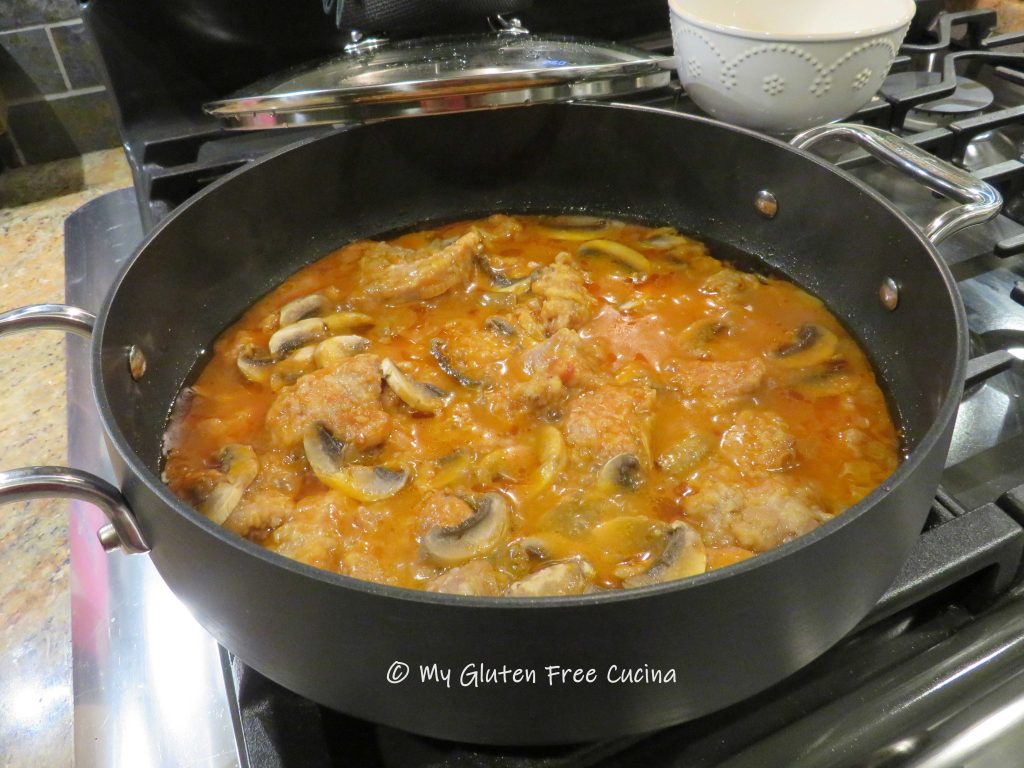
 Add the wine and continue cooking slowly, stirring frequently until most of the liquid evaporates.
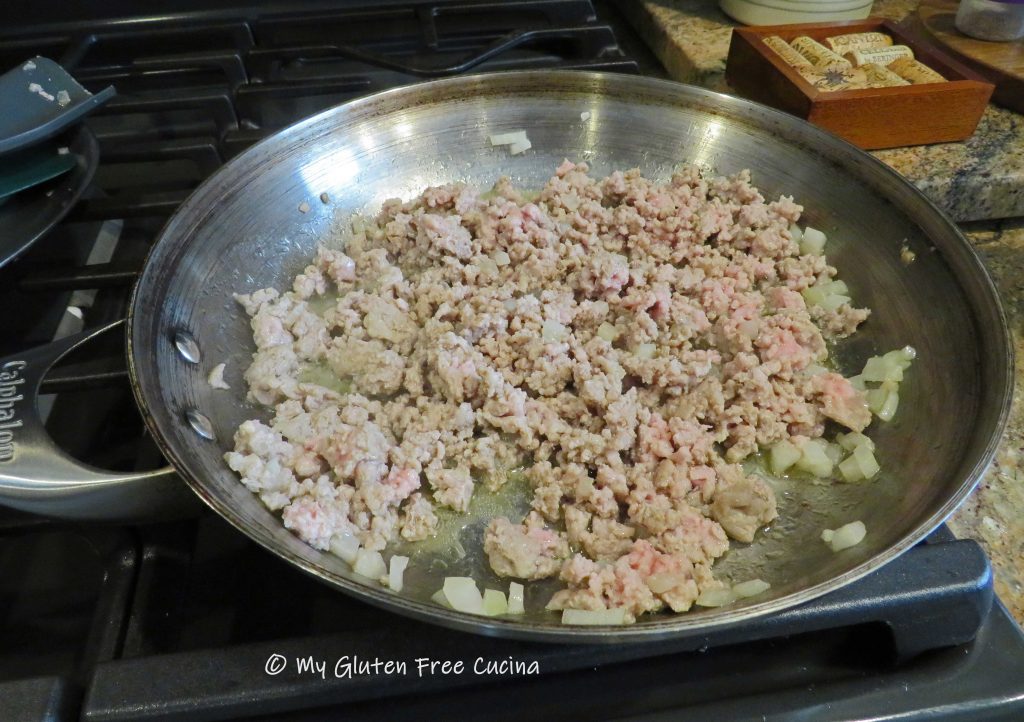
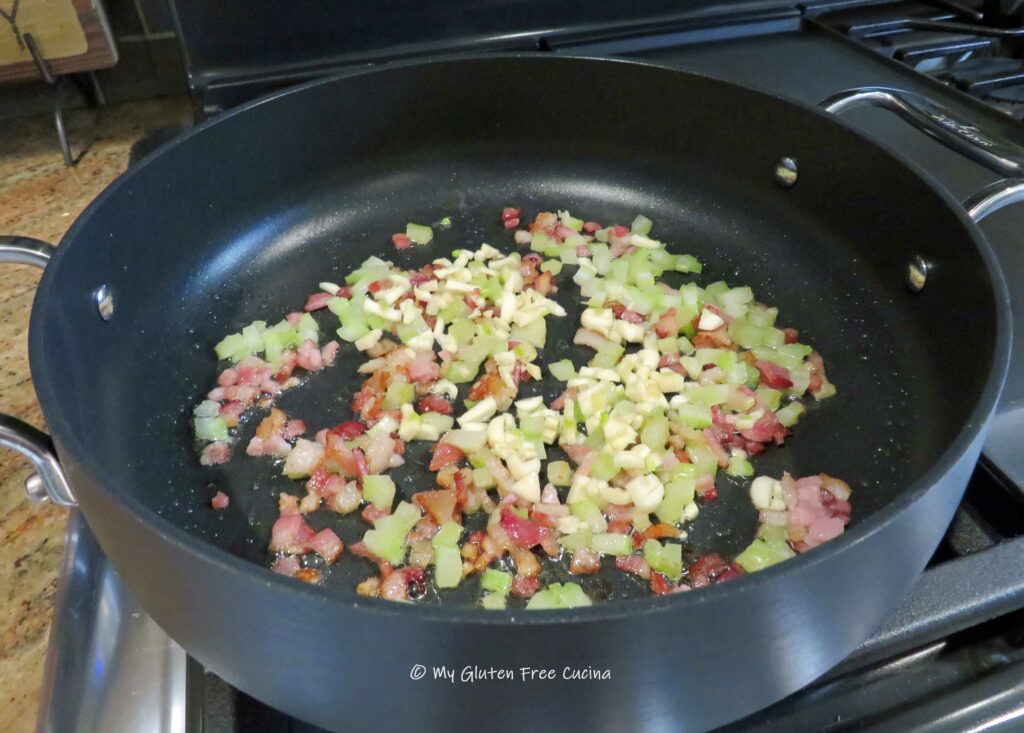
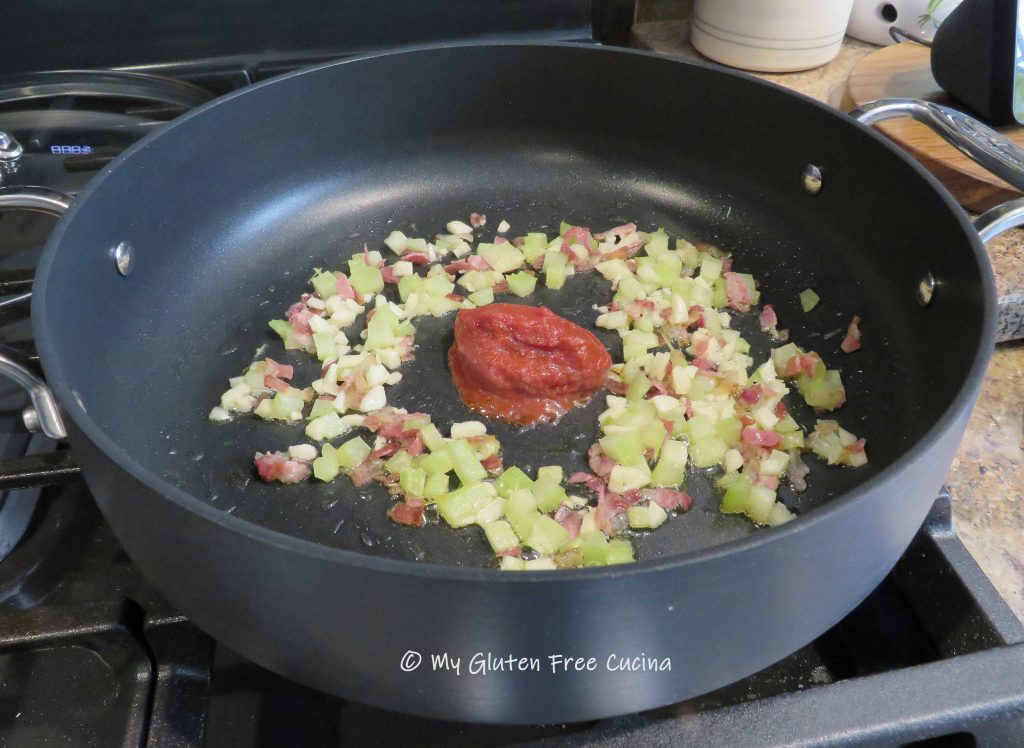
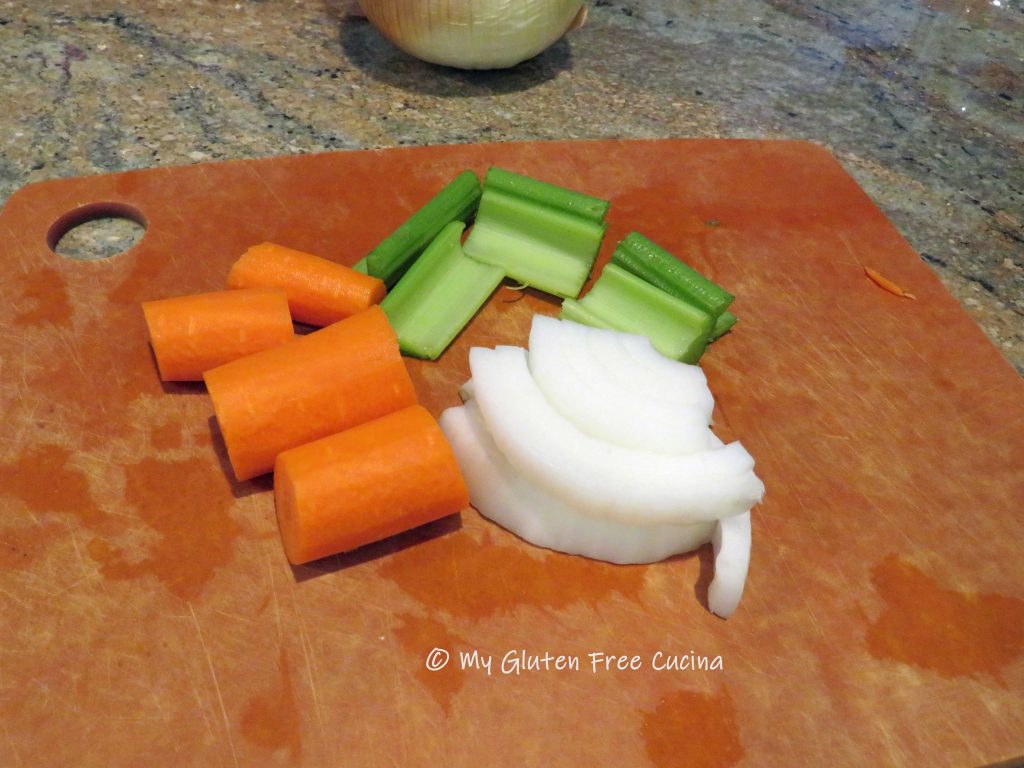
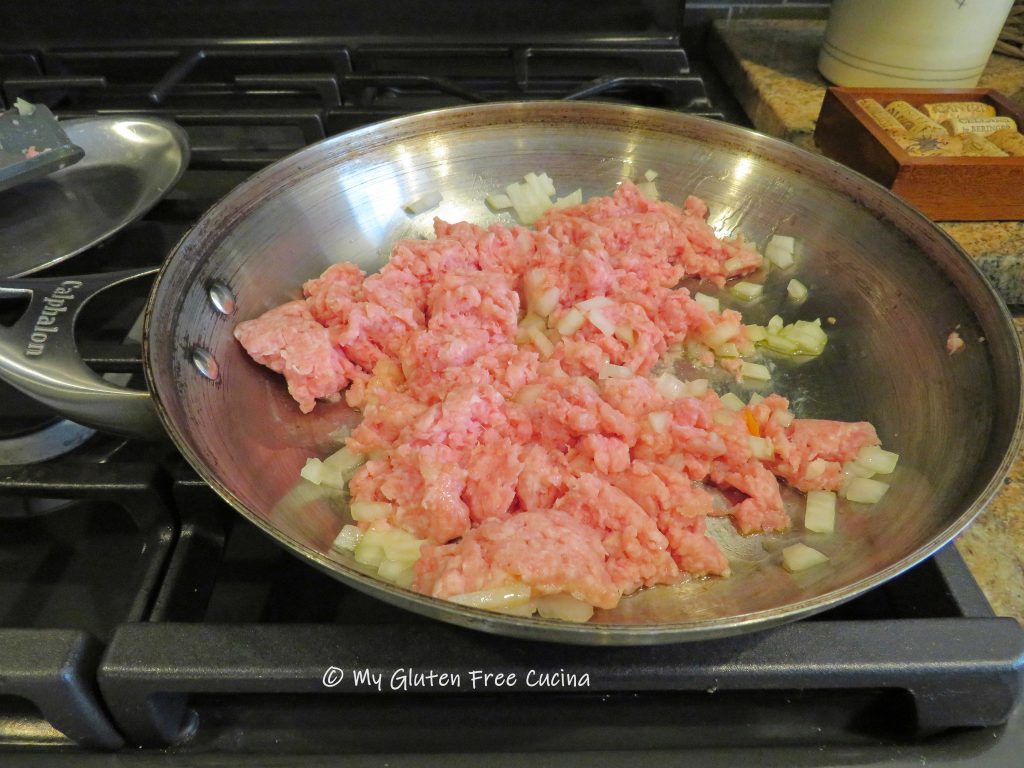
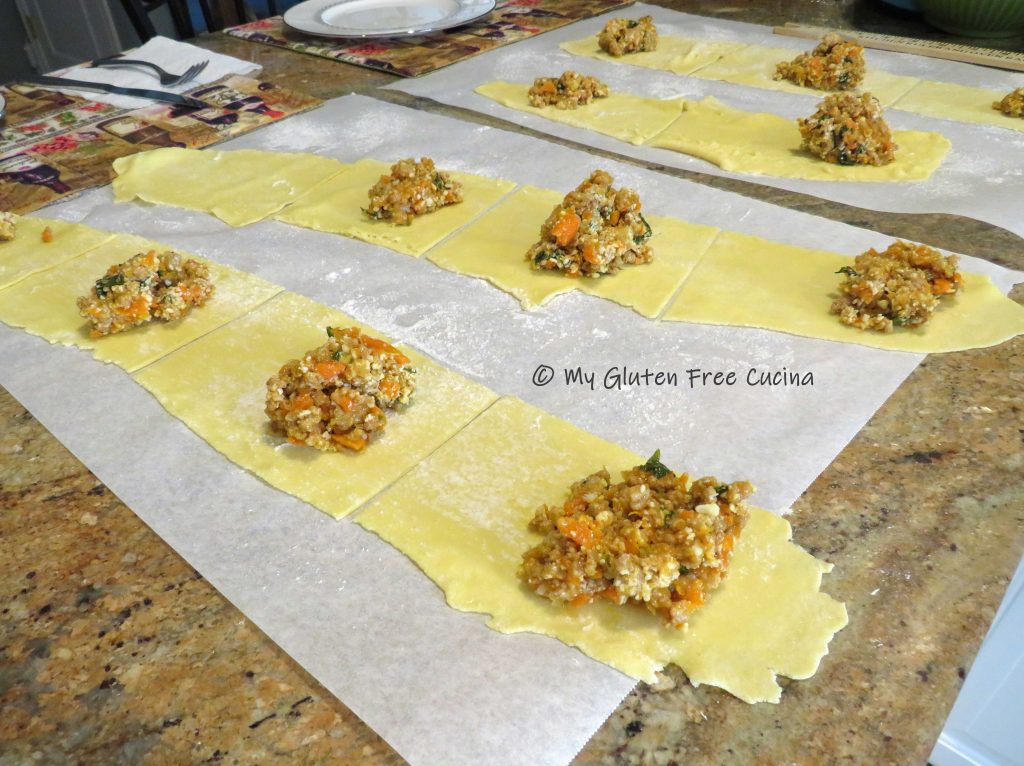
 Add the minced veggies to the pork and stir well.
 Make a spot in the center of the pan and add the tomato paste. Let it toast for a minute before stirring it into the pork and veggies.
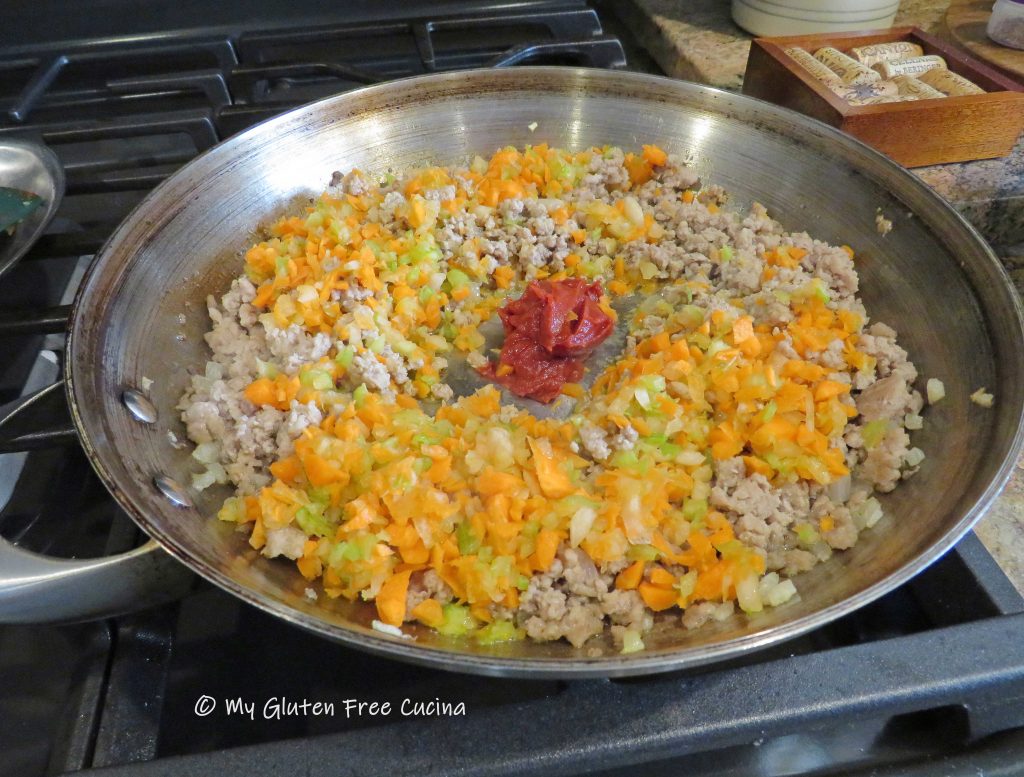
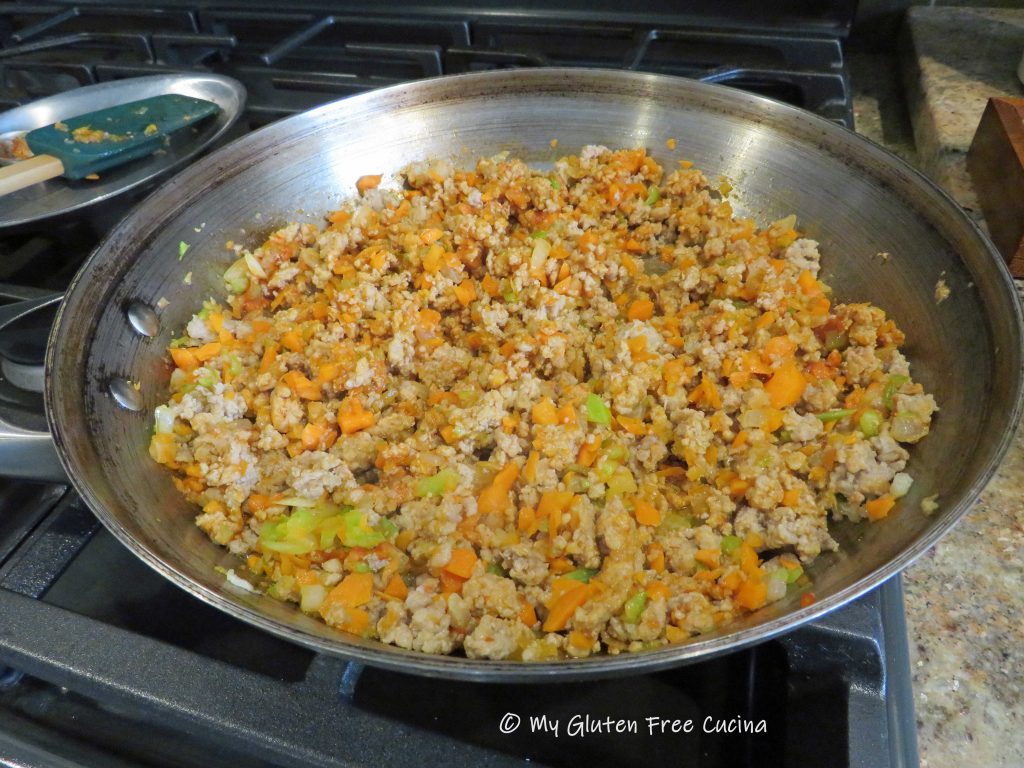 Add the broth with salt to taste.
 Sprinkle the arrowroot evenly over the mixture and stir it in. Simmer on low until the filling has thickened. Stir in the baby spinach. The filling should be moist, but not watery.


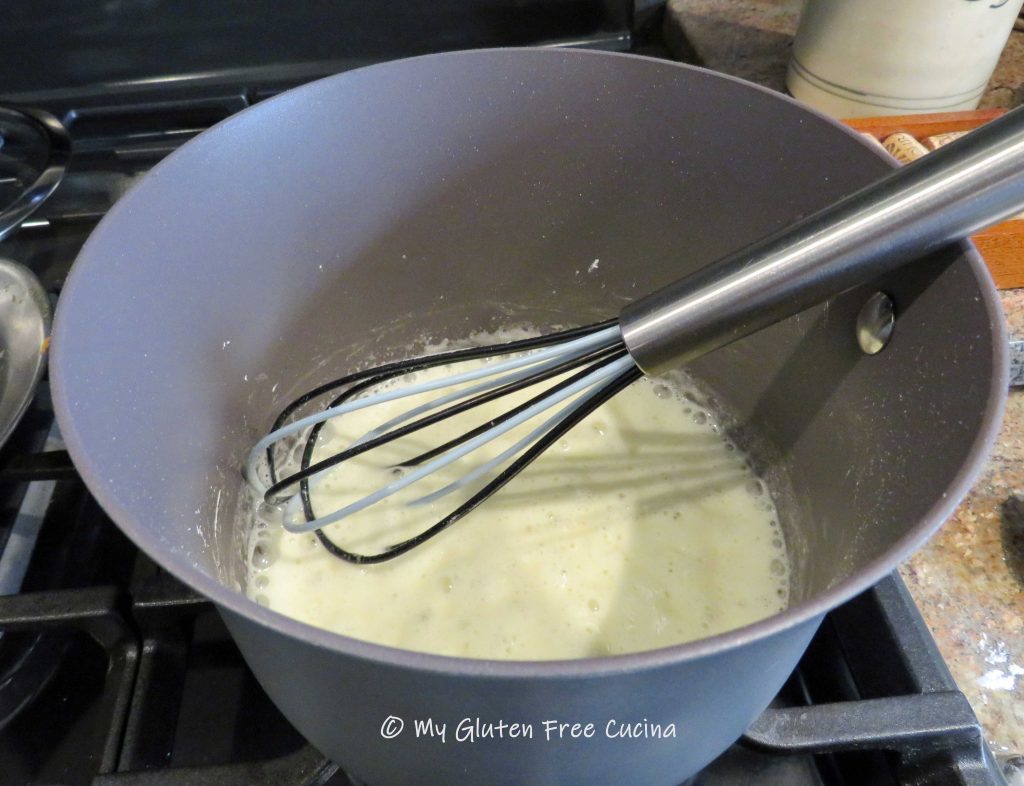
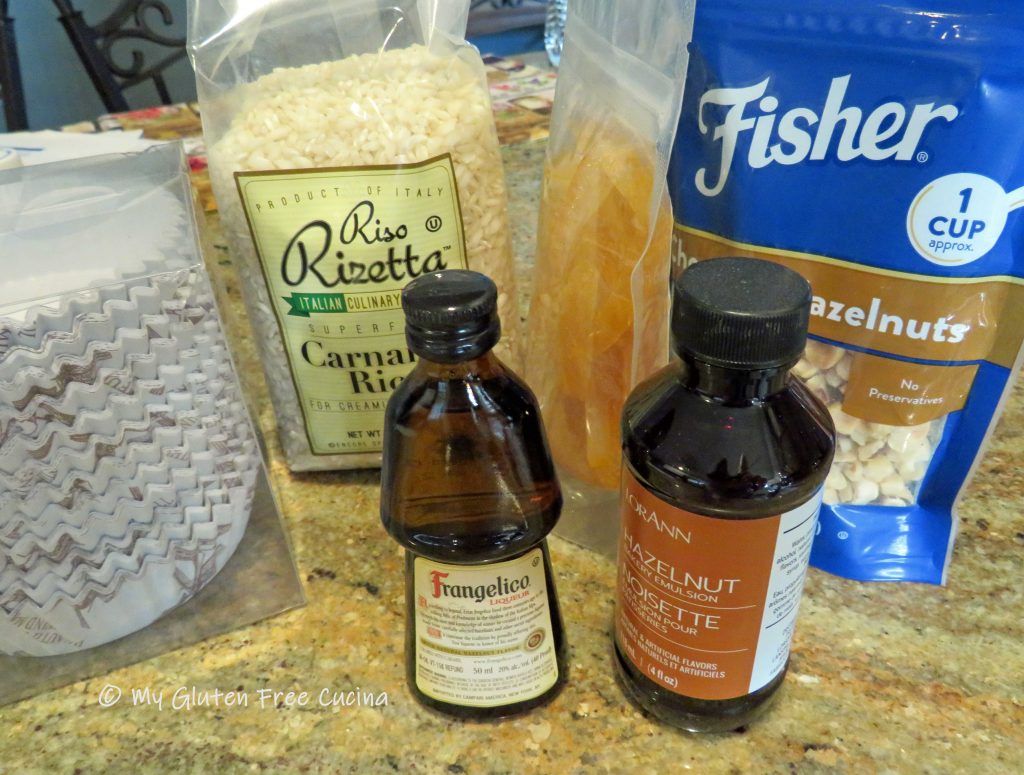
 For this recipe, setting 3 on a


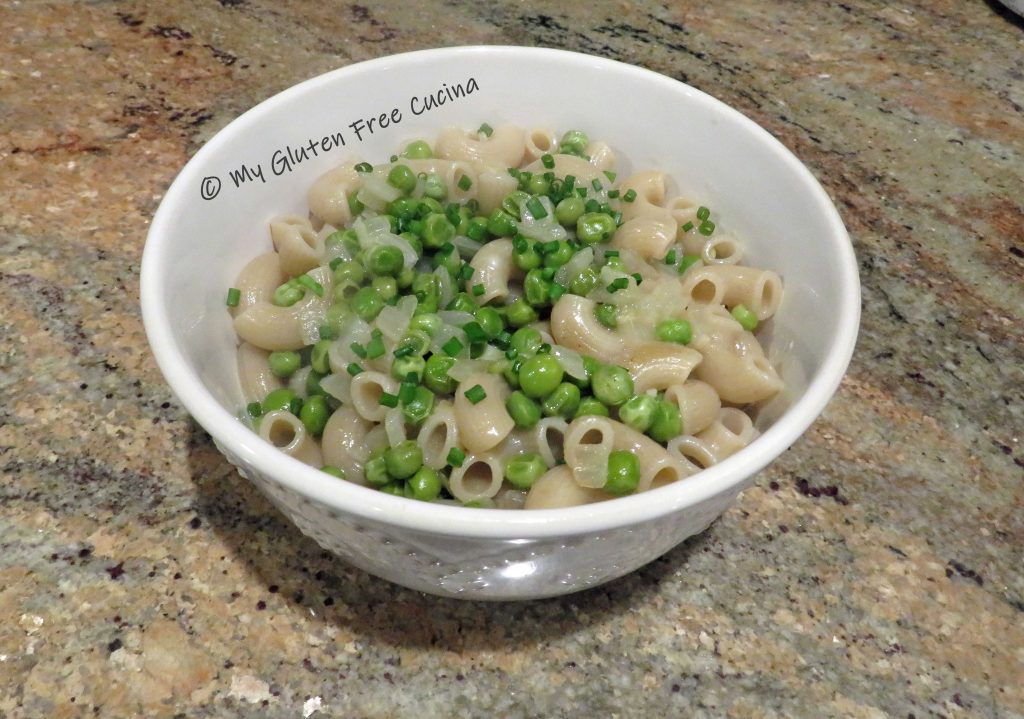
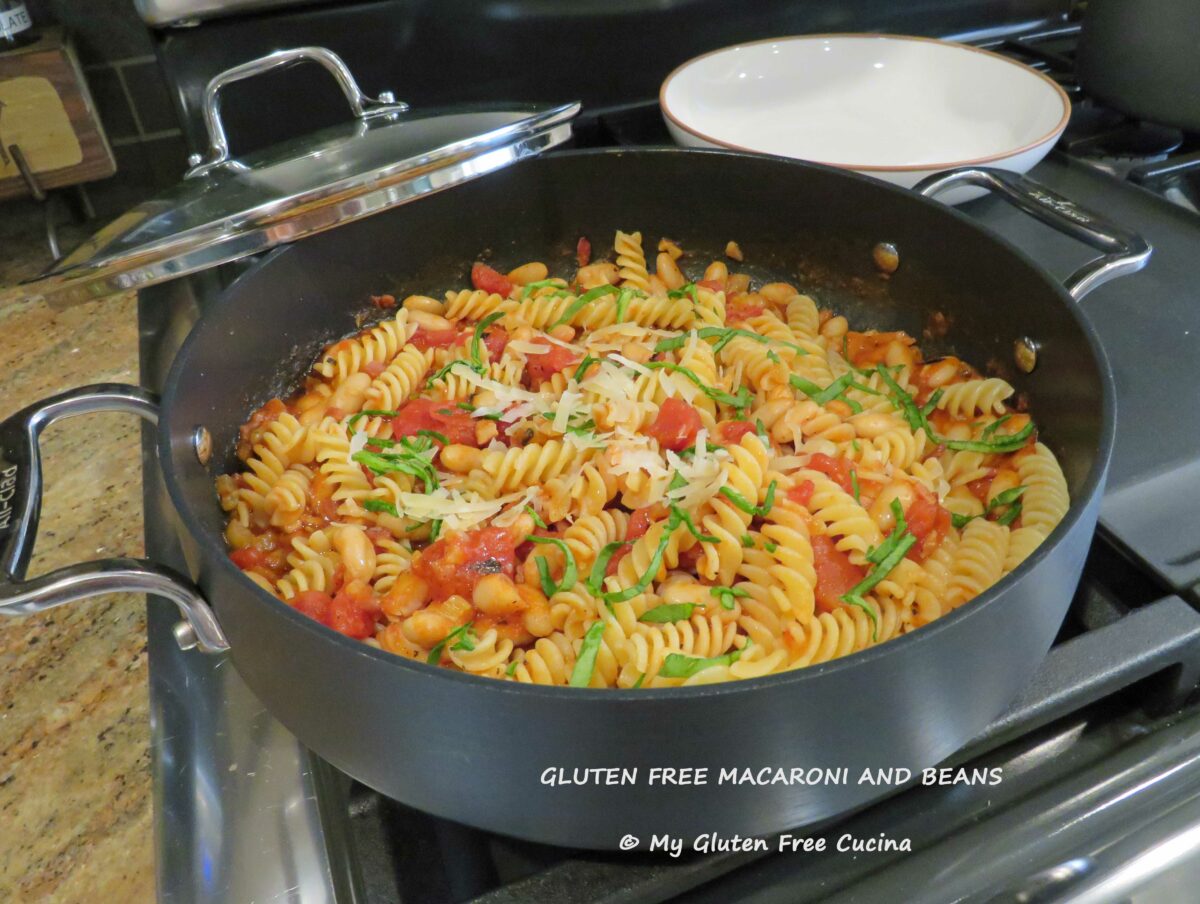
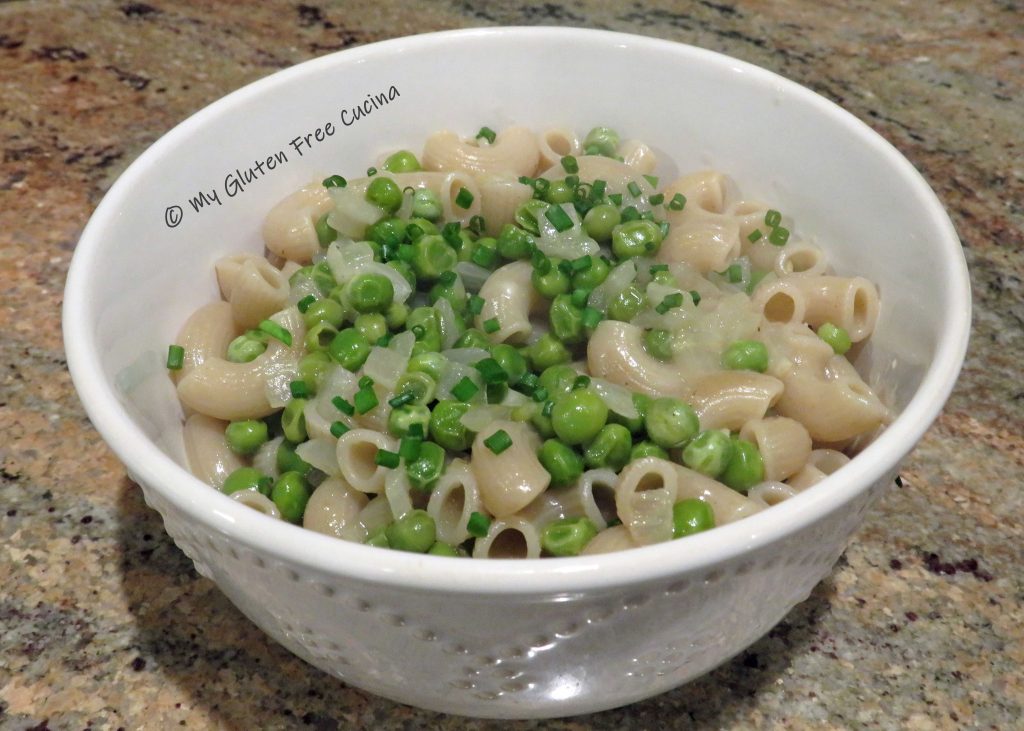
 Stir in 1 tbsp. butter, a heaping tbsp. of cheese (or more if you like) and transfer to a serving bowl.
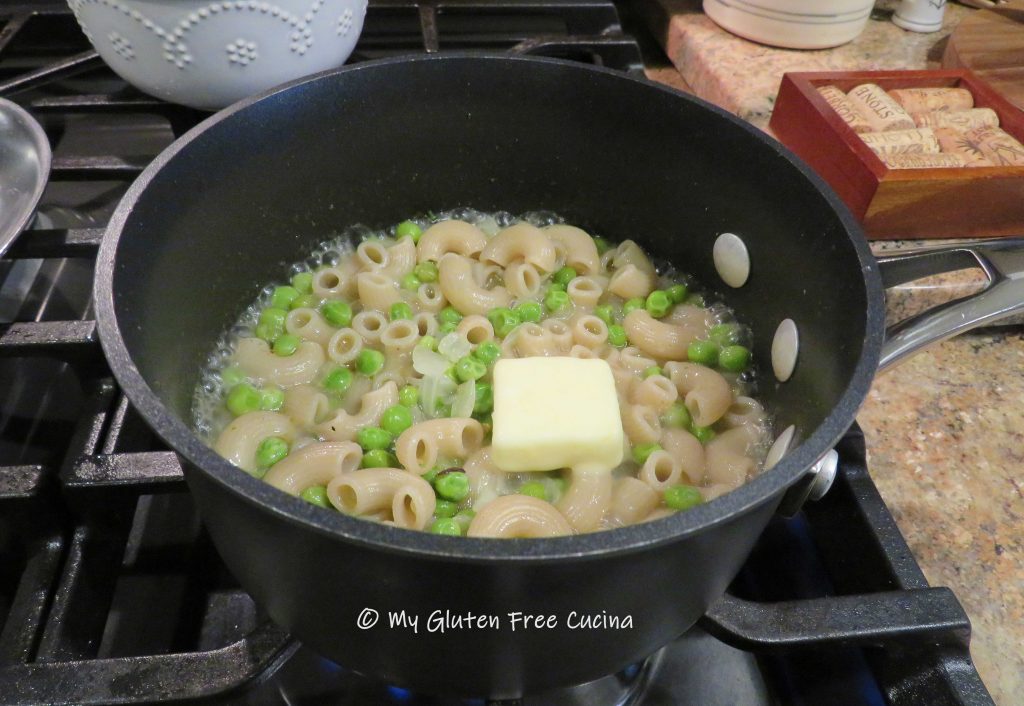
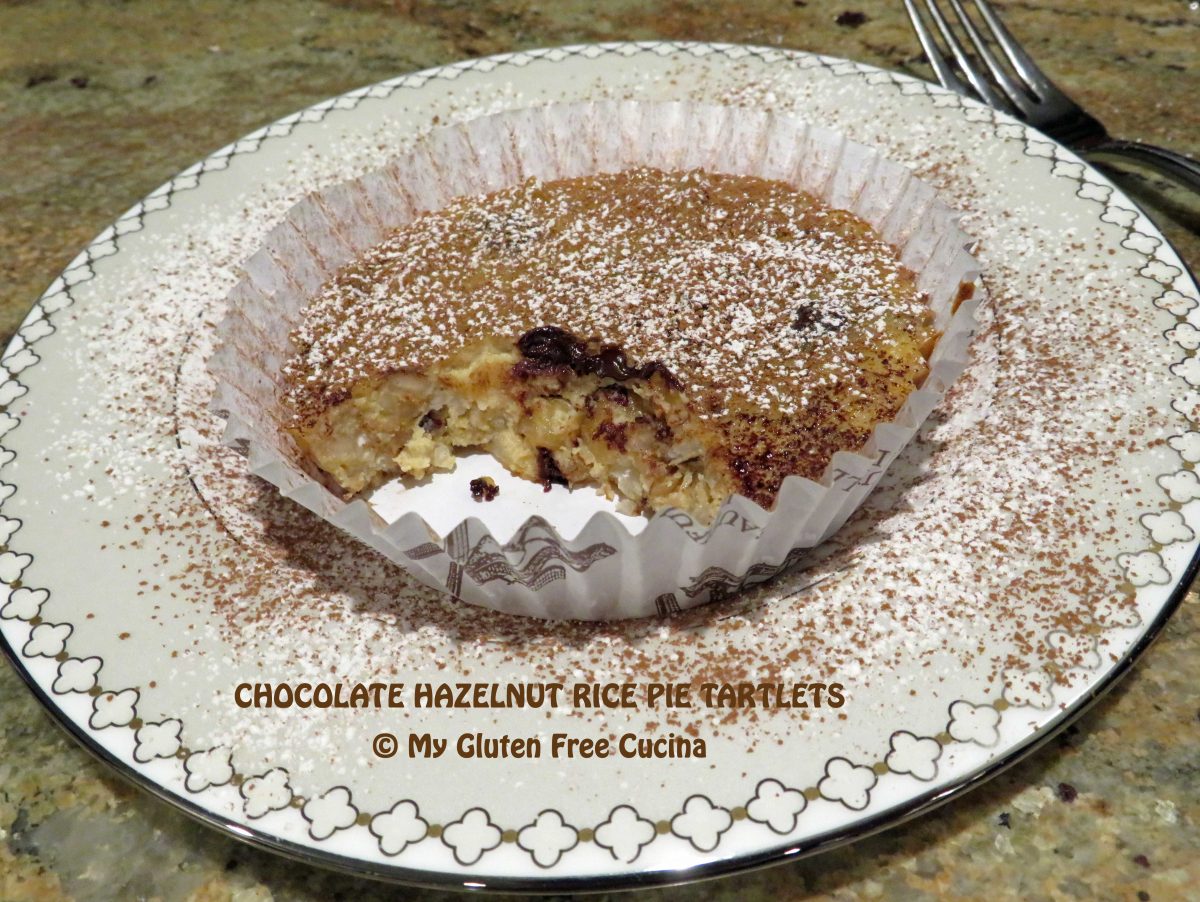

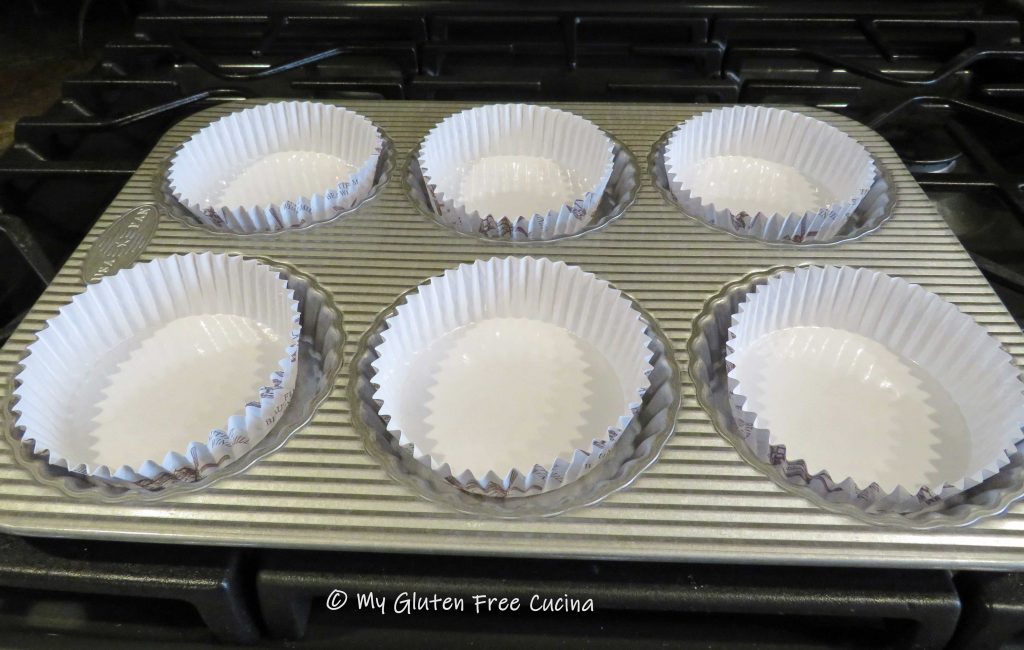


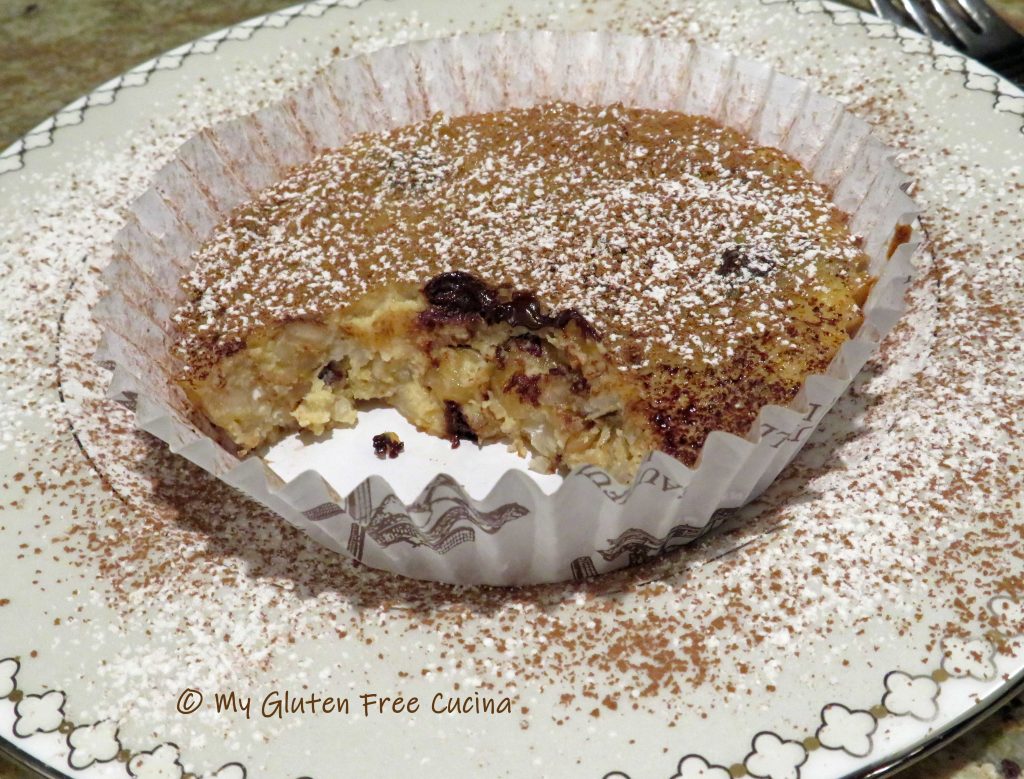
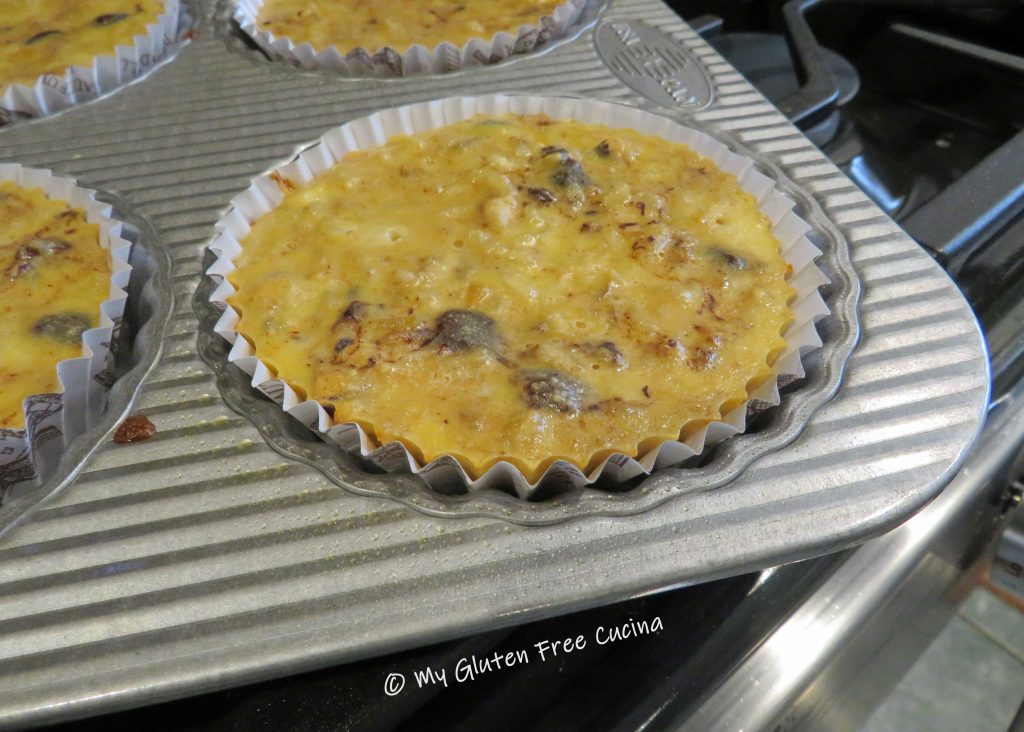 Serve the tartlets at room temperature or chilled. Before serving, dust with cocoa powder and powdered sugar.
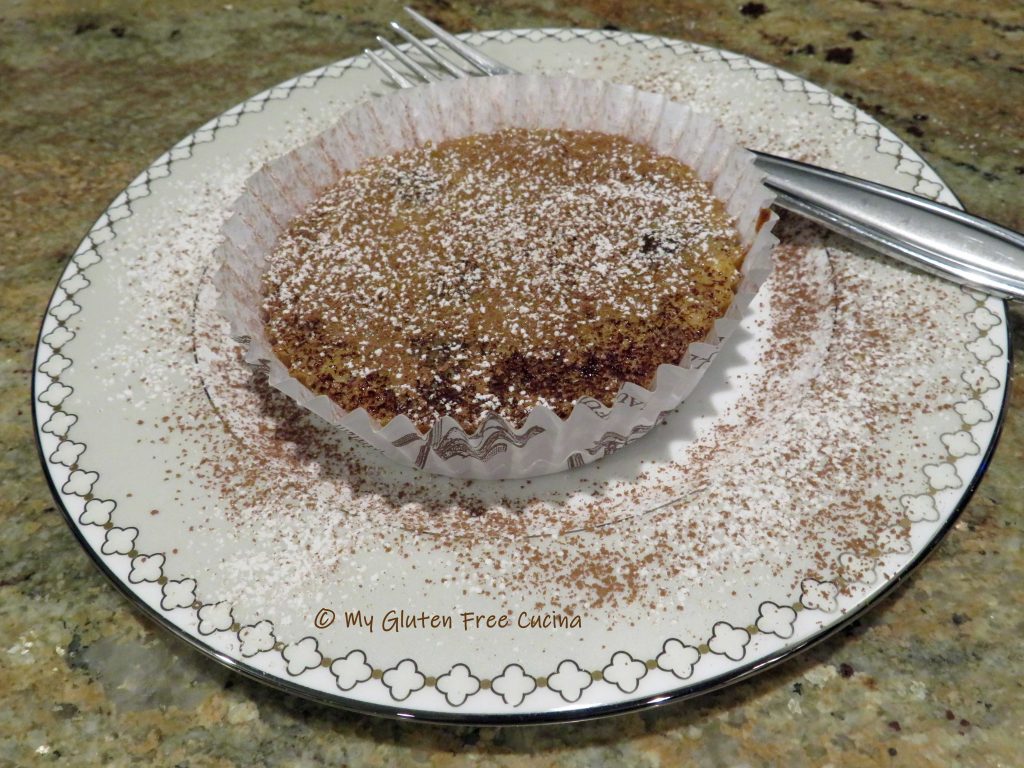


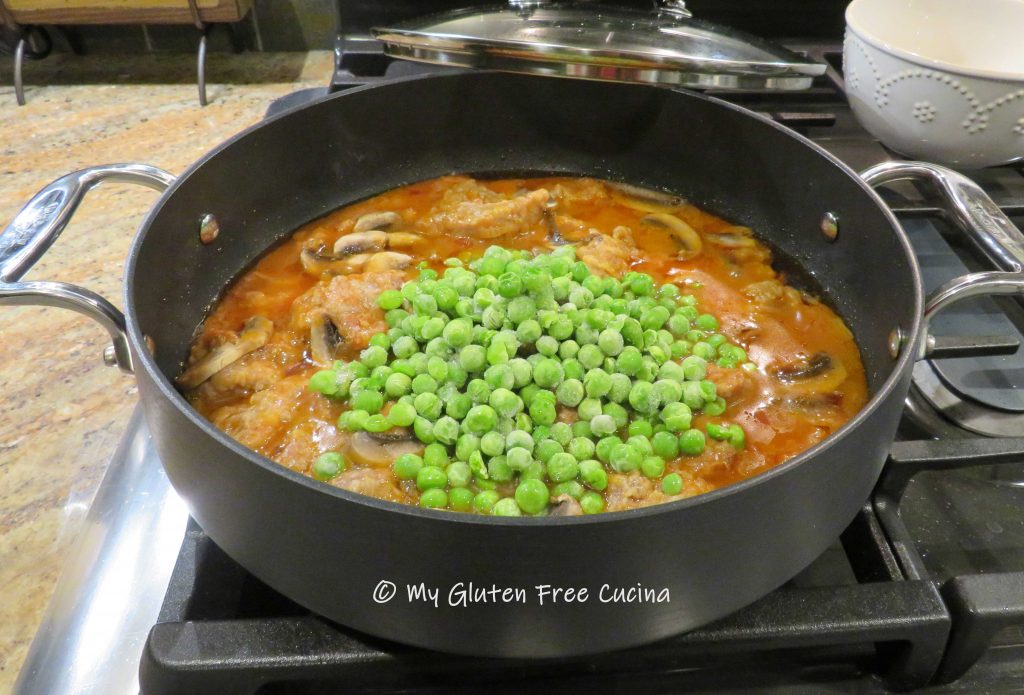
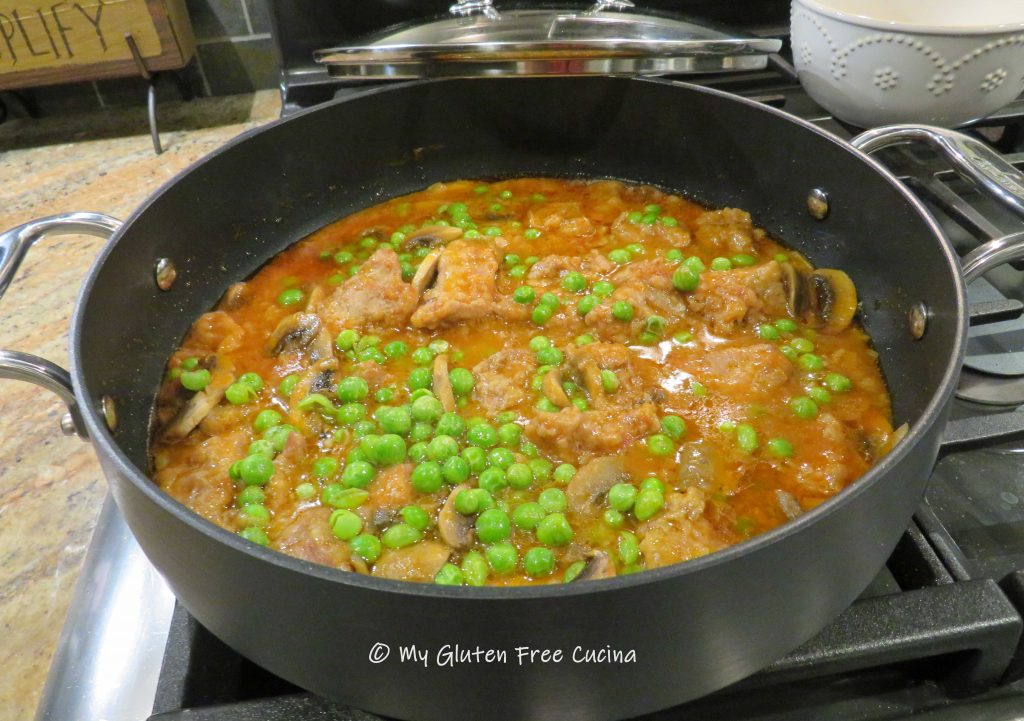
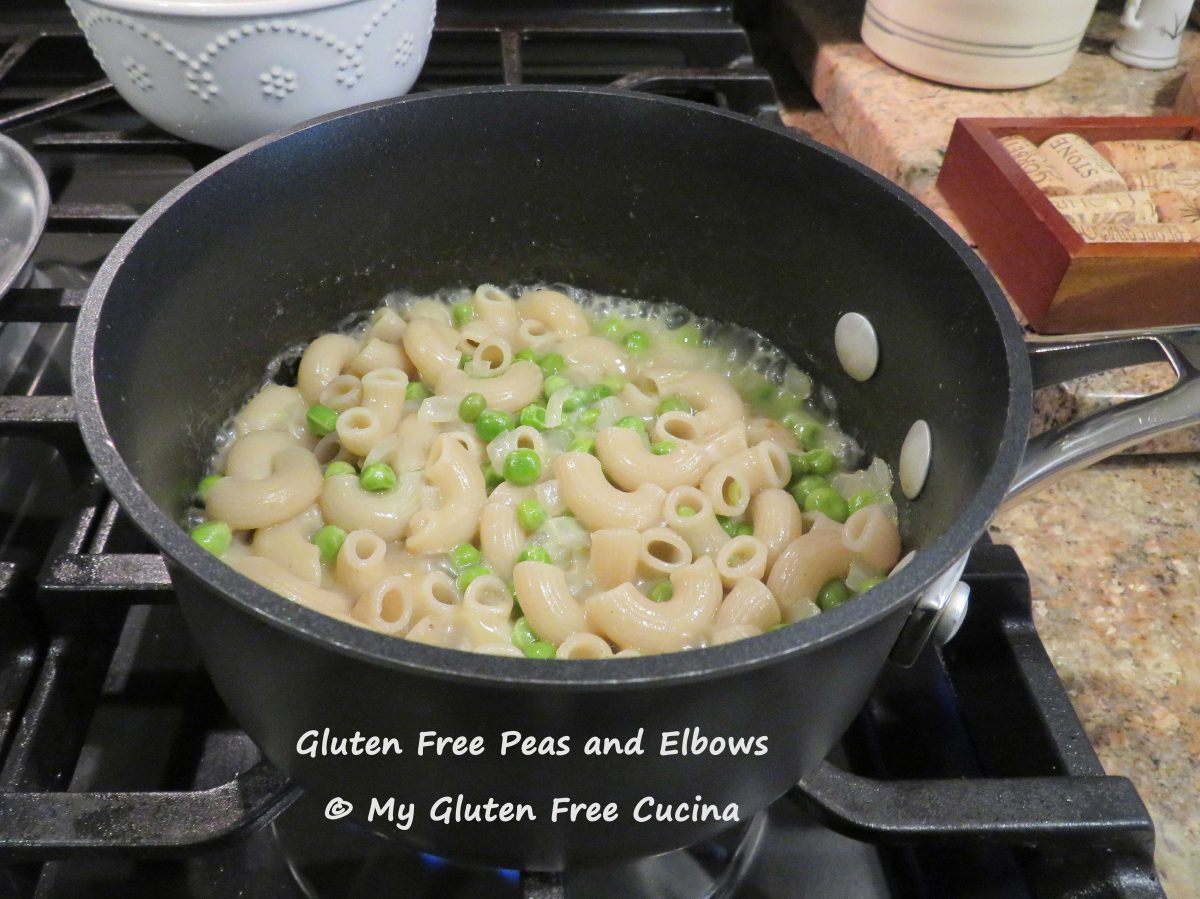
 During the last 10 minutes of cooking add the peas, and finish cooking uncovered to thicken.