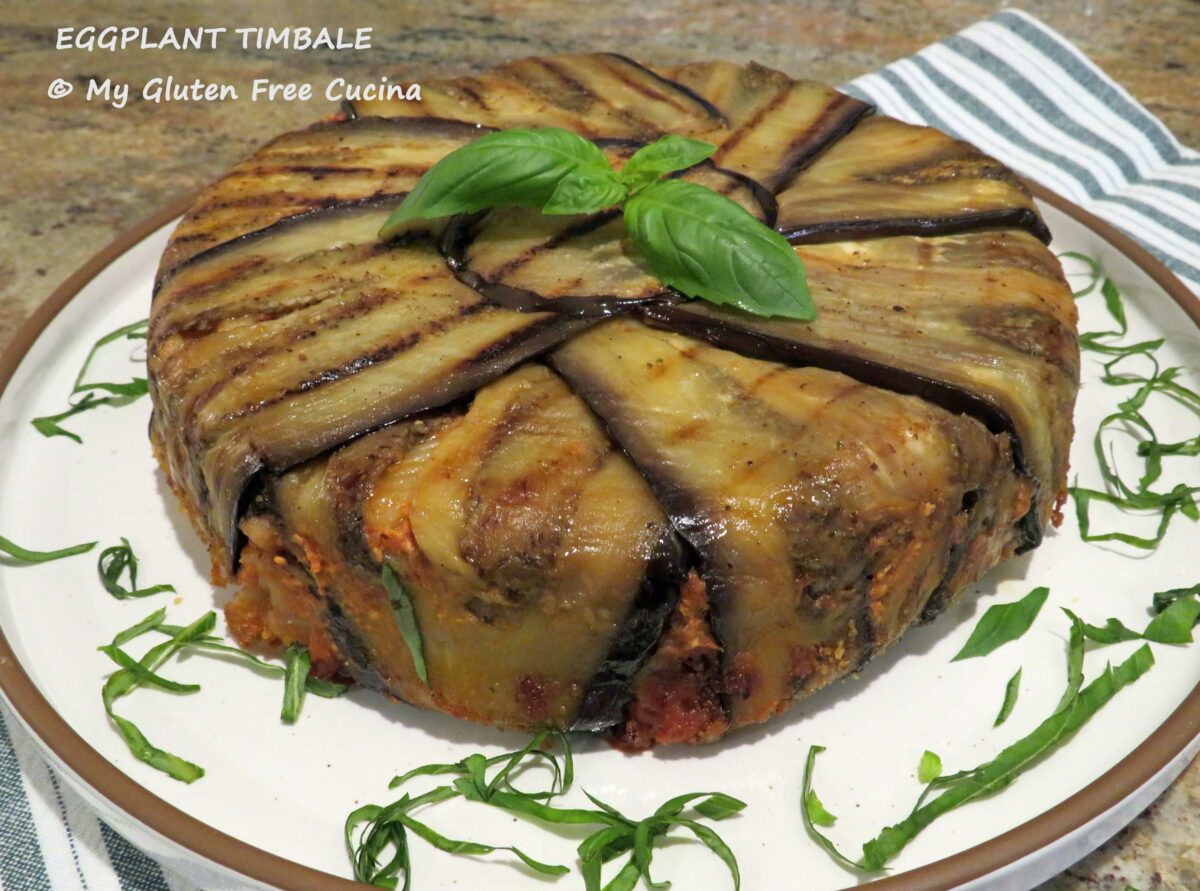
Eggplant Timbale.
Also known as Timballo, or Timpano, this dish gets its name from the Italian word for “drum” and refers to how the contents are pressed into the pan to create the drum shape. It is truly a dramatic presentation.
It has long been on my culinary bucket list to make this classic Sicilian pasta dish. Labor intensive? Yes, but is well worth the time and effort when you bring this stunning dish to the table. Perfect for Italian Sunday Dinner!
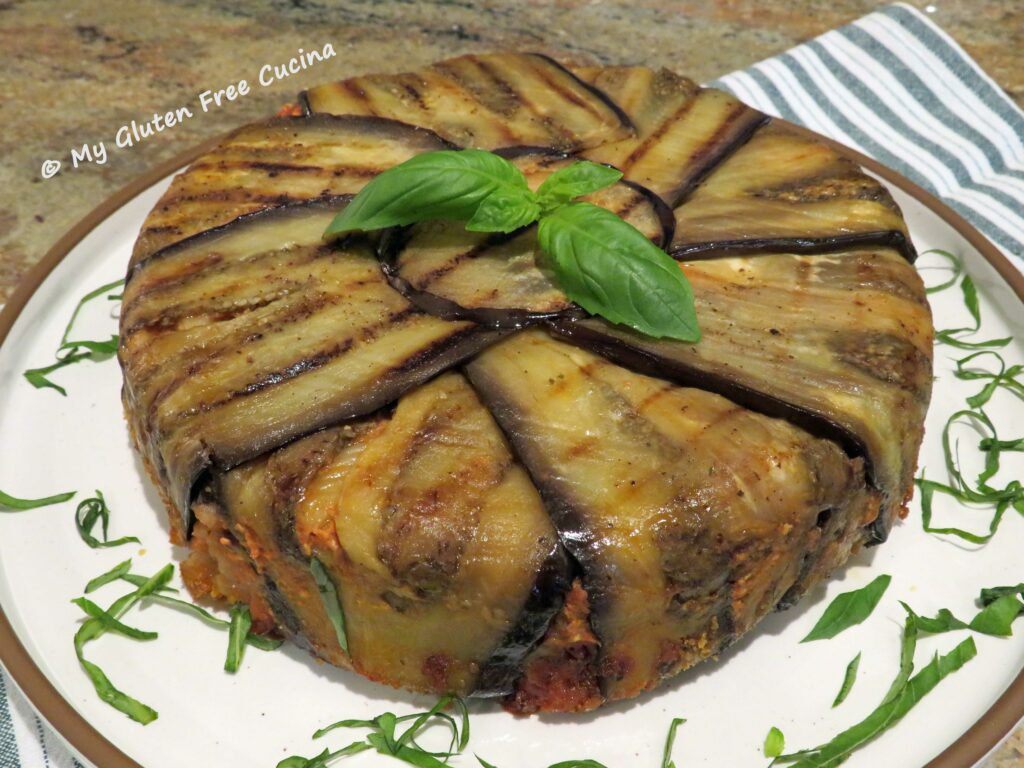
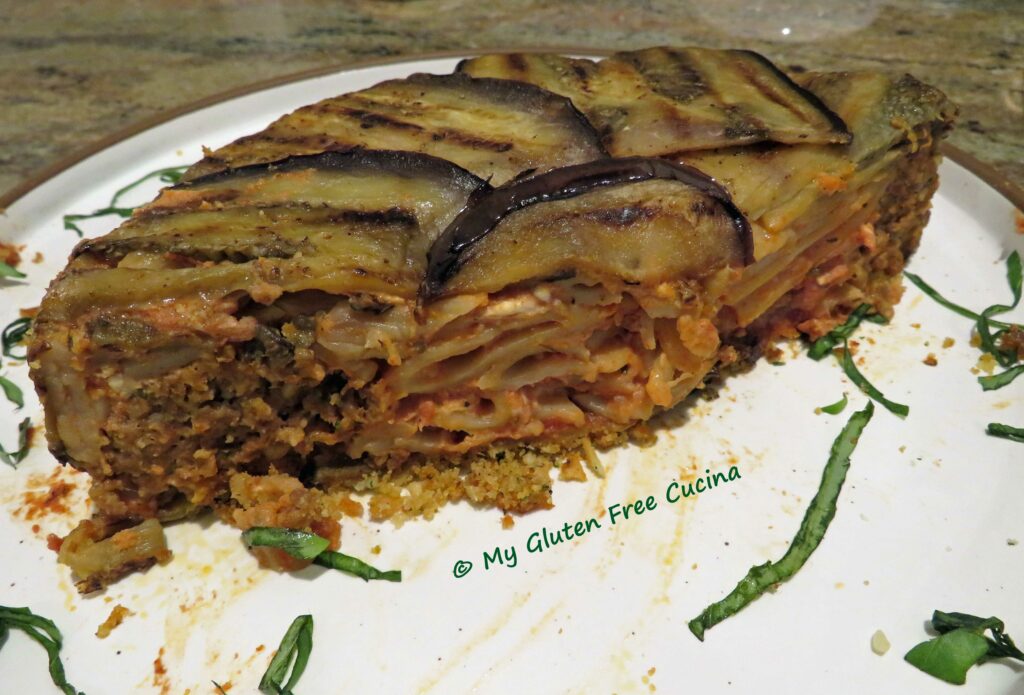
There are many variations of Timbale throughout Italy. The Sicilian style, like this one is traditionally wrapped in eggplant. What else is in it- gluten free penne, meatballs, tomatoes and cheese. Ordinary ingredients perhaps, but this recipe puts them all together in a most impressive presentation! It looks and tastes amazing! Like a classy, sophisticated lasagna.
It took me several hours total to prep the ingredients and assemble the dish, although I made the sauce and the meatballs a day ahead.
Don’t be intimidated by all the steps. In this post I break the recipe down and make it easy for you to follow. You can opt to do some of the prep in advance as I did, or all at once if time permits. Remember to allow for a few hours rest in the refrigerator before baking, as this helps the Timbale to set up and hold its shape.
This dish is often baked in a springform pan, but for a small family, an 8” round baking dish pan works perfectly (although it was a little tricky flipping it over!). For a larger family, use 2 eggplant and make extra sauce, then bake in a springform pan or make 2 of the 8” cake pans.
This is an incredible meal, and you will be surprised at how filling it is. Even with this smaller version you may have leftovers for lunch.
4-6 servings
This post contains affiliate links.
INGREDIENTS:
Sauce
- 28 oz. Can tomato sauce (reserve ½ cup for the meatballs)
- 4 garlic cloves, minced
- 1 small onion, diced
- 1 tbsp. Olive oil
- 2 tsp. Brown sugar
- 1 tsp. Basil
- ½ tsp. Oregano
- Fresh ground pepper, to taste
Meatballs
- ½ lb. Ground beef
- ¼ lb. Gluten free Italian sausage
- ½ cup tomato sauce
- 1 egg
- ¼ cup gluten free rolled oats
- ¼ cup potato flakes
- ¼ cup gluten free seasoned breadcrumbs
- ¼ tsp. Gluten free Italian seasoning
Eggplant
- 1 medium eggplant
- Olive oil
- Salt and pepper
- Cooking spray
Pasta
- 4 oz gluten free pasta (I used Jovial penne)
Other
- ½ cup ricotta cheese
- 1/3 cup grated Parmesan cheese
- 1/4 cup gluten free seasoned breadcrumbs
PREPARATION:
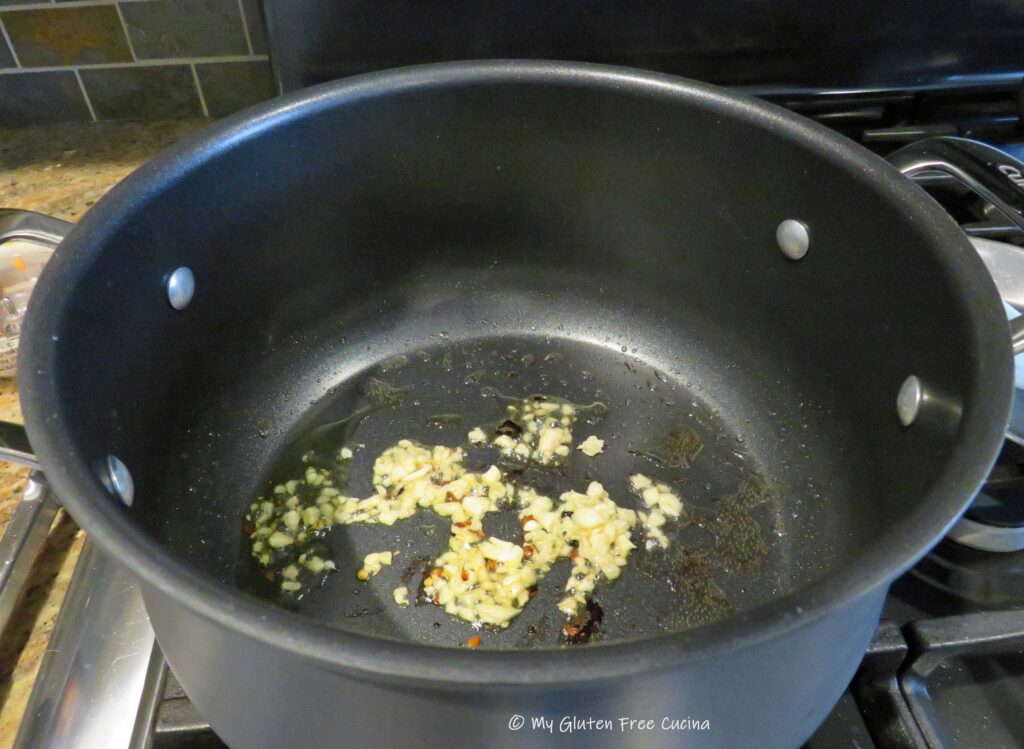
First, make the marinara sauce. Heat a heavy saucepan or deep skillet with 1 tbsp. Olive oil. Add the diced onions and cook, stirring frequently until they are translucent. Add the garlic and stir for 30 seconds. Next add the tomato sauce, reserving ½ cup for the meatballs. Stir in the sugar, basil, oregano and fresh ground pepper. Cover and simmer on low for ½ hour, then remove from the heat and cool to room temperature. Check out this post for more detailed instructions on making a marinara sauce.
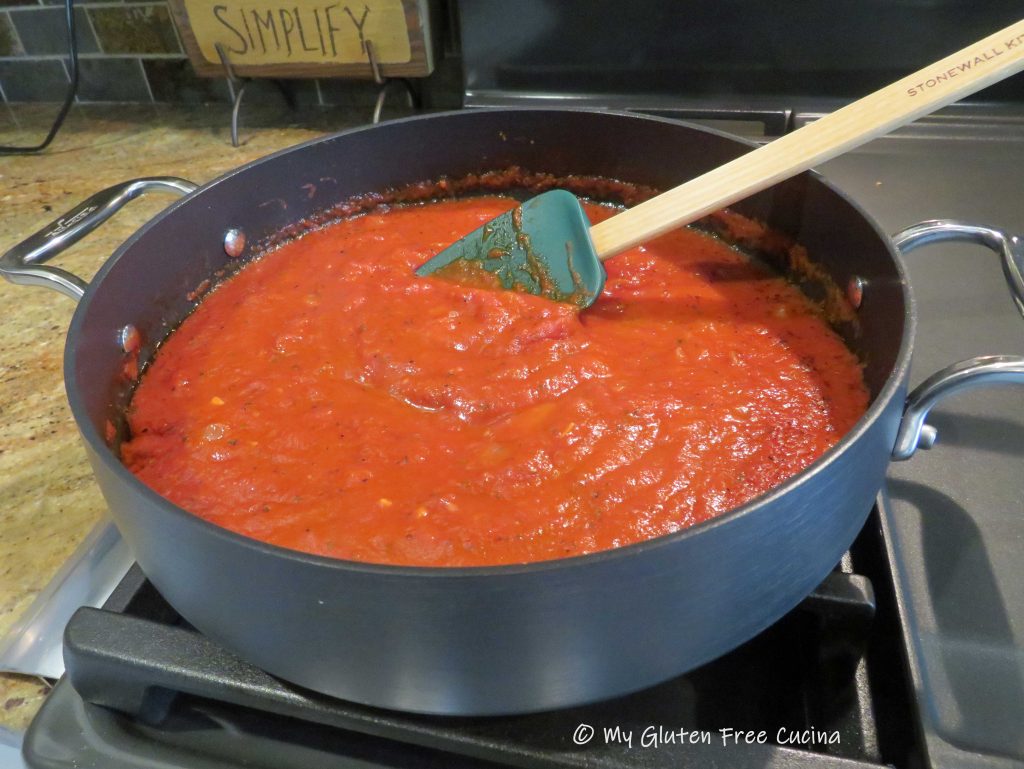
Now I can just hear you saying, can’t I cheat and use jar sauce? Of course you can, just be sure it’s gluten free and I’ll never tell! 😉
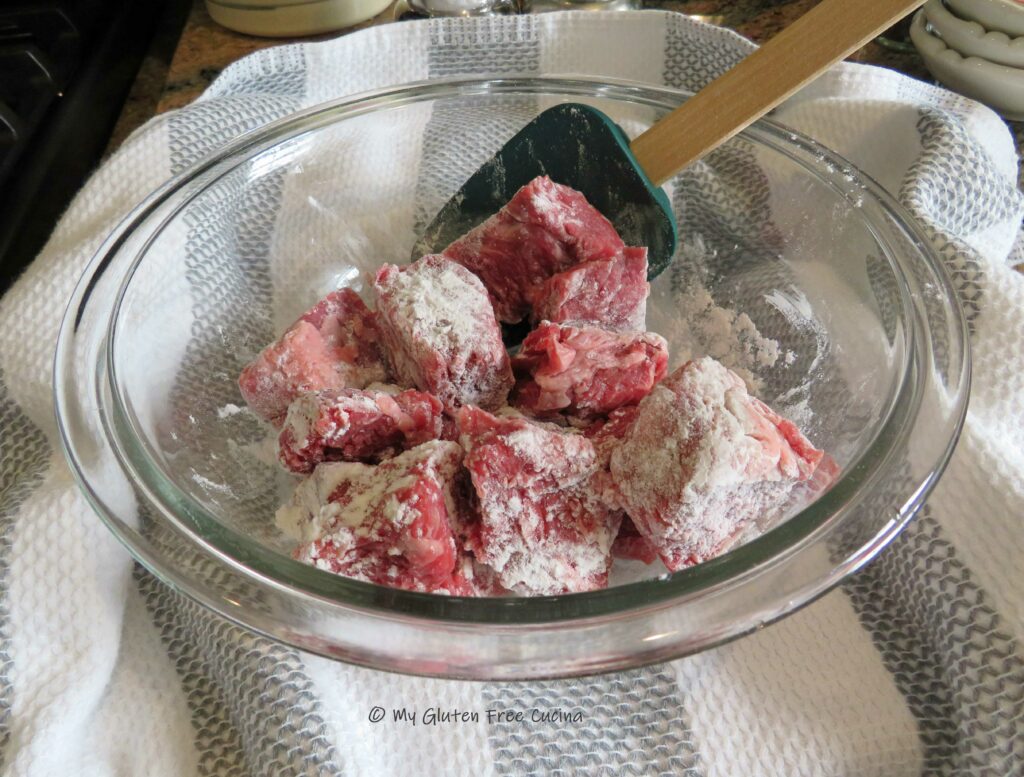
Next, we will make the meatballs. Whisk together the egg, reserved ½ cup of tomato sauce and Italian seasoning. In a separate bowl, combine the rolled oats, potato flakes and breadcrumbs. Add the beef and sausage to the egg mixture and work it in with your hands. Read more about making meatballs in this post.
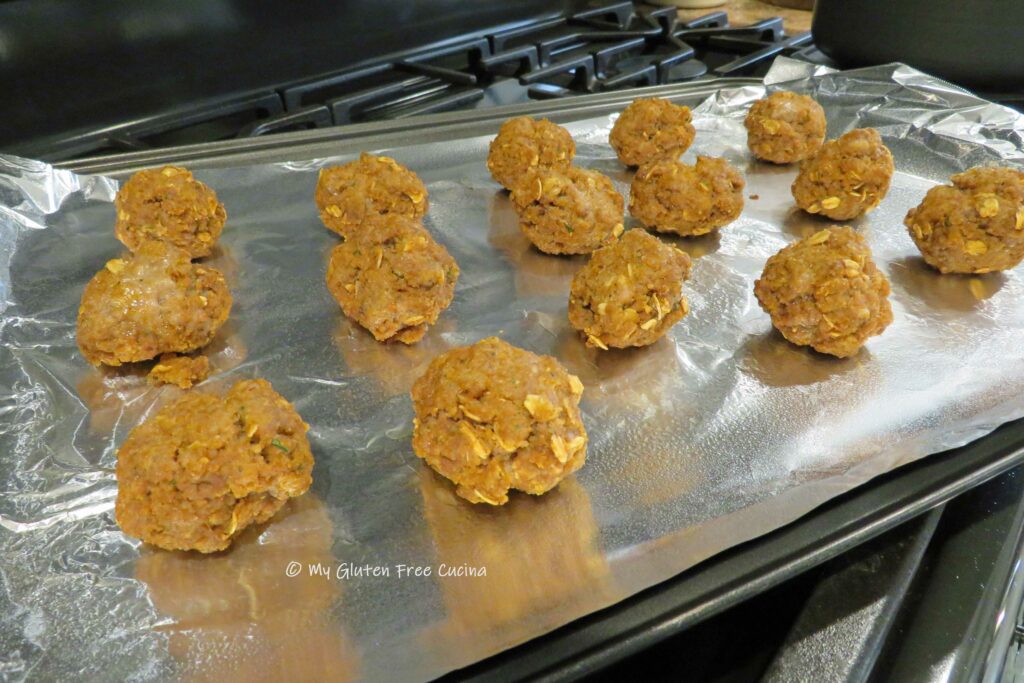
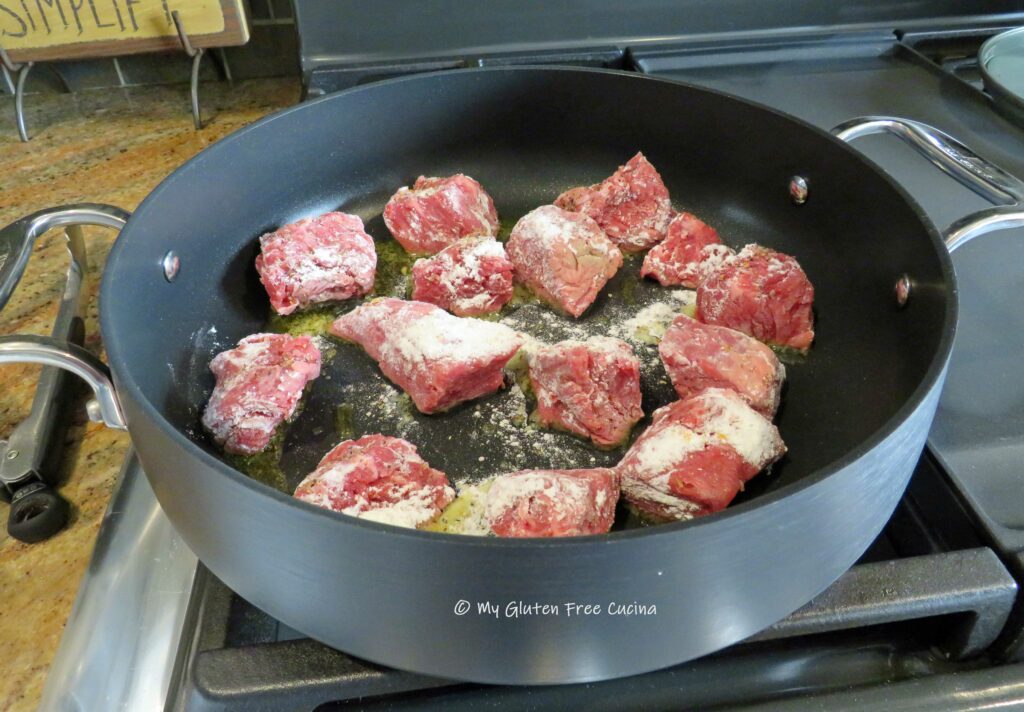
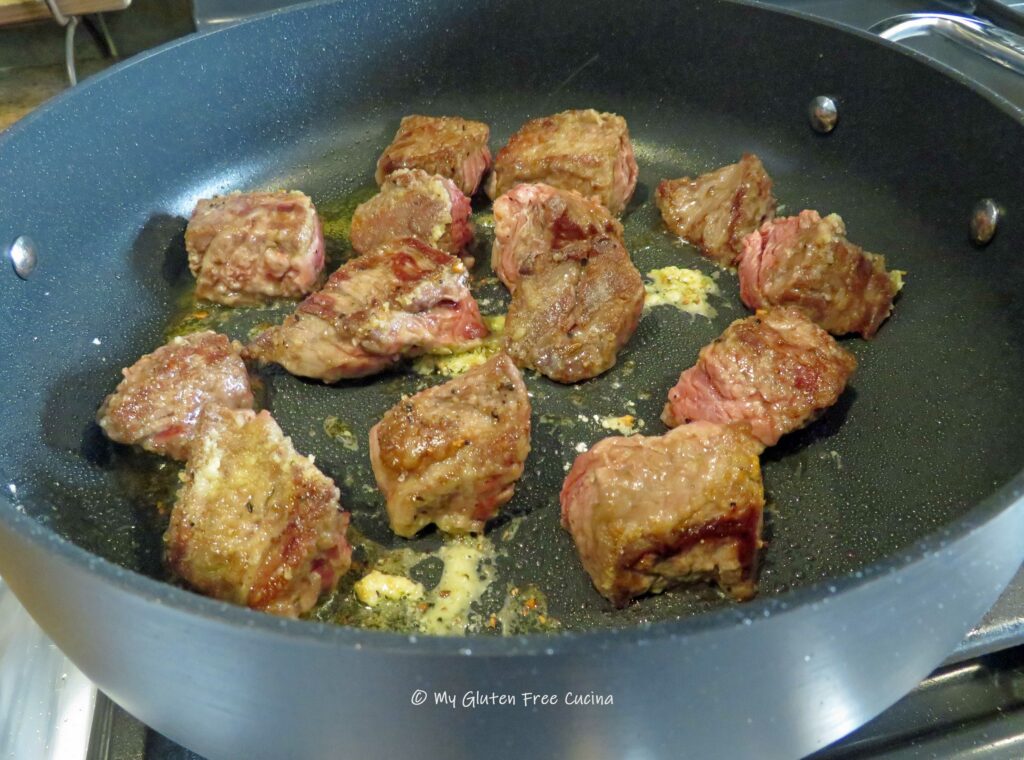
When the meat is well combined, add the dry ingredients and continue working the mixture to distribute everything evenly. Line a baking sheet with foil and mist with cooking spray. Form 24 small meatballs (about 1-½ inch) and place them on the baking sheet with space in between. Broil 3 minutes per side on high, then set them aside and cool to room temperature. *Note that I only used one dozen meatballs in this recipe, you will need all of them if you make a double batch or use a larger pan.
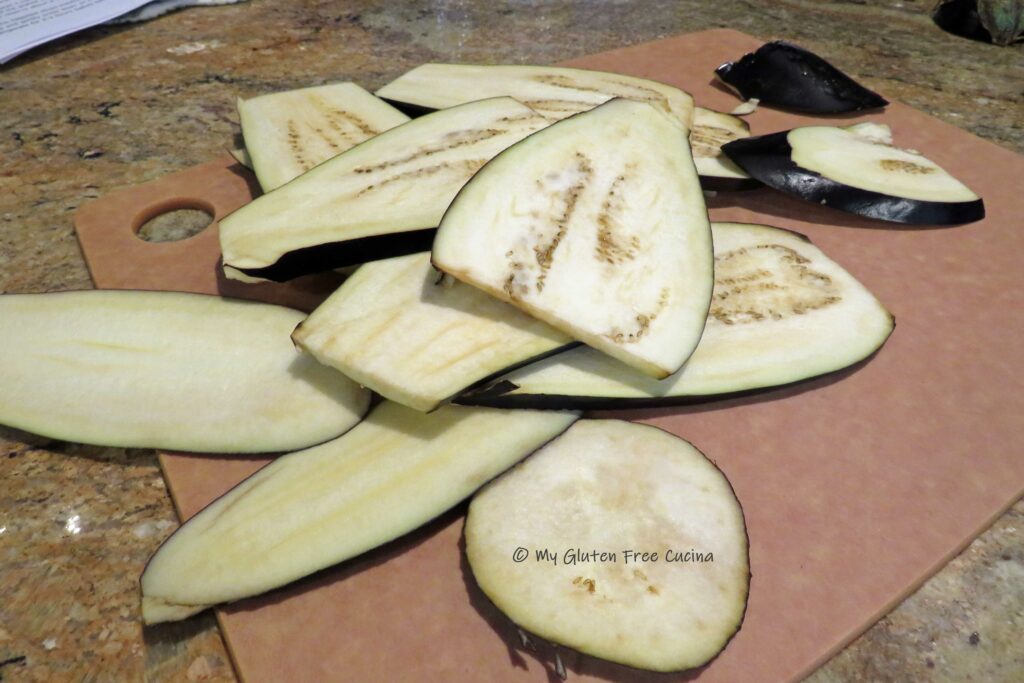
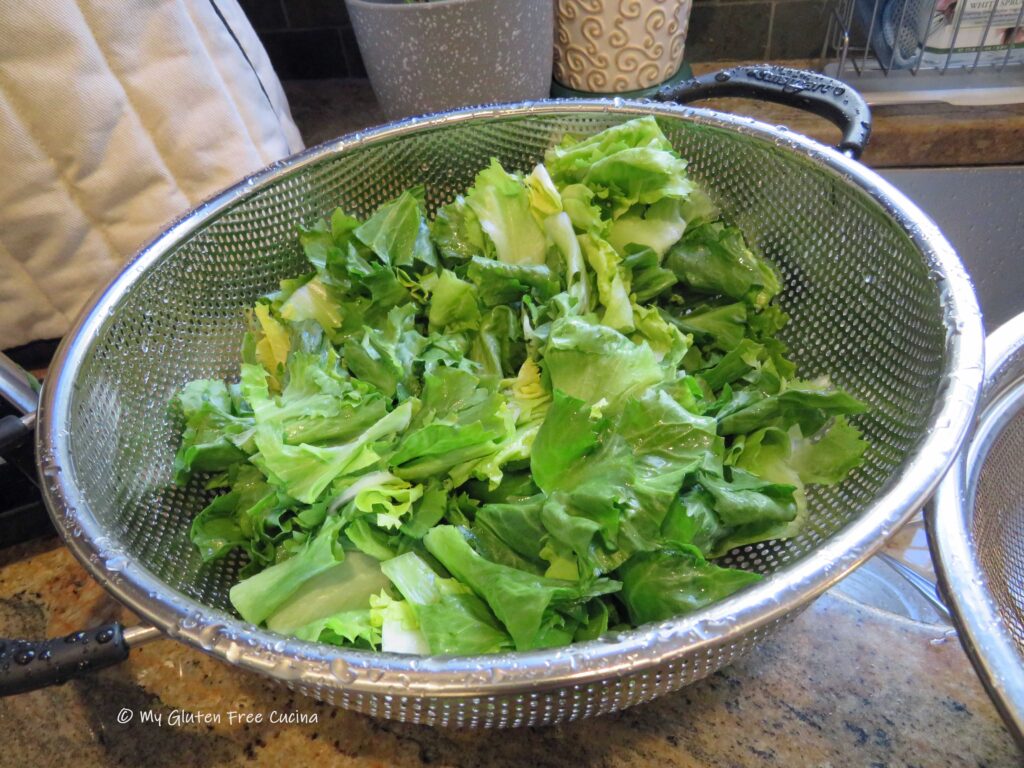
For the eggplant, cut off a slice at the stem and one from the bottom so that you can stand it up on your cutting board. If you prefer, peel the eggplant by running a sharp knife down the sides to remove the skin. If you don’t mind the skin, leave it on, it will look beautiful in the finished dish.
Cut one small round off the top then slice the eggplant lengthwise into thin strips, about ¼” wide. I used a mandoline so that my slices would all be the exact same thickness.
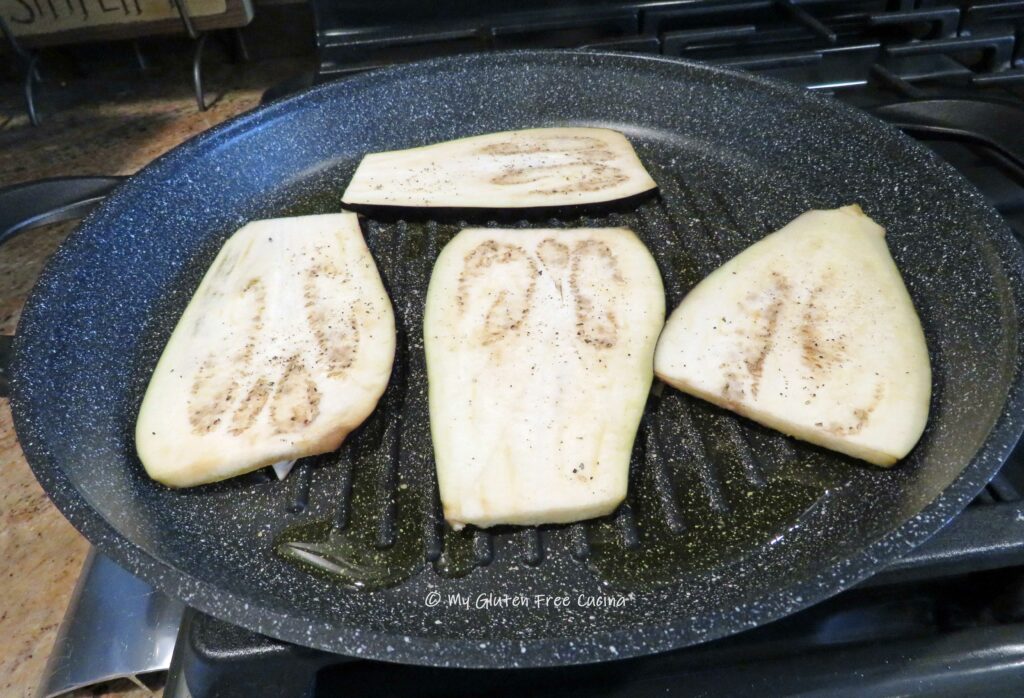
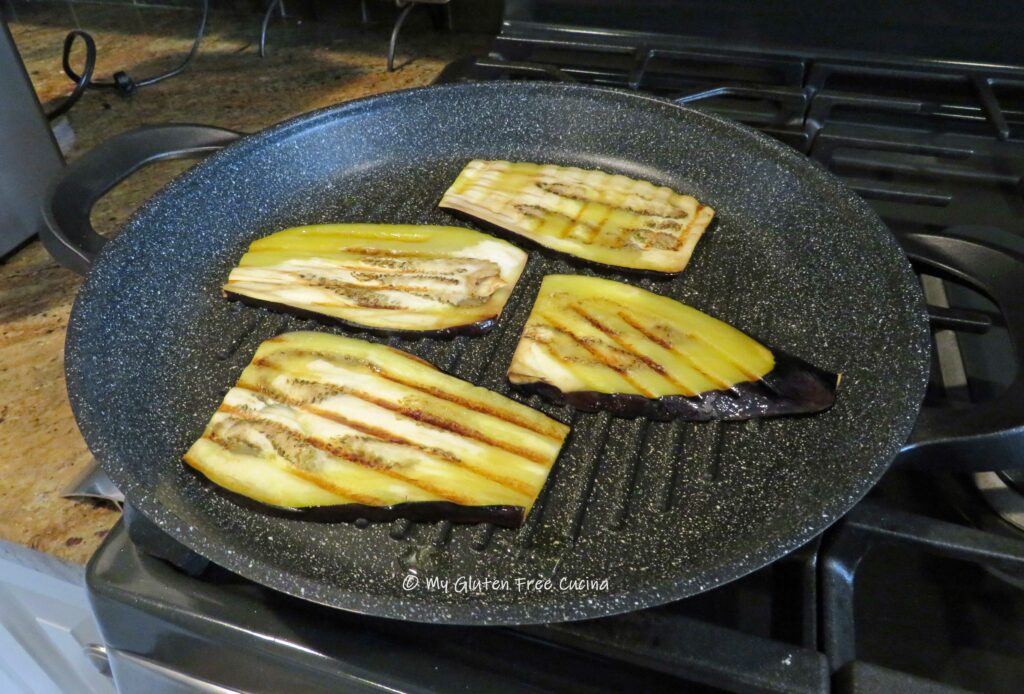
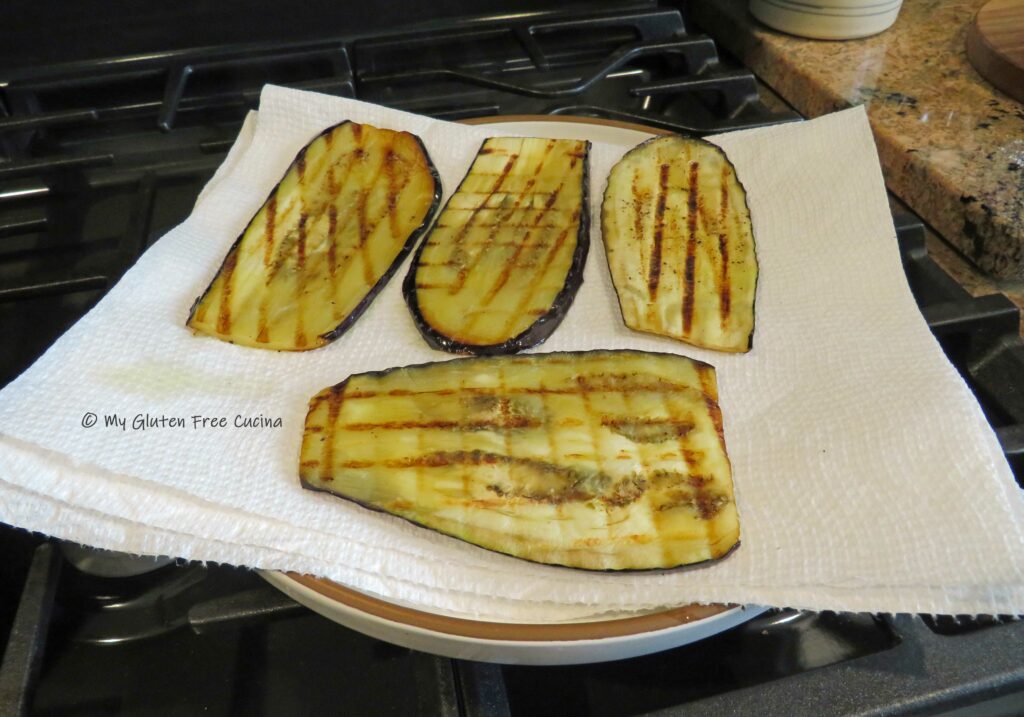
Cook the eggplant in a large grill pan brushed with olive oil. Season the slices as you cook them. The goal here is to cook the eggplant just to where the slices are bendable, they will finish cooking in the oven. Don’t crowd the pan, cook it in batches if needed and drain the slices on paper towels.
Finally, cook the pasta to 2 minutes less than the package directions. I recommend Jovial Brown Rice Pasta for this recipe because it holds up well to boiling and baking. After cooking, drain and rinse the pasta under cold water.
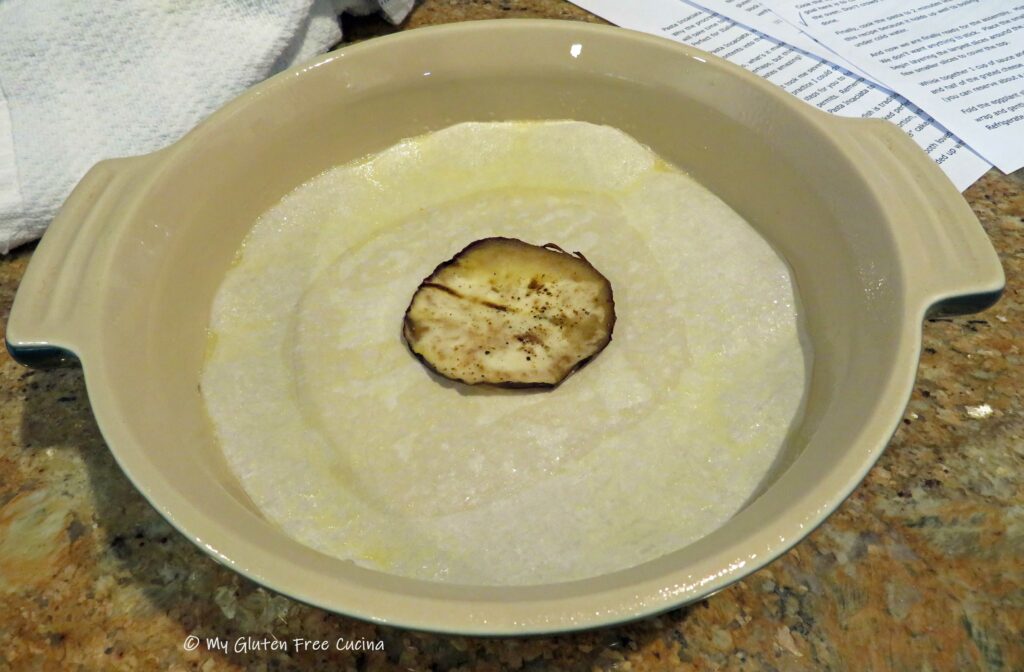
And now (finally) we are finally ready for the assembly. Mist your baking pan or springform pan generously with cooking spray. Cut a circle of parchment paper to fit the bottom of your pan and place the small round of eggplant in the center.
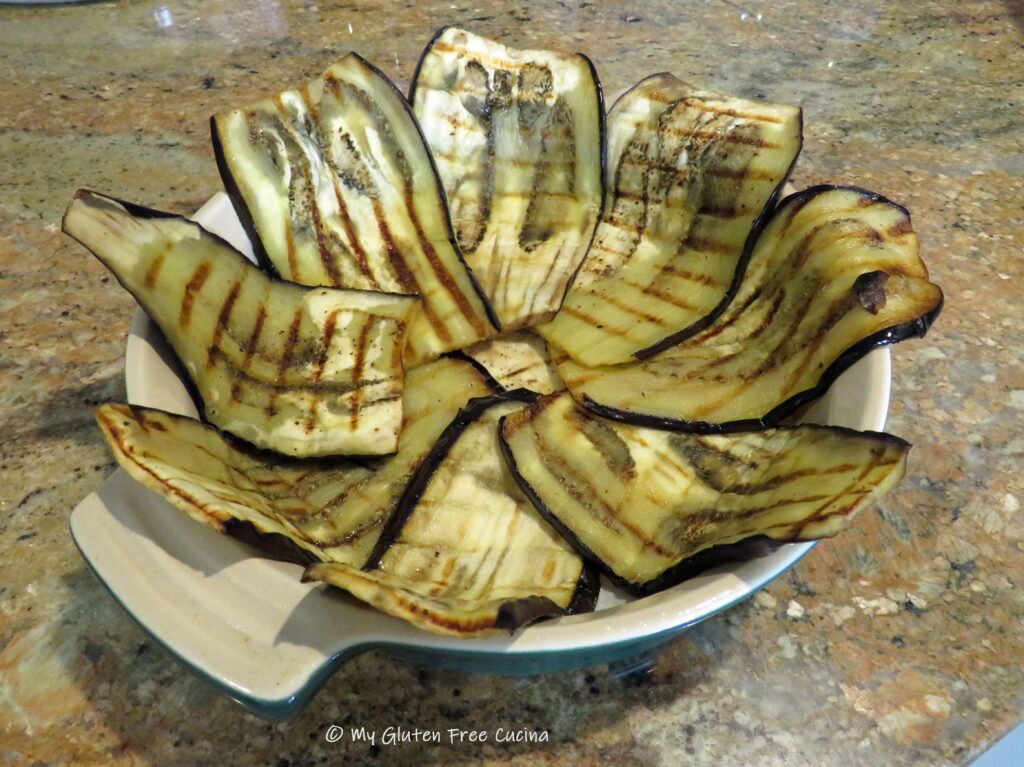
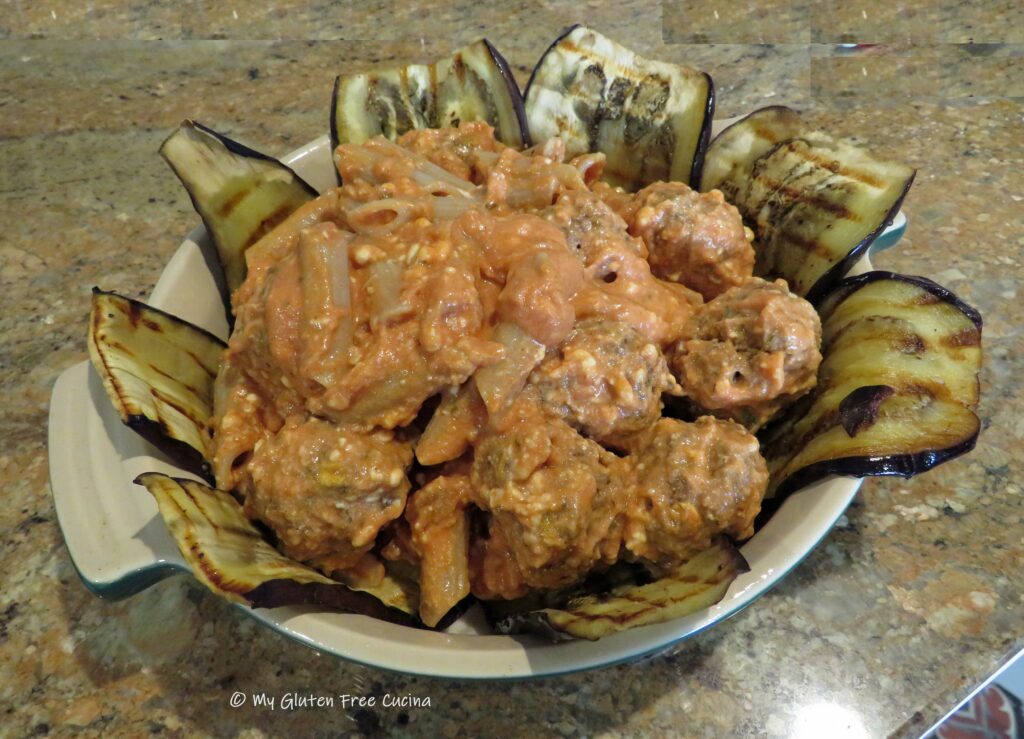
Next begin layering the largest slices around the pan, letting them drape over the side, like this. Save a few smaller slices to cover the top.
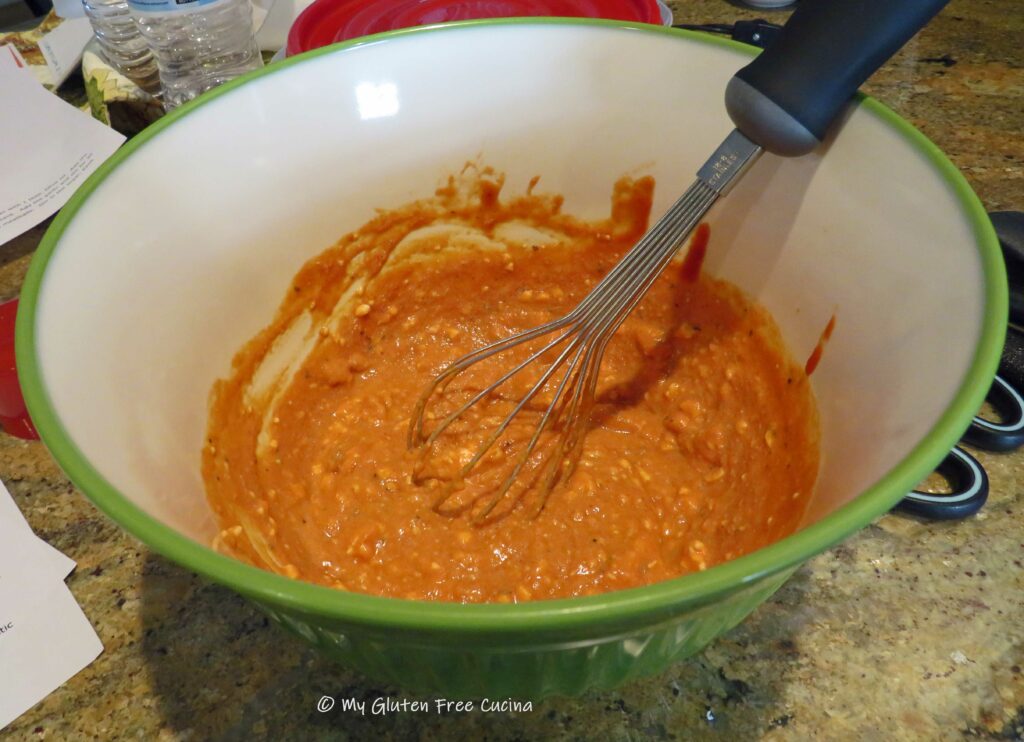
Whisk together 1 cup of sauce and ½ cup of ricotta cheese. Fold in the pasta, half of the meatballs (about a dozen) and half of the grated cheese, then spoon the mixture over the eggplant and top with more sauce (you can reserve a cup of the sauce for serving).
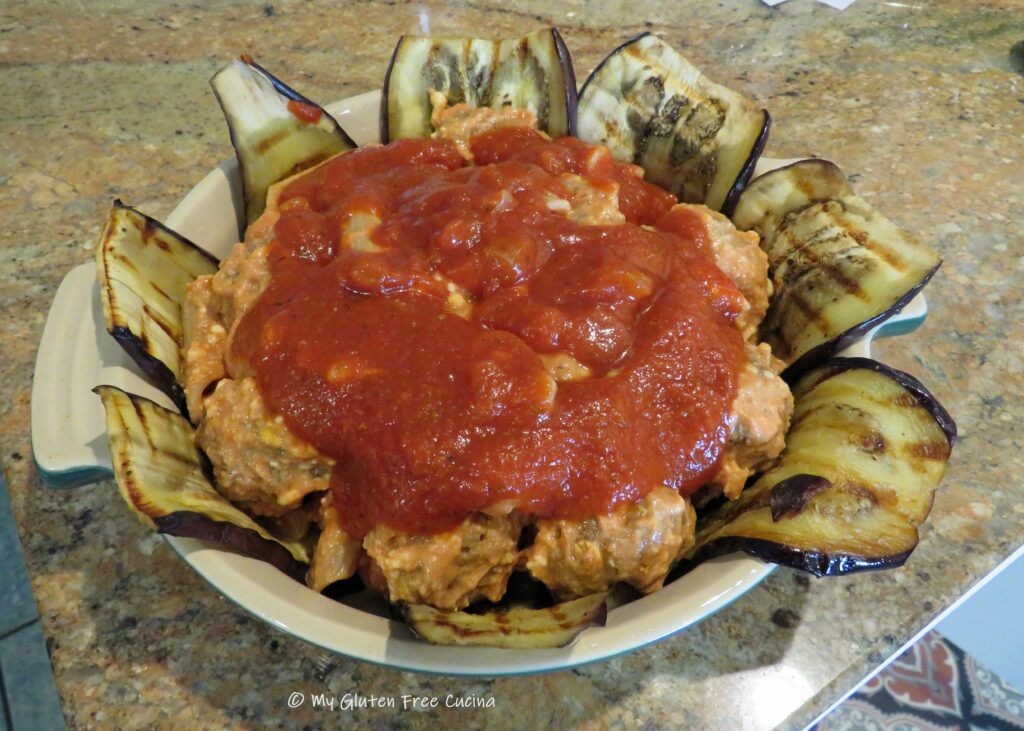
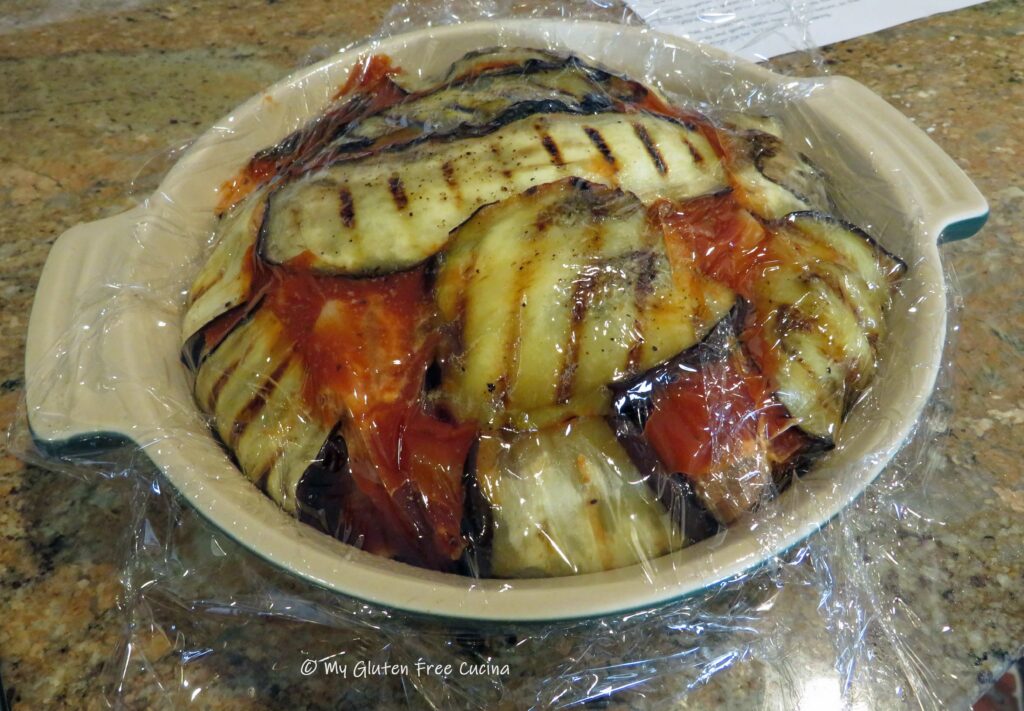
Fold the eggplant slices inward, then use the smaller slices to fill in the center. Cover with plastic wrap and gently press down on the mixture, so that it will set up in the shape of the pan. Refrigerate for 2-3 hours before baking.
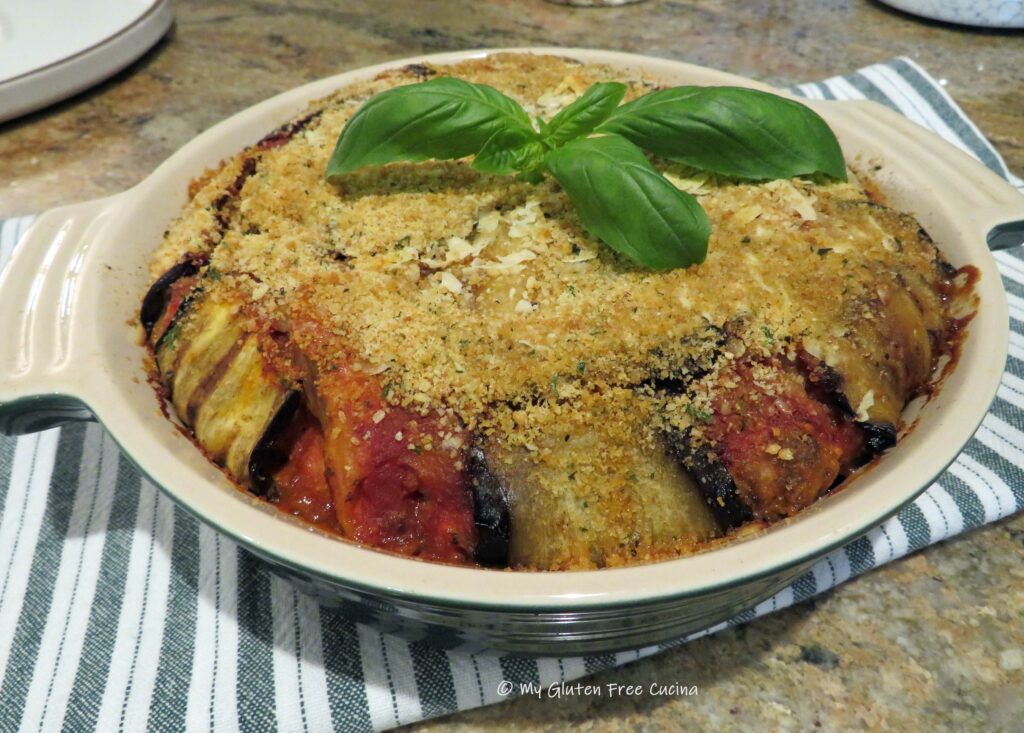
Preheat the oven to 350 degrees. Remove the plastic wrap and sprinkle with the remaining grated cheese and breadcrumbs.
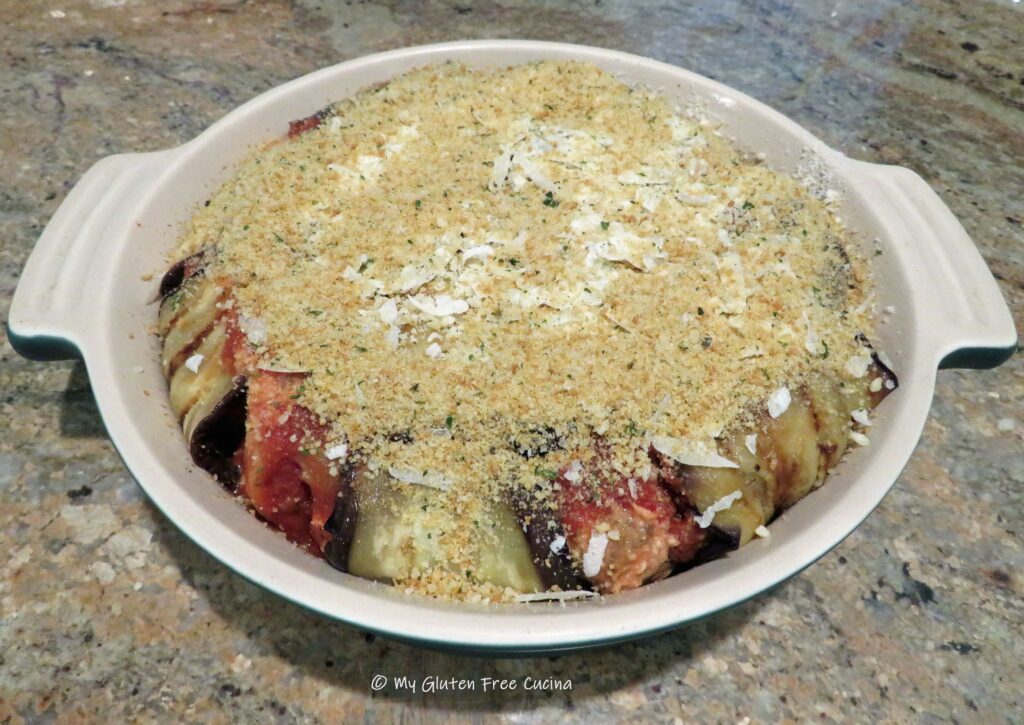
Mist a sheet of foil with cooking spray and cover the pan. Don’t make it too tight, you don’t want the foil to stick. Bake for 30 minutes, then carefully remove the foil and bake 30 minutes more. You should see bubbling on the sides of the pan.
Now for the unveiling. You really could serve it just like this, and I took a lot of pictures in case of a faux pas when I flipped it over!
The easiest way to do this is to run a butter knife around the edges then cover the pan with a plate and quickly invert it. Careful, the pan will still be hot.
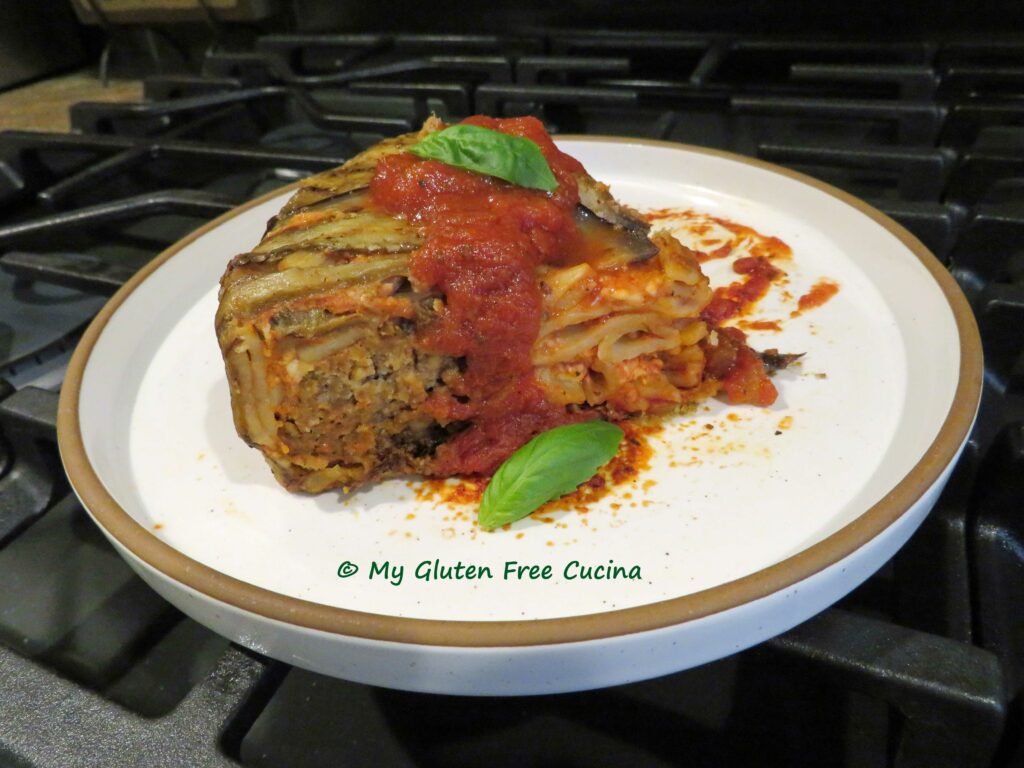
TADA!!! There it is! Peel away the parchment paper and let it rest for 10 minutes before serving. I like to garnish with fresh basil.
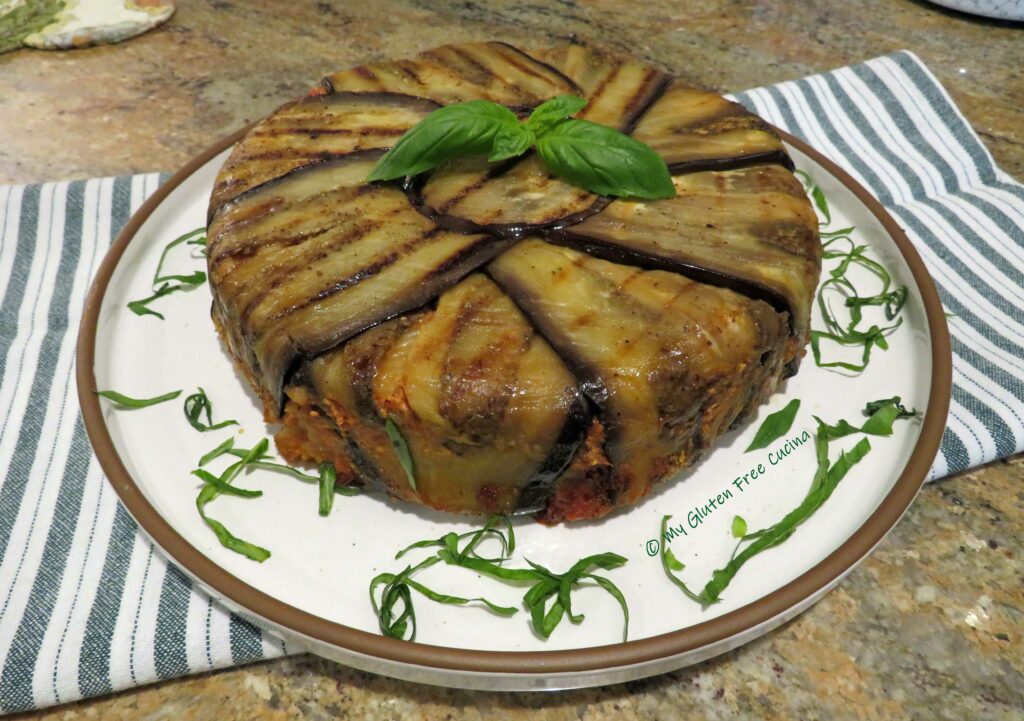
Slice into wedges and serve with more sauce and grated cheese.
Friends, what a meal! This is not a dish that I will make often, but it is truly a joy for this home cook to say that I’ve done it! And as for being gluten free, I promise no one will even know. You do not have to give up delicious pasta dishes on the gluten free diet, and this recipe is a true testament.
Notes ♪♫ Always check ingredient labels. You know that your pasta and breadcrumbs must be gluten free, but don’t forget to check the sausage. How about that grated cheese? I always buy a block of cheese and grate my own, so I don’t have to worry about additives. For those who cannot have oats, you can add a bit more potato flakes and breadcrumbs to the meatballs.

 Print This Post

 Preparation:
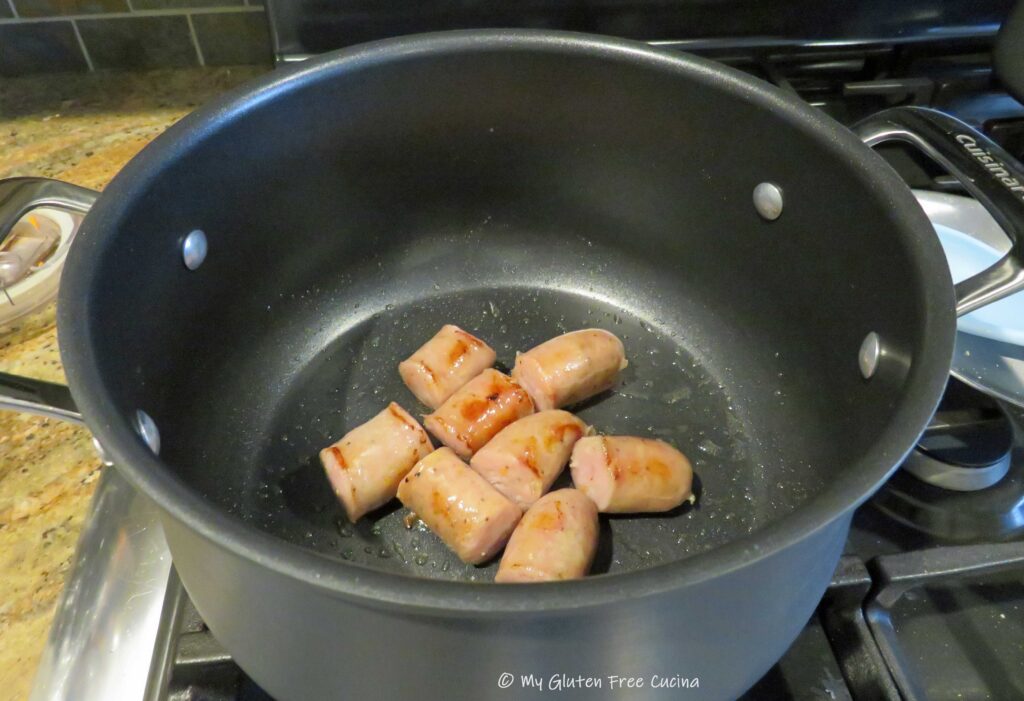
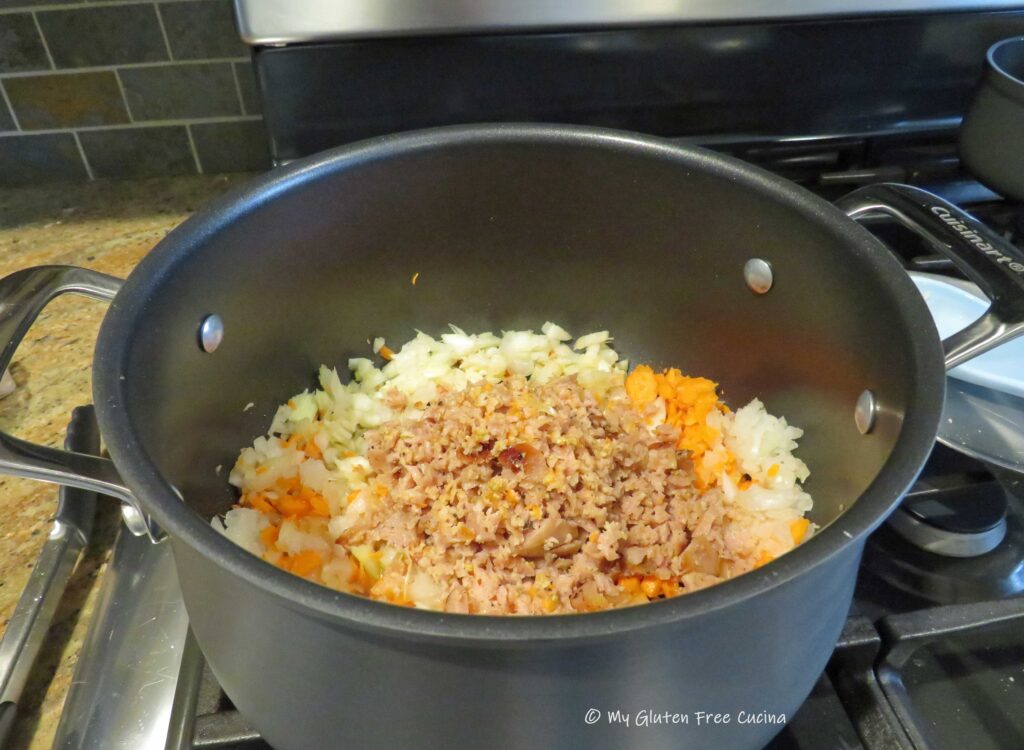
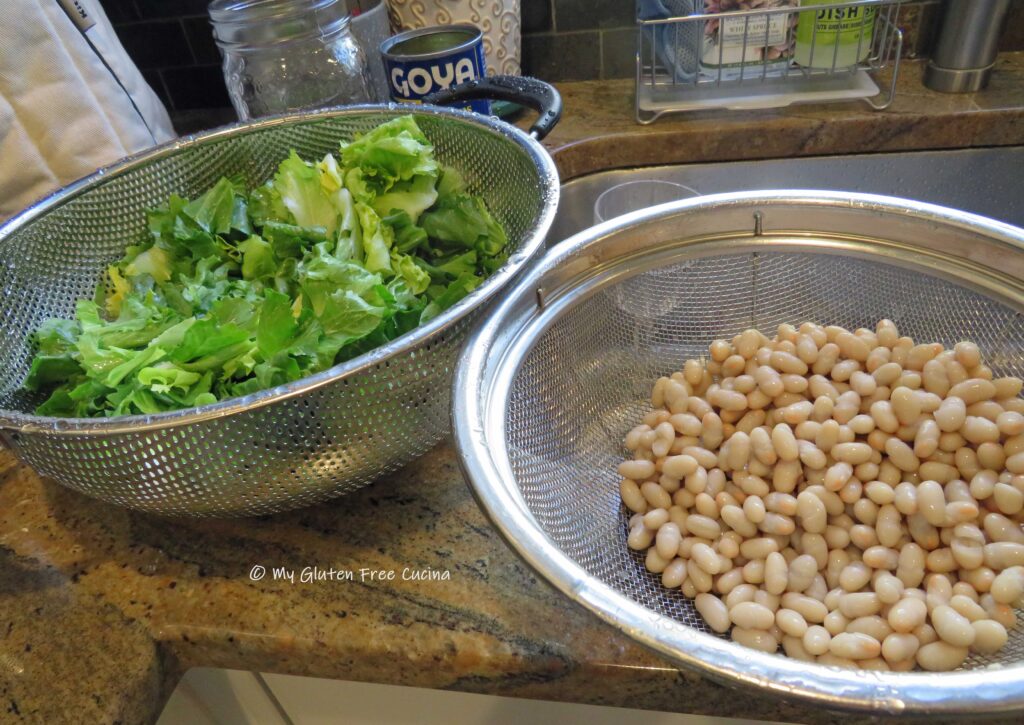
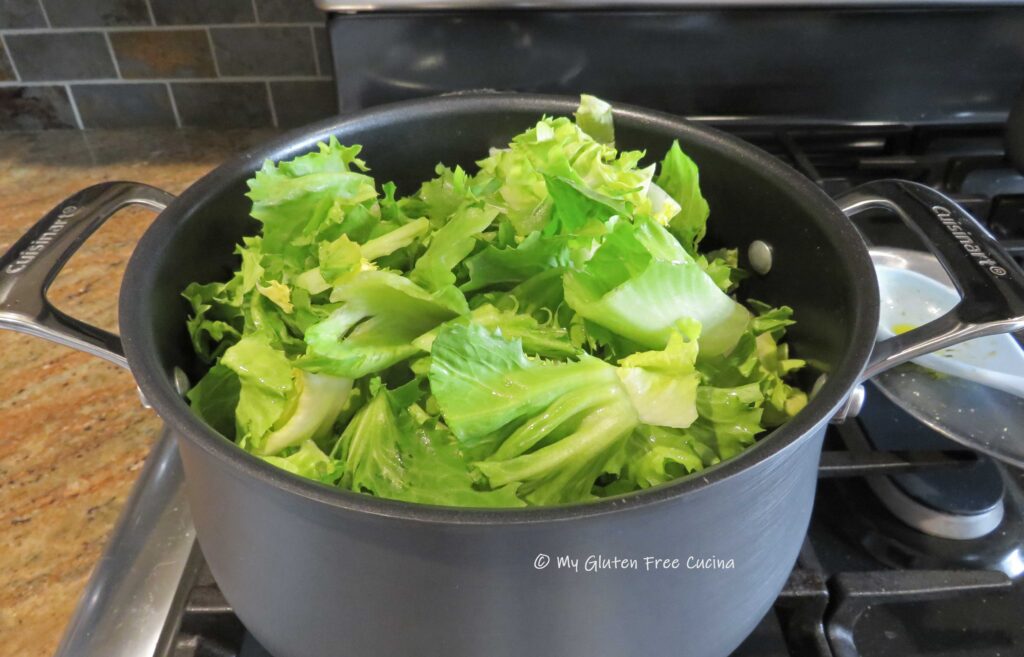 Cover and simmer on low for another 20 minutes. Taste for seasoning and add salt if needed. Garnish with fresh parsley and serve with gluten free crackers and/or grated cheese.
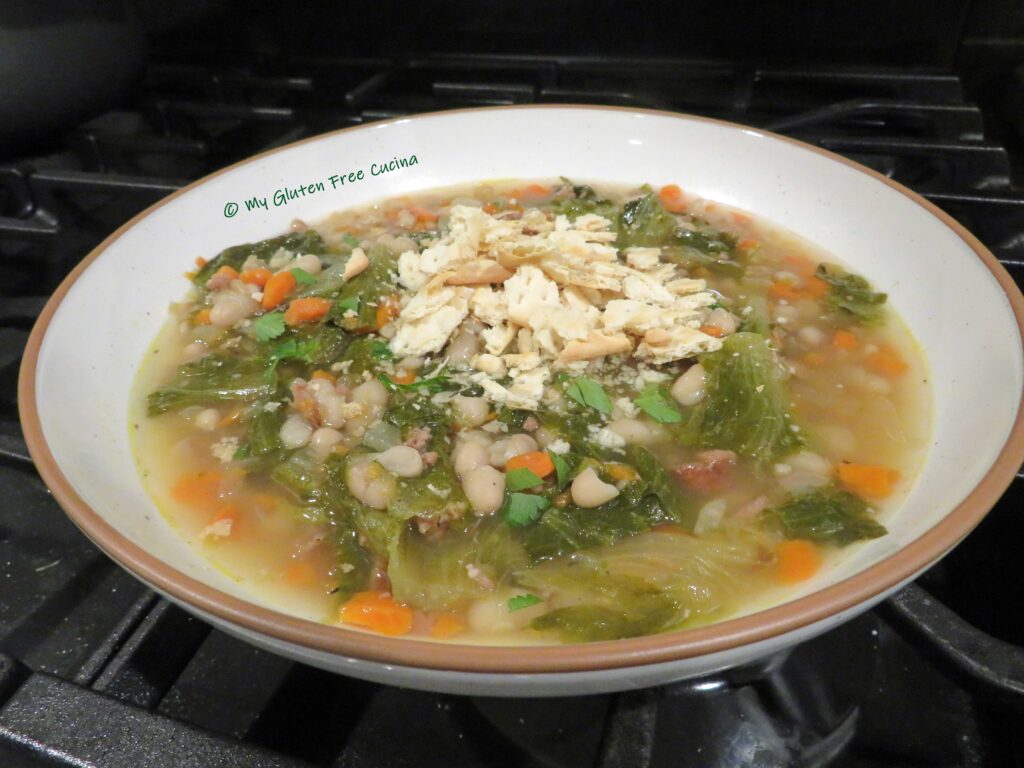


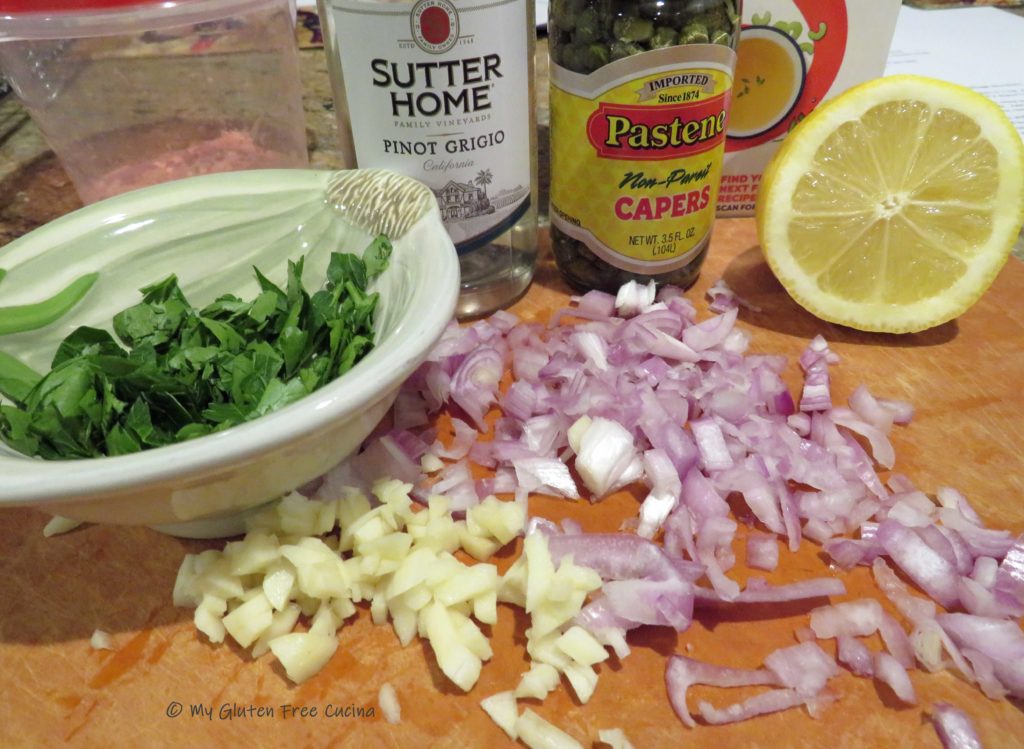
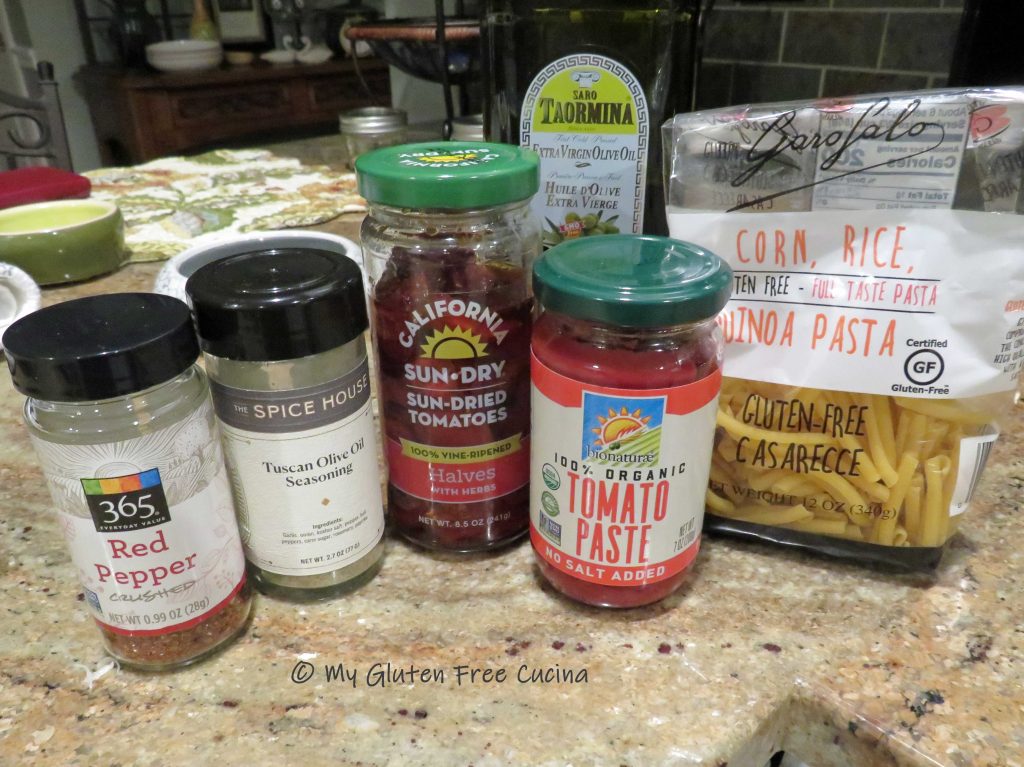
 Ingredients:
 Preparation:

 Work with one section at a time, and keep the remaining dough covered so it doesn’t dry out. Start by rolling each section into a cylinder, like this.
 Cover and let it rest for 10 minutes. This is the secret to working with gluten free dough. Remember, it doesn’t stretch like gluten dough, but after a little rest it will be more cooperative. I repeated this process twice, before I finally was able to roll each section of dough into a rope, 3/4″ thick.
 Use a
Use a 

 Line a baking sheet with parchment or waxed paper, and dust lightly with flour. Place the finished Orecchiette on the baking sheet. Cover with plastic wrap and refrigerate if not cooking immediately.

 Slide the Orecchiette into the water and cook for 3 minutes, stirring occasionally. They will float to the top.


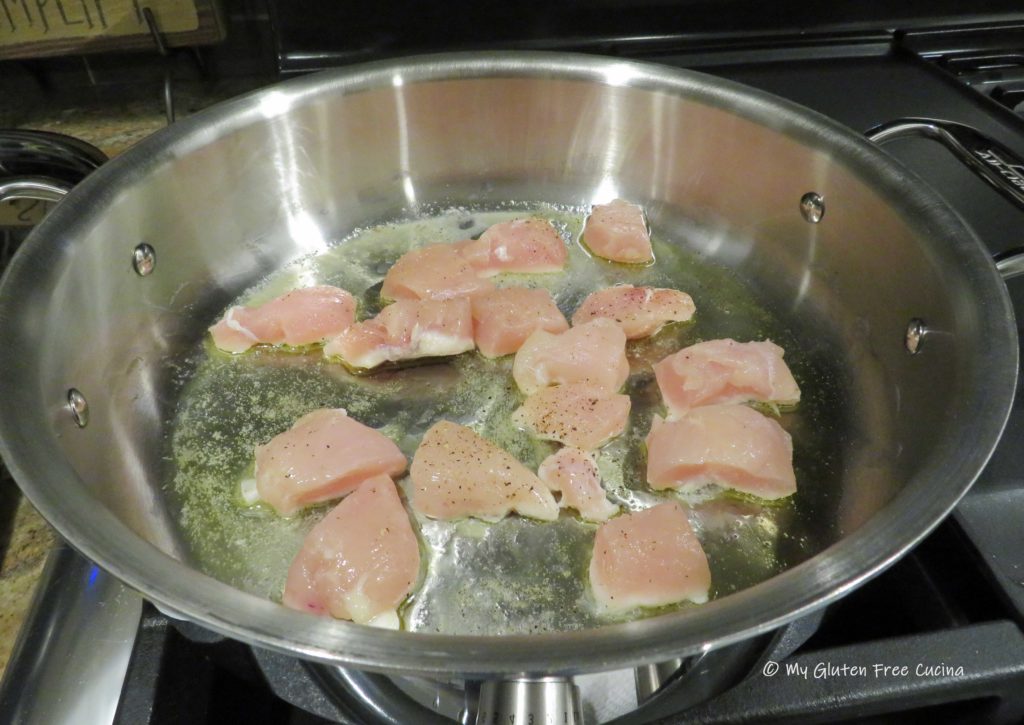
 Preparation:


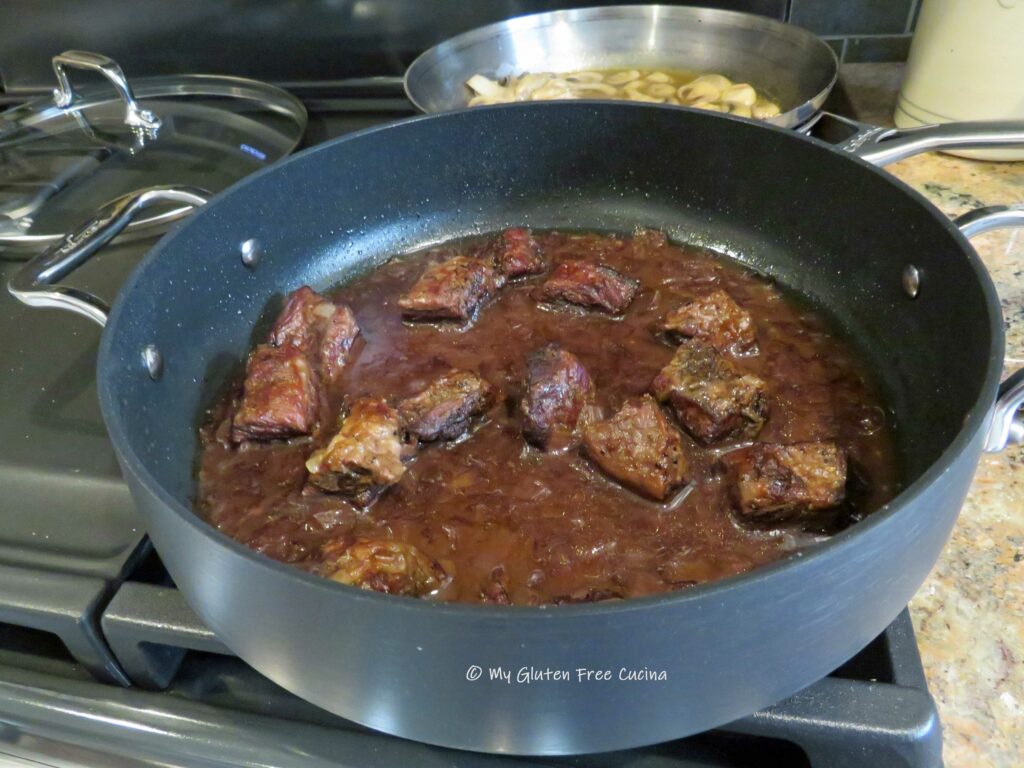


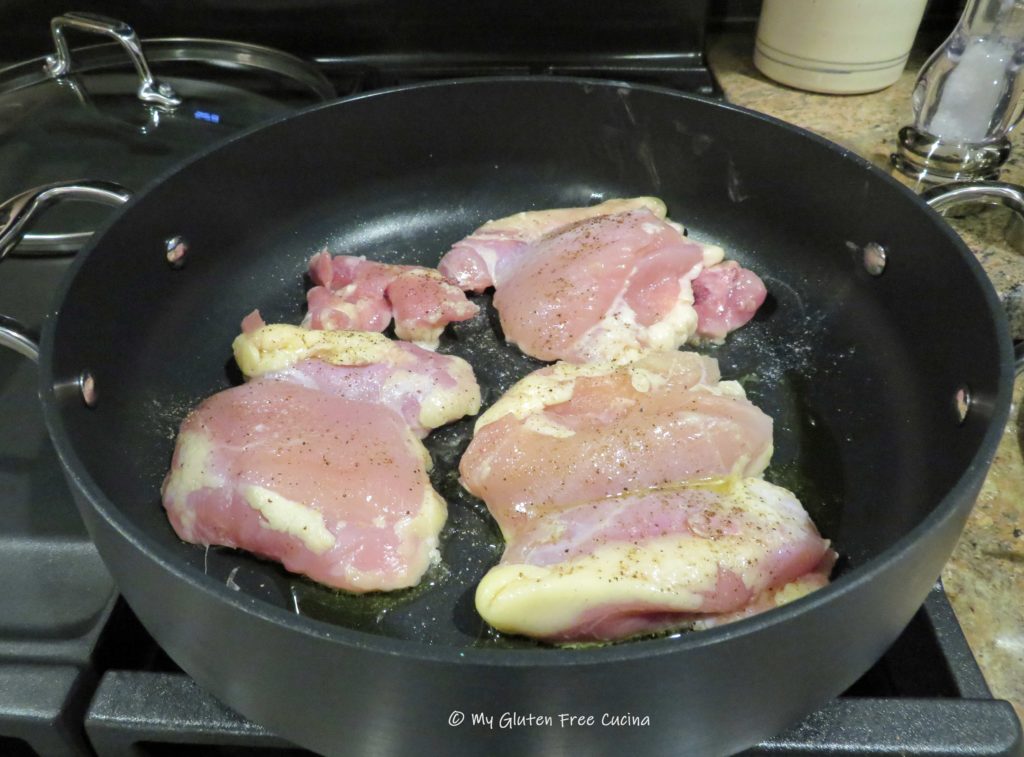
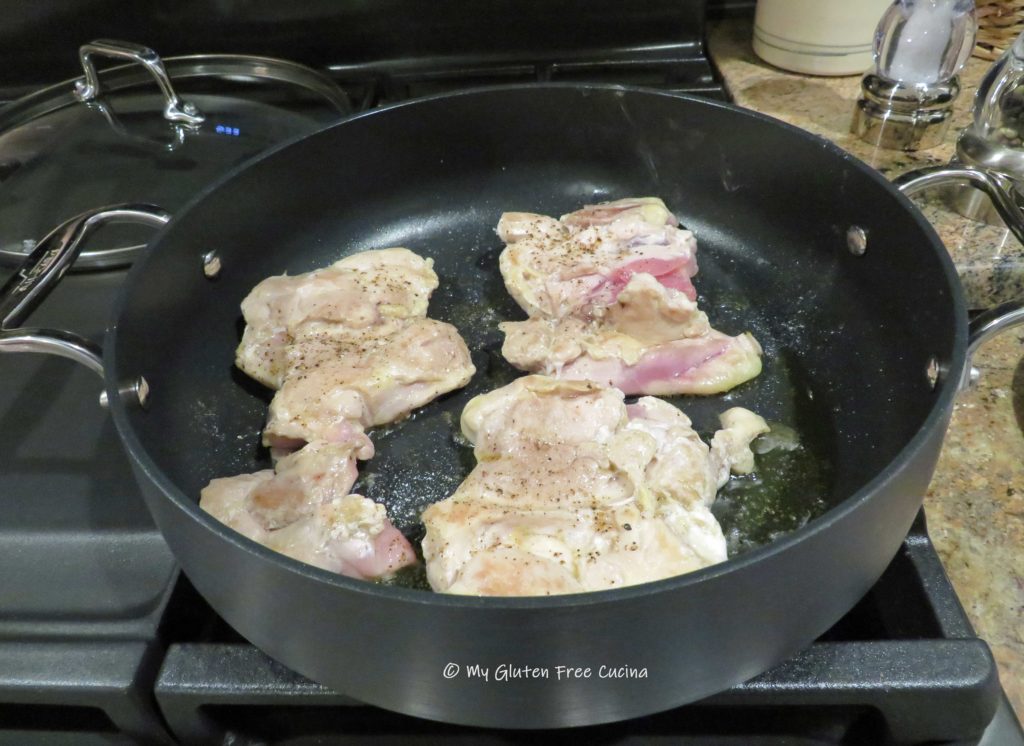

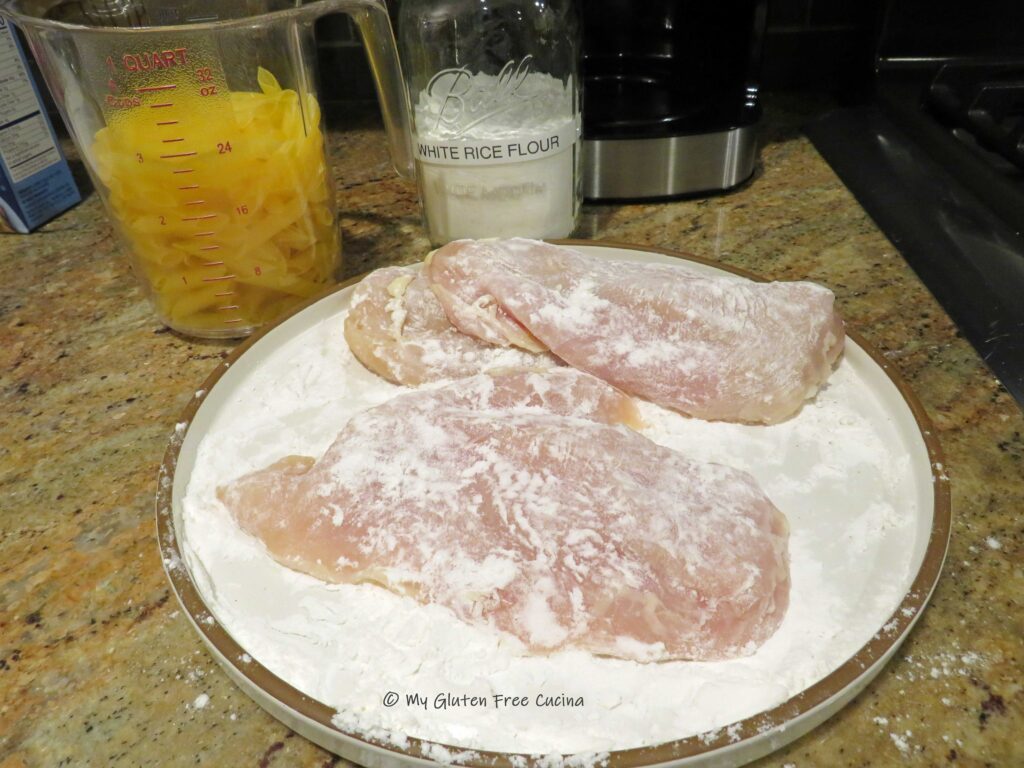
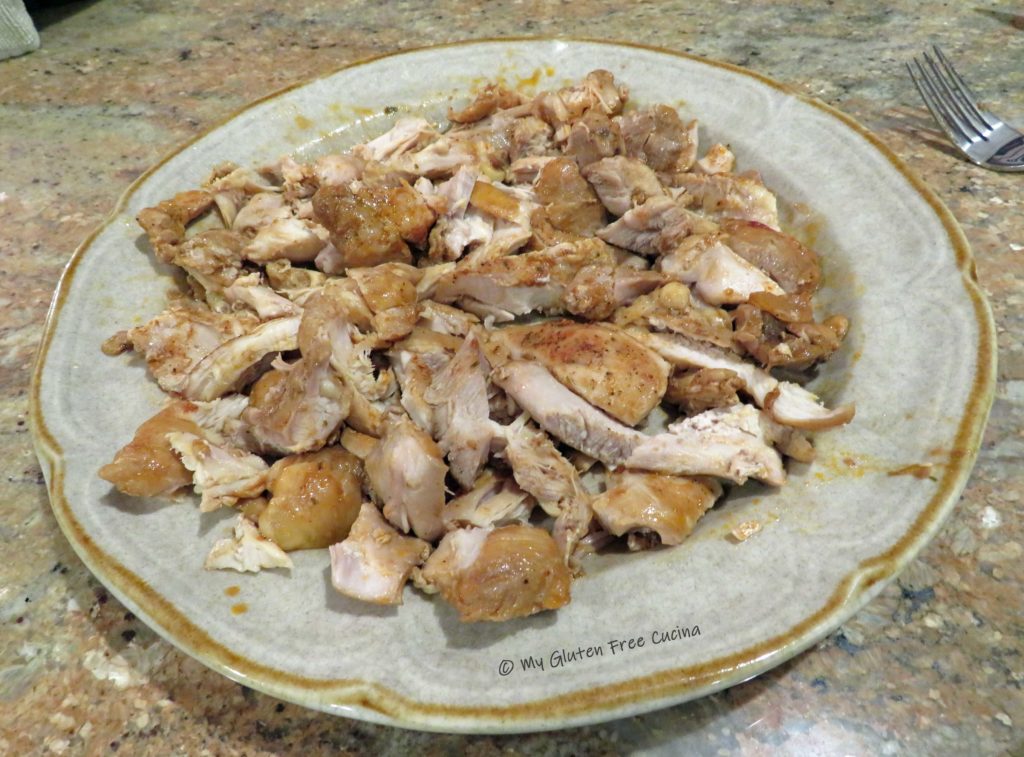
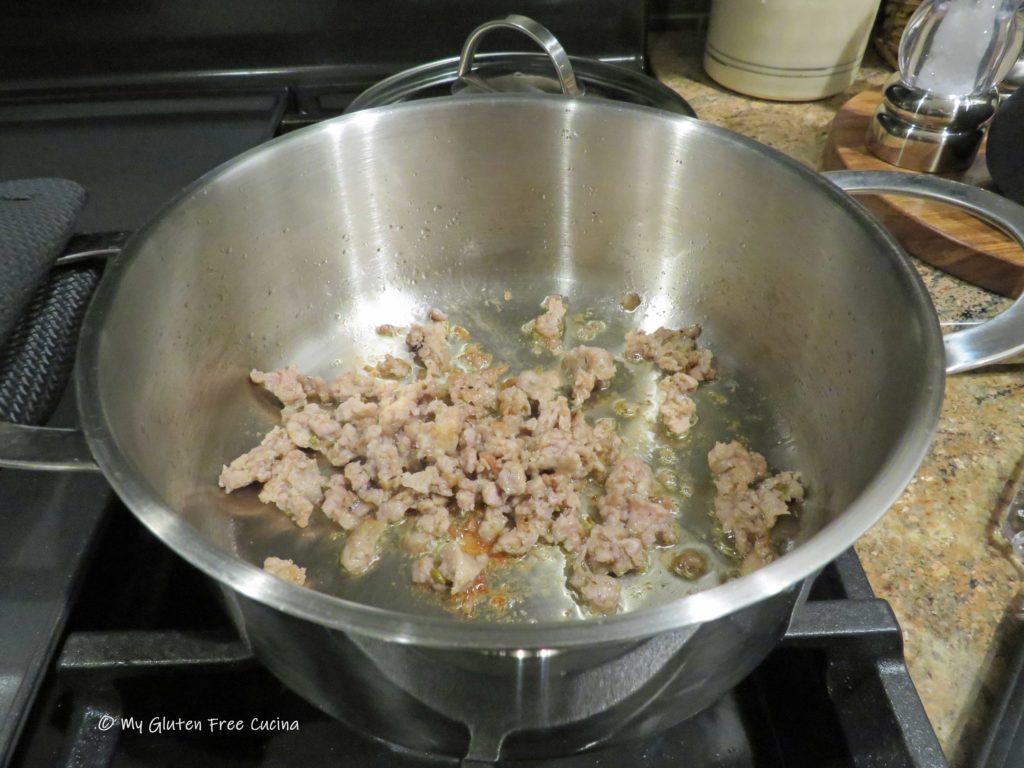
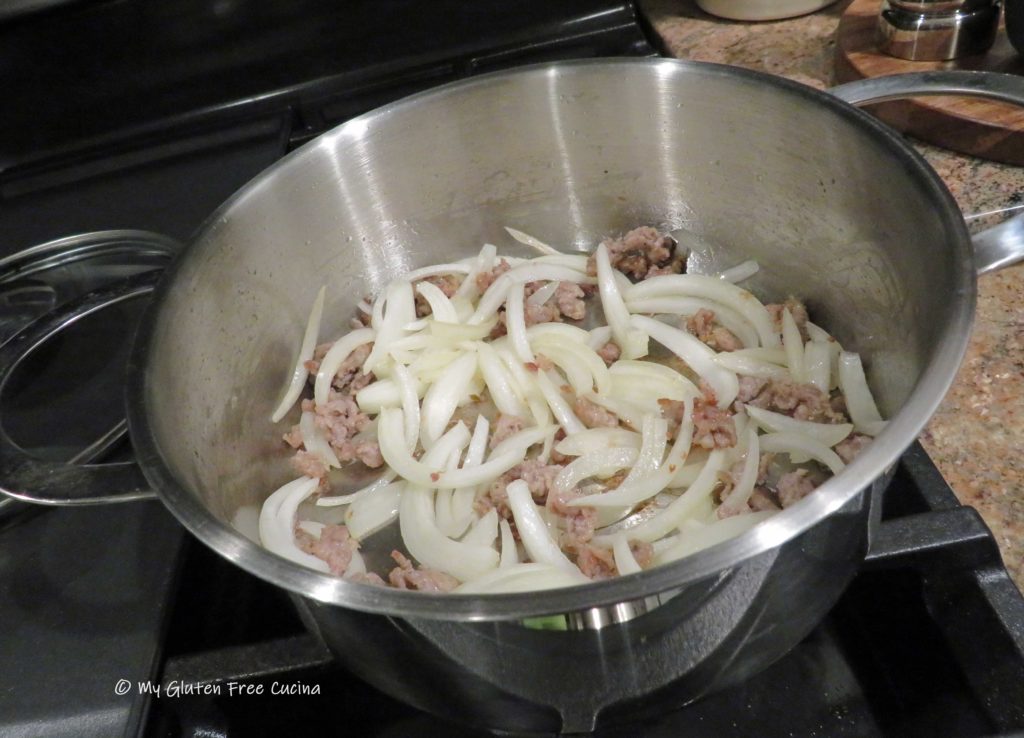
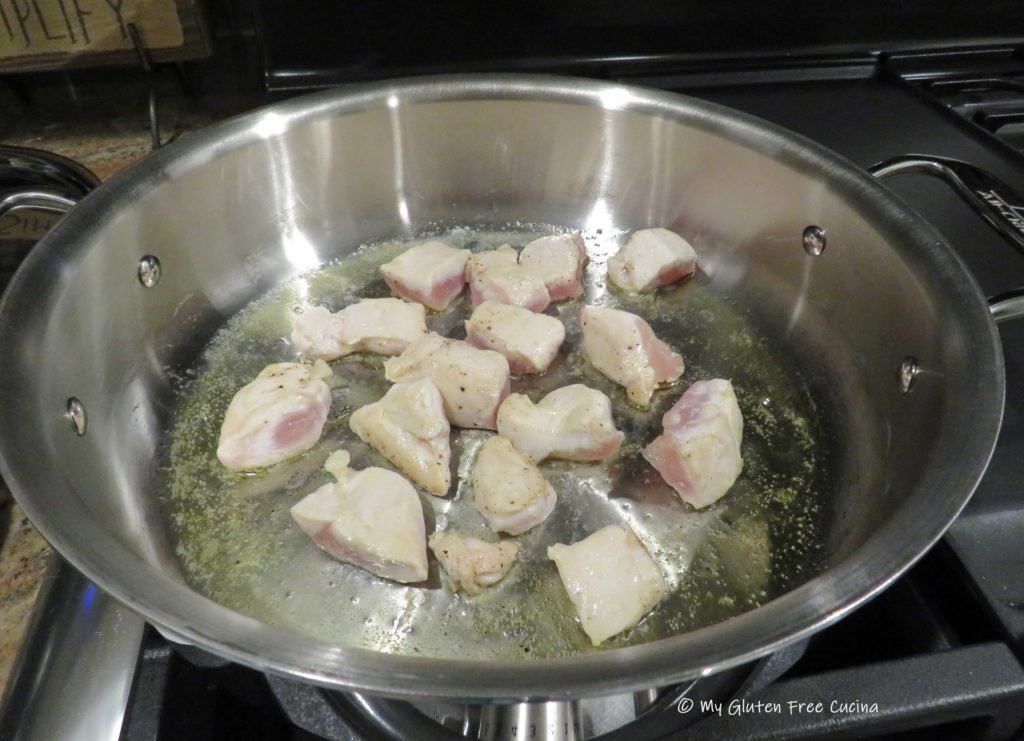
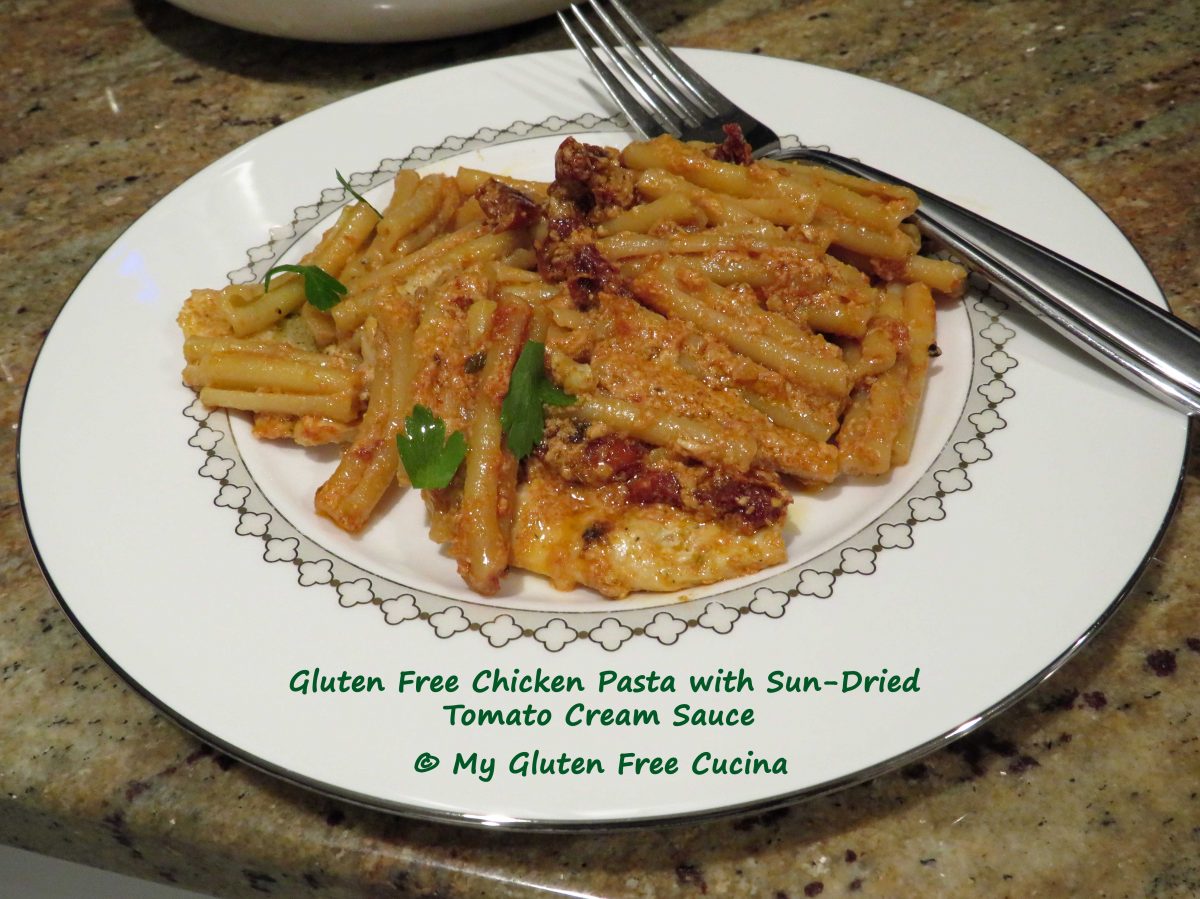
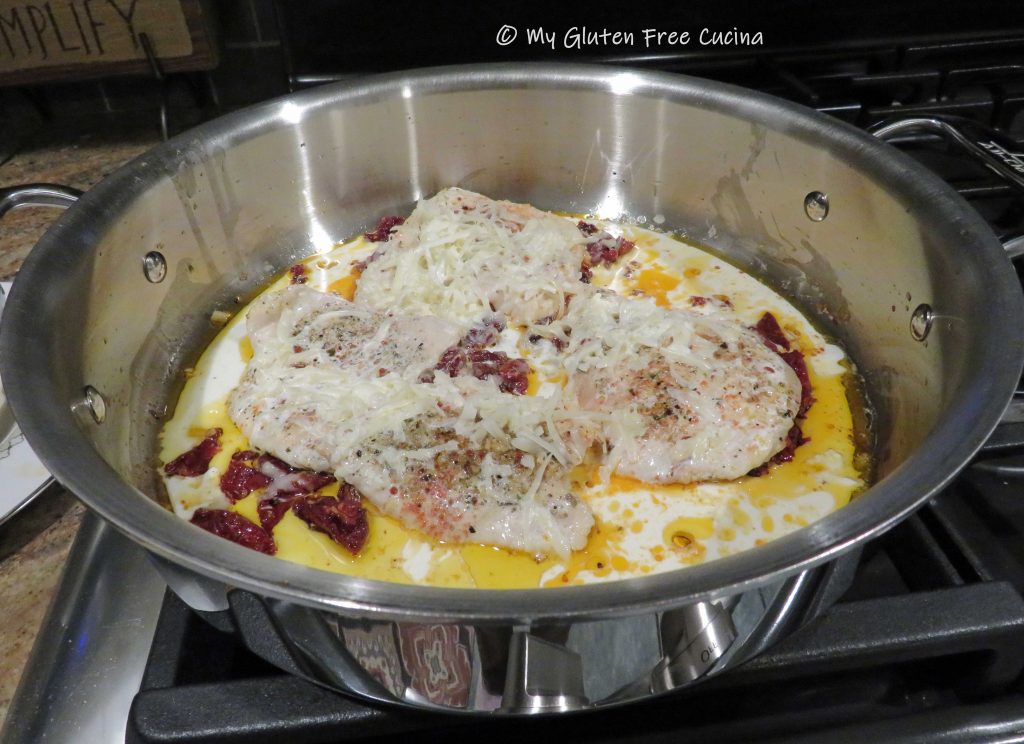
 Add the chicken back to the pan with about 1 cup of chicken broth. Cover and cook for 25 minutes.
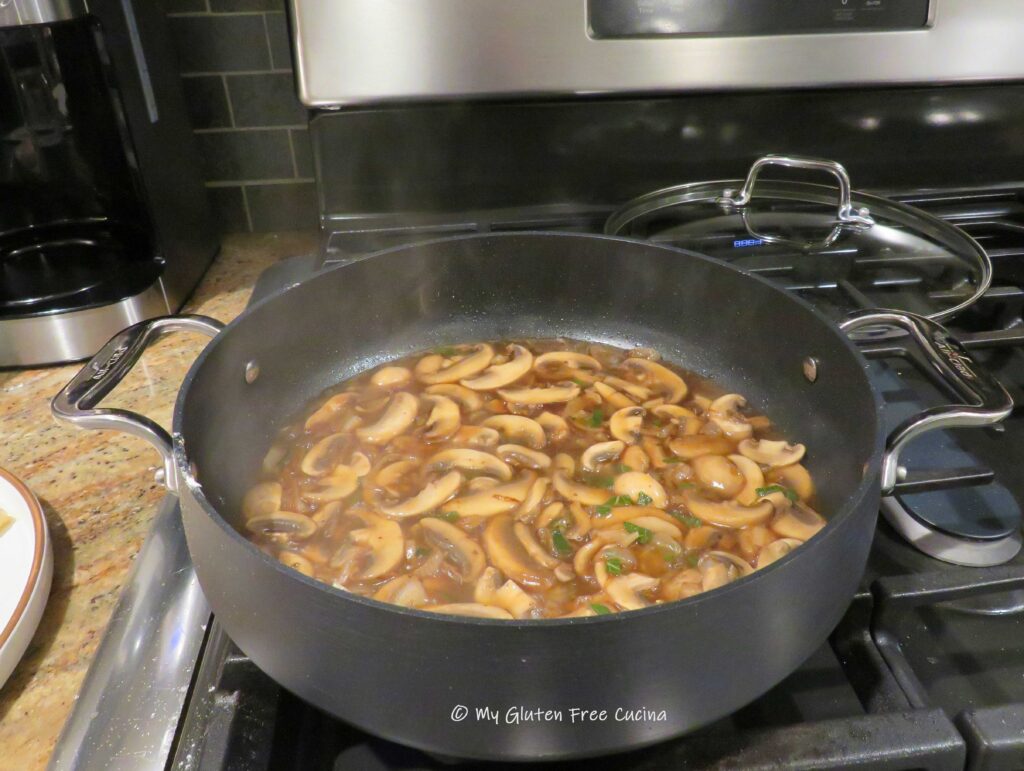
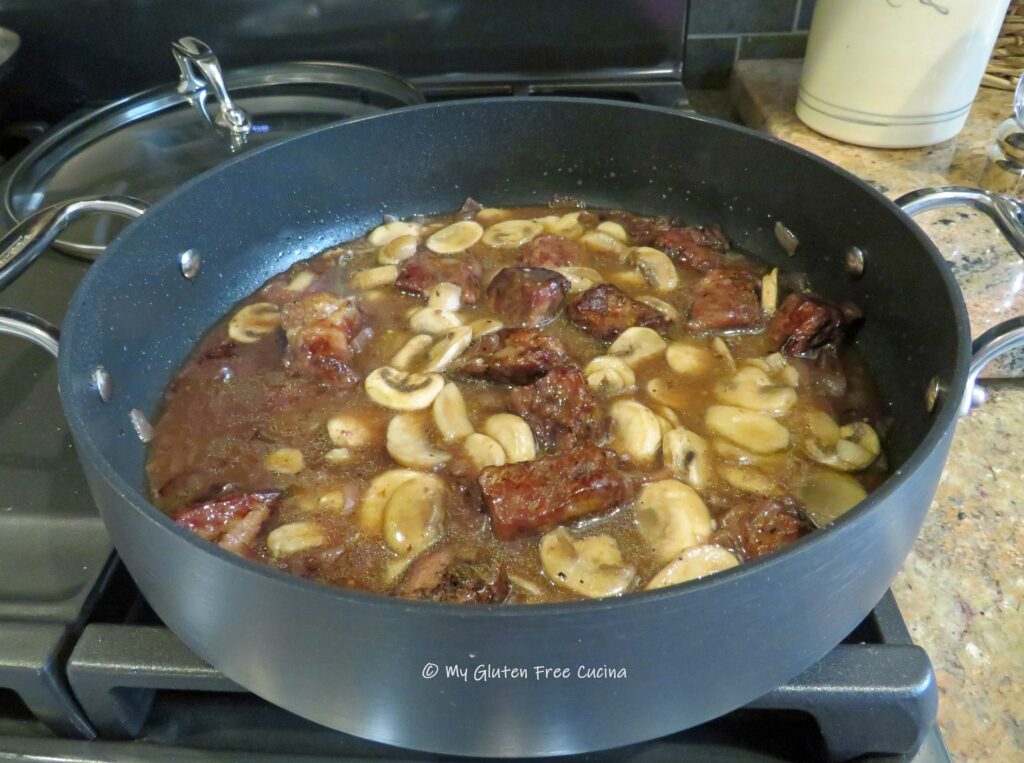
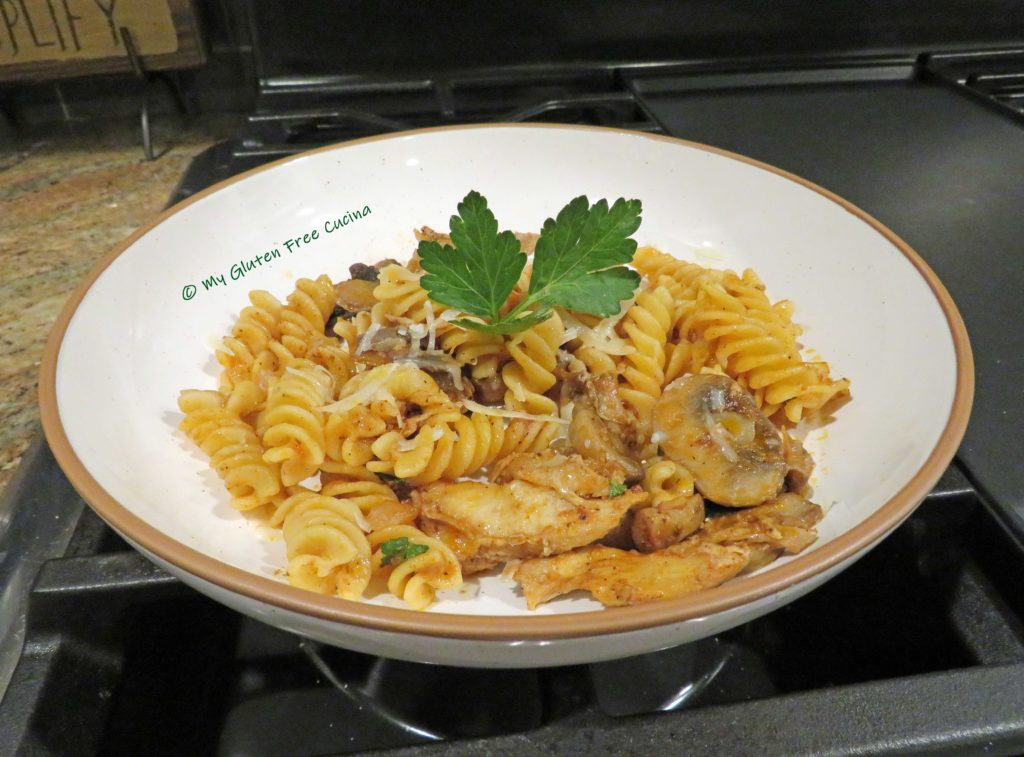
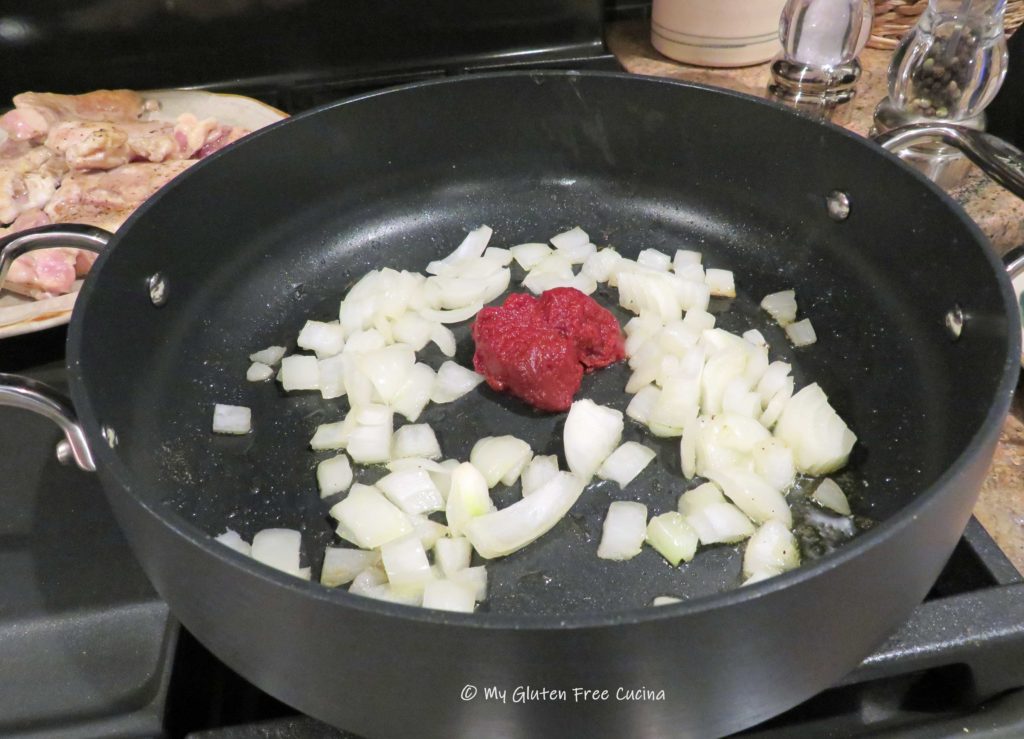
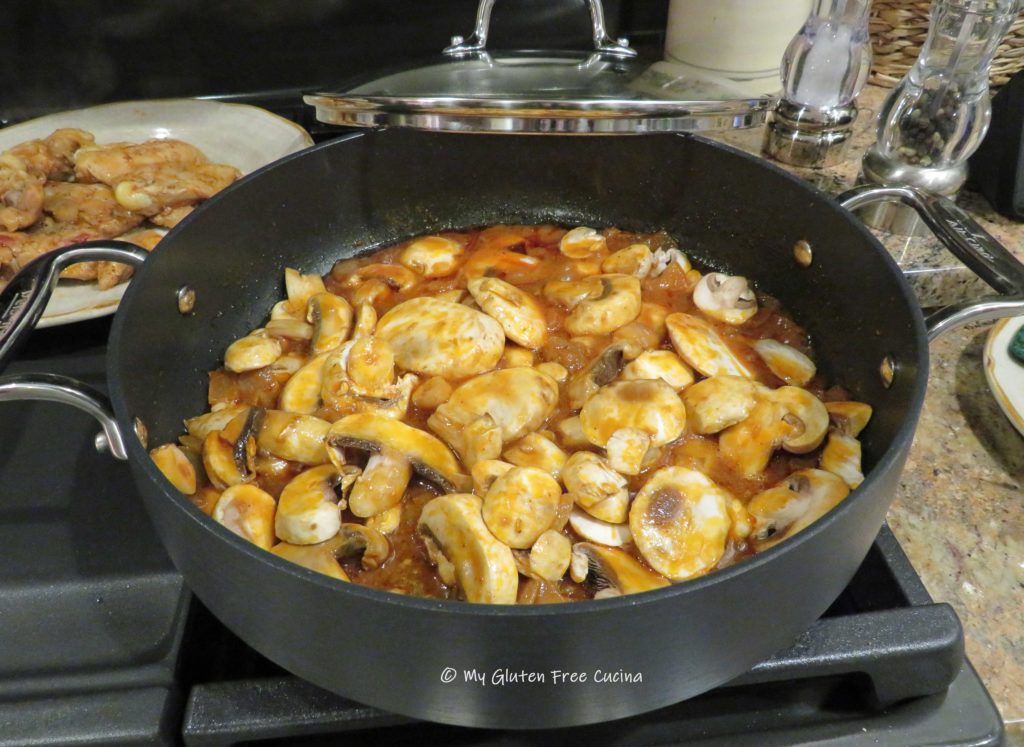 Bring to a simmer and add back the chicken. Cook for an additional 15 minutes. While the ragu finishes, boil water for pasta.


 Cover and simmer on low for 20 minutes, adding a bit more water if it seems dry.

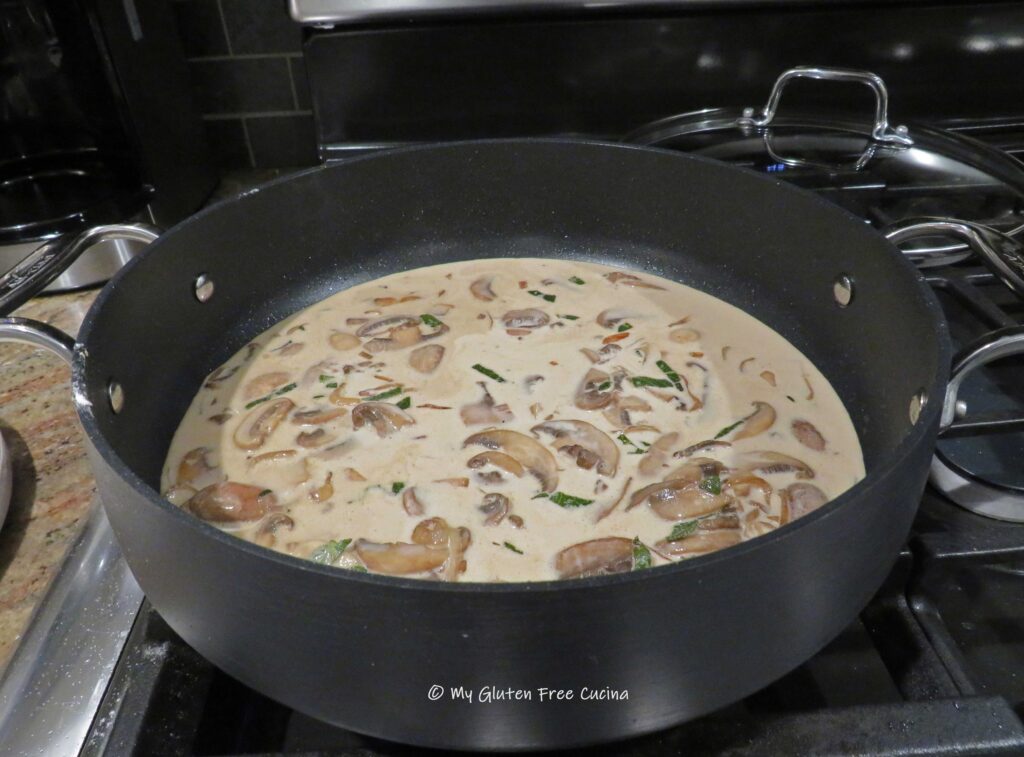
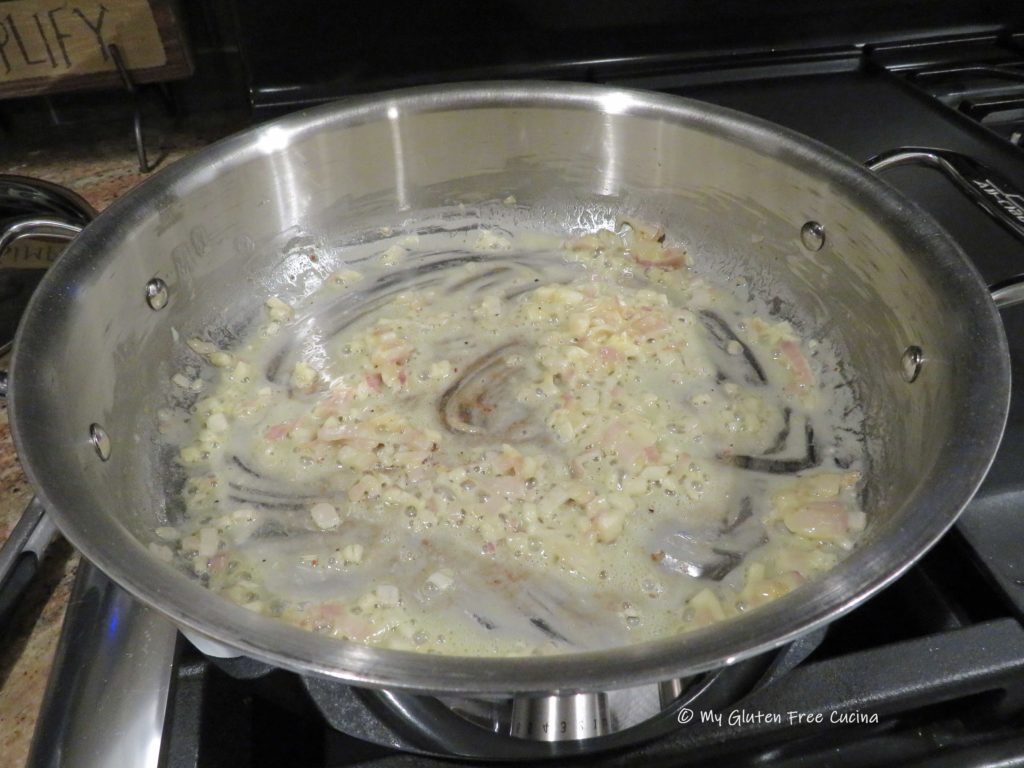 Drizzle the liquid into the pan as you continue whisking.
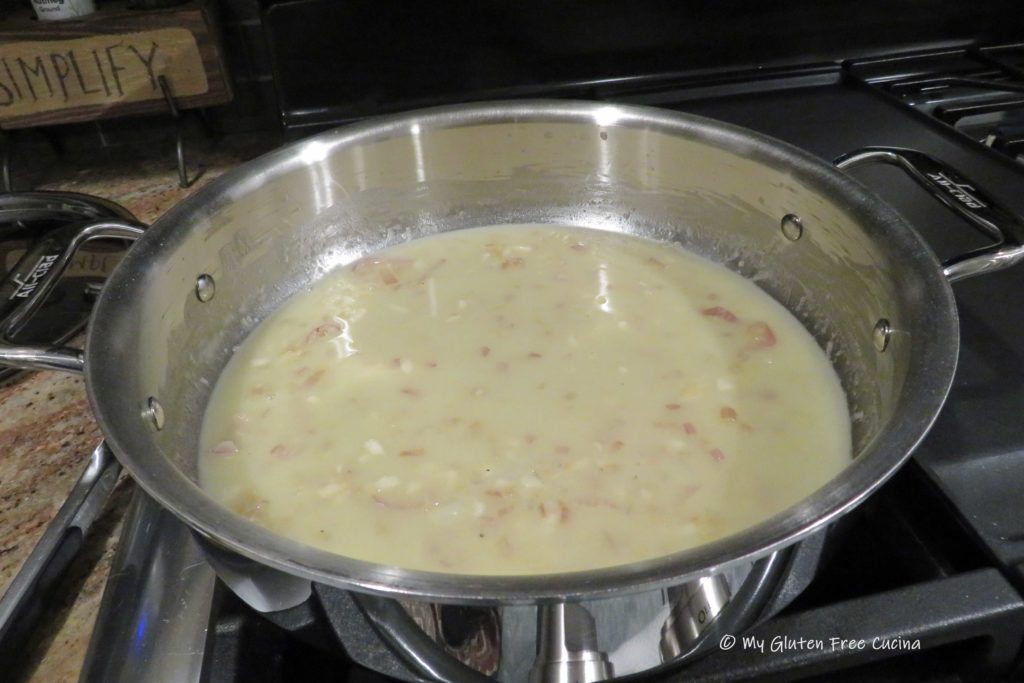

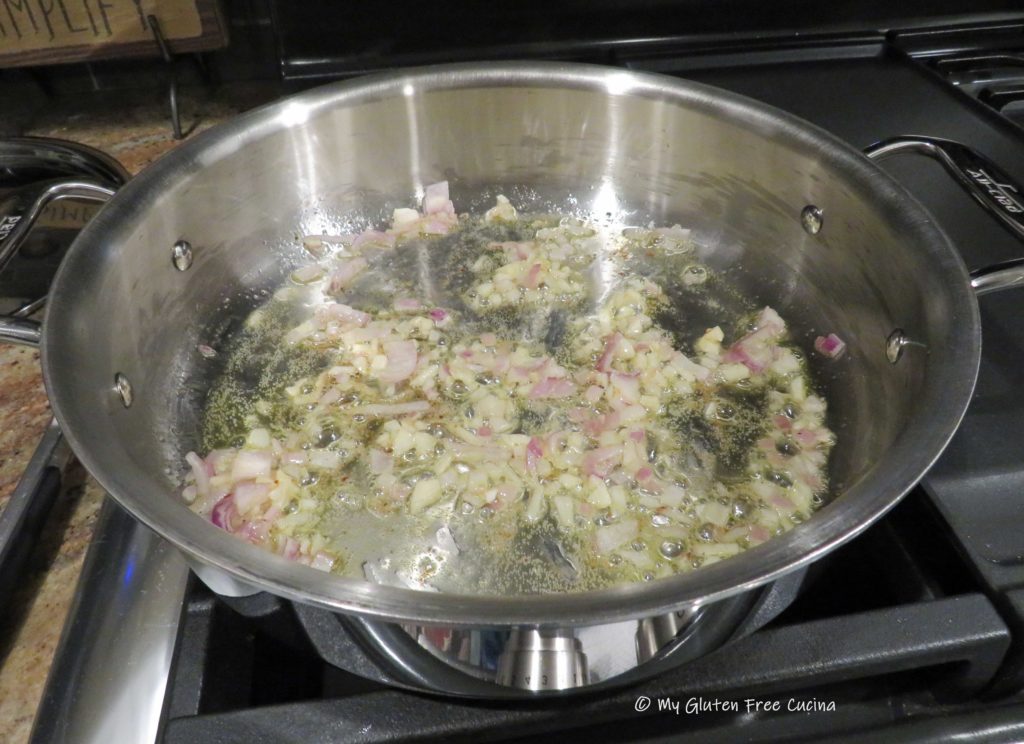
 Preparation:
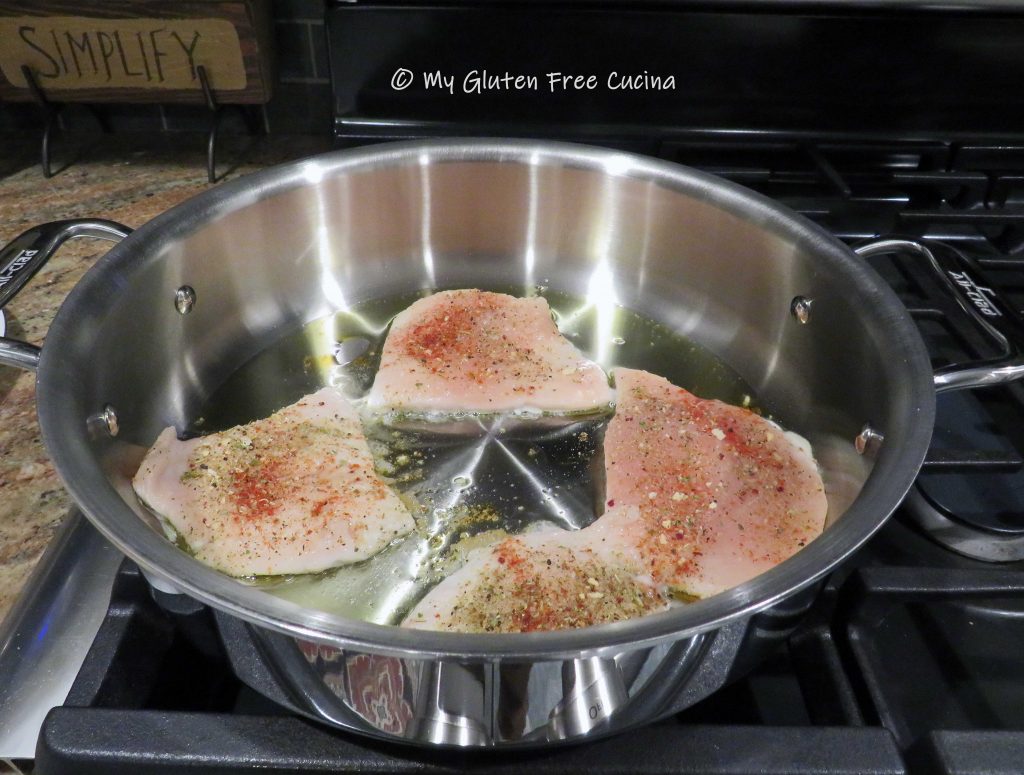
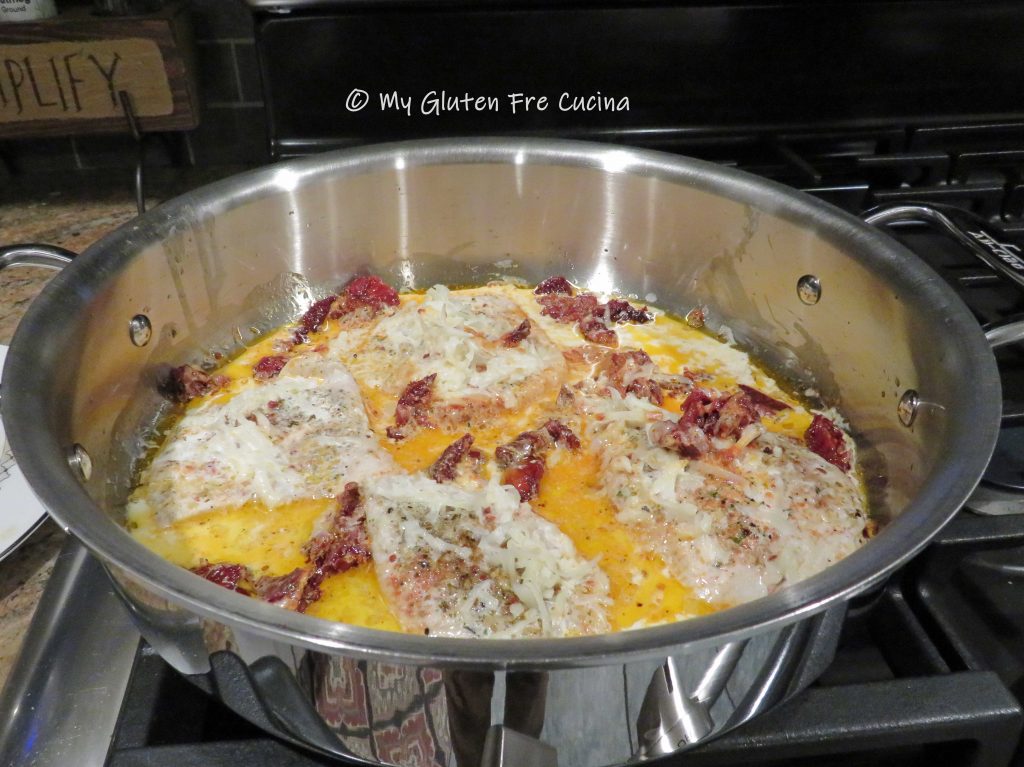
 By now the pasta water should be ready, cook the pasta to a few minutes less than the package directions, it will finish cooking in the sauce.
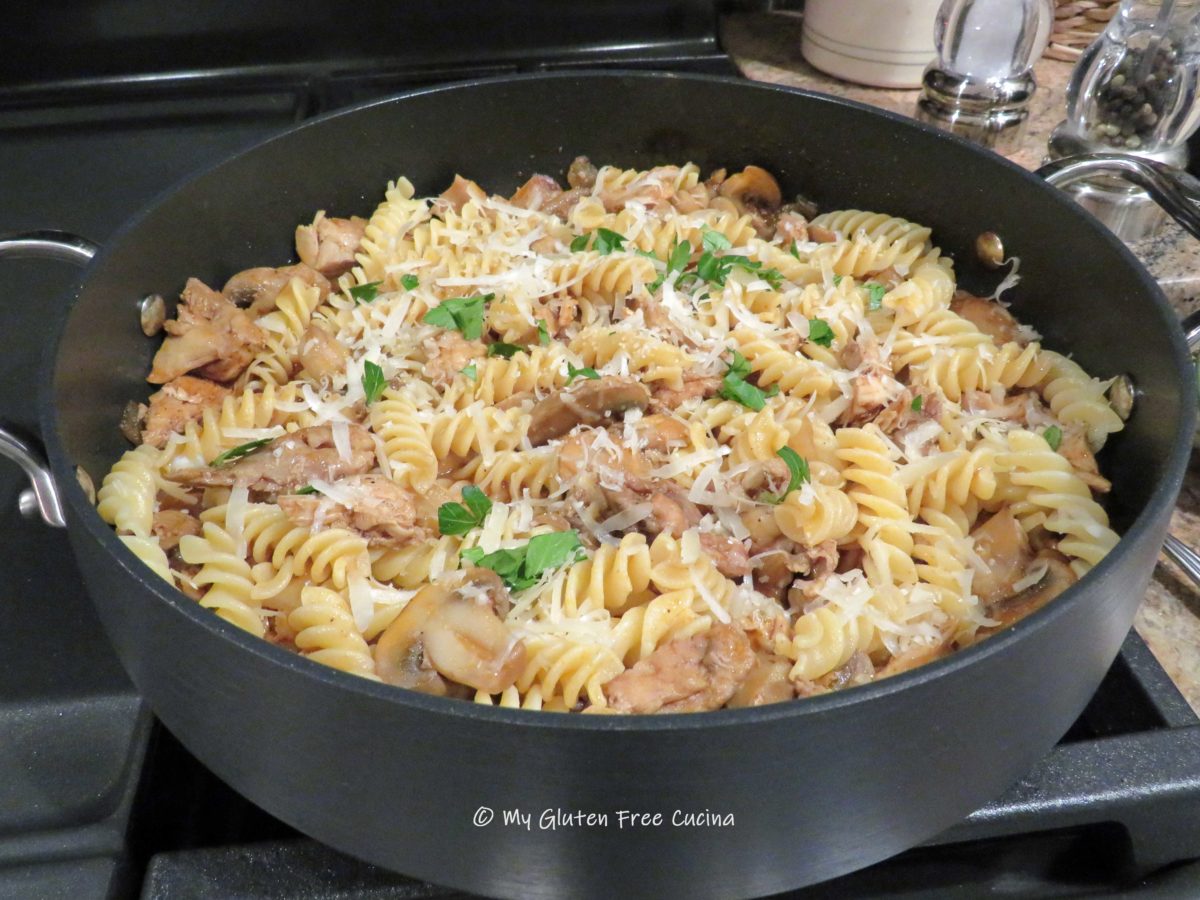
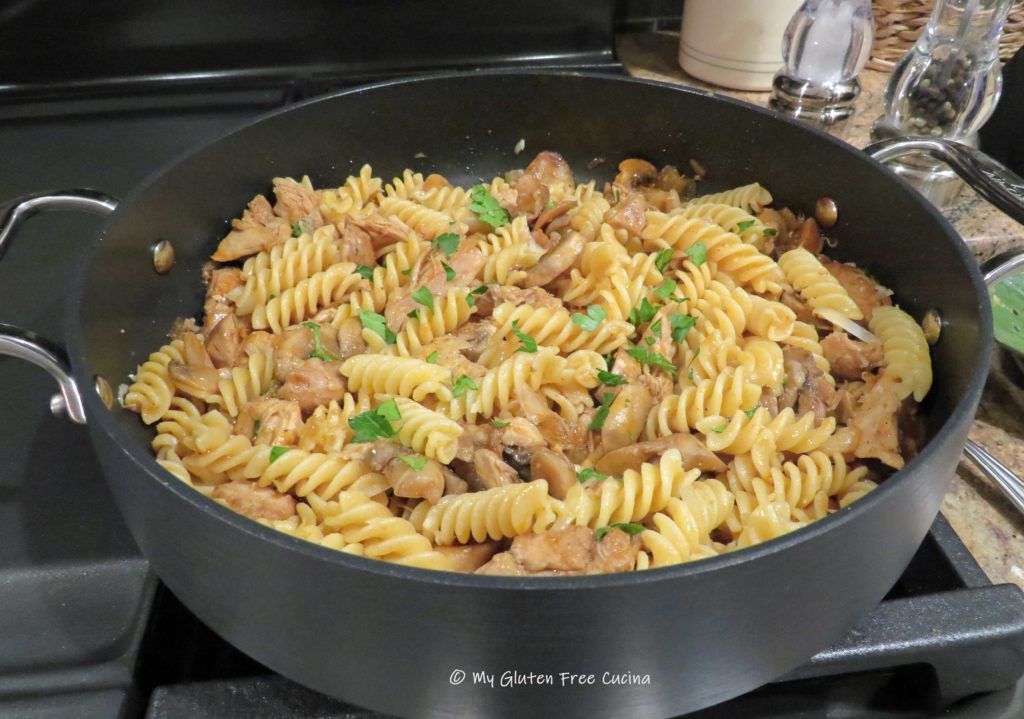
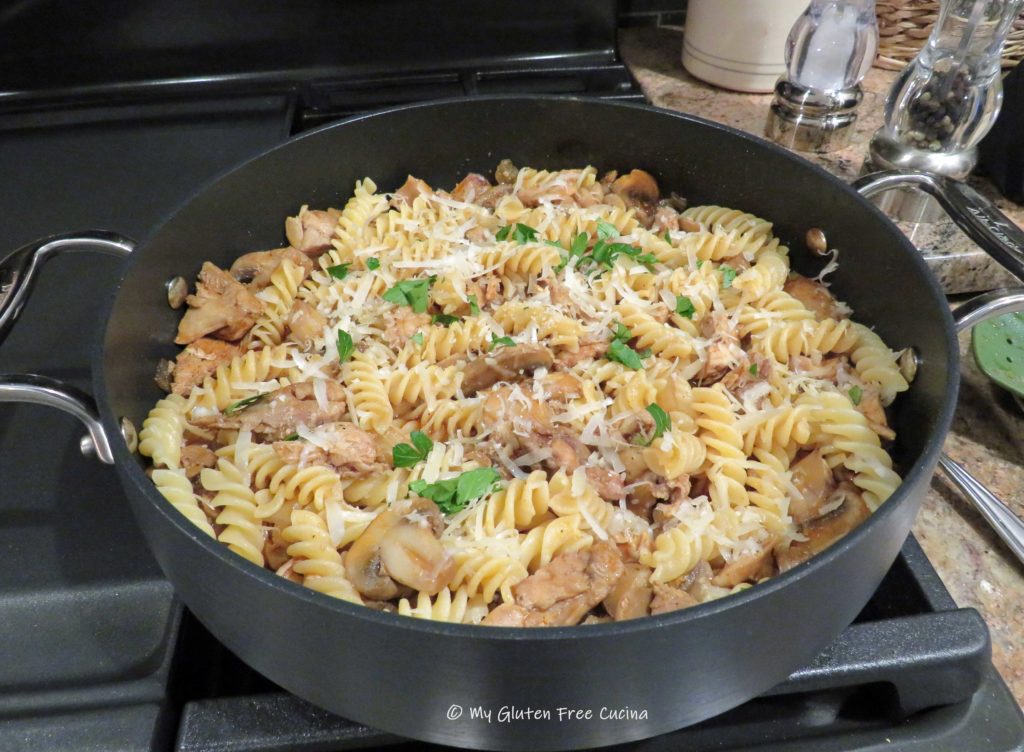
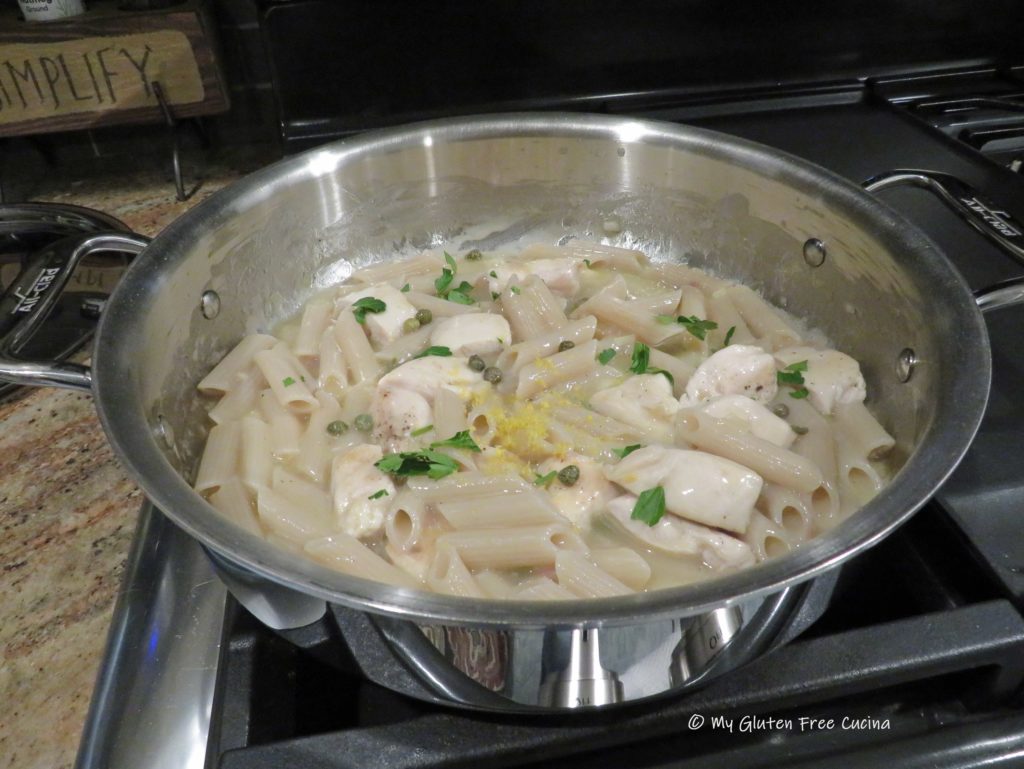
 Cook for 1 minute, stir it all together and return the chicken to the pan.
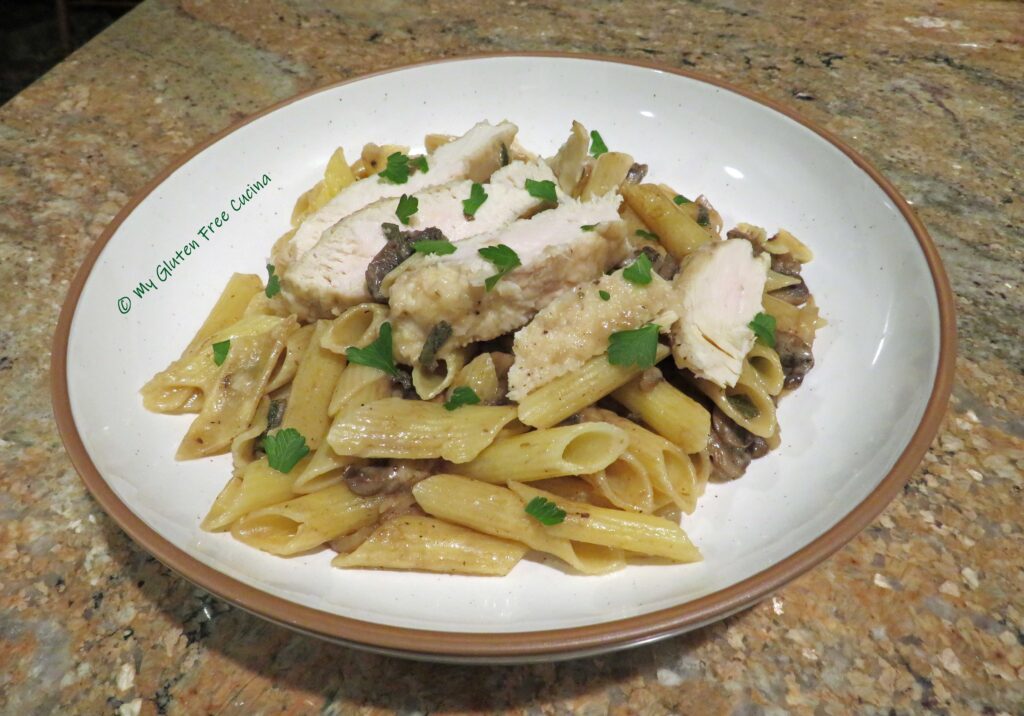
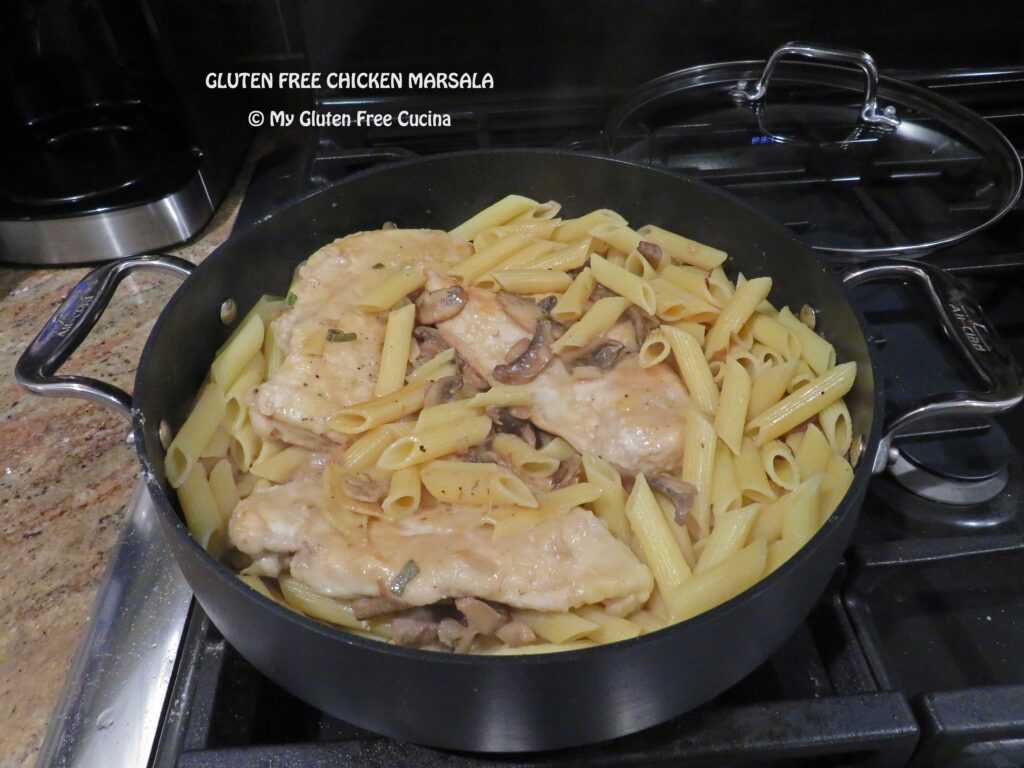
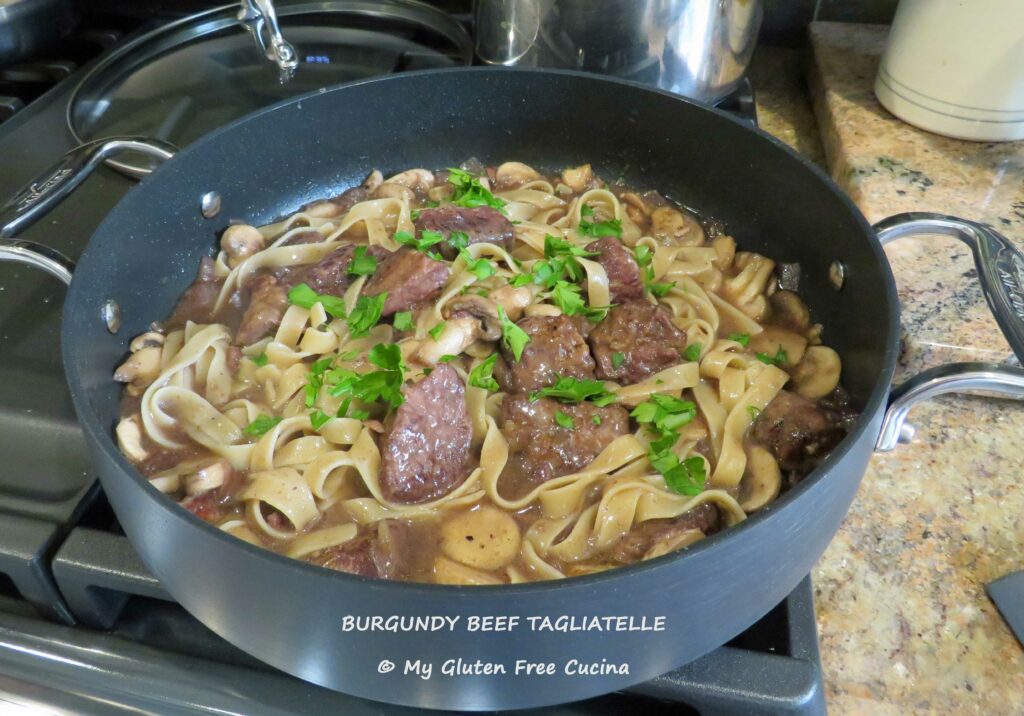
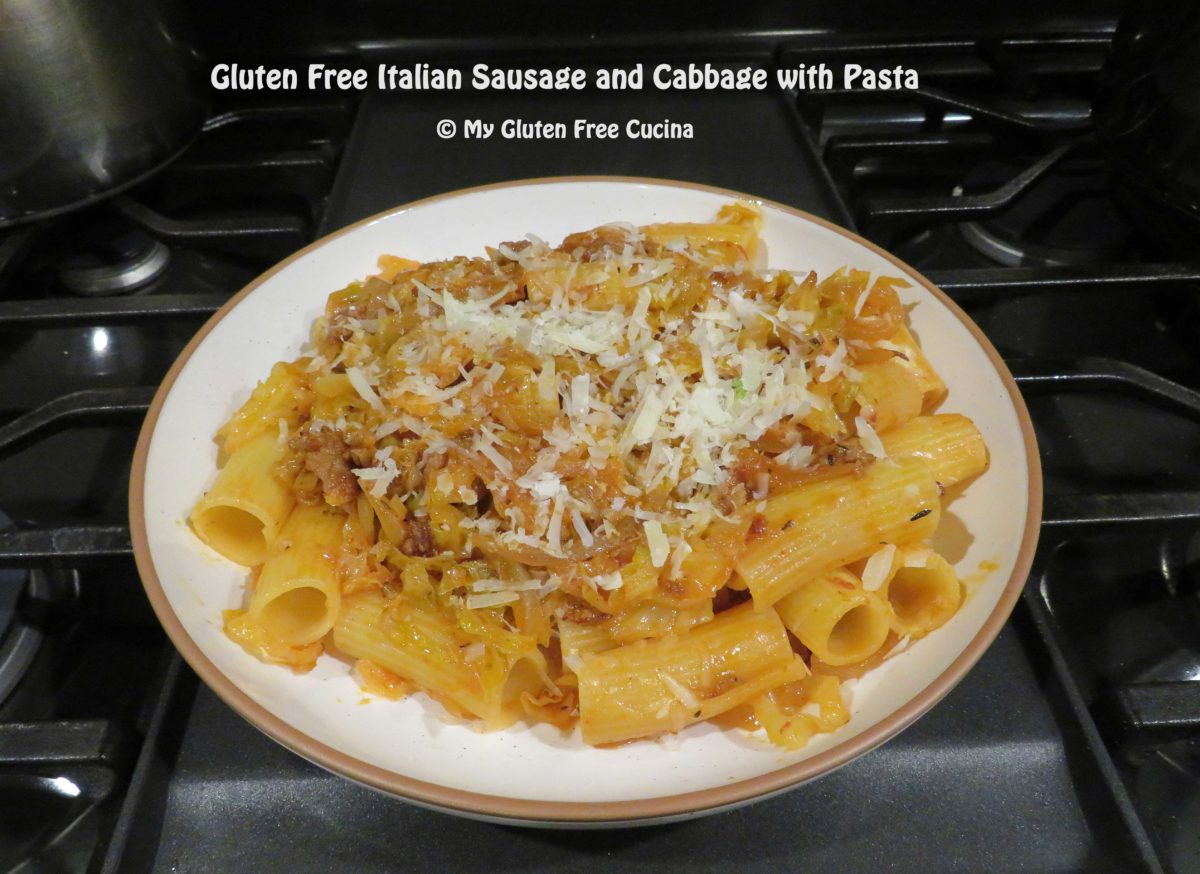
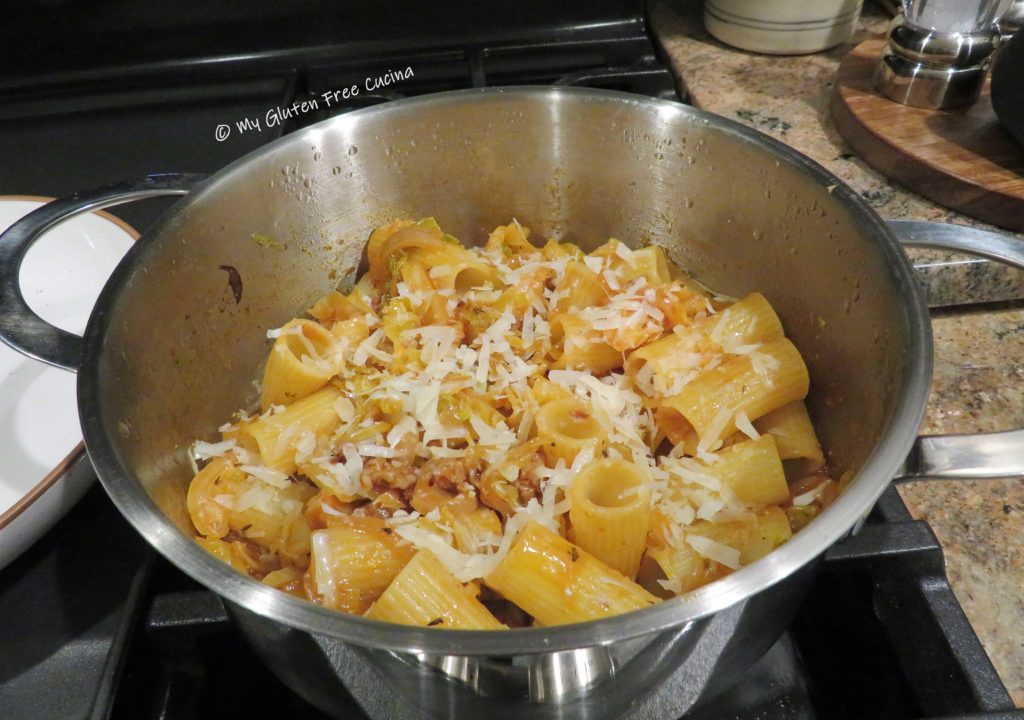
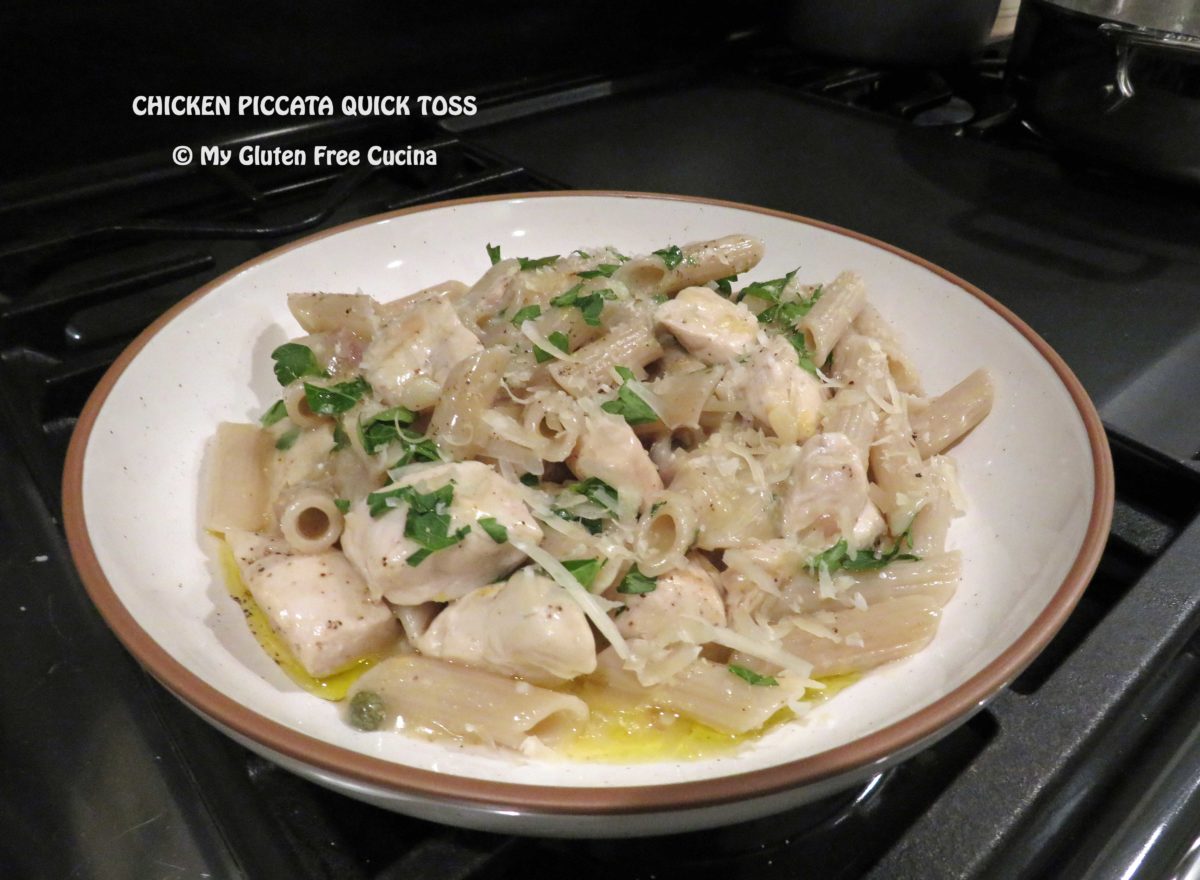
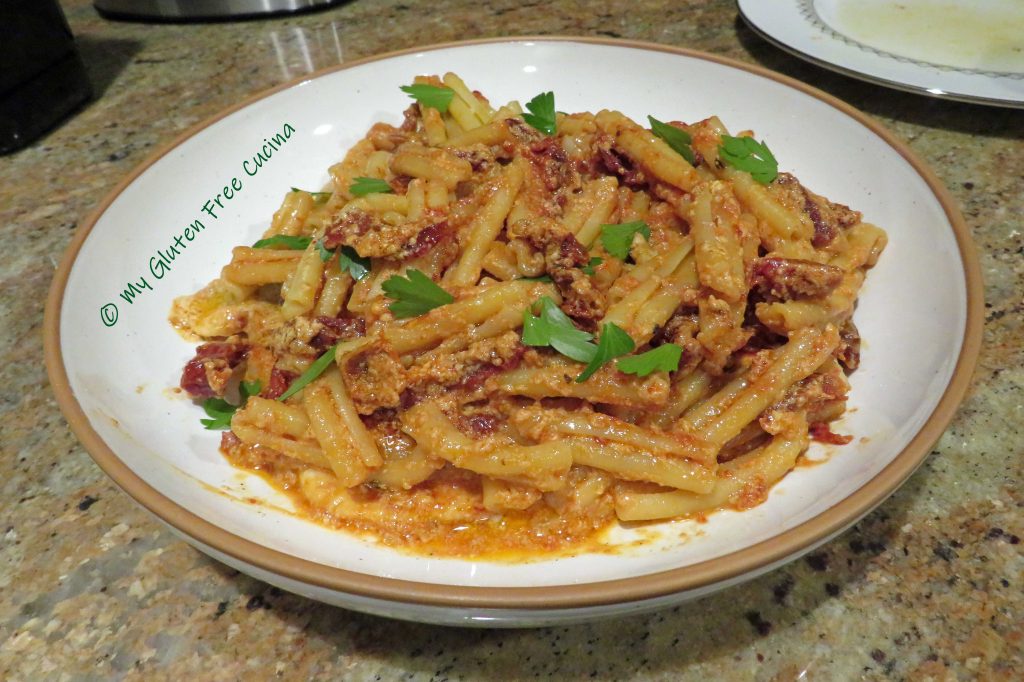
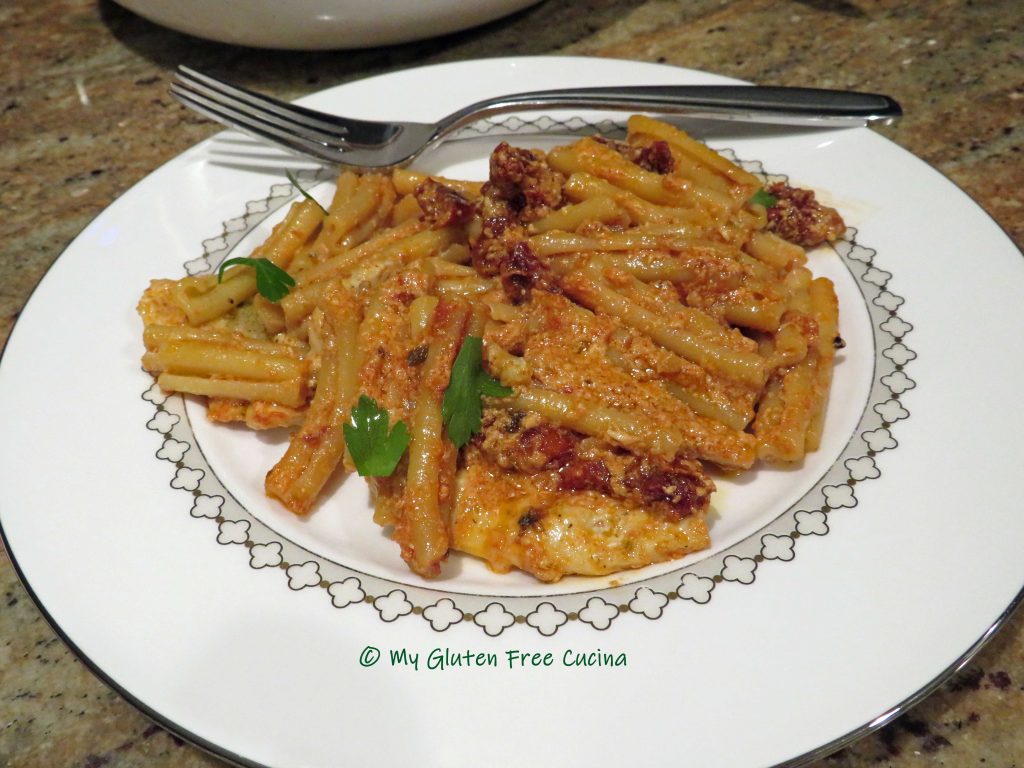
 Drain the pasta and add to the pan, toss well and cook for one more minute.
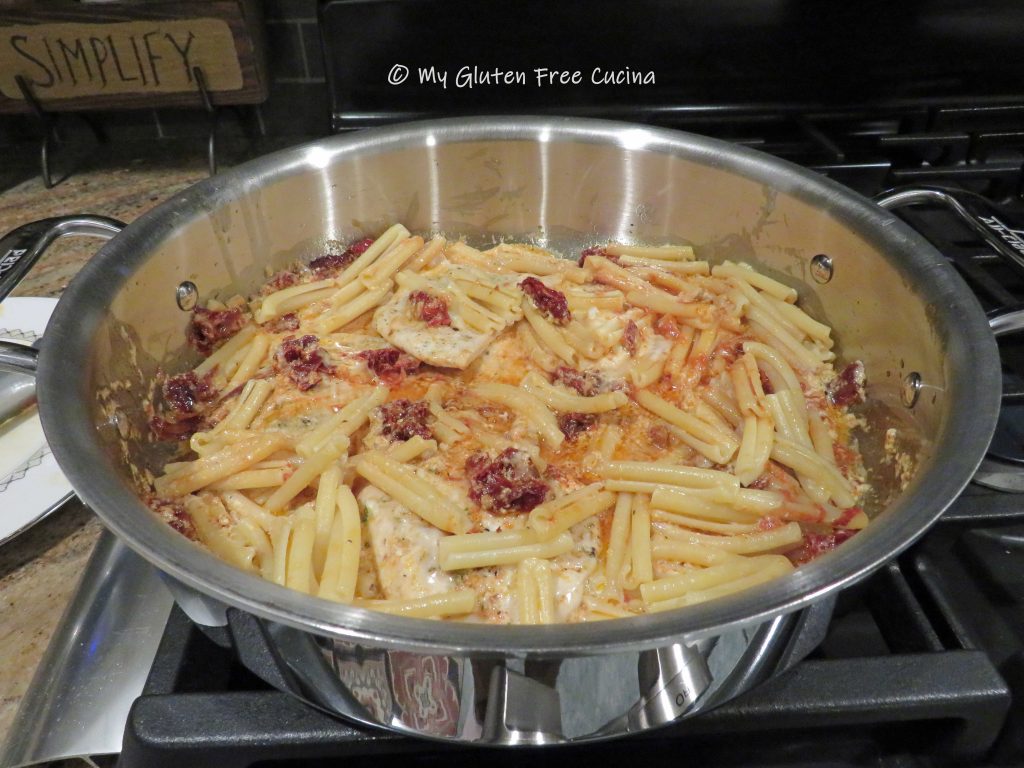


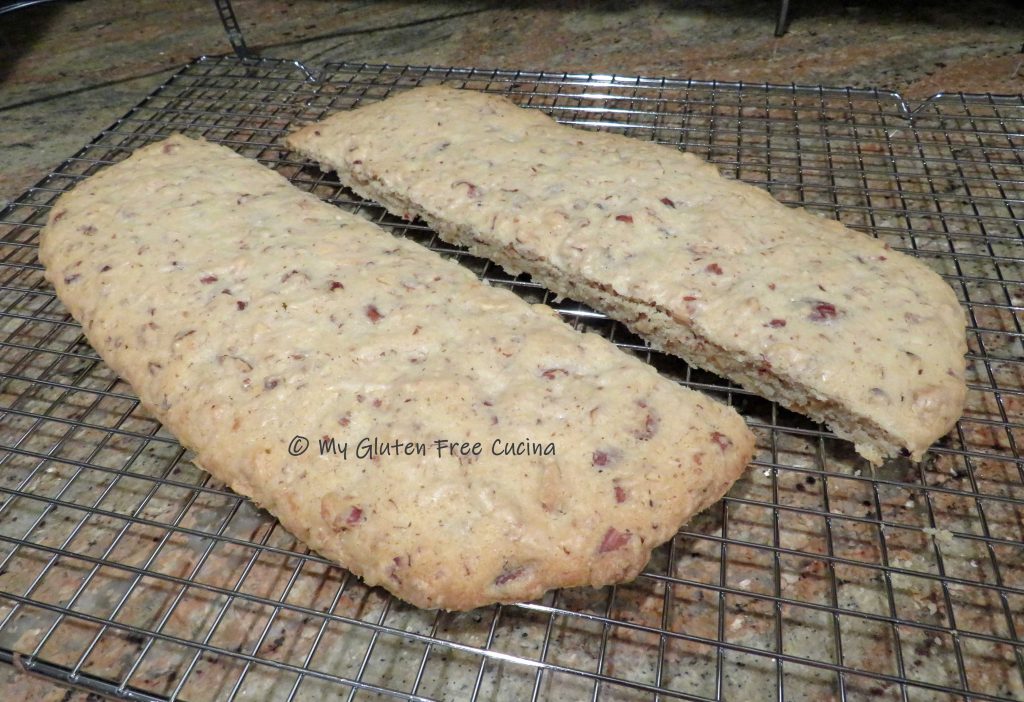
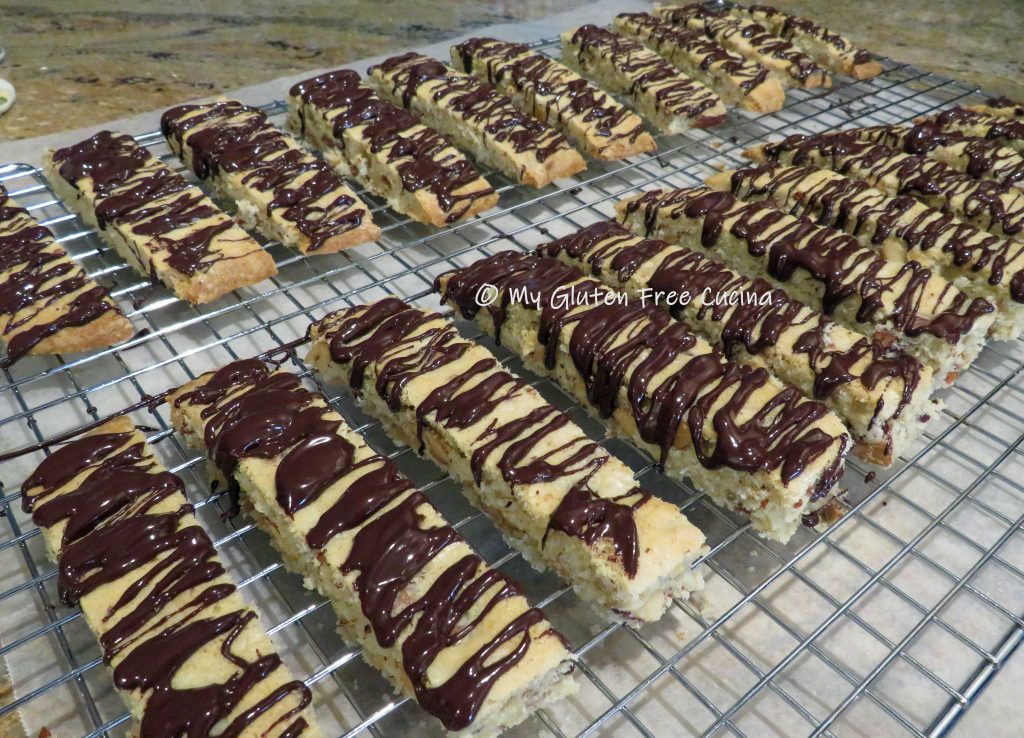
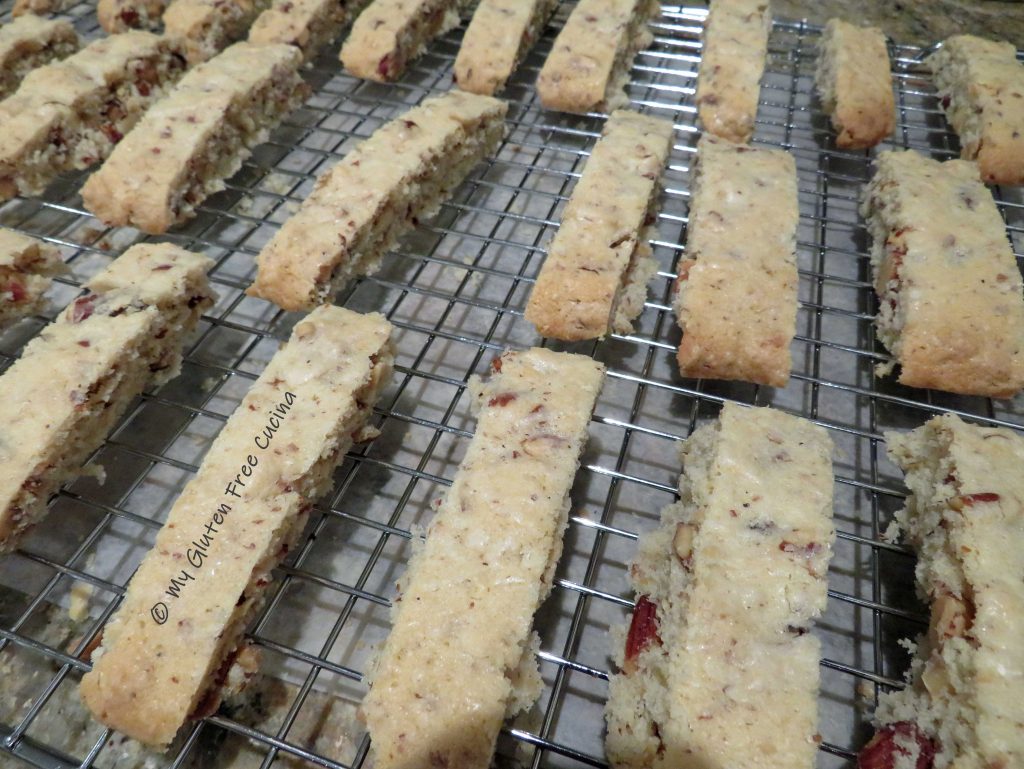 If you like a crisp, hard cookie (great for dunking) return the sliced biscotti to the baking sheet cut side up and bake for 10 minutes longer.