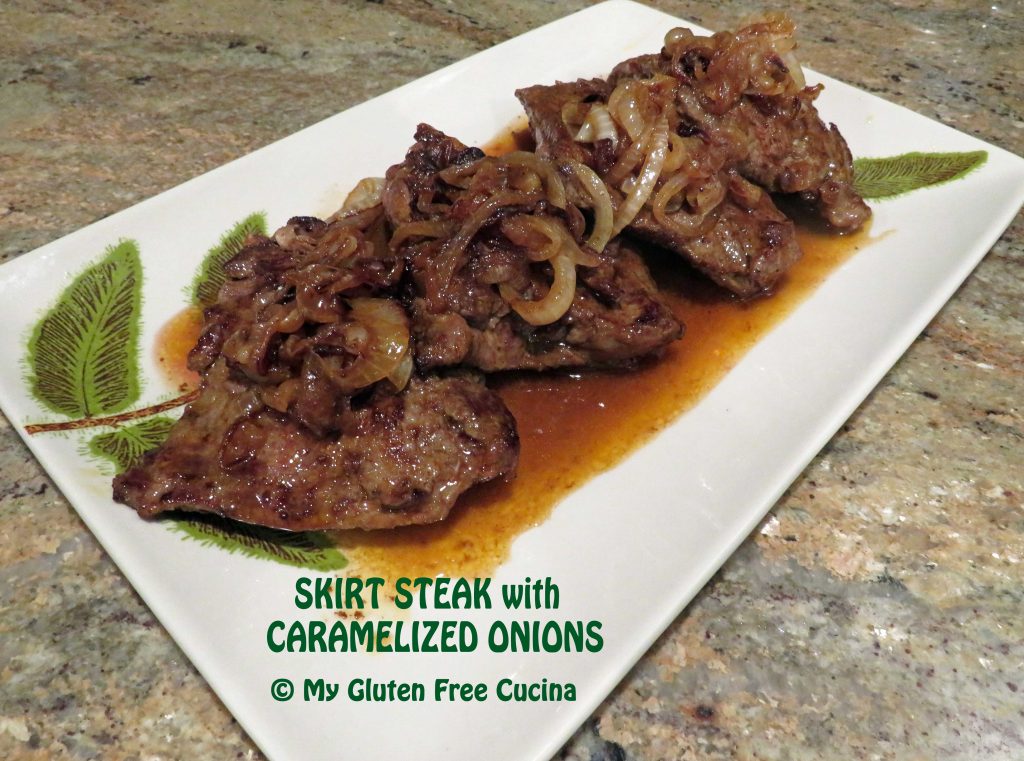
This Italian classic is comfort on a plate! A rich tender veal stew, slowly braised with mushrooms and peas in a light wine sauce. It pairs beautifully with rice or pasta.
While veal can be quite expensive, veal stew meat is an economical cut that when cooked slowly over low heat becomes melt in your mouth tender. No wonder this “peasant food” dish is so popular.
This post contains affiliate links.
I used a 4-quart nonstick sauté pan for this one dish meal. It was a gift (thank you Santa), but here’s one like it!
4 Servings
Ingredients:
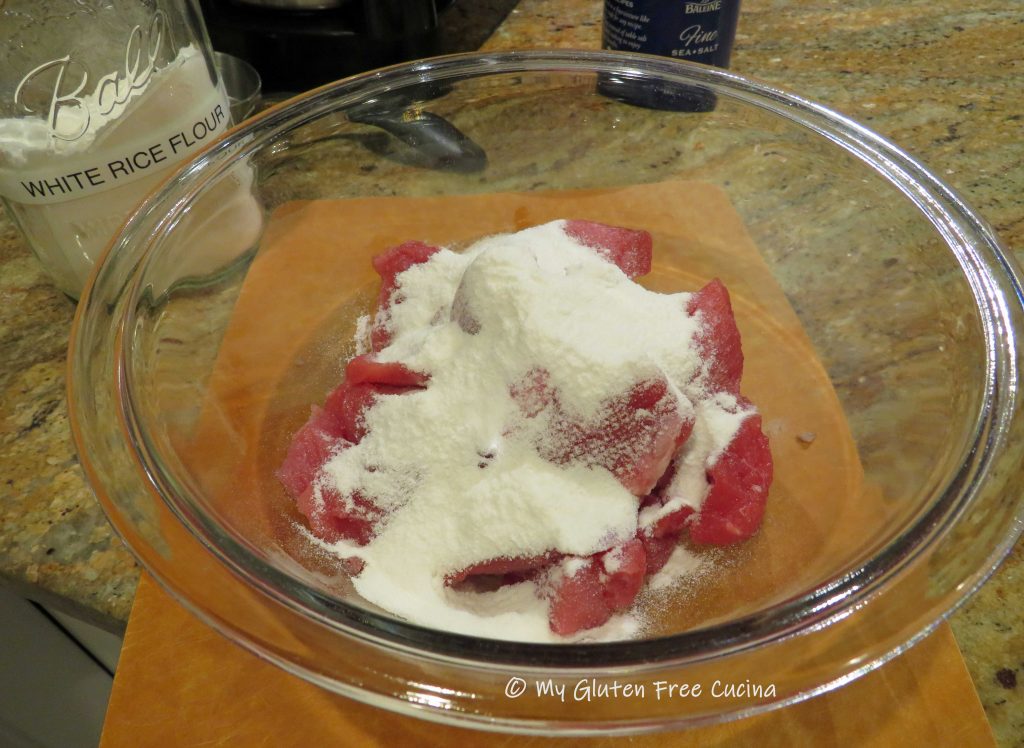
- 3/4 lb. veal stew meat
- 1/4 cup superfine rice flour
- salt to taste
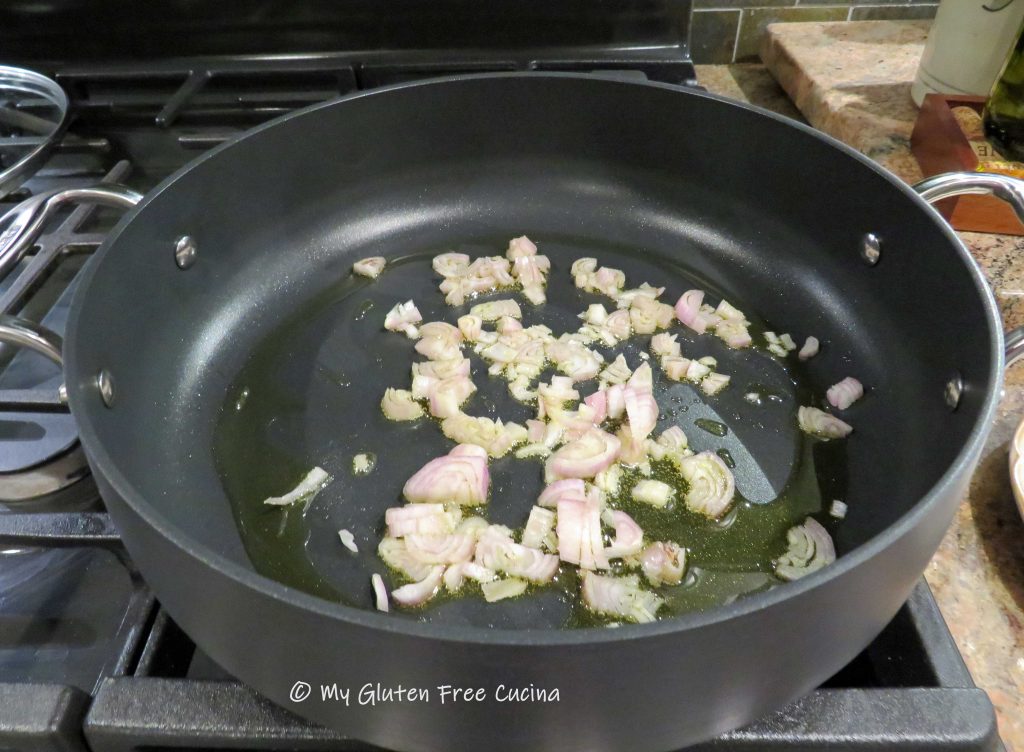
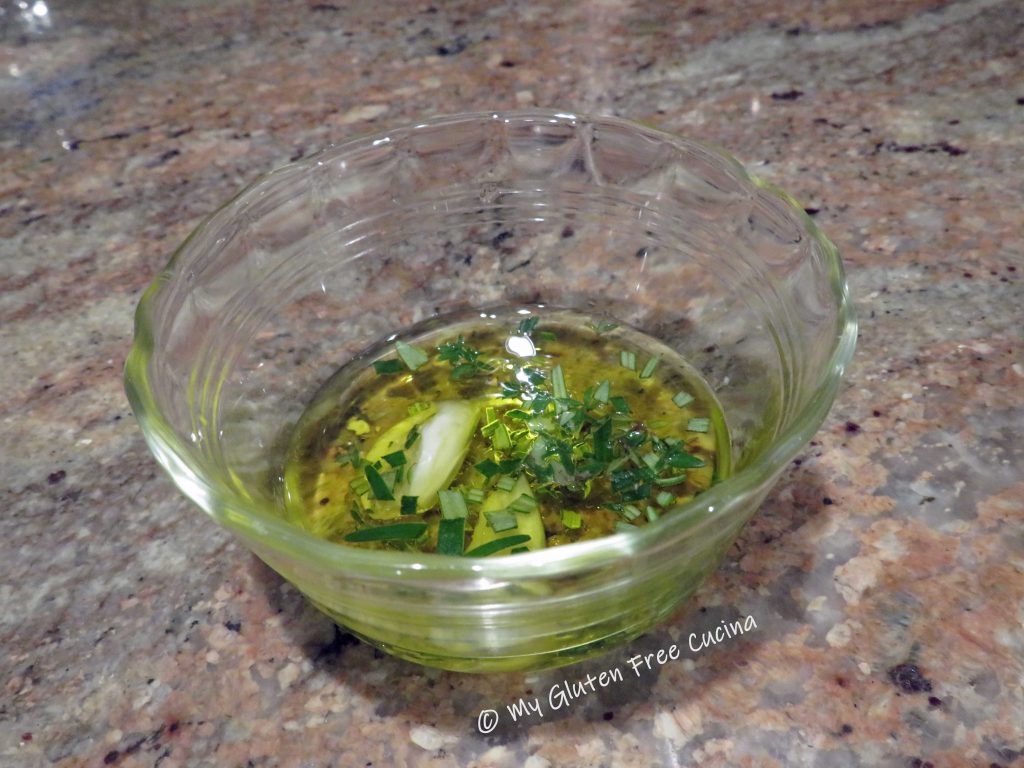
- 4 tbsp. olive oil
- 1 shallot, minced
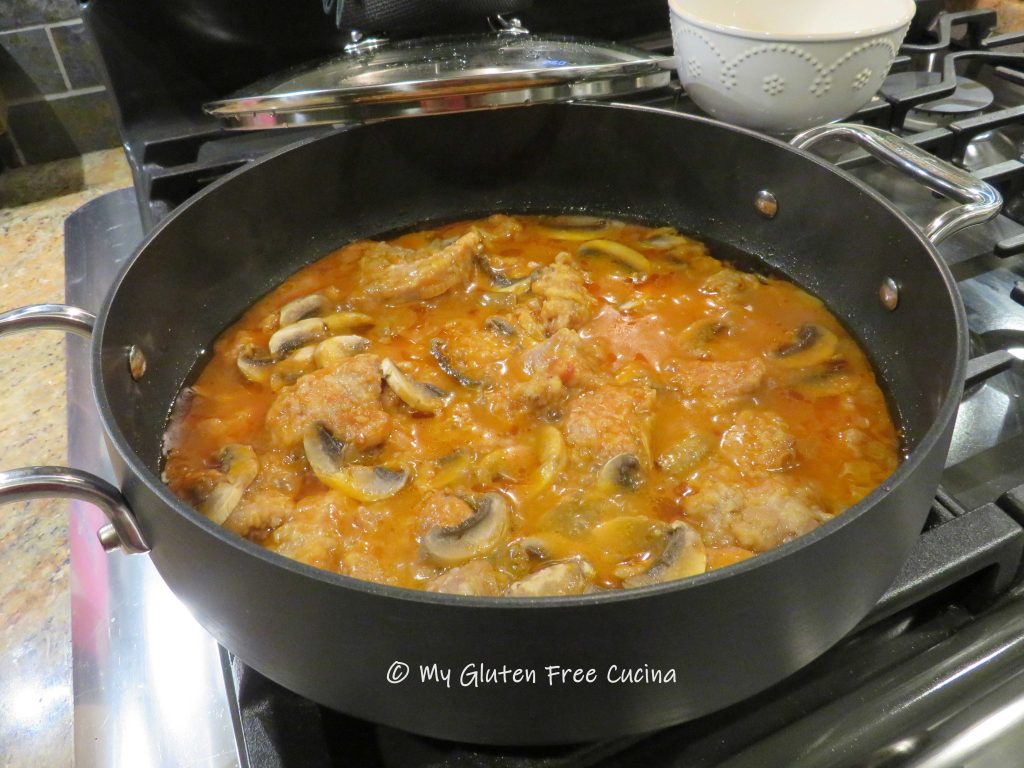
- 1/4 cup white wine (not cooking wine)
- 1-1/2 cups gluten free broth (chicken or vegetable)
- 2 tbsp. tomato paste
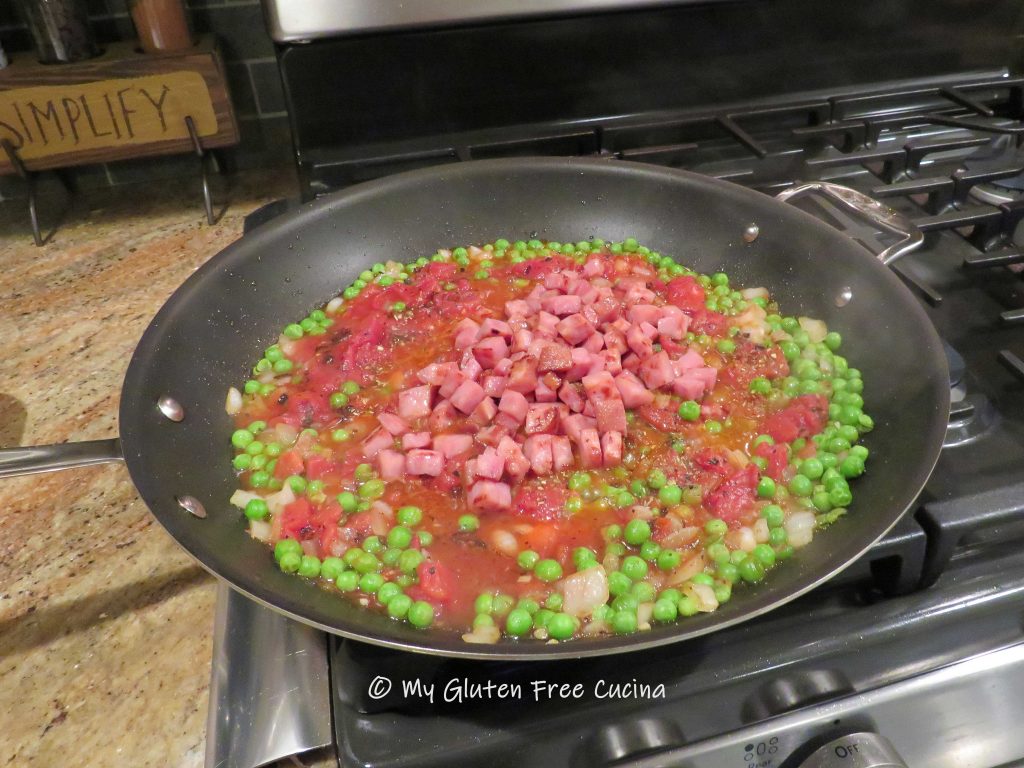
- 1 cup sliced mushrooms
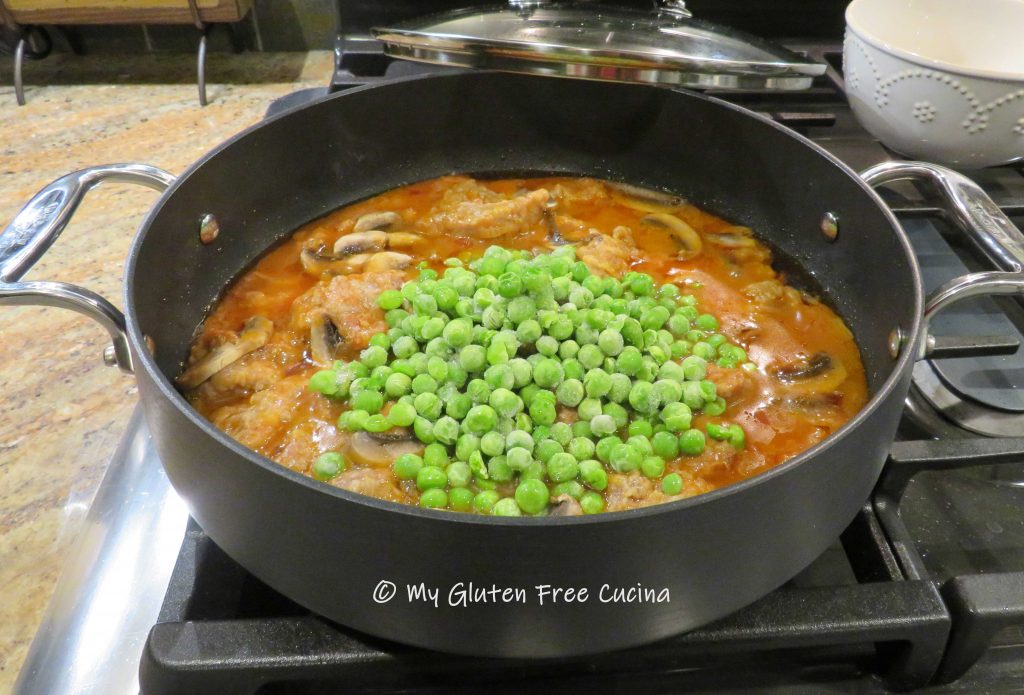
- 1 cup frozen peas
Preparation:
Season the meat and coat with flour. You can use any gluten free flour, but for browning meat I like superfine white rice flour, (the finer grind assures your dish won’t taste gritty). Save your expensive gluten free blends for baking.

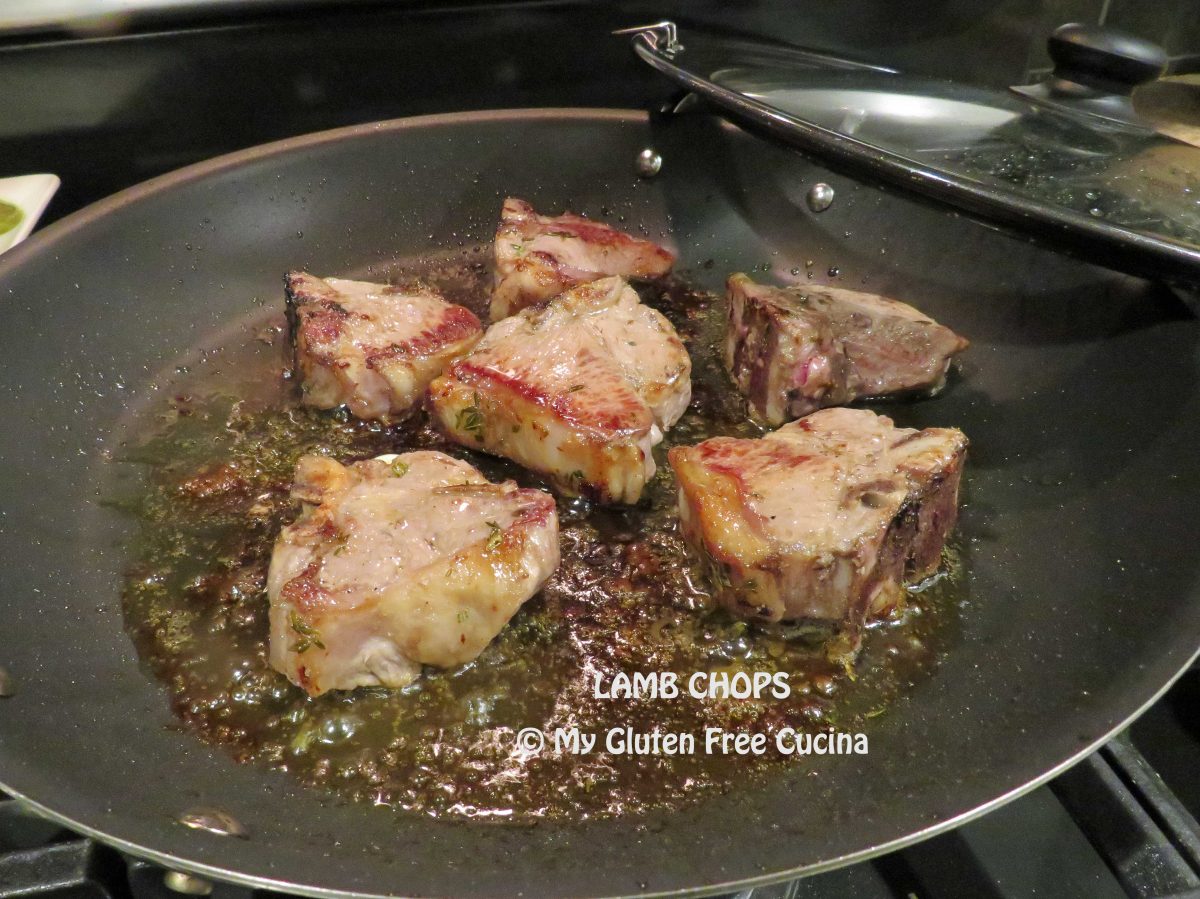
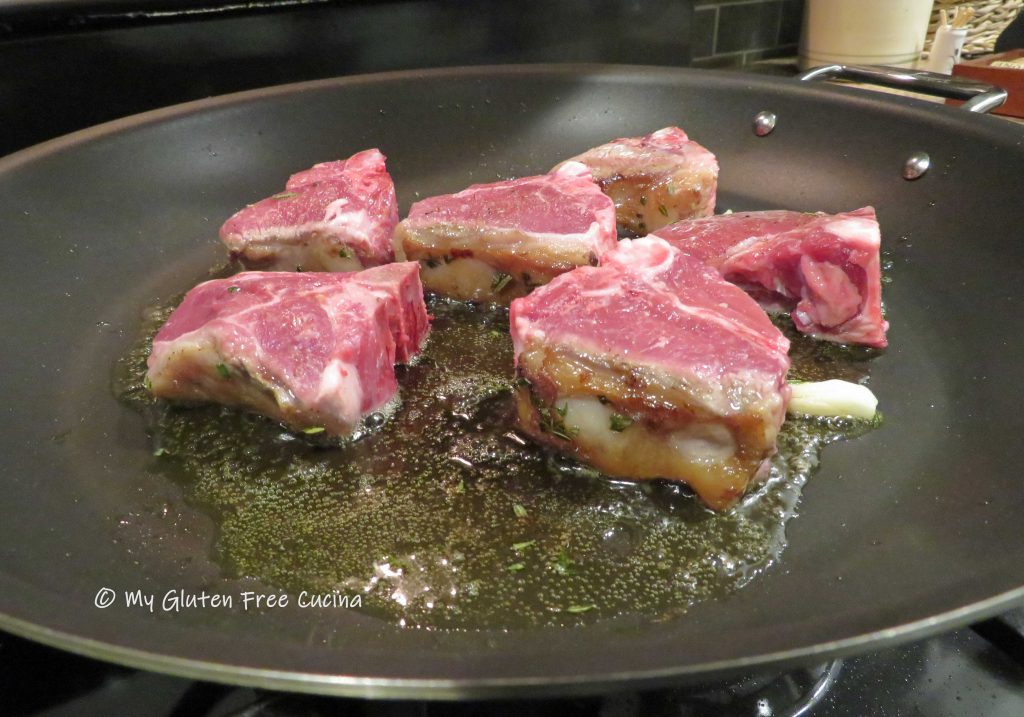
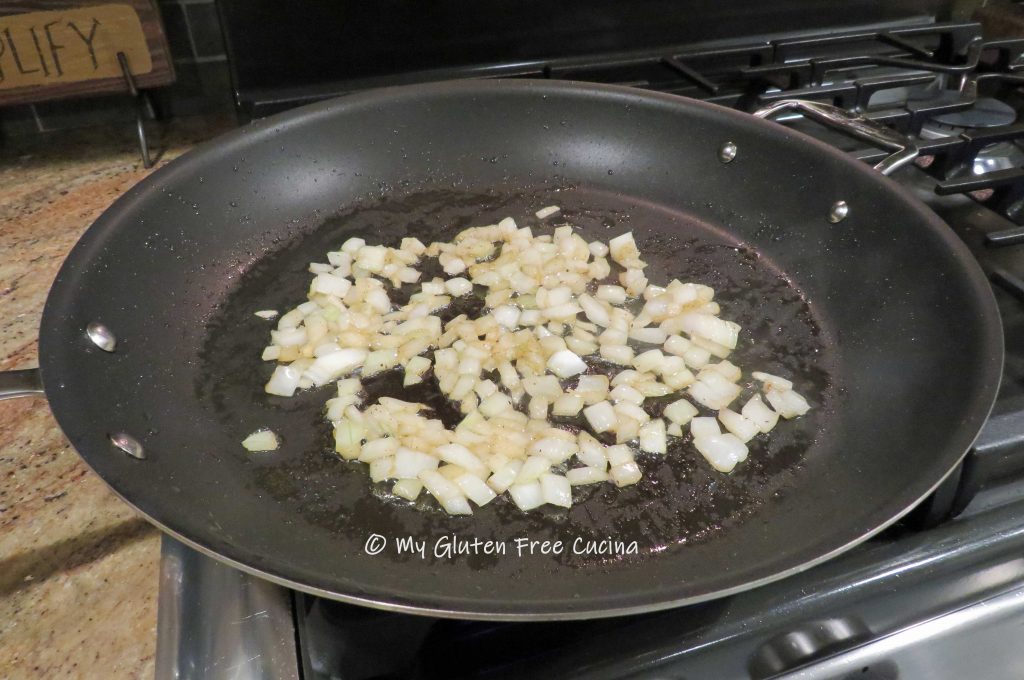
Heat olive oil in a large nonstick sauté pan and begin cooking the shallots. Add the meat, leaving space in between. Brown the meat about 5 minutes per side.

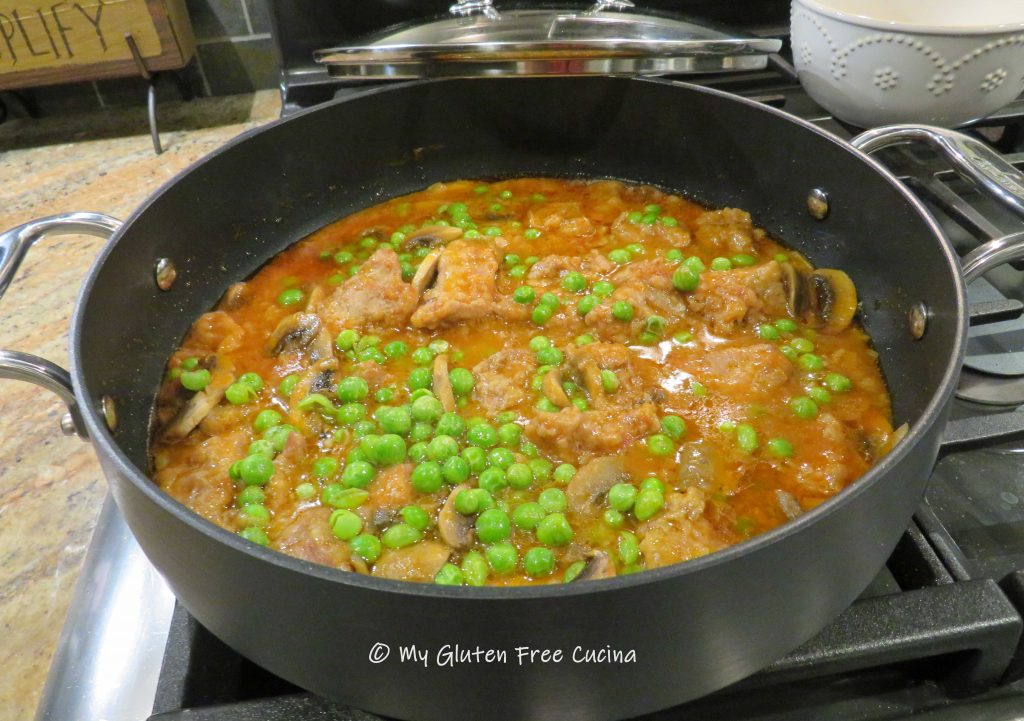
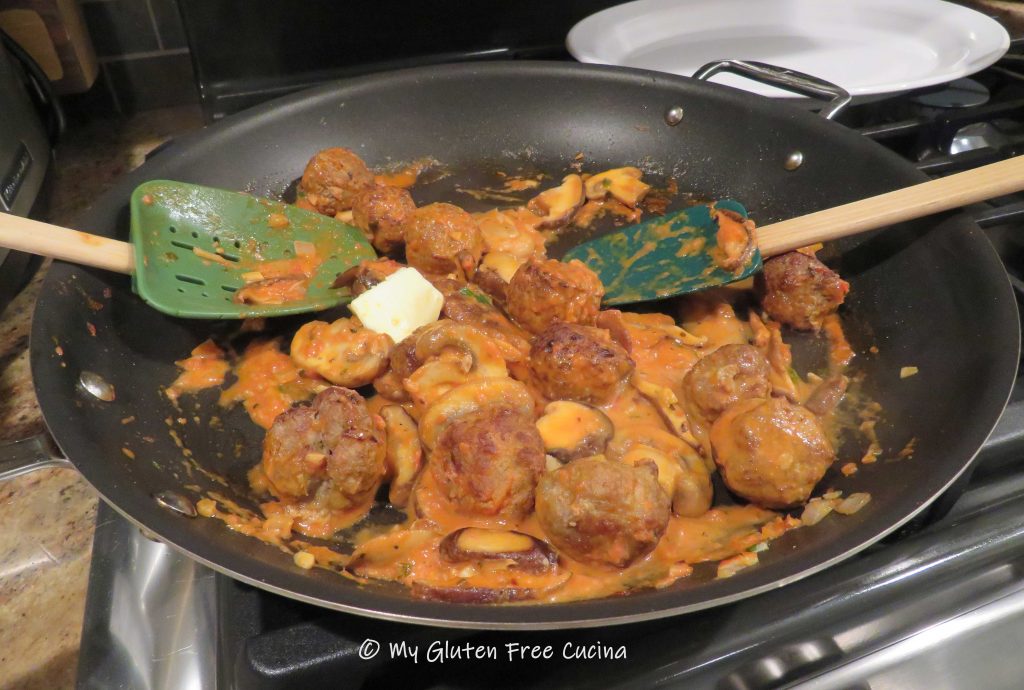
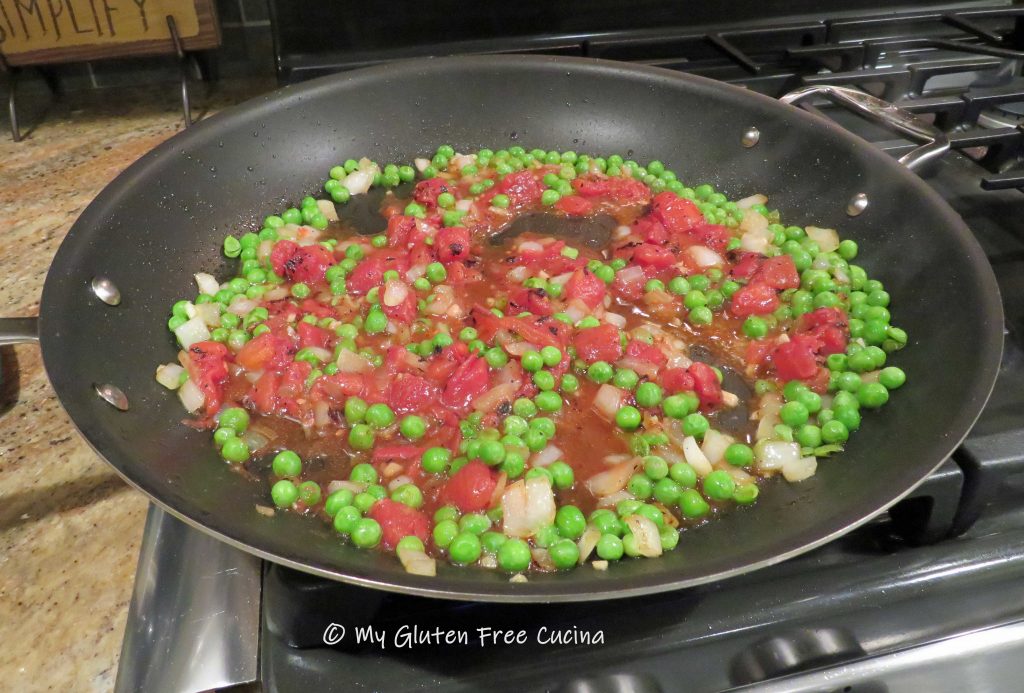
Add 1/4 cup of wine to the pan. When it has almost evaporated stir in 1-1/2 cups of broth and 2 tbsp. tomato paste. Cover and simmer on low for 90 minutes.


During the last 20 minutes of cooking add the sliced mushrooms, cover and continue simmering.

 During the last 10 minutes of cooking add the peas, and finish cooking uncovered to thicken.
How to serve
This stew is great served over rice, pasta or polenta. Here’s mine served over white rice.

Notes ♪♫ Like many of my recipes, this classic Italian dish required only one ingredient change to make it gluten free. You don’t have to reinvent the wheel to follow a gluten free diet and still enjoy healthy, delicious food.


 Stir in 1 cup


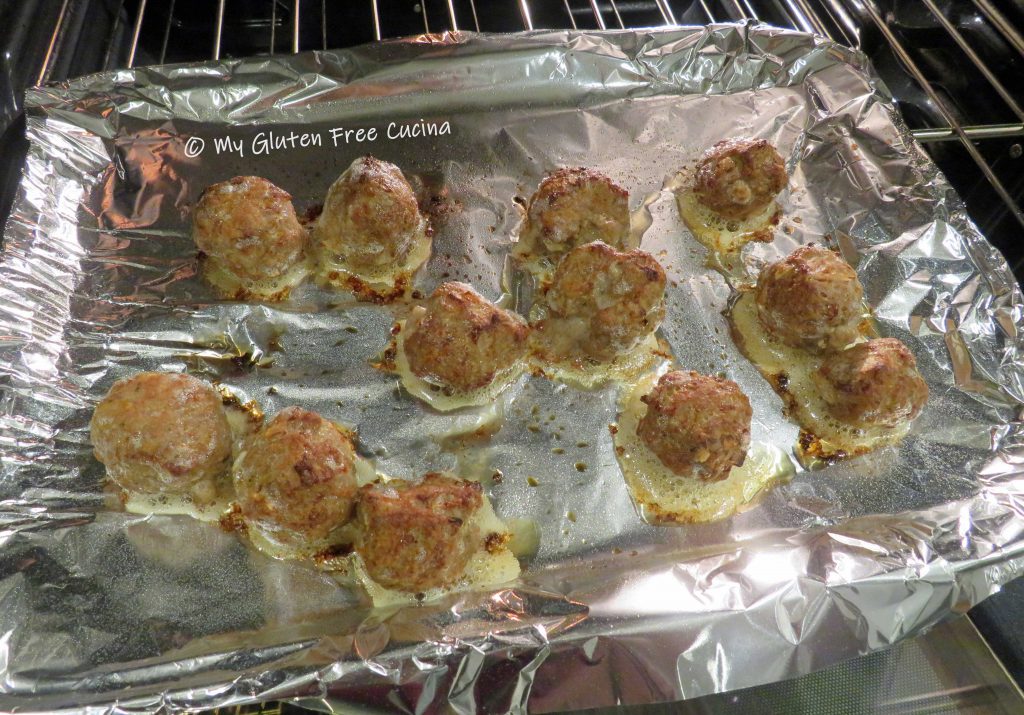


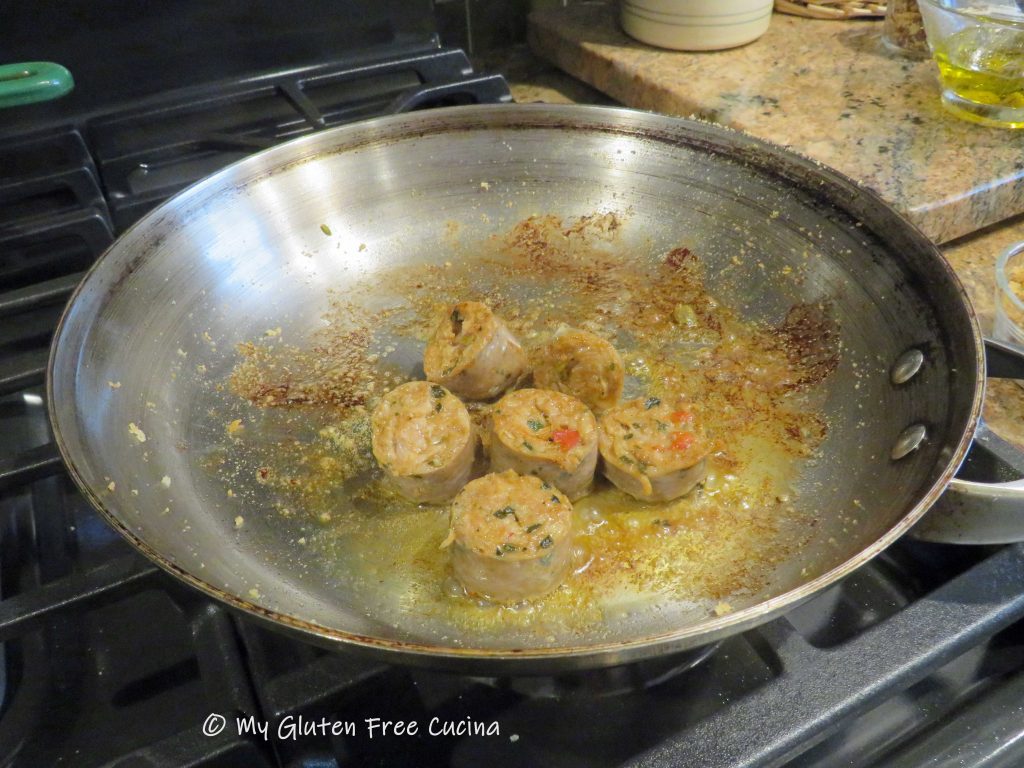
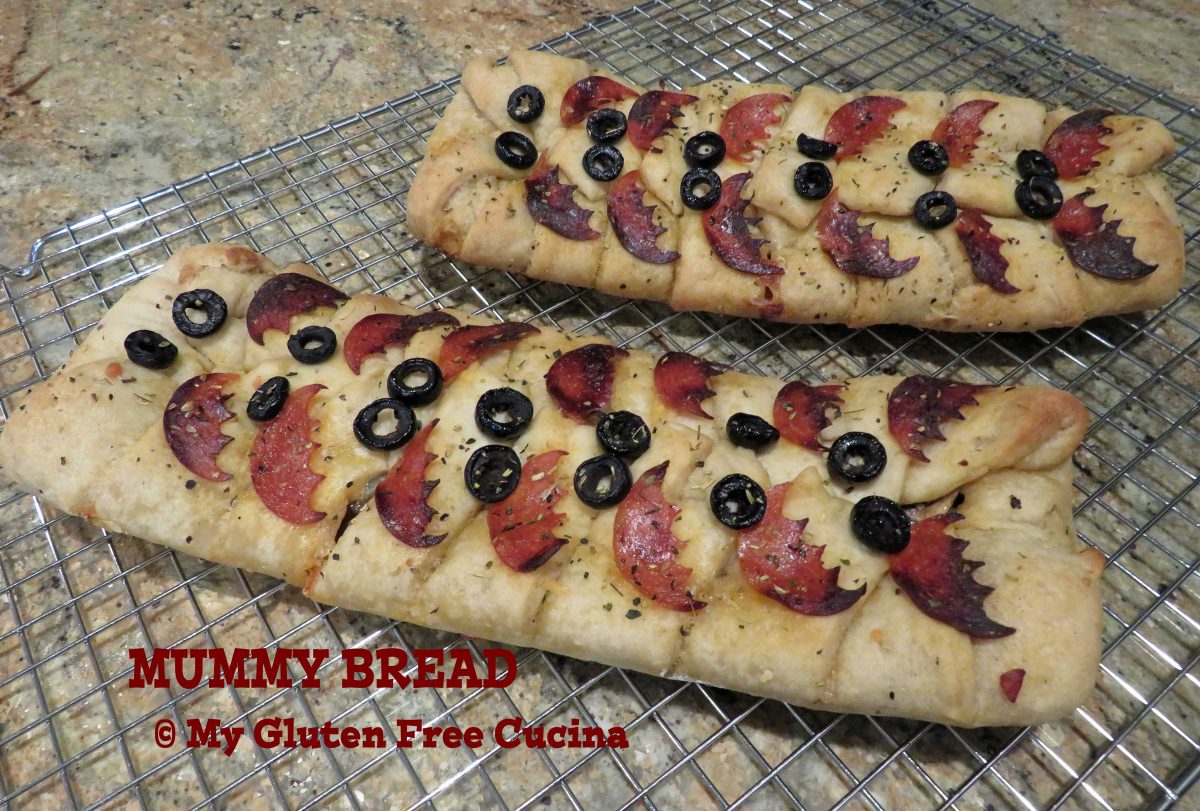
 Line a baking sheet with foil and mist with cooking spray. Form 12 small meatballs and arrange on the baking sheet, leaving space in between.
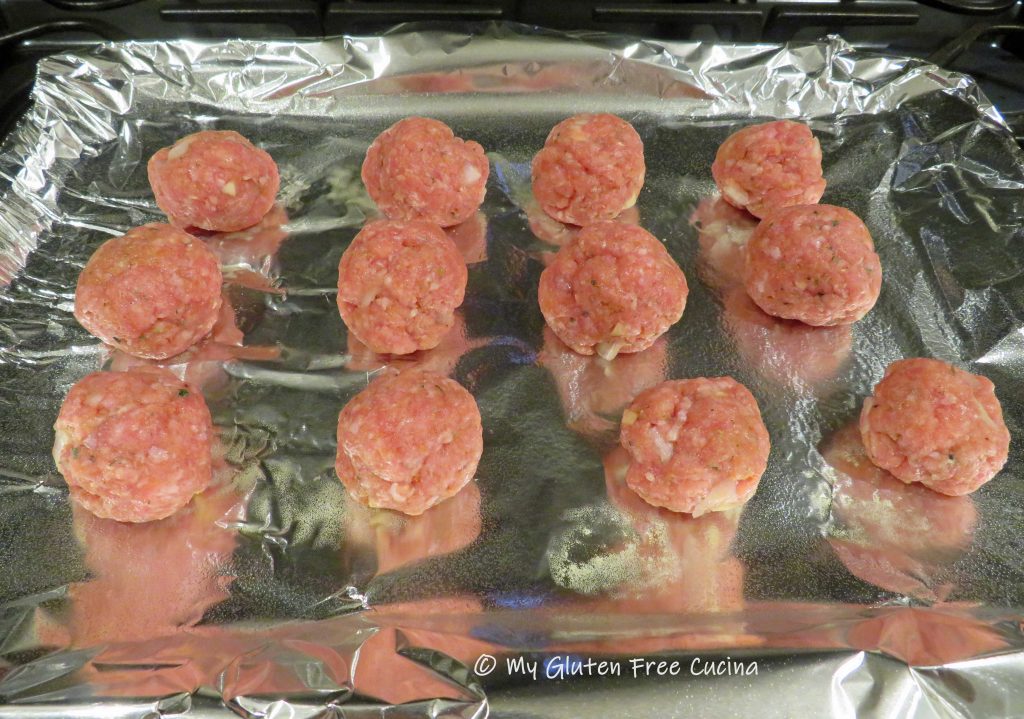


 Preparation:


 Preparation:


 If you don’t have a probe (oven safe) thermometer, then roast for 20 minutes per pound and check with an

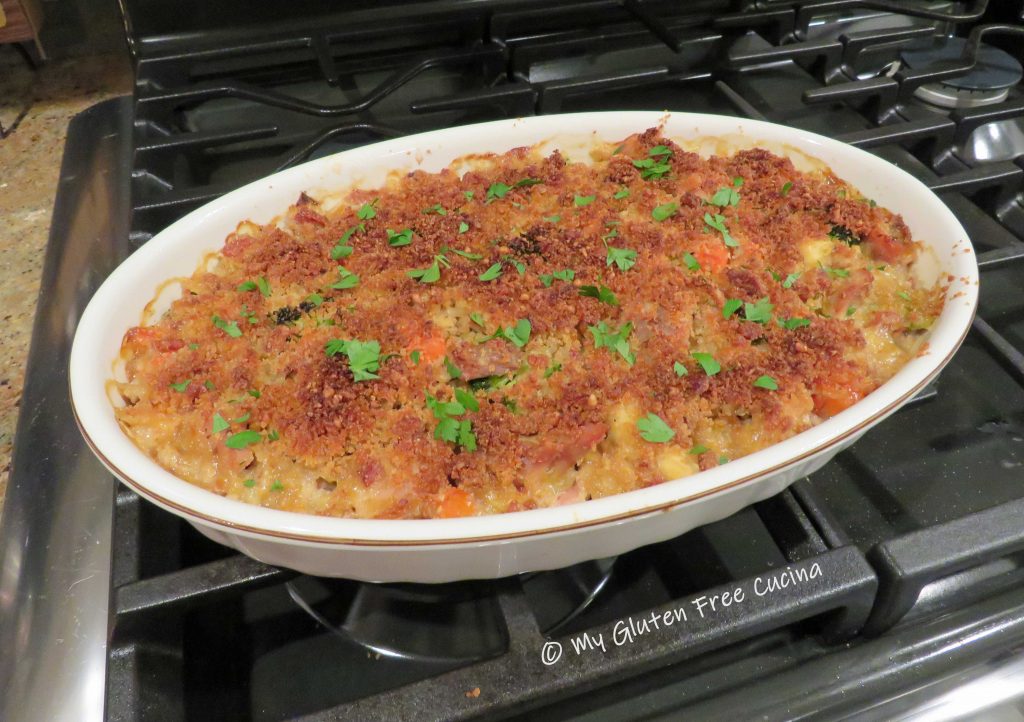
 Crumble the bacon, or place in an
  Add 1/3 cup of gluten free breadcrumbs to the skillet with the bacon fat and stir over low heat. Add back the crumbled bacon and stir well to combine. Set aside to cool, then mix with 1/4 cup grated parmesan cheese for topping.
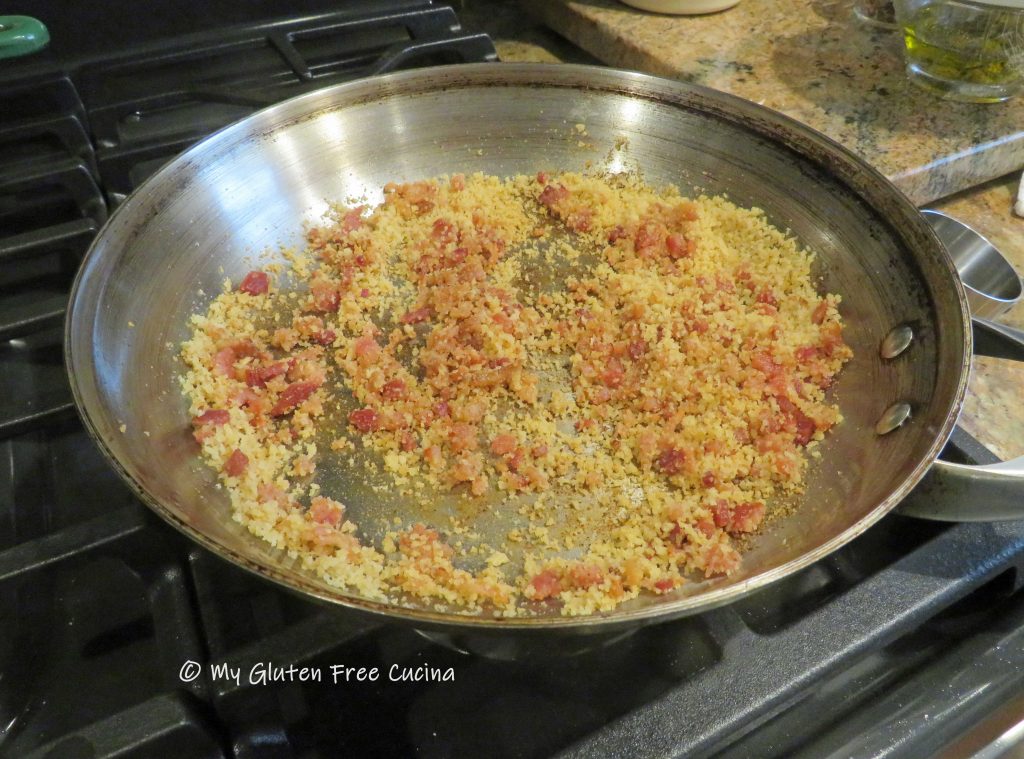

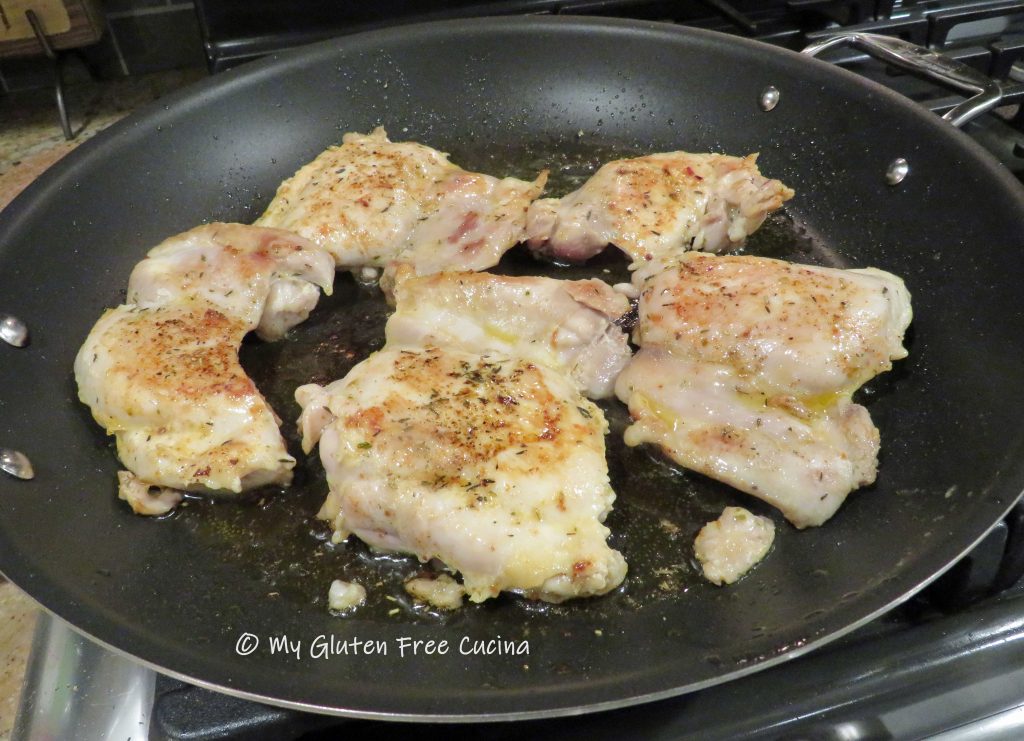
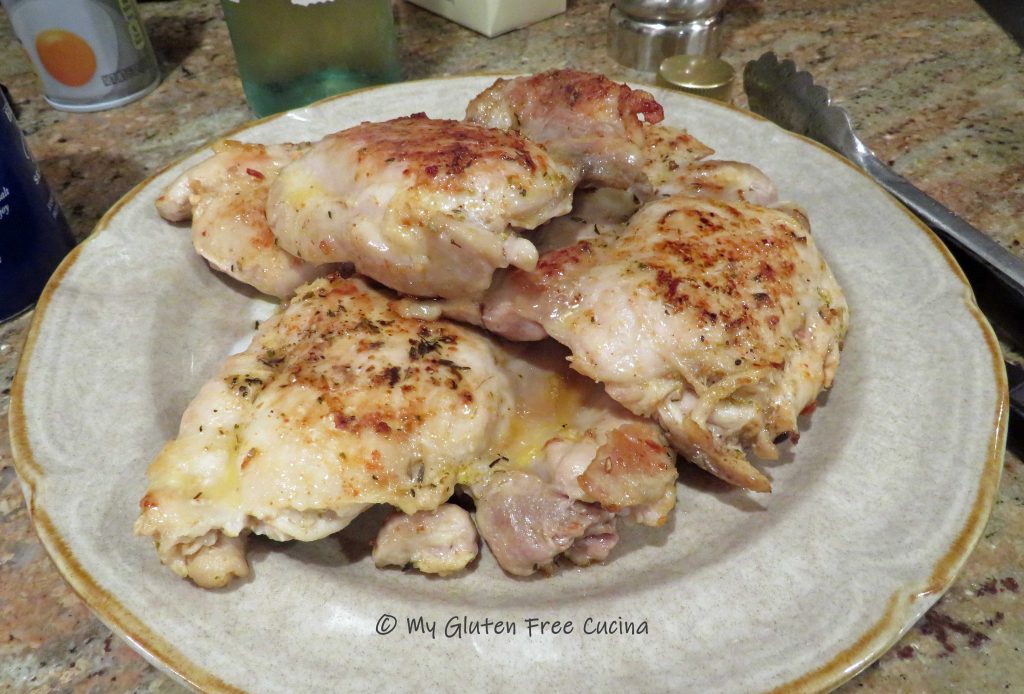
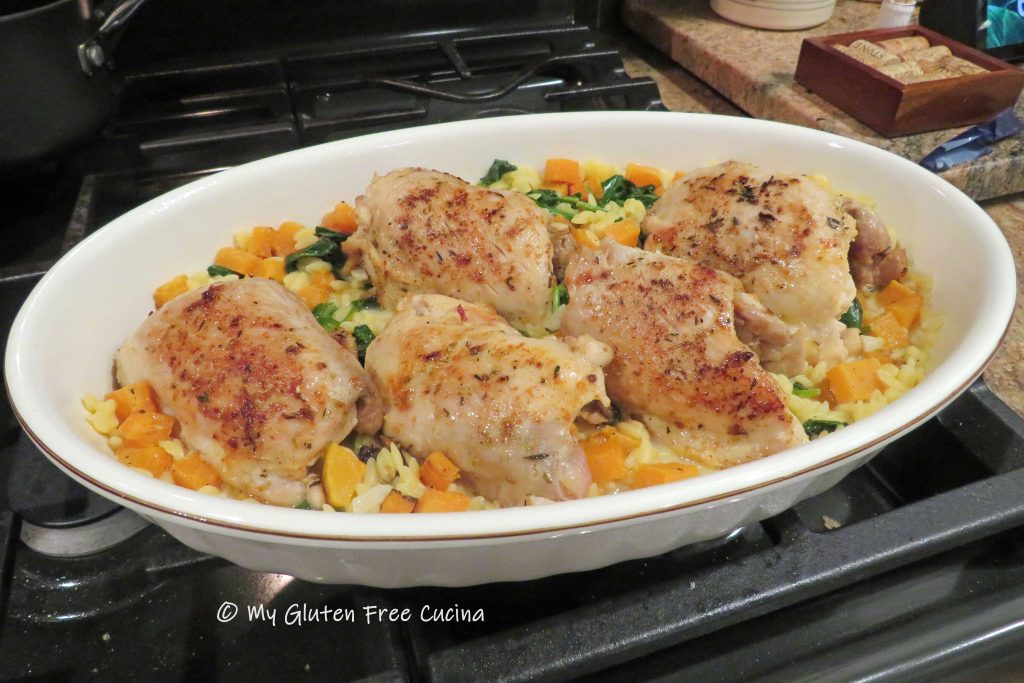
 Place browned chicken in a
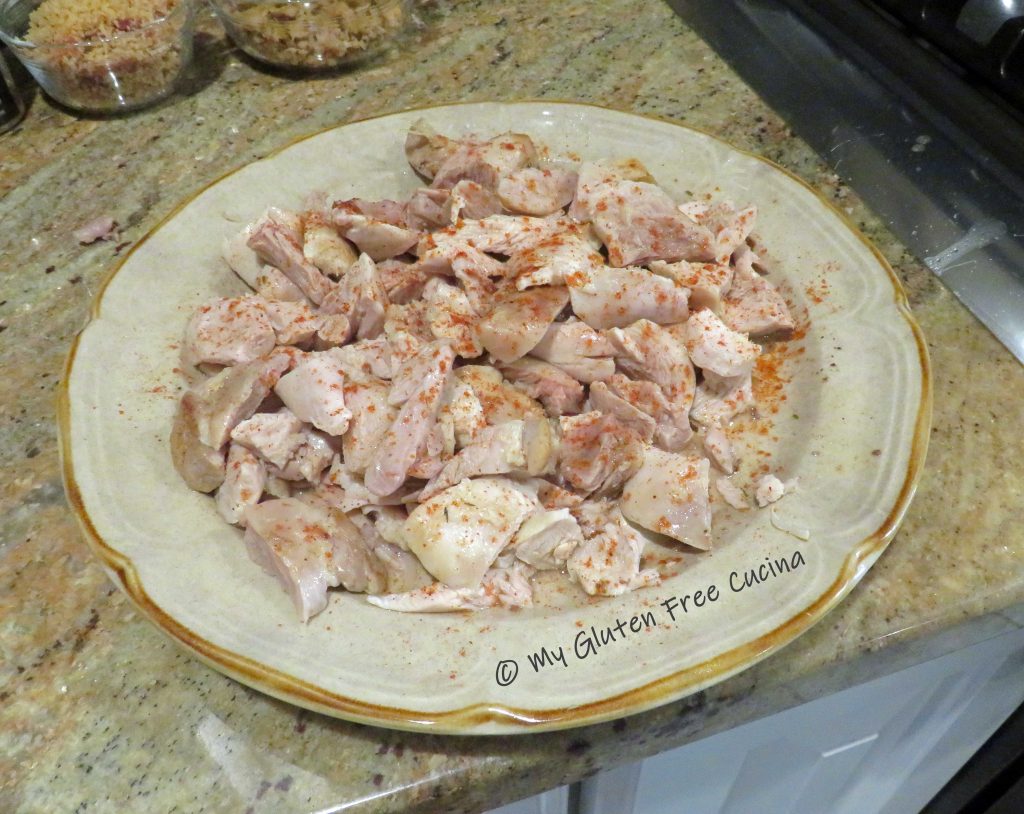


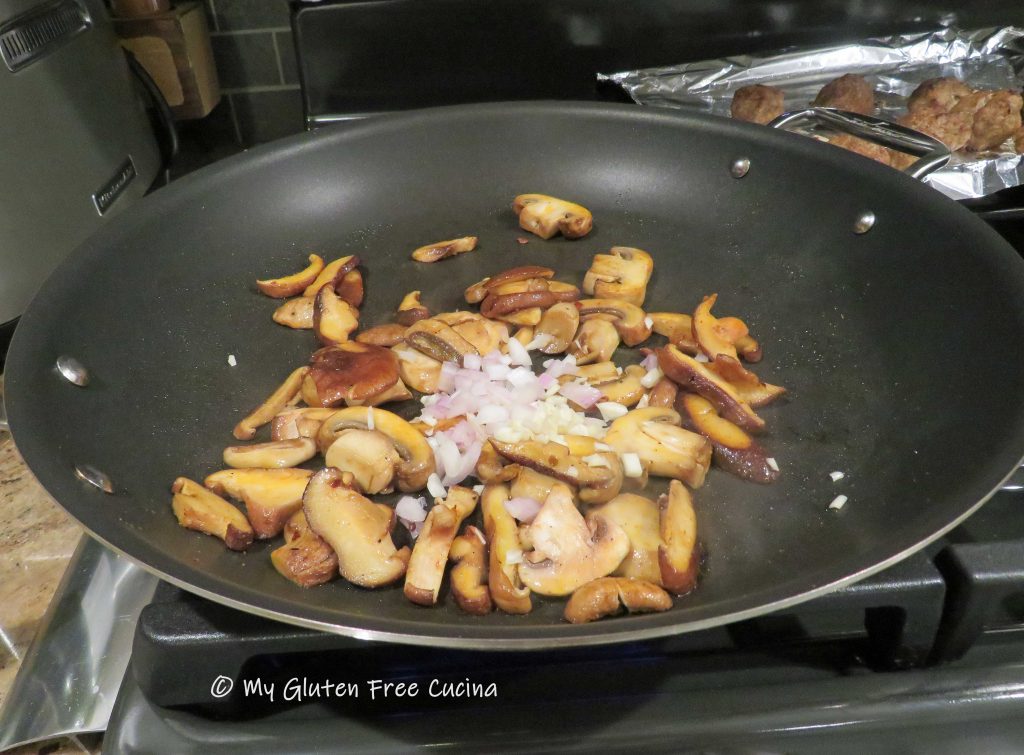
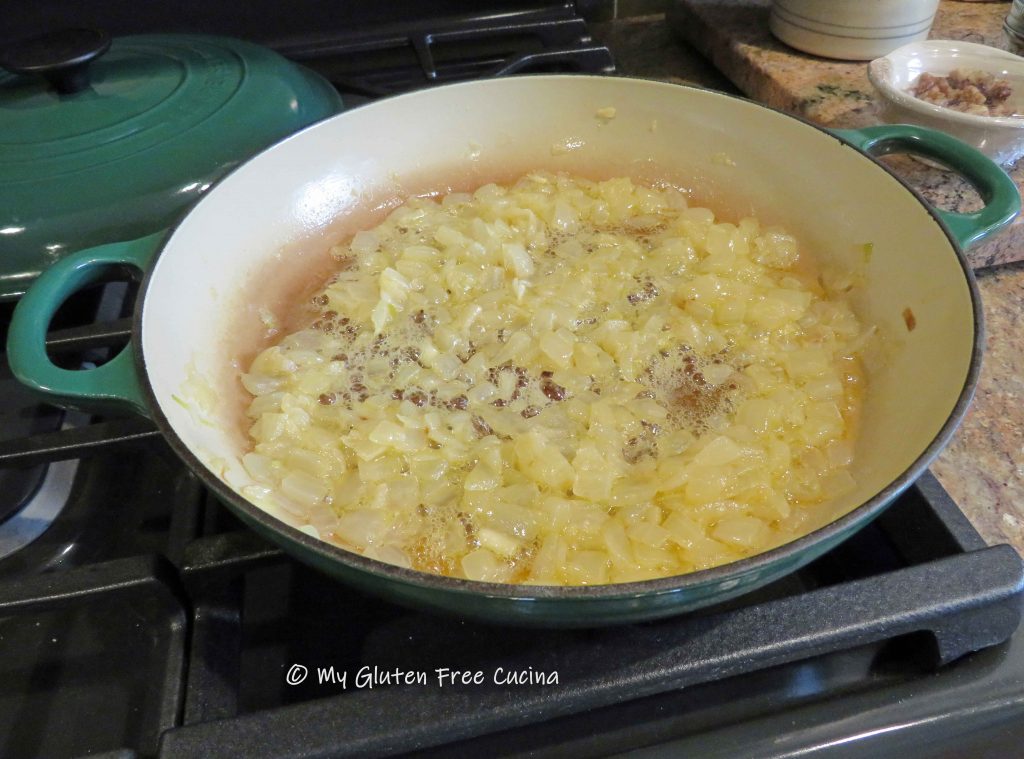 Cook the mushroom slices in 1 tbsp. butter and 1 tbsp. olive oil.
 Drain the mushrooms and onions to remove as much liquid as possible.
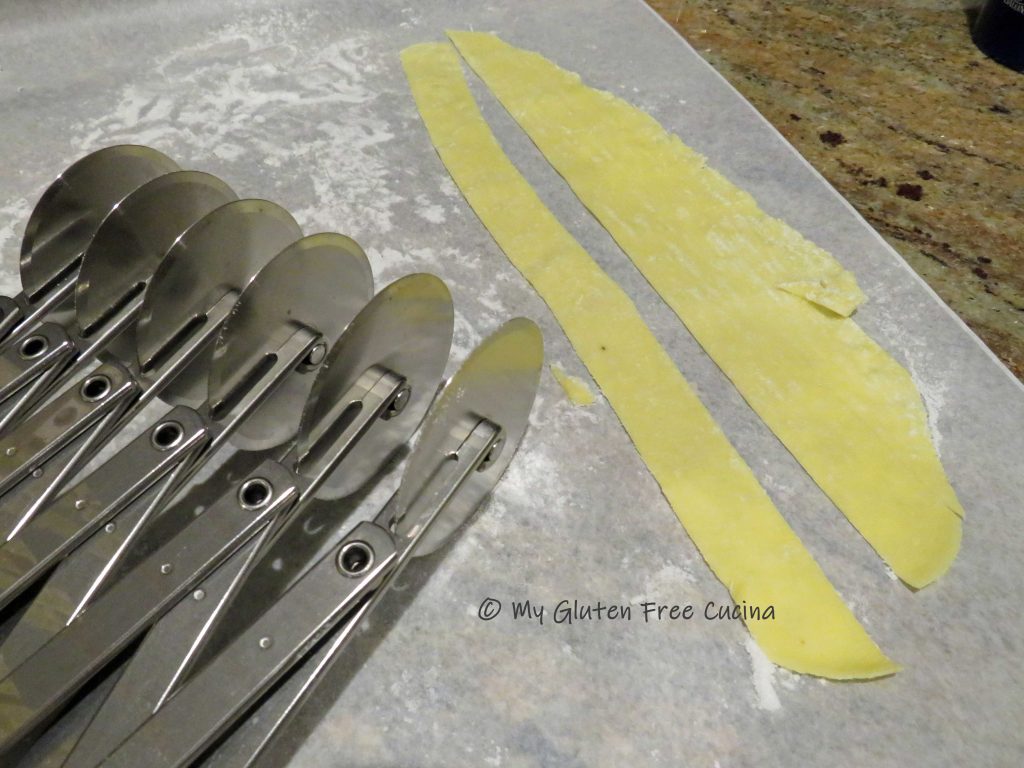
 After 1 hour in the fridge, turn the dough out onto floured parchment and use a