Garlic Butter

Foodie friends, with just a few simple ingredients you can make a wonderful garlicky spread that is as delicious on warm bread as it is for basting vegetables and potatoes.  It’s the perfect accompaniment for your holiday breadbasket.  Try it and see how good it is!

This post contains affiliate links.

Ingredients:

preparation:

Heat the olive oil in a small heavy skillet over lowest heat.  You want the oil to be warm, but not bubbling.  I used a simmer mat to keep the temperature under control.  Cook the garlic cloves for 1 hour uncovered, turning every 10 minutes.  The cloves will be soft and just slightly browned.

Remove the garlic, chop it then mash with a mortar and pestle.  You can also use a fork or the back of a spoon.  The oil left in the pan is delicious, be sure to reserve it for cooking!

Combine the garlic mash with the softened butter and remaining ingredients.  I used McCormick’s Roasted Garlic and Bell Pepper blend.  I also add a little crushed fennel seed and oregano.  Sea salt, the last ingredient should be added to your taste, or omit for low sodium diets.

Mix well to incorporate and let stand for several hours at room temperature, then place in a bowl or jar and refrigerate (or freeze) until ready to use.  You will want it to soften up before serving, so take it out 2 hours ahead.

Everyone around our table gave the garlic butter a thumbs up.  For more gluten free bread inspiration check out some of my favorites here.

Notes ♪♫ I use salt free butter and seasoning in this recipe.  That way, I can add just enough sea salt to taste without going overboard on the sodium.

Print This Post Print This Post

Roasted Tomato Sauce

Last weekend I was gifted a bag of garden tomatoes.  They were a mix of  different colors, shapes and sizes.  Some were perfect, others had blemishes.  They sat on the counter for a few days while I decided what to do with them.

I’ve read several articles about roasting tomatoes for sauce, but have never tried it myself.  I must admit that I prefer the convenience of canned tomatoes, but with this bowl of fresh garden tomatoes in front of me I was inspired to give it a try.

This post contains affiliate links.

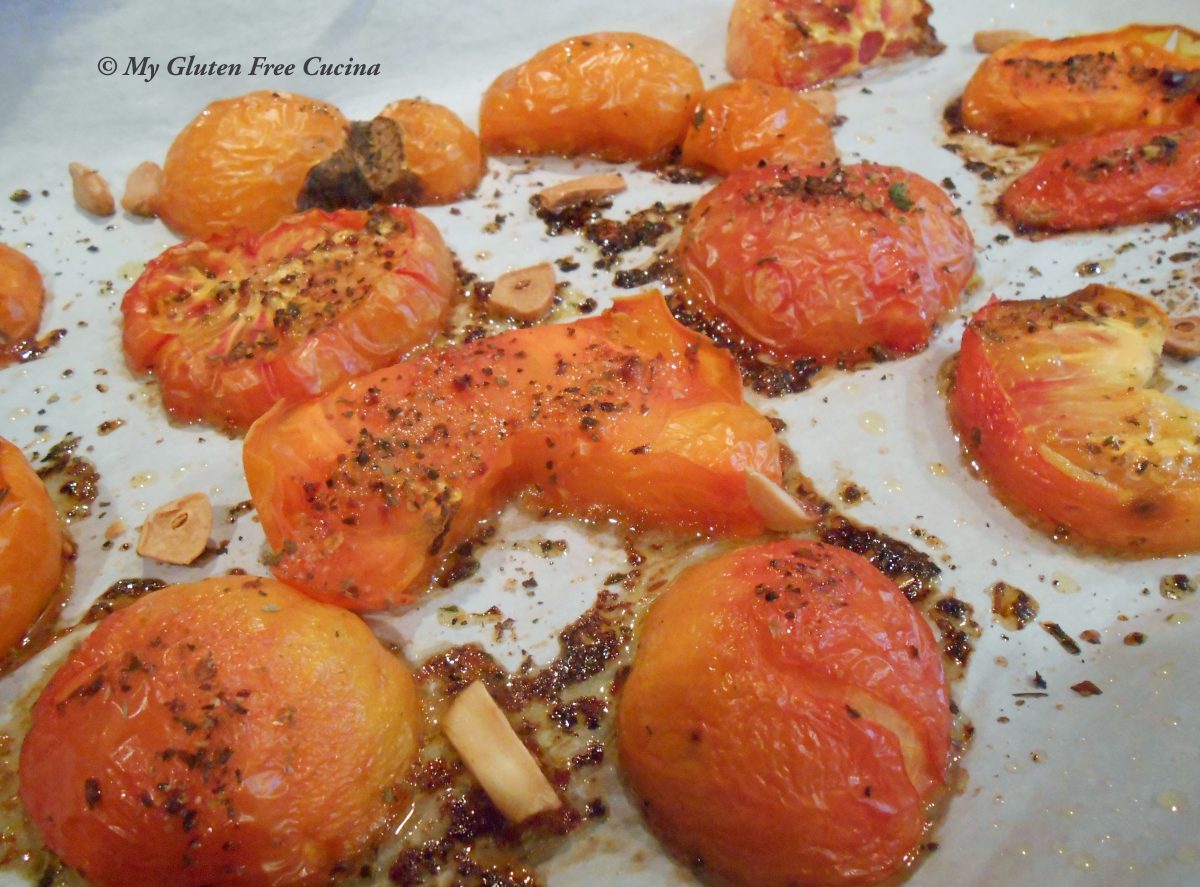
The preparation was simple.  I lined a baking sheet with parchment paper and rubbed it with olive oil.  I cut the tomatoes into 3/4″ slices and placed them skin side up on the oiled baking sheet.  I drizzled them with a little more olive oil, added a few garlic cloves and sprinkled with gluten free Italian seasoning.  I roasted the tomatoes for 2-1/2 hours at 250º.

When I removed the tomatoes from the oven, the skins were split and blistered.  I used tongs to gently lift off the skins and discarded them. I also removed the garlic.

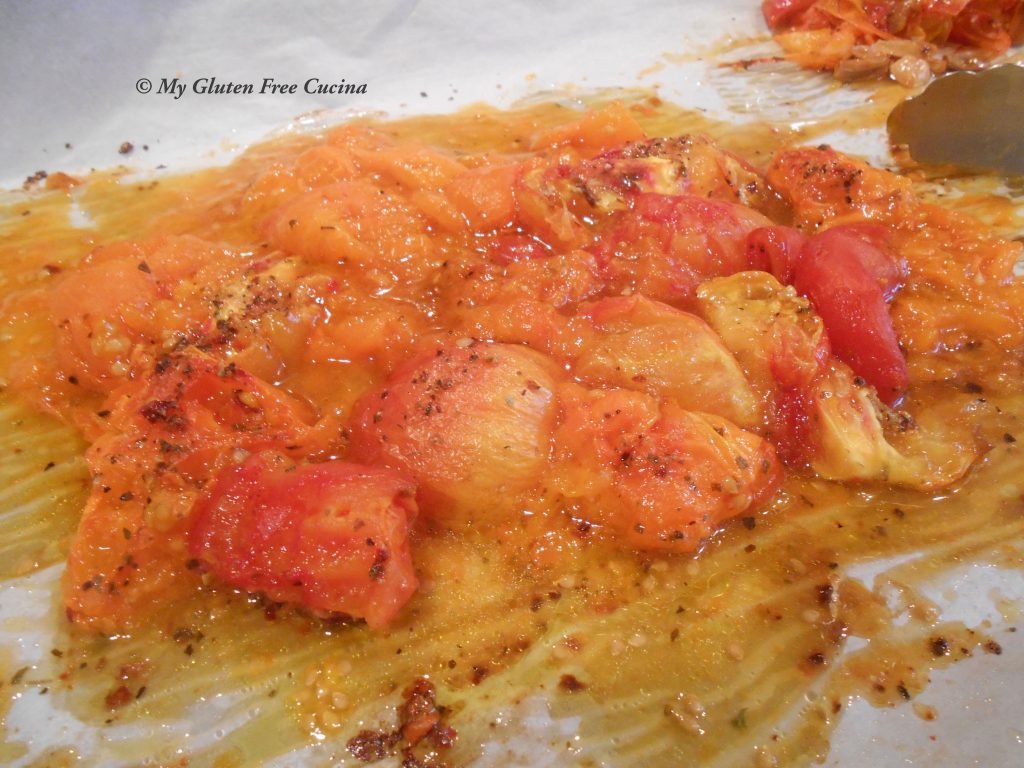
Then I picked up the corners of the parchment and poured the tomatoes and juice into a sauce pot.

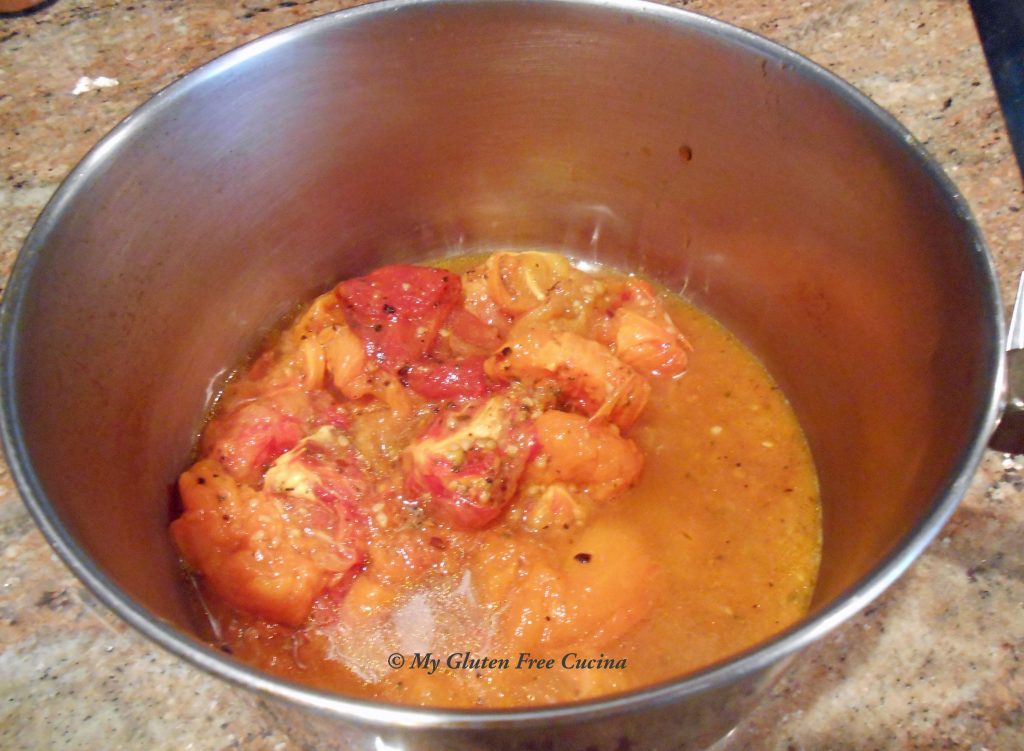
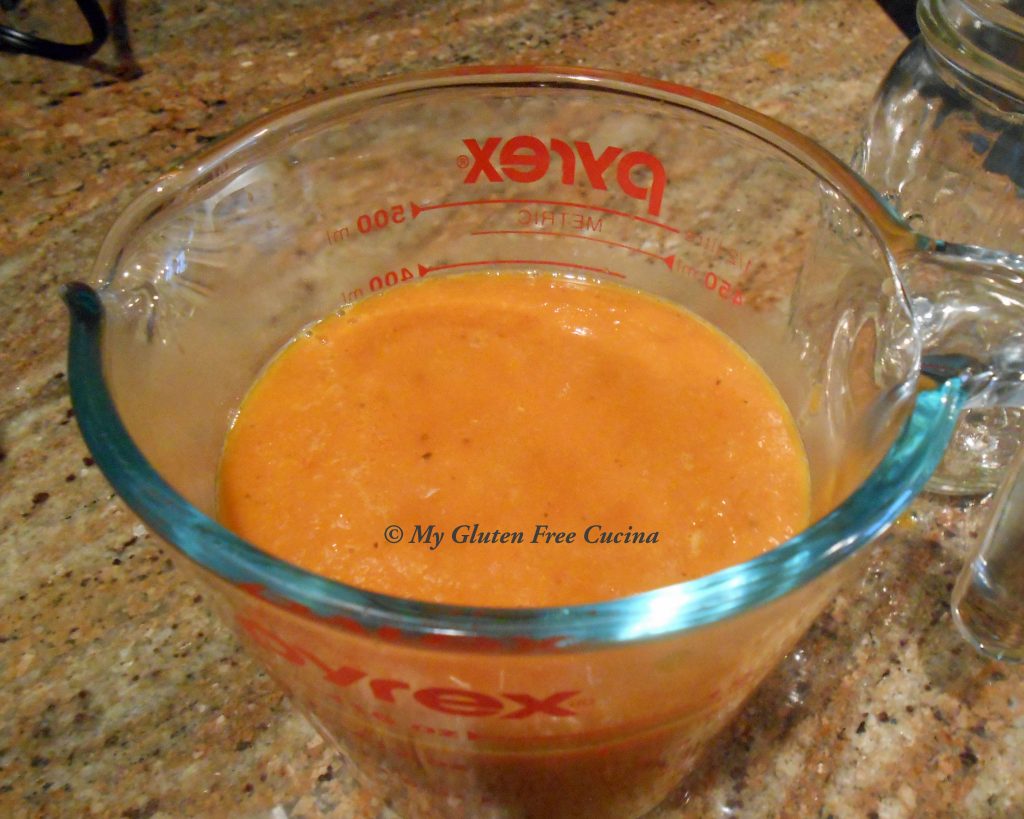
I used a stick blender to puree the tomatoes into a smooth sauce.

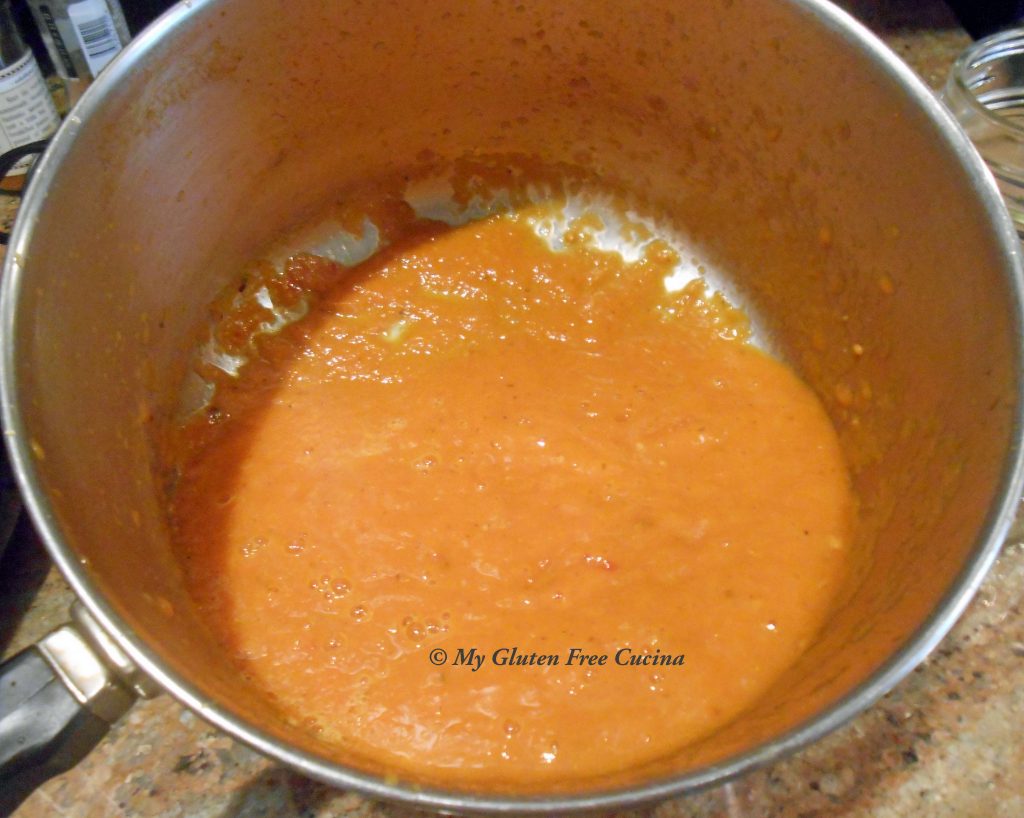
The kitchen was filled with the aroma of roasted tomatoes and garlic!  As you can see, the sauce is orange in color.  Quite different from the red canned sauce that we usually purchase.

My tomatoes yielded just under 2 cups of sauce.  It really gives you an appreciation of how many tomatoes are needed to fill a large sauce can.

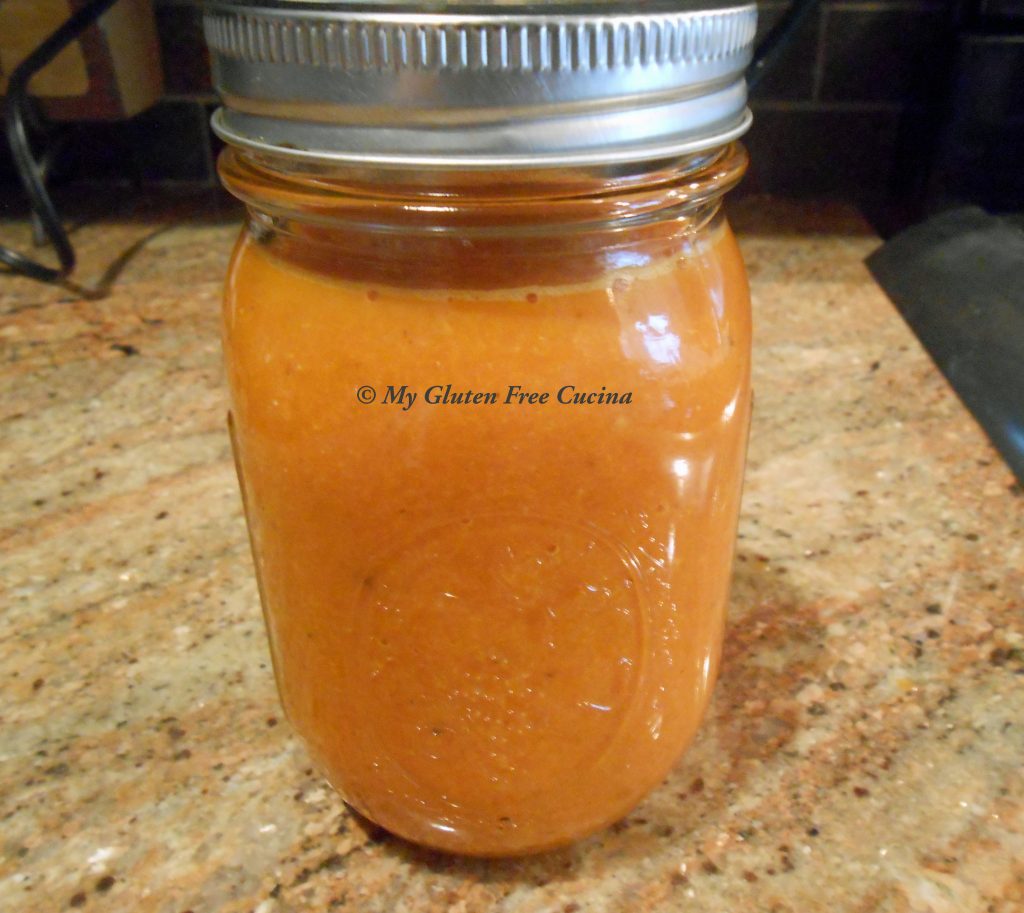
So now my roasted tomato sauce is in the refrigerator waiting to become part of another meal (check it out here)!

Notes ♪♫ Canned tomatoes are one of the few processed foods that I indulge in.  My mother always used Hunts Sauce and I prefer it to this day, maybe because of the memories it brings.  Muir Glen is another favorite brand, especially their Fire Roasted Tomatoes which by the way are a fine stand-in for this very recipe!

Print This Post Print This Post

Toasted Winter Squash Seeds

I’ve been having a hard time finding pumpkin seeds that are processed on dedicated gluten free lines.  So last week when I had a whole butternut squash to cook I decided to reserve the seeds and roast them.  It was a little bit of work to remove the seeds but the results were great!  Use this versatile recipe with pumpkin, butternut squash, acorn squash, whatever is in season.  Since butternut squash is always available you can enjoy this treat year round, so much fresher and tastier than store bought.

Ingredients:

  • 1 whole butternut squash
  • 1 tbsp. olive oil
  • gluten free seasoned salt (I used Lawry’s)

Preparation:

Cut the squash in half and scrape out the seeds with a spoon.  Rinse the seeds under cold water to remove as much of the flesh as possible.  Spread them out on a paper towel and dry overnight.

The next day, toss the seeds with 1 tbsp olive oil and place on a baking sheet lined with parchment paper.

Sprinkle with seasoned salt and bake at 300º for 15 minutes.  Watch that they don’t burn.

Drain on paper towels to remove some of the oil.

There you are, no gluten here! ????

The seeds are super tasty, and very addictive.  So from now on don’t throw those seeds away, roast them up and enjoy a healthy gluten free snack or garnish.

Print This Post Print This Post


Gluten Free Roast Turkey Gravy

Will you be calm and composed on the day of your big holiday dinner?  Make ahead recipes are a great way to reduce stress and help you stay organized as you get that amazing meal on the table.  Start with a Gluten Free Roast Turkey Gravy that you can make ahead and freeze.  Forget skimming the pan drippings and fussing over a roux.  This is much easier and there will be no last-minute gravy fiasco.  You’re welcome.

The Lazy Gastronome


This post contains affiliate links.

Yield: 3 Cups of Gravy

Ingredients:

  • 2 turkey drumsticks, large thigh or wings
  • 3 tbsp. olive oil
  • 1 onion
  • 2 celery stalks
  • 1 carrot
  • 6 garlic cloves
  • 4 thyme sprigs
  • salt and pepper
  • 3 tbsp. corn starch
  • 32 oz. carton gluten free turkey stock or broth

Preparation:

Preheat the oven to 400º.  Heat the olive oil in an oven proof skillet.  Add the turkey, vegetables and thyme sprigs, season with salt and pepper.  Cook over medium heat for 15 minutes, turning the turkey once.

Transfer to the oven and roast for 45 minutes.

Remove the turkey from the pan and reserve for another meal.  Sprinkle the vegetables with corn starch and whisk for 30 seconds.  Continue whisking as you drizzle in the turkey stock.  Be sure to get all of the browned bits up from the bottom of the pan, they are full of flavor!

Simmer uncovered for 25 minutes.  Taste and add more salt if needed.

Look how the color has developed, from pale to beautiful golden brown!

Strain through a fine mesh sieve or cheesecloth and discard the vegetables.  You should have about 3 cups.

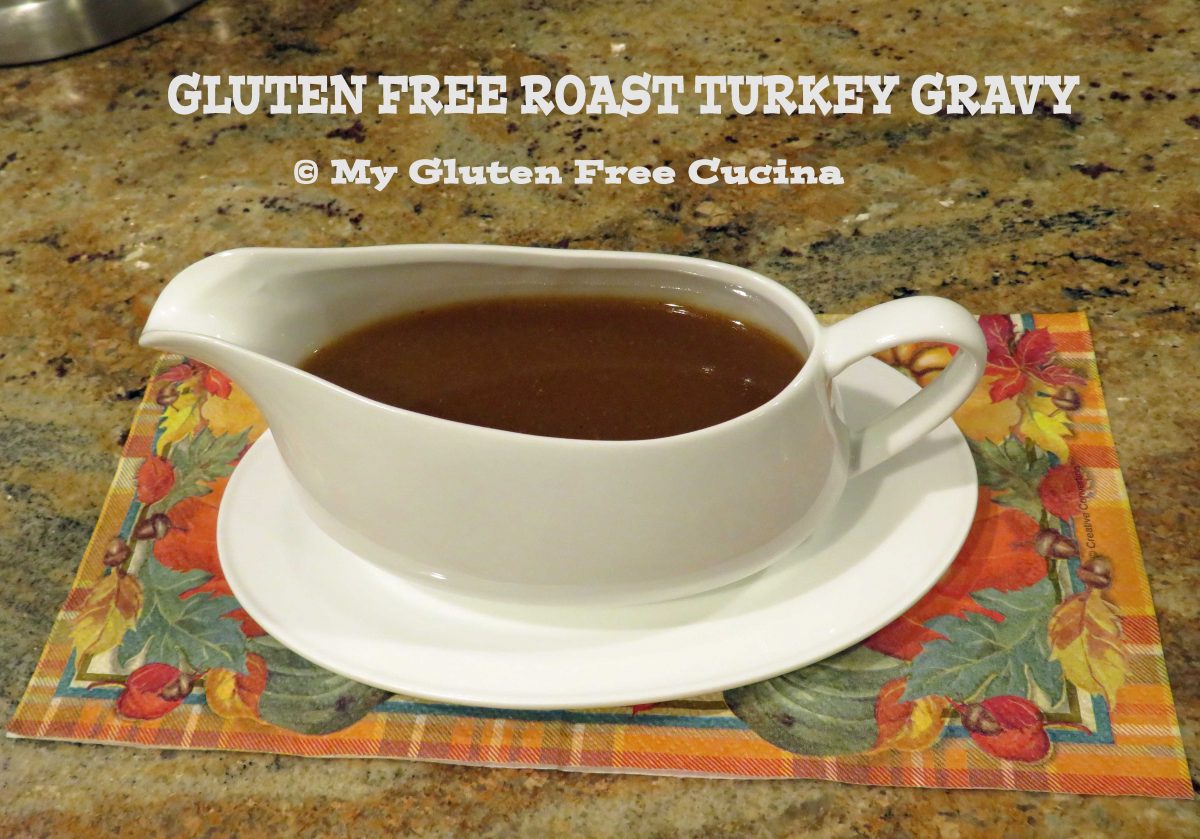
After years of fumbling around with pan drippings I now prefer this make ahead recipe.  It is quite possibly the best turkey gravy I have ever made.  Mine is tucked away in the freezer now, and I will defrost it the night before Thanksgiving.  Just reheat to a low simmer before serving.

Notes ♪♫ This recipe was easily converted to gluten free by substituting corn starch for flour.  For the turkey stock, I like Kitchen Basics or Pacific Foods.

Print This Post Print This Post