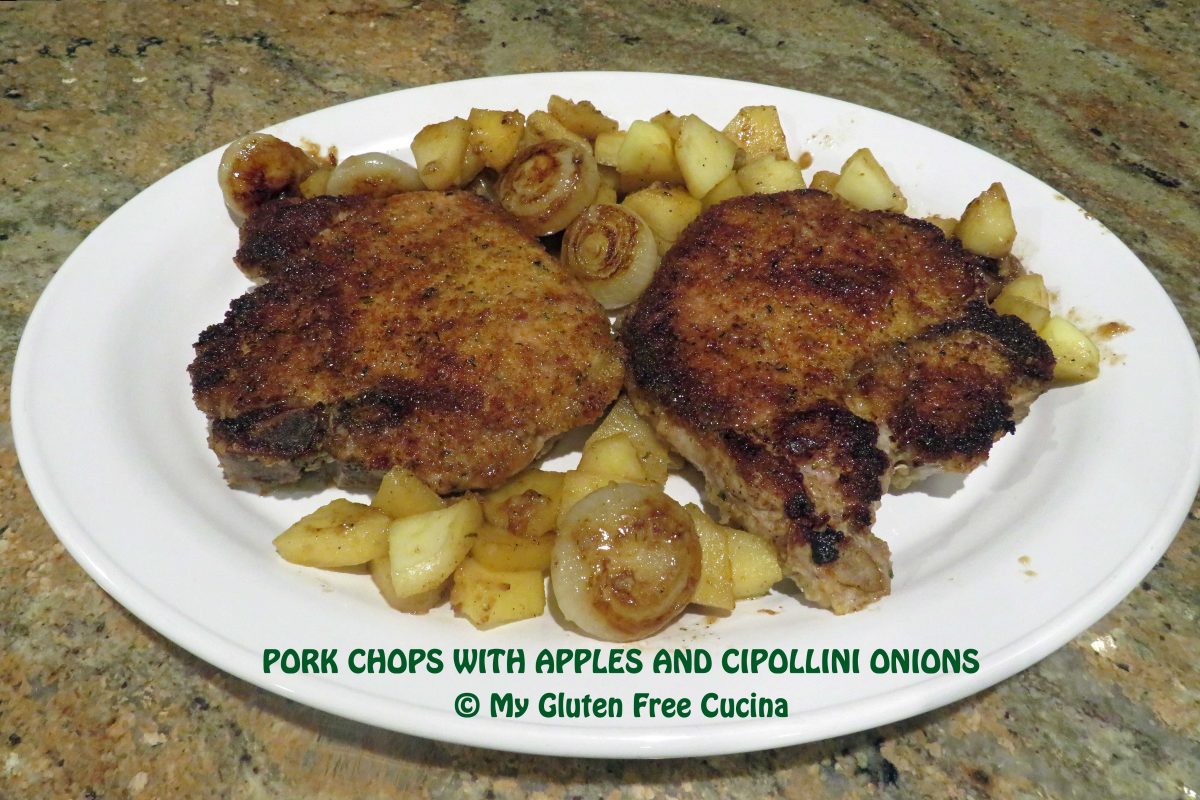
Have you tried Cipollini onions? Cipolla means onion in Italian, and cipollini are “little onions”. Milder and sweeter than regular onions, Cipollini can be a flavorful addition to pork and beef dishes.

You may think these little onions are difficult to peel, but here’s a trick! Simply soak them in water for 30 minutes before you begin prepping the meal. Those skins will pop right off! This is an easy dinner for two, and with only one pan required, cleanup is a breeze!

Dinner for two
This post contains affiliate links.
Ingredients:
- 2 pork chops, 1″ thick, bone in
- 8 oz. cipollini onions, peeled and trimmed
- 1 apple, peeled and sliced
- 1/2 cup of 1% milk
- 1/2 cup of white wine (NOT cooking wine!)
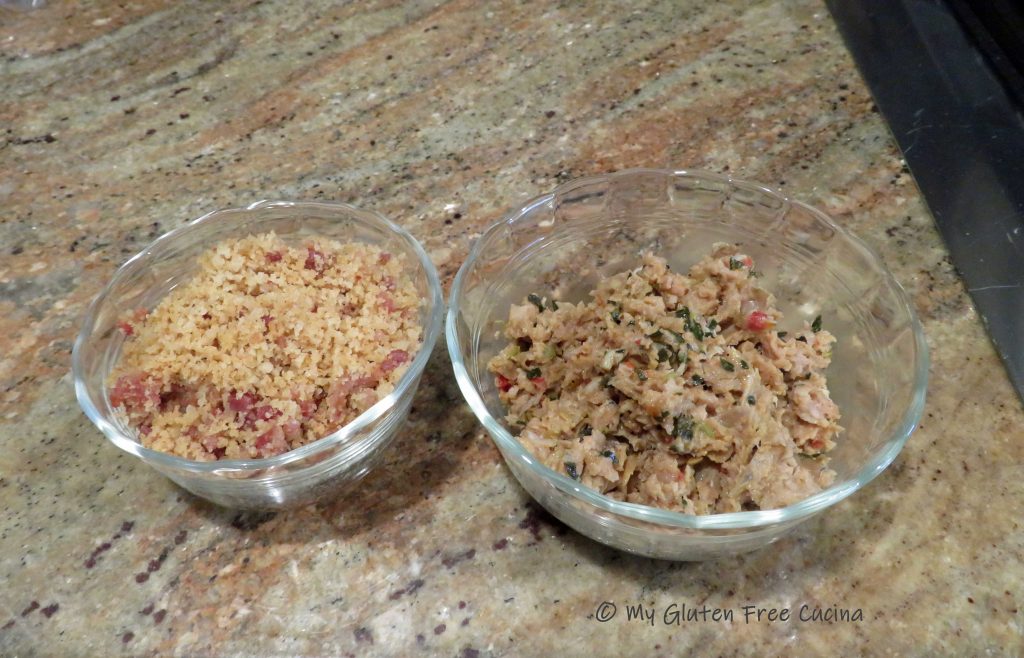
- 1/2 cup gluten free seasoned breadcrumbs
- salt and pepper
- 2 tbsp. olive oil
- 1 tbsp. butter
Preparation:
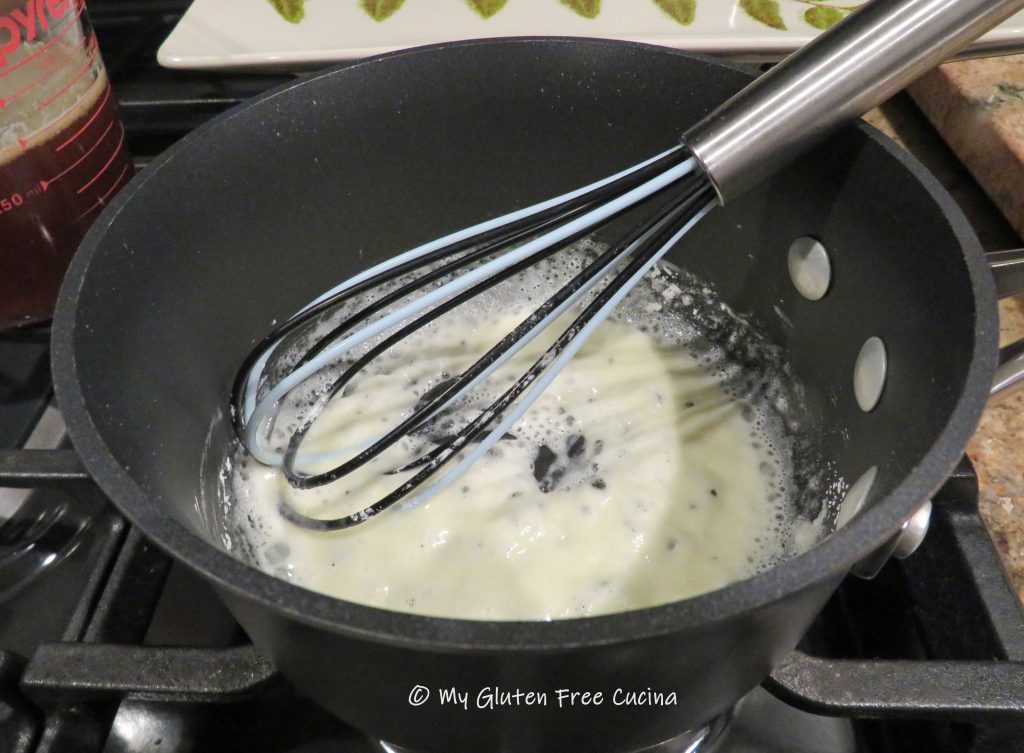
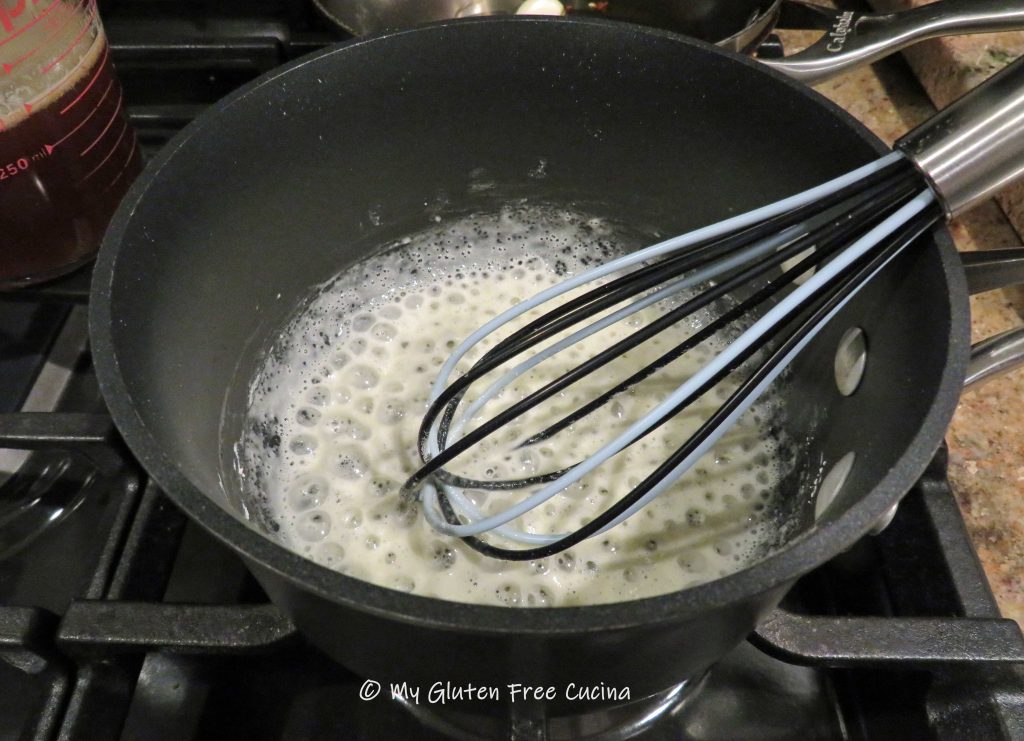
Soak the Cipollini onions in water for 30 minutes. Be sure they are submerged. At the same time, tenderize the pork chops by placing them in a non-reactive dish with 1/2 cup milk for 30 minutes, turning once. Season with salt and pepper.

After soaking for 30 minutes, peel and trim the onions.

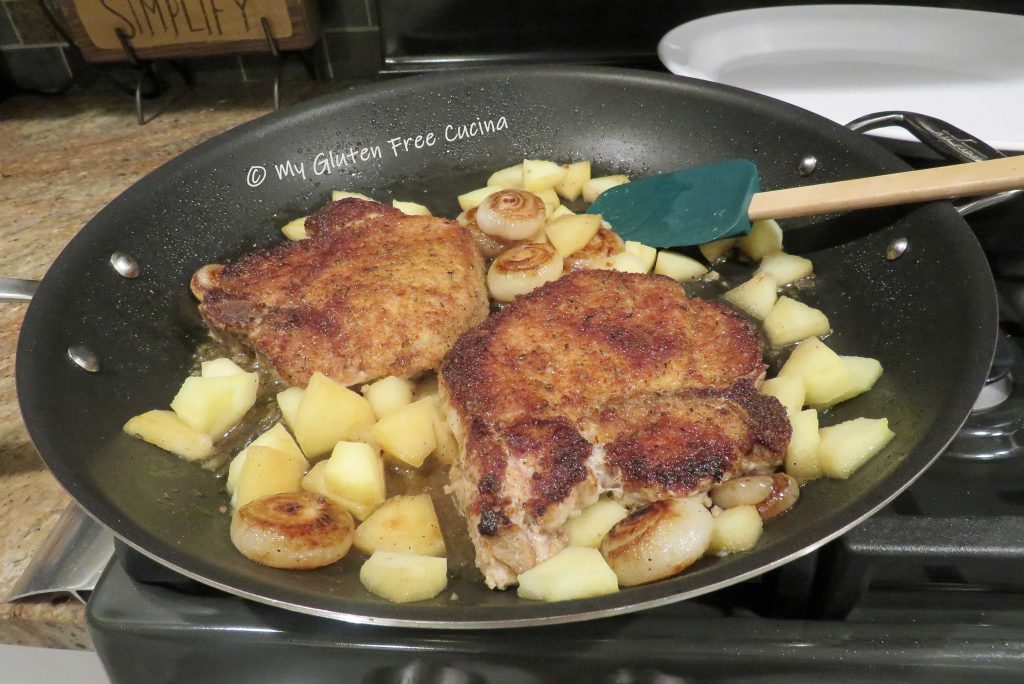
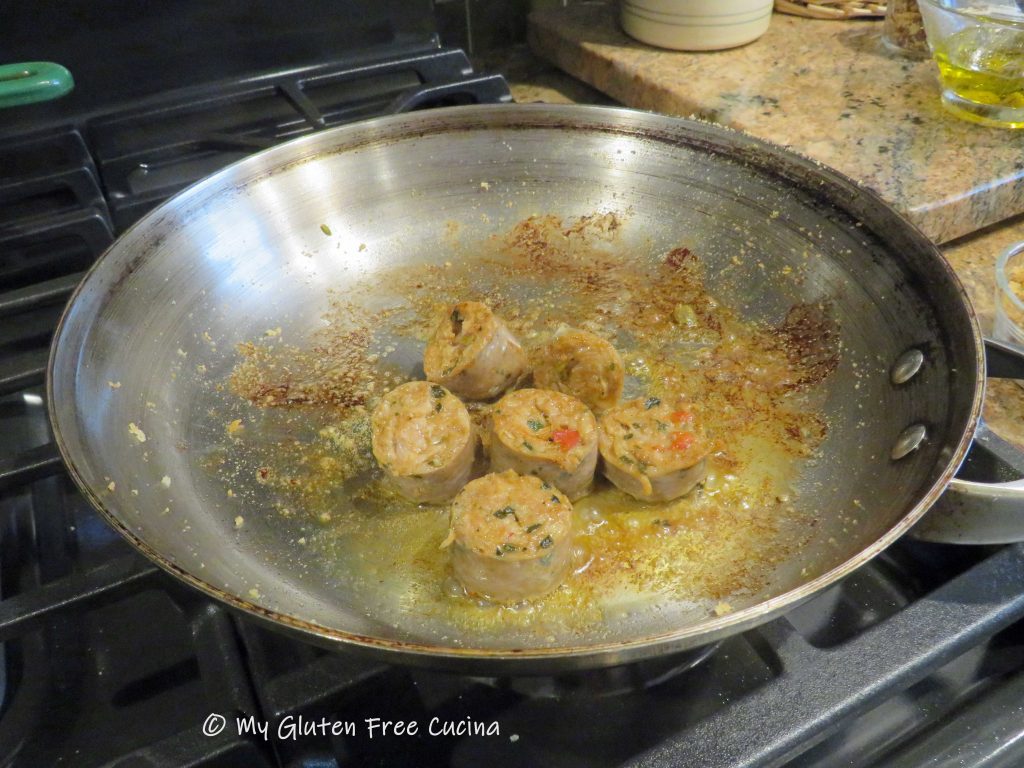
Heat a large nonstick skillet with the olive oil and butter. Season the Cipollini with salt and pepper and cook on medium low heat for 8-10 minutes, turning every few minutes.
Here you can see the onions are partially cooked and starting to get some color. At this point push them to the side, to make room for the pork chops.

Take each pork chop, shake off the excess milk and dredge in the breadcrumbs. Add the pork chops to the center of the pan, cover and cook 4 minutes.

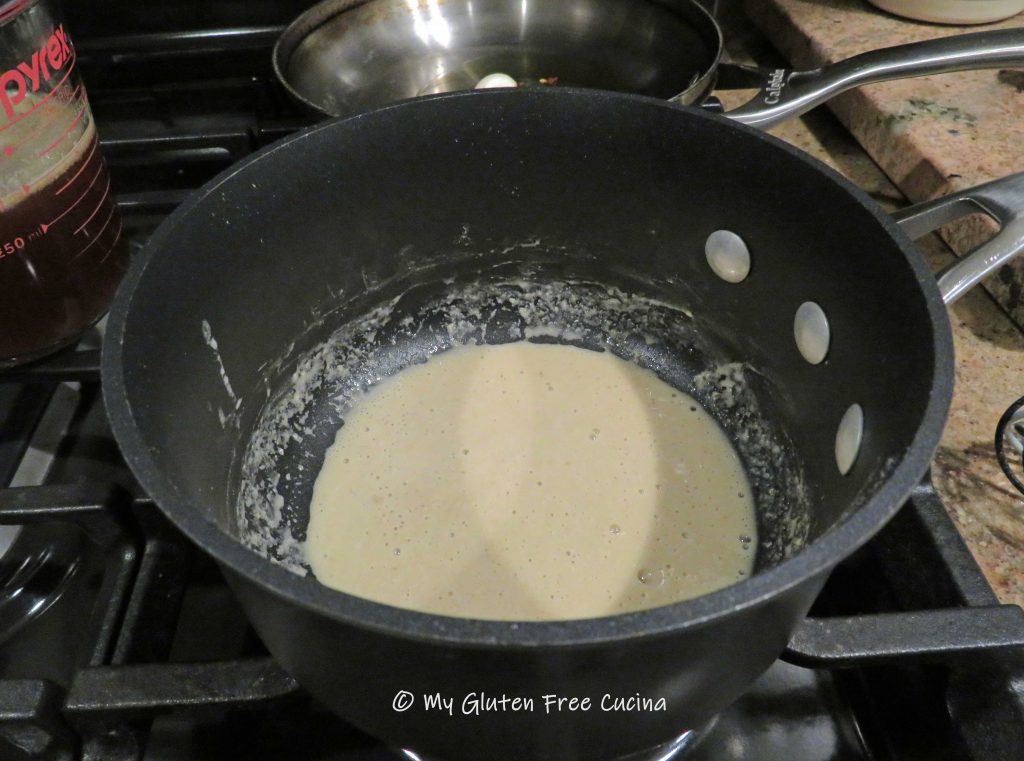
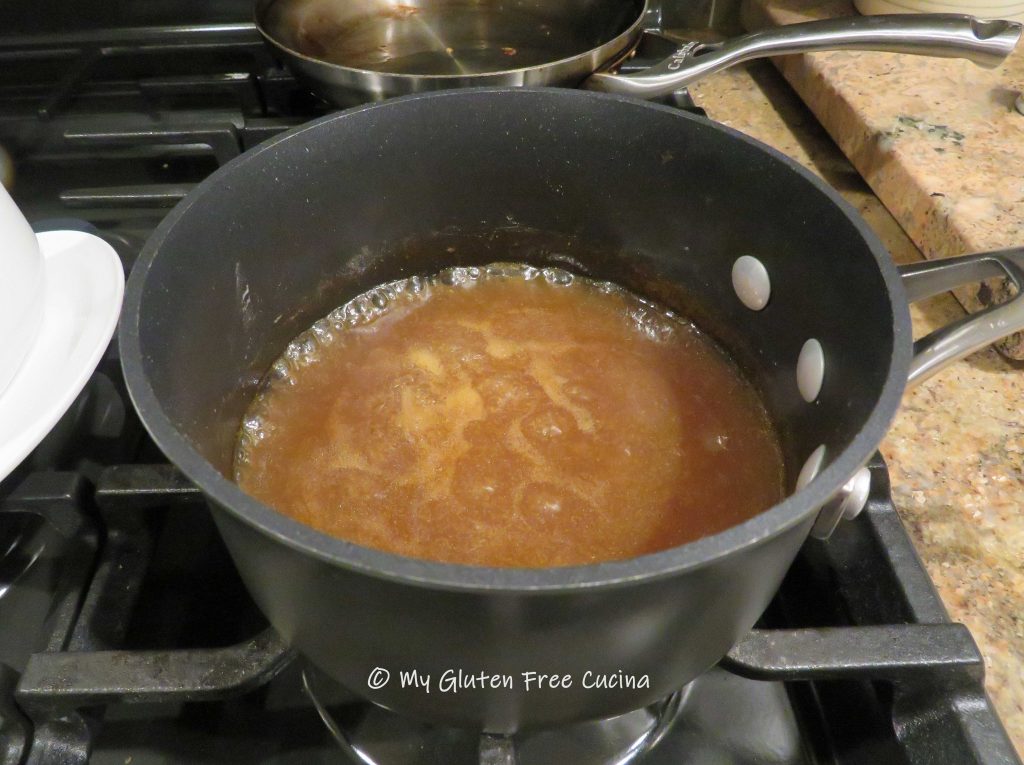
Turn the pork chops, add the apples to the pan along with the wine, then cover and cook for an additional 4 minutes. Remove the cover and allow any remaining liquid to evaporate, then transfer to a serving platter.

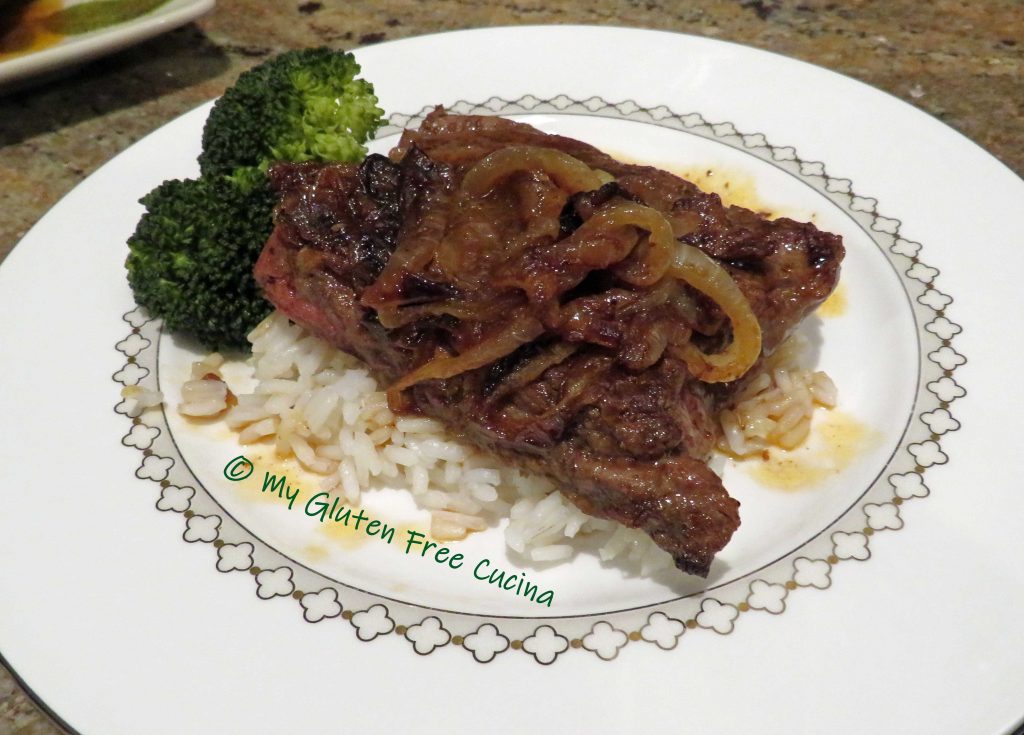
I served them with a side of white rice.

Notes ♪♫ I used Aleia’s gluten free Italian breadcrumbs in this recipe. They are so delicious, the closest I have found in taste and texture to regular Italian breadcrumbs. Everyone in your family will love them, gluten free or not!
Originally published 02/10/2020 Updated 01/02/2023


 Preparation:


 Preparation:


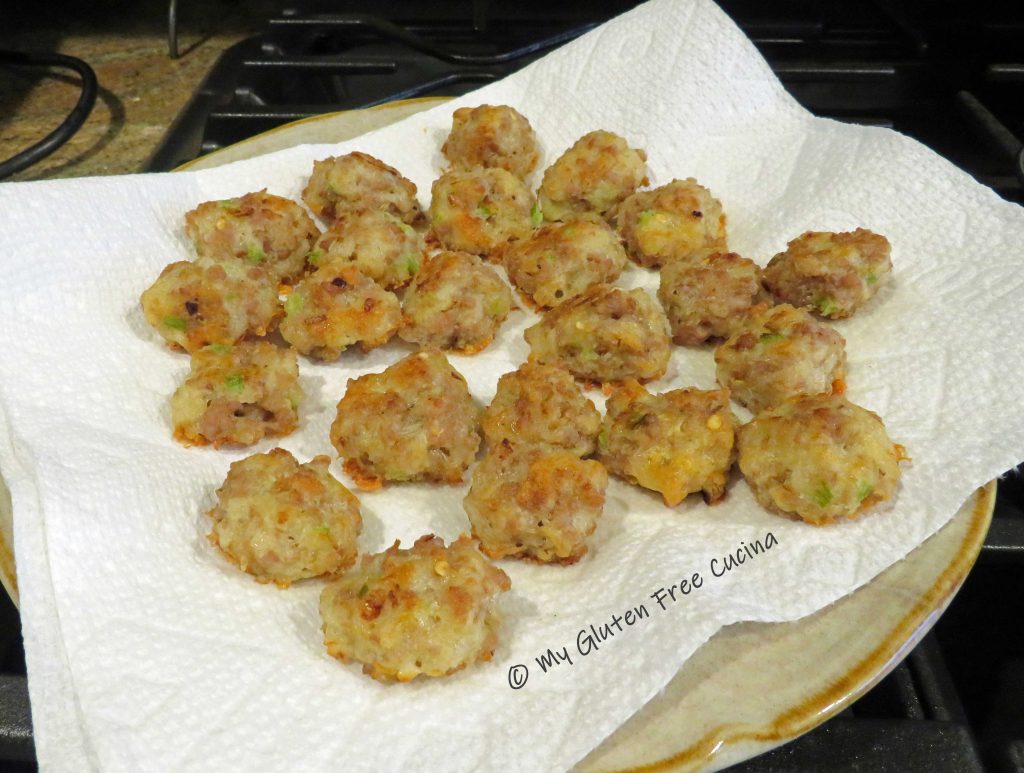
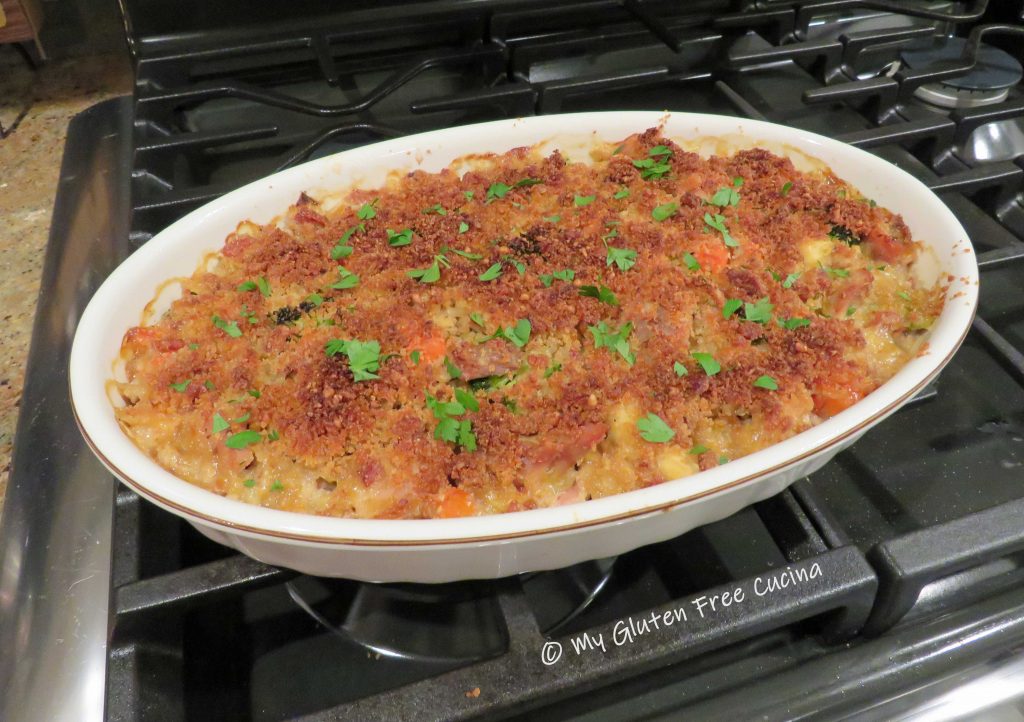
 Add back the sausage and bacon to the skillet and toss well to combine.


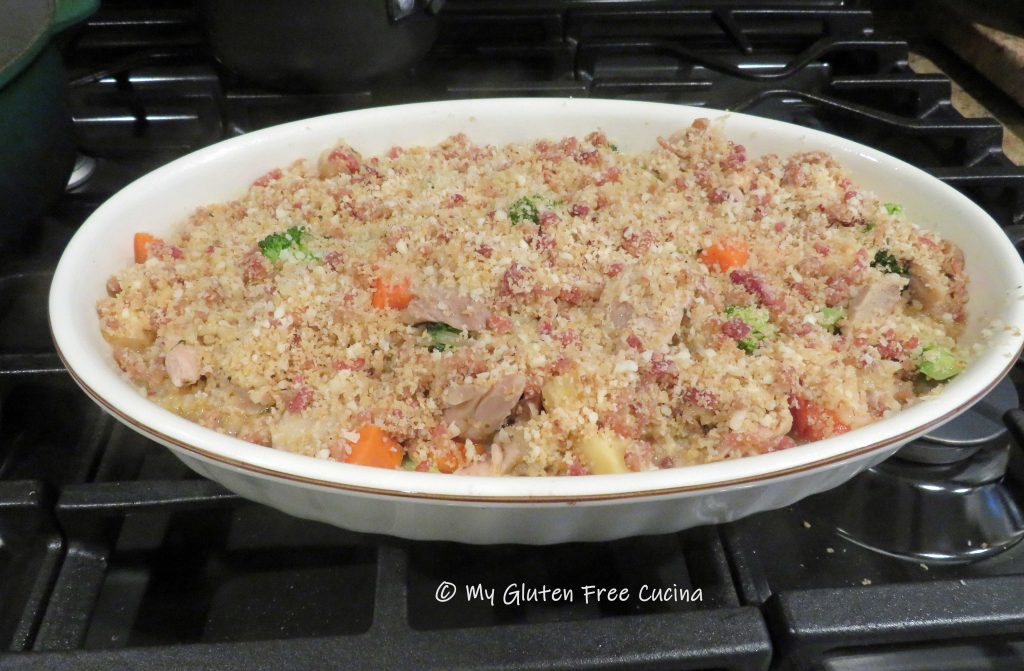
 Crumble the bacon, or place in an
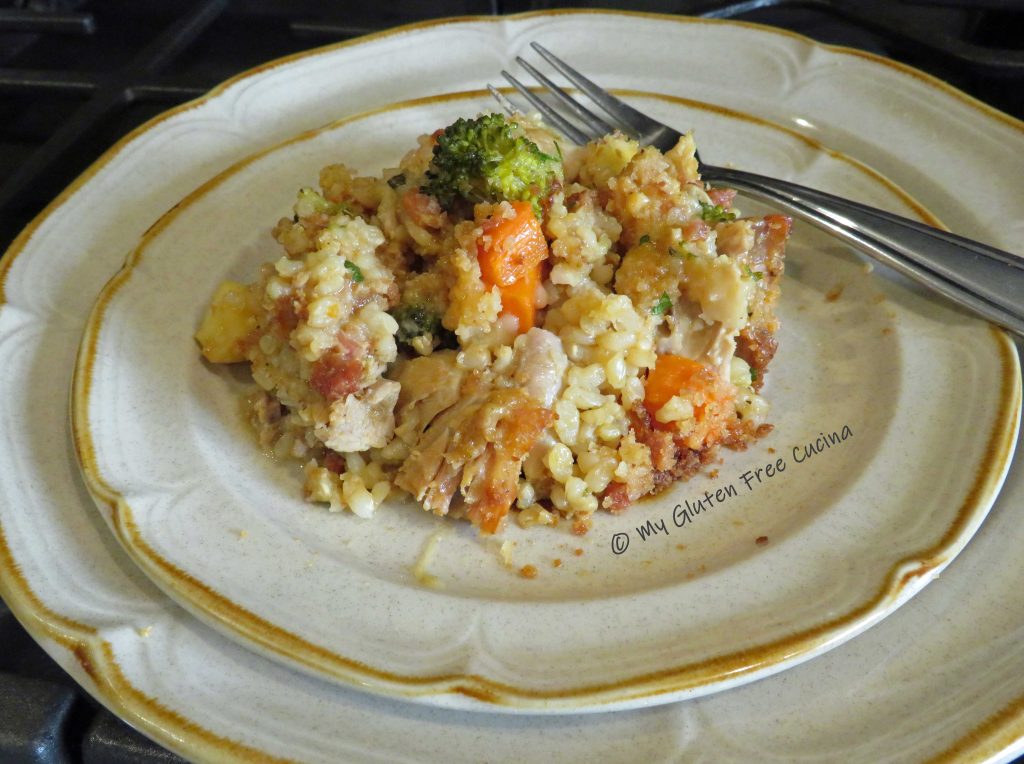
 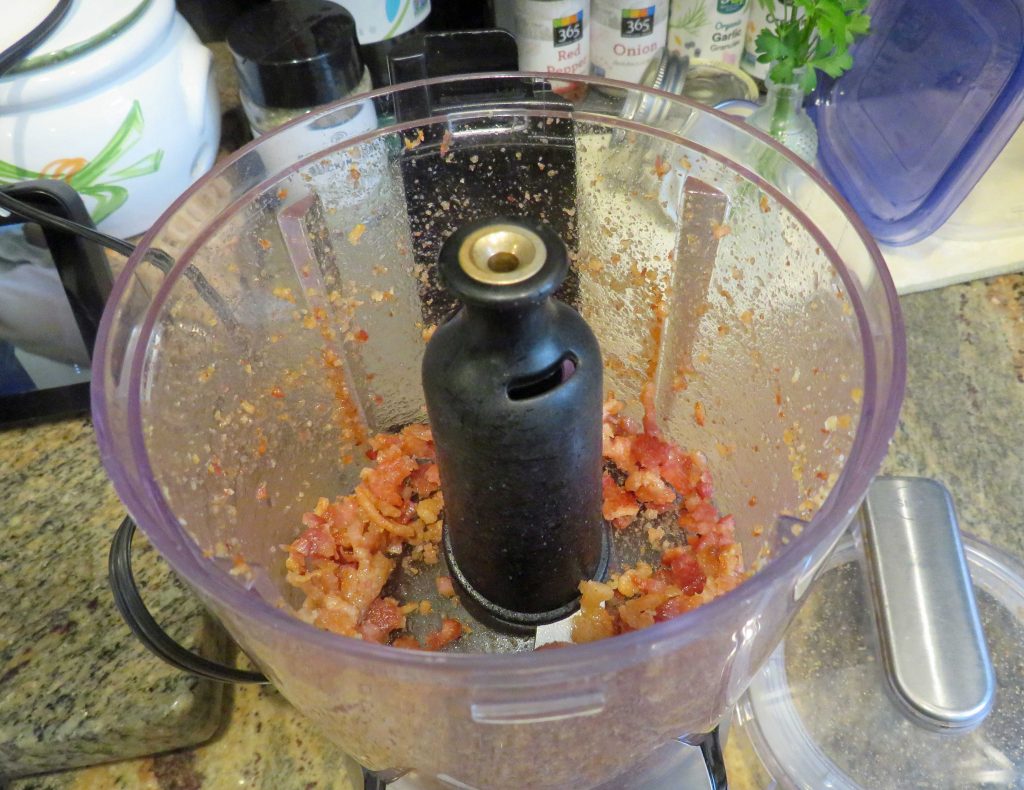 Add 1/3 cup of gluten free breadcrumbs to the skillet with the bacon fat and stir over low heat. Add back the crumbled bacon and stir well to combine. Set aside to cool, then mix with 1/4 cup grated parmesan cheese for topping.
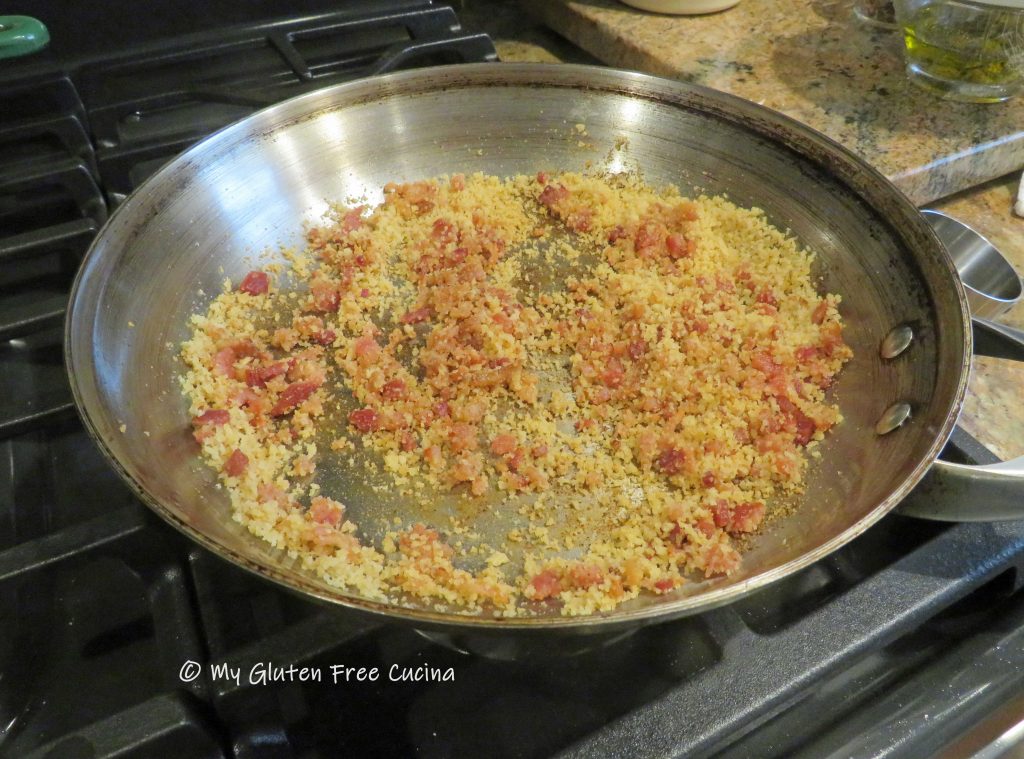

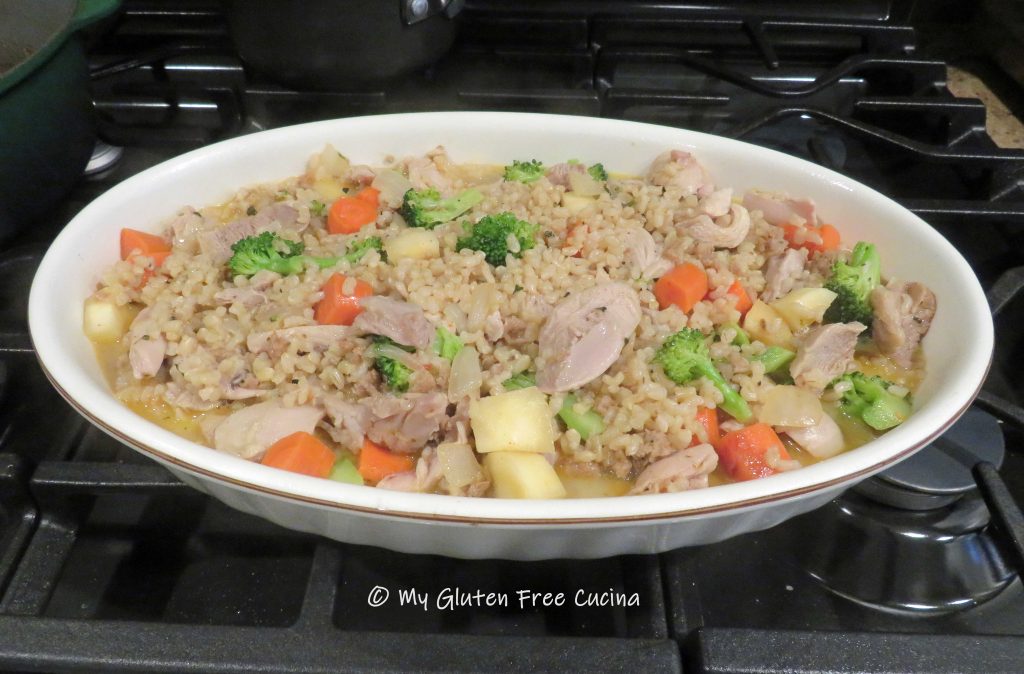
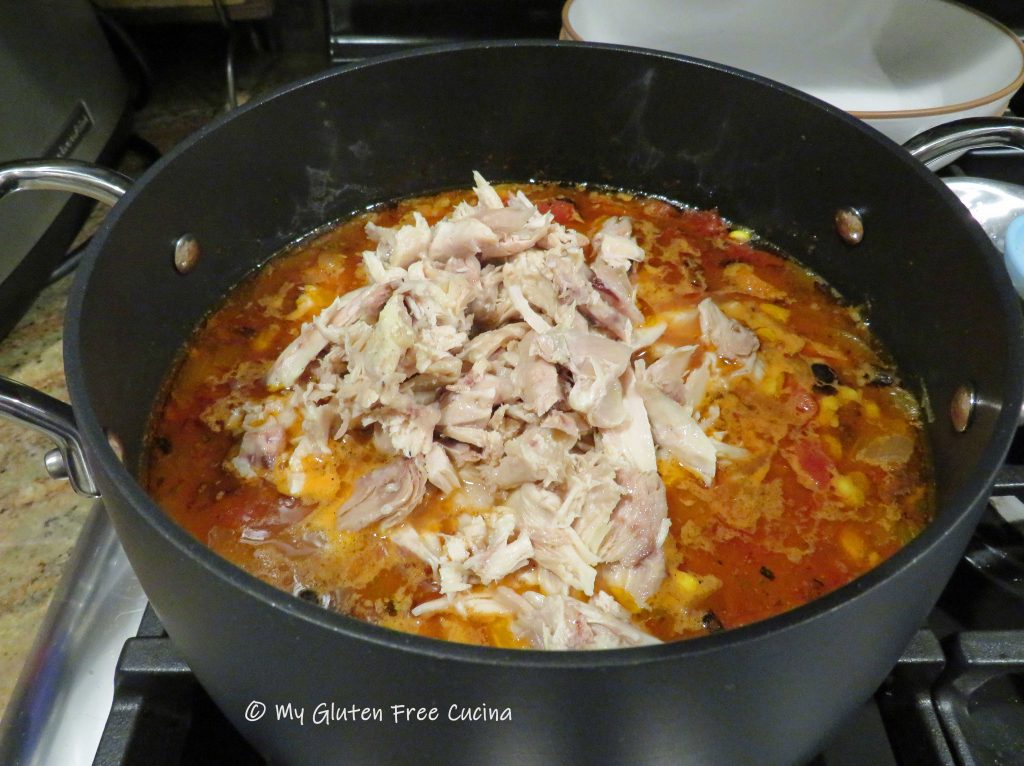
 Place browned chicken in a
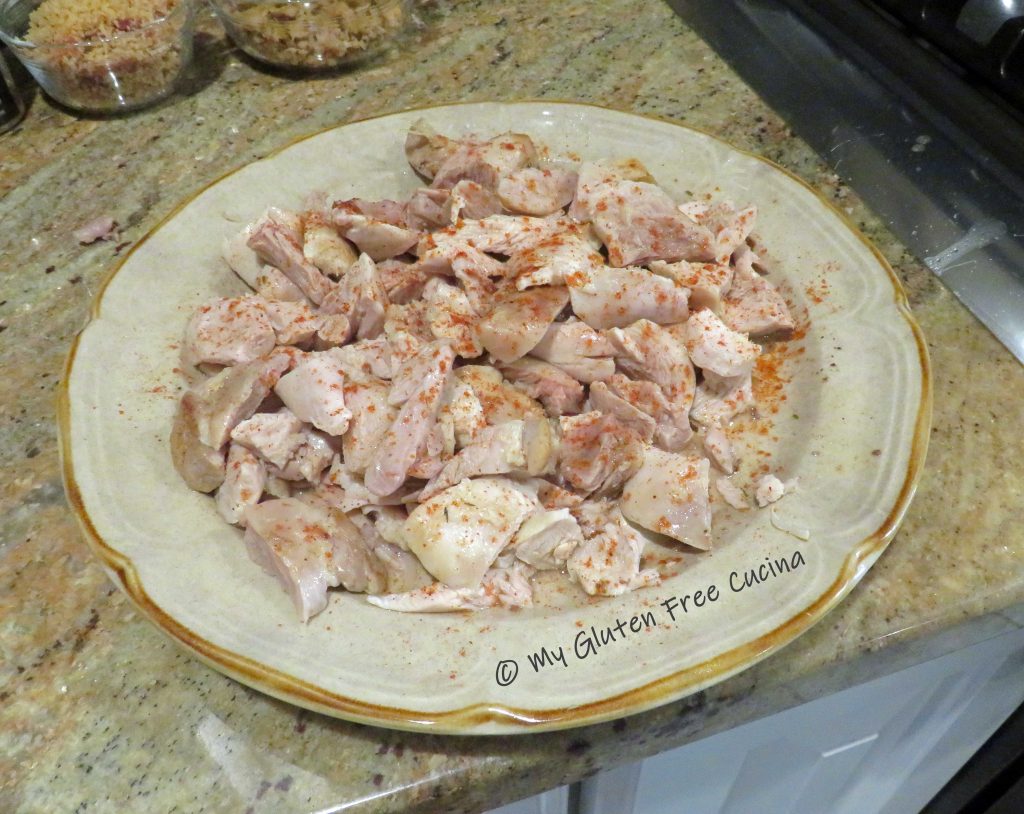


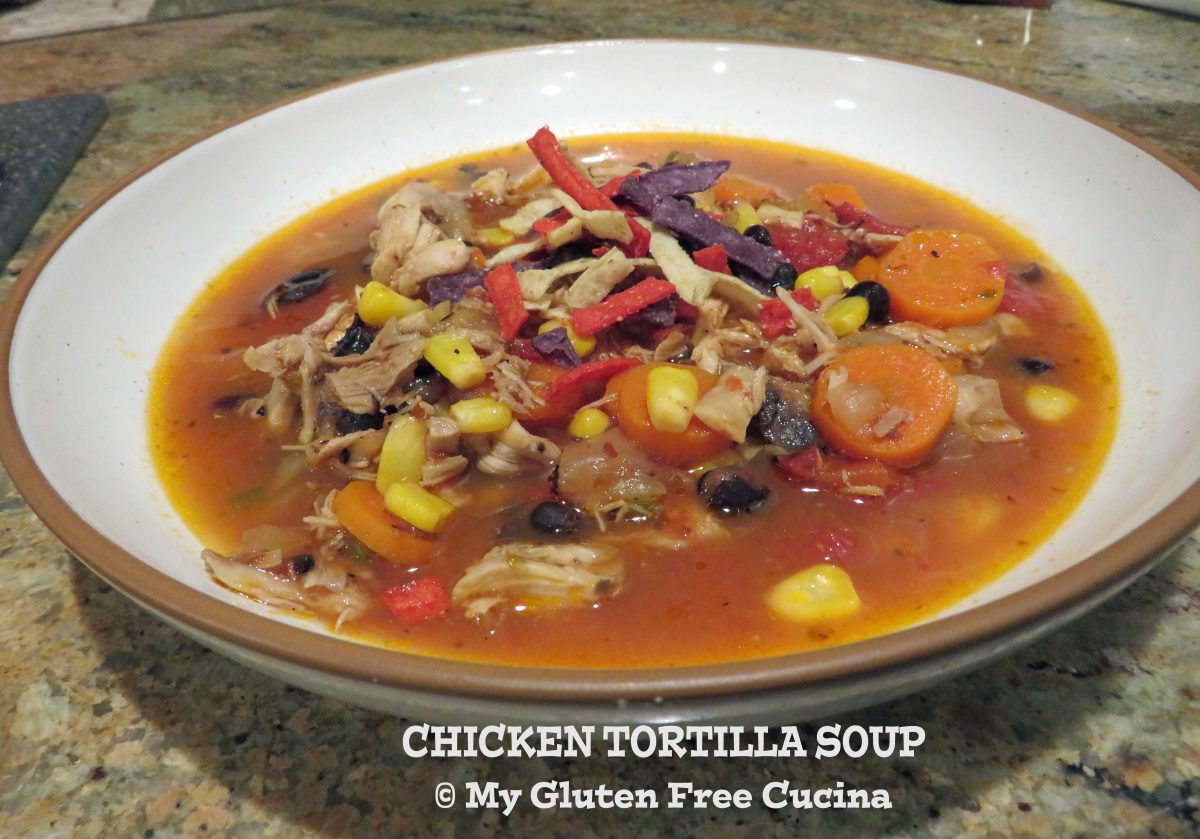


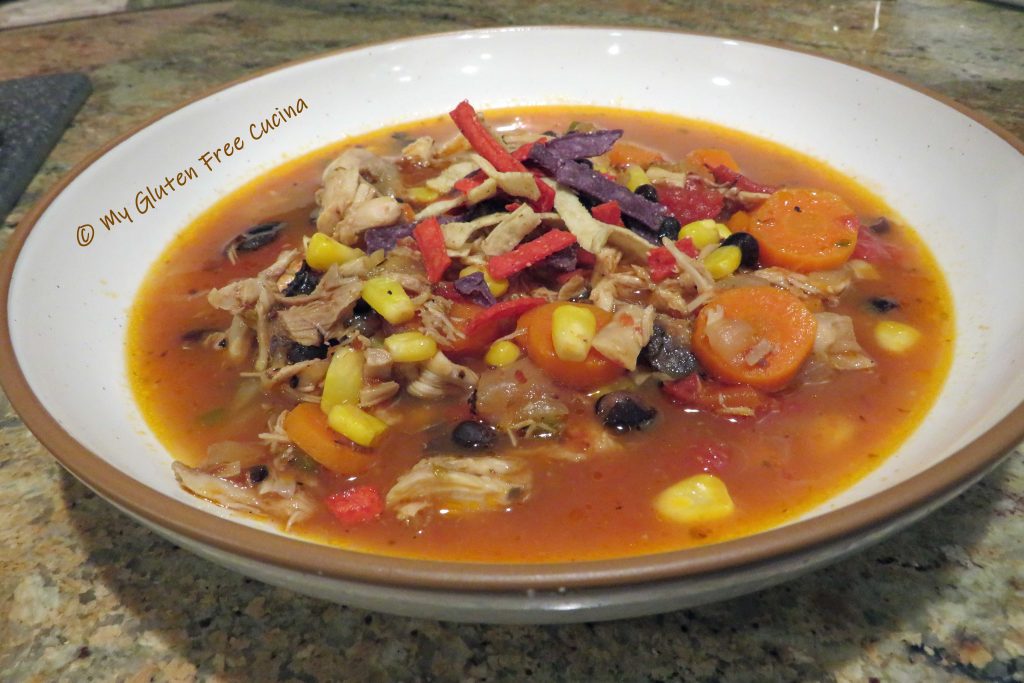
 Garnish each bowl with tortilla strips.