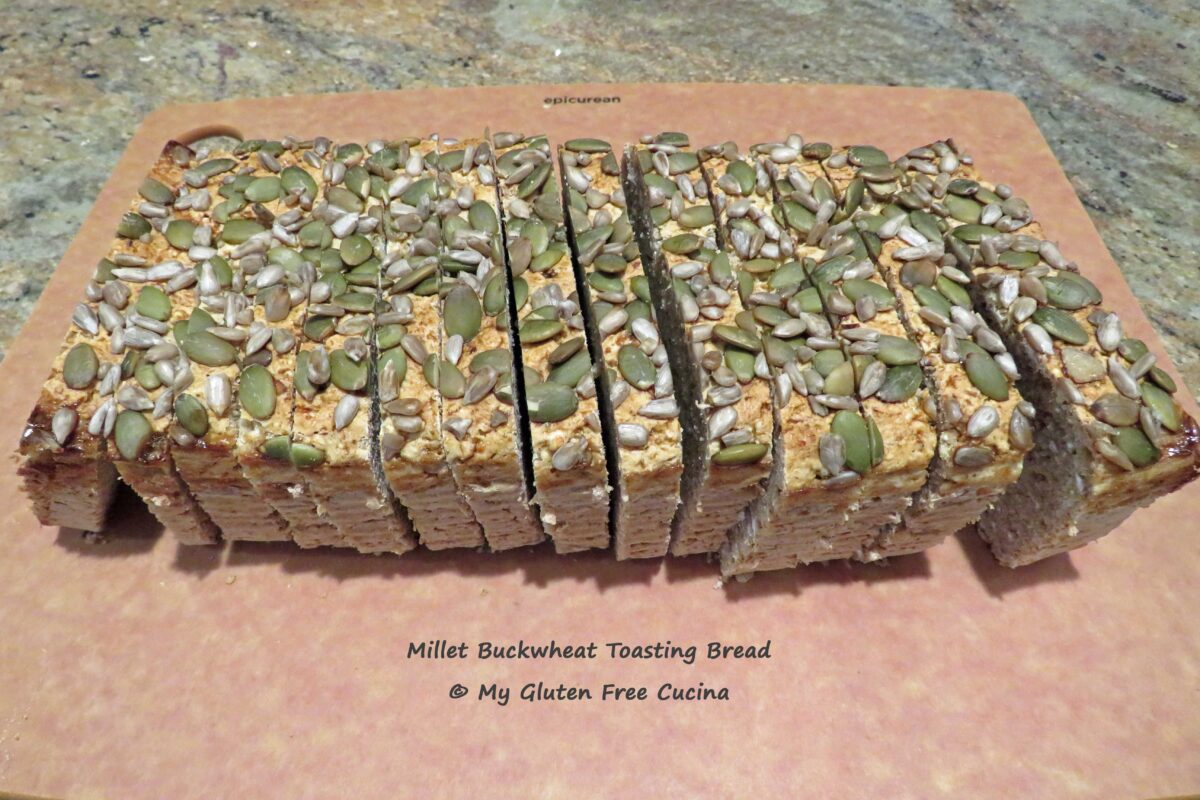
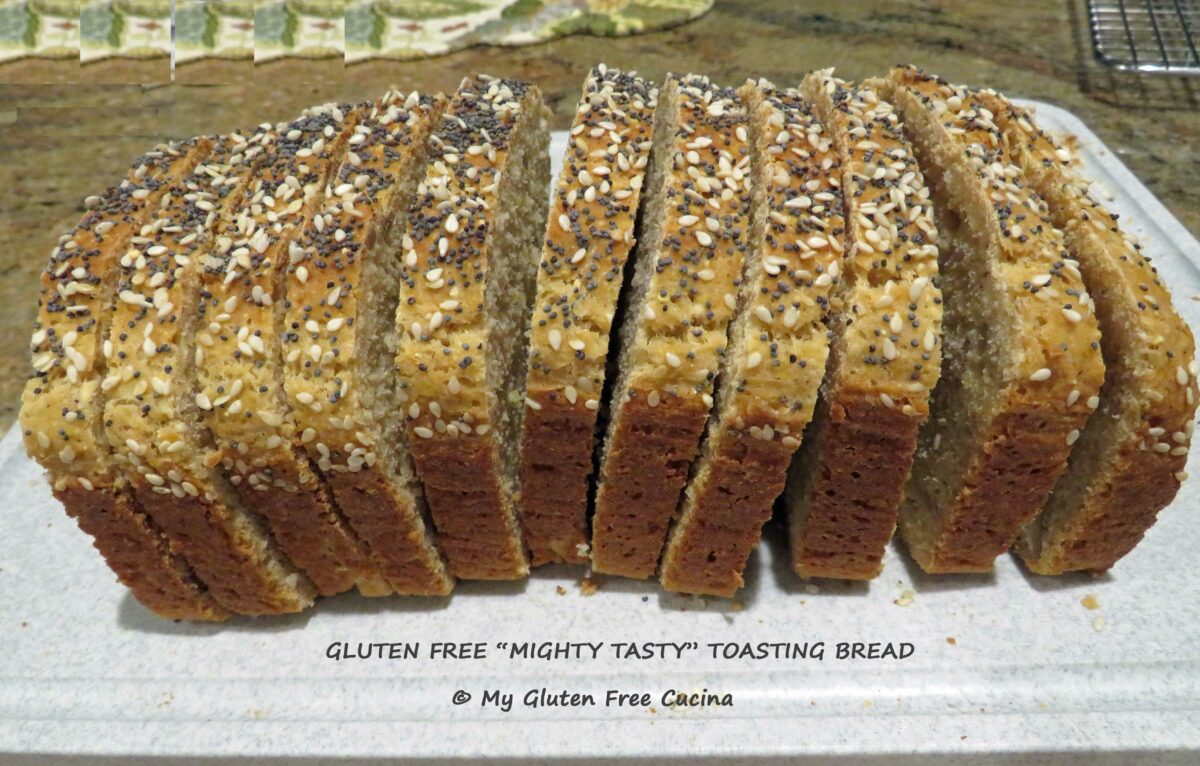
Millet Buckwheat Toasting Bread
I have been a home bread baker for many years, and despite a Celiac diagnosis in 2017 I continue to experiment with different recipes, always looking for that gluten free loaf that will make me smile.
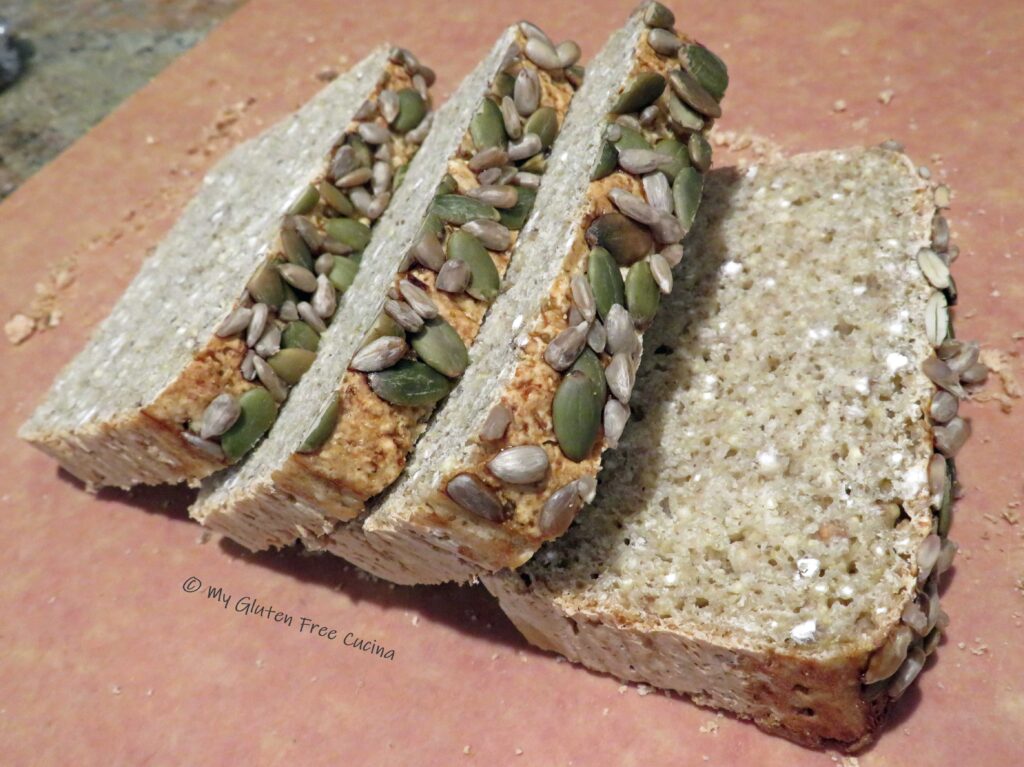
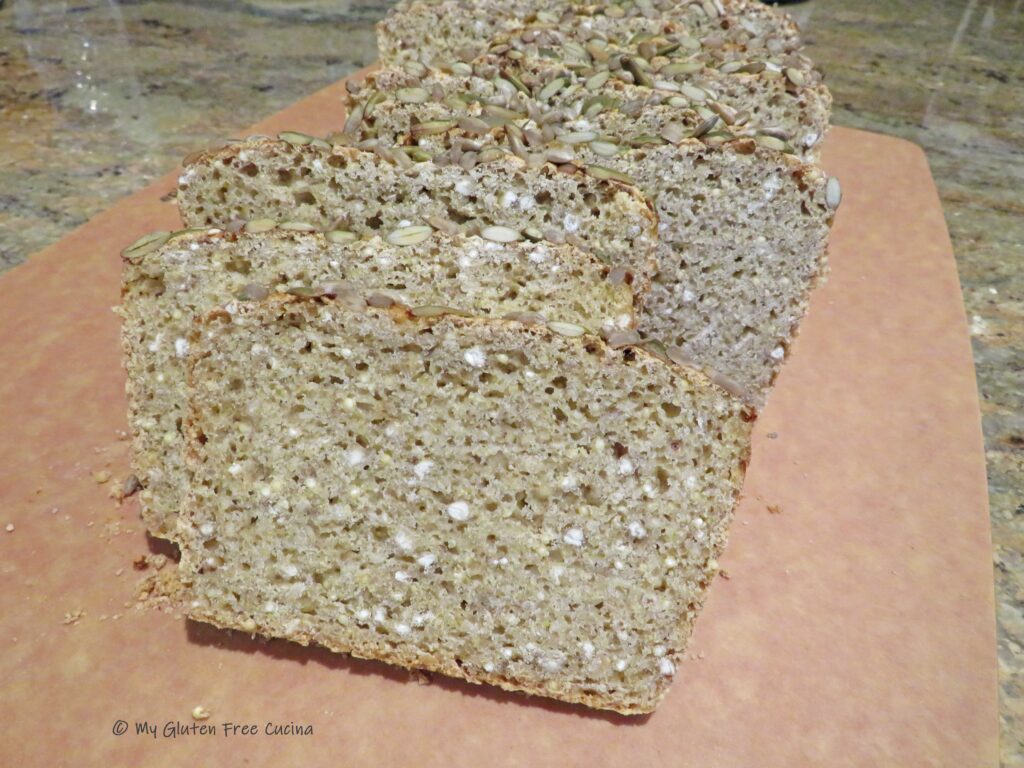
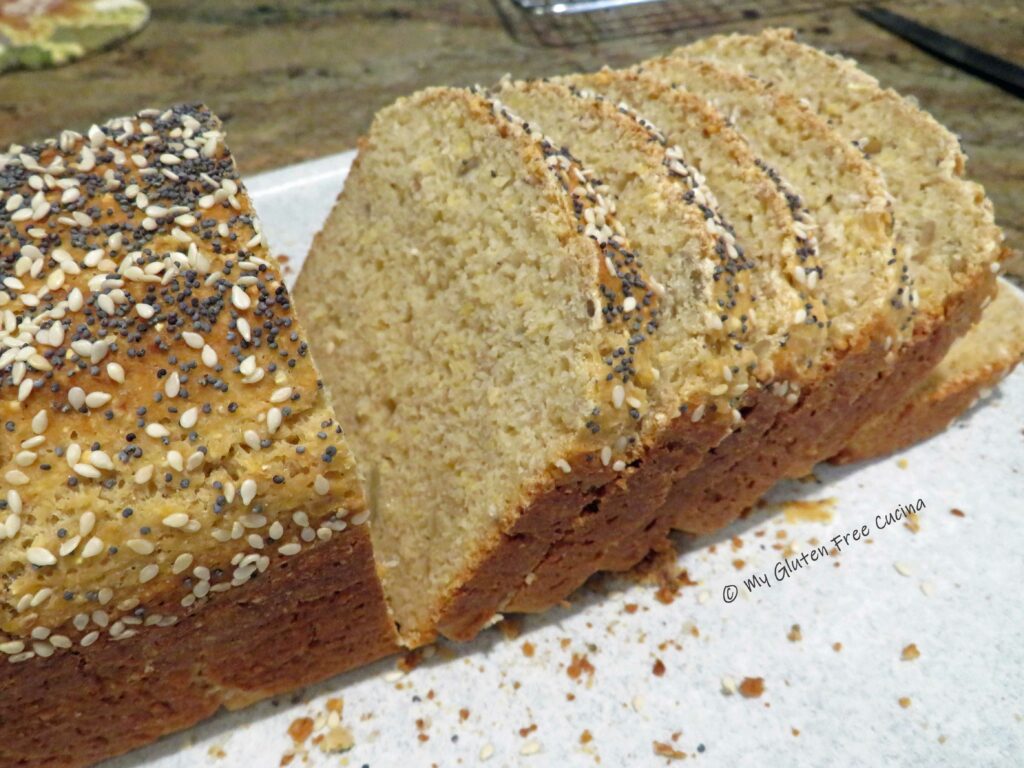
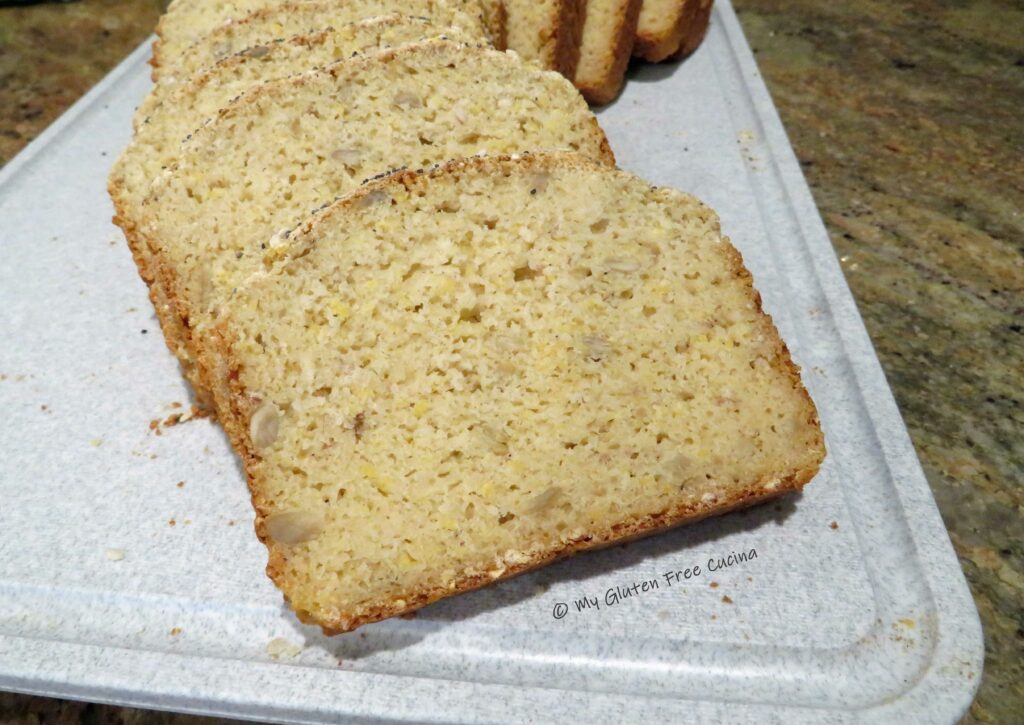
This hearty toasting bread is made with whole grains and seeds that give it great texture. It is full of flavor, fiber and nutrition, a welcome change from typical gluten free store breads made with refined flour.
The recipe is somewhat involved, and I get that it’s not for everyone. But for all who want to give it a try, I have broken it down into small steps that are easy to follow. The ingredients are bulleted, so you can easily look all the way through and see what you need. I also provide a complete ingredient checklist at the end of the recipe, which can be printed and used as a shopping list.
This post contains affiliate links
You might be interested to know that I used a grain mill in this recipe. I like to buy millet and buckwheat in whole form and mill them at home when I need flour. Since this bread contains millet and buckwheat in both whole and flour form, I only need to stock the grain.
Adapted from a recipe by Ellen Brown, yield 1 loaf
*Contains Oats – see notes
Step 1 Mill (see Notes at bottom)
Mill the following grains on the finest setting. You may have to add in a few more grams of each to end up with the finished weight in flour. If you don’t have a grain mill don’t worry! Just measure the exact weight in millet and buckwheat flour.
- 120 g. millet
- 45 g. buckwheat
Read more about how I use my grain mill in gluten free baking.
————————————
Step 2 Soak
Boil water. Add the following whole grains (not flour), cover and remove from heat. Soak for at least 10 minutes or until you are ready with the other ingredients.
- ¼ cup whole millet
- ¼ cup whole buckwheat groats
- ¾ cup boiling water

————————————-
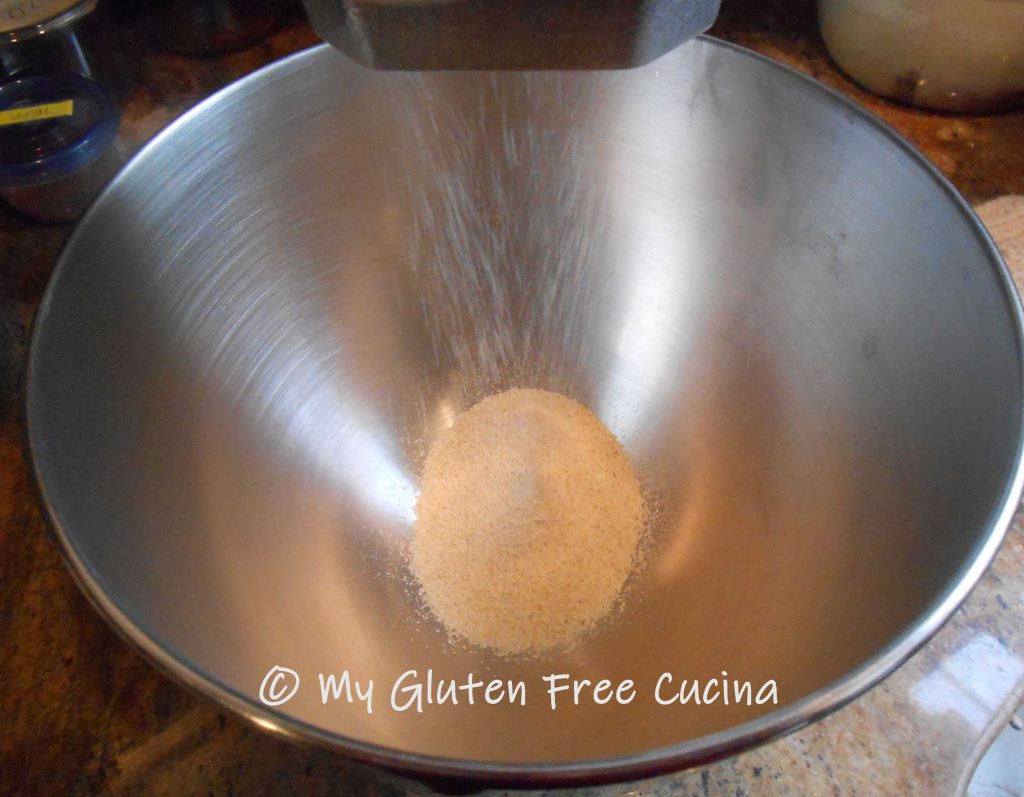
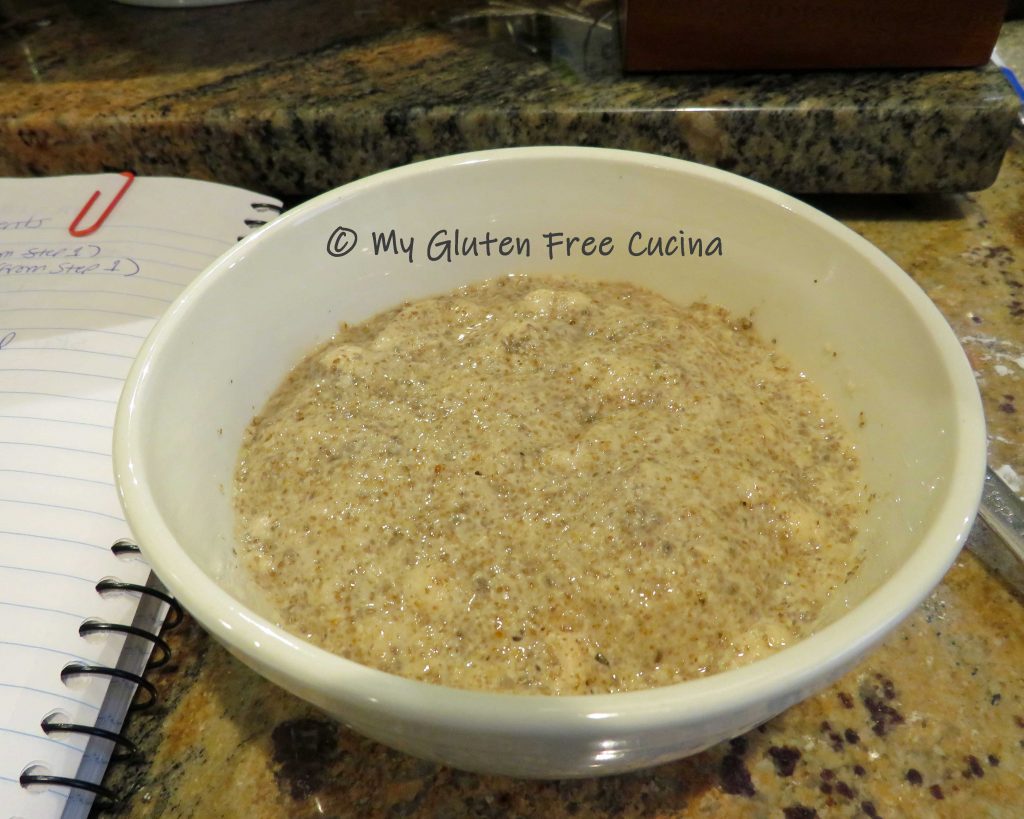
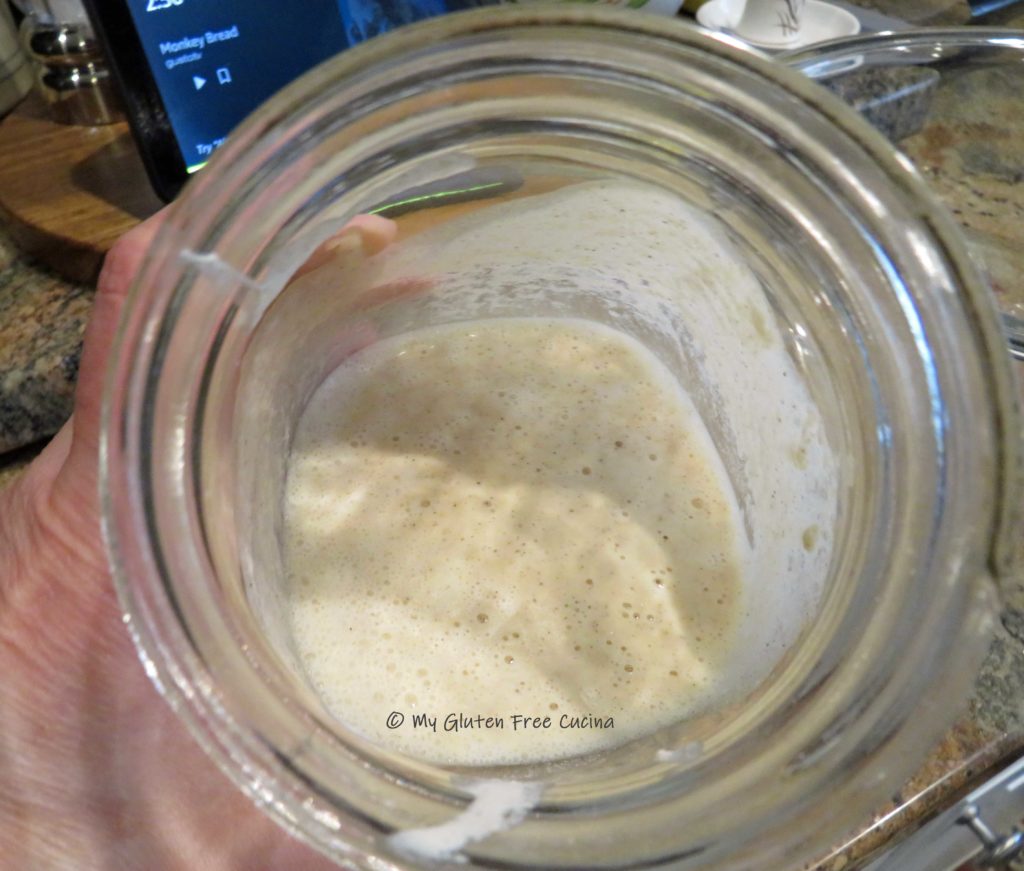
Step 3 Proof the yeast
Grind Chia seeds in a coffee grinder. Combine with the following in a small bowl and proof for 10 minutes.
- 1 tbsp. Chia seeds, ground
- 2-¼ tsp. Instant yeast
- 6 tbsp. Warm water
- 2 tsp. Honey
————————————-
Step 4 Whisk together Dry Ingredients
- Milled flours from Step 1
- 45 g. cornstarch
- 65 g. potato starch
- 47 g. tapioca starch
- 32 g. gluten free cornmeal
- ½ tsp. Xanthan gum
- ½ tsp. Salt
- 2 tbsp. Sesame seeds
- ¼ cup gluten free rolled oats *(omit if avoiding oats – see notes)

————————————-
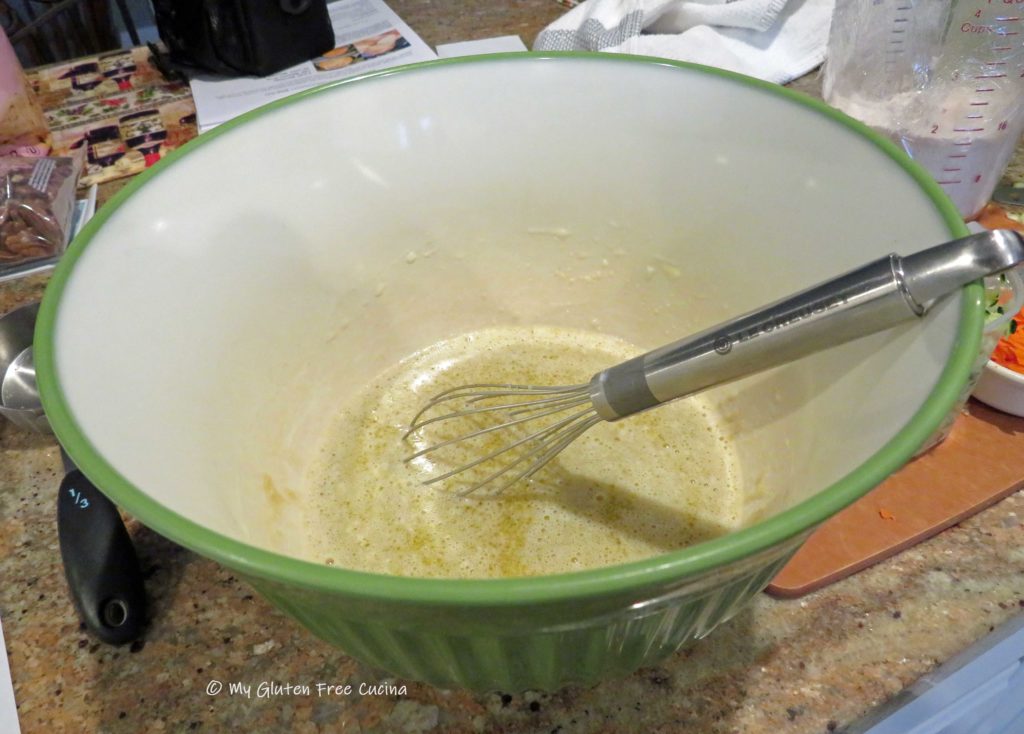
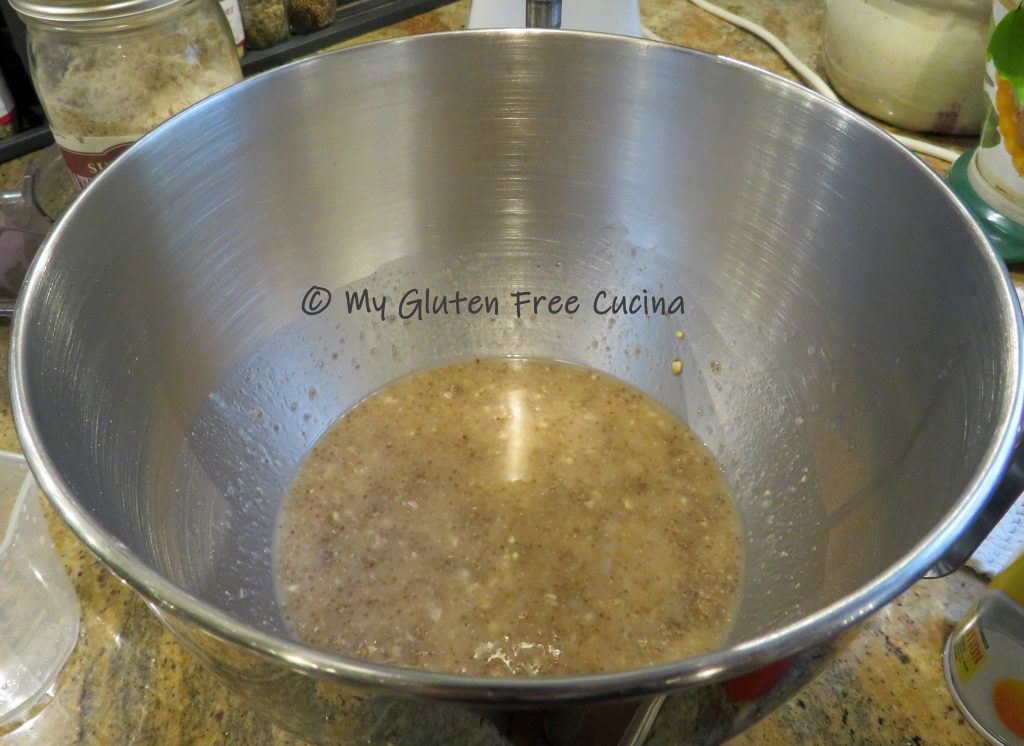
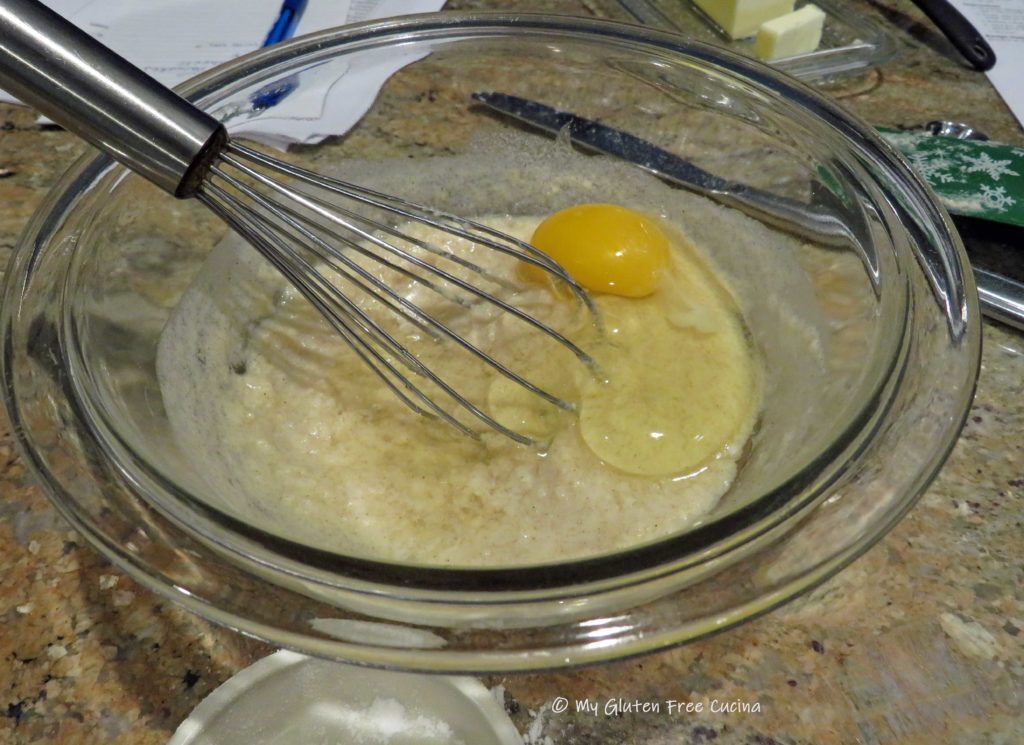
Step 5 Whisk together Wet Ingredients
- Soaked grains from Step 2, drained and rinsed in cool water (so it doesn’t kill the yeast)
- Proofed yeast mixture from Step 3
- ¼ cup honey
- 100 ml. Warm water (about 6 tbsp.)
————————————-
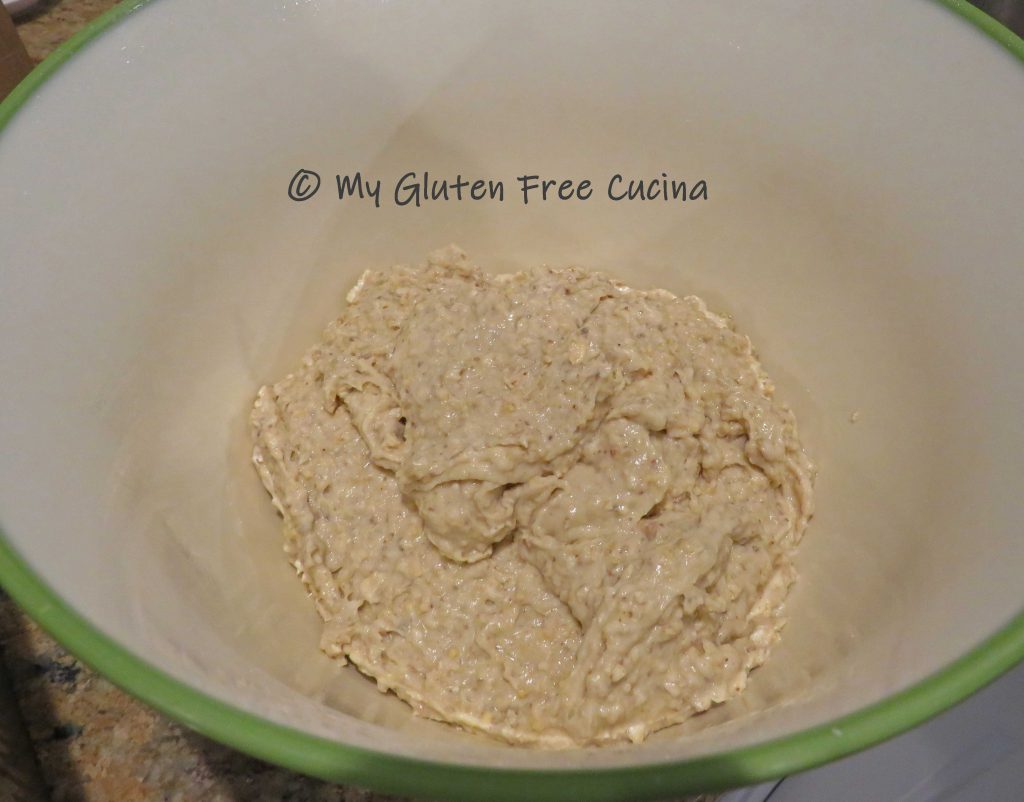
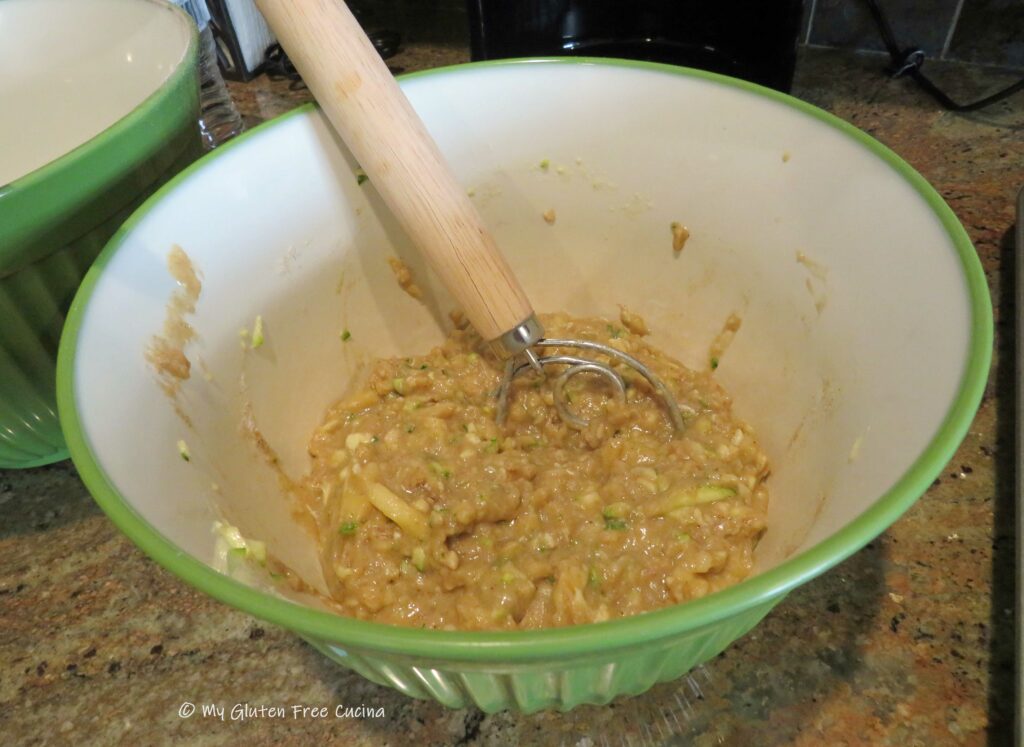
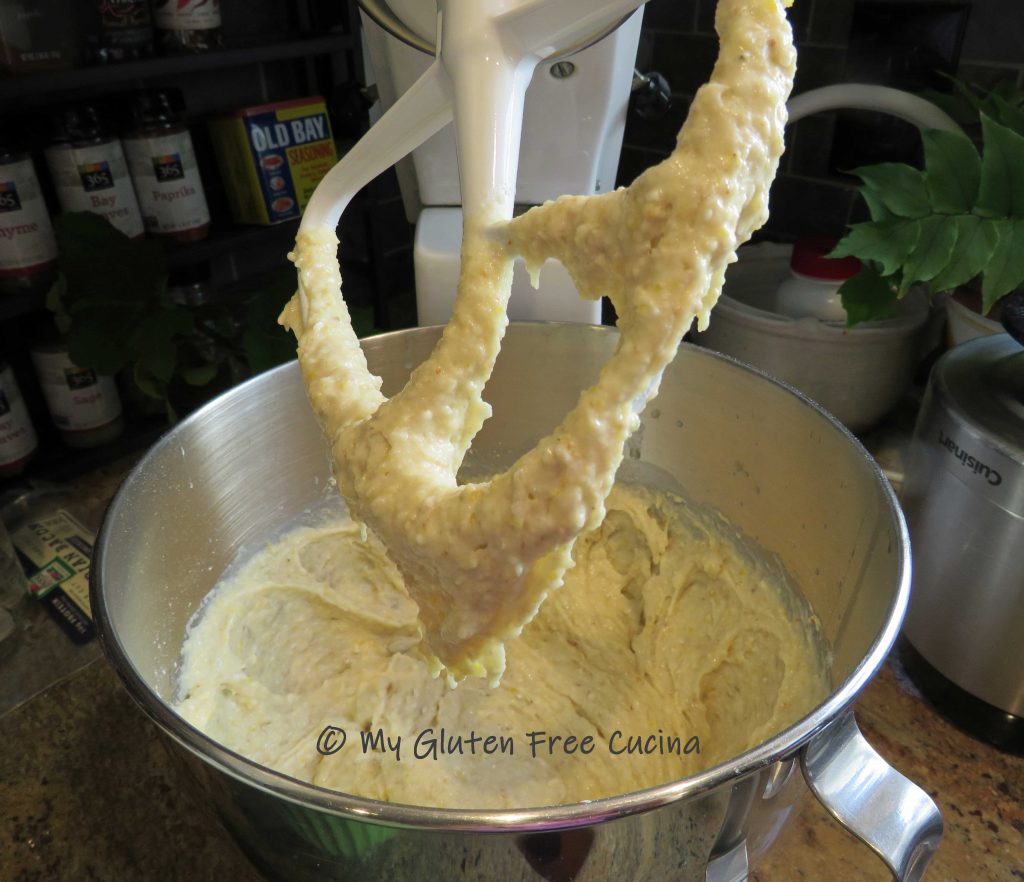
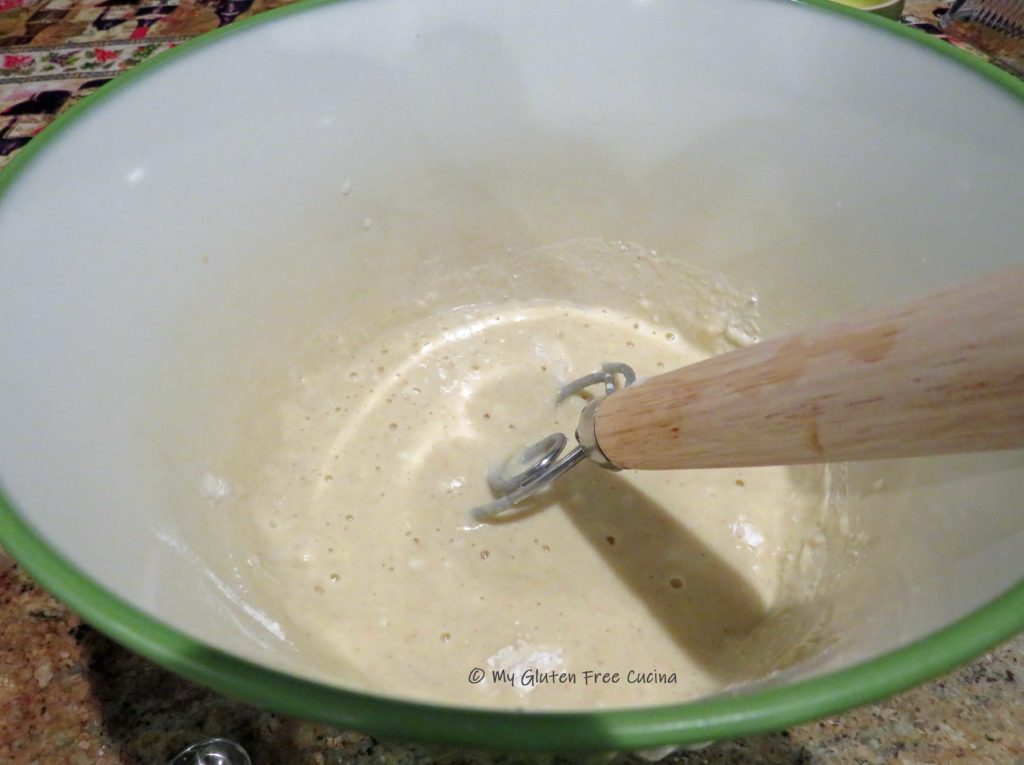
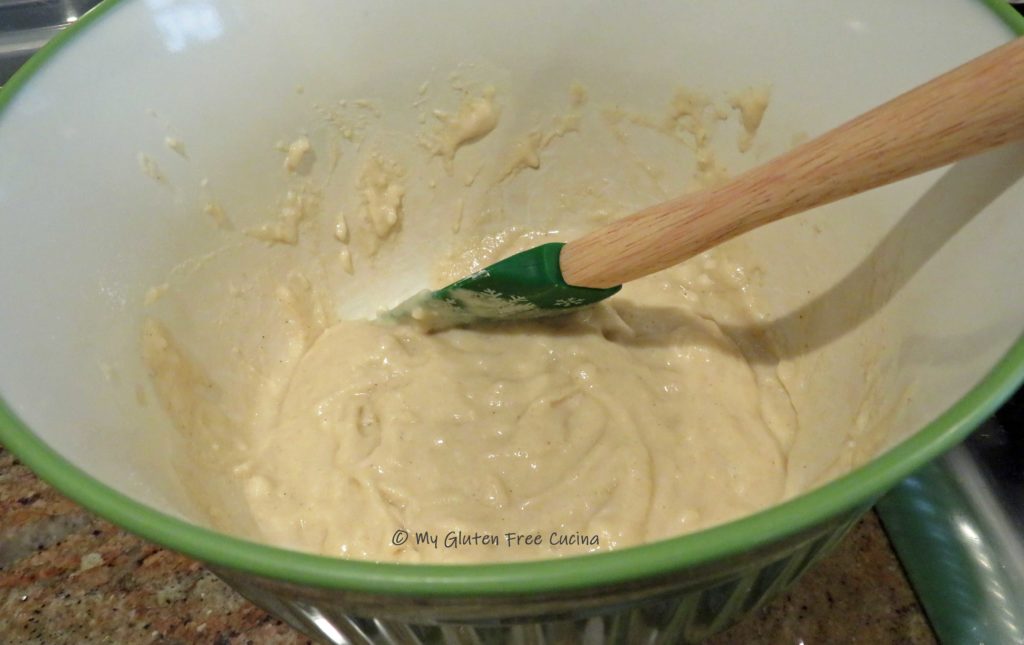
Step 6 Combine
Combine wet (Step 5) and dry (Step 4) ingredients together in the bowl of a stand mixer. Beat with the paddle attachment for 3 minutes.
————————————–
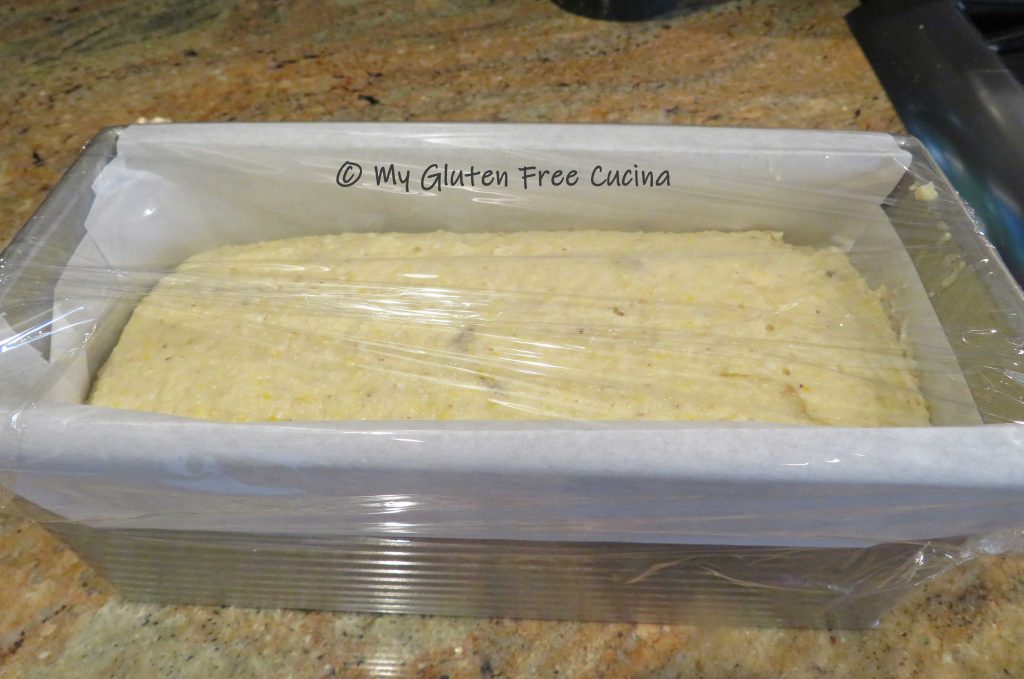
Step 7 Rise
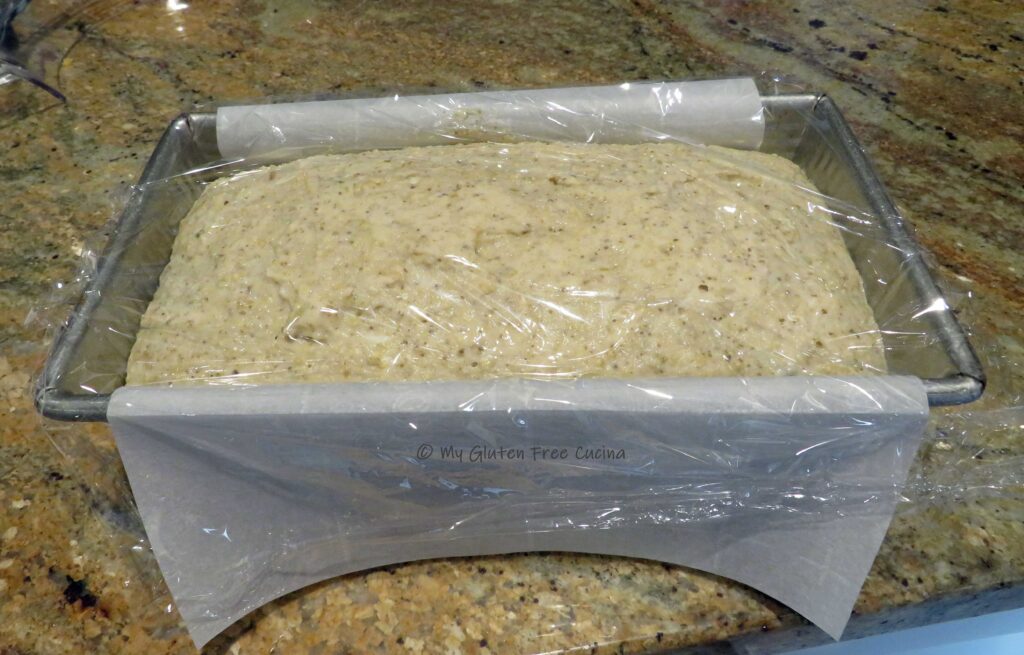
Line a loaf pan with parchment paper. Here I’m using a 1 lb. loaf pan. Having made this loaf many times, I found that this size pan works best. Transfer the dough into the prepared pan and smooth it out with a spatula that has been dipped in water. Cover with oiled plastic wrap and let it rise for about an hour.
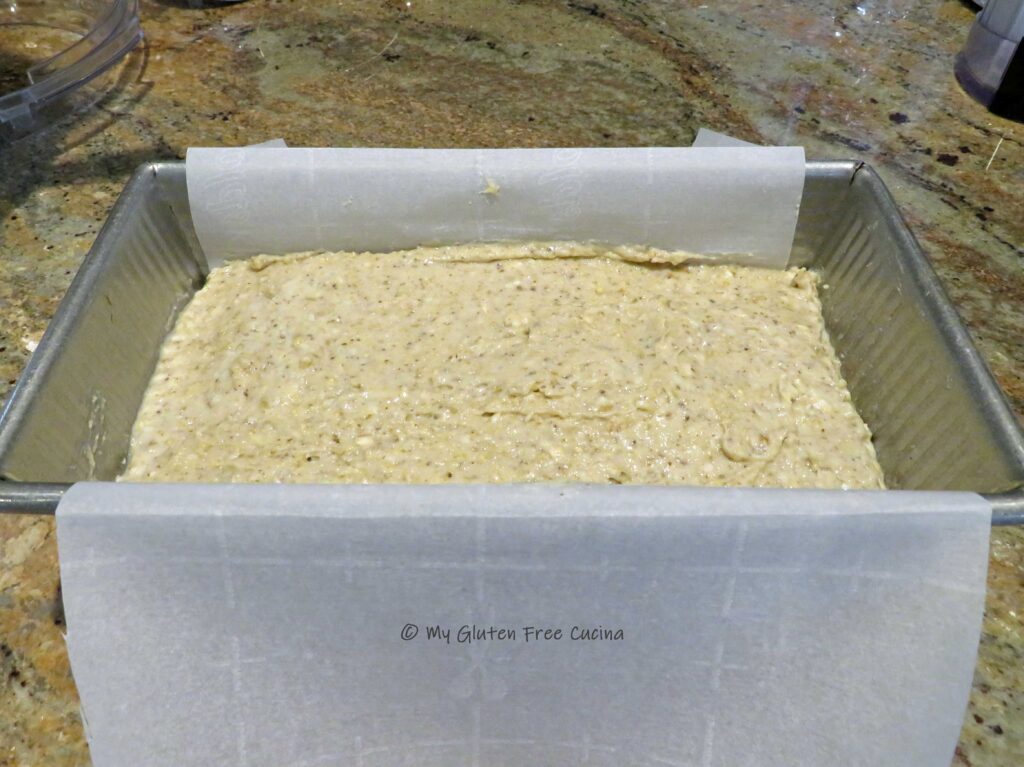
Ideally, the loaf should rise to the top of the pan. It doesn’t always happen with a heavy, dense dough like this. Especially in a chilly kitchen. I have learned with experience that a proofing box is the way to success. It took about 50 minutes for the dough to be ready to bake with my proofing box set to 80º.

—————————————
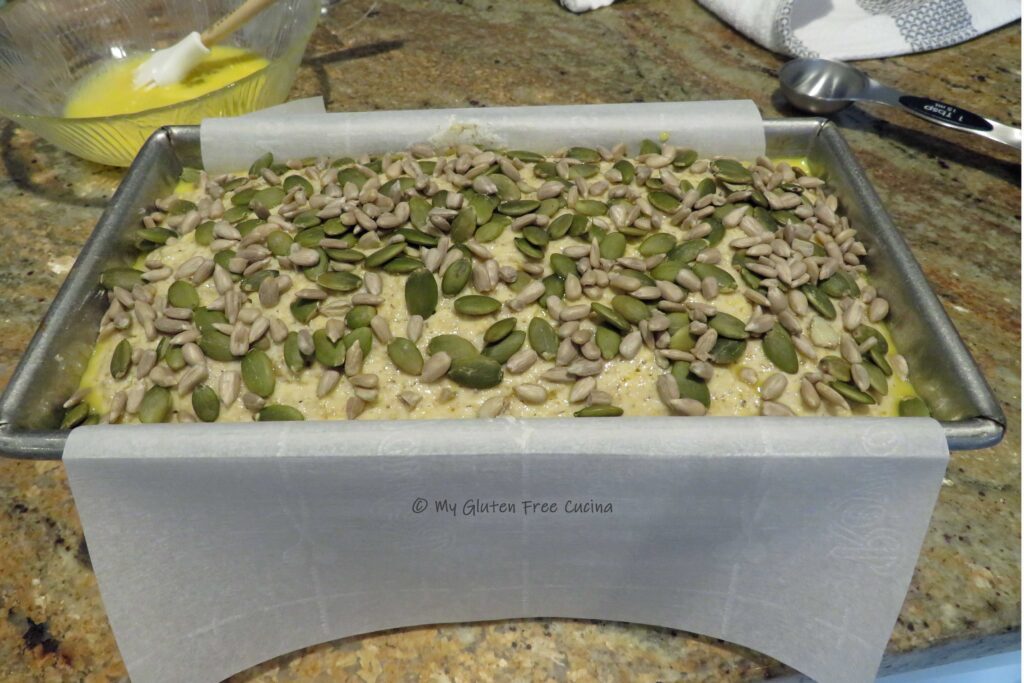
Step 8 Egg Wash
- 1 egg
- 1 tbsp. Water
- 2 tbsp. Pumpkin seeds
- 2 tbsp. Sunflower seeds
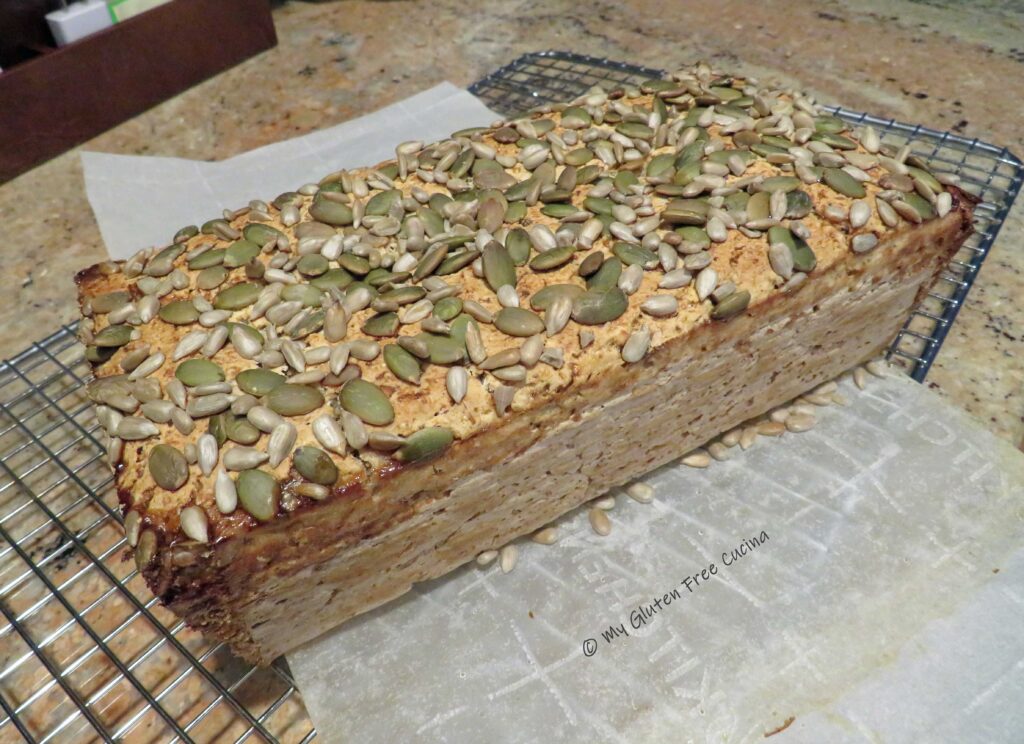
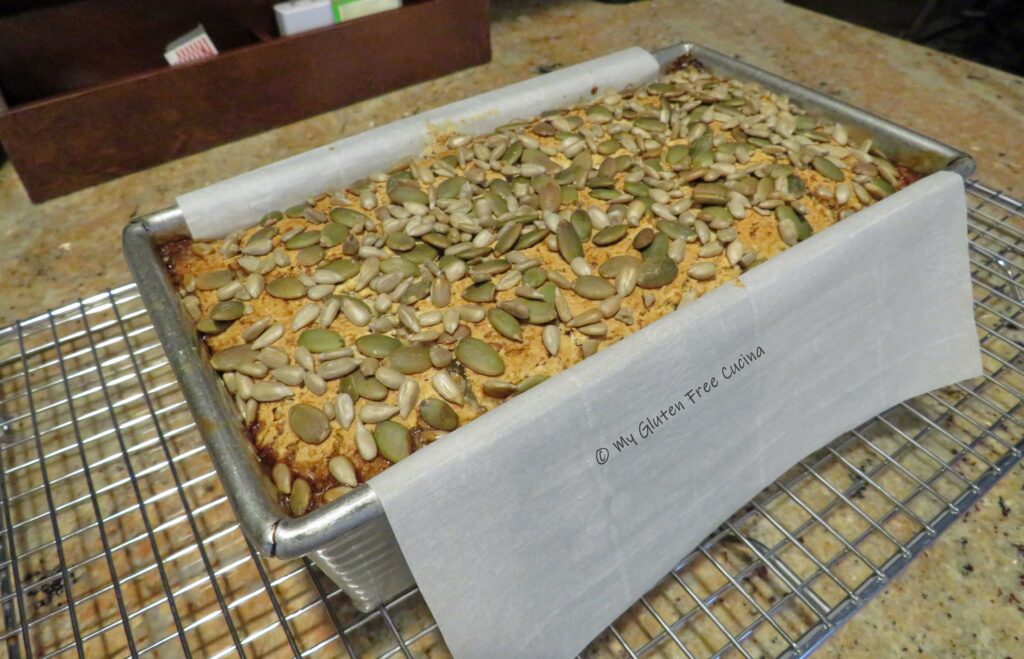
Beat 1 egg with 1 tbsp. warm water and brush the top of the loaf (you won’t need the entire egg, so reserve the rest for breakfast). Sprinkle the loaf generously with pumpkin and sunflower seeds.
—————————————
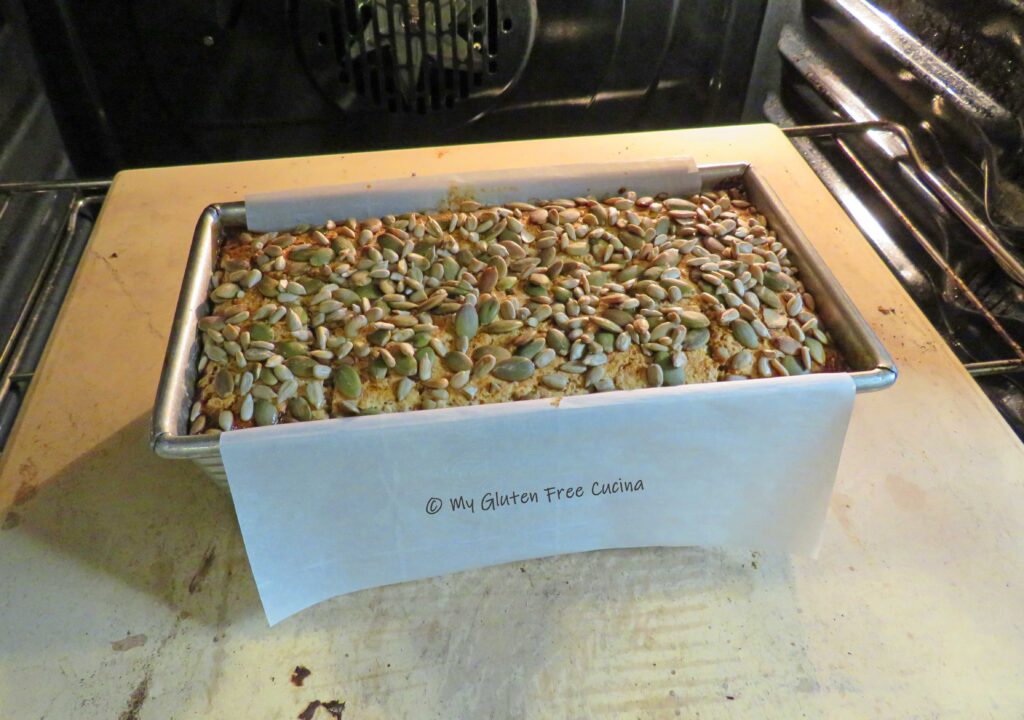
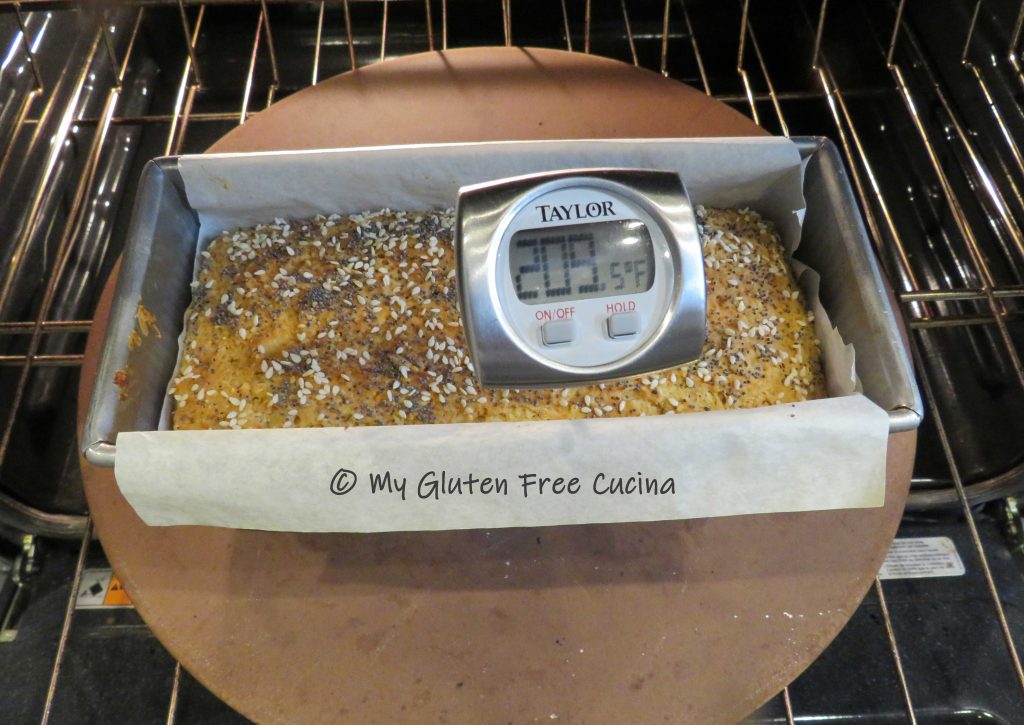
Step 9 Bake
Preheat the oven to 375°. Set a pizza stone on the middle oven rack. Place the loaf in the oven and throw a few ice cubes onto the bottom of the oven to create steam. Quickly close the door and bake for 40-45 minutes, or until the internal temperature reaches 200°. Crack the oven door about 1″ during the last 5 minutes of baking, to keep the loaf from deflating. Note that you will not get a big oven spring with this loaf, this is normal.
—————————————
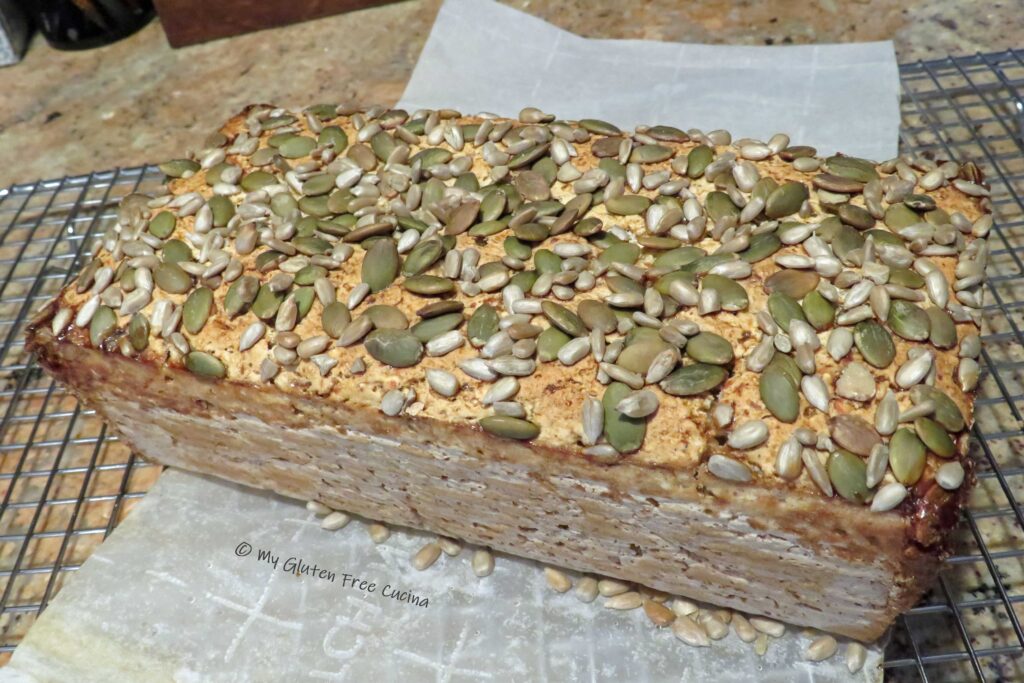
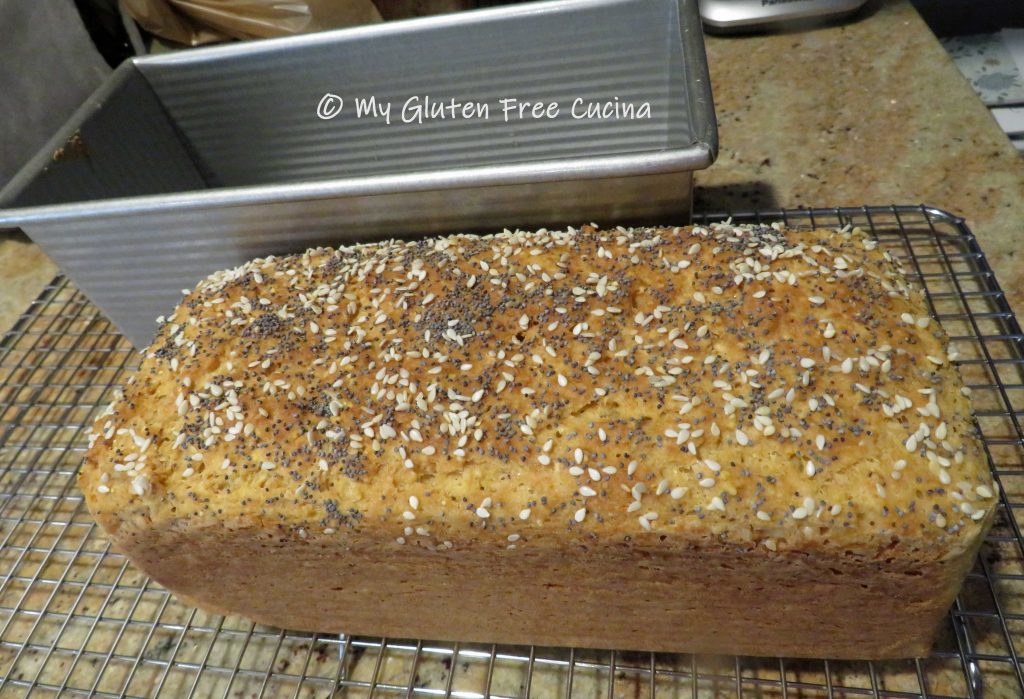
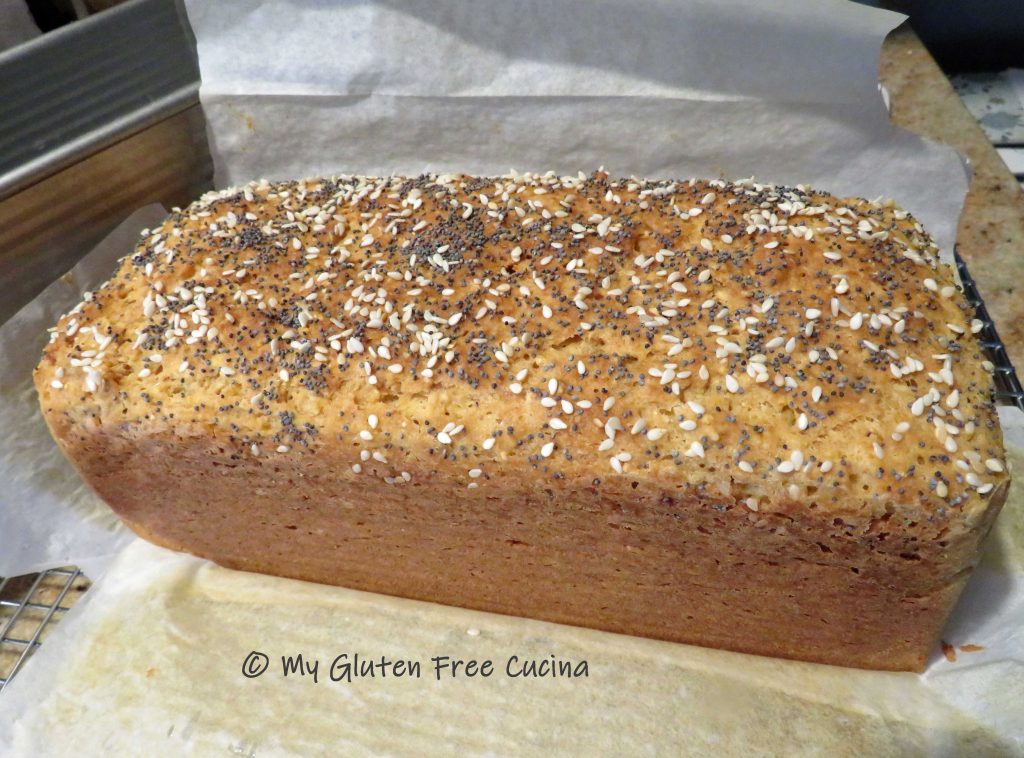
Step 10 Cool
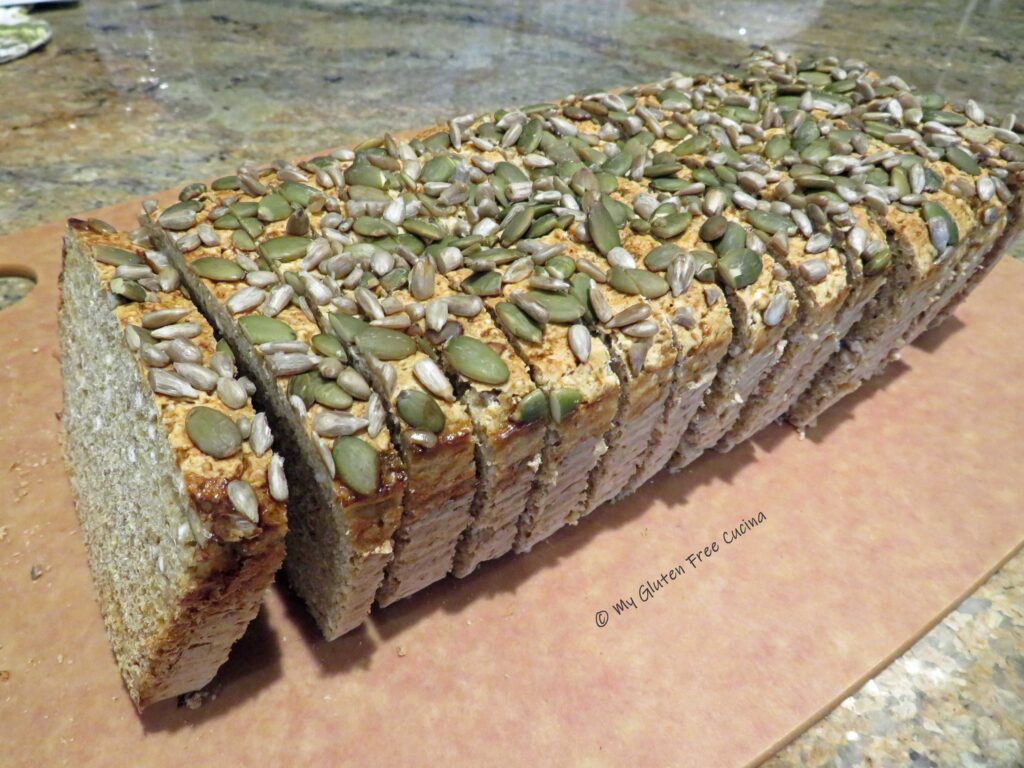
This is the hardest part of the recipe! Lift the loaf out of the pan by grasping the parchment paper on either side. Transfer to a rack and remove the parchment. Allow the loaf to cool to room temperature before slicing. Overnight is even better, place it in a plastic bag (after it cools down) and wait until morning to slice. It smells so good you won’t want to wait. Do it though, or the bread may be gummy in the middle.
—————————————
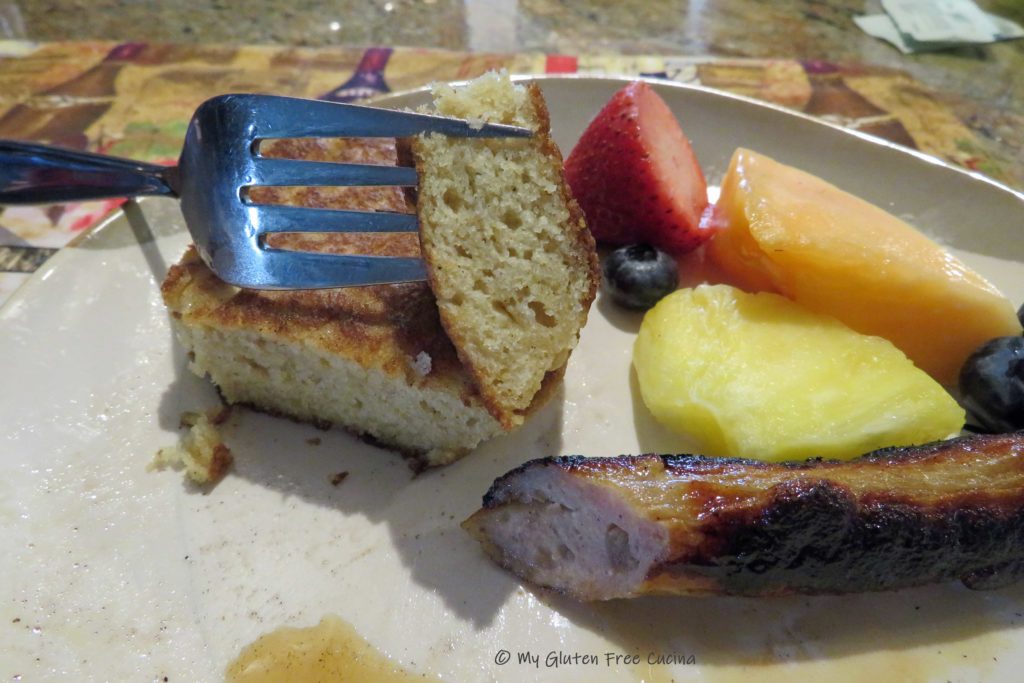
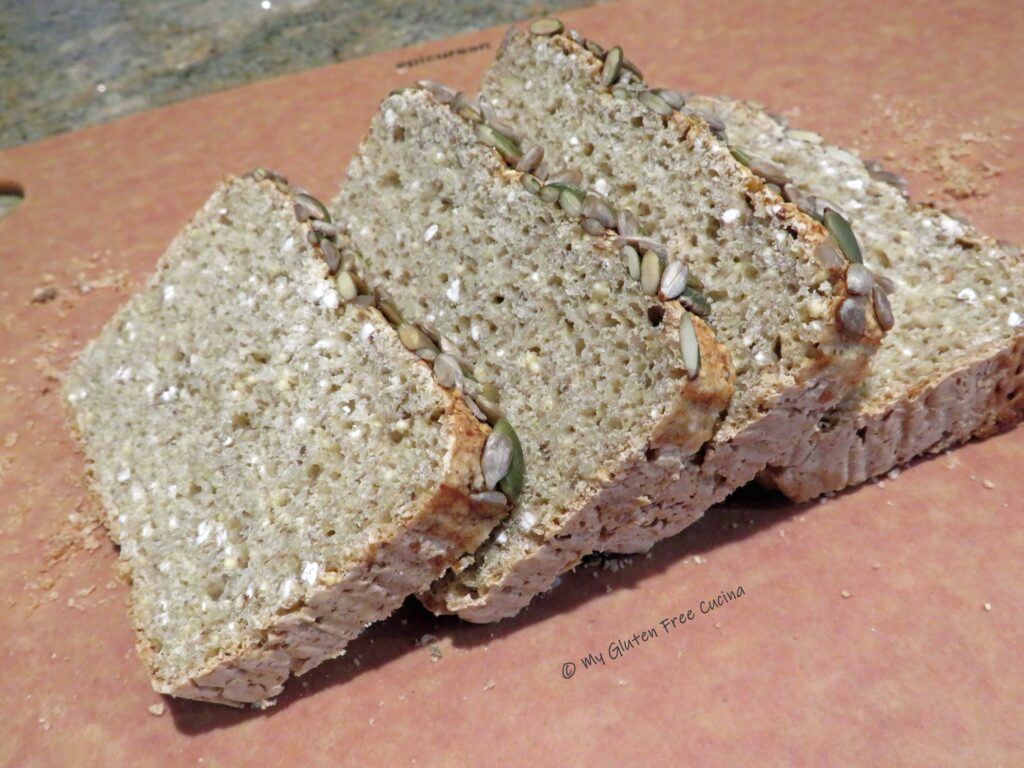
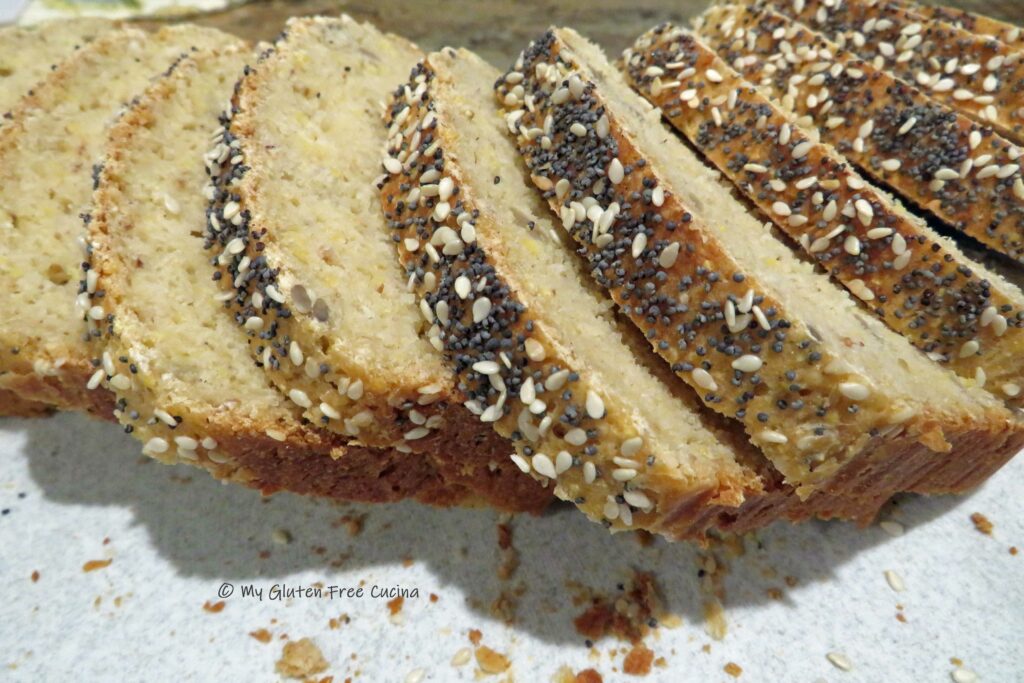
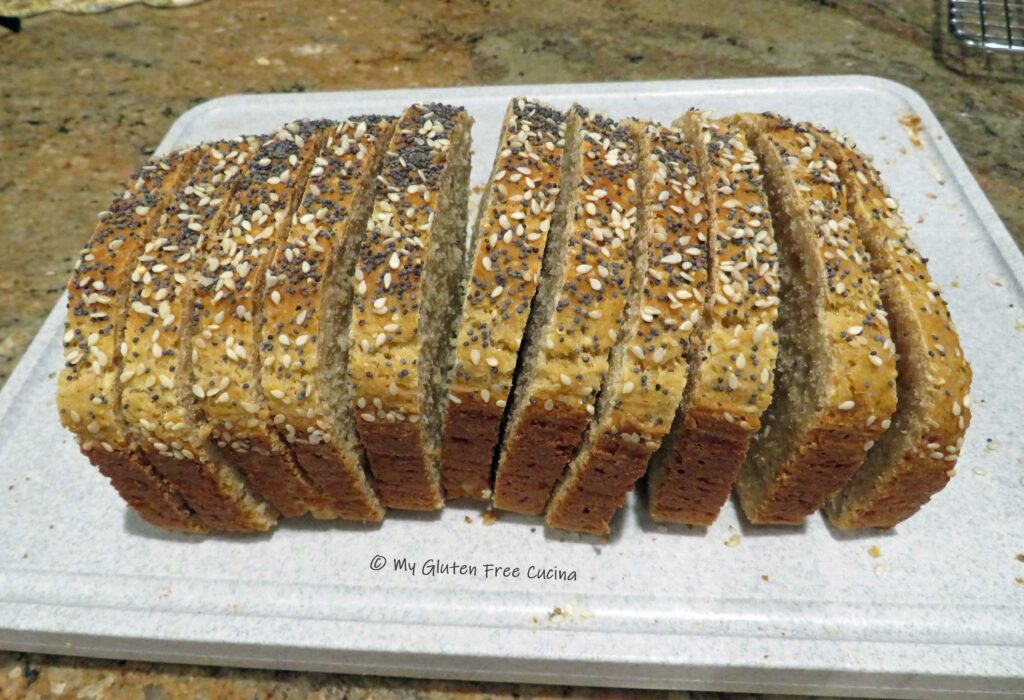
Step 11 Toast it!
This bread was made for toasting! It is my favorite breakfast bread, and I especially love when the seeds get singed in the toaster. As with most gluten free breads it is best when eaten immediately. I always freeze the leftovers in slices that are individually wrapped and stored in a freezer safe bag. So easy to grab one for breakfast in the morning!
FULL INGREDIENT LIST / SHOPPING LIST —> PRINT IT! Millet Buckwheat Toasting Bread Shopping List
- ☐ whole millet
- ☐ whole buckwheat
- ☐ Instant yeast
- ☐ Chia seeds, ground
- ☐ Honey
- ☐ millet flour
- ☐ buckwheat flour
- ☐ cornstarch
- ☐ potato starch
- ☐ tapioca starch
- ☐ gluten free cornmeal
- ☐ Xanthan gum
- ☐ Salt
- ☐ Sesame seeds
- ☐ certified gluten free purity protocol rolled oats
- ☐ egg (for the egg wash)
- ☐ Pumpkin seeds
- ☐ Sunflower seeds
Notes ♪♫ Whether or not you consume oats is a personal choice. As a courtesy to my readers, I will identify any recipes that include oats and suggest ingredient substitutes when possible. I personally use Uncle Crumbles, their oats are gluten free and processed under a purity protocol.
Originally posted 06/30/2019 Rephotographed 10/22/2024


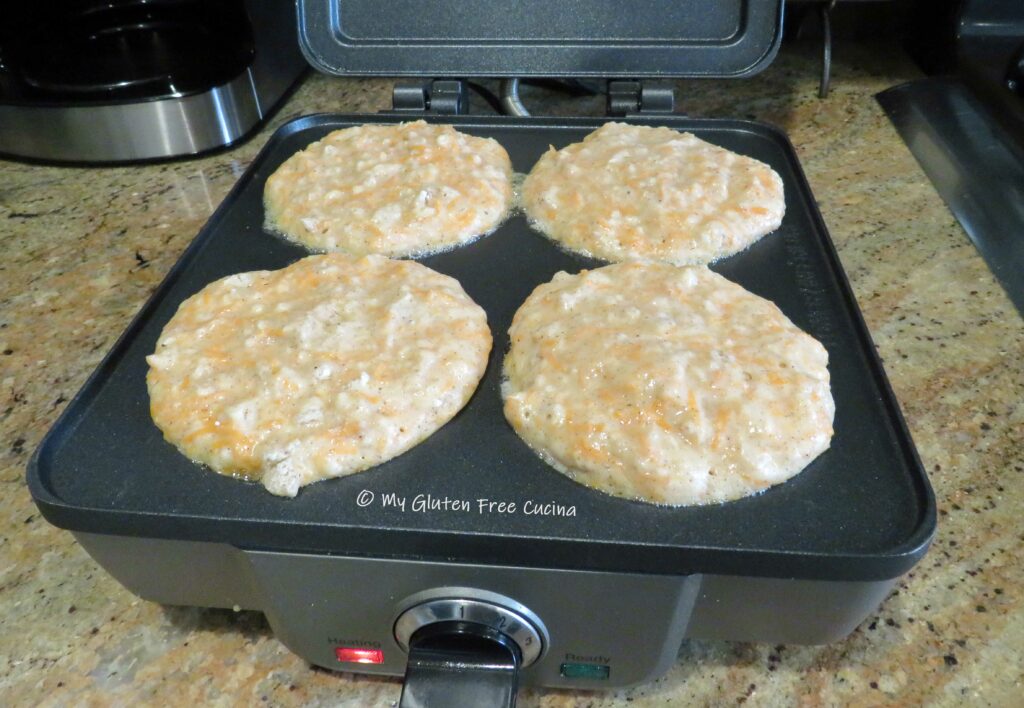
 Use an


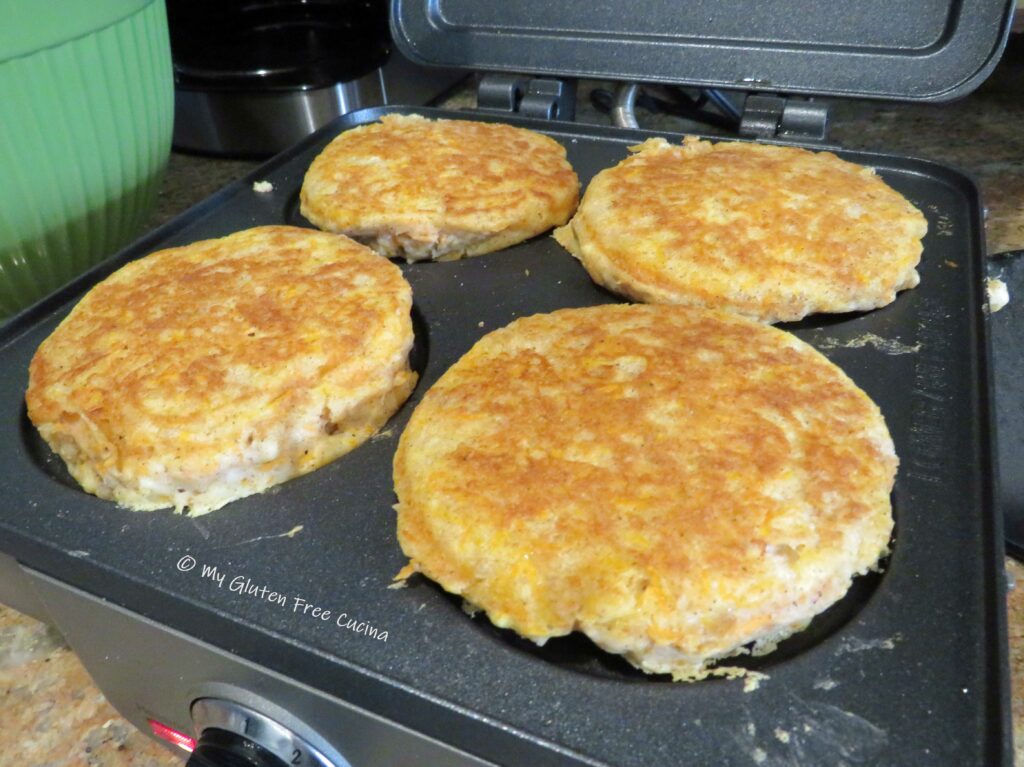


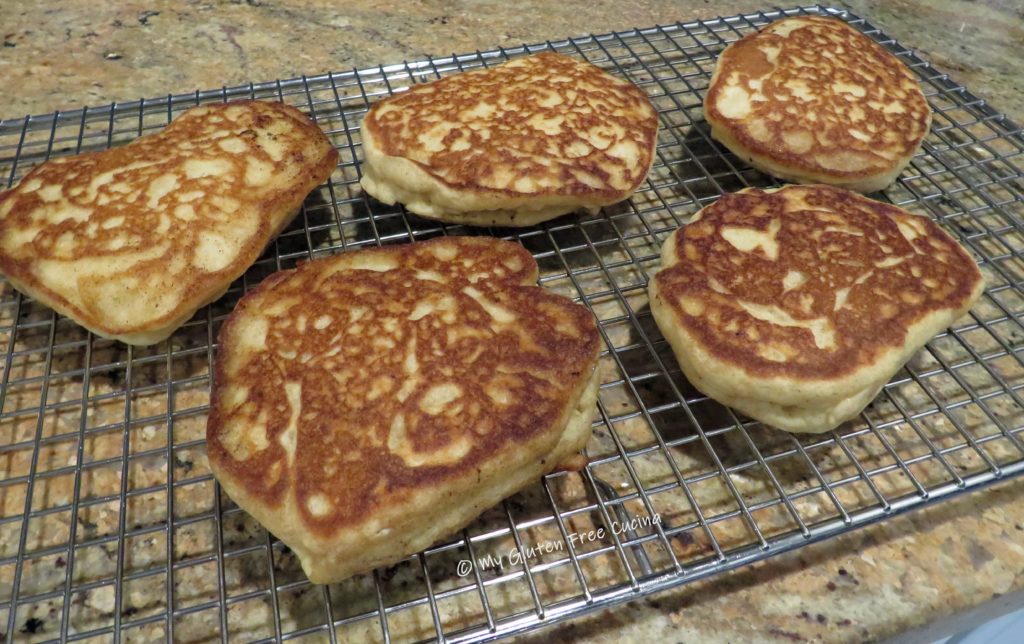

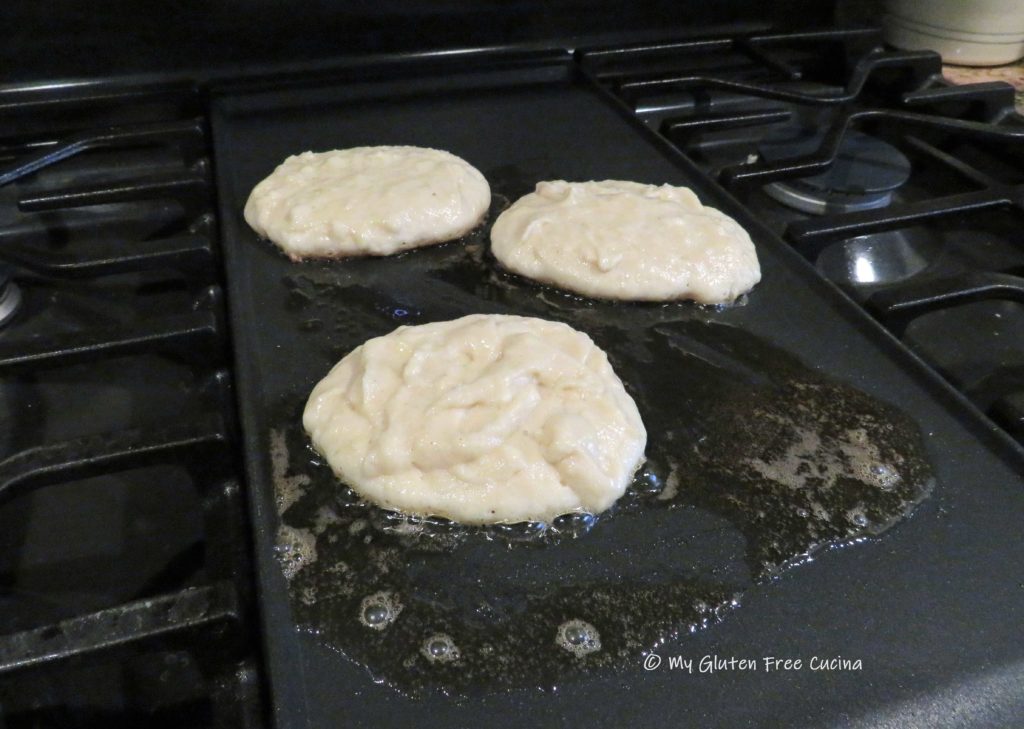
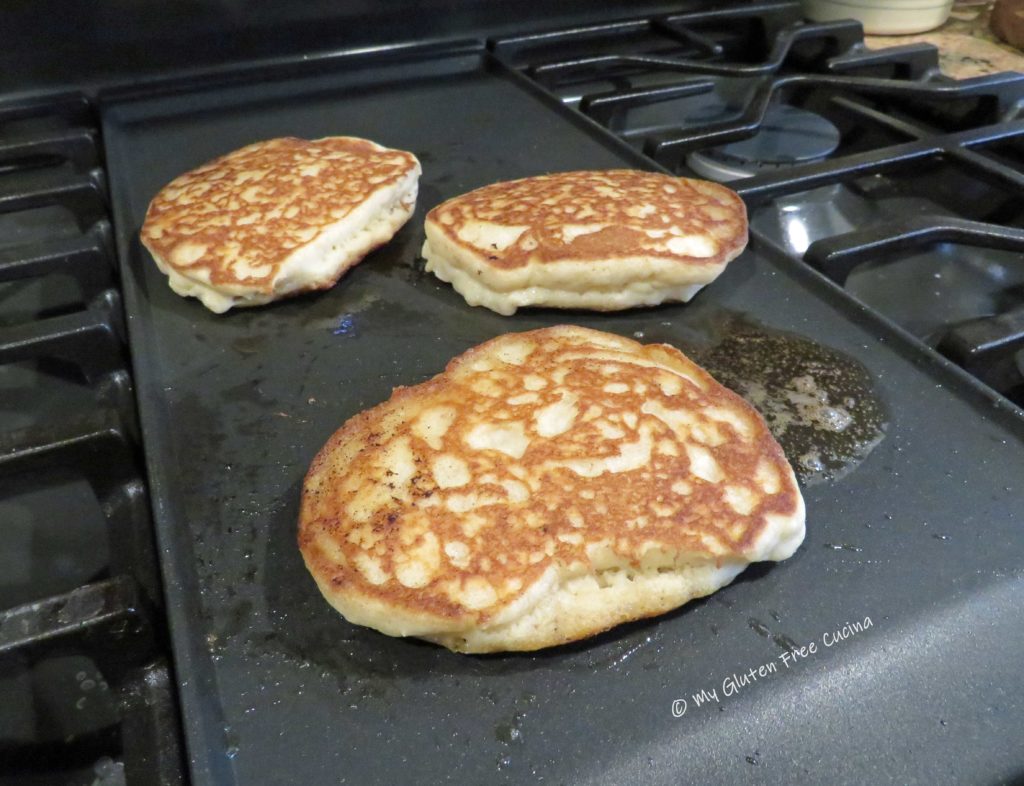
 When the second side is set check the center for doneness with a toothpick. I had to flip mine another time or two.