Sweet Potato Flatbread

This delicious flatbread recipe features sweet potato and cassava flour.  A must have in your gluten free pantry, cassava flour is made from the root of the yuca plant.  The entire root is grated, dried, and ground into a mild tasting flour that is both gluten free and Paleo friendly.

This gluten free, grain free flat bread was a nice change from my usual potato side, really different from anything I have ever made.  To achieve the same results, I recommend weighing your ingredients.

6 Servings

This post contains affiliate links.

Ingredients:

  • 1 large sweet potato, about 12 oz.
  • 1/2 cup cassava flour, about 2.2 oz. plus more for dusting
  • 1/4 tsp. salt
  • 1/2 tsp. gluten free Italian seasoning
  • 2 tbsp. olive oil
  • 3/4 cup grated cheese such as parmesan, gruyere etc.

Preparation:

Peel the sweet potato and cut into chunks.  I used 1 sweet potato for this recipe.  After peeling, it weighed 10 oz.

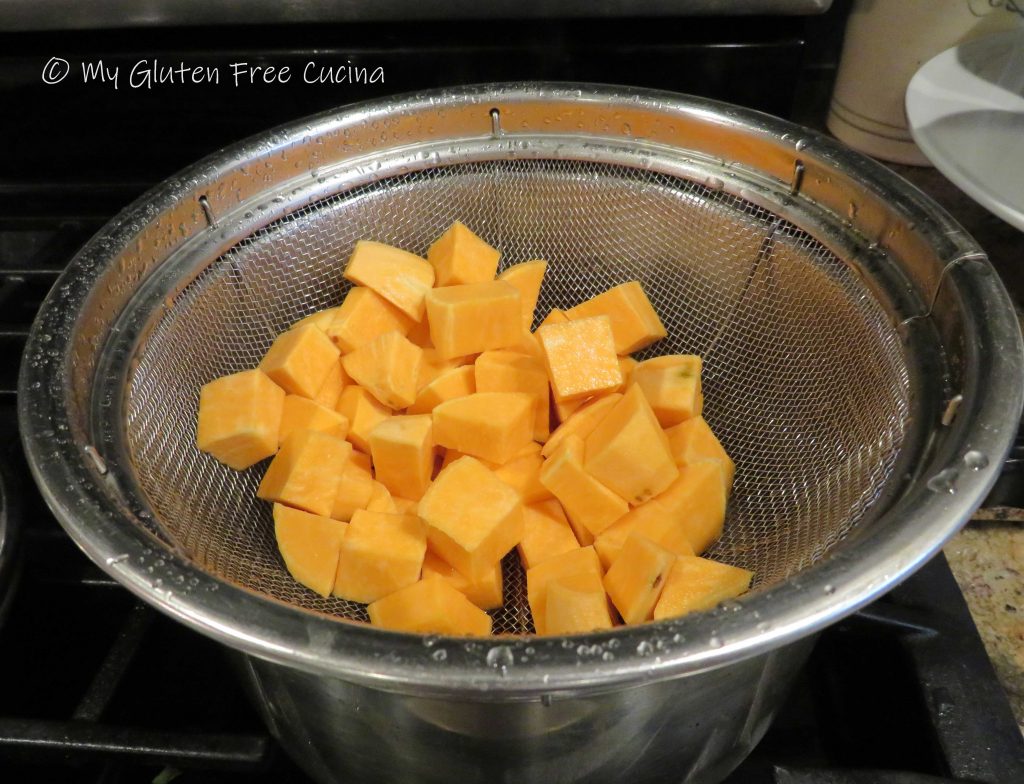
Steam the potato until very soft, 25-30 minutes.  Remove the potato and add to the bowl of a stand mixer.

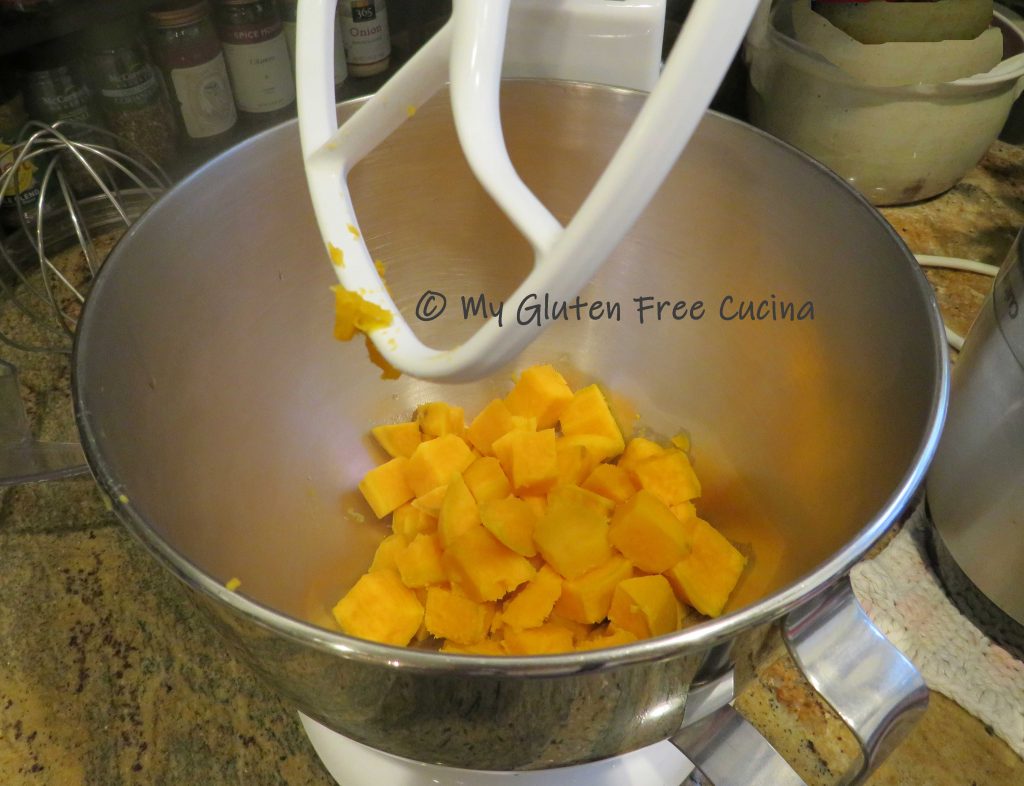
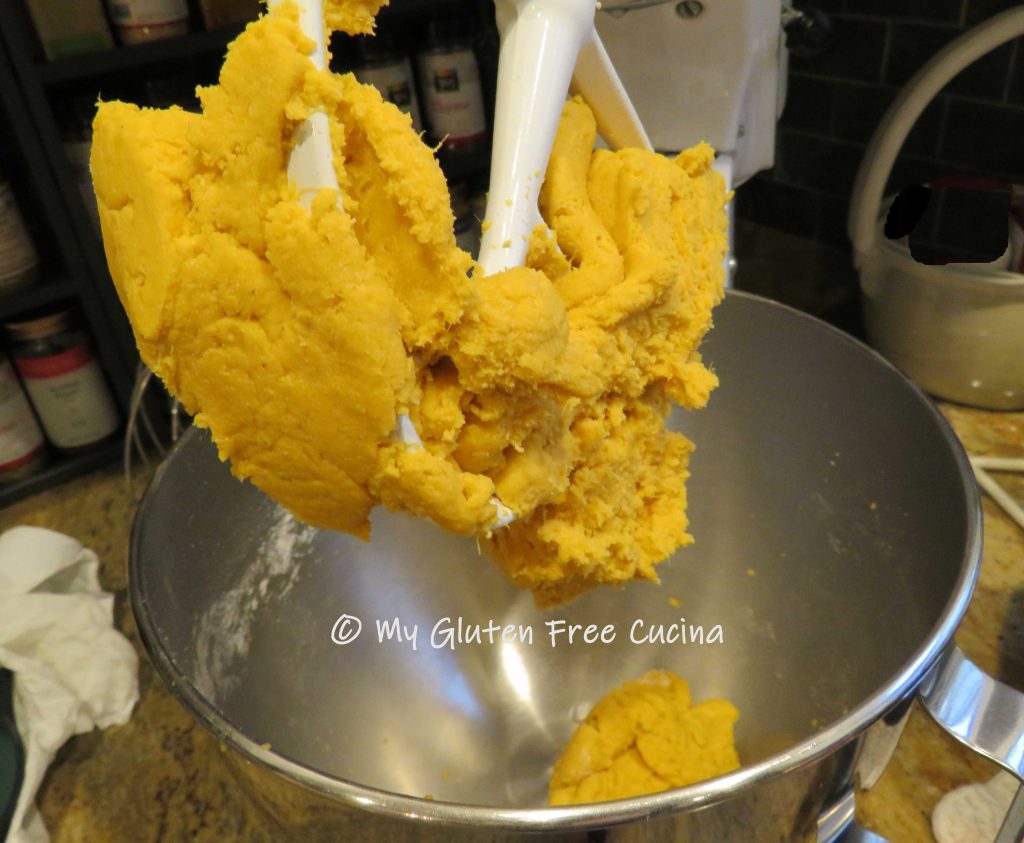
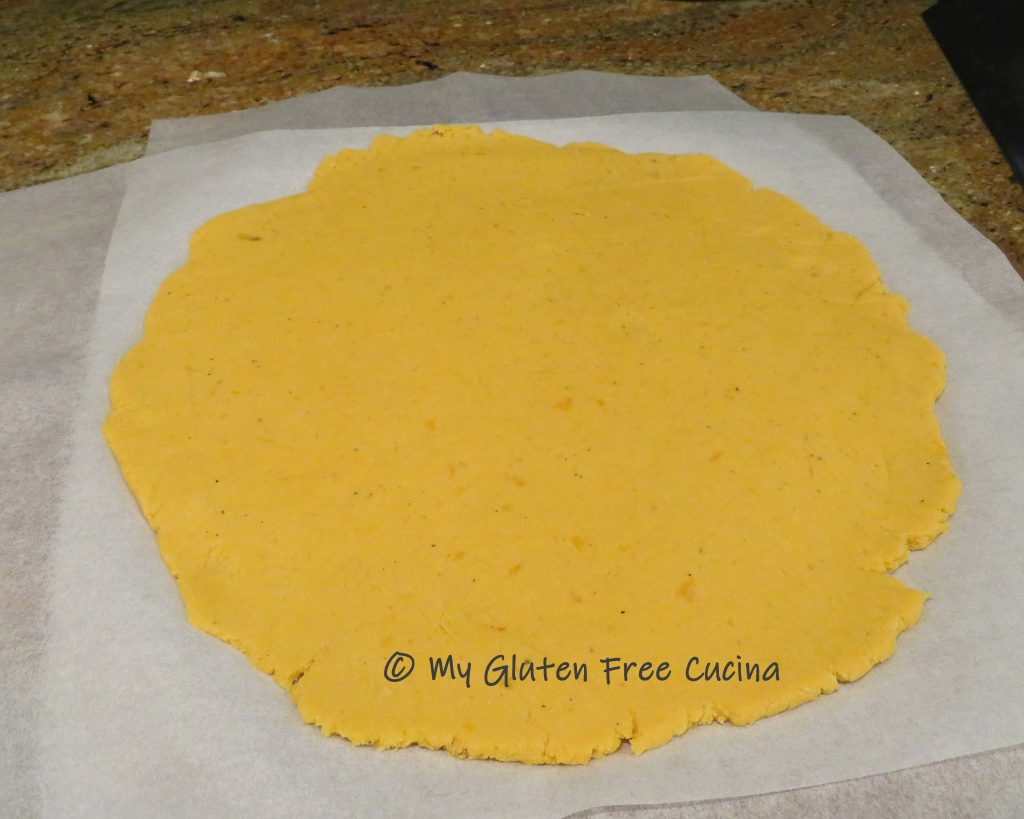
Beat with the paddle attachment until smooth.  Whisk together ½ cup of cassava flour with salt and Italian seasoning.  Add to the bowl and mix until a soft dough forms.  The dough will be heavy and clinging to the paddle, like this.

Transfer the dough to a sheet of parchment paper.  I used a pie dough roller and floured fingers to gently roll and press the dough into a 1/4″ thick round.  Use a spatula to neaten the edges.

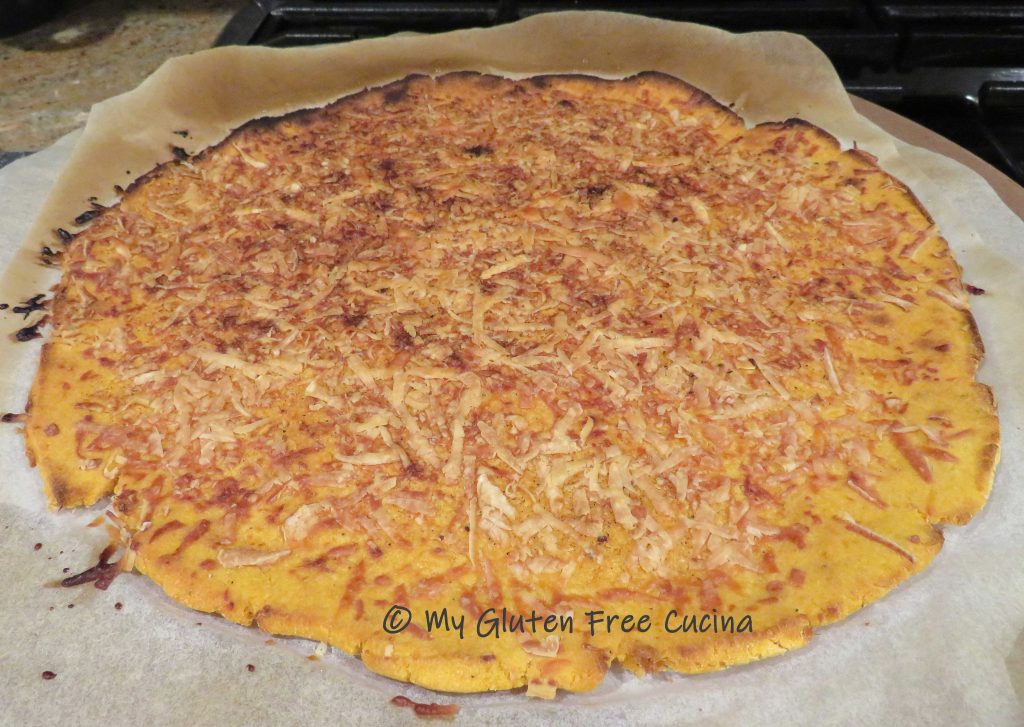
Slide the parchment onto a pizza stone.  Brush with olive oil, sprinkle with more seasoning and the grated cheese.  I used Parmesan and it browned up nicely, but Romano, Gruyere or even cheddar would be fine.  Use your favorite, or whatever you have on hand.  Bake at 375◦ for 25 minutes, then broil on high for 5 minutes.  The cheese should be melted and starting to brown, the edges crispy.  Watch that it doesn’t burn!

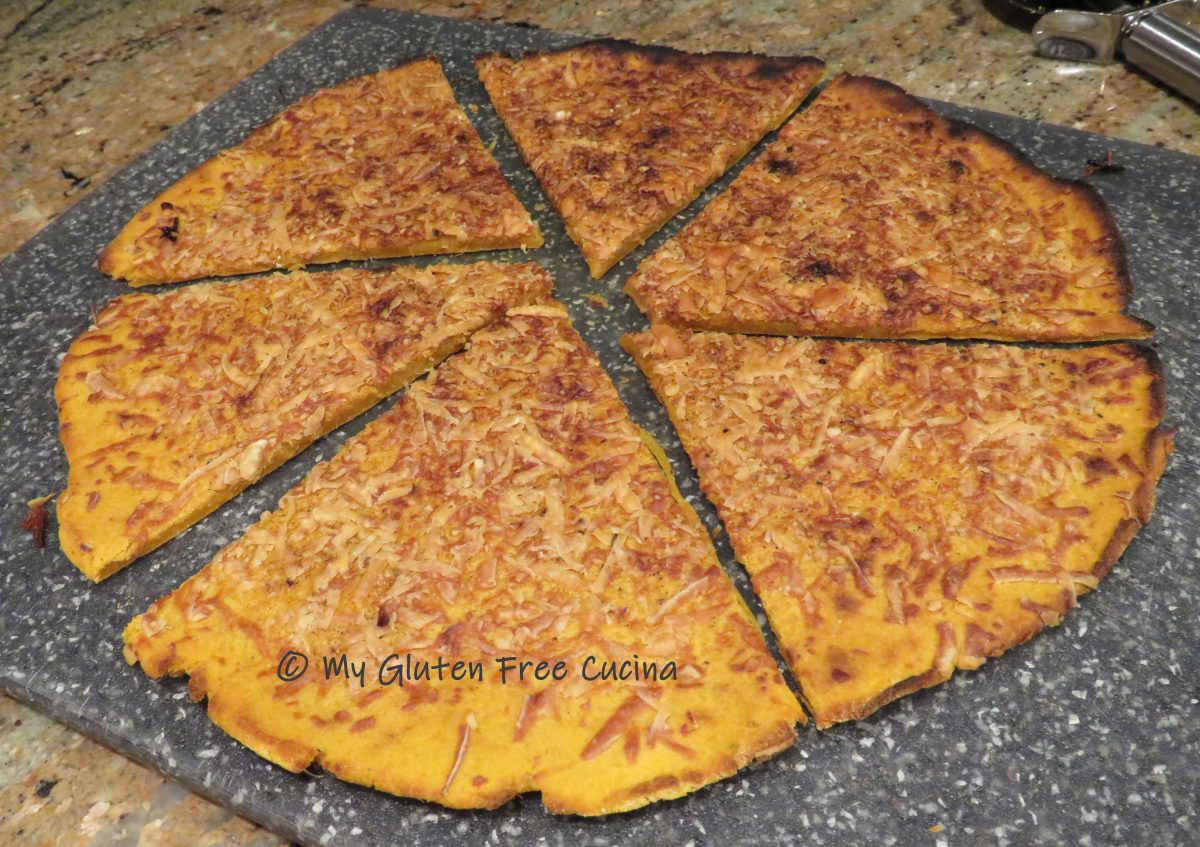
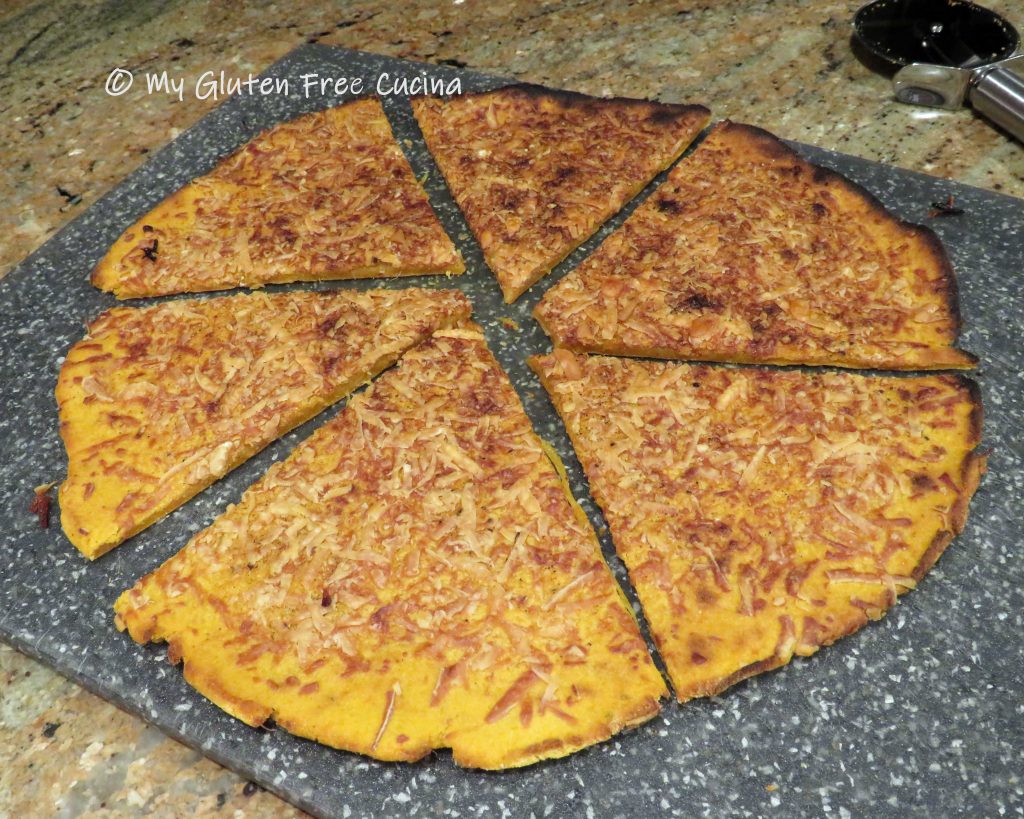
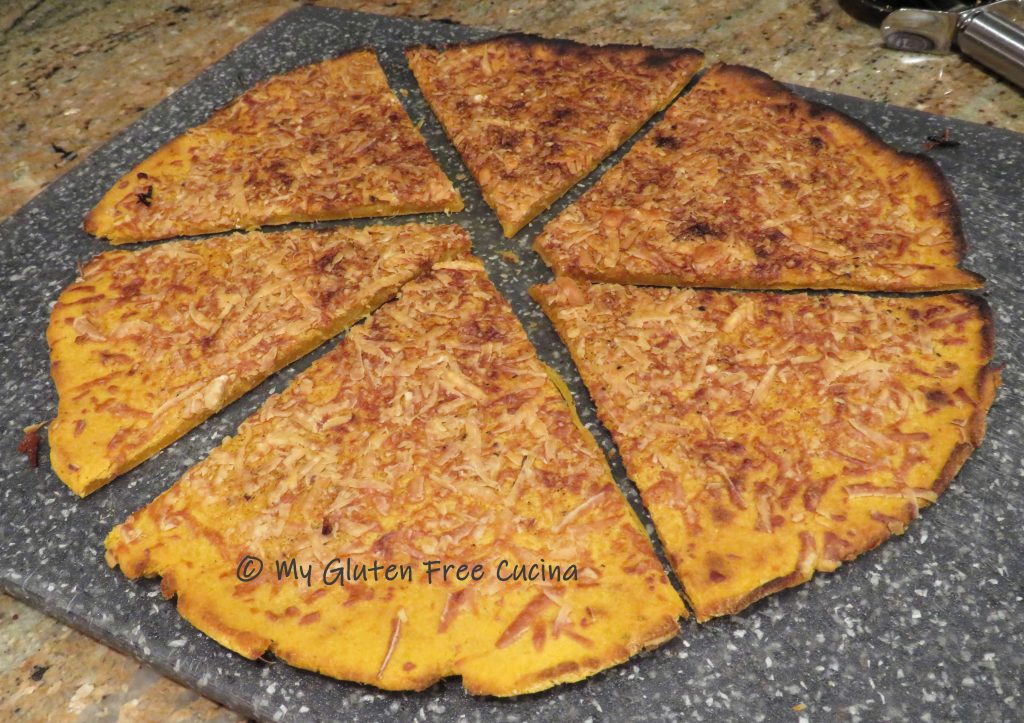
Use a large spatula to slide the flatbread off the parchment onto a cutting board.  Slice into wedges and serve.  You should hear a nice crunch when you cut into it.  Once the flatbread begins to cool it will soften up, so it is best eaten immediately.  Leftovers can be reheated on a pizza stone.

The verdict, everyone loved it!  Potato lovers, change up your menu with this easy, gluten free side.  Everyone will want a slice, so be ready to share!

Notes ♪♫ Cassava flour is quickly gaining popularity in gluten free baking.  If you can’t find it at your supermarket it is widely available online from sites like Amazon.

Print This Post Print This Post

Gluten Free Crock-Pot Turkey Drumsticks

Turkey Drumsticks can be dry and tough when roasted, but they come out moist and falling off the bone tender when cooked in the Crock-Pot.  This time of year, it is easy to find turkey drumsticks at the market for a very good price.  Crock-Pot recipes like this one are so easy and can really free up my schedule.  I started this dish around 11:00am and it was ready in time for dinner at 6:30.

This post contains affiliate links.

Ingredients:

  • turkey drumsticks (plan on one per person)
  • 1 medium sweet onion
  • 5 celery stalks
  • 2 carrots
  • 1/4 cup sweet white rice flour
  • salt and pepper to taste
  • olive oil
  • 1/2 cup white wine
  • 1/2 cup gluten free chicken broth
  • 1/2 tsp. sage
  • 1/2 tsp. thyme
  • 1/2 tsp. garlic powder
  • 1/4 tsp. turmeric
  • cooking spray
  • fresh rosemary for garnish

Preparation:

Chop the onions, celery and carrots into large chunks.  Mist the crock-pot with cooking spray and add the veggies in an even layer.

Rinse the turkey legs and pat dry.  Add the flour to a food safe plastic bag, they place the turkey legs in the bag.  Twist to close and shake to coat the legs evenly with flour.

Use a stainless-steel skillet (not non-stick) to brown the legs in olive oil, about 5 minutes per side.  Don’t crowd the pan, brown the meat in batches if necessary.  Season with salt and pepper to taste.

Place the drumsticks in the crock-pot on top of the vegetables.

Next deglaze the pan.  Remove the skillet from the heat and slowly pour in the wine.  Return to the heat and use a spatula to scrape up all the little brown bits, then let it simmer for a minute.  Strain the solids and reserve the wine.

Whisk together the reserved wine, chicken broth, sage, thyme, garlic powder and turmeric.  Drizzle over the turkey legs.  The vegetables and meat will release their own liquid as they cook, so don’t add more.

Now set your crock-pot to low and cook for 7 – 8 hours.

That’s all there is to it!  Arrange the drumsticks on a serving platter and drizzle a bit of the pan juices over the meat.  For a nice presentation you can garnish with fresh rosemary sprigs or other herbs.

Notes ♪♫ Don’t discard those veggies and juices in the bottom of the crockpot.  They will make an incredible soup stock or base for sauces and gravies.  I like to puree it then store in the refrigerator or freezer, ready for my next creation!

Print This Post Print This Post 


Gluten Free Tex-Mex Chicken Thighs

I’m really loving this Tex-Mex style chicken.  Made with just a few pantry staples, it’s so easy to put together!  Slow cooked on low heat, the chicken came out tender and juicy.  The homemade Mexican spice blend gives the dish it’s bold flavor, and you can as much or as little as you like.

4 Servings

This post contains affiliate links. 

Ingredients:

Preparation:

Brush the chicken thighs with olive oil and sprinkle seasoning on both sides.  Coat an oven safe skillet, braising pan or Dutch oven with cooking spray and arrange the thighs in a single layer.

Pour the tomatoes over the chicken and sprinkle more seasoning.  Cover and bake for 45 minutes at 300º.

Turn the chicken over, add the beans and corn, cover and bake for an additional 45 minutes.

This casual dinner comes to the table right in the pan.  Garnish with chives or cilantro.

I made a side of white rice to go with the meal.  To serve, divide the rice into 4 plates.  Top each with one chicken thigh and spoon the corn and beans over the chicken along with extra pan juices.

Notes ♪♫ Always check canned and frozen vegetables for gluten containing ingredients or possible cross contamination.  Feel free to use a prepared Taco seasoning mix, as there are many great brands out there that are gluten free.  I opted make my own to control the sodium content.

Print This Post Print This Post

Gluten Free Lasagna Remake

This Lasagna is generously sized to feed a family.  Look at those crispy edges!  My remake of the traditional meat Lasagna everyone loves is completely gluten free and has thin slices of eggplant layered in that will almost disappear (don’t tell the kids!).  Baked in a 9 x 13″ pan, it is very filling so a little goes a long way.  Serve as a main course with a simple salad, or in smaller portions alongside another dish.  You will have anywhere from 6 to 12 servings.

This post contains affiliate links.

Ingredients:

  • 12 oz. lean ground beef
  • 4 oz. Italian sausage (pork, turkey or chicken)
  • 1 tbsp. olive oil
  • 1/2 sweet onion, diced
  • 3 garlic cloves, minced
  • 2 tbsp. tomato paste
  • tomato sauce – 1 can 29 oz. + 1 can 15 oz.
  • 1 tbsp. brown sugar
  • fresh ground pepper
  • 1/2 tsp. oregano
  • 1 tsp. basil
  • 1 eggplant sliced on a mandolin
  • 16 gluten free lasagna noodles
  • 16 oz. tub ricotta cheese
  • grated Parmesan cheese
  • cooking spray
  • fresh basil and parsley for garnish

Preparation:

Cut the bottom off the eggplant and stand it up on a cutting board.  Run a knife down the sides to peel, then slice the eggplant very thin using a mandoline or sharp knife.

Lay the slices between sheets of paper towel and press down lightly.  Let them sit for 20 minutes then salt to taste.

Make the meat sauce.  Sauté the onions and garlic in 1 tbsp. olive oil.  When the onions are translucent, add the meat and begin breaking it up with a meat spatula.

When the meat is completely browned, make a space in the center of the pan and add the tomato paste.

Toast for a few minutes then stir into the meat.

Add the 29 oz. can of tomatoes with the basil and oregano.  Season with ground pepper.  Cover and simmer for 30 minutes.

This simmer mat is perfect for cooking sauce over low heat, so it doesn’t burn.

In a separate saucepan add the 15 oz. can of tomato sauce and season with more basil and oregano.  Simmer 20 minutes and set aside to cool.

Transfer 1/2 of the plain sauce to a bowl and whisk with the ricotta.

To assemble the lasagna, coat a 9 x 13″ baking dish with cooking spray.  Begin with a layer of meat sauce.

Top with 4 of the lasagna noodles.

Spread with 1/3 of the ricotta mixture, then top with a layer of eggplant slices.

Repeat 2 more times, layering meat sauce, noodles, ricotta mixture, eggplant.  Finish with remaining 4 noodles, the rest of the plain sauce and Parmesan cheese.  Make sure all of the lasagna noodles are covered to the corners.

Coat a sheet of foil with cooking spray (so it doesn’t stick) and cover the pan tightly.  Bake for 40 minutes at 350º, then use tongs to carefully remove the foil and bake for 20 minutes uncovered.  Remove from the oven, cover and rest 10-15 minutes before serving.

Garnish with fresh basil and parsley and bring to the table.

Notes ♪♫ I used Barilla gluten free oven-ready lasagna in this recipe, and no one even knew it was gluten free!  A tip, when making gluten free Lasagna do not pre-cook the noodles.  No matter what the box instructions say.  Pre-boiled noodles will absorb less liquid as they cook, and you may end up with a watery mess.

Print This Post Print This Post

Gluten Free Baked Haddock with Butter and Cracker Crumbs

Gluten Free Baked Haddock with Butter and Cracker Crumbs

I grew up in a Catholic Italian family during the 1960’s.  The church was a central part of the community, and like all good Catholics we abstained from eating meat on Friday as an act of penance.  Back then that meant that seafood was the star of the dinner table!

My mother’s answer to the weekly fish dinner was the New England classic of Haddock, Cod or some white fish slathered with butter and Ritz cracker crumbs.  Fast, easy and family friendly.

This post contains affiliate links.

Sometimes it’s the little things that you miss on the gluten free diet, and for me this meal has been one of them.  I tried using breadcrumbs, crushed cereal etc. but it was not the same.  So, I started experimenting with different gluten free crackers.  For a while, Lance crackers were my go-to, and still my favorite but they have been almost impossible to find since the pandemic.  I have since used Schar Entertainment Crackers and they are a good alternative.

Ingredients:

  • 1 lb. haddock (substitute cod or other flaky white fish)
  • ¼ cup cracker crumbs (about 10 crackers)
  • 1 tbsp. butter
  • Old Bay seasoning
  • Cooking spray
  • Fresh chives, for garnish

Preparation:

Line a baking pan with foil and mist with cooking spray.  Rinse the fish, pat it dry and arrange on the baking pan so that pieces don’t touch.

Mist with cooking spray and sprinkle the tops with Old Bay.

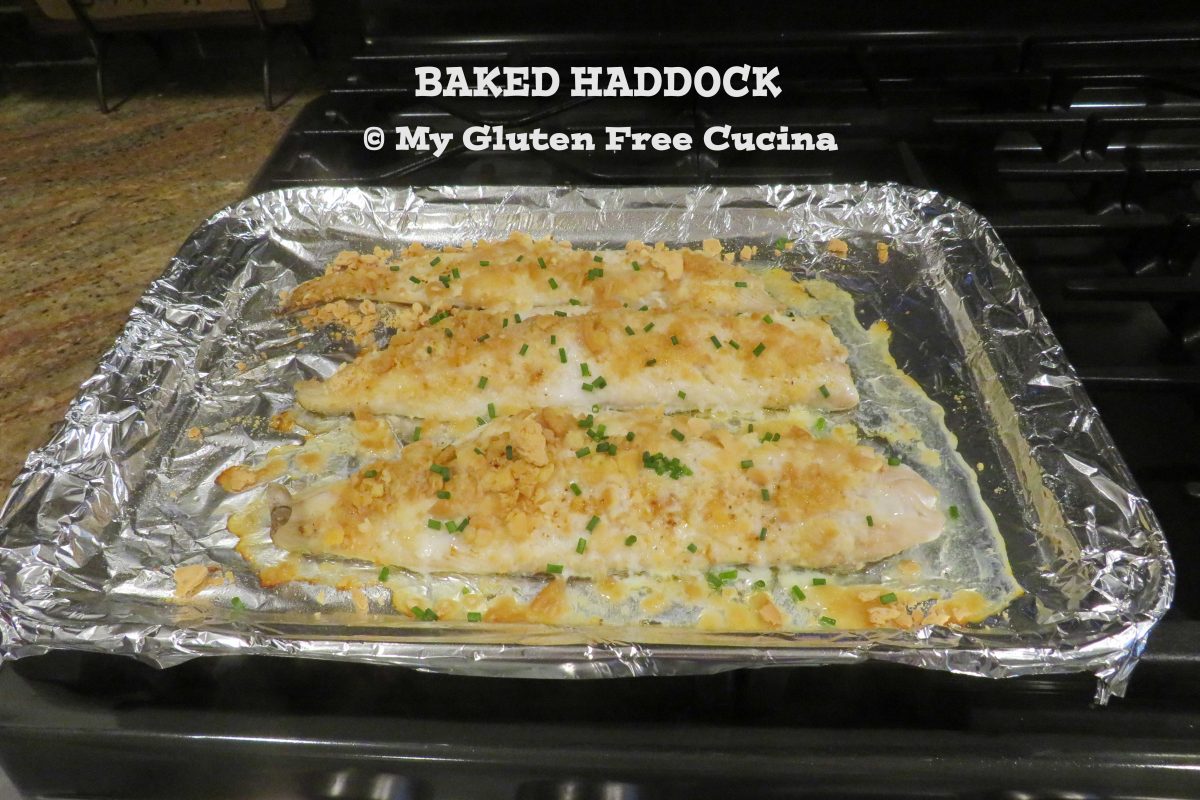
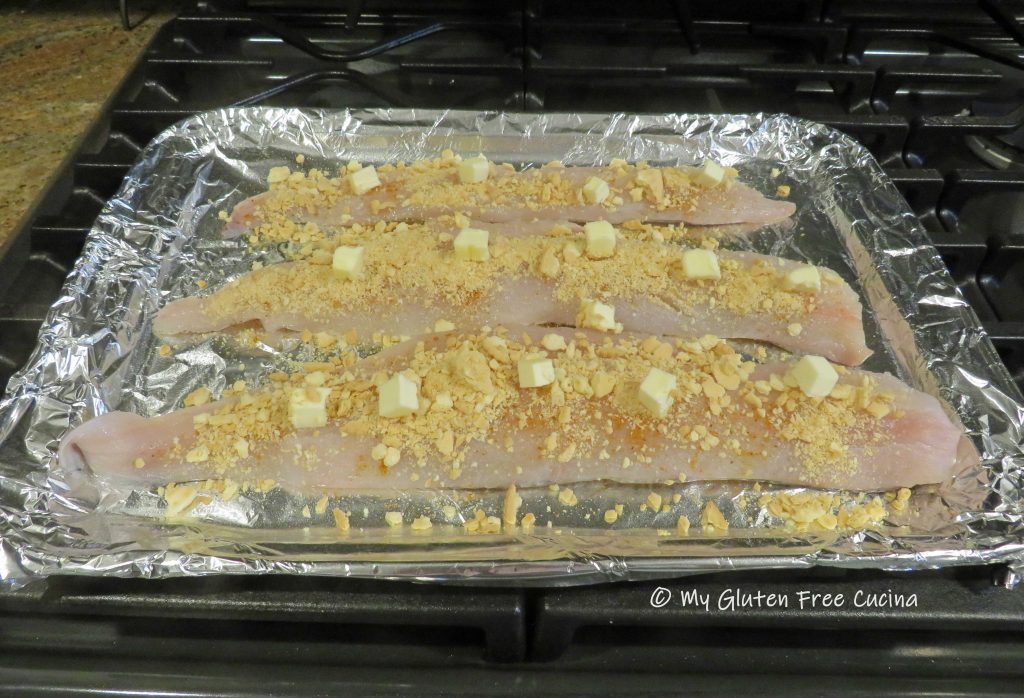
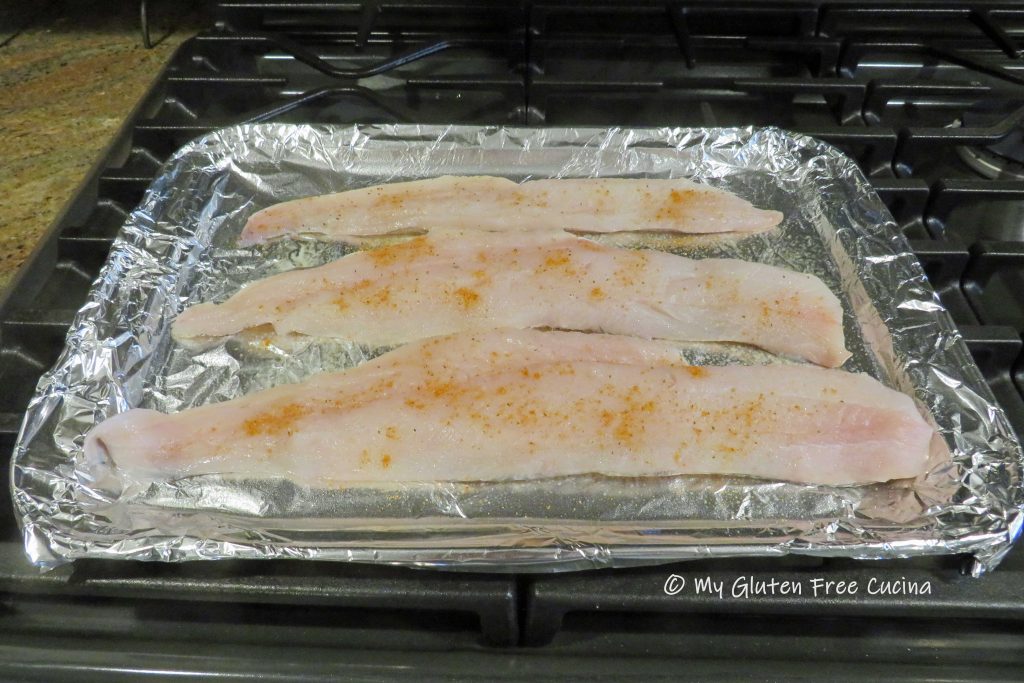
Pulse the crackers in an electric chopper or place them in a bag and pound into crumbs.  Spread the crumbs evenly over the fish.  Cut the butter into small pieces and dot the top of the fish.

It doesn’t get any easier!  Bake at 350◦ for 30 minutes.  Garnish with chives and serve.

Notes ♪♫ If you’re missing Ritz Crackers try Schar Entertainment Crackers, which I have used in this recipe.  They are a good substitute for recipes that call for Ritz cracker crumbs.

Print This Post Print This Post

Homemade Espresso Powder

Like many, I’m getting ready to do a little holiday baking.  Desserts are not my forte, but I do like to indulge in the occasional treat.  That being said, I really do not want to spend money on pricey, seldom used ingredients like Espresso Powder.  So with a little research, I learned how to make a small amount at home that cost me ZERO$$$!  That’s right, the only ingredient needed are spent coffee grounds.

So get your morning coffee brewing and let’s get started.

Ingredients:

  • used coffee grounds

Preparation:

Brew coffee and reserve the grounds.  Let them drain for a bit, then spread the grounds in an even layer onto a parchment lined baking sheet.

Bake the grounds for 1 hour at 250º, then turn off the oven and leave the pan in for another 2 hours.  The grounds should be very dry to the touch.

Transfer the grounds to a coffee grinder and process into a fine powder.

Store in an air tight container, I used a small Ball jar.

Use in recipes that call for espresso powder.

Notes ♪♫ I’m a New England girl, and we love our Dunkin Donuts coffee!  That’s what I used in this post, of course you can use real espresso or any roast you prefer.

Print This Post Print This Post