Another Easter has come and gone, and I’ll bet you still have some leftover ham in the fridge! And since the winter weather just won’t give up here in New England, I’m craving soup.
Everyone has their own traditions for using up the holiday ham. I always ring in the New Year with a pot of Lentil Soup. After Easter though, I like to make Split Pea, which is essentially made the same way.
The ham bone, of course is what you would use to make a stock. But what if you didn’t make a ham for Easter? Or maybe your ham was boneless. Well fear not, you can still use your leftovers or even pick up a ham steak and use that in the soup. This year I actually cooked a 2 lb. petite boneless spiral ham for myself after the holiday and that’s what I used.
This post contains affiliate links.
Ingredients:
- 1 lb. split peas
- 1 tbsp. olive oil
- 2 carrots, peeled and diced
- 2 celery stalks, diced
- 1/2 sweet onion, diced
- salt and pepper to taste
- 48 oz. gluten free chicken stock or stock from ham bone
- 2 bay leaves
- 1 tsp. sage
- 1 tsp. thyme
- 1 packet beef bouillon
- 2 cups diced ham
- Schar Table Crackers, for serving
Preparation:
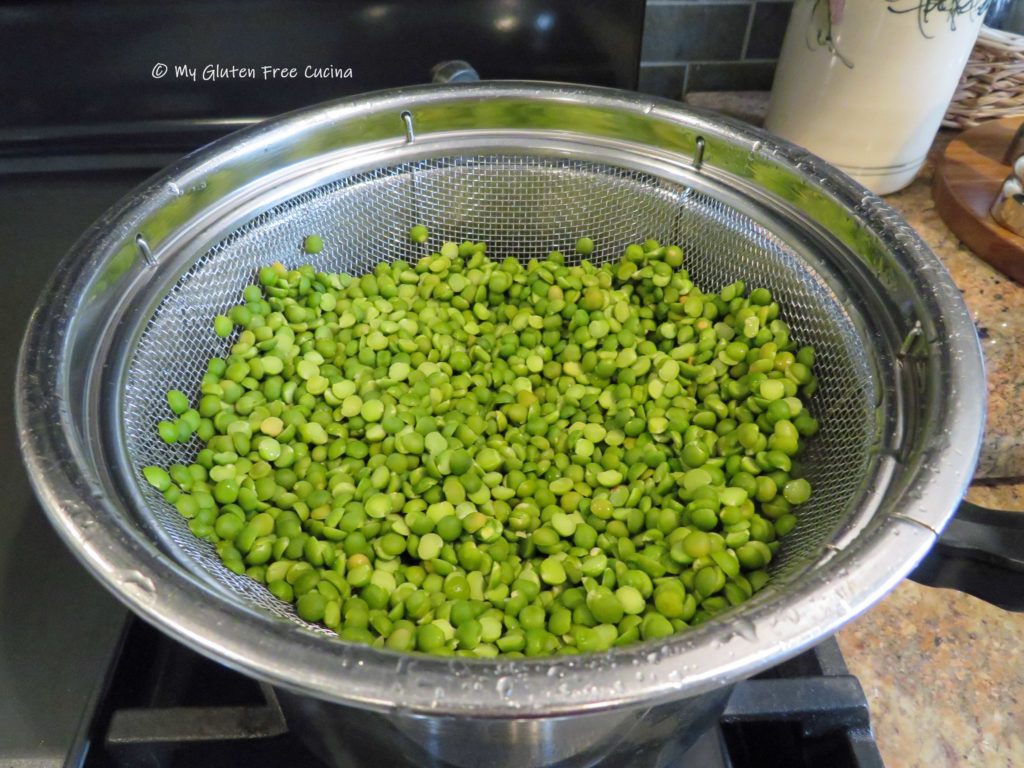
Rinse the split peas thoroughly in a colander and examine them for stray bits of barley or pebbles. Place them in a stock pot and bring to a boil. Cover, remove from the heat and let them soak while you prepare the rest of the recipe.
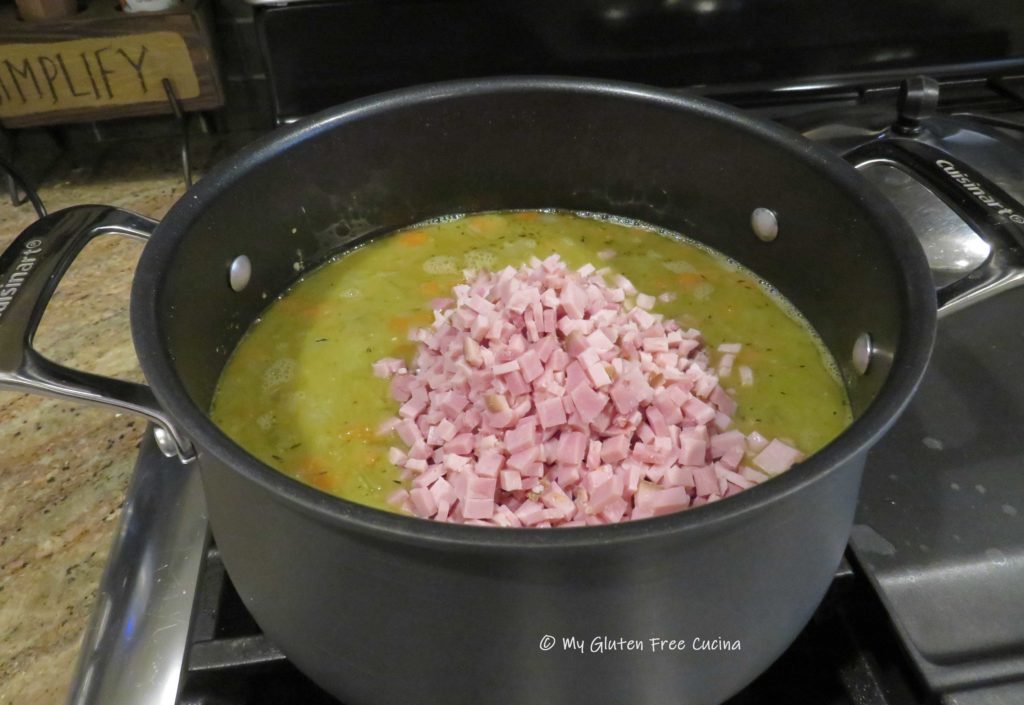
Chop ham leftovers into small dice. Set aside and refrigerate.
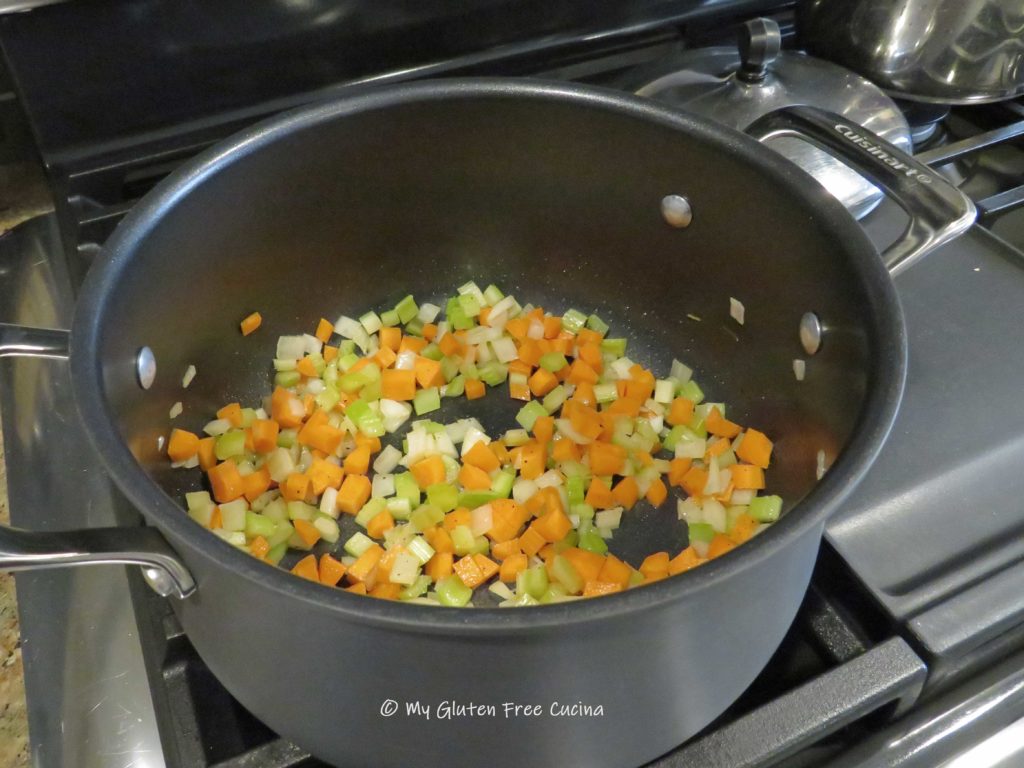
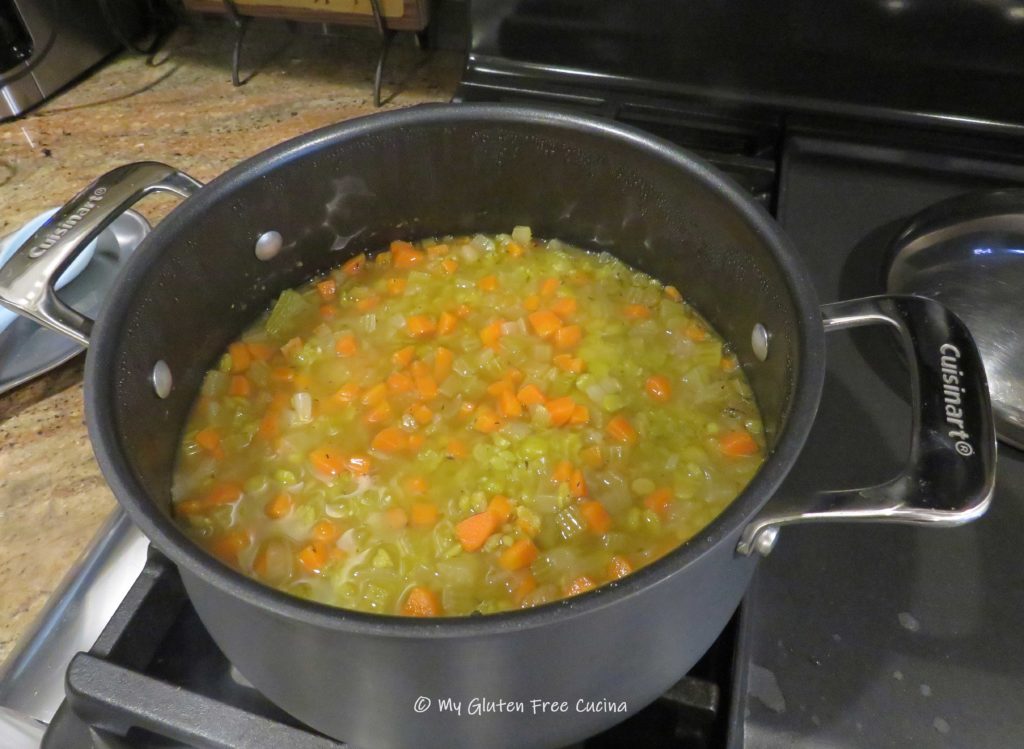
Cut the onion, celery and carrots into even sized small dice. Add a little olive oil to a 5 qt. stock pot or Dutch oven and begin cooking the carrots, onion and celery over medium low heat.
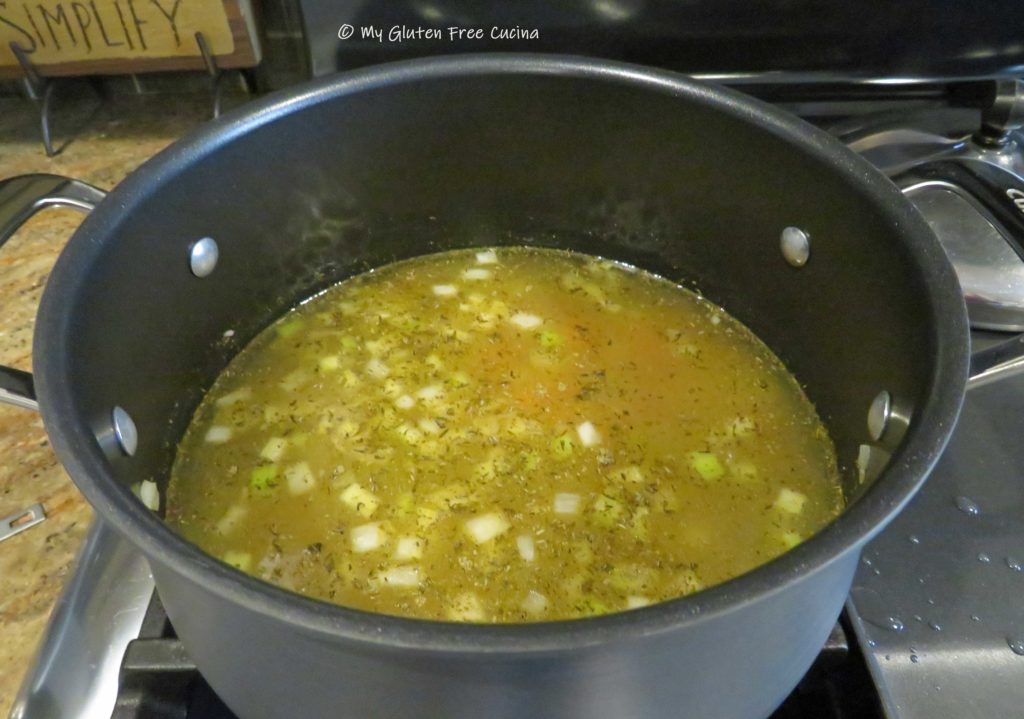
 Season with sage, thyme, salt and pepper. Add 32 oz. of the chicken stock, bay leaves, and bouillon. Simmer 30 minutes.
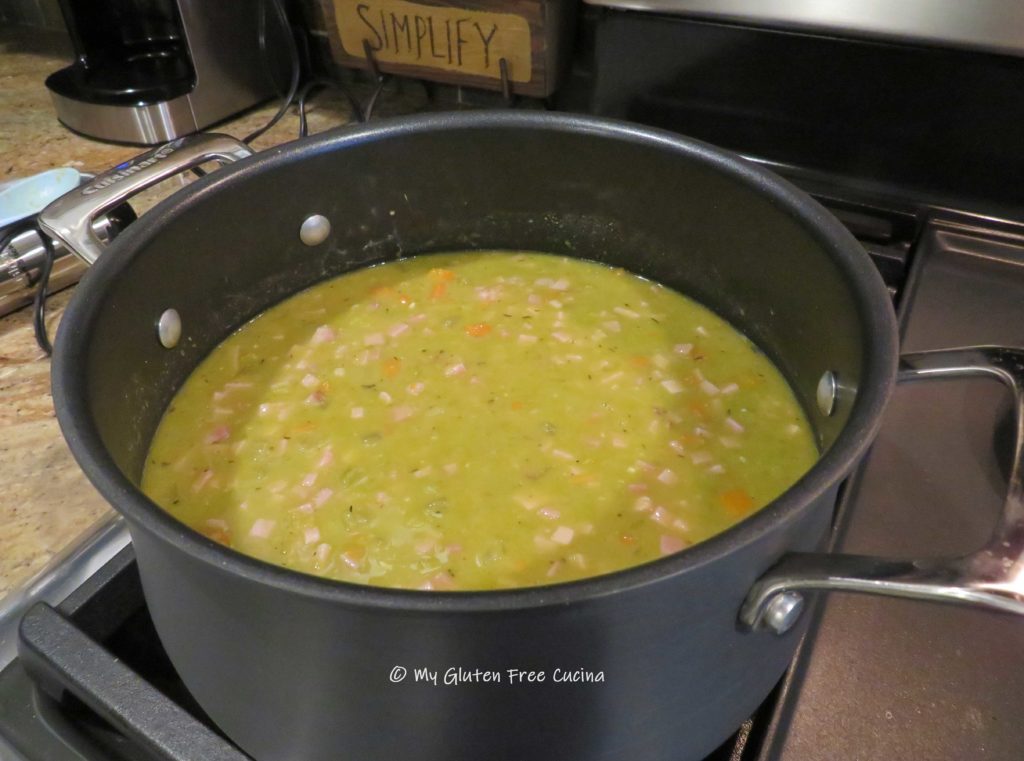
 Drain and rinse the peas again. Add them to the pot, stir well and continue cooking for another 45 minutes to an hour, or until the peas are tender.
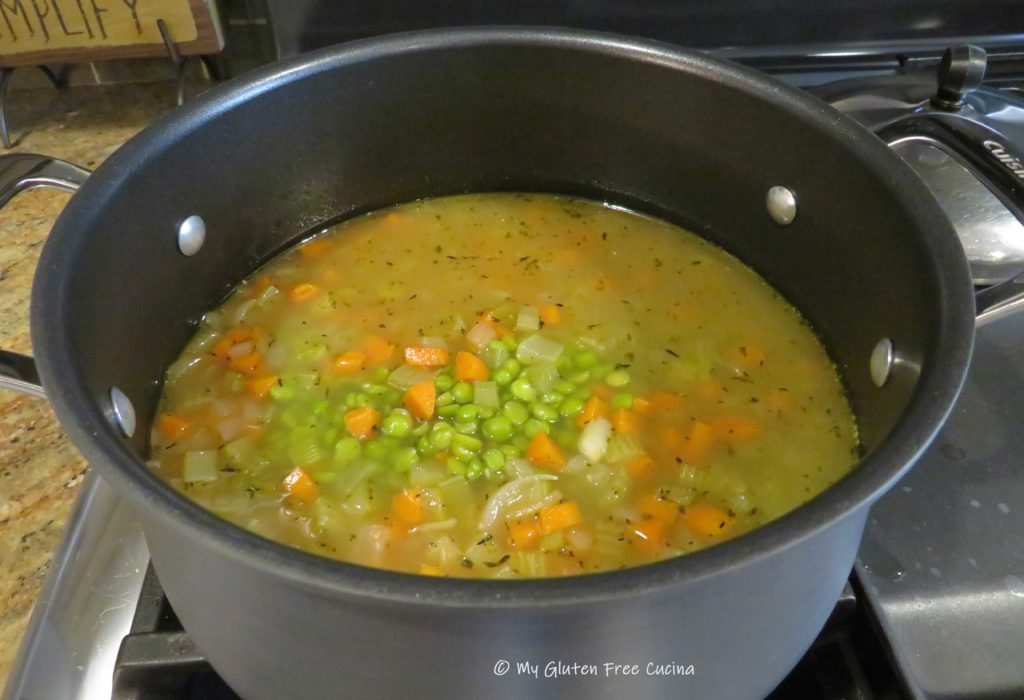 As they simmer, the peas will absorb quite a bit of liquid, so add more chicken broth as needed.
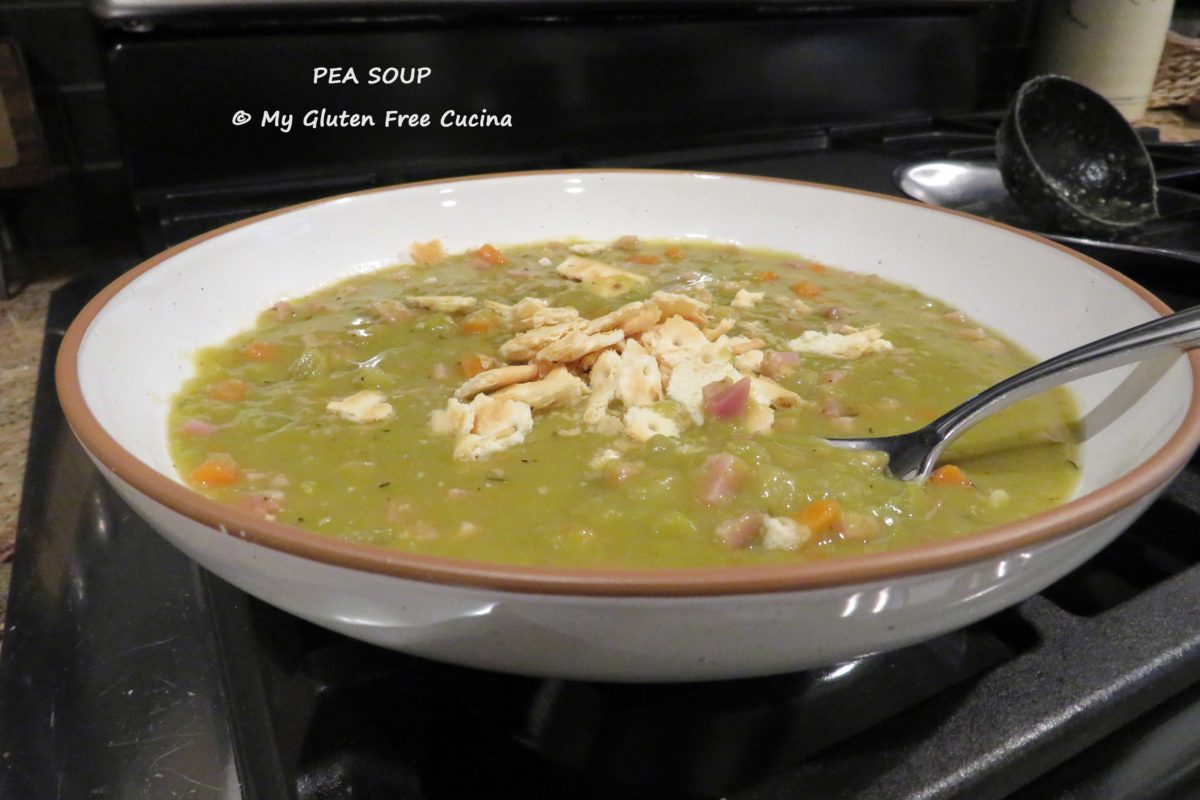
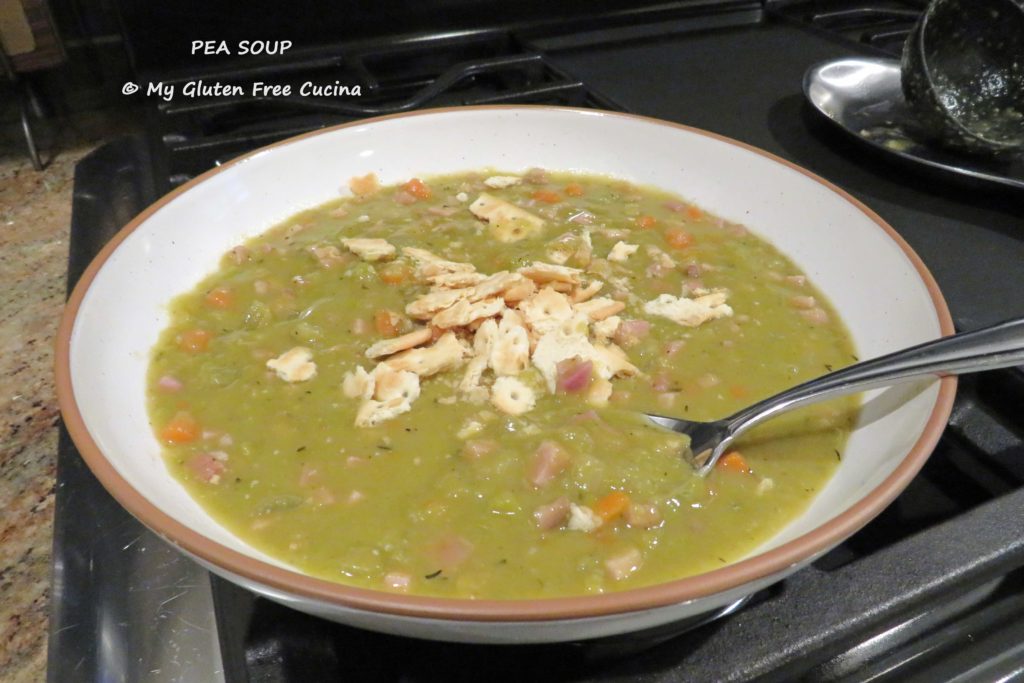
When the soup is ready, partially puree it with an immersion blender (don’t forget to remove the bay leaves first). I like to leave some of the veggies whole, but you can make it as smooth or chunky as you like. After pureeing, add back the diced ham and heat through.
Serve with Schar Table Crackers (similar to saltines). Leftovers will keep well in the fridge for at least a week.
Notes: ♪♫ If you have a ham bone and don’t want to make soup right away, don’t throw it away! You can wrap it in foil then place in a freezer safe bag and store in the freezer for quite a few months. There have been times that I would find a ham bone in the back of the freezer just in time for fall soup season.


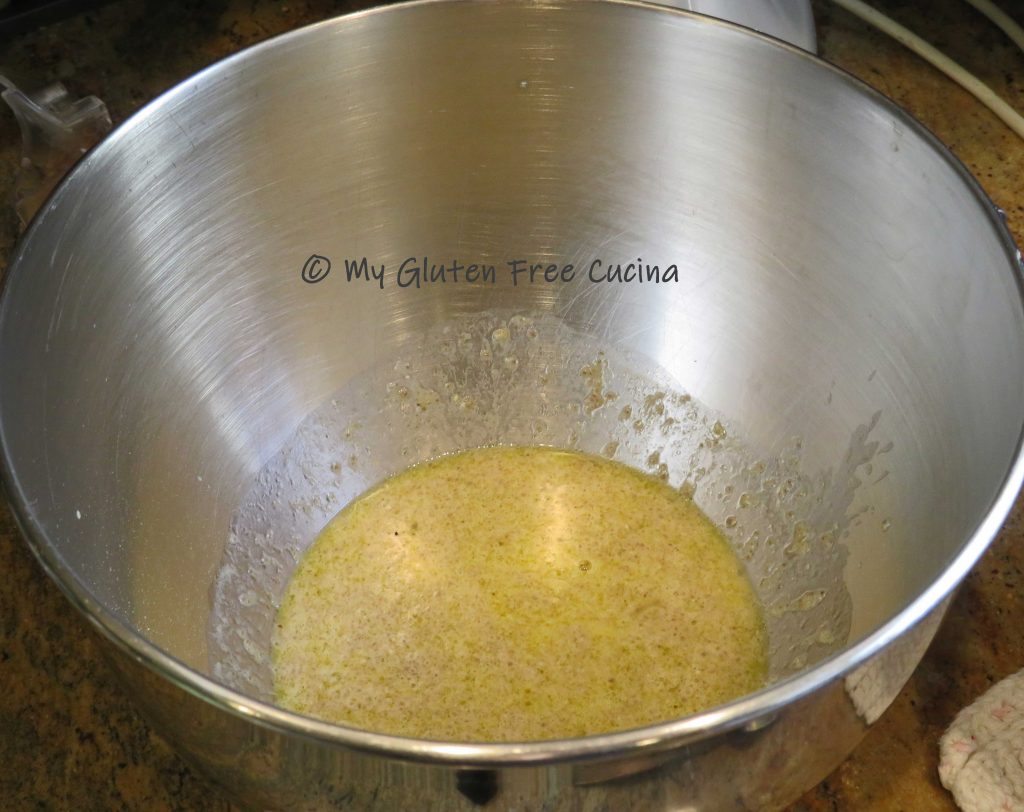
 Drizzle the liquid into the pan as you continue whisking.


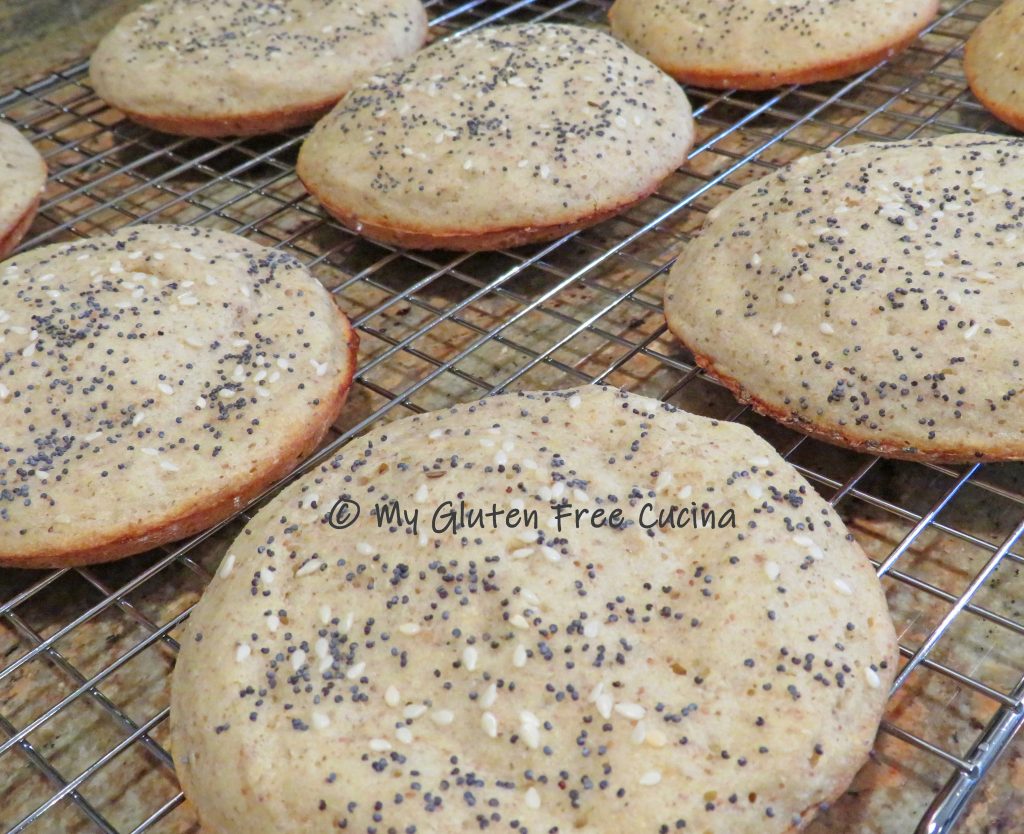
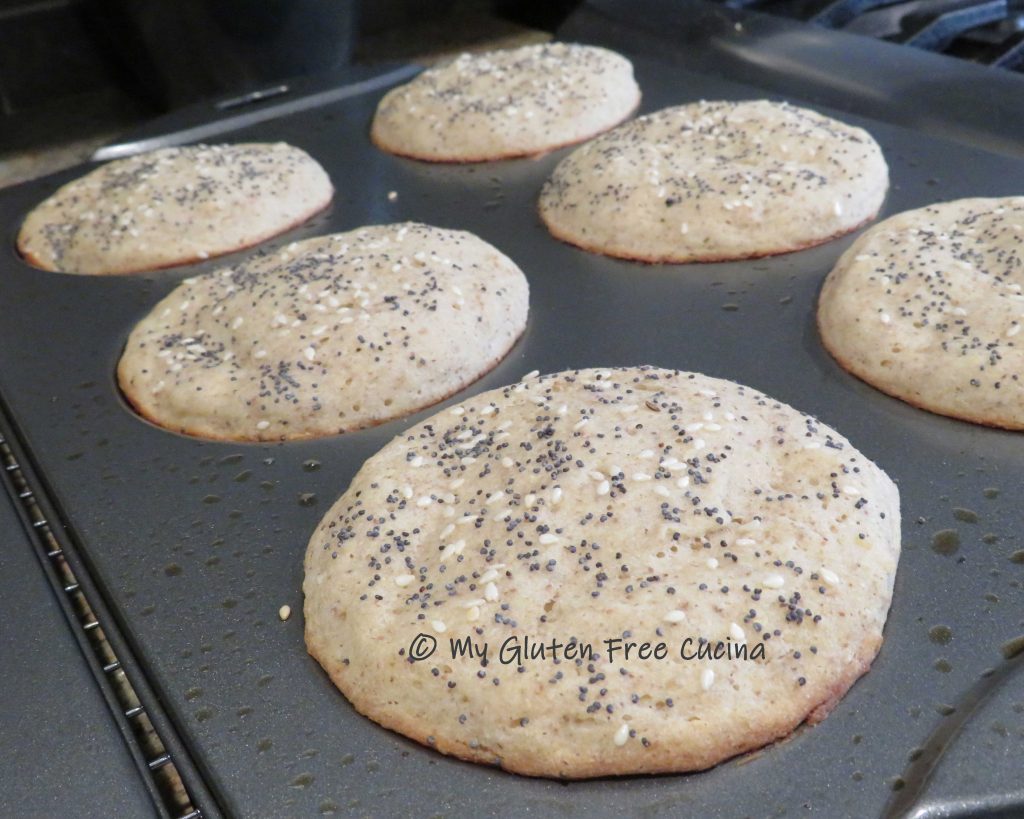
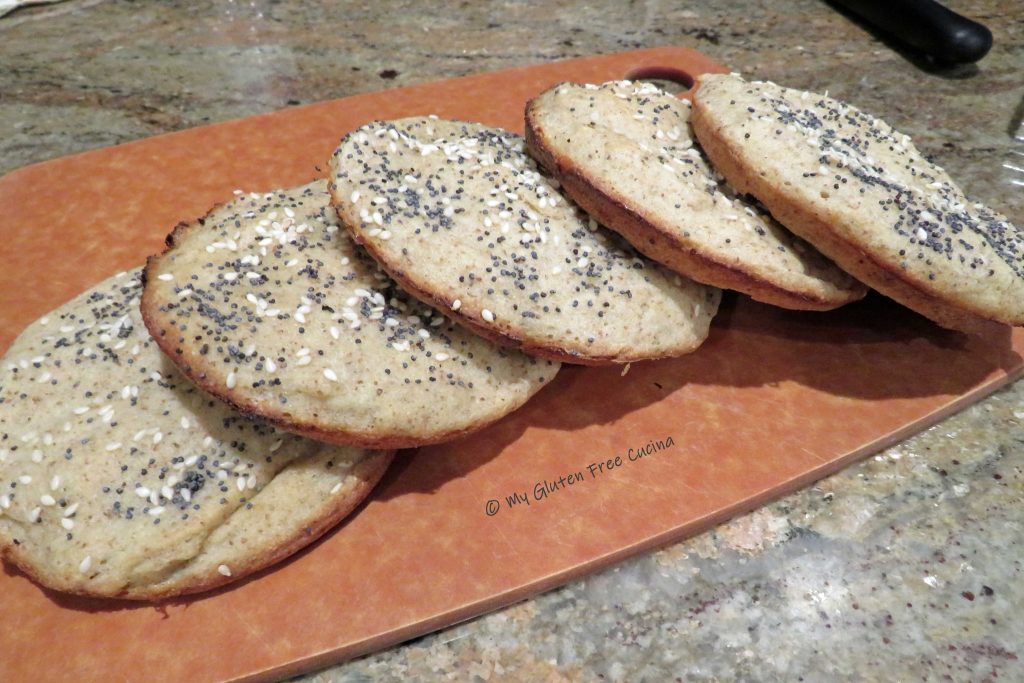


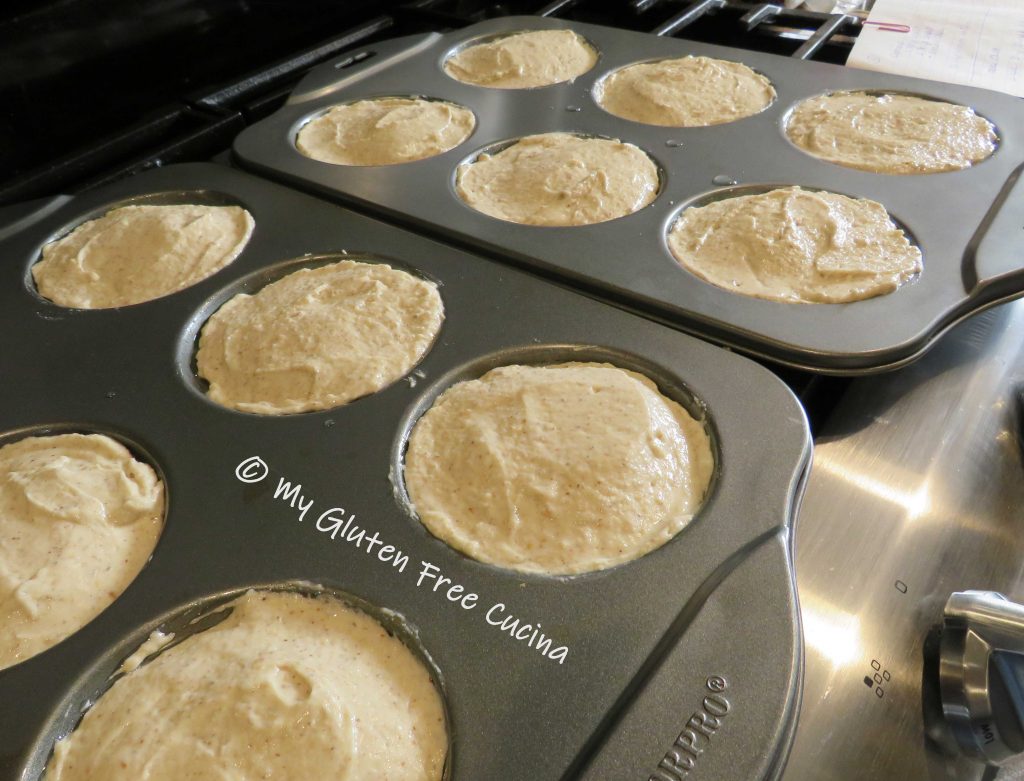
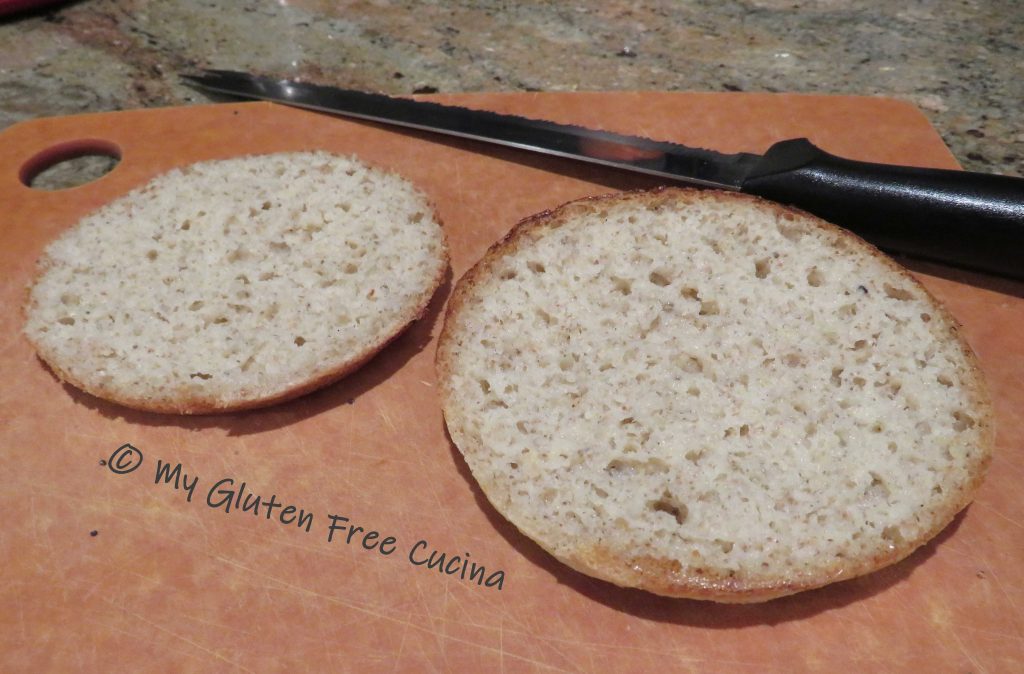
 Bake for 15 minutes, or until the buns reach an internal temperature of 205º.

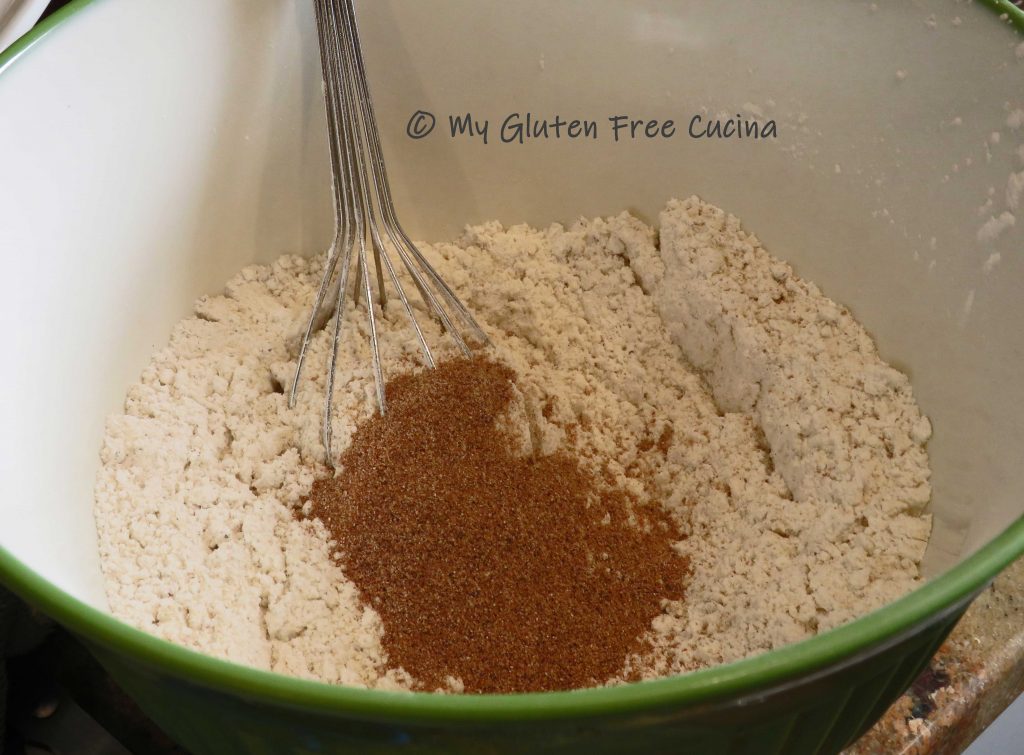
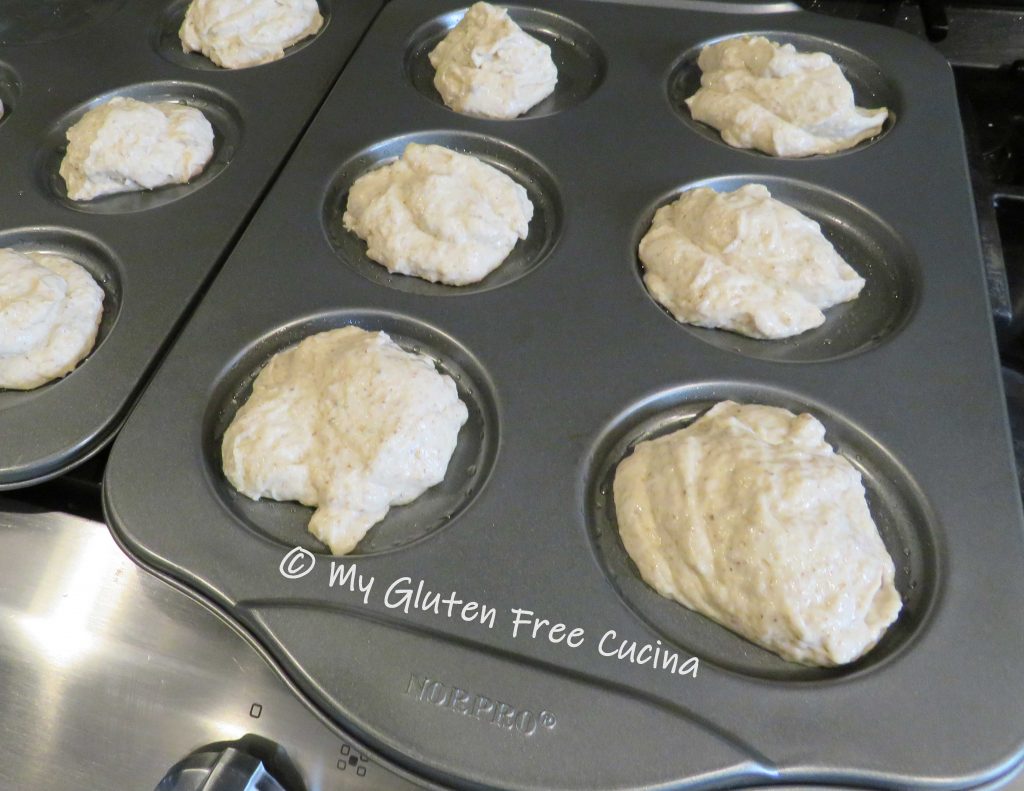
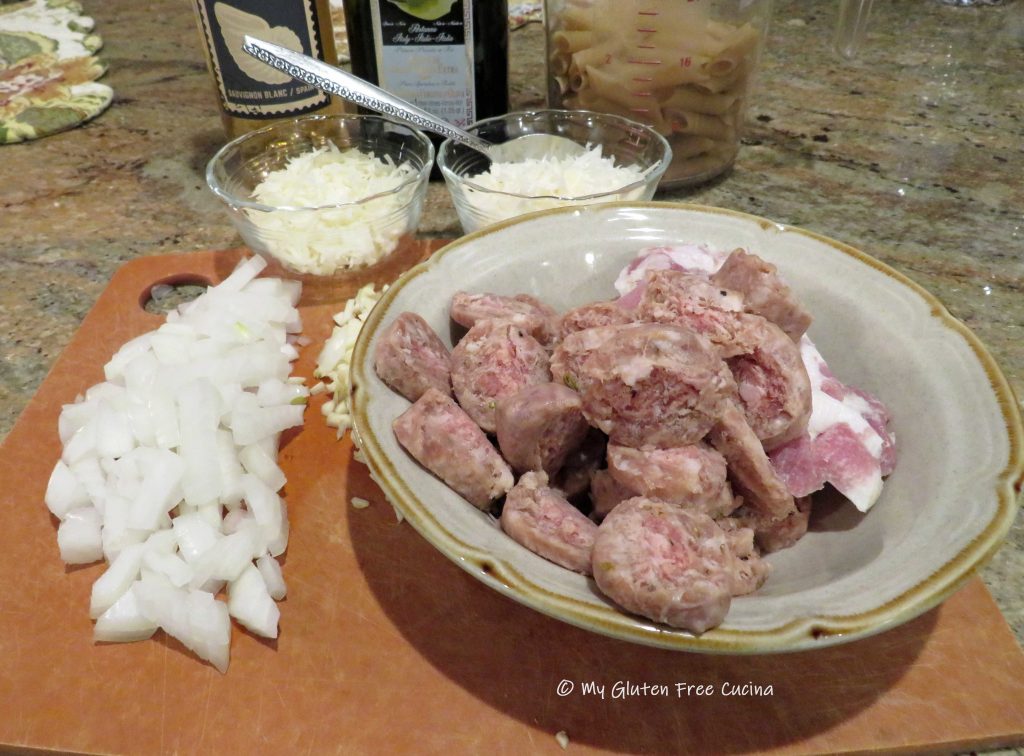 Preparation:
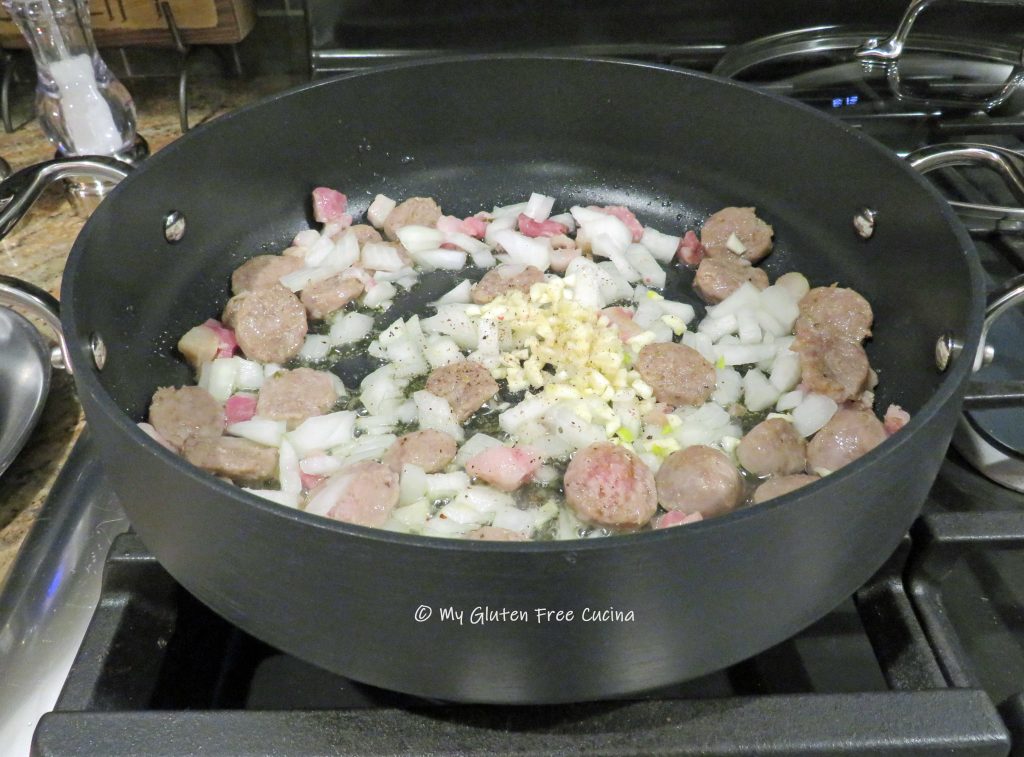
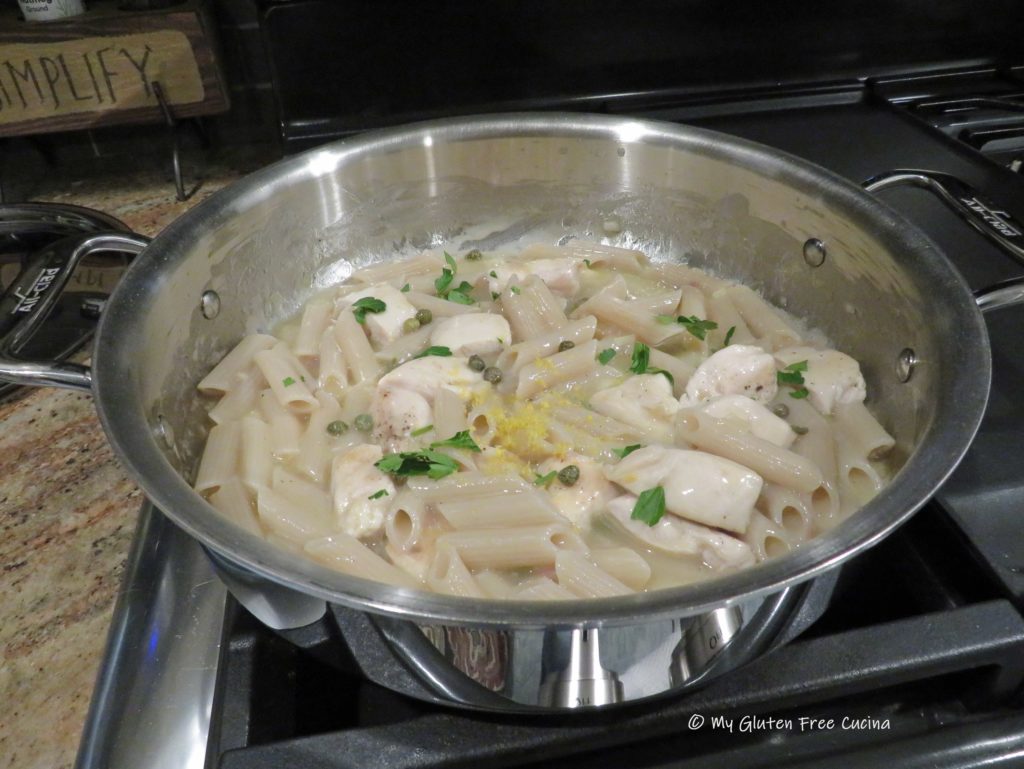
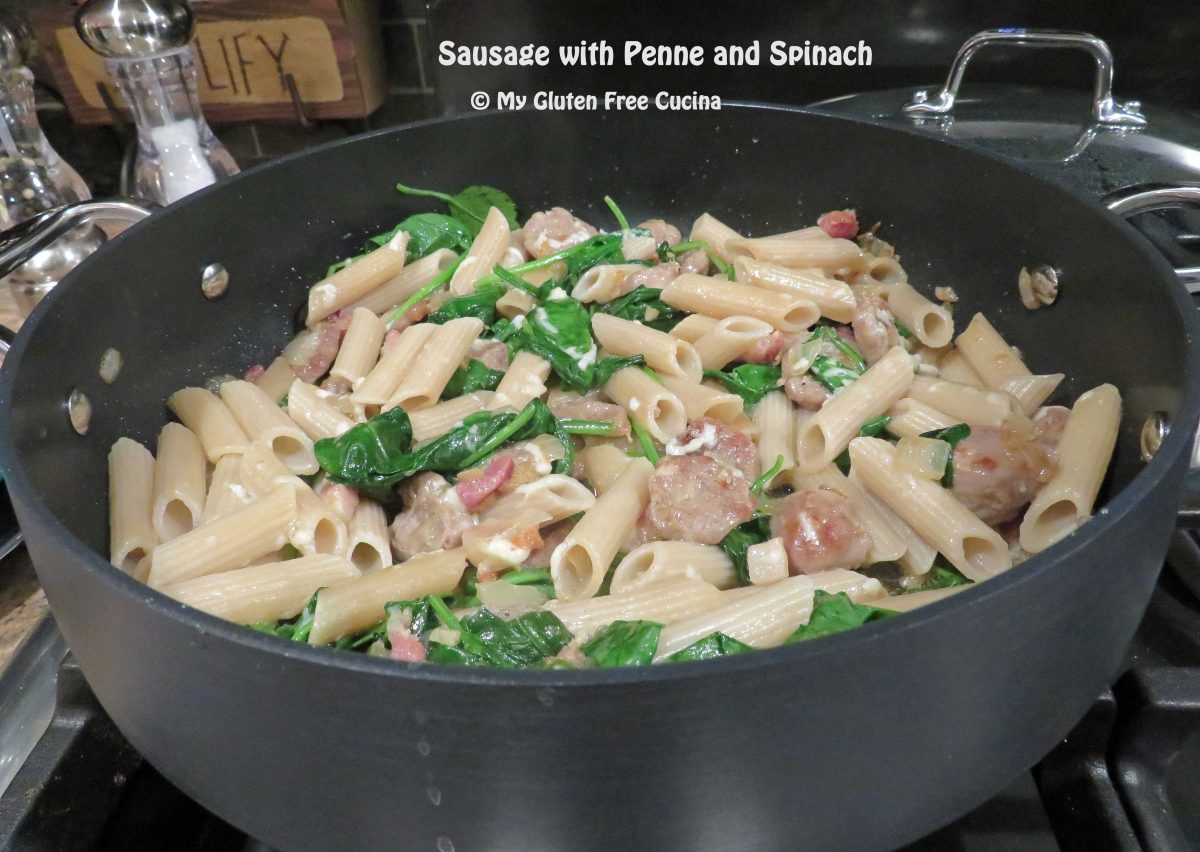
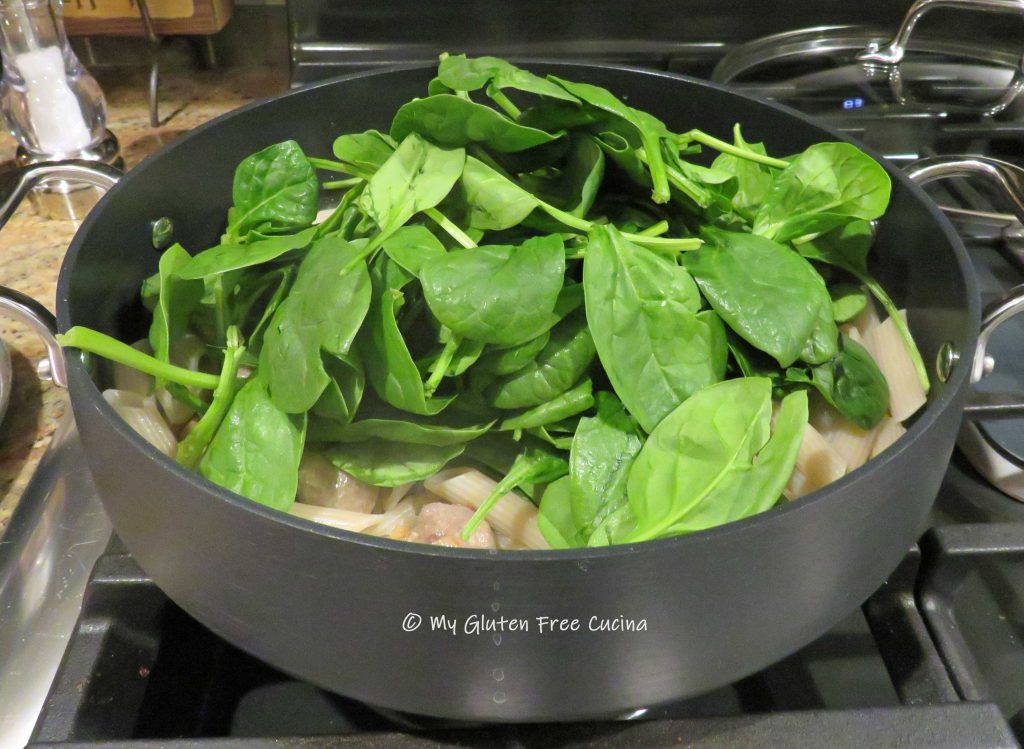
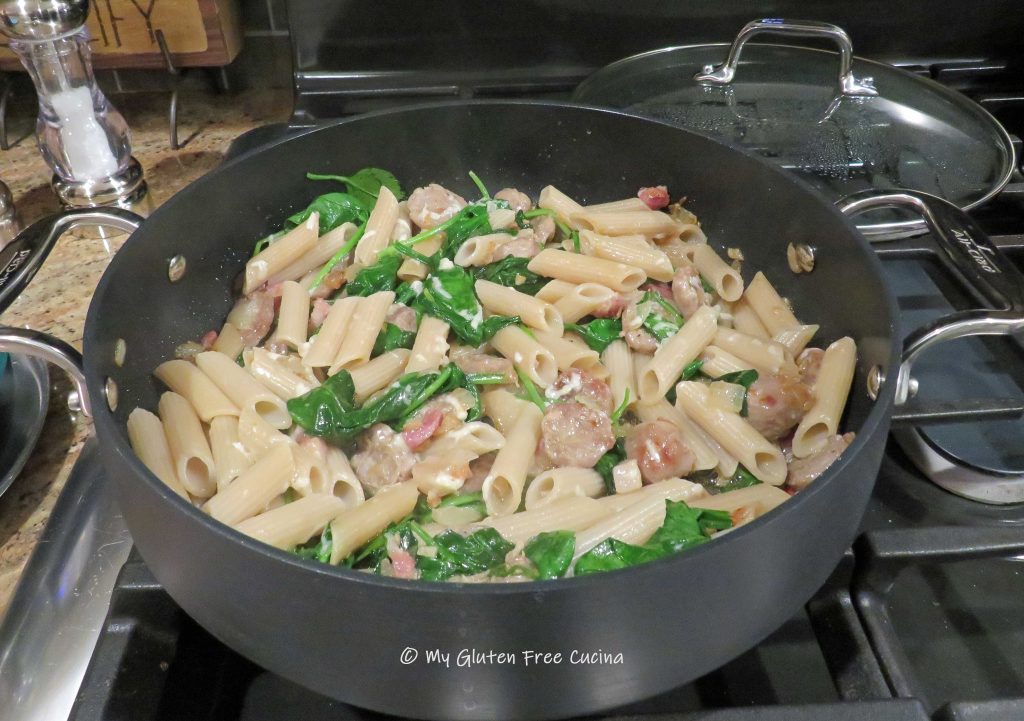
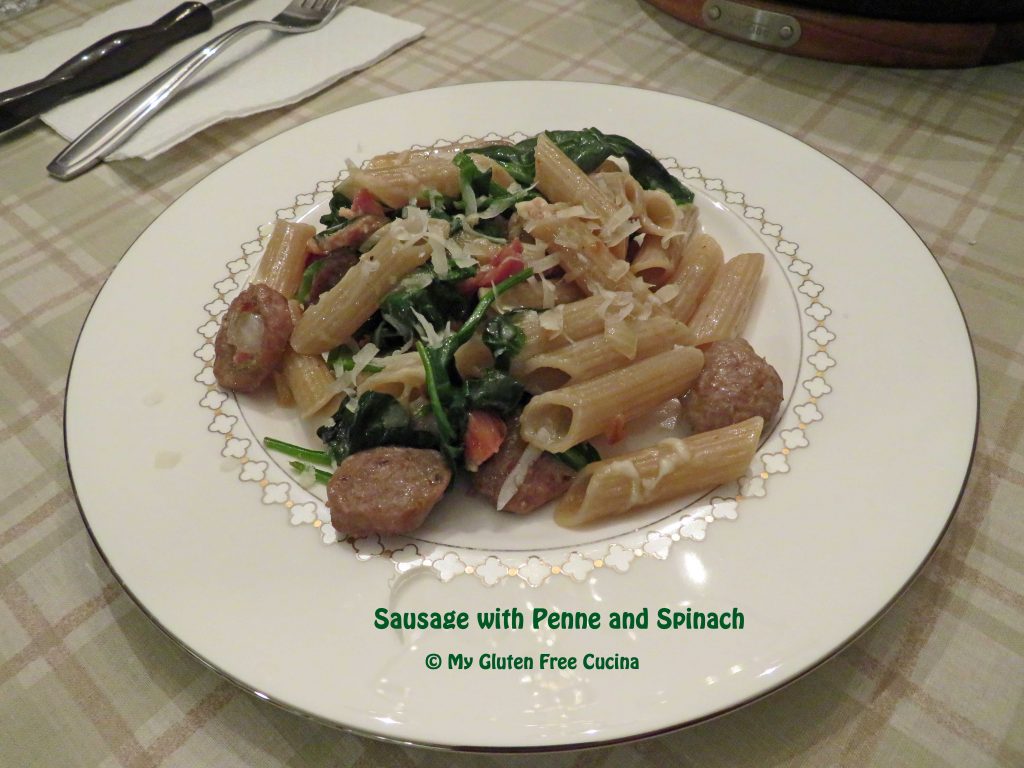
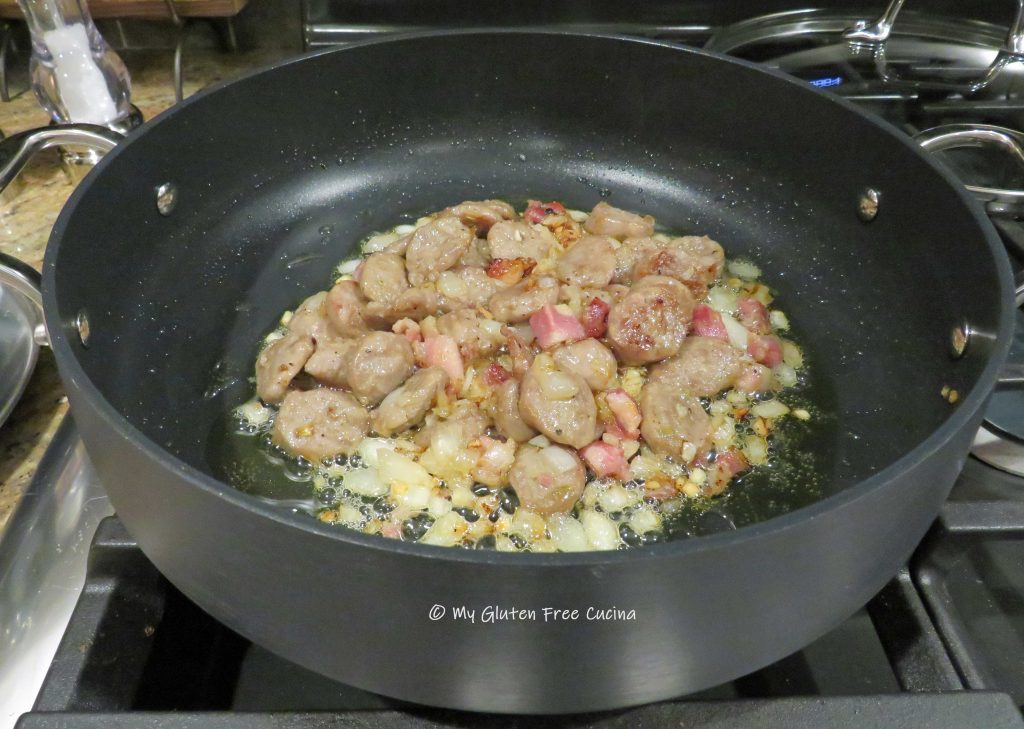 Next add the drained penne, all of the spinach, white wine and a ladle of the pasta water.
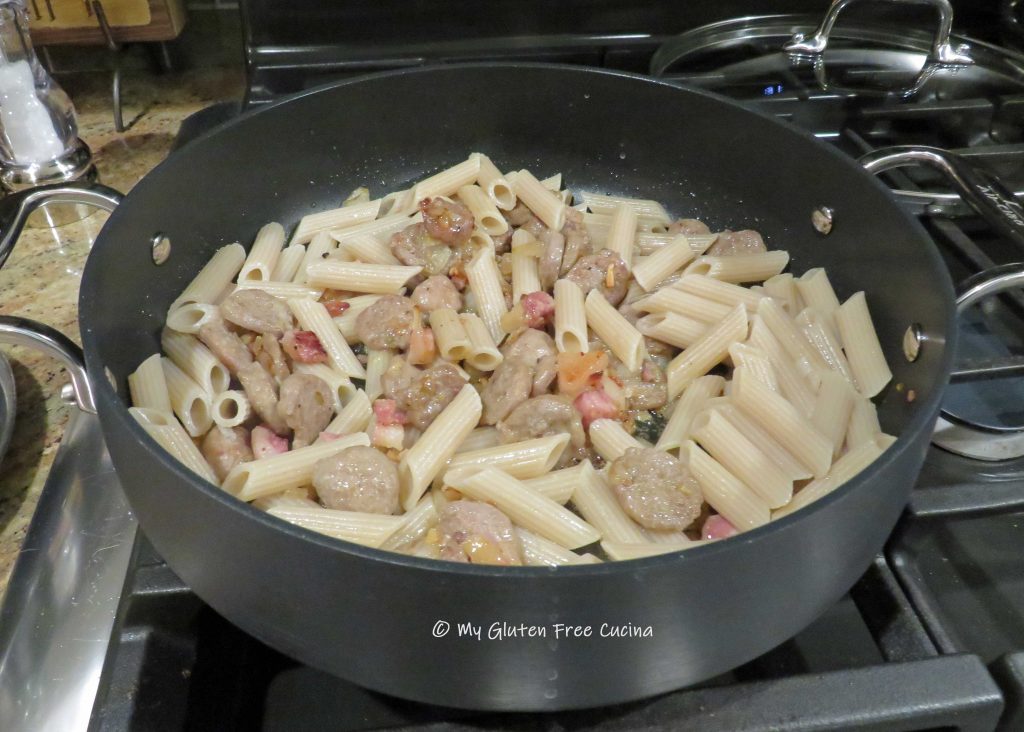


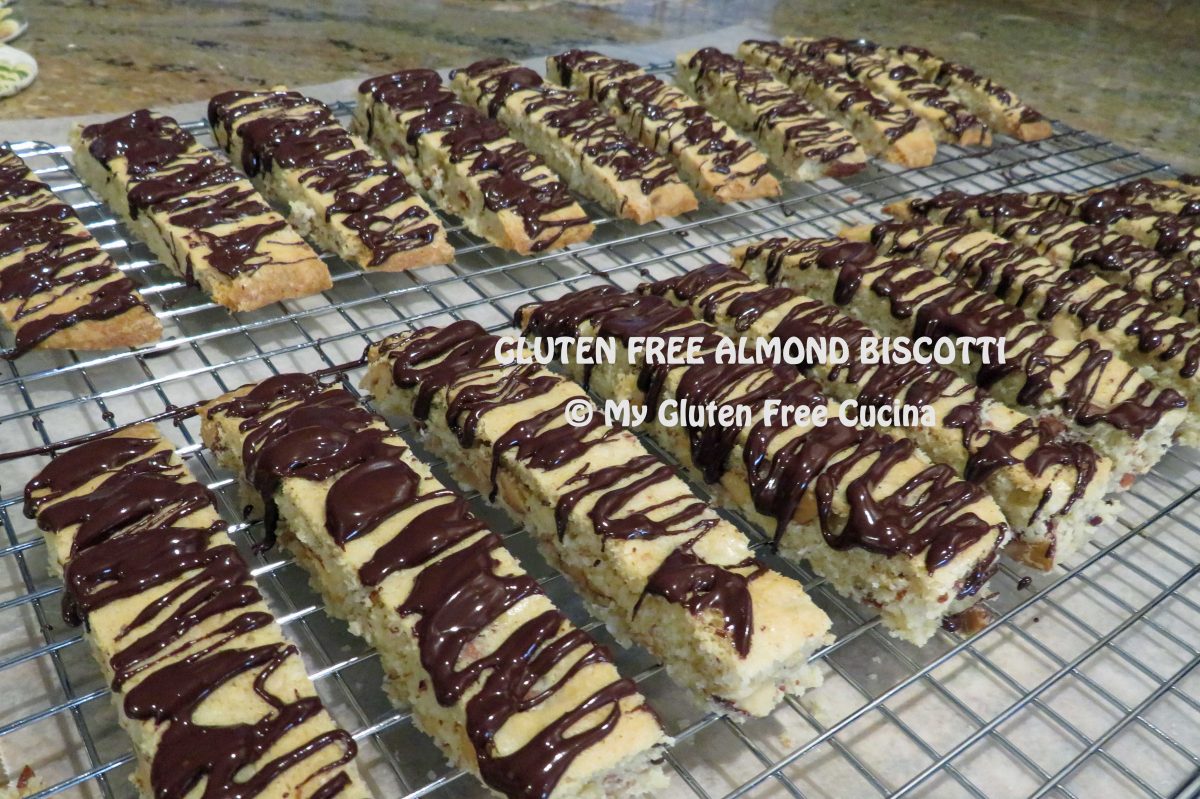


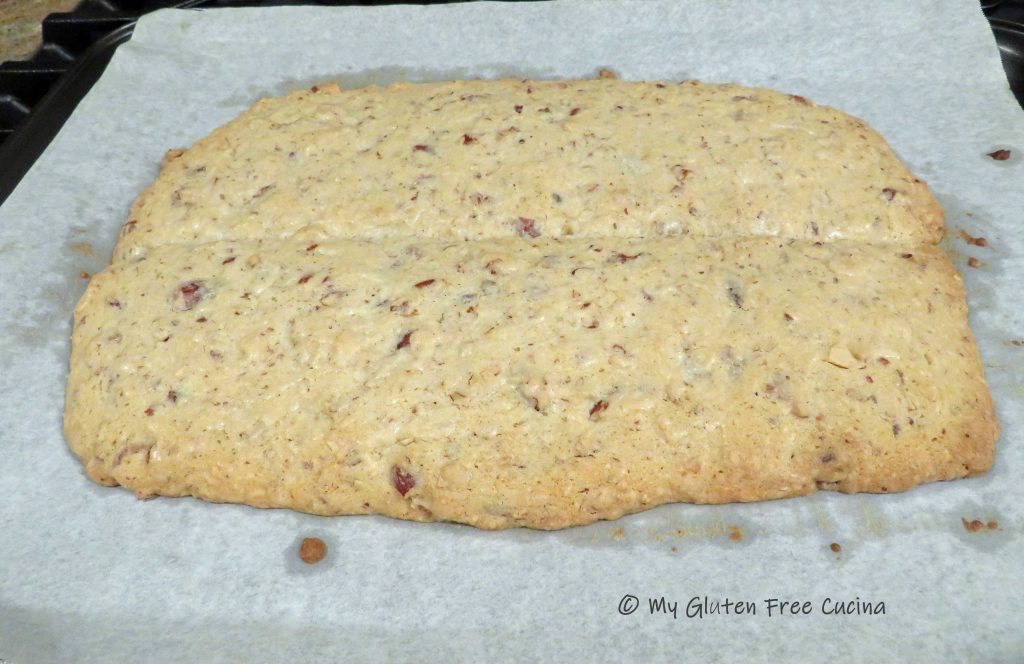
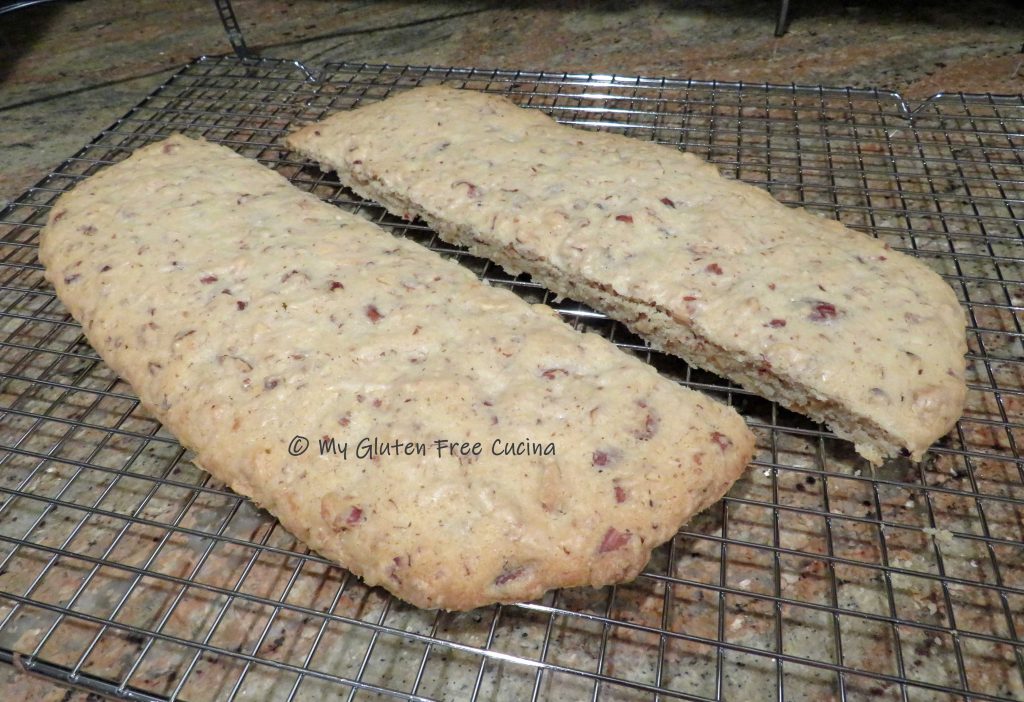
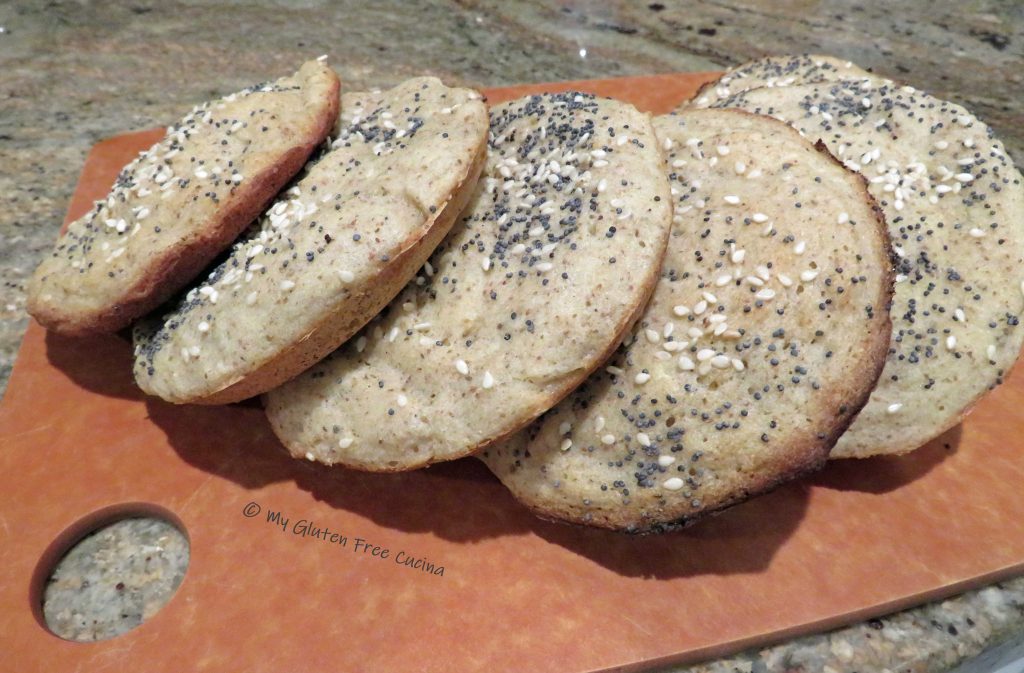
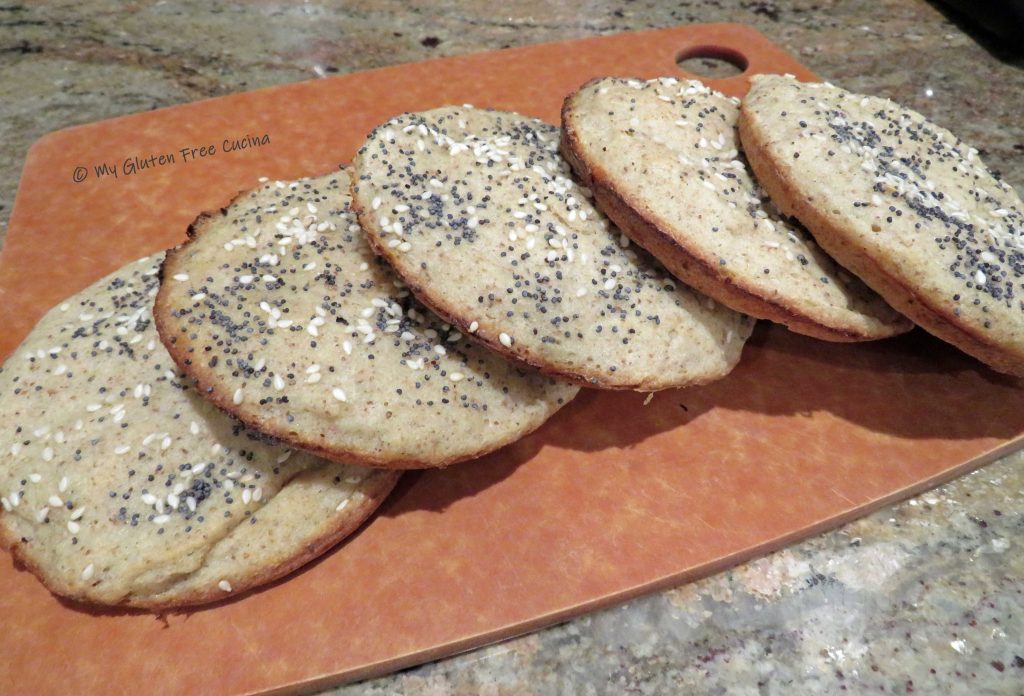
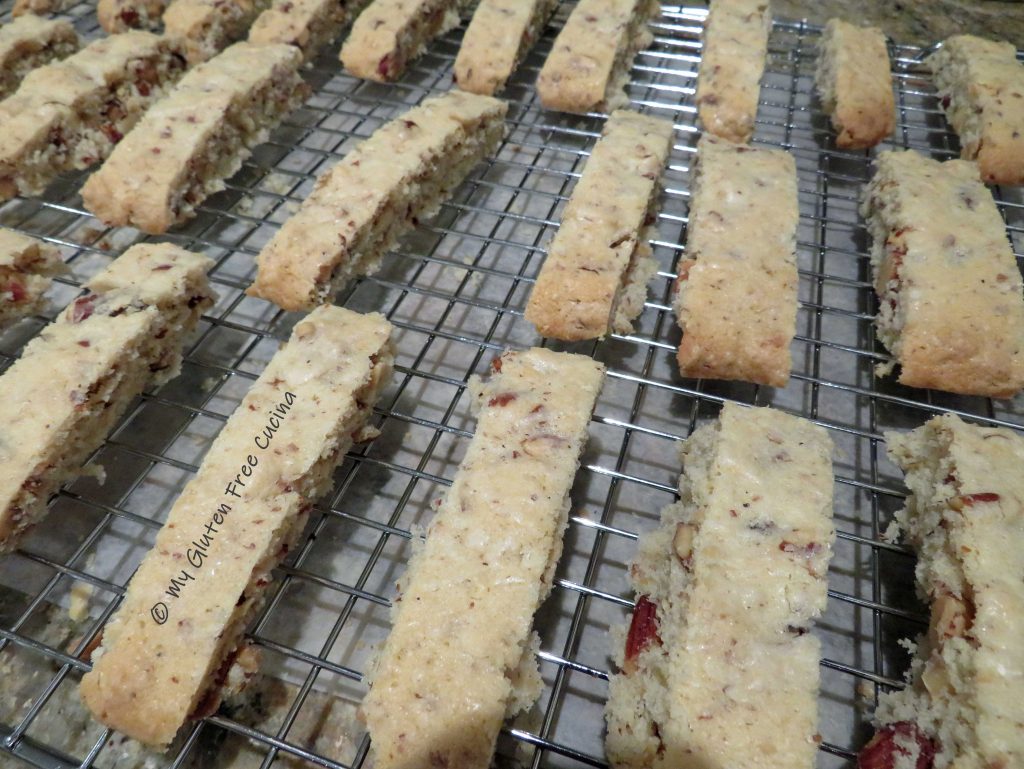 If you like a crisp, hard cookie (great for dunking) return the sliced biscotti to the baking sheet cut side up and bake for 10 minutes longer.


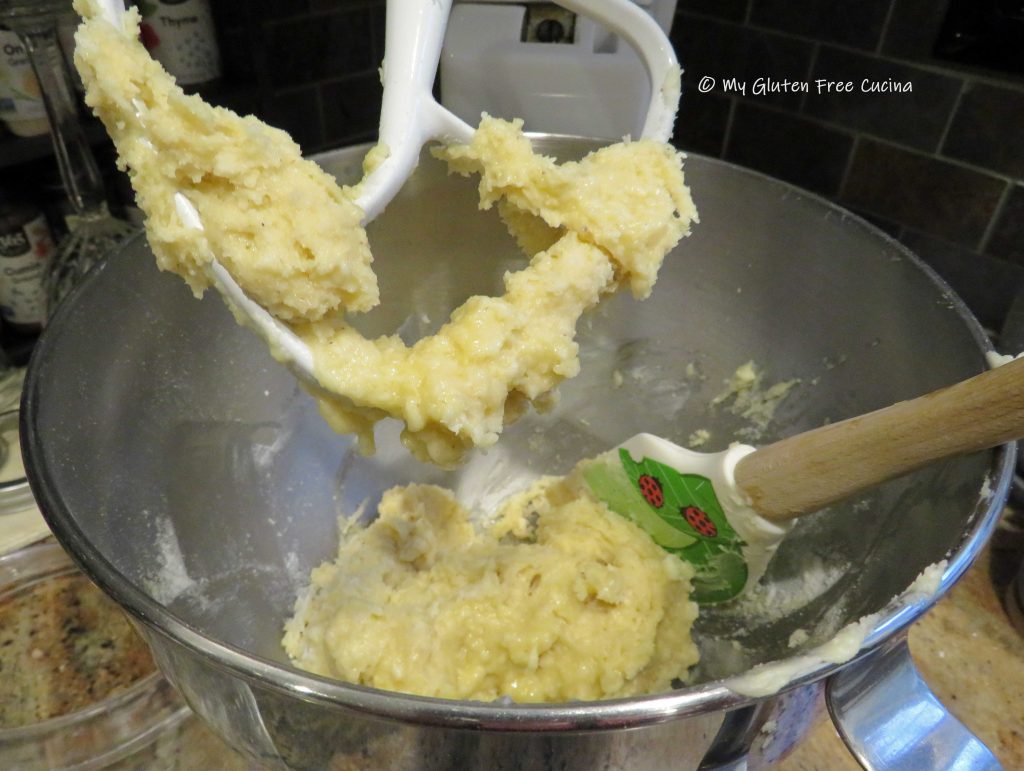
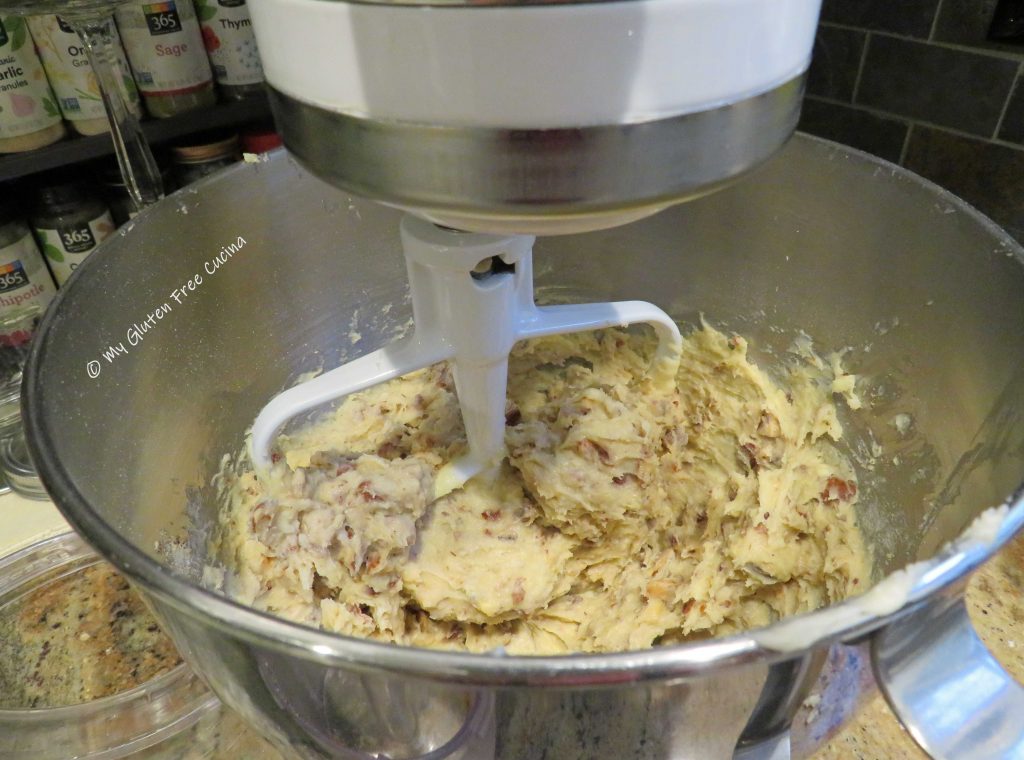
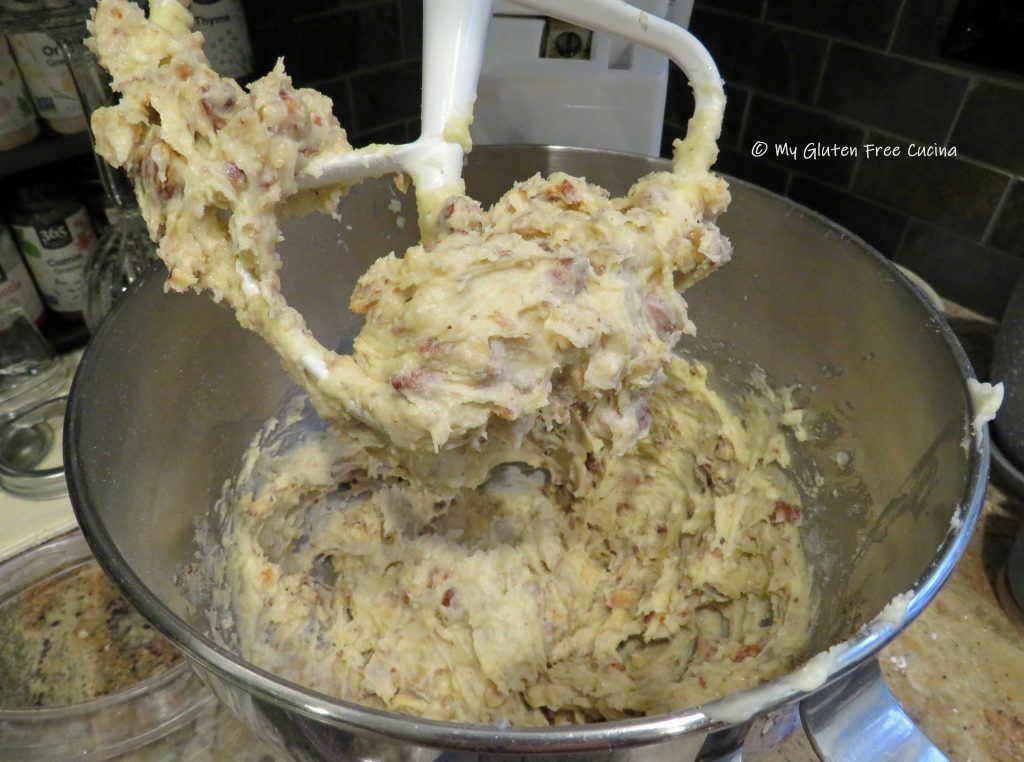
 Preparation: