Garlicky Green Beans

Quite possibly my favorite vegetable, I have always loved green beans.  Maybe because my grandfather used to grow them in his garden years ago.  As a child, I remember seeing rows and rows of beans that he would harvest and can for the winter months.

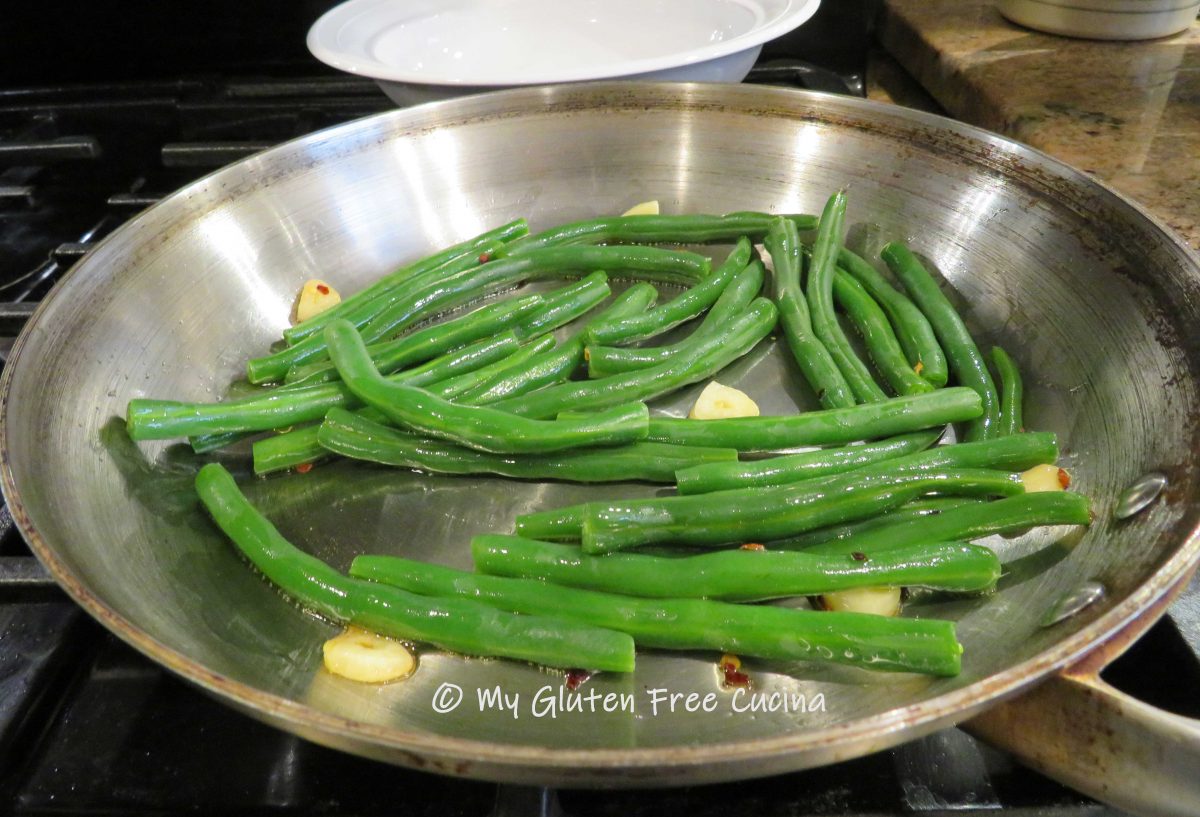
Like most vegetables, this one is best when you buy fresh.  After a quick 3-minute steaming I’ll finish them in a simple garlic oil with red pepper flakes for a big pop of flavor!

This post contains affiliate links.

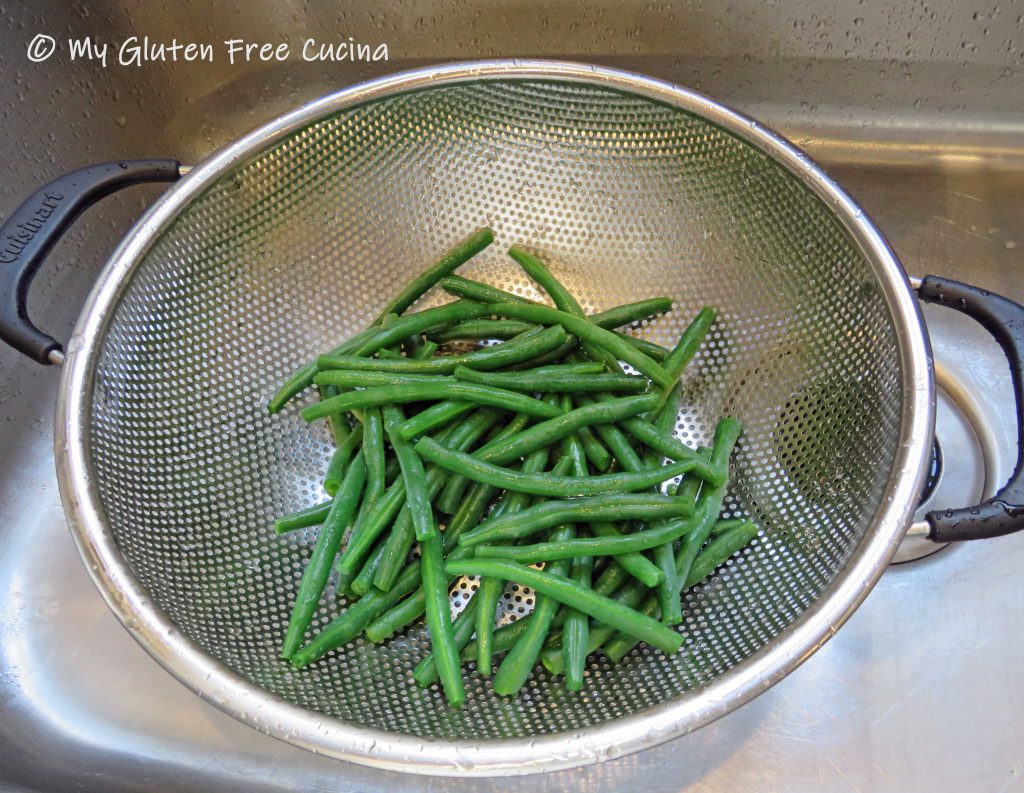
First, wash and trim the ends of the green beans.  You can cut them in half or leave them full length.  I set up a pot of boiling water with a steamer basket and steamed the green beans for 3 minutes.  Do it in batches so you don’t crowd them.

After three minutes, drain in a colander and shock them under cold water to stop the cooking.  This is how you get that vibrant green color!

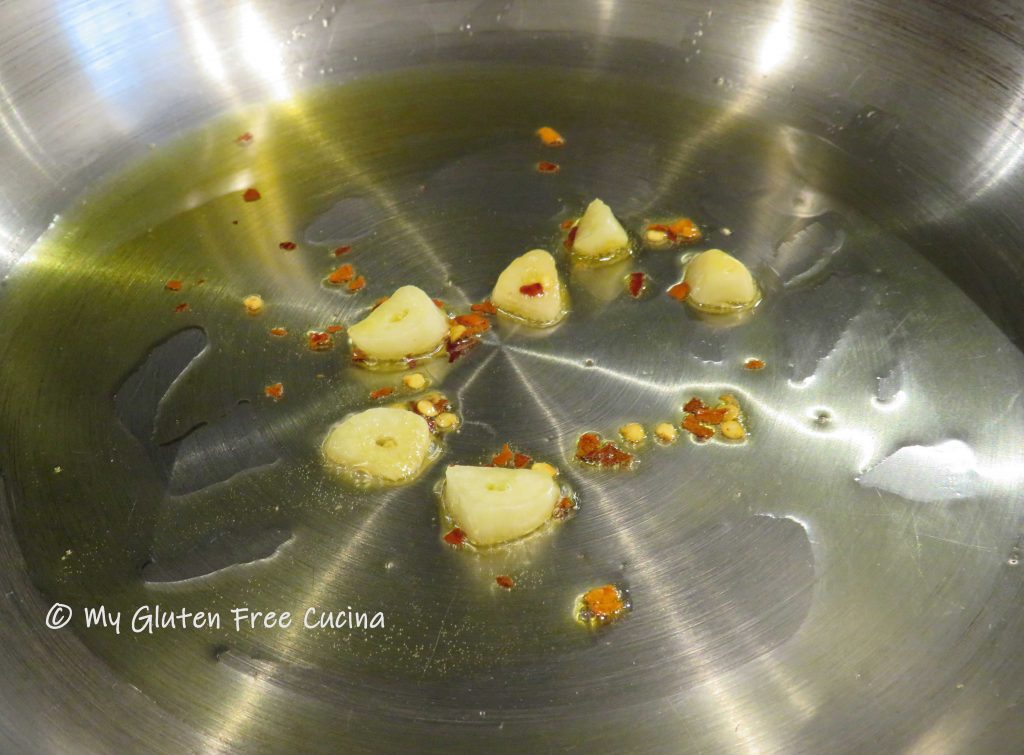
Next, warm a tbsp. of olive oil in a stainless-steel skillet on the lowest heat.  Add one sliced garlic clove and let it mellow and flavor the oil for about 10 minutes.  Don’t let it burn.  Right before adding the green beans, throw in a pinch of red pepper flakes (more if you like the heat) and let them toast for 30 seconds.

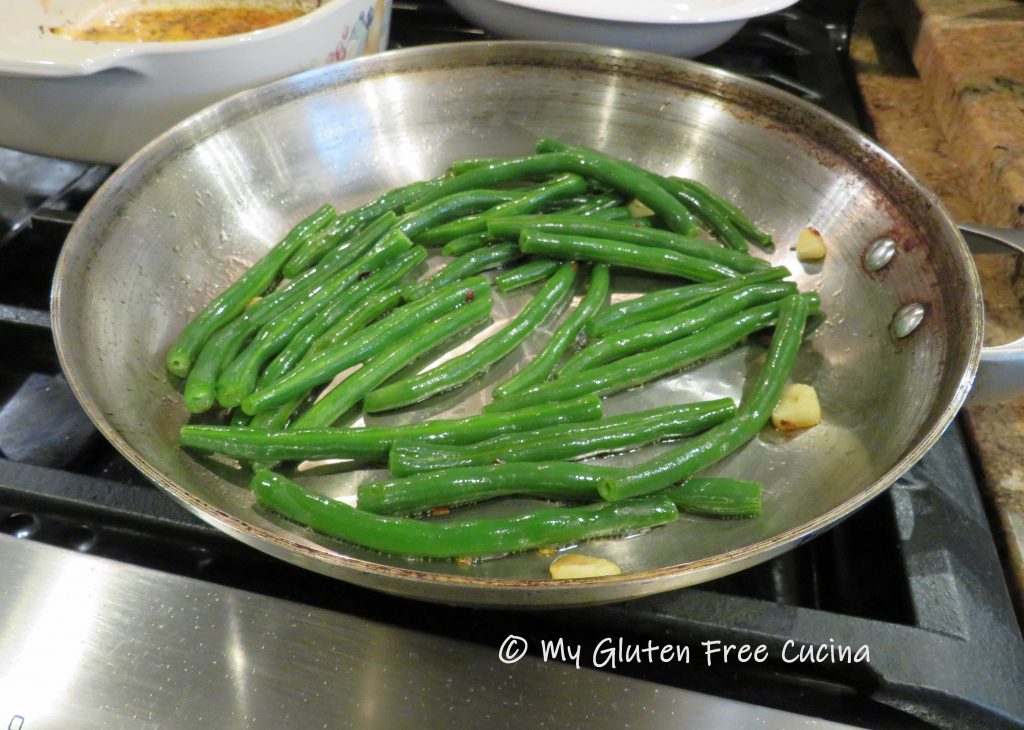
Add the green beans and toss to coat.  You can remove the garlic or leave it in.  How long to cook depends on how you like your beans.  About 2 minutes for crisp tender, or more if you like them softer.  Add salt if you like.

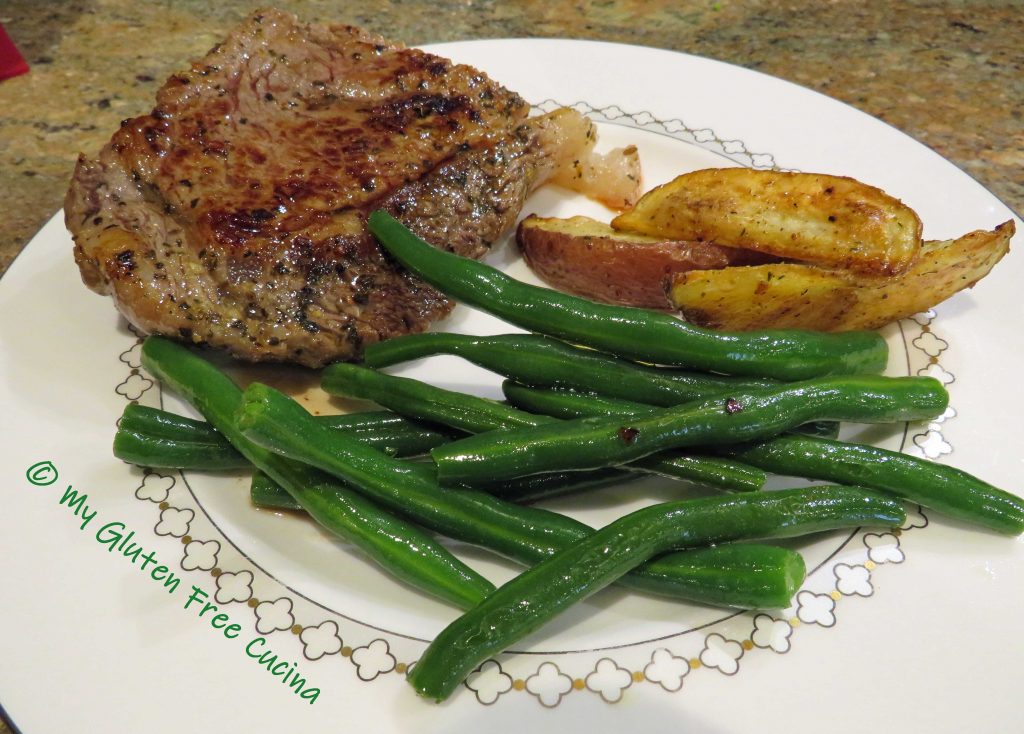
That’s all there is to it, the perfect accompaniment to so many meals.

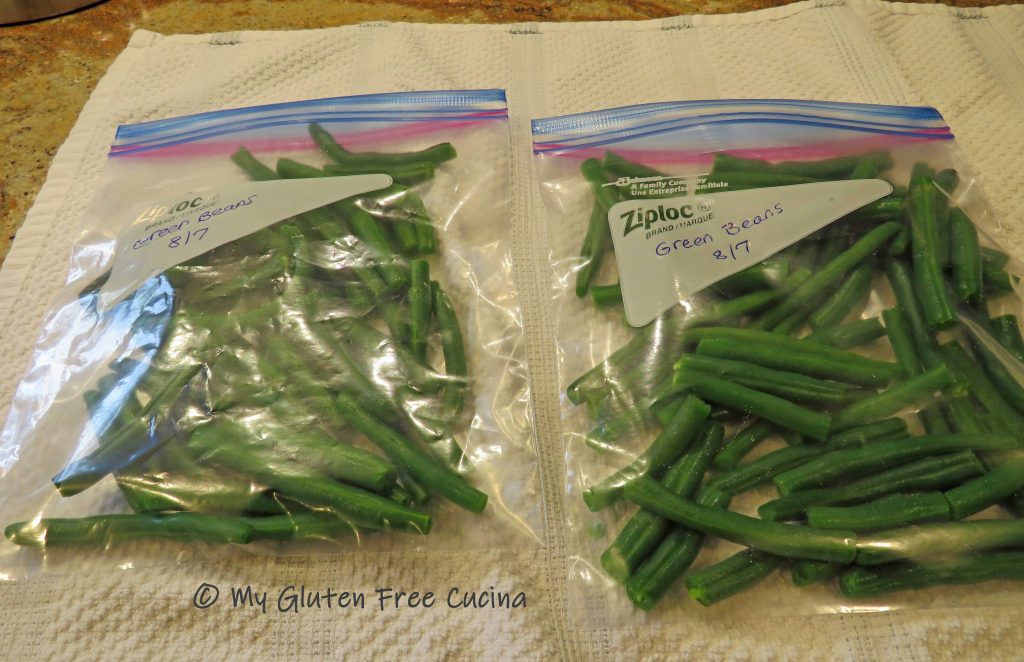
Notes ♪♫ After steaming the green beans for 3 minutes you can store them in the freezer.  You will preserve much of their fresh flavor, color and texture, and still have the convenience of frozen veggies!  Spread them out on a dish towel to dry before freezing, to remove as much moisture out as possible.  Divide them into meal sized portions and place in freezer safe bags.

Print This Post Print This Post

Gluten Free Beef Stew

I have been making this beef stew for many years, decades in fact.  It’s a hearty meal simmered all day in the crock-pot, a real family favorite!  Most of the ingredients are naturally gluten free, so after my diagnosis it was easy to adapt my tried and true recipe to a gluten free version.

This post contains affiliate links.

Ingredients:

  • 1 lb. choice stew beef, cubed
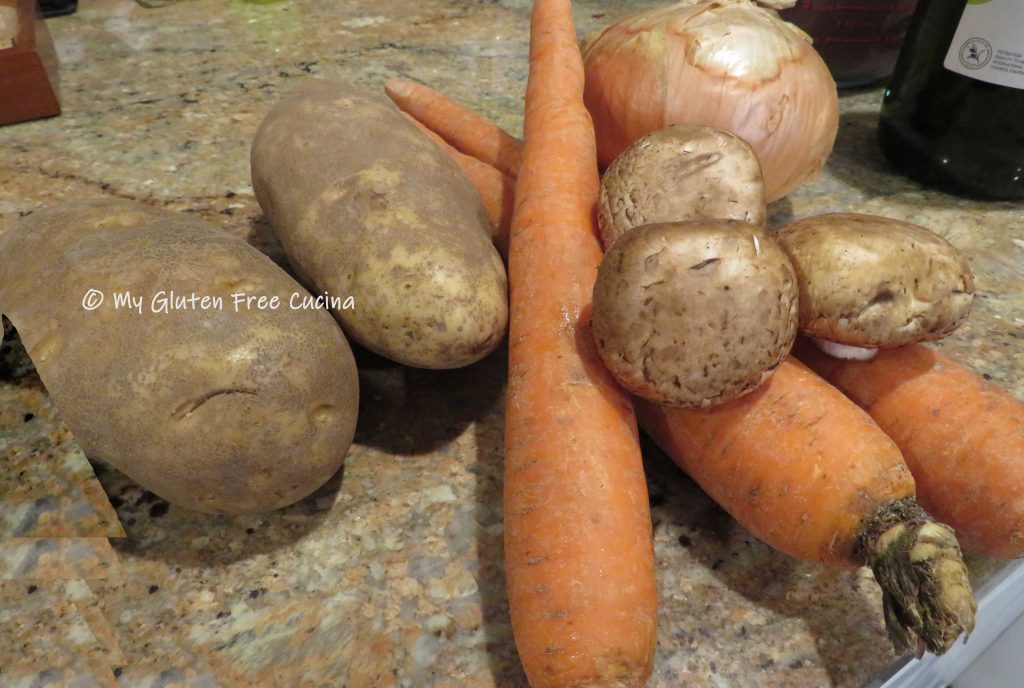
  • 2-3 extra large carrots, peeled and cut into thick coins
  • 2 russet potatoes, skin on and cut into chunks
  • 1 large sweet onion, cut into wedges
  • 1/2 package crimini mushrooms, cut into quarters
  • 3 garlic cloves, minced
  • salt and pepper
  • olive oil
  • 1 can gluten free cream of mushroom soup
  • 1 cup red wine
  • 1 tsp. dry basil
  • 2 bay leaves
  • fresh Italian parsley

Preparation:

Before preparing any recipe I always go over the ingredient list to check for gluten.  Beyond the obvious things like flour, all seasonings and processed ingredients should be verified gluten free.  In this recipe, I have always used a can of cream of mushroom soup.  Since many canned soups contain gluten, I shopped around before making my stew and found this one.  It’s certified gluten free!

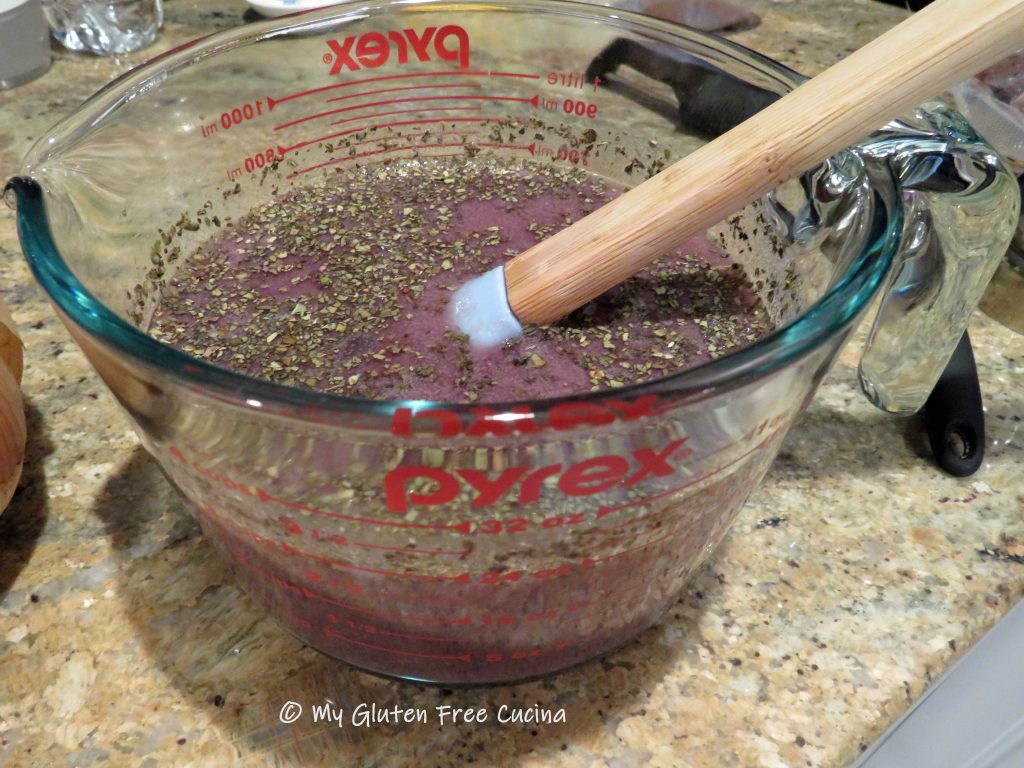
Now, let’s get started on the recipe.  Set up your crock-pot, and a large stainless-steel skillet (not non-stick).  Yes, you can just throw all of the ingredients into the crock-pot, but I like to build layers of flavor by browning.  This can be the difference between a mediocre stew and a great one.  Whisk together the wine, cream of mushroom soup and dried basil.

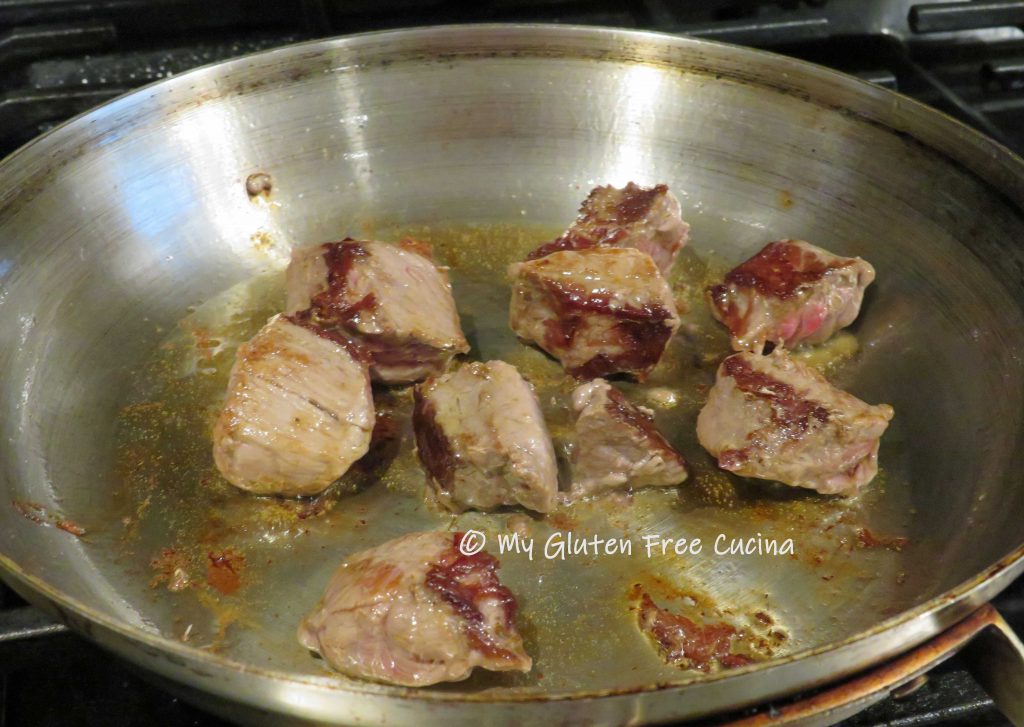
Next, begin browning the ingredients in a small amount of olive oil.  Start with the beef.

Don’t crowd the pan, you want to get some good color on the outside (if the pieces are too close together the meat will steam in its own liquid).  I did my beef in 2 batches.
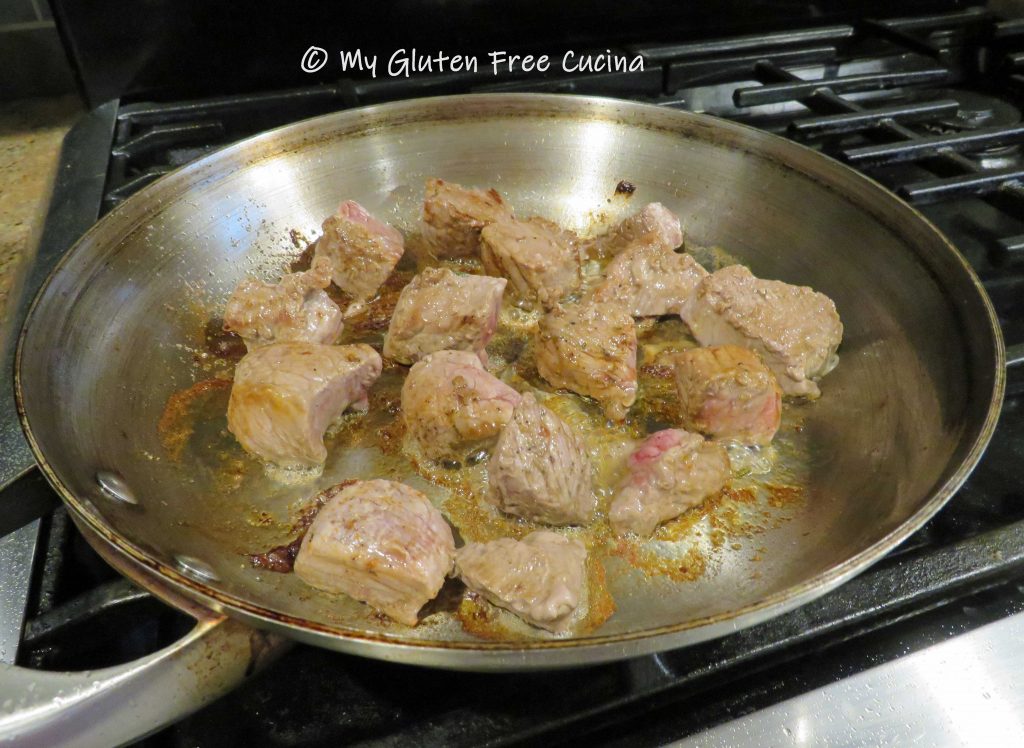
Once the beef goes into the crock-pot, you will see some nice browned bits on the bottom of your skillet.

Pour 1/3 cup of the wine mixture into the hot pan to deglaze, using a spatula to scrape up all of the browned bits, they are full of flavor!

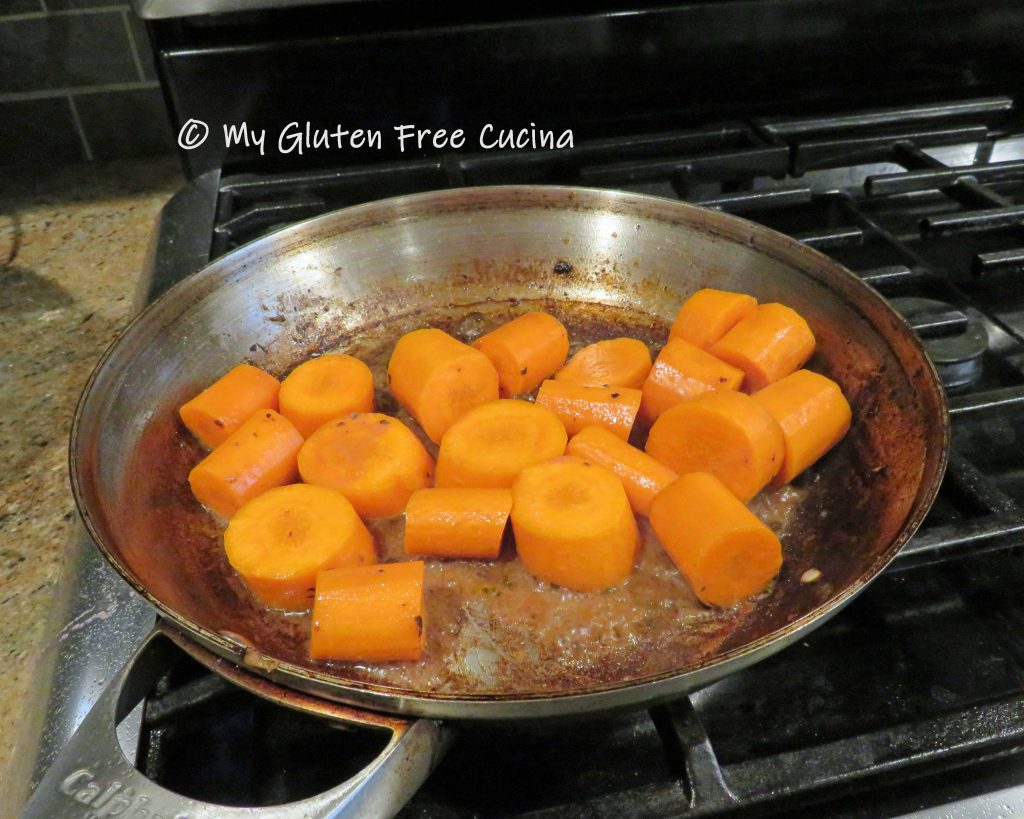
Pour the liquid into the crock-pot and add more olive oil to the skillet.  Begin browning the veggies, a few minutes each starting with the onions.
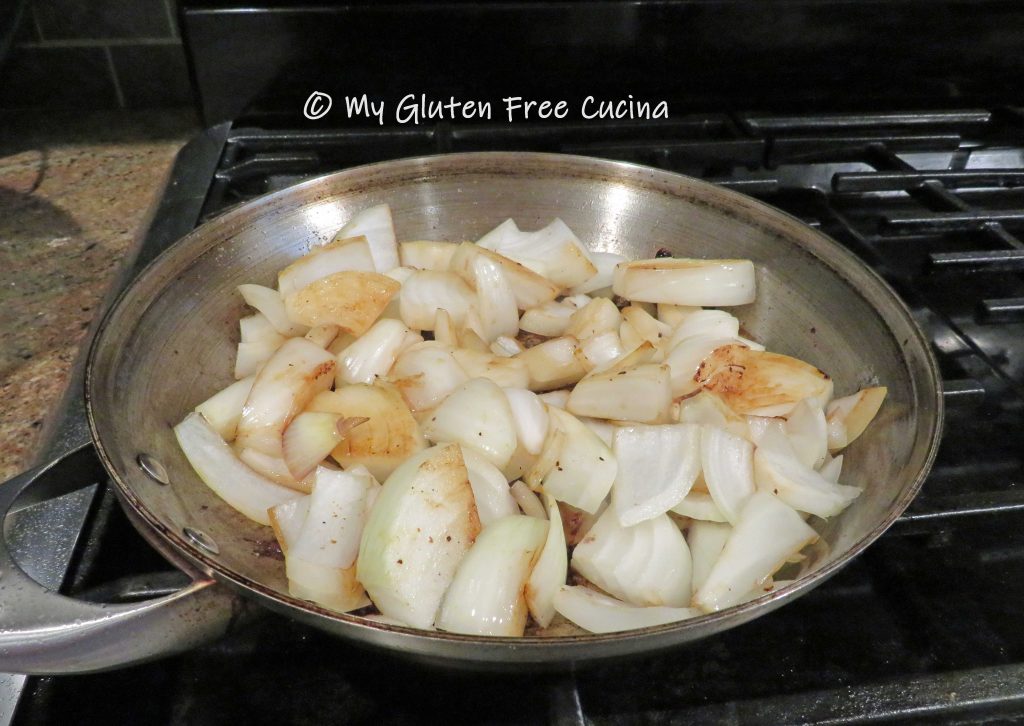
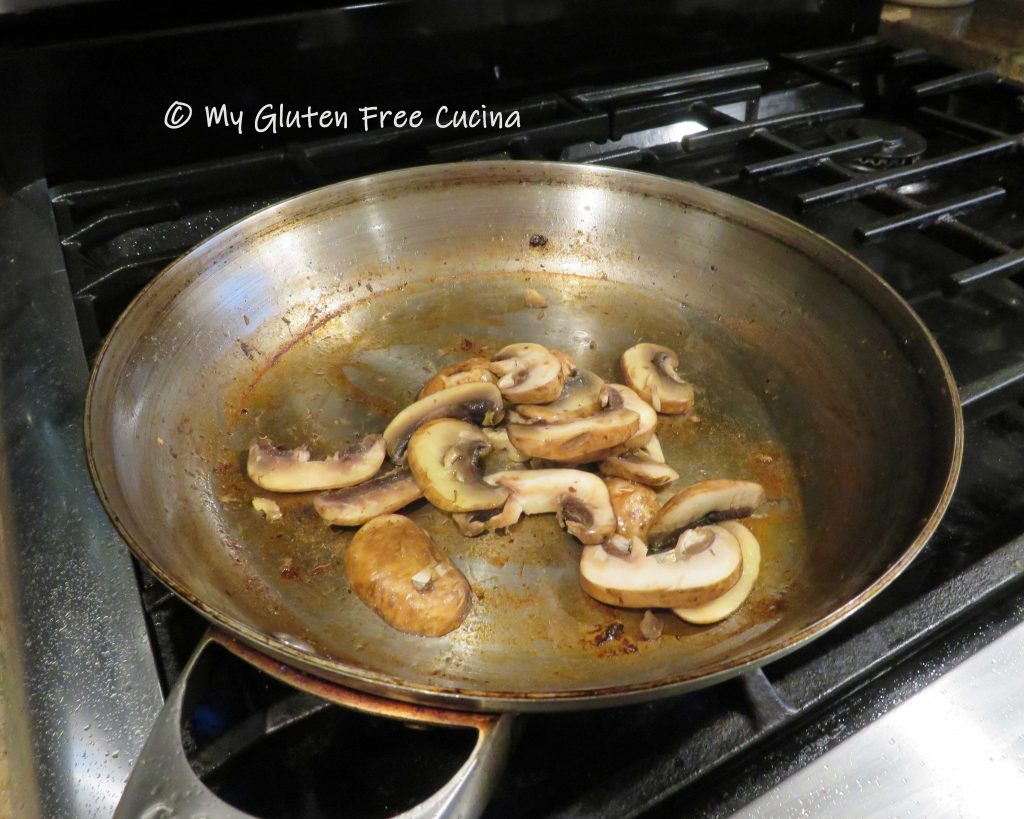
Continue with the mushrooms, followed by the potatoes and carrots.

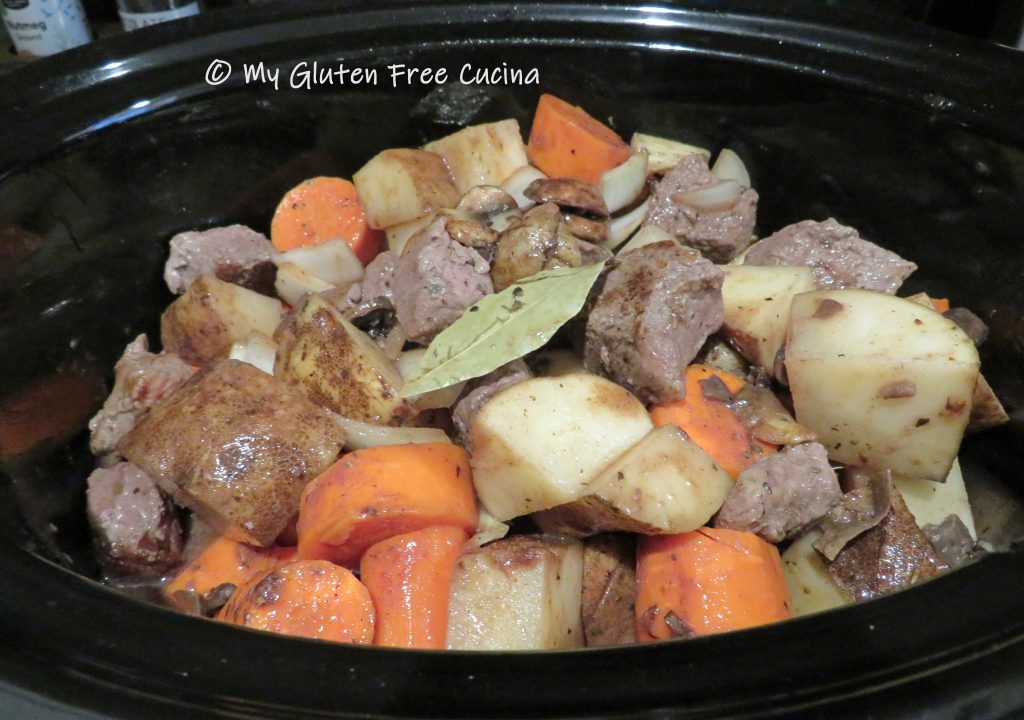
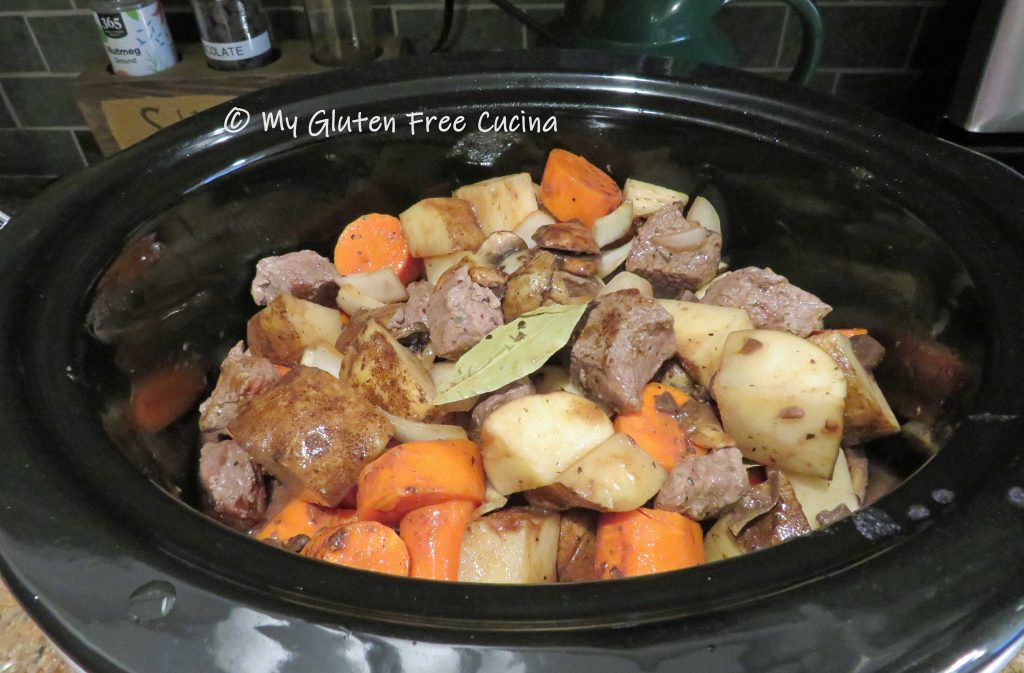
As you brown the veggies, season with salt and pepper, and layer them in the crock-pot.  Pour the rest of the wine mixture into the crock-pot, along with the garlic and bay leaves.

Stir well, then cover and cook on low for 8 hours.  Tick-tock.

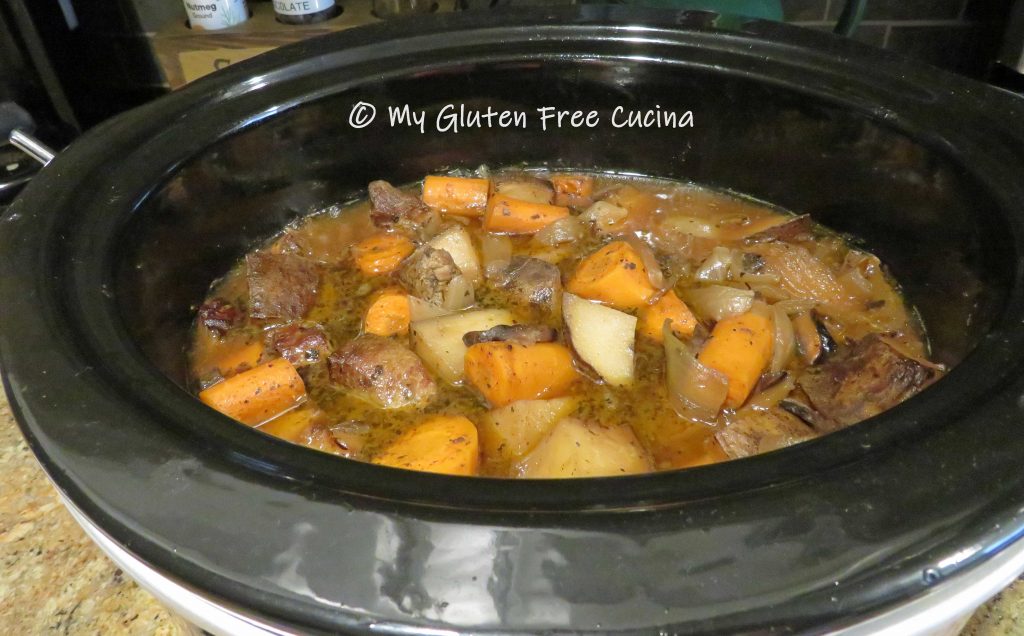
Halfway through, stir the ingredients again.  Looking good.

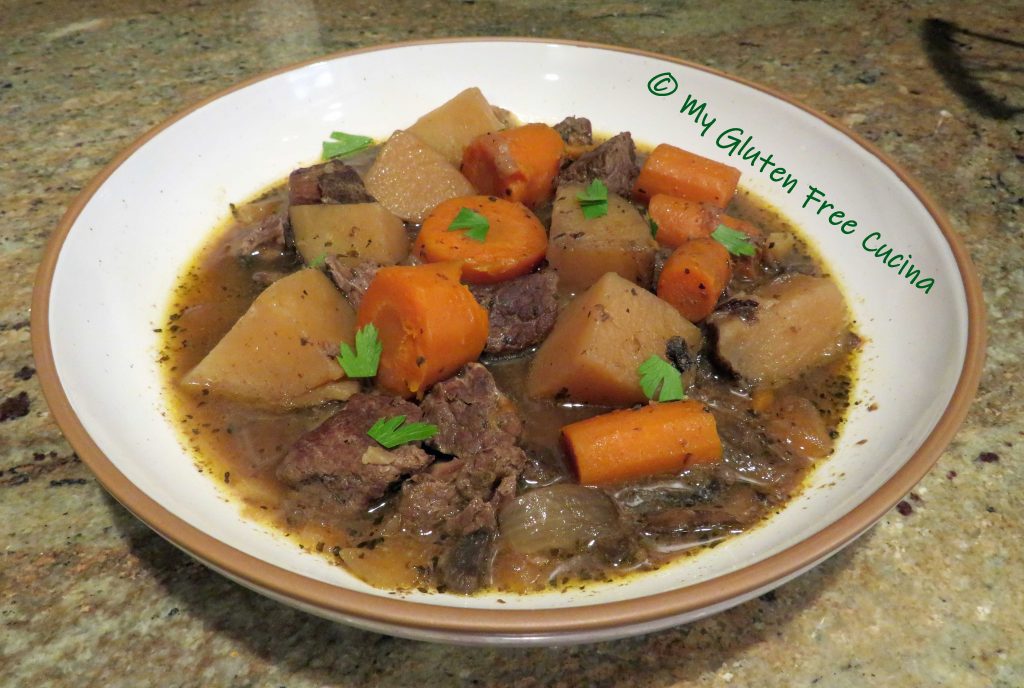
After 8 hours, the beef will be very tender, and a fork should slide easily through the veggies.  Serve in dinner bowls, with a sprinkle of fresh Italian parsley.

Notes ♪♫  I used Health Valley Cream of Mushroom Soup in this recipe.  I love that it is both gluten free and organic, but when I have time I also make my own Mushroom Soup from scratch.  You can find this surprisingly easy recipe here and see how I use it in my winter stews and casseroles.

Print This Post Print This Post

Gluten Free Chicken Broccoli Casserole

The thought of preparing gluten free meals from scratch can be overwhelming.  It took a while for me to realize that there were meals I had been making for years that were naturally gluten free.  From there, I started looking at other favorite recipes that only required a swap of one or two ingredients to be gluten free.  My repertoire began to grow and now I have added many of my old favorites back to the dinner rotation.

My Chicken Broccoli Casserole is a good example.  Here’s how to make it!

This post contains affiliate links.

Ingredients:

  • 1 lb. boneless skinless chicken breast
  • Rice flour for dusting
  • Salt and pepper to taste
  • Olive oil
  • White wine, divided use
  • ½ large sweet onion, diced
  • 1 large garlic clove, minced
  • 1 large broccoli crown, chopped
  • 1 can (14.5 oz.) fire roasted diced tomatoes
  • ½ tsp. basil
  • ½ tsp. Italian seasoning
  • salt and pepper to taste
  • 8 oz. gluten free penne
  • Cooking spray
  • gluten free seasoned breadcrumbs
  • Grated Parmesan cheese
  • Fresh Italian parsley for garnish

Preparation:

Preheat the oven to 350º.  Set up a pan of salted water for the pasta, and bring to a boil.

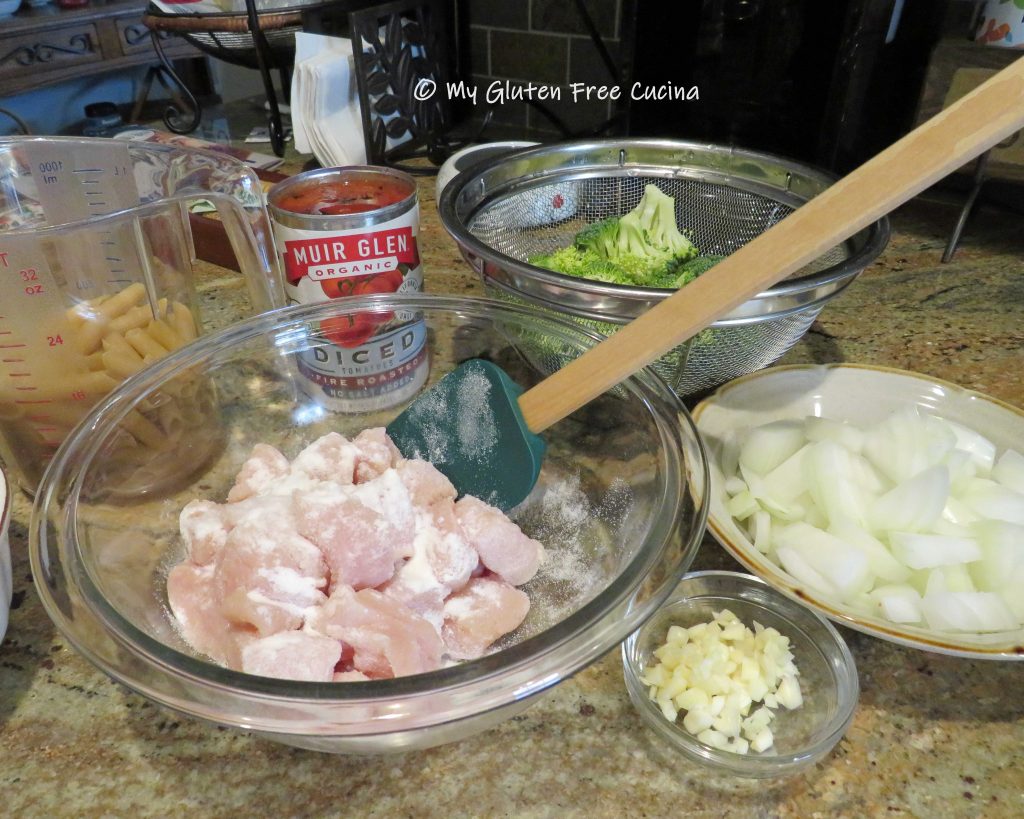
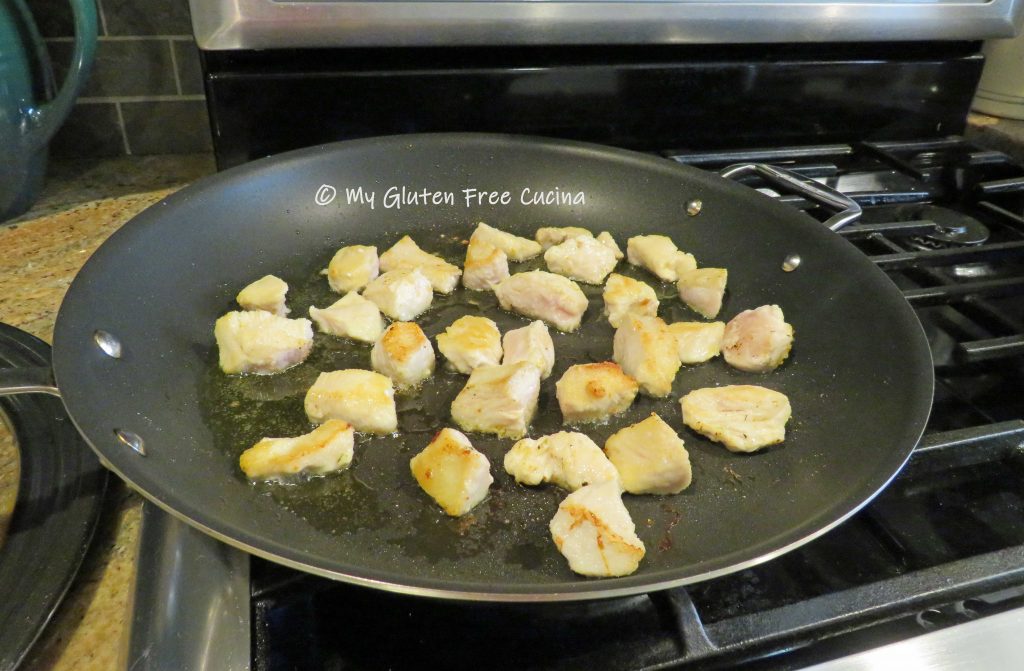
Cut the chicken breast into 1-1/2″ chunks.  Dust with rice flour and season with salt and pepper.  Begin browning the chicken in a little olive oil, about 3 minutes per side.  Don’t crowd the pan, use a large skillet or do it in 2 batches.

When the chicken has browned on all sides, add a splash (1/4 cup) of white wine to the pan and toss until the liquid evaporates.  Remove from the pan and set aside.
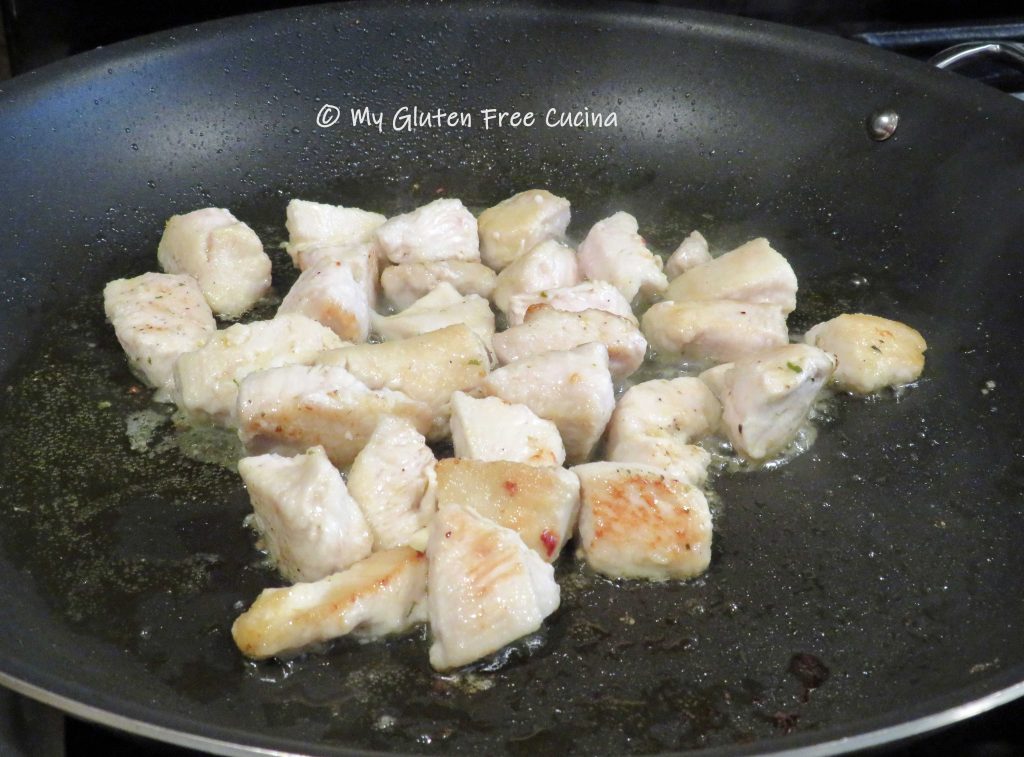
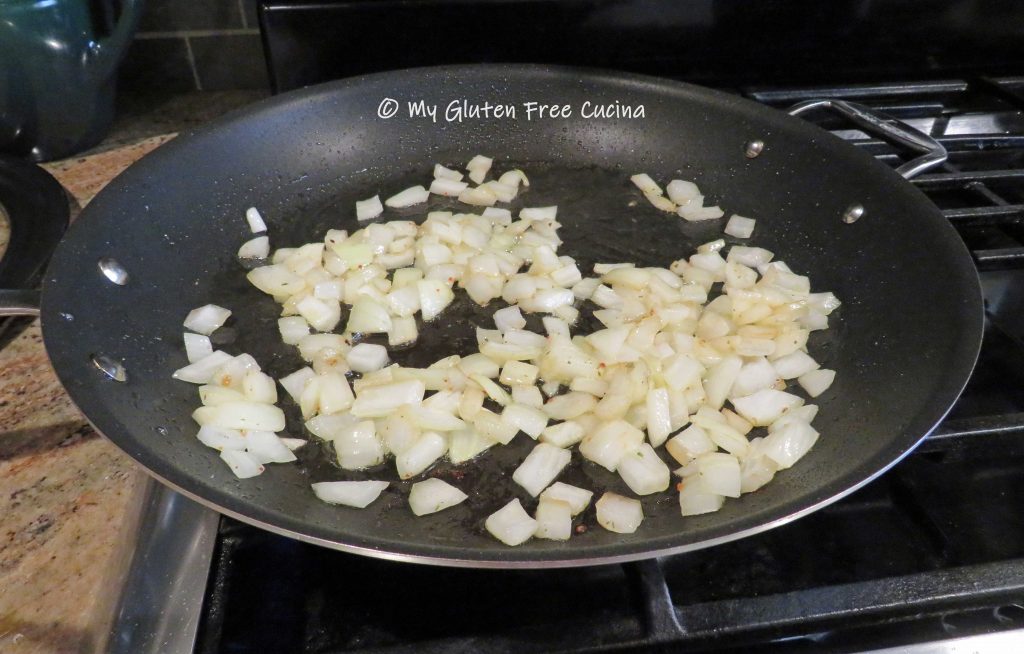
Wipe the skillet clean.  Add a little more olive oil and begin browning the onions.

When they have a little color, add the broccoli, garlic and diced tomatoes.  Add another splash of white wine, then season with salt and pepper, basil and Italian seasoning.  Cover and cook 10 minutes, until the broccoli is crisp tender.

While the vegetables are cooking, add the pasta to the boiling water.  Use your favorite (Jovial Brown Rice Penne is one of mine) and be sure to cook for 2 minutes less than the package instructions.  Drain and add to the skillet, along with the reserved chicken.  Toss well.
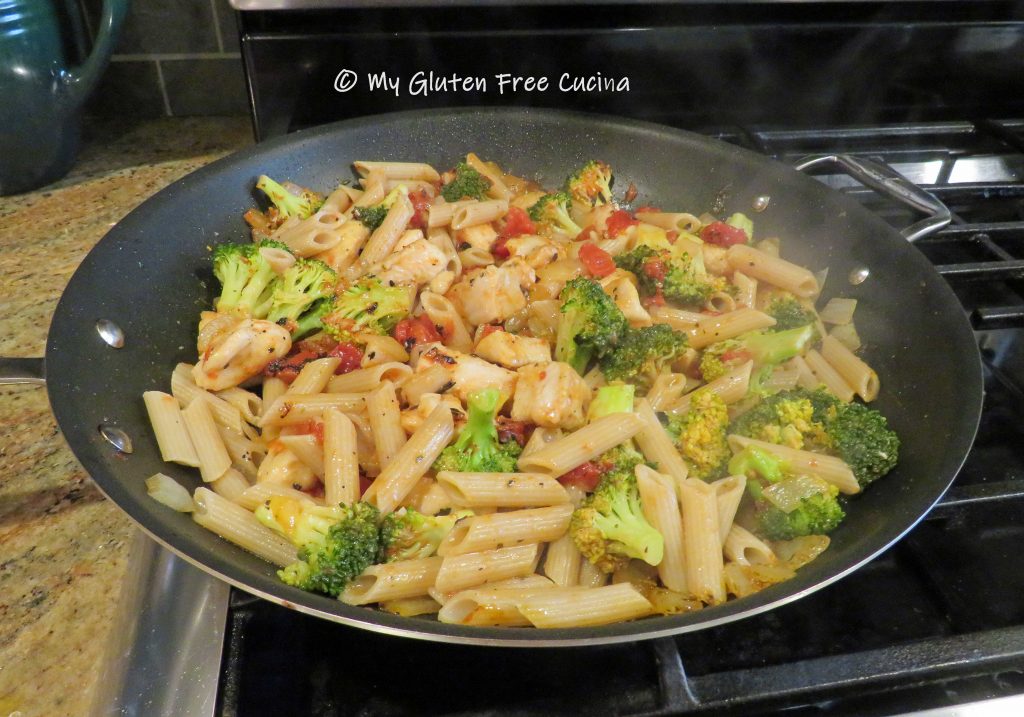
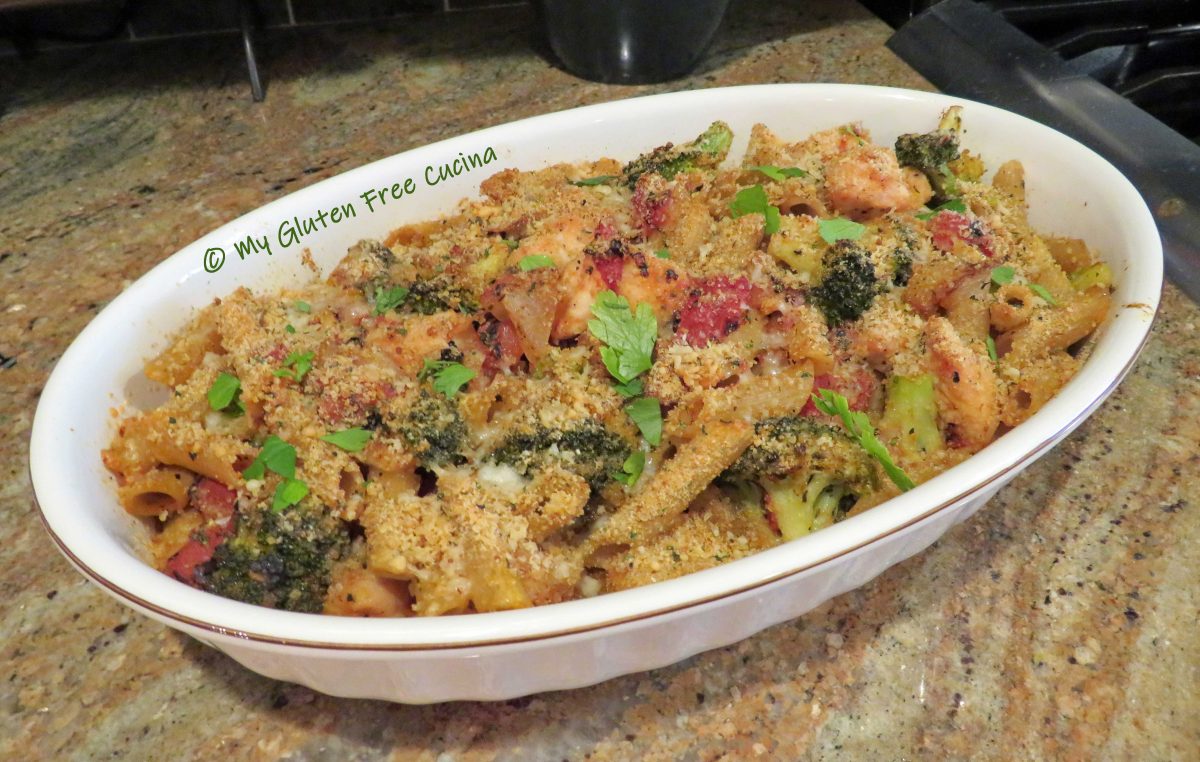
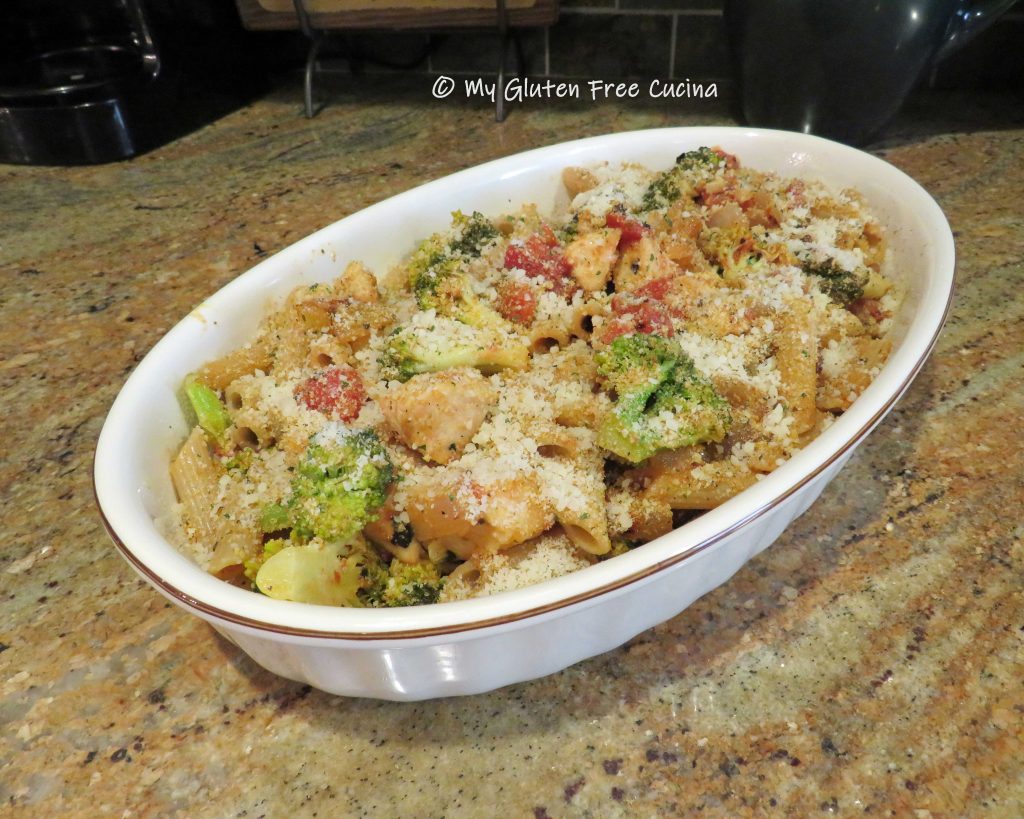
Mist a casserole dish with cooking spray and transfer contents from the skillet in an even layer.  Drizzle with olive oil, then top it off with breadcrumbs and grated cheese.  Bake for 30 minutes.

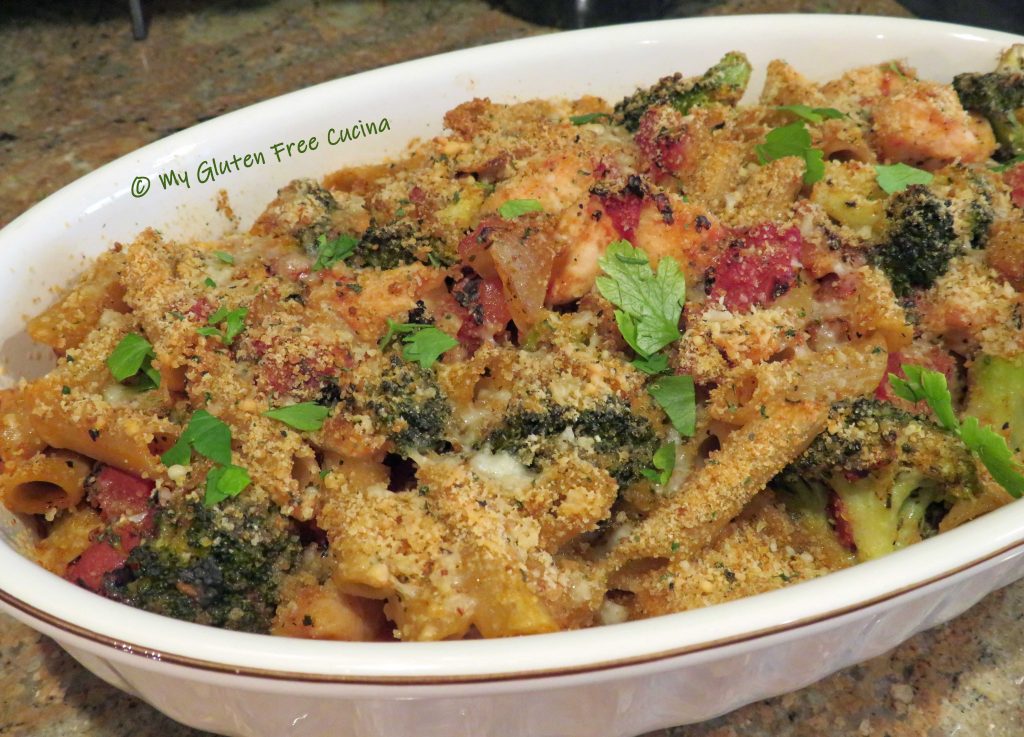
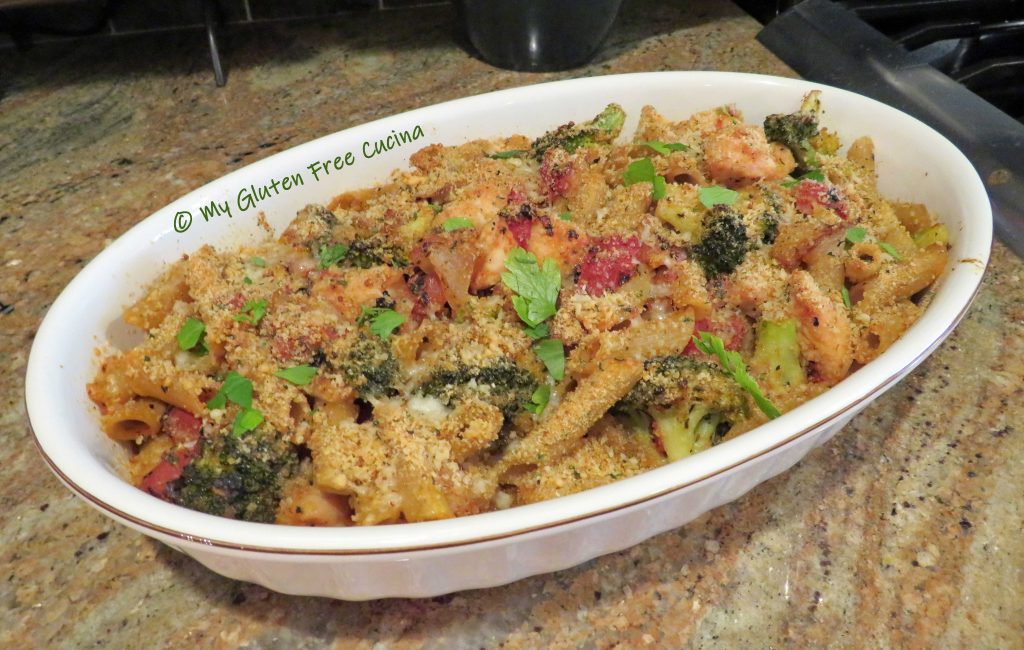
I like to finish it off under the broiler for a few minutes to crisp up the topping.  Remove from the oven, garnish with fresh parsley and serve.

This is a real family favorite.  I hadn’t made it in a very long time, but now with just a couple of adaptations we can all enjoy this comfort food meal again.

Notes ♪♫ Always check prepared ingredients for hidden gluten.  In this recipe, pasta and breadcrumbs must of course be gluten free.  Less obvious but important, use rice flour for coating and thickening, make sure canned tomatoes and seasoning mixes are gluten free.  I always grate my own cheese, but if you are using a pre-grated cheese always check for additives that may contain gluten.

Print This Post Print This Post

Spaghetti Squash Chicken Lo Mein

This Asian inspired meal checks so many of my boxes!  Healthy fresh ingredients, color, flavor, texture and of course it’s gluten free!  A nice change of pace from my usual stir fries that are made with noodles or rice, this grain free dish won’t leave you feeling stuffed!

I usually make spaghetti squash to replace the pasta in low carb Italian dishes, like the popular Twice Baked Spaghetti Squash.  Who knew this humble veggie could also stand in for Chinese noodles!

This post contains affiliate links.

ingredients:

“Lo Mein” Squash Noodles:

  • 1 small spaghetti squash
  • 2 tbsp. olive oil
  • cooking spray

For the stir fry:

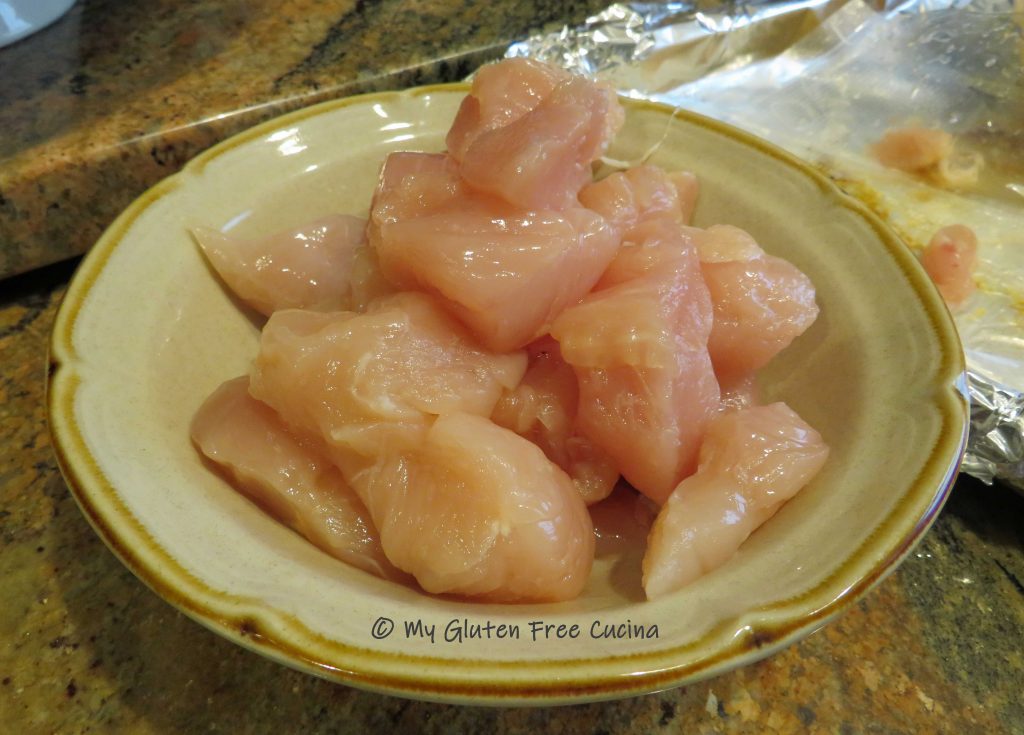
  • 12 oz. chicken breast, cubed
  • olive oil spray
  • toasted sesame oil
  • olive oil
  • 1/2 cup snow peas
  • 1/2 cup red bell pepper, cut into strips
  • 1/2 cup carrots, sliced
  • 1 garlic clove, sliced thin
  • 1/2 cup mushrooms (white button or baby bella), thin sliced
  • 1/4 cup scallions, divided use

For the Sauce:

Preparation:

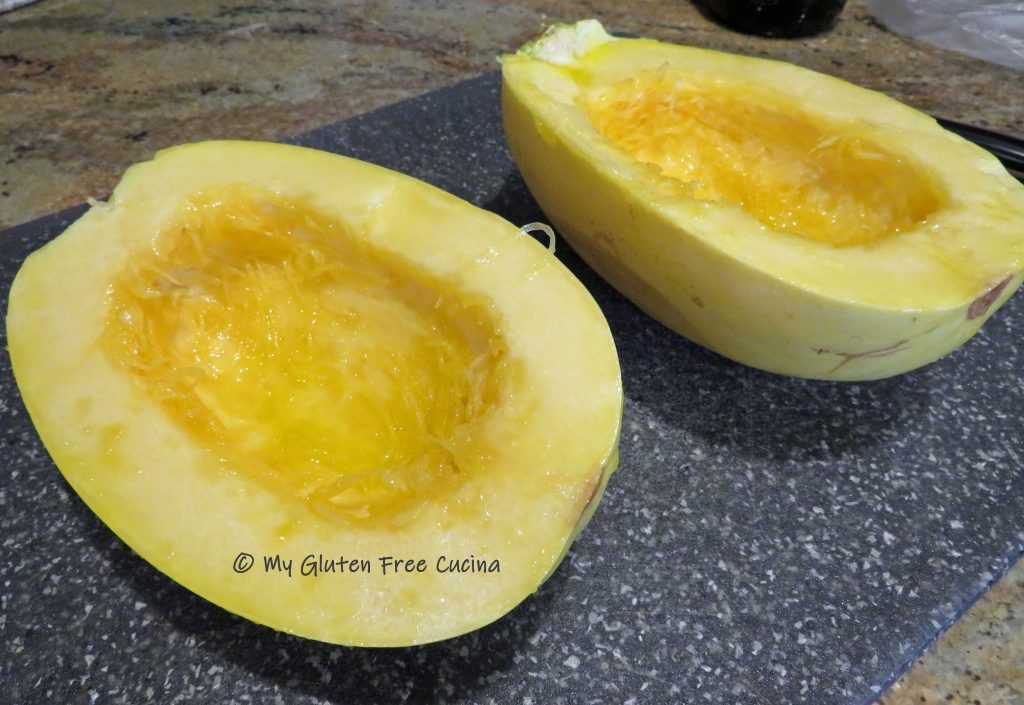
This is a basic preparation for spaghetti squash that you can use as a starting point for so many recipes.  First, cut the squash in half and use a spoon to scrape out the seeds.  Brush each side with 1 tbsp. of olive oil.  I am not salting the squash at this point, because this recipe is already heavy on sodium.  You can certainly season it if you like!

Line a baking sheet with foil and mist with cooking spray.  Place the squash cut side down and roast for 1 hour at 400º.

Use tongs to carefully turn the squash over, and let it cool for a few minutes.

Use 2 forks to shred the spaghetti squash.  Transfer to a bowl and set aside.

Now that we have our lo mein “noodles” we can move on with the rest of the recipe.

Mise En Place

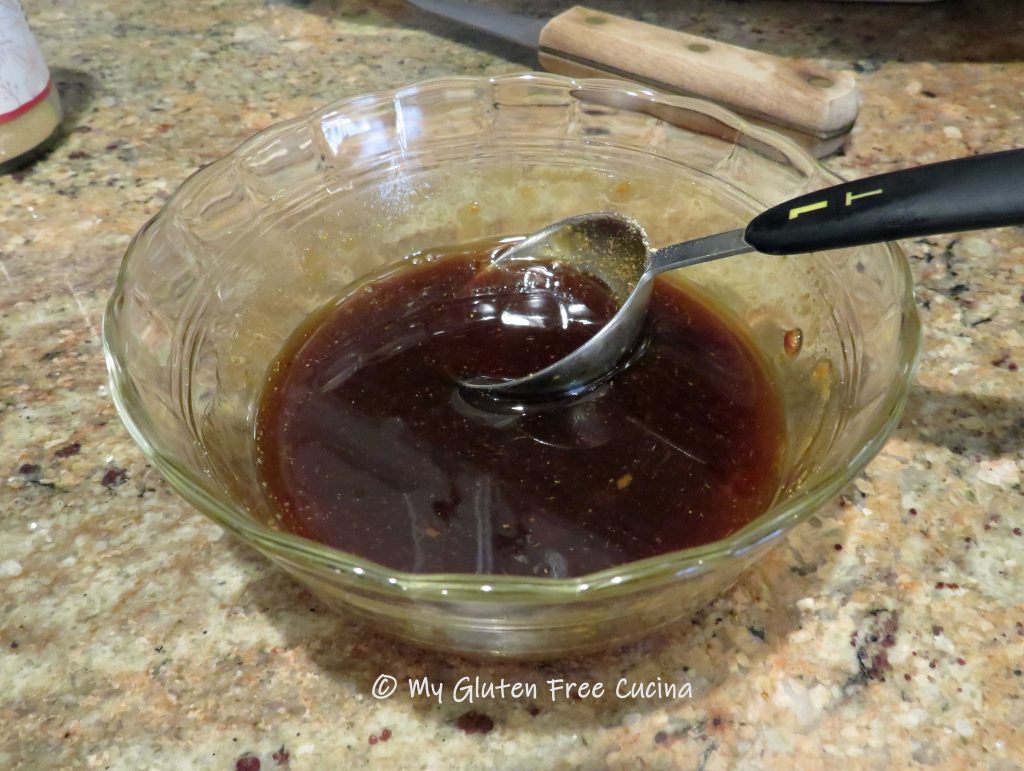
Organization is the key to stir fry recipes!  Before you cook, be sure to have all the ingredients prepped and ready to go – “everything in its place”.  That means chopping the veggies, dicing the chicken and stirring the sauce ingredients together.

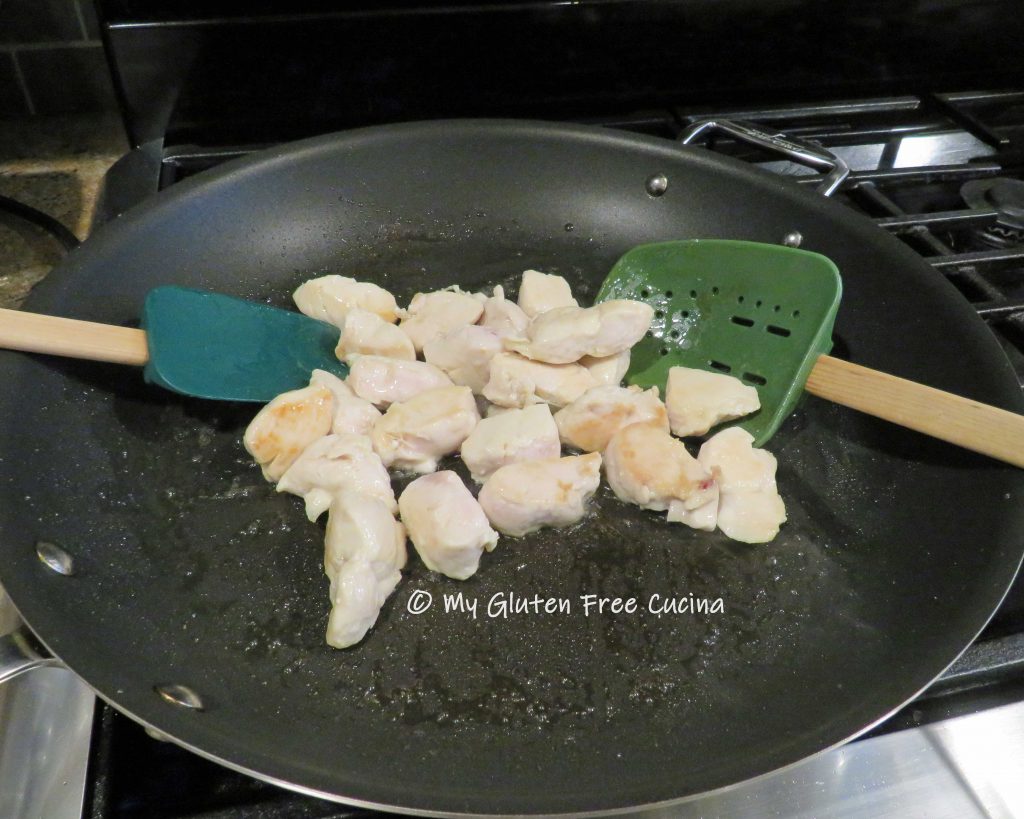
Coat a large nonstick skillet with olive oil spray and add 1 tbsp. olive oil and 1 tsp. sesame oil.  Begin browning the chicken, do it in batches if needed so you don’t crowd the pan.  You want to get a little color on the outside of the chicken at this point, but it does not have to be cooked through.  We’ll finish it at the end of the recipe.

When all sides have been browned set the chicken aside in a bowl.  Add the carrots, peppers and snow peas to the skillet with 1 tsp. sesame oil.  Stir fry for several minutes until crisp tender.  Next add the mushrooms, garlic and 1/2 of the scallions along with another tsp. of sesame oil.  Cook 1 minute longer.

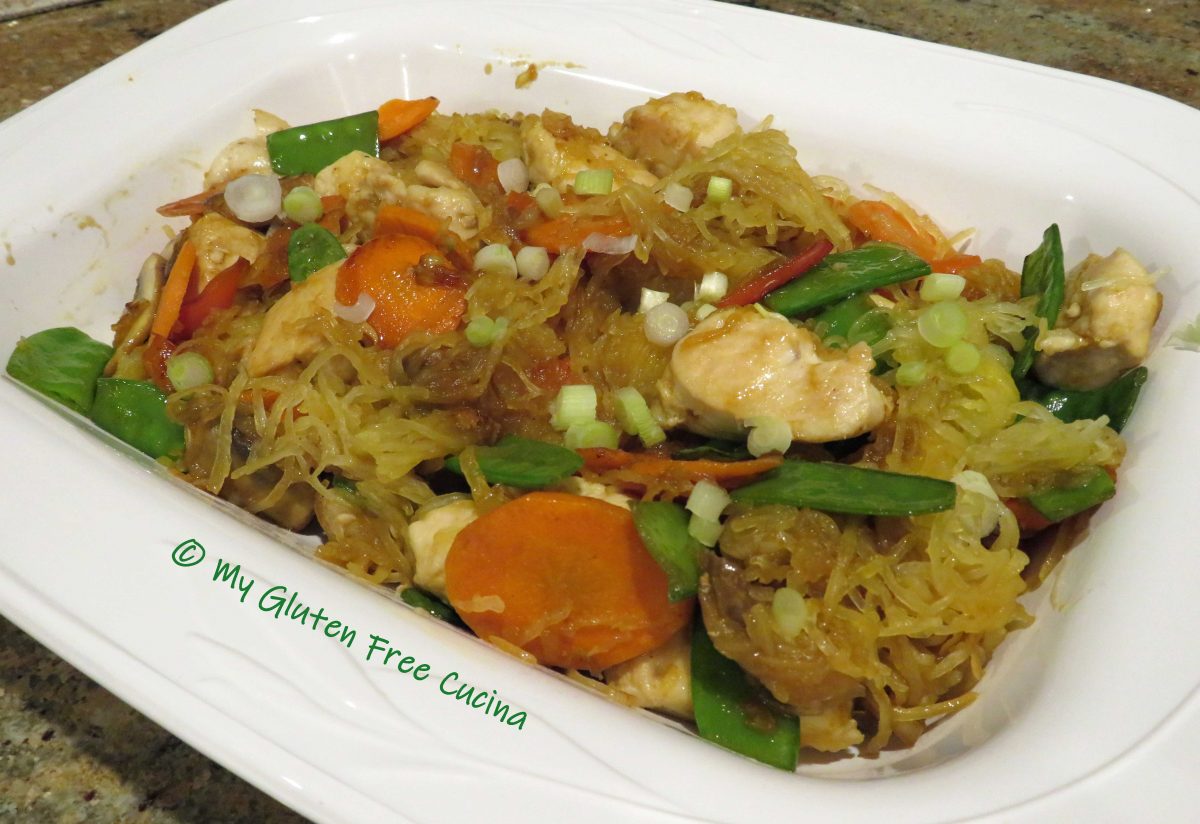
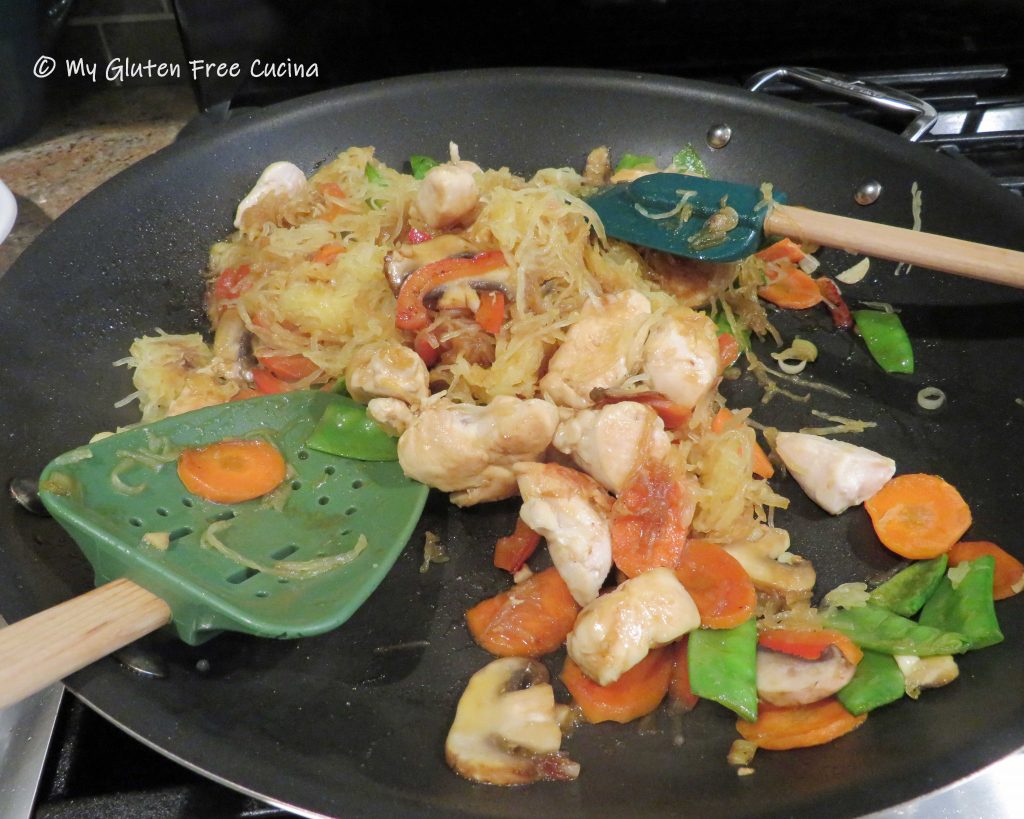
Now add back the chicken and toss well with the veggies.  Using tongs, add the spaghetti squash to the skillet in 1/4 cup portions so that it is well distributed.  Whisk the sauce and pour it over everything, and stir-fry one minute longer to thicken and blend the flavors.

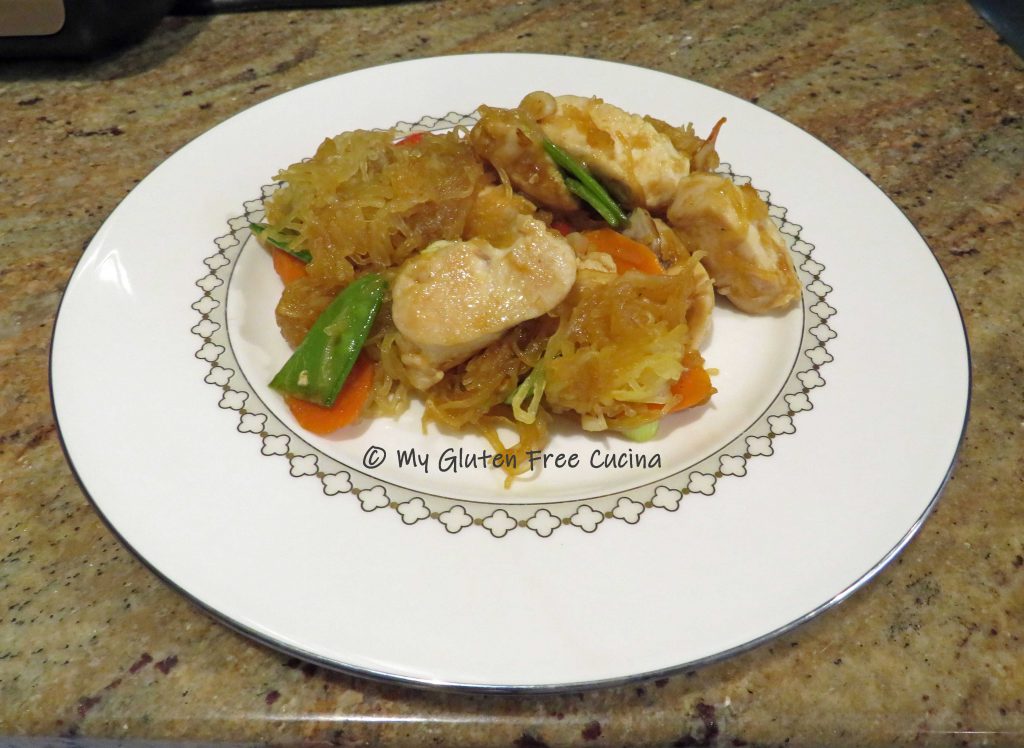
Transfer to a serving bowl and top with the remaining scallions.

Can you guess how it tasted?  It was delicious!  And I will definitely be experimenting with spaghetti squash in more of my Asian inspired recipes!

Notes ♪♫ I am a big fan of using Coconut Aminos in place of gluten free Soy Sauce.  That’s because it has significantly less salt content, which is important if you need to follow a low sodium diet.  If you are not limiting salt, try using Tamari for a rich, umami flavor.

Print This Post Print This Post

Jambalaya

Jambalaya is a delicious, versatile recipe that you can enjoy right at home, better than any restaurant!  It is easily adapted to a gluten free diet, as most of the ingredients in this spicy Louisiana dish are naturally gluten free.  Andouille sausage gives this dish its signature heat and flavor and is now commonly available with no gluten containing ingredients.  Always look for the gluten free label to be safe!

4 Servings

This post contains affiliate links.

Ingredients:

  • 8 oz. boneless chicken breast, cut into 1″ dice
  • 4 oz. (about 1 link) gluten free andouille sausage sliced into thin coins
  • 8 large raw shrimp, peeled and deveined
  • 1/2 medium sweet onion, diced
  • 1/2 small zucchini, cut into strips
  • 1/4 large red bell pepper, thin sliced
  • 1 garlic clove, minced
  • 2 tbsp. tomato paste
  • olive oil
  • 2 cups gluten free chicken broth
  • 1/2 tsp. creole seasoning (or to taste)
  • chopped Italian parsley, for garnish

Mise en place:

This is one of those recipes that comes together very quickly once the prep work is done.  You don’t want to be doing your chopping and peeling once you begin to cook, so get “everything in its place” before you start cooking…

Preparation:

Heat a large nonstick skillet over medium low with a little olive oil and begin cooking the sausage coins.  When browned on both sides, remove the sausage and leave the oil in the skillet.

Next, cook the chicken in the reserved oil.  Add a bit more olive oil as needed and sprinkle with seasoning.

Remove the chicken when almost cooked through and add the onions and peppers to the skillet.  Sprinkle with seasoning.

Cook 2-3 minutes, then push the veggies aside to make a clean spot in the center of the pan.  Add the tomato paste and let it toast for a minute before stirring it into the veggies with 1/2 cup of the chicken broth.

Add the garlic, return the sausage and chicken to the skillet along with the shrimp.

Stir everything together, then add the remaining 1-1/2 cups chicken broth along with the zucchini.

Cover and cook several minutes longer, just until the shrimp turn pink.

That’s it!  Just transfer to a serving bowl and finish with chopped parsley.

Notes ♪♫ This spicy dish is traditionally served over rice, but it is also delicious tossed with pasta.  If you enjoyed this post check out my Jambalaya Pasta, and Jambalaya Stuffed Peppers!

Print This Post Print This Post

Sheet Pan Breaded Pork Chops, Sweet Potato and Delicata Squash

It’s a sheet pan dinner kind of night, and for me that means easy cleanup!  With just one baking sheet that I line with foil, there will be no scrubbing.  If you take care of the prep bowls before dinner, you can spend even more time relaxing later.

This post contains affiliate links.

Ingredients:

Preparation:

Ready?  Start by preheating your oven to 375º.  Line a half sheet pan with foil and mist with cooking spray.  The cook time is 40 minutes total, with the potatoes going in for a 10-minute head start, followed by the pork chops and squash cooking for the remaining 30 minutes.

For the potatoes

Peel and cut the sweet potato into cubes, toss with canola oil and sprinkle with maple seasoning and cinnamon.  Arrange the potatoes on one side of the pan in an even layer.  Give them a 10-minute head start in the oven while you prepare the pork chops and Delicata squash.

For the pork chops

This is how my mother made pork chops when I was young.  At that time, she belonged to weight watchers, and this was her lightened up version of traditional breaded and fried pork chops.  Now I make mine the same way, with a simple substitution of gluten free seasoned breadcrumbs for regular.  Set up two breading trays or bowls with the skim milk and the breadcrumbs.  Dip each pork chop in the skim milk, then in the breadcrumbs.  Add them to the center of the sheet pan.

For the Delicata squash

Wash the squash (you can eat the skin).  Remove the ends, cut it in half lengthwise and scrape out the seeds.  Slice into half-moons, toss with olive oil and Italian seasoning.  Spread the squash out on the other side of the sheet pan in a single layer.

Once the pork chops and squash are in the pan, continue baking for another 30 minutes.  Use tongs to toss the potatoes and turn the squash halfway through.

Garnish with parsley leaves and bring it to the table right in the pan!

Notes ♪♫ I love sheet pan meals like this!  The variations are endless, here is another spin on the 3-course pork chop dinner, check it out here!  Or, when you need a veggie side to feed a crowd check out my beautiful sheet pan roasted veggies!

Print This Post Print This Post

Gluten Free Corn Cakes

Are you tired of the usual rice and potato sides?  When you’re gluten free, it can really get monotonous.  So tonight I thought I’d try something different.  Popular in the South, I had (can you believe) never had corn cakes before.  I just made a small batch for the two of us to taste, and wow, we both loved them.  Corn Cakes would be a fun and easy side for a BBQ dinner or potluck.  You can easily double or triple the recipe, and add more or less spice to suit your family’s taste.  Making them gluten free was easy, just by swapping out the flours.

This post contains affiliate links.

4 Servings

Ingredients:

Preparation:

Whisk together the flour, corn meal, salt, baking powder and seasoning.  In another bowl, whisk the egg, milk and oil.

I took my corn kernels out to defrost about 30 minutes earlier.  Stir them into the egg mixture to finish thawing while you heat your griddle or skillet.

Stir the dry ingredients into the wet.  You will have about 1 of cup batter.

When I first made this recipe, I used a large nonstick skillet.  Today I made them on my new waffle maker because I wanted to try out the pancake plates.  I preheated it to 350° and brushed with butter.  I ladled the batter into the 4 pancake cups, about 1/4 cup each.

Cook them for about 4 minutes, until the bottoms are set and you can see a few bubbles in the batter.

Carefully turn them over with a spatula and cook 3-4 minutes longer.

Check the center with a toothpick, if it comes out dry, they are done.  Serve hot or at room temperature.

This is a fun side that goes with so many things, from your favorite BBQ fare to a casual steak dinner.

Notes: ♪♫ I used this Mexican Spice Blend to kick up the flavor of my corn cakes.  Made with Chipotle Chile, cumin, onion powder and oregano, it is a salt free blend with some heat!  Since the recipe already has salt and baking powder, I didn’t want to add more sodium.  If salt isn’t an issue for you, you can sub your favorite gluten free seasoned salt and make it as mild or spicy as you like!

Print This Post Print This Post

Slow Cooked BBQ Baked Beans

Be the star of your next cookout or potluck with these delicious, slow cooked beans.  The best part of the recipe, it cooks overnight!  This leaves you free to do other things the day of your event.  Be sure to have all of the ingredients on hand, to allow enough time for soaking and cooking, 24 hours total!  For best flavor and texture, don’t try to speed up the recipe.  Start soaking the beans in the morning, and prepare them for the crockpot in the evening.  You may find it hard to sleep, with all the amazing aromas coming from your kitchen!

This is an old family recipe that I have adapted to be gluten free.  The biggest change was that I left out beer, and substituted an equal amount of club soda.  Other than that, I just had to check the ingredient labels on my bacon, BBQ sauce, ketchup and Worcestershire.  Are beans gluten free?  Yes, they are a naturally gluten free food!  I always give them a thorough rinse before cooking to be on the safe side, in case of cross contact during processing.

This post contains affiliate links.

Ingredients:

  • 1 pound bag of navy beans
  • 12 oz. package of gluten free, lower sodium bacon (I used Smithfield)
  • 1/2 Vidalia or sweet onion, cut into small dice
  • 3 garlic cloves, minced
  • 1 cup of club soda
  • 3/4 cup gluten free BBQ sauce (I used Stubbs Smoky Mesquite)
  • 1 cup dark brown sugar
  • 1/4 cup gluten free, unsalted ketchup
  • 2 tbsp. molasses
  • 1 cup of Jack Daniels Tennessee whiskey
  • 2 tsp. dry mustard powder
  • 1/4 cup apple cider vinegar
  • 2 tbsp. gluten free Worcestershire sauce
  • up to 1 cup of water, only if needed, to adjust thickness
  • cooking spray

Preparation:

In the morning, place the beans in a sauce pan and add at least 6 cups of cold water.  Cover and soak (no heat) for 10 hours.  For guaranteed tender beans, never salt the soaking water!

The beans will double or more in size.

After 10 hours, drain the beans and rinse them thoroughly.  Return them to the pot, cover with water and bring to a simmer.  Cook for 30 minutes then drain and rinse again.

Set up your crockpot and mist it with cooking spray.  While the beans simmer, heat a large nonstick skillet and cook the bacon until crisp.  Drain on paper towels, then crumble or chop into 1/2″ pieces.

Skim the bacon fat and remove any burnt debris.  You should be left with a few tablespoons of clear fat in the pan.  Add the onions and cook just until lightly browned.  Add the garlic, stir for a few seconds then pour everything into the crockpot, fat included.

Add the club soda, sugar, ketchup, molasses, whiskey, mustard, cider vinegar and Worcestershire sauce to the crockpot and stir well to combine with the onion mixture.  Finally, stir in the drained beans and the chopped bacon.

Cover and cook for 12 hours on low overnight.  Stir every 4 hours (or whenever you wake up) and check the consistency as the sauce thickens, if the mixture is too dry add a bit more water.

After 12 hours, set the crock-pot to keep warm.  Let the beans sit for 2 more hours on warm to finish absorbing the liquid.

You can see why this recipe has become a family favorite!

You’ll get rave reviews when you make this dish!  I hope you will give it a try for your next family gathering!

Notes ♪♫ I opt for lower sodium ingredients wherever possible.  Given the amount of salt in the bacon, you will not notice if it is absent in some of the condiments.

Print This Post Print This Post

Gluten Free Italian Chicken Pasta

Can you make an Italian Sunday Dinner in under 30 minutes?  When you don’t have the time or the inclination to make an elaborate meal, this recipe comes together in a flash with common pantry ingredients.  I used chicken tenders to keep prep to a minimum.  A simple sauce made with fire roasted tomatoes and a red wine vinaigrette is rich with flavor.  I finished it off with grated cheese and a sprinkle of fresh herbs from my garden.

This post contains affiliate links.

4 Servings

Ingredients:

Preparation:

Boil water for the pasta, add 1/2 tsp. of salt and 1/2 tsp. olive oil.  Cook the fettuccine according to package directions.  Whisk together 2-1/2 tbsp. olive oil, the red wine vinegar and the seasonings.

While the pasta is cooking, heat a large nonstick skillet with 1 tbsp. olive oil.  Add the chicken tenders, turning to brown all sides until cooked through, about 8 minutes.

When the chicken is close to being done, push it to the side of the pan and add the tomato paste in center.

Let it toast for 1 minute then add the diced tomatoes and the vinaigrette.  Lower the heat and simmer for 2 minutes.

Before draining the pasta, reserve a ladle of the pasta water and add it to the skillet.  Add the fettuccine to the sauce and toss well.

Cook for another minute then sprinkle with half the cheese and fresh herbs.

Transfer to a serving platter, sprinkle with the remaining cheese, basil and parsley.

Notes ♪♫ Conventional kitchen wisdom tells us to never add oil to your pasta water, and for regular wheat pasta I would agree.  Gluten free pasta, on the other hand is notorious for sticking together, especially our much-loved spaghetti, linguine and fettucine.  I find that adding just a drop of oil to the cooking liquid helps keep the strands separate as they cook.

Print This Post Print This Post

Perfect Ribeye Steak

You don’t need to go to a fancy restaurant to enjoy a 5-star steak dinner.  Make it at home, for a fraction of what it would cost to eat out!

When it comes to steak, Ribeye is my cut of choice.  It’s not the most expensive, but it’s a darn good steak.  It has excellent marbling which makes for a tender, juicy piece of meat.

This post contains affiliate links.

This tried-and-true reverse sear method for a perfectly cooked Ribeye is easy as can be.  In fact, I’ve done it this way so many times that I can confidently say it’s foolproof.  It all starts with this simple, homemade marinade.  It’s gluten free and there is a new, lower sodium option!  Get the marinade ingredients here.

Ingredients:

A 1 lb. ribeye should be enough for 2-3 servings, depending on your appetite of course!  For a larger family just double or triple the recipe, including the marinade.  If cooking more than one steak, try to choose cuts that are all about the same weight and thickness.

Preparation:

About an hour before, whisk together the marinade in an oven safe baking dish (check out my vintage Corningware®, still in service!).  Cover and marinate the steak at room temperature 30 minutes per side, turning once.

Preheat the oven to 325° and insert an oven safe thermometer into the center.  Since the steak has been sitting at room temperature for an hour, the internal temperature has already risen to 60º.

Place the steak in the oven right in the baking dish, marinade included.  Cook uncovered, just until the internal temperature reaches 125°.  For a 1 lb. room temperature steak, this will take less than 30 minutes.

Immediately remove the steak from the oven and use tongs to transfer it to a preheated nonstick skillet or grill pan with a small pat of butter.  You can also finish it on your outdoor grill, just watch the temperature!

Keeping the thermometer in place, cook the steak for 2 minutes more per side, or until the internal temperature reaches 140º for medium.

Transfer the steak to a warm serving dish, cover with foil and be sure to let it rest a few minutes before slicing.  You don’t want to lose all that juiciness!

I like mine pink in the middle, and this one is done perfectly!

What goes with steak, maybe a simple topping of sautéed mushrooms, peppers and onions?  They are a great flavor compliment to this dish.

Or, add a simple side of steamed broccoli with potato chips and you have a well-rounded meal!

Wondering if you can cook a Ribeye in the air fryer?  Yes, you can.  Check out my Air Fryer Ribeye for the recipe instructions.

Notes: ♪♫ The marinade used in this recipe is one of my most popular posts!  Check out my Gluten Free Steak Marinade including a lower sodium option!

Print This Post Print This Post