Apple Walnut Butternut Squash

Butternut squash and apple make the perfect pair in this easy autumn side dish.  If you are looking for a fast and easy side for your holiday table, this is it!  Everyone will enjoy it and dare I say it’s healthy?  Nuts are optional, but I think they really add to the flavor.

3-4 servings (double for larger gatherings)

Ingredients:

  • 1/2 butternut squash, peeled and cubed
  • 1 apple, peeled and diced
  • 2 tbsp. chopped walnuts or pecans, optional
  • 1 tbsp. brown sugar
  • 2 tbsp. butter, divided
  • salt, to taste
  • cinnamon

 This post contains affiliate links.

Preparation:

Toast the nuts in a dry nonstick skillet.  Be careful not to burn them, 2-3 minutes should do it.  Remove from the skillet and set aside.

Peel and dice the apple.  Add 1 tbsp. butter to the skillet and sauté the apples for 2-3 minutes.  Remove from heat.

Steam the butternut squash until tender, then puree with a stick blender.  Stir in the remaining tbsp. of butter and brown sugar.

Place the squash in a serving bowl.  Top with the diced apples and the toasted nuts.  Sprinkle with cinnamon and serve!

Notes ♪♫ Speed up prep time by purchasing peeled and cubed butternut squash, it’s usually available this time of year!

Print This Post Print This Post


Gluten Free Pipe Rigate with Brussels Sprouts

This simple side dish has it all, veggies, carbs, and a little protein happily blended together in every bite.  It’s a savory side, with an unexpected hint of sweetness from a drizzle of maple syrup at the end.

The pasta I used in this dish is called Pipe Rigate, an Italian pasta shape that translates to “ridged pipes”.  The short, curved shape with ridges resembles a smoking pipe or snail shell.  I found Gluten Free Pipe Rigate available locally, but you can also get it on Amazon from Le Veneziane.  It was the perfect size pasta to complement the Brussels sprouts in this recipe and I also like adding it to soups.

2 Servings, recipe can be doubled for larger families.

This post contains affiliate links.

Ingredients:

  • 1/2 bag (about a dozen) Brussels sprouts, cleaned and halved
  • 1 strip of bacon, diced
  • 1 tbsp. olive oil
  • salt and fresh ground pepper
  • 1 cup (2 oz.) Gluten Free Pipe Rigate or other small gluten free pasta
  • 1 tbsp. butter
  • 1 tbsp. maple syrup
  • 2 tbsp. shaved parmesan cheese (optional)

Preparation:

Rinse the Brussels sprouts and slice in half lengthwise.  Dice the bacon into 1/2″ pieces.  Arrange in an 8″ baking dish and toss with 1 tbsp. olive oil.  Season with salt and pepper to taste.

Bake at 375º for 30 minutes, stirring every 10 minutes.

While the Brussels are baking, cook the pasta according to package directions.  Drain and set aside until veggies are done.

Remove baking dish from the oven and stir in the cooked pasta.  Finish with 1 tbsp. butter, 1 tbsp. maple syrup and shaved parmesan.  Return to the oven and bake for 5 minutes longer.

Give it a good stir, a few more grinds of black pepper and serve right from the baking dish for easy cleanup.

Just add a protein of your choice and you’ll have dinner on the table in no time!

Notes ♪♫ This recipe was inspired by Savory and adapted to be gluten free by subbing gluten free pasta.

Print_Link

Gluten Free Ham and Bean Soup

This hearty soup will hit the spot on chilly fall nights.  It is one of the best soups I’ve made lately.  I shared with a neighbor, who said I outdid myself- high praise indeed.  You will be glad to know that most of the ingredients are pantry staples, and you can use canned beans for a short cut.  Here are the step-by-step instructions along with some notes on avoiding gluten!

This post contains affiliate links.

I was featured at the senior salon pit stop

Ingredients:

  • 1 large, sweet onion, diced
  • 4 carrots, peeled and diced
  • 6 celery stalks, washed and diced
  • olive oil
  • sea salt and fresh ground pepper
  • 8 oz. cubed ham (I used Smithfield)
  • 10 oz. mixed beans (I used a half bag of Hambeens)
  • 1 carton gluten free low sodium chicken broth
  • 1 carton gluten free low sodium beef broth
  • salt free beef bouillon (I used Herb Ox)
  • 1/2 tsp. sage
  • 1/2 tsp. thyme
  • 1 cup cooked corn kernels
  • Schar Table Crackers, for serving

Note ♪ I used HamBeens 15 Bean Soup blend in this recipe.  The package is labeled gluten free.  Be aware though, that other brands of mixed beans may contain barley and should be avoided by anyone with Celiac disease.  I recommend that all beans, regardless of labeling be rinsed several times to minimize potential cross contact.

Preparation:

Rinse the beans under cold water and drain.  Place them in a saucepot and add cold water to cover.  Cover and let them soak overnight.

The next morning, drain and rinse again.  Add back to the saucepot with COLD water, cover and turn the heat on low.  Simmer gently for 2 hours.

Drain and rinse again and set the beans aside.

Heat olive oil in a stainless-steel skillet.  Begin sautéing the veggies, beginning with the carrots as they take the longest to cook.  Season with sea salt and fresh ground pepper and stir frequently for 3-4 minutes.  Transfer the carrots to a 5-quart stock pot and proceed to do the same with the celery and onions.

Hint: Sauté the veggies in olive oil before adding them to the soup for extra depth of flavor.

When the veggies are done, wipe the skillet clean and add the diced ham with a bit more olive oil.

Note ♫ For extra convenience I used Smithfield Anytime Cubed Ham, it is labeled gluten free.  Always check ingredients on prepared foods like ham!

Cook the ham until the liquid reduces and you can see some caramelization on the bottom of the pan.

Add the ham to the stock pot, and deglaze the skillet with a little beef broth, scraping up the caramelized bits at the bottom.  Pour the liquid into the stock pot.

Next, add equal parts of chicken and beef broth, enough to cover the ham and veggies.  Return the cooked beans to the pot, along with the bouillon, sage and thyme.

Simmer until the veggies are soft, then add the corn kernels in to heat through (adding the corn at the end of cooking gives the soup a little textural contrast to the soft beans and veggies).

Soup is ready to enjoy with gluten free crackers or bread.  Leftovers (if you have any!) can be refrigerated for up to a week.  Don’t worry though, it won’t last that long!

Notes ♪♫ I used lower sodium broth and salt free bouillon in this recipe (got to watch that blood pressure 🙄).  I did lightly salt the veggies and of course the ham had plenty of salt, so that was enough for me.  If you follow a low sodium diet you can cut it down further by using unsalted broth, be sure it’s gluten free!

Print This Post Print This Post

Rocky Point Red Clam Chowder

I was born and raised in RI and have lived here for most of my life.  This post celebrates a Rhode Island icon of my youth, Rocky Point Park.  The amusement park, which operated from the late 1840s until it closed in 1994 was a favorite childhood destination for its incredible thrill rides.  Shore Dinner Hall at Rocky Point was the place to go for clam cakes and chowder that were famously served to thousands at a time.

Copycat recipes abound for Rocky Point Red Clam Chowder.  Here is my gluten free rendition, and I think it is a fitting tribute to the original!

This post contains affiliate links.

Fresh clams are always available in RI, but if you don’t want to do all that prep, frozen raw clams are a great alternative.  They are so much better than canned, and worth seeking out.  Remember, clams cook quickly and should only be added to the chowder during the last 5 minutes of cooking.

Ingredients: 

  • 4 oz. salt pork
  • 3 tbsp. unsalted butter
  • 1 large, sweet onion, diced
  • 2 bottles (16 oz. total) clam juice
  • 2 large russet potatoes, peeled and diced
  • 1 tsp. Old Bay seasoning
  • 16 oz. container frozen raw chopped clams, thawed
  • 1 can gluten free tomato soup
  • 1-1/2 tsp. paprika
  • black pepper to taste 

Preparation:

Peel and dice the onions and potatoes, dice the salt pork into 1/2″ pieces.

Melt the butter in a Dutch oven or heavy stockpot over medium low heat.  Add the diced salt pork and cook for about 15 minutes, stirring constantly.  Take your time here, you want nicely browned pork bits and all the rendered fat that is going to flavor the chowder.

Remove the browned bits with a slotted spoon, drain on paper towels and set aside for garnish.  Reserve the fat in the pan.

Add the onions and cook 5 minutes, stirring frequently.

Add the potatoes, clam juice, and Old Bay seasoning.  Bring to a boil and simmer 15 minutes.

Finally, add the clams, tomato soup and the paprika.  Cook 5 minutes longer (just a simmer, not a rolling boil), season with black pepper and remove from the heat.  Let stand for 1 hour before serving.

Serve the chowder with a few of the reserved bacon bits for garnish, they really make the flavor pop!  And how about those Oyster Crackers?  Yes, they are from scratch, and they are gluten free!  You’re welcome.

I hope my fellow Rhode Islanders have enjoyed this bit of local nostalgia.  Try the recipe and let me know what you think!  You don’t have to be gluten free, or a local to love this chowder, it is fabulous!

Notes ♪♫ Many red clam chowder recipes call for a can of condensed tomato soup, but don’t reach for the Campbells!  It is not gluten free.  I used Health Valley tomato soup, certified gluten free and no salt added.  It is very good in this recipe, and I used the unsalted because there are so many other salty ingredients.  Always check labels for hidden gluten, and if the salt pork is too much sodium, you can sub a few slices of low sodium bacon.

Originally published 8/31/2018, Updated 5/30/21, Rephotographed 7/16/2024

Print This Post Print This Post

Gluten Free Oyster Crackers

Oyster Crackers.  Those cute little soda crackers that restaurants give you with chowder and soup.  Some are round and some are hexagon shaped.  Yes, they are off limits on a gluten free diet.  So today I made my own gluten free version, at home, from scratch!

Gluten free dough can be finicky to work with, so I opted for the diamond shape, which is easy to cut.  The dough is sticky and handles like pie dough.  The trick is to keep it cold.  Here’s how to make it…

~8 servings 

This post contains affiliate links.

Ingredients:

  • 140g. gluten free all-purpose flour
  • 1 tsp. salt (6g.)
  • 1 tsp. sugar (5g.)
  • 1 tsp. baking powder (3g.)
  • 3 tbsp. very cold butter
  • 1/3 cup ice water 

Preparation:

Cut the butter into small pieces and refrigerate it (keep it cold) while you gather the other ingredients.  Cut 2 sheets of parchment paper to size for 2 cookie sheets (half sheet pans).  Pre-heat the oven to 375º.

Whisk together the dry ingredients and place in small food processor or mini chopper with the butter.  Pulse a few times, then add the water to form a coarse dough.

It will look shaggy, like pie dough but should hold together when you give it a squeeze.

Press the dough into a ball, wrap it in plastic wrap and let it rest for 10 minutes at room temperature.

Divide the dough ball in half.  If it is too crumbly to handle, mist it with water and knead a few times.  Cover it with a sheet of plastic wrap and roll the dough into a circle 1/8″ thick.  I used a rolling pin, but you can use a pie dough roller or just press it with your fingers.

Gently slide the parchment onto the baking sheets for support.  Put the dough in the refrigerator for 15 minutes.  Don’t skip this step!  The dough needs to be cold throughout the entire process until it goes into the oven.

Use a pizza cutter to cut the chilled dough into 3/4″ diamonds.  Refrigerate it for another 10 minutes.  Again, don’t skip this step!

Just before baking, lift up the dough with a spatula and shake gently to separate the crackers and spread in a single layer.

Be sure they don’t overlap and have space in between.

Bake 17 minutes on the middle rack (not too close to the bottom or they will get singed).  Rotate once during baking.

Cool in the pan, then lift the edges of the parchment paper and slide them into a bowl for serving.

The Oyster Crackers were excellent, they were crisp and held up well in a bowl of chowder!  Store in an airtight container or ball jar at room temperature for 1 week.  They are great for snacking!

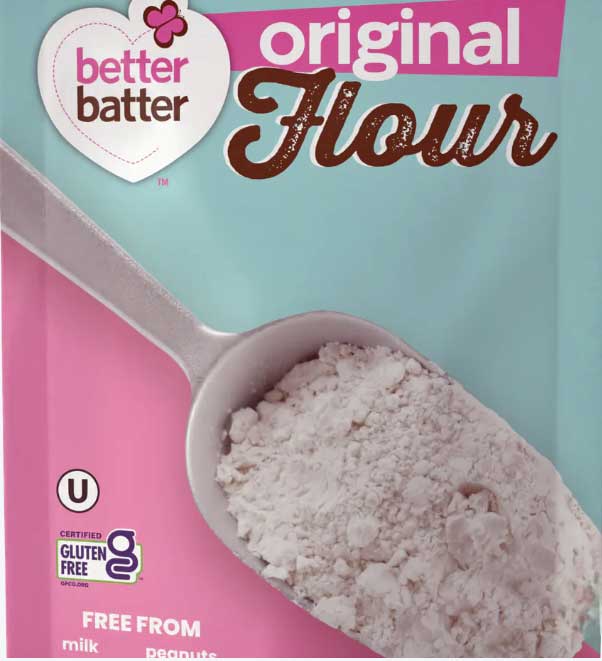
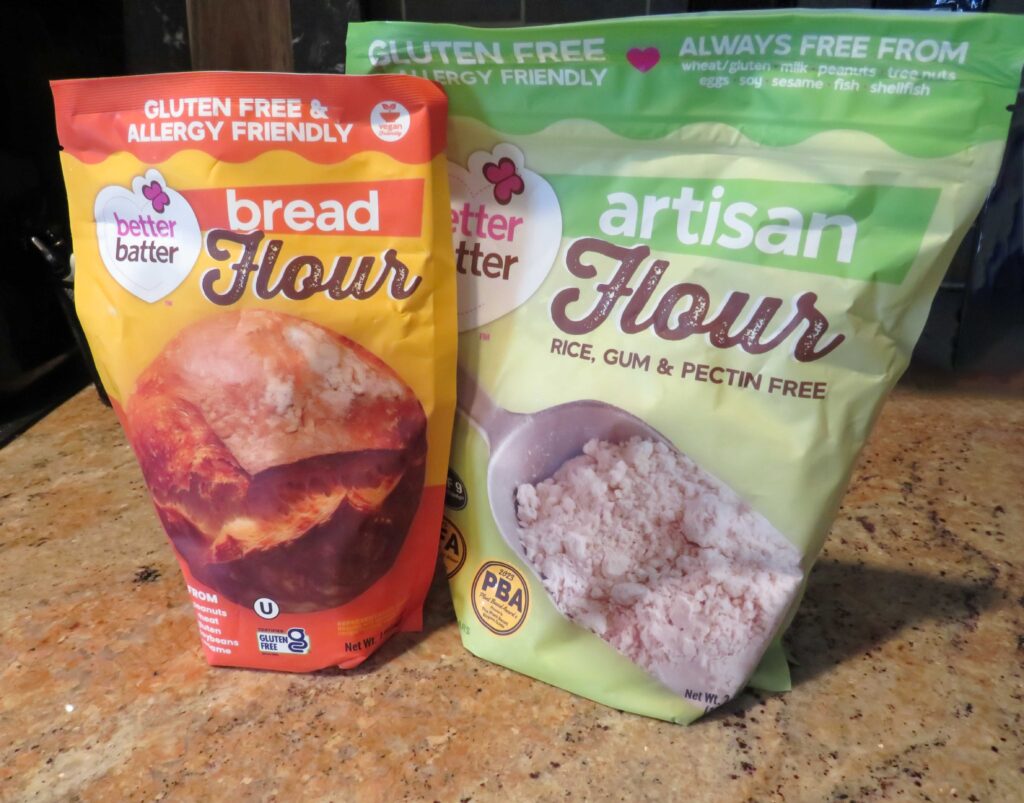
Notes ♪♫ I used Better Batter Original All-Purpose Flour Blend in this recipe.  I have also made them with King Arthur All Purpose Gluten Free Flour.  If you try the recipe with another flour blend, let me know how it comes out!

Originally posted 08/27/2018, Updated and rephotographed 6/8/2021, and 07/13/2024

Print This Post Print This Post

Gluten Free Apple Zucchini Muffins

Sometimes gluten free muffins turn out dry and crumbly, but not these Apple Zucchini Muffins!  The name says it all, these muffins are loaded with little bites of apple and zucchini that you can see and taste.  They keep the crumb nice and moist too.  And what a great way to sneak fruits and veggies into your breakfast!

This post contains affiliate links.

Dry Ingredients:

  • 180 g. gluten free all-purpose flour (I used Better Batter Original blend)
  • 1/2 tsp. salt
  • 1 tsp. cinnamon
  • 1/4 tsp. nutmeg
  • 1/8 tsp. ginger
  • 1/8 tsp. cardamom
  • 1/2 tsp. baking soda
  • 1/8 tsp. baking powder

Wet Ingredients:

  • 2 large eggs
  • 1/4 cup softened butter
  • 1/4 cup canola oil
  • 2 cups apple and zucchini, chopped
  • 1/4 cup ricotta
  • 1/4 cup white sugar
  • 1/4 cup brown sugar
  • 1 tbsp. melted butter, for finishing

Preparation:

Mist a 12-cup muffin tin with cooking spray and preheat the oven to 400º.

Use an electric chopper or a knife to mince the apples and zucchini into 1/4″ pieces.

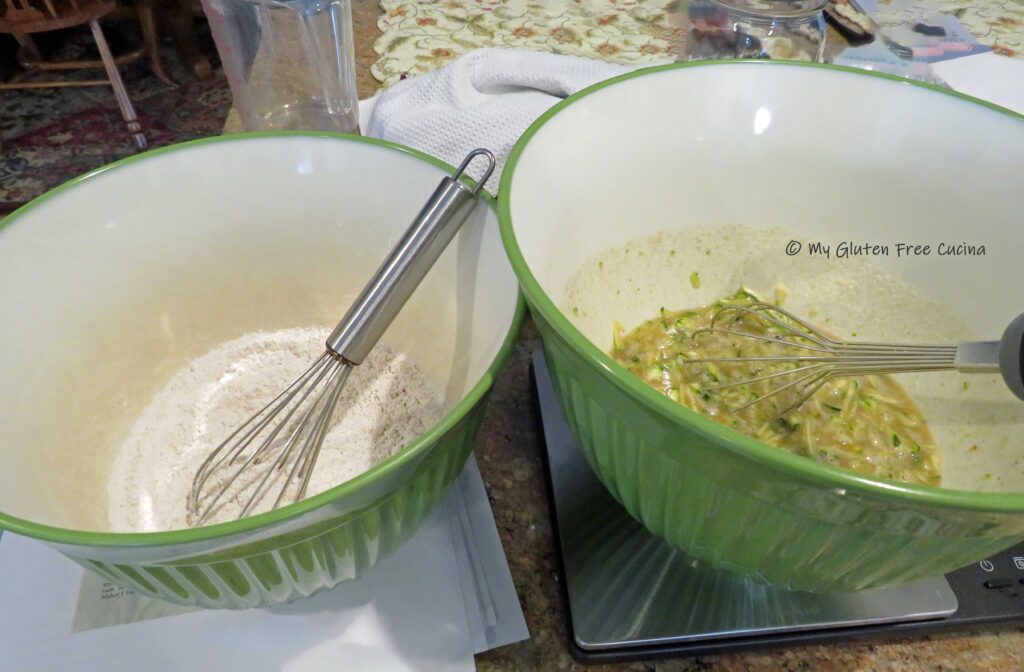
Whisk the dry ingredients together in one bowl.  In a second bowl whisk together the wet ingredients.

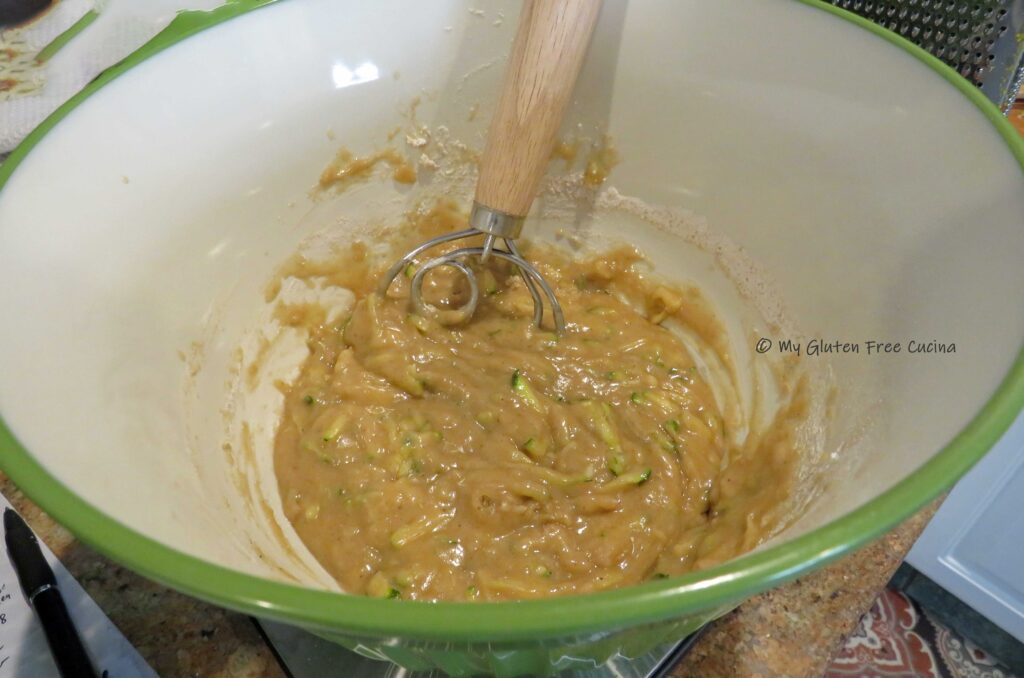
Stir the wet and dry ingredients together until thoroughly moistened, then let the batter rest for 15 minutes.

Fill the prepared muffin cups.  I wanted my muffins to be a little larger, so I made 9.  The recipe will make 12 if you portion the muffin cups 2/3 full.

Smooth out the tops with a spatula dipped in water and bake for 20-23 minutes depending on size.  Test the center with a toothpick.

Brush the muffins with melted butter for a nice shine, then cool in the pan for 20 minutes.  Transfer to a rack.

Look at that beautiful moist crumb!

Muffins can be stored at room temperature for up to one day or frozen.  My prediction is that they will disappear before you have to worry about it!

Notes ♪♫ I adapted this recipe from a quick bread that I used to make pre-Celiac.  It worked beautifully with gluten free flour, and as always, I recommend Better Batter.  I used their Original Blend, perfect for all your favorite muffins and quick breads.

Print This Post Print This Post


Gluten Free Meatloaf

Are you missing meatloaf on your gluten free diet?  Meatloaf made with gluten free breadcrumbs can be disappointing, a wet soggy mess that doesn’t hold together.  Today I’ll show you how to make a moist tasty meatloaf that won’t fall apart when you slice it.  By the way, this meatloaf is loaded with healthy veggies, but that can be our little secret!

4 Servings

This post contains affiliate links.

Ingredients:

Preparation:

Finely mince the veggies, using a knife or electric chopper.

Season the veggies and garlic with salt and pepper, then sauté in a little olive oil.  I used onion, bell pepper, mushroom and zucchini.  They will almost disappear into the meatloaf (shhhh, don’t tell the kids)!

When the veggies have reduced by half and there is no visible liquid in the pan, set them aside to cool.

Whisk together the egg, ketchup, brown sugar, red pepper flakes and Worcestershire.  Be sure your Worcestershire sauce is gluten free, check labels and don’t hesitate to contact the manufacturer if needed.

Now add the meat and the cooled vegetables, mixing it together with your hands.  I usually use pork sausage, but chicken or turkey sausage will work just as well.

Next add the breadcrumbs, rolled oats and potato flakes, and work together until well combined.

Press the mixture into a standard, 1 lb. loaf pan.  I used a nonstick metal pan, but if you have a glass loaf pan be sure to mist it with cooking spray.

Now squeeze a little ketchup over the top and use a fork to spread it evenly to make a line pattern, like this.

Bake for 30-35 minutes at 350º.  When it’s done, you should see a little browning around the edges, and the meatloaf will begin pulling away from the sides of the pan.  The internal temperature should reach 150-155º, if you’re not sure check with a thermometer.

Ready to serve, this meatloaf is moist and juicy, definitely not falling apart.

Meatloaf is great leftover, and you can even freeze it.  It makes a great lunch sandwich too!

Notes: ♪♫ How are you feeling about oats these days?  A while back there was a very concerning report from Gluten Free Watchdog stating that they could not recommend ANY brand of gluten free oats due to gluten content.  For myself, I have decided to only use gluten free oats processed under a purity protocol, such as Bakery on Main.  As always, consult with your own medical team for advice.  Whether or not you continue to consume oats is a personal choice.  

Originally published 04/09/2018           Updated 07/02/2024

Print This Post Print This Post

Gluten Free “Mighty Tasty” Toasting Bread

GLUTEN FREE “MIGHTY TASTY” TOASTING BREAD

Adapted from a recipe by America’s Test Kitchen

Servings: 1 Loaf = about 16 slices

This post contains affiliate links.

One of my favorite gluten free toasting breads, this loaf gets a boost of whole grains from Bob’s Red Mill Mighty Tasty Hot Cereal mix.  A hot cereal breakfast staple, it can also be used to add fiber and whole grains to bread and muffin recipes.  I think it gives the loaf a nice flavor and texture reminiscent of corn bread.  Even your family members who are not gluten free will enjoy this hearty breakfast toast.  It’s on my breakfast menu at least one morning per week!

This recipe has been adapted to yield 1 loaf.  Yes, there are a lot of ingredients, and it will take time.  Embrace the magic of baking from scratch!  I would rather enjoy a slice of delicious, homemade bread than a cardboard loaf from the store.

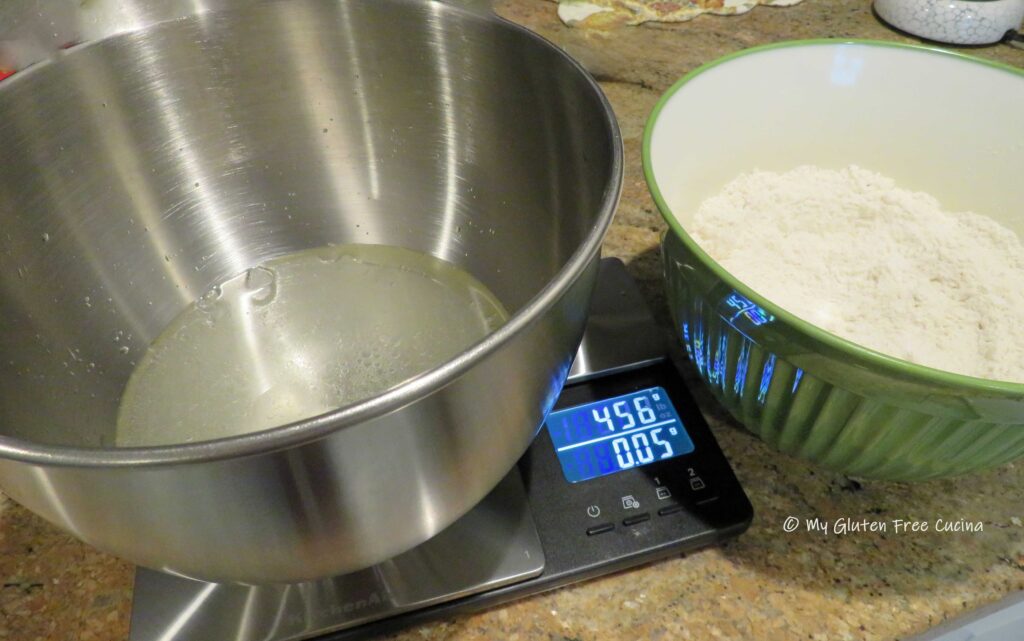
The pan you see in the photos is a 9 x 4 x 4” loaf pan that is perfect for gluten free bread.  The higher sides are perfect for supporting the dense, gluten free dough as it rises.  Gluten free baking is finicky, which is why I recommend that you use a scale and weigh the dry ingredients to achieve the same outcome.

Ingredients:

  • 1 ½ cups warm water
  • 1 tablespoon instant yeast

***

***

  • 2 eggs
  • 2 tbsp. canola oil
  • 2 tbsp. honey

***

***

  • sesame and poppy seeds

Preparation:

Line a 9 X 4 X 4” loaf pan with parchment paper.  I always bake with parchment, not only to prevent sticking, but also to make lifting the finished loaf out of the pan easier.

Combine 1 ½ cups warm water and 1 tbsp. yeast together in the bowl of your stand mixer, and let it sit for 15 minutes while you gather the other ingredients.

In a separate bowl, whisk together the dry ingredients, white rice flour through salt.  Don’t be tempted to skip any of the ingredients.  Those seemingly tiny amounts of things like gelatin, psyllium husk and xanthan gum are what help to compensate for the body and elasticity normally provided by the gluten in wheat flour.

When the yeast has proofed, add the eggs, canola oil and honey to the bowl and beat with the whisk attachment until frothy.

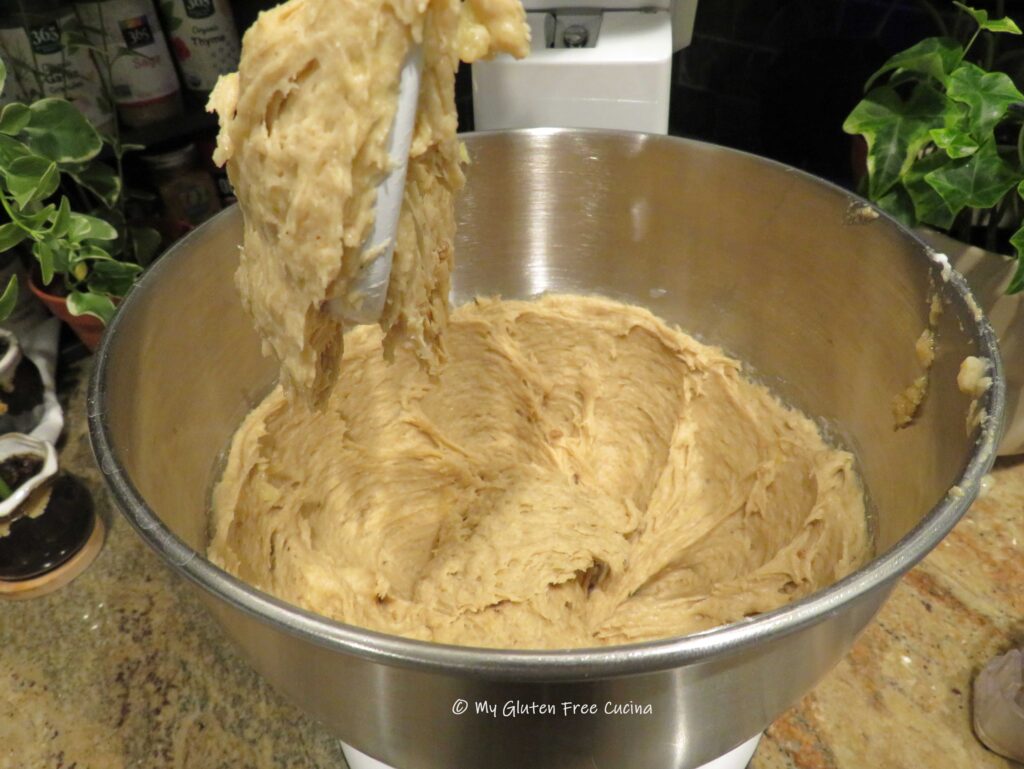
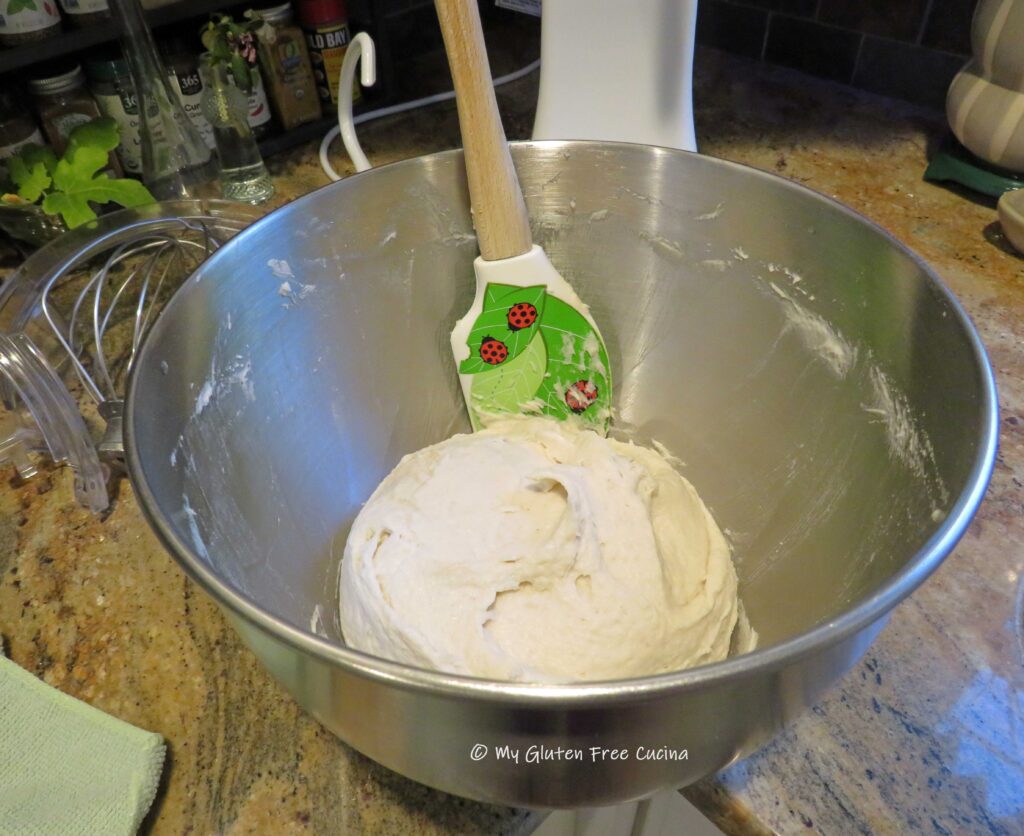
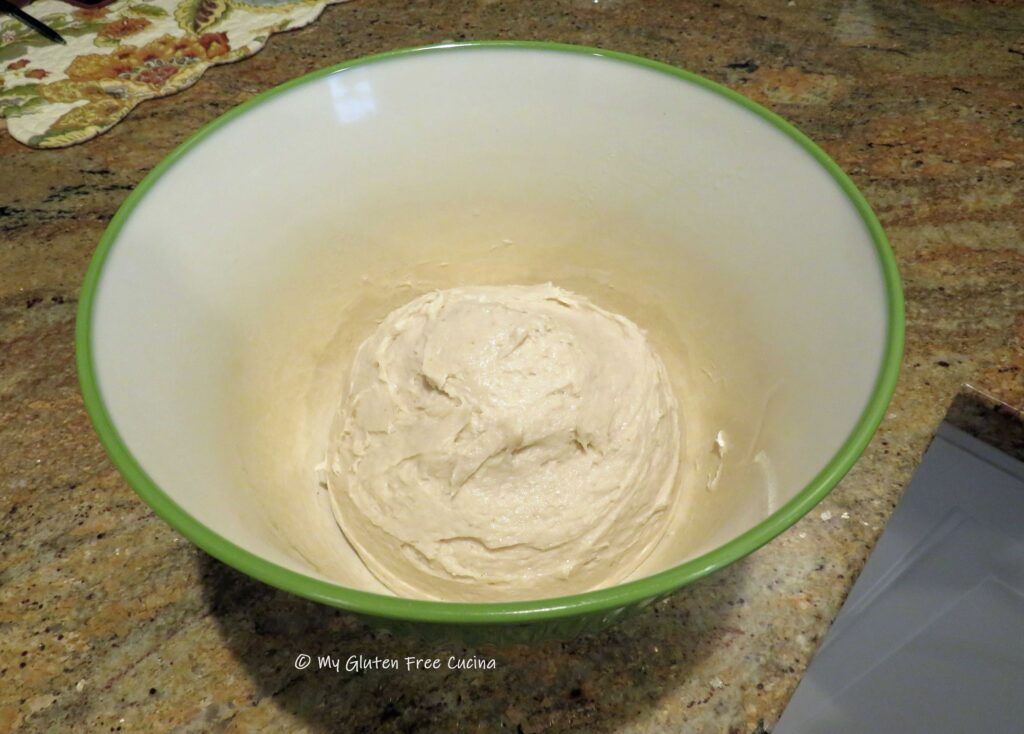
Switch to the paddle attachment and add the dry ingredients to the bowl.  Beat on low speed for 4 minutes.  Next add the sunflower seeds and up to an additional 4 tbsp. of water, one tbsp. at a time as needed.  Beat for 1 minute longer.  You will have a thick, sticky dough that clings to the paddle like this.

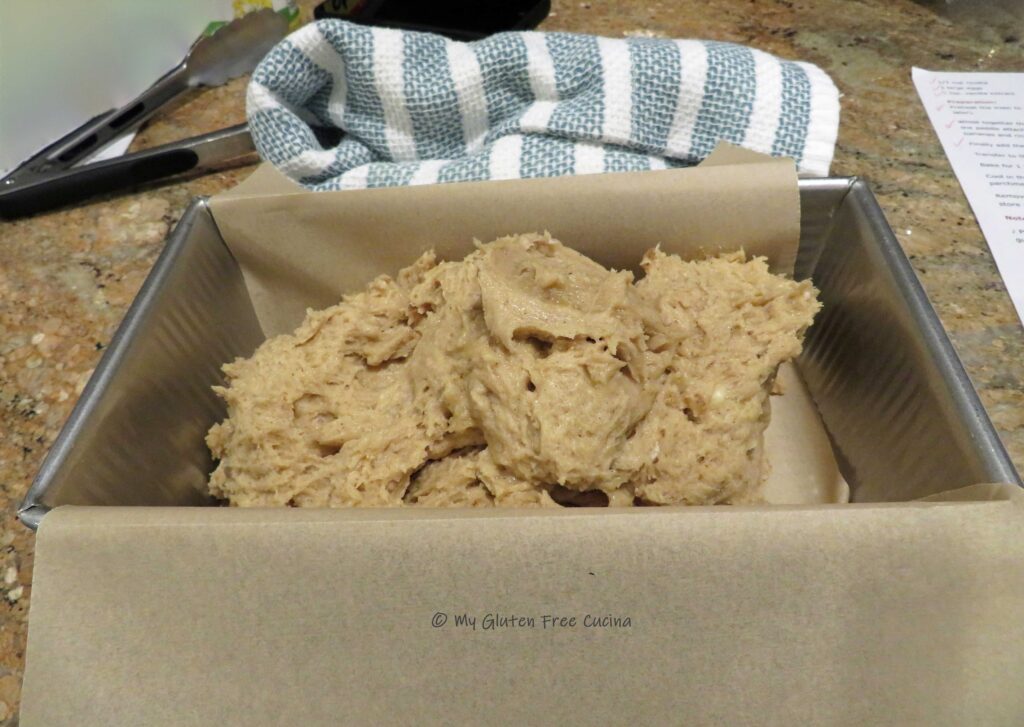
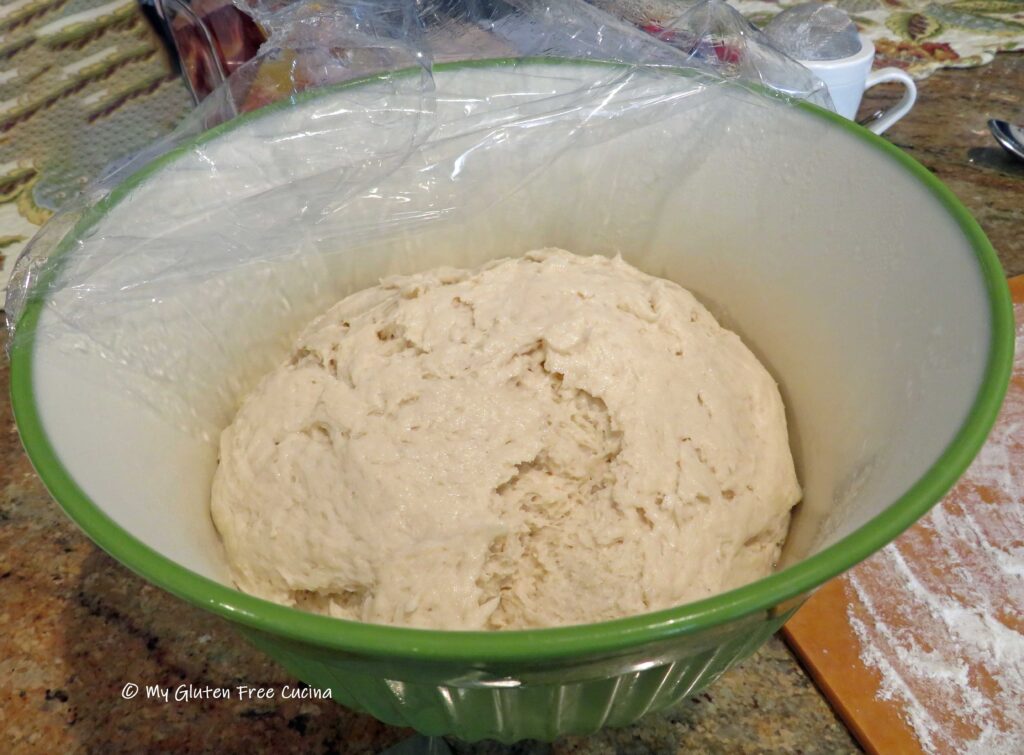
Scrape the dough into the prepared loaf pan and use a spatula dipped in water to smooth the top. Cover with plastic wrap and let rise for about 1 hour.

Preheat the oven to 325º and place a pizza stone on the middle rack.  Remove the plastic wrap and mist the top of the risen loaf with warm water (this helps the seeds to adhere).  Sprinkle liberally with poppy and sesame seeds.

Bake for 75 minutes, or until the loaf reaches an internal temperature of 210º.  It may take a bit more (or less) time in your oven, so be sure to use a thermometer!  Hint, if it smells done, check it!

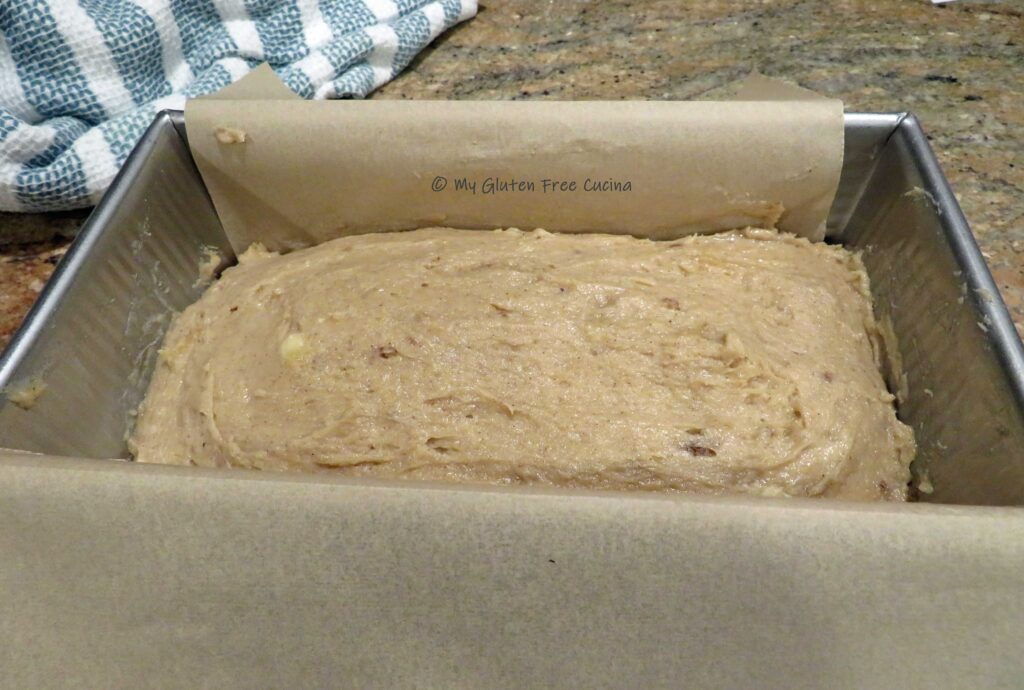
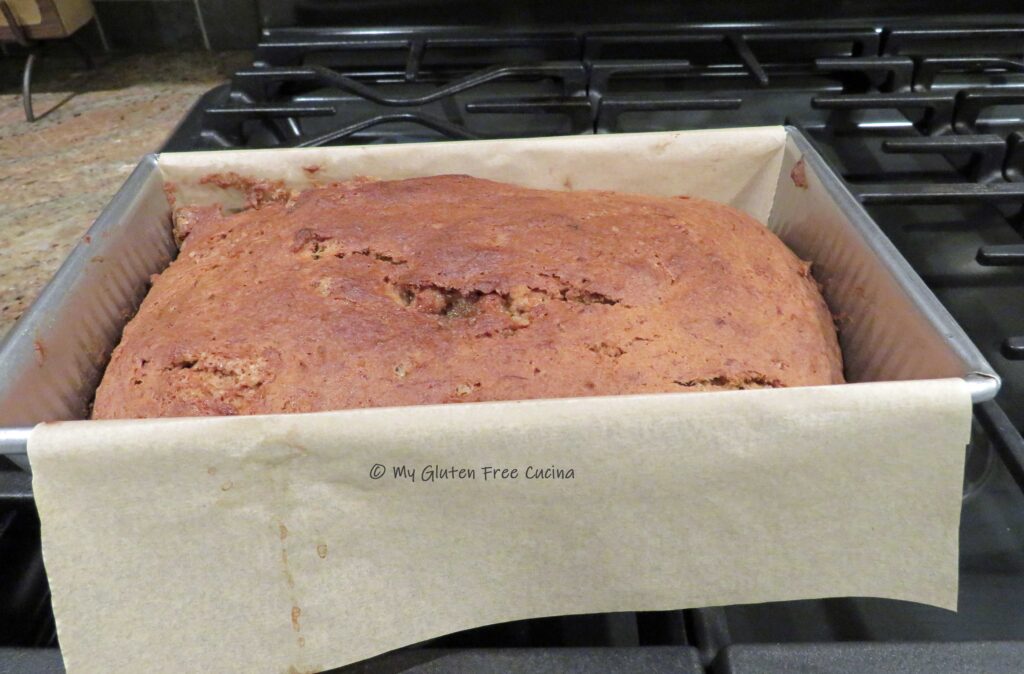
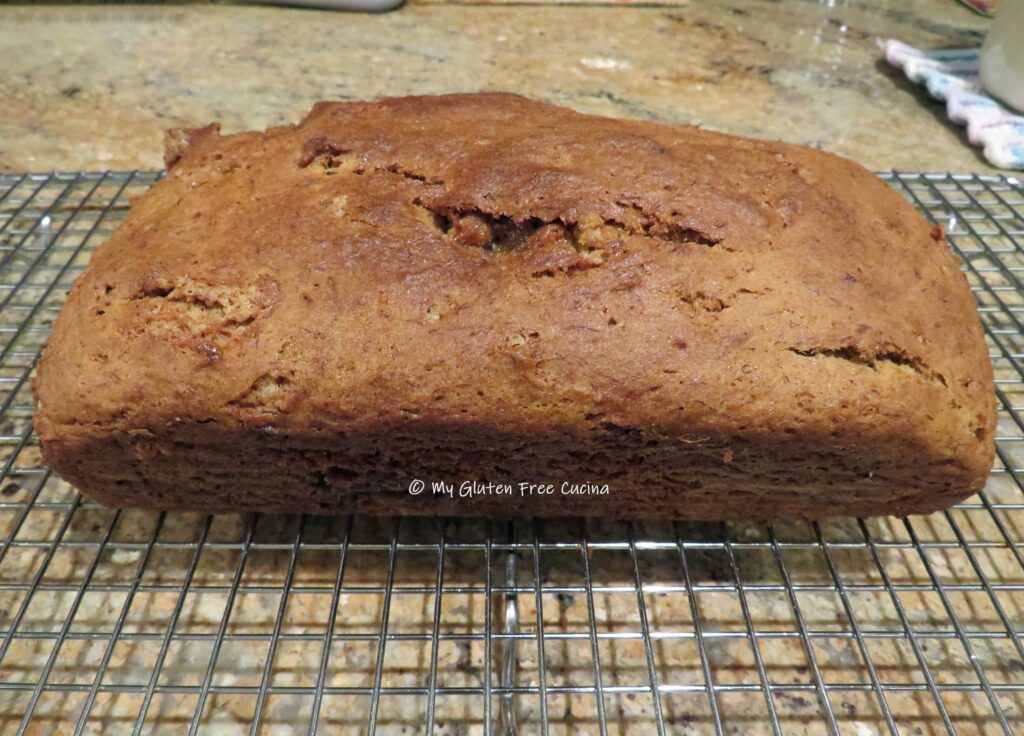
Let the loaf cool in the pan for 10 minutes, then grasp the parchment on either side to lift it out.  Remove the parchment and let it cool completely on a rack.  See how nicely the loaf shaped up in this pan?

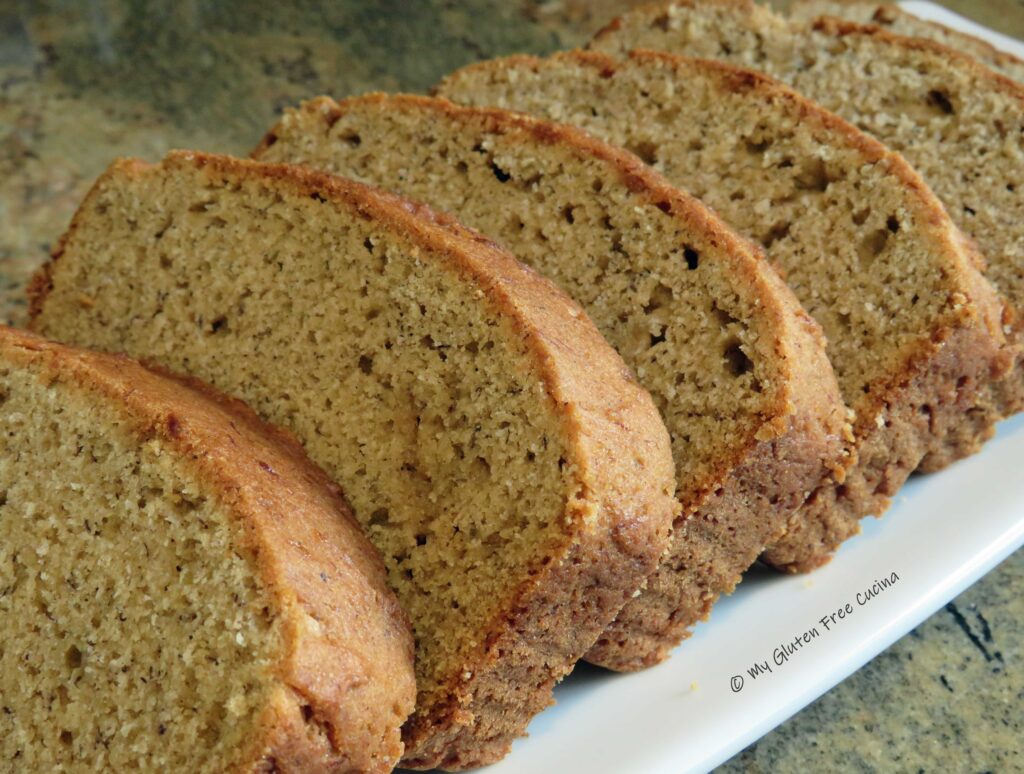
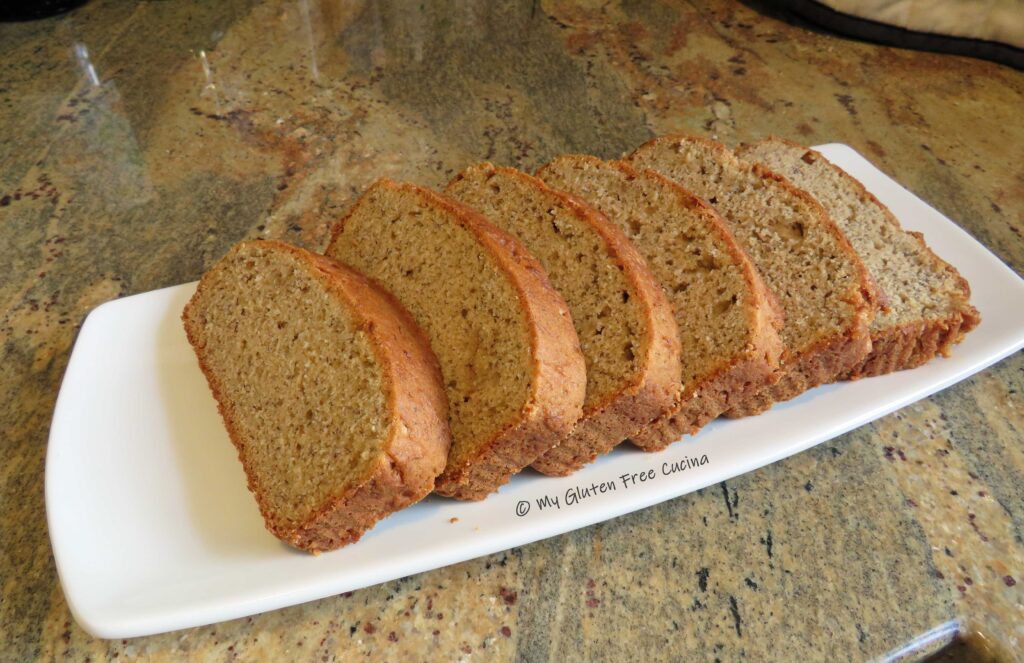
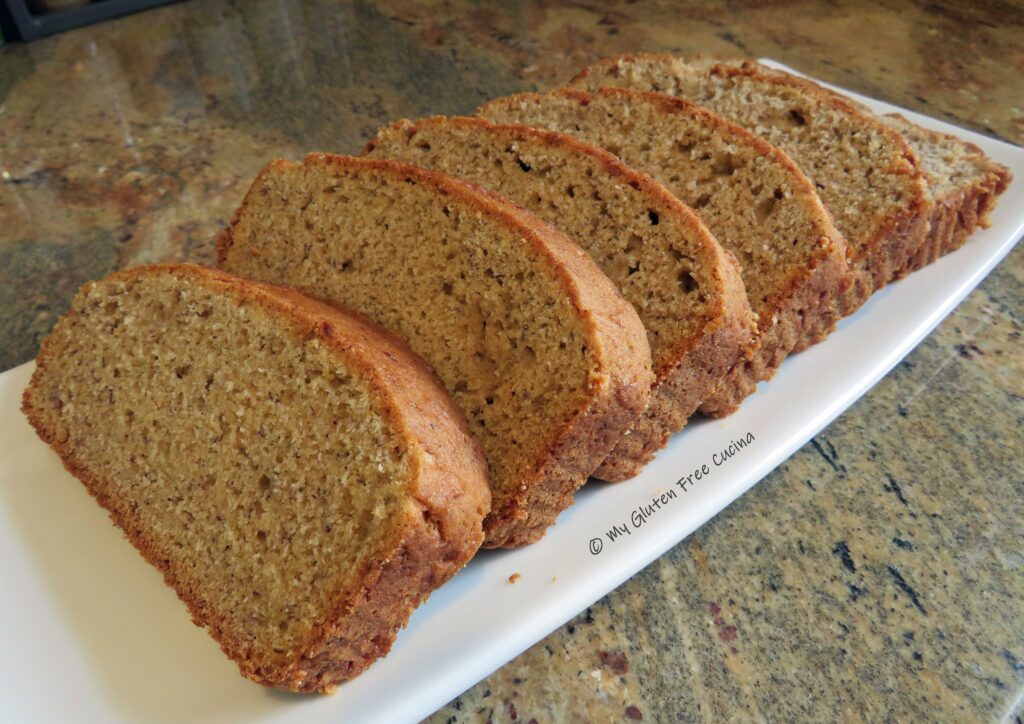
Resist slicing into the loaf until it has completely cooled, or it may be gummy in the center. You’ll want to give it a few hours to rest and set up properly.  Here’s the crumb shot.  You can see that it’s very dense and speckled with whole grains and seeds. It’s perfect!

Like most gluten free breads, this one is best eaten the day it is baked.  Slice it up and toast for about 5 minutes, it’s divine with just a simple pat of butter or jelly.  You can store it at room temperature for up to 1 day, but it is best to freeze the leftovers asap.  I like to freeze mine in individually wrapped slices, so I can easily pull one out for breakfast.

Notes ♪♫ All of the grains used in the flour mix were from Bob’s Red Mill.  The brand is readily available in stores or online.

Originally published 05/05/2019                   Updated 06/17/2024

Print this recipe

Veal Stew with Caramelized Onions

You won’t believe how a few simple ingredients can produce the most tender, flavorful stew.  With today’s prices, you may think that veal is not in the budget, but stew veal is made with those tough but economical cuts that benefit from slow braising, easy on the pocketbook and perfect for Sunday afternoons!

This post contains affiliate links.

The basic stew is quite versatile and pairs well with so many things.  The onions cook down to make a delicious gravy.  You can serve it with risotto, pasta or polenta.  For a New England style dish, you could add potatoes and carrots.  So many possibilities!  And those caramelized onions- oh my!

I used a stainless-steel universal pan to cook this meal, excellent for both caramelizing the onions and browning the meat.

Ingredients:

  • 1 lb. veal stew meat
  • 1 large, sweet onion
  • gluten free Italian seasoning
  • salt and pepper to taste
  • 2 tbsp. olive oil, divided
  • 2 tbsp. butter, divided
  • 1/2 cup white wine

Preparation:

Slice the onion into thin rings.  In a stainless-steel pan with cover, add 1 tbsp. each olive oil and butter.  Begin cooking the onions on low heat.

When the onions are soft and just beginning to brown, remove them from the pan and set aside.  They will finish caramelizing in the oven.

In the same pan, heat the remaining olive oil and butter and begin browning the meat on all sides.  Season with salt, pepper and Italian seasoning.

Add the onions back to the pan along with 1/2 cup of white wine.

That’s it friends.  Cover the pan and place in a 300º oven for 2 hours.

Look at that!  No knife needed to cut this meat- it is melt-in-your-mouth tender.

This was an easy meal that turned out great.  I love comfort food during the winter months and this one is on repeat!   

Notes ♪♫ Be sure to use real white wine (that you would drink) in this recipe.  Do not use cooking wine, it’s full of salt and who knows what!  I do not drink white wine, but I always keep a 4-pack of single serve bottles in the pantry for cooking.  Opening one small bottle at a time for a recipe means there is less waste.  Once opened, the remainder can go in the refrigerator.  If you enjoy the white wine, then pour a glass for the cook (red 🍷for me, please)!  Cheers!

Print This Post Print This Post

Gluten Free Teriyaki Chicken with Grilled Pineapple

Summer has arrived, and I’m welcoming the season with this beautiful platter of Gluten Free Teriyaki Chicken and Pineapple, served with rice and seasonal veggies!  This was the easiest meal to pull together, and SO delicious!  Shop ahead and you can absolutely make it on a weeknight, because I deliberately kept the prep to a minimum.

This post contains affiliate links.

I don’t usually take shortcuts with sauces and marinades, but I couldn’t resist trying this Gluten Free Teriyaki Marinade from Primal Kitchen.  It’s made with coconut aminos, which I often substitute for soy sauce in my recipes.  It was really good, the perfect choice for this meal!  Pick up a pack of boneless, skinless chicken thighs, sliced fresh pineapple, and pre-sliced zucchini and summer squash and we are ready to cook.

4 Servings

Ingredients:

  • 1-1/2 lbs. boneless, skinless chicken thighs
  • 1/2 cup gluten free teriyaki marinade, divided use
  • olive oil
  • 4 slices of fresh pineapple
  • 1/4 cup fresh chives, for garnish (optional)
  • rice and veggies for serving

Preparation:

Combine the chicken and 1/4 cup marinade in a bowl.  Turn the chicken to coat all sides, cover and refrigerate for 2 hours.

Start your rice and veggies first and cook according to package directions.  I made 1 cup of long grain brown rice, along with the zucchini and summer squash.

Add a little olive oil to a grill pan on medium heat.  Add the chicken, cover and cook 4 minutes.

Turn the chicken over and cook 4 minutes longer with the cover off.  Check with a thermometer that the internal temperature has reached 165º, then  remove the chicken to a plate and keep warm.

To the same pan, add the pineapple slices.  Cook 2 minutes per side to warm through and get those nice grill lines.  Warm the remaining 1/4 cup of teriyaki marinade in a small saucepan or use the microwave.

To plate, first spread the rice on a serving platter.  Arrange the veggies along one side.  Layer the chicken over the rice, and top with the pineapple slices.  Drizzle with the warmed teriyaki sauce and garnish with fresh chives.

Thanks for stopping by today friends!  I love hearing from you, so please leave a comment if you enjoyed this recipe!

Notes ♪♫ This meal would be fabulous, cooked outdoors on the grill.  If like me you don’t have a grill though, do what I did.  Cook the chicken and pineapple in a grill pan to get those distinctive lines.

Print This Post Print This Post