Chicken Thighs with Andouille Sausage

Sometimes the addition of one or two ingredients can take a simple dish from ordinary to WOW!  In this recipe, the most basic of chicken dinners gets a spicy kick from Andouille sausage.  Made with smoked pork and cajun spices, just one link of Andouille sausage is enough to flavor the cooking oil that we use to brown the chicken and veggies.

Ingredients:

  • 6 skinless chicken thighs
  • 1 link Andouille sausage
  • 1/4 cup cornstarch
  • creole seasoning
  • 2 carrots
  • 1/2 sweet onion
  • 1 potato
  • olive oil
  • fresh chives, for garnish

Preparation:

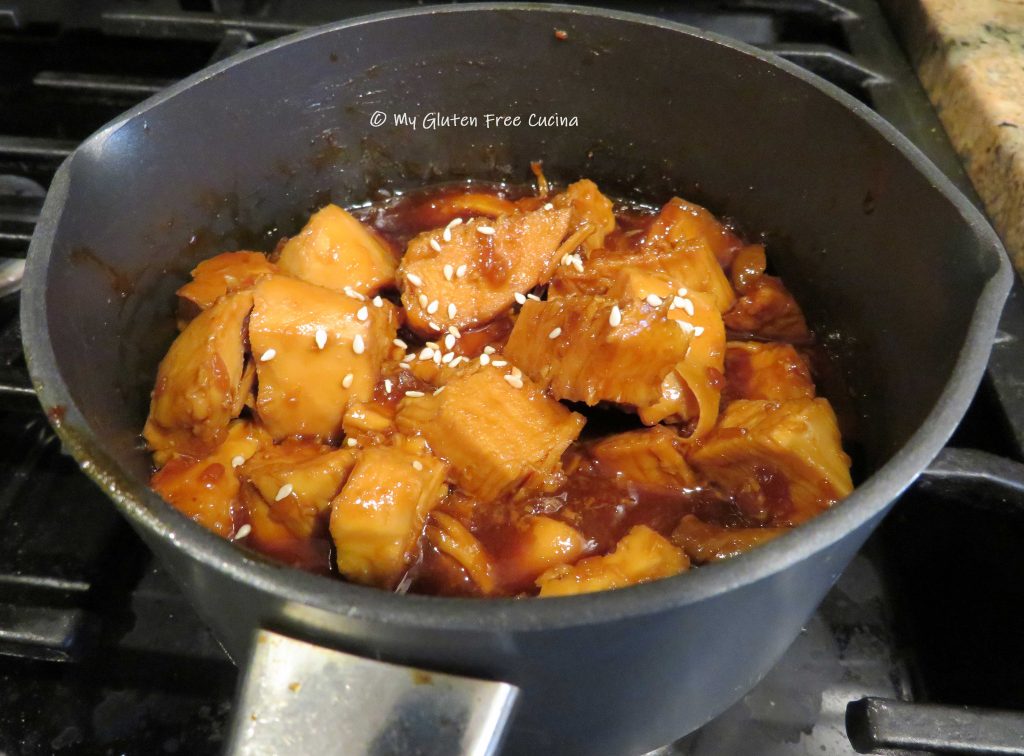
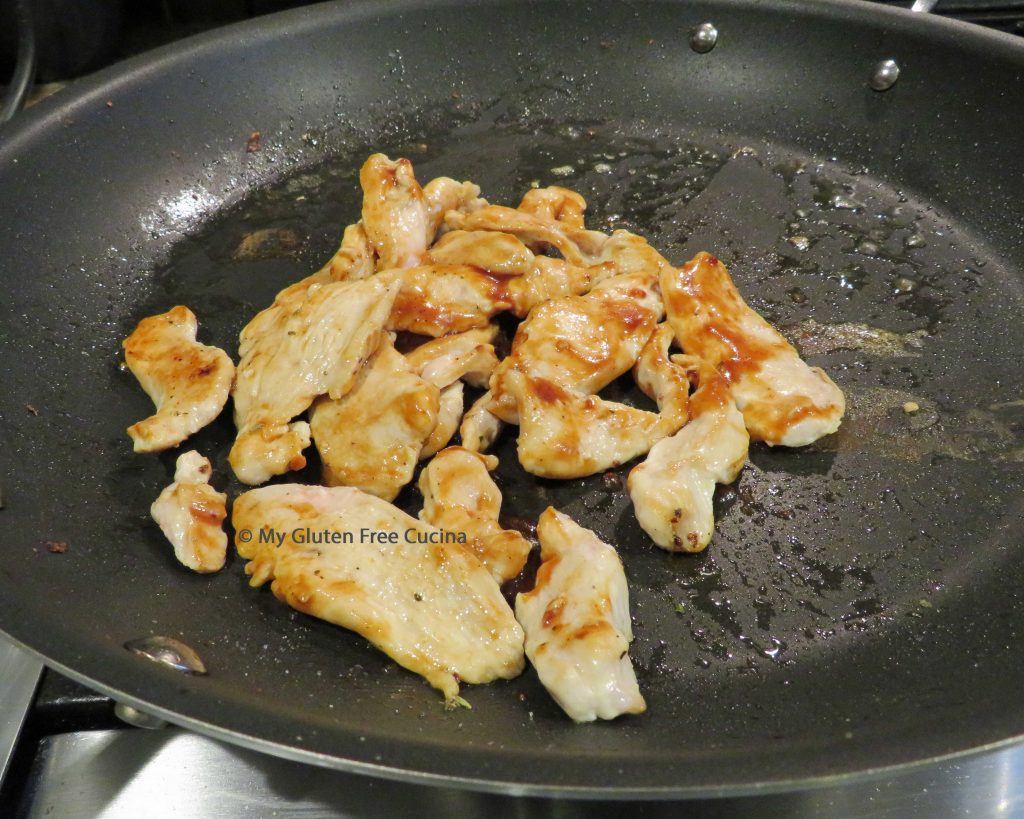
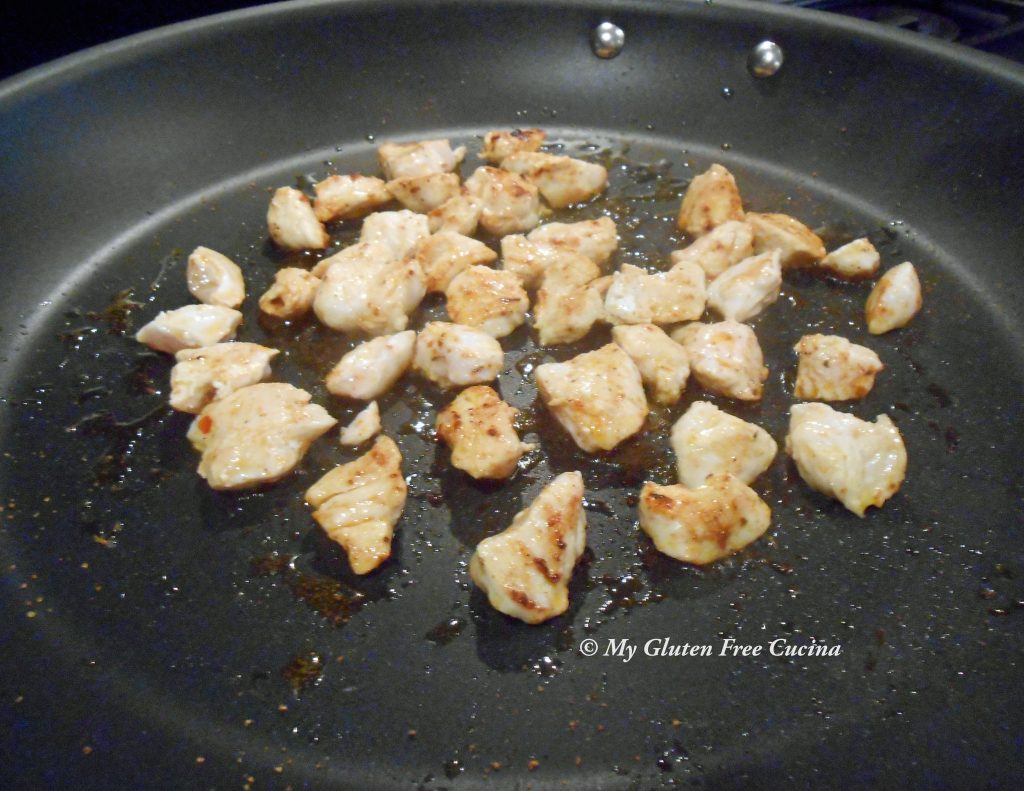
Remove skin from chicken thighs (optional).  Place the thighs in a plastic bag with 1/4 cup cornstarch and shake to coat.  Heat an oven proof skillet over medium and add about 3 tbsp. olive oil.  Add the sausage and cook 1 minute to flavor the oil, then begin browning the chicken on all sides and sprinkle with creole seasoning.  Don’t crowd the pan.  If necessary, brown the chicken and sausage in 2 batches as I did.

Preheat the oven to 375º and mist a 9″ x 13″ baking dish with cooking spray.  Transfer the browned chicken and sausage to the baking dish and place in the oven.  Reserve the fat in the skillet.

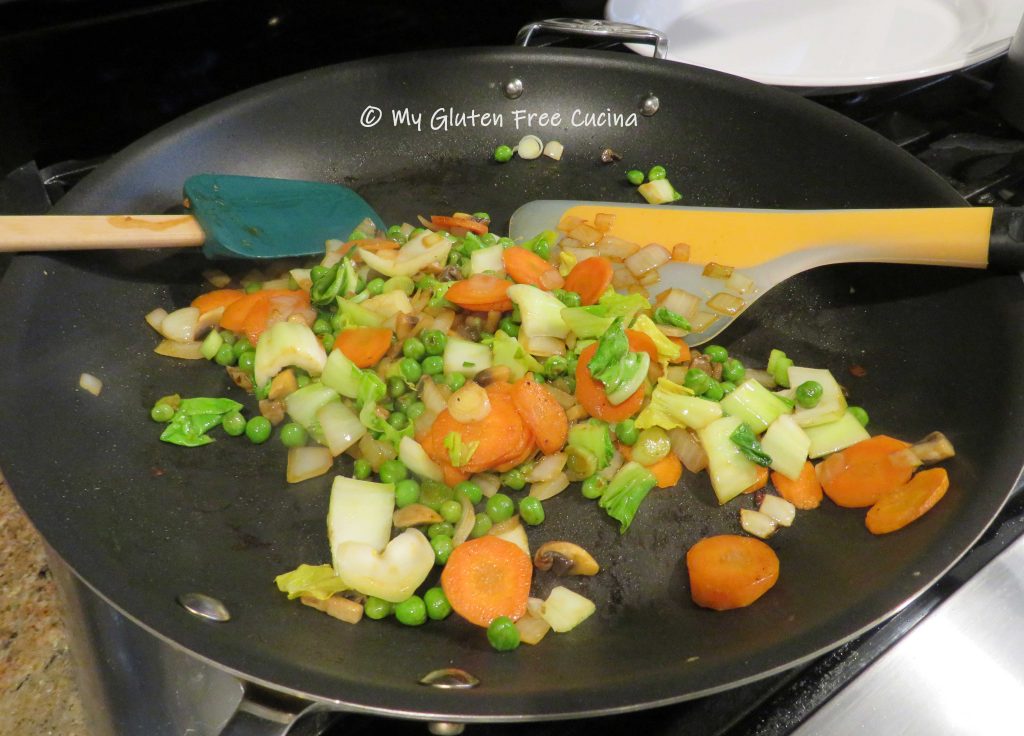
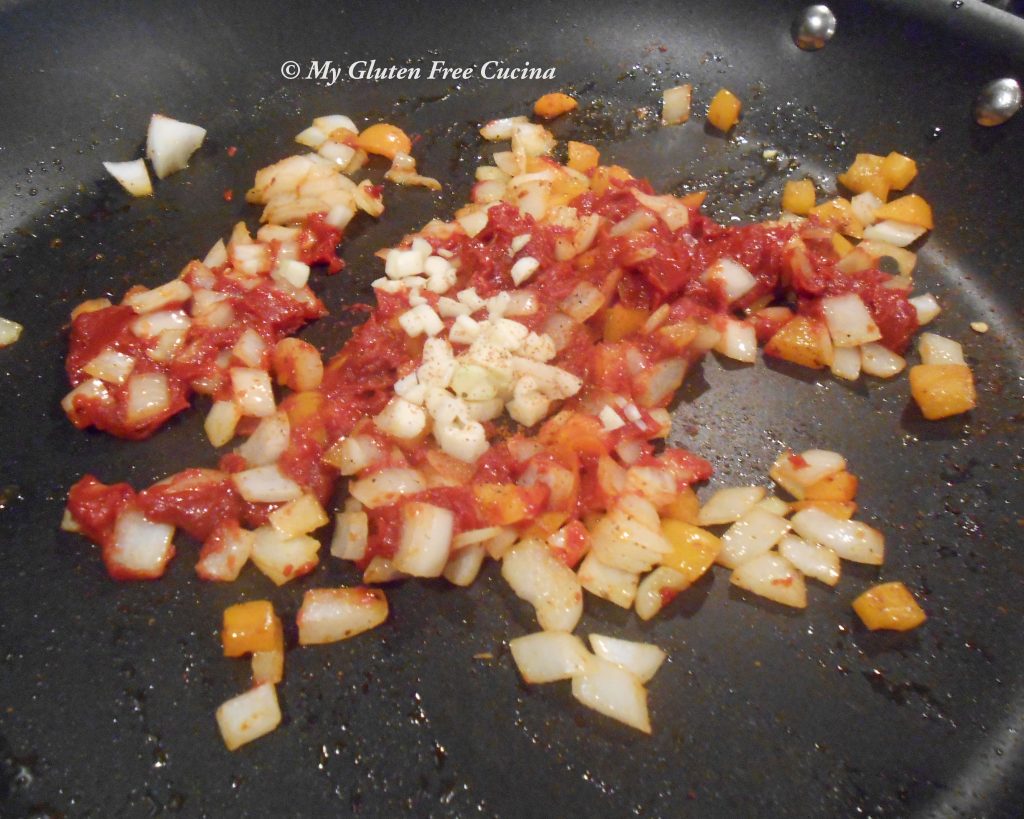
Add the carrots, onion and potato to the skillet with the reserved fat.  Stir and toss to coat then sprinkle with creole seasoning.  Place the skillet in the oven.

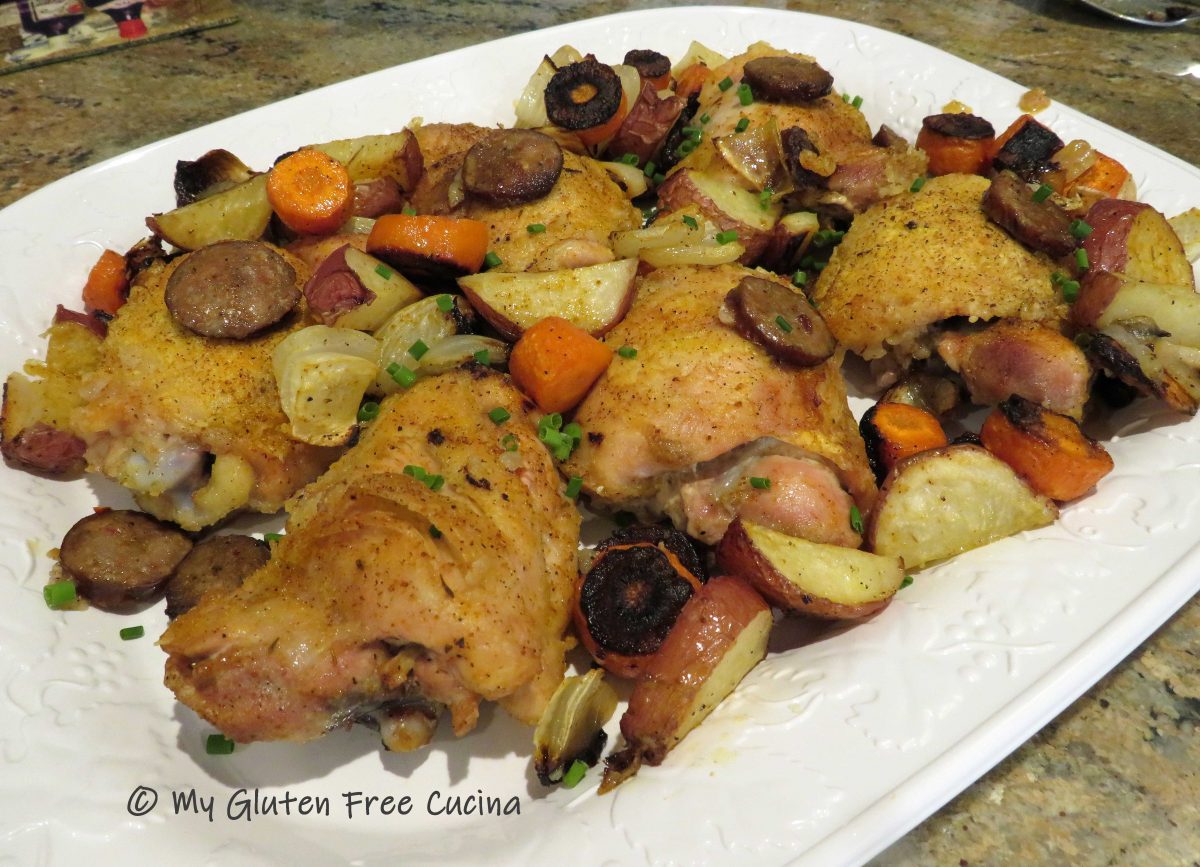
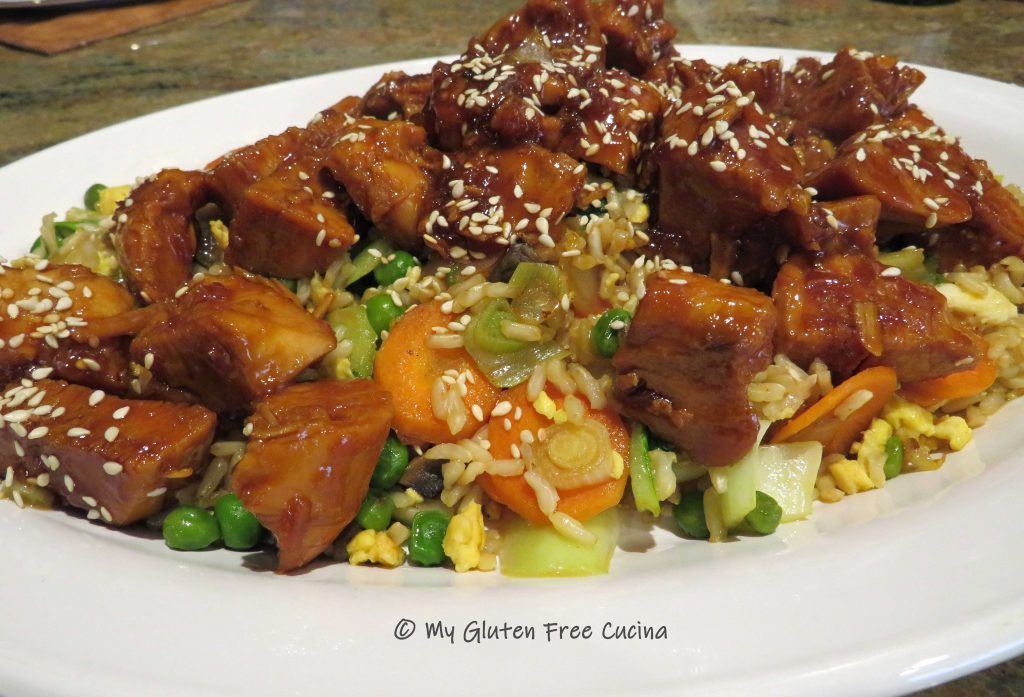
Bake the chicken and veggies for 1 hour at 375º.  About half way through, remove any excess liquid from the chicken and reserve it for another dish (it makes a wonderful soup stock).  To serve, arrange the chicken and veggies on a platter and garnish with fresh chives.

What a meal!  The chicken was moist and delicious with an unexpected pop of flavor from the Andouille!

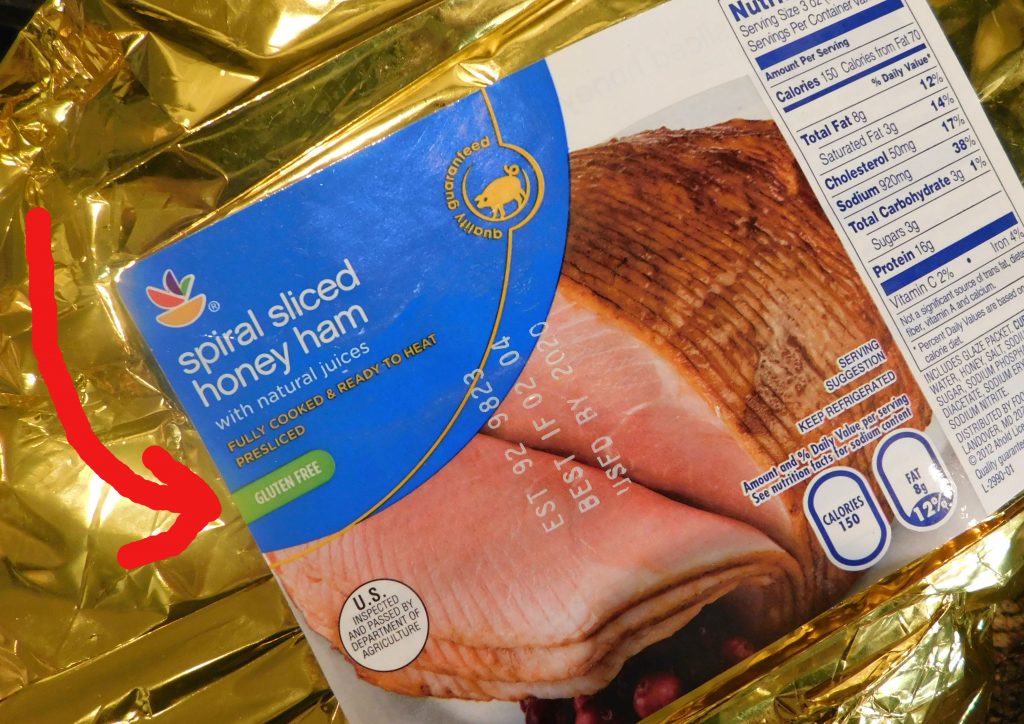
Notes ♪♫ Look for sausage made with all natural ingredients, no preservatives, and no nitrites.  Today many brands carry a gluten free label.  If not, always check the ingredients and if you’re not sure, go to the manufacturer’s website and don’t hesitate to call or email them for more information.

Print This Post Print This Post

Roasted Delicata Squash

Delicata Squash is one of my favorite fall vegetables.  It is aptly named – sweet tasting, easy to slice and seed, and you can eat the skin!  My favorite preparation is a simple toss with olive oil, salt and pepper and oven roasted.

Until recently Delicata Squash has only been available for a short time in early autumn, but today it’s becoming more popular and I was pleased to find it at the market in May.  You don’t want to miss out on this treat, so if you see one be sure to snap it up!

It was a little extra work to make the pretty medallions.  After cutting the squash into rounds I ran a paring knife around the center of each slice to remove the seeds.  So worth it for the beautiful presentation.  If pressed for time and you want to get it done quickly, just cut the squash in half lengthwise and scrape the seeds out with a spoon.  Then slice it into half moons.

Ingredients:

  • 1 Delicata squash
  • olive oil
  • salt and pepper
  • cooking spray

Preparation:

Line a baking sheet with foil and mist with cooking spray.  Slice the squash into 1/2″ thick medallions and remove the seeds and pulp from the center.  Lay the slices on the baking sheet and drizzle with olive oil.  Turn to coat both sides and season with salt and pepper.

Roast for 30 minutes at 400º.  It’s as simple as that!

Such a pretty addition to your dinner plate, the slices remind me of sunflowers!  It was a nice change from our usual veggie sides and I’m sure your family will love it as much as we did!

Print This Post Print This Post


Gluten Free Spring Onion Soup

Spring Onions have arrived at the market, and with them the promise of warm weather and sun filled days ahead.  Once a year, I will indulge and purchase a few to make my last soup of the season, before we head into summer.

Spring Onions are sold in bundles like this one with the greens attached.  You can see that the young bulbs have not yet developed their dry, papery skins.  When you get home, you might be inclined to chop off the greens and discard them.  Don’t!  They are incredibly aromatic and will add a nice, savory kick to your soup stock.

This recipe is vegetarian, but you could add meat if you like.  Beans would also be a great addition!

Ingredients:

  • 3 spring onions sliced and quartered, greens reserved
  • 4 carrots, sliced into half moons
  • 4 celery stalks, sliced
  • 3 garlic cloves, minced
  • 14 oz. can diced tomatoes
  • salt and pepper to taste
  • 1 tsp. thyme
  • 1/2 tsp. sage
  • 1/2 tsp. turmeric
  • 8 oz. gluten free pasta

Preparation:

Remove the greens from the onions, wash them and place in a stock pot. Add water to cover.  You can also throw in the tops of your celery stalks if you like, they too are aromatic and will add more flavor to the base of the soup.

After a 45 minute simmer, the greens have given up all of their goodness and can be removed and discarded.

Next slice and quarter the onion bulbs and add them to the pot along with the carrots, celery and garlic.  You should have about 6 cups total veggies.

Season with salt and pepper to taste and add the sage, thyme and turmeric.  Stir in the canned tomatoes with their juices.  Simmer 1 hour.

When the soup is ready, add the uncooked gluten free pasta directly into the pot.  It will absorb liquid as it cooks and thicken the broth nicely.  Simmer 5 more minutes or until the pasta is cooked through.  A garnish of chives and it’s ready to serve.

Simple ingredients, with a vibrant burst of spring flavor.

Notes ♪♫ I used Veneziane gluten free Ditalini in this recipe.  Finding gluten free soup pasta is always a challenge, but luckily this brand is available to me locally.  If you can’t find it, don’t hesitate to improvise with larger gluten free pasta shapes like elbows or shells.  You can even use broken lasagna noodles in a pinch!

Print This Post Print This Post


Crock-Pot Asian Chicken

Crock-Pot meets Stir-Fry

Hello friends!  Meal delivery services have become so commonplace these days, that you can order takeout from just about anywhere.  Except when you have dietary restrictions- that is.  There are no dedicated gluten free restaurants where I live, and I am not comfortable ordering over the phone where I cannot speak to staff face to face about their allergen protocols.

So today it’s off to the kitchen to satisfy my craving!  I’m using the Crock-Pot along with my skillet to create an absolutely amazing dish that rivals any restaurant!

This post contains affiliate links.

Crock-Pot Ingredients:

  • 1 lb. boneless chicken breast
  • 1/4 cup honey
  • 2 tbsp. tamari (gluten free soy sauce)
  • 1 tbsp. dry minced onion flakes
  • 1 tbsp. ketchup
  • 2 tsp. canola oil
  • 1/4 tsp. garlic powder
  • 1/4 tsp. powdered ginger
  • cooking spray
  • 2 tsp. cornstarch + 2 tbsp. water
  • 1 tsp. toasted sesame seeds

Stir-Fry Ingredients:

  • 1 cup brown rice
  • 1 cup water
  • 1 cup chicken broth
  • pinch of garlic granules or garlic powder
  • salt, to taste
  • 1 large egg + 1 tbsp. water
  • 1/2 cup slivered carrots
  • 1/2 cup diced onions
  • 1/3 cup mushrooms
  • 1/2 cup frozen peas
  • 1/4 cup scallions
  • 1 cup baby bok choy
  • sesame oil
  • gluten free tamari
  • 1/3 to 1/2 cup more chicken broth

Preparation:

Coat the crock-pot with cooking spray and add the whole chicken breast.  Whisk together the honey, tamari, dried onion flakes, ketchup, canola oil, garlic and ginger.  Pour it over the chicken, cover and cook on high for one hour, then reduce heat to low and cook 2 more hours.

While the chicken cooks, make the rice.  Cook 1 cup of brown rice in 1 cup chicken broth, 1 cup water, seasoned with salt and garlic powder.  When the rice is finished, let it cool to room temperature and set aside until the chicken is ready.

After 3 hours the chicken should be cooked through and very tender.  Remove to a cutting board and cut into 1″ pieces.

Skim fat from the crock-pot and whisk in 2 tsp. cornstarch.

Return the diced chicken and increase heat to high, stirring frequently to thicken the sauce.  Alternately you can transfer to a small sauce pot as I’ve done here.  Keep warm while you finish the dish.

Heat a large nonstick skillet over medium low heat.  Whisk the egg with 1 tbsp. water, scramble and chop into small pieces.  Transfer to a bowl and keep warm.  Wipe the skillet clean and begin cooking the veggies in a little sesame oil.  I started with the carrots and onions as they take longest.

After a few minutes, add the peas, mushrooms and scallions with a little more oil and cook 2 minutes more.  Finally, add the bok choy with a few shakes of tamari and stir well to blend.

To finish, add back the rice and the scrambled egg with a few more shakes of tamari, along with 1/3 to 1/2 cup chicken broth.  Quickly toss and stir to incorporate the rice and veggies until the liquid has been absorbed and the rice is heated through.  Transfer to a serving platter.

Spoon the chicken over the fried rice and garnish with toasted sesame seeds.

Notes: ♪♫ Were you surprised to learn that soy sauce is not gluten free? I was!  The soy is fermented in wheat, making it unsafe for those of us with Celiac disease.  In this recipe I used San J brand gluten free Tamari in place of soy sauce.  It is a great addition to any Asian inspired recipe and also great for marinades.

Print This Post Print This Post

Glazed Spiral Ham

A spiral ham can be the centerpiece of your holiday meal.  An easy main course means you will have more time to devote to your tasty appetizers and side dishes!  Taking a few extra minutes to prepare a simple homemade glaze for the ham will make it extra special.  Impress your guests, when you tell them you didn’t use “that foil packet” to make a glaze.

How much ham should you buy?  The usual estimate is 3/4 pound per person for a bone-in ham.  For small gatherings, you will likely find that even the smallest ham is much more than what you need.  Don’t worry, you can send your guests home with leftovers, and you will enjoy ham sandwiches all week!  And don’t forget to make a stock with the ham bone for Lentil Soup!

When shopping for a spiral ham, I go out of my way to look for the gluten free label.  This year I went to more than one store (if they seem puzzled when you ask if the ham is gluten free go to another store!)

Ingredients:

  • 1 fully cooked spiral ham
  • 1/2 cup orange juice
  • 1/2 cup honey
  • 1/2 cup brown sugar
  • 1/4 cup whole cloves

Preparation:

Set the ham cut side down in a roasting pan (use a rack if you have one).

Cover the ham tightly with foil and add 1 cup of water to the bottom of the pan.  Roast 15 minutes per pound at 325º.

Whisk together the orange juice, honey, brown sugar and cloves in a small saucepan.  Keep warm while the ham is baking.  During the last 45 minutes, remove the foil and brush the ham generously with the glaze every 15 minutes.

After the holiday, leftover ham is great in sandwiches, omelets and pasta salads.  Save the bone and small scraps of meat to make a delicious Lentil Soup!

Notes ♪♫ When choosing a ham, look for the gluten free label.  While pork is a gluten free food, not all ham is gluten free due to the spices and glazes used in processing.  Ditto for the “foil packet”, if you aren’t sure what’s in it, toss it and make your own glaze.

Print This Post Print This Post

Cauliflower Pizza with BBQ Chicken

Years ago, before I even knew that I had Celiac disease I got into making pizza with a cauliflower crust.  We were trying to lose weight at the time, and I was experimenting with low carb recipes.

Today cauliflower pizza is back in our dinner rotation as a delicious gluten free, grain free option!

This post contains affiliate links.

Grated cauliflower has become so popular, you can find it in both the fresh and frozen food section of your market.  I still hand grate mine as it really doesn’t take that long, and you get the very best flavor and freshness.  If you have a food processor, that is another fast and easy option.

The cauliflower at the market this year have been huge.  This one is going to provide several meals for us.  I will roast florets for an easy side dish and grate the rest for pizzas and cauliflower cakes.

You will see in the preparation that I used a pizza stone for this recipe, but you can also use a regular pizza pan or a sheet pan.  Whichever you choose, you will need parchment paper for easy transfer of the pizza from pan, to oven to cutting board.

Ingredients:

  • 4 cups grated cauliflower
  • 2 tbsp. Olive oil
  • Salt and pepper to taste
  • 1/2 tsp. Italian seasoning
  • 1 cup grated Gruyere cheese
  • 1 egg
  • 1 lb. Chicken tenders
  • ½ sweet onion
  • 2 strips bacon
  • Olive oil
  • Gluten free BBQ Sauce, home made or purchased
  • ¾ cup grated parmesan

Preparation:

Grate the cauliflower using a food processor or hand grater.  Add it to a large non-stick skillet with 2 tbsp. olive oil, salt and pepper.  Cook for 3 minutes, stirring frequently.  Transfer to a bowl to cool.

Beat the egg, Gruyere cheese and Italian seasoning.  Stir in the cooled cauliflower, mixing thoroughly.

Preheat the oven to 400° and line a pizza stone with parchment paper, cut to size.  Spoon the cauliflower mixture onto the parchment and spread it into an even ½” circle.  Use a spatula to smooth it out and neaten the edges.

Bake for 20 minutes at 400°, then broil for 3 minutes on high.  Here’s what it will look like.

Wipe the skillet clean and begin cooking the bacon.  Drain on paper towels and dice.  Cook the onions in the bacon fat, then push to the side and add the chicken with a little olive oil.  When the chicken has cooked through, drizzle lightly with BBQ sauce.

Brush the crust with olive oil, then lightly spread with BBQ sauce, about 4 tbsp.

Spread the chicken mixture over the crust in an even layer.

Top with grated Parmesan cheese.

Broil 3 minutes on high, you should have a little nice browning around the edges but watch that it doesn’t burn.

Slide the pizza, parchment and all onto a cutting board.  Slice with a pizza cutter and use a narrow spatula to lift it off the parchment.

Notes: ♪♫ To keep the pizza from being too soggy, bake the crust by itself and add the toppings during the last few minutes of cooking.  Be sure that all toppings are completely cooked and drained ahead of time.

Print This Post Print This Post

Garlic Butter

Foodie friends, with just a few simple ingredients you can make a wonderful garlicky spread that is as delicious on warm bread as it is for basting vegetables and potatoes.  It’s the perfect accompaniment for your holiday breadbasket.  Try it and see how good it is!

This post contains affiliate links.

Ingredients:

preparation:

Heat the olive oil in a small heavy skillet over lowest heat.  You want the oil to be warm, but not bubbling.  I used a simmer mat to keep the temperature under control.  Cook the garlic cloves for 1 hour uncovered, turning every 10 minutes.  The cloves will be soft and just slightly browned.

Remove the garlic, chop it then mash with a mortar and pestle.  You can also use a fork or the back of a spoon.  The oil left in the pan is delicious, be sure to reserve it for cooking!

Combine the garlic mash with the softened butter and remaining ingredients.  I used McCormick’s Roasted Garlic and Bell Pepper blend.  I also add a little crushed fennel seed and oregano.  Sea salt, the last ingredient should be added to your taste, or omit for low sodium diets.

Mix well to incorporate and let stand for several hours at room temperature, then place in a bowl or jar and refrigerate (or freeze) until ready to use.  You will want it to soften up before serving, so take it out 2 hours ahead.

Everyone around our table gave the garlic butter a thumbs up.  For more gluten free bread inspiration check out some of my favorites here.

Notes ♪♫ I use salt free butter and seasoning in this recipe.  That way, I can add just enough sea salt to taste without going overboard on the sodium.

Print This Post Print This Post

Jambalaya Stuffed Peppers

It’s been a while since I’ve made these pumpkin inspired stuffed peppers!  I love jambalaya, and while I do make it now and then, this time I went a step further and used it as a stuffing for these beautiful orange bell peppers.  The orange color really speaks to October, autumn and Halloween!

Carving out the cute little jack-o-lantern faces takes some patience!  Are they Pinterest worthy?  Probably not, but you get the idea!  At any rate they were delicious.  If you like comfort food with a spicy New Orleans kick give this one a try!  What a fun way to spend time in the kitchen!

Yield: 6-8 stuffed peppers, depending on size

This post contains affiliate links.

Ingredients:

Preparation:

Heat a large pot of salted water for blanching the peppers.

Cook ¾ cups brown rice according to package directions.  I cooked mine in a rice cooker using 1 cup water, one cup chicken broth and ½ tsp. seasoning.

Cut the tops off the peppers, then remove the seeds and ribs.  For a fun fall twist, use a small paring knife to carve out a jack-o-lantern face.  Don’t discard those cutout pieces, chop them up to add to the filling!

Heat a large non-stick skillet and begin browning the sausage.  When cooked through, transfer the sausage to a bowl and leave any remaining fat in the pan to flavor the other ingredients.  Add more olive oil as needed.

Next sprinkle the chicken with seasoning and brown on all sides.  Remove and set aside.

Add the shrimp and cook just until they turn pink.  I diced most of the shrimp but left a couple whole for garnish.  Remove and set aside.

Finally, add the onions, bell pepper and garlic to the skillet with a little more olive oil.  Cook for 2 minutes then push the veggies to the side of the pan and add the tomato paste.  Let the paste cook for a minute, breaking it up with a spatula before stirring it into the veggies.

To finish the jambalaya, whisk in 1 cup of chicken broth then stir in the meat and rice, tossing well to combine.

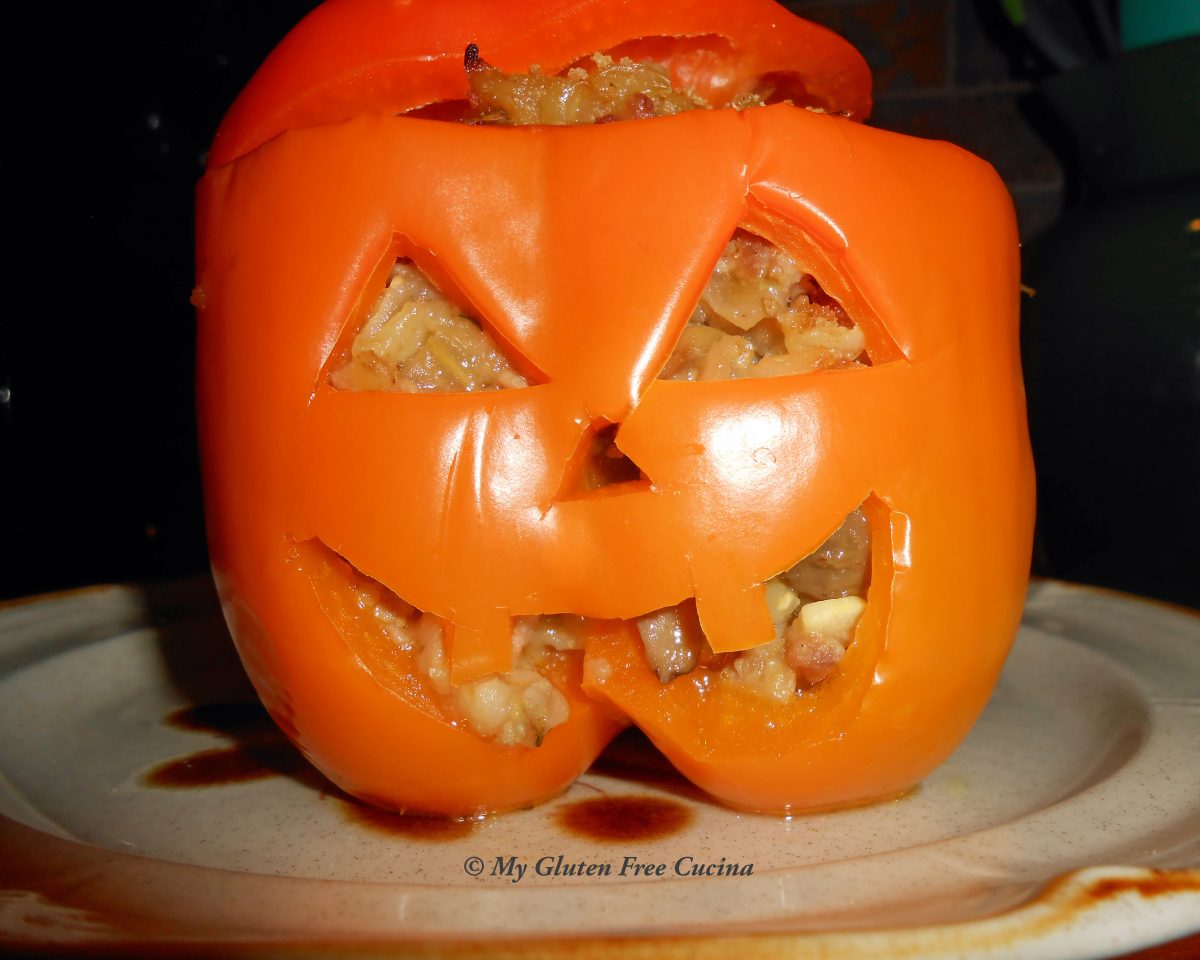
Blanch the peppers for 3 minutes in boiling water.  Drain well and arrange in a baking dish that has been misted with cooking spray.
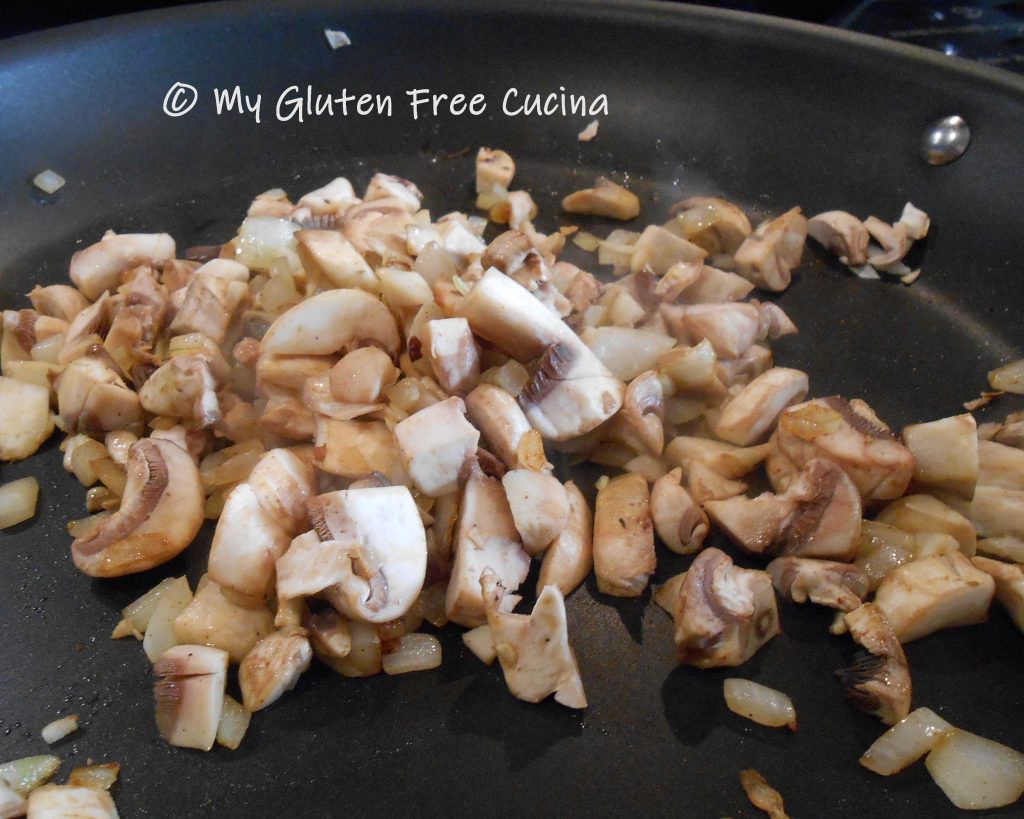
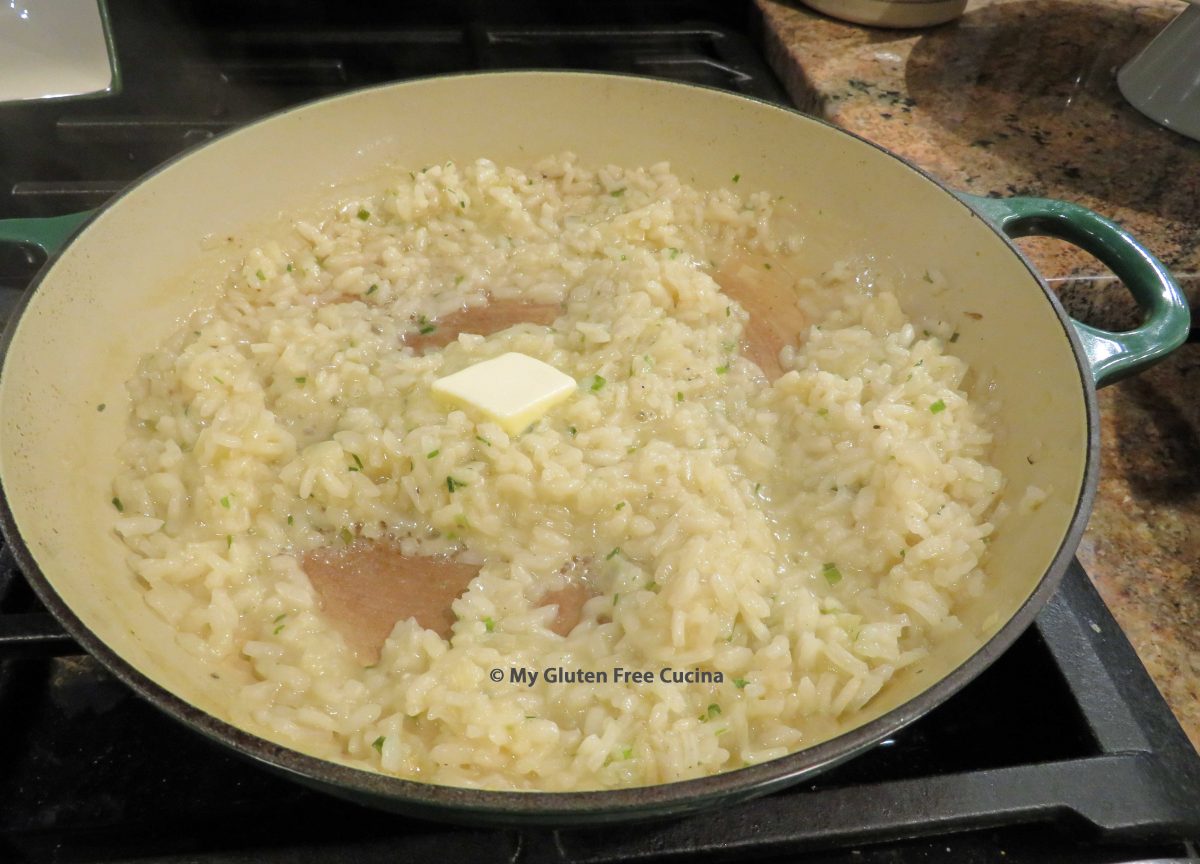
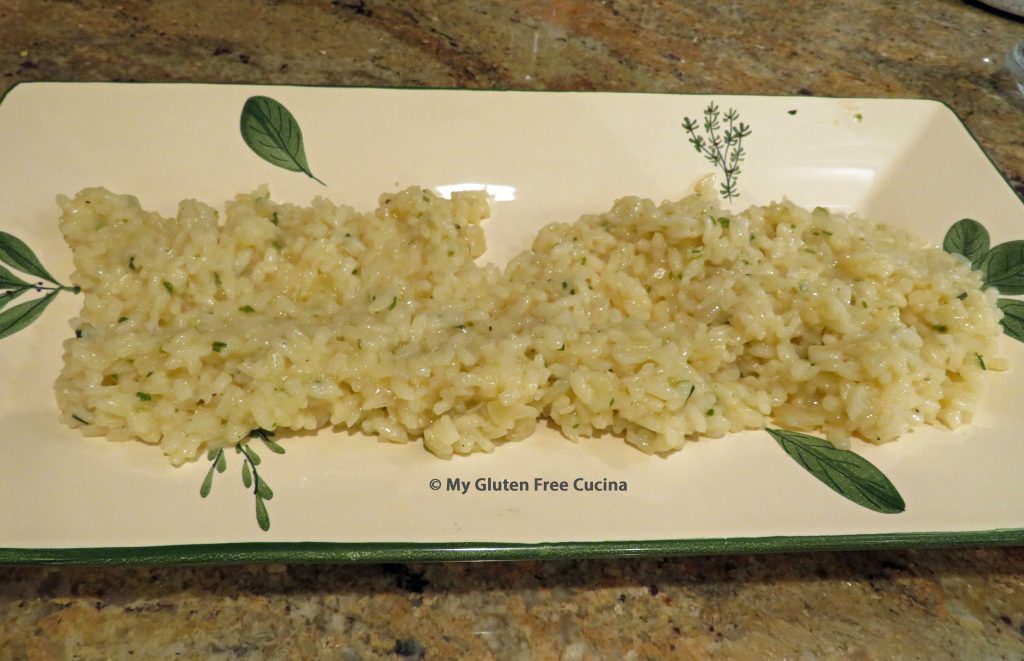
Spoon the jambalaya mixture into the peppers and bake for 20 minutes at 350°.  Top peppers off with a whole shrimp.

Notes ♪♫ I made a few stuffed peppers, and there was plenty of the jambalaya left over.  You could make 6 to 8 stuffed peppers from this recipe.  They freeze well too, just wrap in tin foil and freeze in an airtight freezer safe container.

Print This Post Print This Post

Sausage and Egg Mini Quiche

Let’s get the day started with an easy recipe that you can prep ahead and bake in the morning!  It’s a great savory dish for a casual breakfast or Sunday Brunch.  The recipe will yield one dozen mini quiches, perfect for a 12 cup muffin pan.  Completely gluten free with no oddball ingredients to purchase, everyone will love this family favorite!

This post contains affiliate links.

Ingredients:

  • ½ lb. gluten free Italian sausage, casings removed
  • ½ small onion, chopped fine
  • 1 tsp. olive oil
  • 1 package (8 oz.) white mushrooms, sliced
  • 1 package (5 oz.) baby spinach
  • 10 large eggs
  • ¼ cup milk
  • 2-3 oz. shredded cheddar cheese
  • gluten free breakfast sausage seasoning
  • Cooking spray

 Preparation:

Brown the sausage in a large nonstick skillet, breaking up the meat with a spatula.  Remove from the pan, reserving the fat.

Set the meat aside to cool, then pulse it a few times in a food processor or mini chopper, just enough to finish breaking up the meat.

Add a little olive oil to the reserved fat and begin cooking the onion.  When the onions are translucent, add the mushrooms and cook until they release their liquid.  Sprinkle with seasoning.

Remove the mushrooms and onions from the pan, drain in a colander and set aside.  Wipe the pan clean.  Add 2-3 big handfuls of spinach with 1/4 cup water.  It will cook down!  Cover and steam for 1 minute, just until the spinach is wilted.  Drain the spinach well and pat it dry with paper towels.

Note! You can prepare up to this point and refrigerate the night before.

When the mushrooms and spinach have cooled to room temperature, preheat the oven to 375º and coat a muffin tin with cooking spray.  Whisk the eggs in a large bowl and stir in the sausage, mushrooms, onions, spinach, seasoned salt and half of the cheese.

Spoon the mixture into 12 muffin cups and sprinkle tops with the remaining cheese.  Bake 25-30 minutes until set.

The quiche will puff up during baking and may deflate a bit when removed from the pan.

Carefully scoop out the quiches with a spoon and transfer to a serving dish.  They should slide right out.  Serve hot or at room temperature.

This is a very easy recipe that you can double or triple to feed a crowd for brunch.  I used Italian sausage but you can substitute any sausage you prefer, or bacon or prosciutto!  Be sure to pin this easy and delicious recipe for your next Sunday brunch!

Notes ♪♫  There are many gluten free sausage seasonings on the market, but you may find them high in sodium.  If you are interested in making your own seasoning blend, check out my Homemade Breakfast Sausage Patties post.  It includes a recipe for a blend of individual spices that you mix together, and you can adjust the salt content to your liking.

Print This Post Print This Post

Honey Glazed Pork Chops

Pork chops are an easy and economical main course.  There are so many ways to prepare them!  I have always breaded and baked mine, but in the summer I want something a little lighter.  This simple recipe is the one to keep handy for your weeknight rotation.  My family loved the honey glaze, and the pork chops come out tender and juicy every time.

Ingredients:

  • 3-4 boneless pork chops, about 6 oz. each
  • 2 tbsp. olive oil
  • 1 tbsp. honey
  • 1 tbsp. gluten free soy sauce
  • ½ tbsp. gluten free Worcestershire sauce (I like Lea and Perrins®)
  • Gluten free seasoning, to taste (I used The Spice House Brisket of Love BBQ Seasoning)
  • cooking spray
  • fresh chives, for garnish

Preparation:

Choose chops that are all about the same size, so that they finish cooking at the same time.  Whisk together the olive oil, honey and Worcestershire sauce in a baking dish large enough to hold your pork chops in a single layer.

Add the pork chops and marinate for 30-45 minutes at room temperature, turning every 10 minutes.

I cooked the chops in a 14” non-stick covered skillet, you want them spaced out in the pan, not touching.  Coat the pan with cooking spray and heat over medium low.  Add the pork chops, sprinkle with seasoning, then cover and cook 4 minutes.  Keep the cover on, and don’t move the chops around in the pan.

Turn the pork chops over, drizzle any remaining marinade over the top and sprinkle more seasoning.  Cover and cook for an additional 3-5 minutes, depending on the thickness of the chops and how you like them done.  According to food safety guidelines, pork should be cooked to a minimum of 145° and for me this is perfect.  Check with a thermometer to be sure.

Now turn them once more to coat both sides in the honey glaze and cook 30 more seconds to get that beautiful amber color!

Transfer to a serving dish and garnish with chives.  I served with brown rice and roasted cauliflower.

Aren’t they gorgeous?  Now that you know how easy it is, surprise your family with a delicious pork chop dinner this week.  Make it once and it will become an instant favorite!

 I hope you’ve found some gluten free meal inspiration today at My Gluten Free Cucina!  Be sure and pin this one for next week’s menu!

Print This Post Print This Post