Homemade Gnocchi are my favorite pasta to prepare on a Sunday afternoon. There is something soothing about rolling these dumplings one by one. The joy only continues when it is time to eat!
This post contains affiliate links.
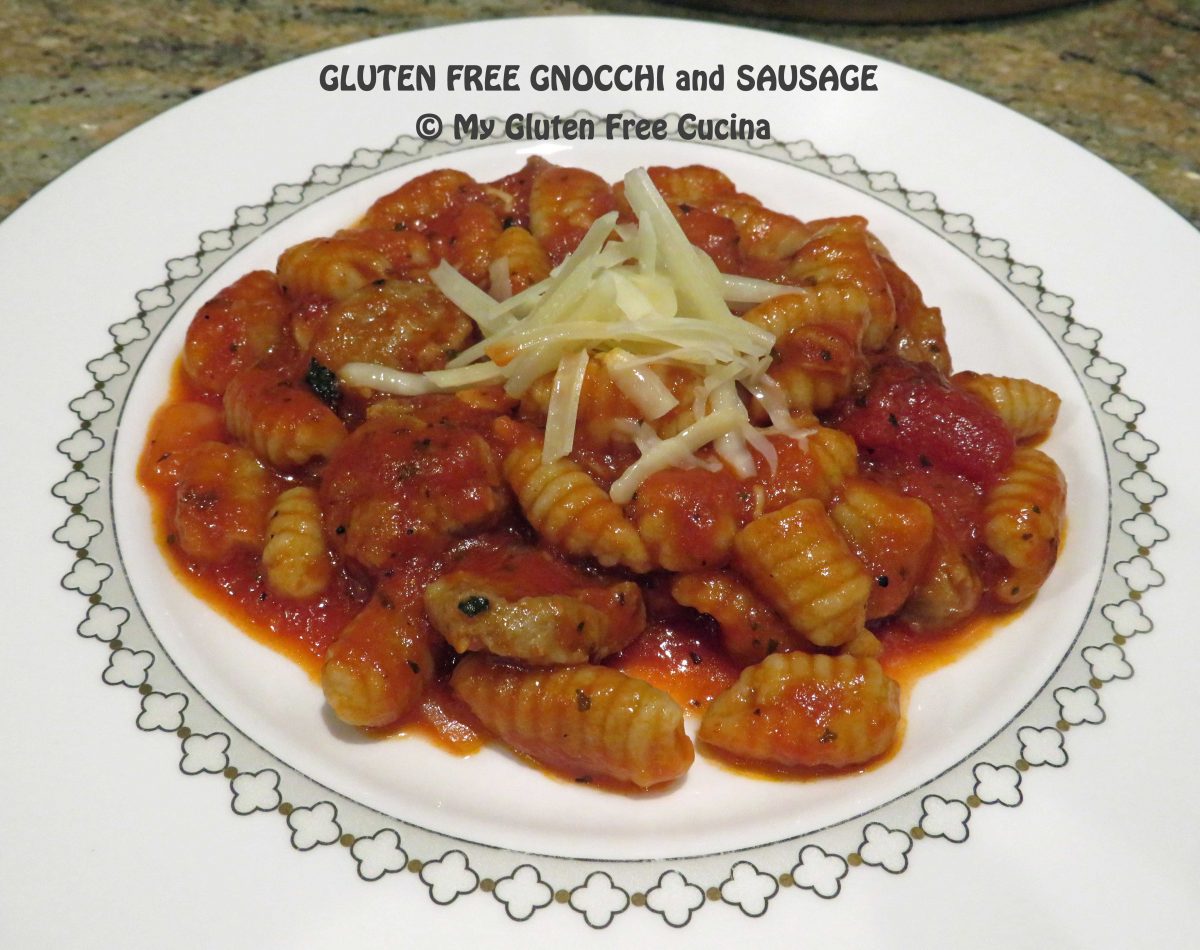
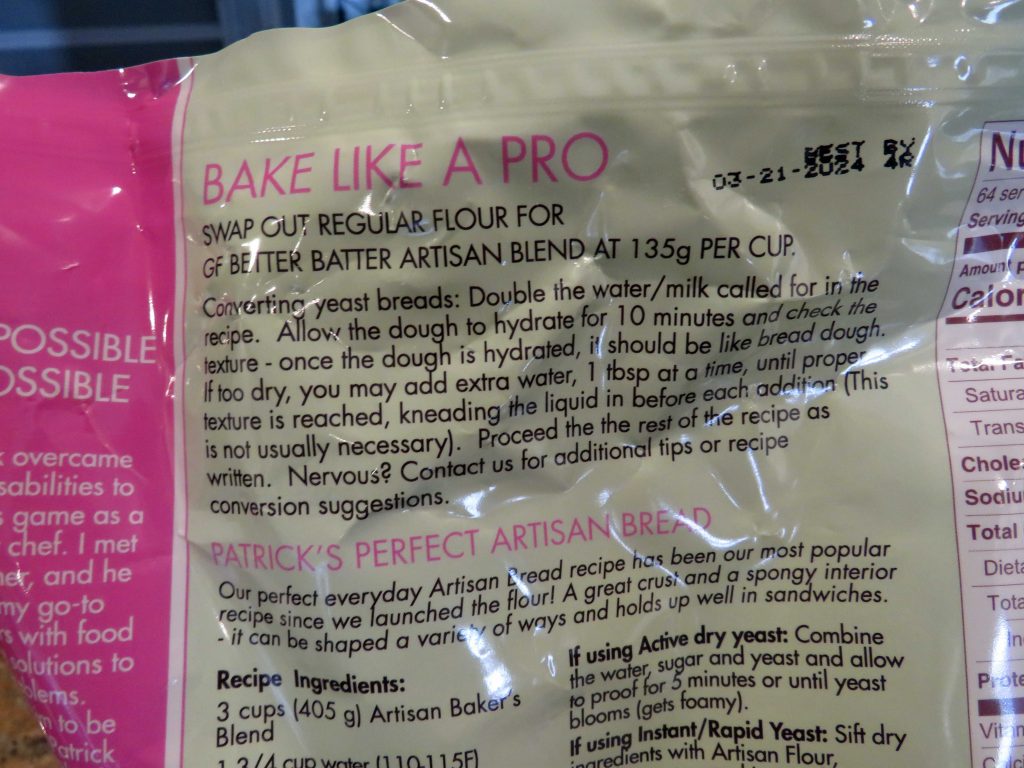
My long-time readers know that I am a huge fan of Better Batter. You have all heard me sing the praises of their Artisan Flour Blend, for making yeasted bread and pizza. But did you know, it also makes the most wonderful pasta? Yes, this beautiful tray of gnocchi was made with the flour that I call my little miracle in a bag!
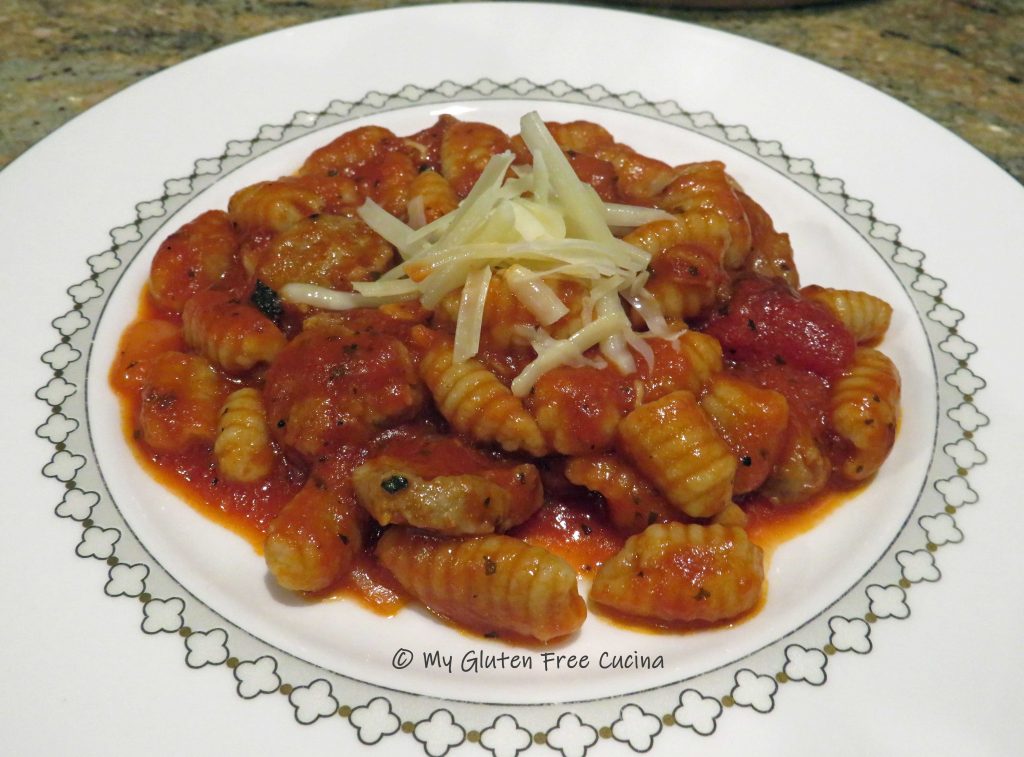
Paired with a simple sauce we had a wonderful Sunday dinner for two.
Ingredients:
- 120g. Better Batter Artisan Flour Blend
- 1/2 tsp. salt
- 1 large egg
- 2 tbsp. egg whites
- 1-1/2 tsp. olive oil
- 2 tbsp. water
- ——————————-
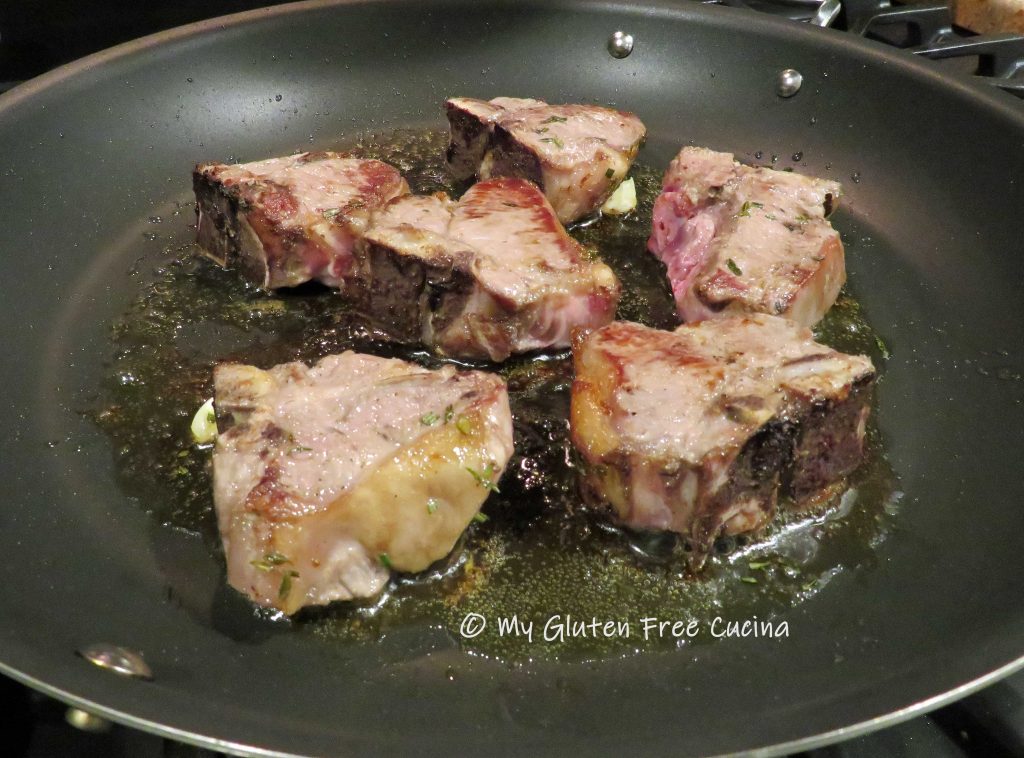
- 2 Italian sausage links, sliced into coins
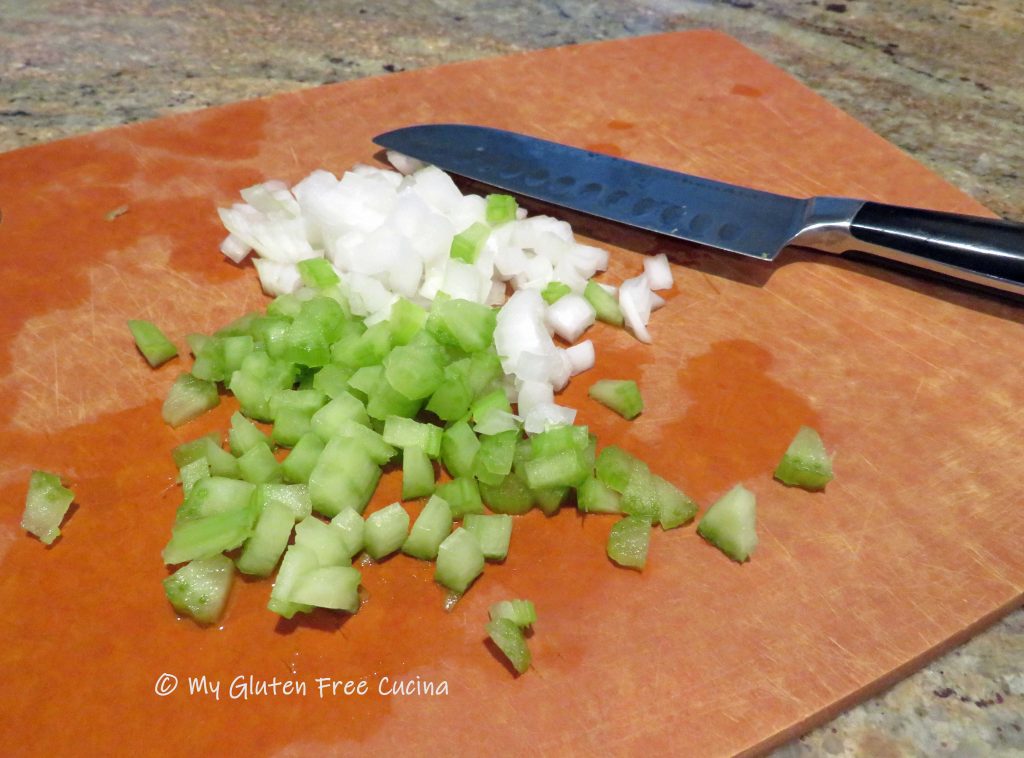
- 1/2 cup sweet onion, diced
- 2 garlic cloves, minced
- 1 can (14.5 oz.) tomato sauce
- 1/2 tsp. oregano
- 1 tsp. basil
- 1 tbsp. olive oil
Preparation:
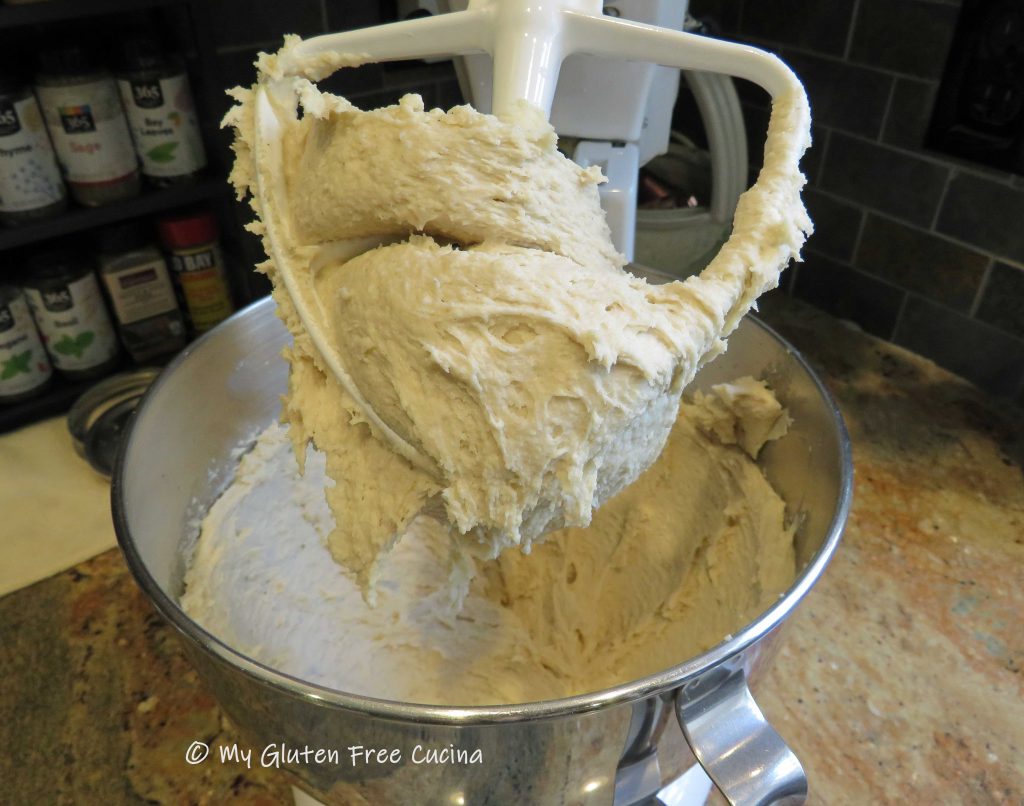
- Combine the first 6 ingredients in the bowl of a stand mixer (flour through water). Beat with the paddle attachment to form a soft dough.
- Bring the dough into a ball, and cover with plastic wrap. Rest at room temperature 20 minutes.
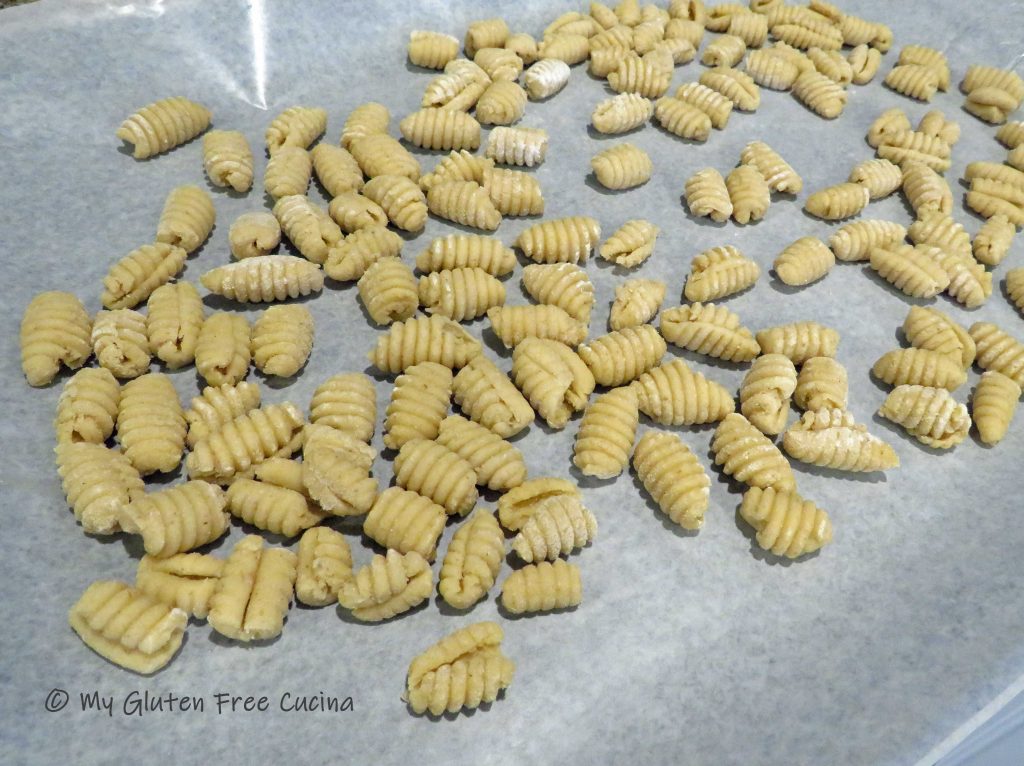
- Line a baking sheet with wax paper and dust with gluten free flour. Place the dough ball on a floured cutting board and divide into 4 pieces.
- Working with 1 section at a time, roll the dough into a long rope, 1/2″ thick. Cut the rope into 3/4″ pieces and roll each piece over a floured gnocchi board or fork.
- Place the formed gnocchi on the baking sheet and refrigerate until ready to cook.
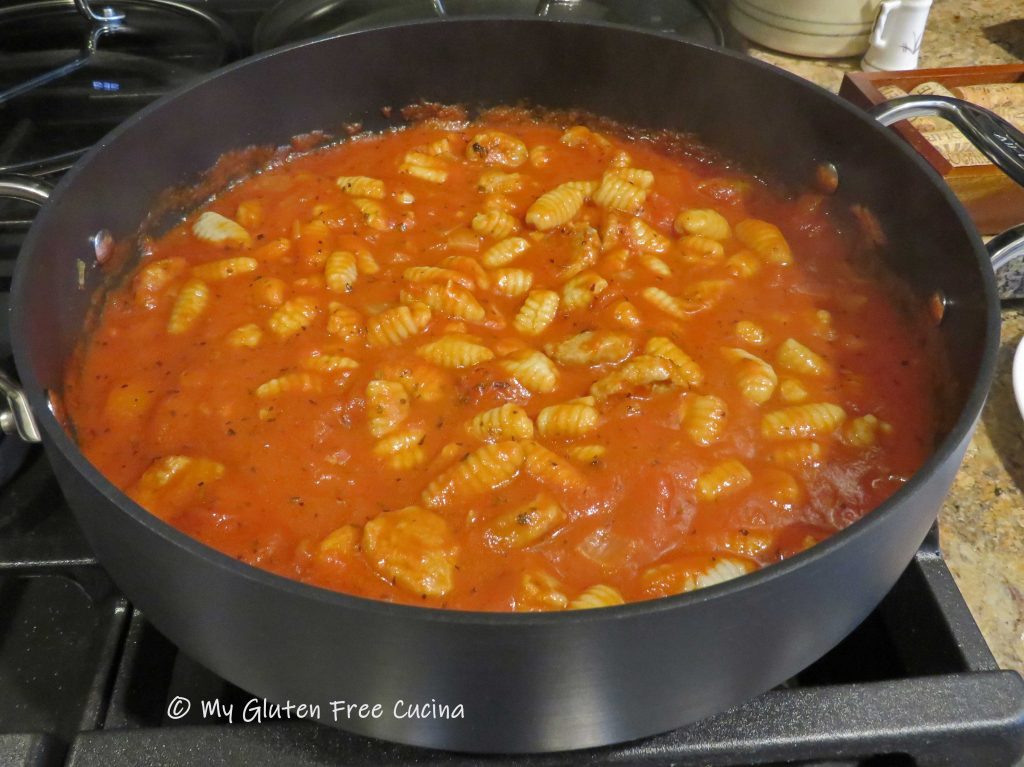
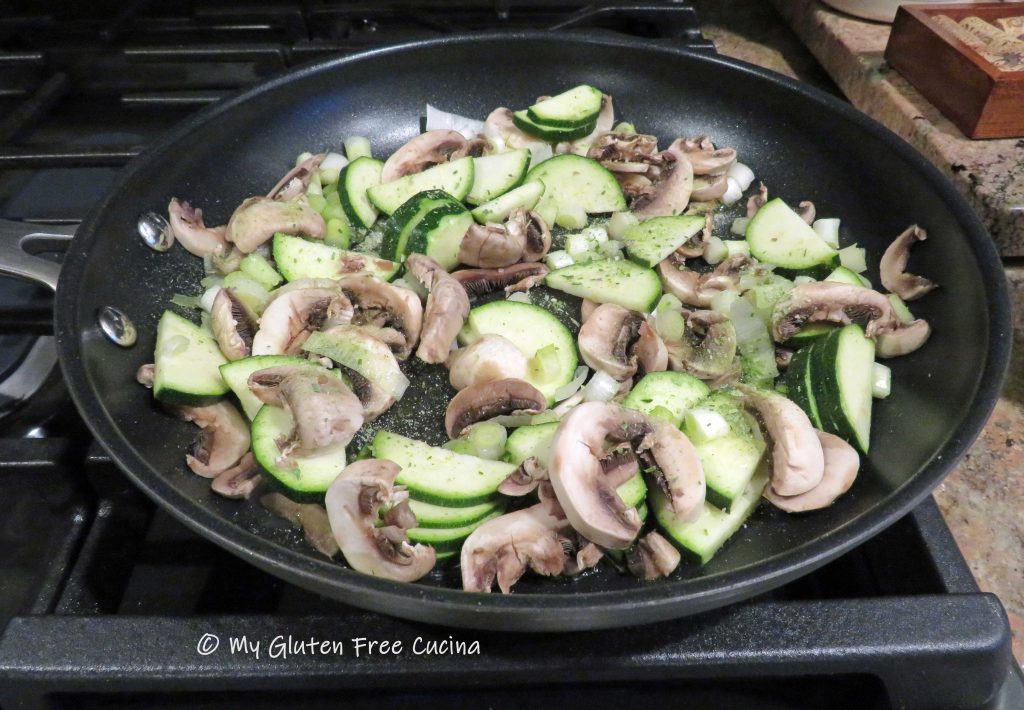
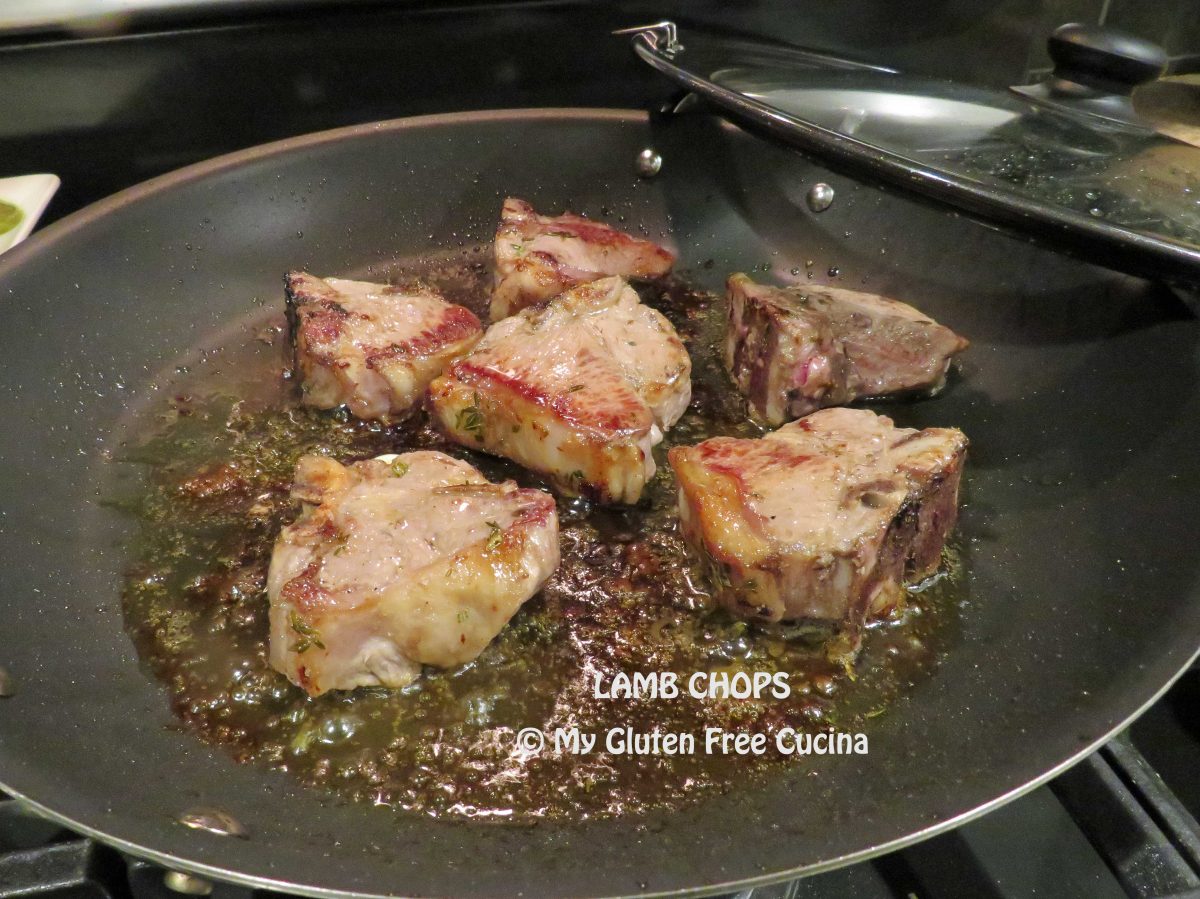
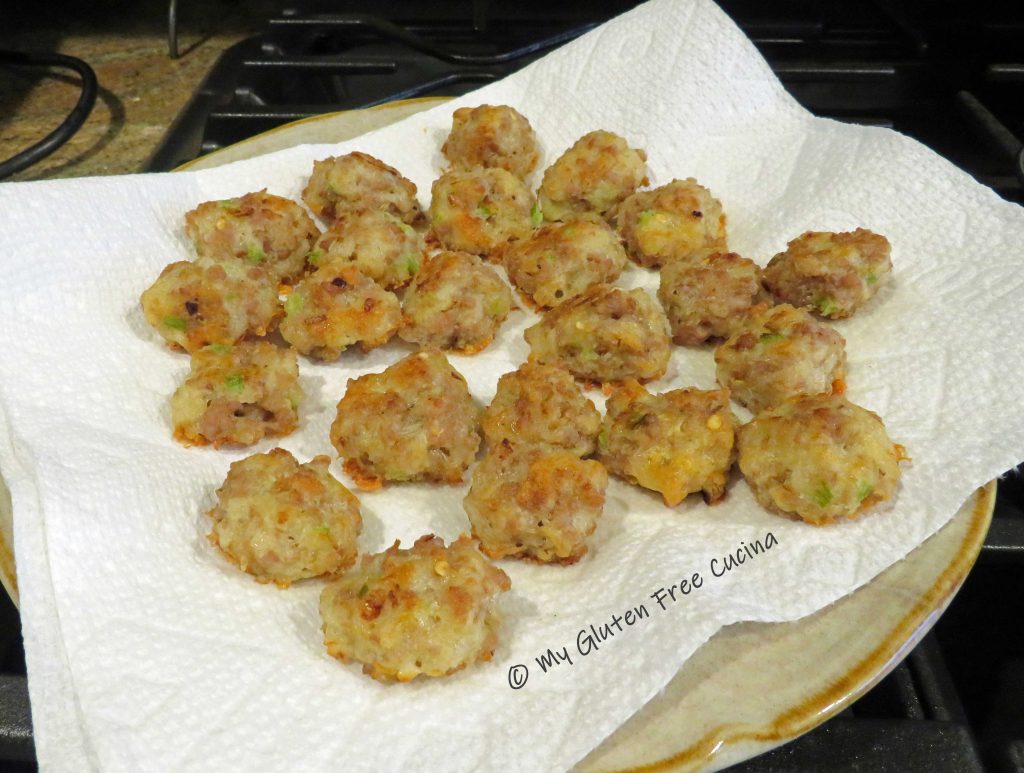
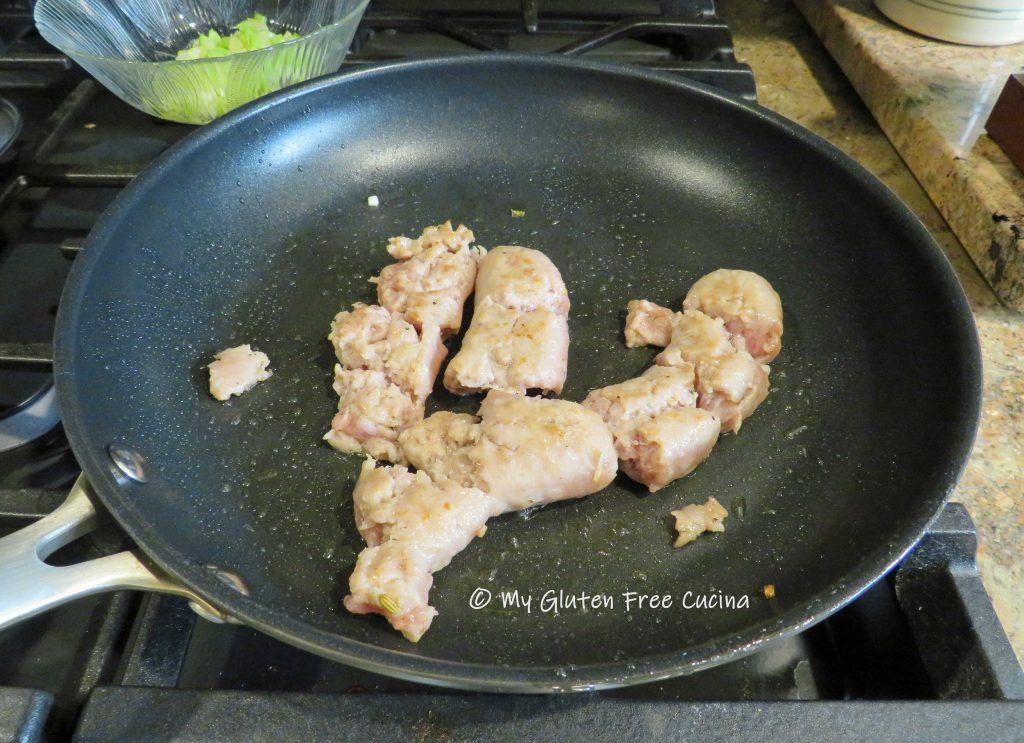
For the sauce, add olive oil to a stock pot or deep skillet and begin cooking the onions, until translucent. Add the sausage coins and brown on both sides. Next add the garlic and stir for 30 seconds. Add the tomato sauce, basil and oregano. Simmer 30 minutes.
Bring a pot of salted water to a rolling boil. Add the gnocchi and cook for 3 minutes. Fresh pasta cooks quickly, don’t overcook!
Drain the pasta and add to the sauce, tossing well to incorporate.
Serve with grated cheese.
Notes ♪♫ Love gnocchi? There are so many ways to make it! Check out this Gluten Free Gnocchi with Chicken and Roasted Cauliflower. Or how about Potato Gnocchi with Cassava Flour? Or, if you love sweet potato, check out this Sweet Potato Gnocchi made with white and sweet potato!


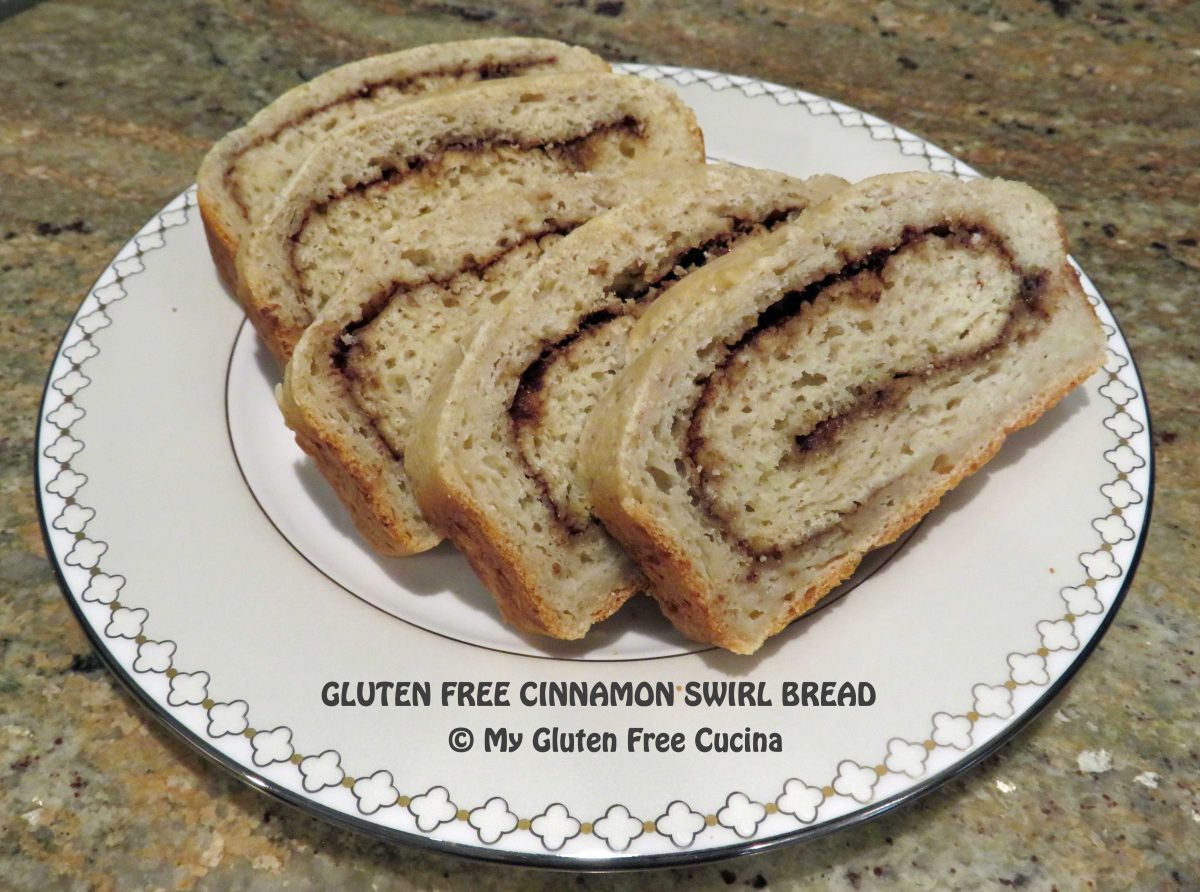
 Both adults and kids loved it, even the picky eaters! I can’t tell you how pleased I was to be making this bread again, it turned out great!
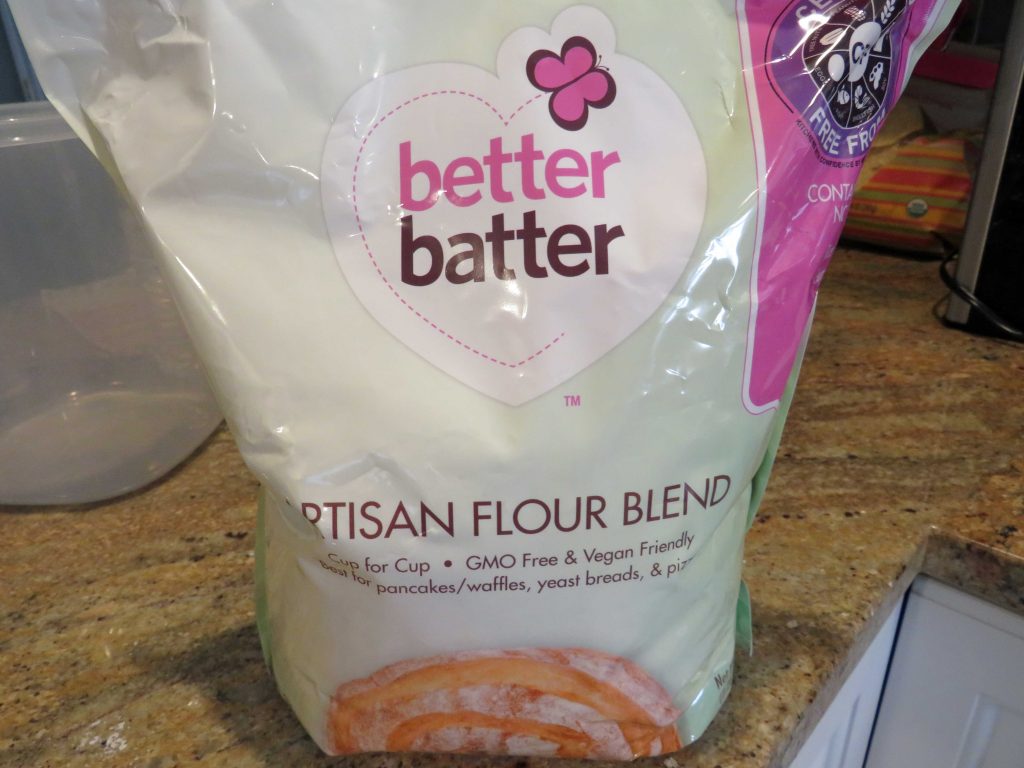

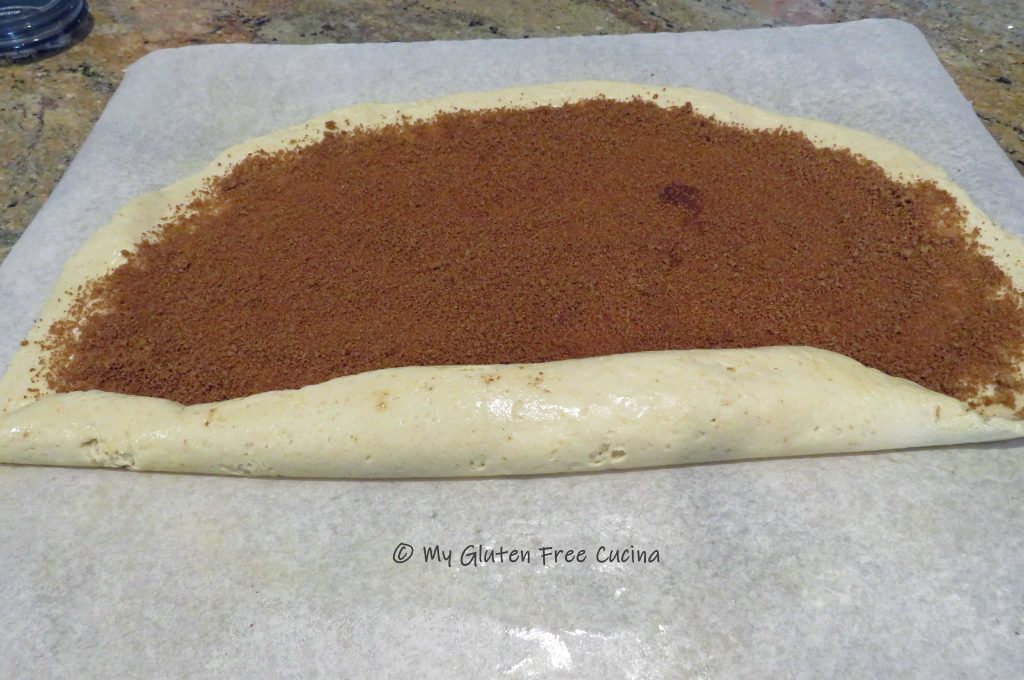
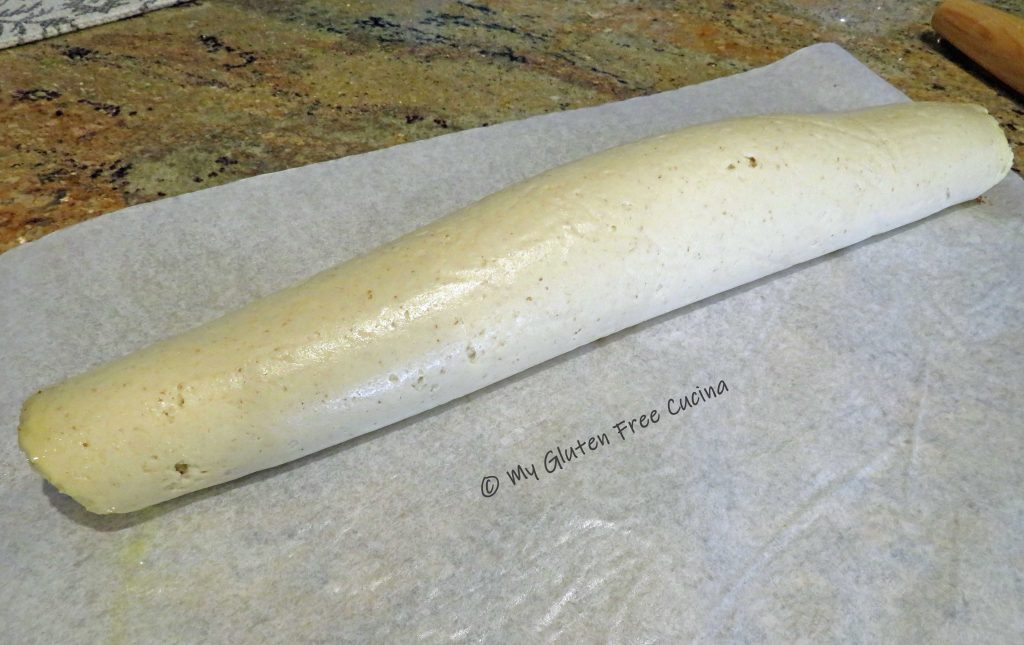
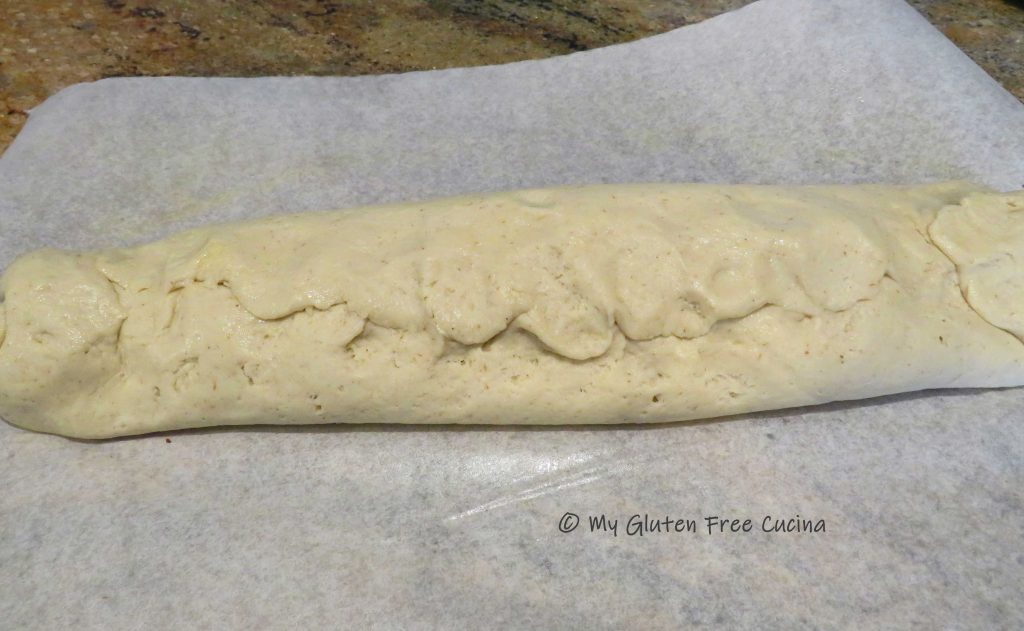
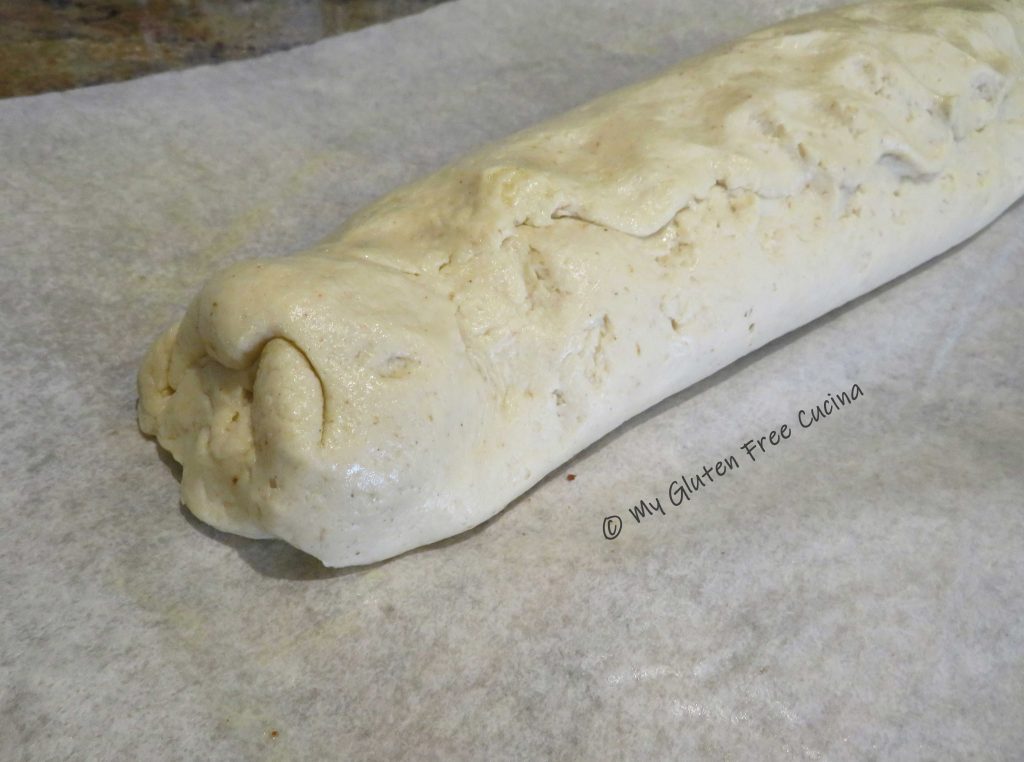
 Spread the brown sugar and cinnamon mixture evenly over the dough, leaving a 1″ border all around.
 Bake for 40 minutes or until the internal temperature reaches 200º. Remove from the oven and brush the top with 1 tbsp. melted butter.
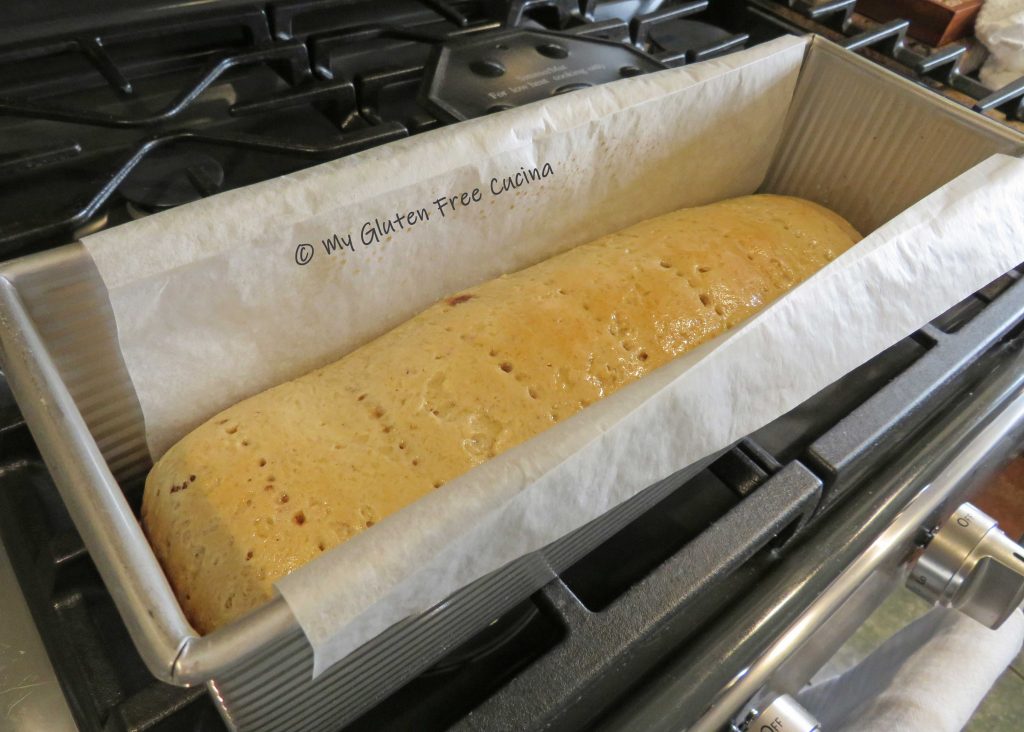 Grasp both sides of the parchment to lift the loaf out of the pan to a cooling rack.
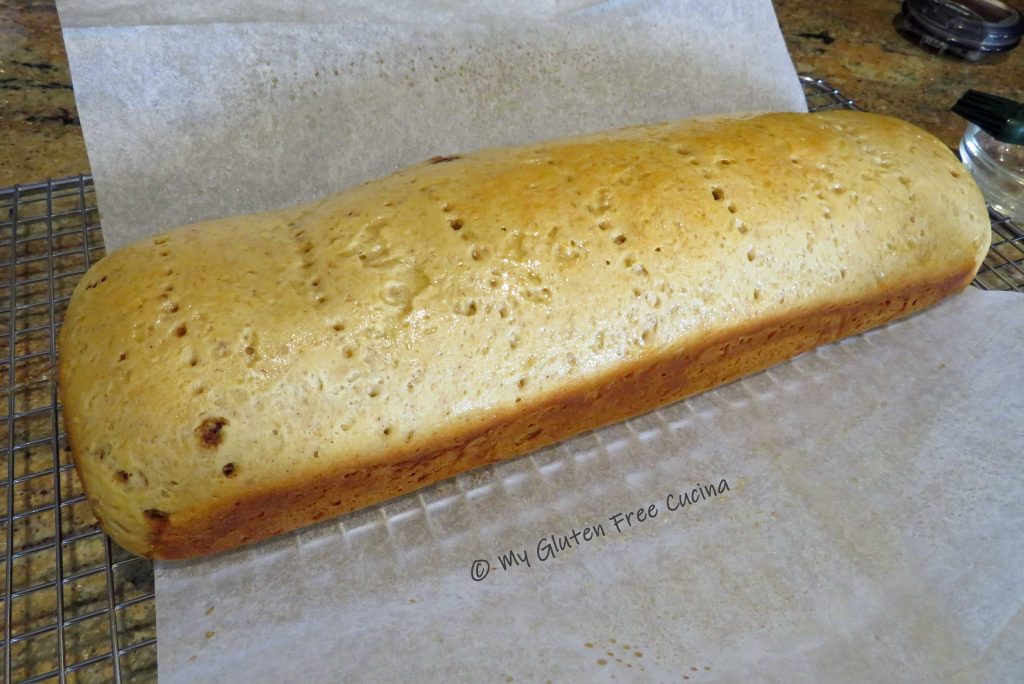 Slide the parchment out and let the loaf cool completely before slicing.
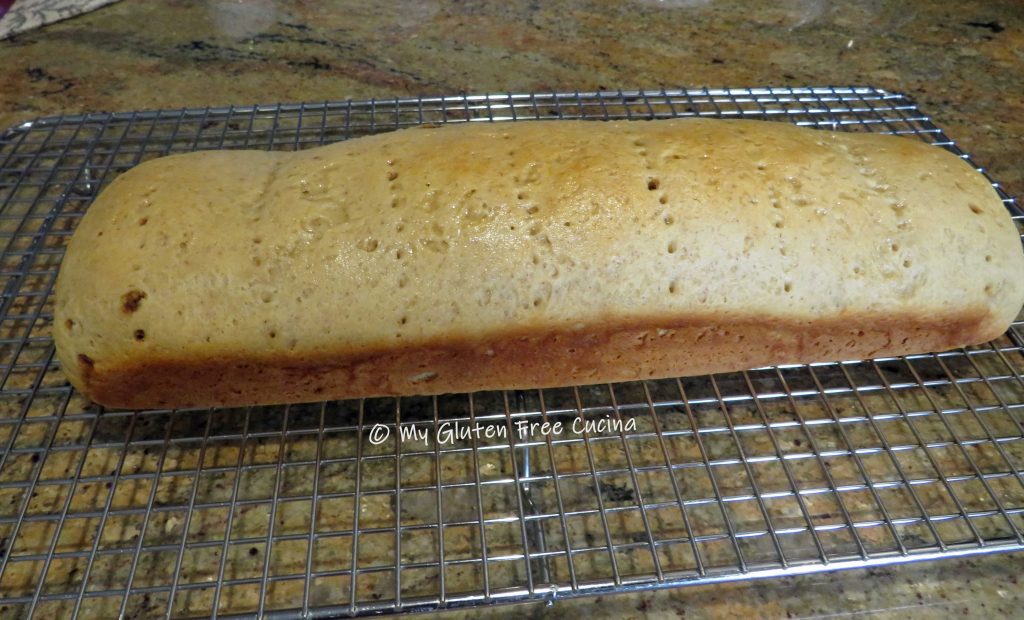


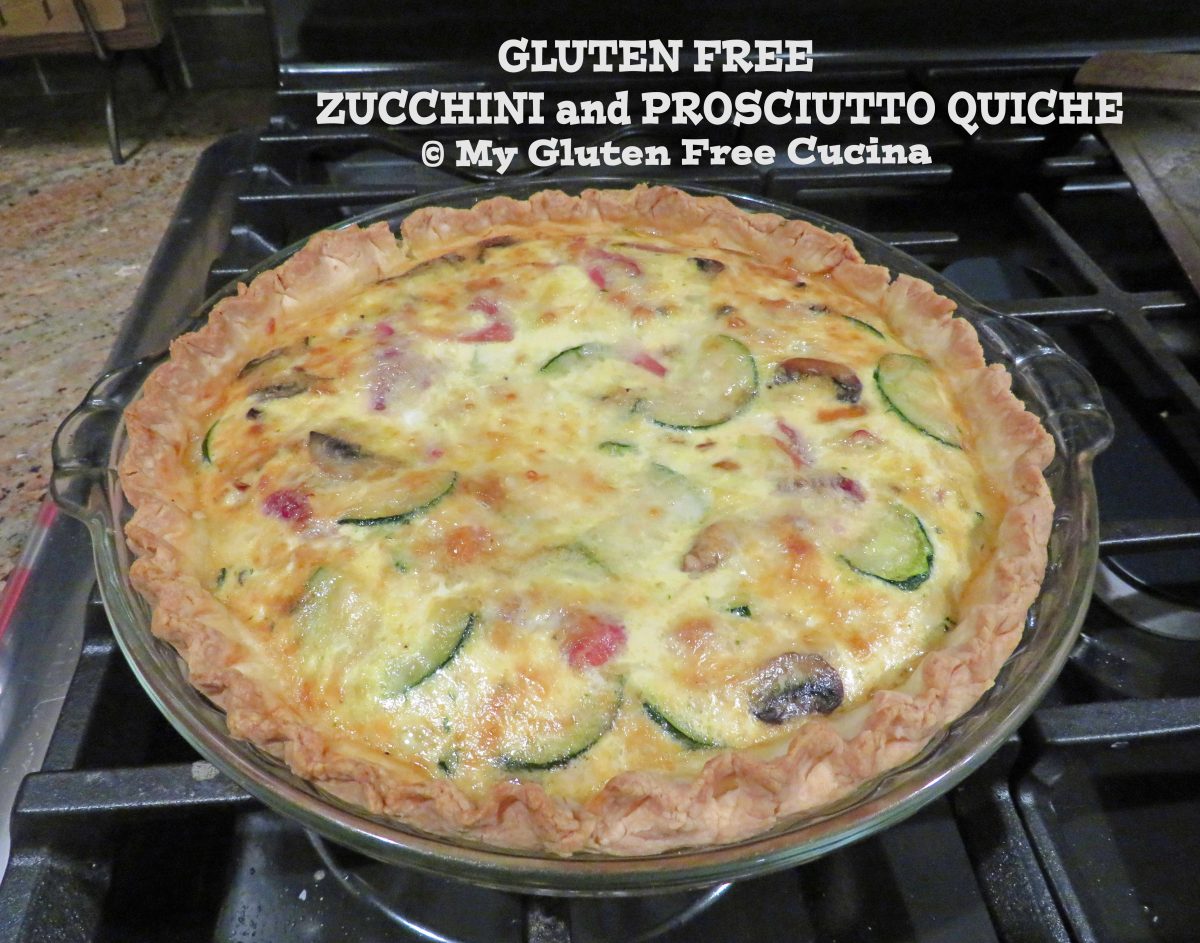


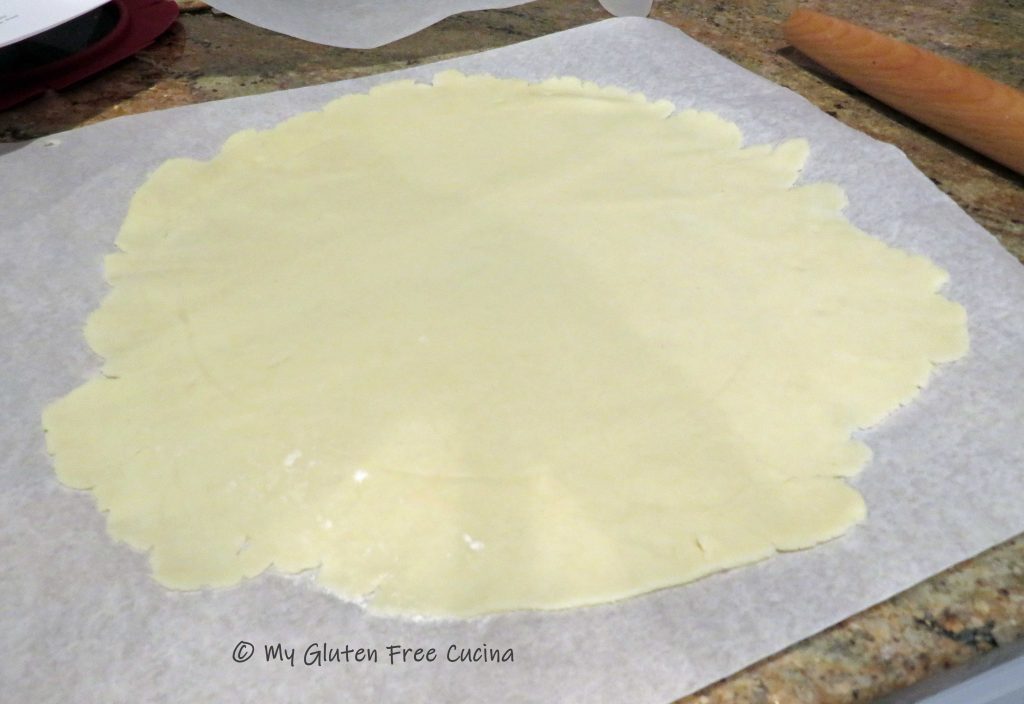
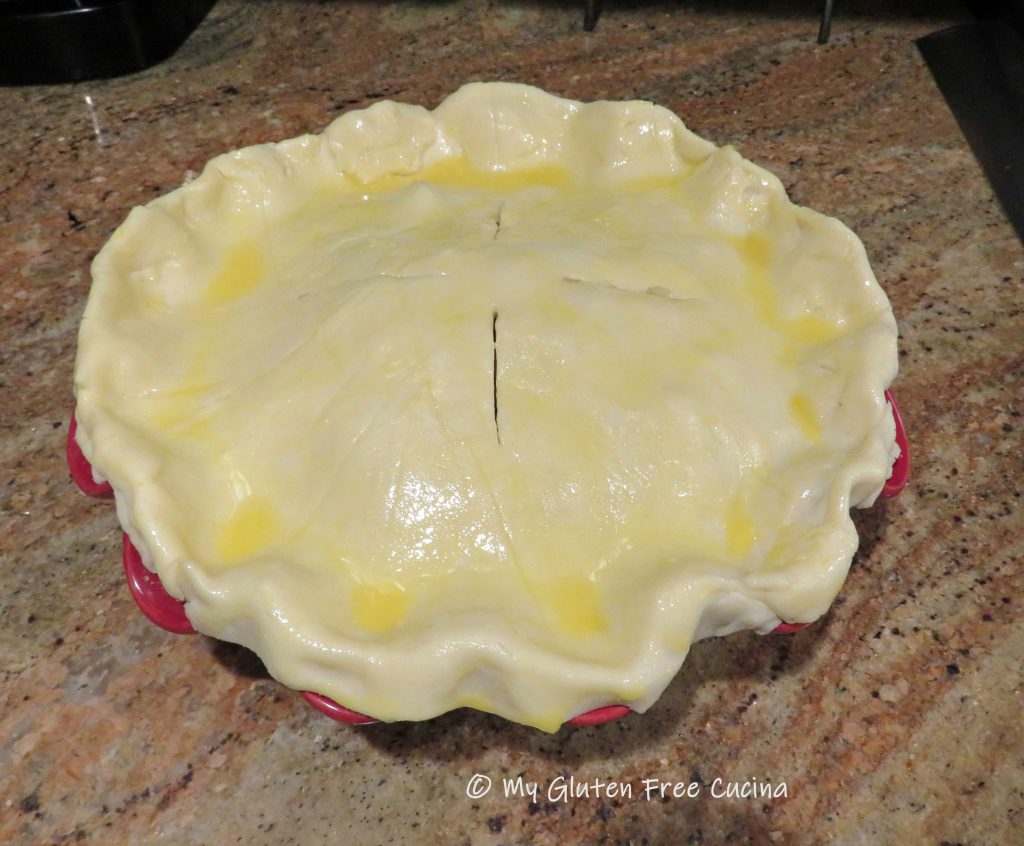
 Trim the excess (can be used to patch any cracks or holes), fold the edges under and crimp.
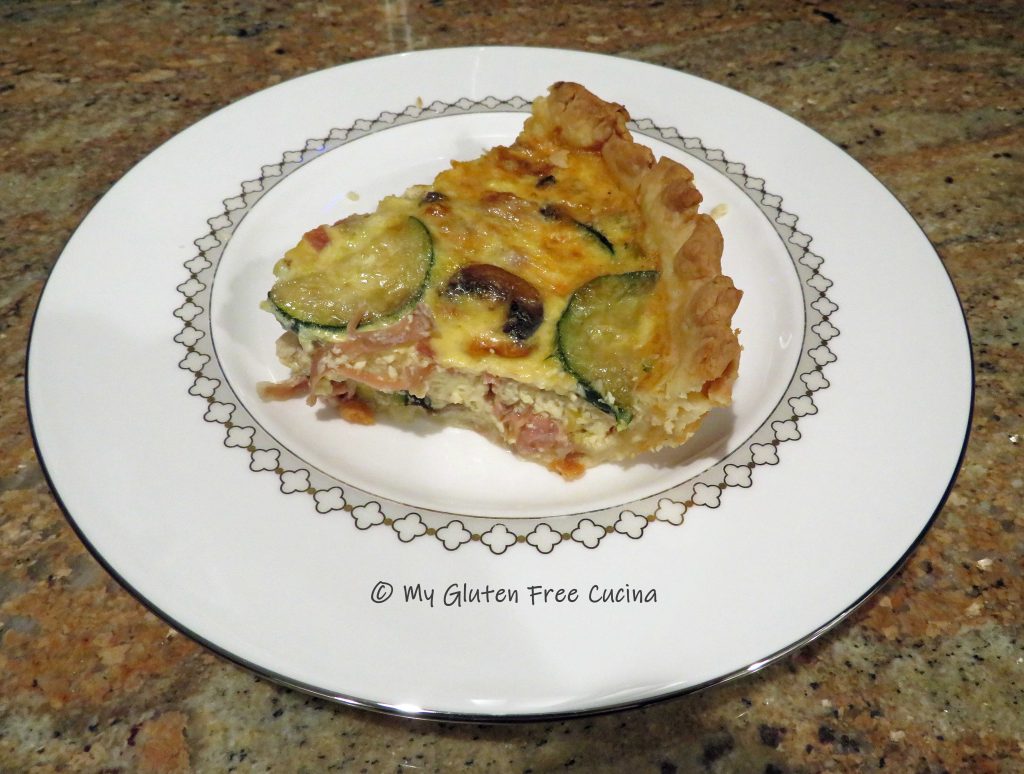
 Because the filling is made with heavy, wet ingredients, you will need to blind bake (pre-bake) the crust for 10 minutes to keep it from getting soggy. Be sure to weigh down the crust down to keep the bottom from puffing up. You can cover the crust with parchment and use beans or


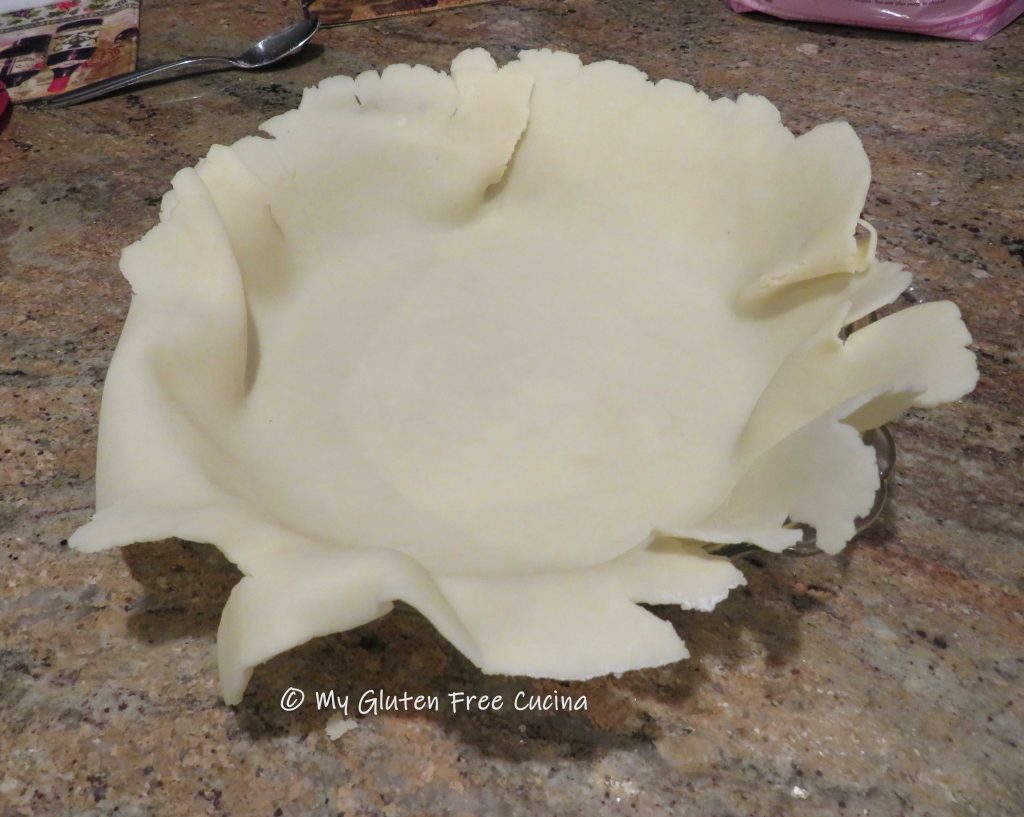
 Place one crust in the


 Preparation: