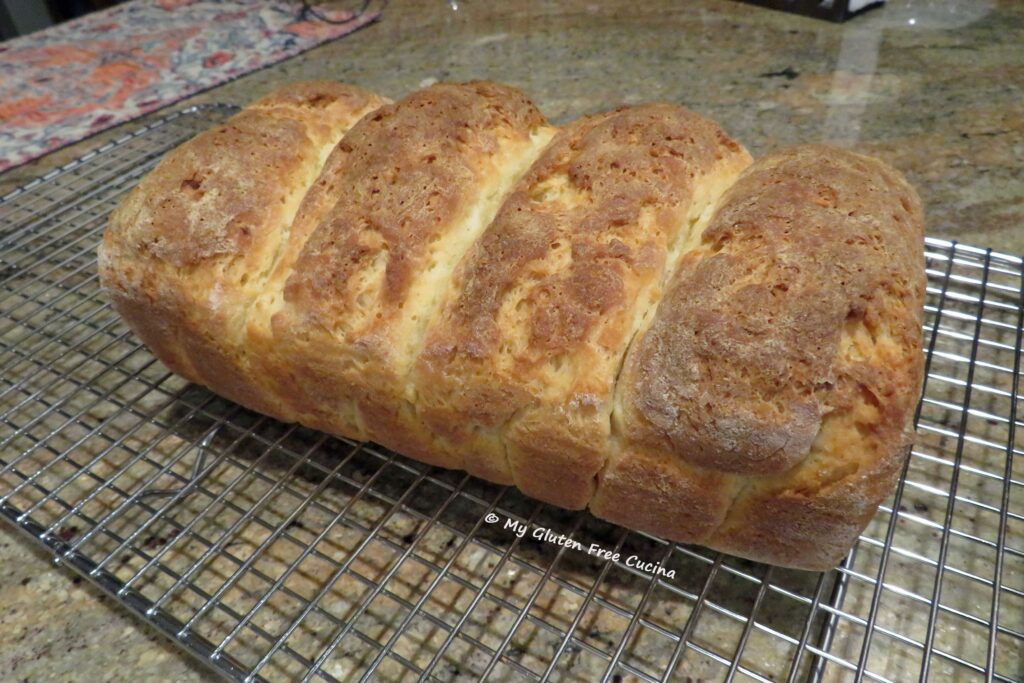
Gluten Free Hokkaido Milk Bread, a/k/a Japanese Milk Bread
Hokkaido Milk Bread, a/k/a Japanese Milk Bread is a soft, enriched bread that is great for sandwiches and so much more. The recipe begins with what is called a Tangzhong, a type of rue. Adding this bit of soft paste to the final dough is what gives the bread its fluffy texture.
Back in the day (before Celiac), I loved trying out different bread techniques, and I remember making this bread. Is it even possible to make a gluten free version? I am not exaggerating when I tell you I have been trying for over a year now!
I have tested this bread so many times, with pre-blended flour mixes as well as my own combination of flours and starches. Finding the right flour to liquid ratio was another piece of the puzzle.
As I’m sure you know, gluten free dough has a mind of its own, and there were a lot of failed bakes (that still tasted good) and do-overs that went into this recipe. Every time I test baked, I came a little closer to achieving the texture that I wanted. Special thanks to my favorite chef, Patrick Auger who has been cheering me on and offering advice along the way. Thank you, Patrick, you inspire me!
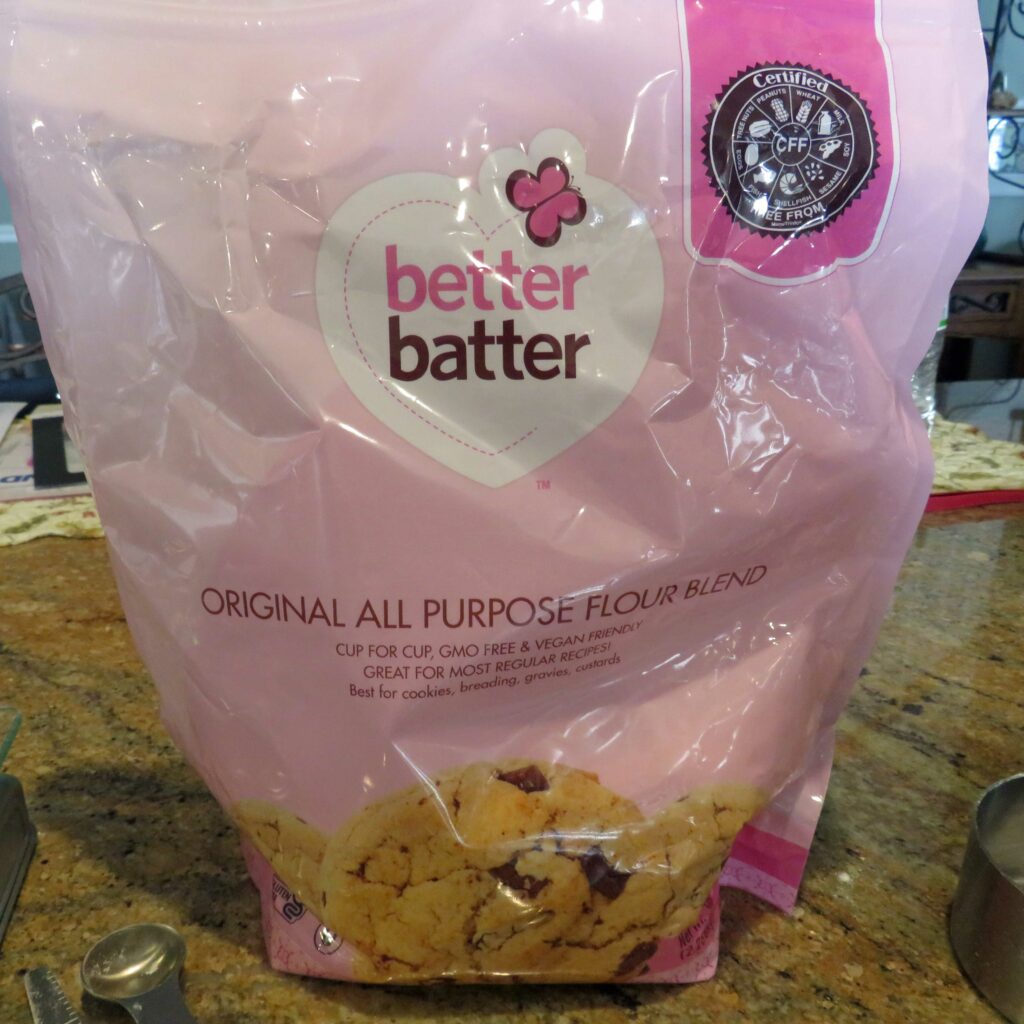
*This recipe was adapted from the King Arthur Baking website. For my adaptation I used Better Batter Original Blend gluten free flour*
This post contains affiliate links.
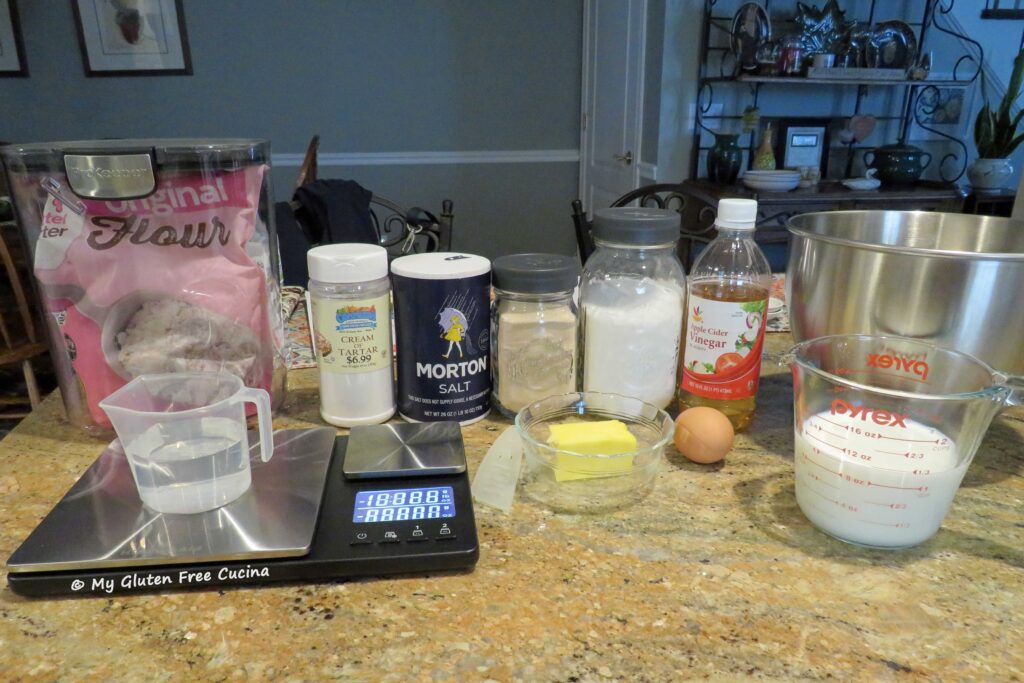
Ingredients:
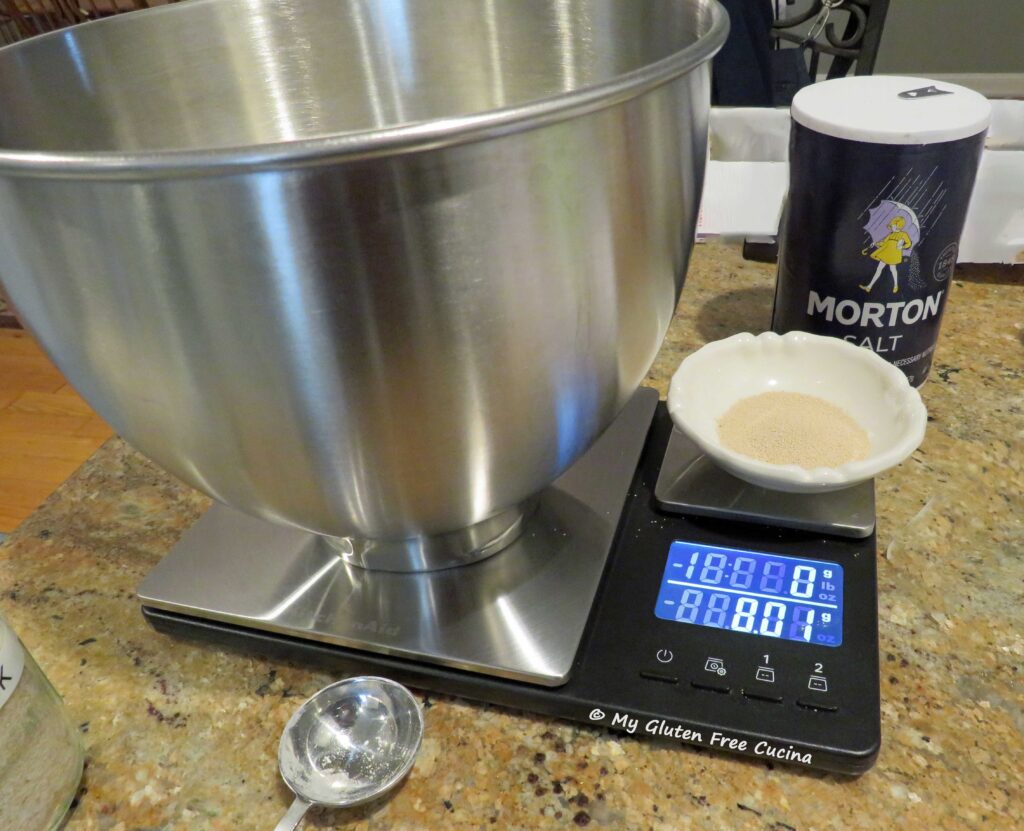
Before you get started, know that this is a very fussy bread. For success (and I want you to have success), use a scale to weigh your ingredients.
Tangzhong (Rue) Ingredients:
- 26 g. Better Batter Original All Purpose Flour
- 125 g. water (1/2 cup)
Dough Ingredients Dry:
- 420 g. Better Batter Original All Purpose Flour
- 8 g. instant yeast
- 3.3 g. salt
- 1.25 g. cream of tartar
- 50 g. white sugar
- 5 g. whole psyllium husk
Dough Ingredients Wet:
- 1 large egg (50 g.)
- 300 g. milk, warmed 15 seconds in the microwave
- 3 g. apple cider vinegar
- 56 g. unsalted butter (4 tbsp.), melted and cooled
- all of the Tangzhong, cooled
For Finishing:
- 1 tbsp. melted butter
Remember to use my Promo Code MGFC30 for 30% off at Better Batter!
Preparation:
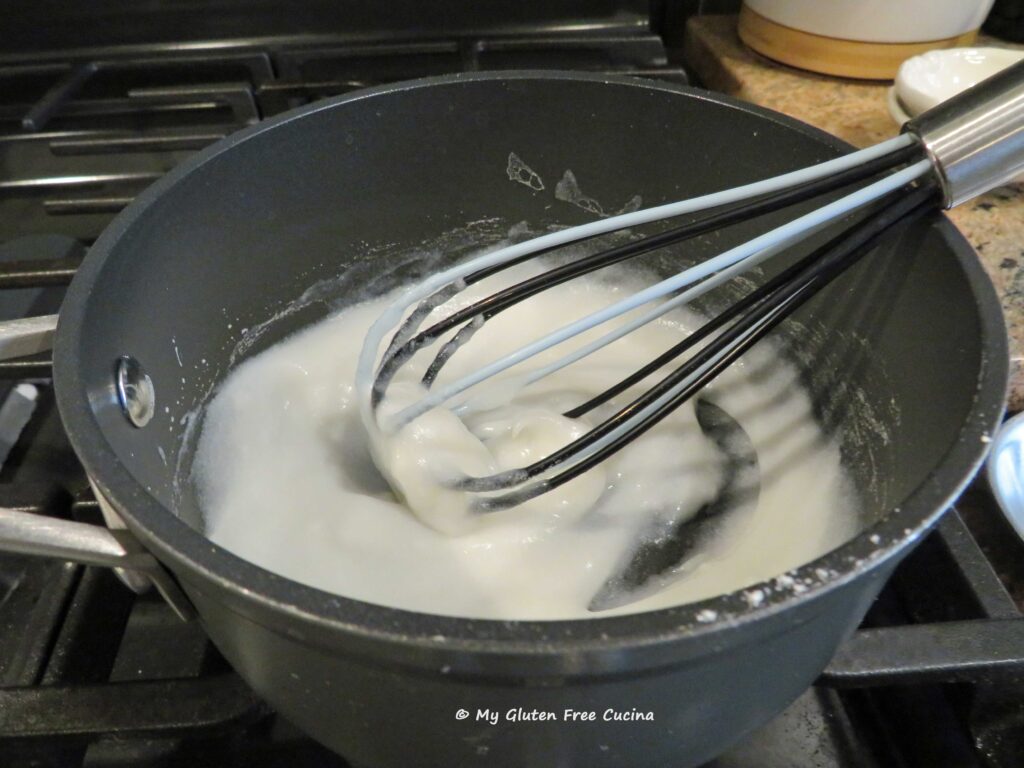
The first step of this recipe is making the Tangzhong. This is a water rue, and I have learned that the weights are very important. Note that with gluten free breads you will almost always need to increase the amount of liquid used in a normal recipe.
Combine the flour and water in a small saucepan. Whisk thoroughly until lumps are gone, then place on the stove over low heat. Continue whisking for at least 5 minutes (don’t walk away!). The mixture will gradually thicken, until it clings to the whisk, like this.
-Set the Tangzhong aside in a bowl to cool while you gather the other ingredients.
-Next melt the butter, so it has time to cool down.
-Weigh and combine all of the dry ingredients in the bowl of a stand mixer and whisk together thoroughly.
-When your melted butter and Tangzhong have cooled to room temperature, whisk them together with the other wet ingredients.
-Add the wet ingredients to the dry and mix on lowest speed for 30 seconds or so to incorporate.
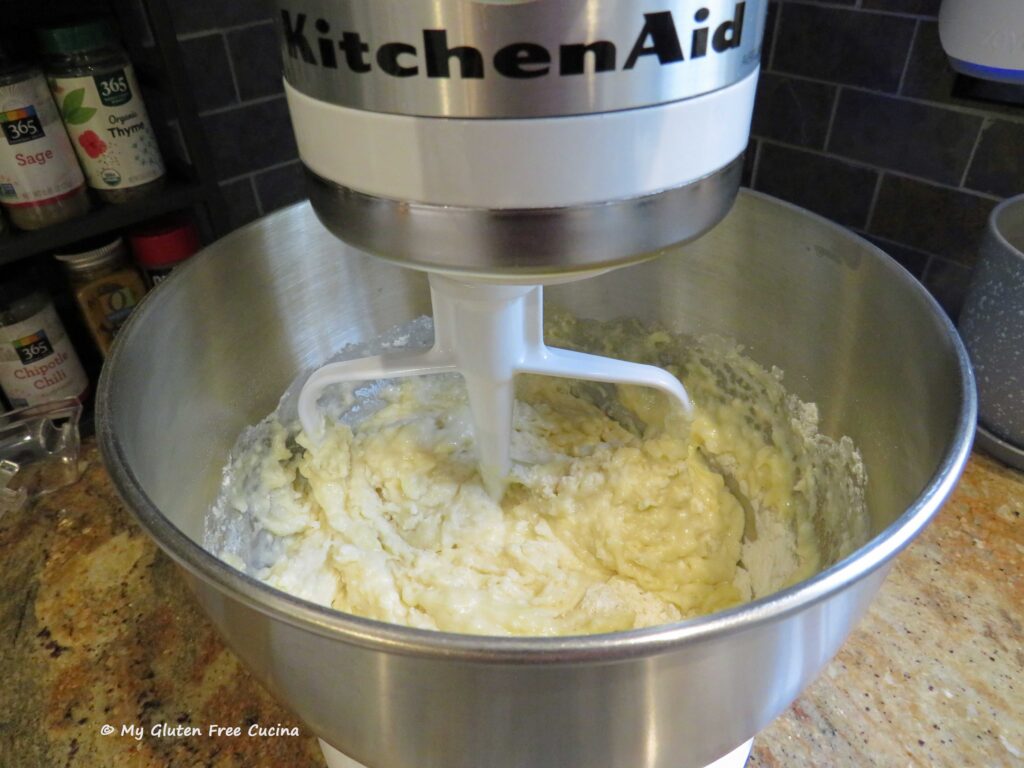
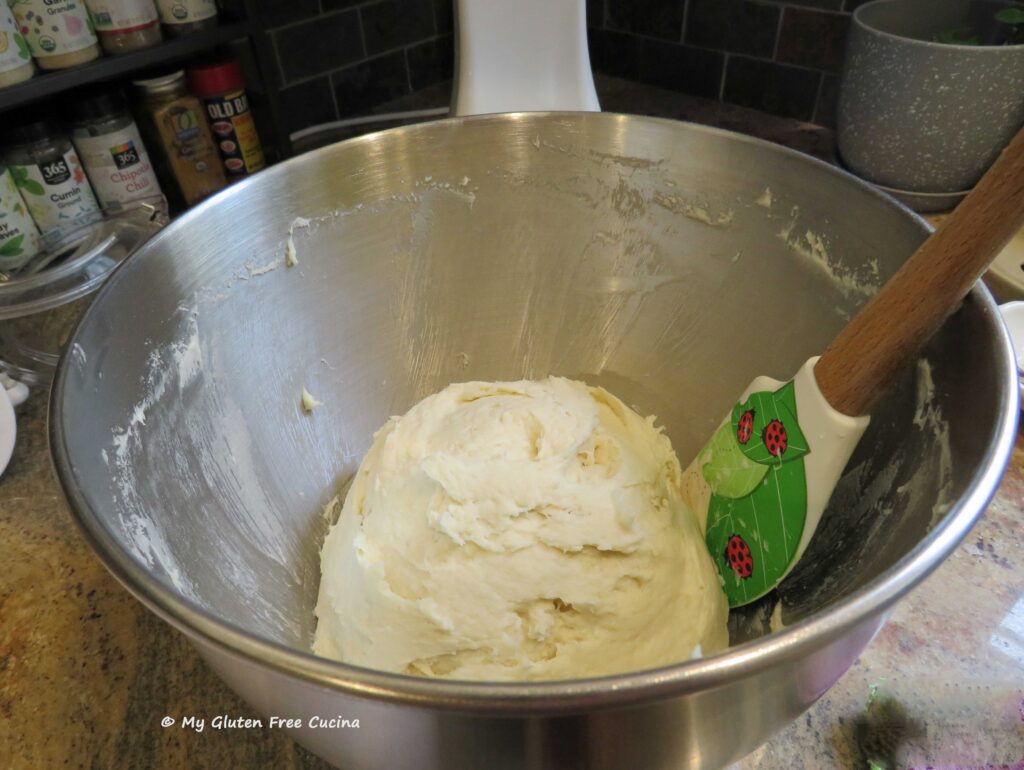
When everything is moistened, increase speed and mix with the paddle attachment for 15 minutes to form a smooth supple dough.
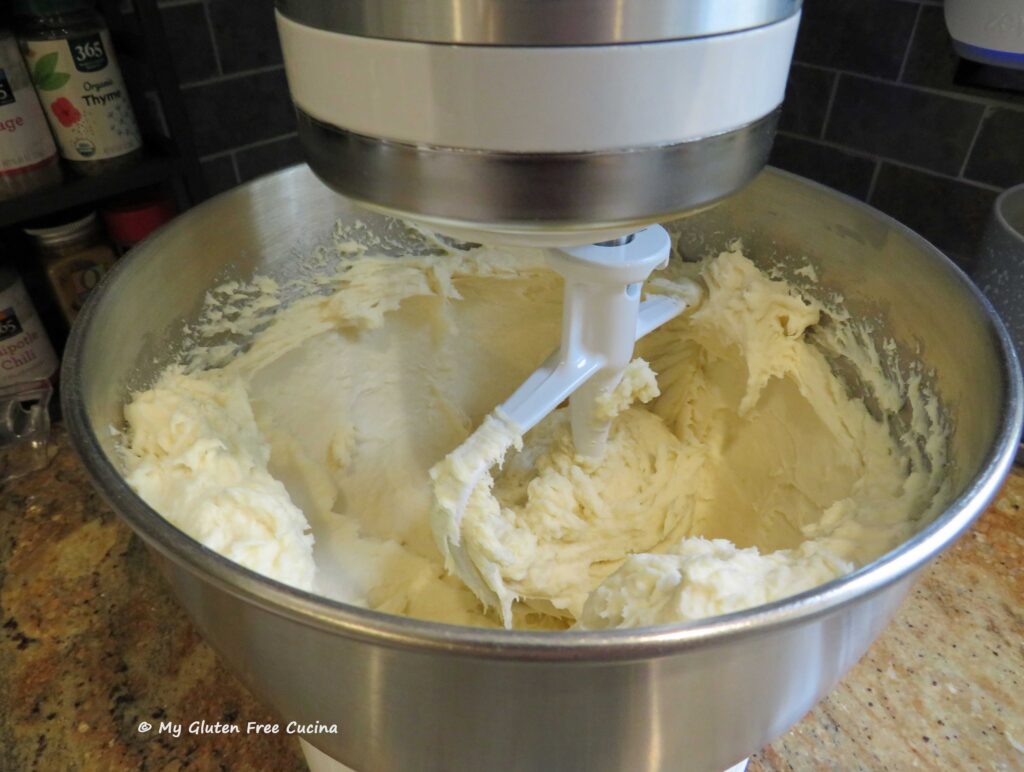
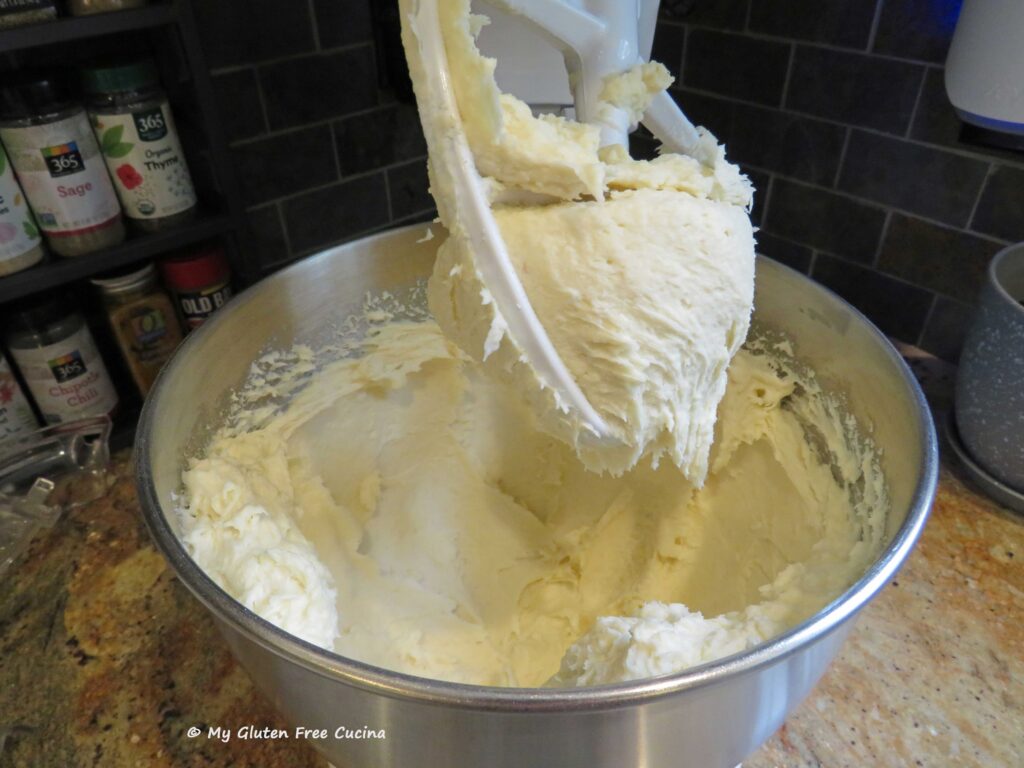
Scrape the dough down, cover and let it rest for 20 minutes.
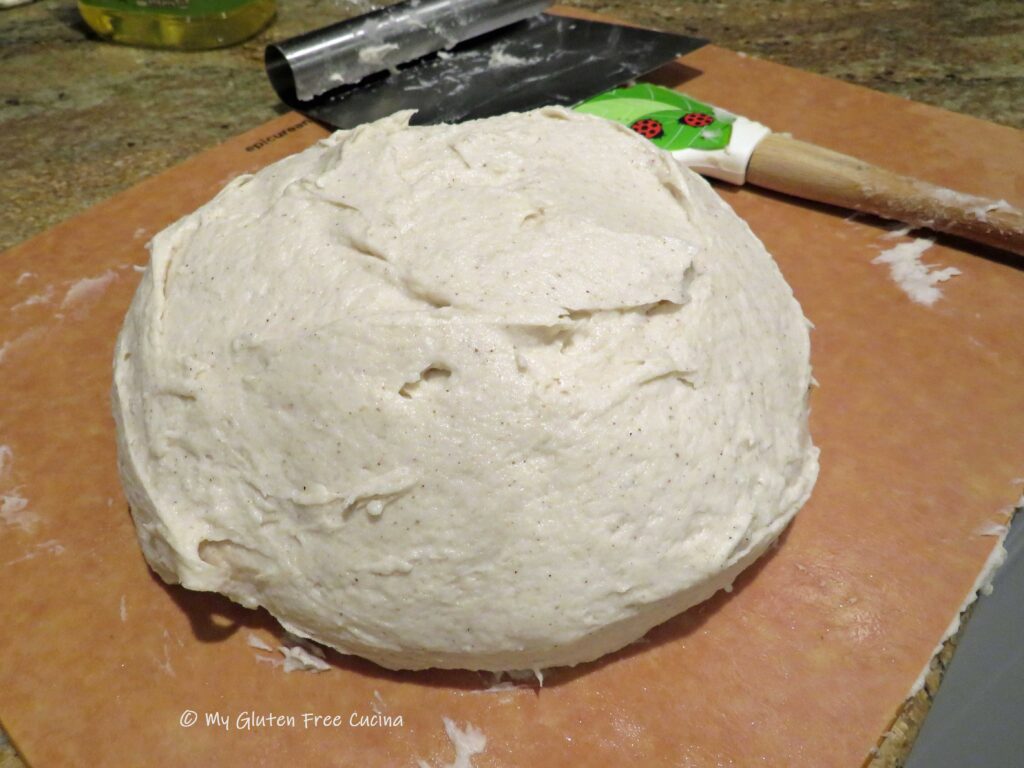
For my fellow perfectionists, now is a good time to get a total weight on your dough. Place an empty bowl on the scale, tare it and add the whole dough ball. Why? So that when you divide it into 4 sections, you will know that they are of equal weight.
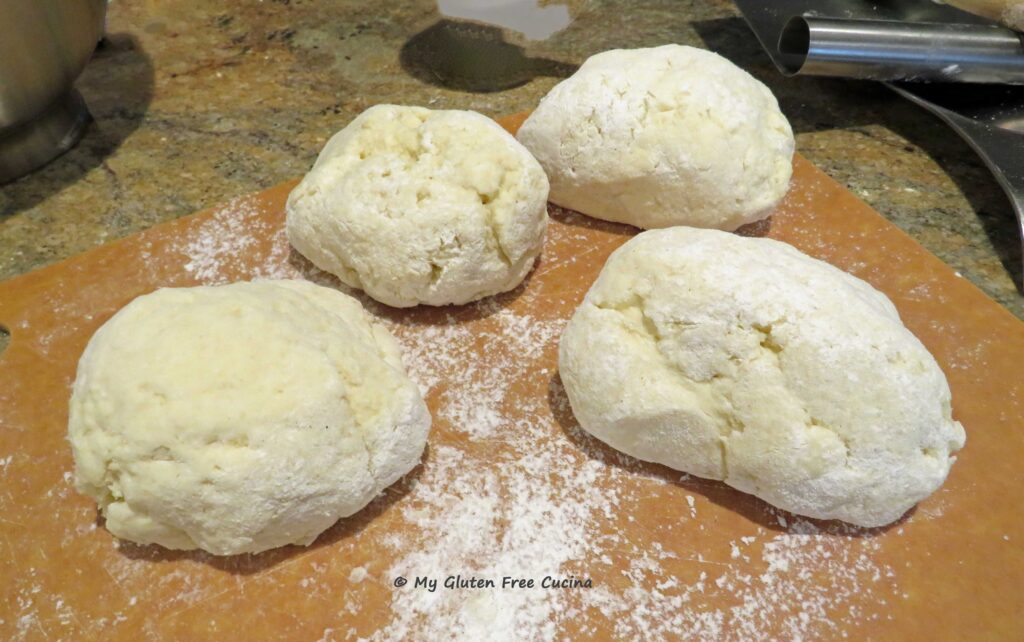
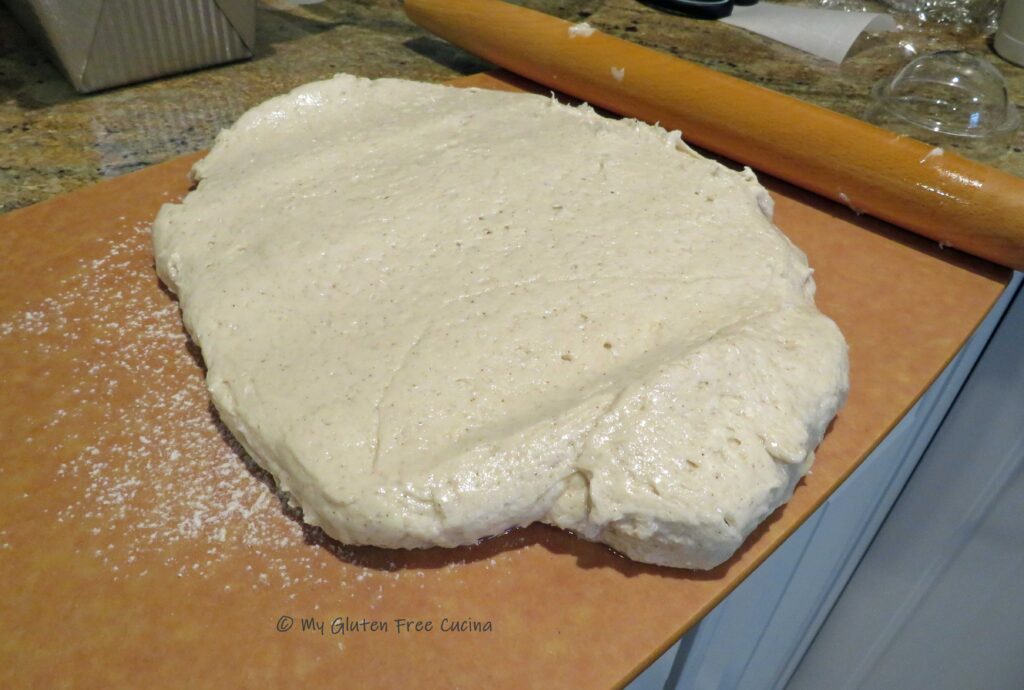
My total dough weight was 1000g. and I divided it into 4 sections of 250g. each. Place the four pieces on a floured cutting board and pat them lightly with flour.
Then, working with one piece at a time, roll into a rectangle, about 4 x 6″.
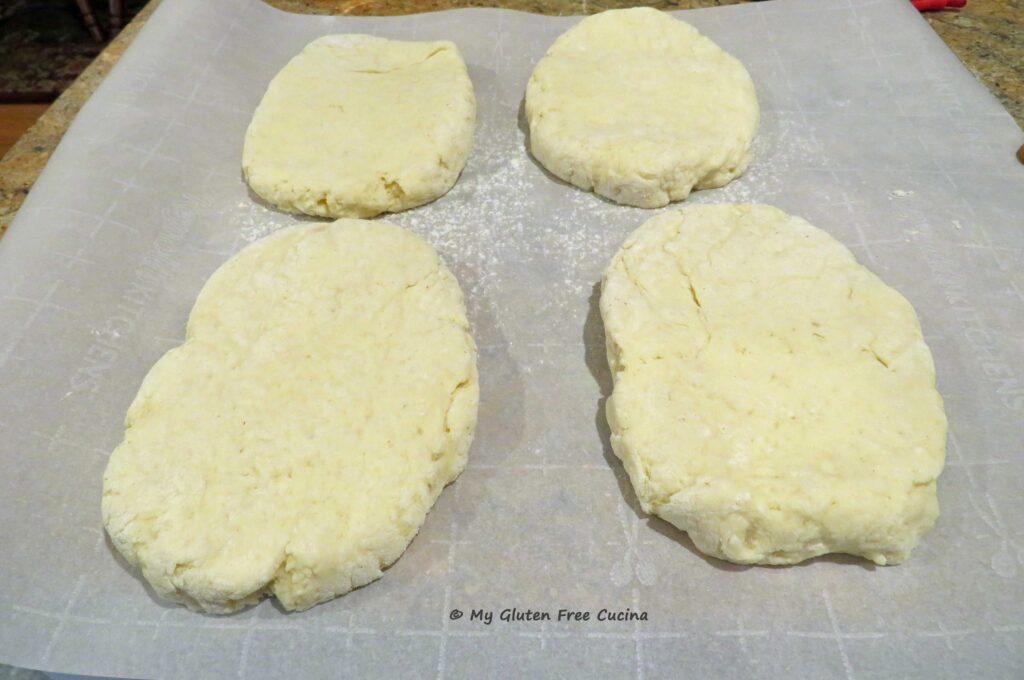
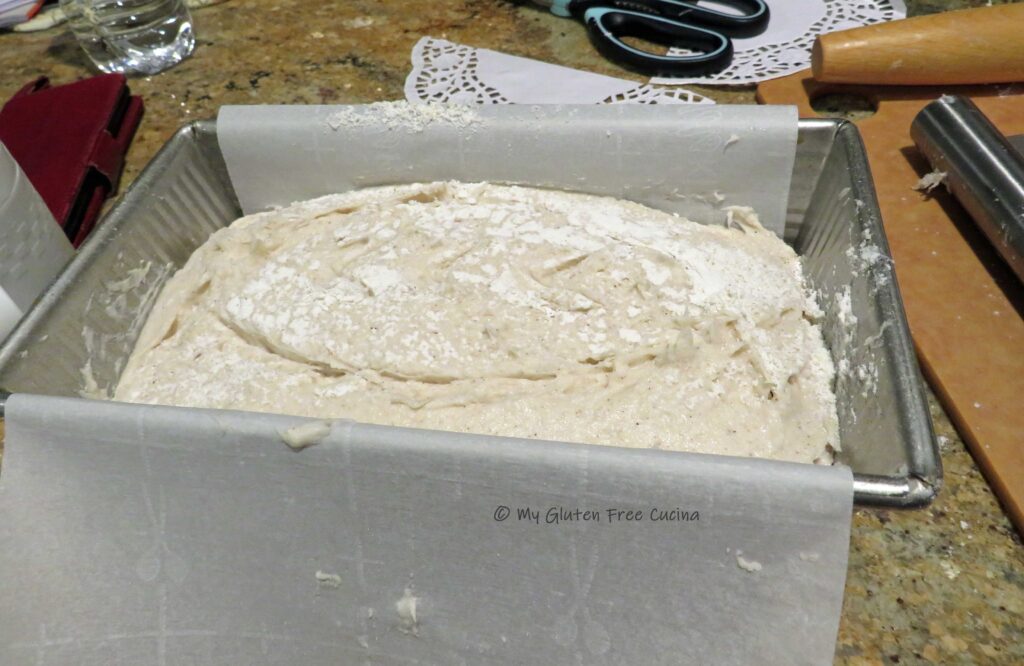
Gently fold each piece in half, then place side by side in a 9 x 5 (1.25 lb.) loaf pan with the folded side facing up. I lined the pan with parchment and misted with cooking spray. This made it easier to lift out the finished loaf.
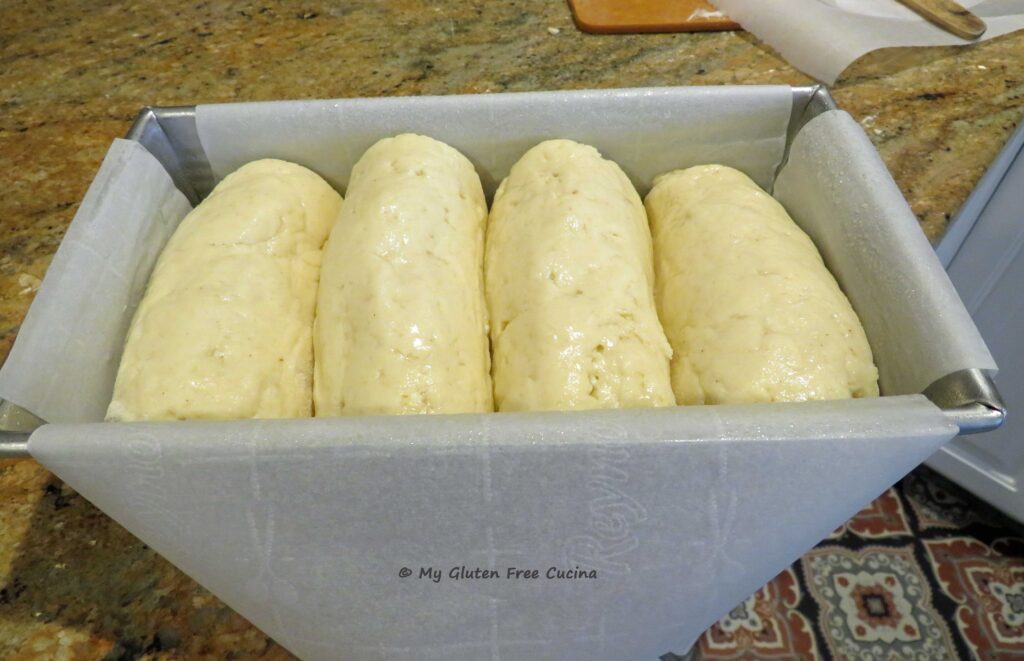
Note that in traditional Hokkaido milk bread recipes, the sections of dough are folded over several times and rolled into a cylinder. I found that this caused more breakage and separations in the dough, so I modified this step by just folding the pieces in half. It was much easier and did not affect the finished loaf.
Spray the top of the loaf liberally with warm water and use a spatula to smooth any cracks in the dough. Cover and proof in a warm place until the dough has risen to just below the rim of the pan, about 40 minutes (I used my proofing box, set to 80º).

Preheat the oven to 350º with a baking stone set on the middle rack.
Before baking, brush 2 tbsp. melted butter over the top of the loaf.
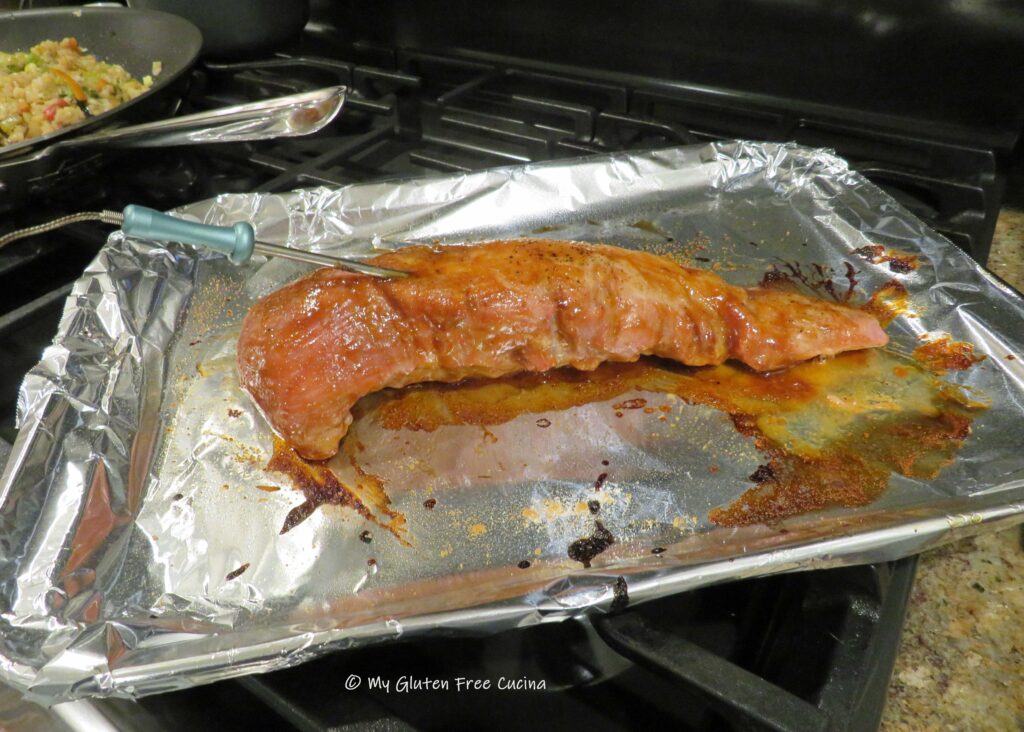
 Place it on the center rack and throw a few ice cubes onto the bottom of the oven. Bake for 45 minutes, or until the internal temperature reaches 190º.
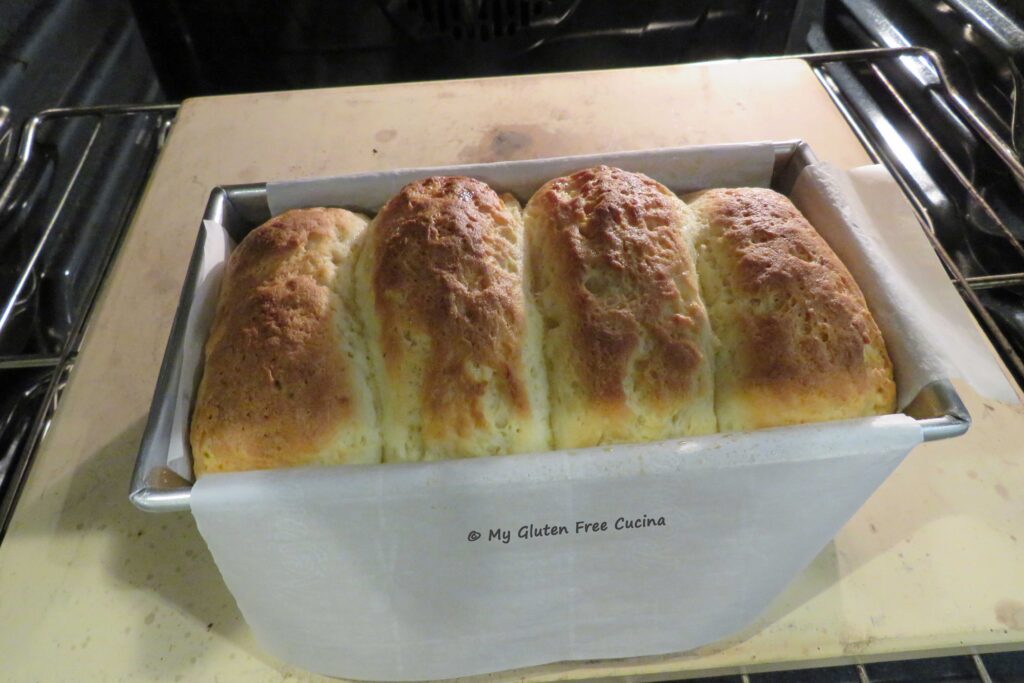
Grasp the parchment and lift the loaf out of the pan. Remove the parchment and bake directly on the stone for 10 minutes longer.
Remove from the oven and let the loaf cool to room temperature. When cooled, cover and let it rest, ideally for 18-24 hours. Now is the time to admire your work (and maybe take care of the cleanup)!
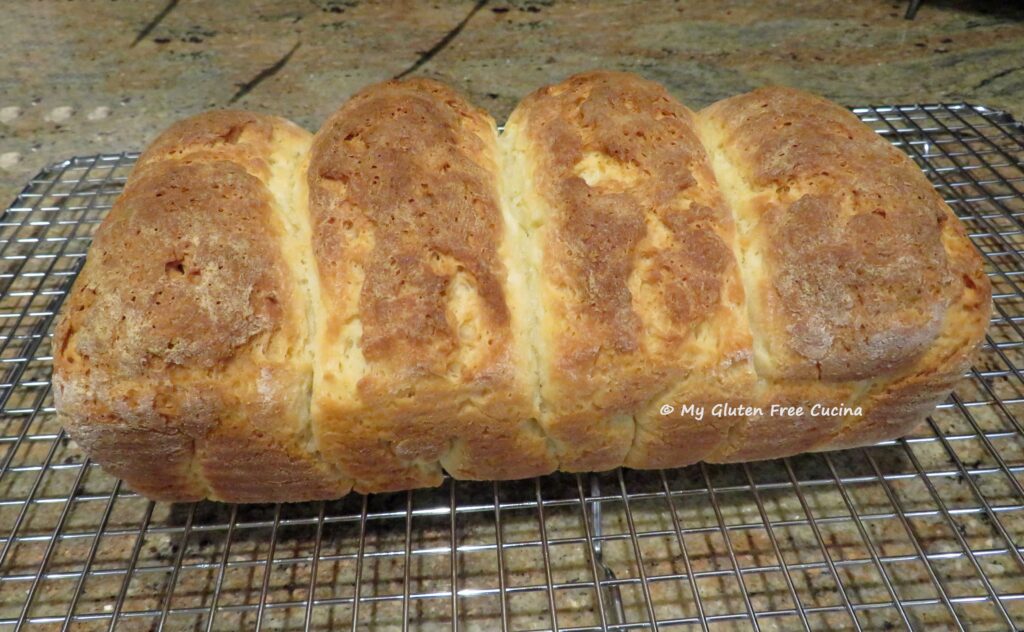
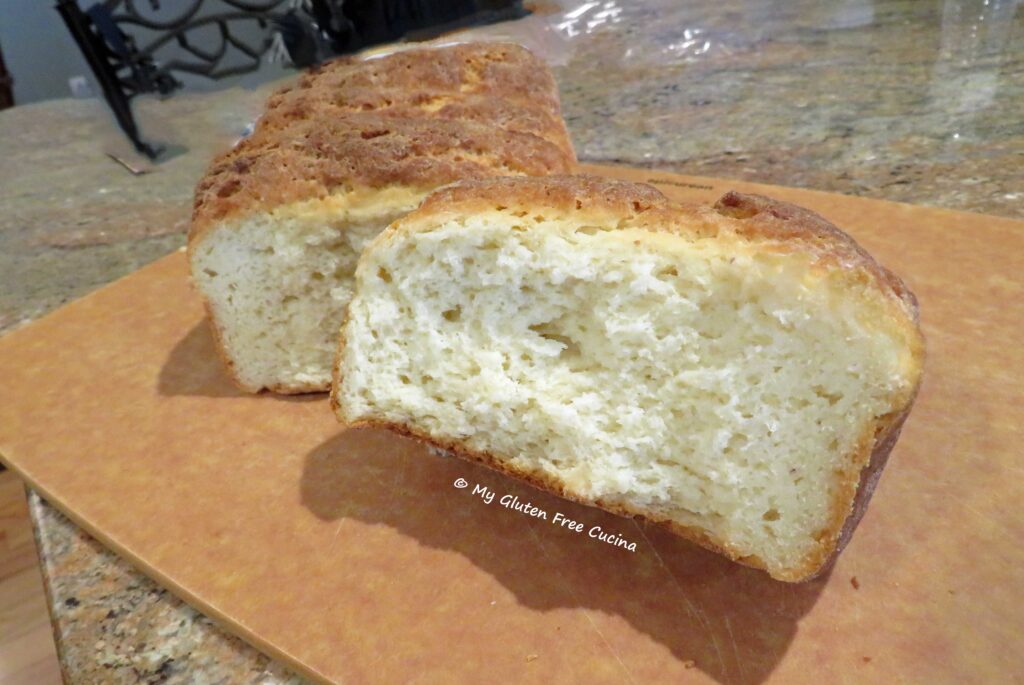
I placed mine in a plastic bag overnight and sliced it up in the morning.
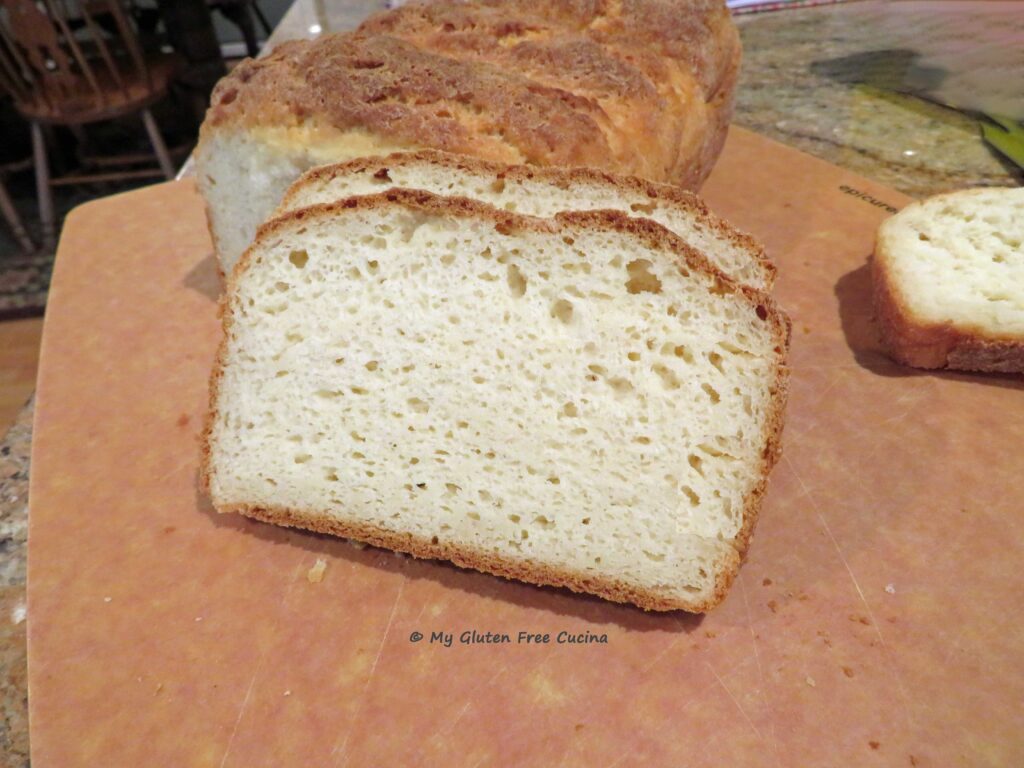
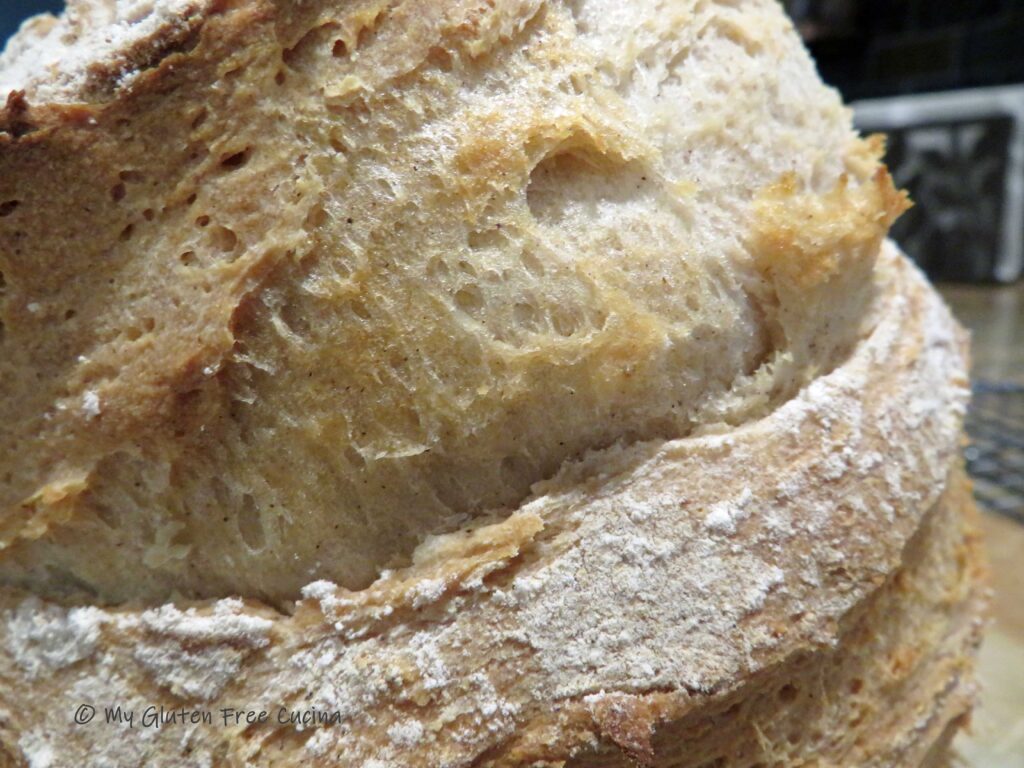
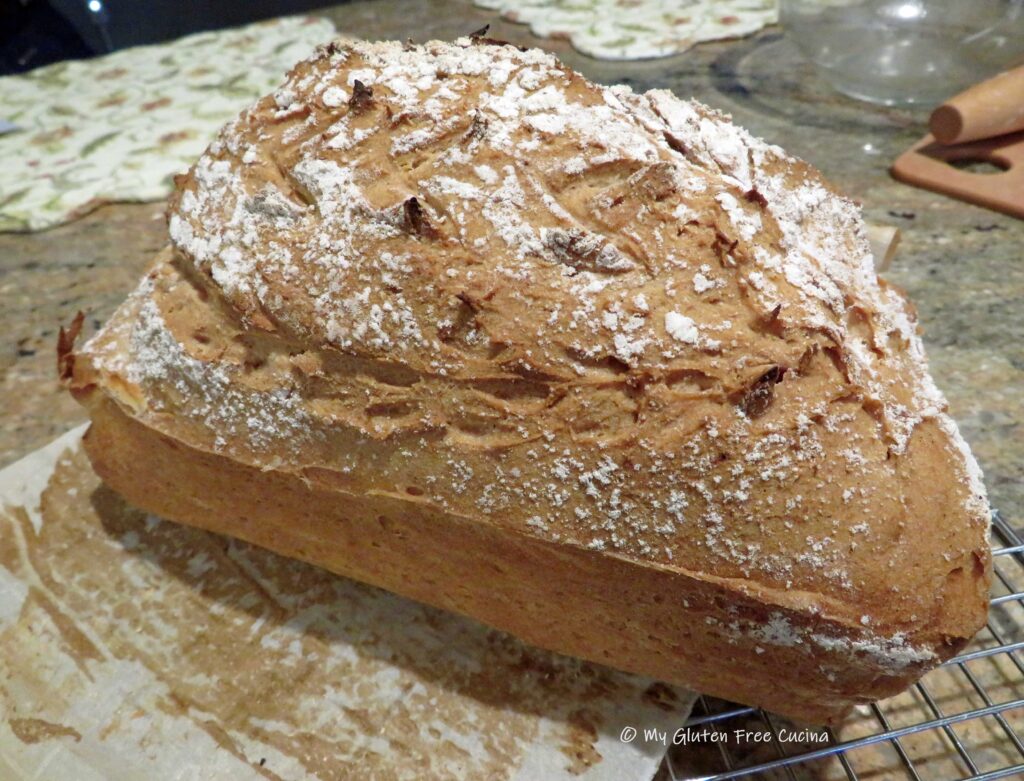
It was well worth the wait. See that fluffy crumb? No gummy texture here, that’s exactly what I wanted!
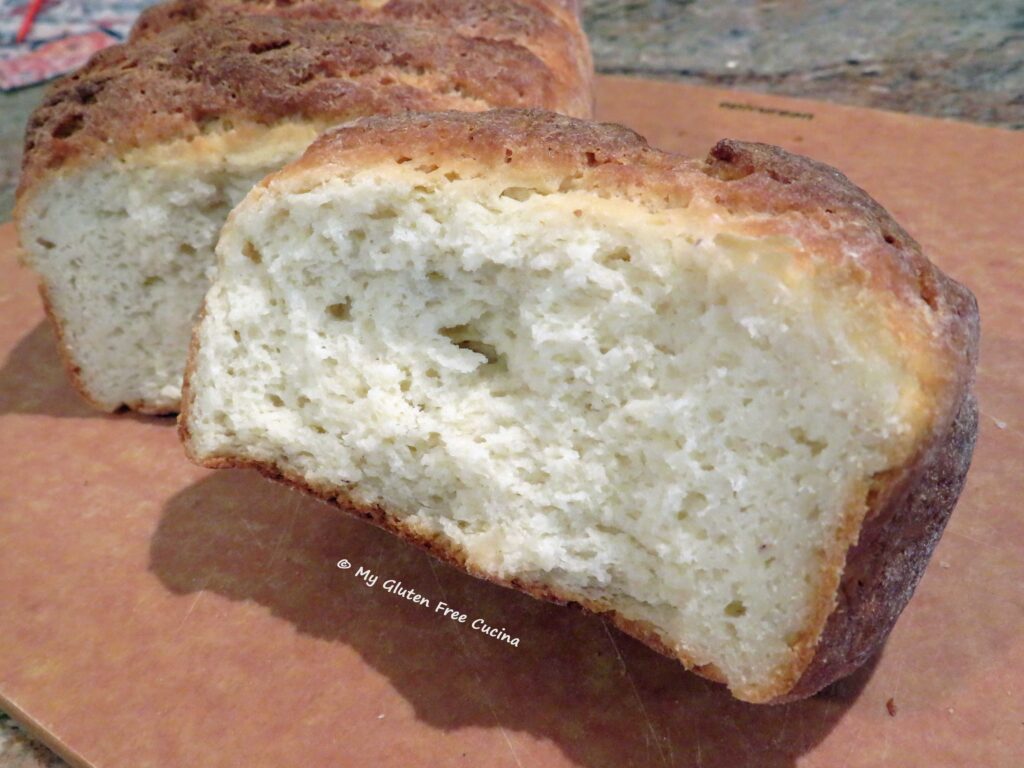
This will be a great sandwich bread and don’t get me started on French toast!
Notes ♪♫ As I studied traditional recipes for Hokkaido Milk Bread, I dreamt of my gluten free adaption having the smooth, pillow like top that you see in pictures from recipes made with wheat flour. The truth is gluten free dough doesn’t have the elasticity to stretch like that. There are going be cracks and craters in the surface of the dough. When I finally accepted that and concentrated on getting the right crumb, I began to make progress. There are so many factors that go into a good loaf of gluten free bread. Ingredients, technique, temperature, pan size just to name a few. I hope this post inspires you to keep trying and never give up!


 Preparation:
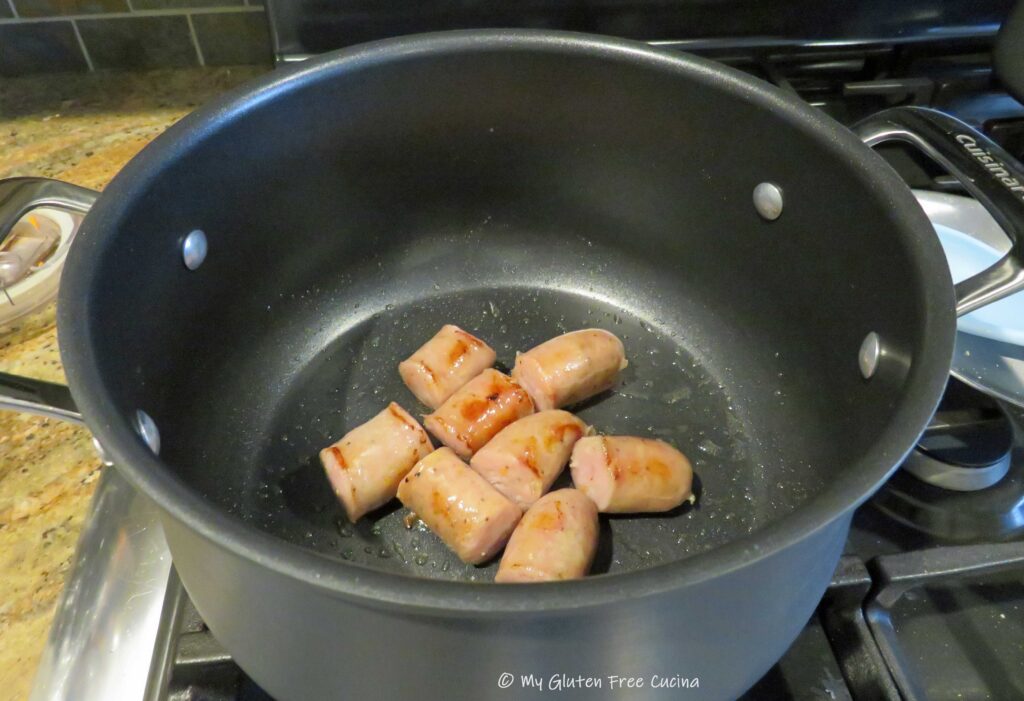
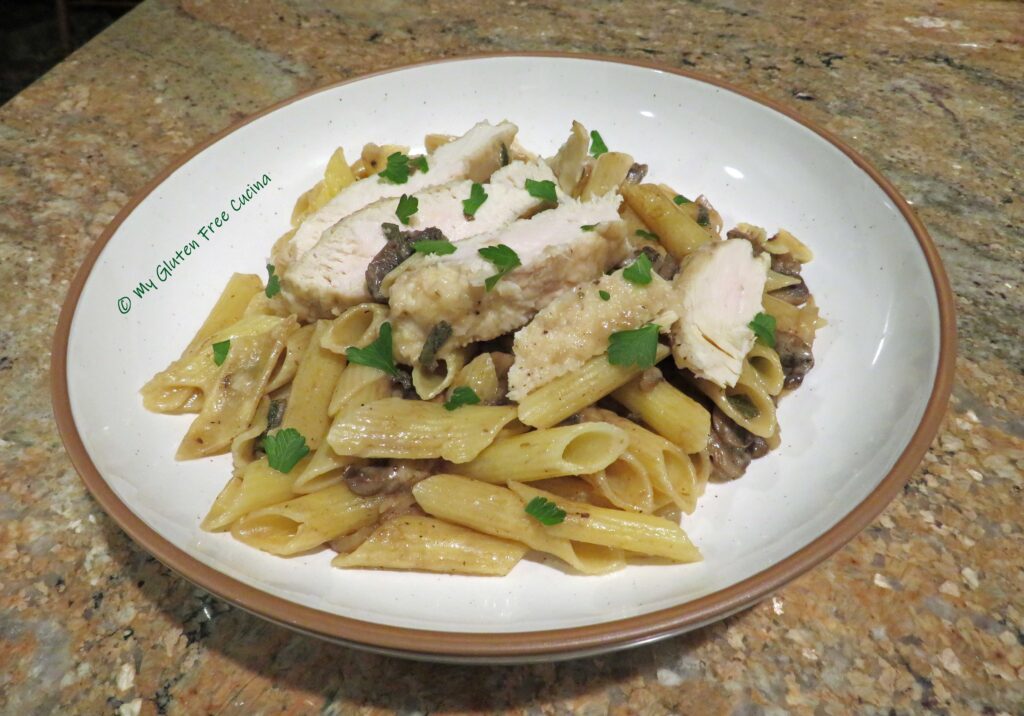
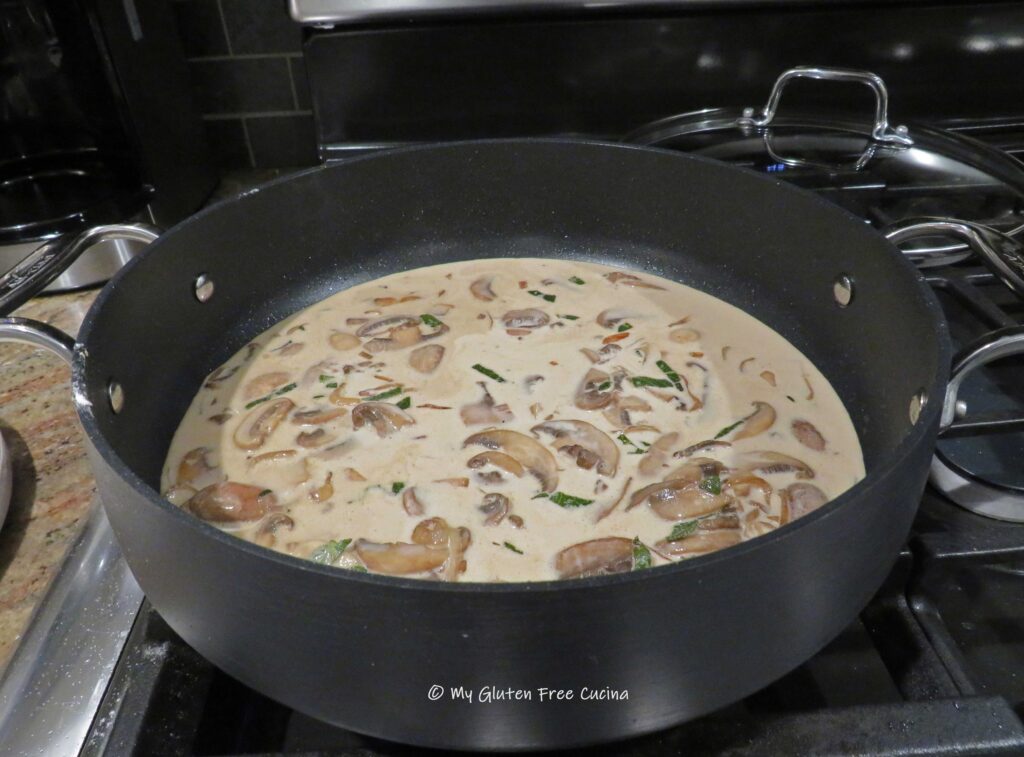
 Cover and simmer on low for another 20 minutes. Taste for seasoning and add salt if needed. Garnish with fresh parsley and serve with
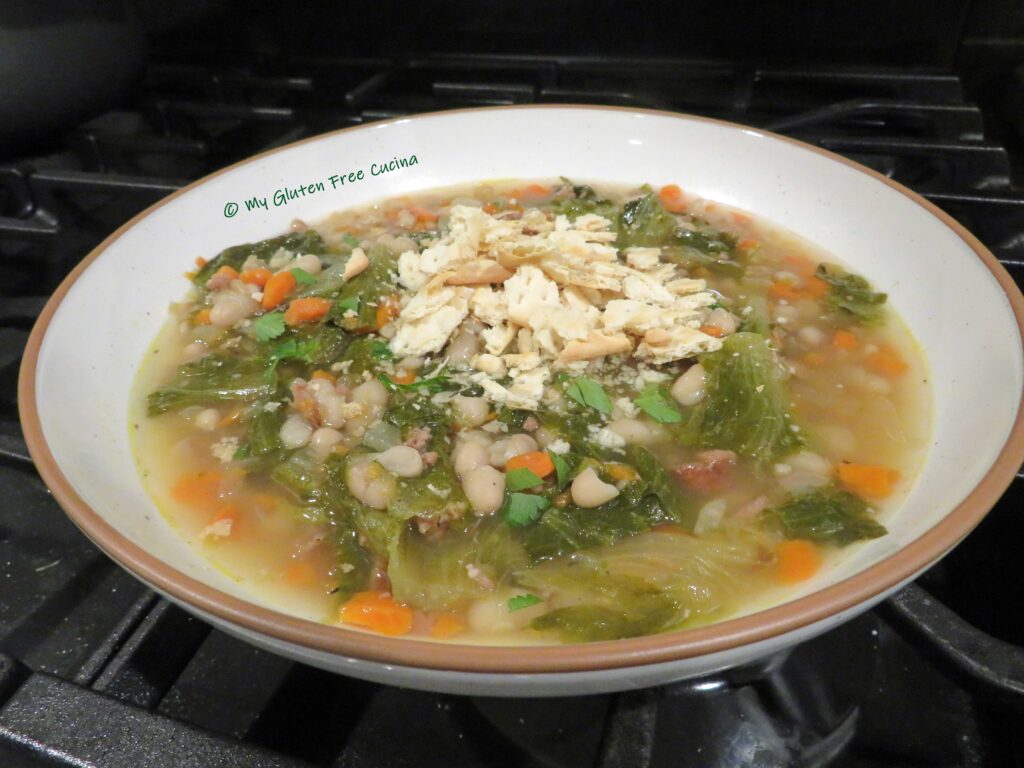


 Preparation:
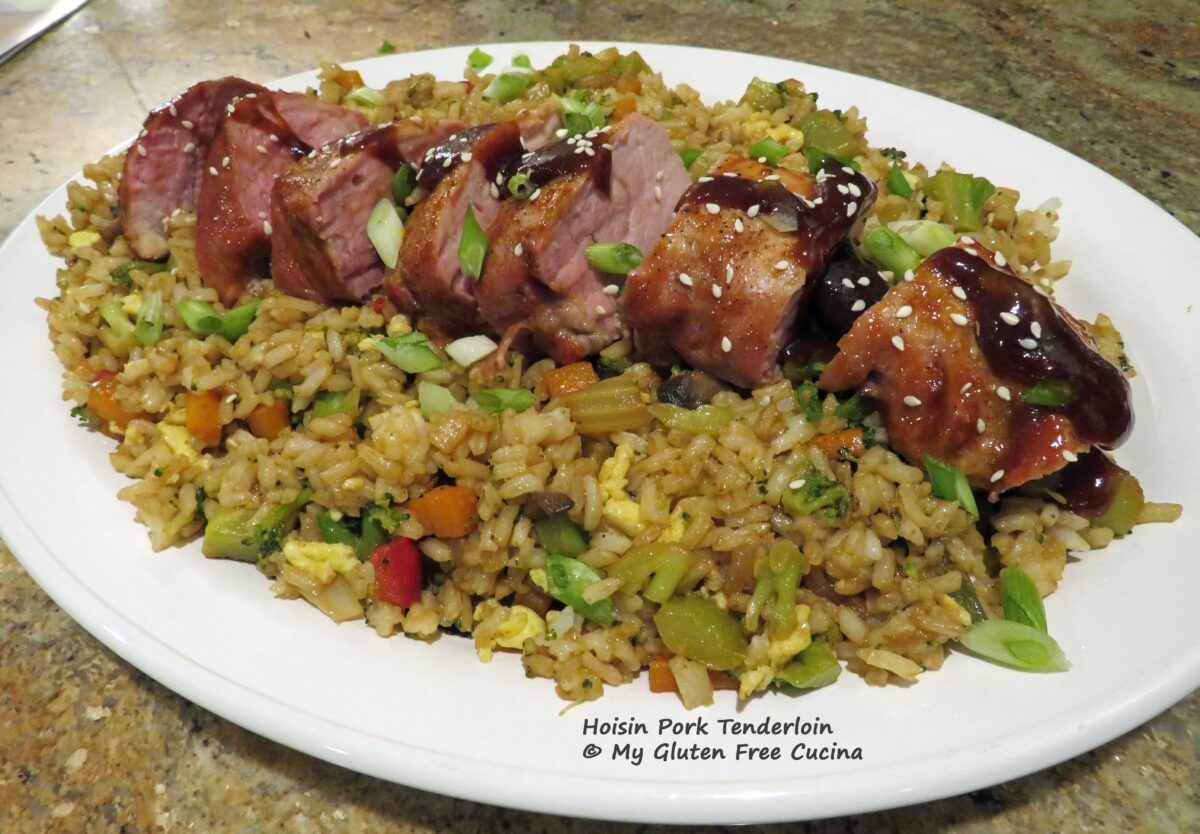
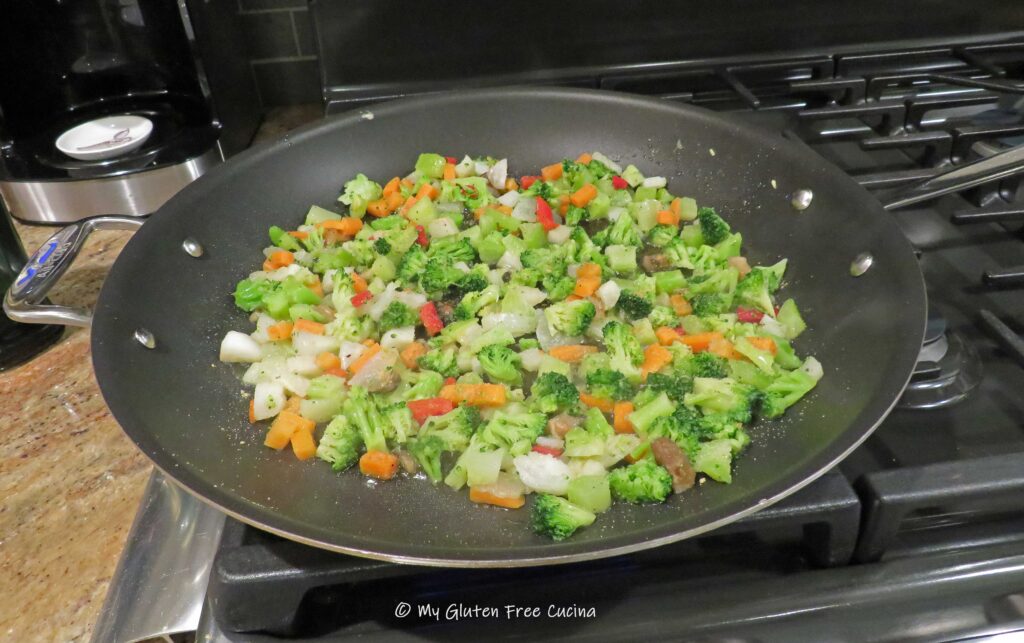
 I did think the veggies were a bit large for fried rice, so I cut them into smaller pieces. Season the veggies with salt and pepper to taste. Sprinkle with garlic and ginger powder and leave them out to defrost.


 Have you ordered the new Bread Flour from Better Batter yet?
 Preparation:
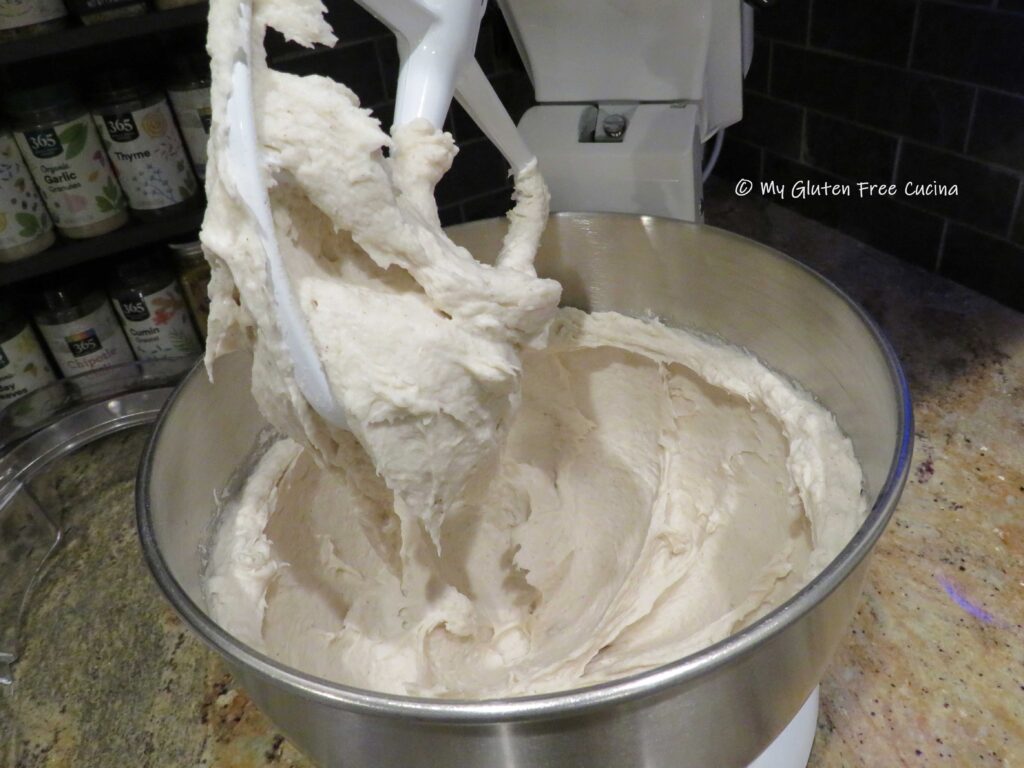


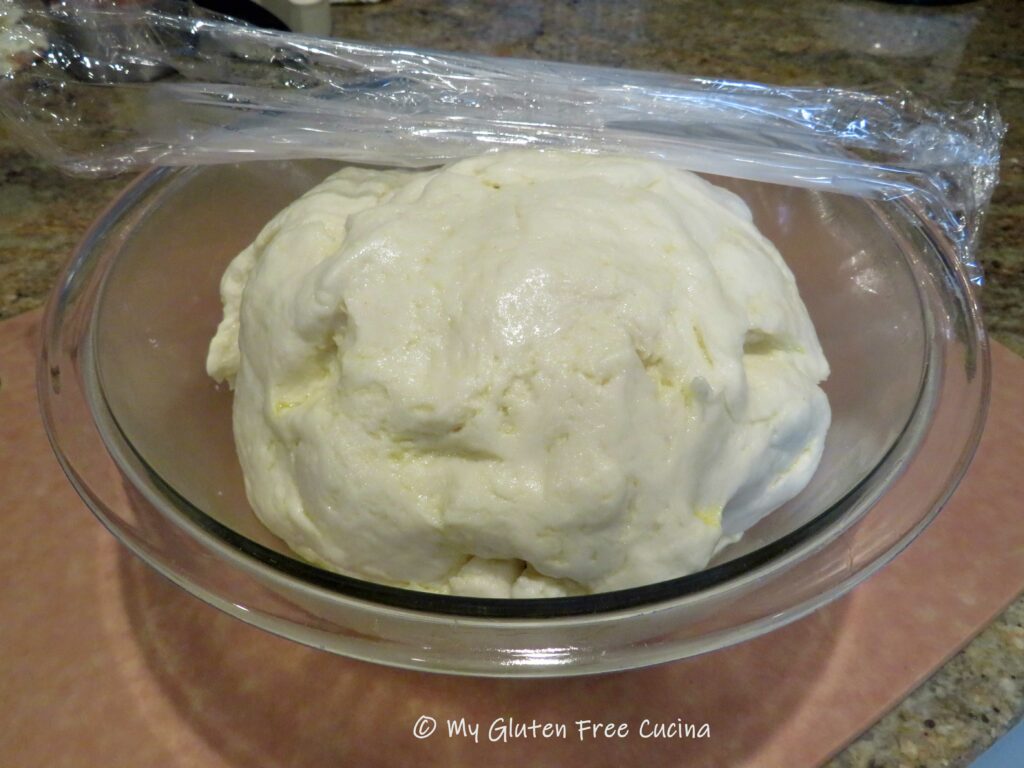
 Place the dough ball in an oiled bowl, cover with plastic wrap and refrigerate overnight for 12 hours.
 In the morning, preheat the oven to 475º with
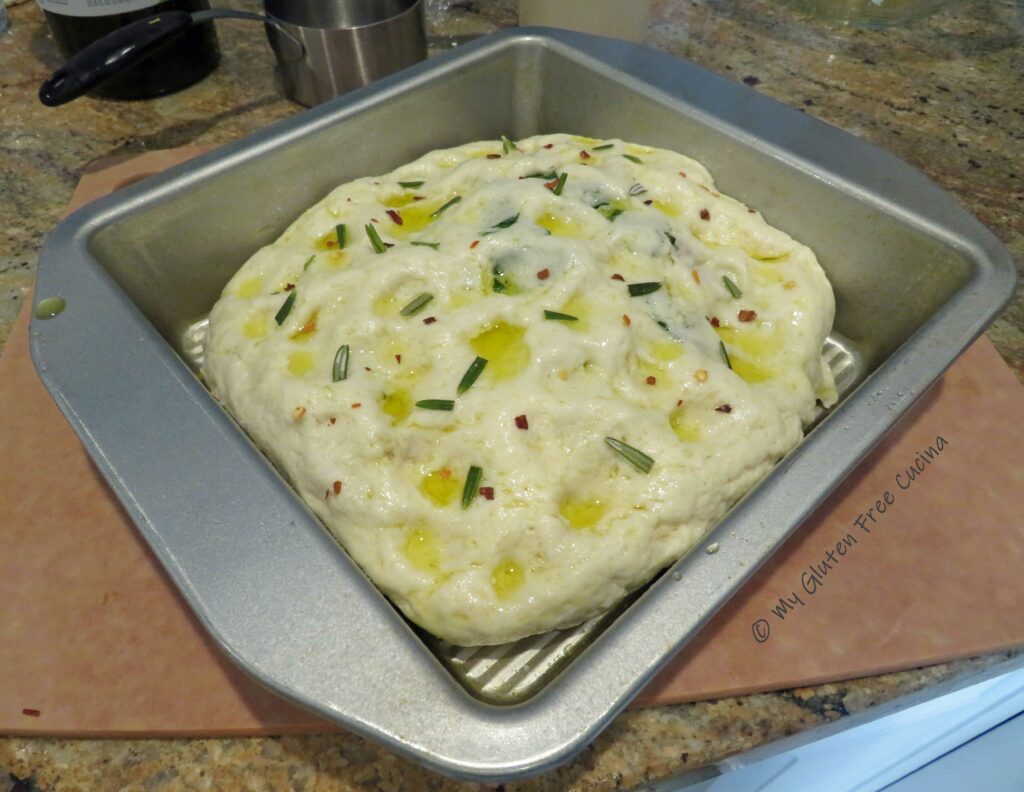
  Use a spatula to smooth it into a round shape.
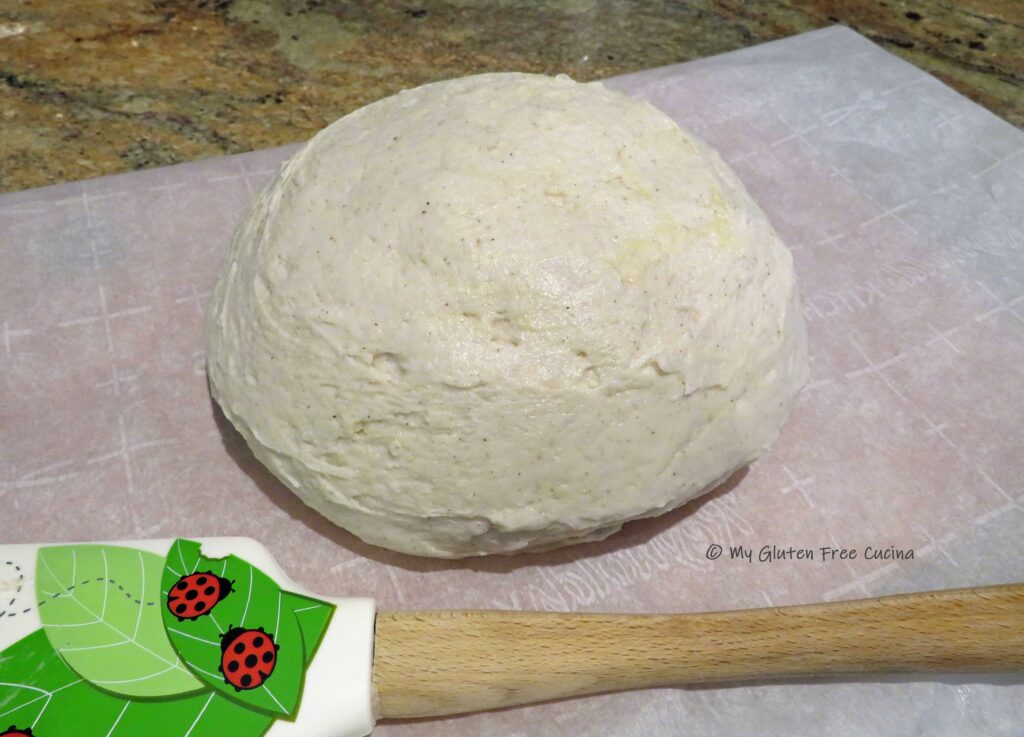 Use a
Use a 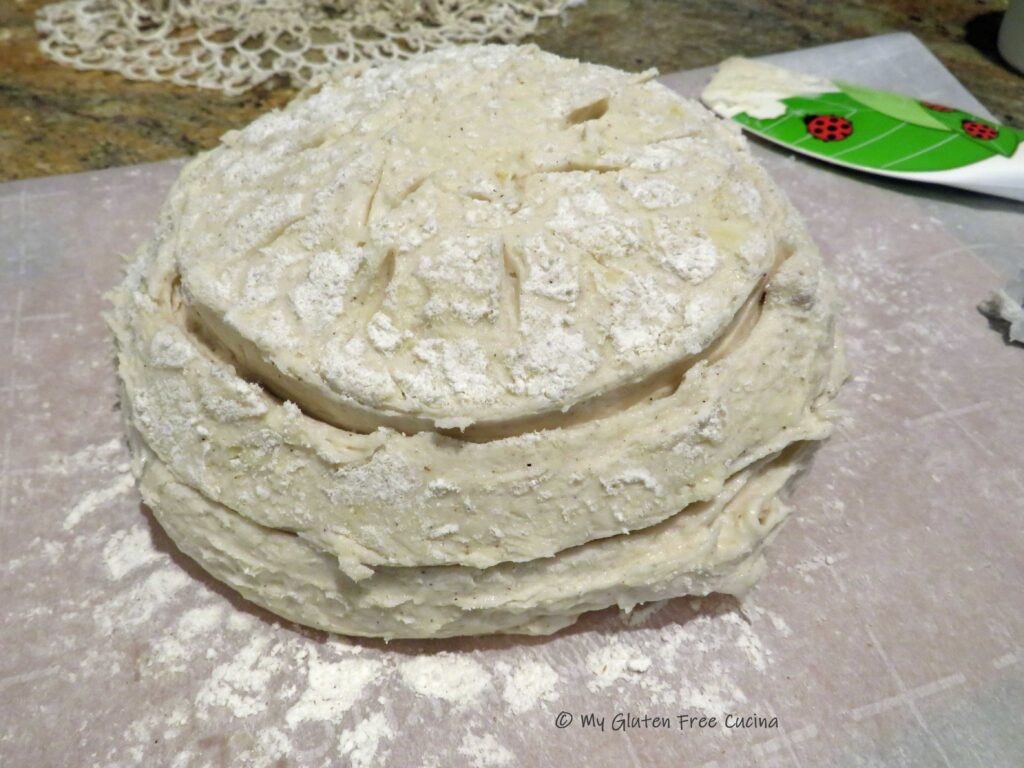 Transfer the dough, with parchment to the oven. Throw a few ice cubes onto the bottom of the oven and quickly shut the door. After the first 5 minutes throw in a few more ice cubes.
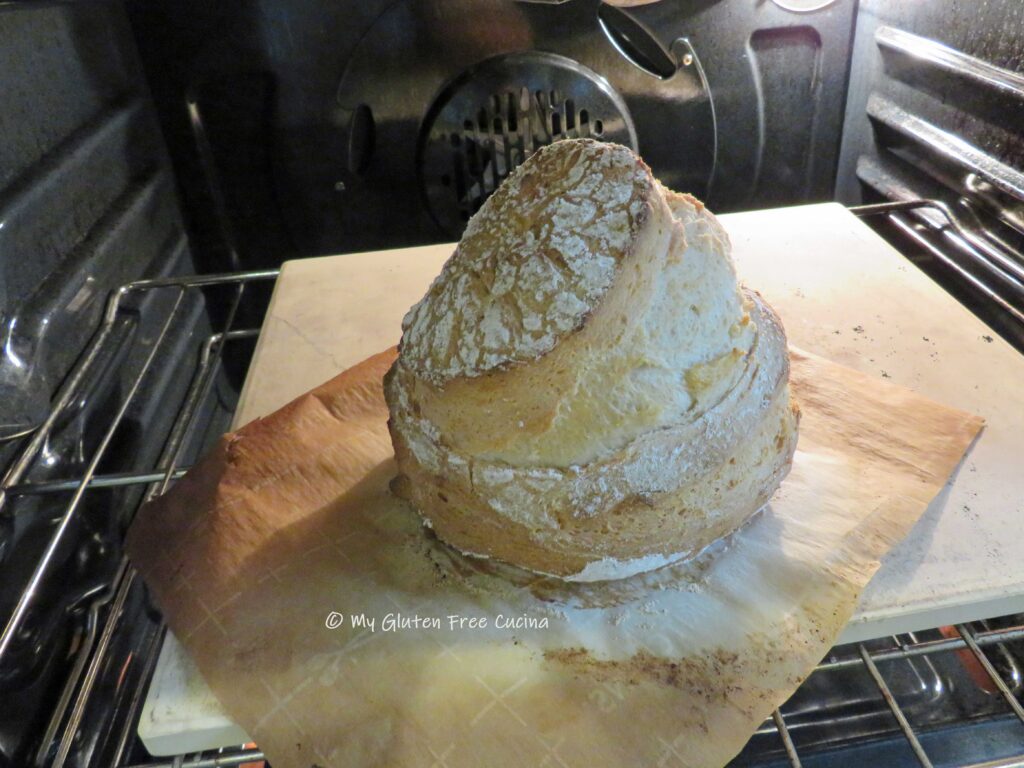 Cool completely on a rack then store in a plastic bag at room temperature. Wait 24 hours to slice.
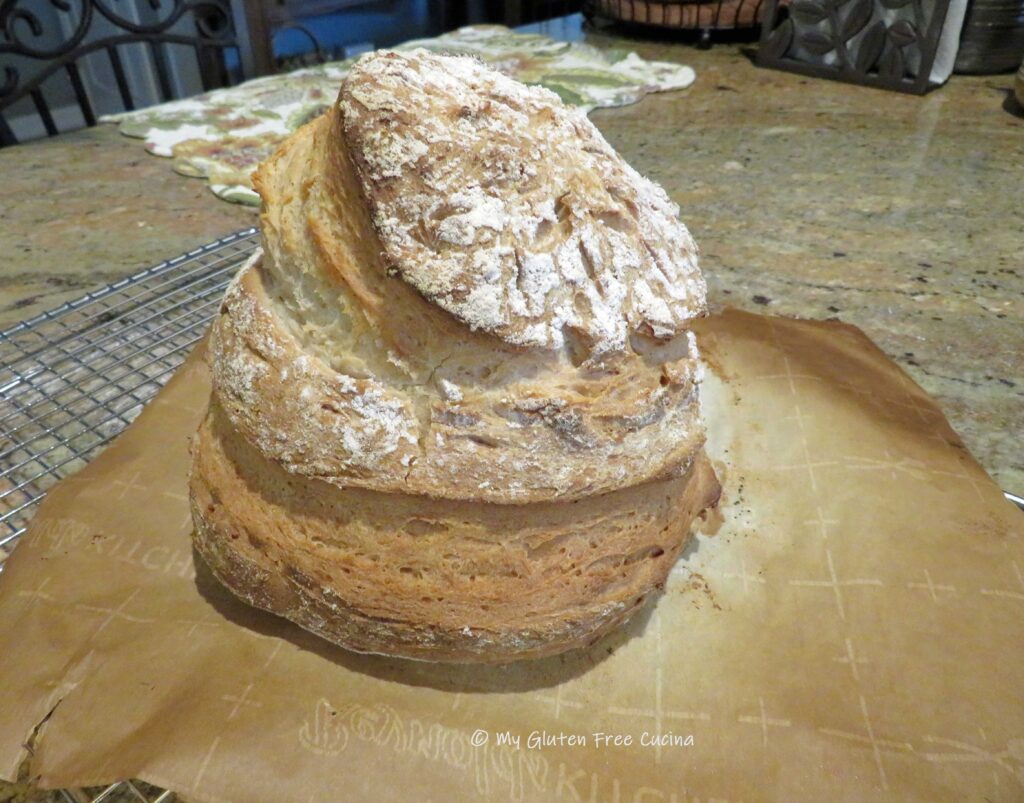


 This post contains affiliate links.
 Note ♪
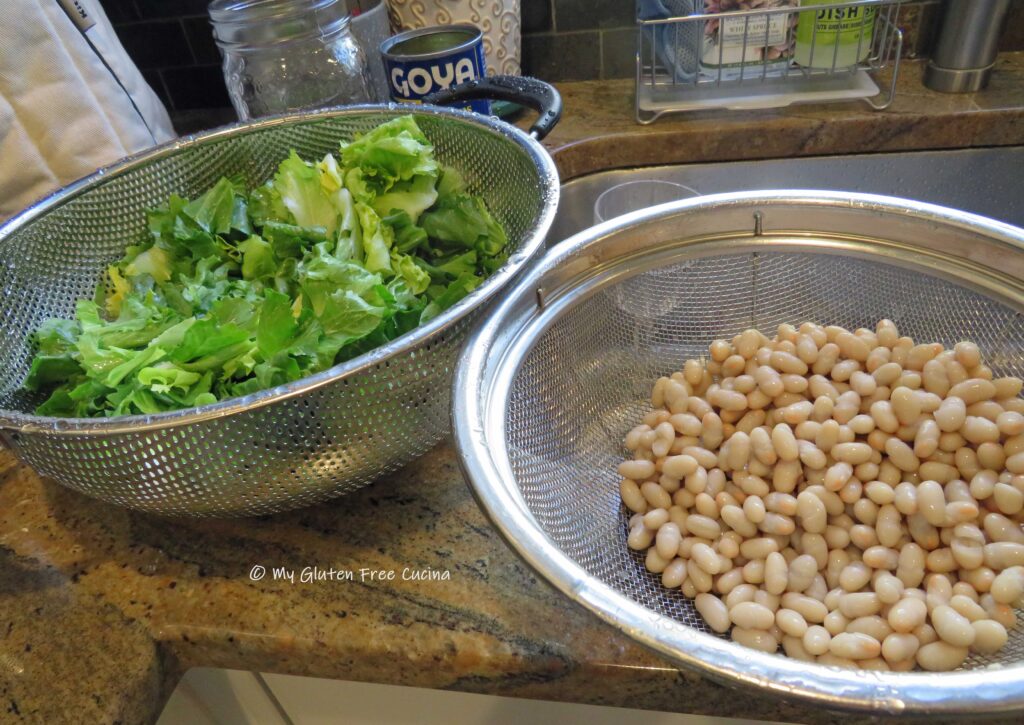
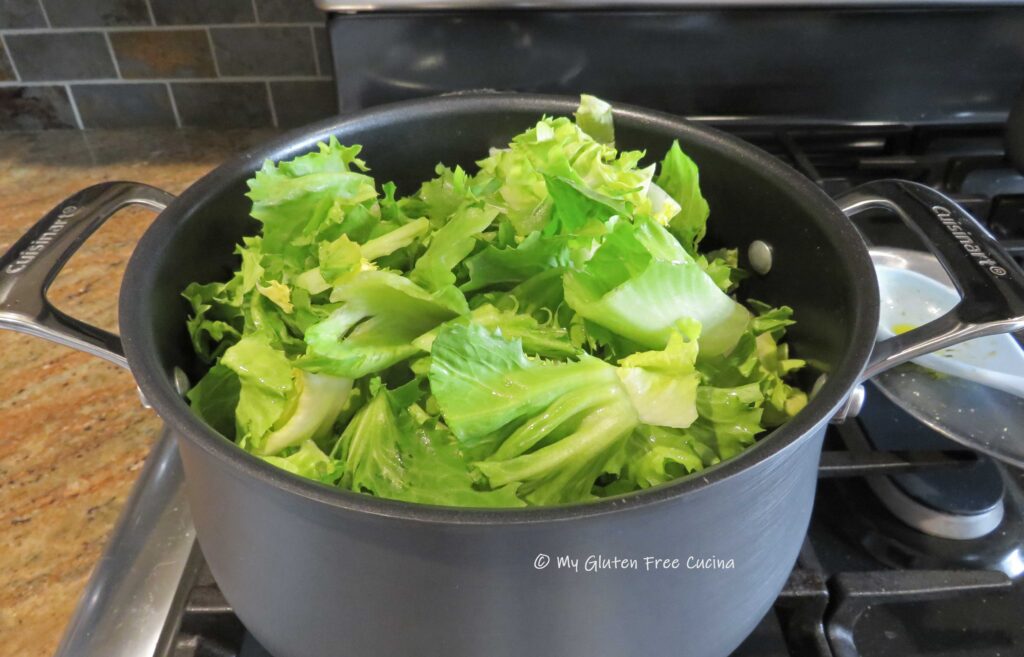
 The next morning, drain and rinse again. Add back to the saucepot with COLD water, cover and turn the heat on low. Simmer gently for 2 hours.
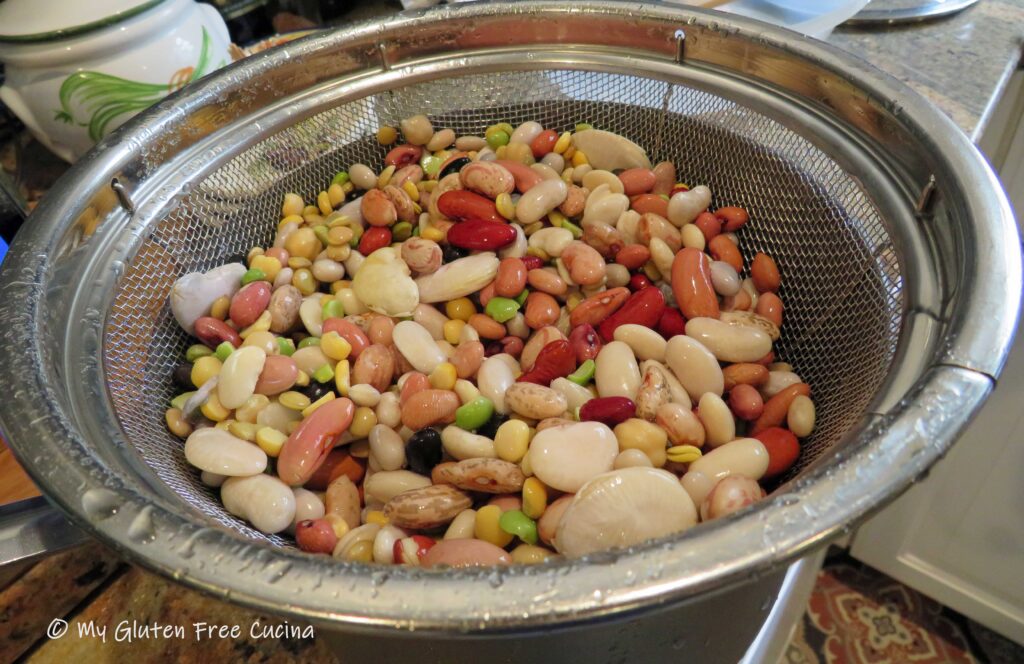 Drain and rinse again and set the beans aside.
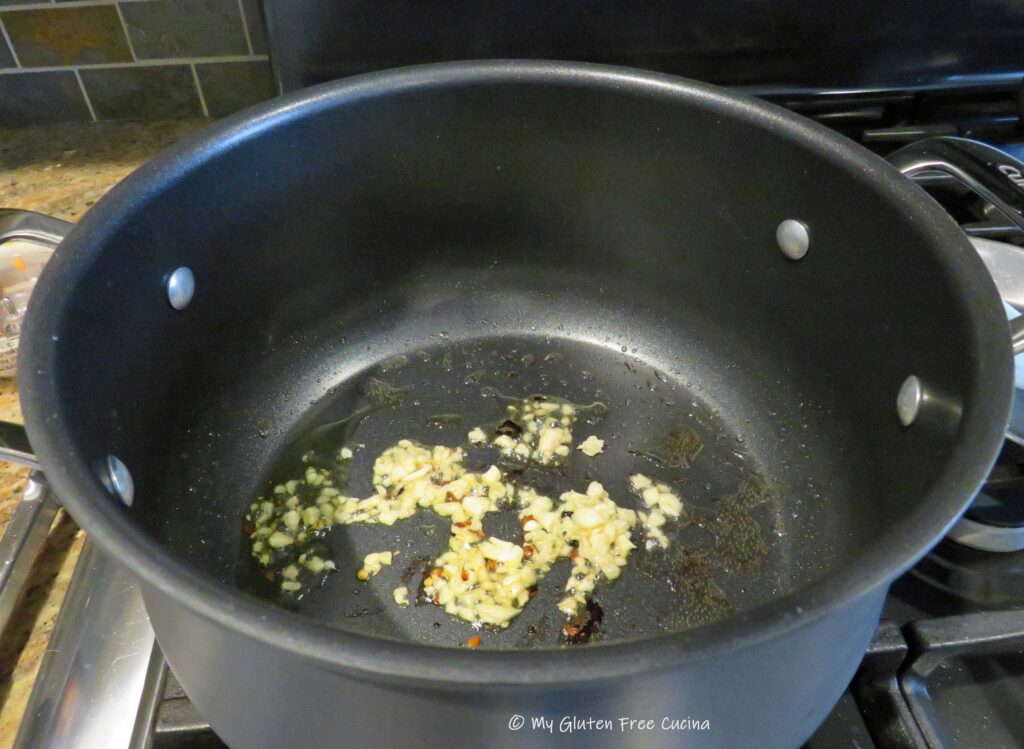
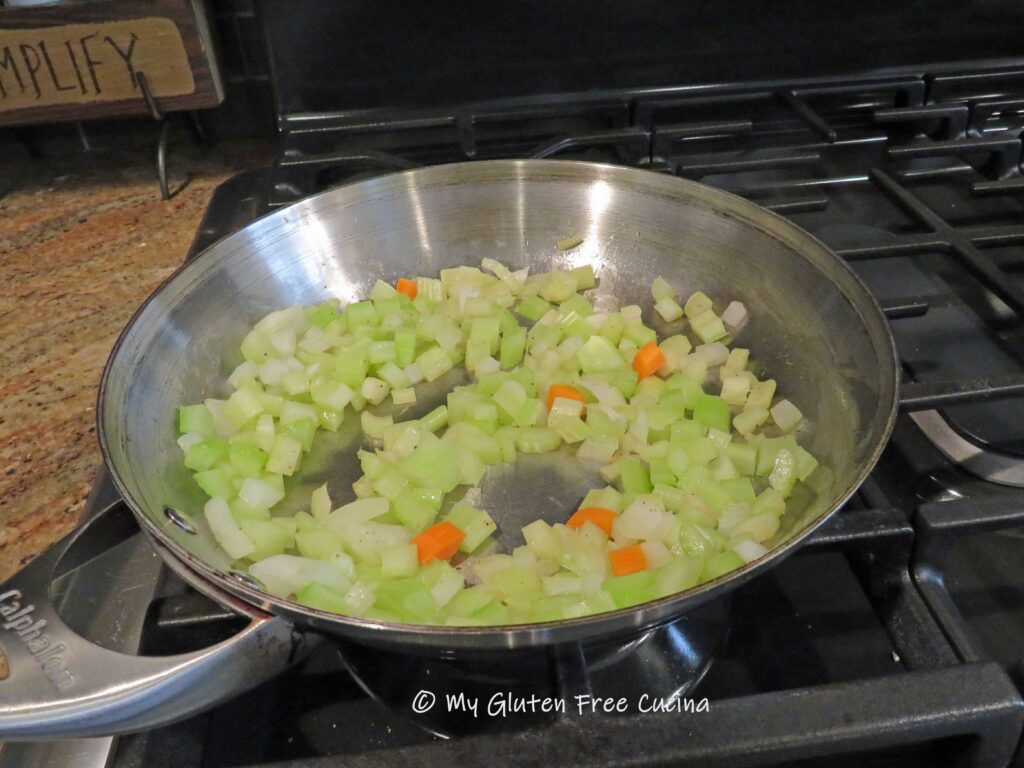
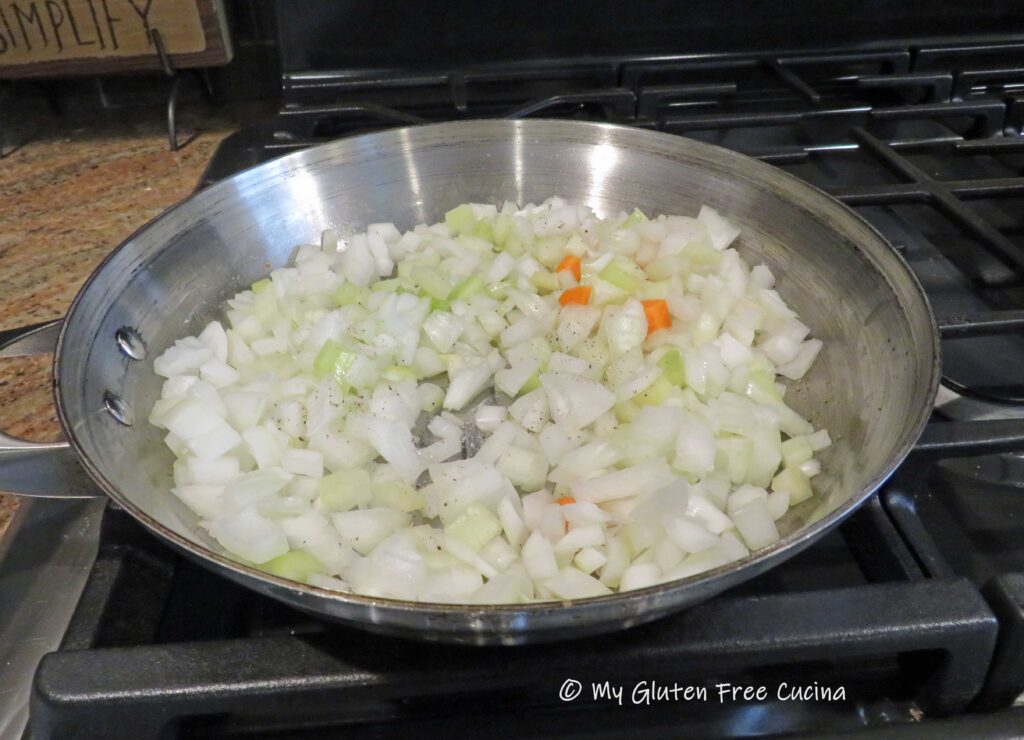
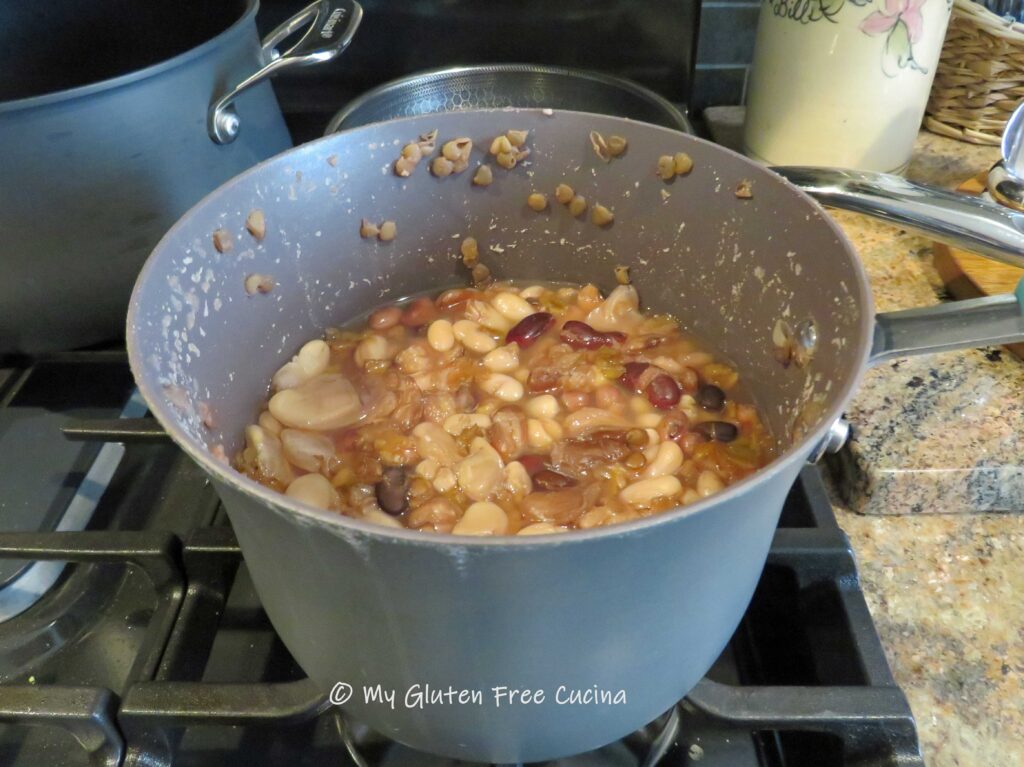 Heat olive oil in a stainless-steel skillet. Begin sautéing the veggies, beginning with the carrots as they take the longest to cook. Season with sea salt and fresh ground pepper and stir frequently for 3-4 minutes. Transfer the carrots to a
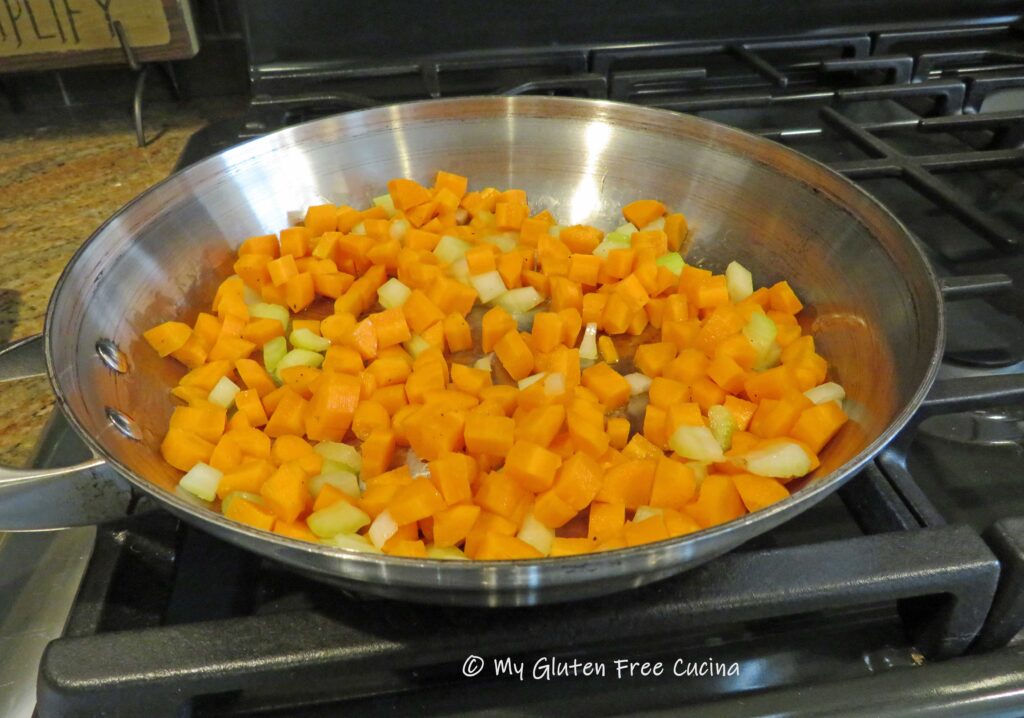
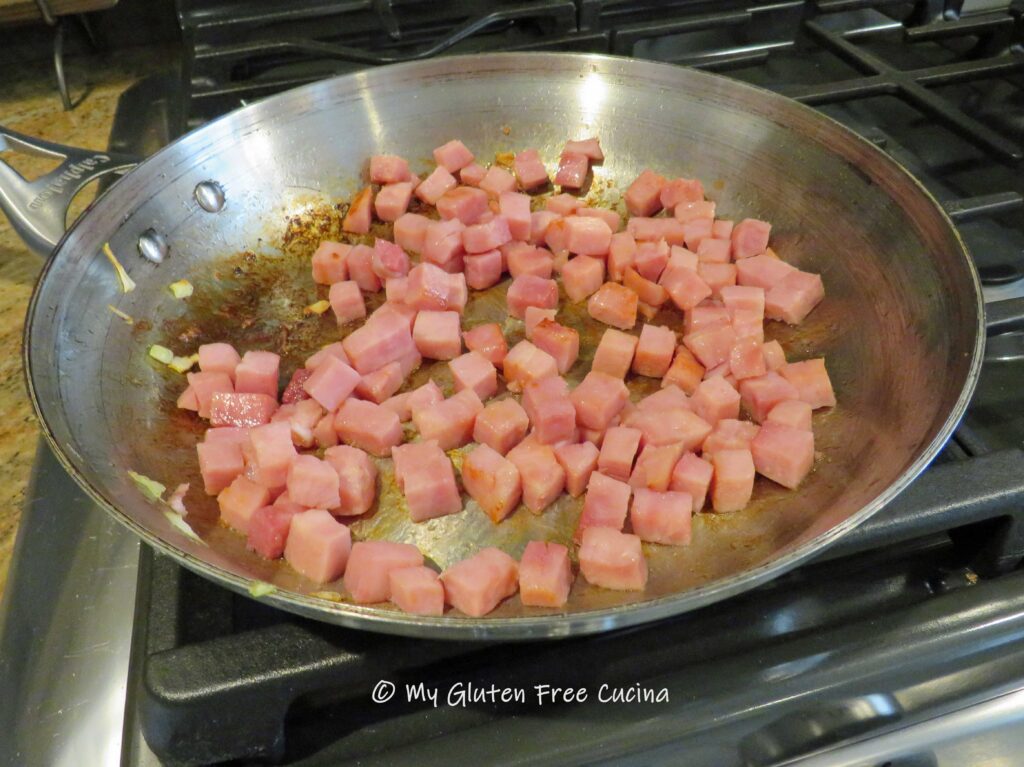
 When the veggies are done, wipe the skillet clean and add the diced ham with a bit more olive oil.
 Note ♫
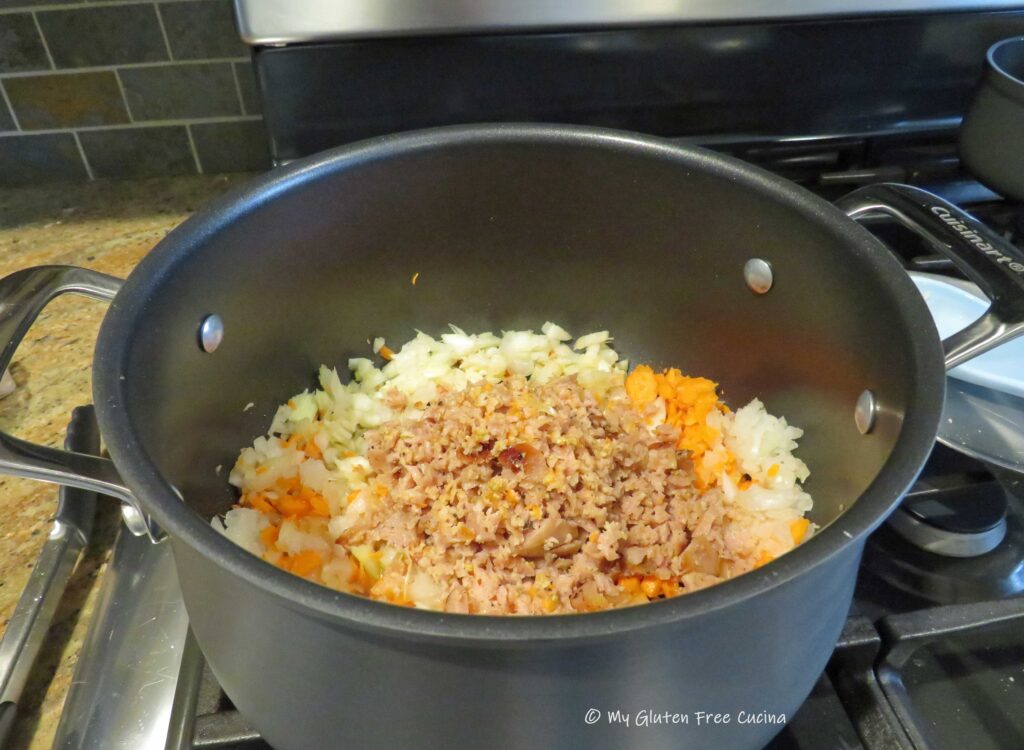
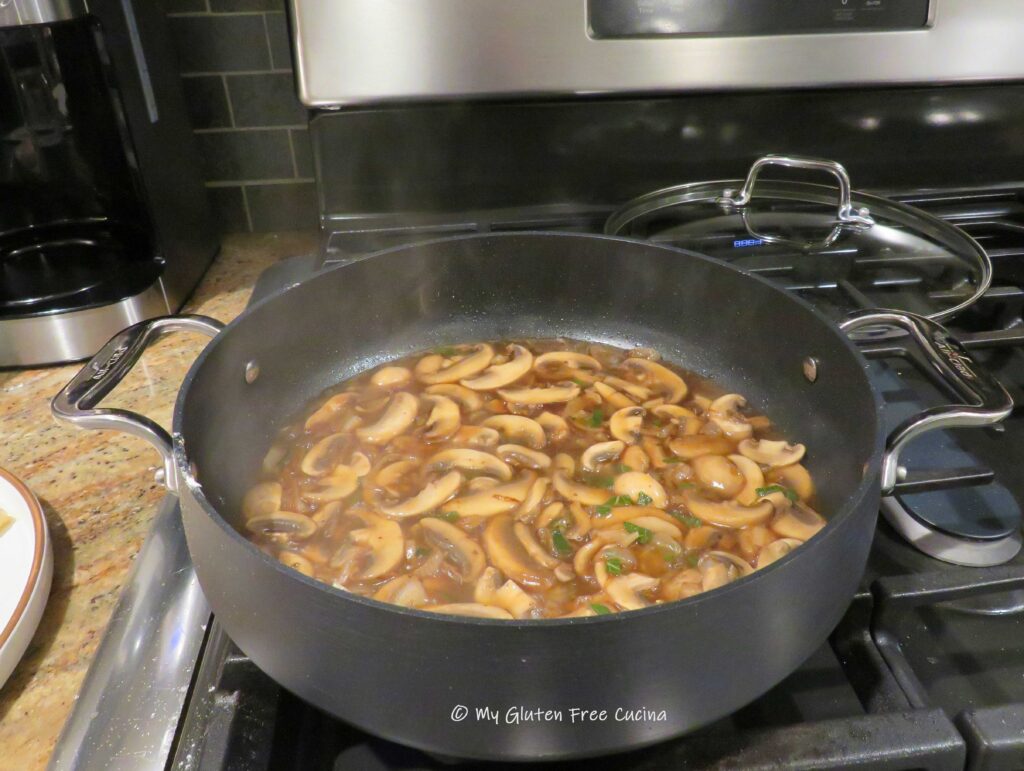
 Add the ham to the stock pot, and deglaze the skillet with a little beef broth, scraping up the caramelized bits at the bottom. Pour the liquid into the stock pot.
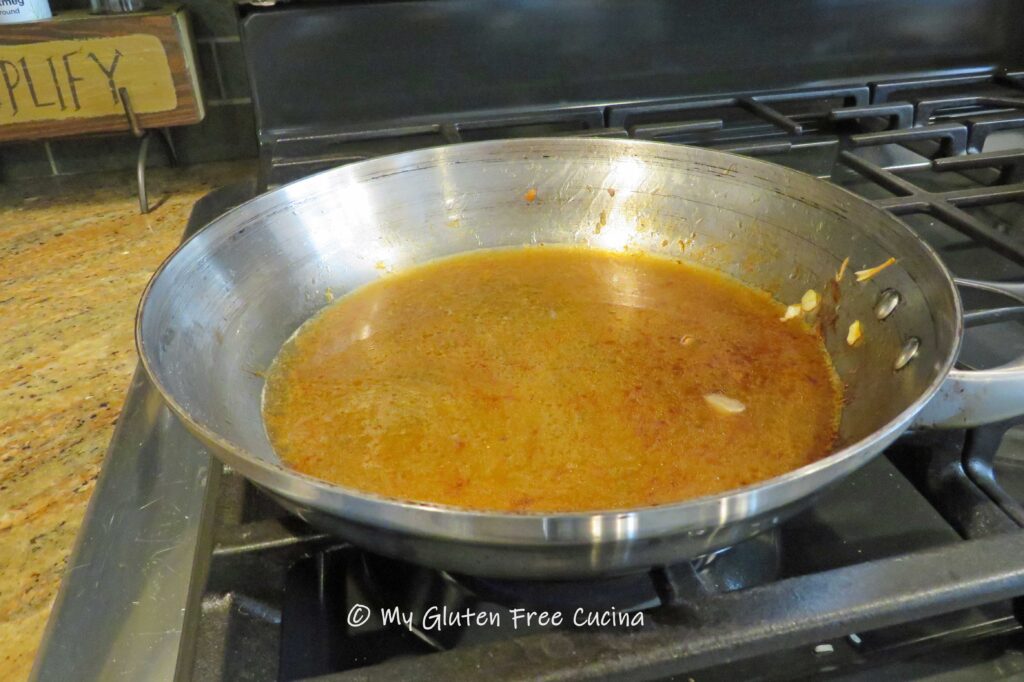 Next, add equal parts of chicken and beef broth, enough to cover the ham and veggies. Return the cooked beans to the pot, along with the bouillon, sage and thyme.
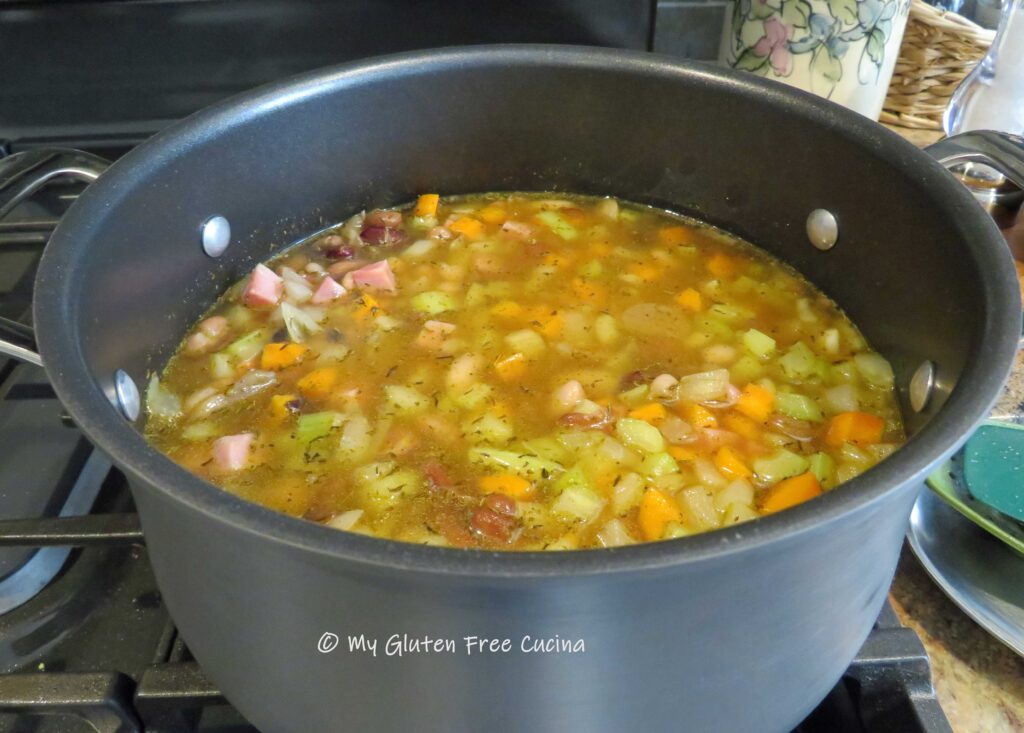
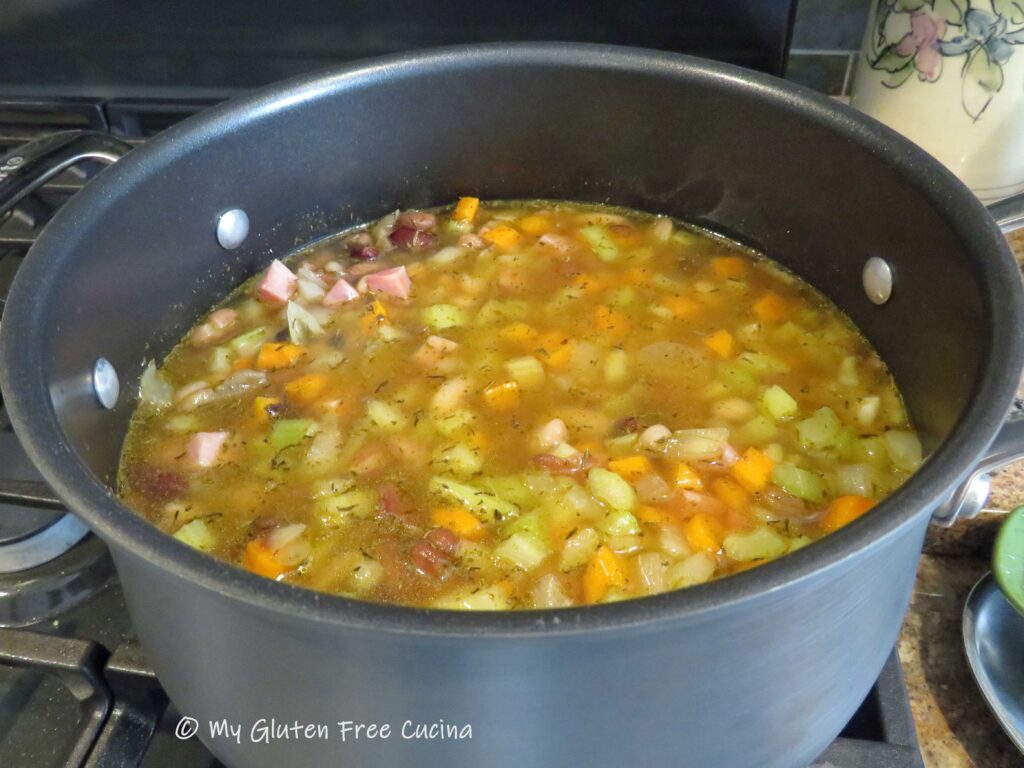 Simmer until the veggies are soft, then add the corn kernels in to heat through (adding the corn at the end of cooking gives the soup a little textural contrast to the soft beans and veggies).
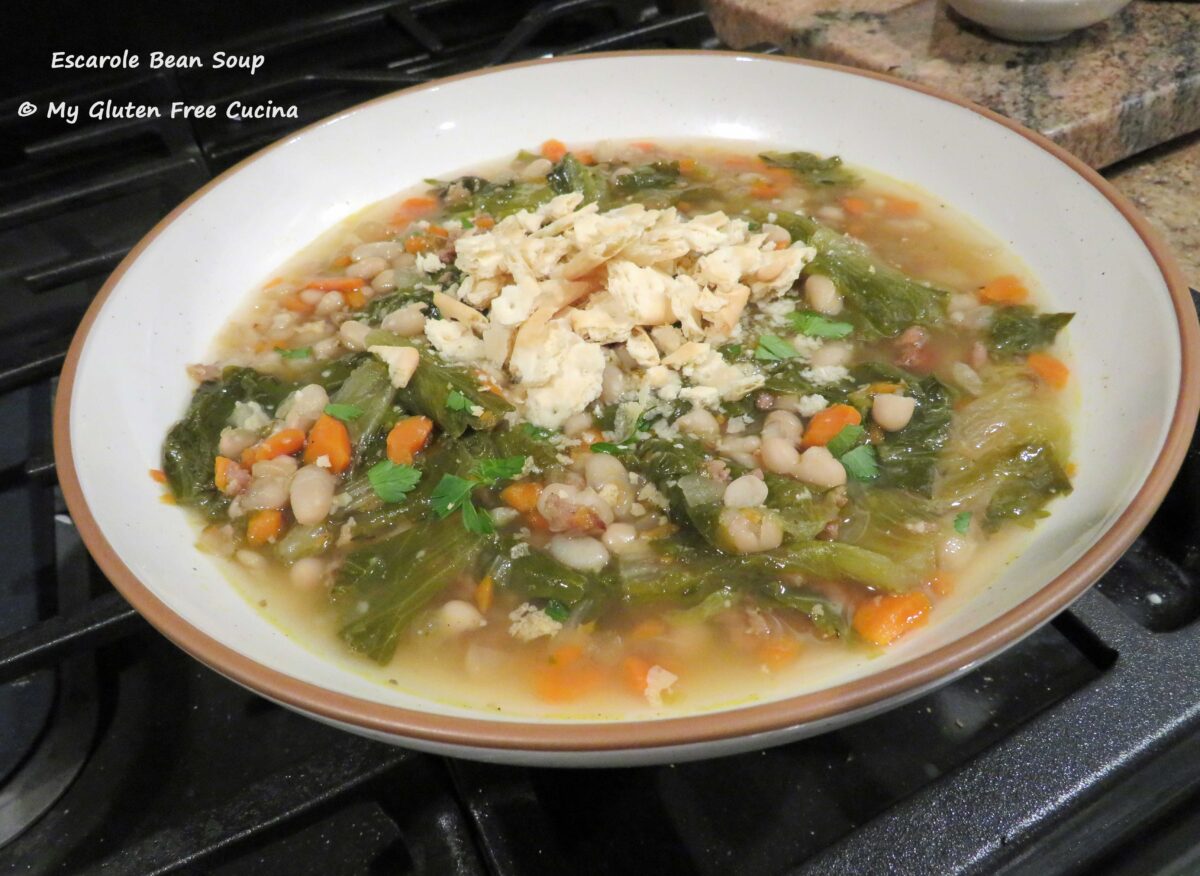
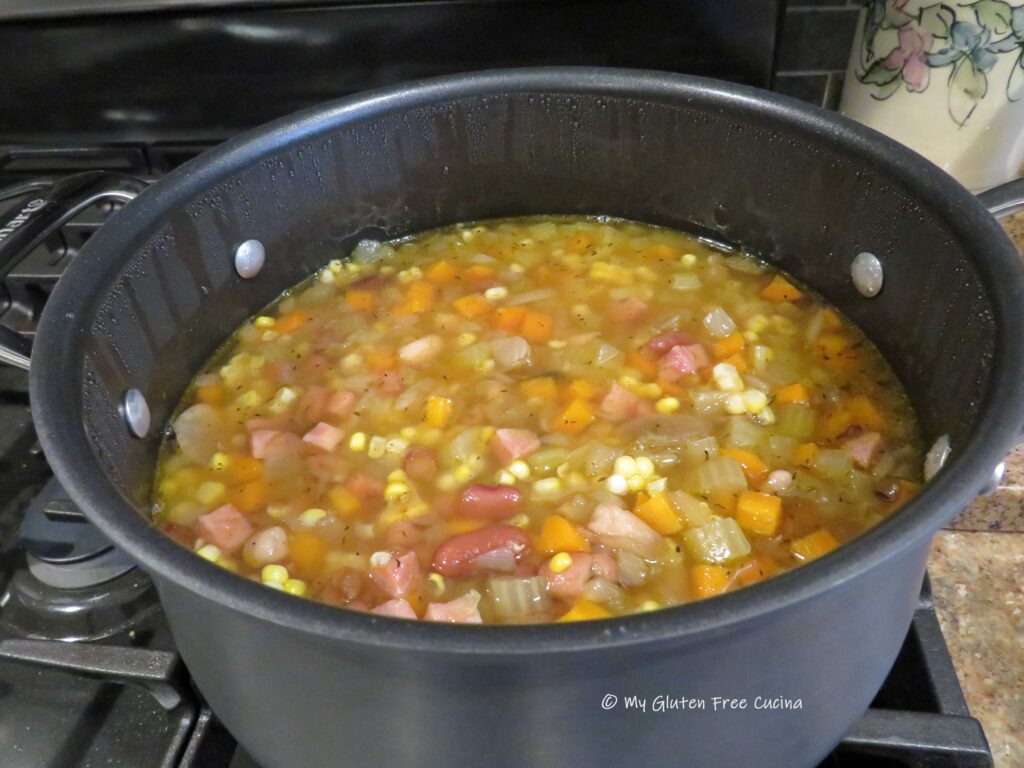 Soup is ready to enjoy with gluten free crackers or bread. Leftovers (if you have any!) can be refrigerated for up to a week. Don’t worry though, it won’t last that long!
 Notes ♪♫


 Ingredients:
 Preparation:

 Work with one section at a time, and keep the remaining dough covered so it doesn’t dry out. Start by rolling each section into a cylinder, like this.
 Cover and let it rest for 10 minutes. This is the secret to working with gluten free dough. Remember, it doesn’t stretch like gluten dough, but after a little rest it will be more cooperative. I repeated this process twice, before I finally was able to roll each section of dough into a rope, 3/4″ thick.
 Use a
Use a 

 Line a baking sheet with parchment or waxed paper, and dust lightly with flour. Place the finished Orecchiette on the baking sheet. Cover with plastic wrap and refrigerate if not cooking immediately.

 Slide the Orecchiette into the water and cook for 3 minutes, stirring occasionally. They will float to the top.