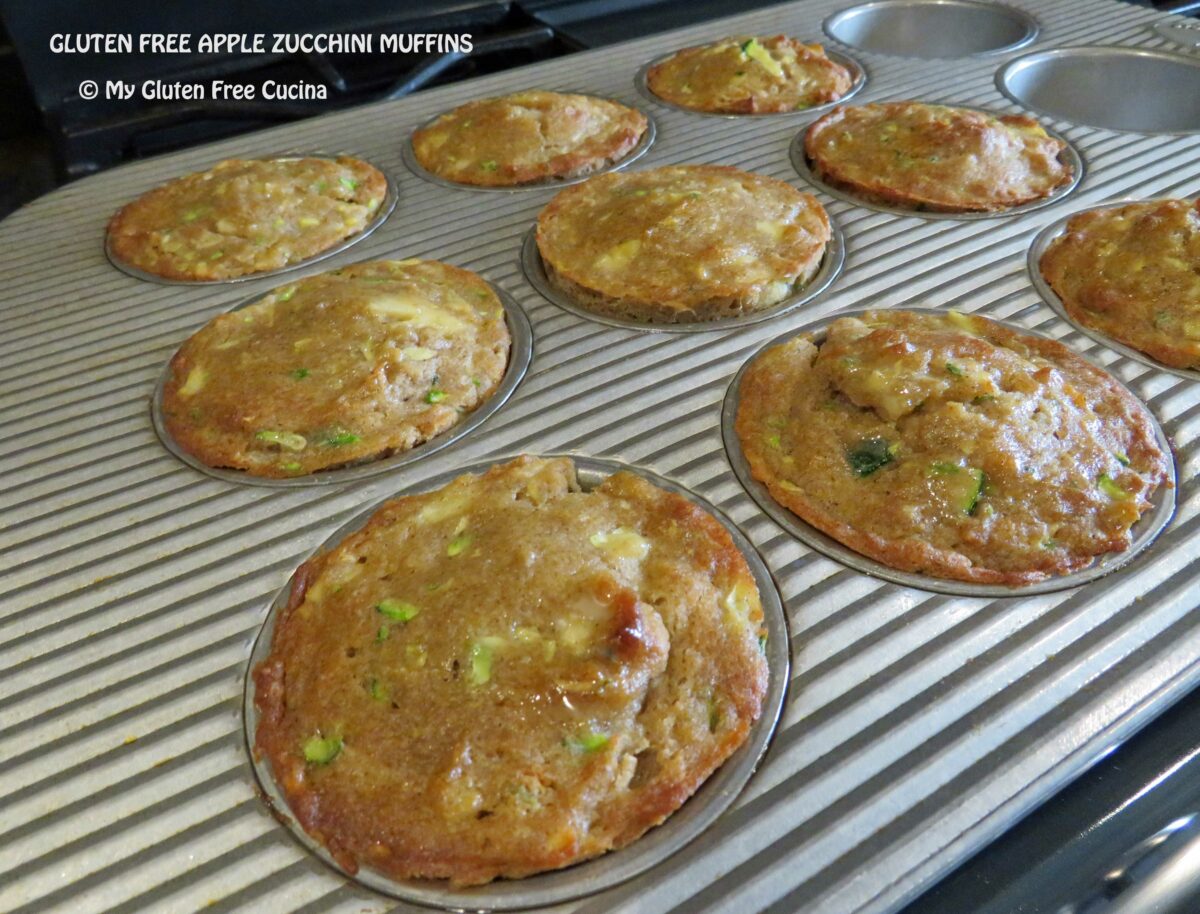
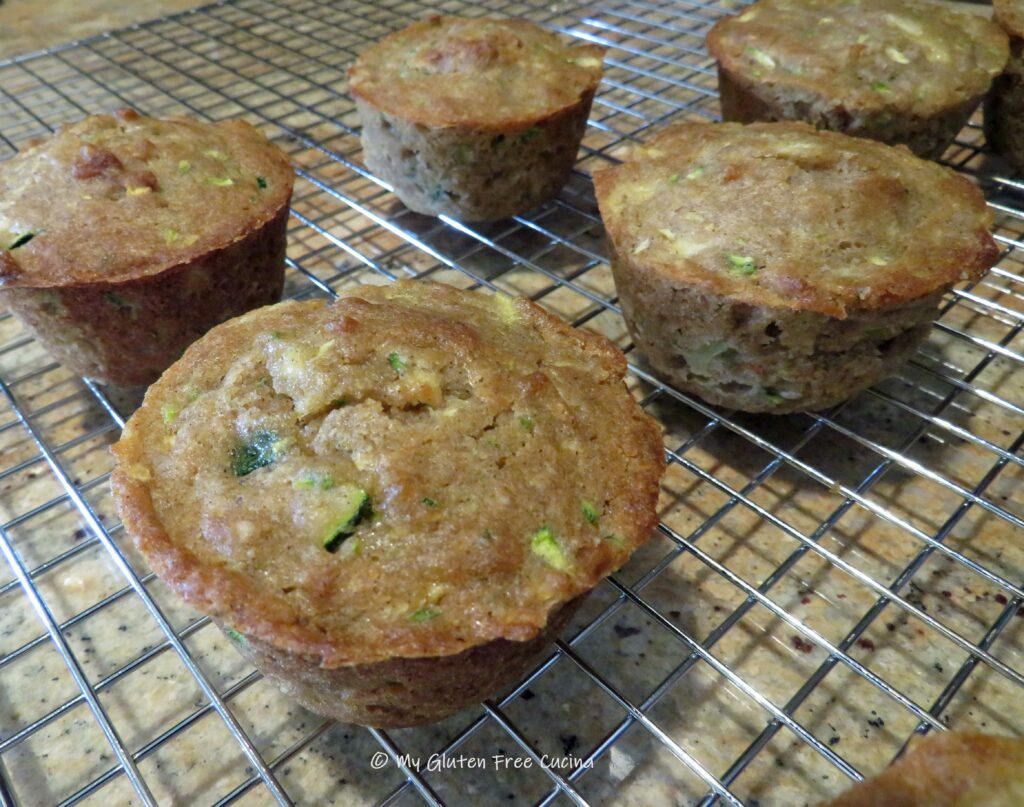
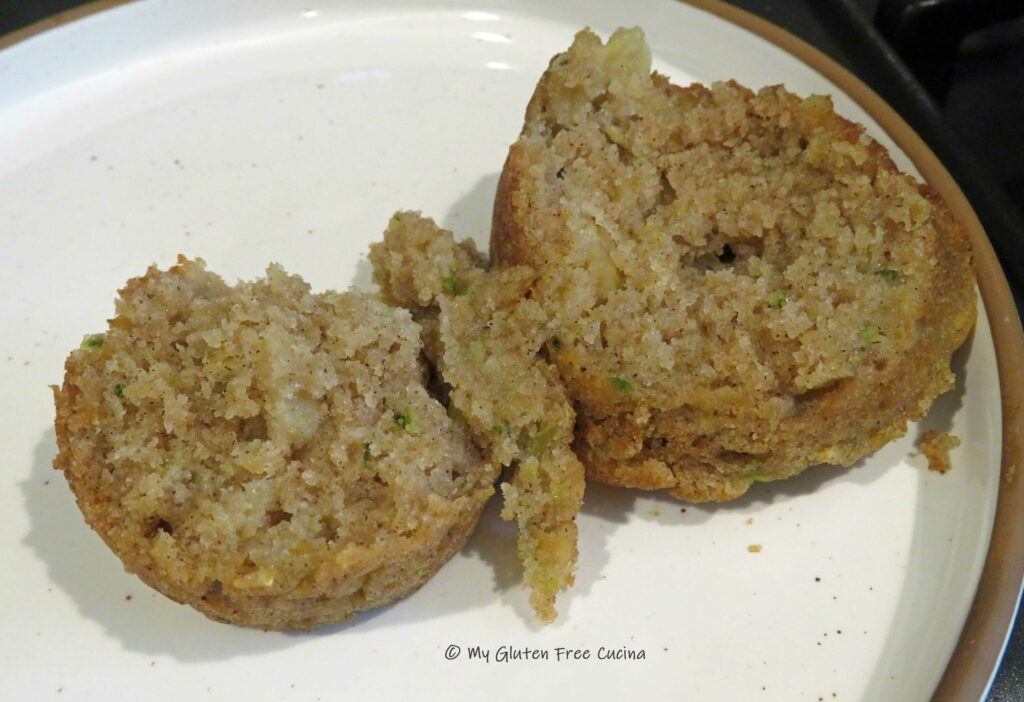
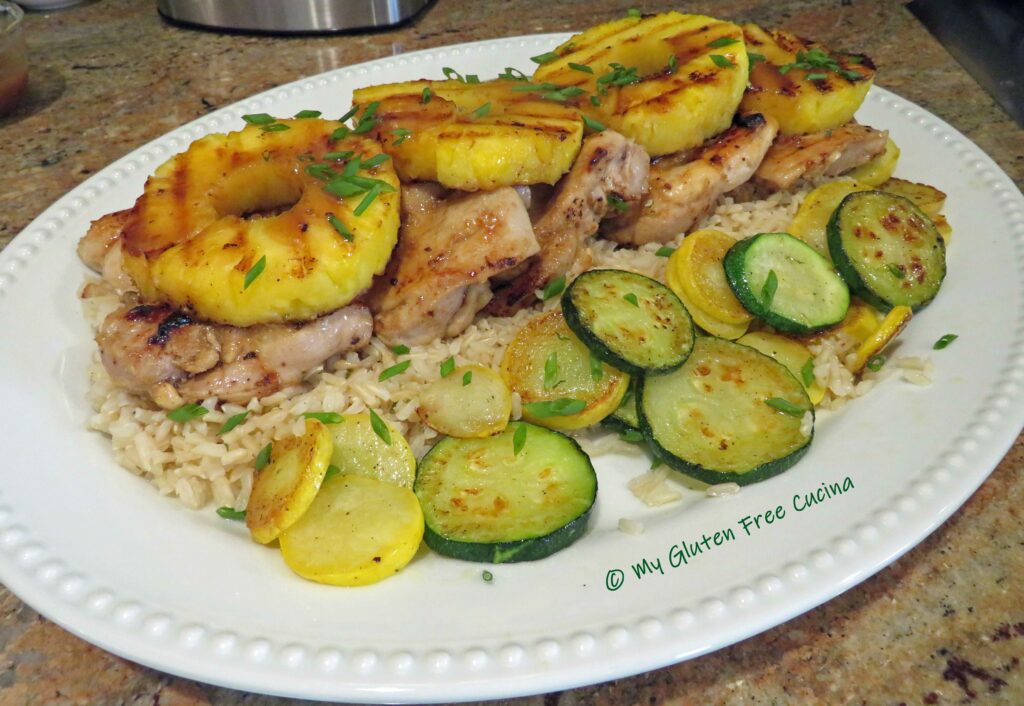
Gluten Free Jordan Marsh Blueberry Muffins

If you are from the Northeast and of a certain age, you will no doubt remember Jordan Marsh, the iconic department store.  It was my mother’s favorite store back in the day, and I vividly recall buying one of my prom dresses there, 50 years ago (eek!).

Before food courts and fast food, the Jordan Marsh Bakery was a popular destination for shoppers to refuel and continue on with their day, i.e., you didn’t have to go home if you got hungry- smart!

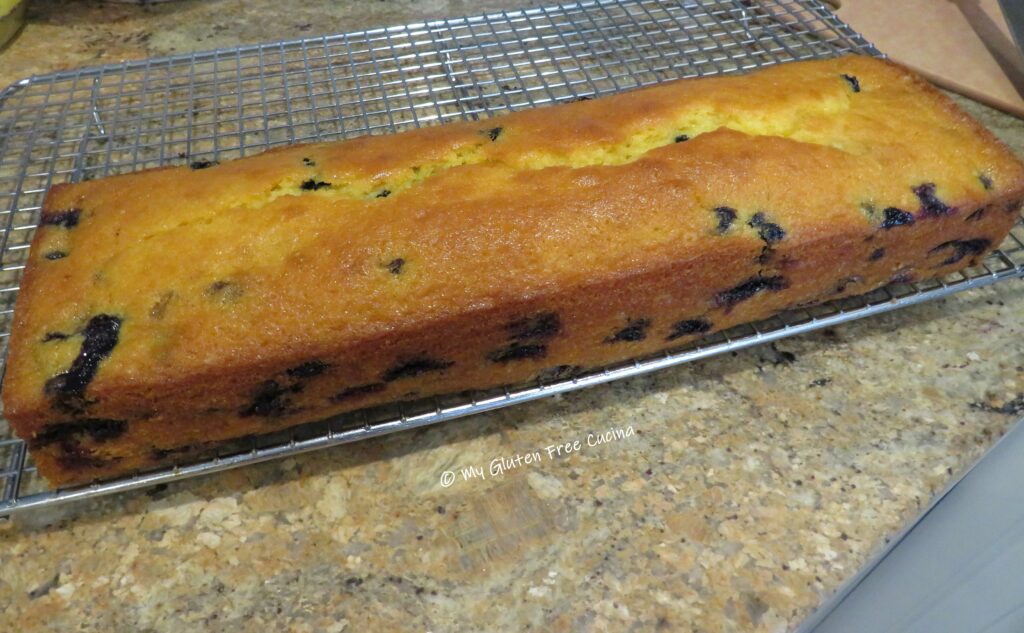
Although the store chain closed in the 1990’s, their Blueberry Muffins remain legendary to this day.  I recently read an interesting article about the origins of this recipe in the New York Times, which claimed it was adapted from an 1847 cookbook called The New England Economical Houskeeper and Family Receipt Book.

Wherever its origin may have been, the muffins are not only delicious, but only require a substitution of one ingredient to be gluten free.  How about that?

This post contains affiliate links.

Ingredients:

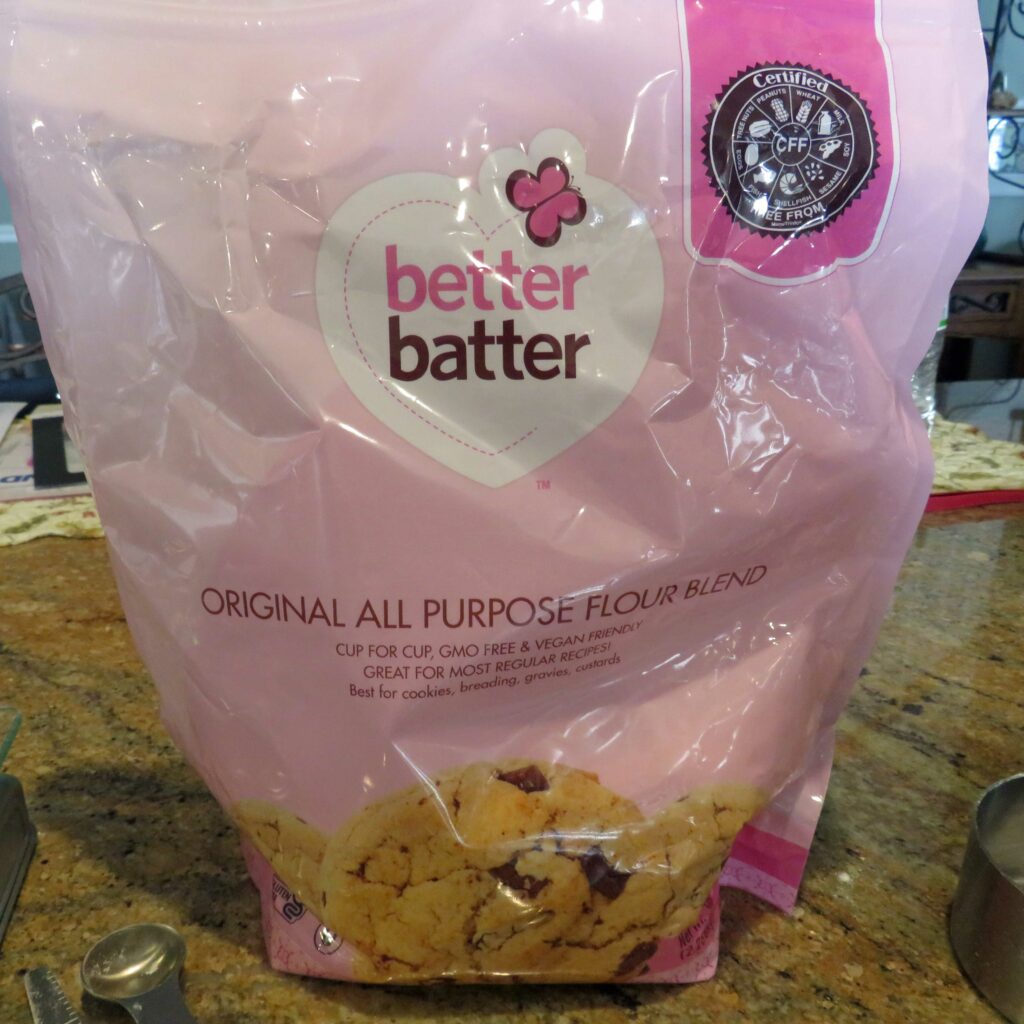
  • 300 g. (about 2 cups) Better Batter Original Gluten Free Flour
  • 1/2 tsp. salt
  • 2 tsp. baking powder
  • 1/2 cup milk (I used 2%)
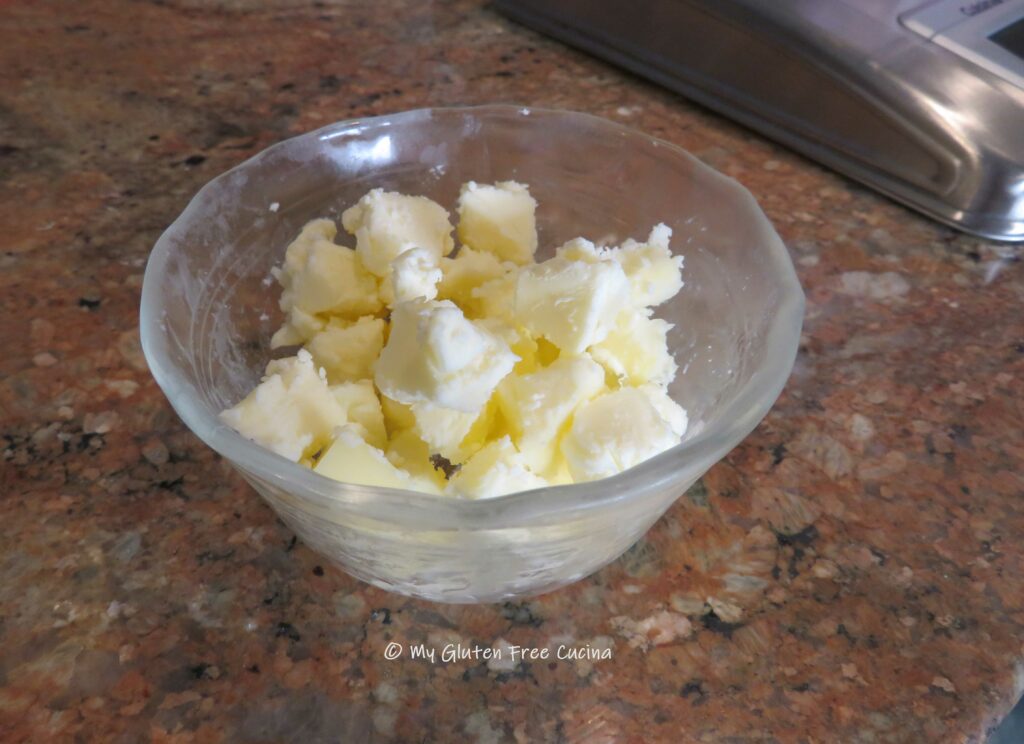
  • 1 stick of unsalted butter, softened (not melted)
  • 1 cup of sugar
  • 2 large eggs
  • 1 tsp. vanilla extract
  • 6 oz. package (1 cup) fresh blueberries

*** Get 30% off your full price purchase at Better Batter when you use my code MGFC30 at checkout! ***

Preparation:

Take the butter out of the refrigerator and let it soften at room temperature.  Mist a 12-cup muffin pan with cooking spray and preheat the oven to 375 degrees.  Rinse and dry the blueberries on a clean dishtowel.

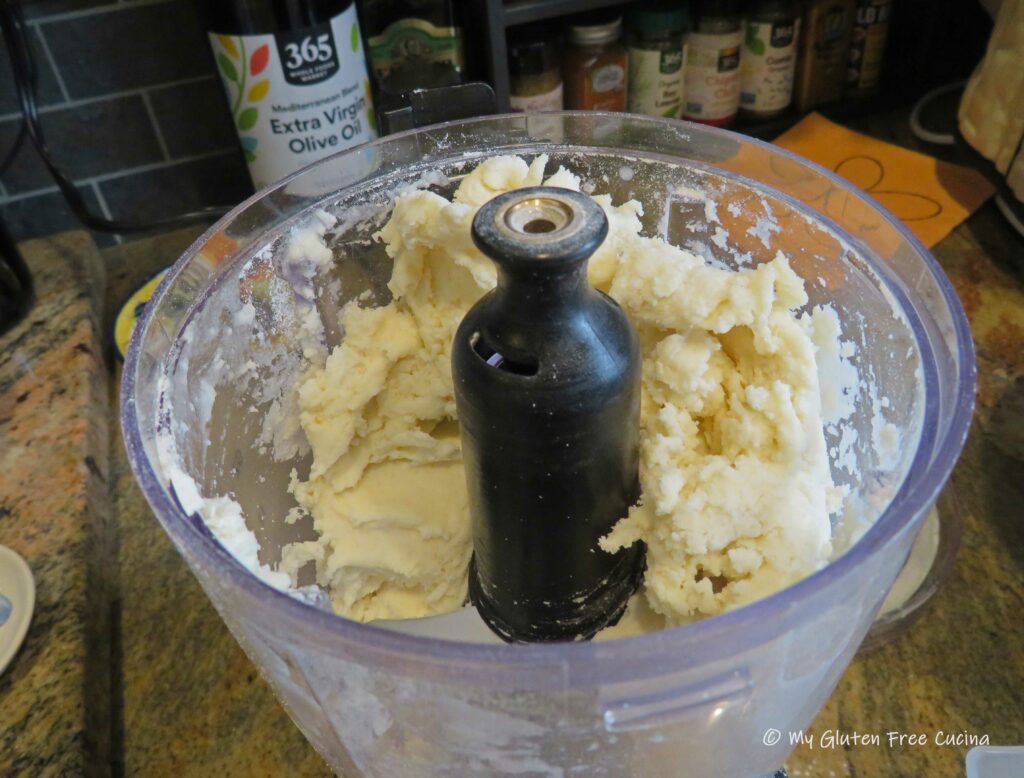
In the bowl of a stand mixer, cream together the softened butter and sugar with the whisk attachment.  Add the eggs and vanilla extract and beat until well combined.

In a separate bowl, whisk together the flour, salt and baking powder.  Reserve 1 tbsp. to sprinkle over the blueberries.

Add the dry ingredients to the mixer bowl along with the milk and combine with the paddle attachment until moistened.

Crush half of the blueberries with a fork and fold into the batter with the remaining whole blueberries.

Spoon the batter evenly into the prepared muffin pan.  Dip a small spatula in warm water and use it to smooth out the tops.  If you wish, you can sprinkle the tops of the muffins with more sugar.

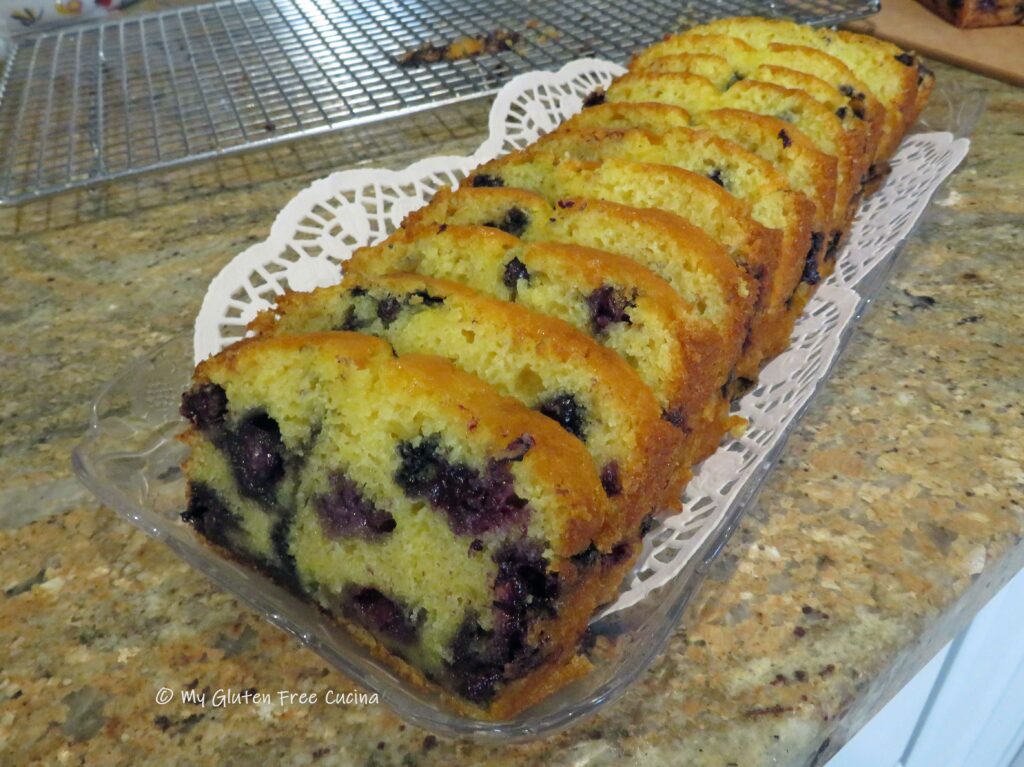
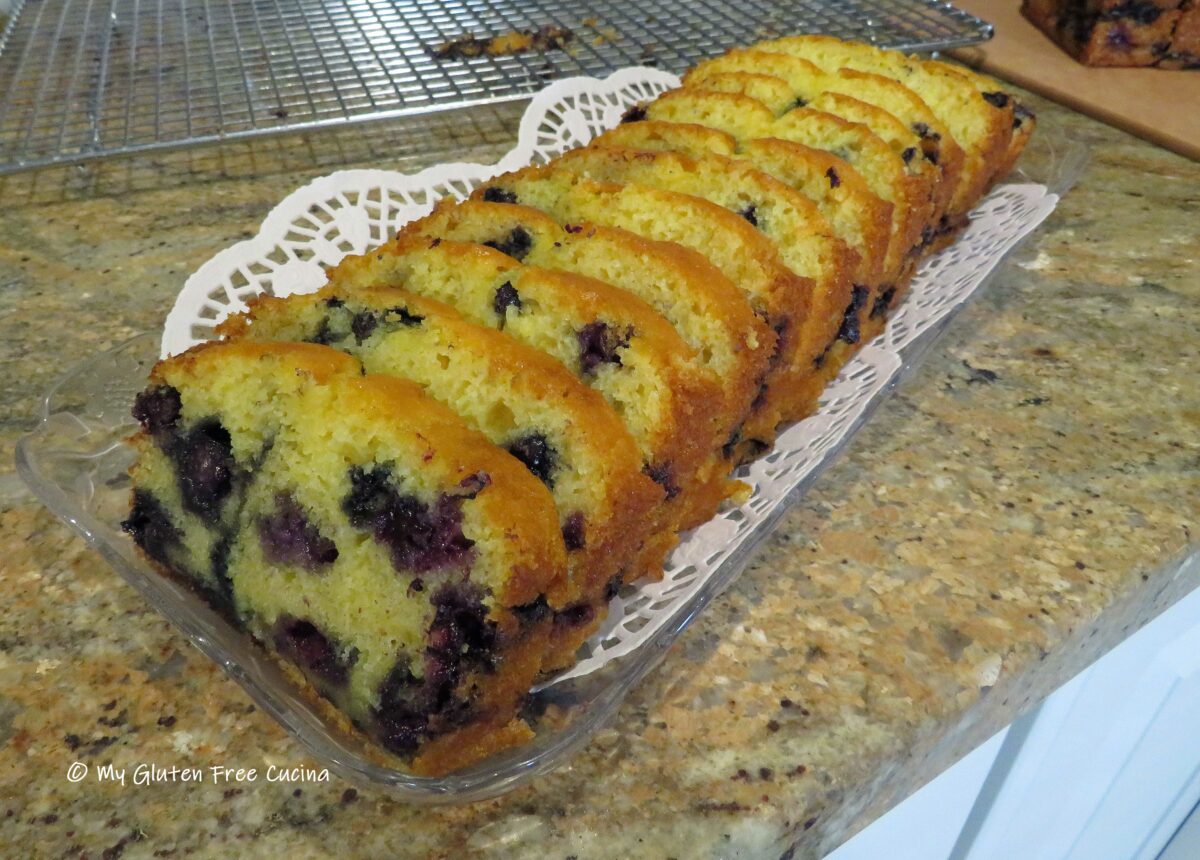
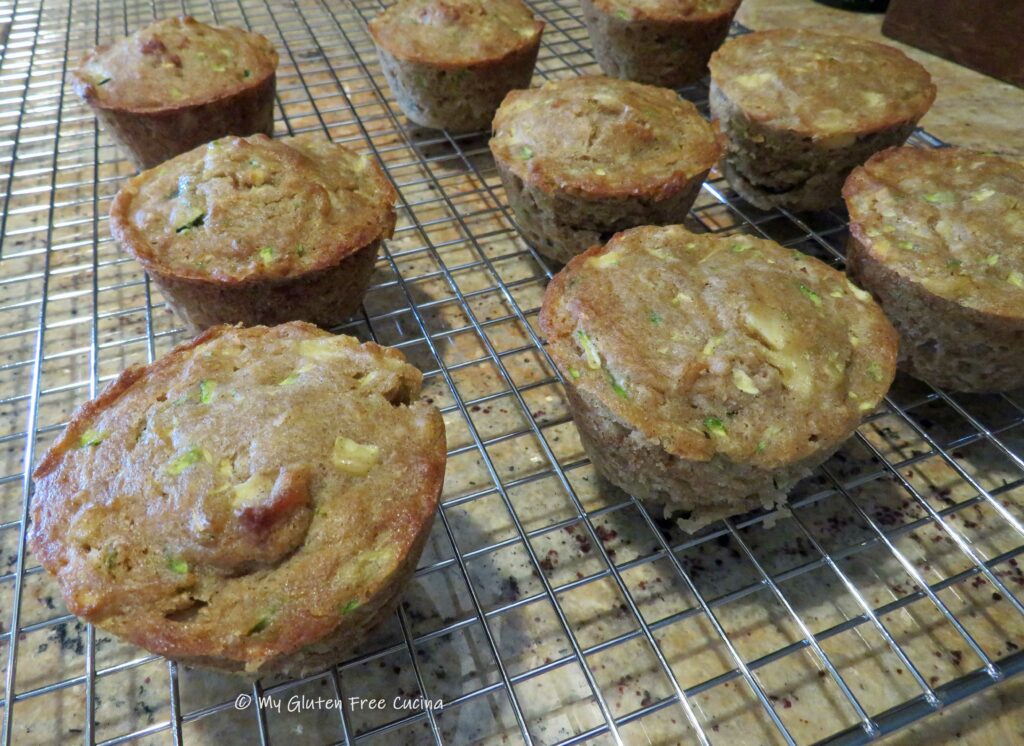
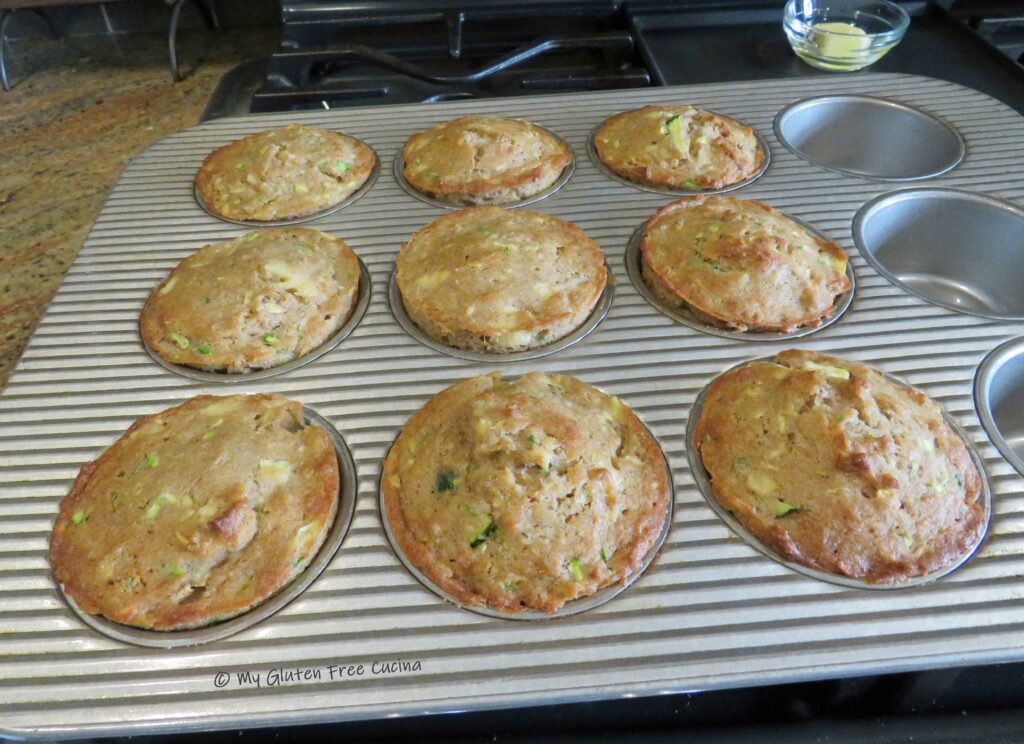
Bake for 25 minutes at 375 degrees.  Test with a toothpick.  Cool in the pan for 10 minutes then transfer to a rack.  Let them stand at room temperature for at least 4 hours.  I’ve got my eye on that big one in front!

Leftovers, if you have any can be frozen for an easy breakfast.

Notes ♪♫ For muffins and quick breads, I use and recommend Better Batter Original Gluten Free Flour.  Most recipes can be converted at 120-150g. per cup.  If you use a different brand, be sure that your flour contains xanthan gum.  Even if you do not weigh any of your other ingredients, I encourage you to invest in a kitchen scale to weigh the flour.

Print This Post Print This Post

Gluten Free Shrimp Scampi

Sometimes you have a meal in a restaurant, and it just sticks in your mind until you finally take the time to recreate it at home.  This is one of those meals.  I love seafood pasta and Shrimp Scampi has to be at the top of my list for all-time favorites.

Did you know this dish is super-fast and easy to prepare?  Yes, a five-star dinner that is quick enough to make on a weeknight!

Dinner for two

This post contains affiliate links.

Ingredients:

  • 2 garlic cloves, sliced thin
  • 1/8 tsp. red pepper flakes
  • 2 tbsp. olive oil
  • 1 cup (about half of a 14.5 oz. can) fire roasted diced tomatoes
  • 1/2 lb. large shrimp, peeled and deveined
  • 1/2 tsp. sea salt
  • 2 tbsp. white wine
  • 2 tsp. lemon juice
  • 2 tbsp. unsalted butter
  • 4 oz. gluten free spaghetti
  • 2 tbsp. shaved Parmigiano Reggiano
  • 1 tbsp. chopped Italian parsley

Preparation:

Heat the olive oil in a nonstick deep skillet or Sauteuse Pan.  Add the sliced garlic and red pepper flakes.  Cook for 30 seconds.

Add the tomatoes, salt, and wine.  Simmer 10 minutes.  Heat a large pot of salted water for the spaghetti and bring to a boil.  Add the spaghetti and set your timer for 1 minute less than the package directions.

When you have 8 minutes to go on the spaghetti, add the shrimp to the sauce with the lemon juice.  Cook for 3 minutes then turn to finish.

Drain the spaghetti and add it to the pan with 2 tbsp. unsalted butter.  Cook for 1 minute longer to marry the flavors.

Transfer to a serving bowl and garnish with fresh Italian parsley and shaved Parmigiano.

Notes ♪♫ I know the food police will say that combining cheese with seafood flies in the face of Italian culinary tradition.  But when I had this dish at a restaurant, it came topped with Parmesan shavings and let me tell you it was out of this world!  Use the good stuff, real Parmigiano Reggiano, shaved fresh right before serving.  I am 100% Italian and trust me, it’s wonderful.

Print This Post Print This Post

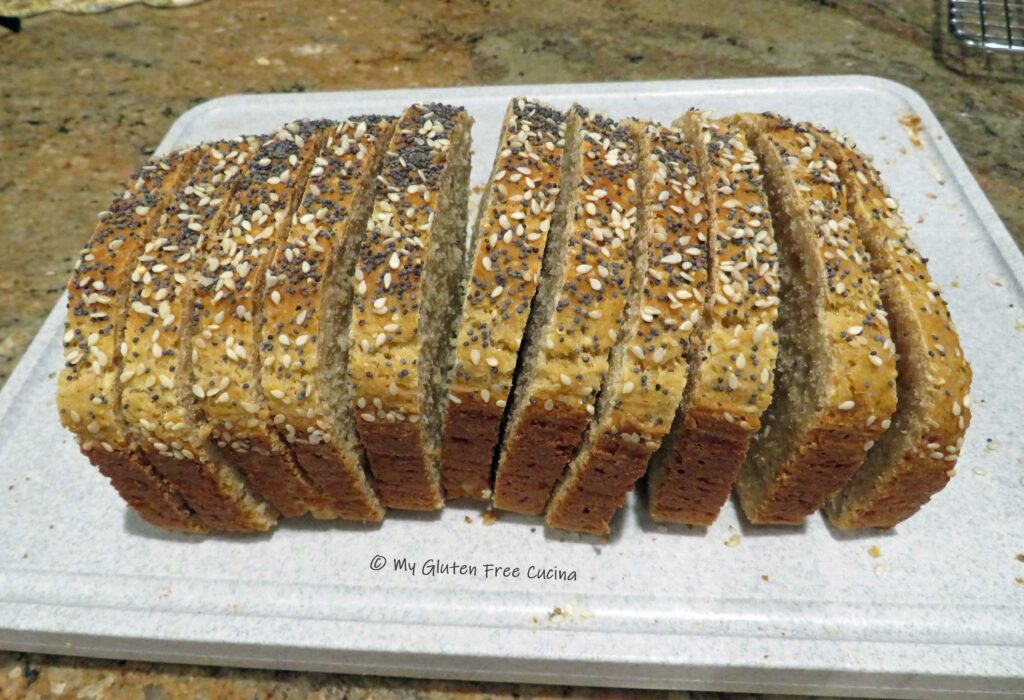
Gluten Free Multigrain Sandwich Loaf

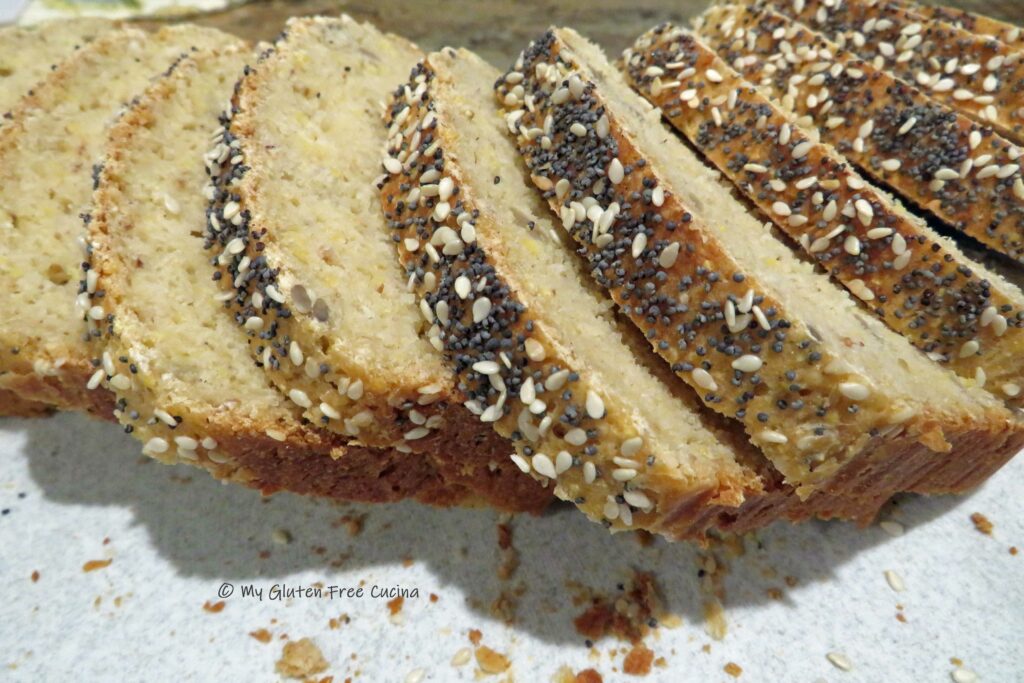
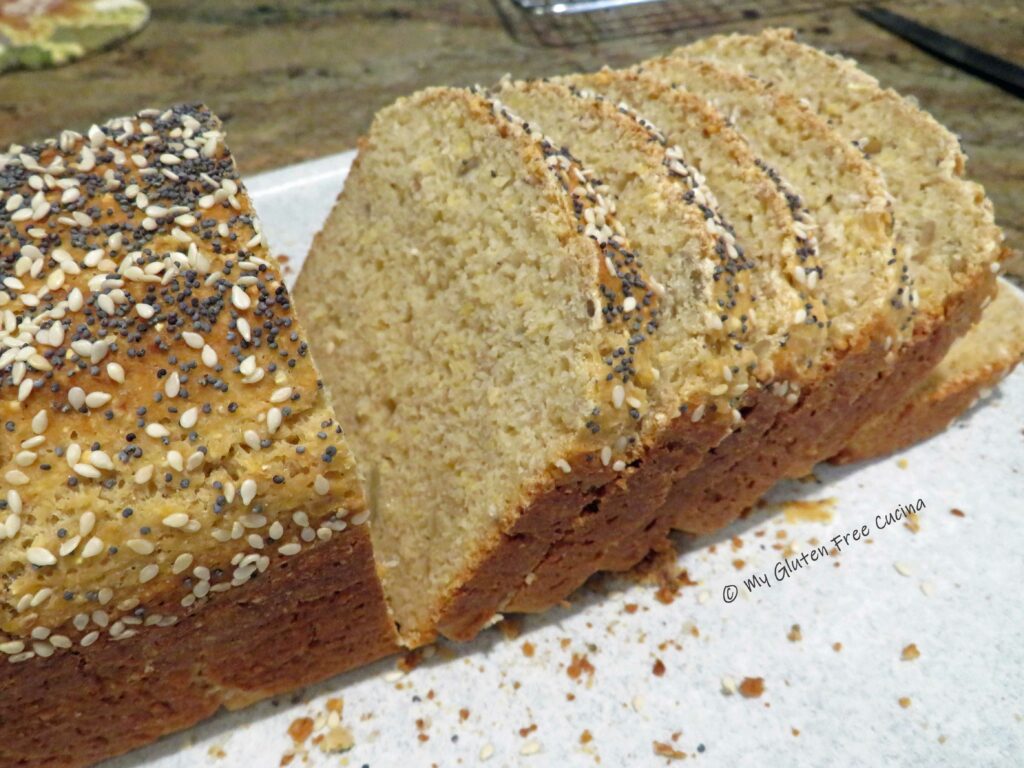
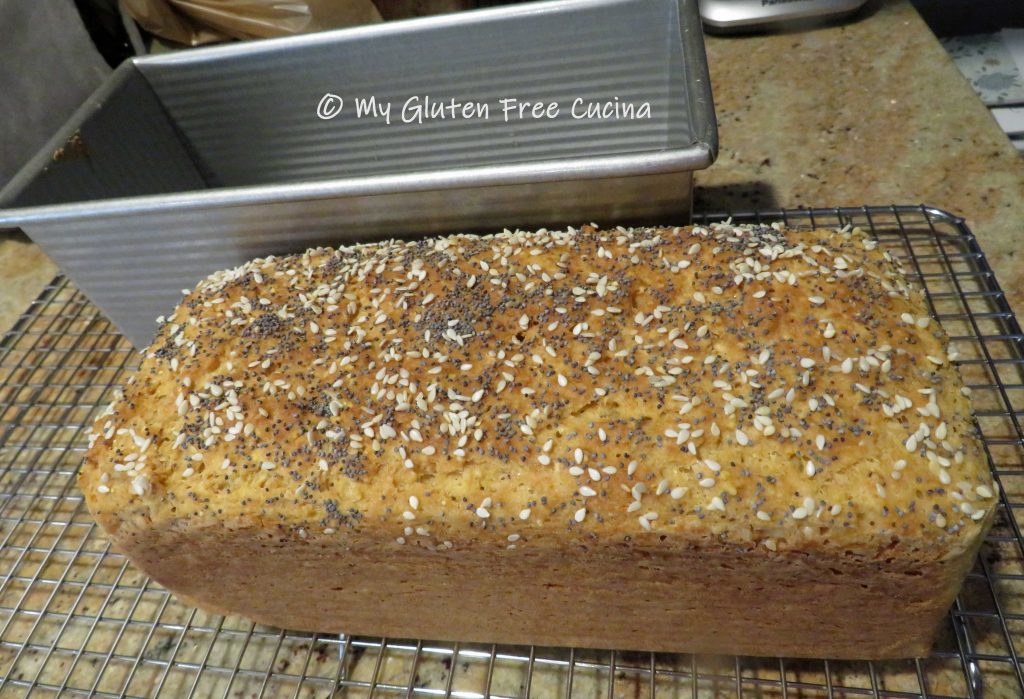
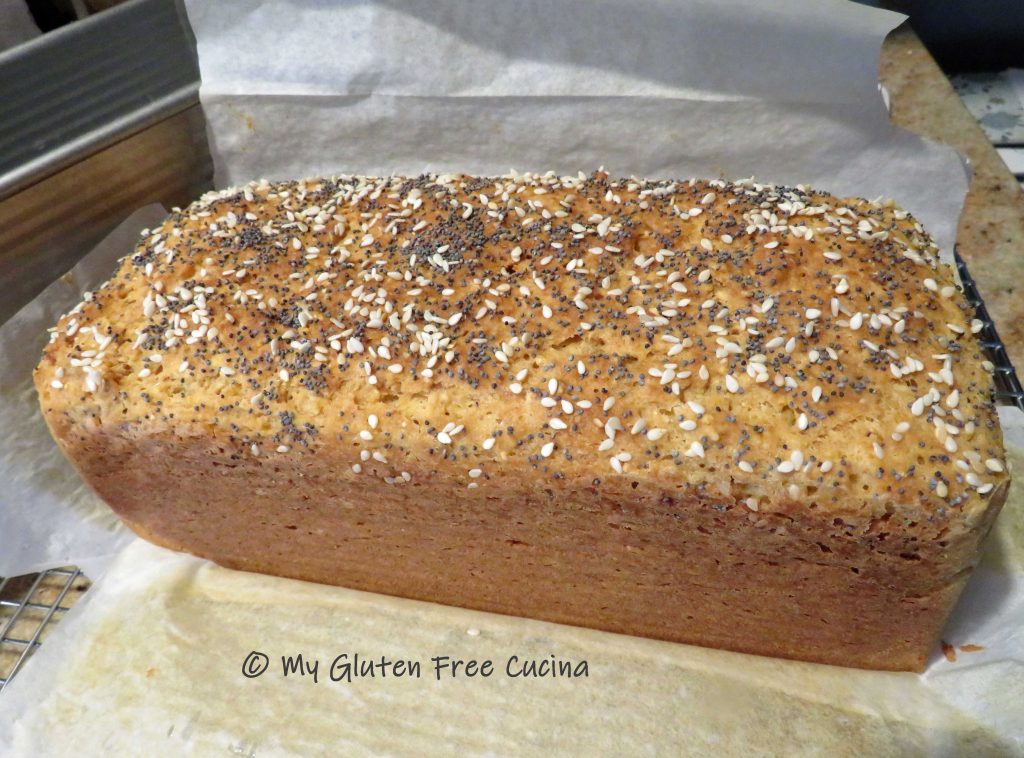
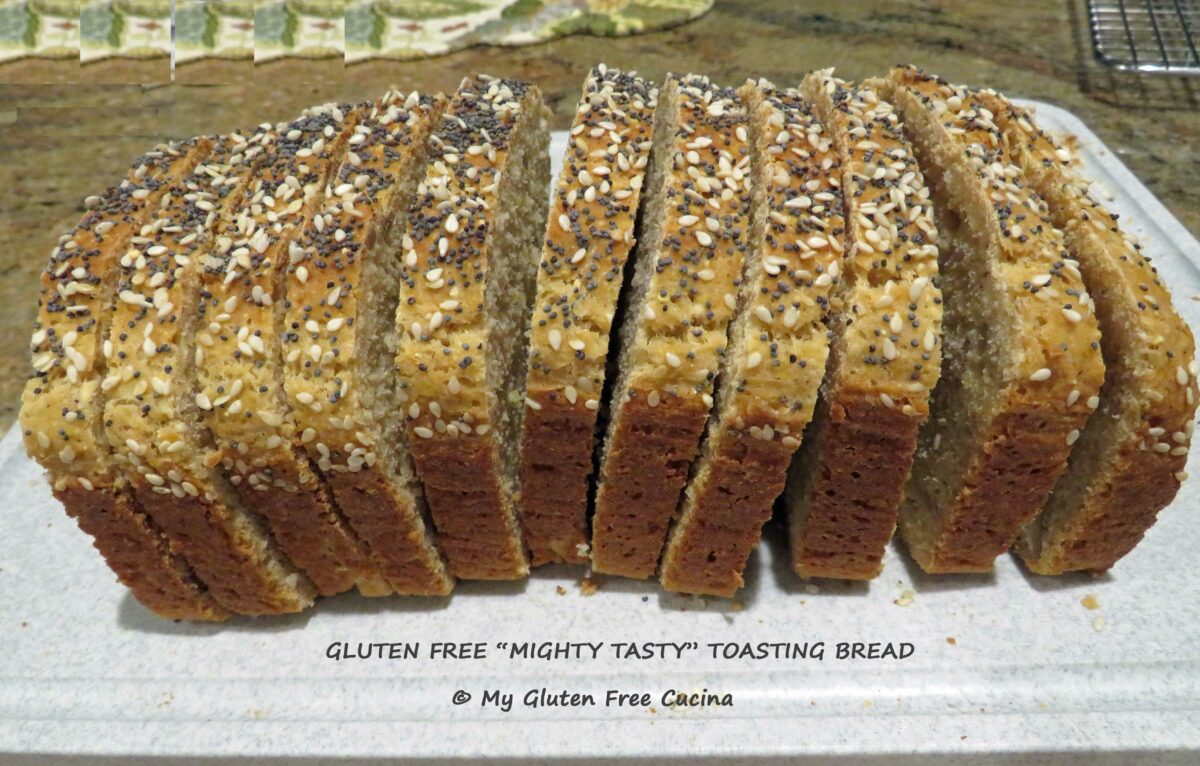
Just look at that beautiful loaf of bread!  In the gluten free universe, this is what dreams are made of!  Not only does it taste great, but it is also nutritious and wholesome, made with a combination of grains that delivers real bread flavor without the gluten.

If you like to mix up your own flour blends, then this recipe is for you!

I adapted this recipe from one of my own, Gluten Free Sandwich Thins.  I always made them for lunch when I worked in an office, but now that I’m home most of the time I find that I like to have sliced bread in the house.  When you make a loaf, you can slice it as thin or as thick as you want for sandwiches, toast or just to go with dinner.

This bread is wonderful for sandwiches.  It doesn’t need toasting, doesn’t fall apart in your hands and the middle is not wet or tacky at all.  It’s a gluten free dream come true!

This post contains affiliate links.

Ingredients:

  • 1 tbsp. yeast
  • 1 tbsp. ground chia seeds
  • 1 tbsp. sugar
  • 1/2 cup warm water
  • 127 g. whole grain sorghum flour
  • 183 g. brown rice flour
  • 56 g. tapioca starch
  • 56 g. arrowroot starch
  • 56 g. potato starch
  • 21 g. teff grain, ground
  • 1 tsp. gelatin
  • 1.5 tsp. xanthan gum
  • 1 tsp. salt
  • 1 large egg
  • 3 tbsp. olive oil
  • 3/4 cup warm milk (I used 2%)
  • 1/2 cup warm water
  • 2 tbsp. milk, for brushing
  • sesame seeds
  • poppy seeds

Preparation:

Line a 1 lb. loaf pan with parchment paper and mist with cooking spray.

Combine the yeast, ground chia seeds, sugar and 1/2 cup water in a small bowl or measuring cup.  Let the mixture rest for 10 minutes.

In a separate bowl, whisk together all of the dry ingredients, sorghum flour through salt.

When the yeast has bloomed, add the mixture to the bowl of a stand mixer along with the egg, olive oil, milk and water.

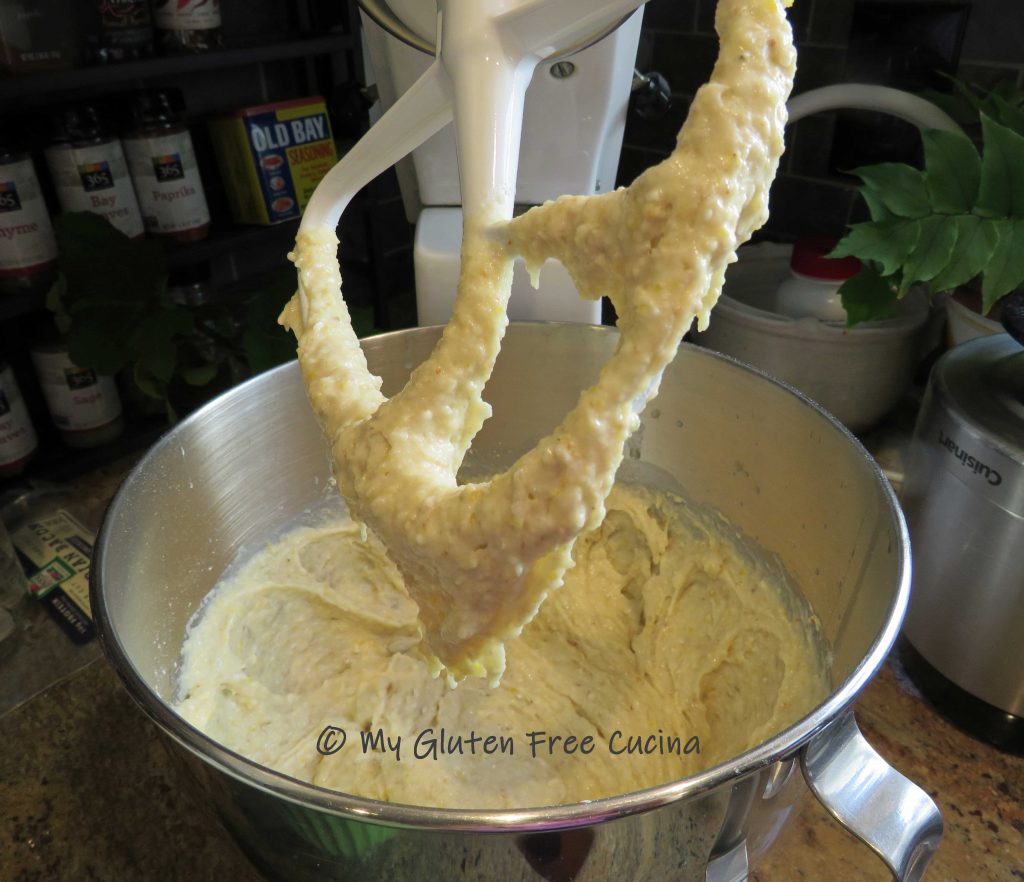
Whisk it all together, and then add the dry ingredients into the wet.  Mix for 5 minutes with the paddle attachment.  The dough will be heavy and wet.

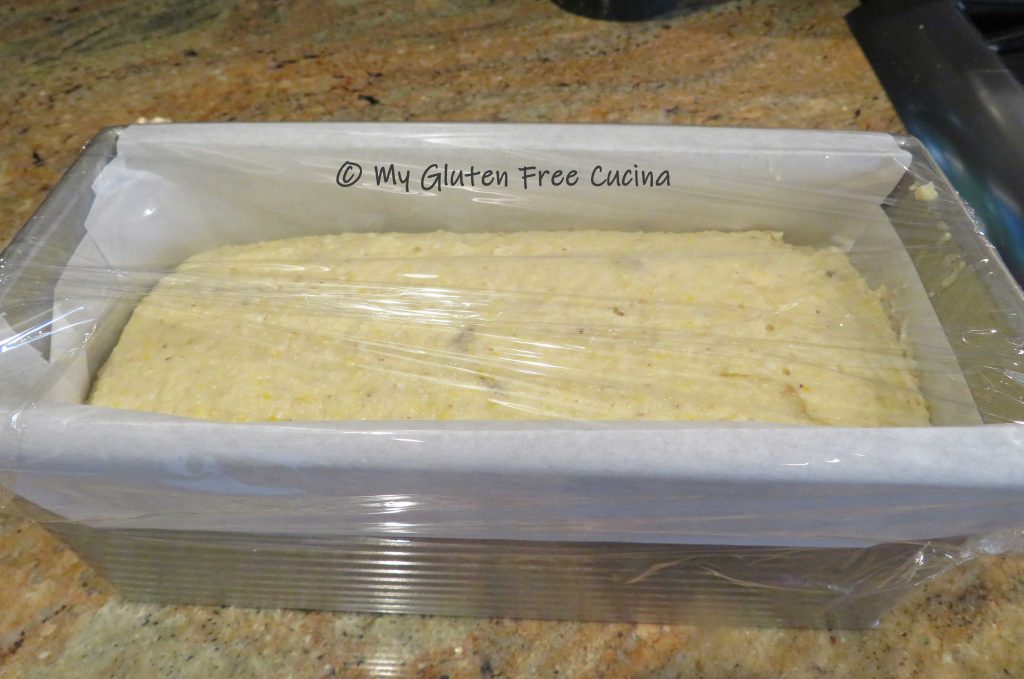
Scrape the dough into the prepared pan, smoothing out the top with a spatula dipped in water.

Covered with oiled plastic wrap and let it rise for 30 minutes while you preheat the oven to 400 degrees.

Brush the top of the loaf with milk, and sprinkle with sesame and poppy seeds.

Quickly make 2 diagonal slashes across the top of the loaf with a sharp knife.

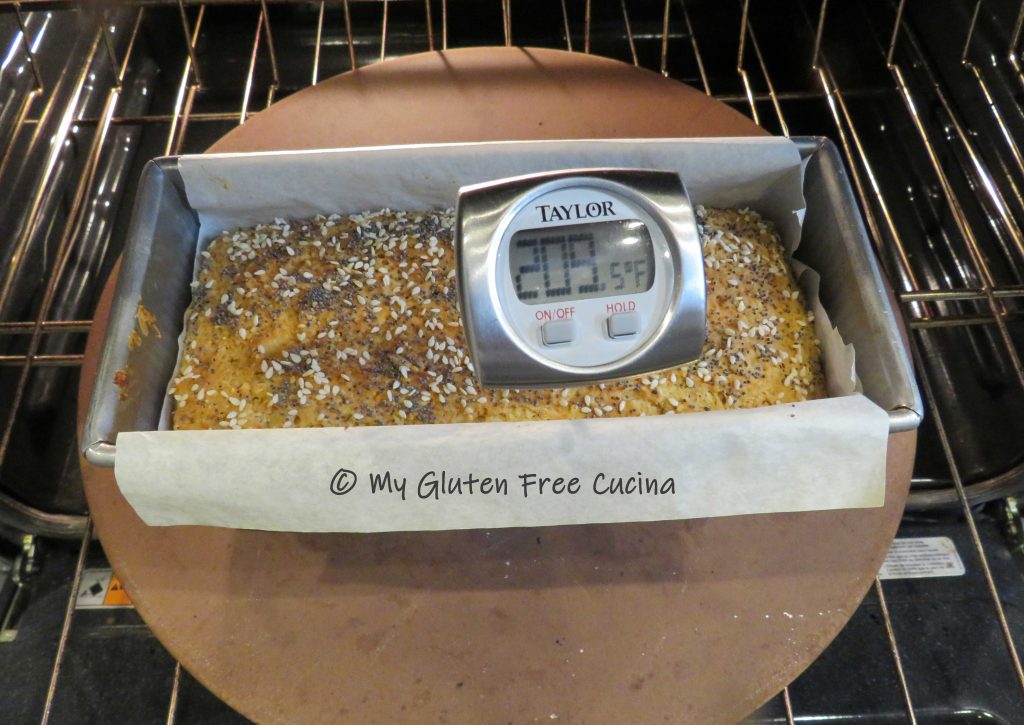
Place the loaf on the middle rack of the oven, close the door and drop the temperature to 375º.  Bake 50-55 minutes, or until the internal temperature reaches 205º (use a thermometer).

Cool in the pan 15 minutes, then transfer to a rack.

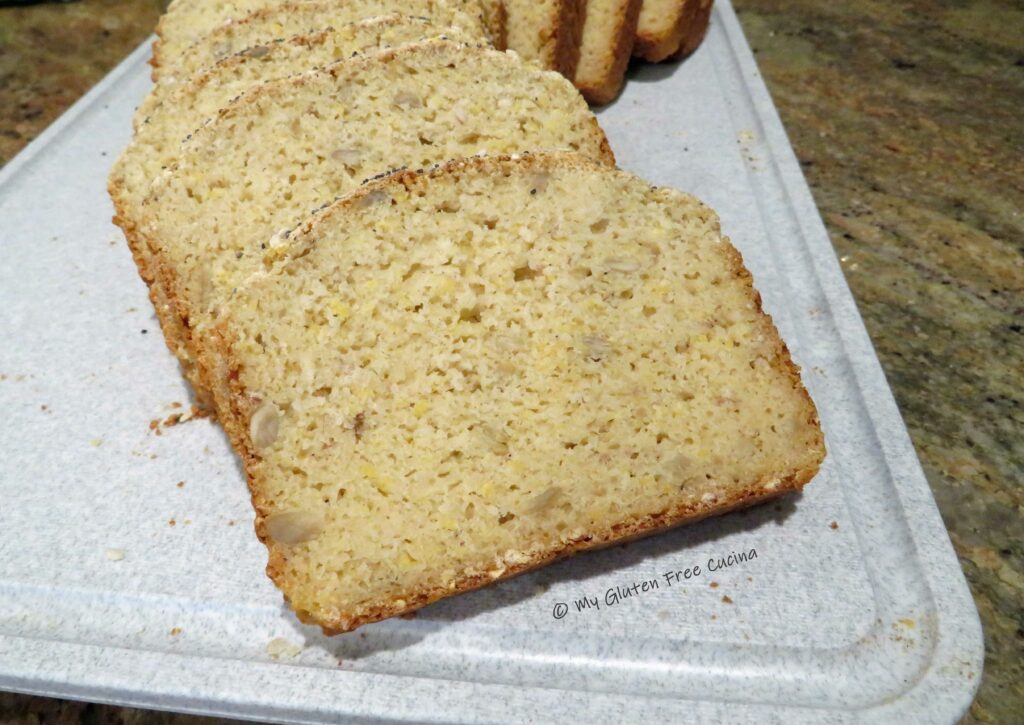
Cool to room temperature, then bag it and let the loaf stand at room temperature overnight.  Resist the urge to cut into that loaf right away, and your patience will be rewarded with this amazing crumb!  It is truly worth the wait!

Notes ♪♫ You might be interested to know that I mill some of my flour from the whole grain.  In this recipe, I used my KitchenAid grain mill attachment to mill whole sorghum berries into flour.  For the teff flour, I ground whole teff grain in a coffee grinder.  Storing grain in its whole form will keep it fresh longer, great for those infrequently used ingredients.  If you would like to learn more about using a grain mill, check out this post.

Print This Post Print This Post

Gluten Free Brunswick Stew

Restaurants have long known the secret, that today’s leftovers can be reinvented into tomorrow’s soups and stews.  It eliminates waste and makes good economic sense too.  I try to follow this principle in my own kitchen by using every last bit of food so that nothing goes to waste.

Brunswick Stew was always a restaurant favorite of mine.  This thick, spicy stew is the ideal way to use up leftovers.  So, whenever I make pulled pork, I put aside some of the meat to make this easy stew.  I add chicken as well, and the rest of the ingredients are pantry staples.

I’m excited to tell you that no oddball ingredients were needed to make Brunswick Stew gluten free.  Of course, when dining out always check with the kitchen to be sure it is safe to order.  At home, you know what to do.  Check labels when using canned products, condiments and seasonings.

 This post contains affiliate links.

Ingredients:

 Preparation:
Shred 3 cups total of leftover pulled pork and/or chicken.  I used 2 cups of leftover pulled pork and 1 cup cooked chicken (meat from one leg quarter).  Look it over carefully to be sure there are no bones.  I also removed most of the visible fat.

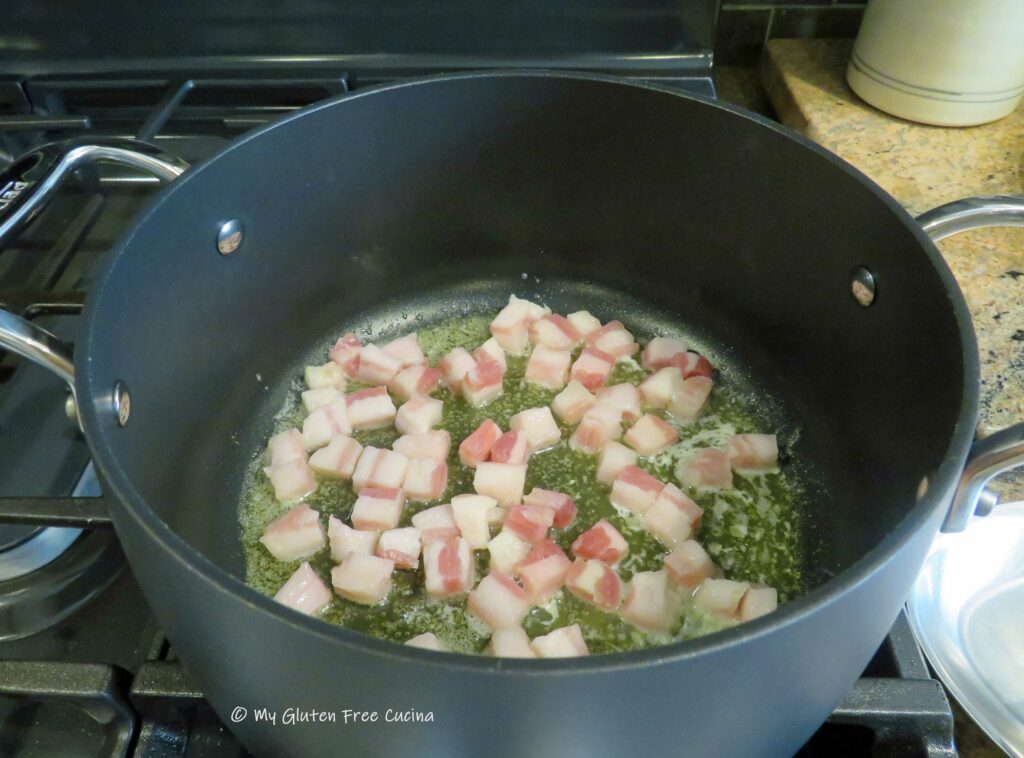
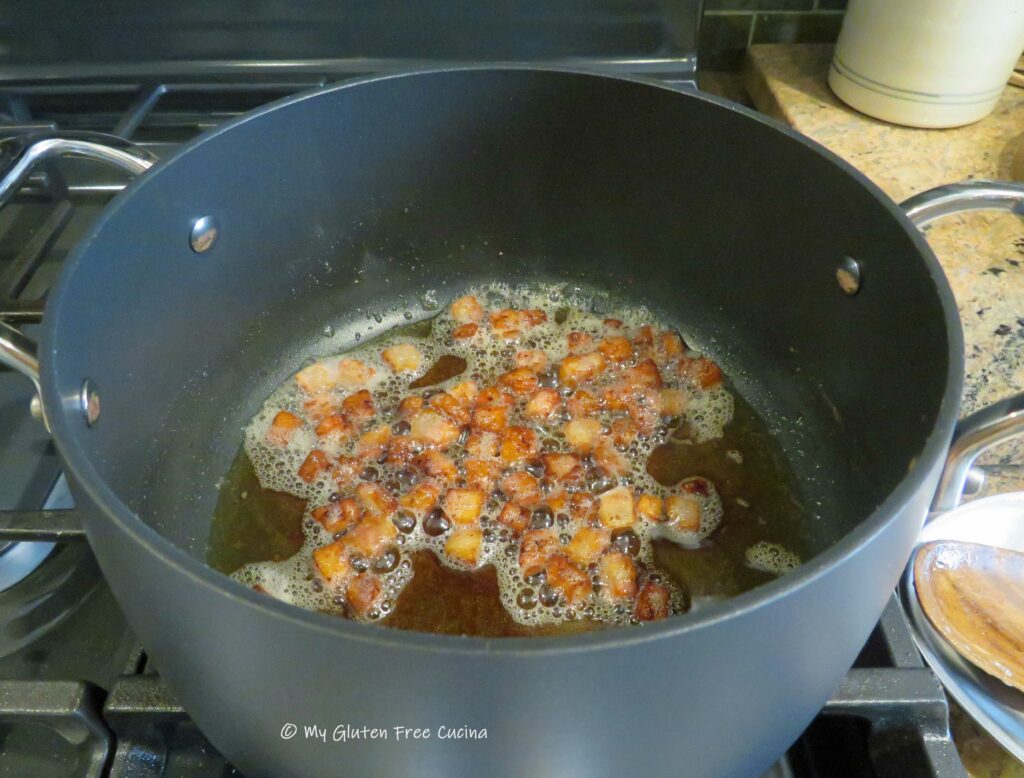
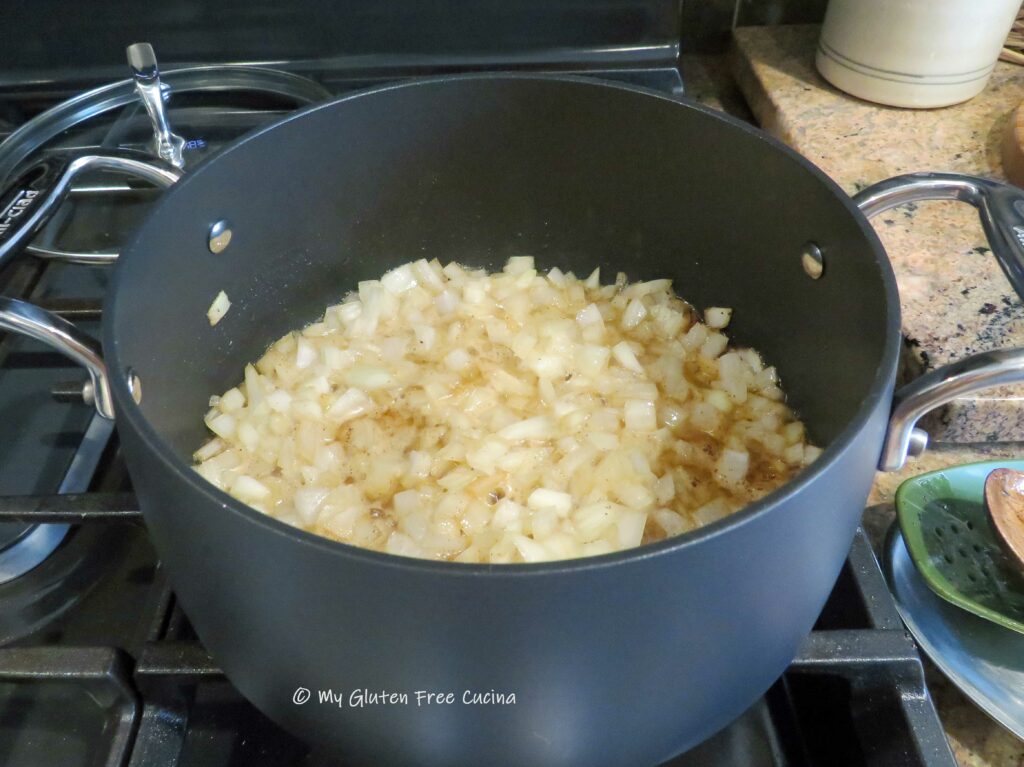
In a 4 qt. nonstick soup pot, heat olive oil and butter until melted.  Add the diced onion and cook until translucent.

Make a space in the center of the pan and add the tomato paste.

Let it toast for a minute then add the stock, tomatoes, BBQ Sauce, brown sugar, Worcestershire sauce and seasonings.

Finally add the fire roasted corn and stir everything together.

Keep it on a low simmer until all ingredients are heated through, about 20 minutes.  Remember, most of the ingredients are already cooked, so we are warming it up and giving the flavors a chance to meld together.  Like all soups and stews, this one is even better the next day!

Notes ♪♫ As you add the ingredients be sure to taste for seasoning.  If you held back on the pepper flakes and BBQ Seasoning, you could add a bit more for those who like it spicy.  If you prefer a sweeter taste add another tsp. of brown sugar.

Print This Post Print This Post

Gluten Free Italian Veal Cutlets

For a special Sunday Dinner, make your family a nice platter of Italian Veal Cutlets.  This was one of my dad’s favorite meals, I especially remember how he loved to order a veal cutlet sandwich at one of the local restaurants.  So be sure to make enough for dinner and leftovers for sandwiches the next day!

This post contains affiliate links.

I am fortunate to live in an Italian neighborhood where we can find thin sliced veal cutlets at the market.  At today’s prices, it’s a splurge but if you are making a nice dinner for two you can get away with less than a pound.  Serve with gluten free pasta and extra marinara sauce.

Ingredients:

Preparation:
Set up 3 breading trays (or use plates), one with rice flour, one with beaten egg and one with breadcrumbs.  Preheat the oven to 350º.

Heat a large nonstick skillet with several tablespoons of olive oil.  Keep the heat on medium low.  Working quickly, dredge each piece of veal in the flour, then dip in the egg mixture.  Shake off the excess egg and dredge in the breadcrumbs.  As you finish coating each piece add it to the skillet.  Cook 2 minutes per side until nicely browned, then transfer to a baking sheet.  Continue with the remaining slices, adding more olive oil to the pan as needed.  The cutlets do not have to be cooked through at this point, they will finish in the oven.

Ladle marinara over each slice and top with grated cheese, as much as you like.

Place in the oven for 15-20 minutes, just enough to melt the cheese.

That’s it.  Not complicated at all.  Serve with a nice plate of pasta and some good gluten free bread to soak up the sauce and you’ve got a fine meal on the table in under an hour (they’ll think you’ve been cooking all day though).

Notes ♪♫ Veal cutlets need to be sliced very thin.  If you can’t get them this way at the store you will need to place the meat between 2 sheets of plastic wrap and pound to 1/4″ thickness with a meat mallet.  If veal is not in the budget, you will be happy to know you can also make this recipe with chicken!

Print This Post Print This Post

Easy Marinara Sauce

Why can’t restaurants make a good marinara sauce?  I’m often so disappointed when ordering a simple pasta dish.  It’s the sauce.  You know that bland watery tomato sauce straight out of the can with no seasoning?  Honestly, sometimes I want to walk into the kitchen and show them how to do it!

Well, maybe I’ll just show you, dear readers, that it’s not difficult to make a marinara sauce at home.  Do you really need certified San Marzano DOP dell’agro Sarnese Nocerino tomatoes?  Ok yes, they are out of this world good, but if you’re on a budget it is perfectly fine to start with any canned plum tomatoes or sauce, you just have to jazz it up!

This post contains affiliate links.

I confess, to this day I still prefer Hunts Sauce for my marinara because that’s what my mother used, and it brings back such memories of our Italian Sunday dinners growing up.  If you do decide to splurge on real Certified San Marzano tomatoes, I recommend you shop around.  I paid $6.99 a can at my grocery store but later found them online for less!

Before we get started with the recipe, I will tell you that this is not the purist version of marinara sauce.  Yes, I am 100% Italian, and I add onions (gasp) and sugar to my marinara.  It’s the way I make it, and everyone loves it.   Try it, you’ll see!  So much better than jar sauce and in case you were wondering, marinara sauce is gluten free when you make it yourself and there are no mystery ingredients!

Start with whole peeled tomatoes if you like it chunky, or plain tomato sauce if you prefer a smooth sauce with no seeds.  You can use a combination of the two.

Ingredients:

Preparation:
Add 2 tbsp. olive oil to a nonstick deep skillet or Sauteuse and heat over medium low (do not use a saucepan, you want something with a wide surface that will allow the sauce to reduce).  Add the onions and cook for several minutes, stirring frequently until they are fragrant and translucent.  Add the garlic and cook for another 30 seconds, be careful not to let it burn.

Next add the tomato paste.  Using paste gives the sauce body and makes it less watery.  Make a space in the center of the pan and drop it in, then let it toast for a minute before stirring it into the onions and garlic.

Now add the sauce and/or whole peeled tomatoes (break them up with your hands first), brown sugar, pepper, basil and oregano.  I do not add sugar to a meat sauce, but for a marinara I love just a tablespoon of sugar or brown sugar per large can of tomatoes.

Stir it up, cover and simmer on low for about 30 minutes, stirring occasionally.  A simmer mat is great for maintaining a low, gentle simmer and you don’t have to worry about burning your sauce.

When finished, remove the lid and let the sauce sit for 15 minutes.

Now that you know how to make a good marinara sauce, what restaurant favorite will you have for dinner tonight?  How about Spaghetti and Meatballs?  Chicken and shells?  With a great marinara recipe, you can recreate all those great meals right at home!

For some other great sauces, check out my Harvest Pasta Sauce, Traditional Bolognese Sauce, and Mushroom Cream Sauce!

Notes ♪♫ Fun fact, my mother would put a whole onion into her sauce, then remove it before serving “so no one would know”!  She made a huge pot of sauce every month then froze it in portions for Sunday dinner.  I still remember that big Farberware pot on the stove.  I always said my mother’s sauce was better the week after she made it, so go ahead and make a double or triple recipe to always have some on hand!  You can freeze marinara sauce for 6 months.  

Print This Post Print This Post

Gluten Free Pumpkin Applesauce Muffins

Are you team pumpkin or team apple?  With these Pumpkin Applesauce Muffins, there’s no need to take sides!  You get the best of both fall flavors in every bite!

Think all gluten free baked goods are dry and crumbly?  Wait until you bite into one of these muffins, they are super moist and delicious.  What’s more, no one will guess that they are gluten free!

This post contains affiliate links.

Ingredients:

Dry ingredients

  • 285 g. (~2-1/3 cups) gluten free flour (I use and recommend Better Batter Original)
  • 1-1/2 tsp. baking soda
  • 1-1/2 tsp. cinnamon
  • 3/4 tsp. ginger
  • 1/4 tsp. cloves
  • 3/4 tsp. nutmeg
  • 3/4 tsp. salt

Wet ingredients

Get 30% off full price at Better Batter with code MGFC30

Preparation:
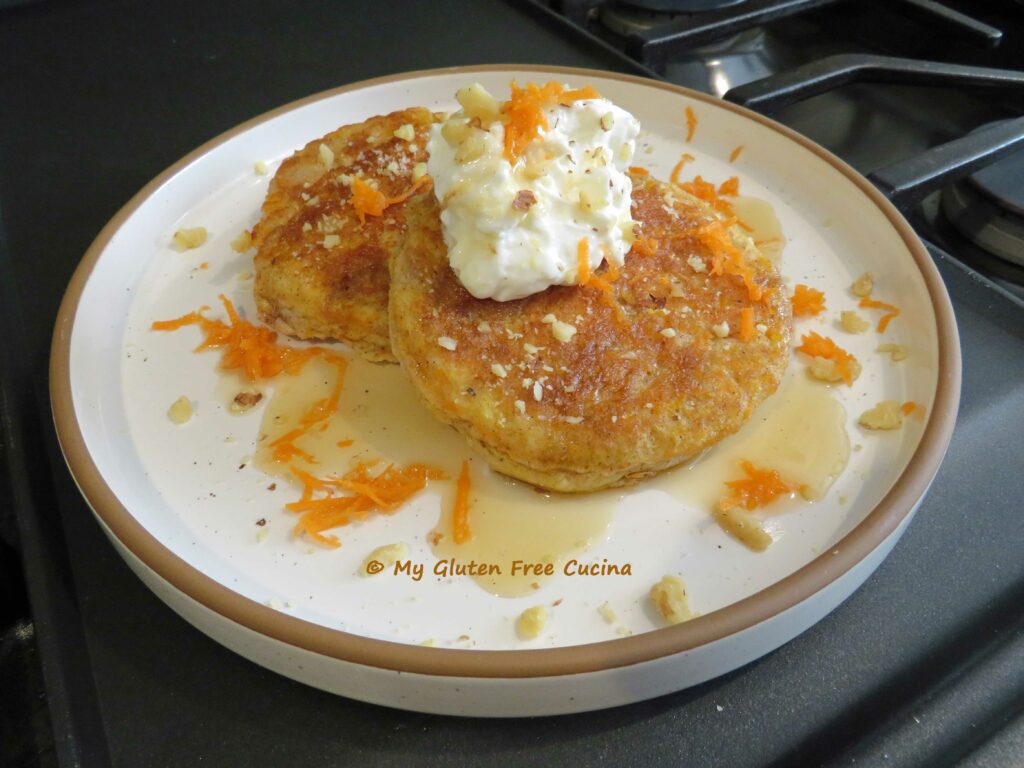
Whisk the dry ingredients together in one bowl.  In another bowl, whisk together all the wet ingredients.

Stir the dry ingredients into the wet, until all of the flour is moistened.  Cover and let the batter rest for 20 minutes while you preheat the oven to 350º.

Mist the muffin tin with cooking spray and spoon the batter into the 12 cups.

Use a small spatula to smooth out the tops, this will give the muffins a nice dome.

Bake for 30 minutes.  Test with a toothpick, it should come out dry.

Cool in the pan for 15 minutes then place on a rack until completely cooled before storing, about 2 hours.

Muffins will keep at room temperature for a day or two.  Reheat them in the microwave for 30 seconds.  I like to wrap leftovers individually and freeze them for a quick breakfast or snack.

Notes ♪♫ Don’t skip the 20-minute resting time.  This important step allows the flour to hydrate so that there will be no gritty texture in the finished muffin.  This is a great tip for gluten free baking in general, and will give better results for your breads, muffins and cakes.

Print This Post Print This Post

Everyday Gluten Free Dinner Rolls with Better Batter

My gluten free friends all know the feeling.  You go to a restaurant, and they tell you they have gluten free dinner rolls, and you are SO happy!  Then they bring you a little hockey puck that tastes like cardboard, and charge extra for it!

Well, forget about that!  Instead, make the BEST tasting dinner rolls, right at home with the Artisan Flour Blend from Better Batter.  This recipe makes great dinner rolls, breakfast rolls and sliders too!  Or make them larger for hamburger or hotdog buns.

Credit for this recipe goes to Chef Patrick Auger, who is the creator of the Artisan Flour Blend.  He is a shining star in the gluten free community, well known for both product and recipe development!

The original recipe appeared on the Better Batter website in 2017.  Follow Chef Patrick on Facebook Gluten Free Baker and Instagram, Professional Allergy Baker.

And don’t forget, when you order the Artisan Flour Blend from the Better Batter website, be sure to use my Promo Code MGFC30 at checkout for 30% off full price!  All of their products are of the highest quality and will make a dramatic difference in your gluten free baking, I know it did mine!

Ingredients:

Preparation:
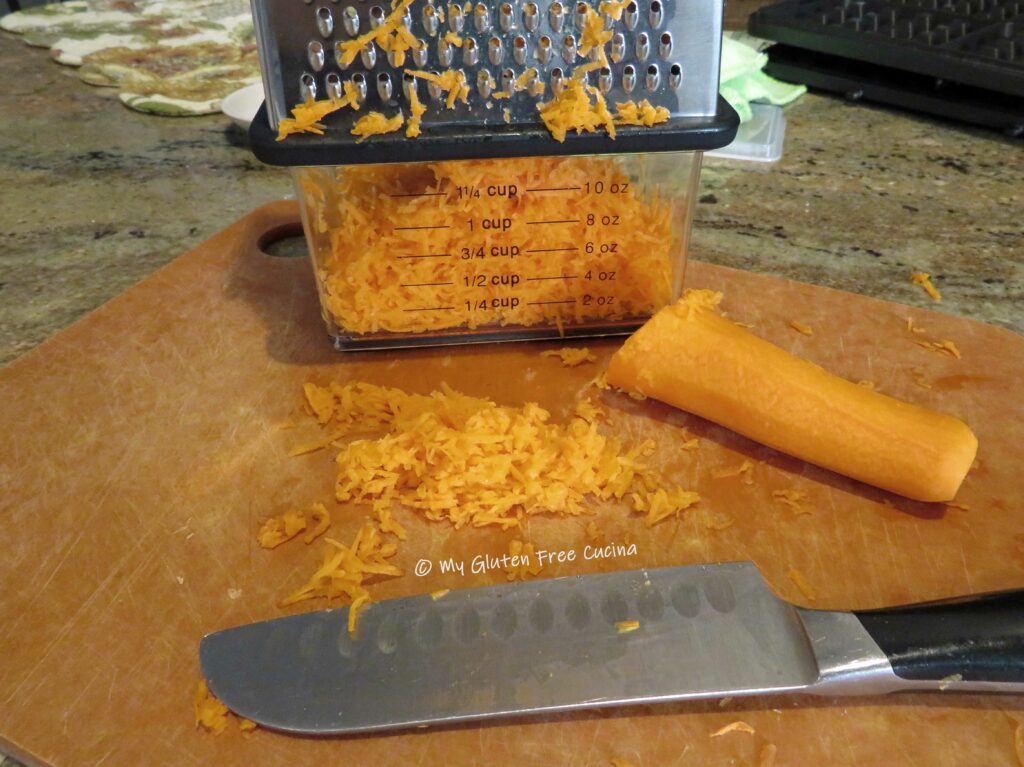
In the bowl of a stand mixer, whisk together the warm water, yeast, honey and canola oil.  Let it sit for 10 minutes.

Add the flour and salt to the wet ingredients, switch to the paddle attachment and mix for 6-8 minutes.

Turn the dough onto a floured cutting board, cover with plastic wrap and let it rest 20 minutes (this is a good practice for any gluten free recipe, but absolutely necessary if you are using the Artisan Flour Blend).

Now you are ready to form the rolls.  Here are some guidelines for different size rolls.  Your total dough weight will be around 1150 g.

For large hamburger buns, divide the dough into 6 pieces, about 190 g. each.

***

For medium rolls (pictured), divide the dough into 12 pieces, about 95 g. each.
***

For sliders, divide the dough into 15-16 pieces, about 75 g. each.

***

Using your palm, roll each piece of dough on a floured cutting board to form a ball, and place on a baking sheet or use a bun pan like I did.  For large buns press the tops down to flatten slightly.

Cover the rolls with a damp towel while you preheat the oven to 450º.  Let the oven heat up for about 20 minutes, giving the rolls a chance to almost double in size.

To bake, remove the towel and place baking pan the center of the oven.  Throw 4 ice cubes onto the bottom of the oven, close the door and immediately turn the oven down to 375 degrees.

For large rolls (6), bake for 8 minutes, then throw in four more ice cubes and bake for another 20 minutes.

LARGE ROLLS

For medium rolls (12), bake for 7 minutes, add 4 more ice cubes and bake for another 18 minutes.

MEDIUM ROLLS

For sliders (16), bake for 6 minutes, add 4 more ice cubes and bake for another 16 minutes.

SLIDERS

When done, the internal temperature should reach 205º, if you’re not sure, check with a thermometer!

For a nice shine, try brushing the tops of the buns with melted butter as soon as they come out of the oven.

Cool to room temperature and store on the counter for up to 1 day, then freeze leftovers.

Look at that crumb!  They taste and smell like real bread and won’t fall apart in your hands like the rolls you get at a restaurant.  The recipe is easy enough for beginners too!

Notes ♪♫ If you only take away one tip from this post, let it be to always weigh your flour (use a scale!).  I do use measuring cups for liquids and measuring spoons for anything 1 tbsp. or less.  But for the flour, a scale is a must!

This recipe was adapted from “Perfect Artisan Baker’s Blend (Gum/Rice Free) Everyday Rolls”, created by Chef Patrick Auger, and published on the Better Batter website in 2017.  Many thanks to Naomi at Better Batter and to Chef Patrick who graciously gave me permission to share the recipe with my readers.

Print This Post Print This Post

Sea Scallops with Cauliflower Mash

Sometimes you need a meal that’s easy on the carbs.  That’s what I’ve made tonight with this simply prepared dish of Sea Scallops served over Cauliflower Mash.  Truth be told, I had something like this at a restaurant years ago, and it has been on my recipe bucket list to make at home.  Gluten free and grain free, it’s a guiltless indulgence.

These days, cauliflower mash is easy to make, thanks to riced cauliflower being widely available in both the produce and freezer section of most grocery stores.  You can grate your own or take a shortcut like I did!  I make cauliflower mash just as I would make mashed potatoes- steam them, then puree with lots of butter, milk or cream, salt, pepper, and chives.  You can add cheese if you like, or sour cream.

So, what did I do to make this dish gluten free?  Nothing.  That’s right, 100% of the ingredients were already gluten free, including that balsamic glaze you see in the photo, which has a gluten free label.

2 Servings

This post contains affiliate links.

Ingredients:

  • 1/2 lb. sea scallops
  • 12 oz. riced cauliflower
  • 3 tbsp. butter, divided
  • 1/4 cup cream or milk
  • salt and pepper to taste
  • 1/2 tsp. garlic granules
  • 1/2 tsp. shallot/chive seasoning
  • Balsamic glaze
  • fresh chives for garnish

Preparation:

Rinse the cauliflower and steam for 15-20 minutes, until softened.

Add 2 tbsp. butter, milk or cream, generous amount of salt and pepper, garlic granules and shallot/chive seasoning.

Puree with a stick blender and cover to keep warm.

Heat a small skillet with the remaining 1 tbsp. butter.  Pat the scallops dry and add them to the pan.  Cook 3 minutes per side, just enough to get a little color.

To serve, spread the cauliflower mash on the bottom of the plate and top with scallops.  Drizzle with balsamic glaze and garnish with fresh chives.  I added a side of green beans.

Notes ♪♫ If your scallops are frozen, be sure to defrost them completely before cooking to remove excess liquid.  For both fresh and frozen, be sure to pat dry with paper towel before cooking.  Start with a hot pan, add the butter and then place your scallops in the pan leaving space in between so that when they do release liquid it has room to evaporate.

Print This Post Print This Post


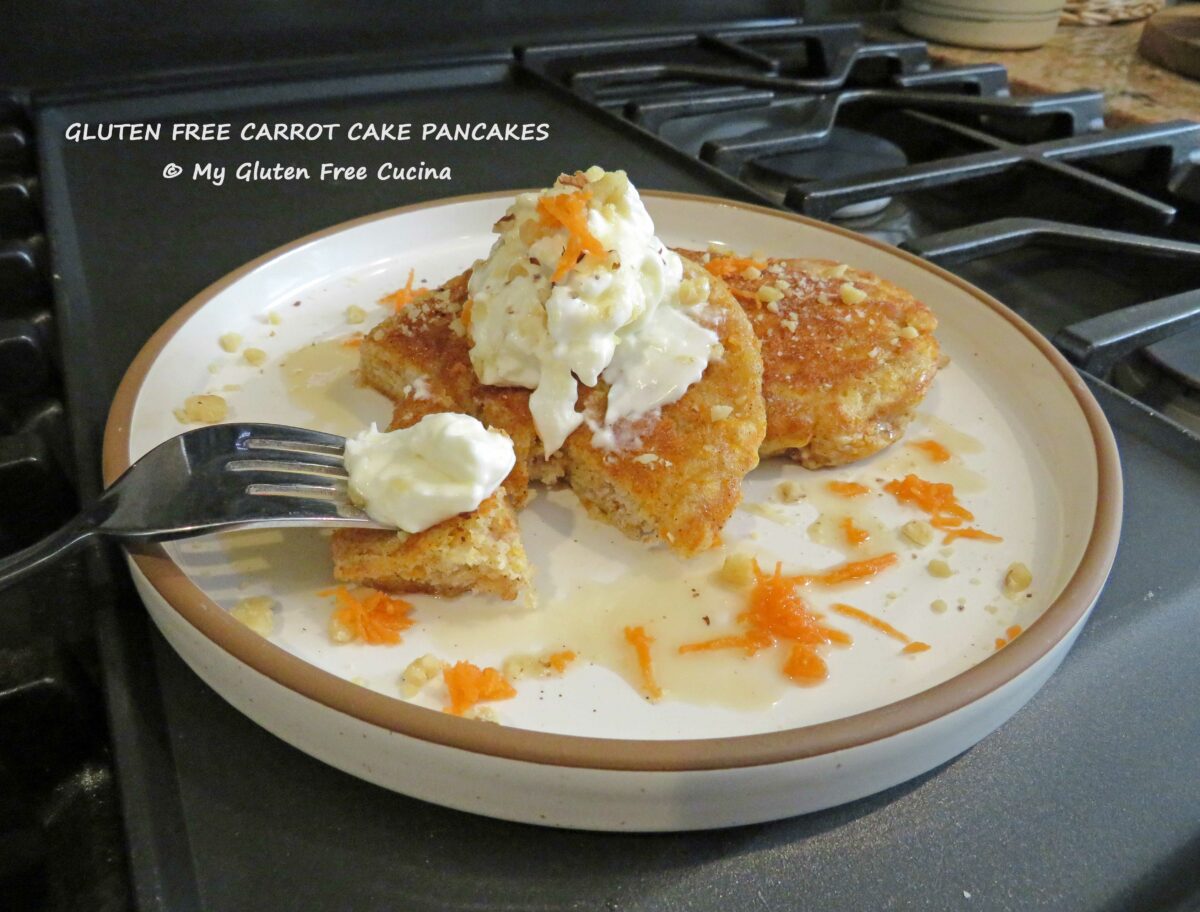
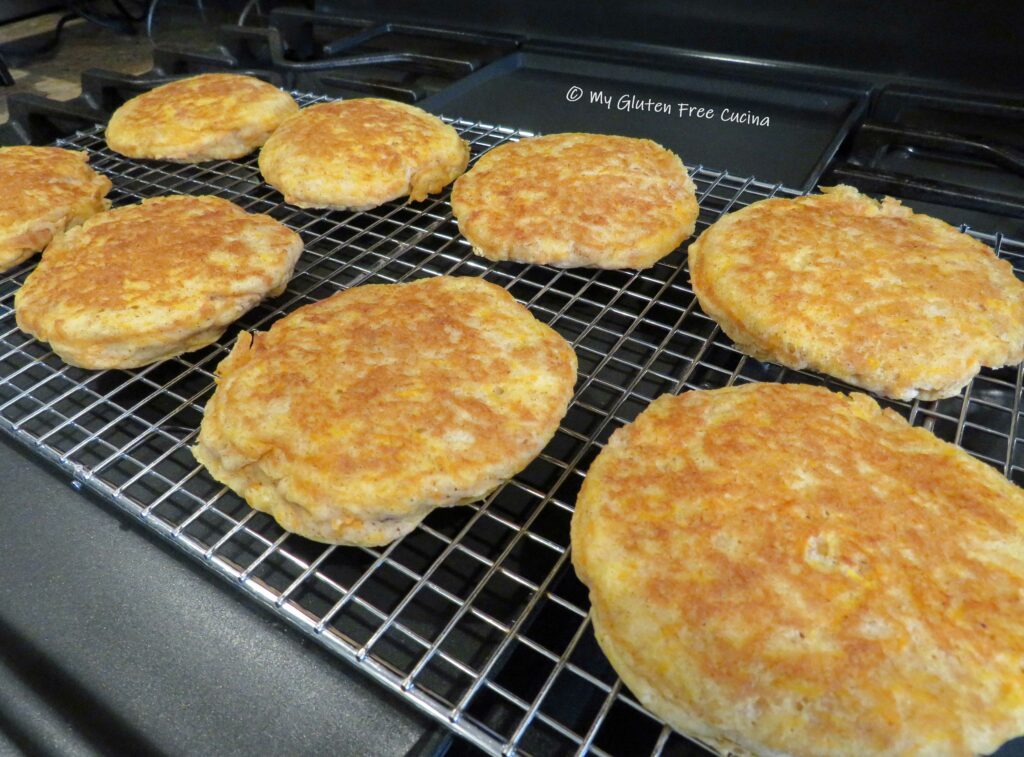
Gluten Free Pumpkin Vanilla Waffles

Today there are so many gluten-free pancake mixes out there, and it’s a treat to make a quick batch of pancakes or waffles, without the gluten!  I’m always trying to be creative and will often use a pancake mix as a base to which I can add layers of flavor and texture!  This fall inspired waffle has almond flour and flax for protein and fiber, coconut flour for sweetness, as well as pumpkin, banana and yogurt for moisture.  The waffles are dense and hearty, a filling breakfast.  One is enough for me, so I make a batch of 8 and freeze the leftovers.  So easy to pop into the toaster for a quick breakfast!

This post contains affiliate links.

While we all have our favorite brands, I love the Pancake and Biscuit Mix from Better BatterTry it and use my code MGFC30 for 30% off your non-sale purchase!

Ingredients:

Dry ingredients:

Wet ingredients:

  • 1/2 ripe banana, mashed
  • 2 tbsp. canola oil
  • 1 egg
  • 5 oz. vanilla Greek yogurt
  • 3/4 cup pumpkin puree
  • 1 tsp. vanilla extract
  • 1-3/4 cups 1% milk
  • cooking spray

Preparation:
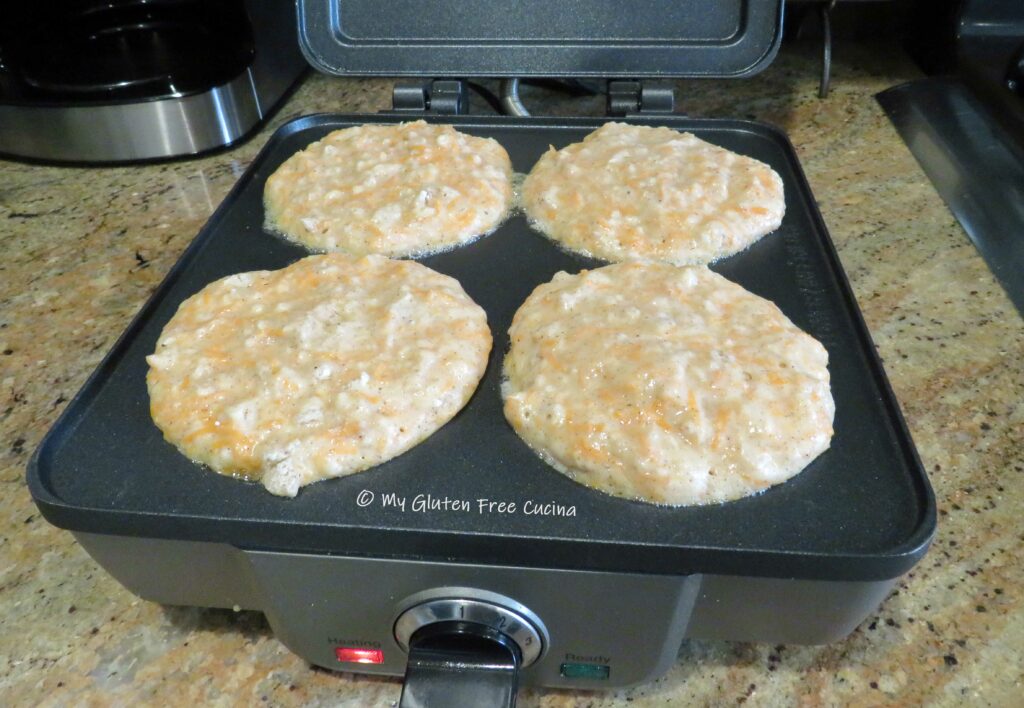
Whisk together the dry ingredients in one bowl, and the wet ingredients in another.  Combine the wet and dry ingredients and stir together with a batter whisk until completely moistened.  At first it may appear that the batter is too thin, but it will thicken as the flax absorbs the liquid.  Let the batter rest 10 minutes while you preheat the waffle iron to 350º.

The recipe makes 8 waffles.  If you want to be very particular, you can weigh the batter and divide it in half so your waffles will all be uniform in size.  Coat the waffle iron with cooking spray and spread the batter evenly, using a spatula to get into the corners.  Close lid and cook for 6 minutes.

Remove the waffles and repeat with the remaining batter.  You can enjoy them immediately or cool on a rack to refrigerate or freeze for later.

My favorite way to serve waffles is topped with candied walnuts, just a drizzle of maple syrup and a side of fresh fruit!

Notes ♪♫ Whether you are making pancakes or waffles, remember that gluten free batter takes longer to cook!  For this recipe, the batter is extra dense, so I recommend a full 6 minutes per batch at 350º for a soft waffle, longer for crispy.  You can reheat them in the microwave if you like them soft or use the toaster to crisp them up.  I like to reheat mine in my air fryer, for 4 minutes at 400º.

Print This Post Print This Post