Risotto Cakes are a family favorite, impressive enough for guests or even a holiday appetizer or side dish. Isn’t it great that we can still enjoy them on a gluten free diet? This recipe is a great way to use up leftover risotto, but you may find yourself cooking up a fresh batch just to make these delectable Risotto Cakes! Are you new to making risotto? Check out my Basic Risotto Recipe for a step-by-step tutorial.
8 Servings

This post contains affiliate links.
Ingredients:
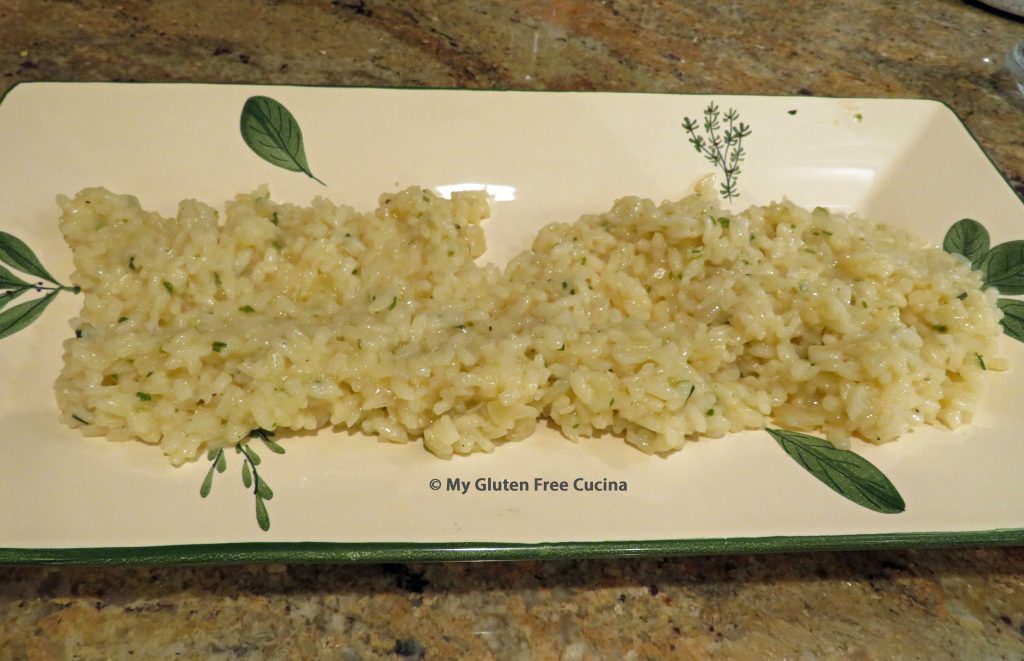
- 2 cups cooked risotto, chilled (learn how to make it here)
- Sweet white rice flour
- 1 egg + 1 tbsp. water, beaten
- Gluten free seasoned breadcrumbs (Aleia’s is my favorite)
- Olive oil
- Butter
Preparation:
Always start with cold risotto, it makes the rice easier to handle and the cakes will hold together during cooking. If you’re making it from scratch, be sure that the risotto has been cooled and refrigerated for several hours.

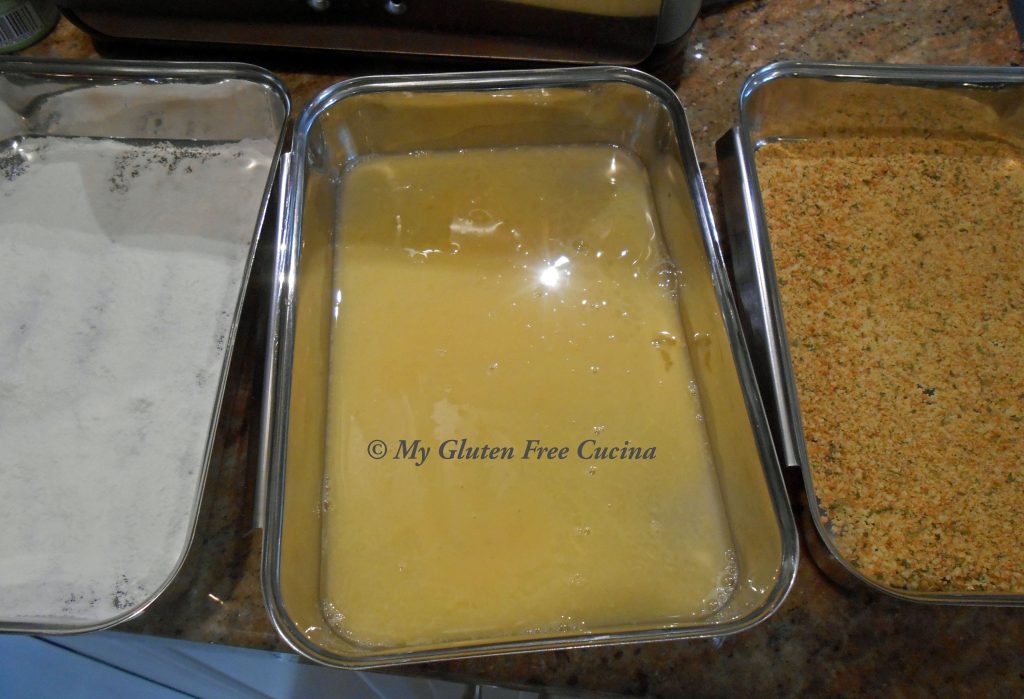
Set up 3 breading trays with white rice flour, beaten egg + water, and gluten free breadcrumbs. Start with ½ cup flour and ½ cup breadcrumbs and add more if needed.
Scoop a ¼ cup portion of rice and press into a ball. Continue to form a total of 8 rice balls.

Use a spatula to flatten each rice ball into a ½” thick cake.

Handle the cakes carefully using spatula and floured fingers. Pat each cake in the flour, then dip in the egg, and finally coat with breadcrumbs.

Melt 2 tbsp. Butter and 2 tbsp. Olive oil in a large nonstick skillet. Add the rice cakes and cook for 10 minutes on medium low heat, turning once.

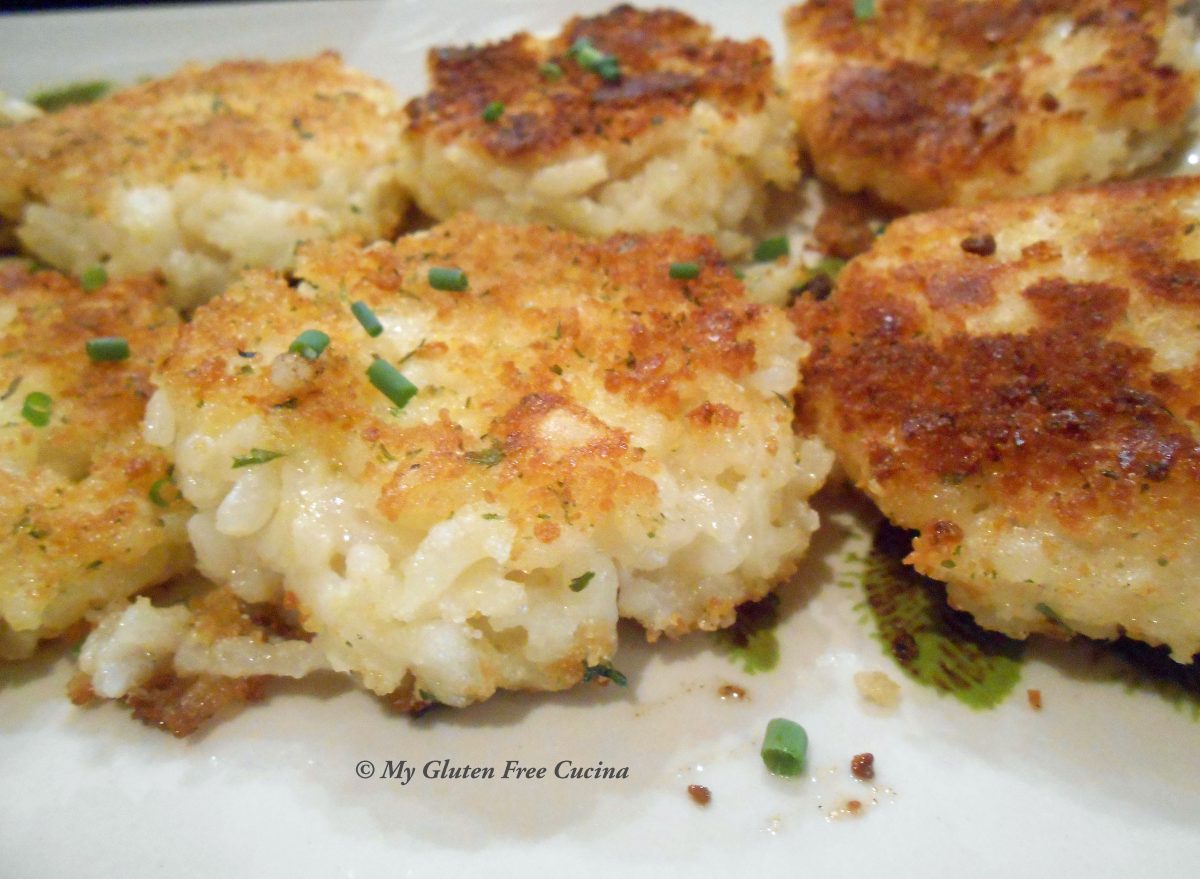
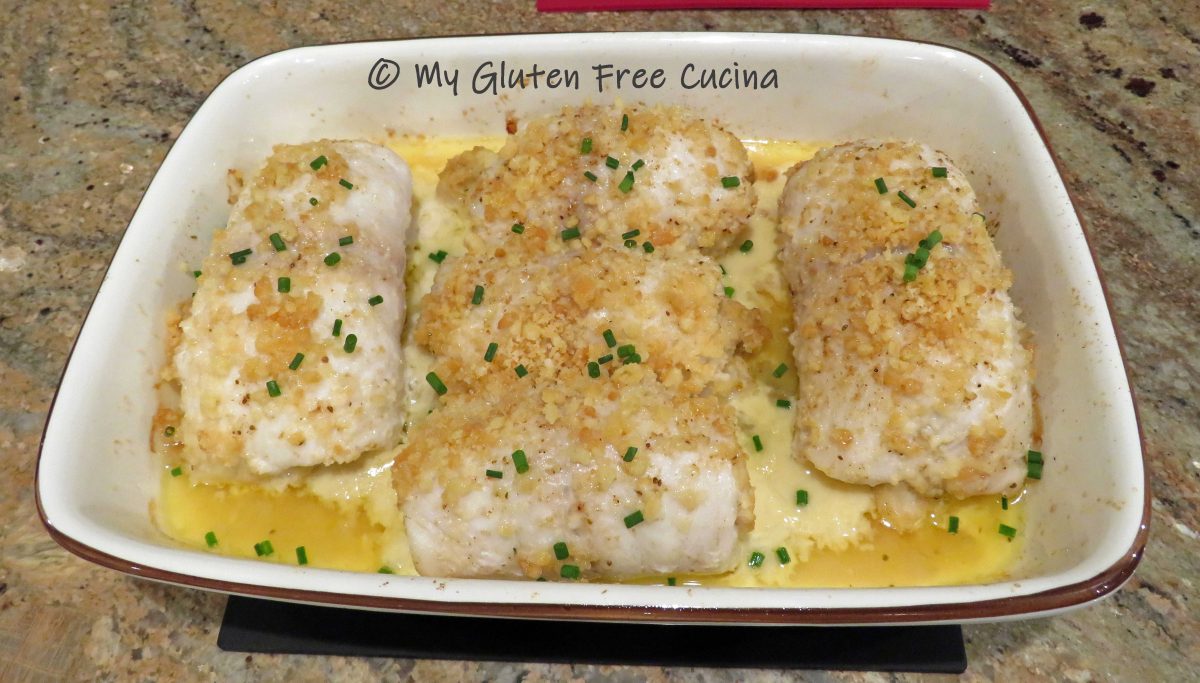
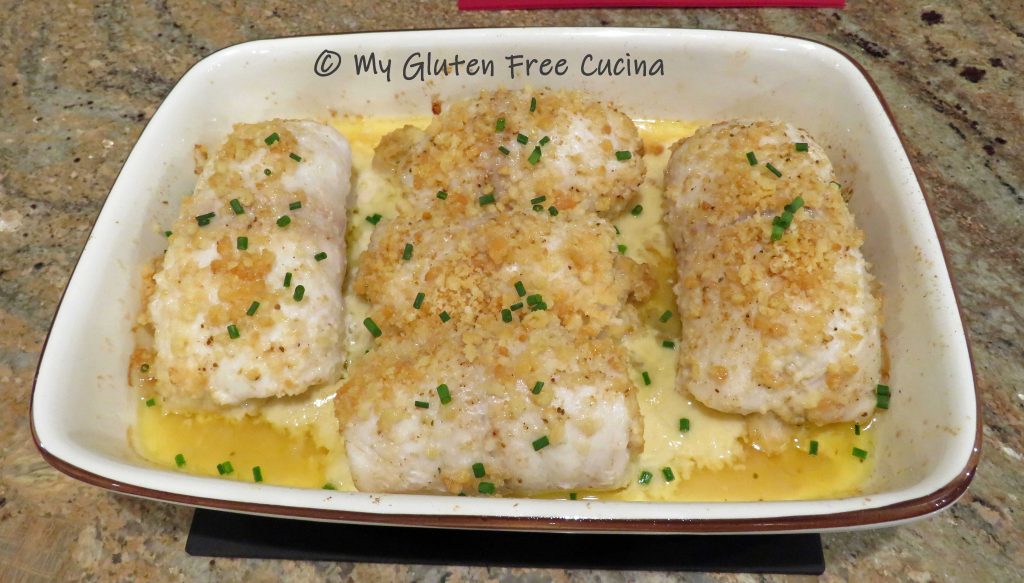
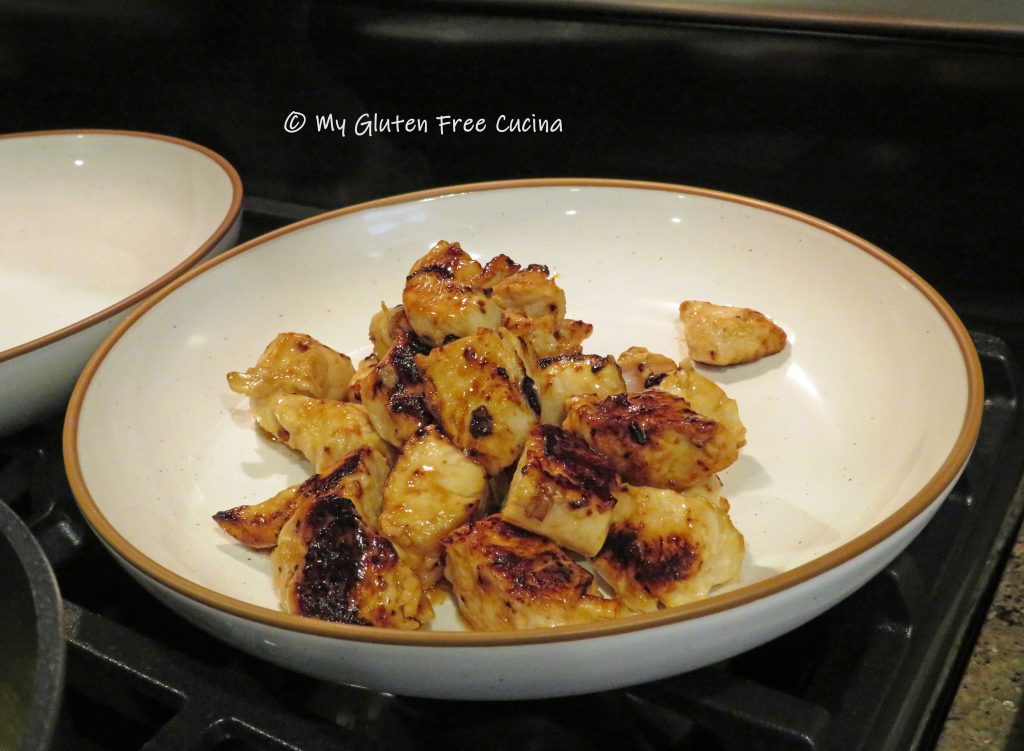
They should be heated through and nicely browned on the outside. Don’t they look great?

Garnish with fresh chives and serve immediately.
The crunchy breading is a nice contrast to the soft, sticky interior. Thanks for stopping by today and I hope you will check out more of my favorite risotto recipes here!
Notes ♪♫ Carnaroli rice is widely regarded as the best for making risotto and it is worth seeking out if you can’t find it at the grocery store. It is a high-quality short grain rice with a wonderful texture that is perfect for making risotto that is creamy but firm. If you cannot find Carnaroli rice, then substitute Arborio.


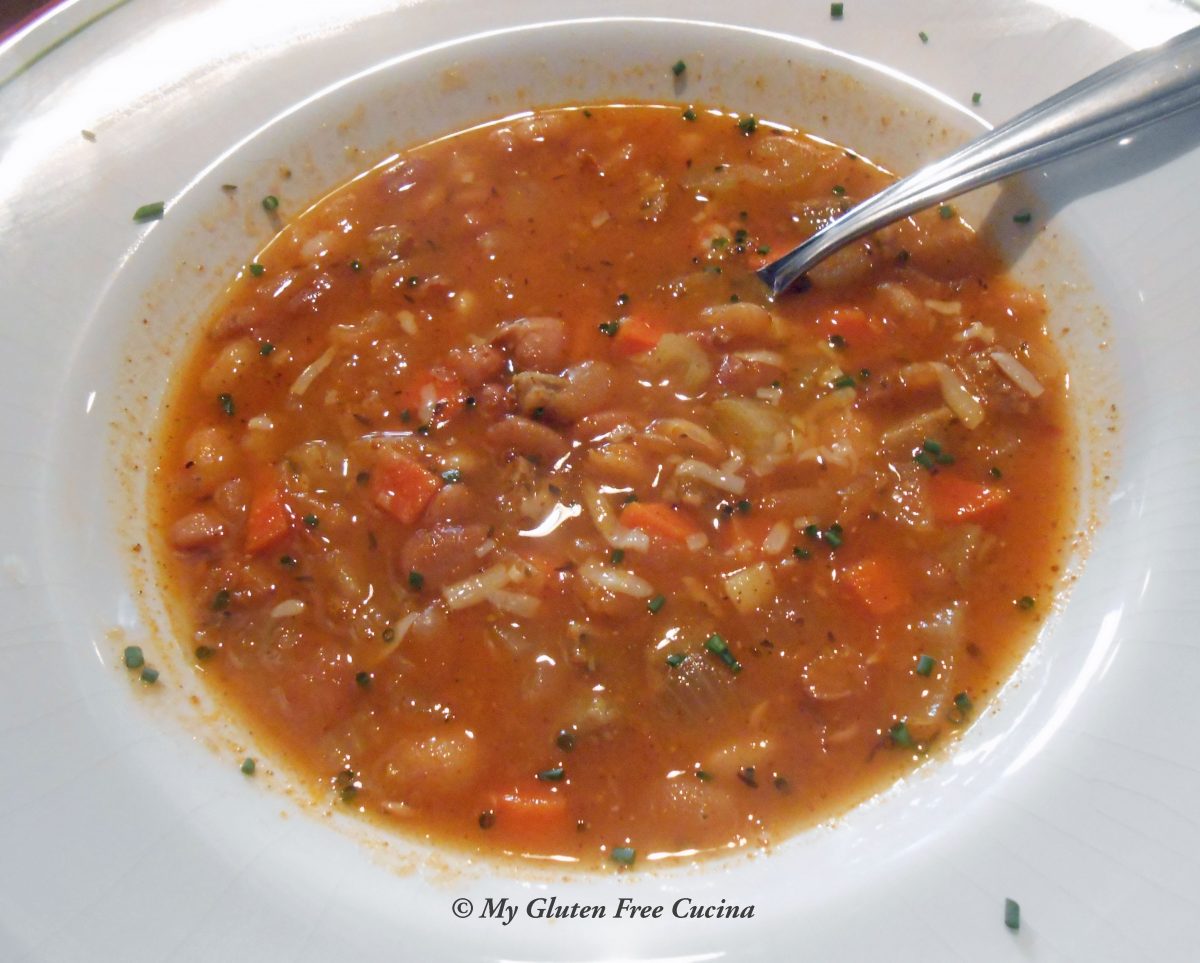


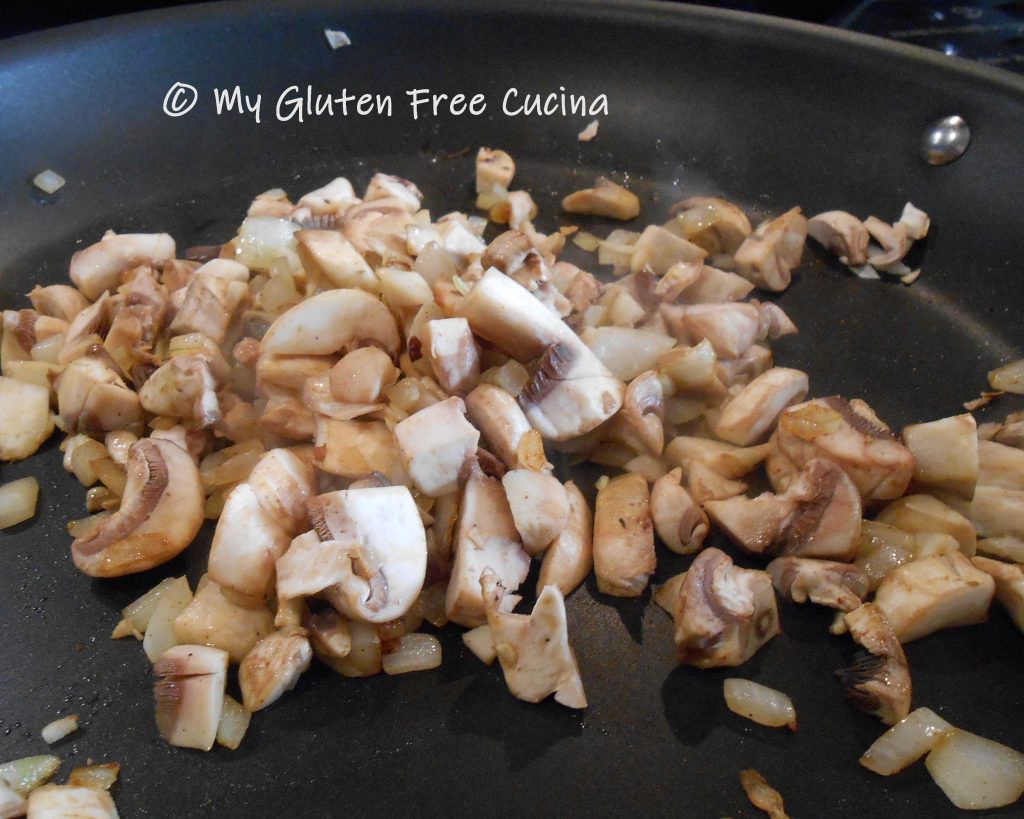


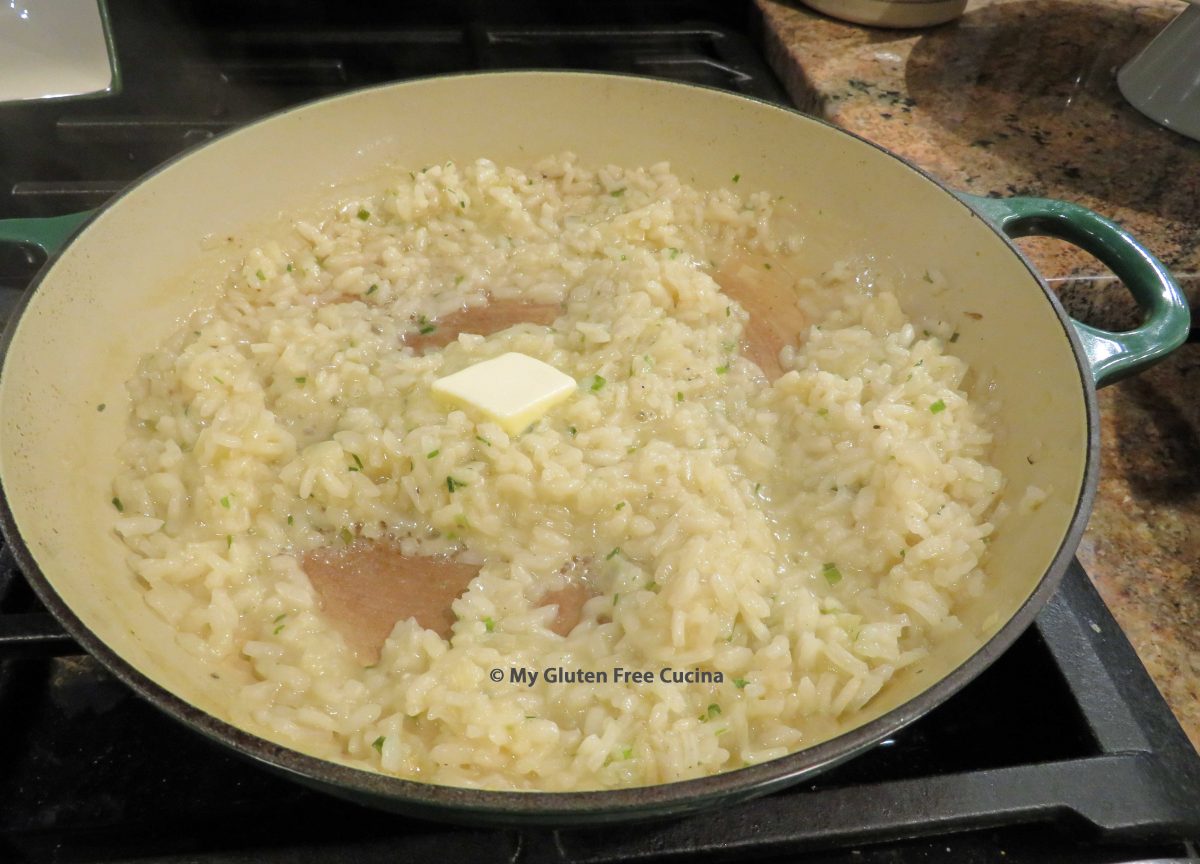


 This basic recipe is a great jumping off place for some amazing risotto dishes. You can stir in grated cheese, sauteed mushrooms, even butternut squash puree!