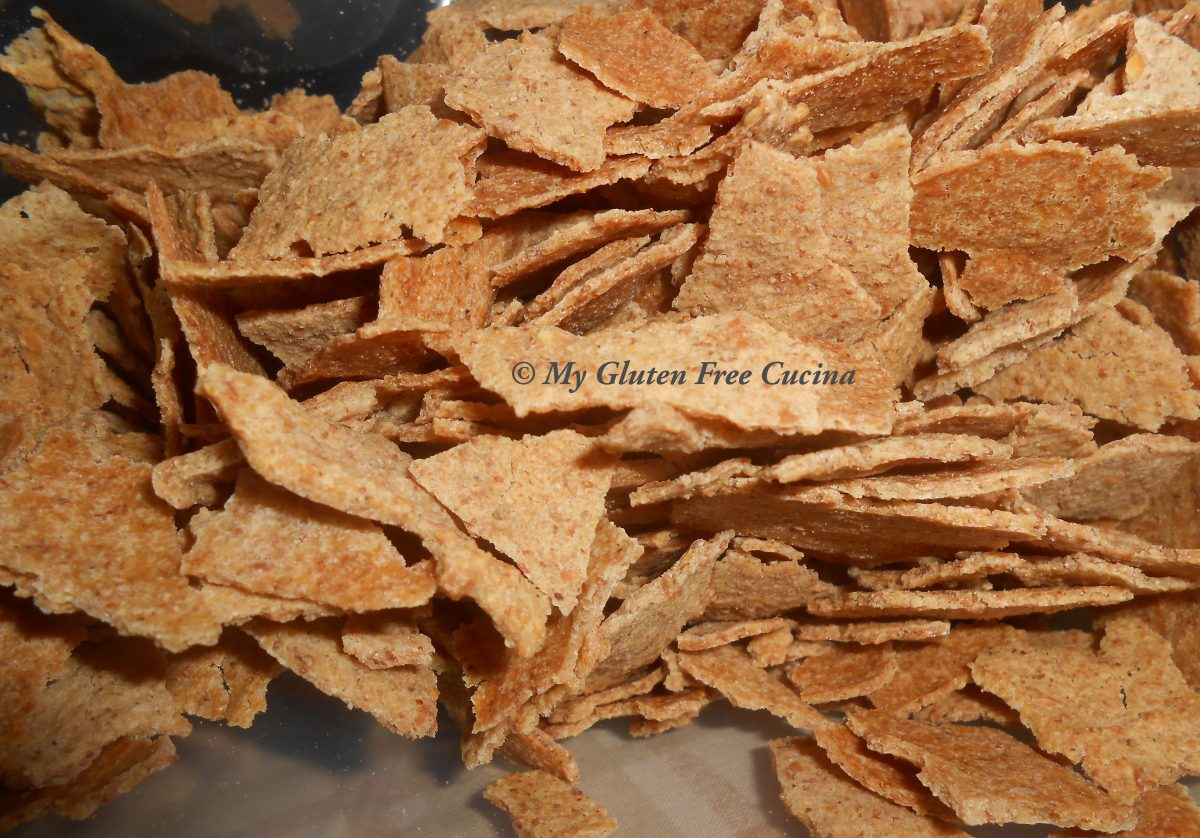
When I first had to go gluten free, one of my biggest disappointments was breakfast. I have always enjoyed whole grain wheat cereals, so I was shocked to find that gluten free cereals did not measure up. Many are made with refined flours and are full of sugar, kid stuff!
I want an adult cereal with great flavor, texture and fiber. So, after 2 years of choking down sugary cardboard flakes I decided to try making my own. Why not? I began by thinking about my favorite cereals “BC” (before Celiac!). What did I like about them? Not too sweet, great chew, whole grains and seeds. I started brainstorming grain combinations that I thought would be tasty and got to work.
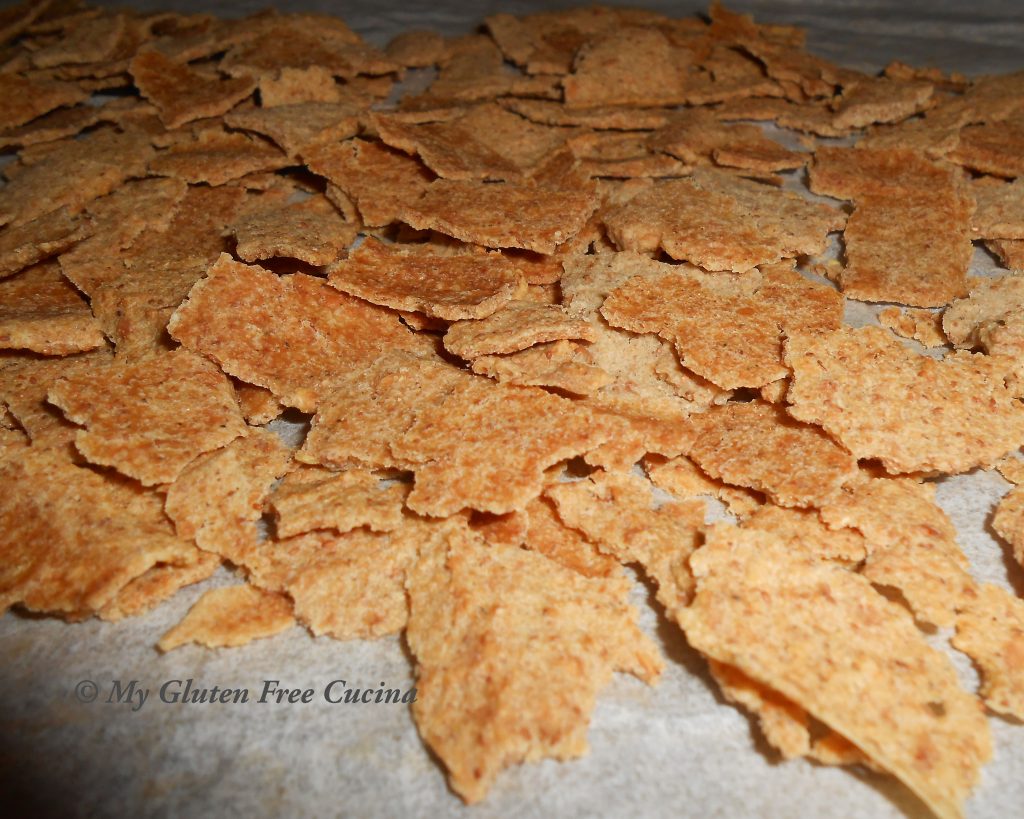
The result, my first homemade, from scratch gluten free cereal! I tasted the crunchy flakes and thought, this is what I’ve been missing. While I waited impatiently for breakfast, I wondered if the flakes would get soggy in milk but no, they stayed crispy as well as any of the box brands.
Now I can hear you groaning, you make your own cereal, really? Let’s be honest friends, this wasn’t hard to do. Making the dough was simple. Spreading it out in a thin layer took some patience but I got through it quickly. The oven did the rest.
Seriously, you have got to try this!
This post contains affiliate links.
Yield 9 oz. – about 6 servings
Ingredients:
- 114 g. Sorghum flour
- 57 g. Brown rice flour
- 14 g. Teff grain, ground
- 13 g. Flax seeds, ground
- 29 g. Almond flour
- 30 g. Cassava flour
- ½ tsp. salt
- 1 tbsp. maple syrup
- 1 tbsp. Canola oil
- 1-1/3 cups water

Preparation:
I chose sorghum as the predominant grain because I love it in my bread baking, along with brown rice. Teff has always reminded me of cereal. It has a strong taste that can easily overpower a recipe, but I knew that adding just a little would boost the flavor profile. I ground the Teff grain and flax seeds in a coffee grinder.
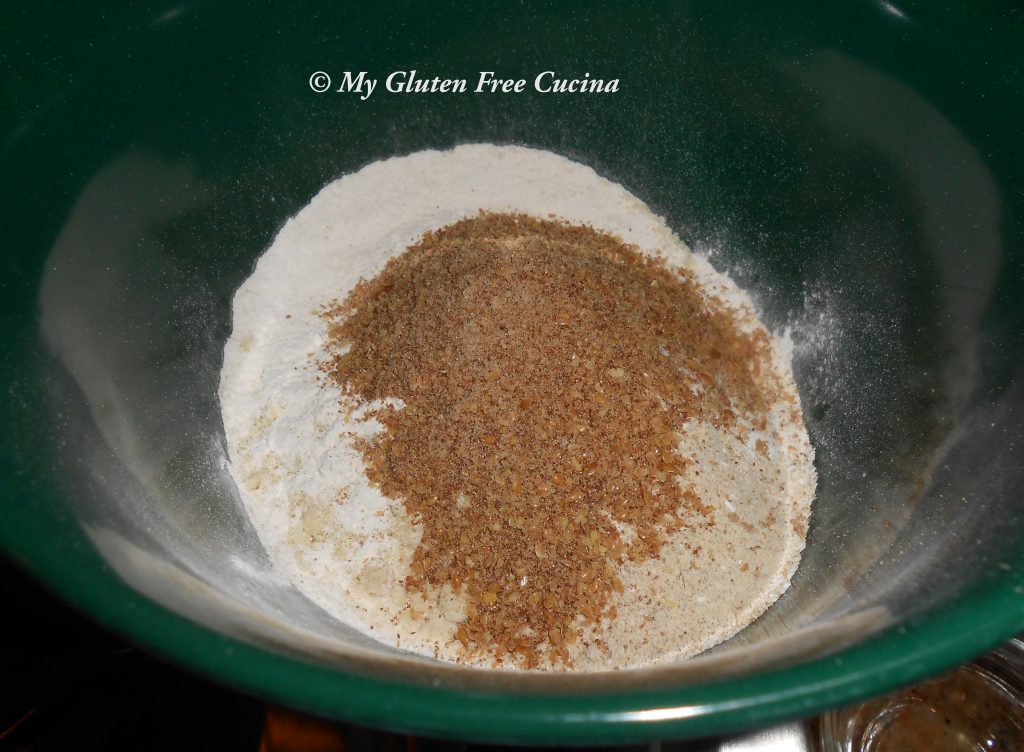
To make the dough, I first whisked together the dry ingredients. Then I added the maple syrup and canola oil to the bowl of my stand mixer and began combining with the flour mixture using the paddle attachment. I added water, 1 tbsp. at a time until I had a wet dough, like pancake batter. In all I used 21 tbsp. of water, about 1-1/3 cups.
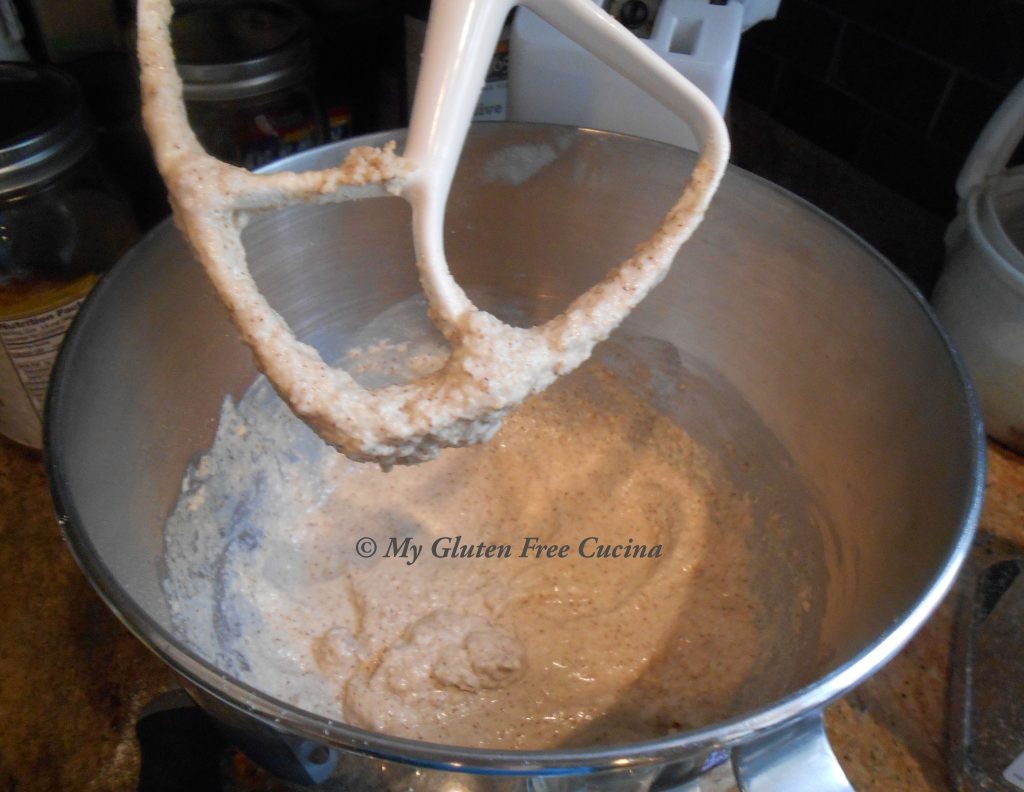
I lined 2 large baking sheets with parchment and divided the dough between the 2 sheets. I then used a wet spatula to spread the dough out into a very thin layer. Start in the middle and spread the dough outward to the edges of the parchment.
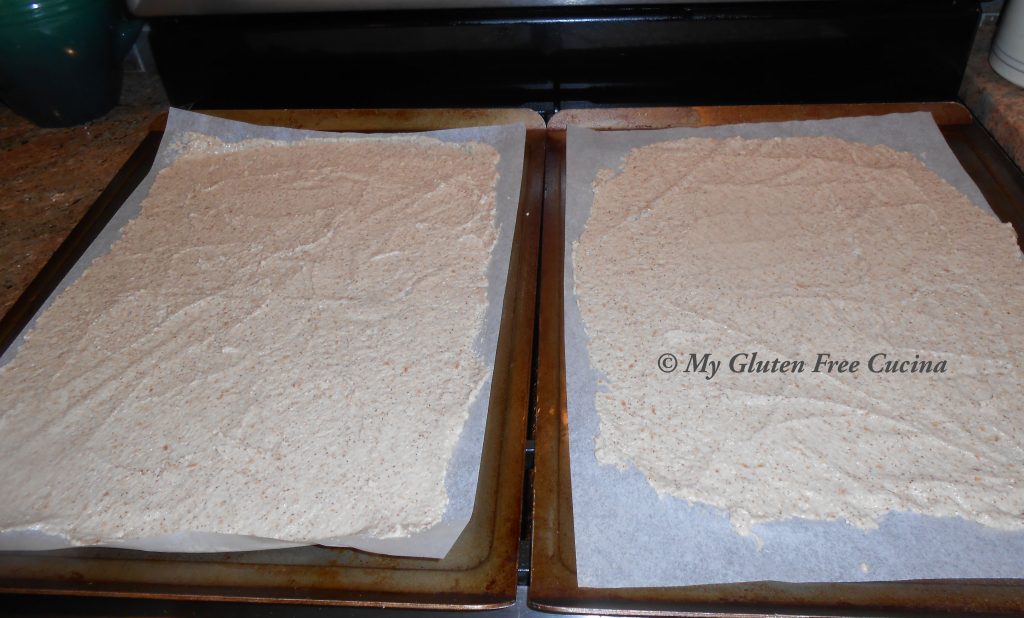
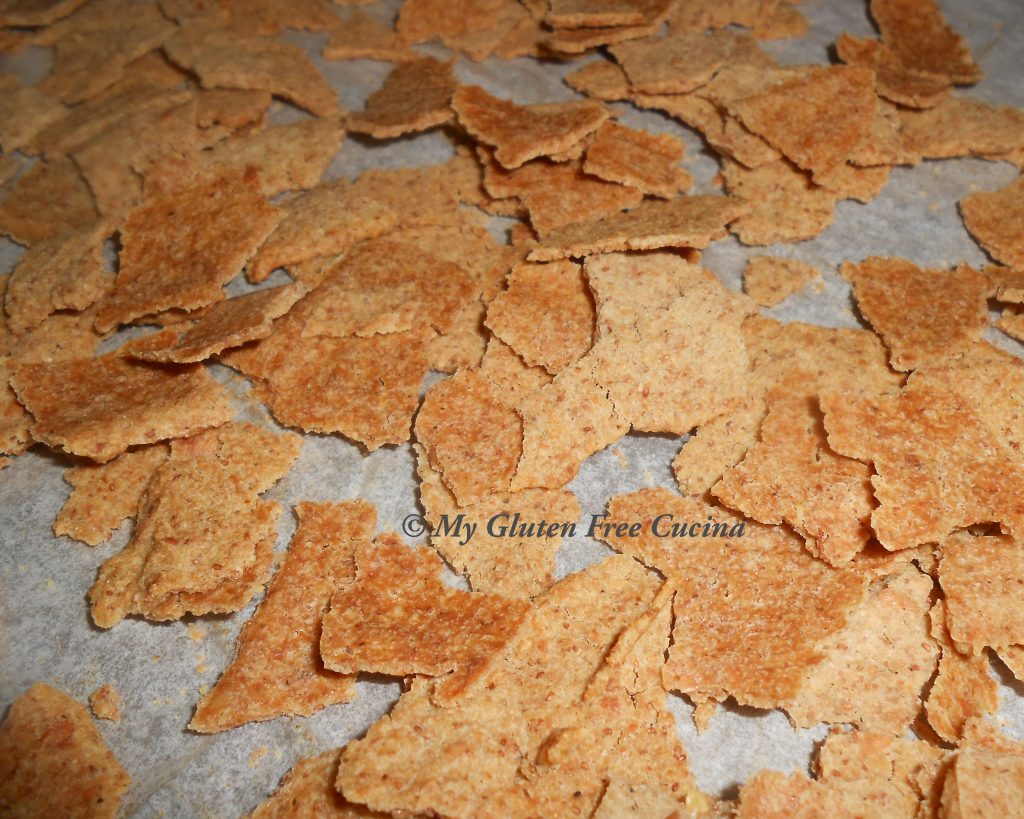
I baked it for 45 minutes at 300 degrees, rotating the pans and alternating oven racks every 15 minutes. When I removed the pans from the oven, I let them cool for 5 minutes. The sheets of dough were already cracking in places, and it was easy to finish breaking them into flakes with my hands.

For the last step I spread the flakes out and put them back into the oven, lowering the temperature to 250 degrees. I baked the flakes for another 10 minutes to get them completely dried out and crispy.

When the flakes are completely cooled, store in an airtight container. I’m not sure how long they would last, I finished eating them in about 3 days!

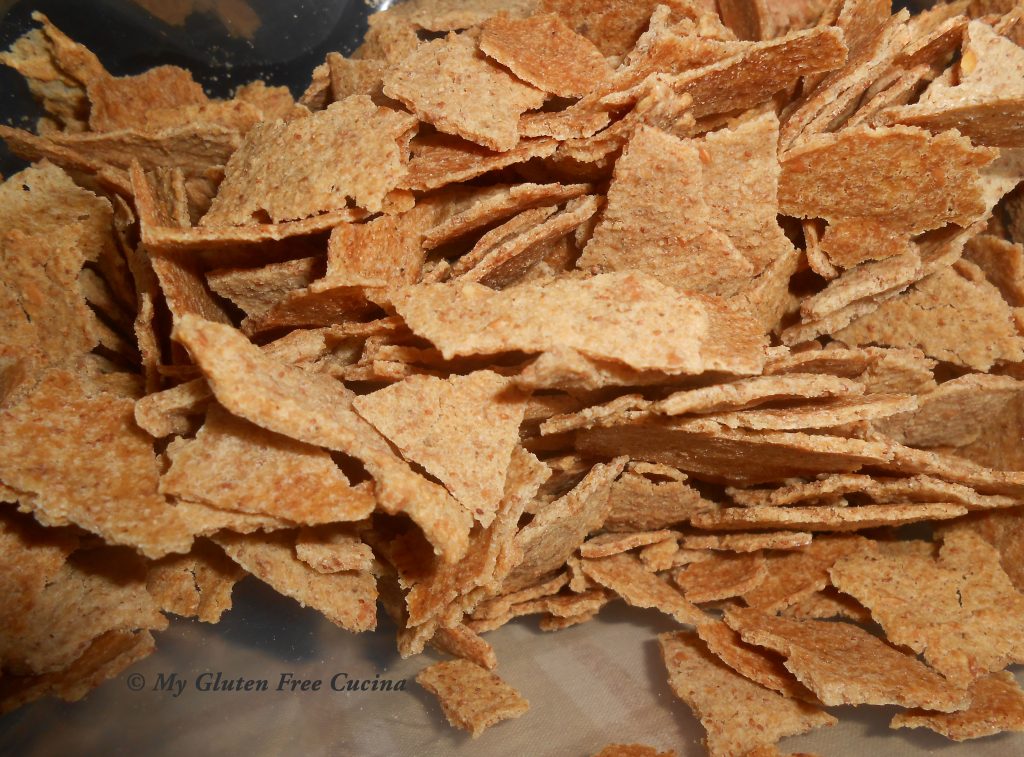
Not only did my homemade flakes taste great but I know I saved money by making them at home. I may give up on store bought cereal all together. Please do try the recipe and let me know what you think in the comments! I love hearing from you!


