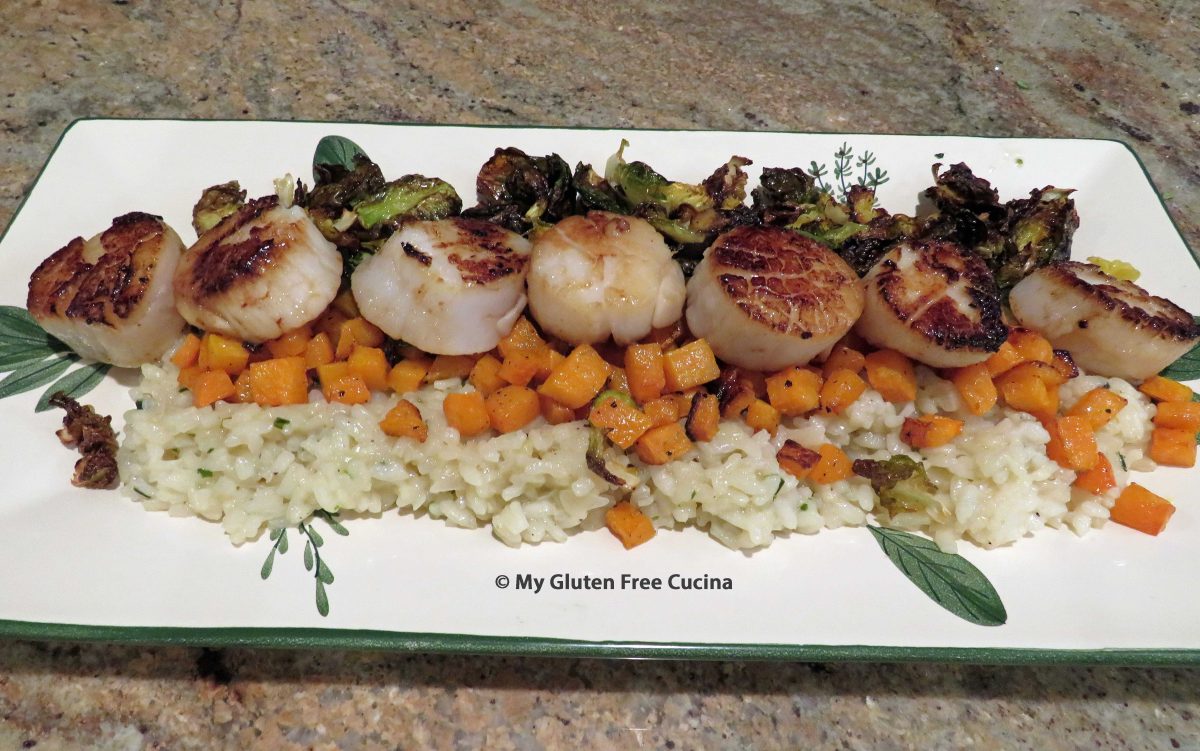
Jumbo Sea Scallops are paired with risotto, roasted squash cubes and Brussels sprouts chips in this elegant, five-star dinner. This is the kind of meal you might see in a high-end restaurant or gourmet magazine, but today I’ll show you how to make it at home for a fraction of the cost!
Jumbo sea scallops are a real treat and can be expensive when not in season. Watch for sales or buy frozen if available.
This post contains affiliate links.
Ingredients:
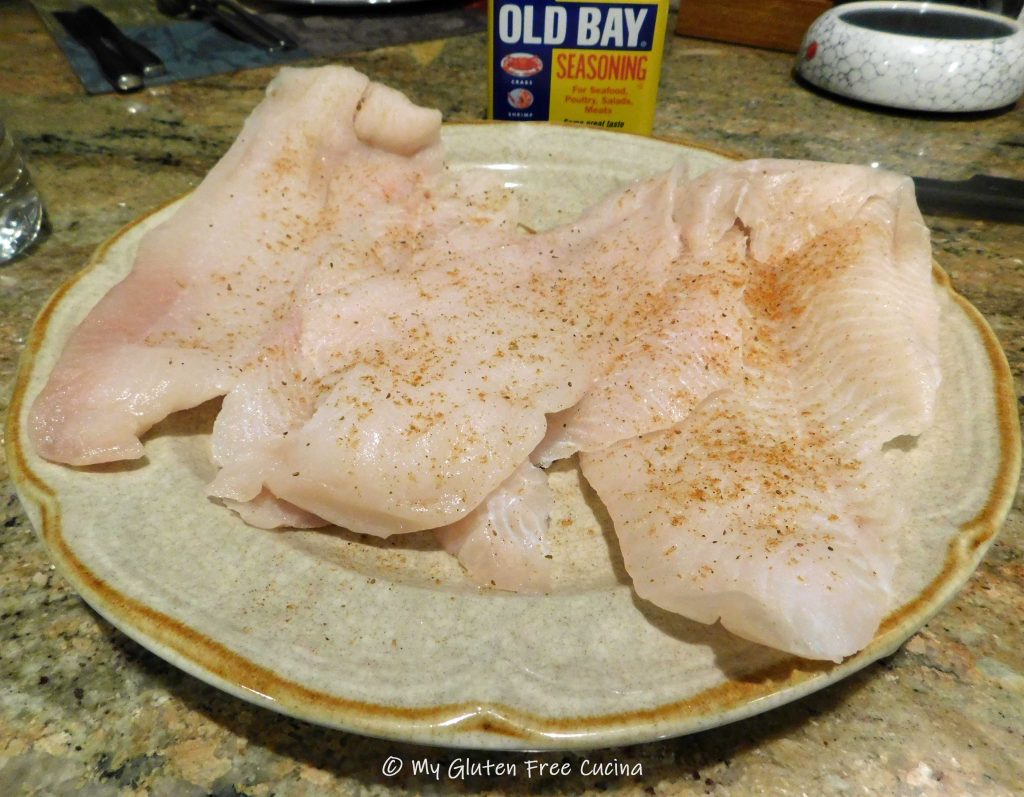
- 8 oz. jumbo sea scallops
- 1/2 cup Arborio rice
- 1 shallot, minced
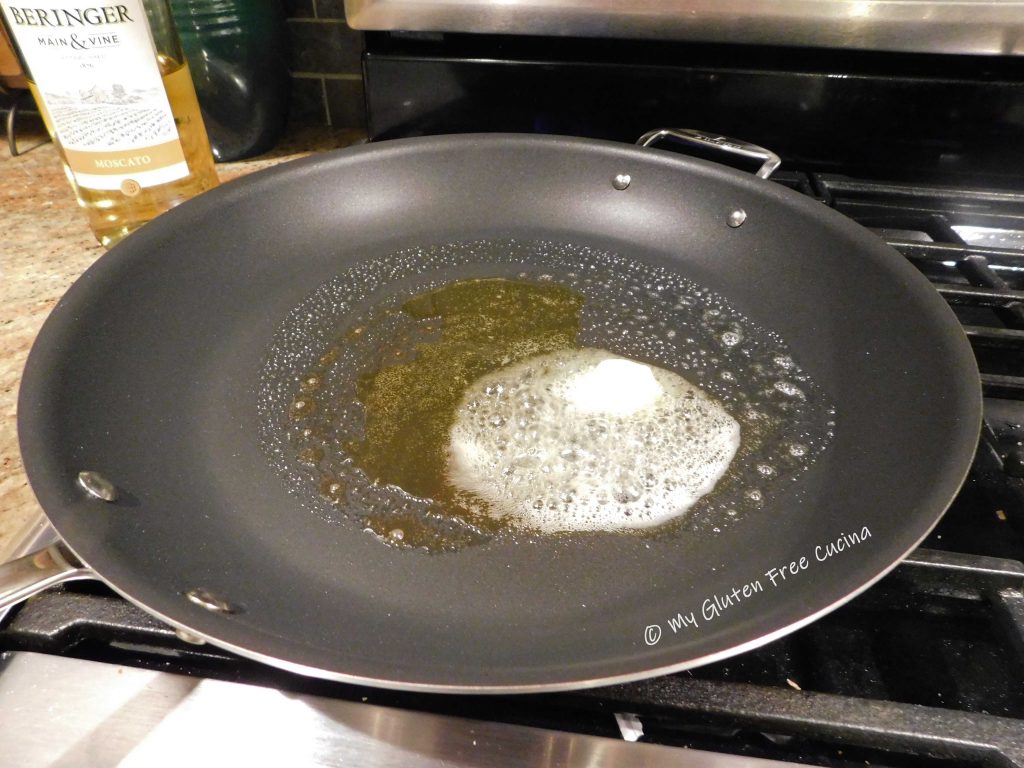
- 1 tbsp. butter
- 1/4 cup white wine
- 32 oz. carton gluten free chicken broth (you won’t need all of it)
- salt and pepper to taste
- fresh chives or chive seasoning
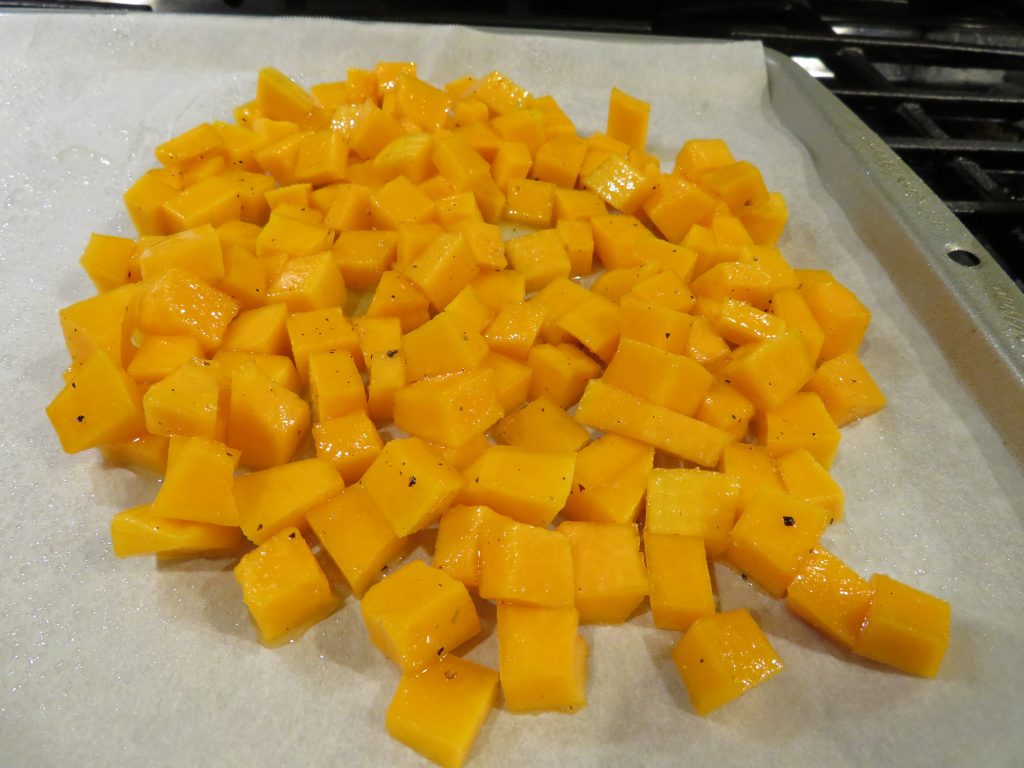
- 2 cups butternut squash, cut into 1/2″ cubes
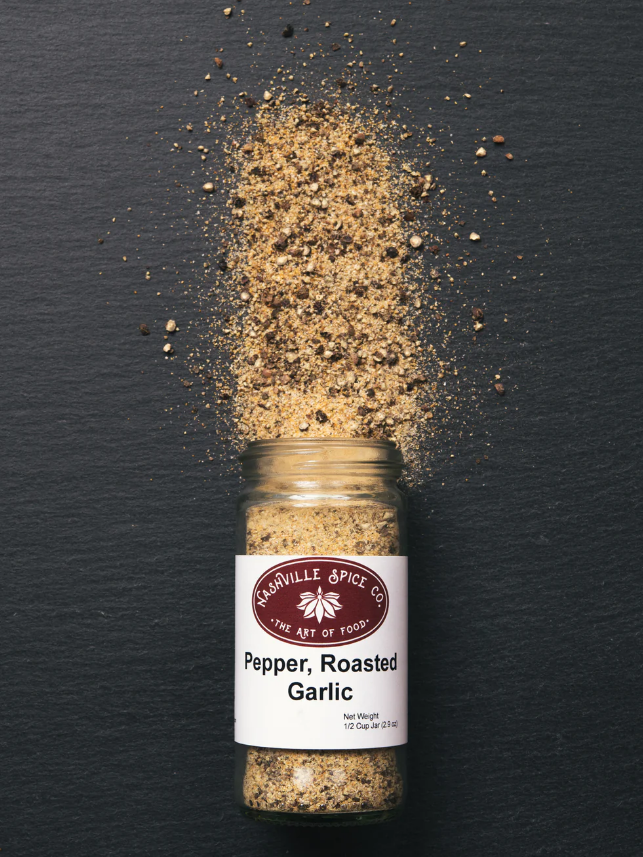
- garlic seasoning
- 2 cups Brussels sprouts, leaves separated
- olive oil

Preparation:
1. Toss the squash cubes with 1 tbsp. olive oil. Season with salt, pepper and garlic seasoning. Spread the squash cubes on a half sheet pan lined with parchment, then bake at 375º for 10 minutes.
2. Wash the Brussels sprouts leaves and discard any that are bruised. Toss with 1 tbsp. olive oil, salt and pepper. Add them to the baking sheet with the squash cubes and continue baking at 375º for another 30 minutes.

3. Make the risotto. Add butter, shallots and rice to a shallow pan, stirring to coat. Add the white wine and stir until almost evaporated. Add the chicken broth, 1 ladle at a time and stir over low heat until almost evaporated. Continue adding broth, 1 ladle at a time until risotto is finished, about 30 minutes. Season with salt, pepper and chives and finish with a pat of butter.

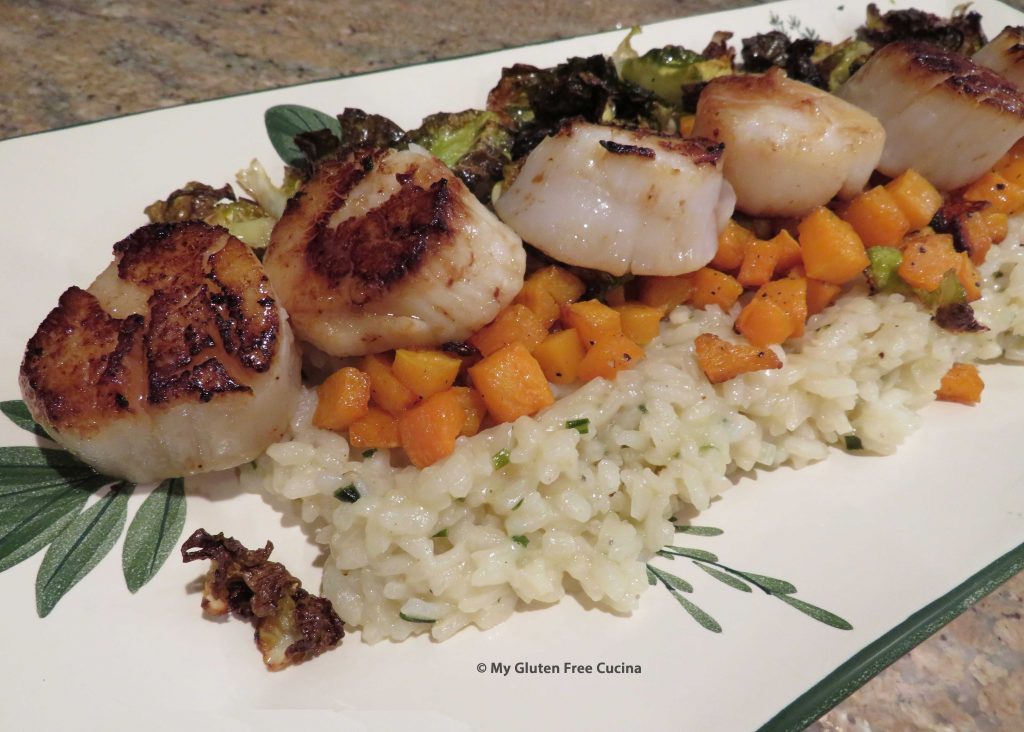
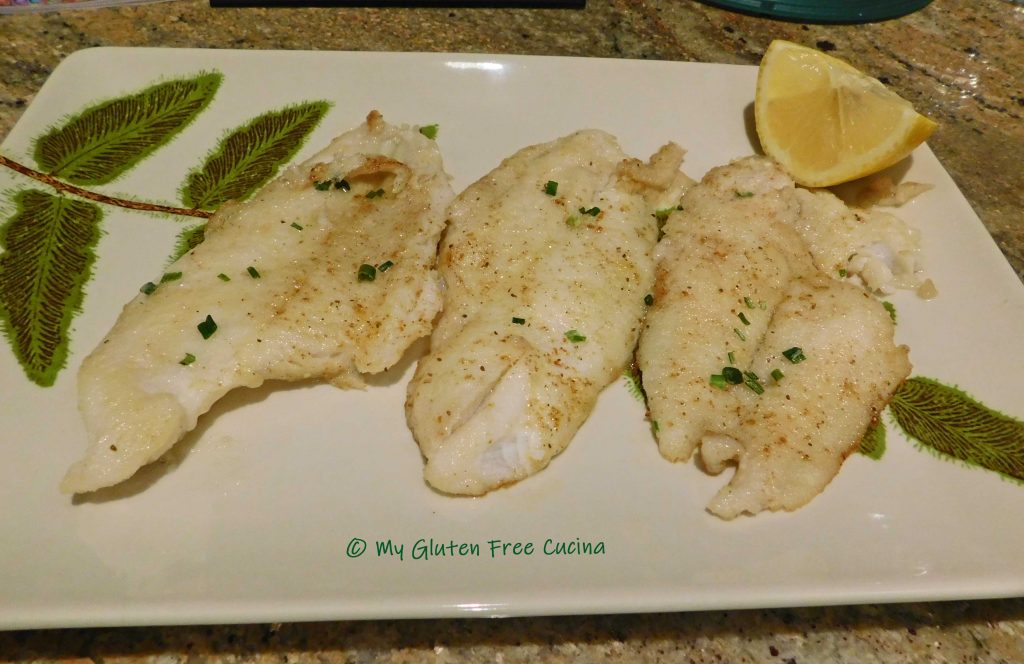
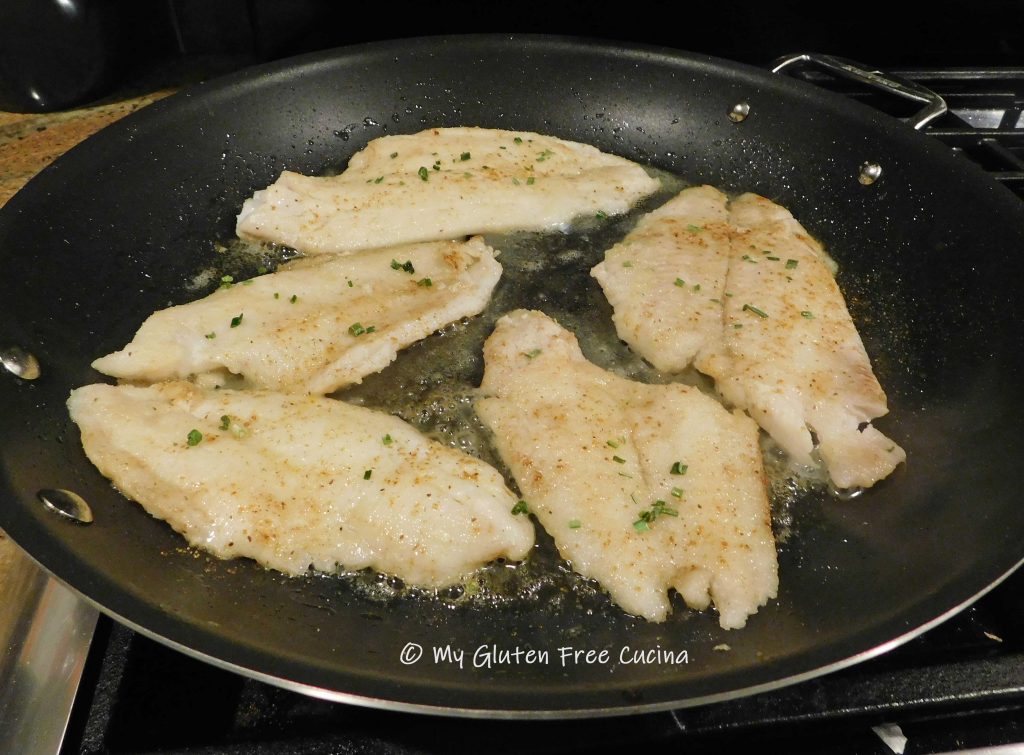
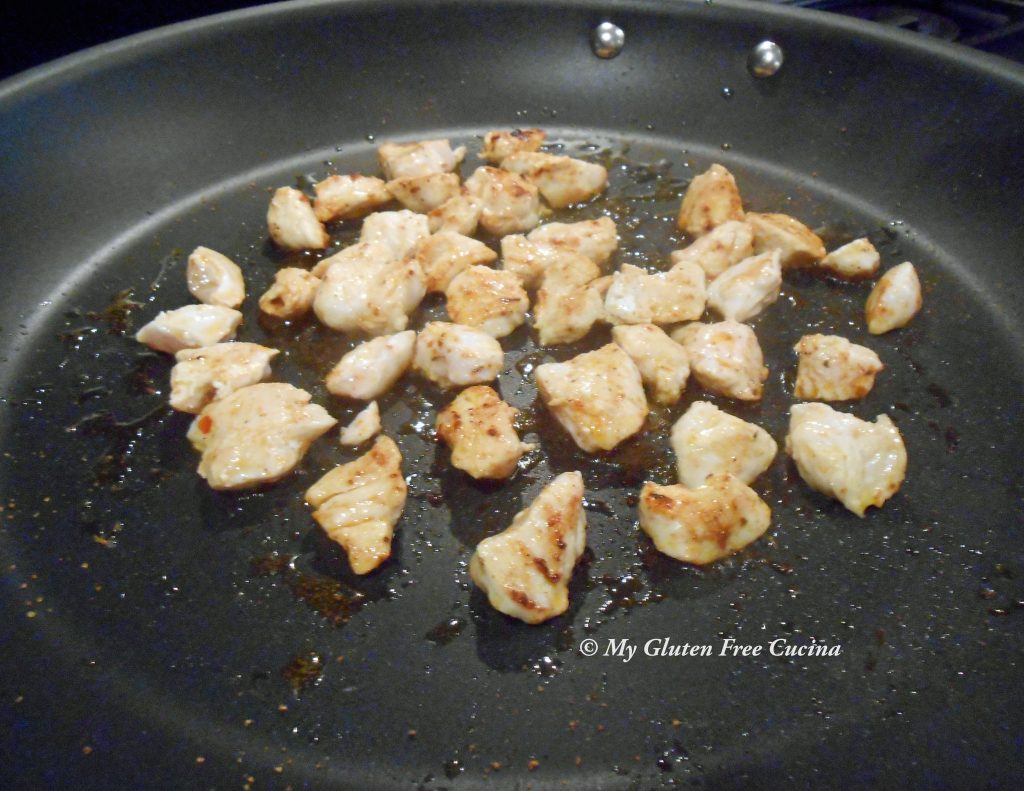
4. Sear the scallops in butter about 3 minutes per side, with just a splash of white wine. To get that beautiful, caramelized crust do not use a non-stick pan!

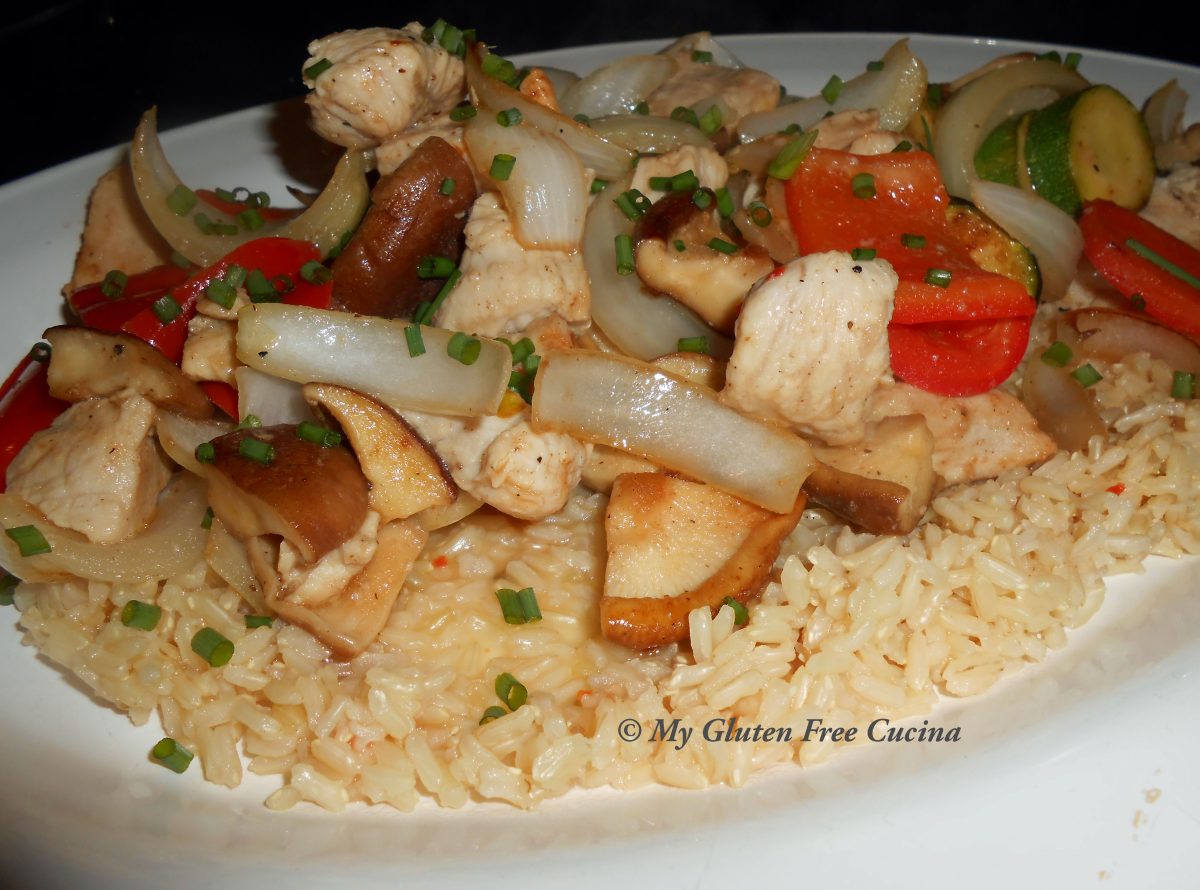
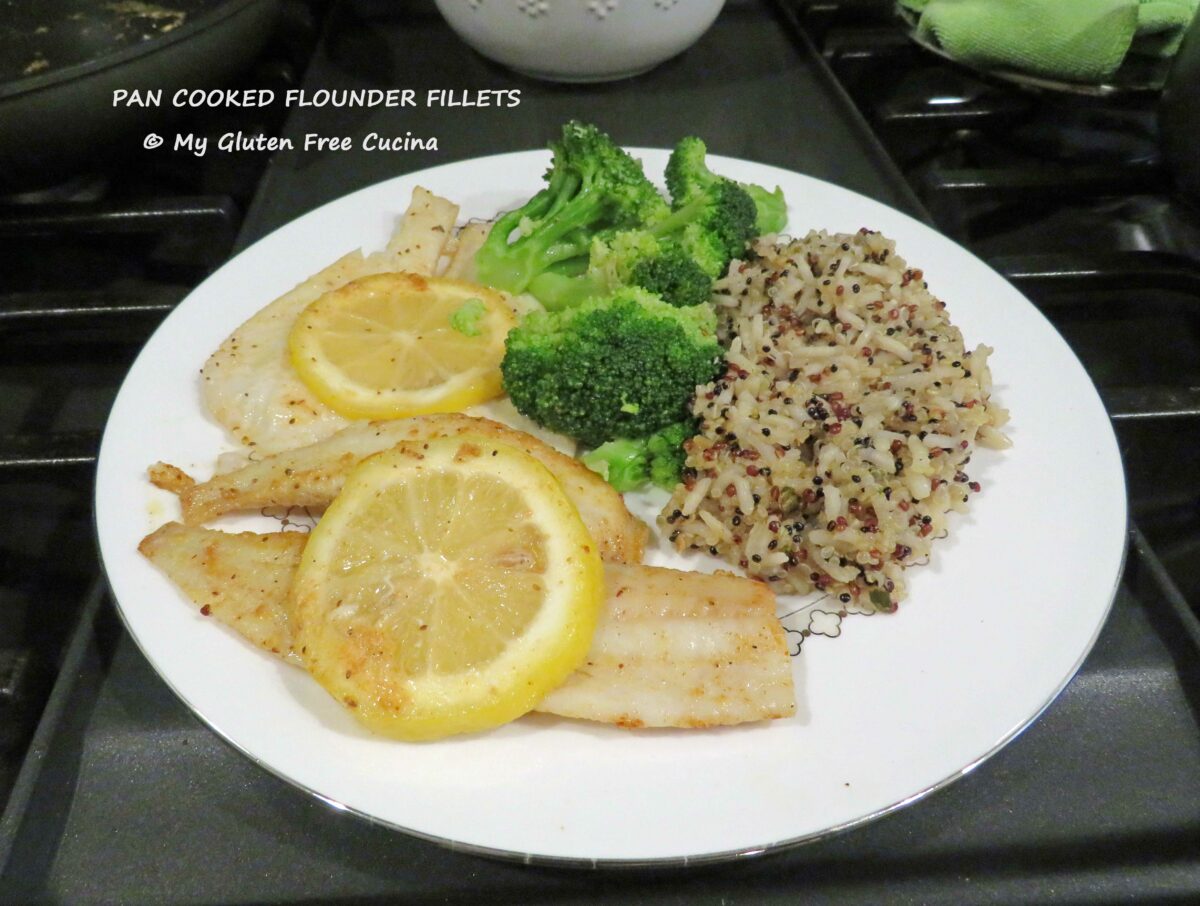
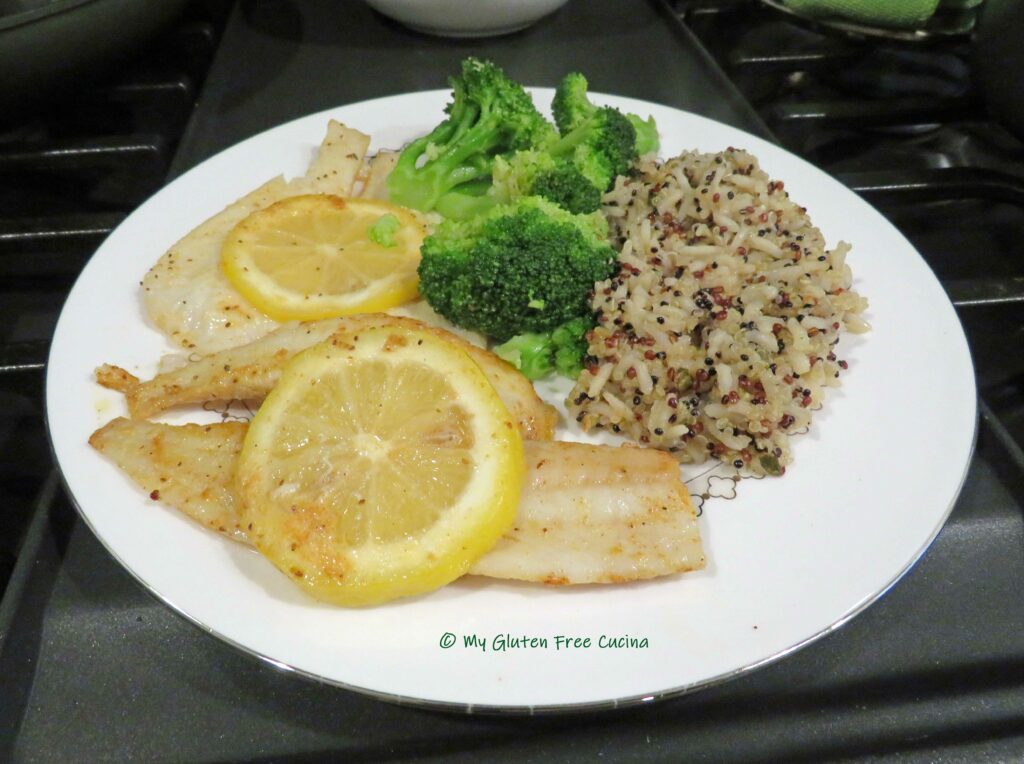
5. To plate, spread the risotto in an even layer on a serving dish. Top with the squash cubes, and Brussels sprouts chips. Finally, arrange the scallops across the top.

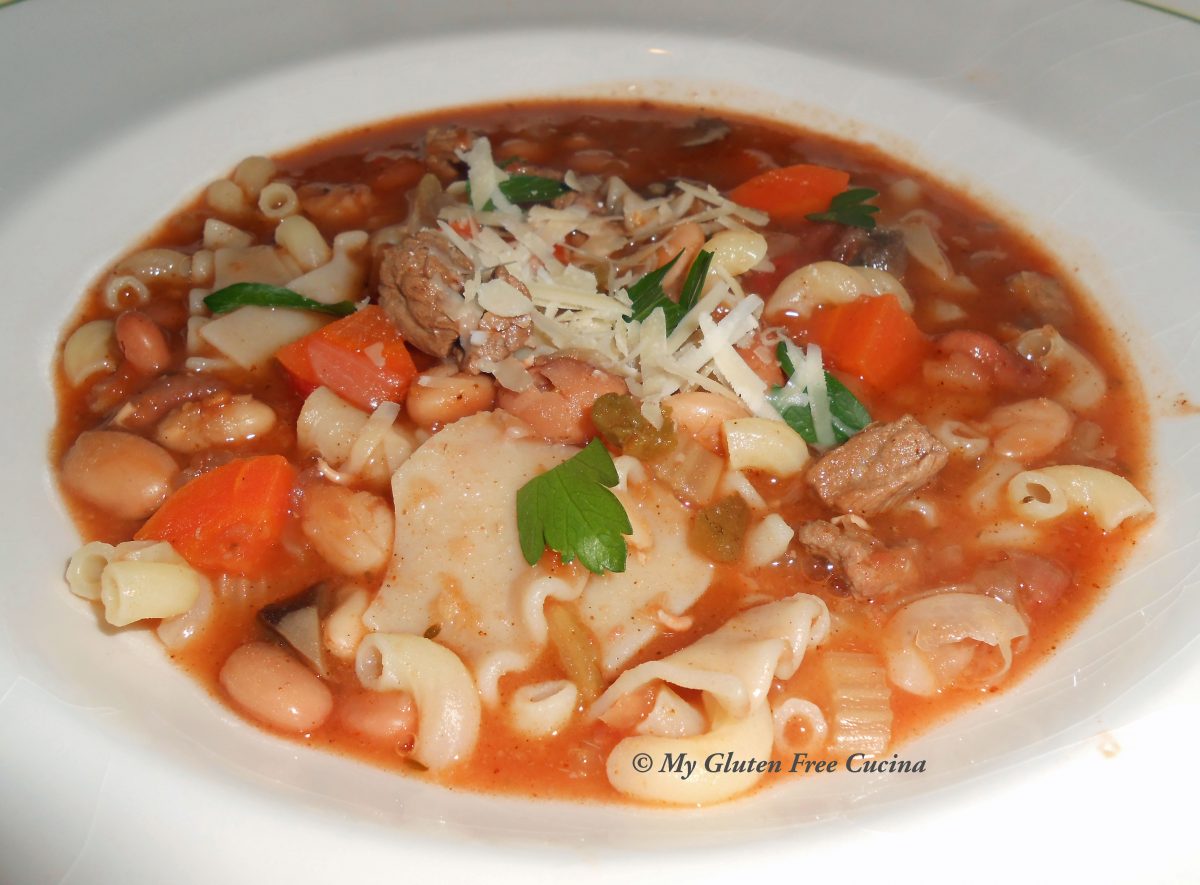
A beautiful, colorful plate with the perfect blend of flavors and textures!

Notes ♪♫ If you are new to making risotto, please refer to my Basic Risotto Recipe, a full post dedicated to making this amazing dish.


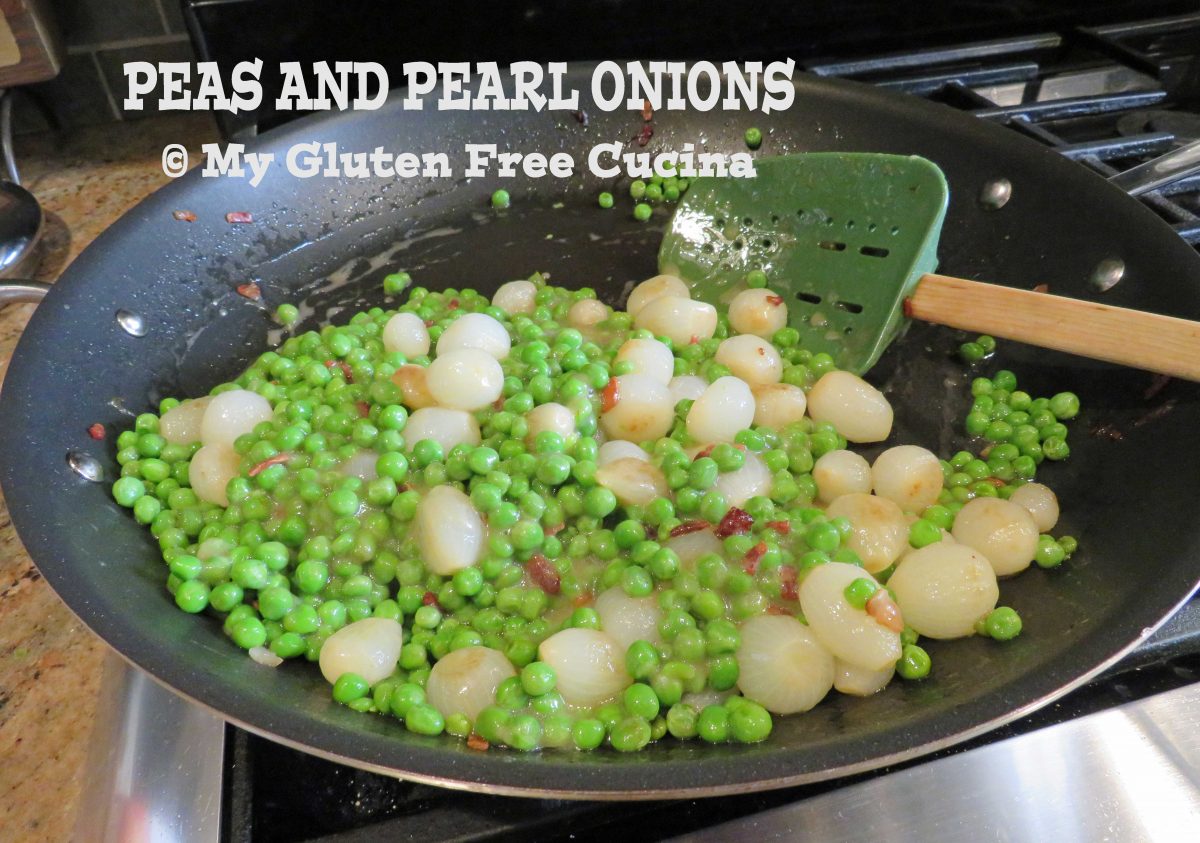
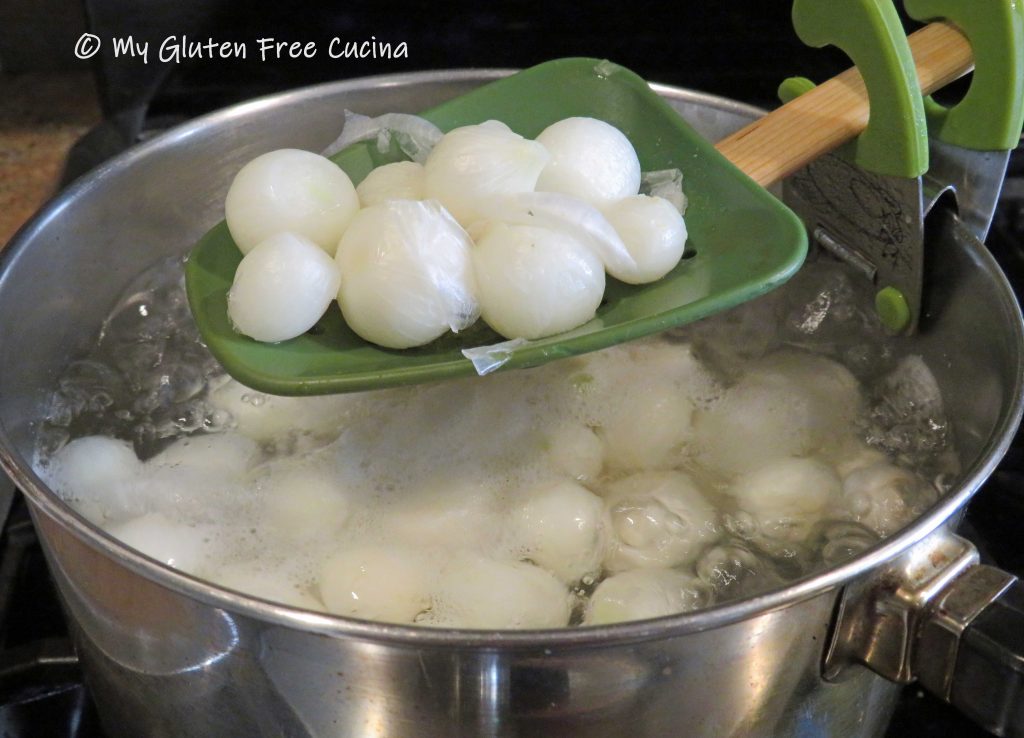

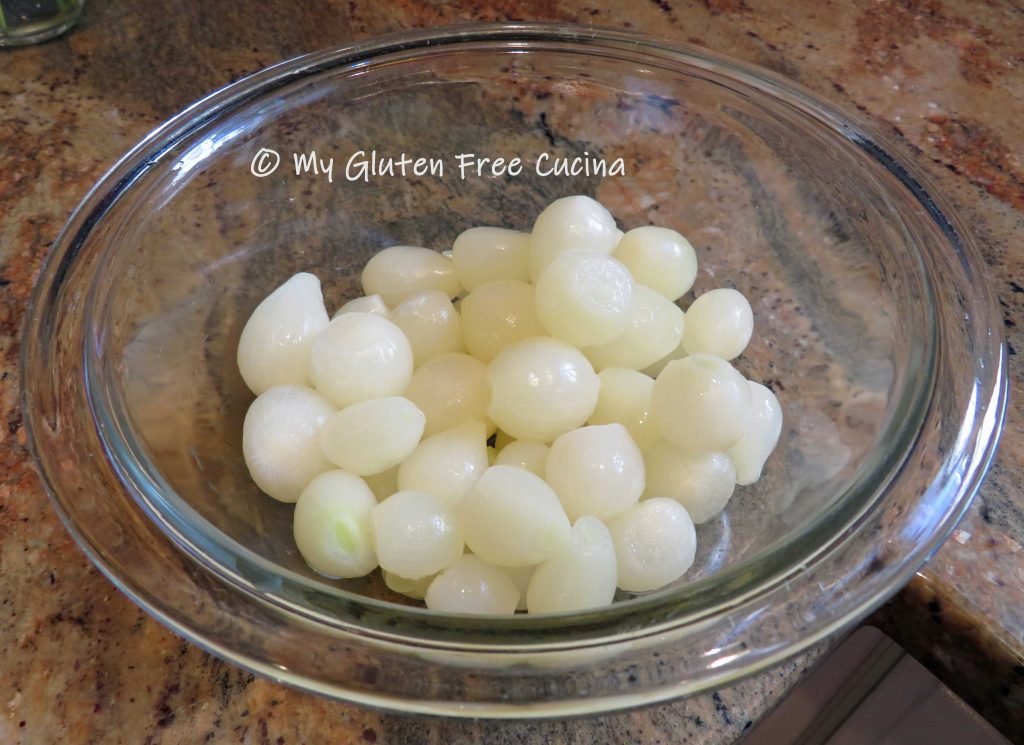 If you were lucky enough to find frozen pearl onions, thaw them on the counter for at least 30 minutes, along with the peas. Frozen pearl onions have already been peeled and blanched, a real time saver!
 When the bacon starts to brown, add the onions and cook for 5 minutes over medium low heat.
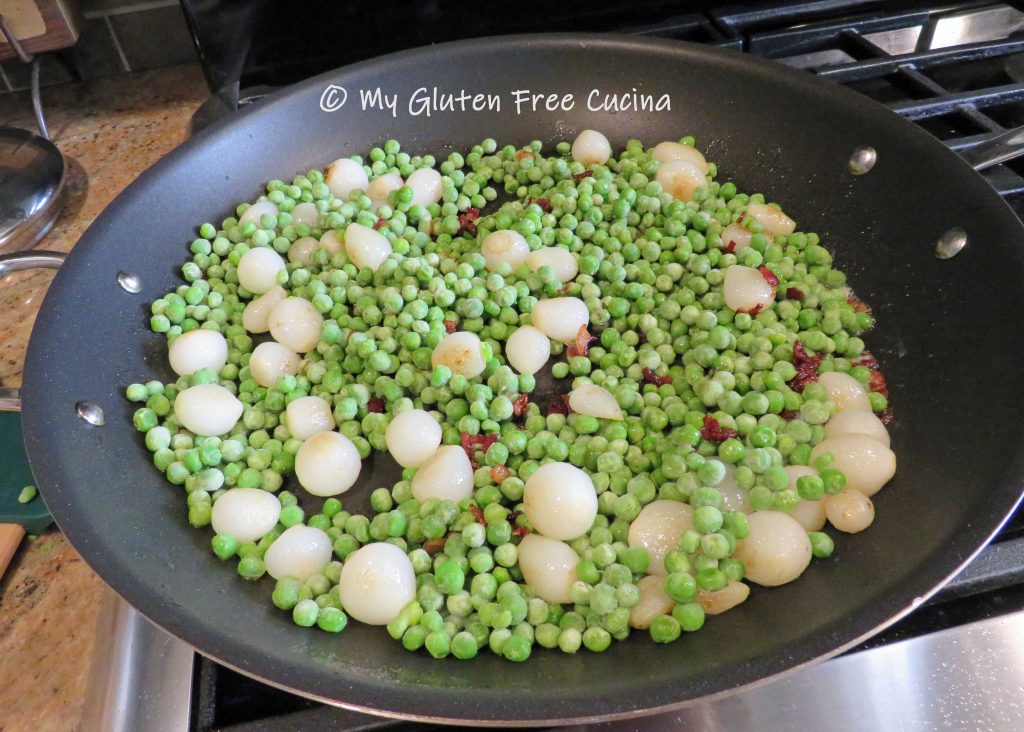
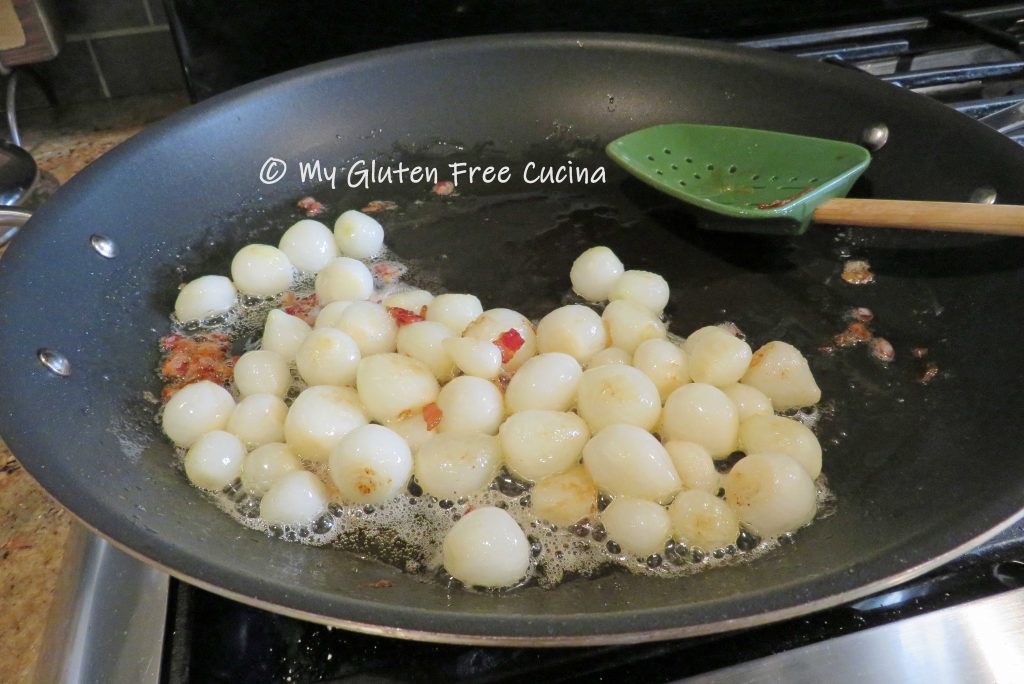
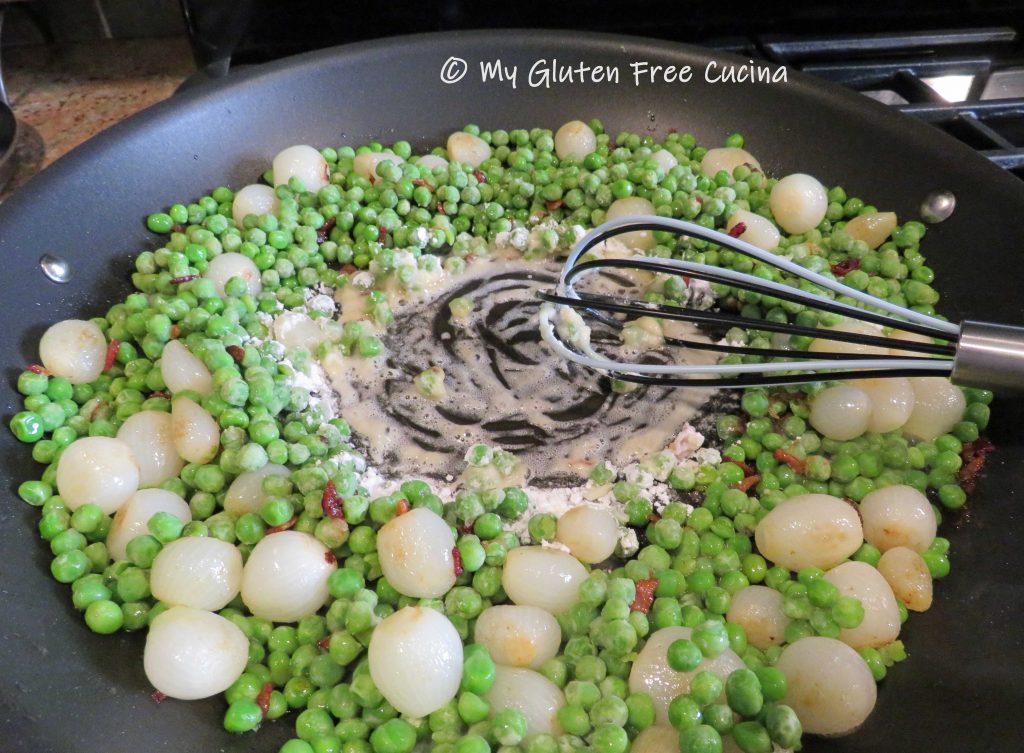 Stream in the chicken broth as you continue whisking. Start with 1/2 cup and add more if needed.
 Remove from the heat and stir in the cream or half and half if desired.


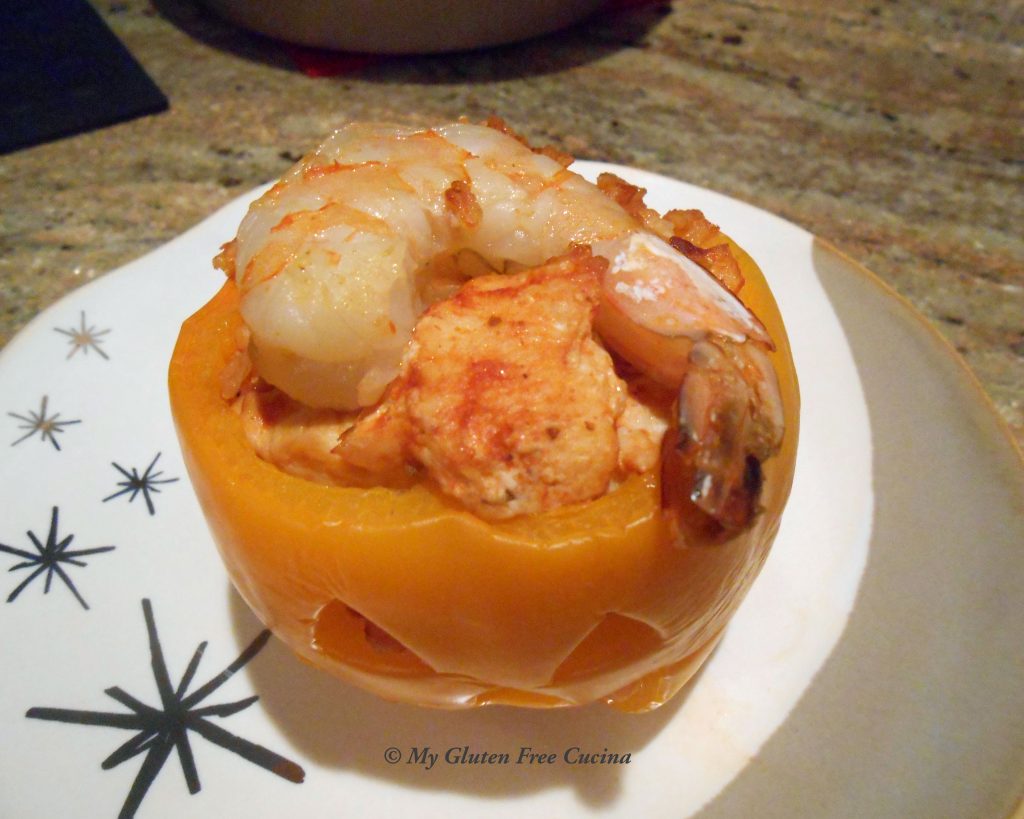
 Blanch the peppers for 3 minutes in boiling water. Drain well and arrange in a baking dish that has been misted with cooking spray.