Sirloin Tips

Sirloin tips have always been one of my favorite restaurant entrees.  Much to my dismay, many restaurants use soy sauce in their steak marinade, making this meal off limits for those of us with Celiac disease.  Fortunately, it is easy to recreate this great meal at home.  Be sure and check out my homemade, gluten free steak marinade, or use coconut aminos for a lower sodium option.

Dinner for two

This post contains affiliate links.

Ingredients:

Preparation:

Combine the steak tips with 2 tbsp. gluten free steak marinade.  Let them marinate for 30 minutes to an hour at room temperature.

While the steak marinates, cook the rice in 2 cups broth, either stovetop or in a rice cooker (here’s mine, it’s perfect for 2 people).  Heat a large nonstick skillet with a little olive oil over medium low.  Add the steak tips.
Brown the meat on both sides, turning once.

It doesn’t have to be cooked through at this point.

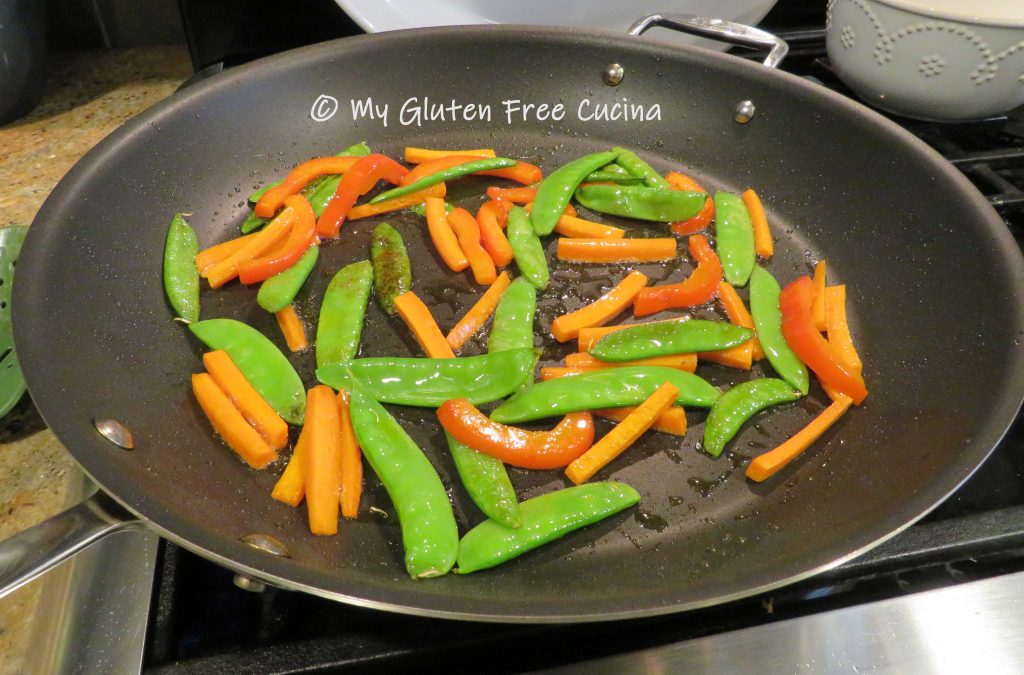
Transfer to a bowl, wipe the skillet clean and add the veggies with more olive oil.

Cook several minutes until crisp tender.  Season with salt and pepper.  Add the steak tips back to the skillet to finish cooking.

Finish with 1 tbsp. tamari or coconut aminos, and transfer to a serving platter.  You can combine with the rice at this point or keep the rice separate if you’re watching carbs.

Serve with rice and you have one easy meal!

Notes: ♪♫ Tamari is a delicious, gluten free alternative to soy sauce.  San-J gluten free Tamari is my favorite.  If sodium is a concern, try Coconut Aminos.  Both gluten free and soy free, Coconut Aminos have a much lower sodium content.  Coconut Secret is the brand I use, and it works well in this recipe as well as many of my Asian inspired favorites.

Print This Post Print This Post


Borlotti Bean Soup

I love the smooth, creamy texture of Borlotti beans.  Also known as Cranberry beans, they are easy to work with, and an Italian favorite for winter soups.  When using dried beans, an overnight soak followed by a long slow simmer is the secret to success.  For soft, creamy beans that aren’t tough, don’t add salt until the final steps of the preparation.
I make soup frequently over the winter months.  I usually make a small pot, as I don’t want to be eating it for weeks!  This recipe makes about 4 servings, but you can definitely double or triple the recipe for a larger family.

4 servings

This post contains affiliate links.

Ingredients:

Preparation:

Soak the beans overnight, then drain and rinse.  Add them to a soup pot with cold, unsalted water and 2 bay leaves.  Cover and simmer 45 minutes, drain and rinse.  Then one more time, back into the pot with cold unsalted water, cover and simmer 45 minutes, drain and rinse.

Wipe the pot clean and add a little olive oil.  Cook the carrots, celery, onion and garlic over low heat until vegetables are translucent and release some of their liquid.  Season with salt and pepper to taste.

Add the cooked beans, sage, thyme, turmeric and one more bay leaf.  Season with salt and pepper.

Add the chicken broth and simmer 1-1/2 hours.  Taste and adjust the seasoning if needed.

Remove from heat and add the cooked pasta or rice.  Cover and let stand for 30 minutes before serving.

Notes: ♪♫ If you like a creamier soup, you can partially puree the beans and veggies before adding the pasta.  Don’t forget to remove the bay leaves first!

Print This Post Print This Post

Apple Stuffed Honeynut Squash

Have you seen the adorable Honeynut Squash at your local market this fall? I couldn’t resist buying one, they are so cute!  At about 6″ in length, the size is perfect for two servings.  Similar to butternut squash, the Honeynut is much smaller and sweeter, with a dark orange pulp.

Unlike the larger butternut and acorn variety, you won’t pull a muscle slicing through this petite squash.  The skin is much thinner, so thin that you can eat it!

Roasted and stuffed with a simple sauté of diced apples, the finished dish is as appealing to the taste buds as it is to the eye.

Follow these easy steps to create the perfect fall side dish!

Ingredients:

  • 1 Honeynut squash
  • olive oil
  • maple seasoning
  • 1 small apple
  • 1 tsp. butter
  • cinnamon
  • fresh rosemary for garnish

Preparation:

Roasting is the way to go with this tiny squash.  Simply cut the squash in half, scoop out the seeds and brush the inside with olive oil.

Sprinkle with seasoning of your choice.

Arrange cut side down on a baking sheet lined with parchment or foil and bake for 35 minutes at 375º.

The Honeynut squash is so small, you can easily fit one on a sheet pan with another veggie course.

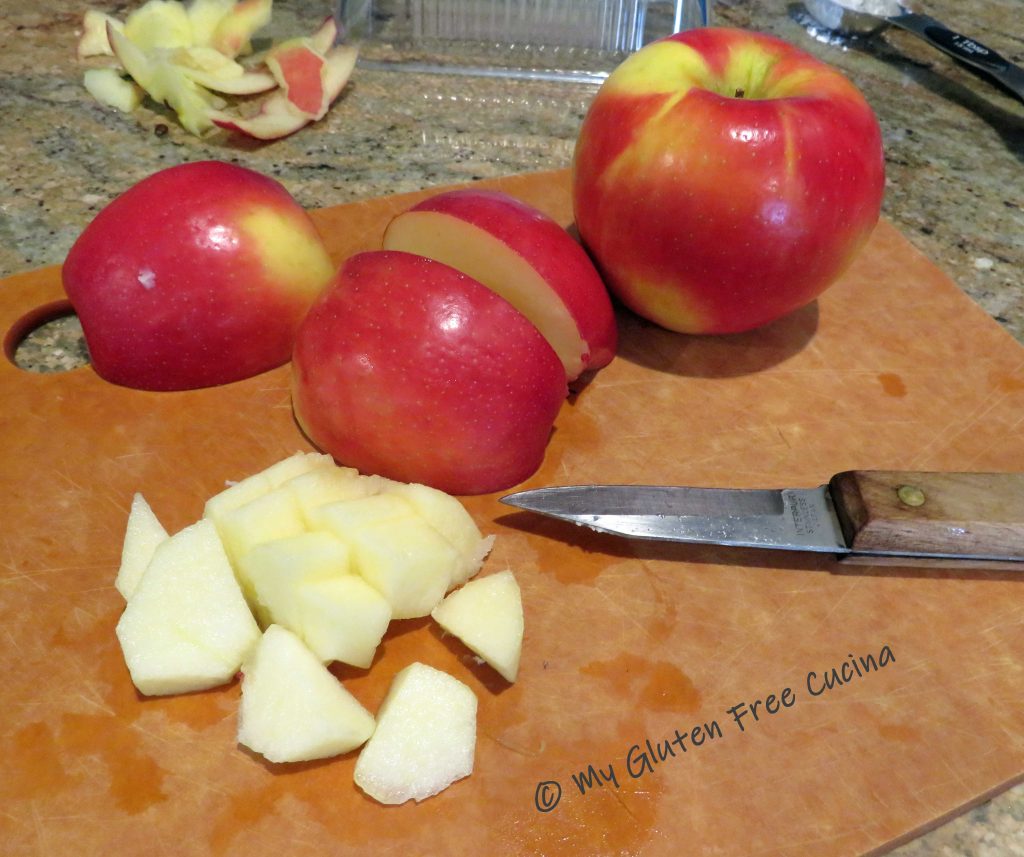
While the squash is baking, peel and dice the apple.  I used a Honeycrisp apple.  Heat a small skillet on medium low.  Add the apples with a pat of butter and toss to combine.  Cook 3 minutes, stirring frequently.  Sprinkle with cinnamon.

Remove the squash from the oven turn it over carefully, use tongs.  Spoon the apples into each half.  Garnish with fresh rosemary.

The old saying “we eat with our eyes first” is so true.  Look at that beautiful presentation!  Guest worthy, but on the table in under an hour so you can try it on a weeknight!  Be sure to pin this side dish to your fall favorites!

Notes ♪♫ Not a paid link, just sharing that I used Taste of Inspirations Maple and Sage Pork Rub in this recipe!  It is both gluten free and low sodium.

Print This Post Print This Post

Hibachi Style Chicken with Fried Rice, Gluten Free and Low Sodium

Asian inspired meals are among my favorites, and while I have had no problem adapting my recipes to a gluten free version, they still have quite a bit of salt.  So, in this recipe, I used Coconut Aminos, a staple in my gluten free pantry.

What exactly are coconut aminos?

A soy free alternative to soy sauce, coconut aminos are made with coconut tree sap and salt.  A savory seasoning with a salty, umami flavor profile it contains far less sodium than traditional soy sauce or tamari.  In fact, I was shocked to find that a tablespoon of coconut aminos had 1/10th the sodium of tamari!  A huge difference.

This meal was a success, gluten free and lower in sodium, still delicious!

4 servings

This post contains affiliate links.

Ingredients:

  • 16 oz. boneless chicken breast
  • 1 cup mixed vegetables such as peas, carrots, onions, celery, mushrooms
  • 1 tbsp. olive oil
  • 3 tsp. toasted sesame oil, divided
  • 4 tbsp. Coconut Aminos, divided
  • 1 tsp. Tamari
  • 1/4 cup gluten free chicken broth
  • 1/4 tsp. powdered ginger
  • 1/4 tsp. garlic powder
  • 1 tsp. cornstarch

For the rice

  • 3/4 cup long grain brown rice
  • 1 cup gluten free broth (chicken or vegetable)
  • 1 cup water
  • 1/4 tsp. seasoned salt

For the egg

  • 1 egg + 1 tbsp. water
  • cooking spray

Preparation:

First make the rice.  You can do this ahead of time, in fact it will be better if you make the rice a day ahead and refrigerate.  Cook the rice according to package directions either stove top or in a rice cooker.

Next, whisk together the chicken broth, garlic powder, ginger and cornstarch.  Dice the chicken into 1″ cubes and toss with 1 tbsp. coconut aminos and 1 tsp. tamari.  Cut the vegetables into small dice (if using frozen vegetables, thaw them while you make the rest of the dish).

Coat a large, nonstick skillet with cooking spray over medium low heat.  Scramble the egg, chop into small pieces and set aside.

Add 1 tbsp. olive oil and 1 tsp. sesame oil to the skillet.  Add the diced chicken and begin browning.

Turn to finish cooking through.

Transfer the chicken to a bowl and keep warm.  Add the veggies to the skillet with 1 tsp. sesame oil and 1 tbsp. coconut aminos.

When the veggies are crisp tender add back the chicken.  Pour in the chicken broth mixture, stirring and tossing to combine until the liquid thickens.

Finish with 1 tbsp. coconut aminos and transfer to a serving dish.  Leave a few veggies in the pan to toss with the rice.

Finally, add the cooked rice to the skillet with 1 tbsp. coconut aminos and 1 tsp. sesame oil and stir to heat through.  Add back the cooked egg and this meal is ready!

Dinner is served, gluten free and low sodium!

Notes ♪♫ My late husband Mr. Cucina and I had a long-standing tradition of going out for Hibachi on Halloween night.  We did this every Halloween for over 20 years!  When I was diagnosed with Celiac disease, we even found a Hibachi restaurant that would prepare my meal gluten free, and the tradition continued.  When his health took a turn for the worse and we could no longer go out to eat, I made this meal for us at home one Halloween night.  Things change, but this old tradition of ours will always bring back happy memories.

Print This Post Print This Post


Shrimp with Broccoli and Gluten Free Tagliatelle

Who said you can’t make a healthy, delicious meal from scratch without spending hours in the kitchen? Here is a light and easy dinner that will become a family favorite.  Inspired by a restaurant meal, the original was made with tons of butter and egg noodles, but I’ve made a lighter, gluten free version that is oh so good.  Ready in less than 30 minutes, it’s perfect for busy weeknights.  Notice that I used a healthy amount of garlic?  Yes, the garlic flavor is quite prominent in this dish!  You can cut back if you wish, but I encourage you to try it.

-Dinner for two

This post contains affiliate links.

Ingredients:

  • 12 jumbo raw shrimp
  • 4 oz. gluten free noodles *see notes
  • 1 broccoli crown
  • 1 heaping tablespoon of garlic, minced
  • 1 tbsp. olive oil plus more for finishing
  • salt and pepper to taste
  • pinch of red pepper flakes, optional
  • 2 tbsp. butter, divided

Preparation:

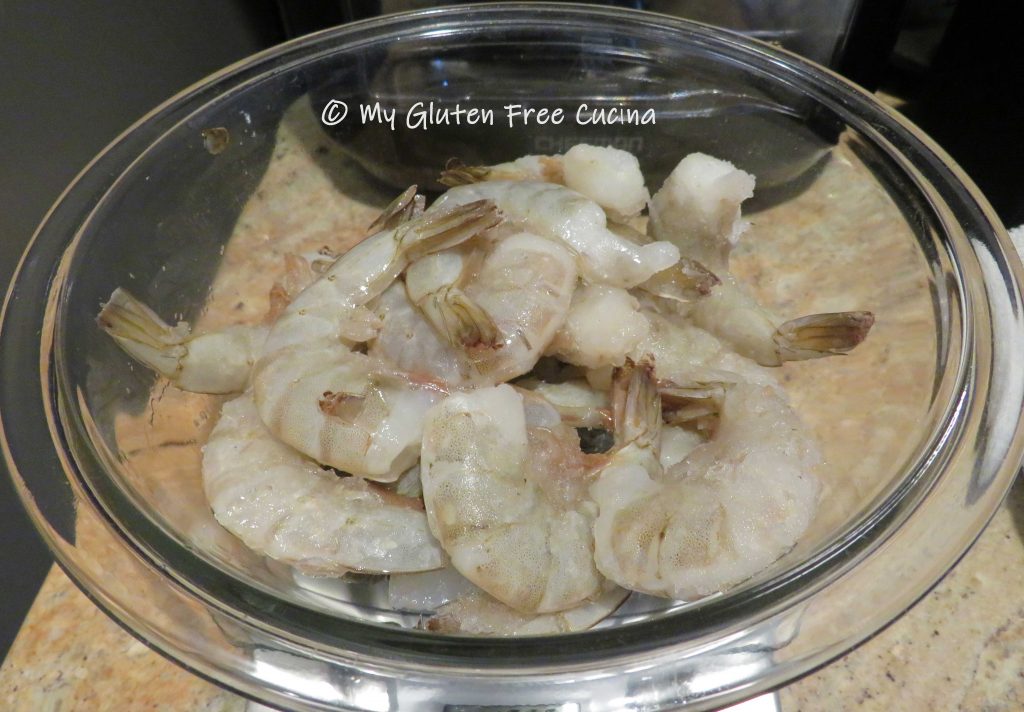
This dish comes together in a flash, so you will want to have all your ingredients organized before you begin.  If the shrimp are frozen, thaw them under cold water, peel and devein.  Cut the broccoli into florets and mince the garlic.  Set up a pot of salted water for the pasta.

I’m using a large nonstick skillet for this recipe.  I started the dish by gently warming the garlic in 1 tbsp. olive oil over lowest heat for 5-10 minutes to mellow the flavor.  If you like, add a pinch of red pepper flakes for a pop of heat!  Keep that burner on low, you don’t want the garlic to brown or burn.

Steam the broccoli for 3 minutes then run it under cold water to stop the cooking.  Drain to remove most of the liquid.  Cook the tagliatelle to 3 minutes less than package directions.

Raise the heat to medium low and add 1 tbsp. butter to the garlic.

Add the broccoli to the skillet and stir to coat.

Add the shrimp, distributing it evenly and making sure it has contact with the pan.  (Here’s where that larger skillet comes in handy).

When the bottoms are barely pink turn the shrimp over, 2-3 minutes.  Season with salt and pepper to taste.  The shrimp are not completely done at this point, they will finish cooking with the noodles.

Add the cooked noodles to the skillet with the remaining 1 tbsp. butter.  Toss well so all the ingredients are blended and evenly coated with butter and transfer to a serving platter.

Finish with a drizzle of good olive oil.

What a beautiful plate to bring to your table.  So easy and delicious, and dare I say healthy?

Notes ♪♫ The original entrée that inspired this post was made with egg noodles.  I wasn’t able to find a gluten free version of the wide, curly egg noodles that I remembered, but we are loving the gluten free Tagliatelle from Jovial that I used in this recipe.  One of my favorite brands, they are delicious and held up well in this dish!

Print This Post Print This Post

Gluten Free Pumpkin Corn Bread

Traditional corn bread gets all dressed up for autumn with the addition of pumpkin and spice.  Wouldn’t this Gluten Free Pumpkin Corn Bread be a wonderful addition to your Thanksgiving breadbasket?  Not only have I made it gluten free, but it is also lower in fat, sugar and sodium so that most folks will be able to enjoy a small, diet friendly square with their meal.

16 Servings

This post contains affiliate links.

Ingredients:

Preparation:

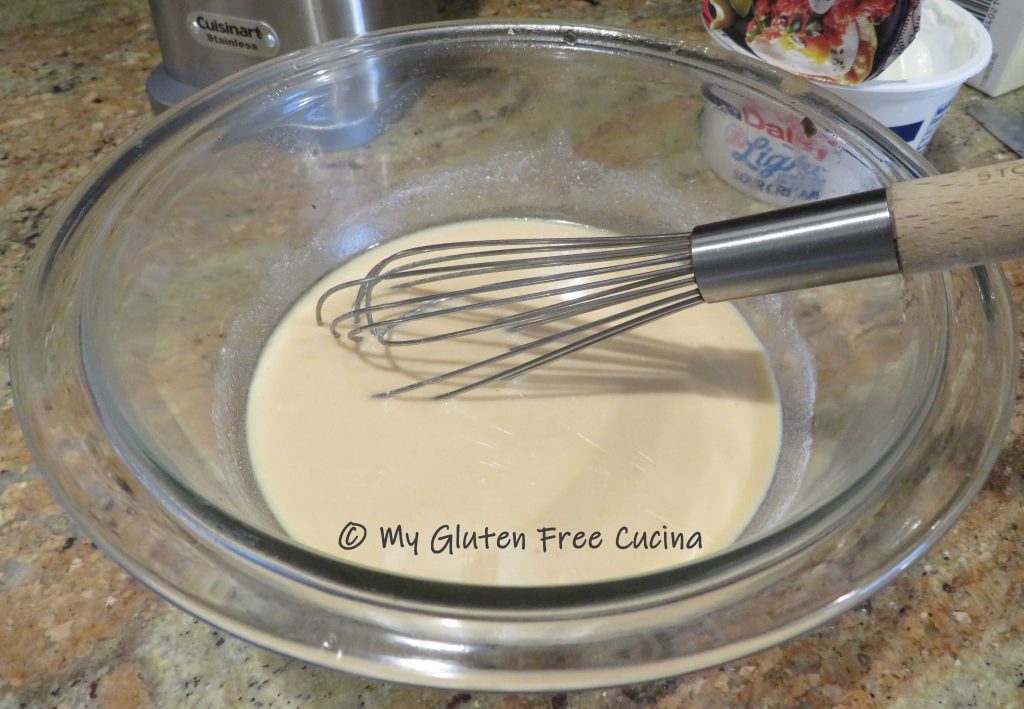
Whisk together the dry ingredients, flour through ginger.  In a separate bowl, whisk together the wet ingredients, egg through sour cream.  Combine the wet and dry ingredients, stirring together just until moistened.

Line an 8″ x 8″ baking dish with parchment and scrape the batter into the pan, smoothing it with a spatula.  Bake for 30 minutes at 350º.

Lift the bread out of the pan and carefully remove the parchment.  Let it cool slightly before slicing.

Cut into 16 squares and serve warm or at room temperature.  Store at room temperature for up to 2 days (it won’t last that long!).

Notes ♪ I use a coffee grinder to grind flax and chia seeds into a meal for baking.  Typically, 1 tbsp. of seed does not equal 1 tbsp. of meal.  For recipes, measure 1 tbsp. of meal after grinding.

Notes ♫ Did you know that both baking powder and baking soda contain sodium?  I reduced the sodium in this recipe by using a lower sodium baking powder.  I have been using it with great success in my bread recipes.  Check it out!

Notes ♪♫ Nutritional values are approximate and based on 16 servings.  May vary depending on ingredient brands used or changes to serving size.

Print This Post Print This Post

Gluten Free Shrimp and Sausage Fettuccine

A well-stocked pantry means that I always have enough on hand to pull together a quick meal.  The ingredients in this spicy seafood pasta dish are all pantry staples in my Cucina!  Garlic, onions, olive oil are the foundation of so many recipes.  I buy frozen jumbo shrimp when on sale and keep my homemade Italian Sausage patties in the freezer as I add a little into so many recipes.

This post contains affiliate links.

Ingredients:

  • 14 jumbo shrimp, peeled and deveined
  • 4 oz. gluten free Italian sausage
  • 2 tbsp. olive oil
  • 1/2 medium sweet onion, diced
  • 1 tbsp. garlic, minced
  • 14.5 oz. can diced tomatoes
  • 4 oz. gluten free fettuccine pasta
  • 1/2 tsp. basil
  • 1/2 tsp. oregano
  • 1/2 tsp. marjoram
  • salt and pepper to taste
  • ladle of pasta water
  • 3 tbsp. milk (or cream)
  • fresh Italian parsley, for garnish

Preparation:

Brown the sausage in a large non-stick skillet, breaking it up with a spatula.

Add the onions and garlic, stir and cook until the onions are translucent.

Add the tomatoes and herbs.  Cover and simmer over low heat.

Boil water for pasta and cook to 1 minute less than package directions.

With 5 minutes left on the pasta, add the shrimp to the skillet along with 3 tbsp. milk.  If it looks dry add a ladle of pasta water.

To finish, add the fettuccine to the skillet and toss well to combine.  Cook for 1 minute longer.

Transfer to a serving platter and garnish with fresh parsley.

Notes: ♪♫ I used Barilla Gluten Free Fettuccine in this recipe.  I love the texture of the wider noodles, and the gluten eaters enjoyed it as well!


Print This Post Print This Post

Pumpkin Soup with Carrots and Parsnips

Tis the season for all things pumpkin!  This pumpkin soup is so aromatic and naturally sweetened with the addition of carrots and parsnips.  A wonderful fall soup, it is ready in under an hour so you can easily fit it into your schedule.  A great make ahead recipe for your Thanksgiving table!  I made a small batch, but you can easily double or triple the recipe.

4 Servings

This post contains affiliate links.

Ingredients:

  • 1/4 medium sweet onion, diced (1 cup)
  • 1 tbsp. olive oil
  • 1 clove minced garlic, (1 tsp.)
  • 1 small parsnip, peeled and diced (1/2 cup)
  • 4 small carrots, peeled and diced (1 cup)
  • 2-1/2 cups gluten free chicken broth
  • 3/4 cup pumpkin puree
  • 1/8 tsp. nutmeg
  • 1/4 tsp. ginger
  • 1/4 tsp. turmeric
  • 1/2 tsp. brown sugar
  • 1/2 tsp. sea salt
  • toasted pumpkin seeds for garnish (optional)
  • gluten free bacon for garnish (optional)

Preparation:

Prep the vegetables before you begin.  Dice the onions, carrots and parsnips and mince the garlic.

Heat olive oil in a saucepan or stock pot.  Add the onions and cook for 3 minutes until translucent.

Add the carrots and parsnips and continue cooking for 15 minutes, stirring frequently.

When the onions are beginning to caramelize, you will see a bit of browning in the bottom of the pot, like this.

Add the broth, pumpkin puree, garlic and all of the seasonings.  Cover and simmer on low 45 minutes.

While the soup is simmering, toast pumpkin seeds and cook bacon for serving.

When the soup is done, the veggies should be very soft.  Use a stick blender to puree to desired consistency.  You can make it as smooth or as chunky as you like.

Serve with a sprinkle of pumpkin seeds and bacon (I used turkey bacon).

Notes ♪♫ For convenience I used canned pumpkin in this recipe.  I’m sure that making your own would be divine!  Always check product labels for gluten containing ingredients.

Print This Post Print This Post

Gluten Free Beef Stir Fry

I love stir fry meals for busy weeknights!  When you get home from a long day at work, you don’t want to spend a lot of time making dinner.  This is one of my favorite Asian inspired recipes that is on the table in 30 minutes.  I used frozen veggies to make the prep even faster!  Use petite sirloin when possible and slice it yourself.  It will be far more tender and flavorful than the cuts usually sold as stir fry beef.

3-4 Servings

This post contains affiliate links.

Ingredients:

  • 3/4 lb. petite sirloin cut into thin strips
  • 4 oz. gluten free Pad Thai rice noodles
  • 1 lb. bag frozen Asian stir fry vegetables
  • 1 clove garlic, minced
  • 1/2 onion, diced
  • 1 baby Bok choy, chopped
  • 1/4 cup Mirin (rice wine)
  • 2 tbsp.  gluten free soy sauce
  • 1/2 cup gluten free chicken broth
  • 1/4 tsp. garlic powder
  • 1/4 tsp. ginger powder
  • 1 tbsp. cornstarch
  • olive oil
  • toasted sesame oil
  • additional gluten free soy sauce, to taste
  • ground pepper, to taste
  • scallions, for finishing (optional)
  • toasted sesame seeds (optional)

Preparation:

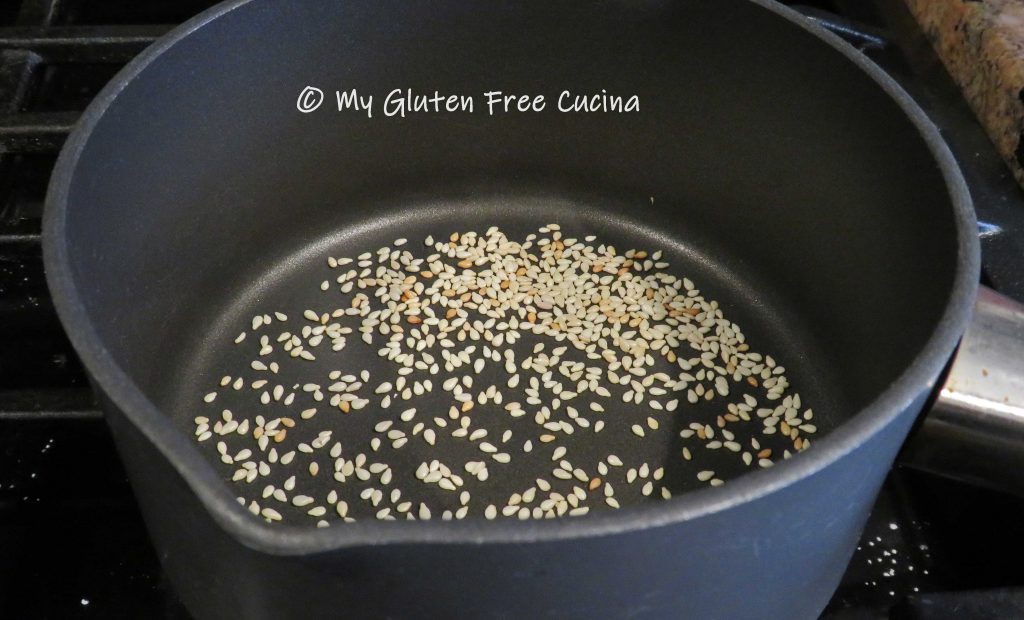
Toast sesame seeds in a small saucepan and set aside.

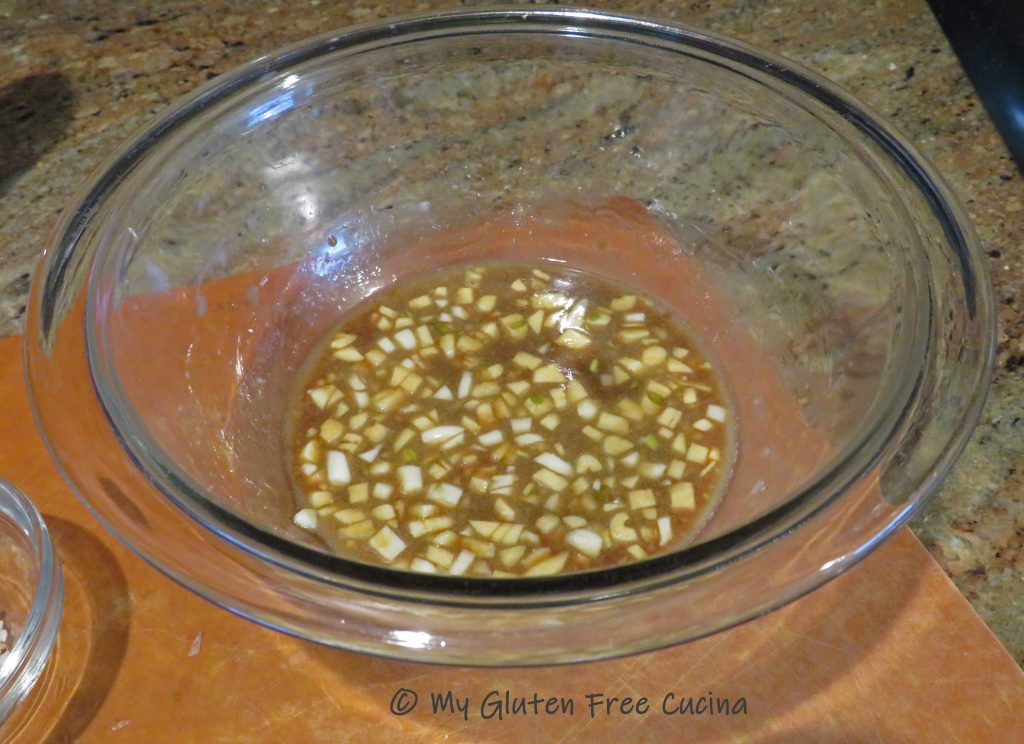
Whisk together the Mirin, soy sauce, chicken broth, garlic powder, ginger powder and cornstarch.  Set aside.  Boil water for the noodles and salt well.

Chop the Bok choy, separating the bulb from the leaves.

Heat a large nonstick skillet and add a little olive oil with 1 tsp. sesame oil.  Quickly brown the beef on the outside (don’t cook through), transfer to a bowl and sprinkle with gluten free soy sauce.

Wipe the skillet clean, and begin cooking the onion in olive oil, with a tsp. of sesame oil.  Add the bulb (bottom section) of the Bok choy, reserving the leaves.

Next add the frozen veggies, garlic and Bok choy leaves.  Season with ground pepper and a few more shakes of soy sauce.  Cover and cook 3 minutes.

Cook the noodles for 3 minutes and drain.  To finish, add the beef back to the skillet, and toss for 30 seconds to finish cooking.

Add the noodles and pour the sauce over everything, then use 2 spatulas to turn and coat evenly with the mixture.  Toss continuously for about 1 minute or until the sauce thickens.

Transfer to a serving dish and garnish with scallions and/or sesame seeds.

This dinner is a real family favorite.  People are always surprised at how easy it comes together and the frozen veggies are a real time saver.

Notes ♪♫ Always check that your soy sauce, chicken broth, seasonings and noodles are gluten free.  Avoid frozen veggies with added seasoning, sauce or glaze.

Print This Post Print This Post

Easy Gluten Free Italian Sausage Patties No Salt

Why make your own sausage? 

Today we have so many brands of gluten free sausage that are widely available.  So why am I going through the trouble of making it from scratch?

The short answer, a couple of years ago when my blood pressure started going up, up, up I decided to embrace lower sodium cooking.  As a woman of a certain age, I can tell you when that check engine light goes on, you had best take it seriously!

I decided to make this homemade Italian Sausage with no added salt, so that I could use it freely without worry about adding yet more salt to a recipe.

This post contains affiliate links.

I have also replaced my favorite convenience items like chicken broth, canned tomatoes and beans with the unsalted or lower sodium version.  Some of my purchased spice blends had an amazing amount of salt, so sadly they too had to go.  I now mix my own blends, and they are better, fresher and less expensive.

Ok, back to the sausage.  I love using Italian sausage in my recipes.  I add a little to my Meatloaf, Meatballs, Pizza, even my Shepherd’s Pie!  These sausage patties are perfect for adding a little extra flavor to ground beef recipes!

Maybe you’re not worried about sodium.  Why then make your own sausage?  Because you control the ingredients.  Want less fat?  Instead of all pork use a combination of pork and turkey or use all turkey or chicken.  Don’t like fennel?  Leave it out.  Like it spicy?  Add more hot pepper flakes.  You get the idea.

Note- I am not grinding my own meat nor am I using casings.  Remember, I called this an easy recipe?

This post contains affiliate links.

Ingredients:

  • 1 lb. ground pork
  • 1 lb. ground turkey (optional, you can use 2 lbs. pork)
  • 2 tbsp. red wine vinegar
  • 1-1/2 tsp. peppercorns, ground
  • 2 tsp. parsley
  • 2 tsp. garlic granules
  • 2 tsp. onion granules
  • 2 tsp. basil
  • 1 tsp paprika
  • 1/4 tsp. red pepper flakes, ground
  • 1/2 tsp. ground fennel seed
  • 1/4 tsp. oregano
  • 1/4 tsp. thyme
  • 1 tsp. brown sugar

Preparation:

Measure the spices before you begin.  I used a coffee grinder to break up my peppercorns, fennel seed and red pepper flakes.

Add the pork and turkey to a large bowl.

Use 2 forks to break apart the meat and mix it together.  This will take some time and patience, as you want it well mixed but not compressed.

Add the vinegar one tbsp. at a time, mixing well after each addition.  Whisk the spices together and sprinkle over the meat, using the forks to incorporate the spices throughout the mixture.  If you’re not watching salt go ahead and add some here.

I used a scale to measure out 4 oz. patties.  I pressed them between wax paper squares.  This recipe yields 8 patties.

The patties need to rest for 12 hours in the refrigerator prior to cooking, this allows the flavors to meld, and the vinegar tenderizes the meat.

After 12 hours in the fridge the sausage patties are ready to be cooked or frozen.  They are great for breakfast or in a sandwich.

Use them in meat sauce, casseroles and stuffing.

Notes ♪♫ In most of my recipes I will recommend that you add salt or seasoning to taste.  Whether you need to limit salt for medical reasons or just a personal preference, when you cook from scratch you are always in control.

Print This Post Print This Post