

As another year draws to a close and the holidays approach, many are planning a scaled down version of the usual Thanksgiving and Christmas celebrations. Even with the pandemic behind us, I still hear from friends and neighbors that their family gatherings will be smaller this year.
This post contains affiliate links.
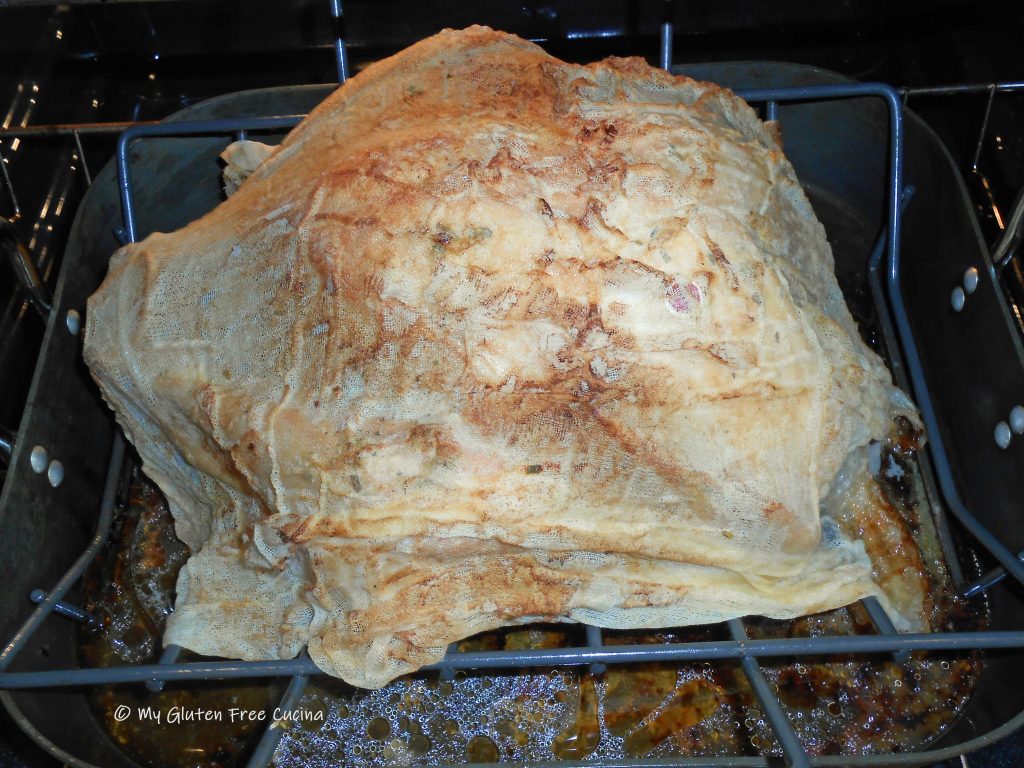
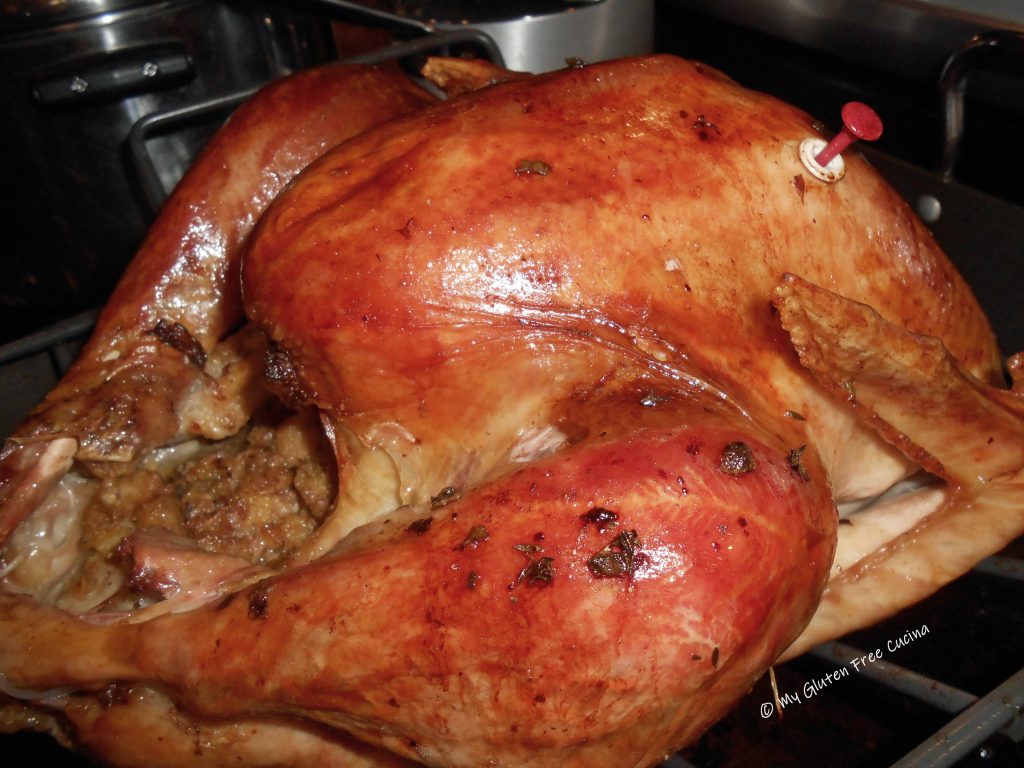
Micro gatherings mean smaller portions. I will still be making soup and roasting a turkey breast. Instead of stuffing the bird though, I’ll be making these cute Ramekin Stuffing Cups.

Since beginning my gluten free journey a few years ago, I have enjoyed making a delicious Gluten Free Cornbread Stuffing from scratch each Thanksgiving. This year though, I’ll be taking a shortcut and using these Savory Gluten Free Stuffing cubes from Aleia’s.

If you follow my blog, you know that I use Aleia’s gluten free breadcrumbs in many of my recipes. Since I love their breadcrumbs so much, I thought I would give their savory stuffing a try, and it was a win!
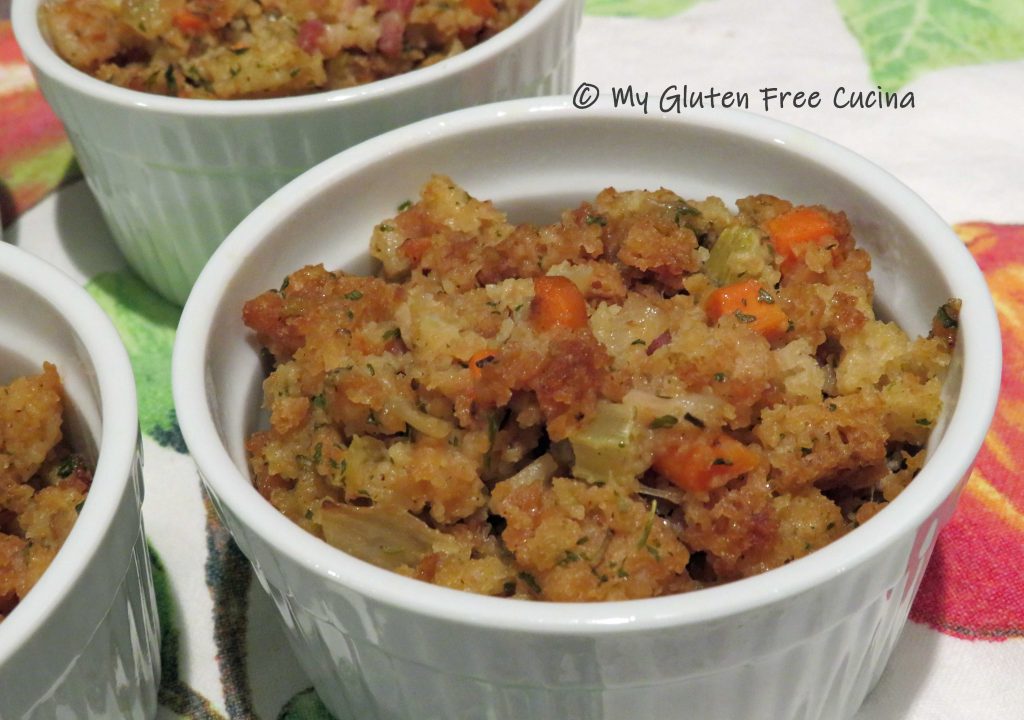
These stuffing cubes are delicious! They remind me of the stuffing mix we all grew up with😉. The 6 oz. ramekins are perfect for portion control.
4 Servings

Ingredients:
- 1 celery stalk
- 1 small carrot
- 1/4 sweet onion
- 1 tbsp. butter
- 1 tbsp. olive oil
- 2 strips gluten free bacon
- 2 cups gluten free stuffing cubes (about a half box)
- 1 cup gluten free chicken broth
- 1 egg, beaten
- cooking spray
Preparation:
Chop the veggies into small dice. Melt the butter and olive oil in a nonstick skillet and add the veggies. Cook 2-3 minutes, stirring frequently.

Next chop the bacon into 1/4″ pieces and add it to the pan. Continue cooking until the bacon is crisp and the veggies are just beginning to brown. Remove from heat and cool slightly. Note: You can make ahead to this point and refrigerate or freeze.

When ready, add the stuffing cubes.

Pour 1 cup chicken broth over the stuffing and stir to moisten. Return to low heat.
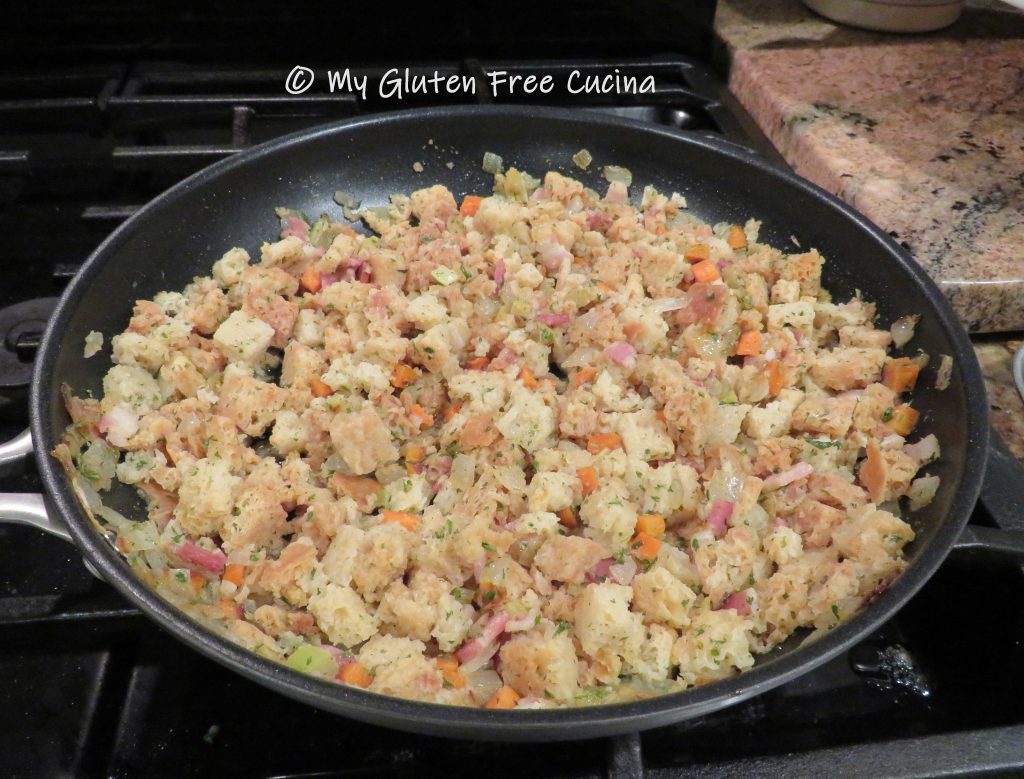
Pour the beaten egg over the stuffing, while quickly stirring and turning to incorporate.

Arrange 4 ramekins on a rimmed baking sheet and coat with cooking spray. Spoon the stuffing lightly into the ramekins, about 3/4 cup each. Leave room for the stuffing to expand during baking, don’t overfill or pack it in.

Cover tightly with foil and bake at 325º for 35 minutes.

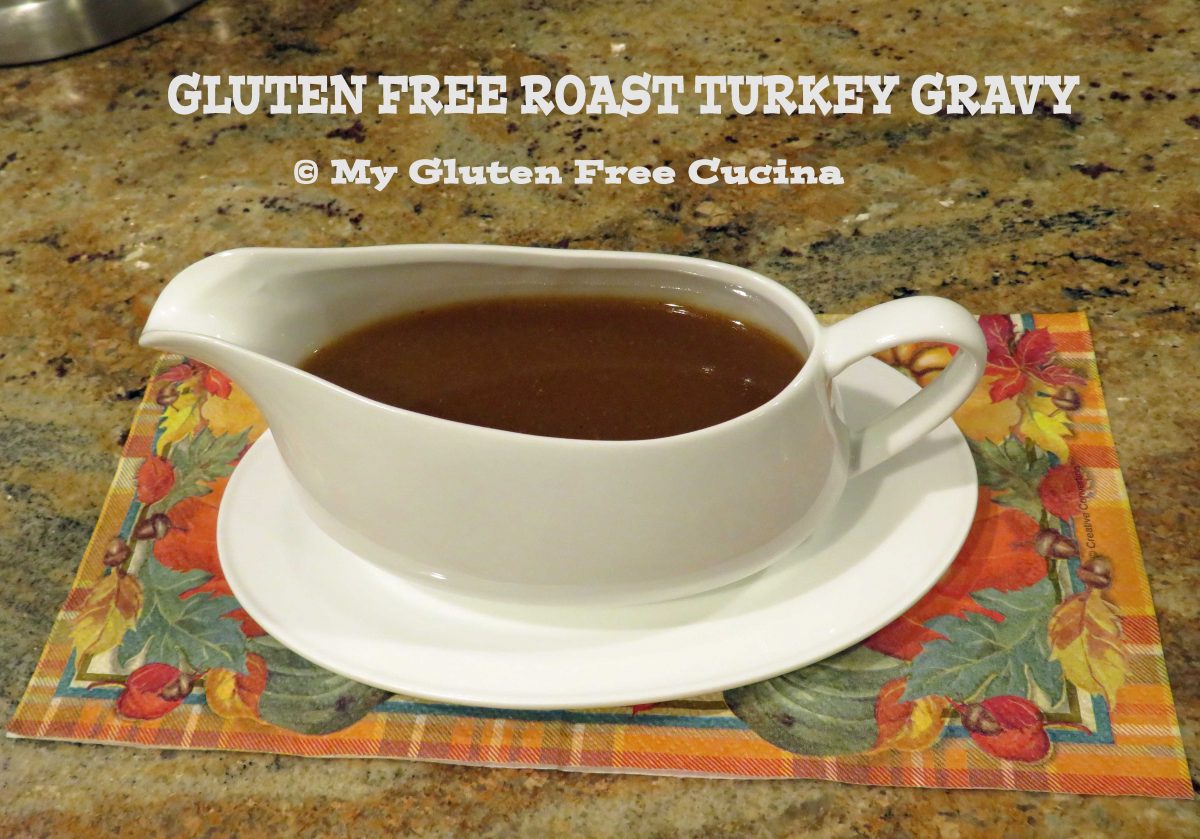
Serve hot out of the oven and don’t forget the gravy!

Notes ♪♫ Notice I didn’t add salt to the recipe? The stuffing cubes and the bacon have plenty of salt, so I decided not to add more. I also used unsalted chicken broth. If you are not limiting sodium, then by all means salt away!

 Print This Post
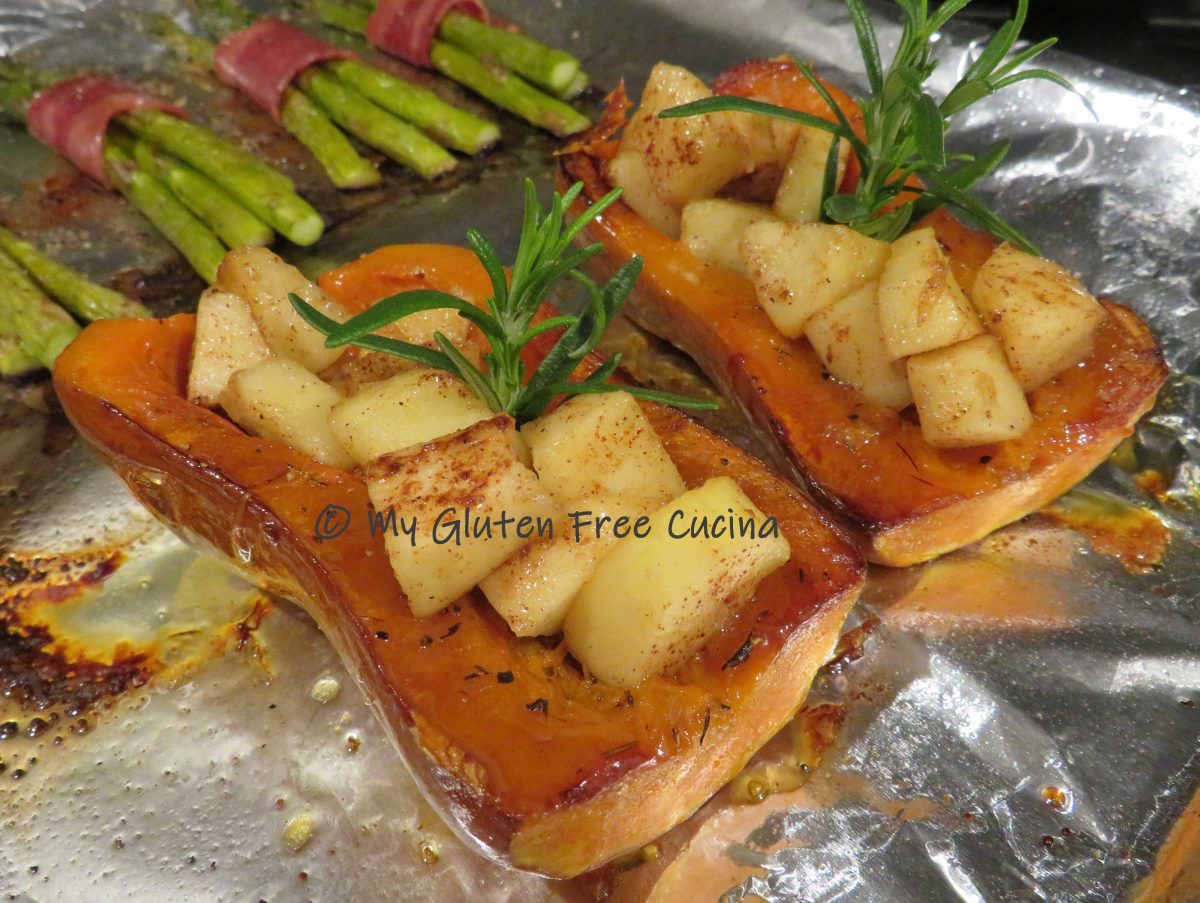


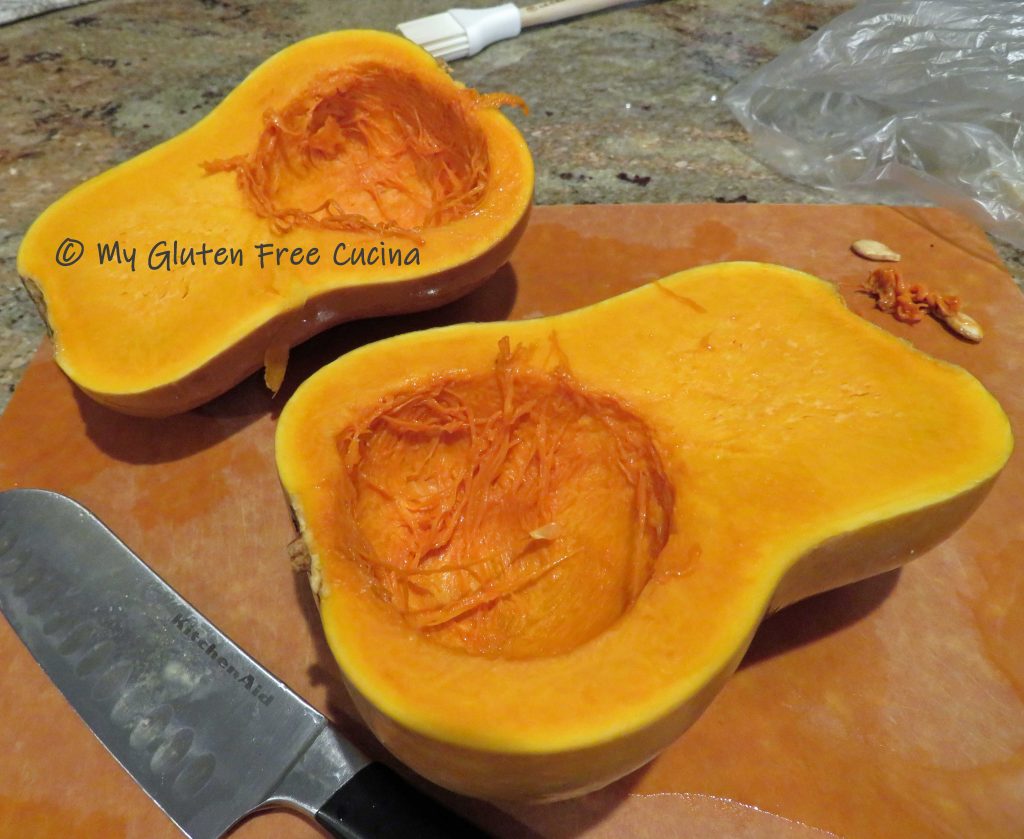
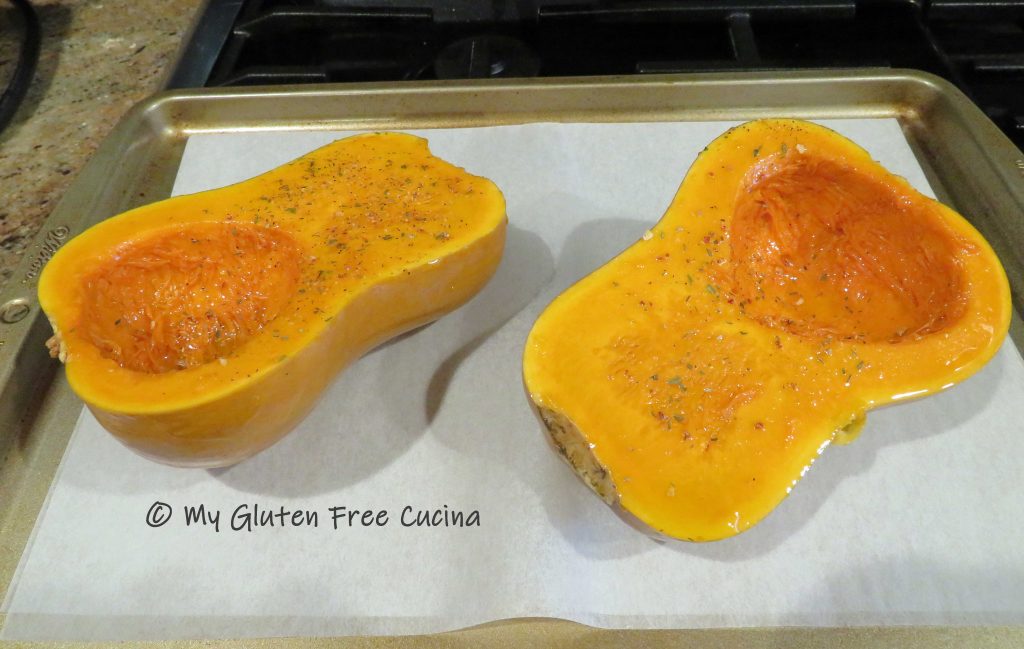 Arrange cut side down on a baking sheet lined with parchment or foil and bake for 35 minutes at 375º.
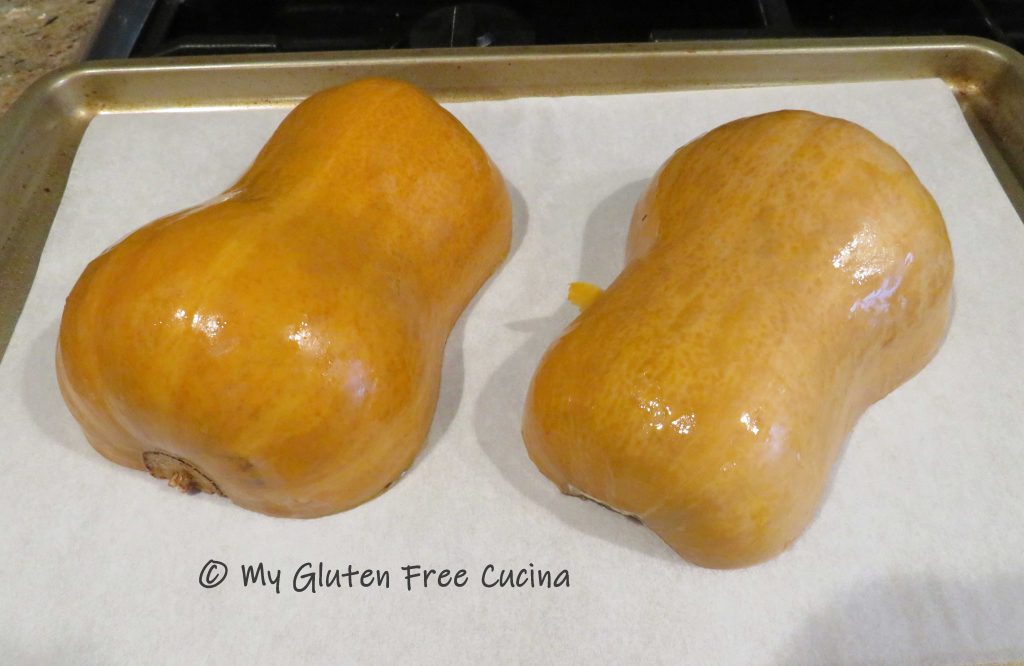
 While the squash is baking, peel and dice the apple. I used a Honeycrisp apple. Heat a small skillet on medium low. Add the apples with a pat of butter and toss to combine. Cook 3 minutes, stirring frequently. Sprinkle with cinnamon.
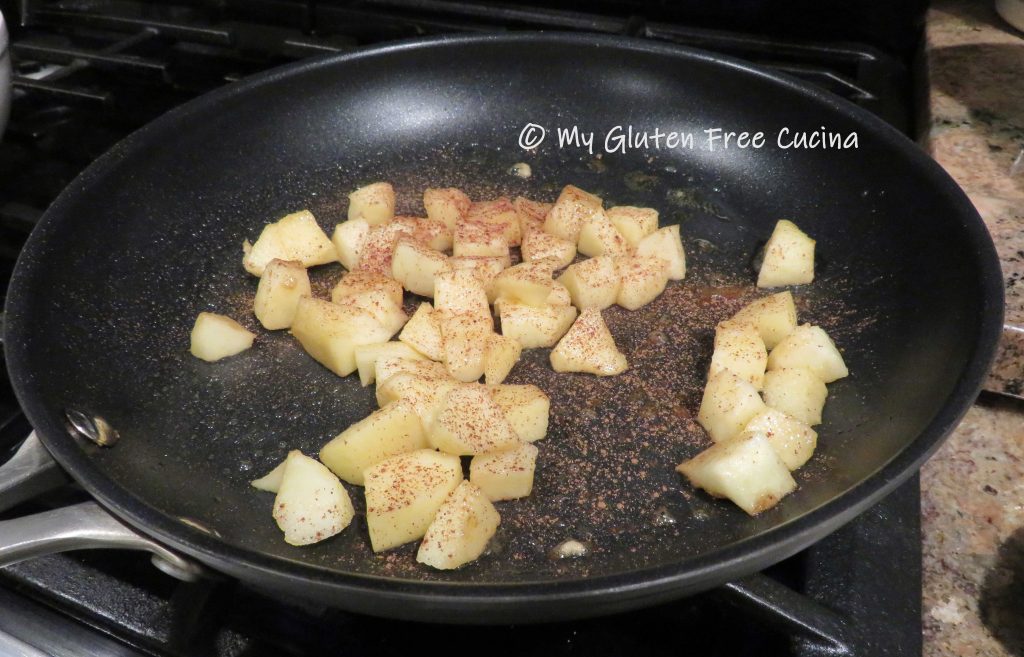


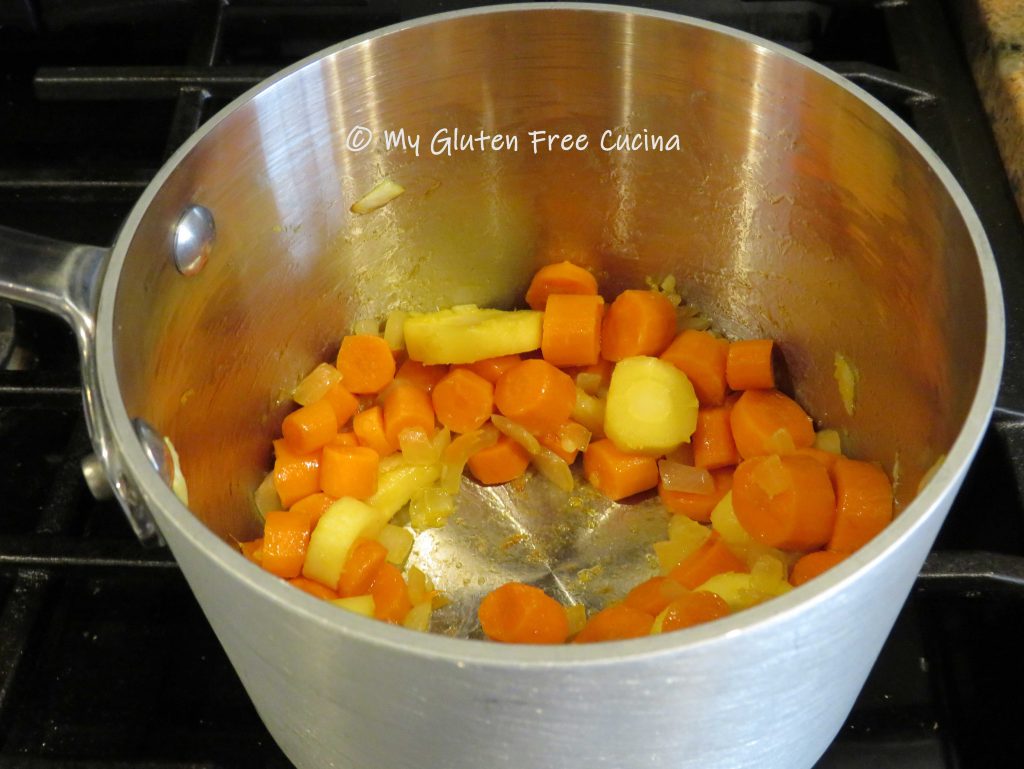
 Add the carrots and parsnips and continue cooking for 15 minutes, stirring frequently.
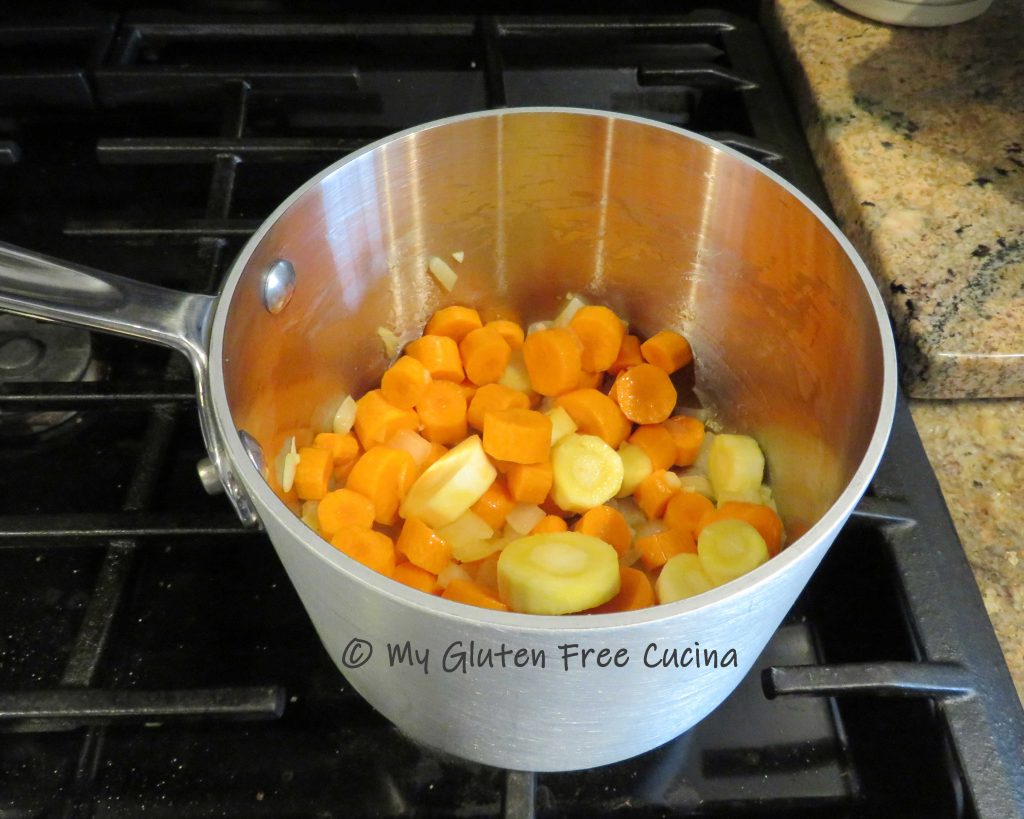


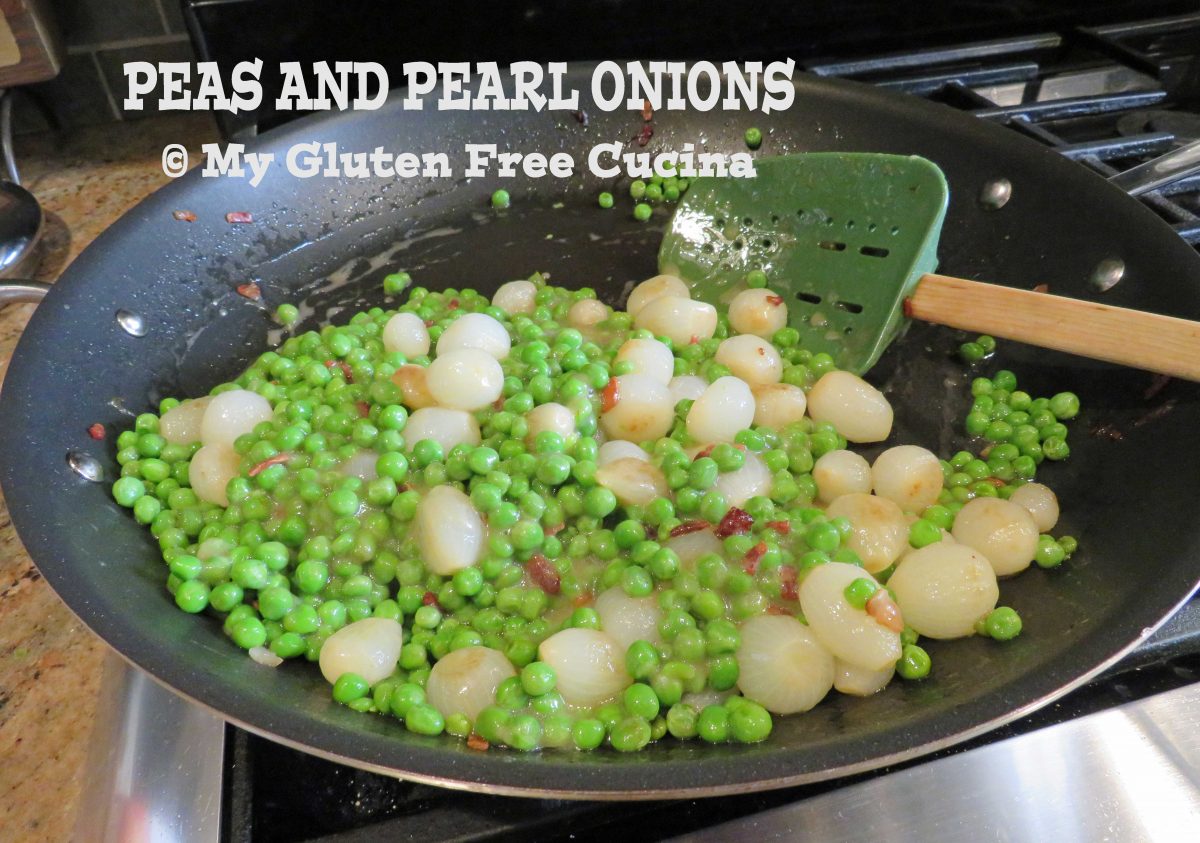
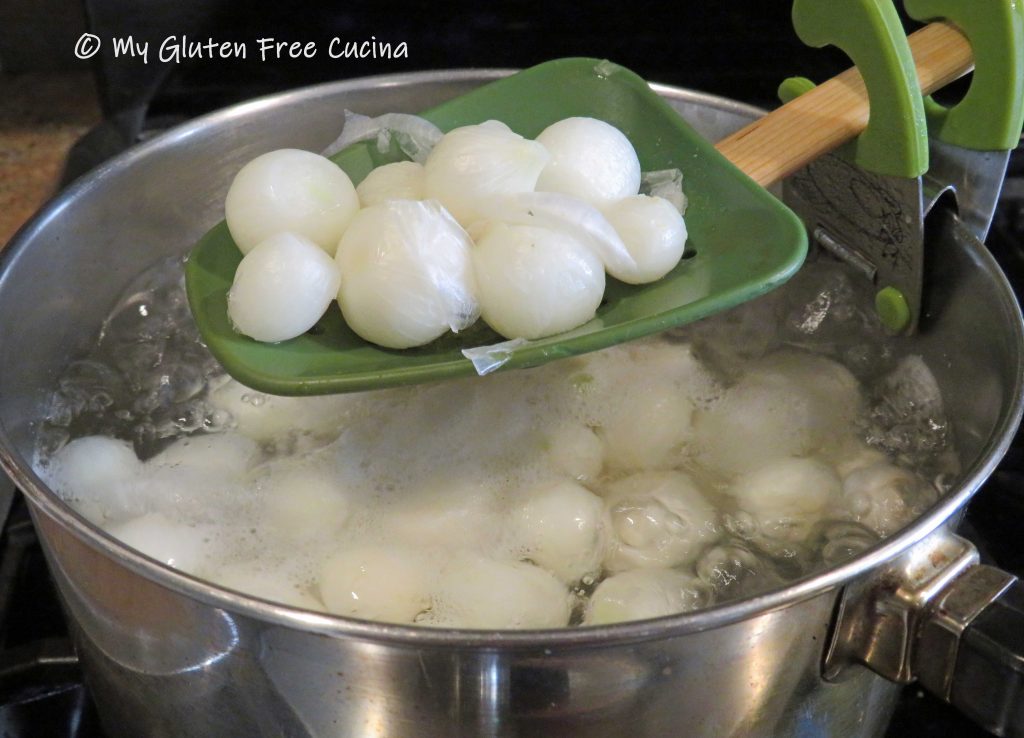

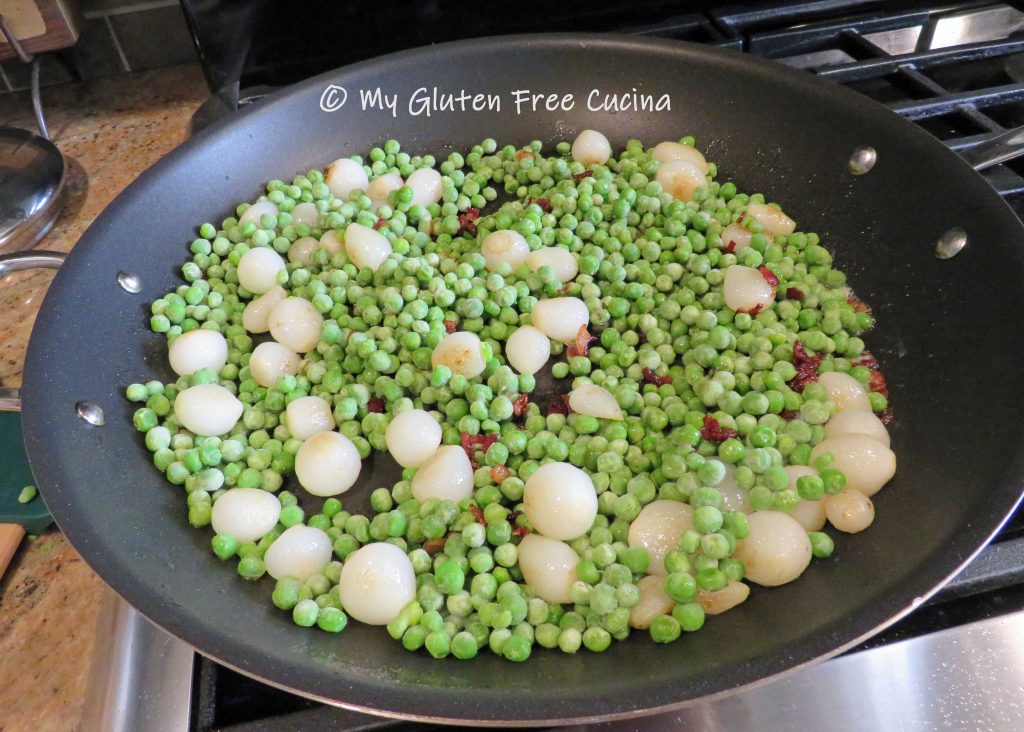
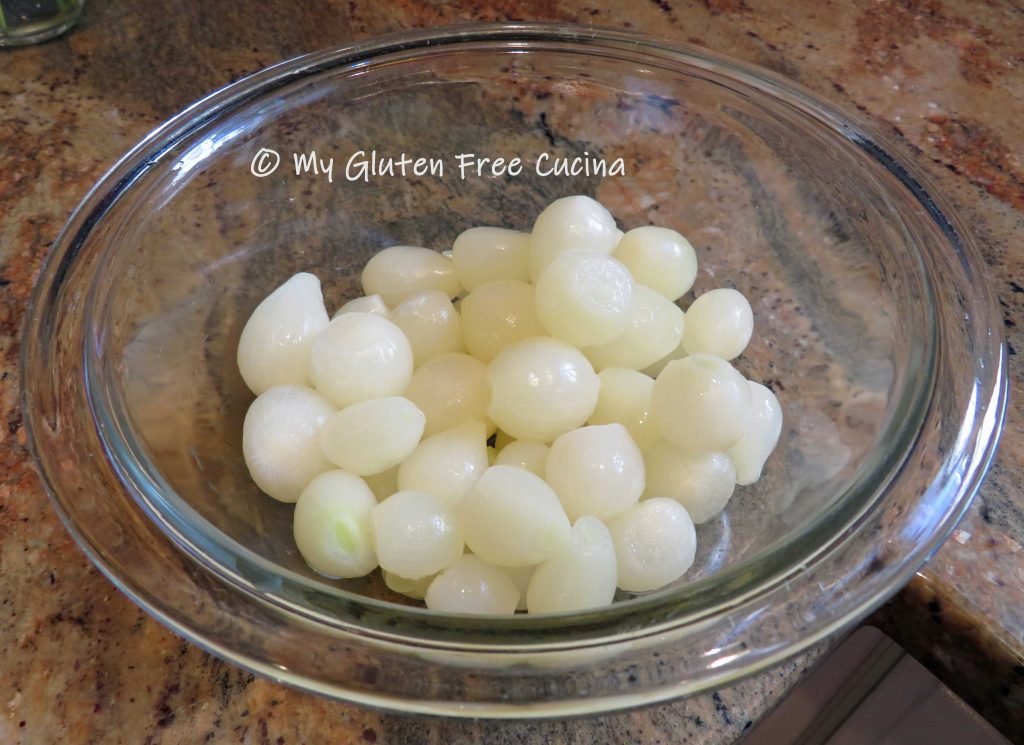 If you were lucky enough to find frozen pearl onions, thaw them on the counter for at least 30 minutes, along with the peas. Frozen pearl onions have already been peeled and blanched, a real time saver!
 When the bacon starts to brown, add the onions and cook for 5 minutes over medium low heat.
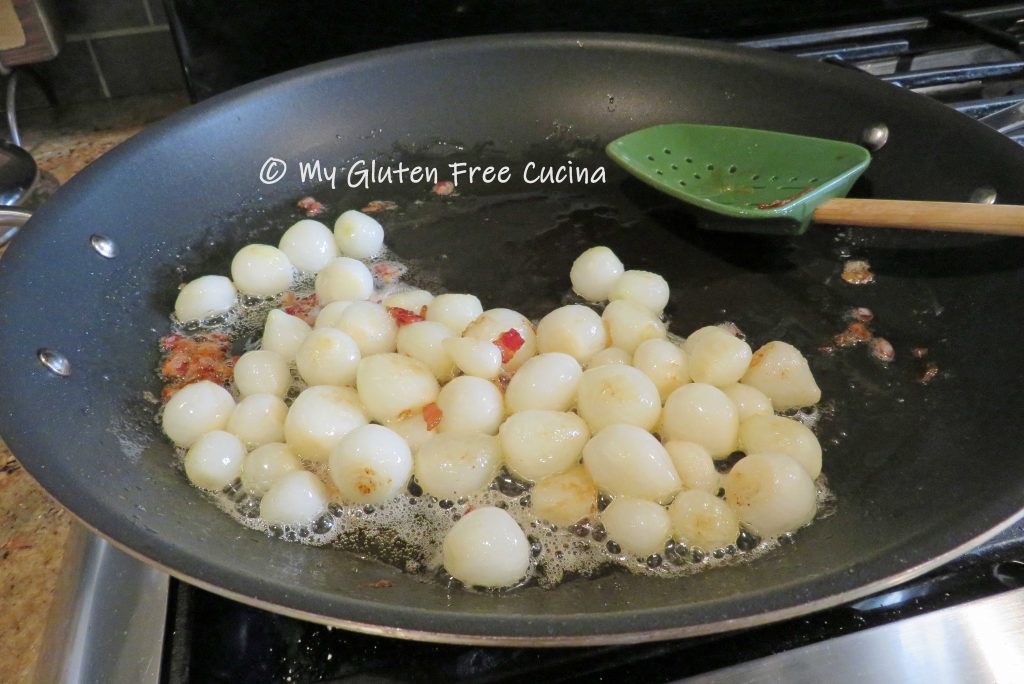
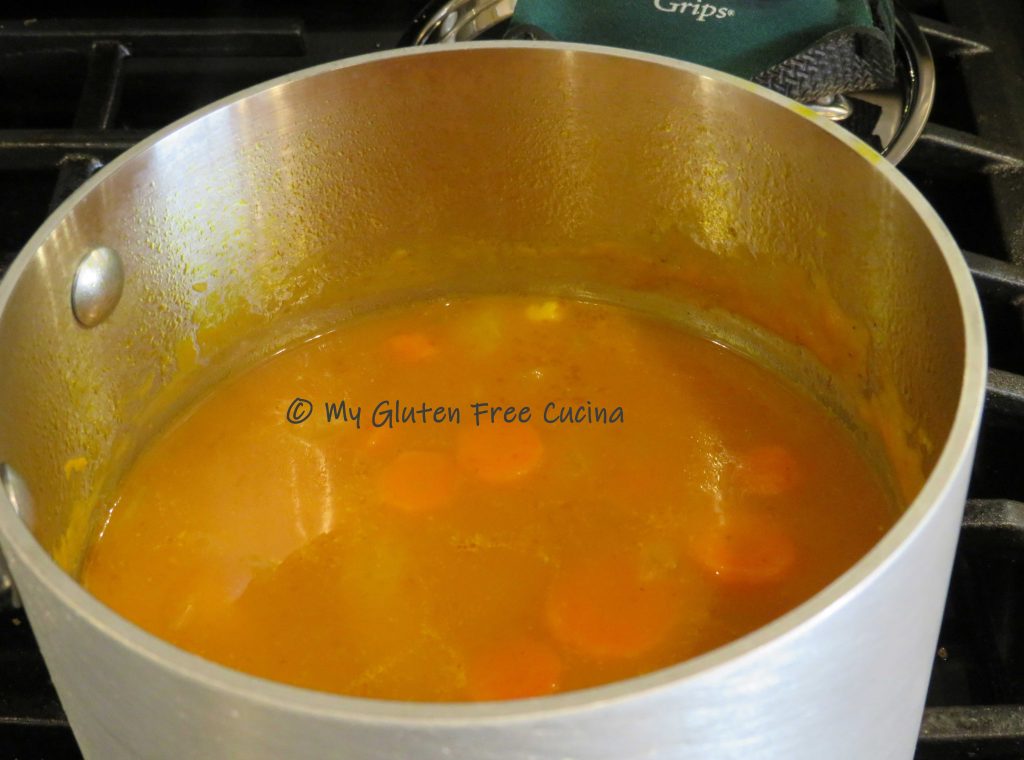
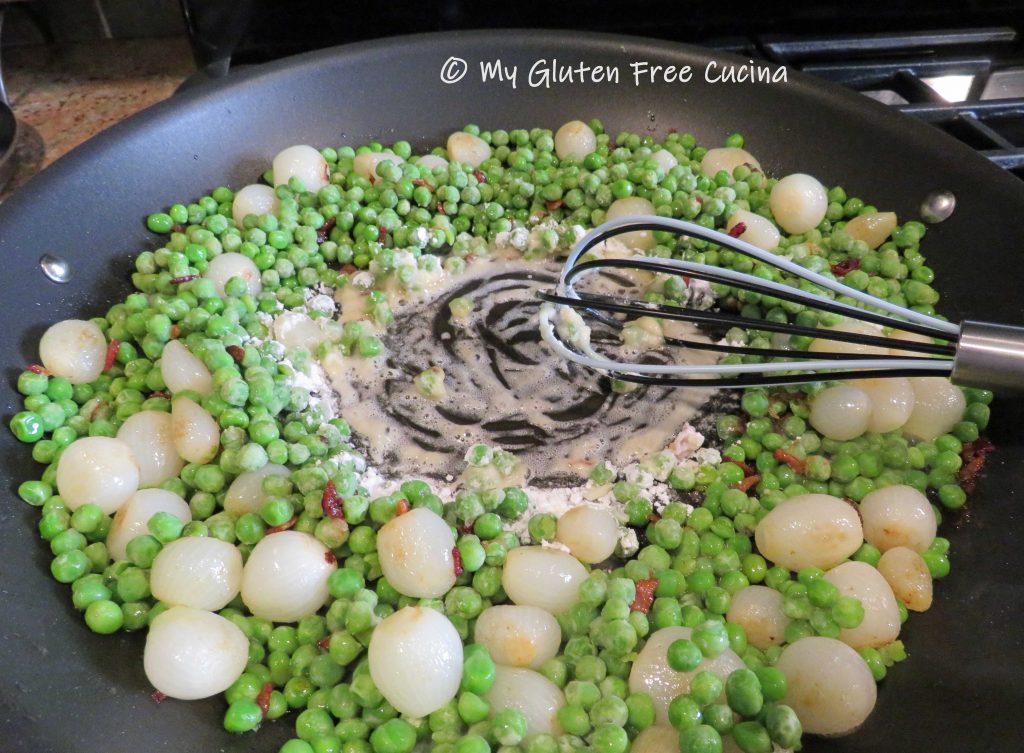 Stream in the chicken broth as you continue whisking. Start with 1/2 cup and add more if needed.
 Remove from the heat and stir in the cream or half and half if desired.


 Strain through a
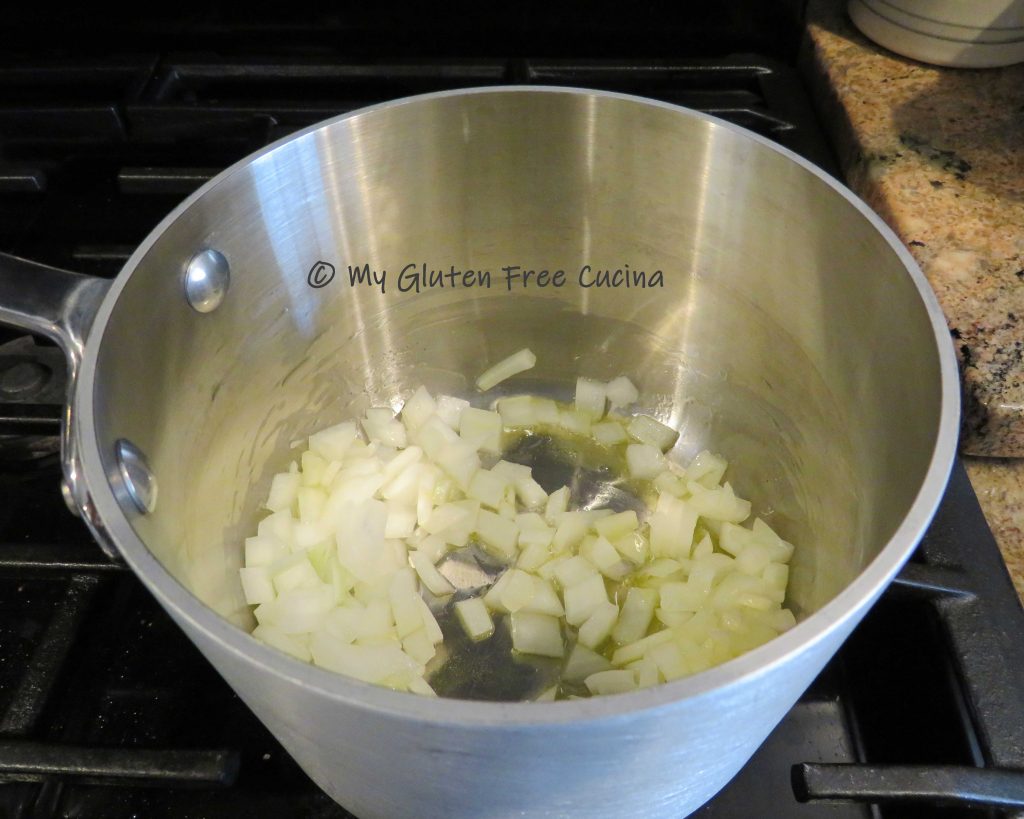
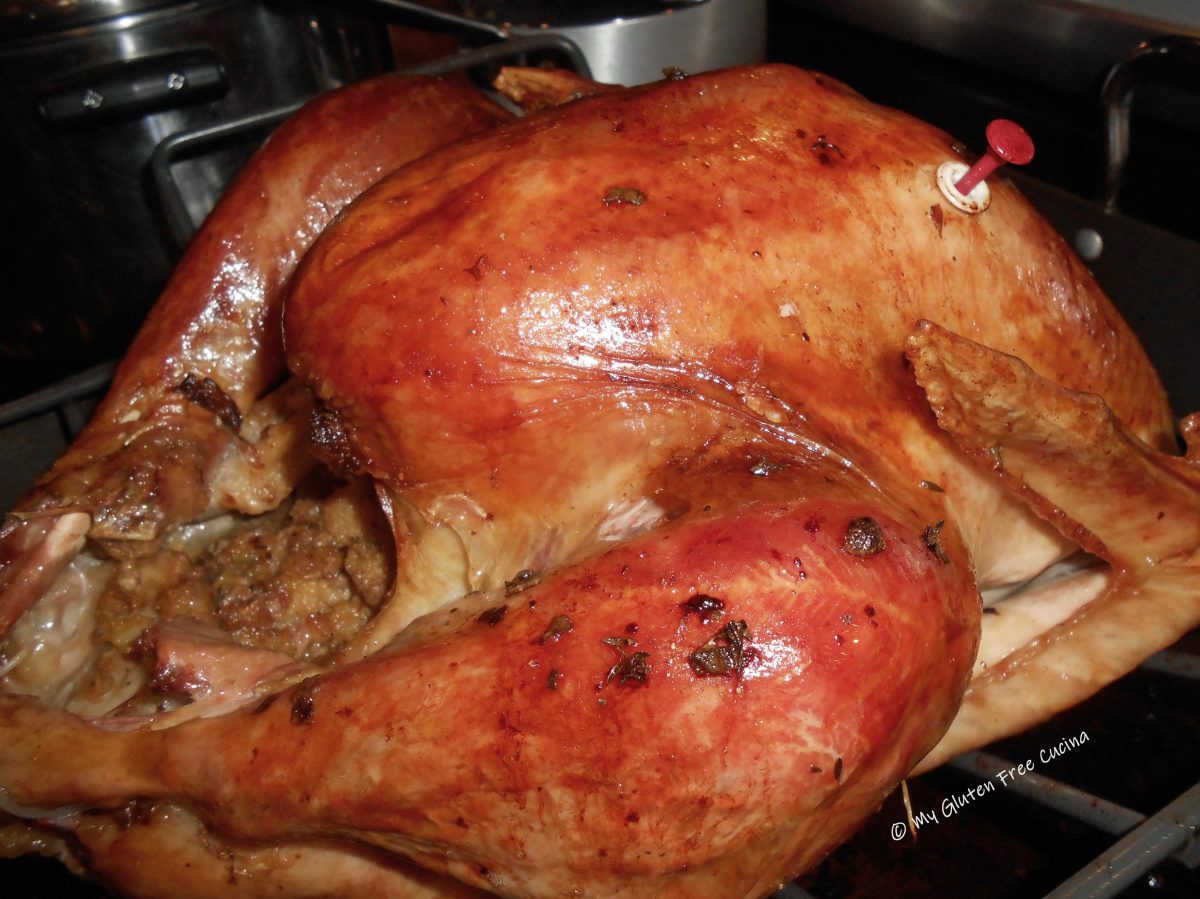
  After years of fumbling around with pan drippings I now prefer this make ahead recipe. It is quite possibly the best turkey gravy I have ever made. Mine is tucked away in the freezer now, and I will defrost it the night before Thanksgiving. Just reheat to a low simmer before