Crock-Pot meets Stir-Fry
Hello friends! Meal delivery services have become so commonplace these days, that you can order takeout from just about anywhere. Except when you have dietary restrictions- that is. There are no dedicated gluten free restaurants where I live, and I am not comfortable ordering over the phone where I cannot speak to staff face to face about their allergen protocols.
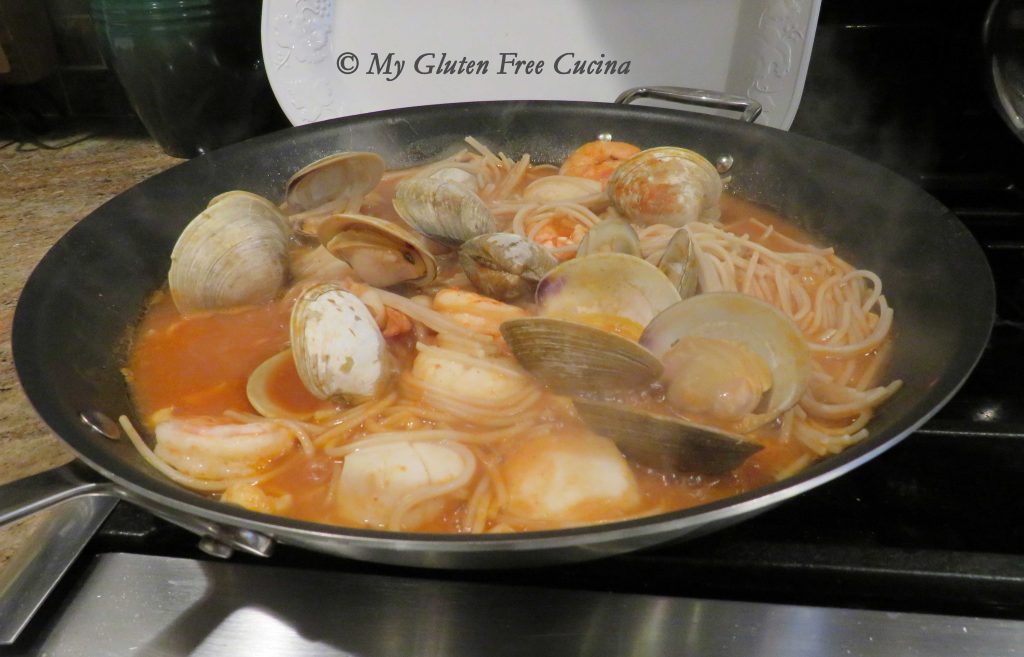
So today it’s off to the kitchen to satisfy my craving! I’m using the Crock-Pot along with my skillet to create an absolutely amazing dish that rivals any restaurant!
This post contains affiliate links.
Crock-Pot Ingredients:
- 1 lb. boneless chicken breast
- 1/4 cup honey
- 2 tbsp. tamari (gluten free soy sauce)
- 1 tbsp. dry minced onion flakes
- 1 tbsp. ketchup
- 2 tsp. canola oil
- 1/4 tsp. garlic powder
- 1/4 tsp. powdered ginger
- cooking spray
- 2 tsp. cornstarch + 2 tbsp. water
- 1 tsp. toasted sesame seeds
Stir-Fry Ingredients:
- 1 cup brown rice
- 1 cup water
- 1 cup chicken broth
- pinch of garlic granules or garlic powder
- salt, to taste
- 1 large egg + 1 tbsp. water
- 1/2 cup slivered carrots
- 1/2 cup diced onions
- 1/3 cup mushrooms
- 1/2 cup frozen peas
- 1/4 cup scallions
- 1 cup baby bok choy
- sesame oil
- gluten free tamari
- 1/3 to 1/2 cup more chicken broth
Preparation:
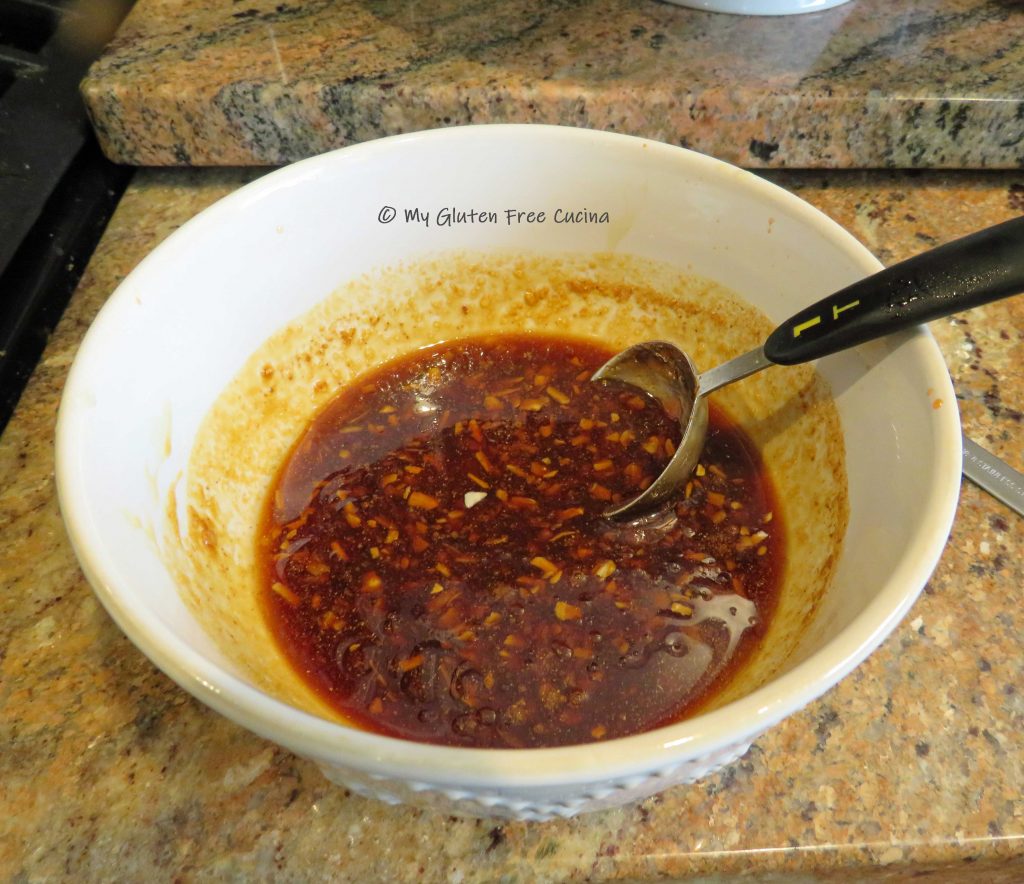
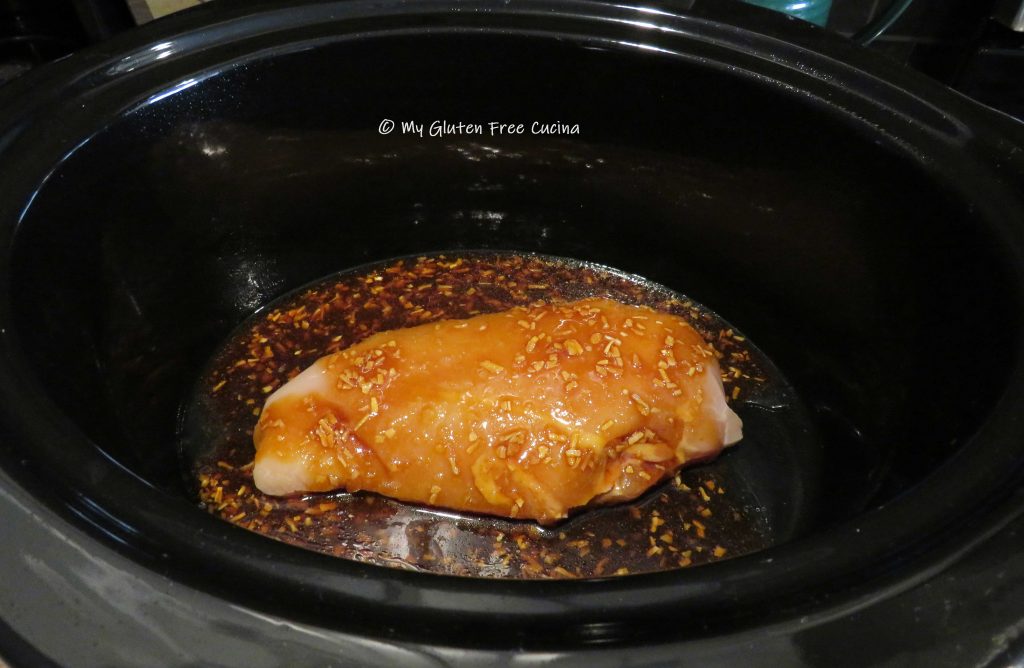
Coat the crock-pot with cooking spray and add the whole chicken breast. Whisk together the honey, tamari, dried onion flakes, ketchup, canola oil, garlic and ginger. Pour it over the chicken, cover and cook on high for one hour, then reduce heat to low and cook 2 more hours.
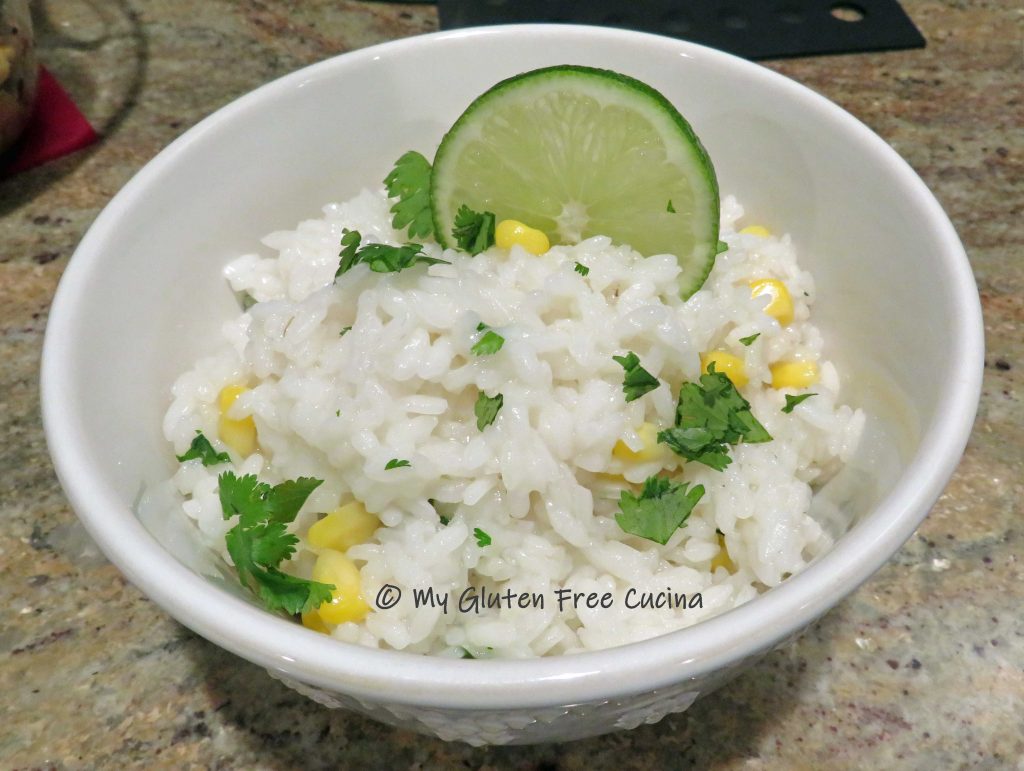
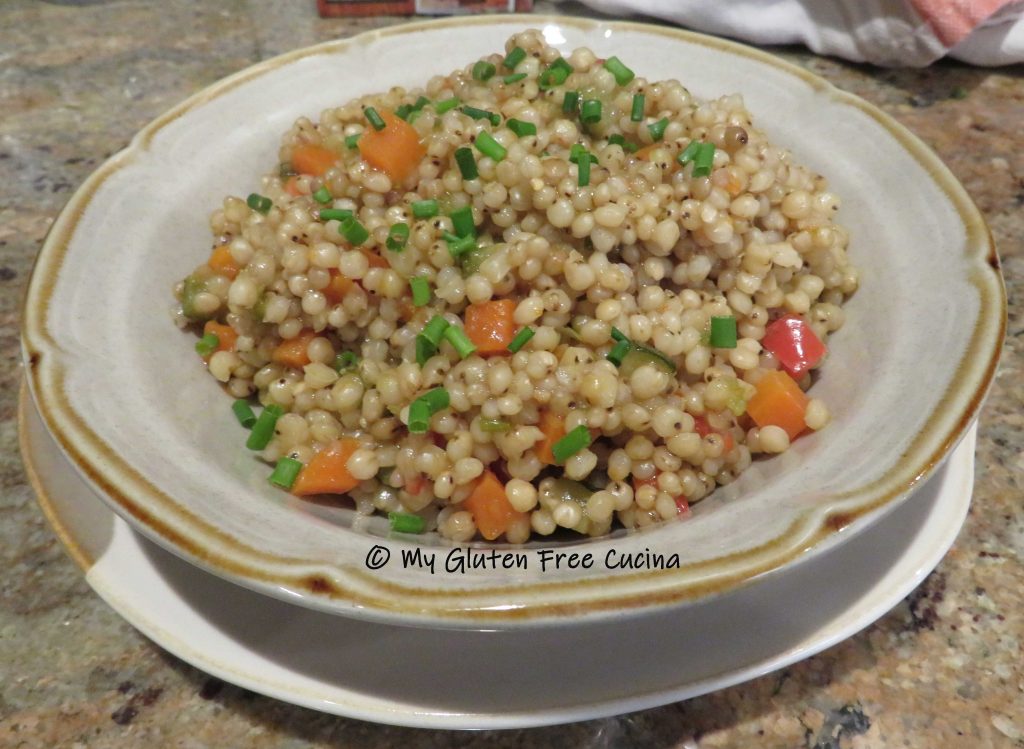
While the chicken cooks, make the rice. Cook 1 cup of brown rice in 1 cup chicken broth, 1 cup water, seasoned with salt and garlic powder. When the rice is finished, let it cool to room temperature and set aside until the chicken is ready.
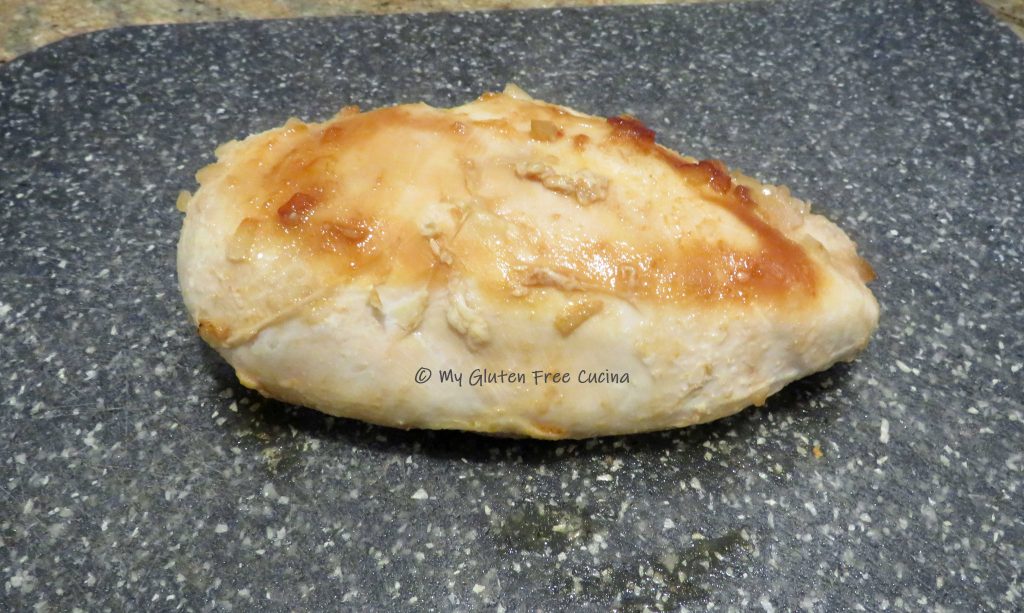
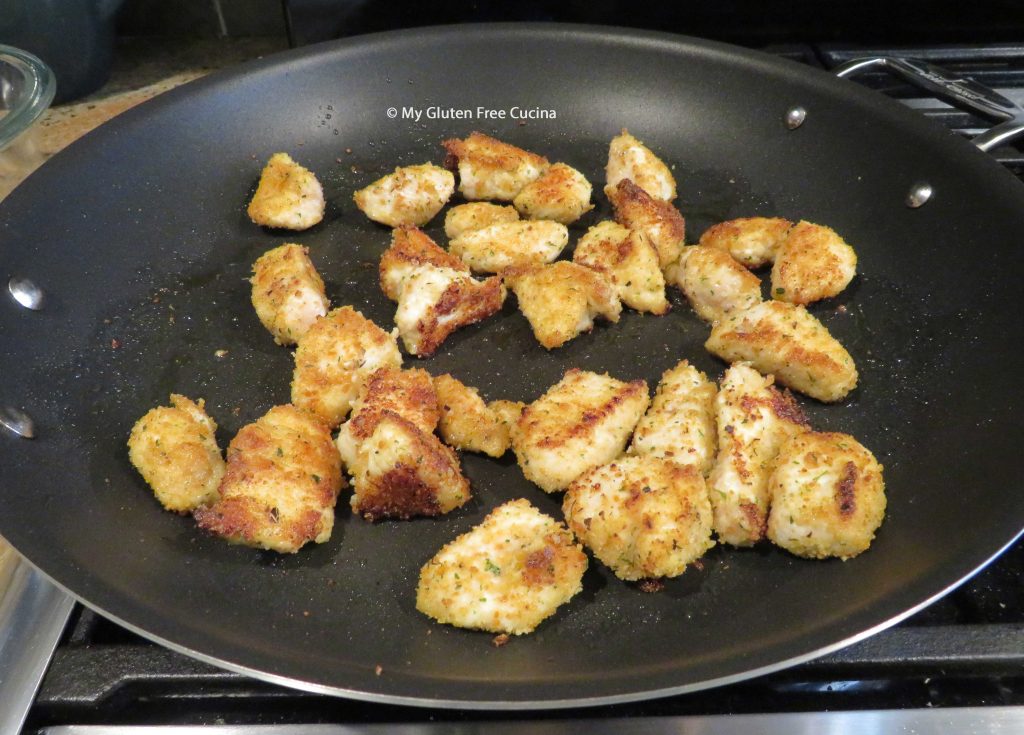
After 3 hours the chicken should be cooked through and very tender. Remove to a cutting board and cut into 1″ pieces.
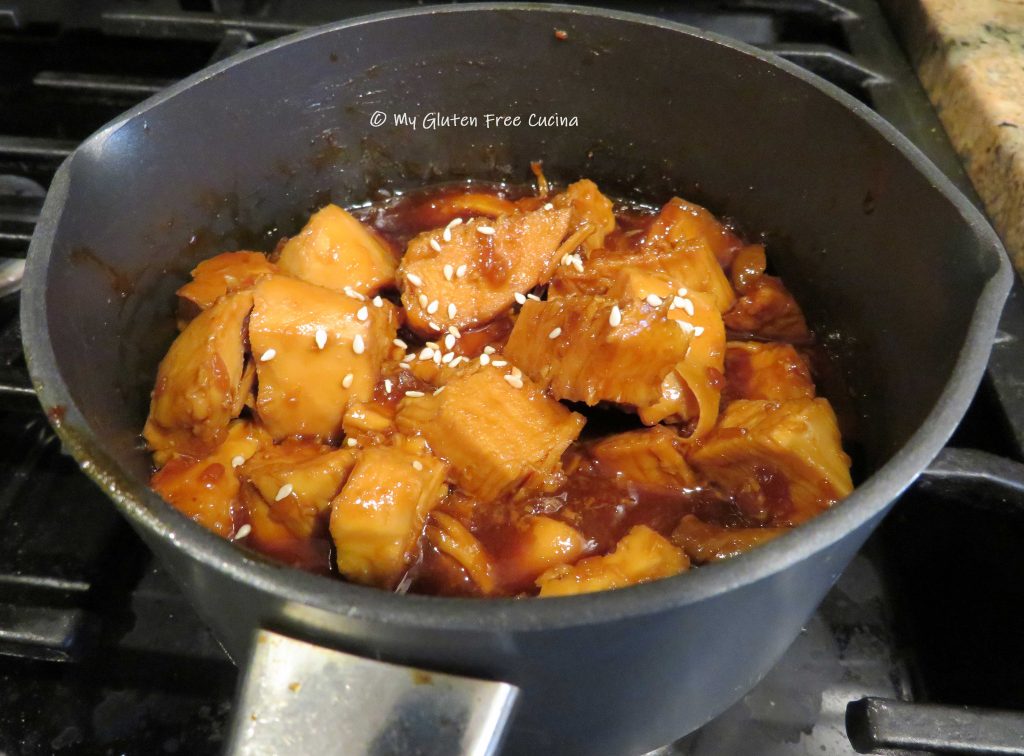
Skim fat from the crock-pot and whisk in 2 tsp. cornstarch.
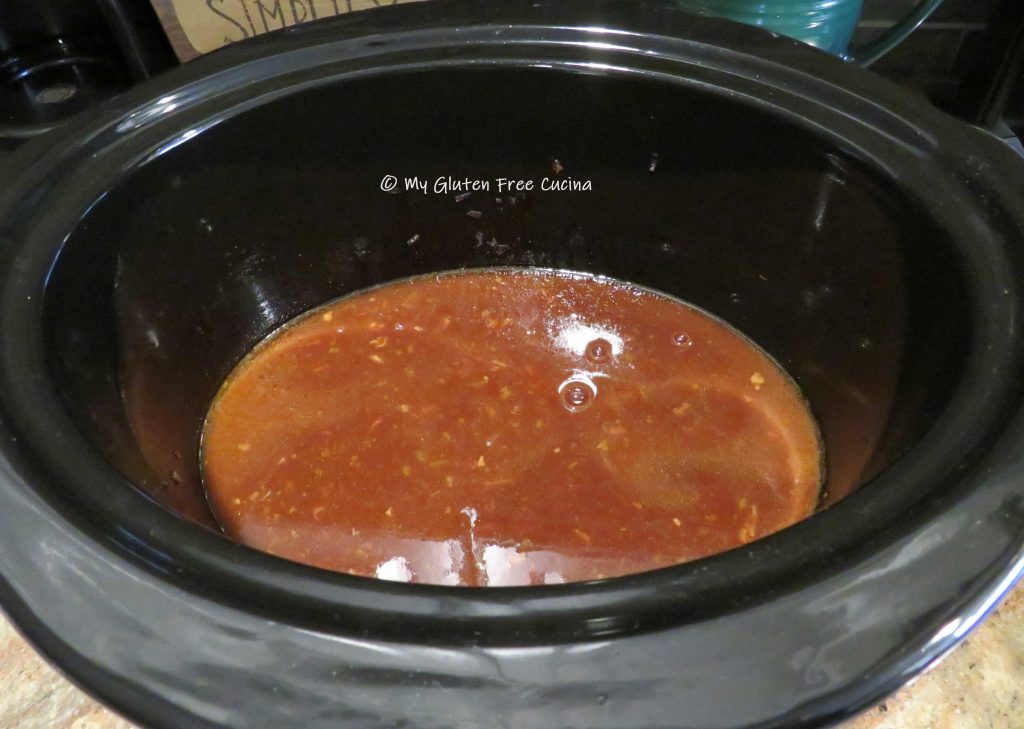
Return the diced chicken and increase heat to high, stirring frequently to thicken the sauce. Alternately you can transfer to a small sauce pot as I’ve done here. Keep warm while you finish the dish.
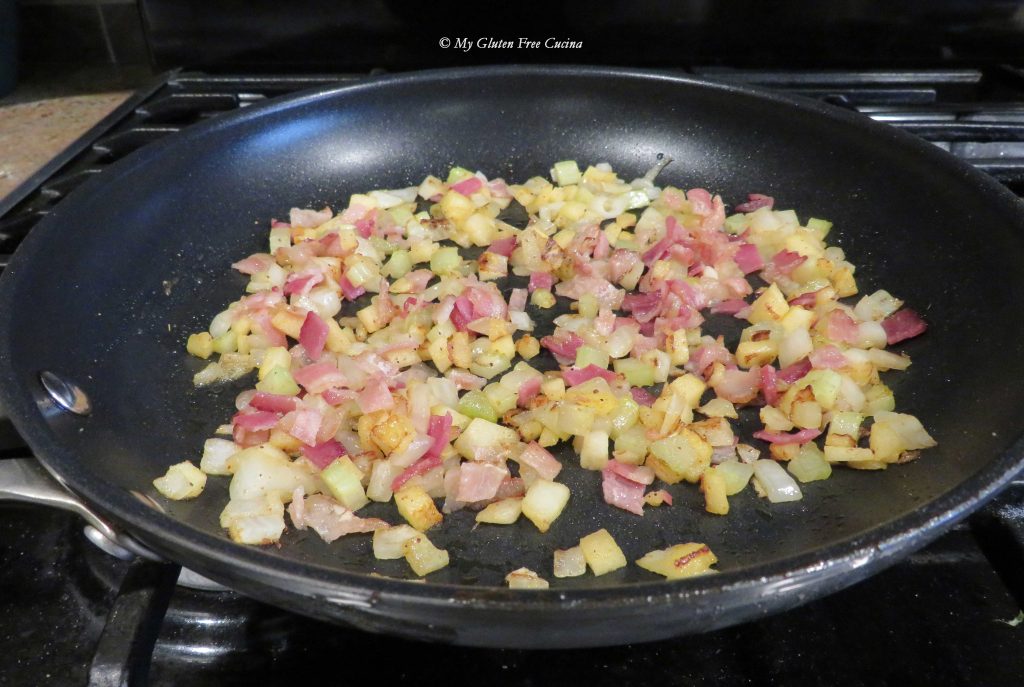
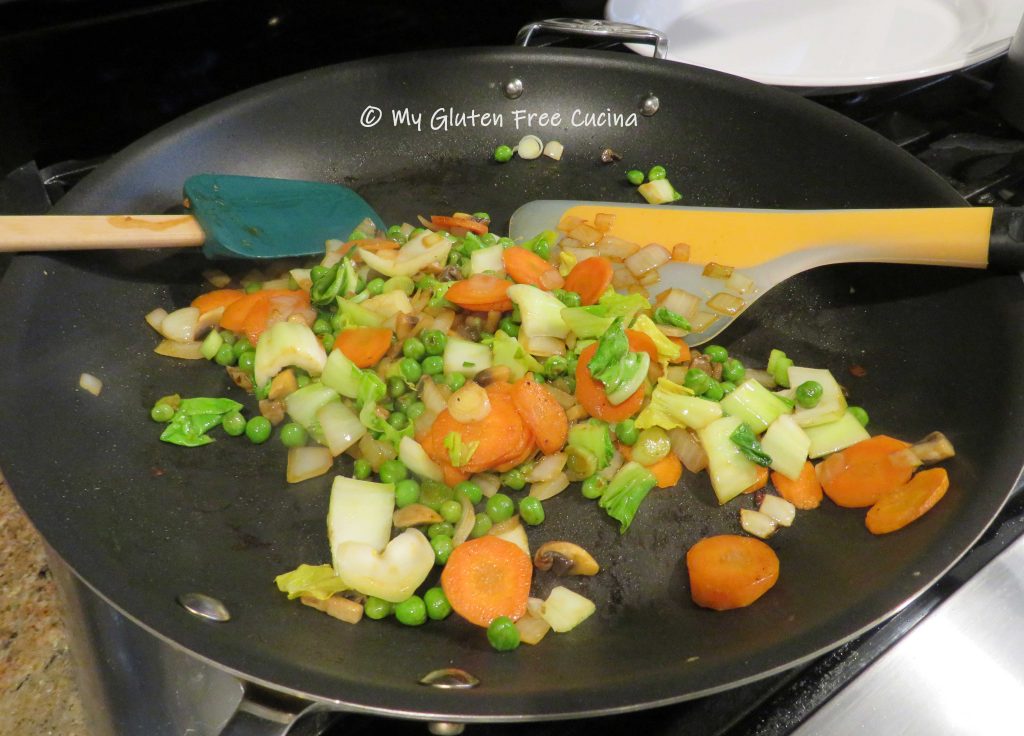
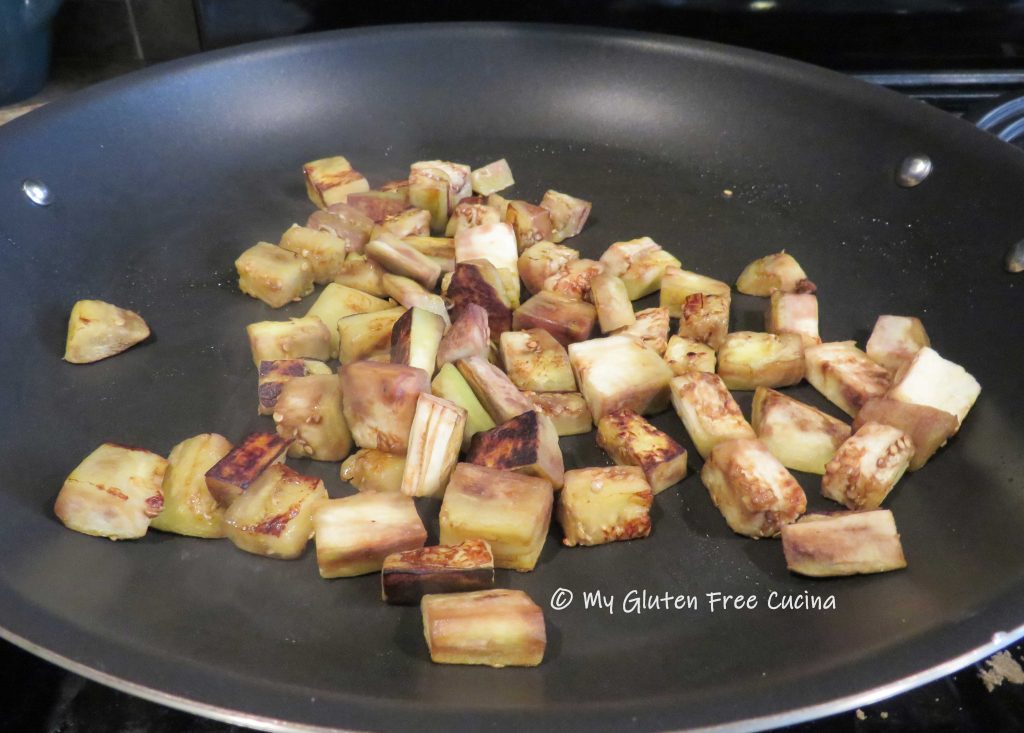
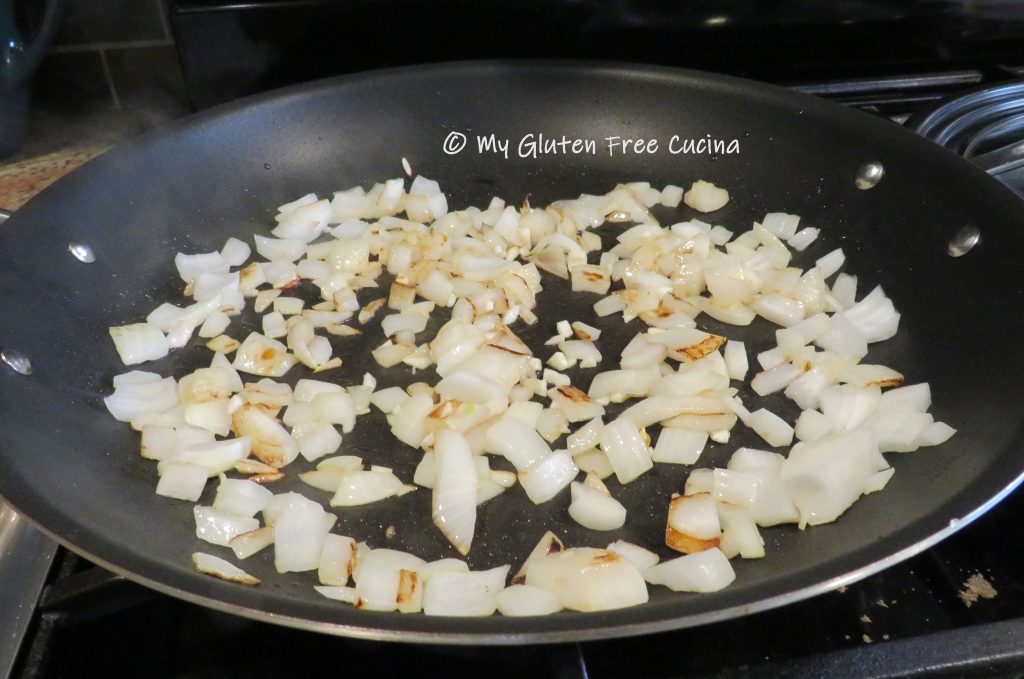
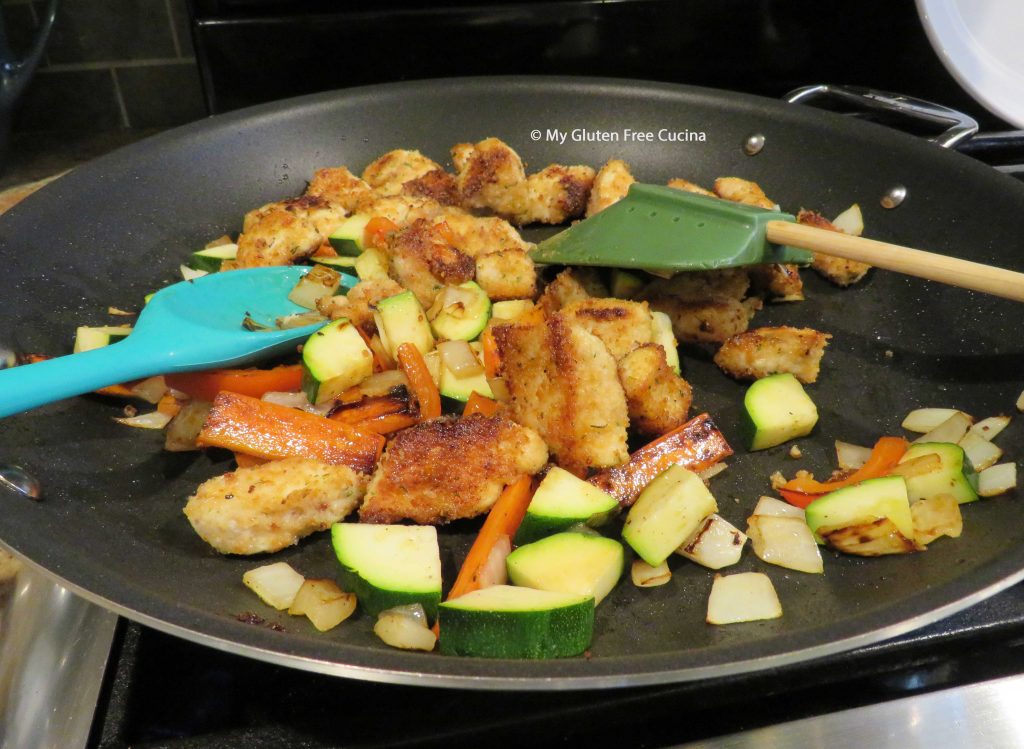
Heat a large nonstick skillet over medium low heat. Whisk the egg with 1 tbsp. water, scramble and chop into small pieces. Transfer to a bowl and keep warm. Wipe the skillet clean and begin cooking the veggies in a little sesame oil. I started with the carrots and onions as they take longest.

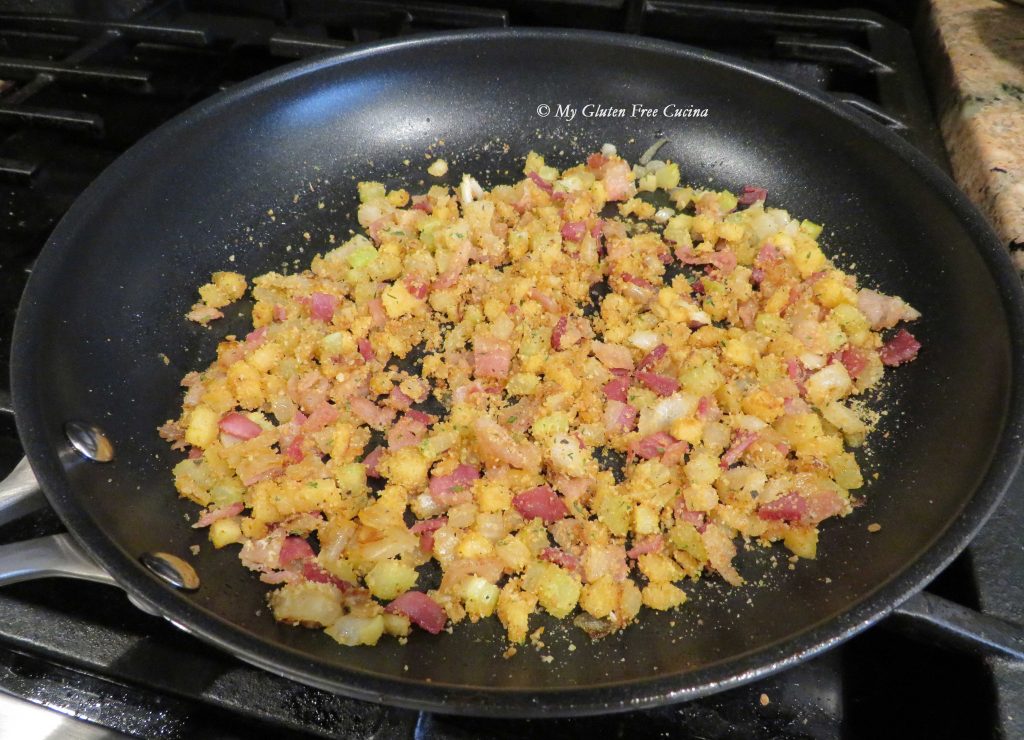
After a few minutes, add the peas, mushrooms and scallions with a little more oil and cook 2 minutes more. Finally, add the bok choy with a few shakes of tamari and stir well to blend.
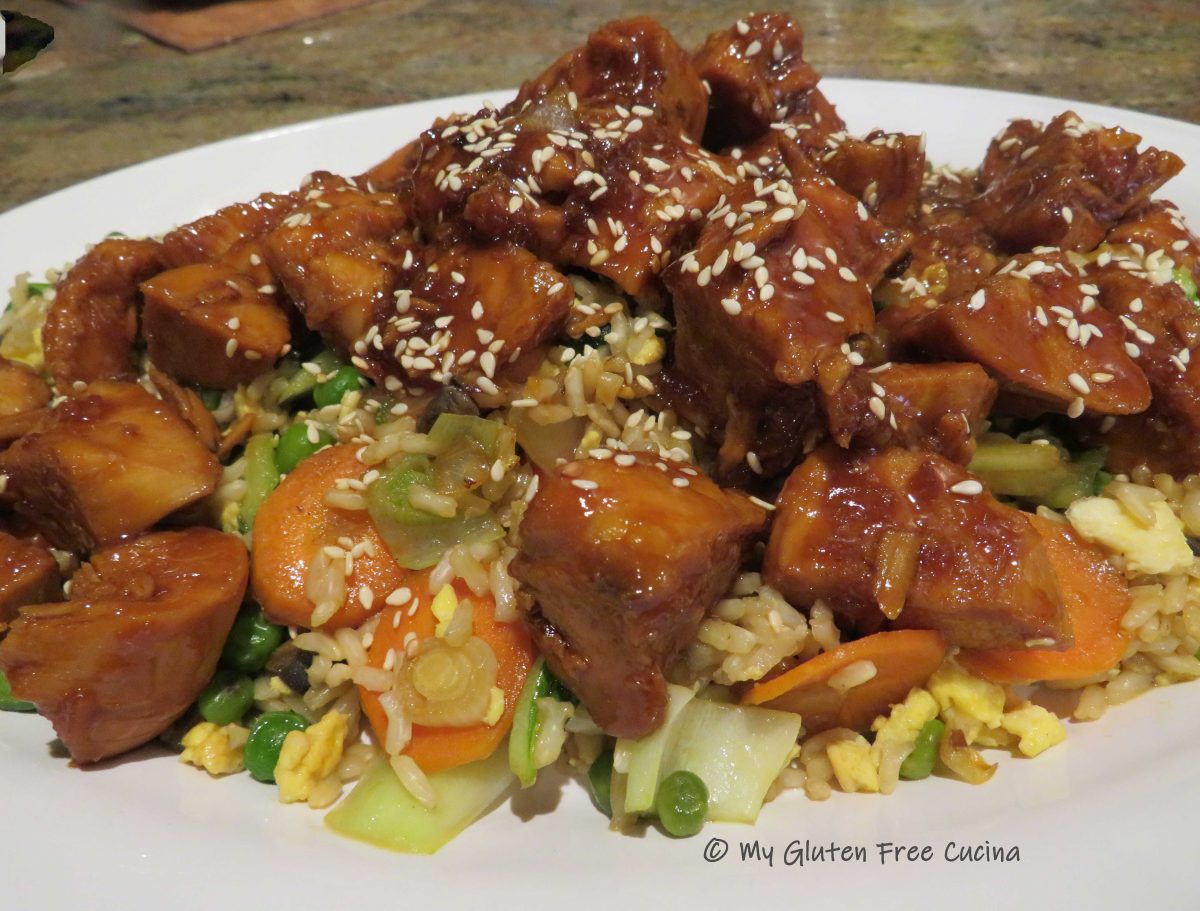
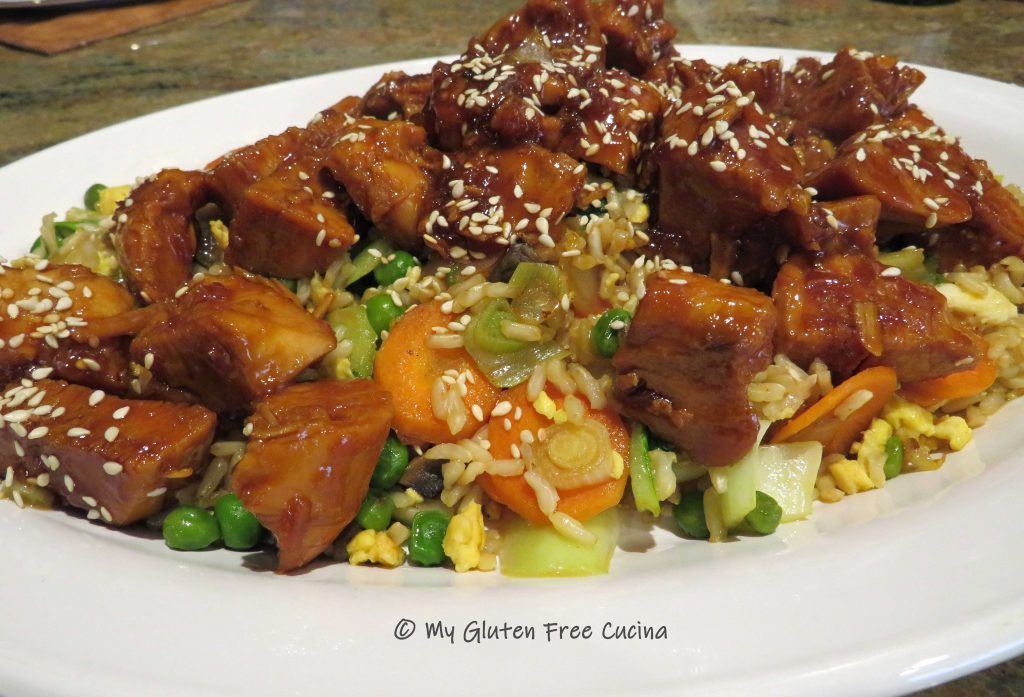
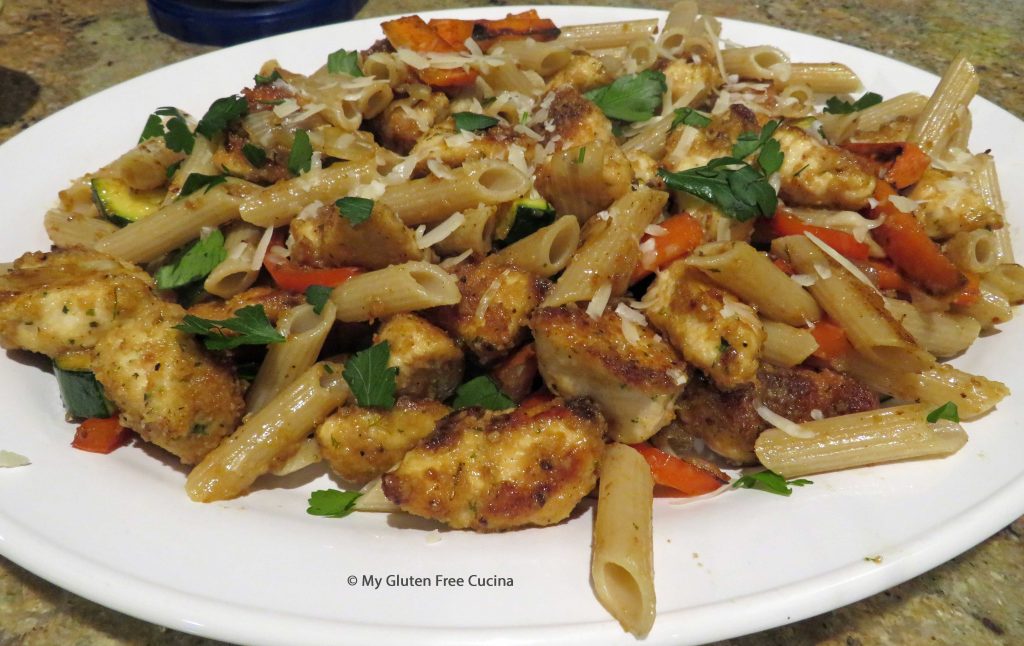
To finish, add back the rice and the scrambled egg with a few more shakes of tamari, along with 1/3 to 1/2 cup chicken broth. Quickly toss and stir to incorporate the rice and veggies until the liquid has been absorbed and the rice is heated through. Transfer to a serving platter.

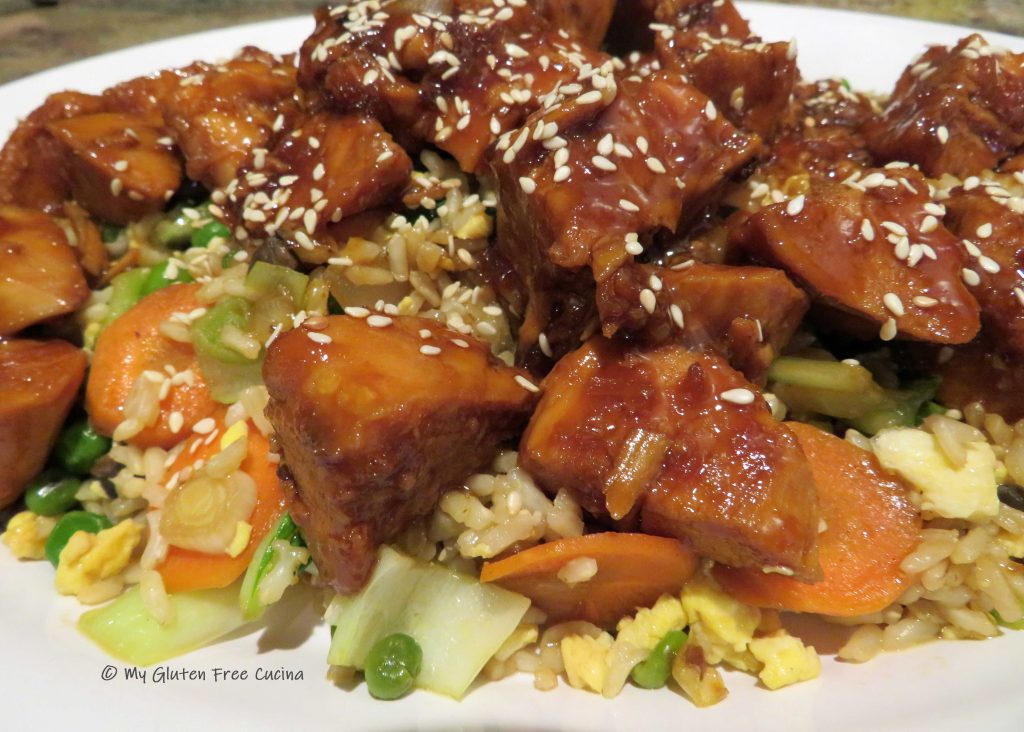
Spoon the chicken over the fried rice and garnish with toasted sesame seeds.
Notes: ♪♫ Were you surprised to learn that soy sauce is not gluten free? I was! The soy is fermented in wheat, making it unsafe for those of us with Celiac disease. In this recipe I used San J brand gluten free Tamari in place of soy sauce. It is a great addition to any Asian inspired recipe and also great for marinades.

[print_link]


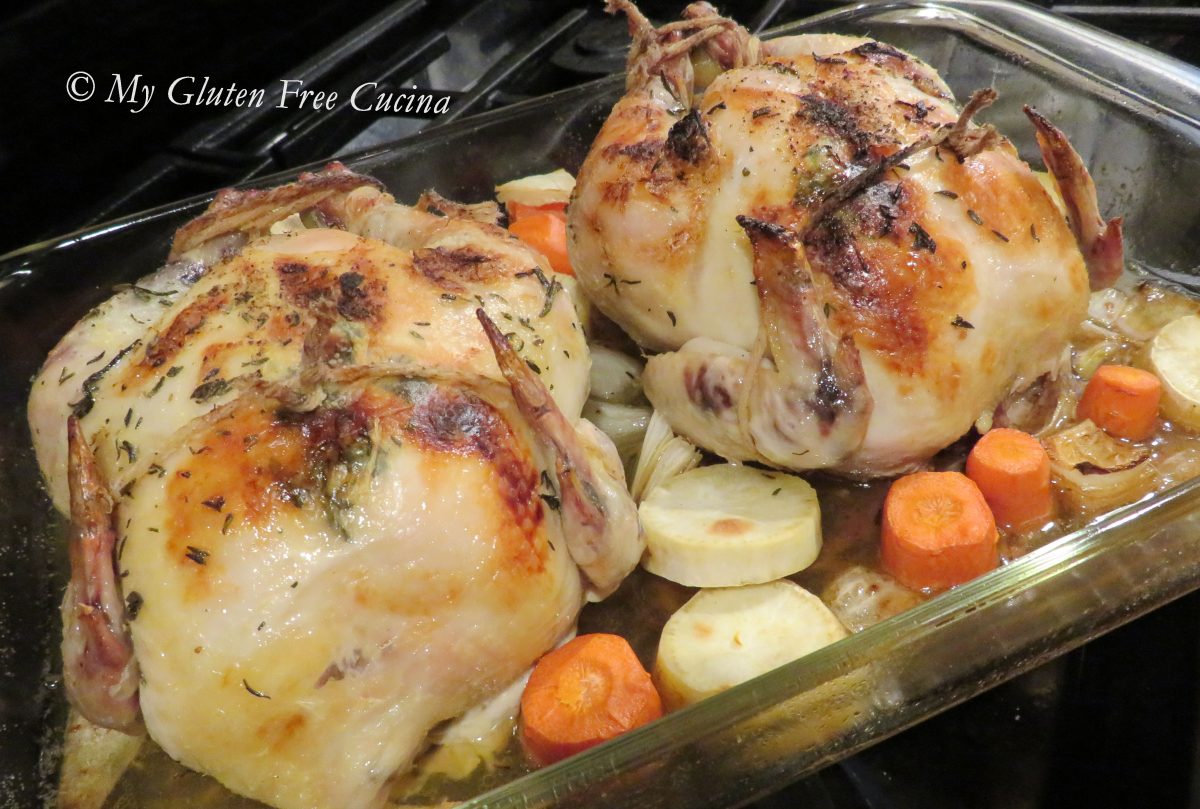
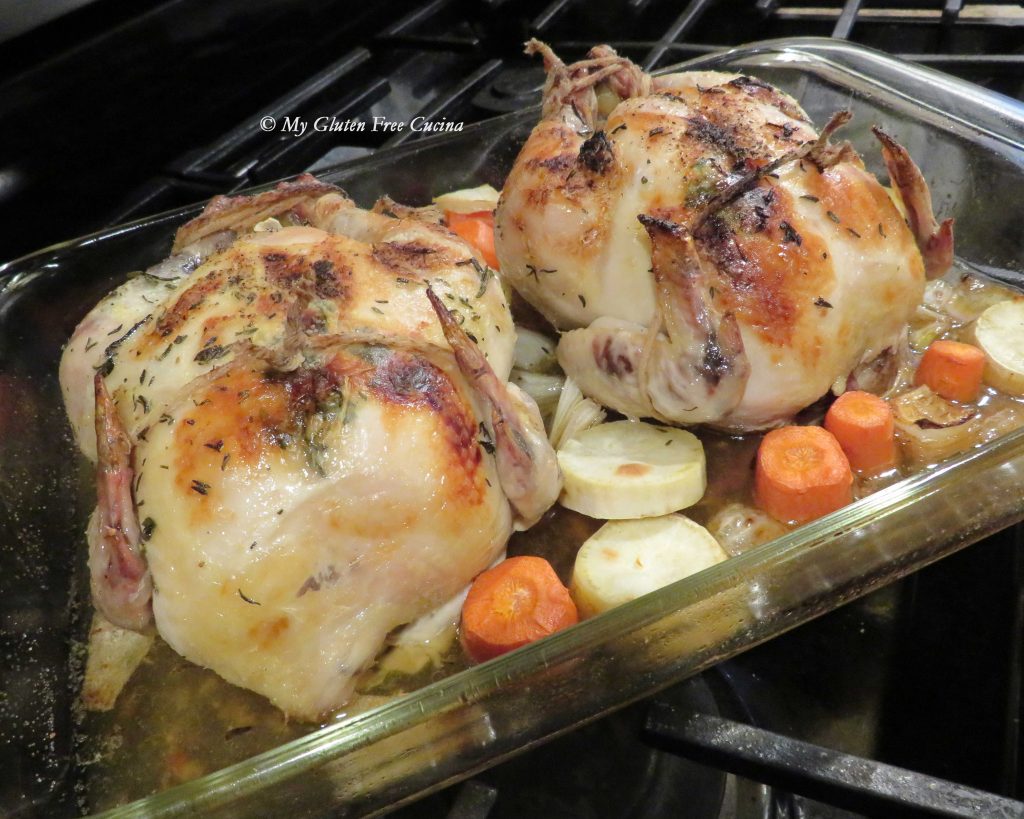
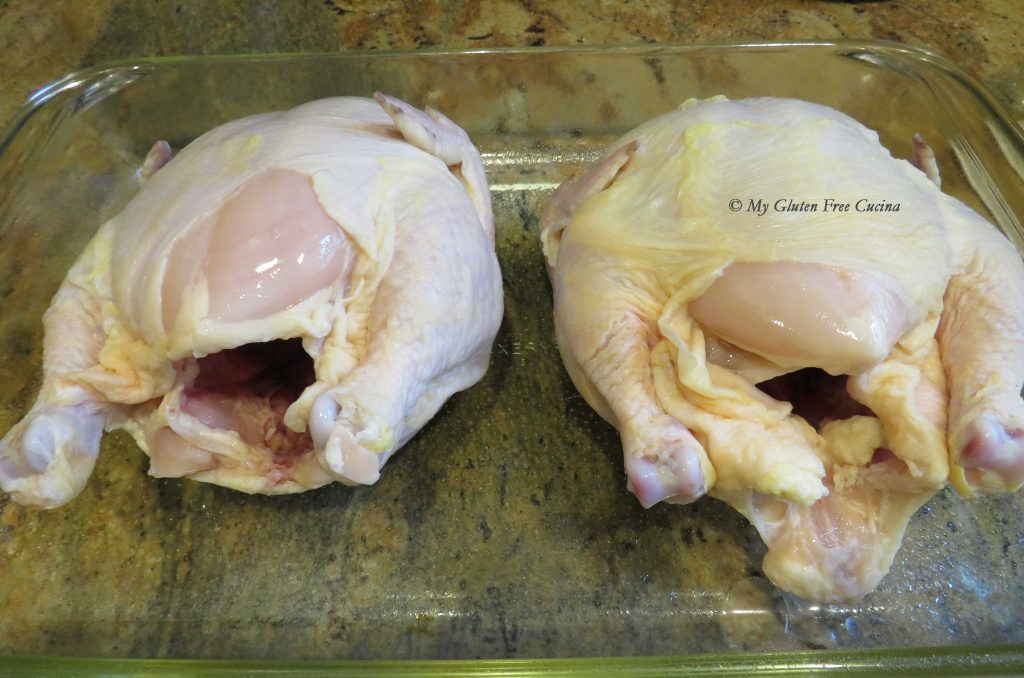
 A single Cornish Hen (2 lb.) should yield 2 servings, or for hearty appetites plan on one hen each. Your gatherings may be smaller, but they can still be delicious!
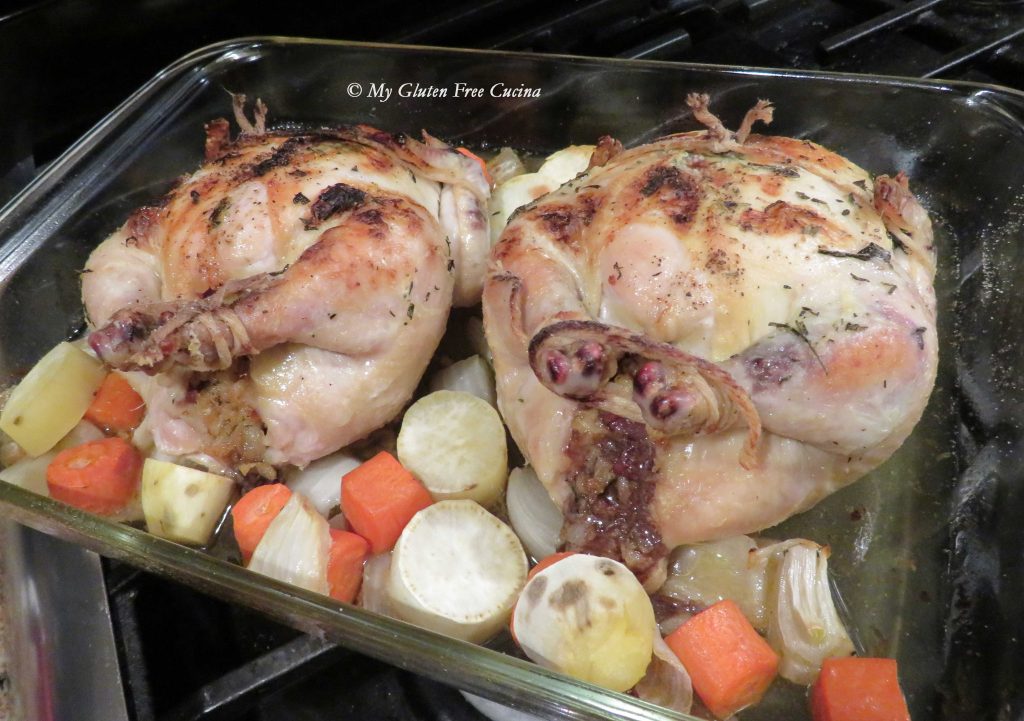